|
|
~MENU~ |
| Home |
| The Concept |
| The Boat |
| Bringing Her Home |
|
Weekly Progress Log |
|
Daysailor Projects |
| The Boat Barn |
| Resources |
| Other Sites |
| Email Tim |
|
|
|
Systems: Fuel Tank/Battery Platform |
|
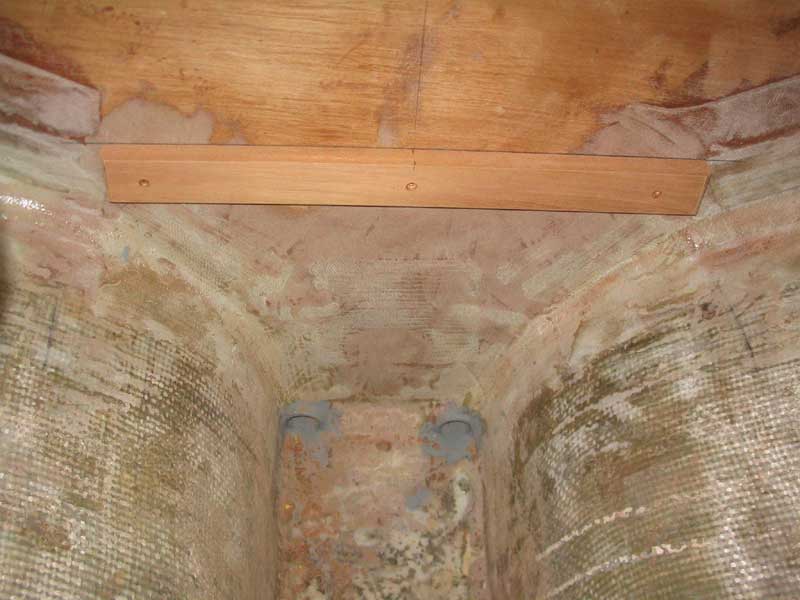
With the cockpit sole going in, it was time to begin to address some of the below-sole installations. The large bilge area beneath the cockpit would be dedicated mostly to the new diesel engine and related systems, including a fuel tank and batteries. |
|
I pored over my catalogs, and identified a tank that was the right capacity and general shape. After double checking to ensure that there was adequate room beneath the cockpit beams for the tank, I moved forward with the platform construction. Using the tank dimensions, as well as the dimensions of some standard Group 27 battery boxes, I determined the size platform I needed; it turned out to be 2' deep by 3' wide. |
|
|
|
|
|
|
 When
the fillets were done, I cut some 6" 22 oz. biaxial tape to the right
lengths and tabbed the bulkhead to the hull on each side, and to the
bulkhead at the forward end. I added some 12" cloth tape on the
sides to reinforce those areas a bit more, and spread the remaining epoxy
over the top of the platform to seal it. I left this to cure
overnight before continuing. Later, I painted the top of the
platform, along with the surrounding bilge areas, with more of the gray
Bilgekote. When
the fillets were done, I cut some 6" 22 oz. biaxial tape to the right
lengths and tabbed the bulkhead to the hull on each side, and to the
bulkhead at the forward end. I added some 12" cloth tape on the
sides to reinforce those areas a bit more, and spread the remaining epoxy
over the top of the platform to seal it. I left this to cure
overnight before continuing. Later, I painted the top of the
platform, along with the surrounding bilge areas, with more of the gray
Bilgekote. |