|
|
~MENU~ |
| Home |
| The Concept |
| The Boat |
| Bringing Her Home |
|
Weekly Progress Log |
|
Daysailor Projects |
| The Boat Barn |
| Resources |
| Other Sites |
| Email Tim |
|
|
|
From a Bare Hull: Finish Primer (Hull & Deck) |
|
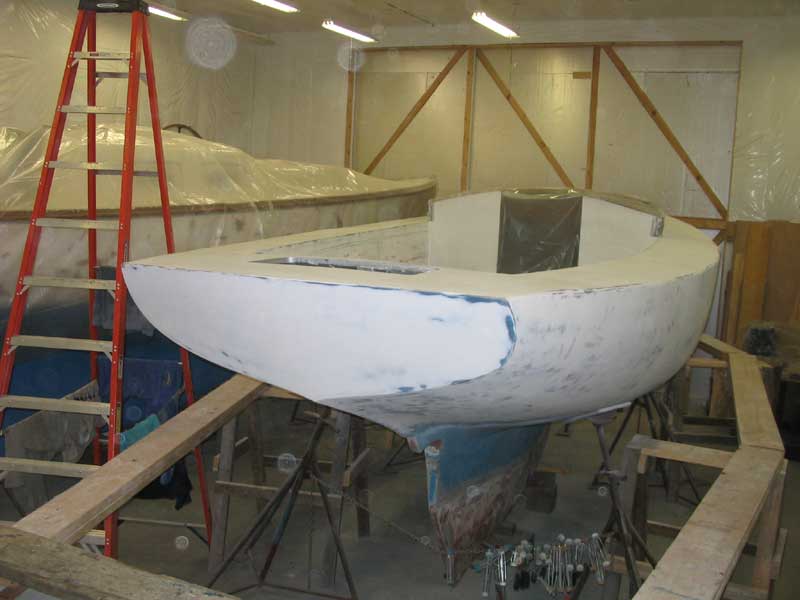
Finishing Primer
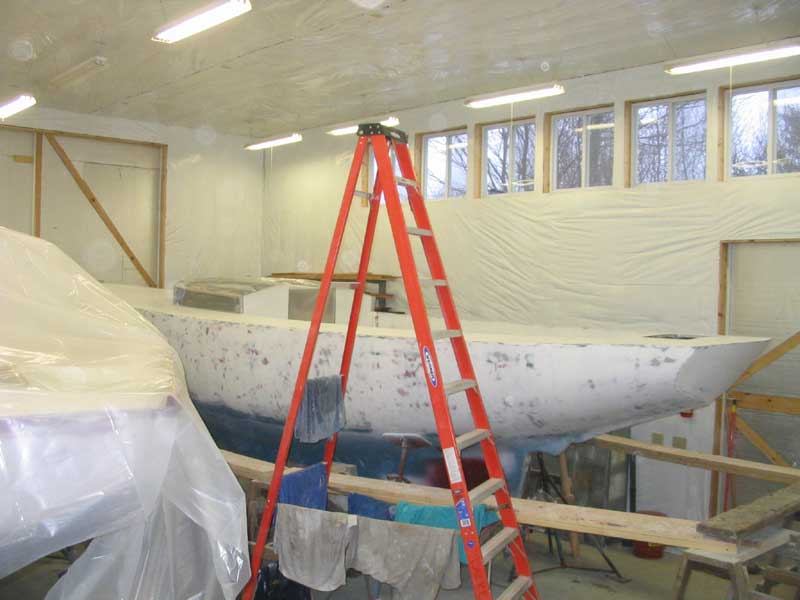
Click here for more about the Alexseal finishing primer. Before beginning any final cleaning or preparations on deck, I spent most of the day giving the shop a thorough cleaning from top to bottom, a laborious process that included removing extraneous clutter and boat/shop gear, blowing down the walls, lights, and floor, and sweeping and vacuuming every surface to rid them of accumulated dust and debris. This took about six hours. |
 The
existing high-build primer had become rather dirty in places on deck, and
particularly in the cockpit, thanks to my heavy foot traffic during many
of the construction projects since application. To prepare for the
primer, after vacuuming up the dust I first washed the decks with a spray
detergent and towels to remove the worst of the dirt. Then, I used a
two-cloth method and washed the surfaces thoroughly with Alexseal surface
cleaner, a strong solvent designed to remove grease, finger oil, and other
contaminants. Using two cloths--one soaked in the solvent to wipe,
then a dry cloth to wipe off the solvent before it dried--I washed the
entire hull and deck, removing most of the remaining stains and noticeably
dirty areas. The
existing high-build primer had become rather dirty in places on deck, and
particularly in the cockpit, thanks to my heavy foot traffic during many
of the construction projects since application. To prepare for the
primer, after vacuuming up the dust I first washed the decks with a spray
detergent and towels to remove the worst of the dirt. Then, I used a
two-cloth method and washed the surfaces thoroughly with Alexseal surface
cleaner, a strong solvent designed to remove grease, finger oil, and other
contaminants. Using two cloths--one soaked in the solvent to wipe,
then a dry cloth to wipe off the solvent before it dried--I washed the
entire hull and deck, removing most of the remaining stains and noticeably
dirty areas. |
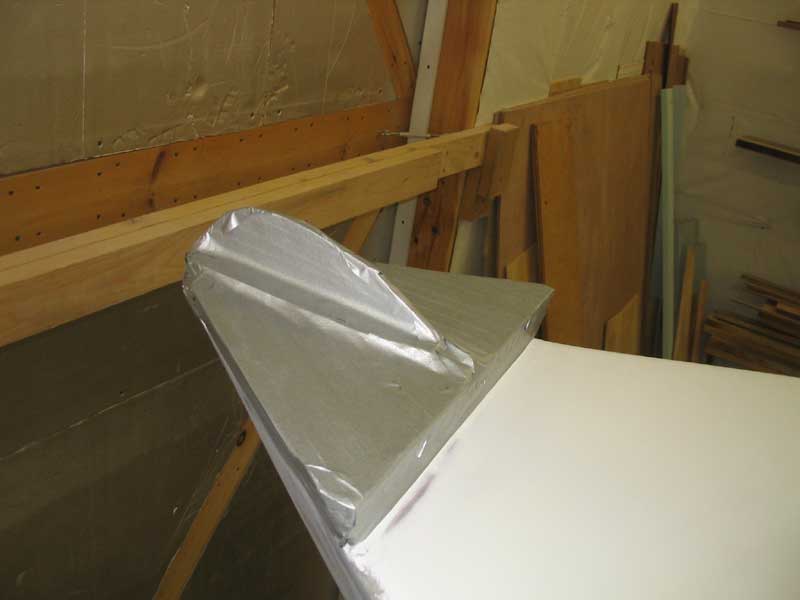 There
wasn't much taping to be done, but I had to mask off the stem casting and
breast hook, cover the cabin trunk with tape and plastic, and covered the
engine room hatches and lazarette opening. There was no need for
tape on the hull at this point. When the taping was complete, I
cleaned the surfaces a final time, and prepared the primer and equipment
for the next day's priming marathon. There
wasn't much taping to be done, but I had to mask off the stem casting and
breast hook, cover the cabin trunk with tape and plastic, and covered the
engine room hatches and lazarette opening. There was no need for
tape on the hull at this point. When the taping was complete, I
cleaned the surfaces a final time, and prepared the primer and equipment
for the next day's priming marathon. |
 Just
before applying primer, I tacked off the hull and deck with a tack cloth
to remove any final dust. I found to my dismay that my spray gun had
become clogged with old paint, as it seemed I had failed to give it a
thorough cleaning after finishing up with the high build primer some weeks
earlier. This was annoying, and I was angry with myself for allowing
this error (and for not more thoroughly checking the equipment the day
before; I was tired, I guess). Just
before applying primer, I tacked off the hull and deck with a tack cloth
to remove any final dust. I found to my dismay that my spray gun had
become clogged with old paint, as it seemed I had failed to give it a
thorough cleaning after finishing up with the high build primer some weeks
earlier. This was annoying, and I was angry with myself for allowing
this error (and for not more thoroughly checking the equipment the day
before; I was tired, I guess). |
|
In any event, I had to tear the gun down and clean out the tip and other parts. Even with this, the gun just didn't spray properly all day, though it was adequate to get the job done. The next day, I found that an air fitting at the top of the gravity-feed container was badly clogged with old paint; after cleaning that out, the gun finally seemed work properly again. Live and learn. |
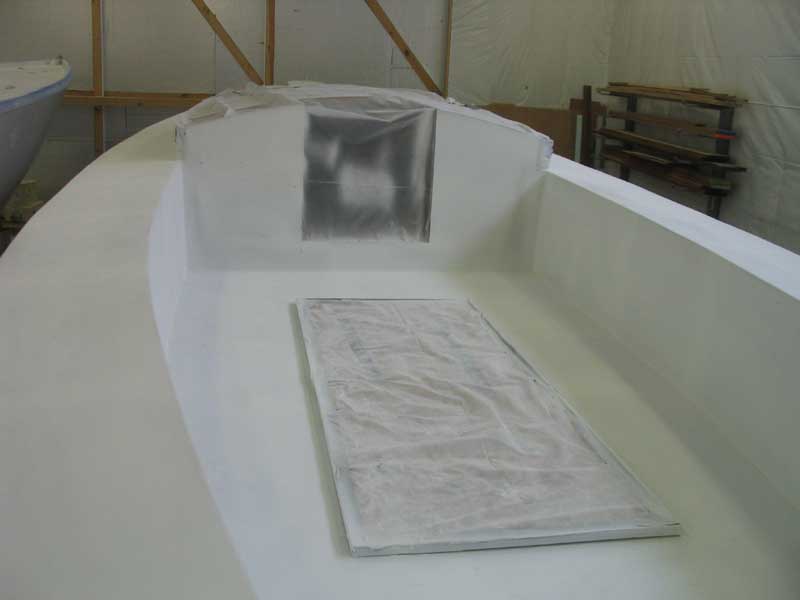
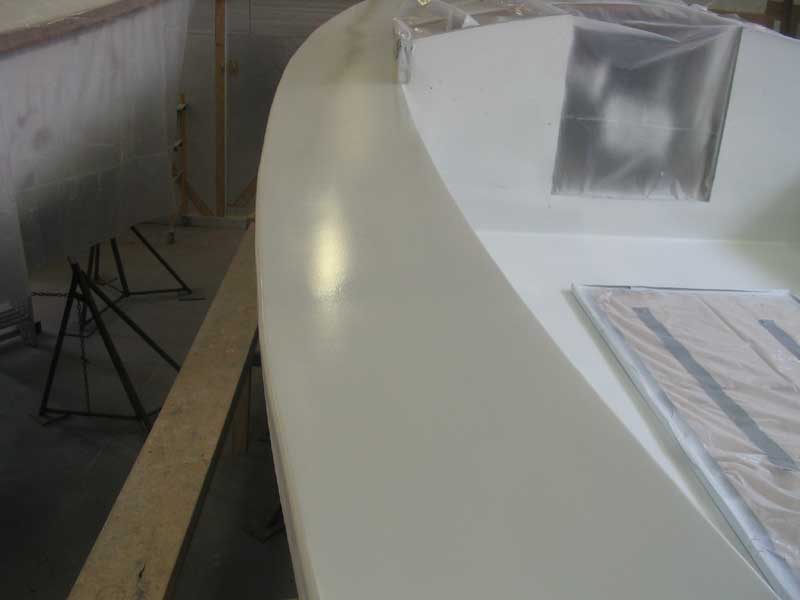 With
the gun problems behind me, I commenced spraying. As before, I began
in the cockpit well, and sprayed three separate coats on all surfaces.
For this primer, I decided to use two different colors: white and
light gray. By alternating colors between coats, it made it much
easier to see where I had sprayed and how good the coverage was. I
had found in earlier jobs that it was extremely difficult to monitor
subsequent primer coats when they were all the same color. I began
with a coat of white primer, then switched to light gray for the second
coat, and finally white again for the third coat. This worked very
well. With
the gun problems behind me, I commenced spraying. As before, I began
in the cockpit well, and sprayed three separate coats on all surfaces.
For this primer, I decided to use two different colors: white and
light gray. By alternating colors between coats, it made it much
easier to see where I had sprayed and how good the coverage was. I
had found in earlier jobs that it was extremely difficult to monitor
subsequent primer coats when they were all the same color. I began
with a coat of white primer, then switched to light gray for the second
coat, and finally white again for the third coat. This worked very
well. |
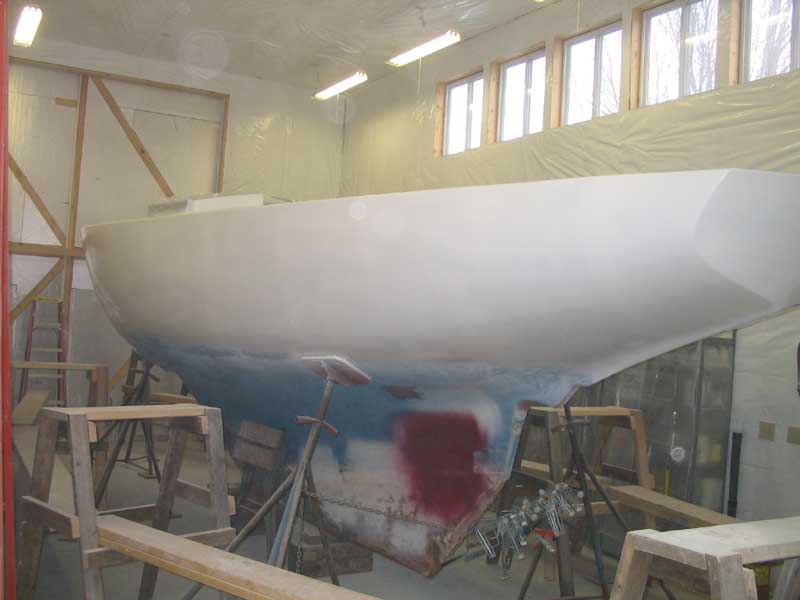 With
the cockpit done, I moved on to the foredeck and sidedecks, applying three
alternating coats and waiting up to an hour between coats, as directed.
Finally, I moved the staging down to a lower level and sprayed three
alternating coats on the hull. The entire process took about nine
hours total from start to finish, including down time between coats.
I was exhausted. With
the cockpit done, I moved on to the foredeck and sidedecks, applying three
alternating coats and waiting up to an hour between coats, as directed.
Finally, I moved the staging down to a lower level and sprayed three
alternating coats on the hull. The entire process took about nine
hours total from start to finish, including down time between coats.
I was exhausted. |
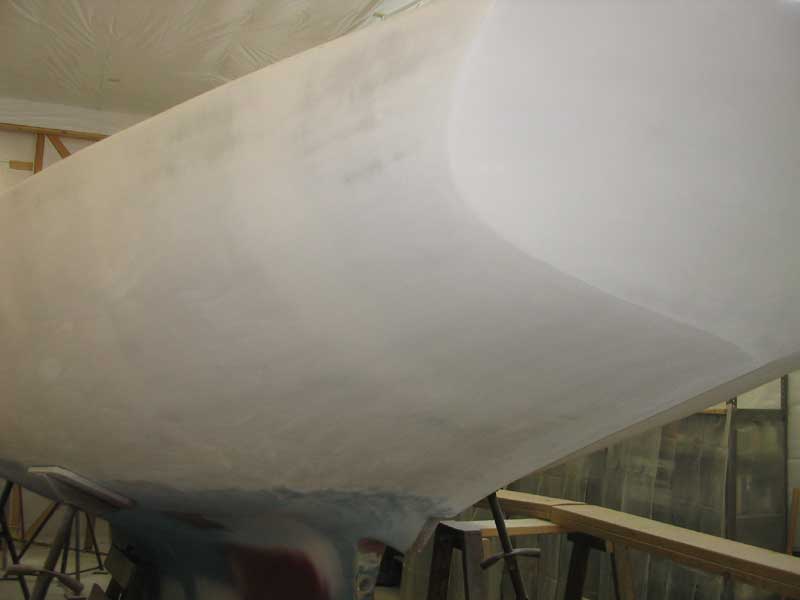
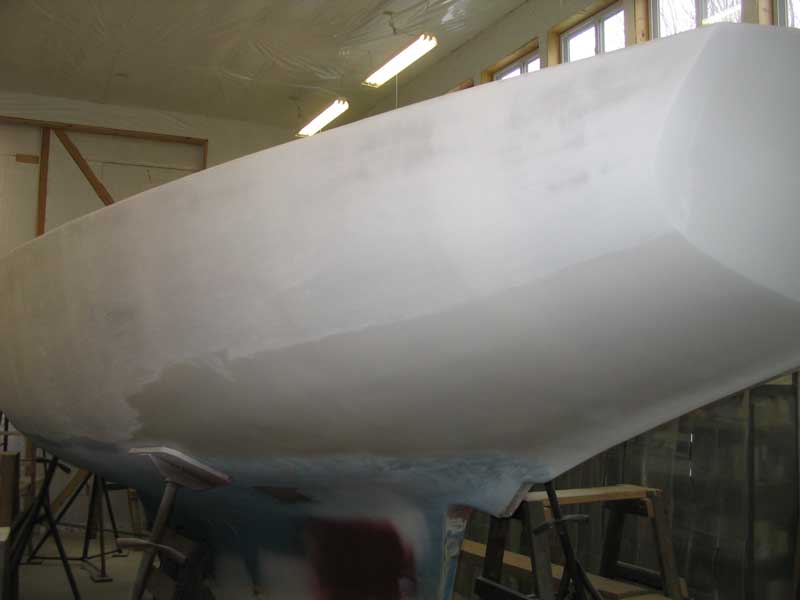 After
a day "off" in order to spray the other boat in the shop (for which I
repeated the entire process described above), I returned and began to sand
the hull primer. Sanding was critical, since the quality of the
high-gloss finish coat would depend entirely upon the quality of the
substrate beneath. I used a small 3M soft foam block and 220 grit
paper for the initial sanding, followed by a sanding with 320 on the block
as well. This worked very well, and required about four to five
hours to sand the entire hull. I hand sanded because I felt that
mechanical means might remove too much material. Hand sanding was
easy to control, and I was extremely pleased with the end result. After
a day "off" in order to spray the other boat in the shop (for which I
repeated the entire process described above), I returned and began to sand
the hull primer. Sanding was critical, since the quality of the
high-gloss finish coat would depend entirely upon the quality of the
substrate beneath. I used a small 3M soft foam block and 220 grit
paper for the initial sanding, followed by a sanding with 320 on the block
as well. This worked very well, and required about four to five
hours to sand the entire hull. I hand sanded because I felt that
mechanical means might remove too much material. Hand sanding was
easy to control, and I was extremely pleased with the end result. |
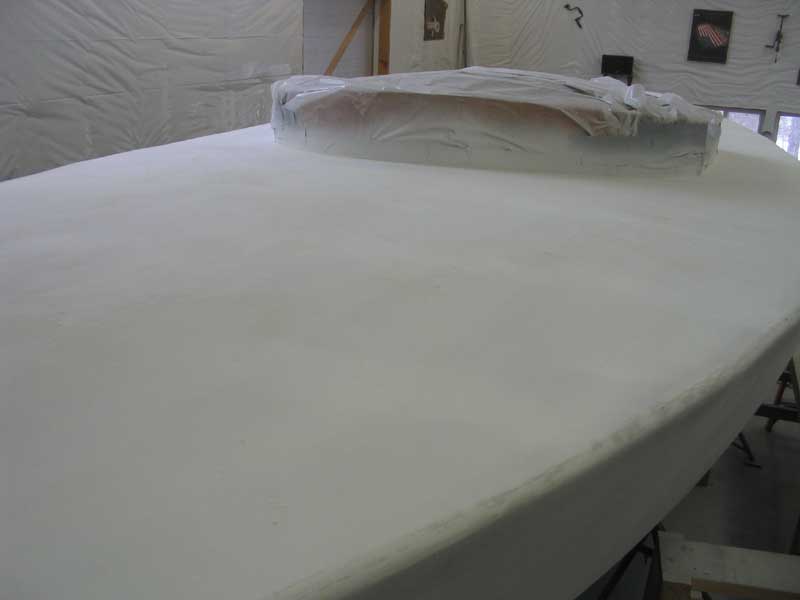 The
surface was extremely smooth and even, and appeared abundantly fair.
With the hull done, and my arms ready to fall off, I waited till the next
day to sand the decks, where I repeated the sanding process described
above. Virtually the entire deck would be painted with nonskid
paint, so the sanding didn't need to be quite as meticulous as that on the
hull. Still, I tried to flatten and smooth the surface as much as
possible, but saw no need for the attention to detail as on the hull. The
surface was extremely smooth and even, and appeared abundantly fair.
With the hull done, and my arms ready to fall off, I waited till the next
day to sand the decks, where I repeated the sanding process described
above. Virtually the entire deck would be painted with nonskid
paint, so the sanding didn't need to be quite as meticulous as that on the
hull. Still, I tried to flatten and smooth the surface as much as
possible, but saw no need for the attention to detail as on the hull.Next: topcoats! Click here to continue.> |
|
|