
|
|
~MENU~ |
| Home |
| The Concept |
| The Boat |
| Bringing Her Home |
|
Weekly Progress Log |
|
Daysailor Projects |
| The Boat Barn |
| Resources |
| Other Sites |
| Email Tim |
|
|
|
From a Bare Hull: The Hull (Page 3) |
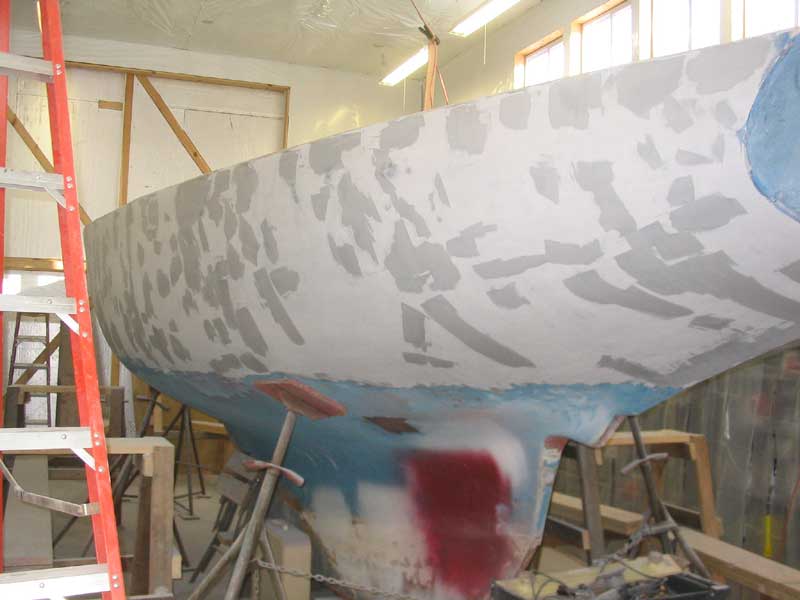
Skim Coat: First Sanding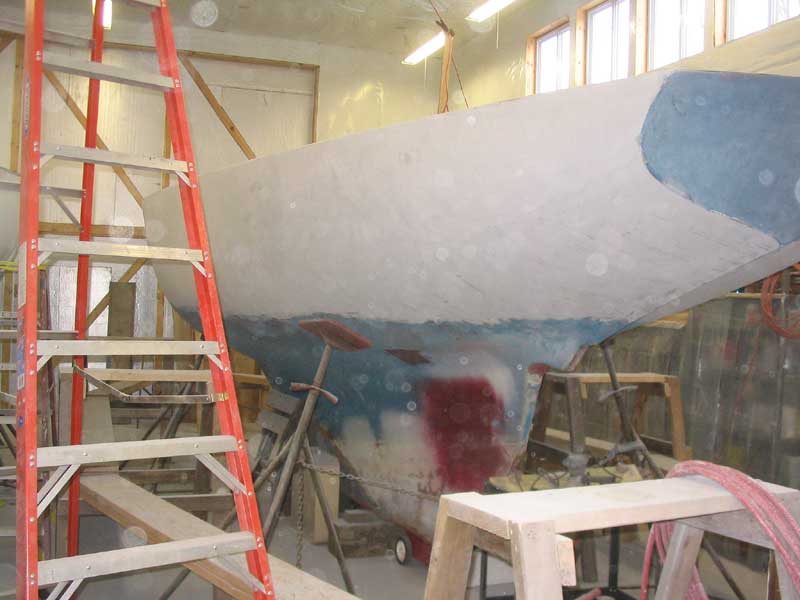 After the second coat of fairing compound had adequate cure time, I
attacked the task of sanding the hull smooth. The second coat
was slightly lower than the raised ridges of the first coat--screeding the
new material off tightly with a squeegee had actually pressed the
new material a bit lower--so the chore was to sand the areas flush with
each other. After the second coat of fairing compound had adequate cure time, I
attacked the task of sanding the hull smooth. The second coat
was slightly lower than the raised ridges of the first coat--screeding the
new material off tightly with a squeegee had actually pressed the
new material a bit lower--so the chore was to sand the areas flush with
each other. |
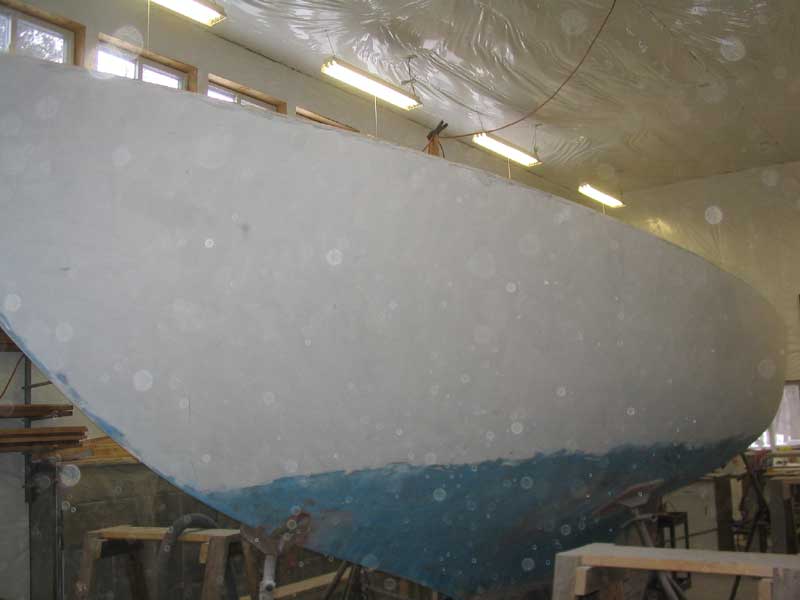 The ridges proved to be more resistant to
sanding than I expected, having had a number of days to reach a full cure,
but over a period of many hours (most of the day, in fact), I sanded the
hull flush and smooth without compromising the fairness left behind by the
initial filling and sanding earlier. I sanded the hull as far as 80
grit for the moment. The ridges proved to be more resistant to
sanding than I expected, having had a number of days to reach a full cure,
but over a period of many hours (most of the day, in fact), I sanded the
hull flush and smooth without compromising the fairness left behind by the
initial filling and sanding earlier. I sanded the hull as far as 80
grit for the moment. |
 The first sanding identified a few low areas
left behind from the filling, as well as some grooves that had not been
entirely filled. Therefore, a third filling would be required.
It was too late in the day to deal with that, so I left that for another
time. The first sanding identified a few low areas
left behind from the filling, as well as some grooves that had not been
entirely filled. Therefore, a third filling would be required.
It was too late in the day to deal with that, so I left that for another
time. |
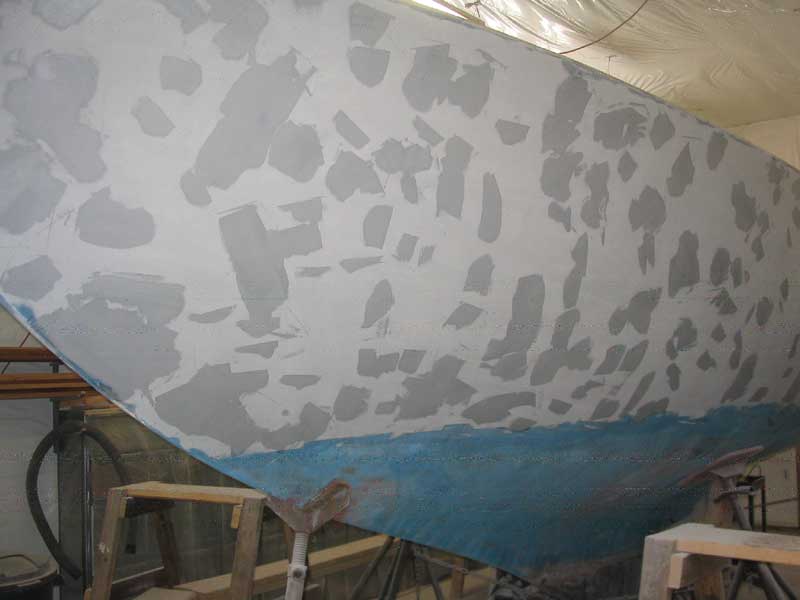
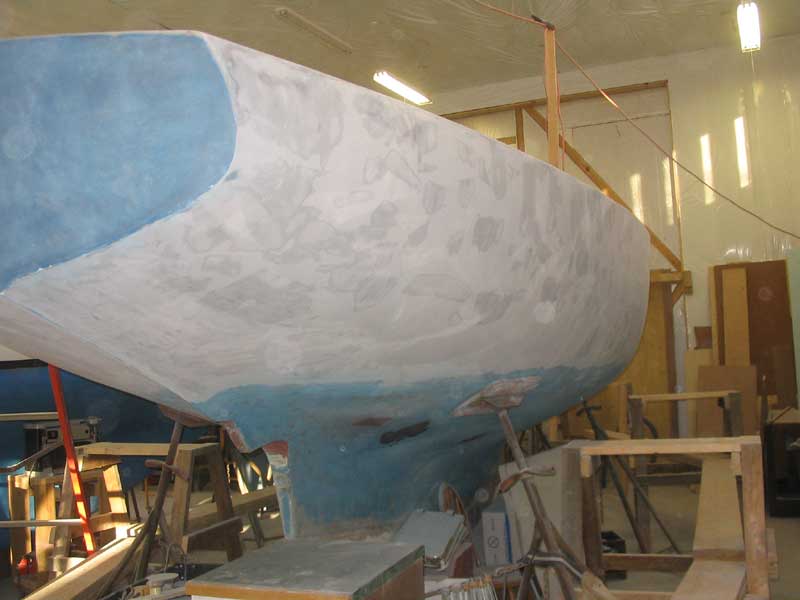
 I
had to be away from the shop for pretty much all of the next day, but the
day after I returned and applied a third (and final) coat of fairing
filler to the low spots on the hull, filling in the lows, pinholes, and
any remaining unfilled grooves. There ended up being a surprising
number of these pinholes and low spots, many of which I hadn't noticed
during the initial sanding because they filled with dust; when I vacuumed
and cleaned the surface, however, they came to evidence. I
had to be away from the shop for pretty much all of the next day, but the
day after I returned and applied a third (and final) coat of fairing
filler to the low spots on the hull, filling in the lows, pinholes, and
any remaining unfilled grooves. There ended up being a surprising
number of these pinholes and low spots, many of which I hadn't noticed
during the initial sanding because they filled with dust; when I vacuumed
and cleaned the surface, however, they came to evidence. |
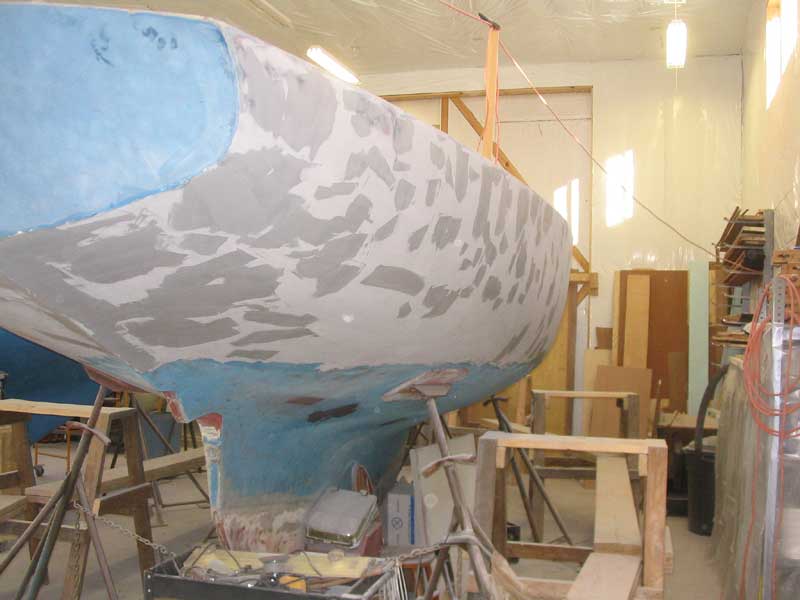
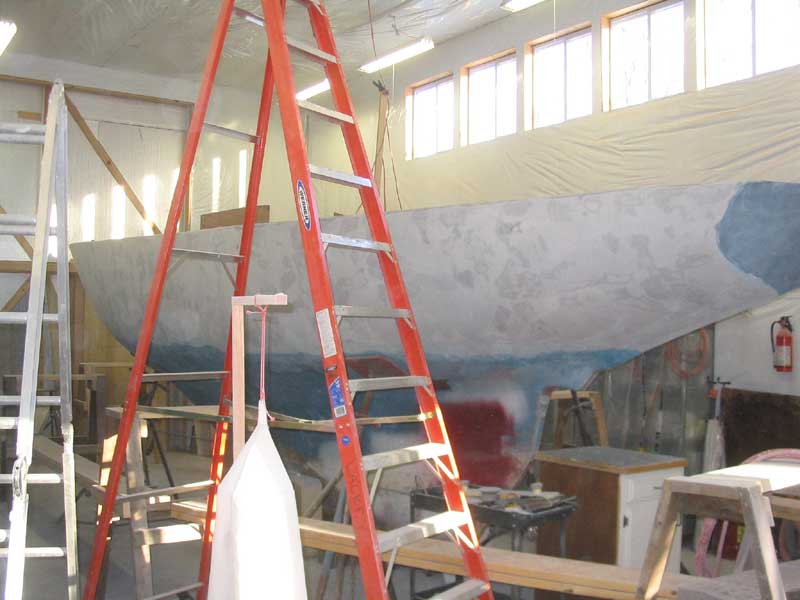
 The
next day, I sanded the filled areas smooth and flush with the surrounding
hull, and then sanded the entire hull to 120 grit, which was the
appropriate smoothness required as a base for subsequent coating steps.
I also featured in the bottom edge of the filled portion of the topsides
with the existing hull, just below the waterline. The
next day, I sanded the filled areas smooth and flush with the surrounding
hull, and then sanded the entire hull to 120 grit, which was the
appropriate smoothness required as a base for subsequent coating steps.
I also featured in the bottom edge of the filled portion of the topsides
with the existing hull, just below the waterline. |
 Interestingly,
I received a telephone call from Christian von der Heyde at AlexSeal Yacht
Coatings, who had been informed of my using the AlexSeal products by my
supplier. He had a concern over my choosing the notched trowel
method to apply the skim coat of filler; it seems that the lines left in
the material when using this method, because of a variation in density
between the applications of material, had caused print through issues in
previous cases, particularly when used under dark hull colors.
Of course this was of concern to me also, as I had not considered such a
possibility. Interestingly,
I received a telephone call from Christian von der Heyde at AlexSeal Yacht
Coatings, who had been informed of my using the AlexSeal products by my
supplier. He had a concern over my choosing the notched trowel
method to apply the skim coat of filler; it seems that the lines left in
the material when using this method, because of a variation in density
between the applications of material, had caused print through issues in
previous cases, particularly when used under dark hull colors.
Of course this was of concern to me also, as I had not considered such a
possibility. |
 After
some discussion, and my relating the details of my particular
installation, we determined that it would probably be OK to proceed as
planned, and that the drastic (and unthinkable) step of removing the
material did not need to occur. Later, I made a very critical
evaluation of the filler job on the boat and decided that I had no choice
but to continue down this previously-chosen path, but that the end result
would likely turn out OK. After
some discussion, and my relating the details of my particular
installation, we determined that it would probably be OK to proceed as
planned, and that the drastic (and unthinkable) step of removing the
material did not need to occur. Later, I made a very critical
evaluation of the filler job on the boat and decided that I had no choice
but to continue down this previously-chosen path, but that the end result
would likely turn out OK. |
 I
planned to apply the appropriate thickness of high-build primer over the
filling compound, then sand, fair, and smooth as needed before applying
finish primer. A guide coat of dark, glossy paint, used after final
priming, would help determine any remaining flaws or print-through issues
in the hull surface; with bright white planned for the final topcoat, I
guessed at a high probability of ultimate success in the final coating.
Nonetheless, this education was an eye-opener, and I truly appreciated
that Mr. von der Heyde had taken the time to call and discuss the issue
with me. I
planned to apply the appropriate thickness of high-build primer over the
filling compound, then sand, fair, and smooth as needed before applying
finish primer. A guide coat of dark, glossy paint, used after final
priming, would help determine any remaining flaws or print-through issues
in the hull surface; with bright white planned for the final topcoat, I
guessed at a high probability of ultimate success in the final coating.
Nonetheless, this education was an eye-opener, and I truly appreciated
that Mr. von der Heyde had taken the time to call and discuss the issue
with me. |
|
Next: high build primer. Continue>
|