|
| |
|
From a Bare
Hull: Sheer Clamp
|
|
Installing the Sheer Clamp
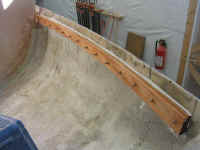
 Once I was satisfied with the location
of the temporarily-installed sheer clamp section on the port side of the
bow, I prepared to install it permanently. After double-checking its
location, I marked the outline of the board on the hull to make
realignment later easier and to show me where to apply the adhesive during
installation. Once I was satisfied with the location
of the temporarily-installed sheer clamp section on the port side of the
bow, I prepared to install it permanently. After double-checking its
location, I marked the outline of the board on the hull to make
realignment later easier and to show me where to apply the adhesive during
installation.
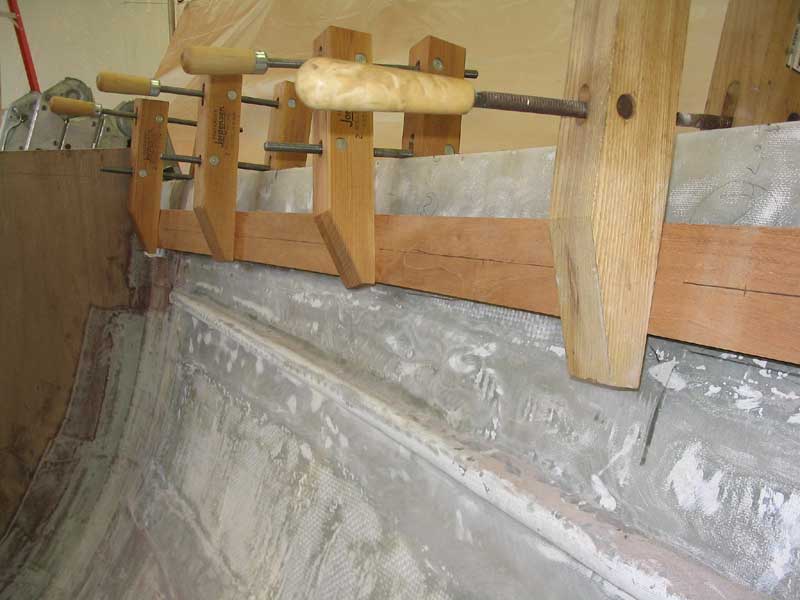
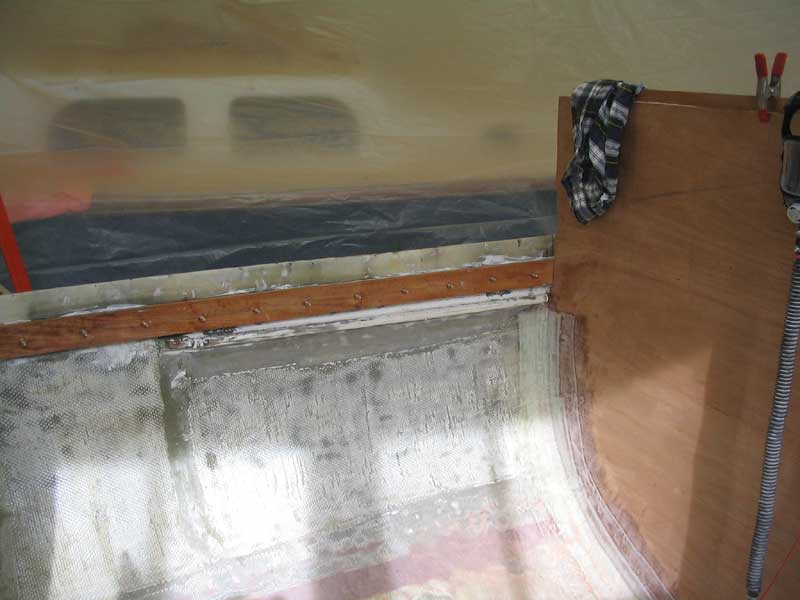
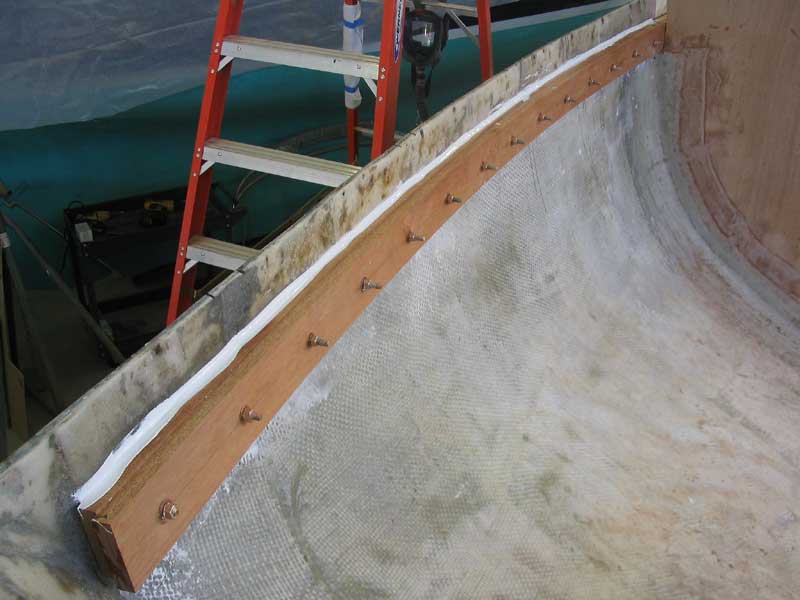
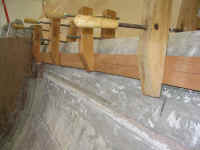
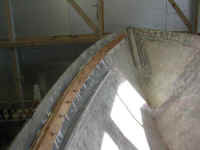
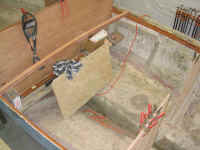
I planned to install the clamp
sections in a thick bed of 5200 (polyurethane adhesive), with bronze
through bolts securing it to the hull. To mark for the bolt hole
locations, I drew a line halfway (1-1/2") down the width of the
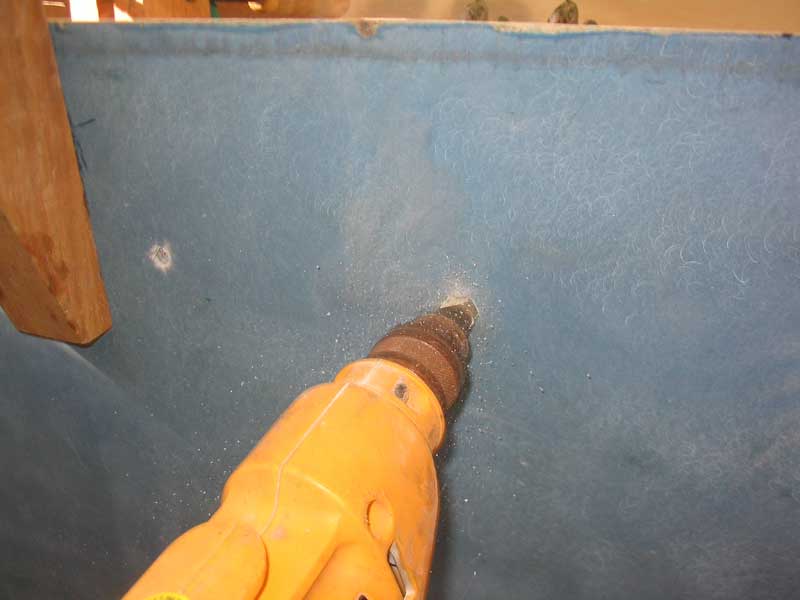
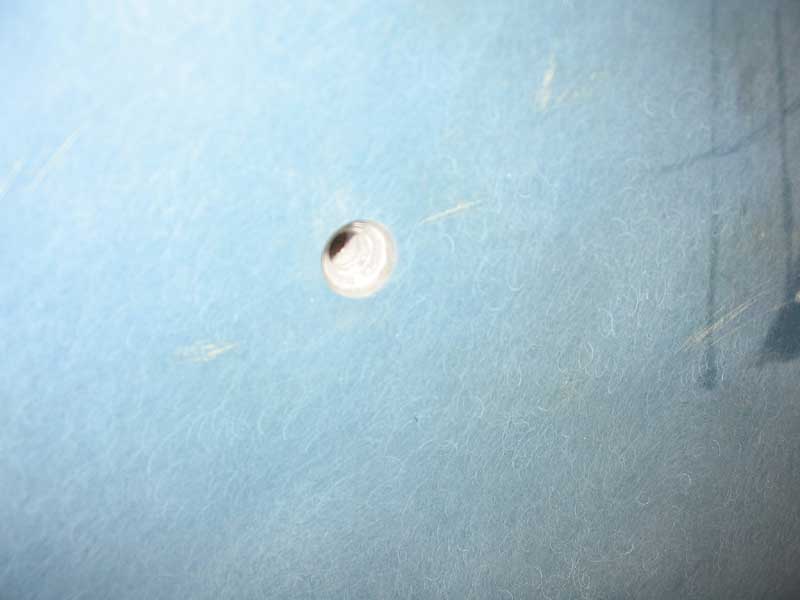
board, and then marked off 6" centers on that line. I drilled
from the inside out, through the two clamp boards and the hull.
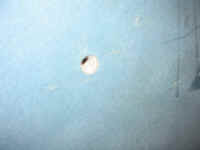
Then, outside the hull, I milled countersinks in the fiberglass so that
the bugle head (flat head) bronze bolts would sit in a slight recess in
the hull, for later covering with putty. I used a 5/8" 3-flute
countersink with a standard 82° angle. There were about 20
boltholes in this section. |
|

|
|
With the holes drilled, I unclamped the boards
and vacuumed away the dust, then cleaned all mating and surrounding
surfaces with acetone. When everything was clean and ready, I opened
a cartridge of 5200 and applied it to the hull inside the marked
area. It took two full cartridges to cover the 10' area. I
applied the adhesive heaviest around the boltholes and near the top edge,
since I knew that it would run down a bit while I prepared the boards for
installation. 5200 has a long open time, so I wasn't worried about
it curing prematurely; still, I didn't dawdle through the next steps.
|
|
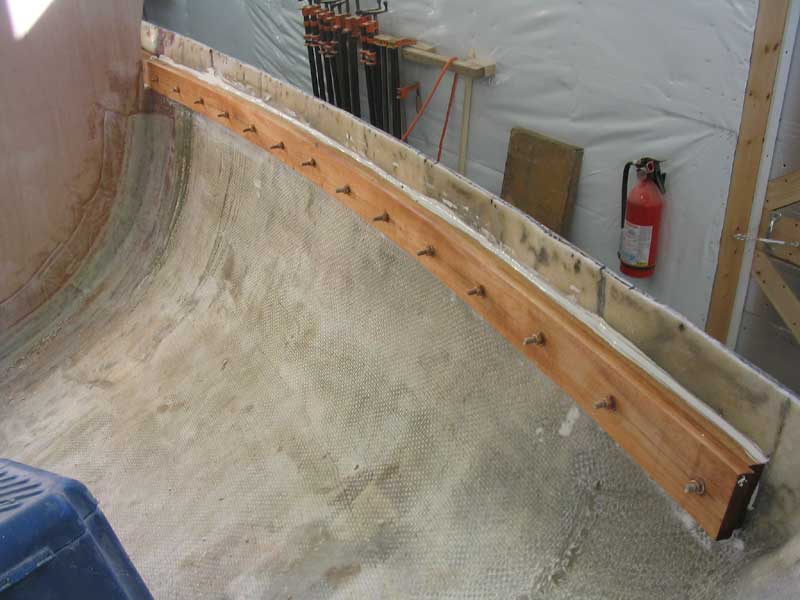
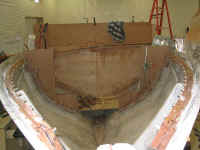
 I chose to apply some thickened epoxy resin
between the two boards so that they would effectively become one piece
when installed. I mixed a batch of resin thickened somewhat with
cabosil, and brushed it onto the mating surfaces of the boards. Now,
working as quickly as possible, I carried the board back to the boat and
got them roughly aligned. I used a couple clamps to start bending
the boards into the curvature of the hull and as soon as I could I lined
up the first bolt hole and installed one of the 5/16" x 3"
silicone bronze bolts to help align and hold the boards in place while I
moved forward. After a couple minutes and some juggling, I managed
to get both boards aligned and pulled tightly against the hull with the
wooden screw clamps, and then installed the remaining bolts from the
outside. Still moving fast, I installed a flat washer, lock washer,
and nut on every other bolt, and then tightened these down with a
ratchet. When these first bolts were tightened, it pulled the two boards
tightly together along their length, squeezing epoxy out from the joint--just
what I wanted. I removed the wooden clamps, and continued by
installing the washers and nuts on the remaining bolts and tightening
them, before going back and tightening each bolt just a bit more in
turn. The bolts pressed the boards tightly into the bed of adhesive
beneath, helping to make up for the undulations in the fiberglass hull
interior. I chose to apply some thickened epoxy resin
between the two boards so that they would effectively become one piece
when installed. I mixed a batch of resin thickened somewhat with
cabosil, and brushed it onto the mating surfaces of the boards. Now,
working as quickly as possible, I carried the board back to the boat and
got them roughly aligned. I used a couple clamps to start bending
the boards into the curvature of the hull and as soon as I could I lined
up the first bolt hole and installed one of the 5/16" x 3"
silicone bronze bolts to help align and hold the boards in place while I
moved forward. After a couple minutes and some juggling, I managed
to get both boards aligned and pulled tightly against the hull with the
wooden screw clamps, and then installed the remaining bolts from the
outside. Still moving fast, I installed a flat washer, lock washer,
and nut on every other bolt, and then tightened these down with a
ratchet. When these first bolts were tightened, it pulled the two boards
tightly together along their length, squeezing epoxy out from the joint--just
what I wanted. I removed the wooden clamps, and continued by
installing the washers and nuts on the remaining bolts and tightening
them, before going back and tightening each bolt just a bit more in
turn. The bolts pressed the boards tightly into the bed of adhesive
beneath, helping to make up for the undulations in the fiberglass hull
interior.
|
|
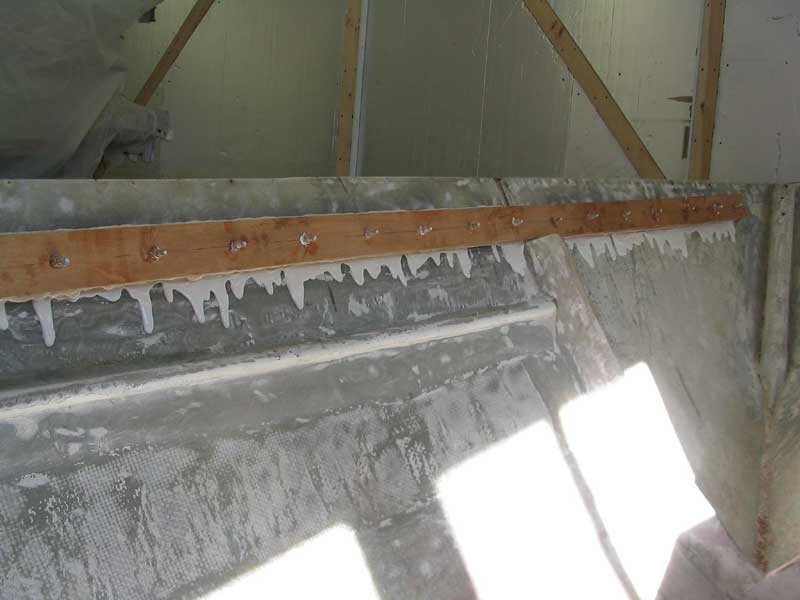
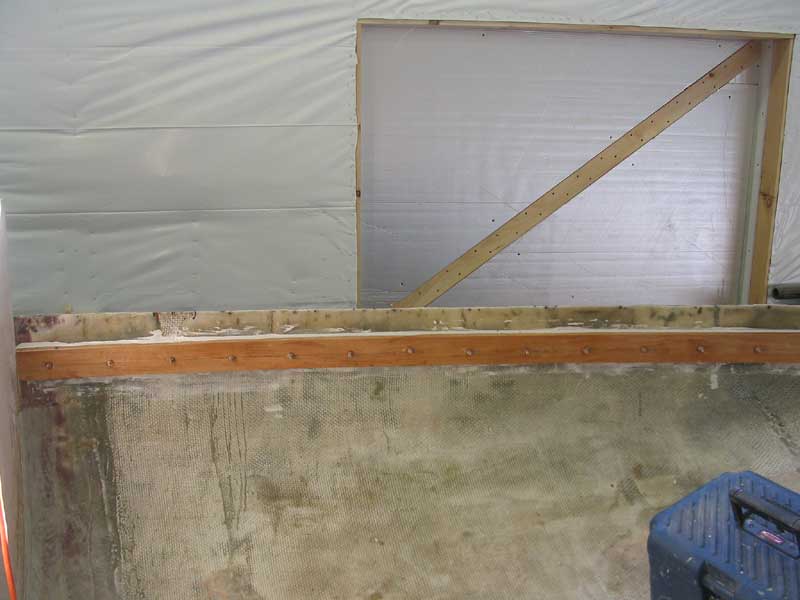
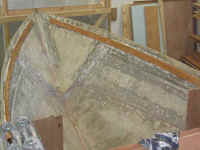
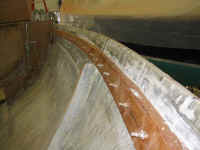
 There was a substantial amount of 5200 and
epoxy oozing down the hull beneath the tightly-installed sheer clamp, so I
spent 20 or so minutes cleaning it up with putty knives and acetone.
I tried to clean off as much spillout as possible, but didn't fret too
much about its ultimate end appearance since the whole area will eventually
be covered and out of site when the boat is finished. But I still
wanted the installation to be neat and clean. There was a substantial amount of 5200 and
epoxy oozing down the hull beneath the tightly-installed sheer clamp, so I
spent 20 or so minutes cleaning it up with putty knives and acetone.
I tried to clean off as much spillout as possible, but didn't fret too
much about its ultimate end appearance since the whole area will eventually
be covered and out of site when the boat is finished. But I still
wanted the installation to be neat and clean.
|
|
|
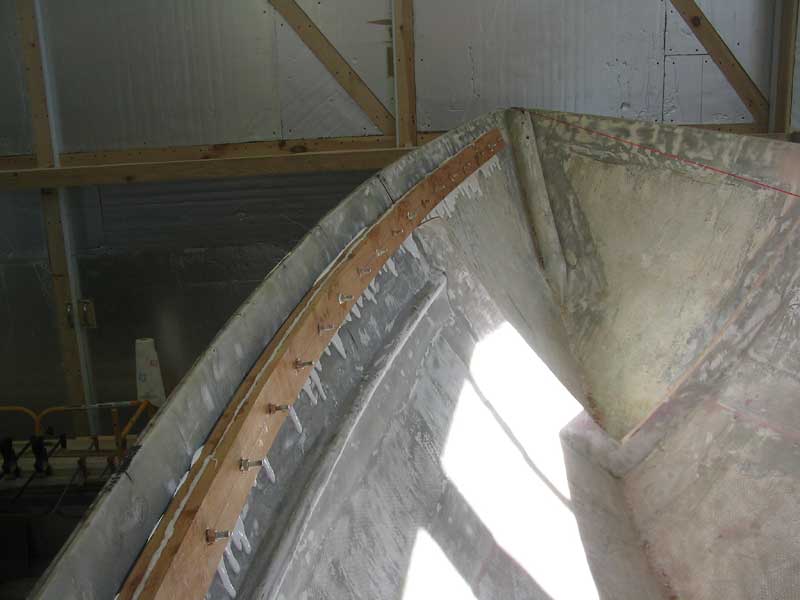
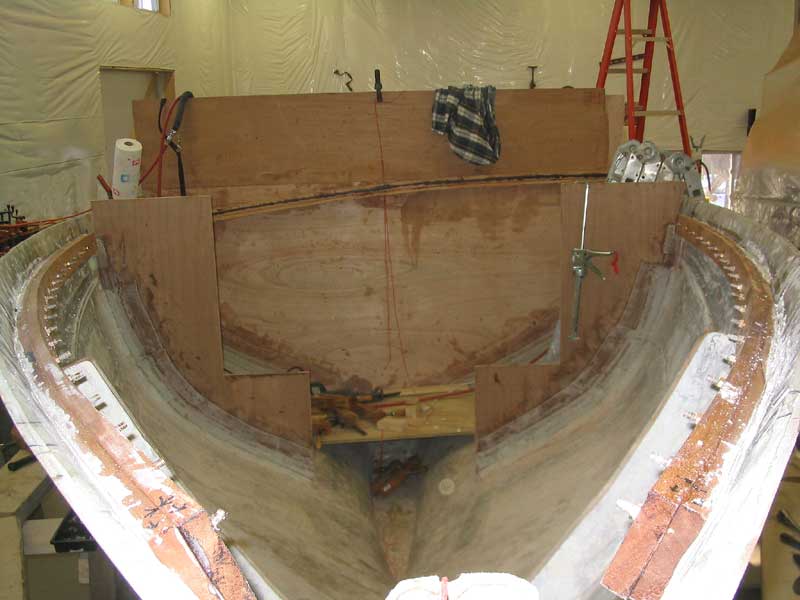
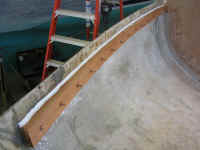
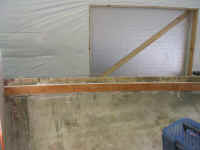
 With the port bow section of the sheer clamp
securely bolted in place, I continued with the opposite section, following
the same process described above. By the end of the afternoon, the
second section was in place. With the port bow section of the sheer clamp
securely bolted in place, I continued with the opposite section, following
the same process described above. By the end of the afternoon, the
second section was in place.
|
|
|
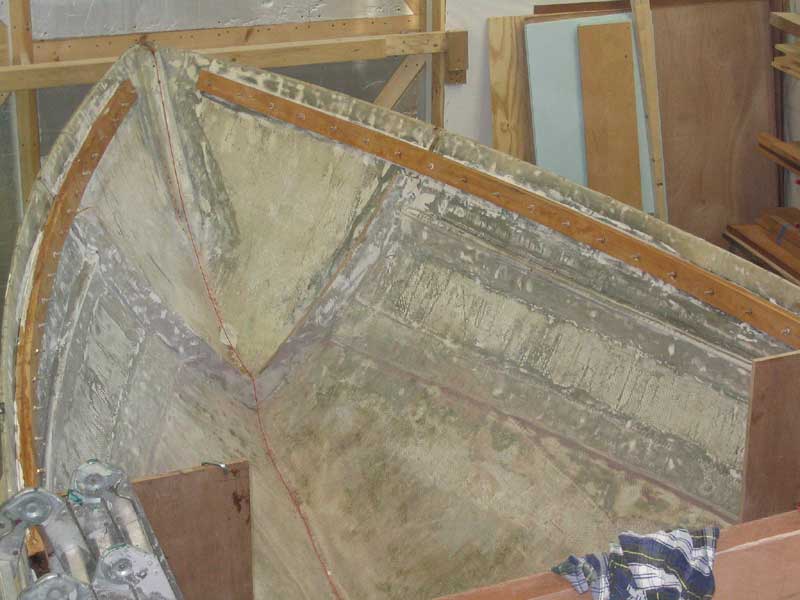
 Over
the next two days, I completed installing the remaining sections of the
sheer clamp, following the same basic technique described above.
Each side needed three total sections. The second and third sections
went more smoothly, partly because of my gained experience and partly
because the hull was straighter and less flared in these sections.
The final section on each side was about seven feet in length and ran
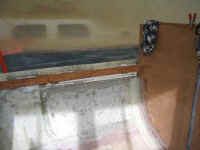
nearly to the transom. To complete the job, I ran a bead of sealant
along the seam between wooden clamp and hull, just to provide an
additional barrier should any moisture end up in that area. Over
the next two days, I completed installing the remaining sections of the
sheer clamp, following the same basic technique described above.
Each side needed three total sections. The second and third sections
went more smoothly, partly because of my gained experience and partly
because the hull was straighter and less flared in these sections.
The final section on each side was about seven feet in length and ran
nearly to the transom. To complete the job, I ran a bead of sealant
along the seam between wooden clamp and hull, just to provide an
additional barrier should any moisture end up in that area.
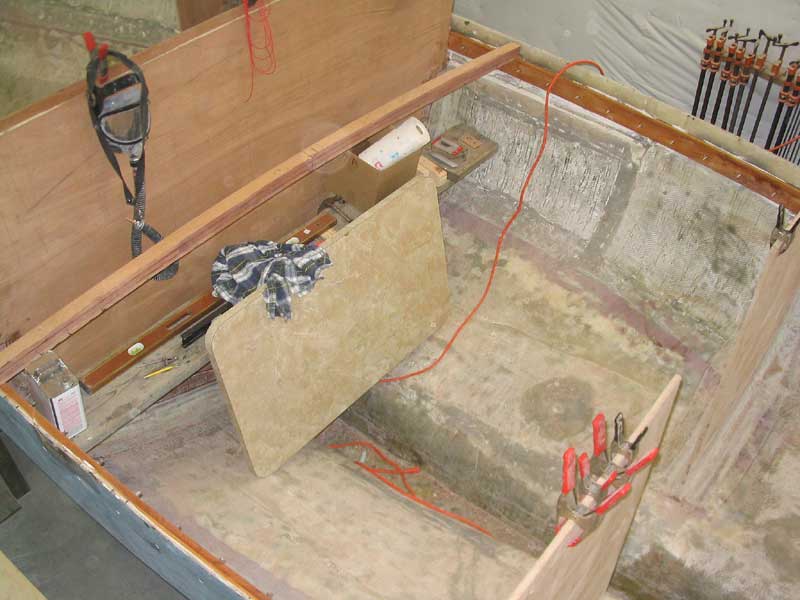
Work remaining: cut off the
protruding bolts, and fill the countersinks on the hull with epoxy putty. |
|
|
|
Continue with the
Deck Framing>
|
|

 Over
the next two days, I completed installing the remaining sections of the
sheer clamp, following the same basic technique described above.
Each side needed three total sections. The second and third sections
went more smoothly, partly because of my gained experience and partly
because the hull was straighter and less flared in these sections.
The final section on each side was about seven feet in length and ran
nearly to the transom. To complete the job, I ran a bead of sealant
along the seam between wooden clamp and hull, just to provide an
additional barrier should any moisture end up in that area.
Over
the next two days, I completed installing the remaining sections of the
sheer clamp, following the same basic technique described above.
Each side needed three total sections. The second and third sections
went more smoothly, partly because of my gained experience and partly
because the hull was straighter and less flared in these sections.
The final section on each side was about seven feet in length and ran
nearly to the transom. To complete the job, I ran a bead of sealant
along the seam between wooden clamp and hull, just to provide an
additional barrier should any moisture end up in that area.