|
|
~MENU~ |
| Home |
| The Concept |
| The Boat |
| Bringing Her Home |
|
Weekly Progress Log |
|
Daysailor Projects |
| The Boat Barn |
| Resources |
| Other Sites |
| Email Tim |
|
|
|
From a Bare Hull: The Cockpit (Page 5) |
|
Glassing, Fairing, and Surfacing the
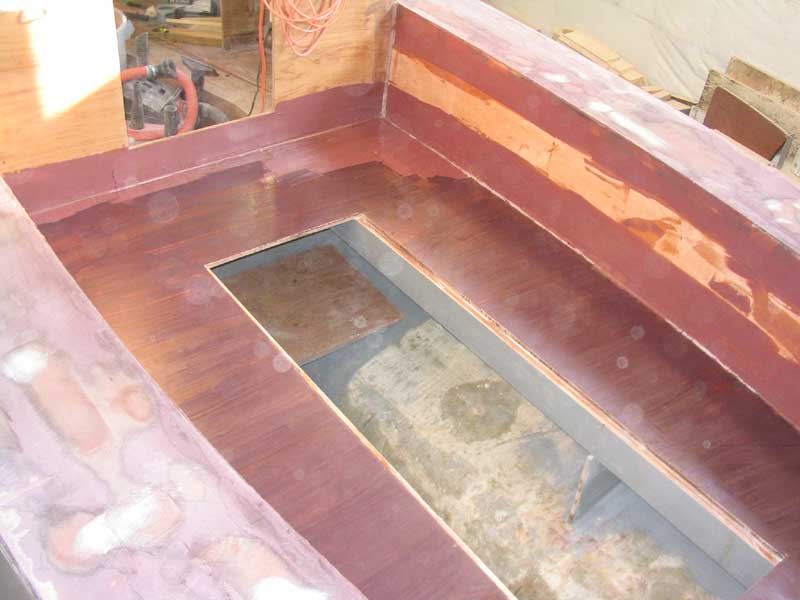
Cockpit Well With the basic structure of the cockpit complete, and the coarse fairing of the sidedecks done, I turned my attention to the cockpit well. The raw plywood sides and sole required various forms of attention in order to complete them and prepare them for additional steps.
|
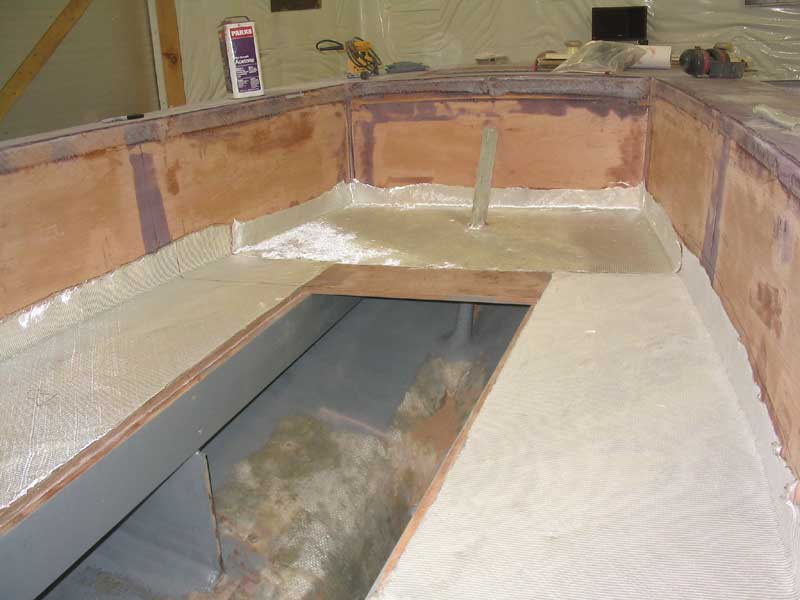
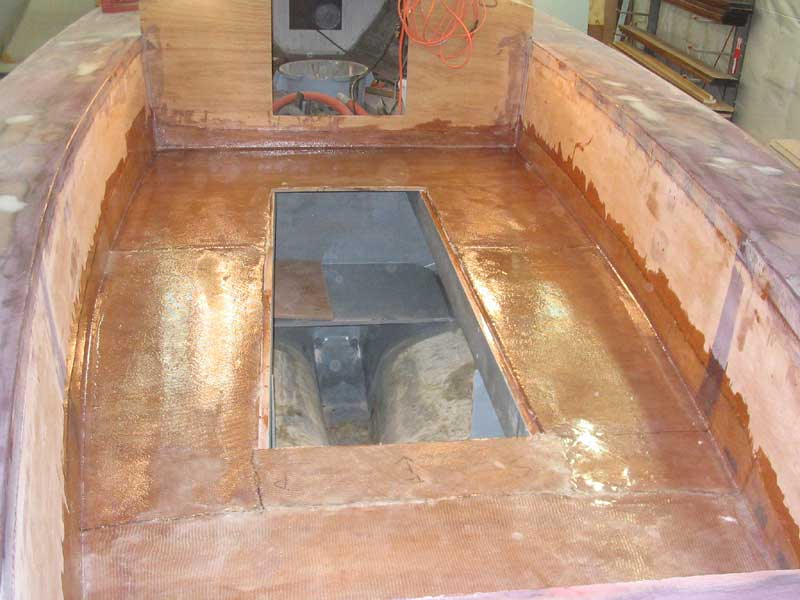
 After
vacuuming and cleaning the wood with solvent, I began to lay out dry
fiberglass to cover the cockpit sole. I used the remaining yardage
of 15 oz. biaxial cloth that I had left over from glassing the decks
earlier. I ran the fiberglass up the sides of the cockpit a few
inches in all areas to ensure a watertight well and relatively homogenous
structure; as with the deck sheathing, the fiberglass cockpit sole was
intended mostly as a weather barrier, and not strictly structural in
nature. The cockpit sides, other than those areas covered by the
overlapping fiberglass at top and bottom, would be coated with several
coats of epoxy resin and no fiberglass. After
vacuuming and cleaning the wood with solvent, I began to lay out dry
fiberglass to cover the cockpit sole. I used the remaining yardage
of 15 oz. biaxial cloth that I had left over from glassing the decks
earlier. I ran the fiberglass up the sides of the cockpit a few
inches in all areas to ensure a watertight well and relatively homogenous
structure; as with the deck sheathing, the fiberglass cockpit sole was
intended mostly as a weather barrier, and not strictly structural in
nature. The cockpit sides, other than those areas covered by the
overlapping fiberglass at top and bottom, would be coated with several
coats of epoxy resin and no fiberglass. |
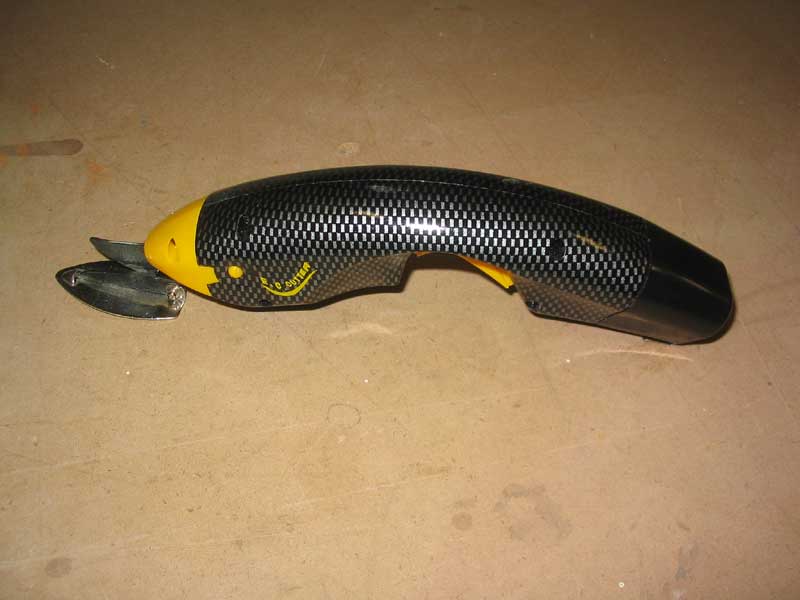 The dry fiberglass conformed quite well to the fillets and corners; I used
a very cool new tool to cut the material, an
electric cutter that buzzed through the cloth like it was its job.
I was loathe to remove the pieces, since the lightly stitched biax fabric
tended to stretch badly out of shape when handles. Therefore, I
decided to leave the cut pieces in place dry, and saturate them in place. The dry fiberglass conformed quite well to the fillets and corners; I used
a very cool new tool to cut the material, an
electric cutter that buzzed through the cloth like it was its job.
I was loathe to remove the pieces, since the lightly stitched biax fabric
tended to stretch badly out of shape when handles. Therefore, I
decided to leave the cut pieces in place dry, and saturate them in place. |
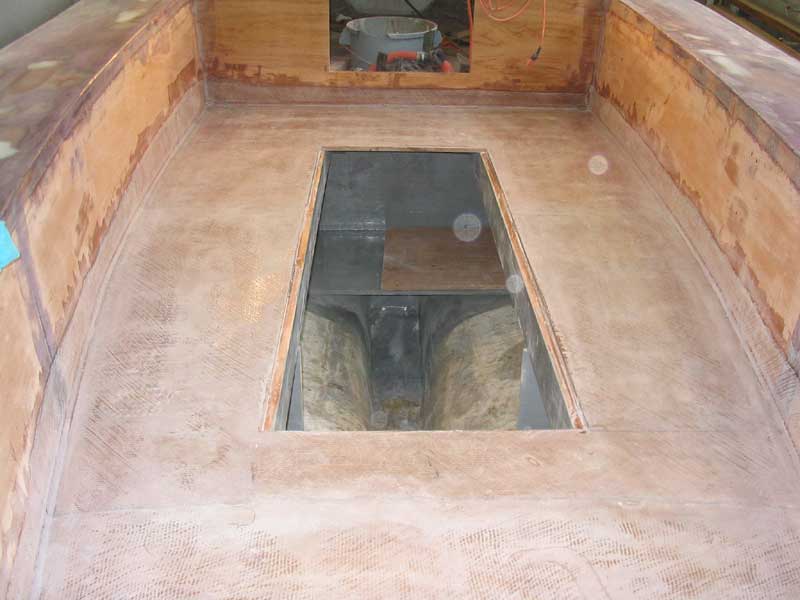
 In
this manner, I continued down the length of the cockpit, carefully laying
out and cutting the pieces as required, and cutting out around the bilge
access hatches, which I planned to fiberglass separately later on..
I had just enough of the biax to complete the job. When all the
pieces were cut and dry-fit in place, I proceeded to laminate them in
place with epoxy resin. In
this manner, I continued down the length of the cockpit, carefully laying
out and cutting the pieces as required, and cutting out around the bilge
access hatches, which I planned to fiberglass separately later on..
I had just enough of the biax to complete the job. When all the
pieces were cut and dry-fit in place, I proceeded to laminate them in
place with epoxy resin. |
 It
was slightly challenging to wet out the dry material all from the top,
with no precoating of resin on the dry plywood, but the material saturated
relatively easily. I used a plastic squeegee to help press resin
into the vertical portions where the material wrapped up the cockpit
sides. To wet out and saturate the entire cockpit sole and turned up
areas, I used a total of approximately 130 oz. of mixed resin and
hardener. I worked from inside the bilge, and left a small area at
the aft end uncovered with glass so that I could climb out. Then, I
completed the small area working from the sidedeck. It
was slightly challenging to wet out the dry material all from the top,
with no precoating of resin on the dry plywood, but the material saturated
relatively easily. I used a plastic squeegee to help press resin
into the vertical portions where the material wrapped up the cockpit
sides. To wet out and saturate the entire cockpit sole and turned up
areas, I used a total of approximately 130 oz. of mixed resin and
hardener. I worked from inside the bilge, and left a small area at
the aft end uncovered with glass so that I could climb out. Then, I
completed the small area working from the sidedeck. |
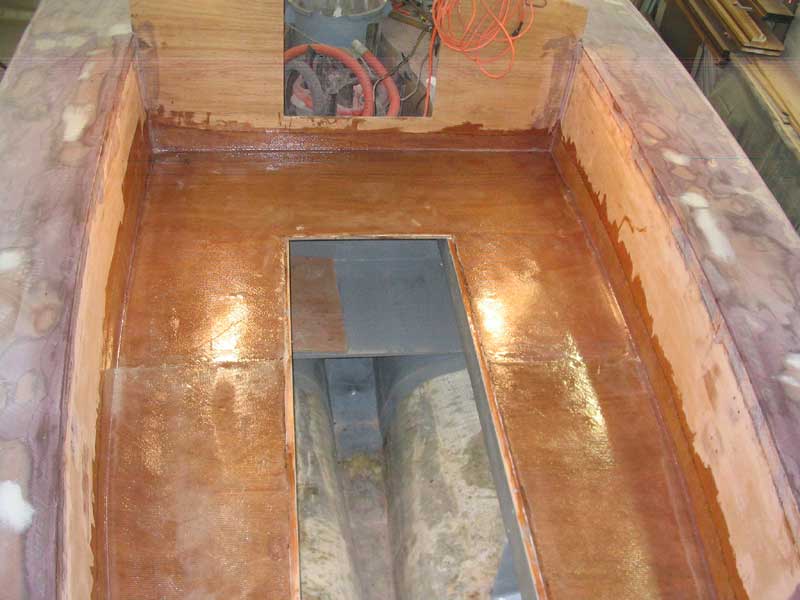 I
turned the heat up a bit in the shop to aid curing, and left the cockpit
to cure overnight and through the next day (Sunday) before continuing. I
turned the heat up a bit in the shop to aid curing, and left the cockpit
to cure overnight and through the next day (Sunday) before continuing.
|
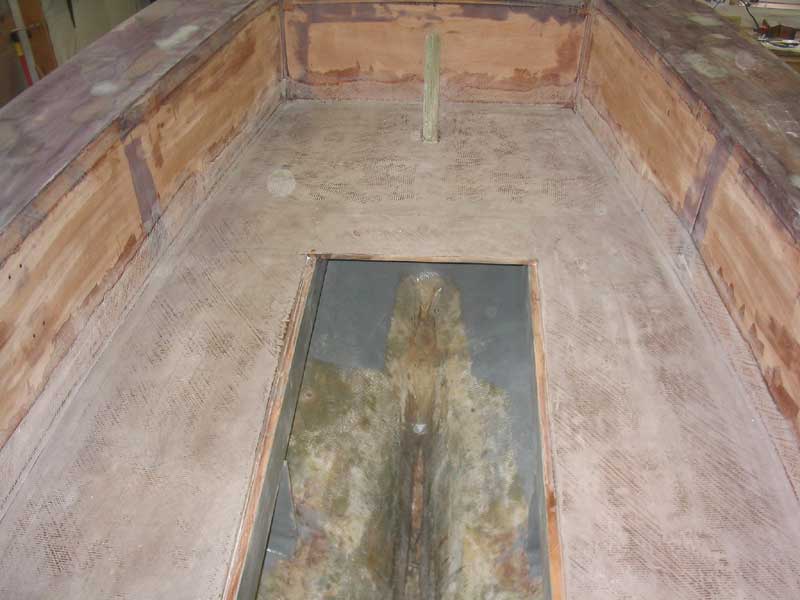
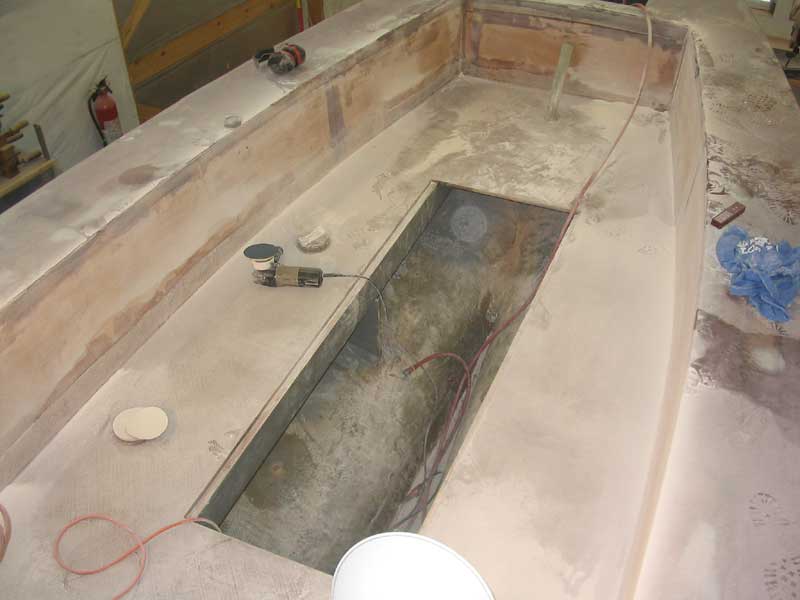 I
sanded the cockpit sole with 36 grit paper, to rid the newly-glassed
surface or hard ridges and rough edges. I did not try to flatten the
surface at this point, as doing so might have removed too much of the
fiberglass. I
sanded the cockpit sole with 36 grit paper, to rid the newly-glassed
surface or hard ridges and rough edges. I did not try to flatten the
surface at this point, as doing so might have removed too much of the
fiberglass. |
 This
process generated copious amounts of white dust, which was soon
everywhere. When the job was complete, I dusted myself off and took
a break to allow the dust in the air to settle. Afterwards, I
vacuumed up the dust and then cleaned the cockpit surfaces with solvent to
prepare for my next step. This
process generated copious amounts of white dust, which was soon
everywhere. When the job was complete, I dusted myself off and took
a break to allow the dust in the air to settle. Afterwards, I
vacuumed up the dust and then cleaned the cockpit surfaces with solvent to
prepare for my next step. |
|
|
 Next,
I mixed a batch of thickened epoxy and troweled it on the cockpit sides,
near the top and bottom where overlapping fiberglass had created hard
edges. With a 6" knife, I smoothly transitioned between the
fiberglass and the plywood cockpit sides all the way around. Next,
I mixed a batch of thickened epoxy and troweled it on the cockpit sides,
near the top and bottom where overlapping fiberglass had created hard
edges. With a 6" knife, I smoothly transitioned between the
fiberglass and the plywood cockpit sides all the way around. |
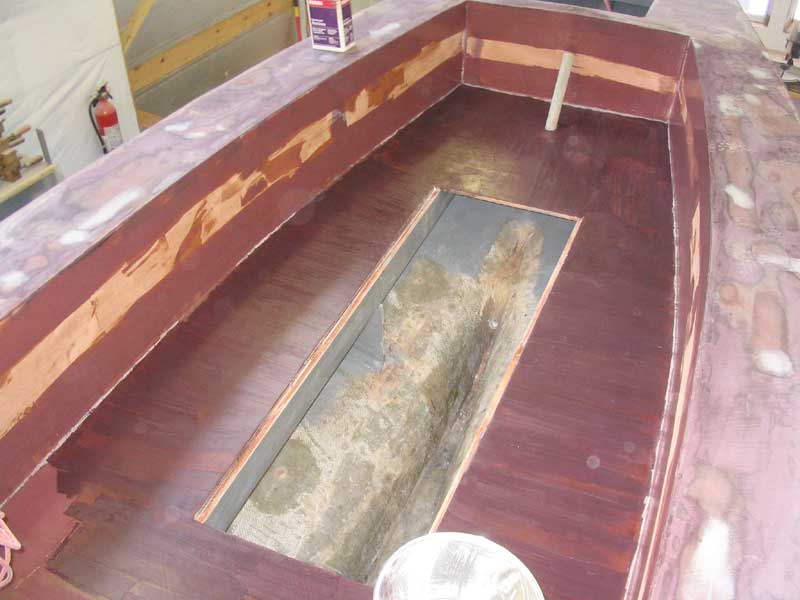
 Then,
I mixed a batch of Quikfair and spread it thinly over the entire cockpit
sole, concentrating on filling what remained of the open weave of the
biaxial cloth. I left the cockpit to cure overnight. Then,
I mixed a batch of Quikfair and spread it thinly over the entire cockpit
sole, concentrating on filling what remained of the open weave of the
biaxial cloth. I left the cockpit to cure overnight. |
|
I 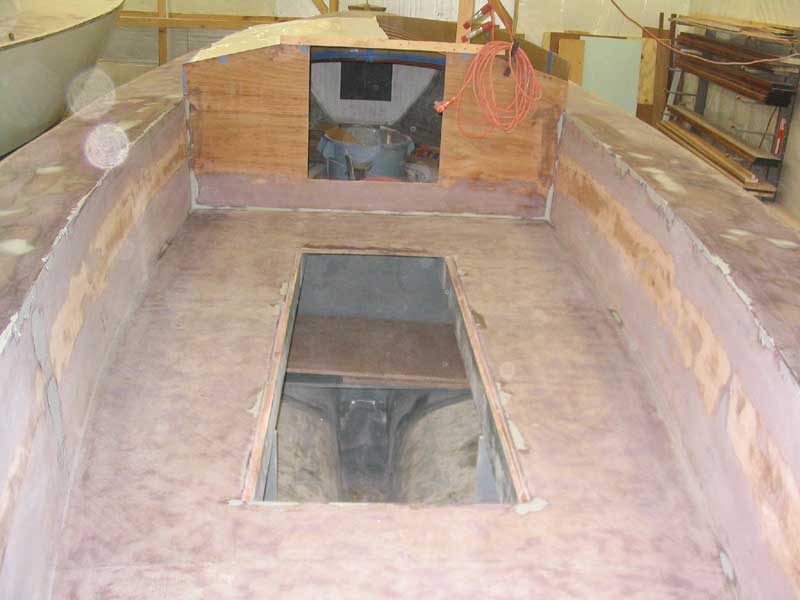 n
the morning, I sanded all the surfaces one more time to remove the excess
fairing compound. I was pleased with the end result, as there were
only a few very minor low spots remaining once the sanding was complete.
To take care of those, I mixed up a small batch of fairing compound and
filled the low areas. I also took the time to fine-tune the fillets,
particularly those at the four corners of the cockpit. The only way
to truly smooth and shape the epoxy in these areas was to use my bare
finger; I shaped the fillets carefully for a pleasing and fair appearance. n
the morning, I sanded all the surfaces one more time to remove the excess
fairing compound. I was pleased with the end result, as there were
only a few very minor low spots remaining once the sanding was complete.
To take care of those, I mixed up a small batch of fairing compound and
filled the low areas. I also took the time to fine-tune the fillets,
particularly those at the four corners of the cockpit. The only way
to truly smooth and shape the epoxy in these areas was to use my bare
finger; I shaped the fillets carefully for a pleasing and fair appearance.
|
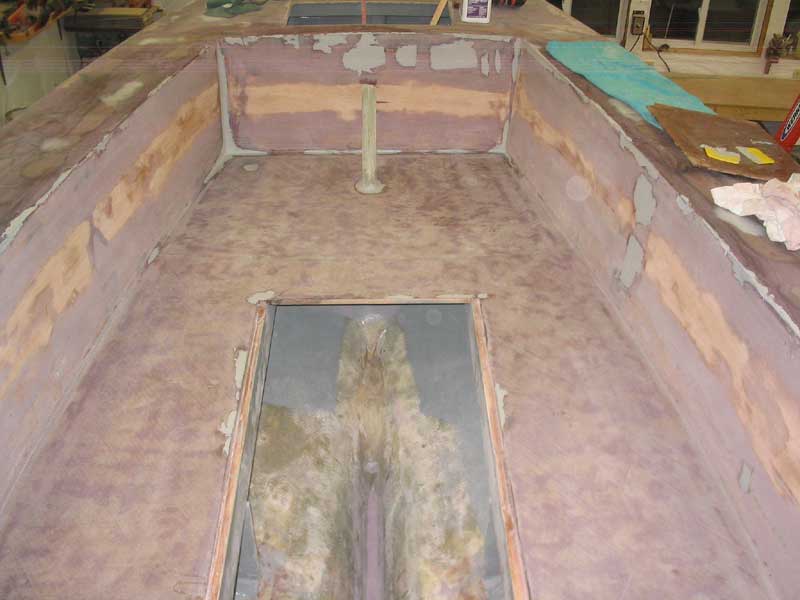 Once
the new fairing compound had cured, I sanded the cockpit one more
time--this time with a palm sander. The end result was smooth and
fair, and ready for final surfacing. Once
the new fairing compound had cured, I sanded the cockpit one more
time--this time with a palm sander. The end result was smooth and
fair, and ready for final surfacing.Later, I epoxy- coated the vertical cockpit surfaces to seal the raw plywood against moisture intrusion and to form a smooth, solid base for paint later on. |