

| Circe
| Friday, October 30, 2009 After the usual round of water washing/sanding on the latest fiberglass installations--forward compartment fiberglass and the inside of the icebox assembly--I spent much of the day working on various installations and fiberglassing tasks. With the new galley bulkhead now in place, I set the countertop down one more time and traced the edges of the bulkheads that defined the sink area, to be used for later reference. Then, I removed the countertop down to the woodshop. |
|
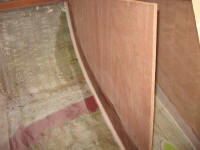
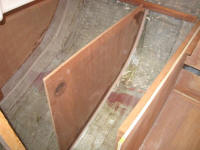
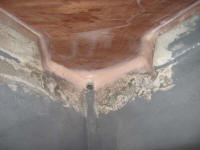
In preparation for final tabbing, I installed epoxy fillets along the edges of the galley bulkhead where it met the hull, and used the remainder of the mixed batch to improve the filleting around the chainlocker side of the drain tube, shaping the area so that water would be directed only to the tube and wouldn't collect above it. |
  |
|
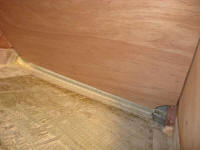
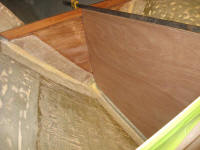
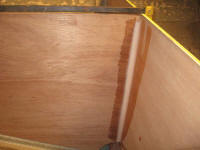
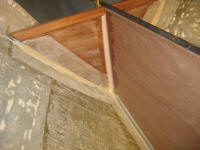
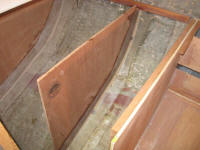
I refined the cardboard template for the longitudinal centerline bulkhead in the head compartment so that it fit properly with the new and permanent installations from yesterday, and then transferred the shape to some 12mm Meranti plywood. I clamped and hot-glued the bulkhead in place to hold it while I installed epoxy fillets at each end where it intersected the two transverse bulkheads. I left these to cure during lunch break. |
 |
|
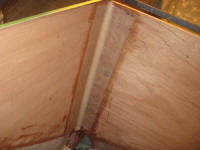
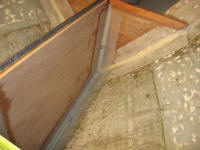
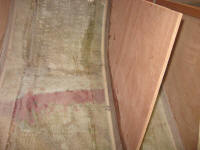
Afterwards, I cut and laminated in place sections of 6" tabbing to secure permanently the galley bulkhead and longitudinal tankage bulkhead in the head. This actually went much more quickly than I'd anticipated, leaving me with more of the afternoon than I'd expected to complete some additional tasks. |
 |
|
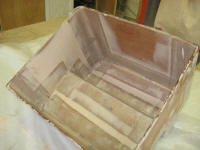
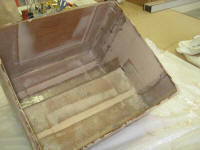
I cut sections of 10 oz. fiberglass cloth to completely sheathe the inside of the icebox assembly. I began with the bottom, cutting a section that covered the entire stepped sections of the icebox bottom and wrapped 2" up each side, and then cut additional sections to sheathe the remaining sides of the box. Then, I laminated the material in place, completely covering the inside of the box and making it stronger and watertight. The extra step of installing some fairing compound over the edges of the structural tabbing the other day paid off, as the lighter sheathing cloth fit smoothly and snugly over the box liner. Later, I'd apply additional coats of epoxy resin to fill the cloth's weave, and fair the inside of the box as necessary for a smooth, easy to clean appearance. |
 |
|
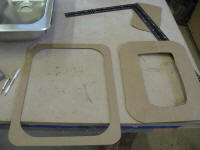
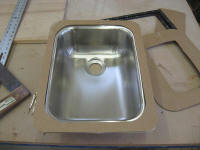
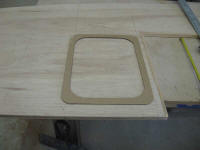
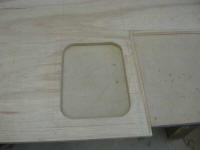
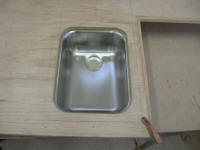
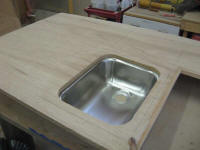
It was time to cut the hole in the countertop for the sink. Using the marks I made earlier, I transferred the bulkhead/cleat locations to the top of the countertop for reference, and then determined where to place the sink. I had decided earlier that undermounting the sink would be nice, in order to maintain the cleanest appearance and also provide a flat countertop when the sink was not in use. To that end, I created a cardboard template of the outside of the sink flange (for registering the pattern properly on the countertop), and then, after cutting out most of the middle of the template over the sink bowl for access, traced the inside of the sink bowl on the underside of the template. From this, I increased the width 1/2" on all sides, and carefully cut out the template to these lines. This would be the actual size and shape of the cutout in the counter, and would leave a 1/2" reveal of the sink flange inside the opening for appearance and to provide a bearing surface for a filler piece. |
 |
|
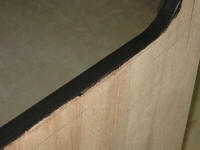
After transferring the shape to the countertop itself, I carefully cut out the countertop according to the lines, and then sanded the cut smooth as necessary. Finally, I coated the exposed plywood edge with epoxy colored black with graphite powder: this would waterproof the edge, which would be exposed in the opening when all was said and done, and also hide the plywood grain. I'd apply additional coats over the coming days to create a smooth appearance in the sink cutout. |
  |
|