

| Circe
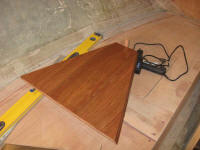
| Monday, October 19, 2009 I spent the first half of the day working on the galley countertop. After making some measurements, I cut a rough cardboard blank to size, and used it to create an accurate template of the top. |
|
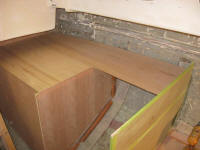
When I was satisfied with the fit of the template, I transferred the shape to a sheet of 9mm Meranti plywood, which I had in stock and which wasn't slated for other use. Since I planned on the countertop being 3/4" thick, this meant I'd need two layers of the 9mm to create the appropriate substrate. Fortunately, the pattern fit on the sheet just well enough that I could get both sections out of the single sheet I had in stock. |
 |
|
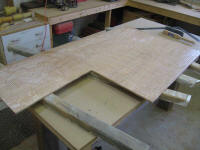
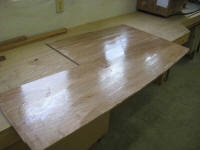
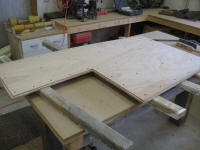
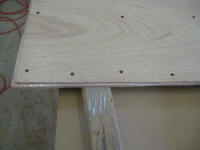
I cut out the first section and tested its fit on the boat. I noted one area of adjustment where I'd taken off too much to allow for the thickness of some tabbing, so for the second layer, which would be the top layer, I'd simply extend this particular area. Note also that the edge extending into the stove alcove was not cut to final dimension in these photos. To ensure that both pieces were identical--other than the minor adjustment above--I cut the top layer slightly oversize so that I could use a router to trim it exactly flush with the first piece later in the process. Then, after dusting and solvent-washing the two mating surfaces, I secured the two layers together with epoxy--a wet-out coat on one layer, and a ridged application on the other. I clamped the pieces together with temporary screws and set them aside. |
  |
|
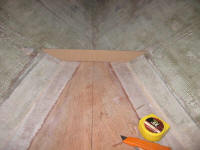
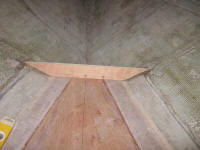
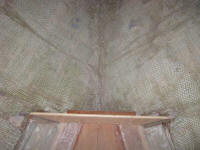
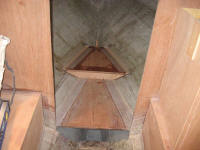
During the afternoon, I worked in the head compartment. The Lavac toilet had arrived last Friday, so with that on hand I could build the platform on which it would be mounted. To begin, I first determined how high the lip of the toilet would need to be above the head sole in order to be above the static waterline--about 18", which corresponded nicely with a comfortable height for usage. Subtracting the height of the toilet itself, I came up with the height of the platform above the existing sole: about 3-1/2 inches. I made allowances for the thickness of the platform and eventual final sole material and, through a series of cardboard templates, made a pattern of the short vertical bulkhead that would form the aft end of the platform, finally cutting a strip of cherry plywood to the finished shape. I secured the plywood to a cleat at the forward end of the head sole, and to the hull with epoxy adhesive. |
 |
|
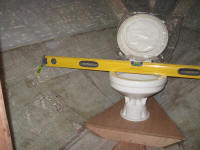
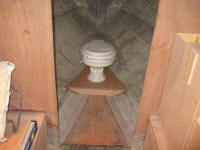
Next, I struck some level reference marks onto the hull forward of the little bulkhead, using a level held on the top of the bulkhead, and made a template of the support platform from cardboard before eventually transferring it to a section of 18mm Meranti. With the platform temporarily set in place, I could now double-check the height of the toilet rim with the approximate waterline. With the conservatively-marked waterline and an allowance for the thickness of the finished platform surface above the substrate, the rim would be comfortably above the static waterline, without the head being so high as to be uncomfortable. The location of the toilet as shown is such that it is just aft of where the cabin trunk begins, to allow suitable headroom when seated. Use while standing on the cabin sole would unavoidably require head-ducking, or sticking one's head through the opening hatch above. |
 |
|
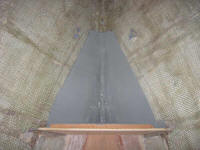
With such important things thusly determined, I proceeded to secure the new platform in place with cleat (on the forward side of the short bulkhead), epoxy adhesive along the edges, and a layer of tabbing over that. I epoxy-coated the bottom side and edges of the plywood before installation, and also painted out the bilge area directly beneath the new platform as well as the head sole before I made the final installation. |
 |
|
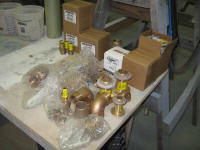
The bronze through hull fittings and valves arrived in the afternoon, and I checked the order to ensure that everything I needed had arrived; I expected to begin some of the installations within several days' time, depending on other progress. |
 |
|