| Circe
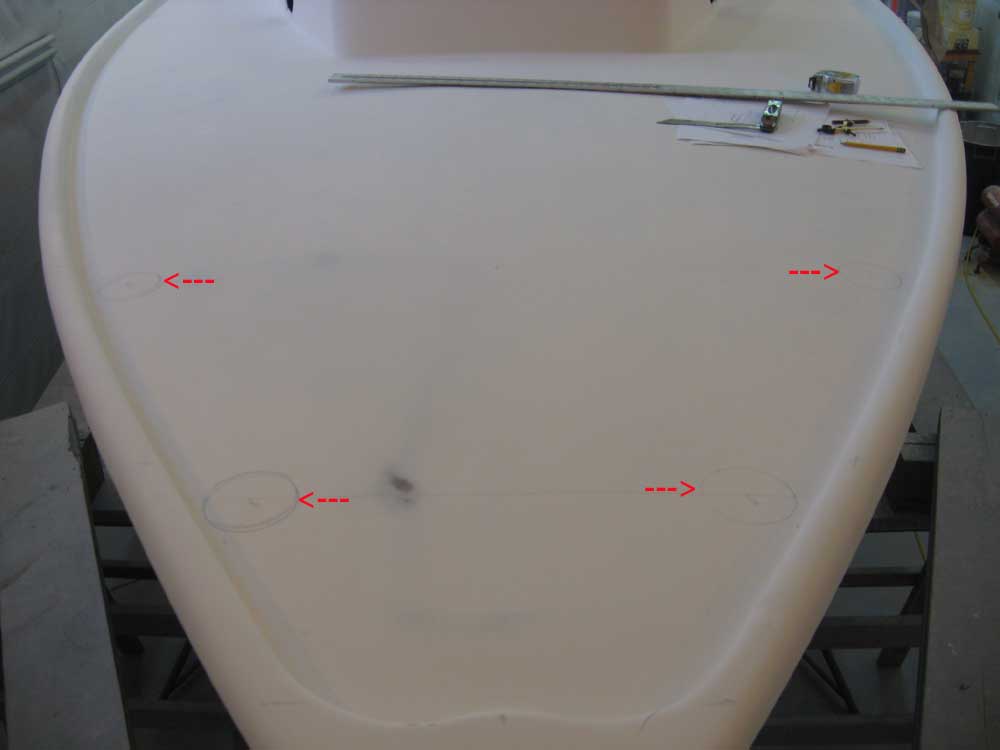
| Tuesday, October 20, 2009 I spent a substantial part of the day laying out and measuring for new custom bow and stern pulpits, so that I could get in touch with the fabricator and get a quotation and, shortly thereafter, place the order for the new equipment to ensure timely delivery. I began on the bow, and eyeballed the general position of the new pulpit's after legs. To confirm my eye, I went out to the yard and checked on the pulpit on an identical boat; the position of the actual pulpit was virtually identical to what I had roughed out on Circe. With that confirmation, I continued the layout, and marked all four leg positions, after substantial measuring, comparison from side to side, and a minor adjustment or two. Once I had the base positions marked, I made the measurements required by a measuring guide provided by the fabricator, and noted all the figures accordingly. In these photos, red arrows point to the marks on deck for each base location; the pencil marks are visible on the primer, but don't stand out. |
|
|
|
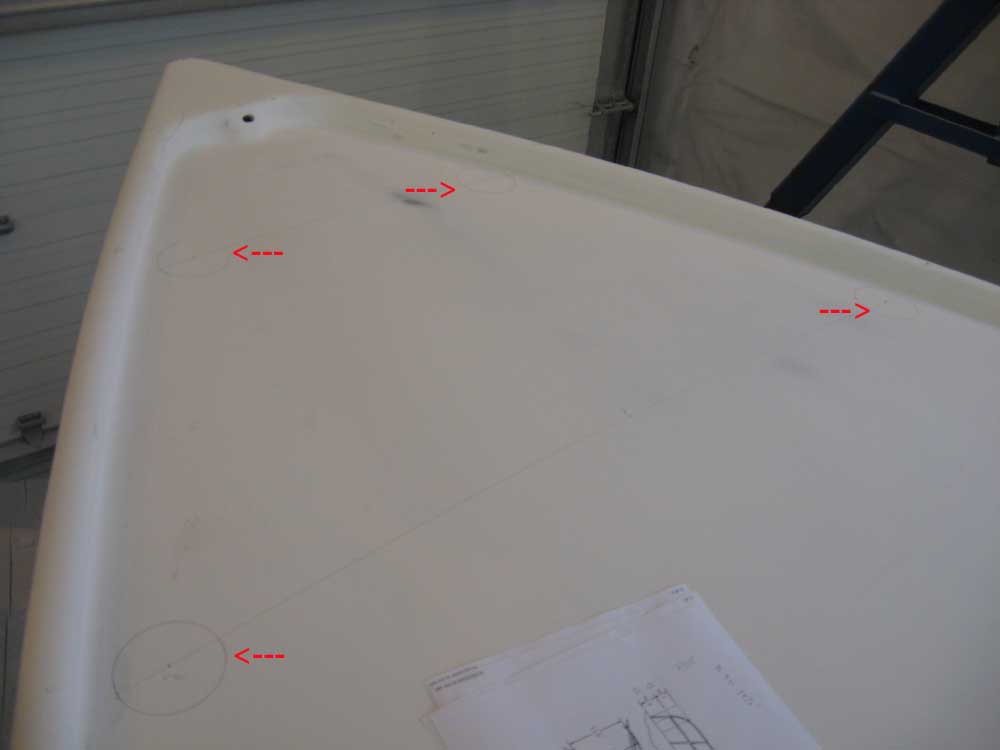
I continued the process at the stern. The owner had requested that the stern pulpit extend further forward than the old one, so I planned on a six-leg pulpit to accommodate this. As before, I made some base measurements and layout to get started, and then eyeballed the pulpit leg base positions accordingly. The forward leg ended up approximately 12" forward of the aft end of the cockpit, as seen in the photos. |
 |
|
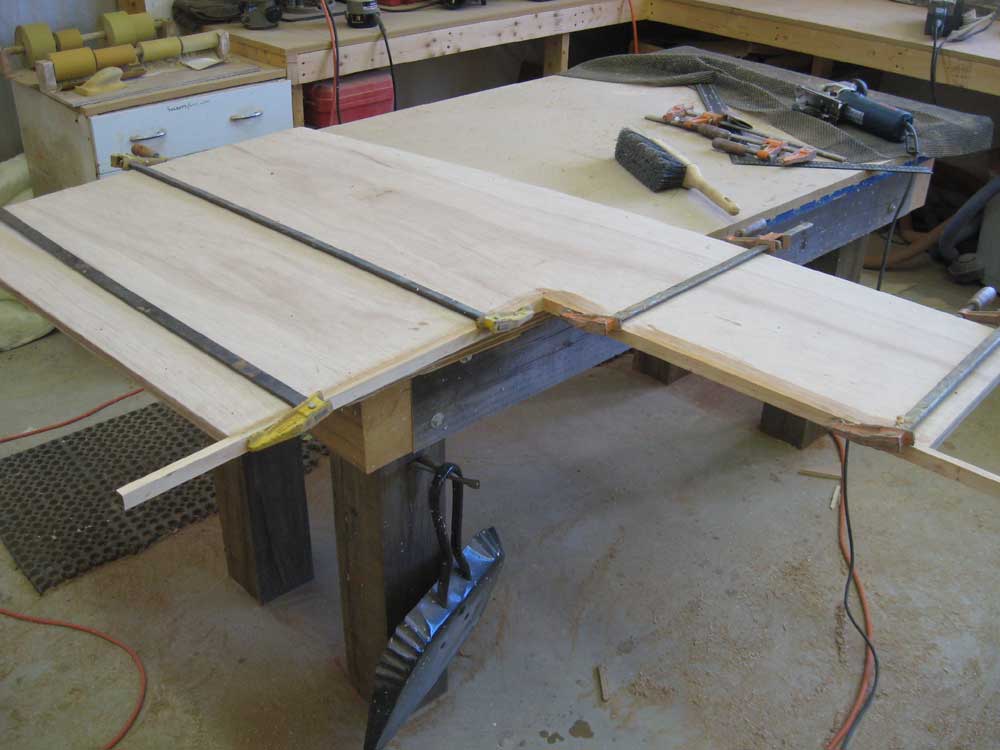
After confirming all the measurements, I got in touch with the fabricator for a quotation and other information, and emailed away the salient measurements and other requirements for the job. I specified 26" high double-rail pulpits and stanchions. Next, I lightly sanded the newest tabbing in the head and cleaned up. Then, I got back to work on the galley countertop. I removed the screws I'd used to clamp the pieces together and then used a router and a patterning bit to trim the oversized second piece flush with the first layer. I tested the fit on board, made a minor adjustment to one corner, and marked the two edges bordering the stove enclosure for final trimming. |
 |
|
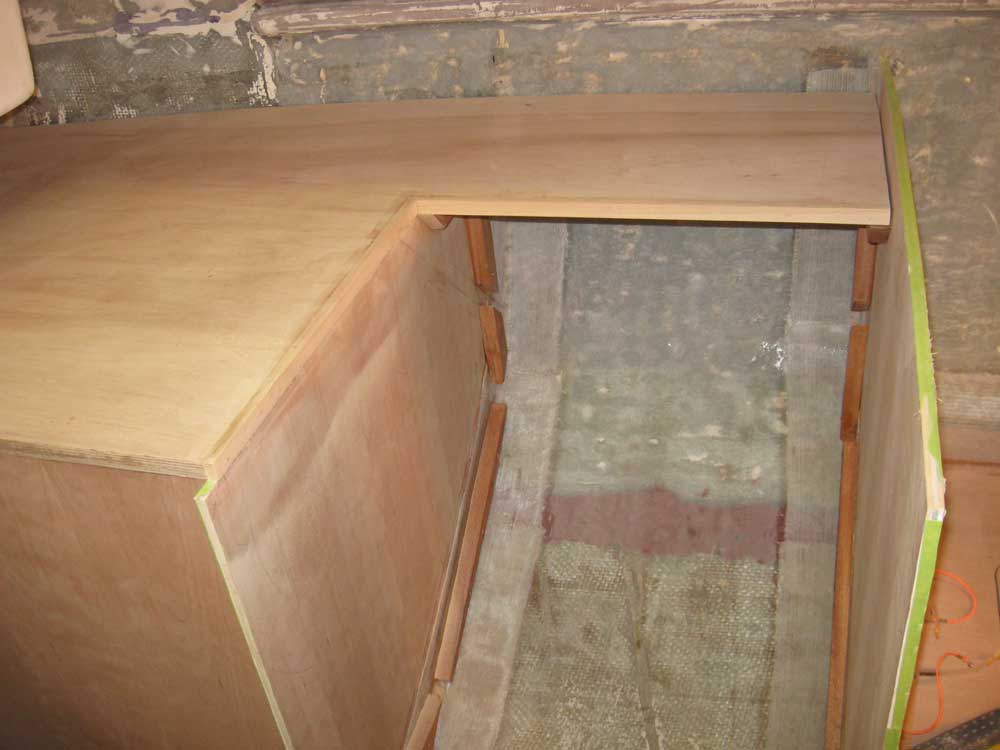
Since the edge of the plywood might be visible around the stove enclosure, I removed 1/2" of plywood from each edge and replaced it with a band of solid cherry, which I glued in place. Once the glue set, I trimmed off the excess and fit the piece once more. Later, the actual countertop surface (high-pressure laminate, at current thinking) would cover the seam between the trim and the plywood and end flush with the edge of the solid trim. |
 |
|
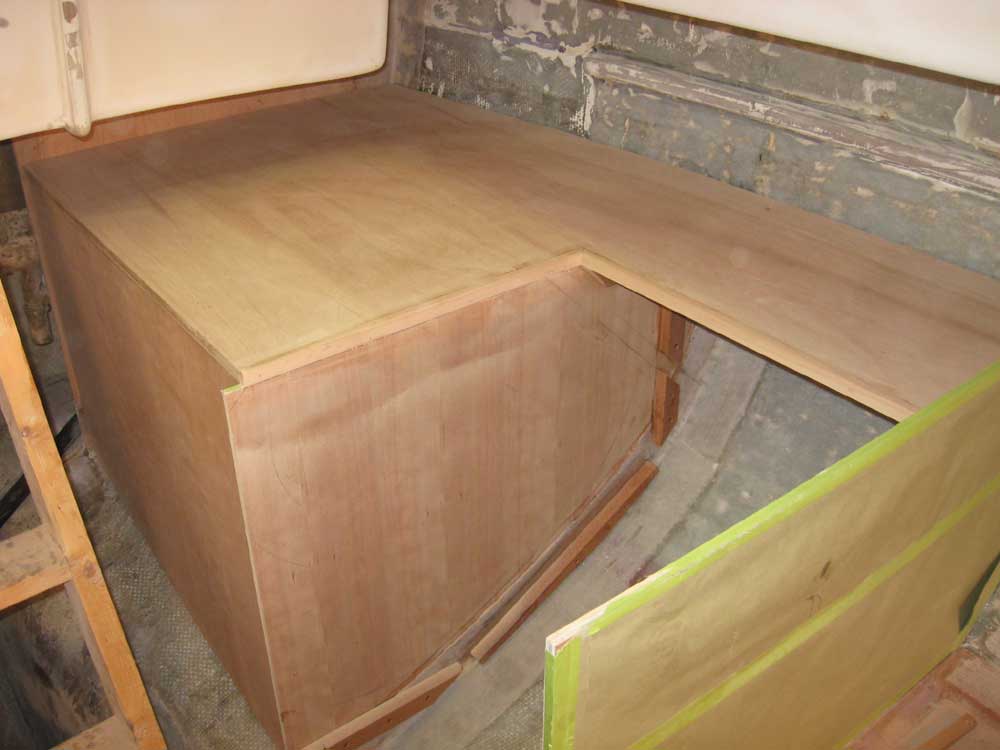
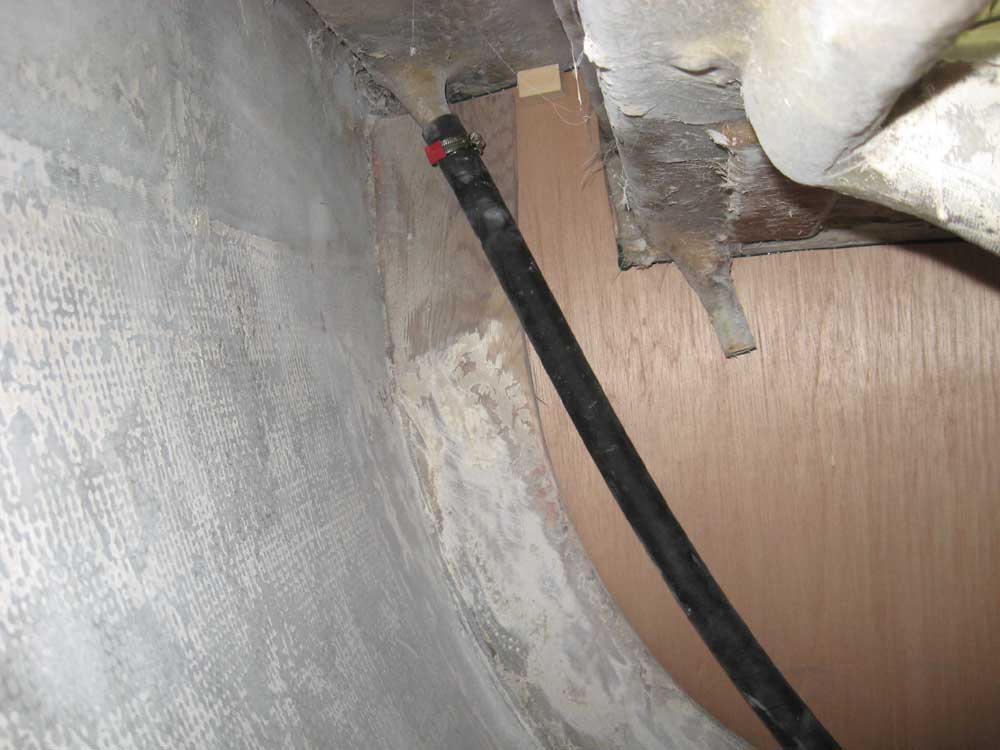
I contemplated my next moves in the head, and spent some time researching stock tank dimensions to see what I could fit in the space forward of the head platform. Ultimately, this decision would drive the construction of the next bulkheads and cabinetry, so before proceeding I needed to know that the space available would work in a sufficient manner. I planned to install both fresh water and holding tanks in the space, leaving room above for storage and access forward to the chainlocker. Finally, I installed the hardest-to-reach deck drain hose--the sidedeck drain on the port side--which I should have done a couple weeks ago before building the aft bulkheads in the cabin. I needed to install this hose (or see if I couldn't for some reason) so that I could decide whether I needed any further access through the almost-galley before I finalize that installation. Fortunately, I was able to install the hose from the cockpit locker. For now, I attached only the top end so that I could move the hose around as needed to provide access for painting the locker, which would come soon. The starboard side would be easily accessible through a new hatch that I would soon cut in the starboard aft bulkhead, which would remain accessible now and in the final interior configuration as well, and the cockpit seat drain on the port side was much easier to reach than the higher sidedeck drain. |
 |
|
|
|