

| Circe
| Friday, October 16, 2009 I began by lightly sanding the new tabbing on the settees, and then cleaned up and prepared to continue new construction work in the galley. I temporarily resecured the longitudinal galley bulkhead in place to hold the aft stove bulkhead firmly in the proper position. |
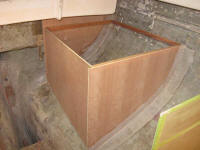 |
| I wanted to cut the countertop blank, but before I could do that I'd need a support cleat on the forward stove bulkhead. Before I could determine the size and placement of the cleat, however, there was additional conception and layout to complete in the stove alcove. This turned into a surprisingly complex and time-consuming process. To begin, I once again set up my plywood stove mockup. This time, I needed to hang it from its pivot points to simulate the actual stove and its gimbal movement. To do this, I drilled holes through the pivot points in the stove sides, which I'd measured and marked according to the stove schematic during initial construction. I cut an access hole in the top of the mockup to allow access to the inside. Then, I clamped the stove mockup in the correct position--level with the underside of the countertop, and with the front edge 3" in from the outer edge of the alcove to keep the oven door handle from protruding-- and installed screws through the pivot points and into the sides of the stove alcove, being careful not to drill or screw all the way through. Now, the stove could swing on its pivots. Since my mockup wasn't weighted accurately, my "stove" didn't hang level when in the pivots, the way the actual unit would; to hold it in level position for display, I installed a clamp just behind on one side to keep it from swinging. |
|
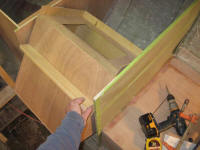
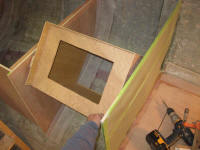
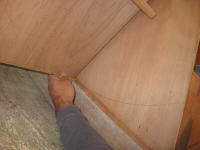
Next, I held a pencil against various portions of the stove so that I could mark the range of motion of the unit for future reference. I marked the bottom and top corners with the stove tilted as far as 45° to each side--much more angled than it'd ever be used, but this would allow enough room for the usual swinging in a potential seaway, and then some. I also marked the swing of the handle, and anything else that might impact the construction of the enclosure. |
 |
|
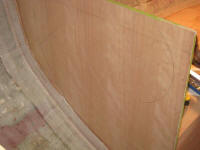
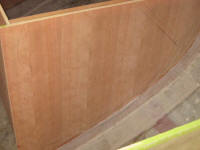
Duly marked, I removed the mockup for now, and, working off the various layout lines, started to determine how and where to install cleats to support the remaining plywood panels that would make up the bottom and back sides of the enclosure--and which would eventually determine the final location of the countertop. |
 |
|
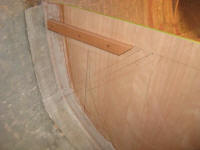
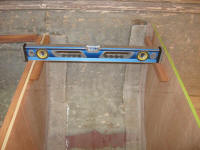
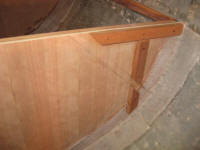
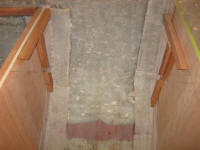
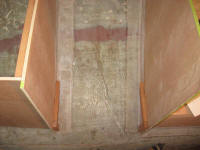
I wanted a countertop section to cover the stovetop when not in use, but also needed the section to easily move out of the way when needed into an angled storage area beneath the countertop behind the stove. This idea was nothing new--it's seen on many boats. With the tight confines of the space available, thanks to the position of the stove and the shape of the hull, it took a fair bit of figuring to determine where exactly the angled storage area should be, and how it would relate to the various other components. It's not possible to easily describe the process; suffice it to say that eventually I determined where the support cleats for the stovetop storage would go, that they'd be long enough to allow the full length of that countertop section to slide out of the way, and that the concept would work in all other ways directly related to the installation at hand. With these positions determined and duly marked, I could begin to cut and install some support cleats for the main section of countertop that would run outboard of the stove, as well as a vertical section that would define the aft end of the stove enclosure. I left a gap in the vertical cleats for the stovetop counter to slide through; later I'd install additional cleats along the angled lines. In each case, I had to first lay out one side, then transfer the measurements to the other side, which was made somewhat more complicated by the fact that the bulkhead on the second side was a different height than the aft side, so measurement transfer took a little longer than it might seem. |
 |
|
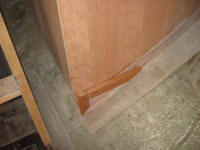
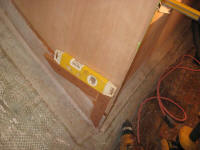
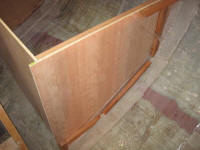
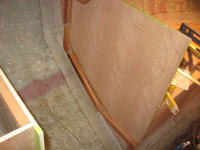
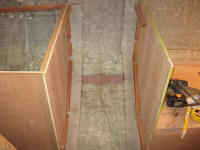
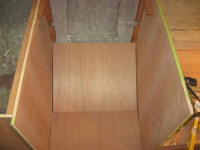
From the arced marks at the lower extent of the enclosure, I determined where to install additional support cleats to form the bottom of the enclosure, with an allowance for the thickness of the plywood that would still allow the stove to swing freely. I cut and installed the cleat on one side, then transferred the location to the other side and installed the final cleat. The plywood panels shown in these photos are not final pieces, but are pieces I used to help transfer the cleat locations accurately from side to side, and for illustrative purposes here. |
  |
|
The process of locating and installing these critical cleats reminded me of hanging sheetrock in a small closet: one thinks that because the space is small, the process will be quicker, but in fact the opposite is usually true. It took all afternoon to conceive, cut, and install the various cleats shown here. And I didn't get to cut the countertop blank. |
|