

| Circe
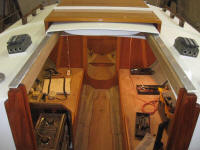
| Monday, March 8, 2010 I spent most of the morning working on the companionway trim. The exterior pieces, freshly varnished, were ready for installation, so I began there. I installed the trim with screws from behind, in a bed of mahogany-colored sealant. |
|
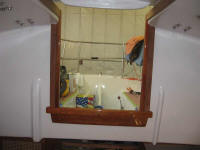
Once the exterior pieces were in place, I turned to the final pieces required on the interior--a vertical stile on each side of the opening, which rounded out the appearance. Using the old pieces as a rough guideline, I cut new mahogany to fit, using the end of the same board from which most of the other companionway trim came. I custom-fit the top to match the curve of the liner, sanded the pieces smooth, and install them with screws. Then, I bunged the screw holes on the inside of the trim pieces as needed. Once the glue on the bungs dried, I'd chisel them flush, and then varnish the new trim pieces in place. |
 |
|
Along the top edges of the companionway opening, beneath the slides, I was able to clean up and reuse the original trim pieces, saving me the work of recreating them. I stripped the old varnish and sanded the pieces clean, then reinstalled them. I'd varnish this trim in place over the next few days. |
 |
|
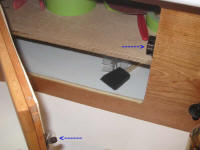
With a bit of time left in the morning before I had to depart for several errands, I installed a few of the door catches on the cabinet doors. |
 |
|
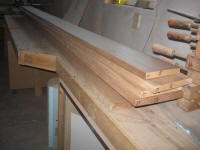
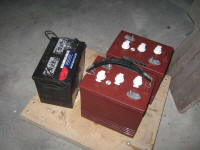
During the afternoon, I made some rounds and dropped off the broken portlight glass to be replaced, picked up enough cherry to make the hull ceiling strips, and purchased batteries for the boat: a pair of 6V T105s for the house bank (220 amp-hour total rating), and a 624M starting battery. |
 |
|