
110 Cookson Lane | Whitefield, ME 04353 | 207-232-7600 | tim@lackeysailing.com
Ashantee | Monday, January 5, 2015
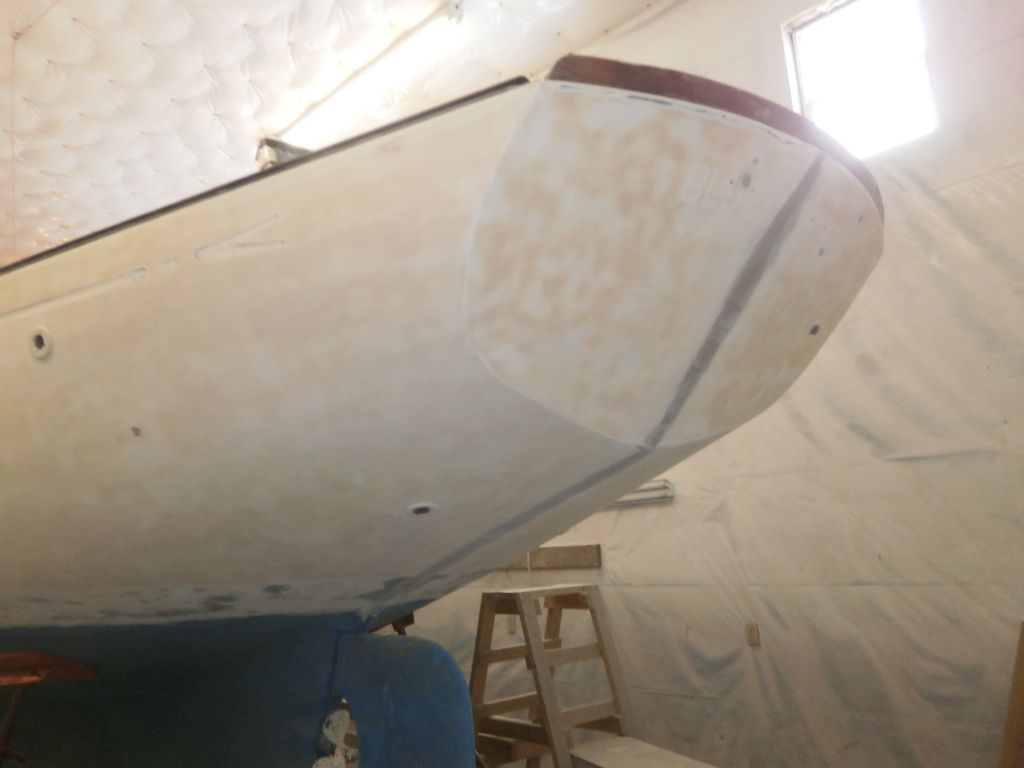
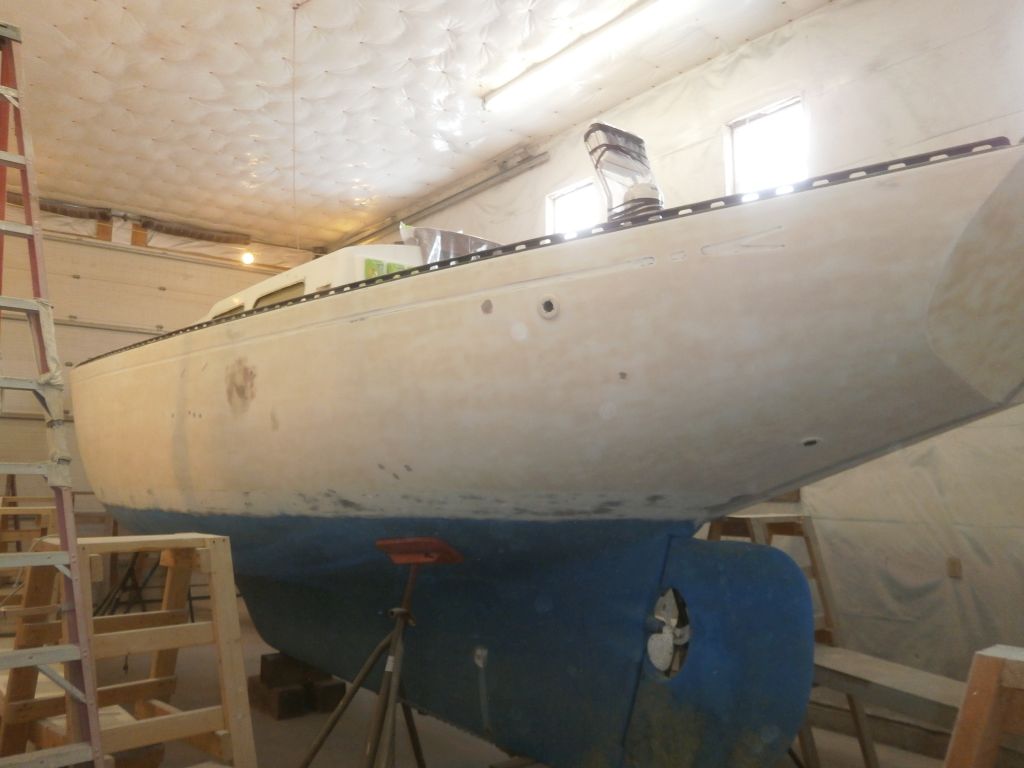
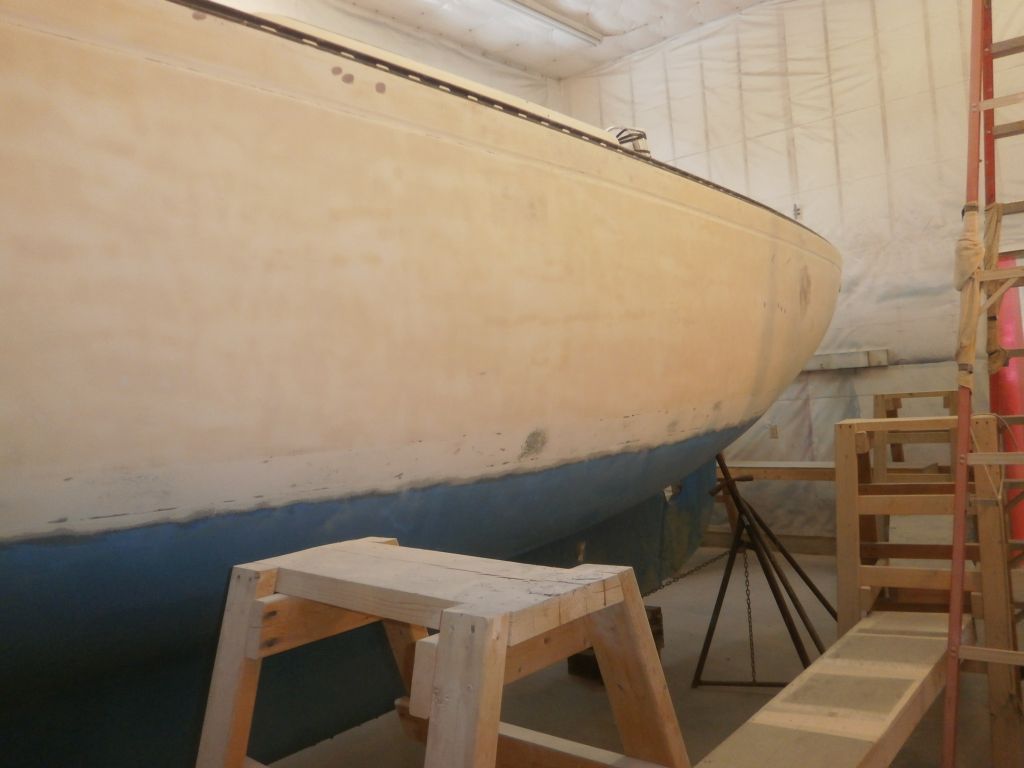
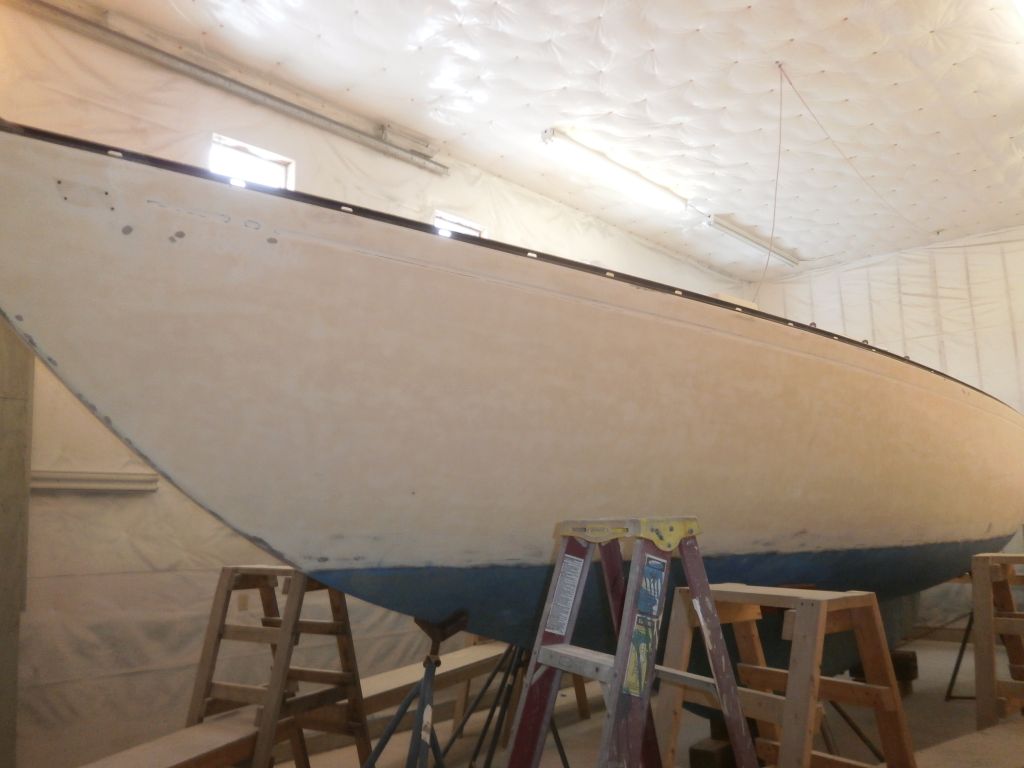
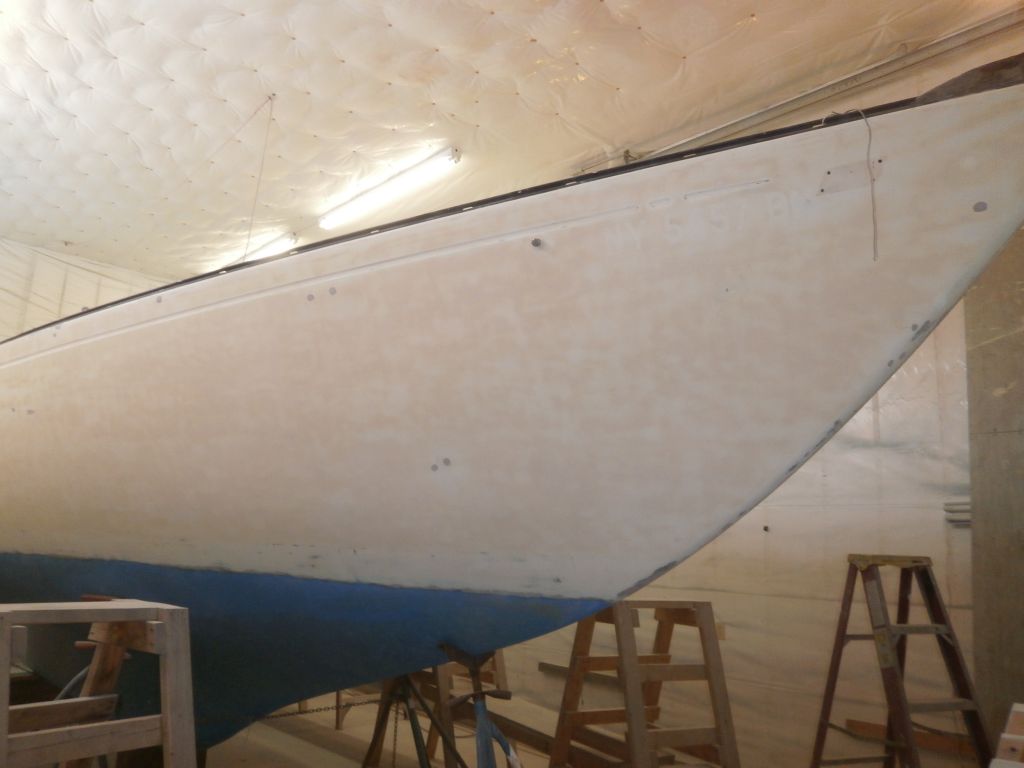
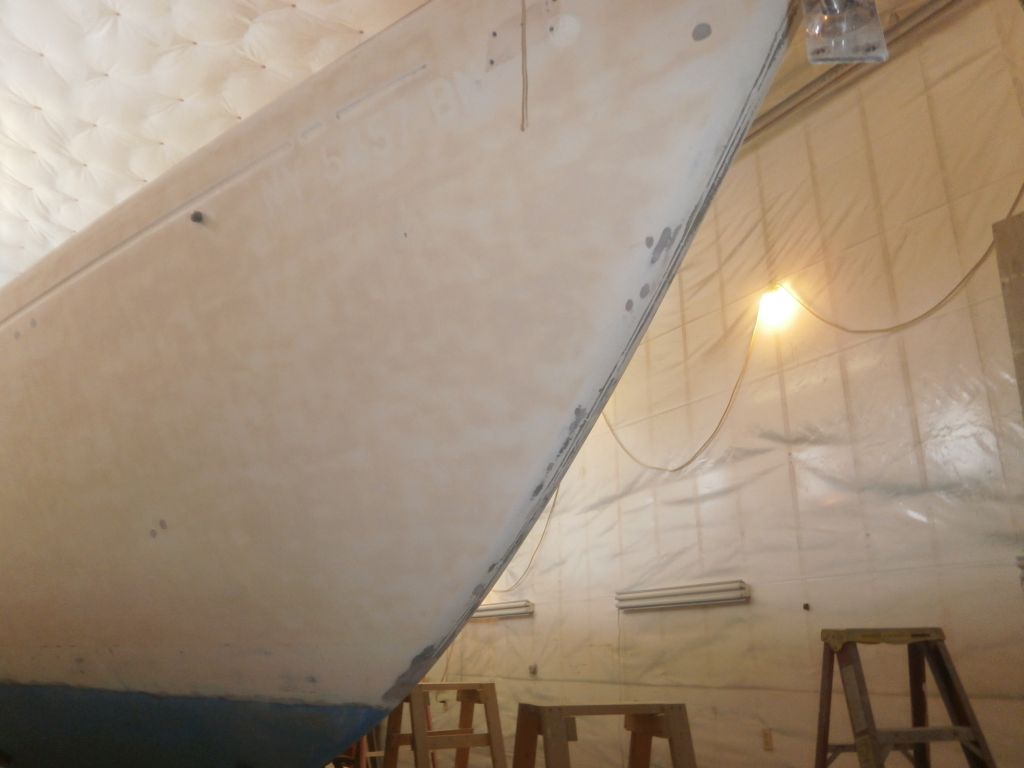
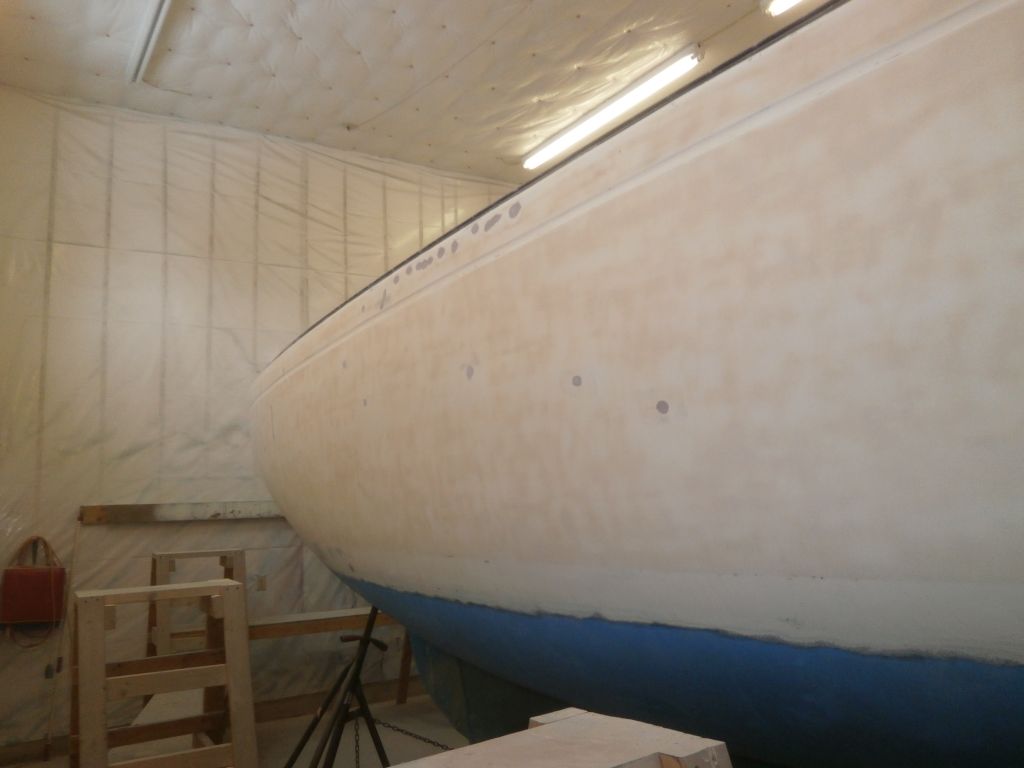
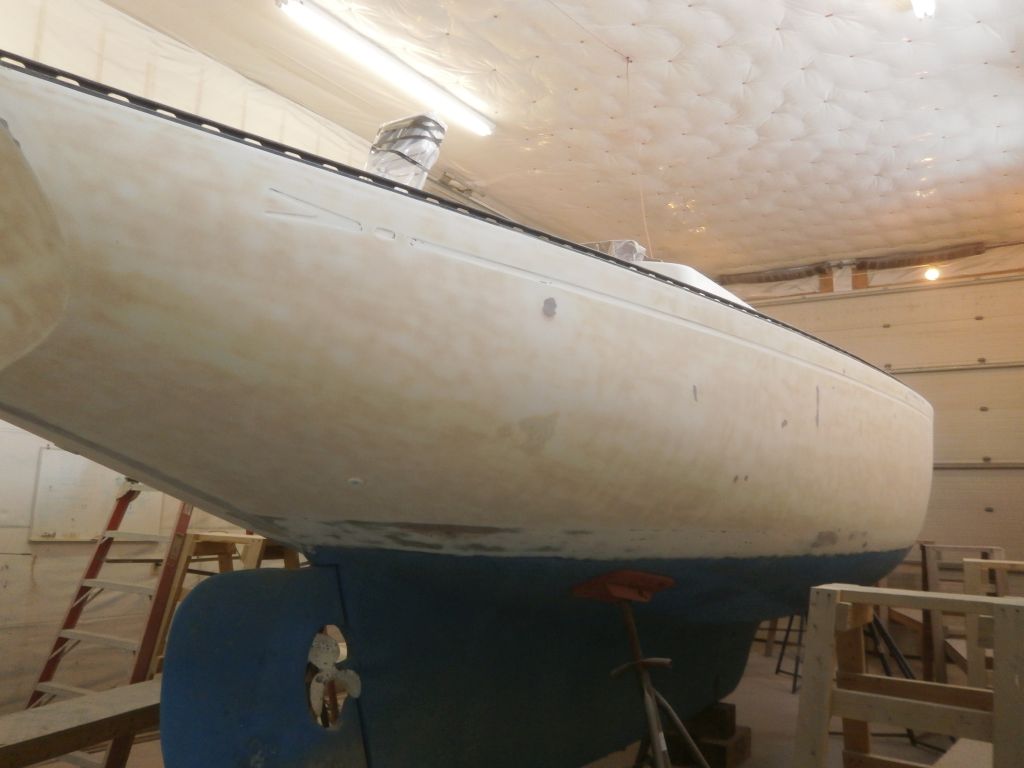
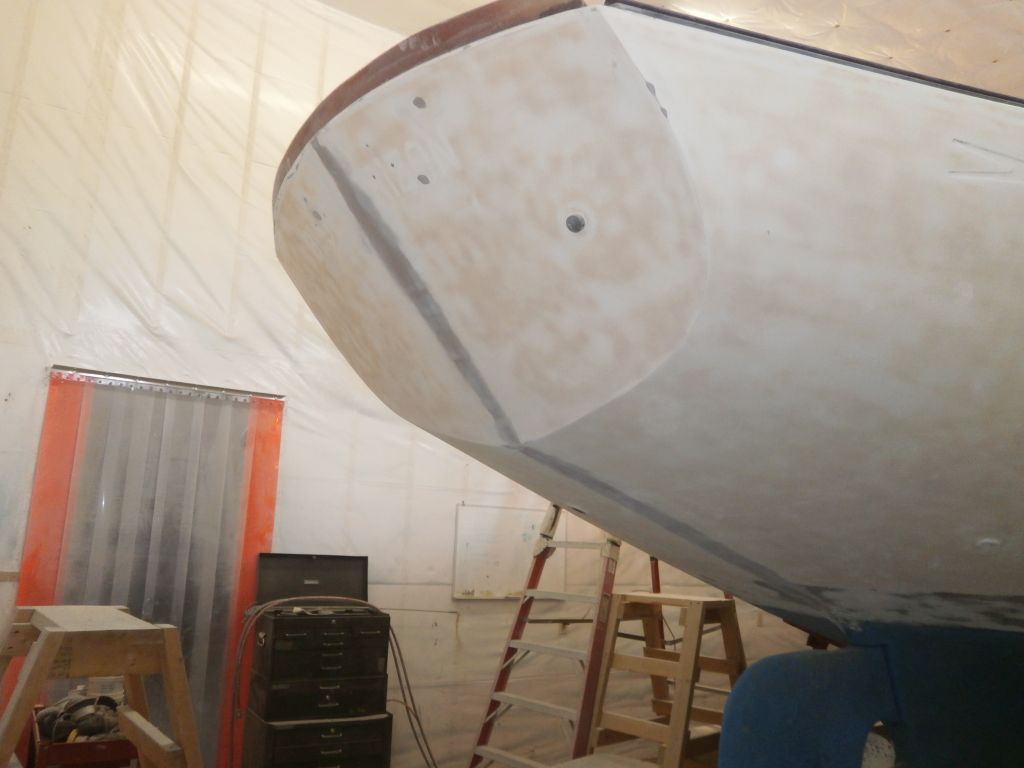
The fine fairing filler I'd applied to areas of the hull had had plenty of cure time over vacation, so now I sanded the hull with different sanding equipment and 80-120 grit paper, the last major sanding of the hull other than various hand work and fine-tuning of some areas that might be required.
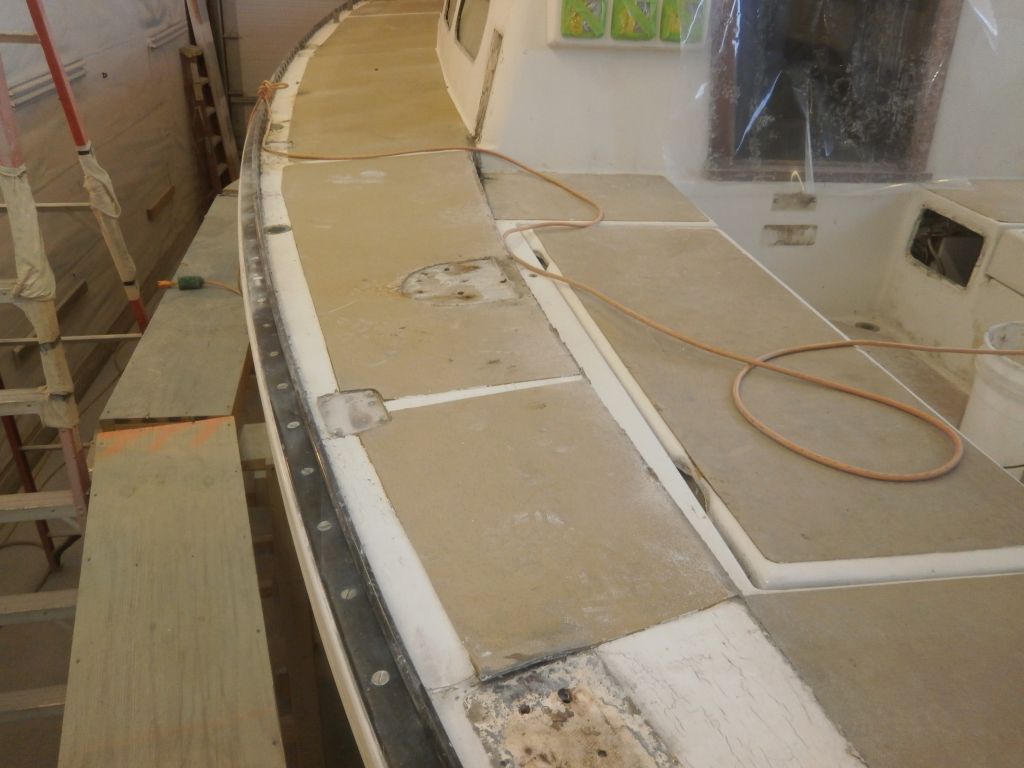
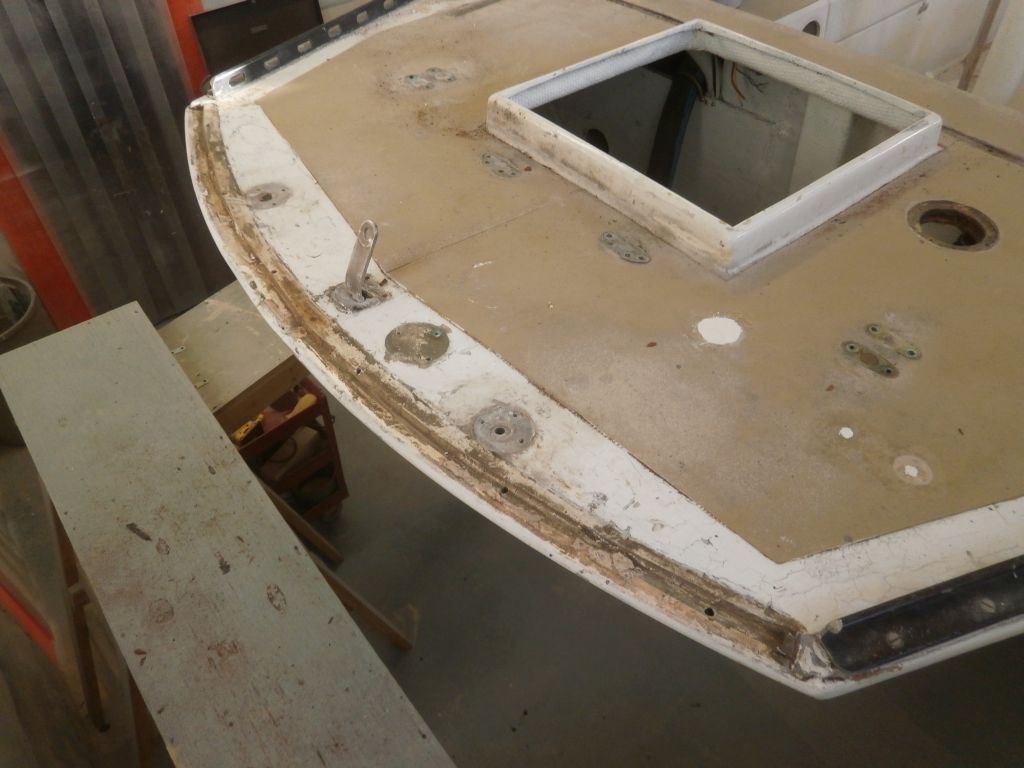
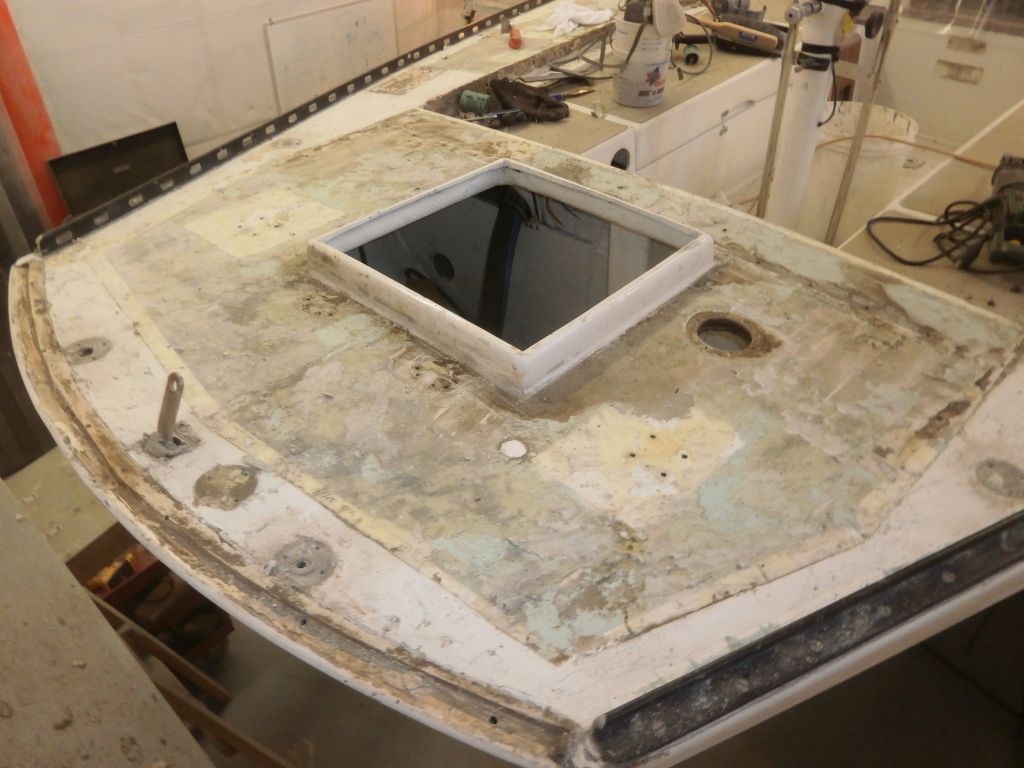
Afterwards, I reset the staging at deck height, and turned to the work required there. The decks featured some sort of applied surface that was glued to the substrate, and before doing anything else this had to go. Given the curling edges of this material in various places around the deck, I hoped that removal would be relatively straightforward, though I'd no delusions it'd be fast or easy.
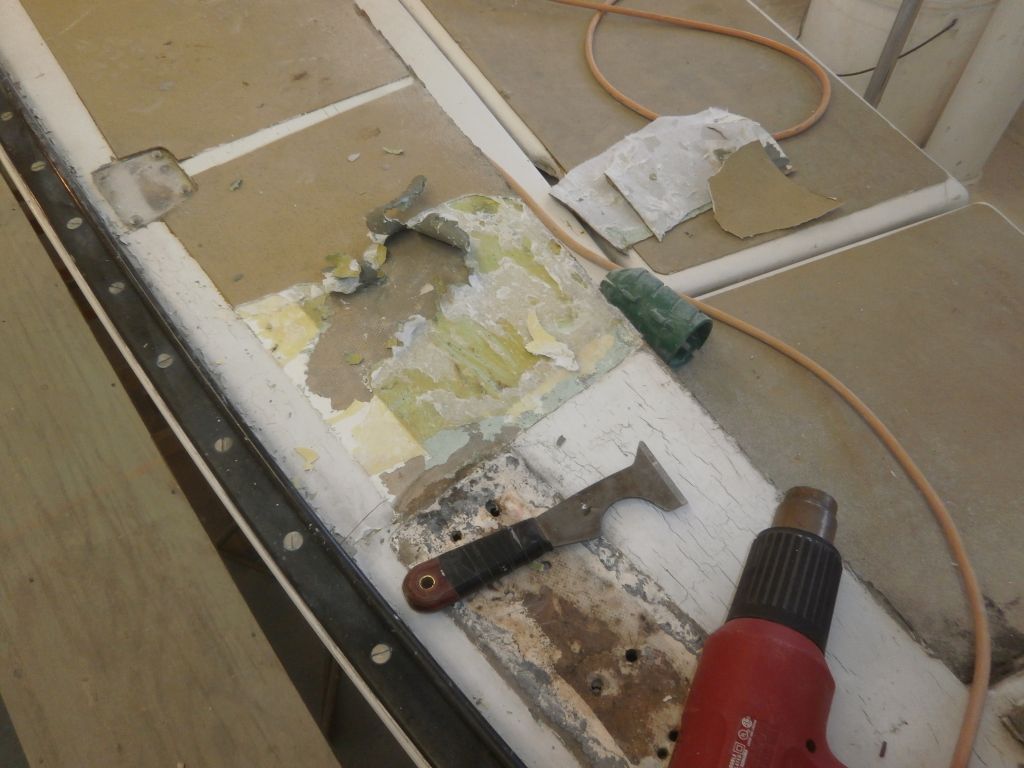
Starting on a small patch at the aft end of the port deck, I used a heat gun and a small multi-tool scraper to peel up the material, whatever it was. The heat released the main section of the appliqué, but left adhesive (unknown type) and some of the paper backing behind. On the small patch, I found that additional heat and scraping would remove most of these remnants, but it was hard, slow work, and not really feasible with the tools currently at hand. I ordered a couple longer-handled scrapers that I hoped would help with the work, but for now all I could do was go on with what I had now.
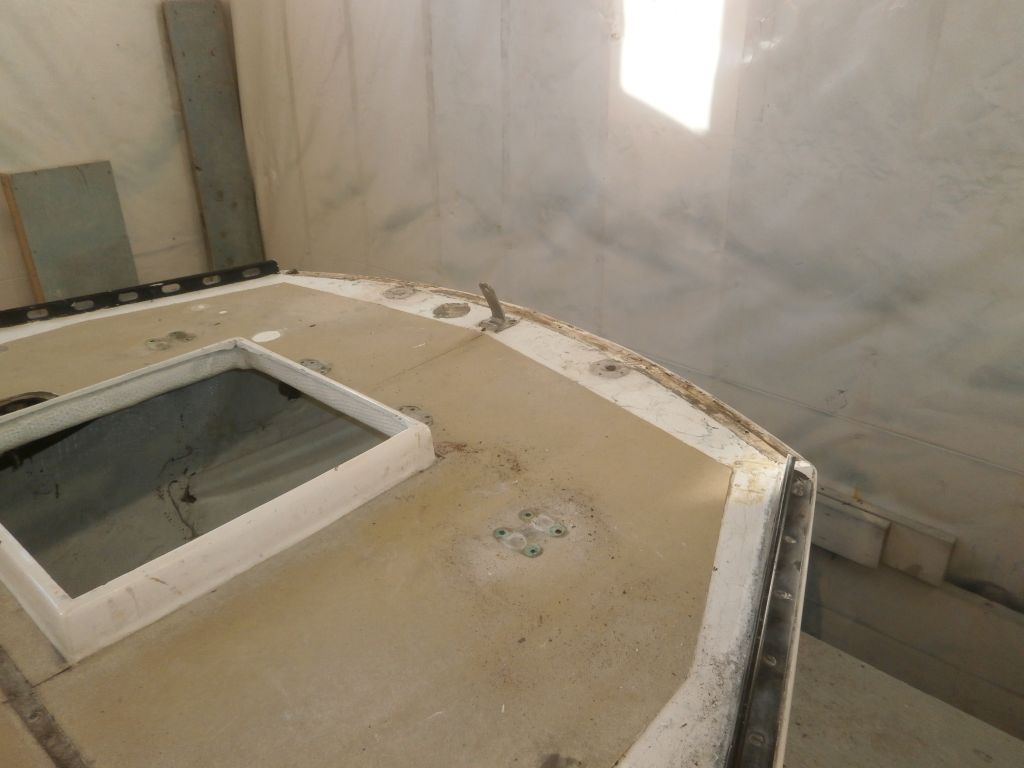
I continued with the next panel of deck material, this time leaving the adhesive and debris behind after removing the thicker top layer, which was much faster, though still time-consuming. Afterwards, I tried sanding the first section, where I'd removed most of the underlying gunk with the scraper, which looked like it would clean up the substrate successfully, but on the section still containing the adhesive the sanding disc gummed up almost immediately. Thinking that allowing the deck to cool might help, I decided to continue on with the bulk removal and leave the remnants behind for a second round of work. I did try scraping the deck with a carbide scraper, which removed some of the paper and other loose material.

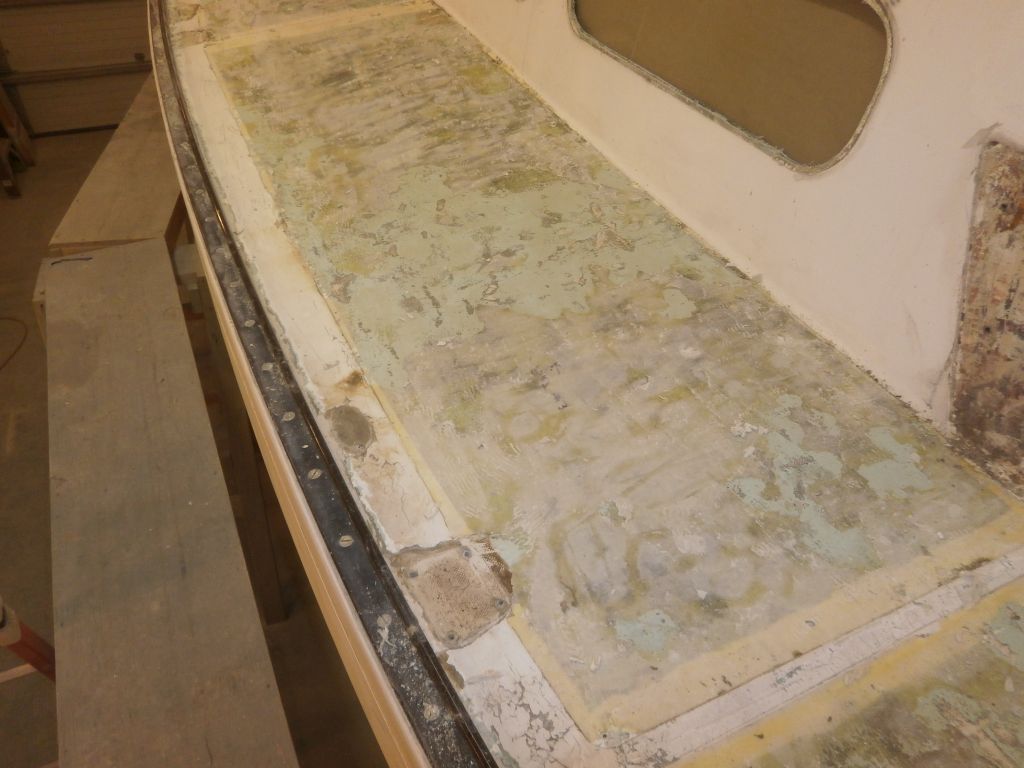
Before continuing on the poop deck, I removed the remnants of the old taffrail, which was in poor condition. Since the rest of the original wooden toerail had been previously replaced with slotted aluminum, the taffrail had looked out of place anyway, and the owner decided we could eliminate the wooden taffrail; instead, I'd clean up the area and create a smooth, seamless transition. I cut away the old wood and removed the fasteners.
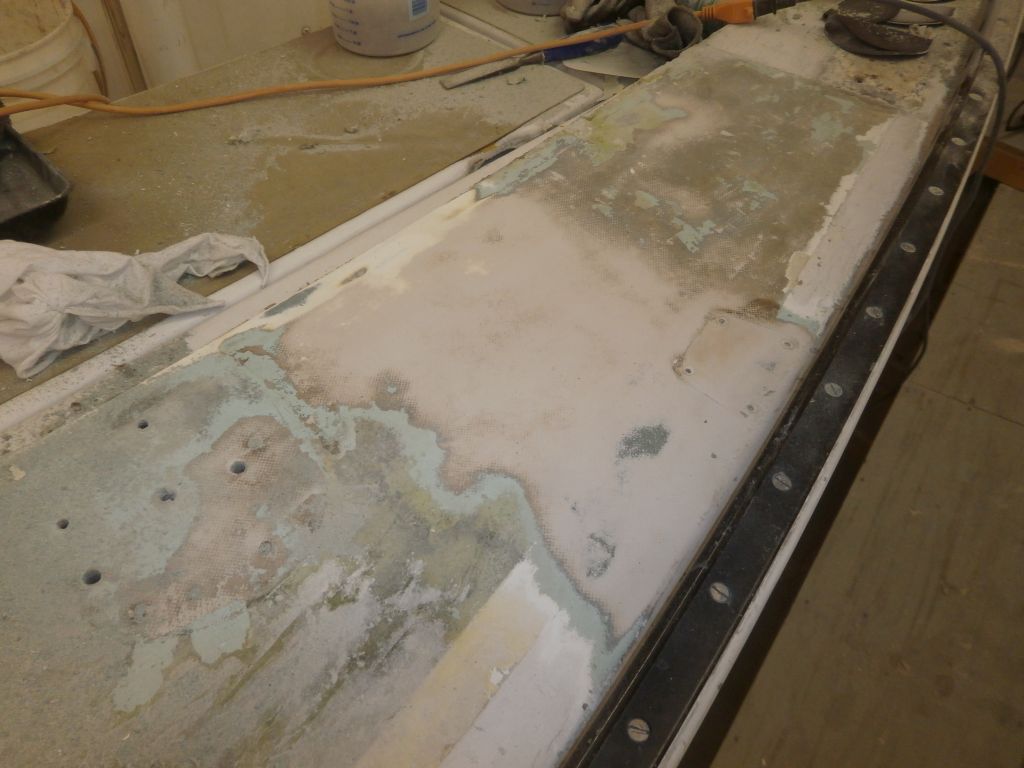
With the heat gun and scraper, I removed the deck covering from the poop deck.

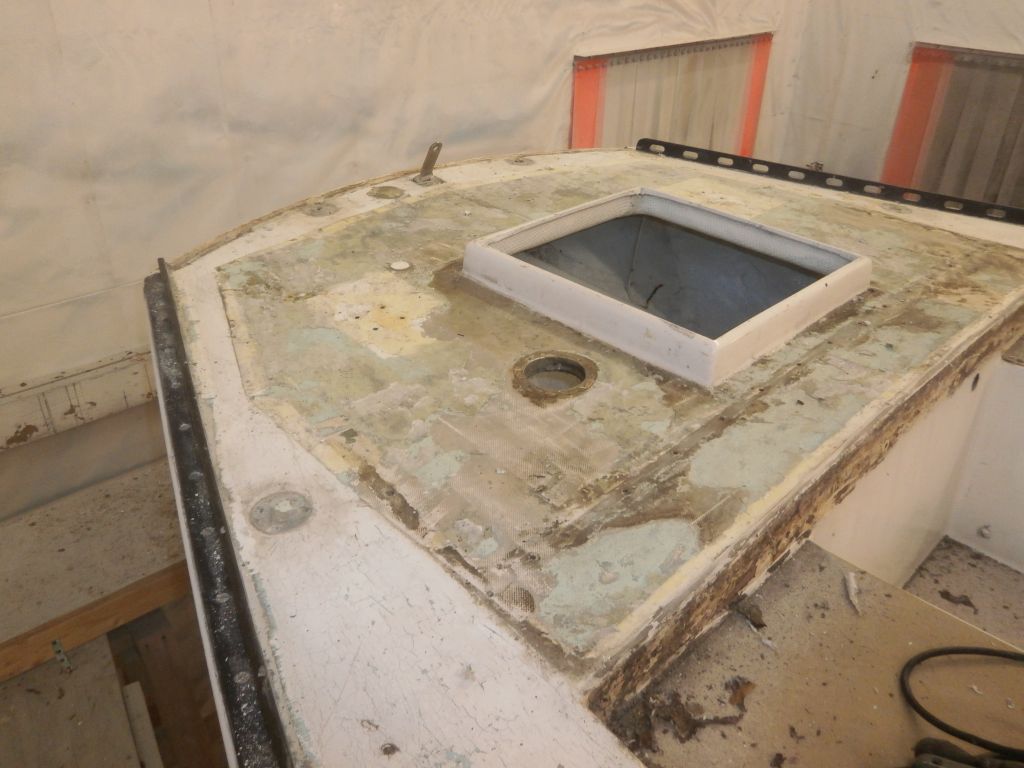
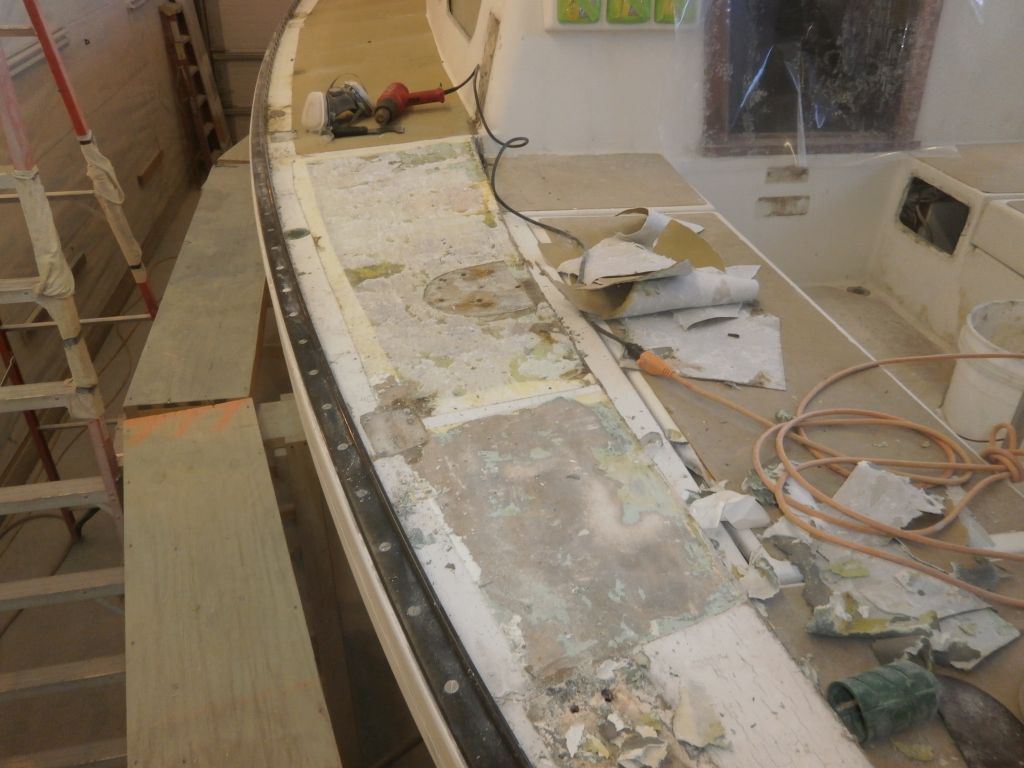
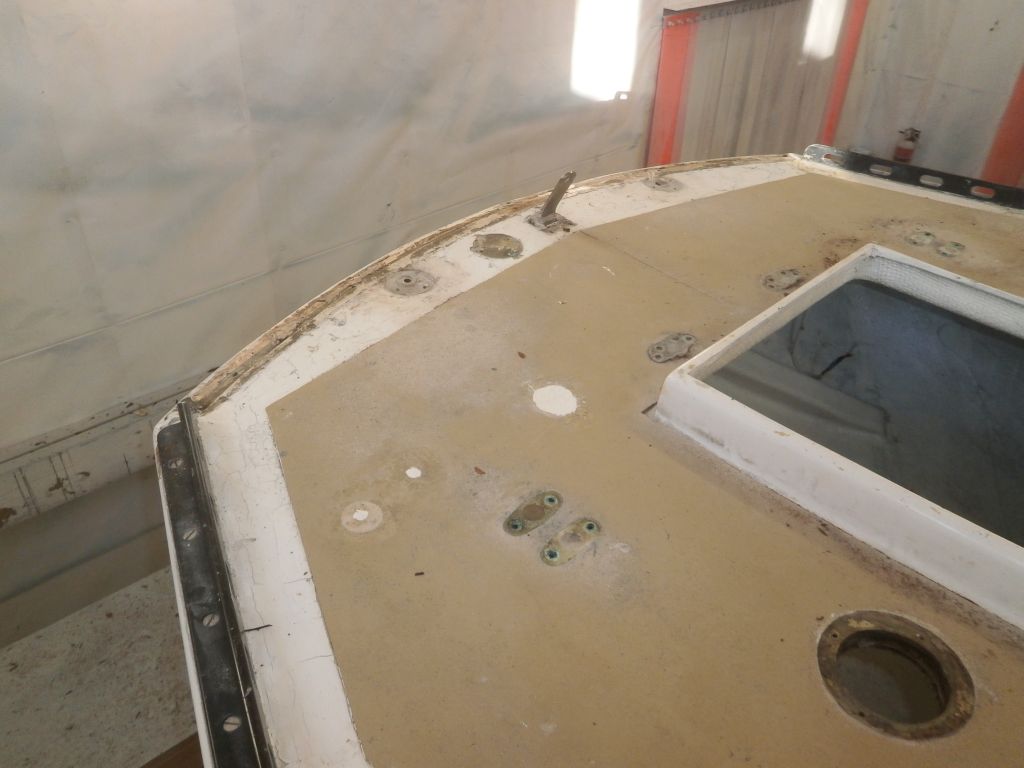
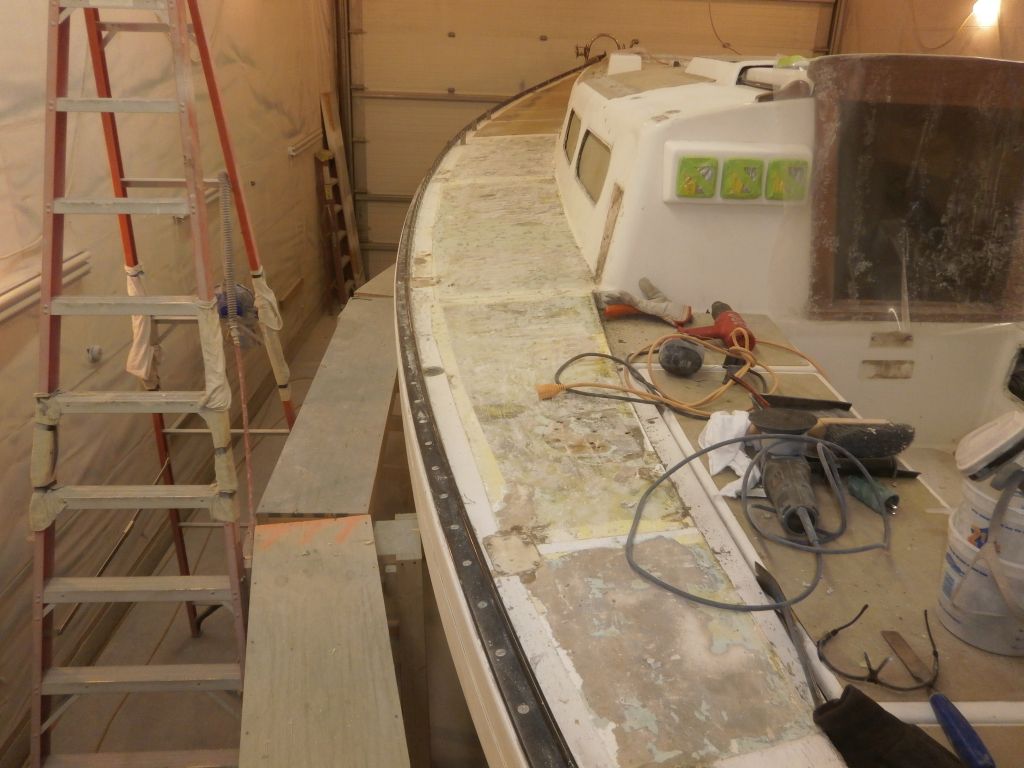
Continuing forward on the port side, I removed a couple large panels' worth of the deck covering. As horrible as things looked without the covering, I thought the decks already looked better, so ugly and poorly done was the material I was removing. Now, the deck looked like hope and progress

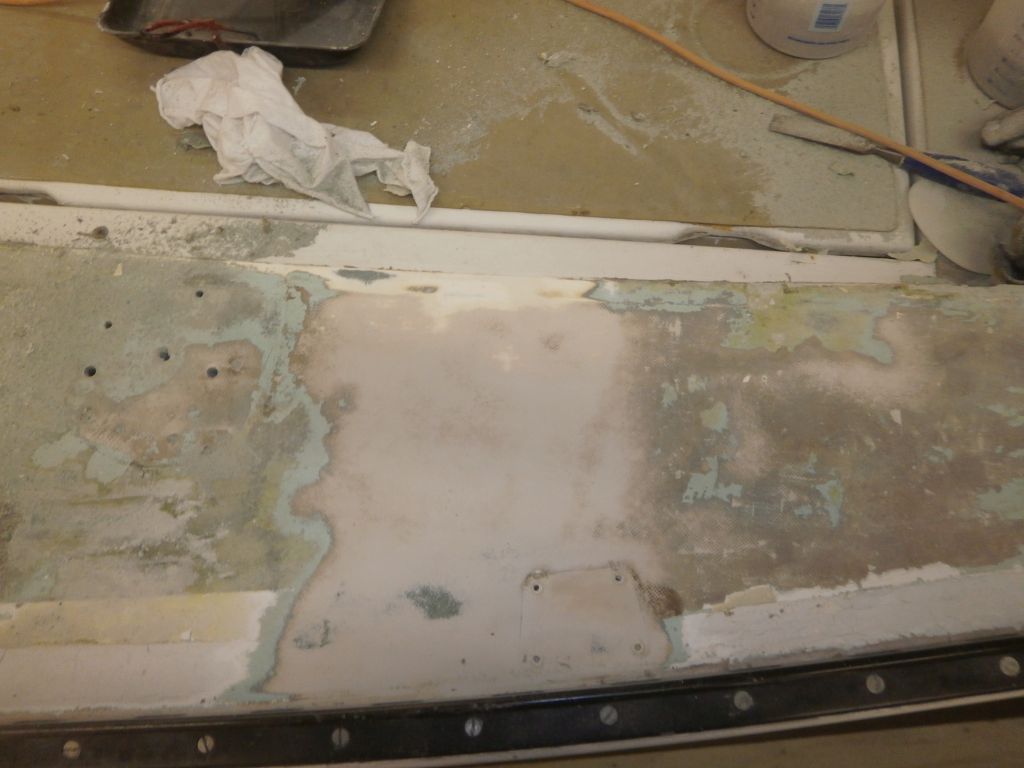
Before shutting down for the day, I returned to the first section outboard of the cockpit, and tried sanding the now-cooled surface of remaining adhesive and other gunk. Though eventually I managed to clean up a foot-square area, it required several sanding discs to do so, so quickly did they still gum up. The amber-colored adhesive and the green layer beneath were soft and gummy when sanded--the heat of sanding caused this--but once I got through to the gray beneath, I was home free, in a manner of speaking. But it was hopelessly slow and consumables-intensive, so it looked like I'd be back to trying heat and my new scrapers when they arrived.
Total Time Billed on This Job Today: 7.75
Hours
