
110 Cookson Lane | Whitefield, ME 04353 | 207-232-7600 | tim@lackeysailing.com
Ashantee | Monday, February 16, 2015
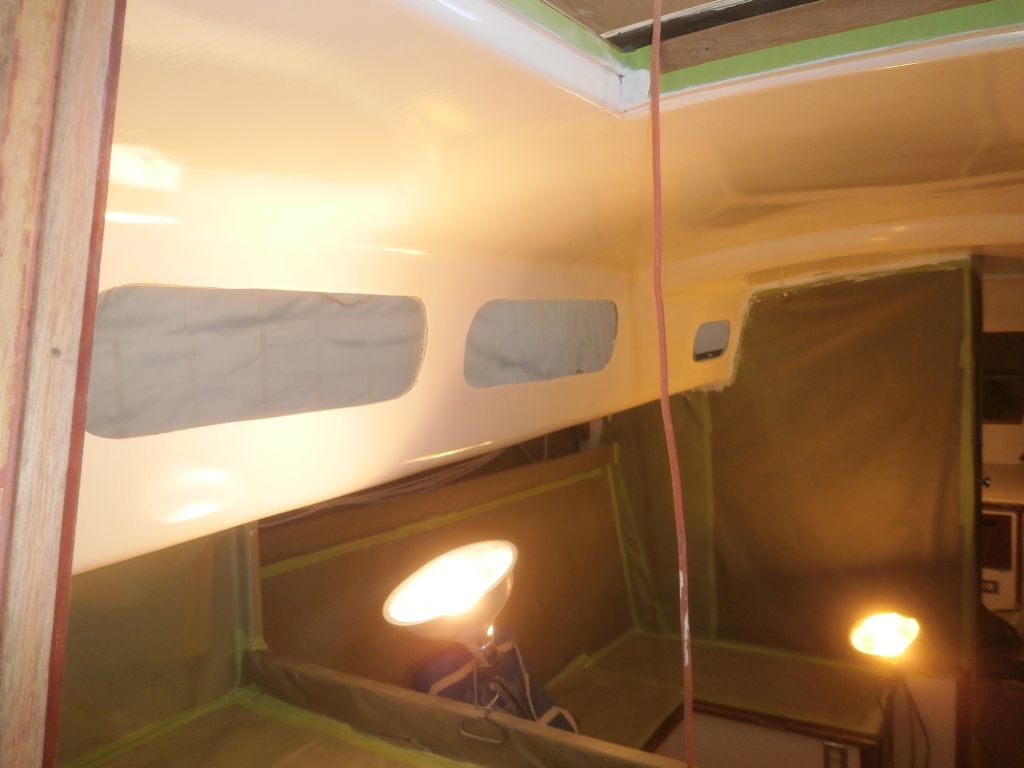
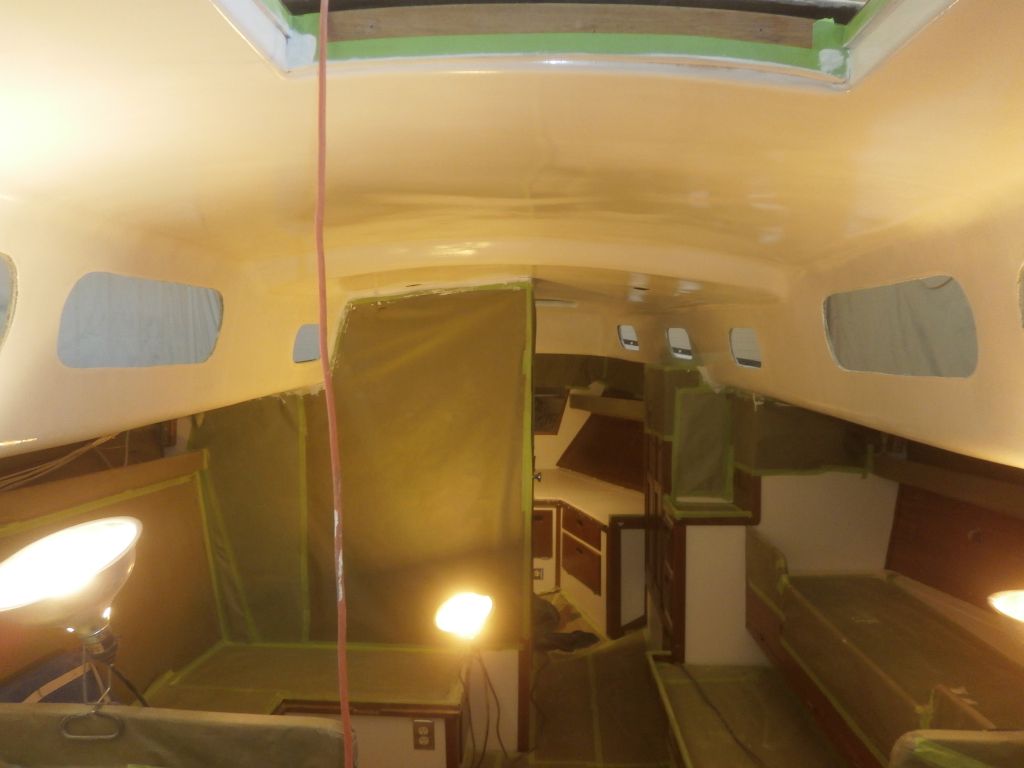
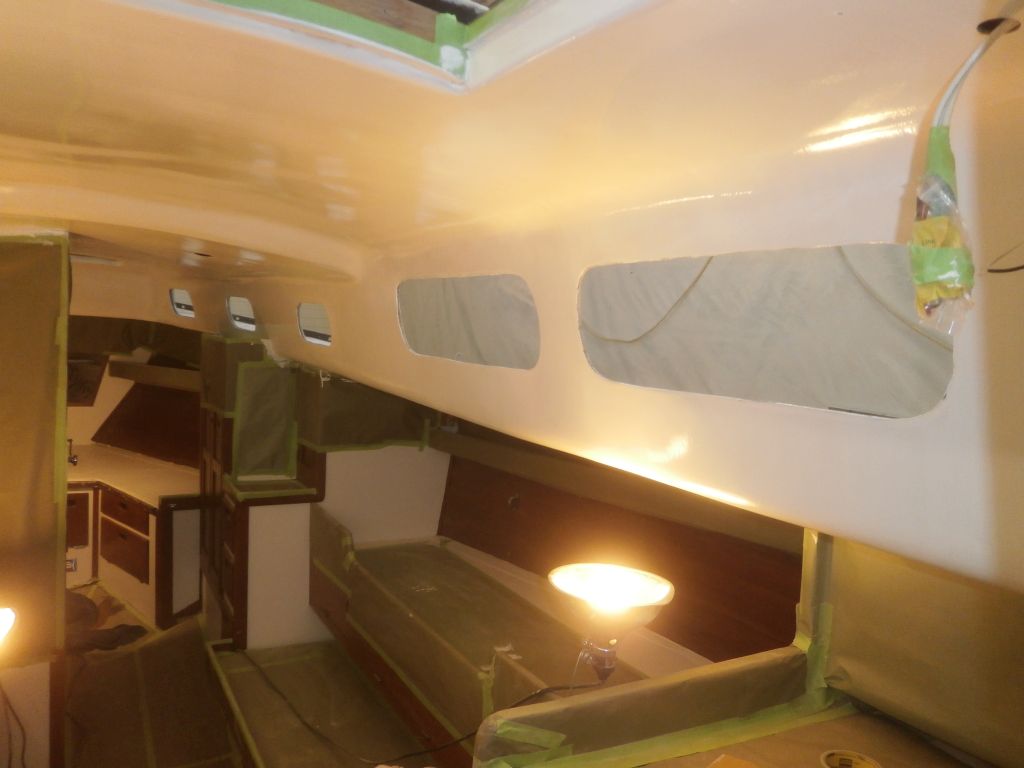
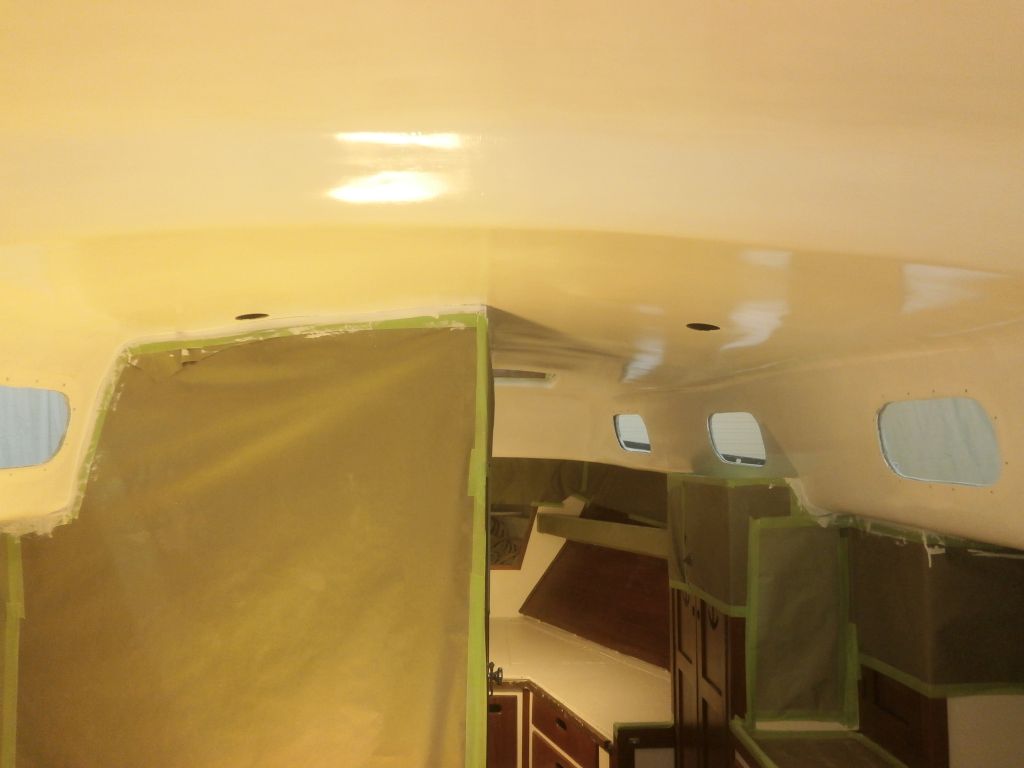
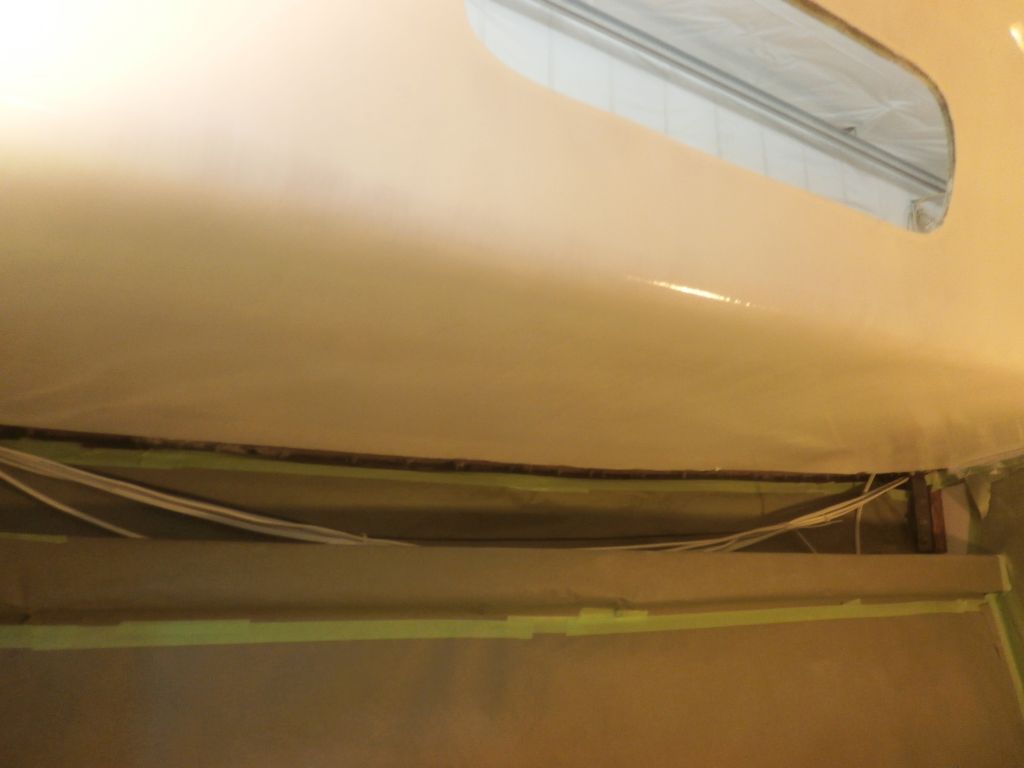
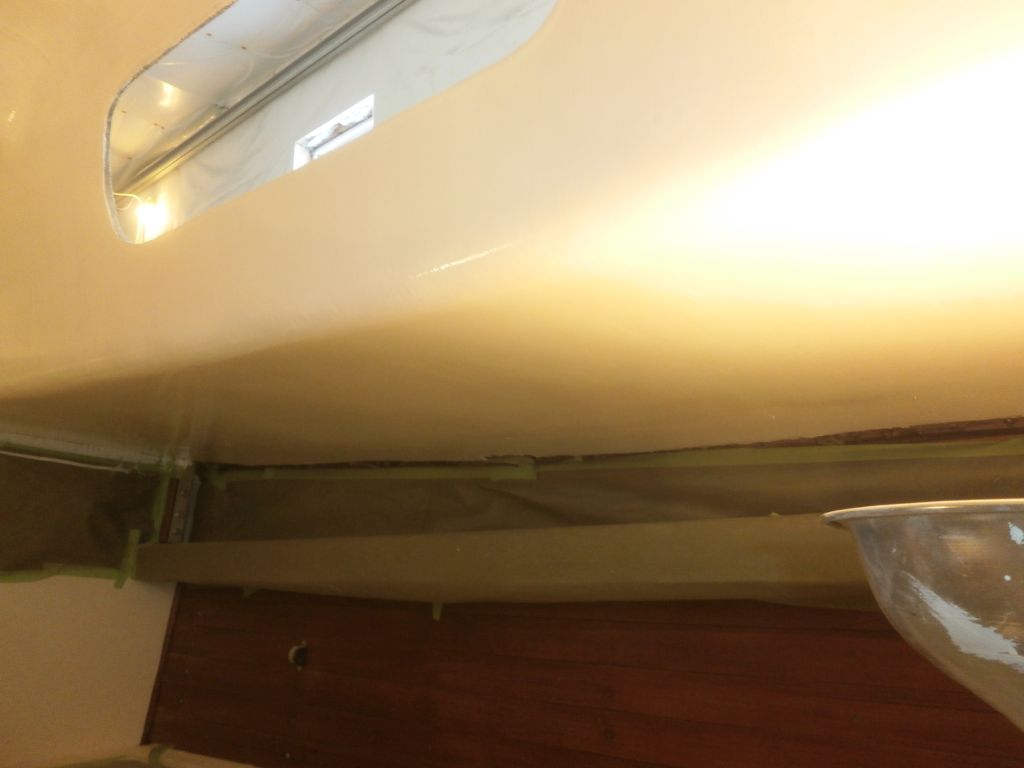
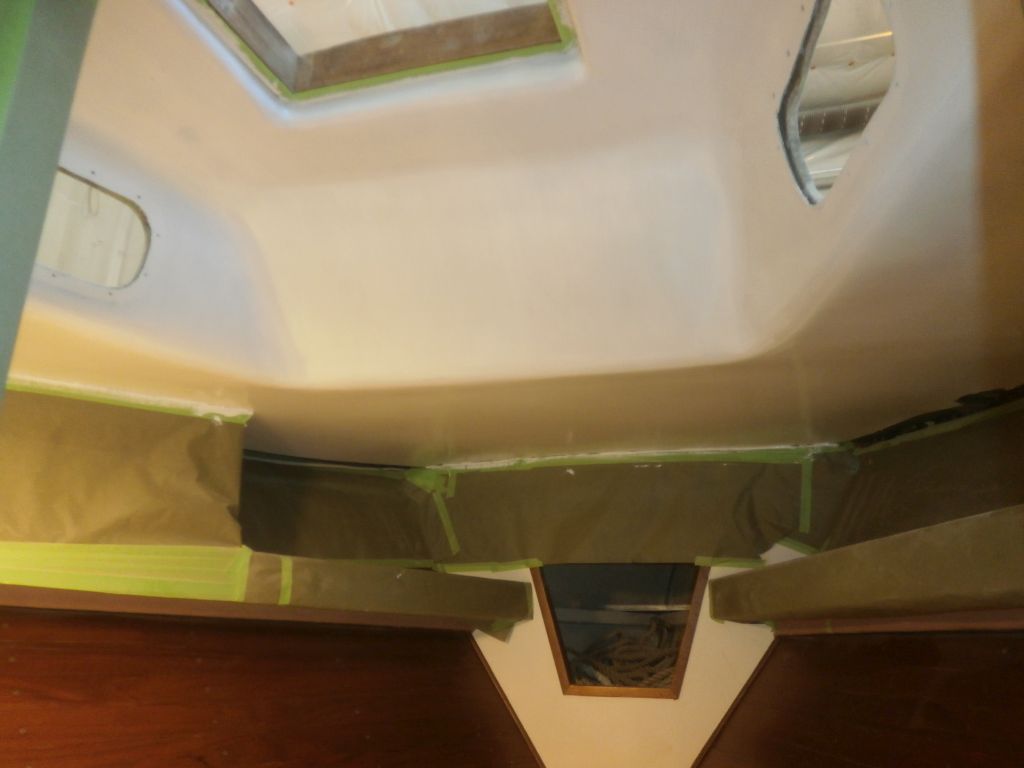
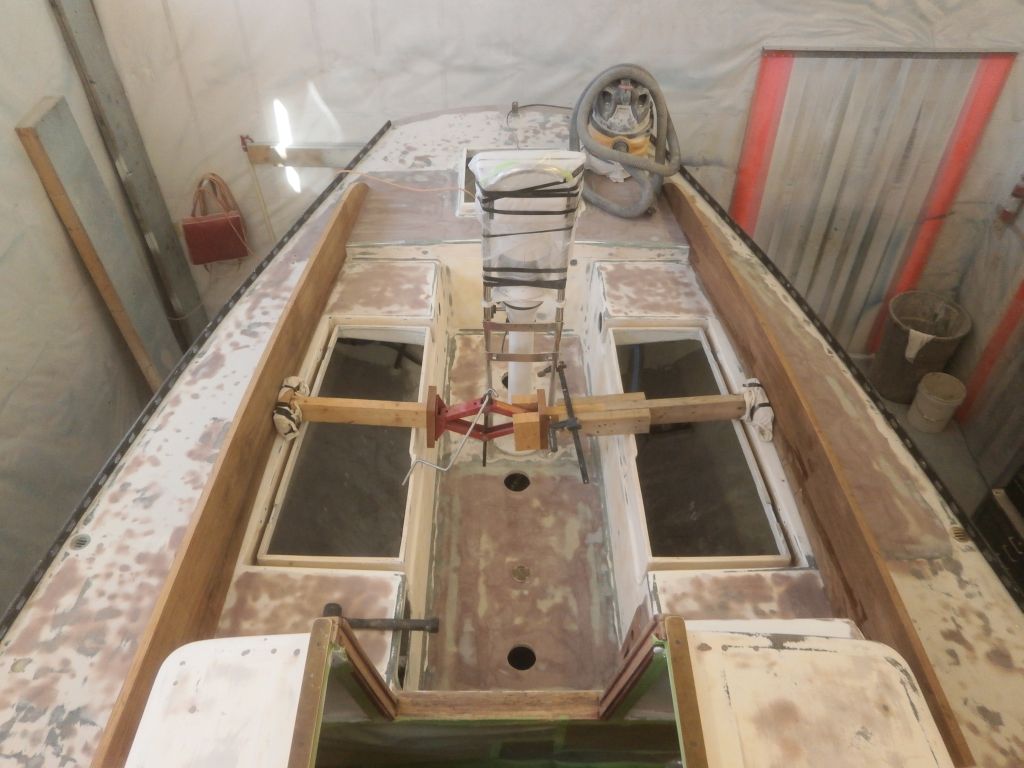
First thing, I applied a coat of primer to the interior overhead, making a remarkable--if hardly unexpected--improvement to the space.
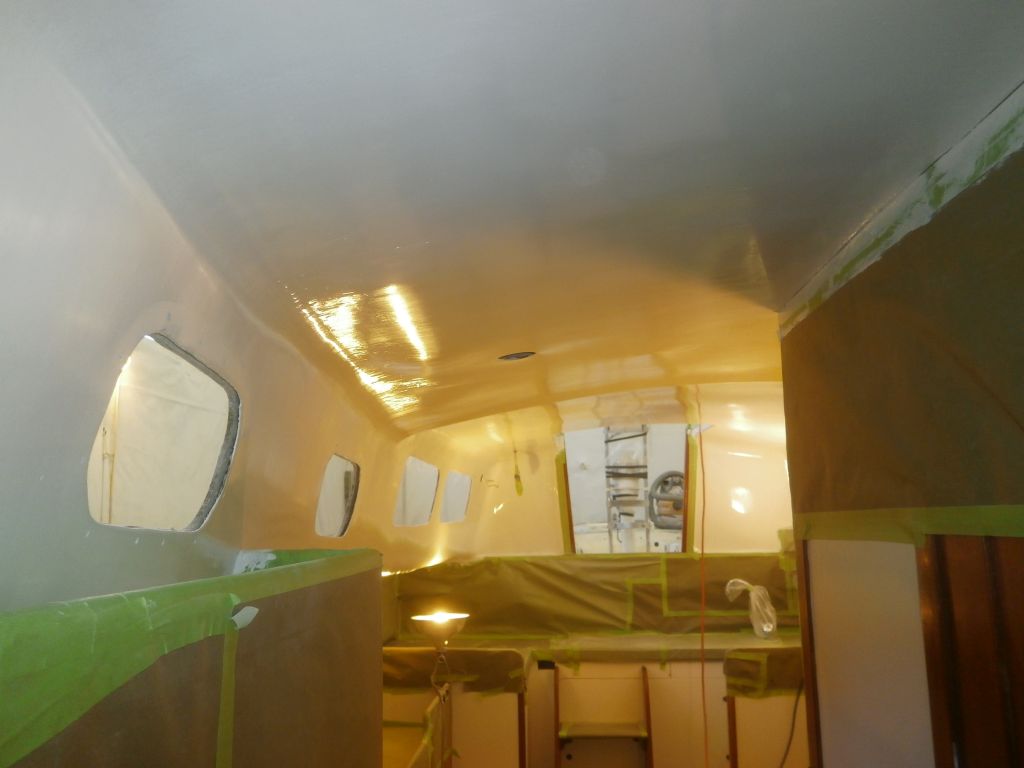
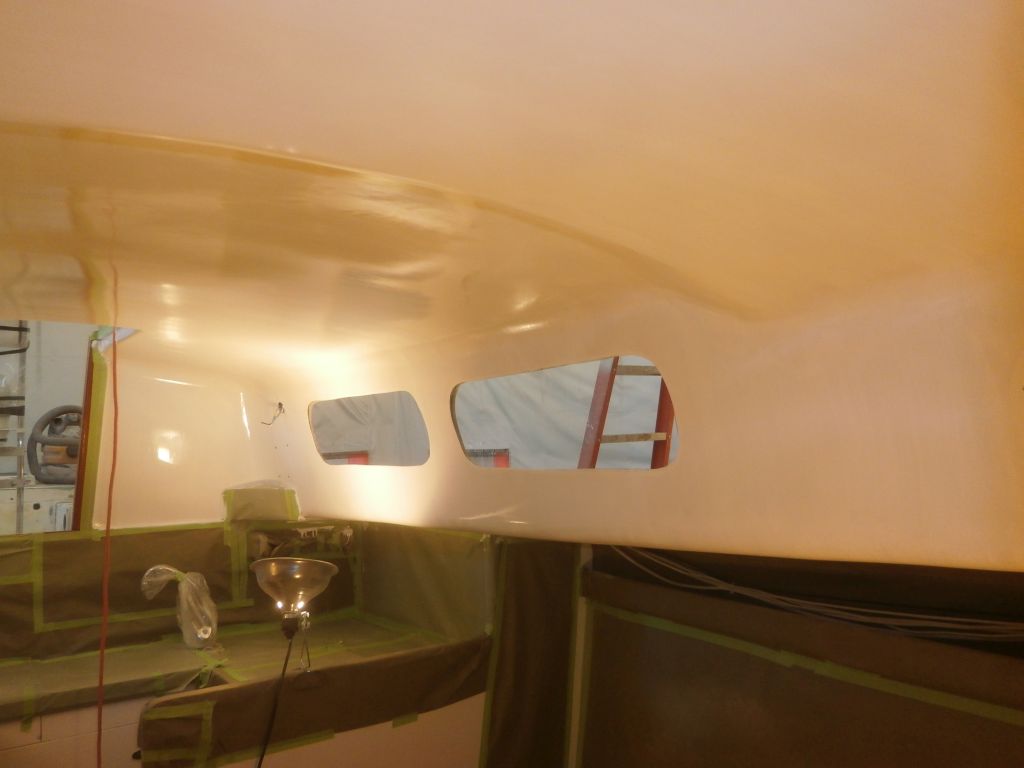
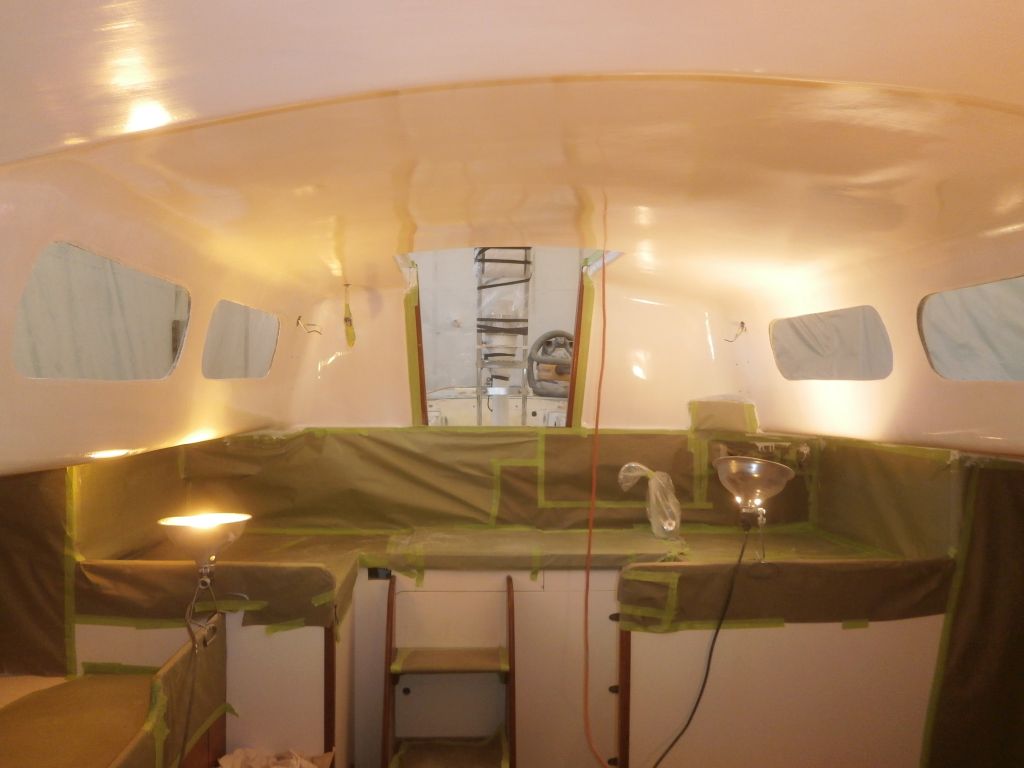
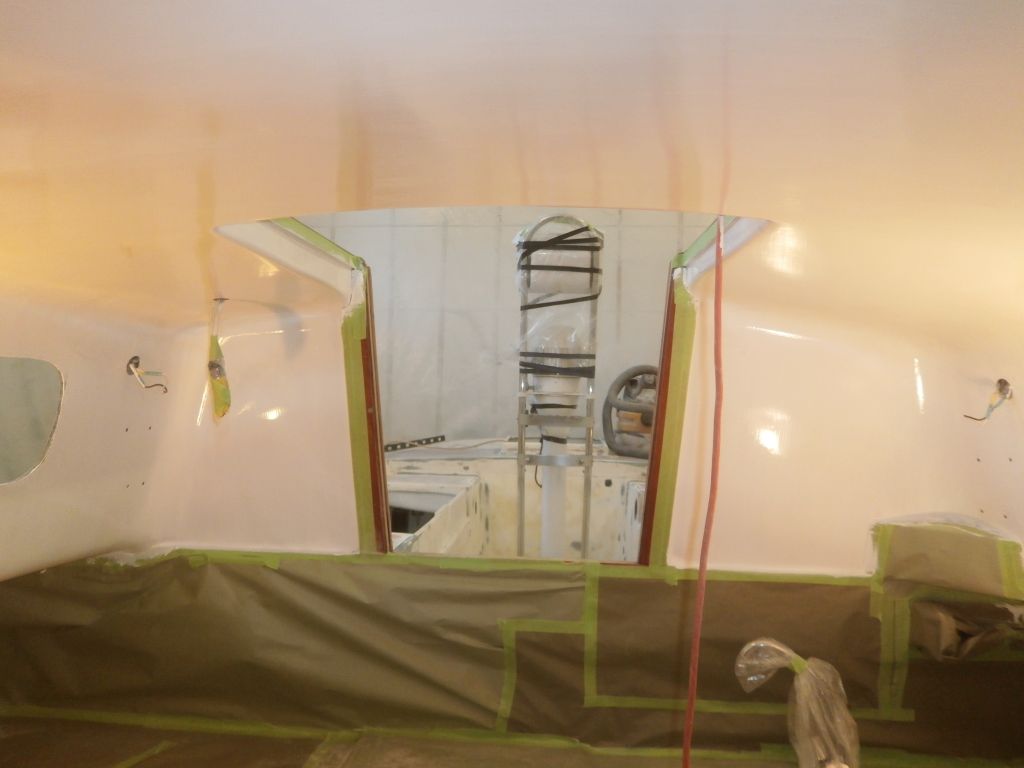
The interior painting would be the main focus of the next several days, along with general exterior priming preparations, but I had plenty of sundry jobs that I'd planned for the period as well, starting with some woodwork.
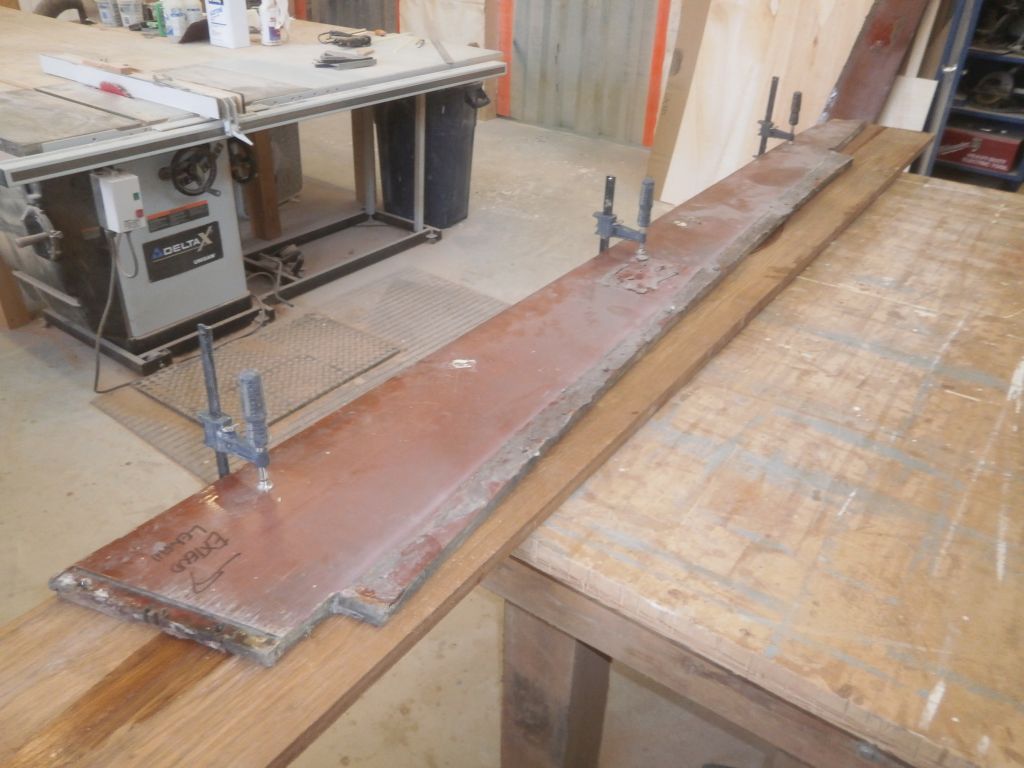
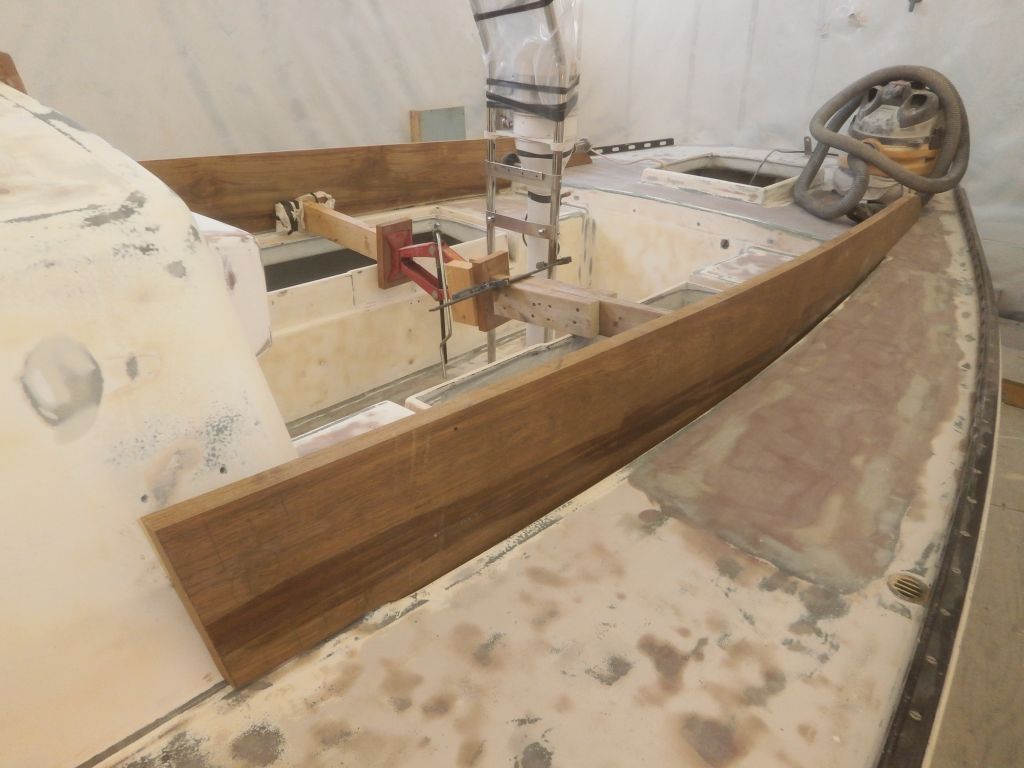
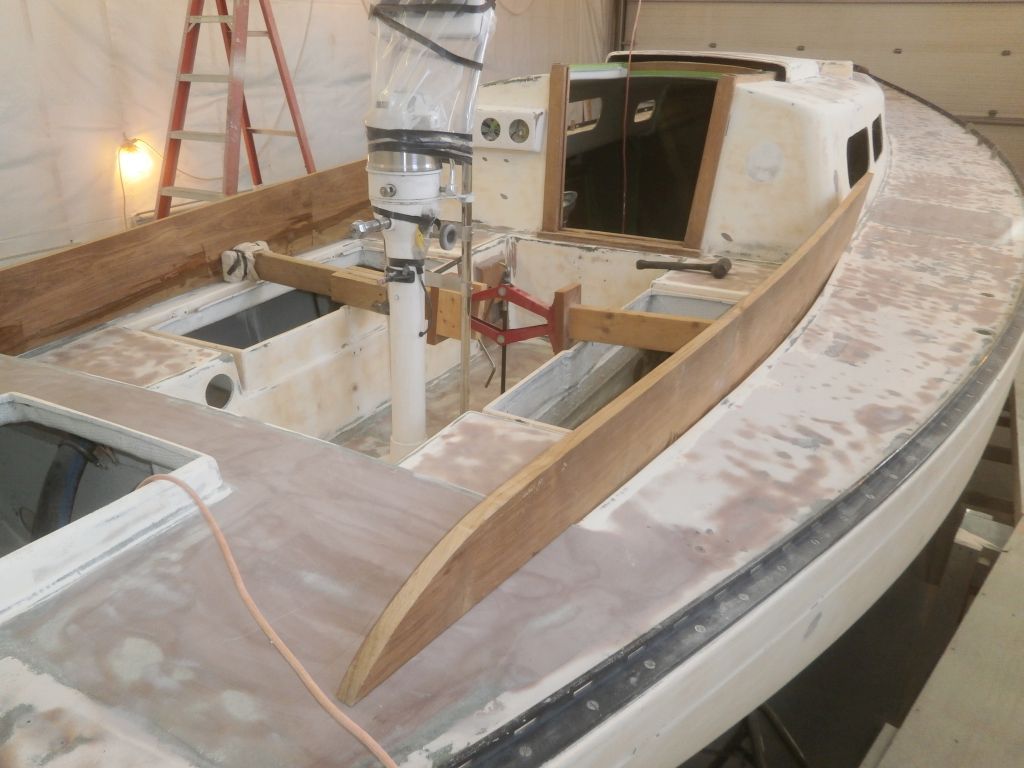
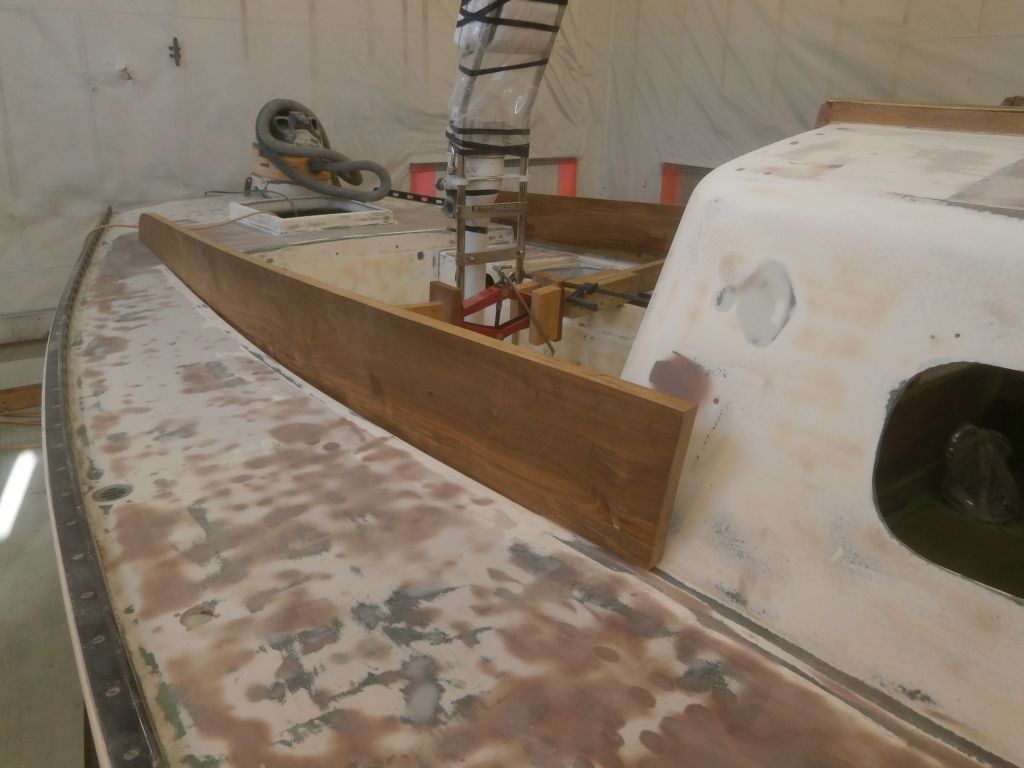
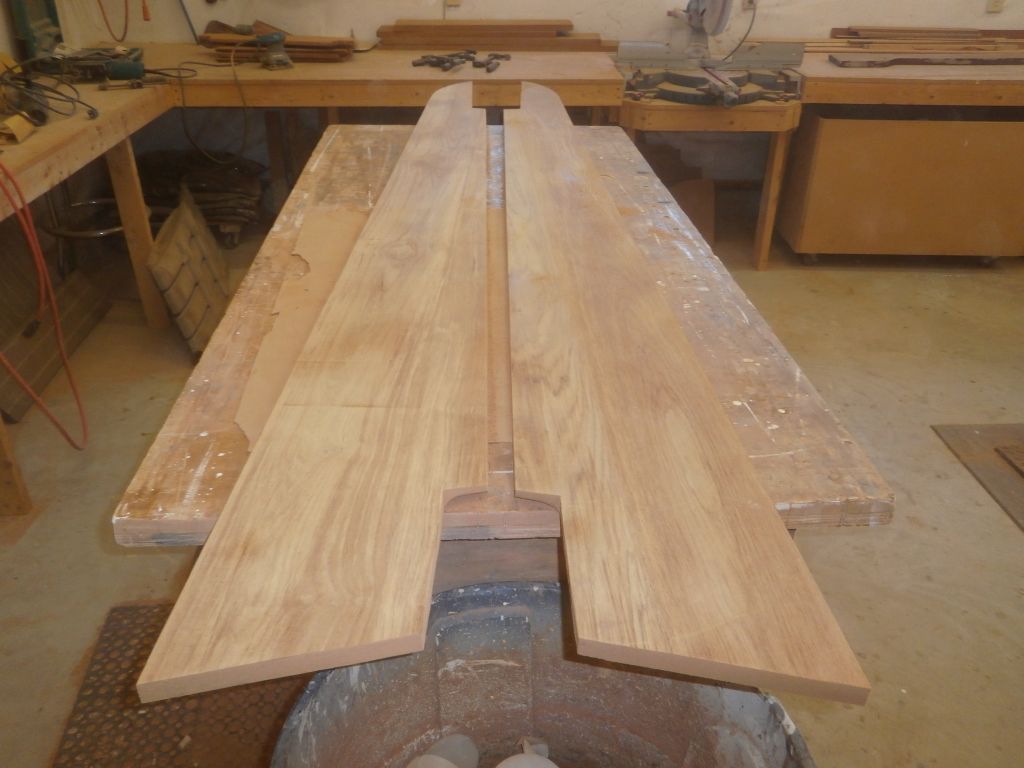
After unclamping the cockpit coaming blanks that I glued up a few days earlier, I prepared to cut the new coamings. First, I checked the fit of the old coamings back in the cockpit, and noted a few minor adjustments to make on the new pieces. Then, one at a time, I laid out the old coamings on the blanks, traced them as needed, and cut out the new coamings from the 7/8" - 15/16" thick teak.
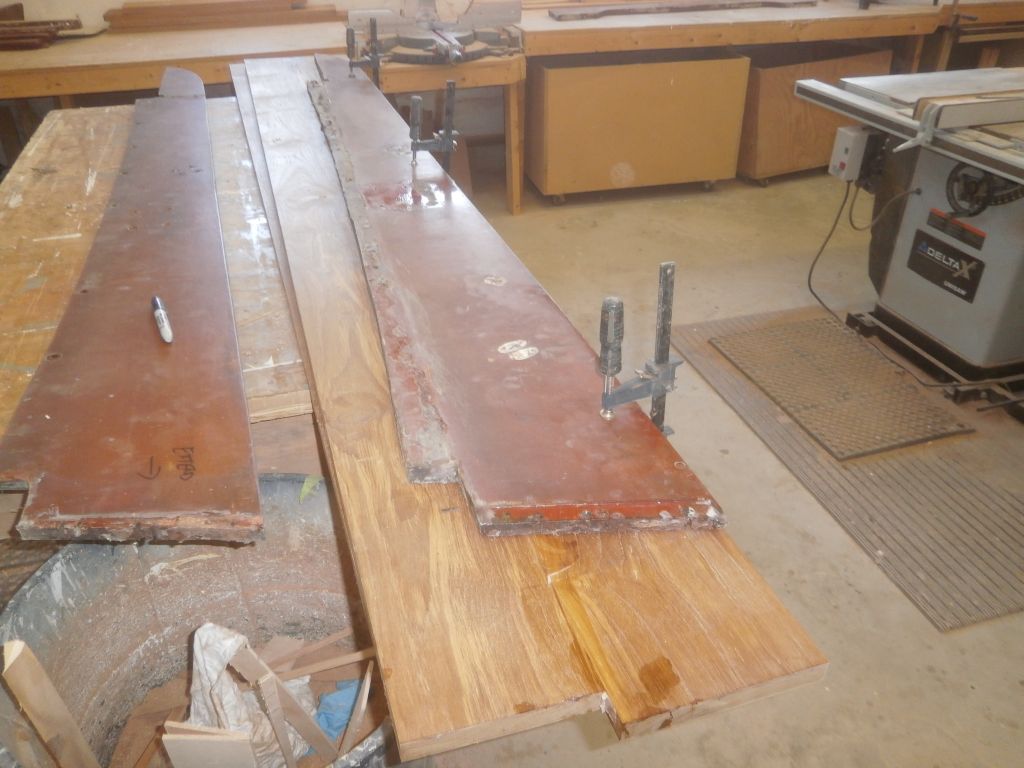
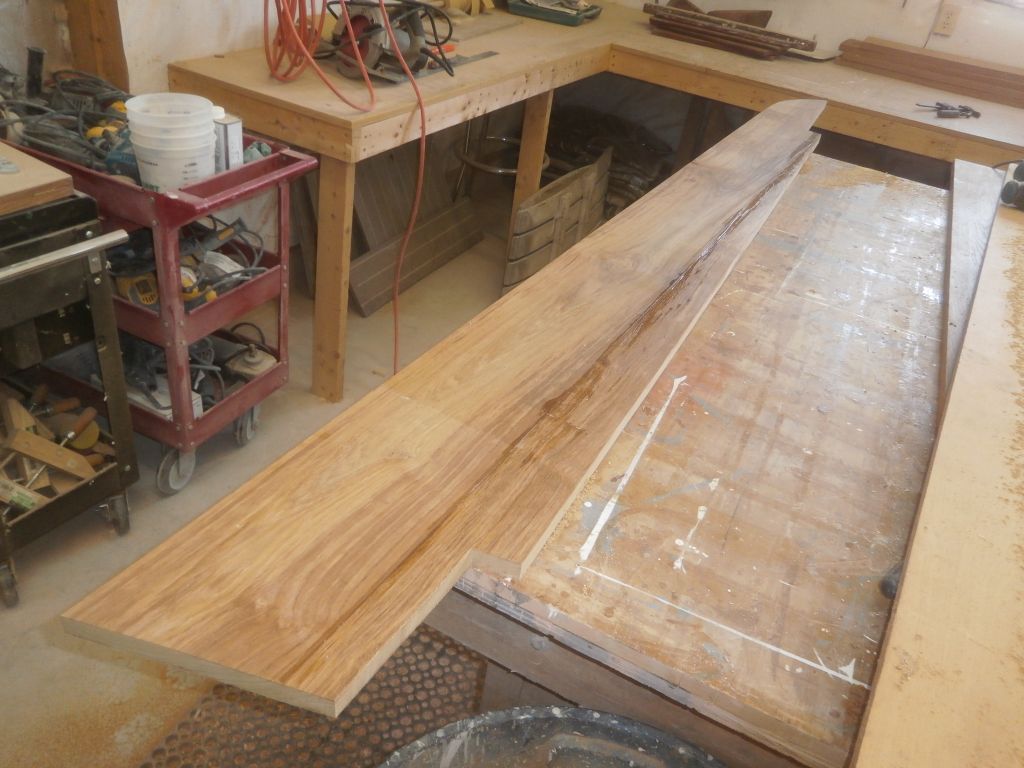
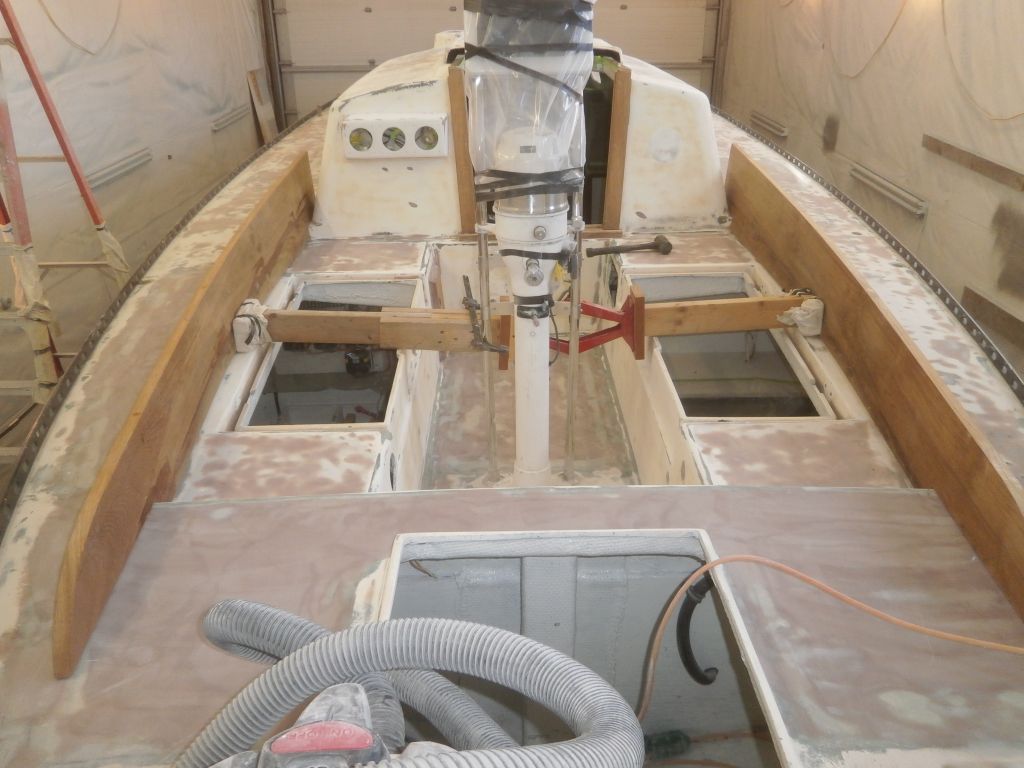
Next, I test-fit the new coamings in the cockpit, making minor adjustments so they'd slip into place. Using my trusty coaming pusher device, I pressed both sides against the curve of the cockpit to further refine the fit as needed, and to begin laying out the coaming return blocks at the forward ends. The coamings wouldn't completely conform to the curve in all areas till I started actually fastening them, but in their current position it gave me the information I needed at the moment.

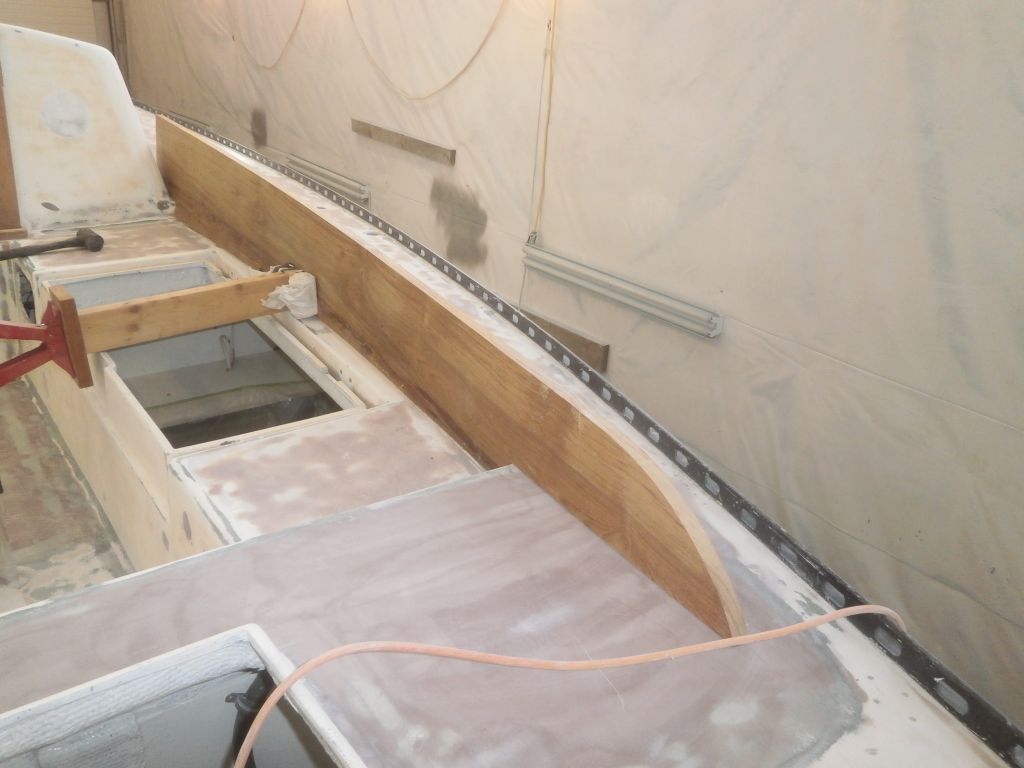
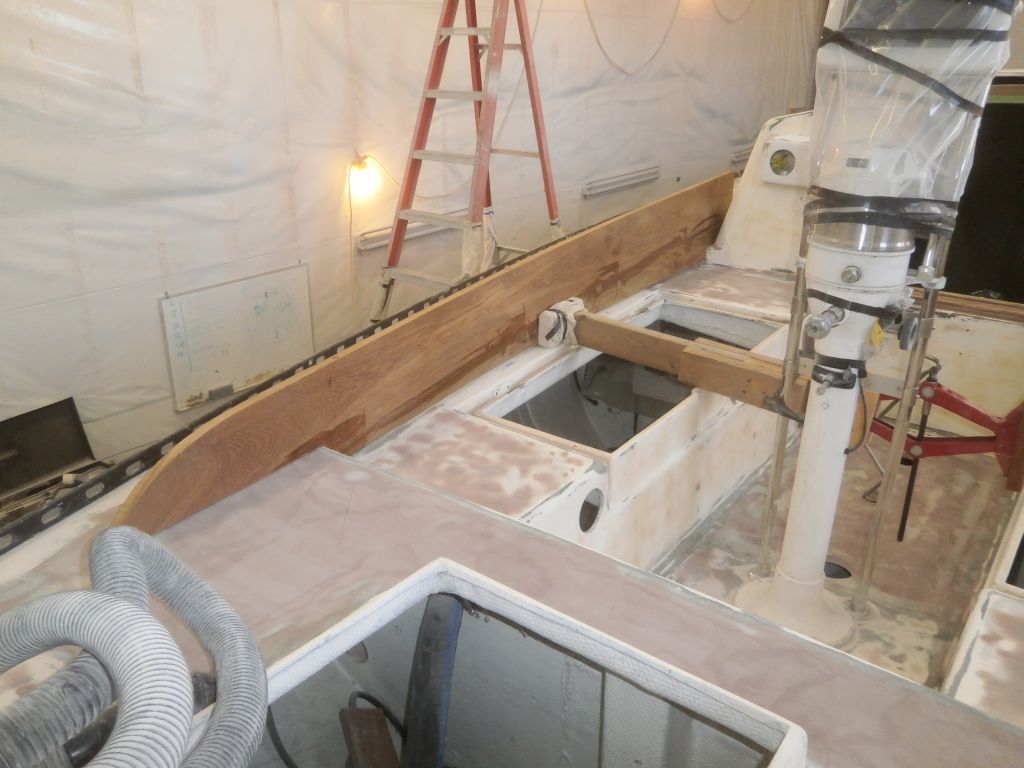
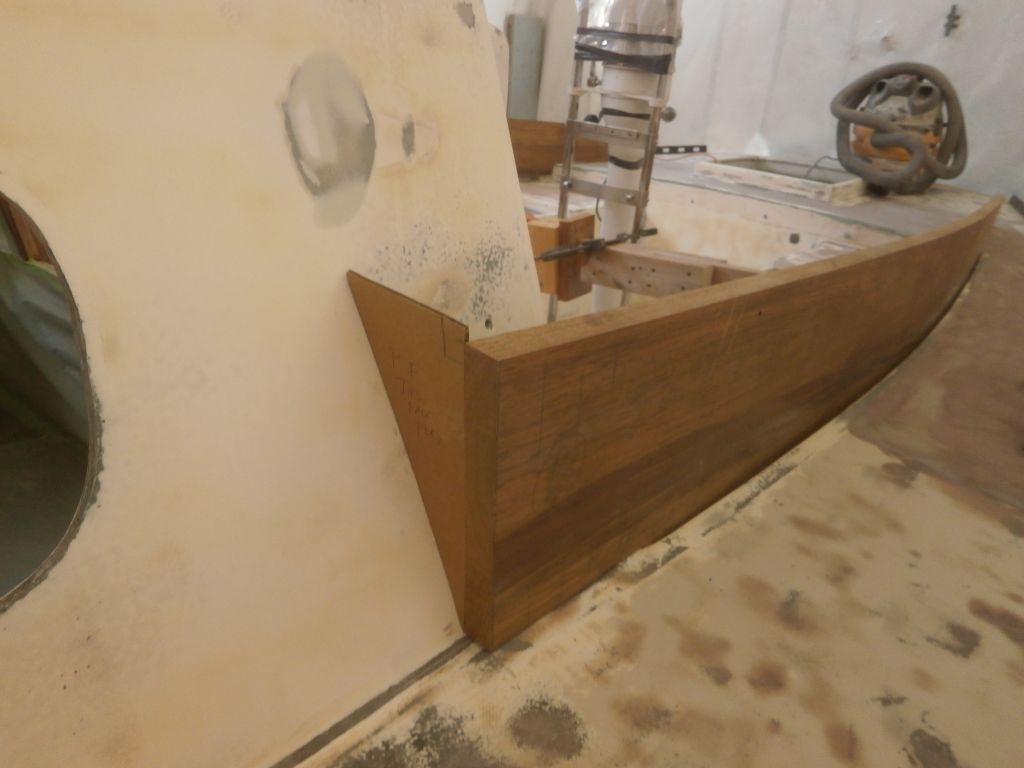
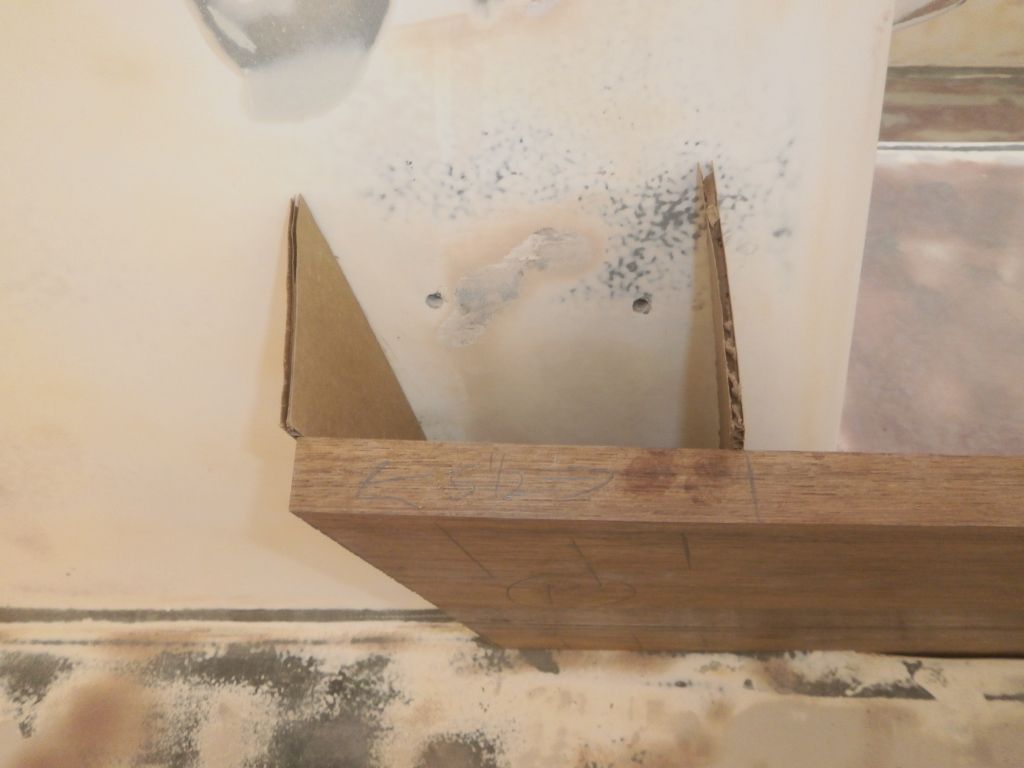
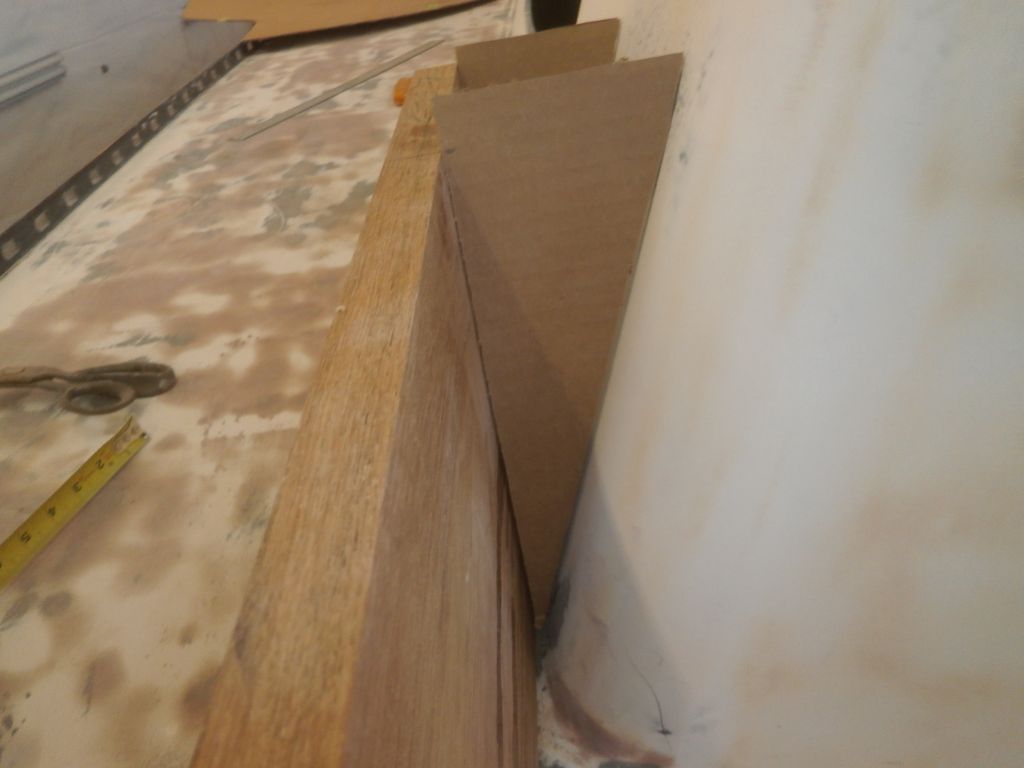
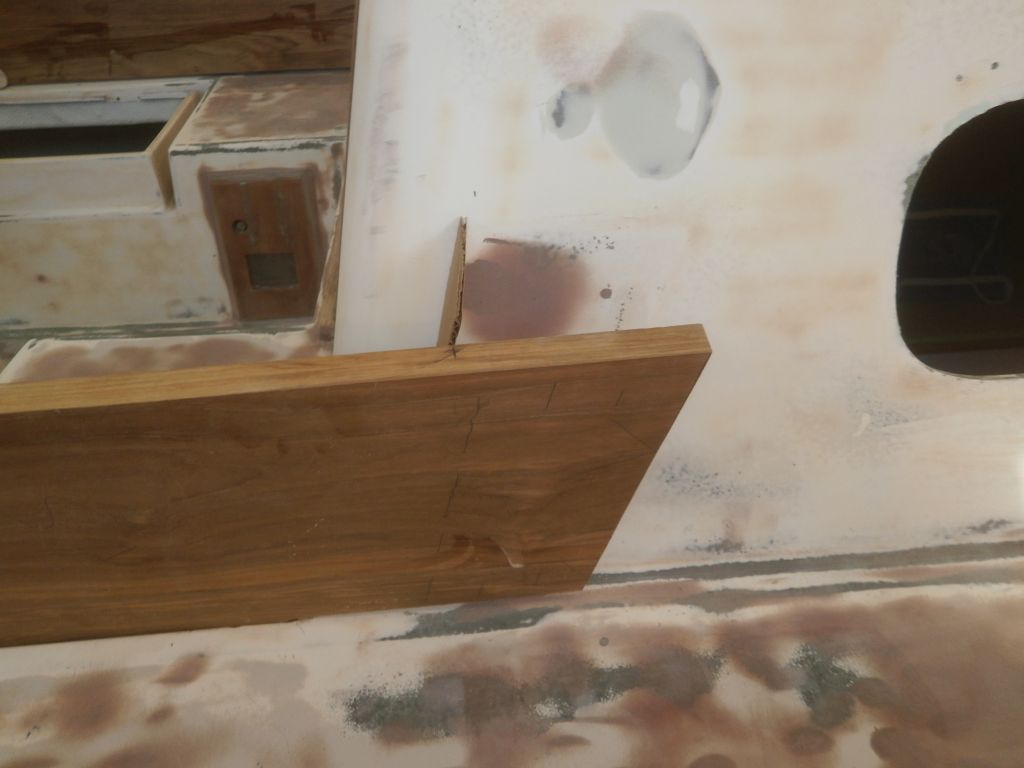
From cardboard, I made little templates of the shape of the coaming blocks, using the shadow of the old positions (and, more importantly, the fastener holes) as a general guideline to position the forward and after ends. On the starboard side, the size and shape of both ends was consistent, so I needed only one template; there was a slight difference on the port side, so I made two templates, one for each end of the block.
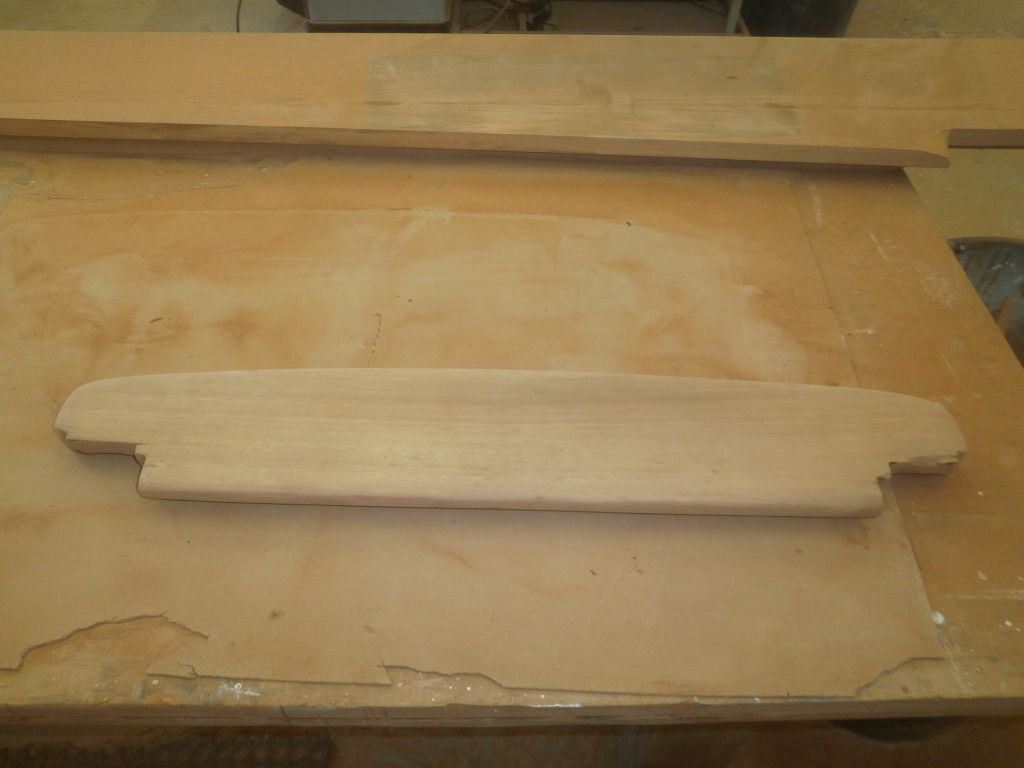
My coaming design extended the actual coaming itself forward to the furthest extent of the return block, which would give a better glue connection between the pieces and better hide the end grain of the coaming blocks. From these patterns, I'd glue up and mill the solid blocks to fit before attaching them to the coamings themselves and then finally shaping the area into a pleasant curve.

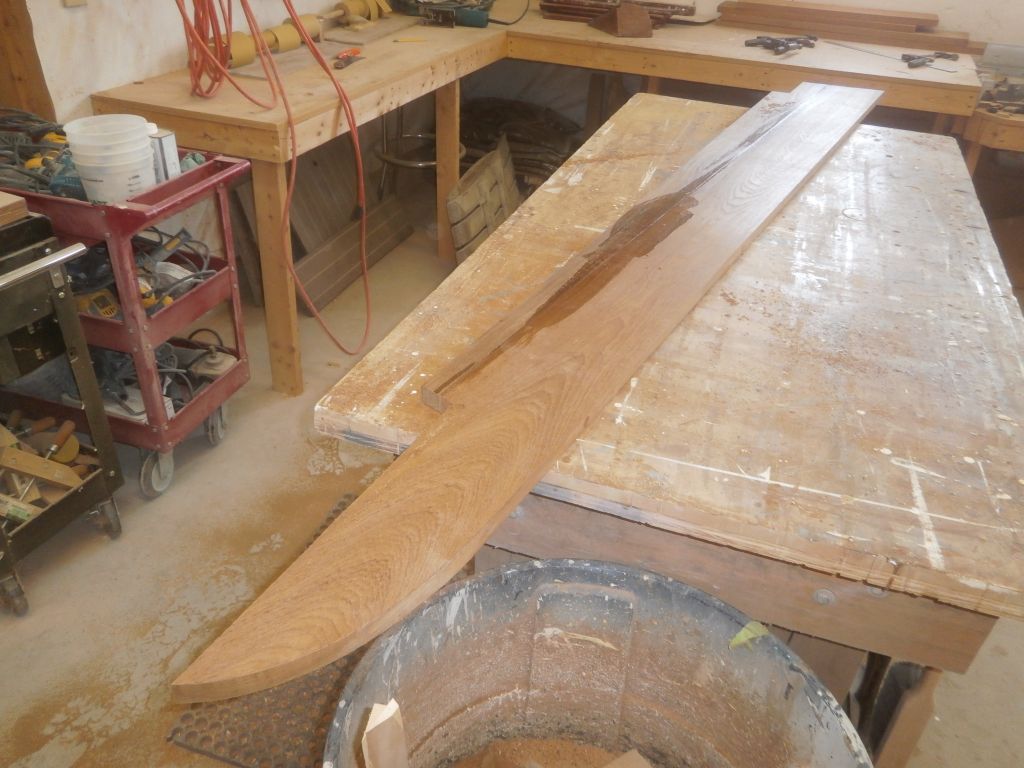
Later, I removed the coamings and sanded smooth the glue lines, leaving further sanding till I'd completed various milling operations and attached the return blocks.
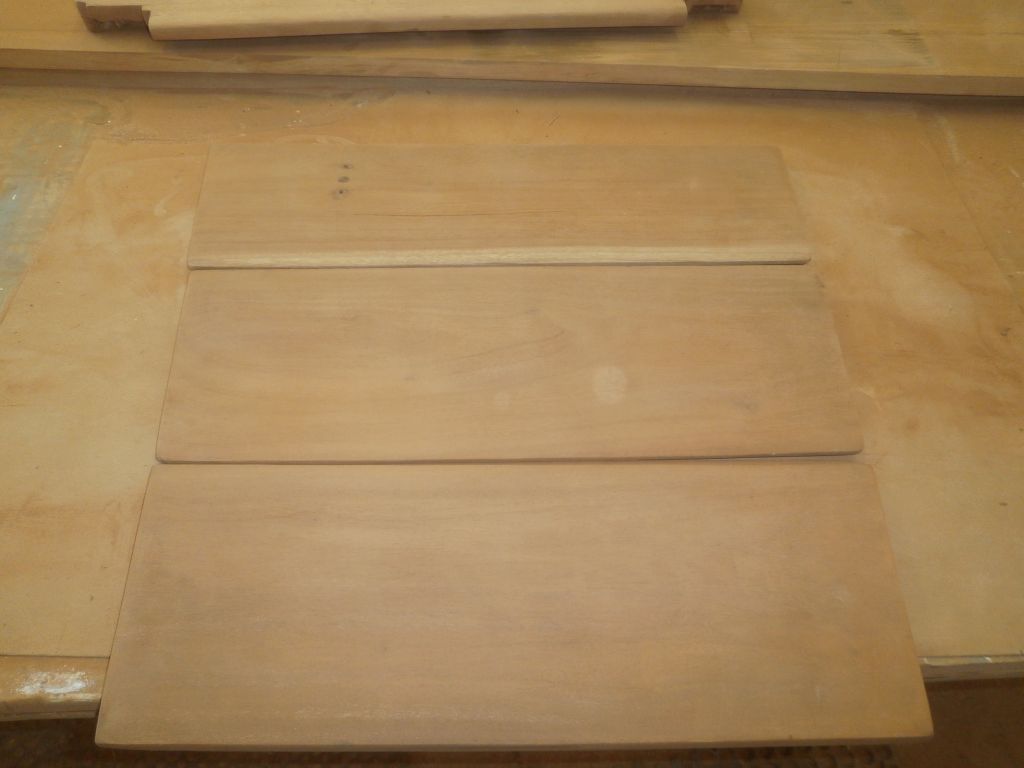
Meanwhile, I stripped the old finish as needed and sanded smooth the companionway boards and a piece of the companionway hatch trim.
Total Time Billed on This Job Today: 6.75
Hours
