
110 Cookson Lane | Whitefield, ME 04353 | 207-232-7600 | tim@lackeysailing.com
Ashantee | Tuesday, April 21, 2015
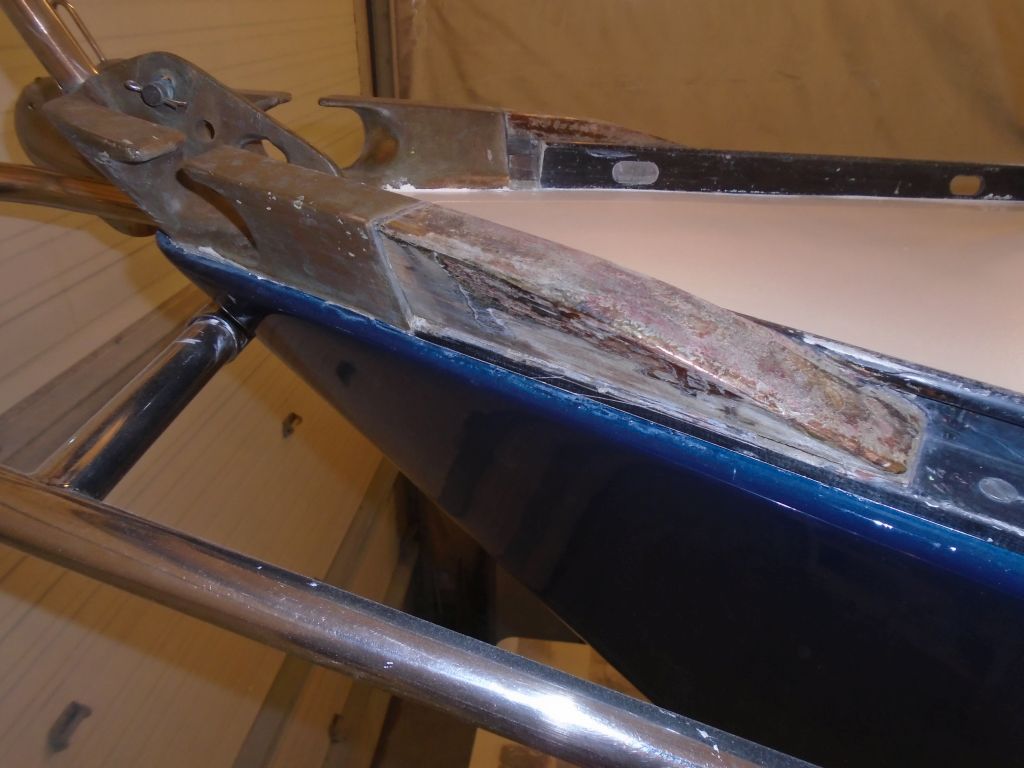
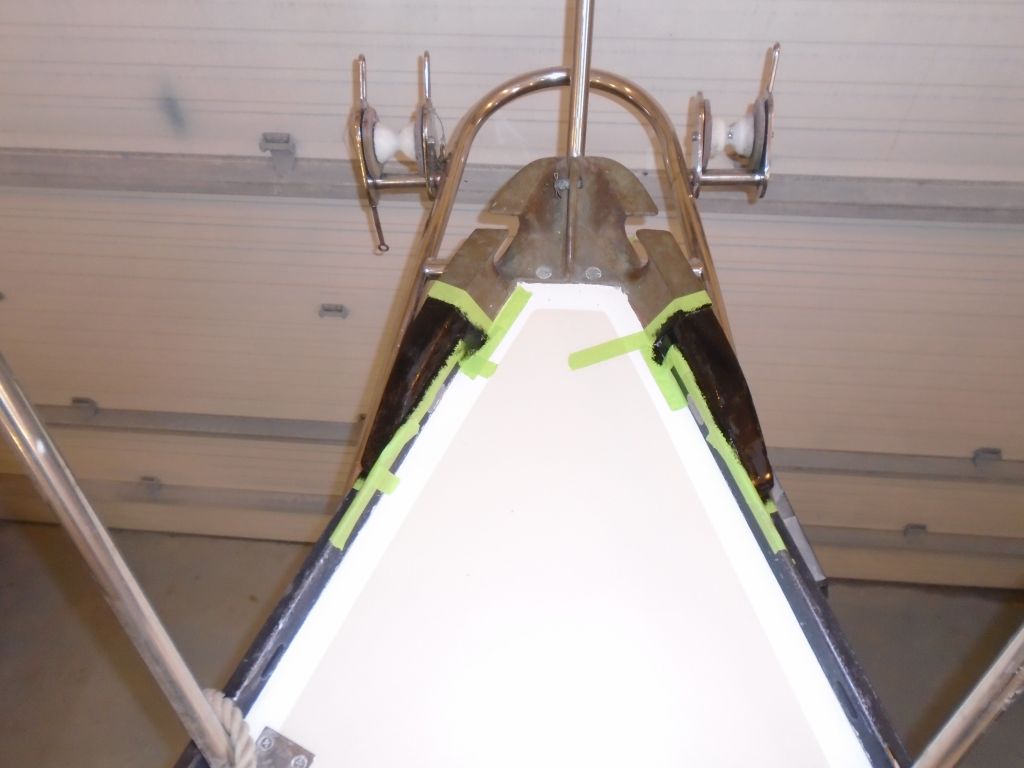
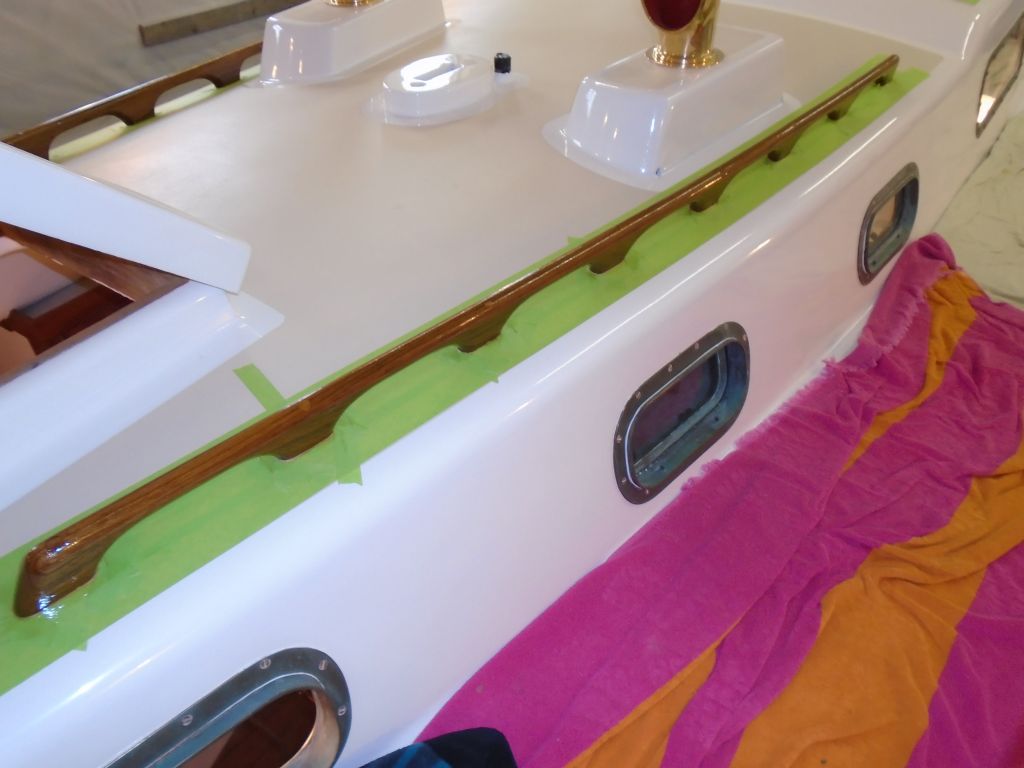
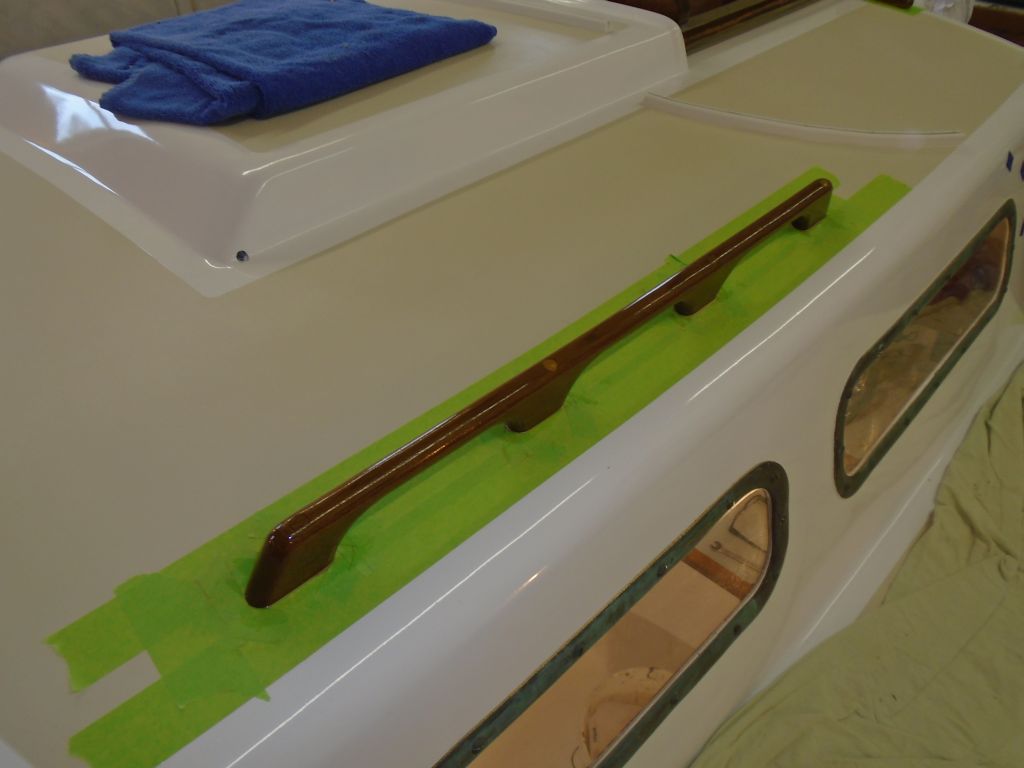
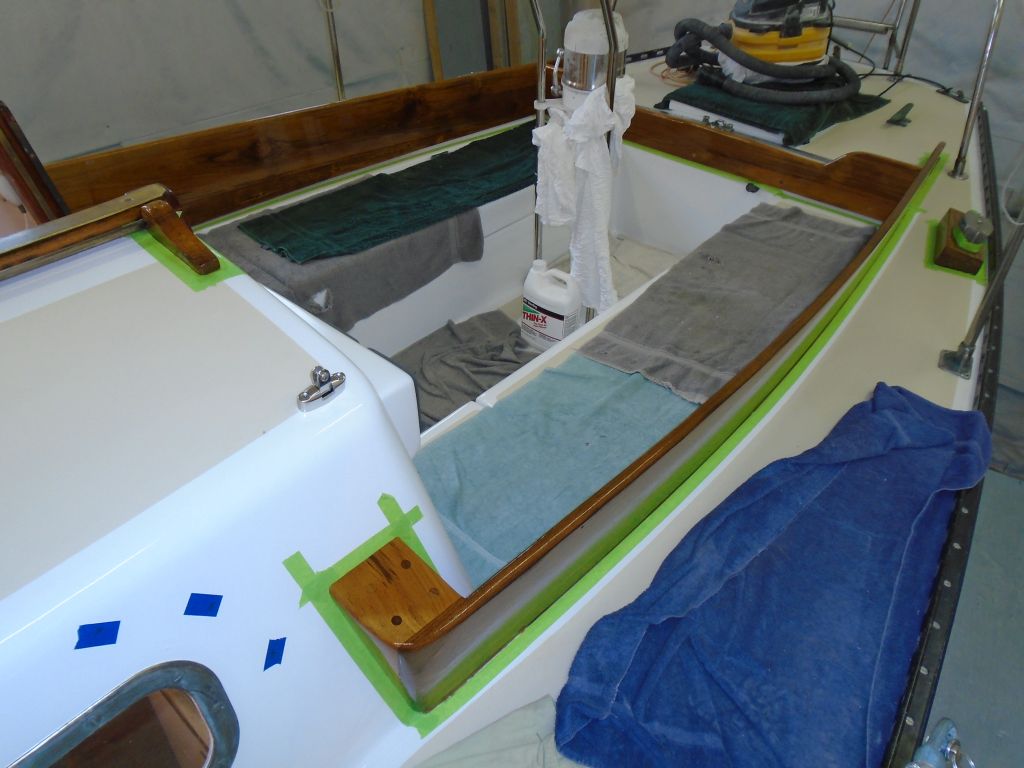
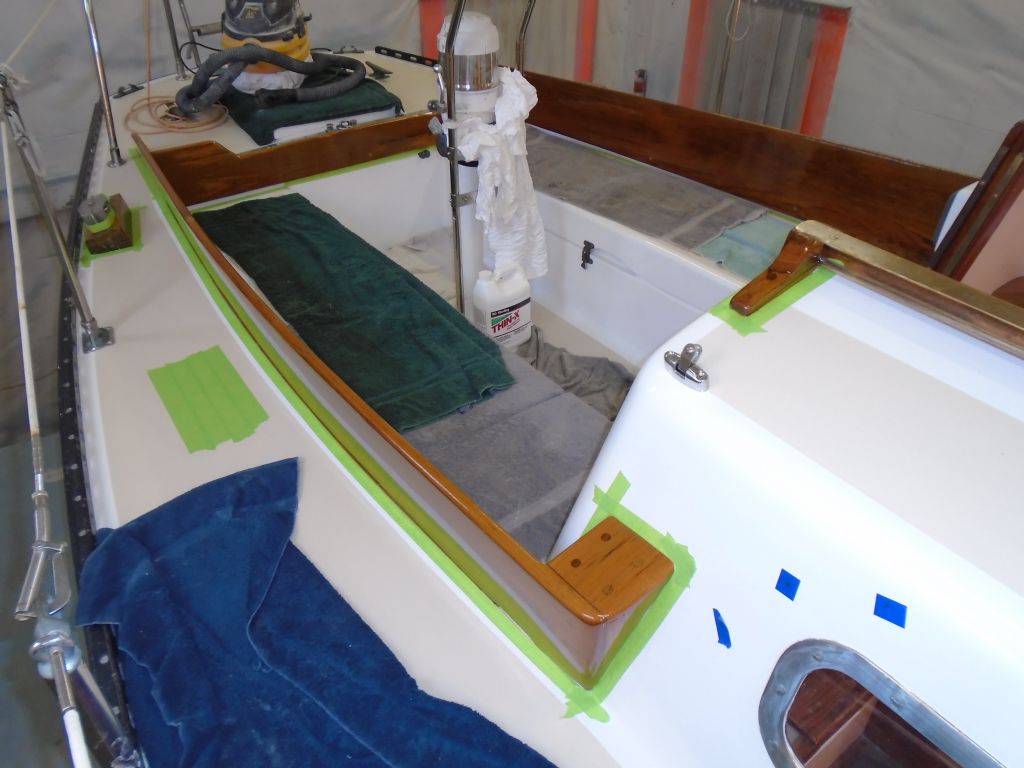
After my usual round of light sanding and subsequent cleaning of the varnish work, I turned to the forward section of the toerail. When some previous owner replaced the original wooden toerail with the slotted aluminum one now in place, they left short segments of the original rail at the stem piece, to transition between the old and the new. These short sections had once been varnished, but were in rough shape. Given the overall condition of the remaining wood, and its incongruity with its surrounds, the owner and I decided that painting these sections black made the most sense.
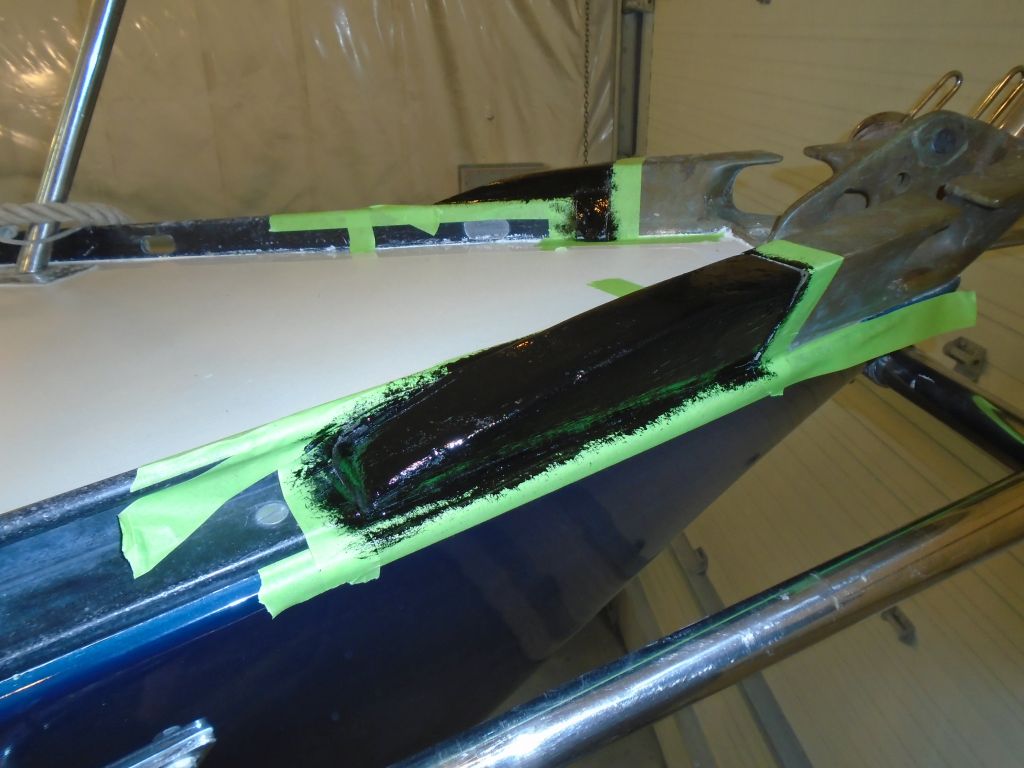
After scraping and sanding to prepare these areas, and masking as needed, I applied a coat of black paint. Late in the day, the first coat had cured enough to allow a second over the top.
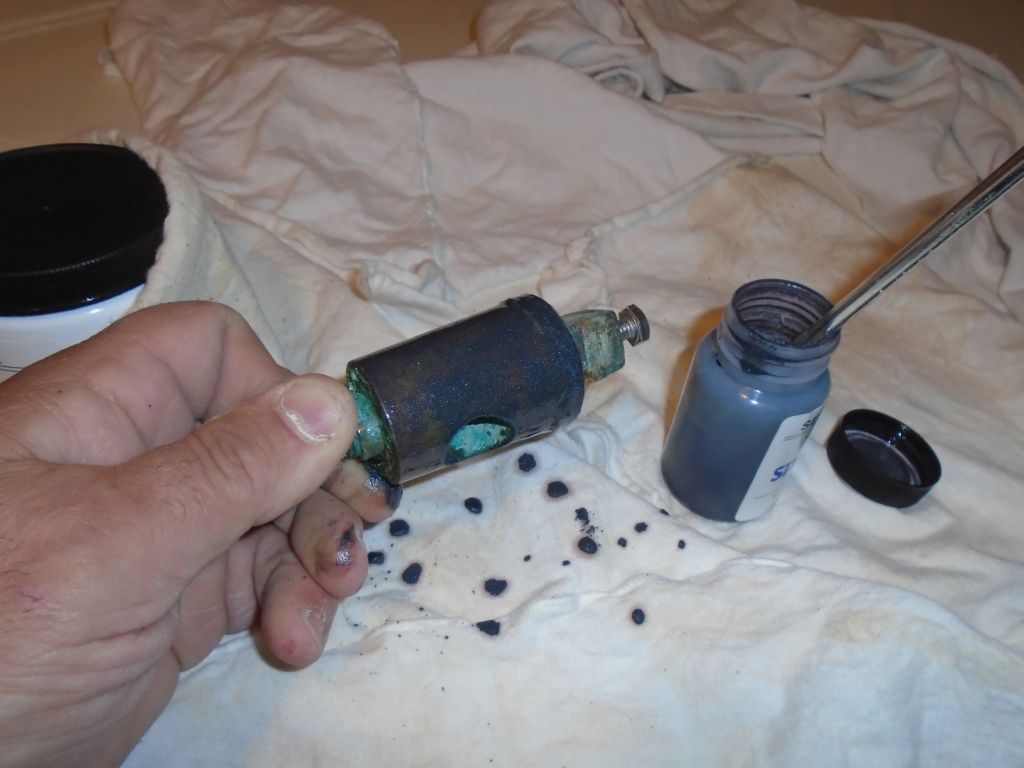
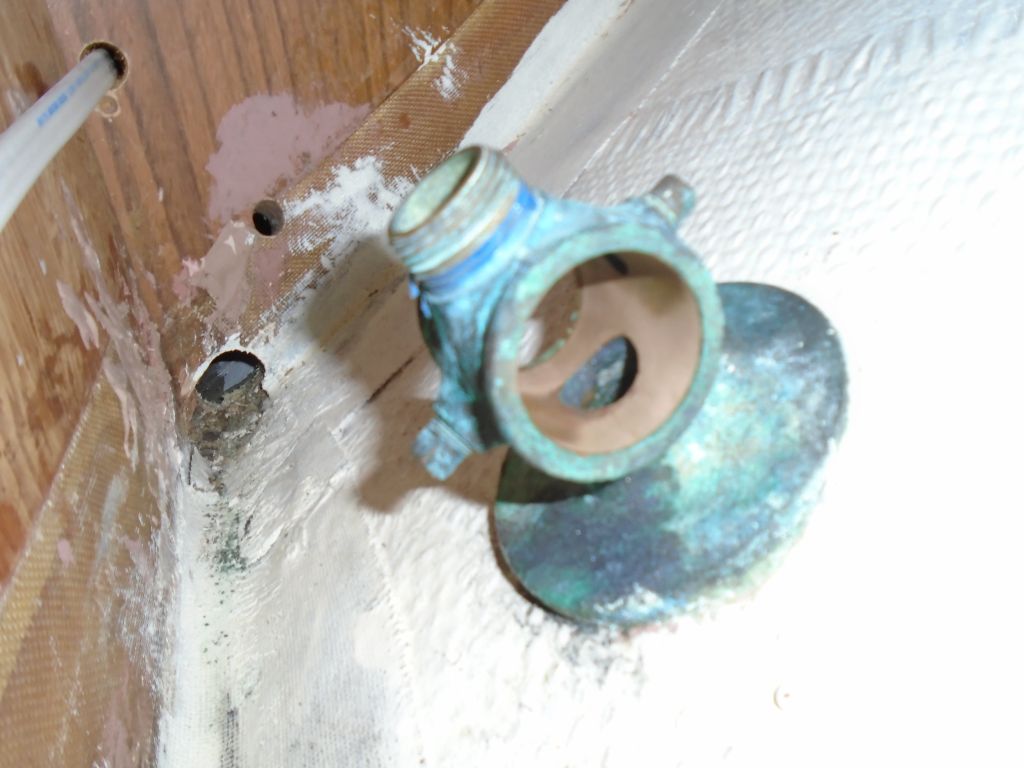
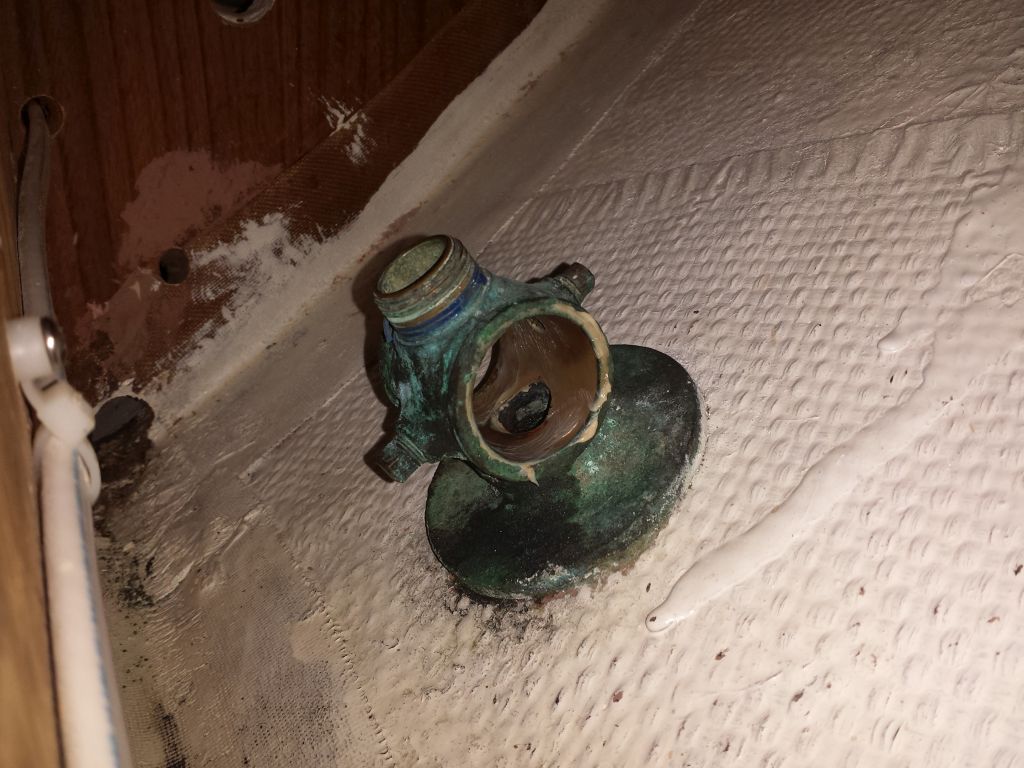
With maintenance products now on hand, I worked on the head intake seacock that I'd disassembled earlier. Suspecting normal plug wear as the culprit for the minor leakage the owner reported, I elected to lap (grind) the valve and body to allow the plug to better seat and eliminate the leaks.
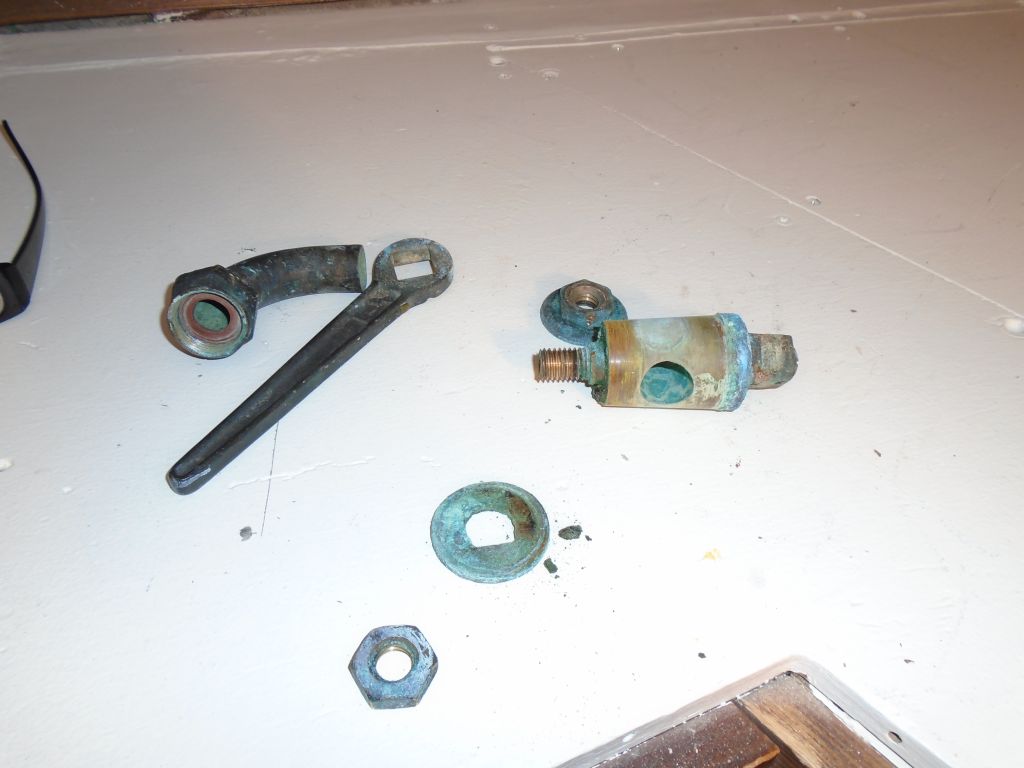
I applied valve lapping compound to the plug, and, with a temporary bolt secured to the end of the plug, used a ratchet to spin the plug in the valve body, continuing the process and checking the plug from time to time (reapplying lapping compound as needed) till I'd removed the signs of wear and it looked like the plug and body were mating well.
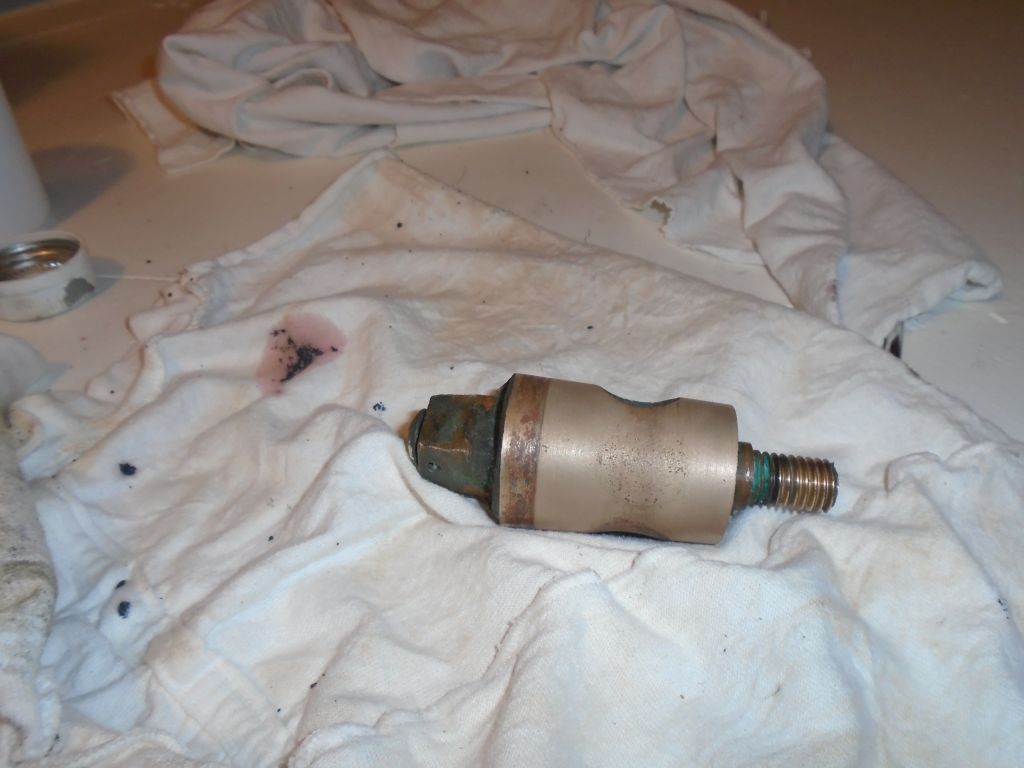
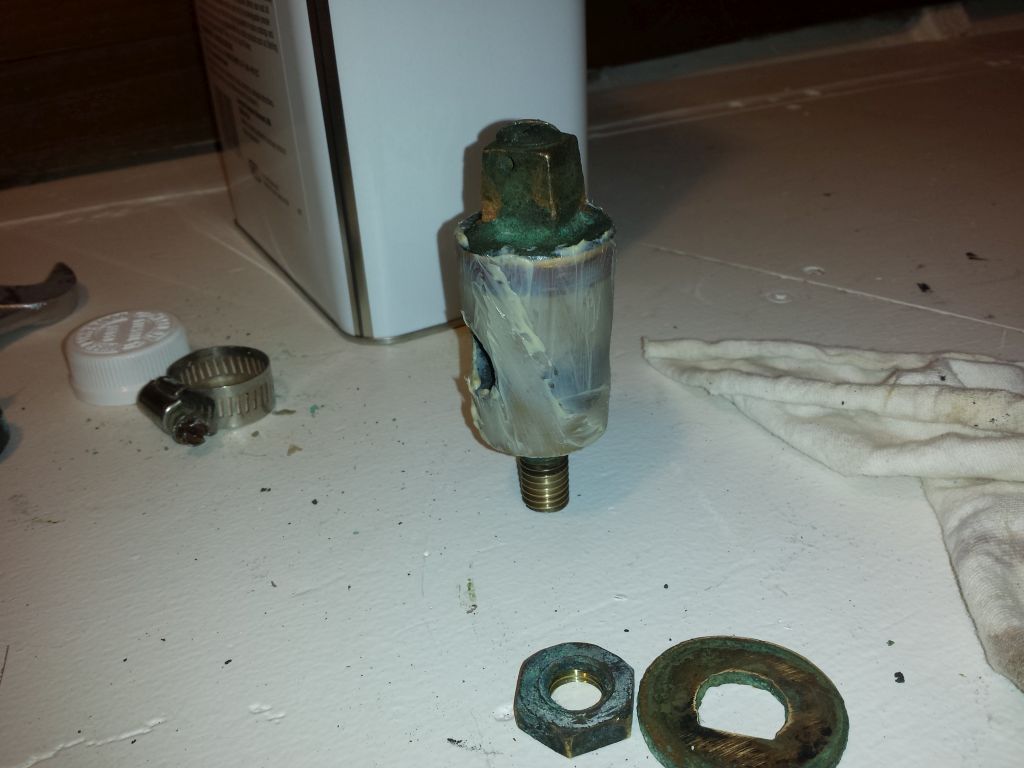
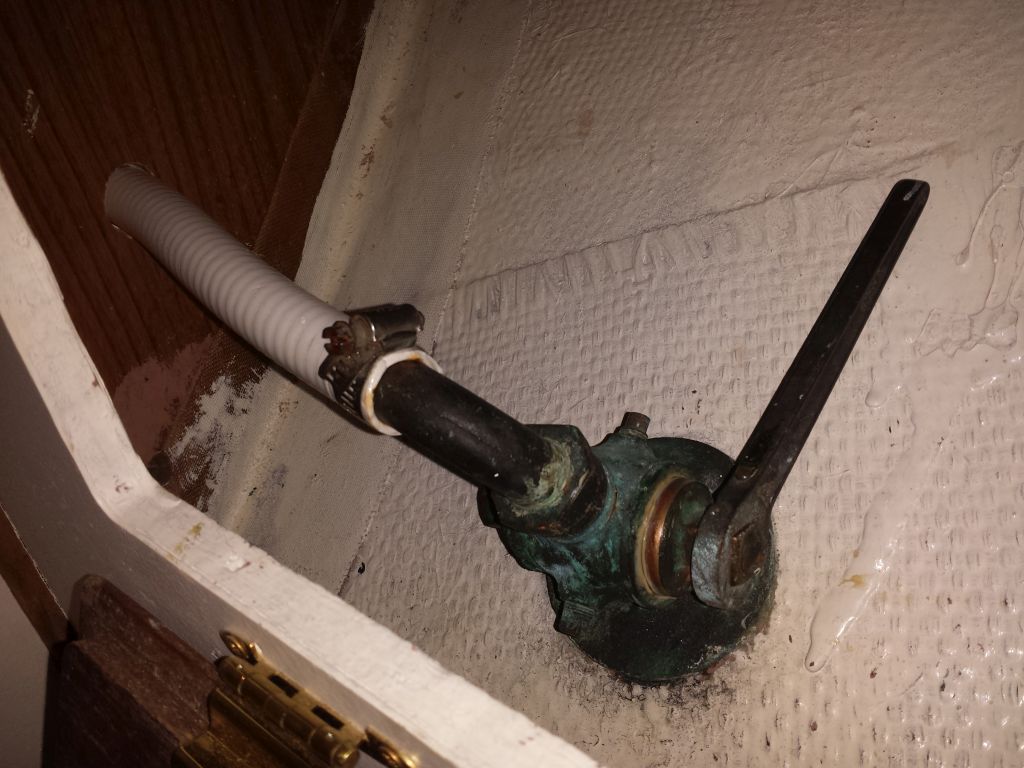
After thoroughly cleaning the plug and body, I applied seacock grease to both surfaces and reassembled the valve, tightening it to a point where the action was appropriately tight, then reattached the hose to complete the process.

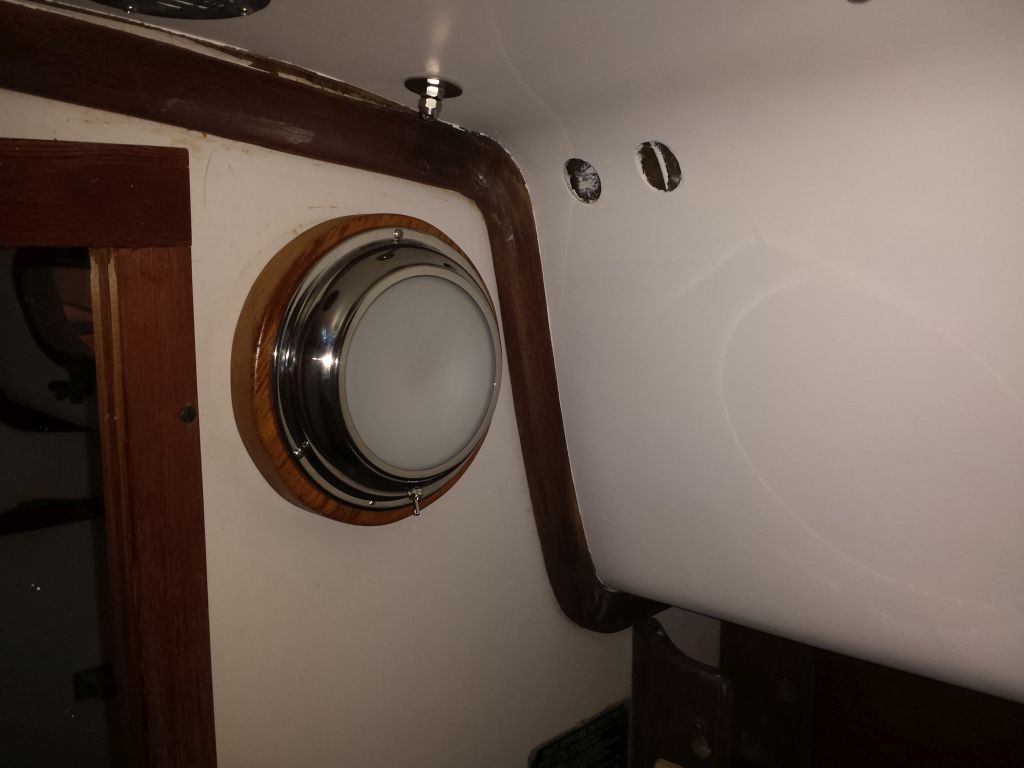
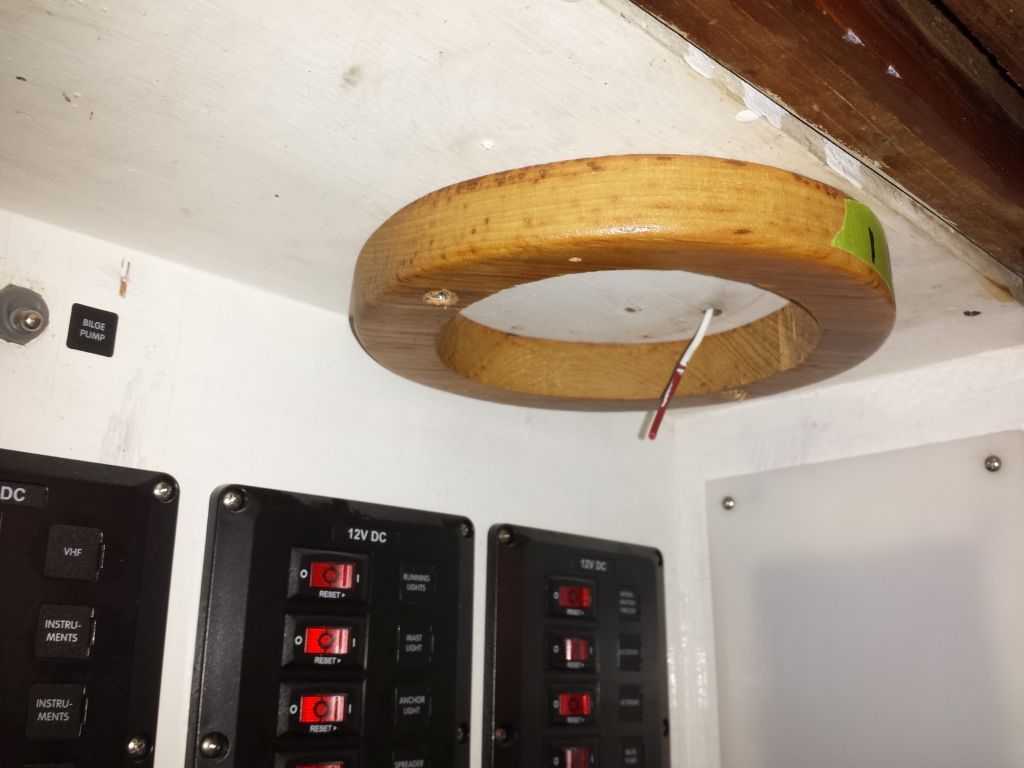
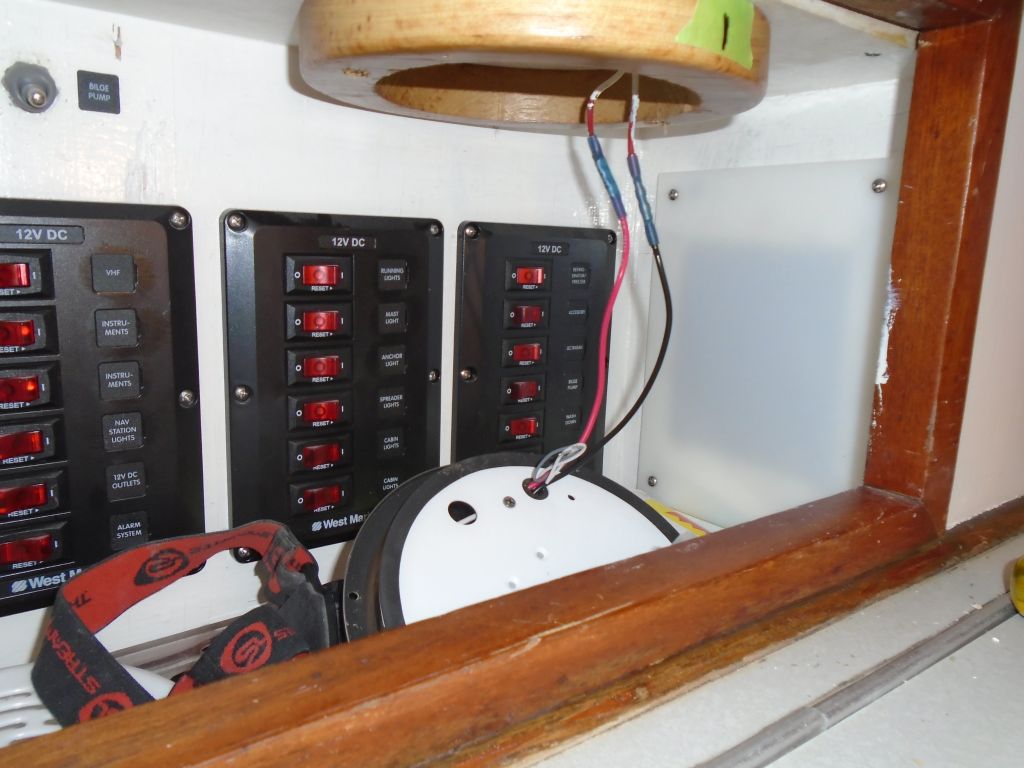
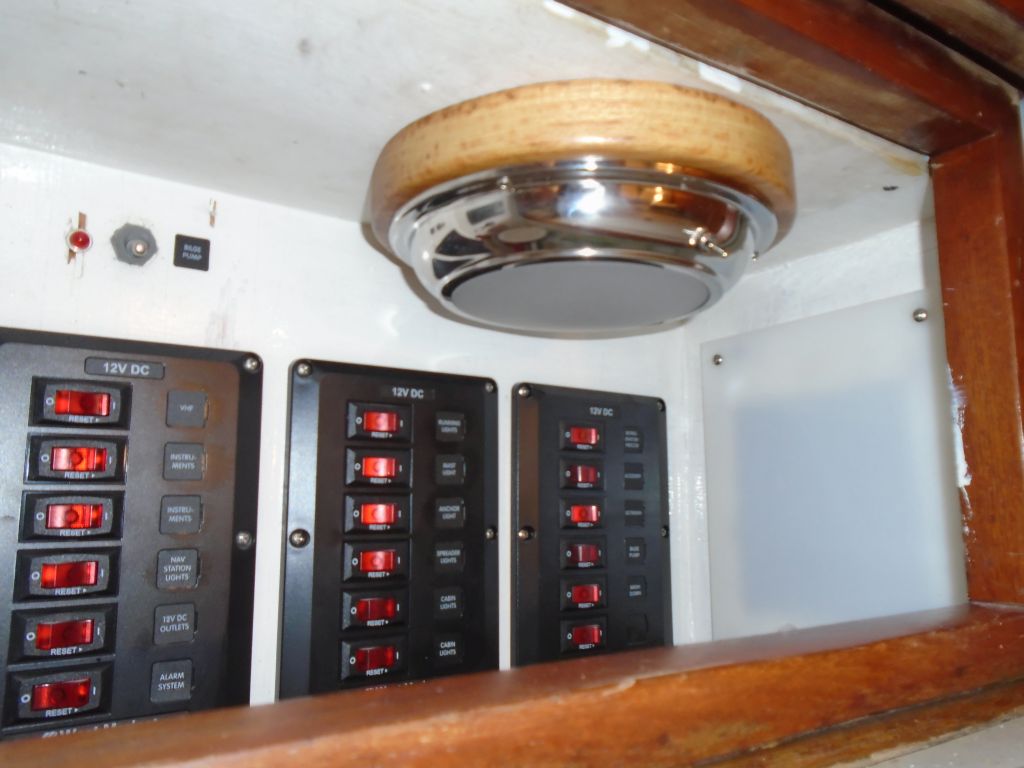
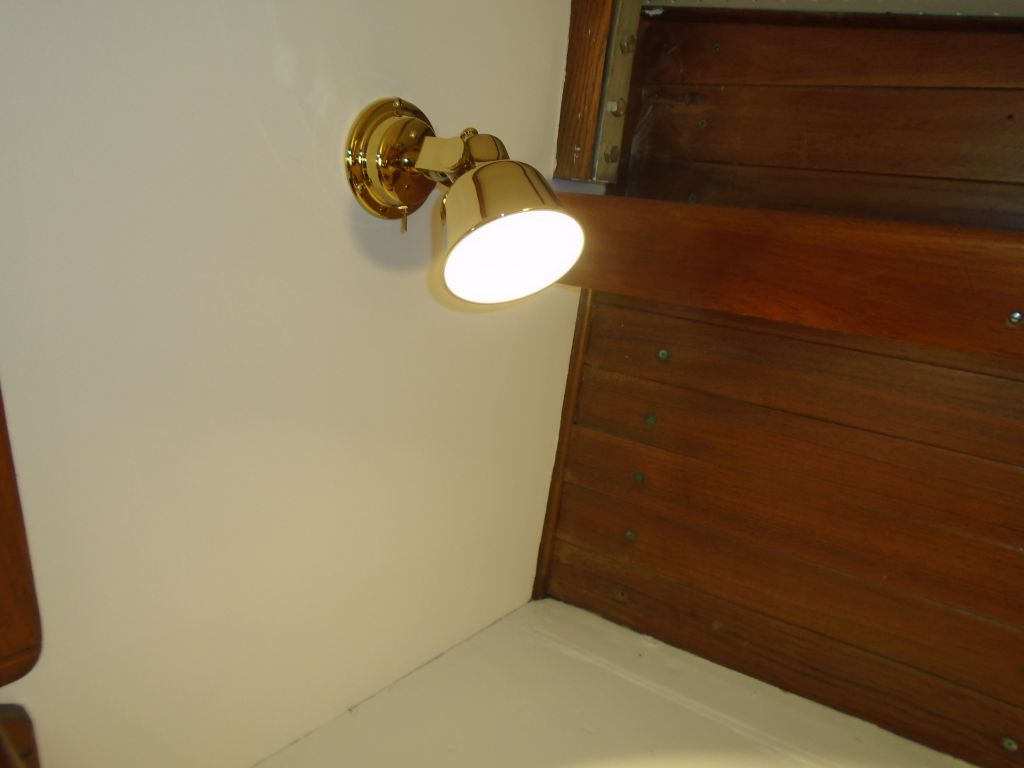
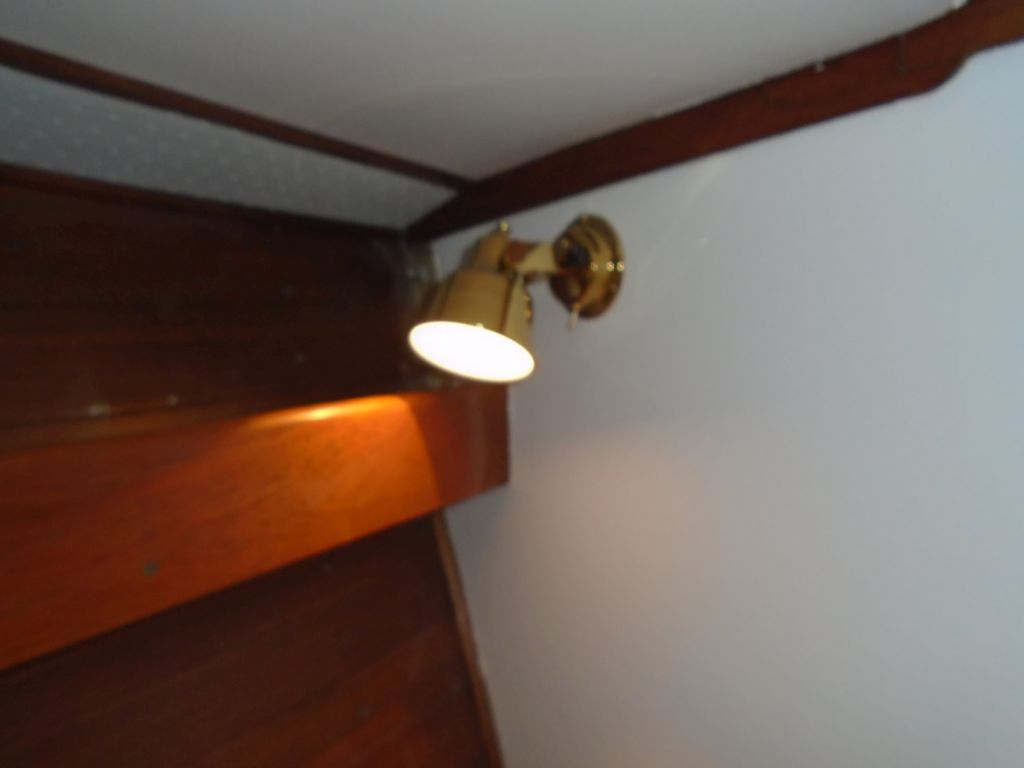
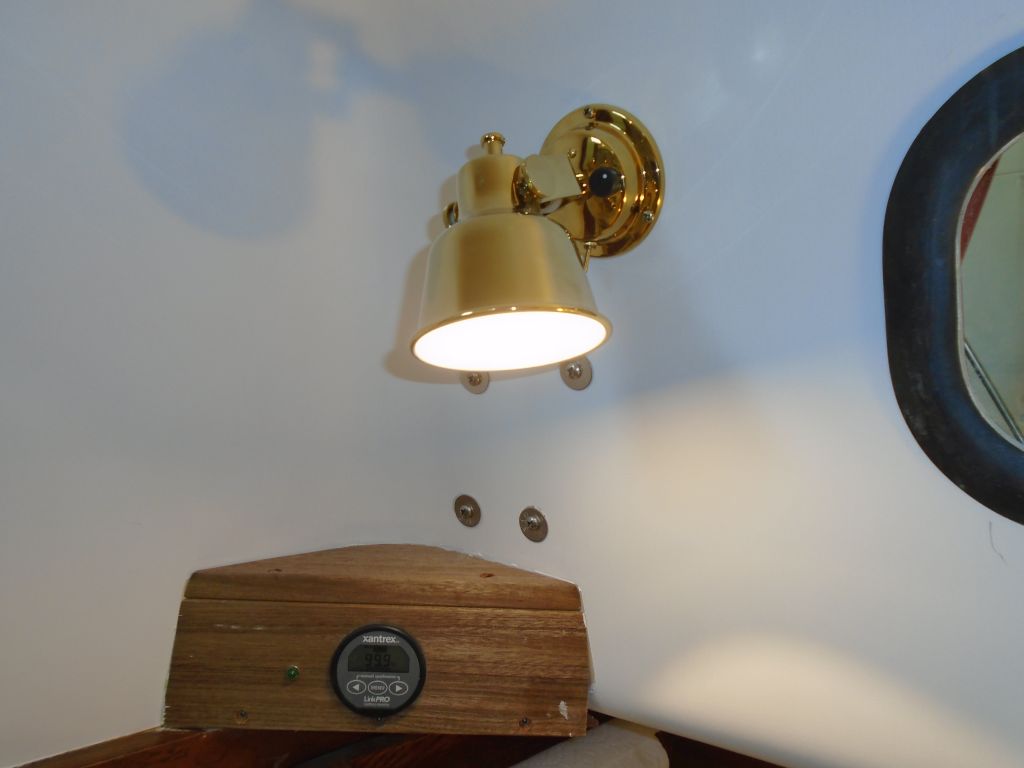
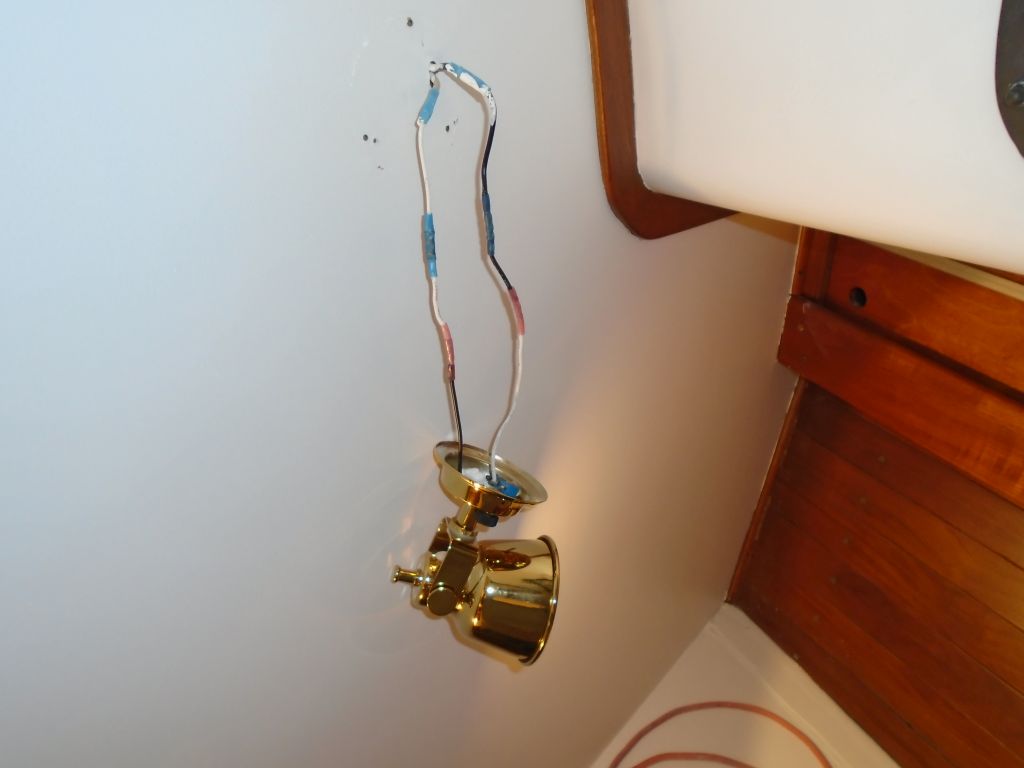
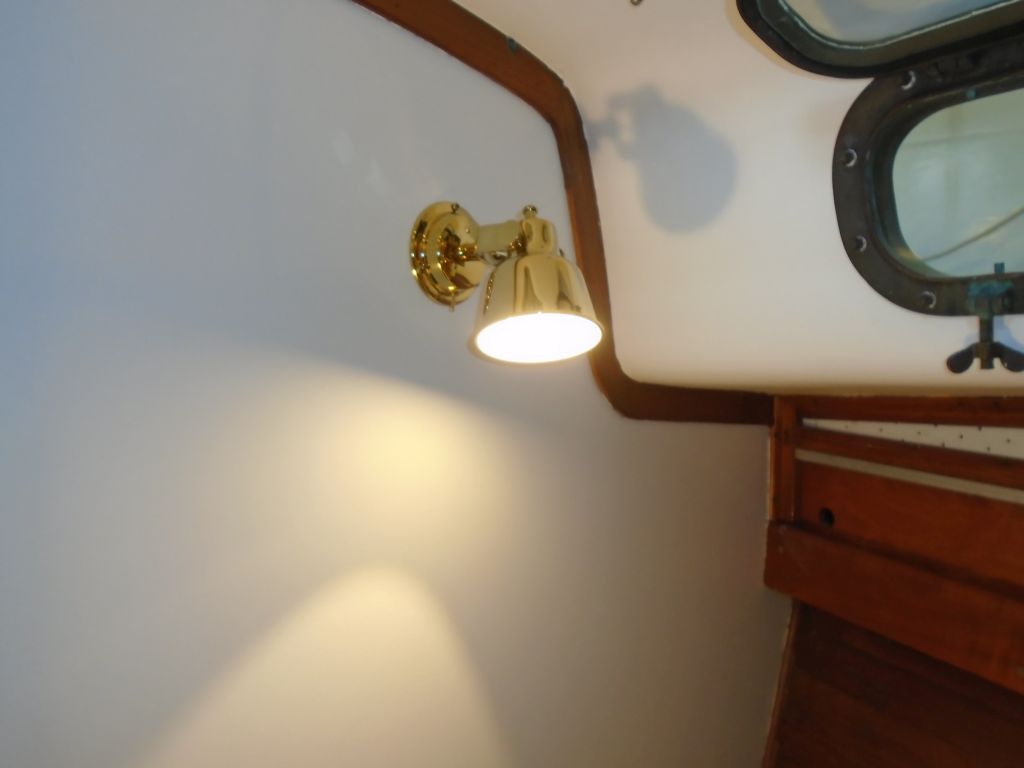
To install the two dome lights, I began with the one in the head, and pre-installed the new teak trim ring/riser to the bulkhead with two countersunk screws. After wiring up the lamp, I installed it on the trim ring, which now offered the wiring space required for (I would think) any installation.
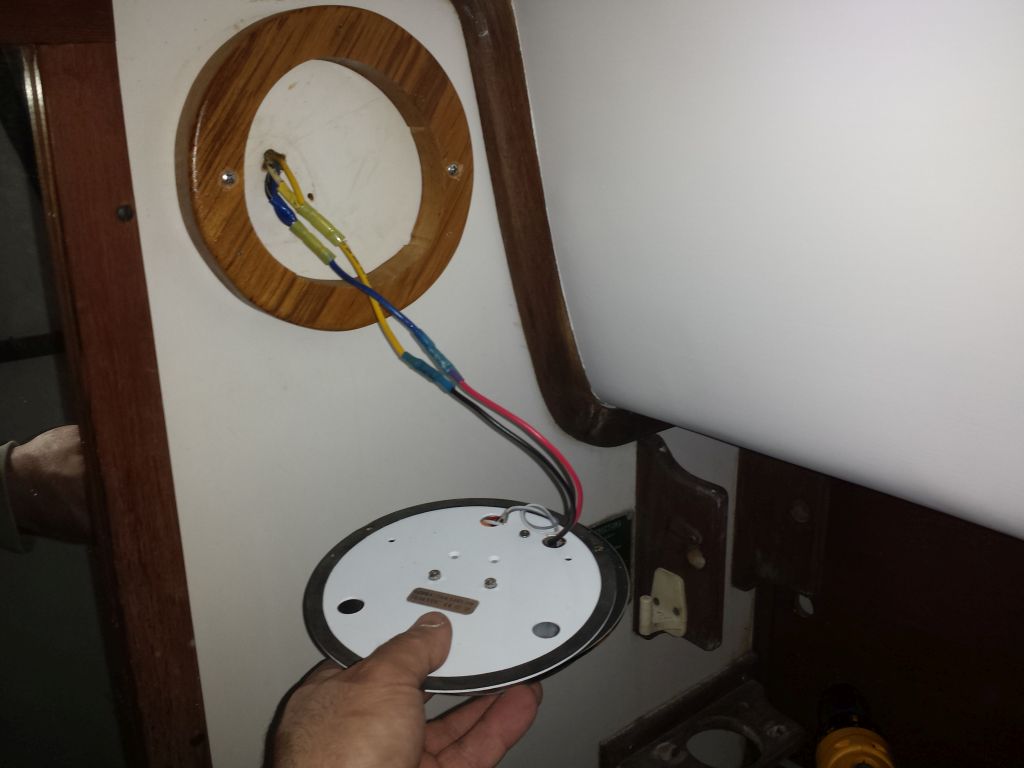
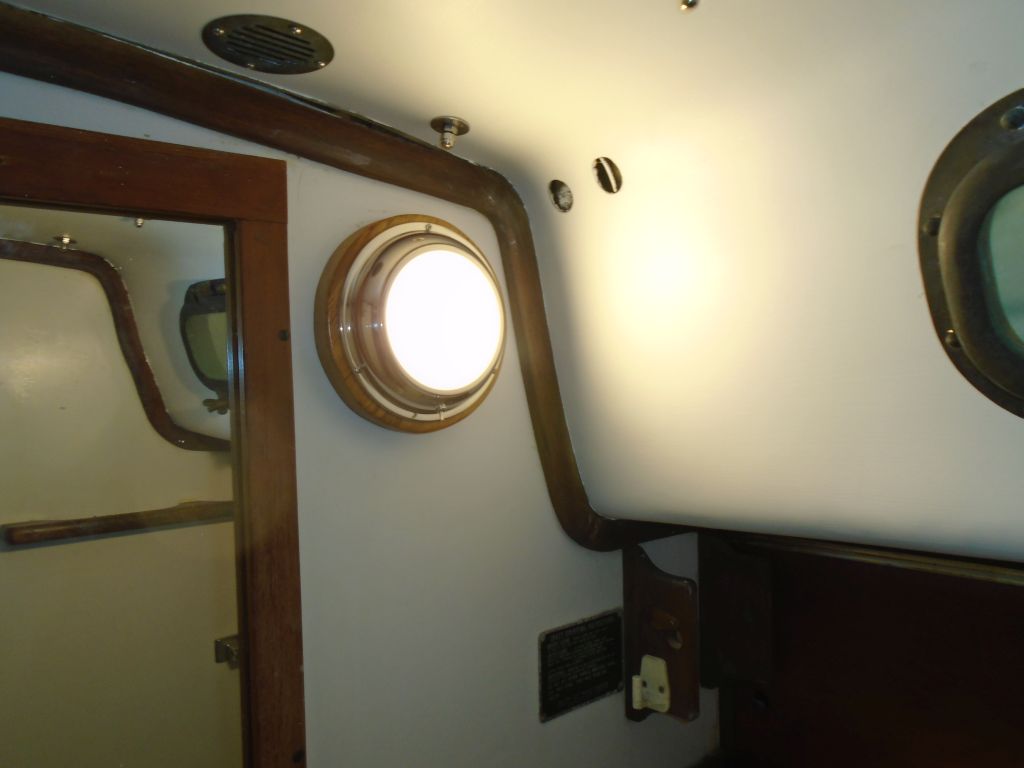
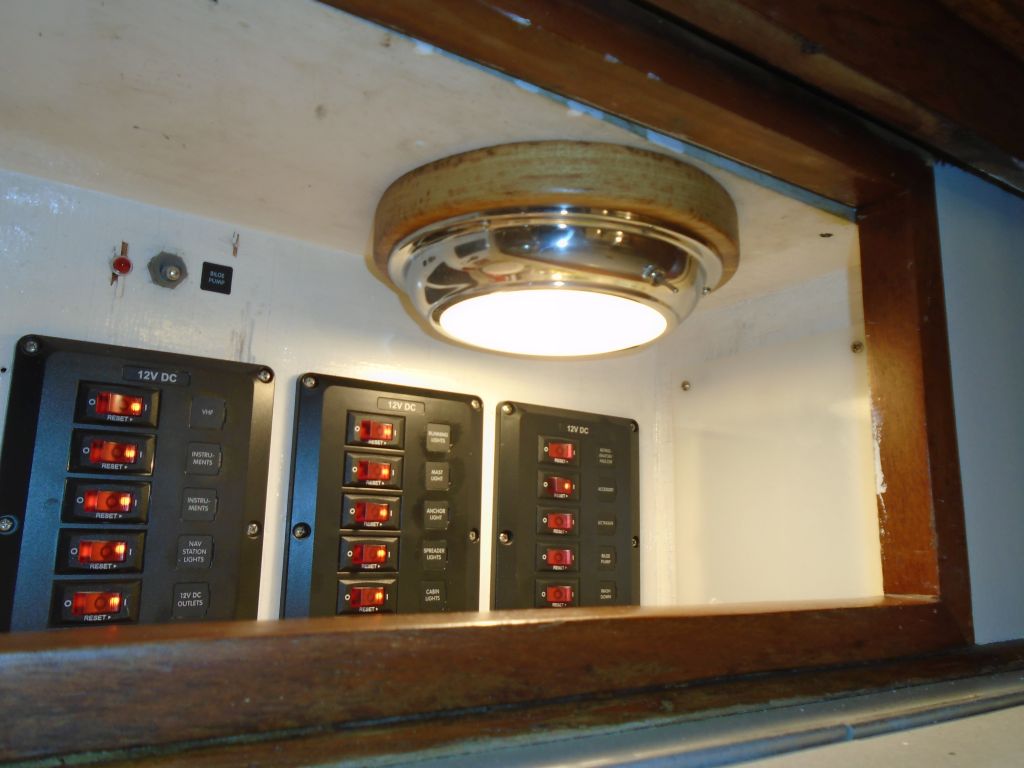
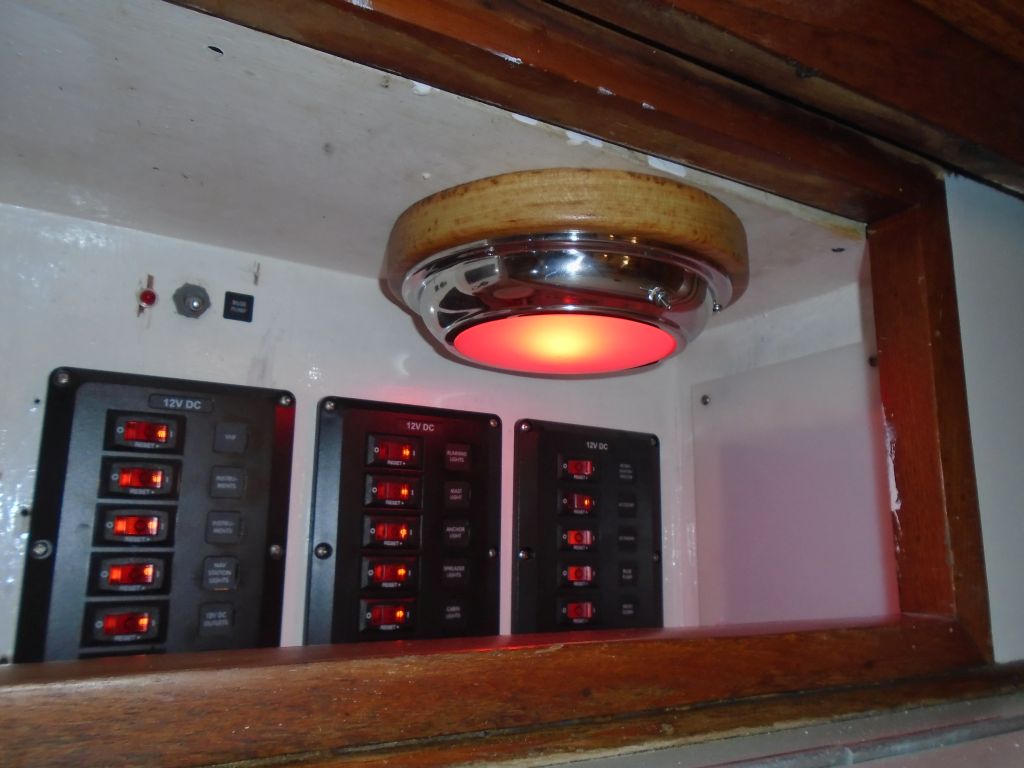
After removing the old fixture from the electrical panel area, I repeated the installation process with the new dome lamp. Both wires leading to the old lamp were red (nonexistent wire color standards with the existing wiring for the lamps on this boat were to prove consistently inconsistent and would presently rear its ugly head again), but I traced them back into the cockpit locker (which was just the other side of the panel in which the light was installed) and determined which was negative so I could properly wire the fixture.
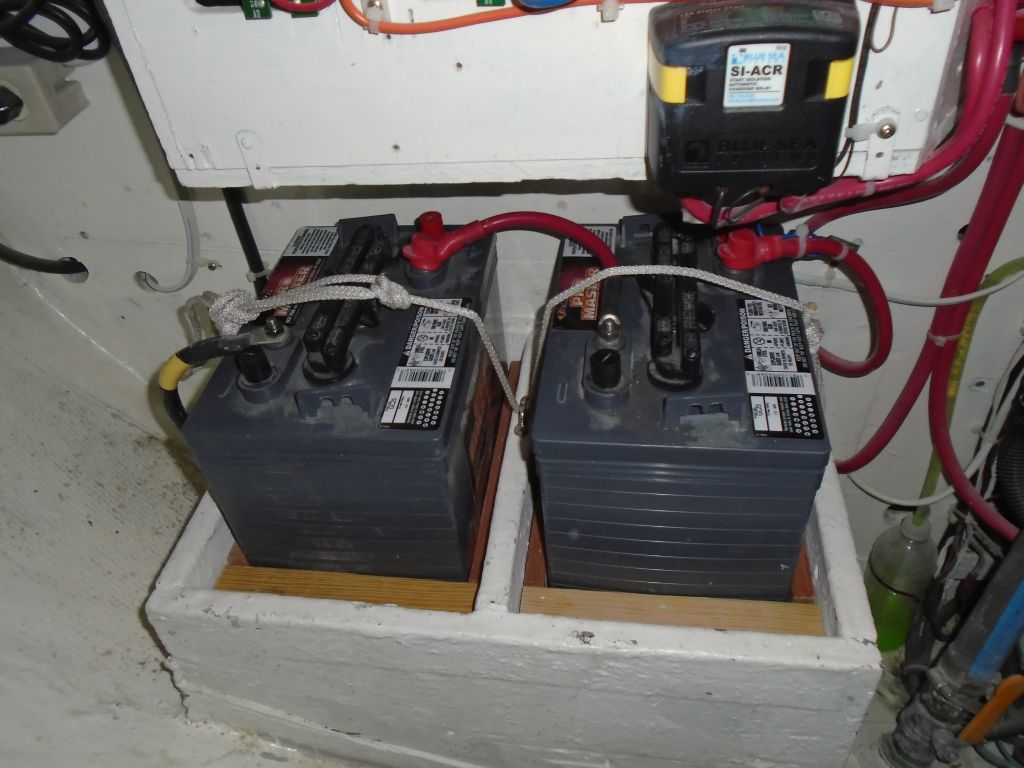
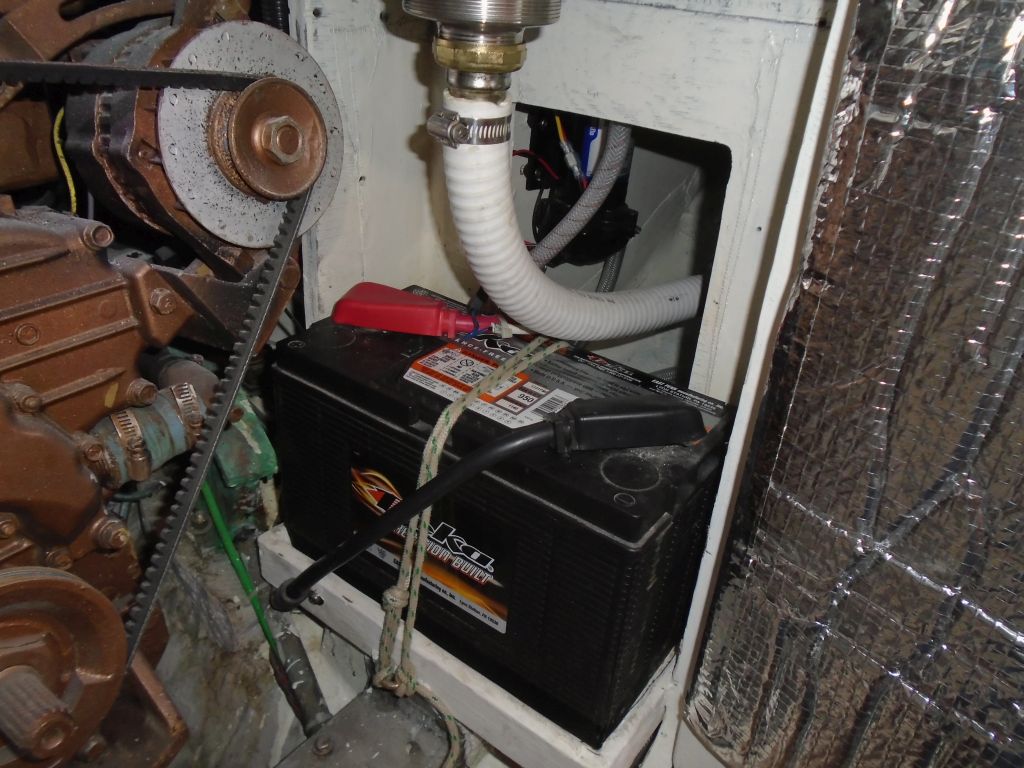
Afterwards, I reinstalled the ship's batteries, which I'd removed for the duration of the project, so I could test the new lighting (and because it was time to install them anyway).
Testing the lights, I found that three of the lamps--the two above the galley and the port v-berth lamp--didn't light. Given the condition of the existing wiring, I suppose this didn't surprise me, as I'd had to guess at the wire color conventions at each fixture. In these three cases, as it happened, I'd wired the lamps (which featured white positives and black negatives) to white and black wires that were already in place: white to white, and black to black. That seemed logical enough, but alas, I apparently attempted to apply logic where logic didn't apply, as all three lights were wired backwards. Switching the wires behind each fixture (white to black and black to white) allowed them all to work properly. Who knew. Since the existing wiring was trapped within the spaces behind, and inaccessible and without much in the way of excess (they'd already been extended by a previous person), I had no choice but to add another connector in the mix when I swapped the wires.
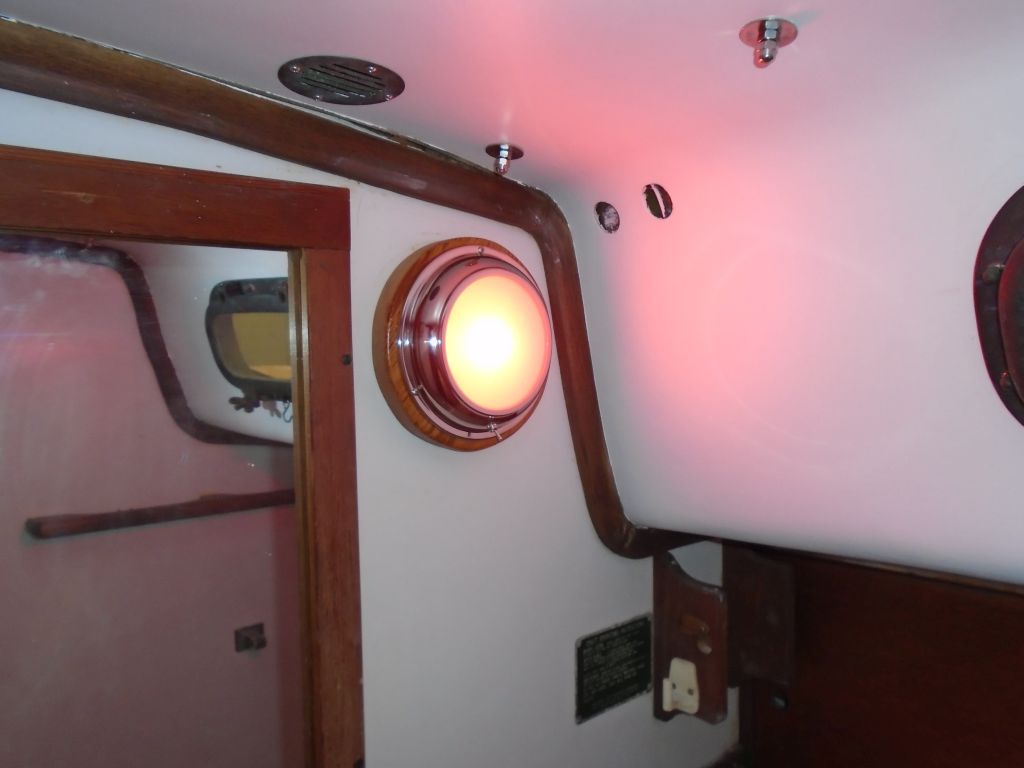
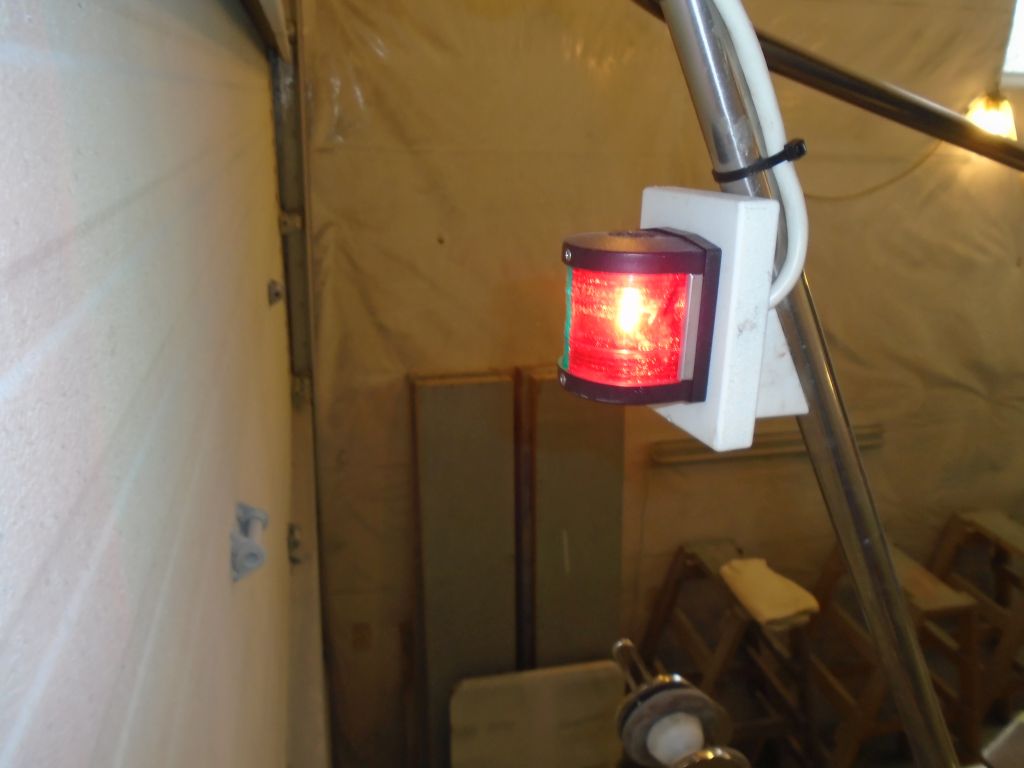
The dome lamps featured both red and white settings.


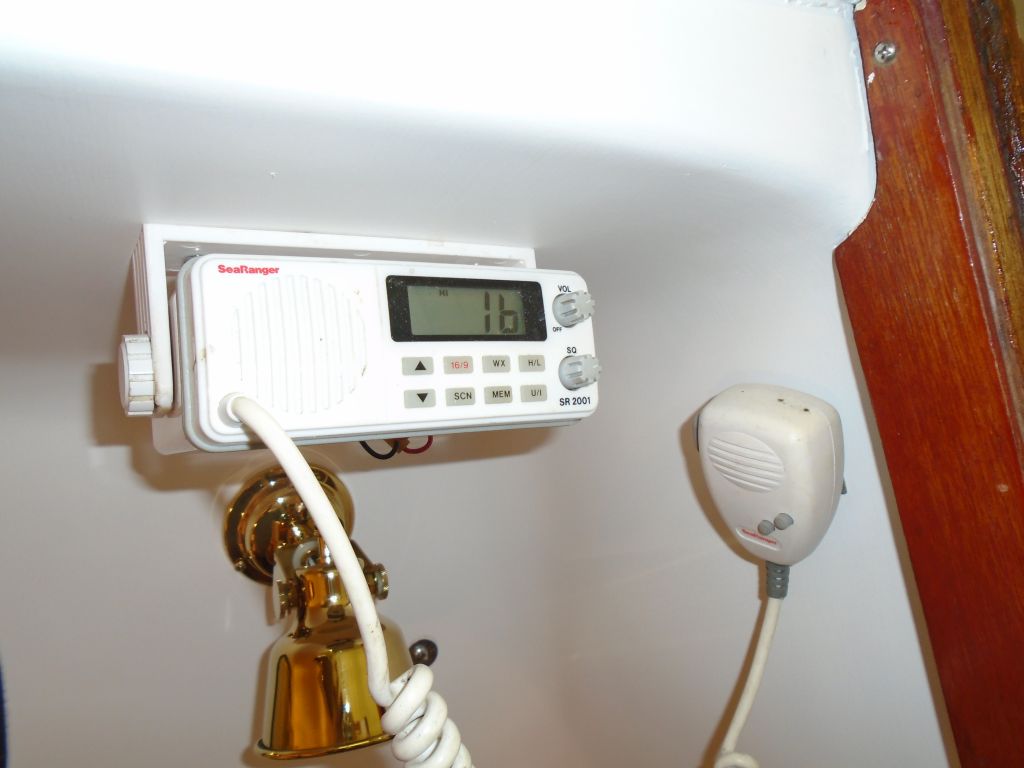
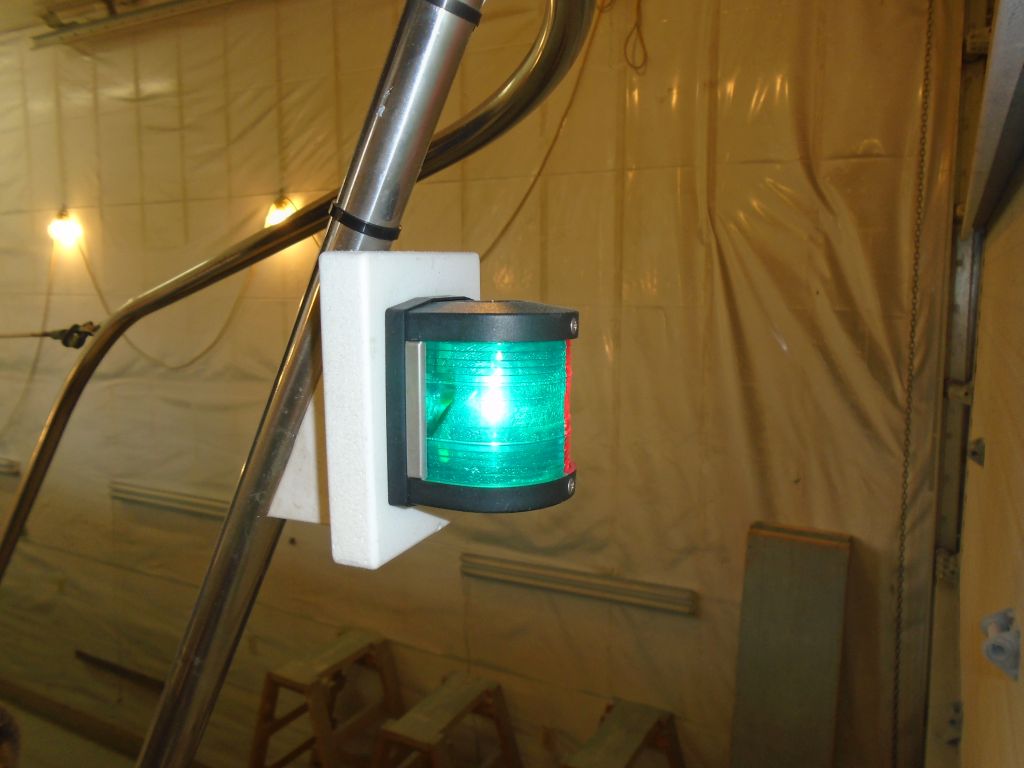
I also tested the VHF and running lights, all of which I'd removed as part of the overall project and had recently reconnected.

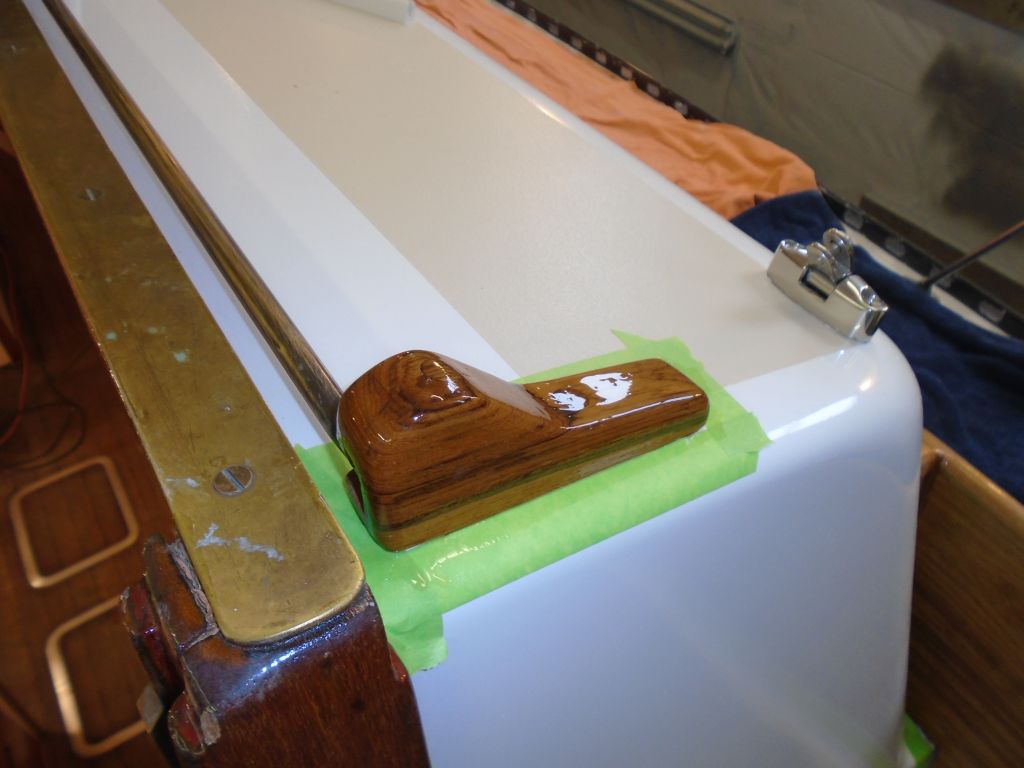
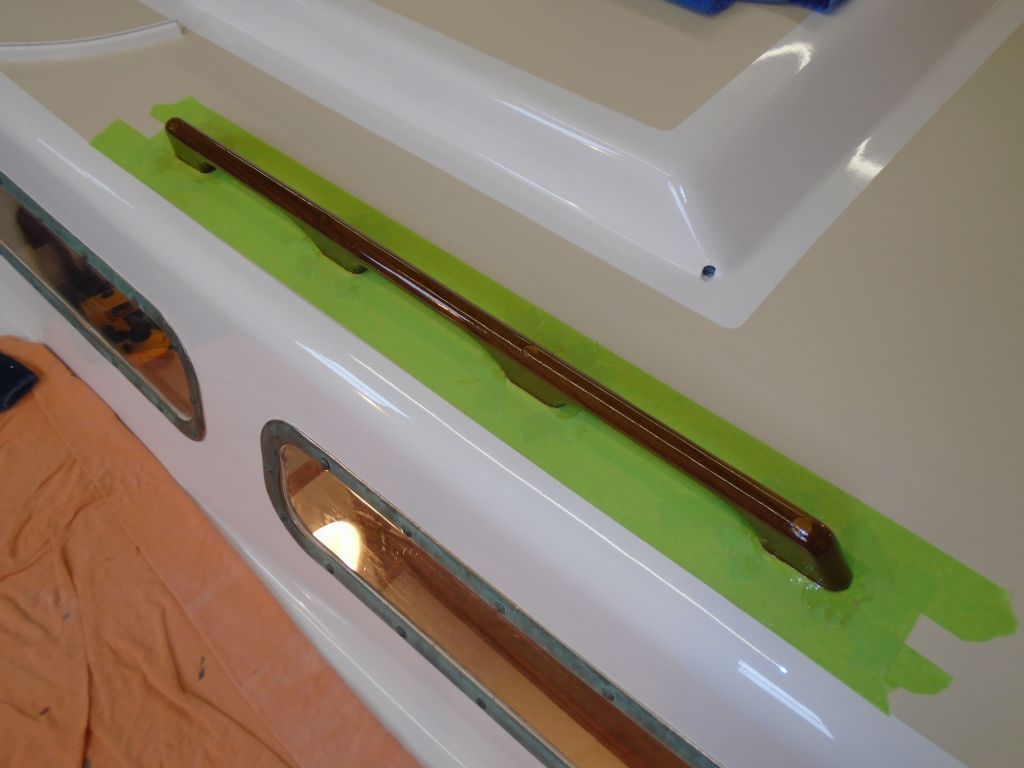
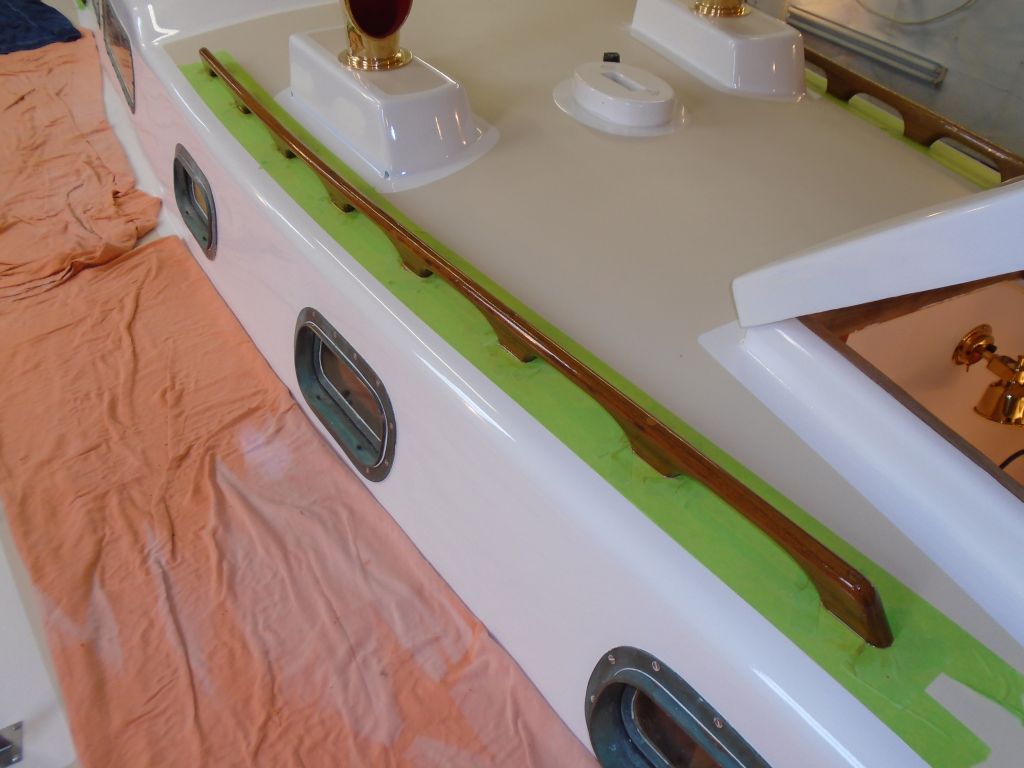
With the day's work list complete, I finished up with another coat of varnish on all areas.


Total Time Billed on This Job Today: 6.75
Hours
0600 Weather Report:
40°, rain. Forecast for the day: rain, heavy at times but improving in the afternoon
