
110 Cookson Lane | Whitefield, ME 04353 | 207-232-7600 | tim@lackeysailing.com
Ashantee | Friday, April 17, 2015
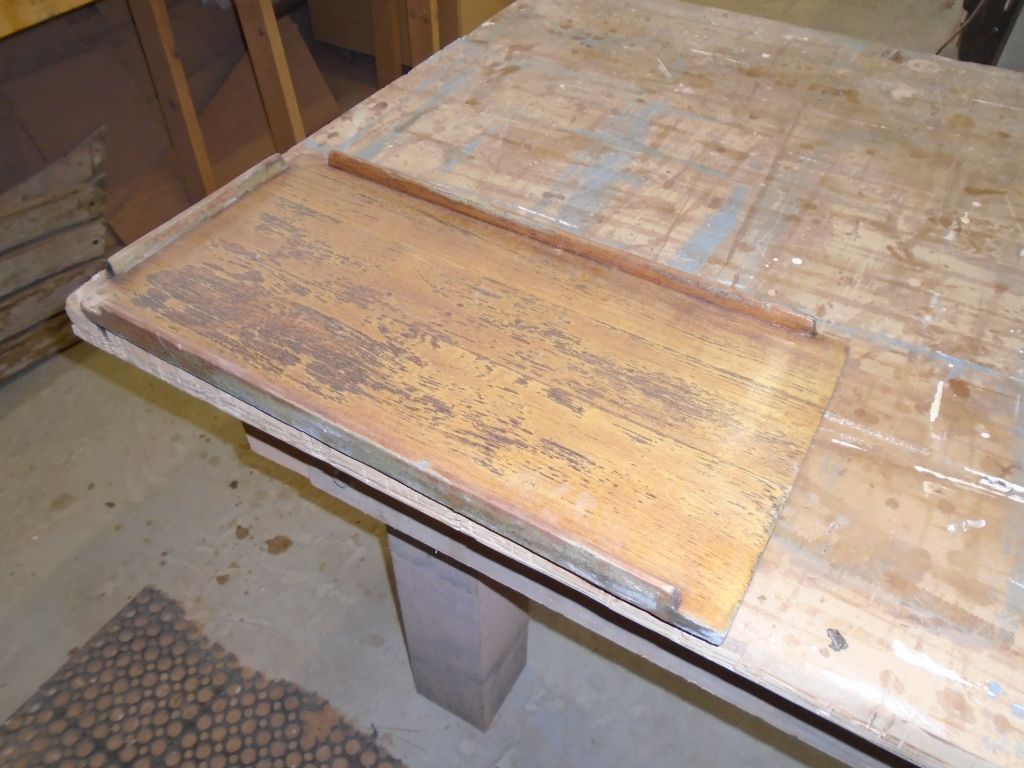
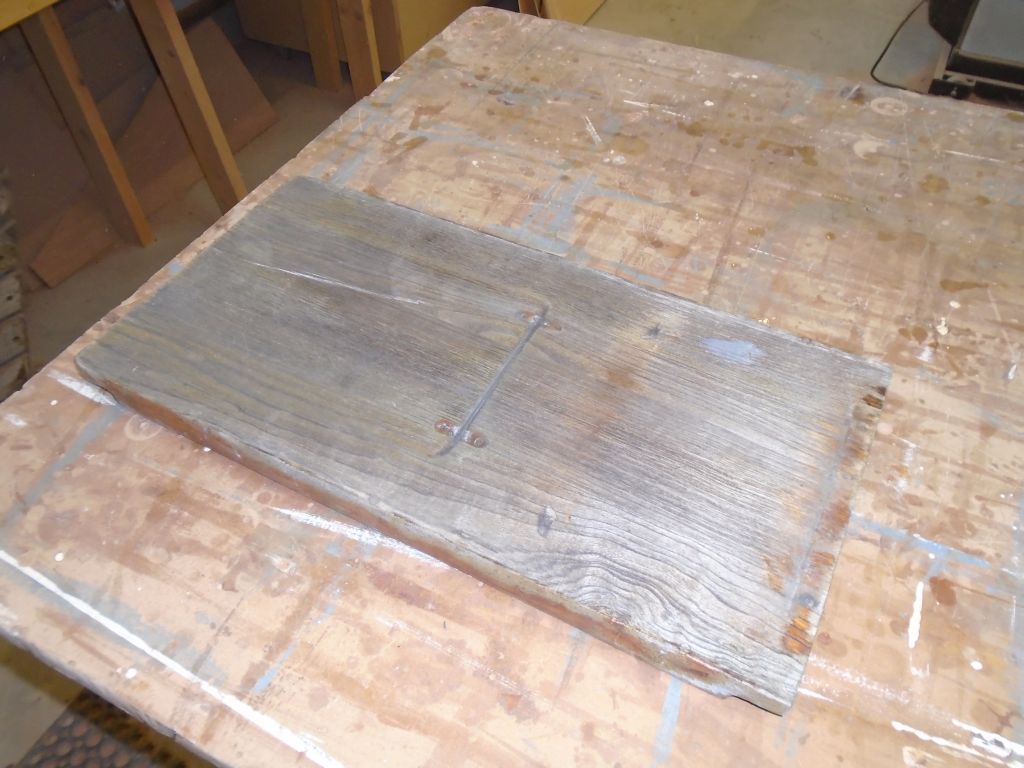
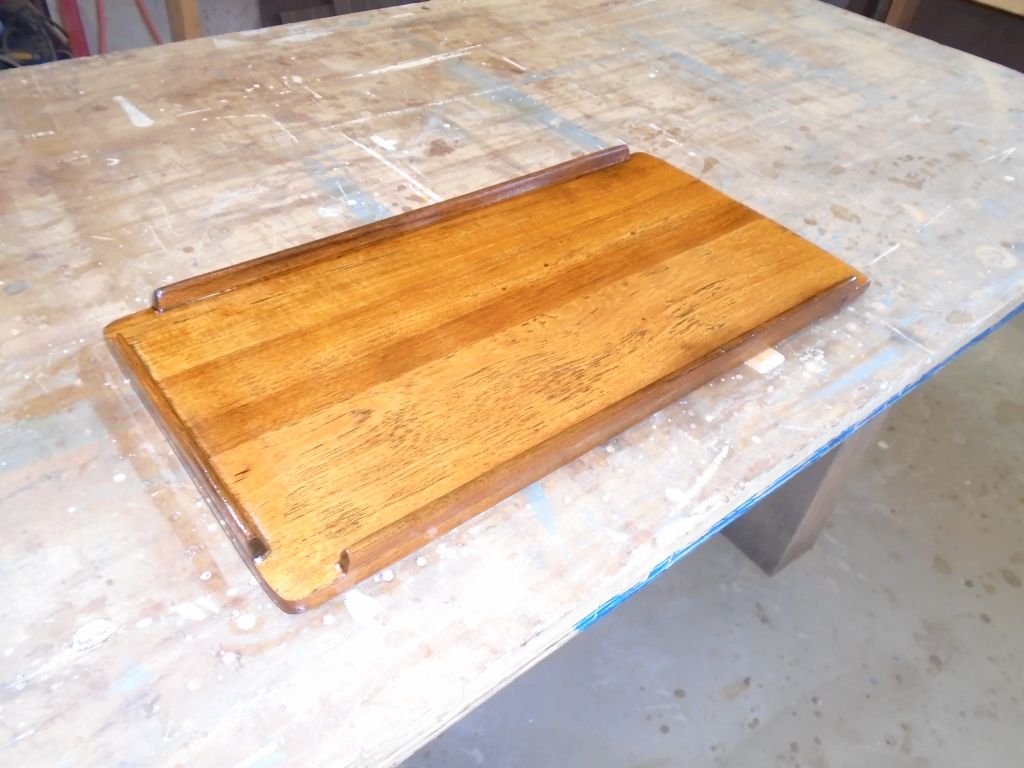
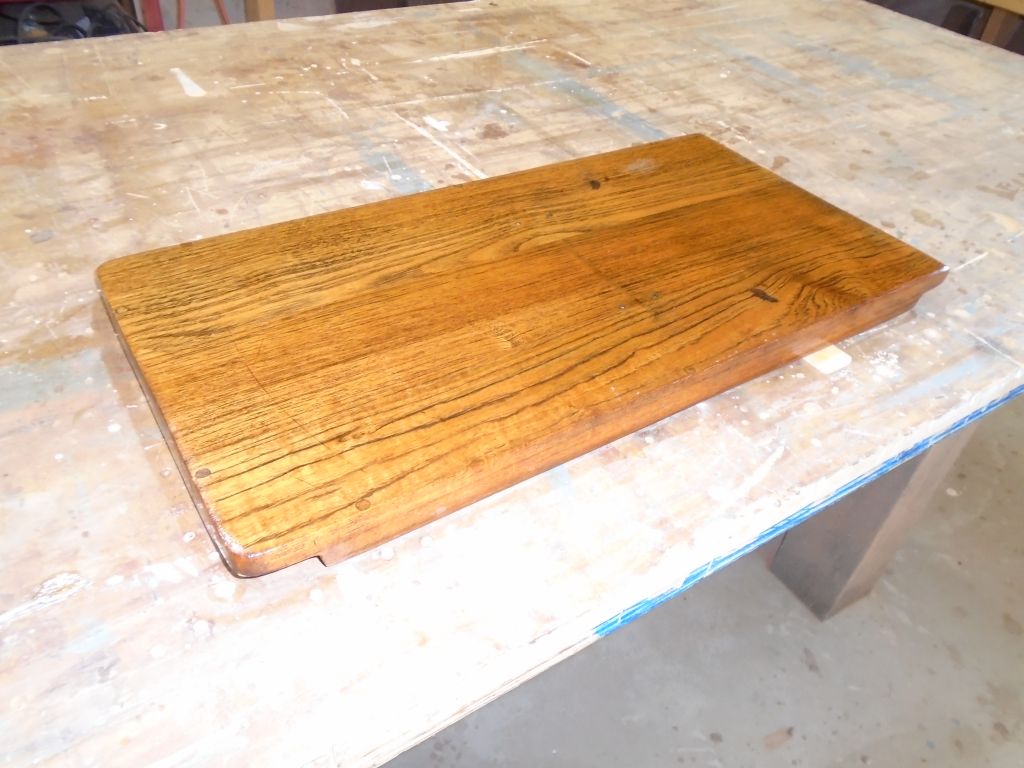
The little folding pedestal-mounted table in the cockpit, like the other existing woodwork, required stripping and refinishing, and with plans to focus on varnish work in the coming days I figured it was high time I got this done. The top surface was partially weathered and required stripping; the back side was completely devoid of varnish and heavily weathered.
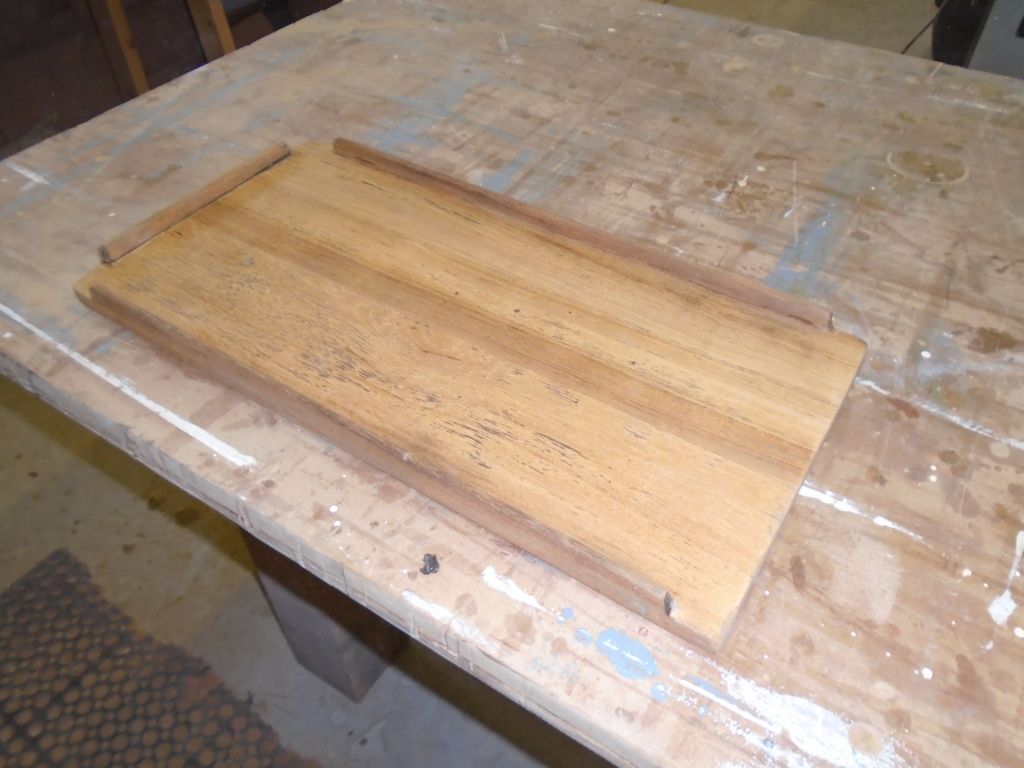
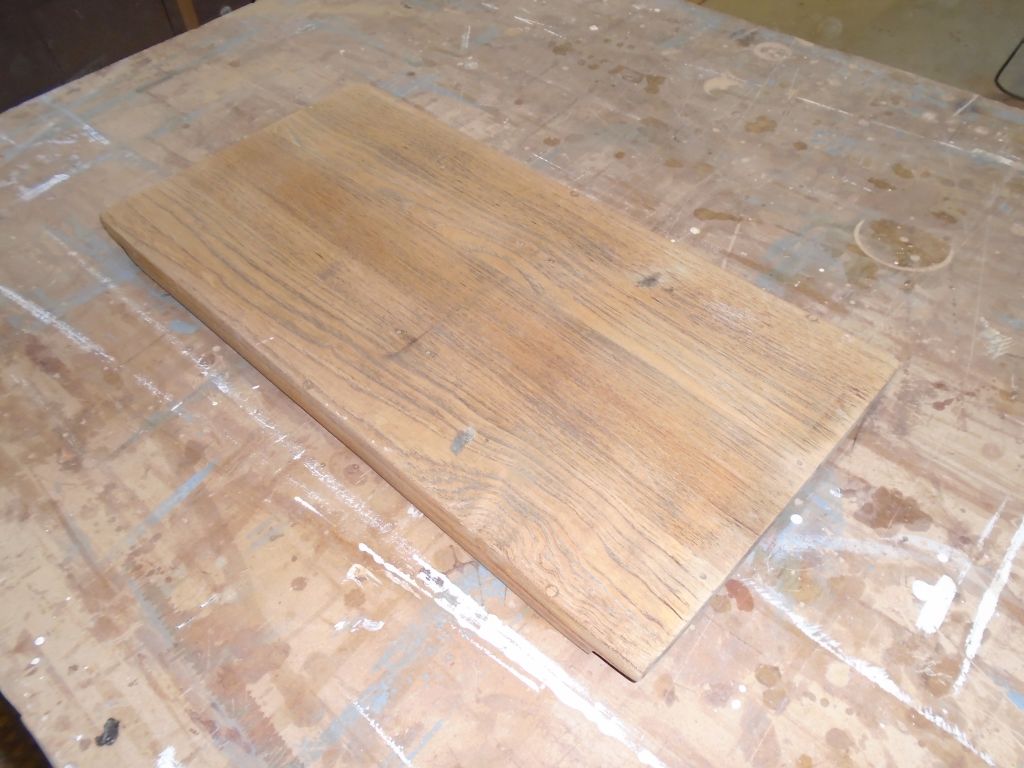
I removed the supporting hardware from the back side, then stripped the old varnish from the top and sides as needed, after which I sanded it as clean as possible, working through the grits as necessary. After a solvent-wash, I applied a sealer coat of varnish to both sides.
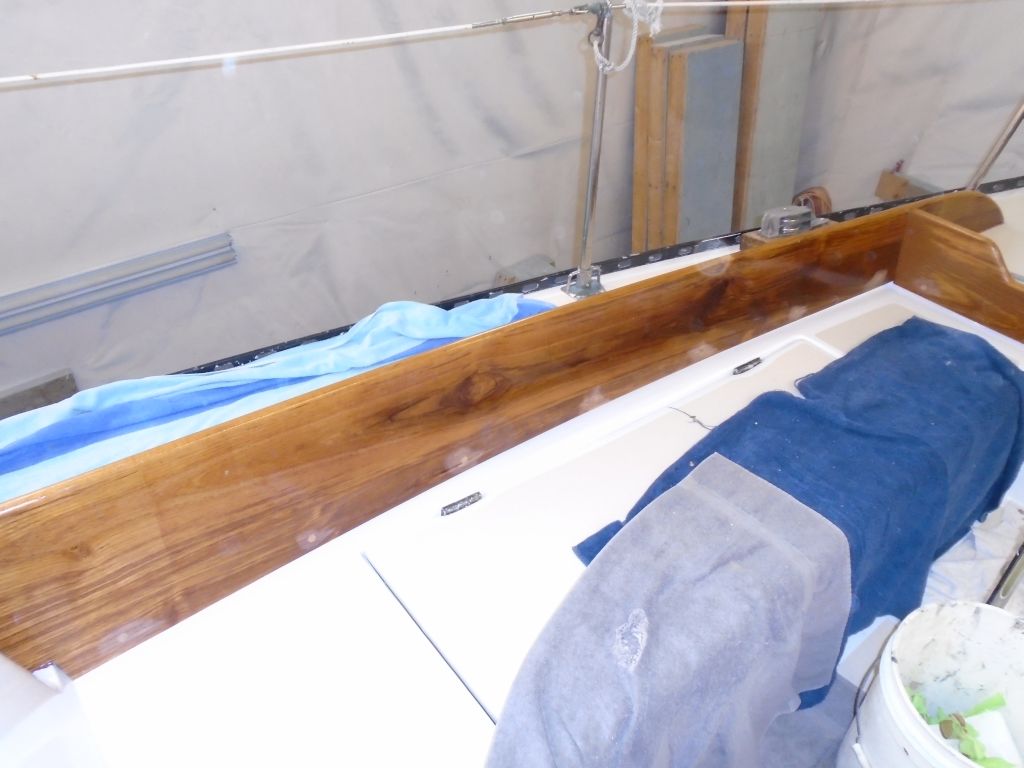
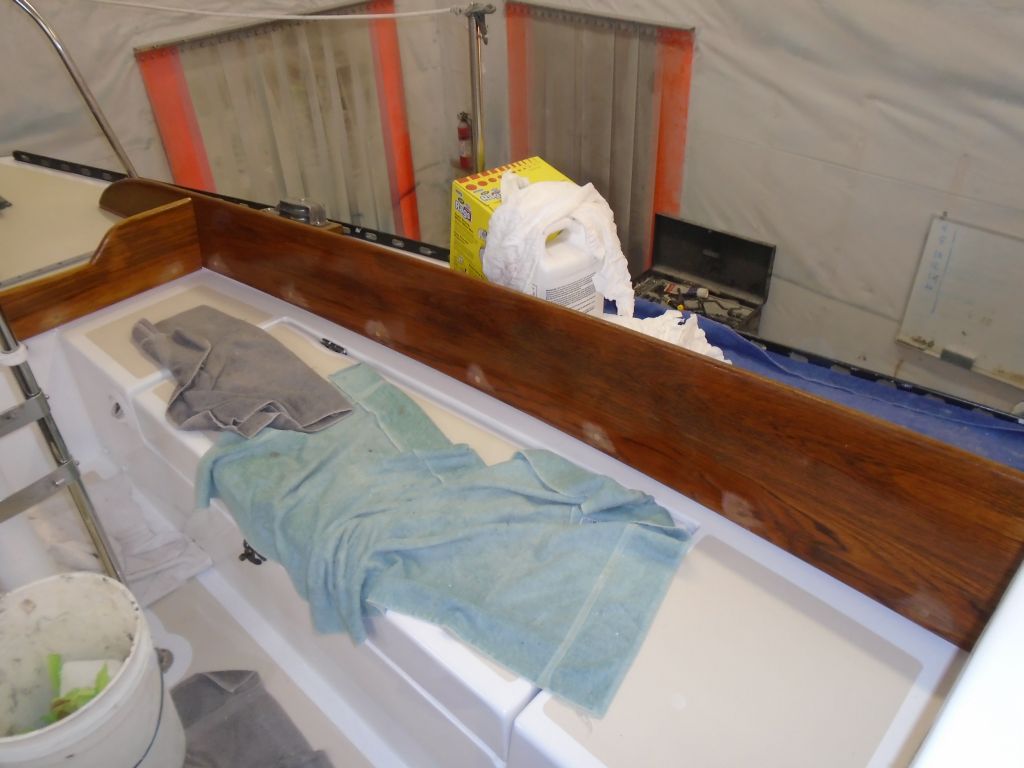
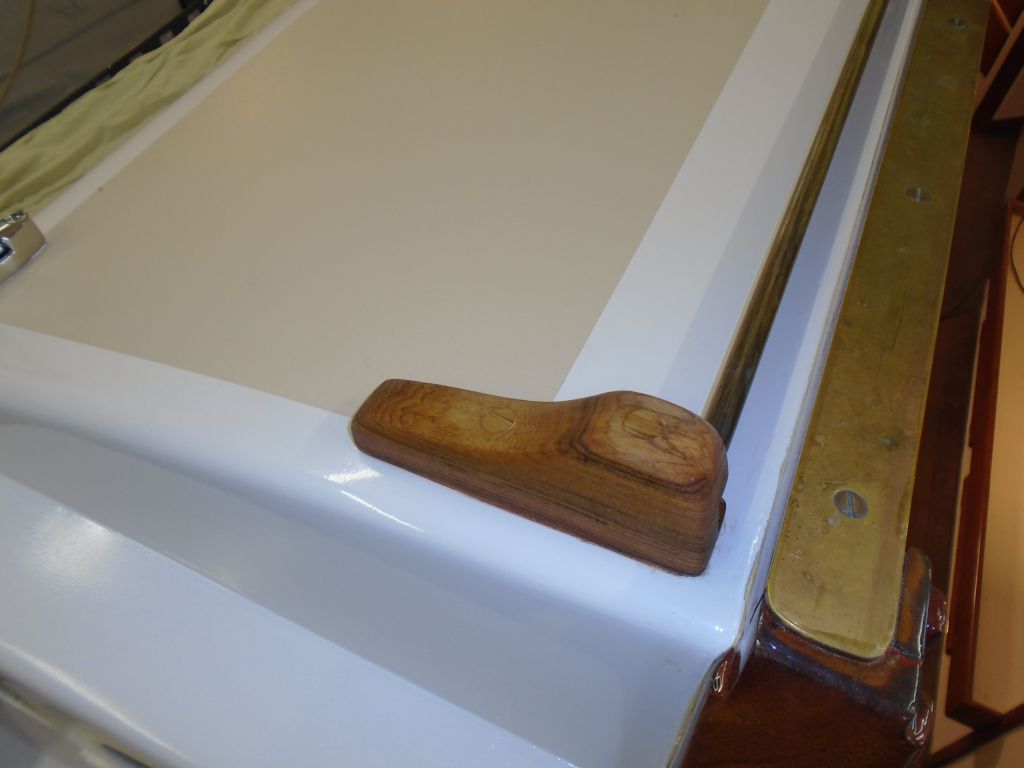
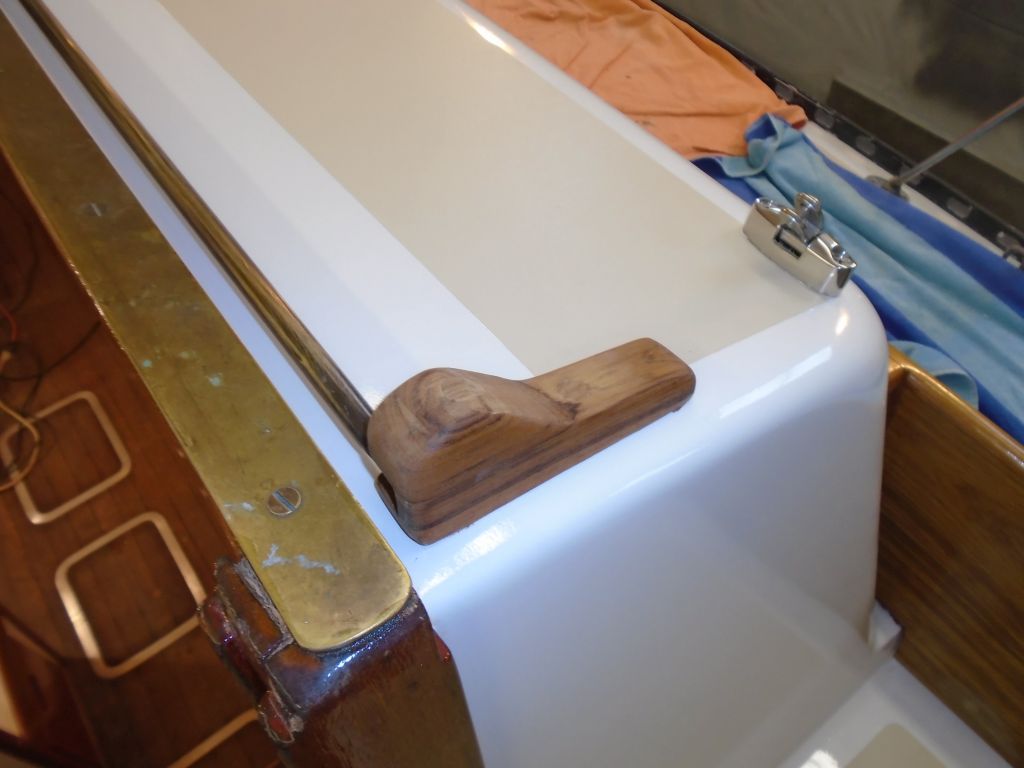
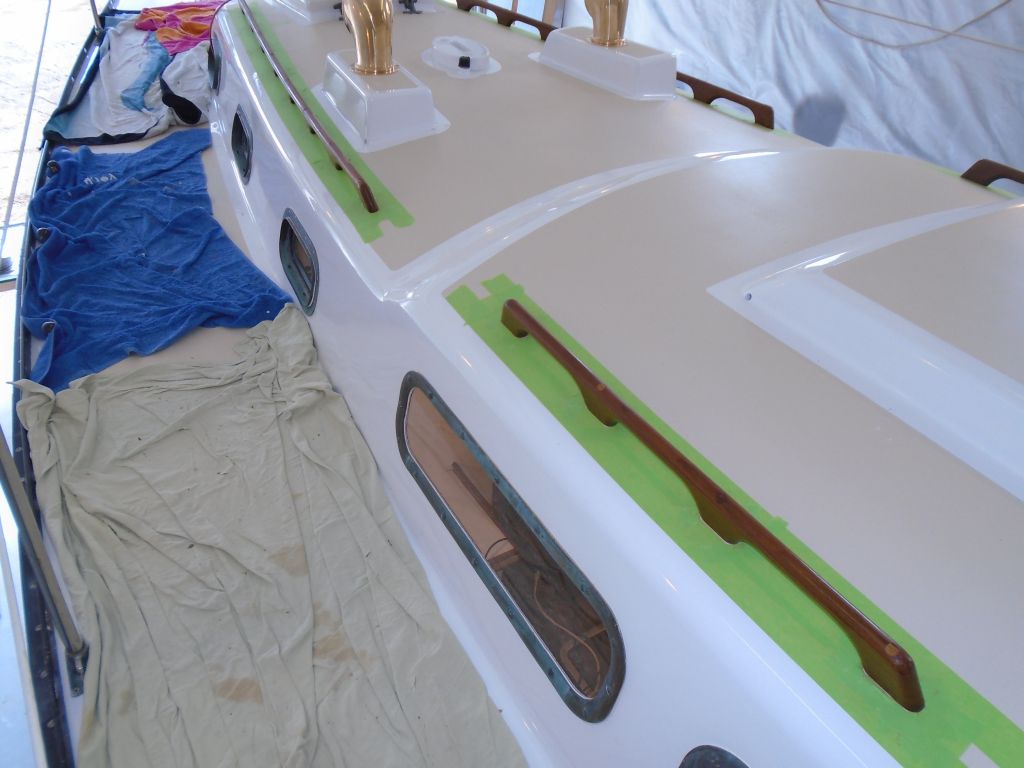
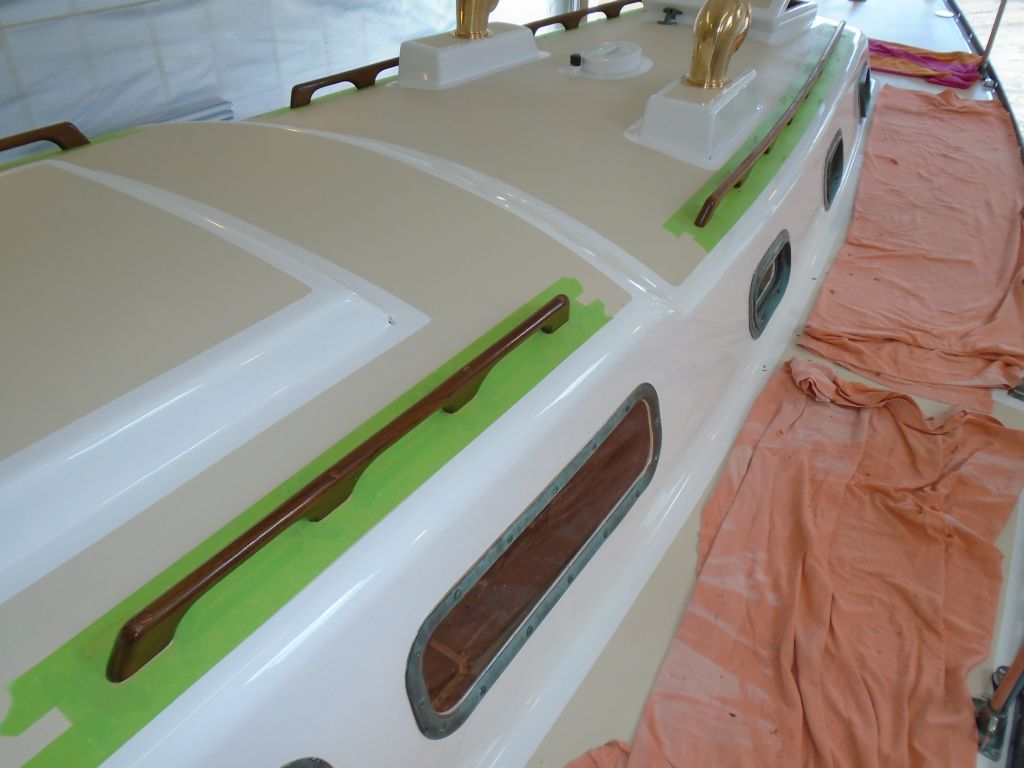
On deck, I chiseled and sanded away the excess bungs from the coamings and handrails. Later, I applied some thinned varnish over the bare bungs to seal them and allow more effective and consistent varnish buildup when I started the remaining coats.


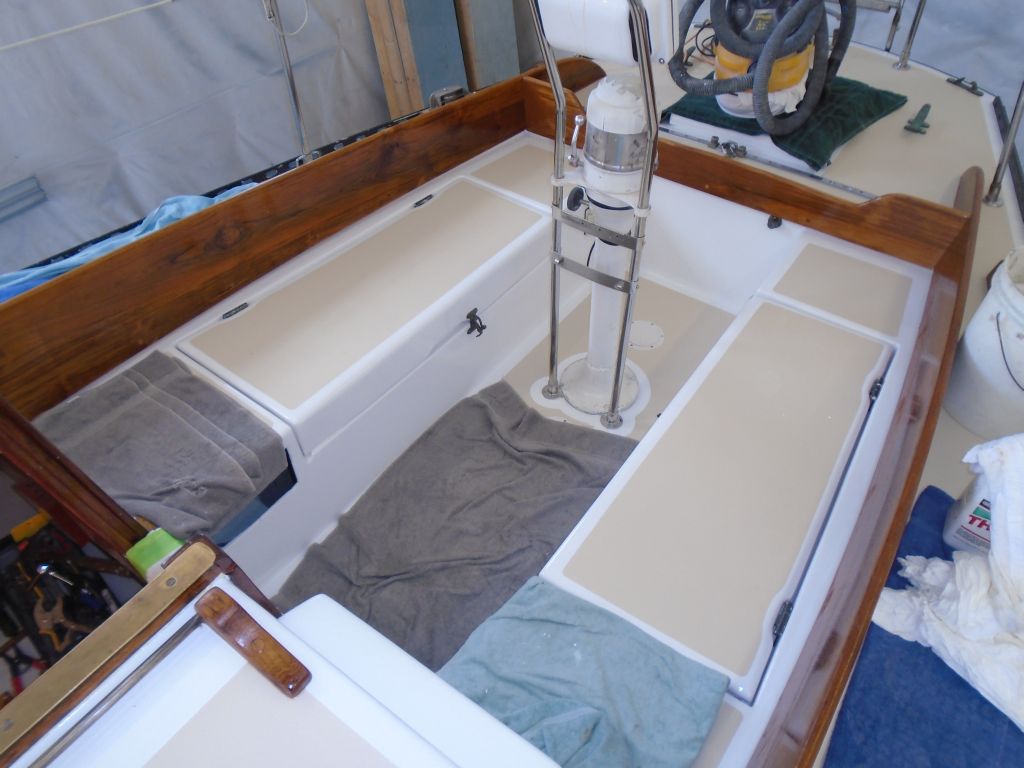
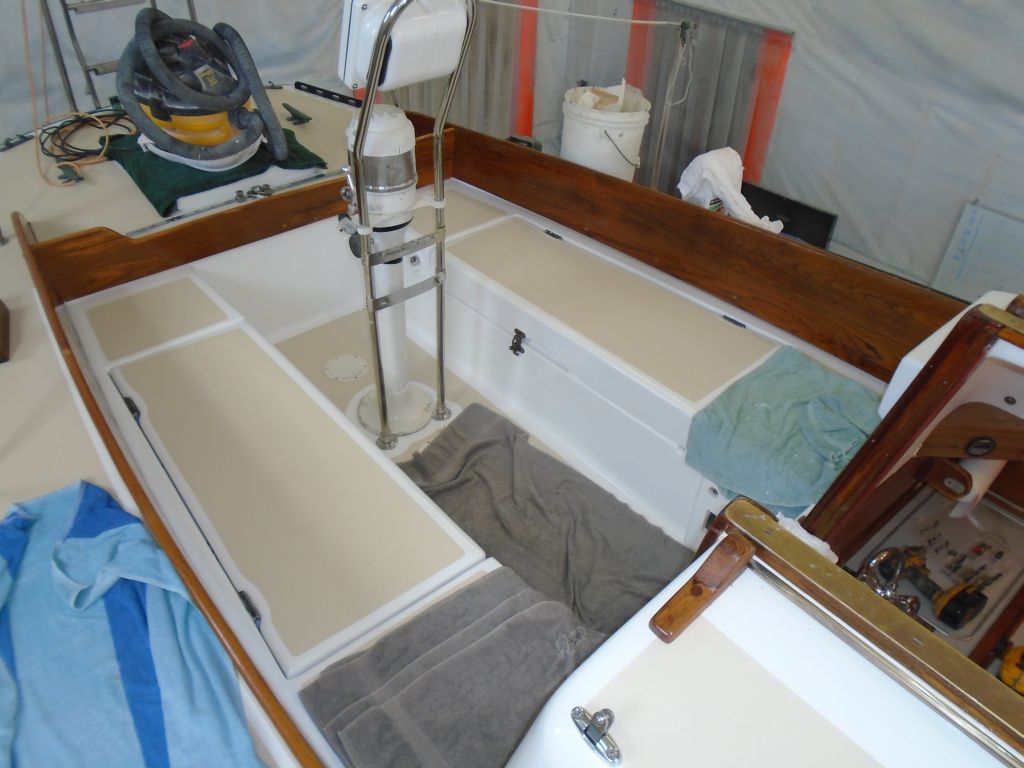
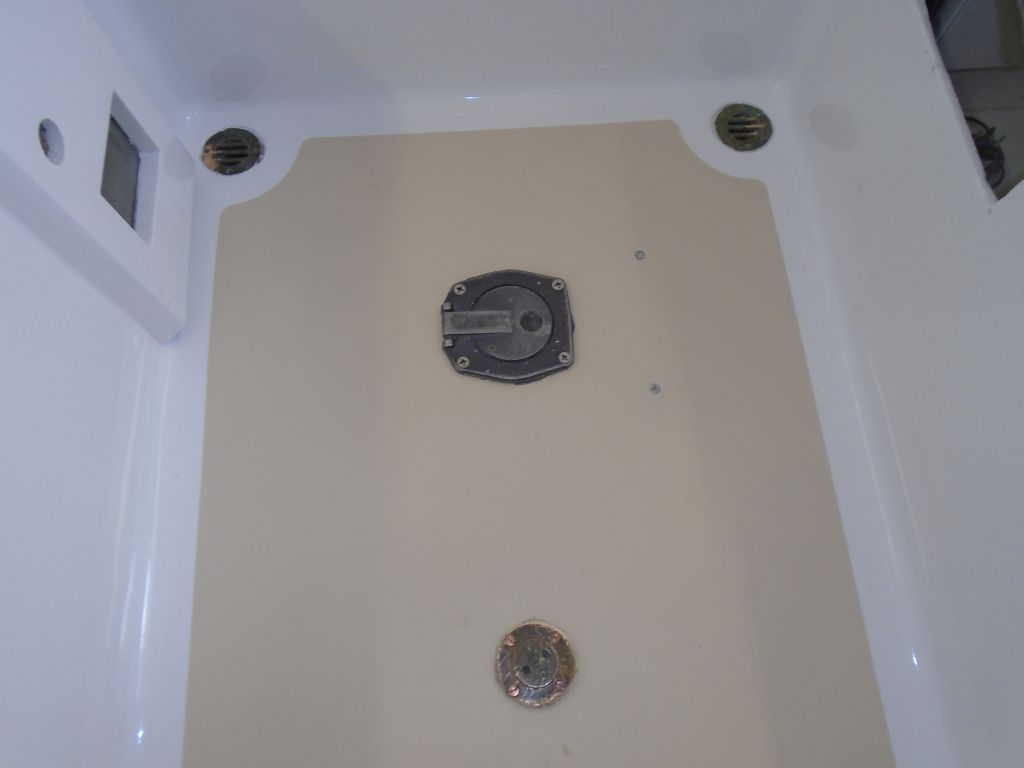
I'd postponed reinstalling the cockpit-mounted bilge pump as long as I could, afraid that I might need another pair of hands to get it secured. Access was tight beneath, and the design of the pump itself precluded reasonable access to the bolts and nuts in such an awkward space.
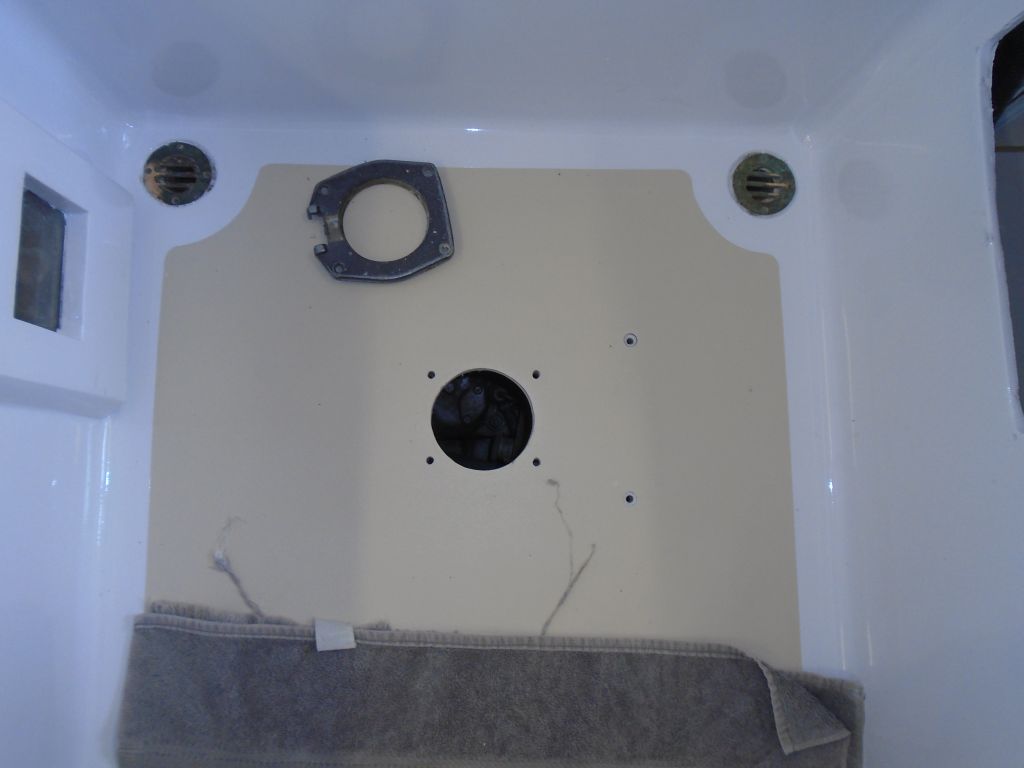
As it happened, I got it done without undue difficulty. To start, I laid out a paper template I'd made of the original bolt pattern. The pump required six bolts, four of which had to line up with the pump body: two alone on the starboard side, and two more that also went through the cover plate for the pump handle access. So during removal, I'd made the template to show where the holes were, since there was no access from beneath to recreate the holes from the pump side itself.
I'd previously prepared the large circular hole for the pump handle, so with that as the main reference point I aligned the template and marked the screw locations (they don't show up in the picture since they're just simple punches through the paper) before drilling the screw holes as needed.

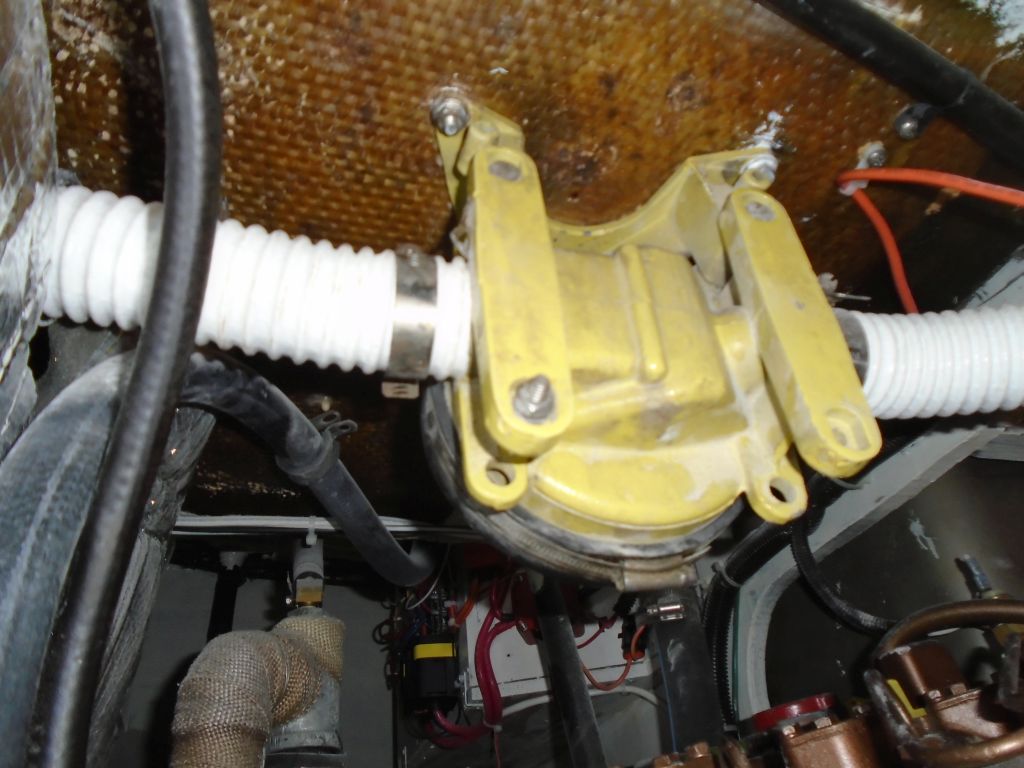
I was able to get one of the starboard fasteners in place through the pump and secured enough to allow me to align the pump with the opening as needed--I could just reach between the pump (from within the starboard locker) and the deck (over the locker rim) enough to do this. Then I could get the other three bolts in place and tightened in turn.
From the port side, I installed the remaining two bolts through the cover plate, completing the operation. I used sealant on the two screws through the deck, and butyl tape on the cover plate and its fasteners to avoid the goop all over the rubber bellows or hinge beneath.

In the cabin, I installed the VHF microphone clip on the aft bulkhead, roughly where it had once been.

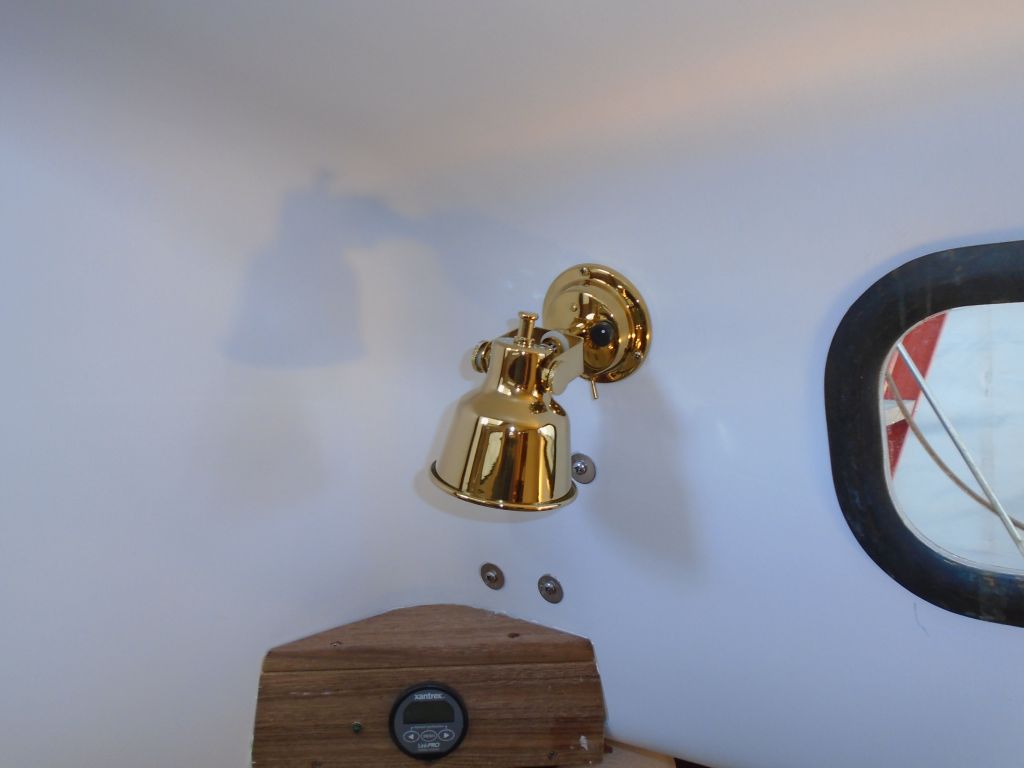
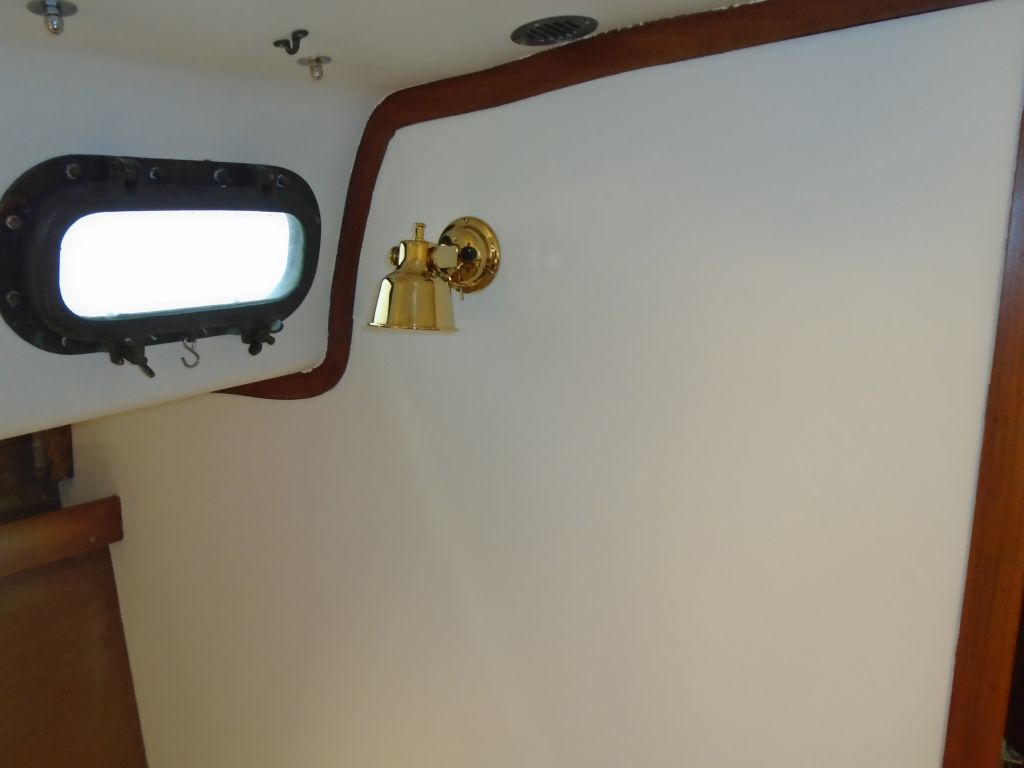
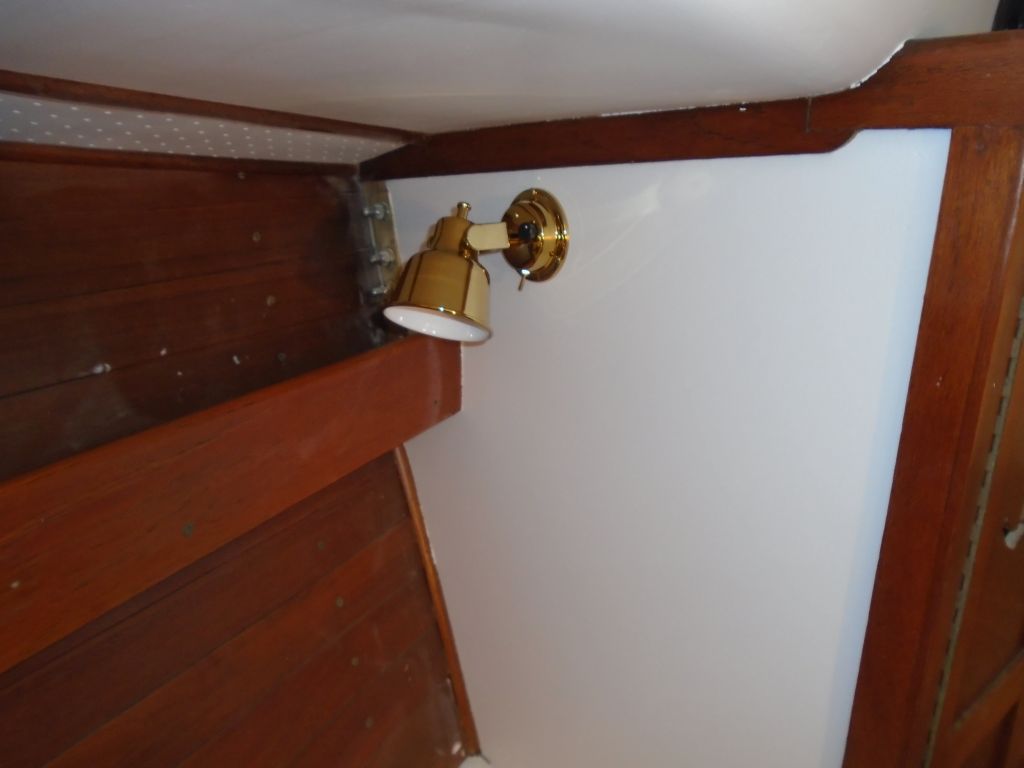
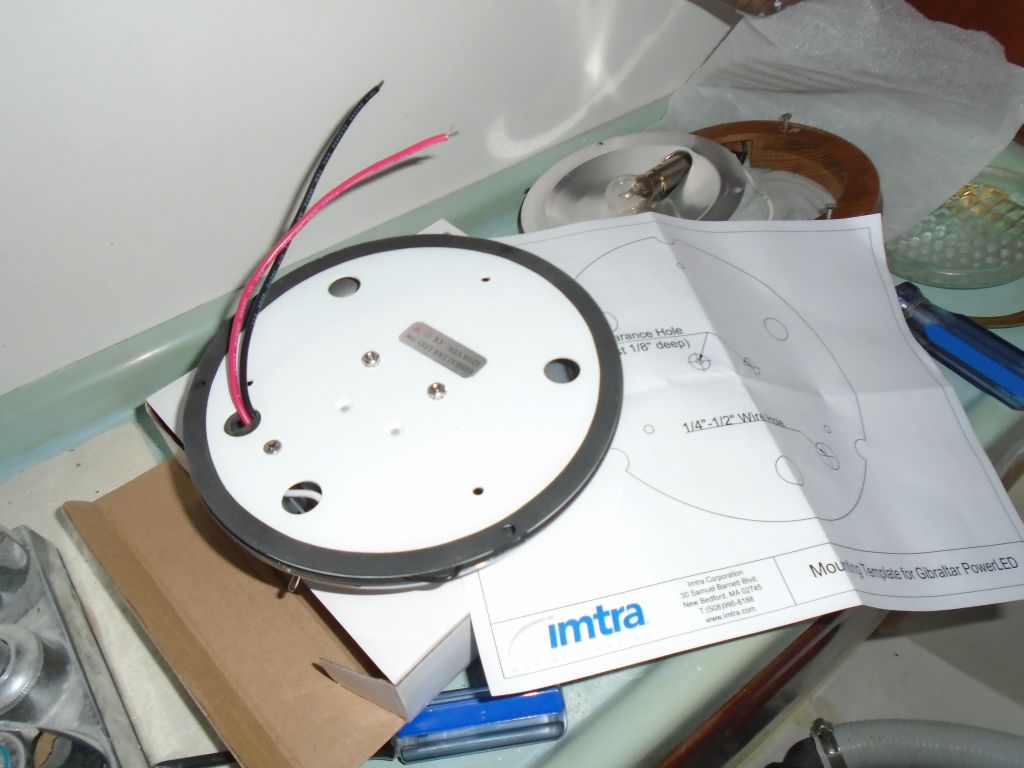
Next, I installed five more of the LED lamps throughout the boat, using existing wiring.


There were two original light fixtures left: in the head and in the electrical panel recess in the galley.

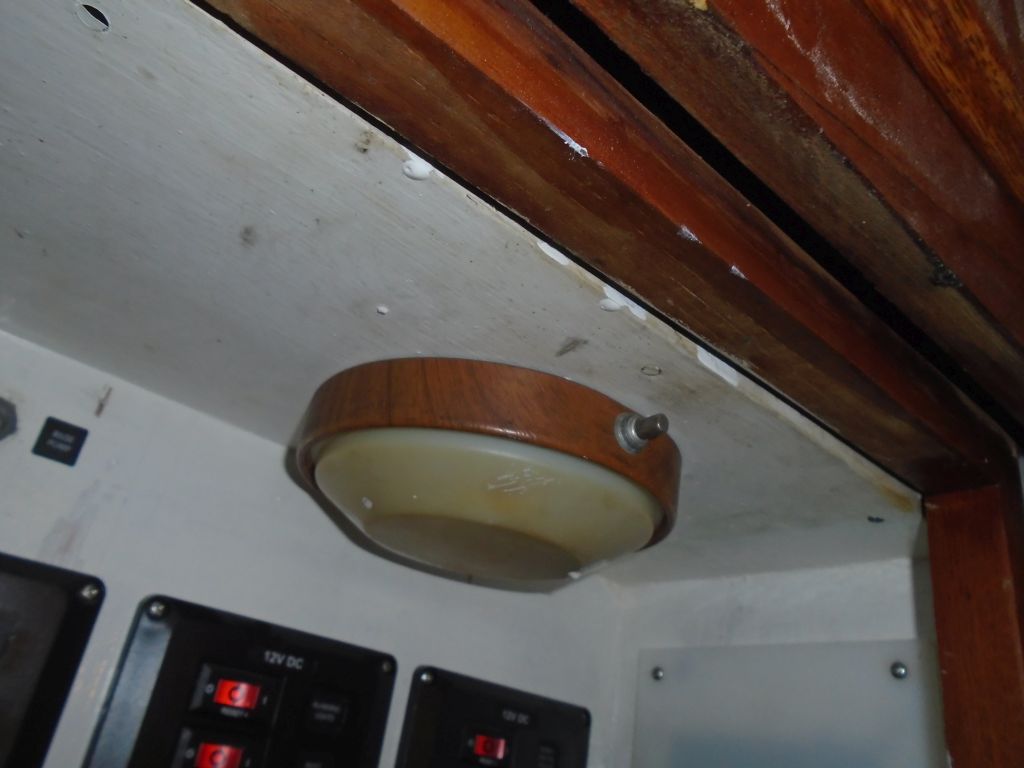
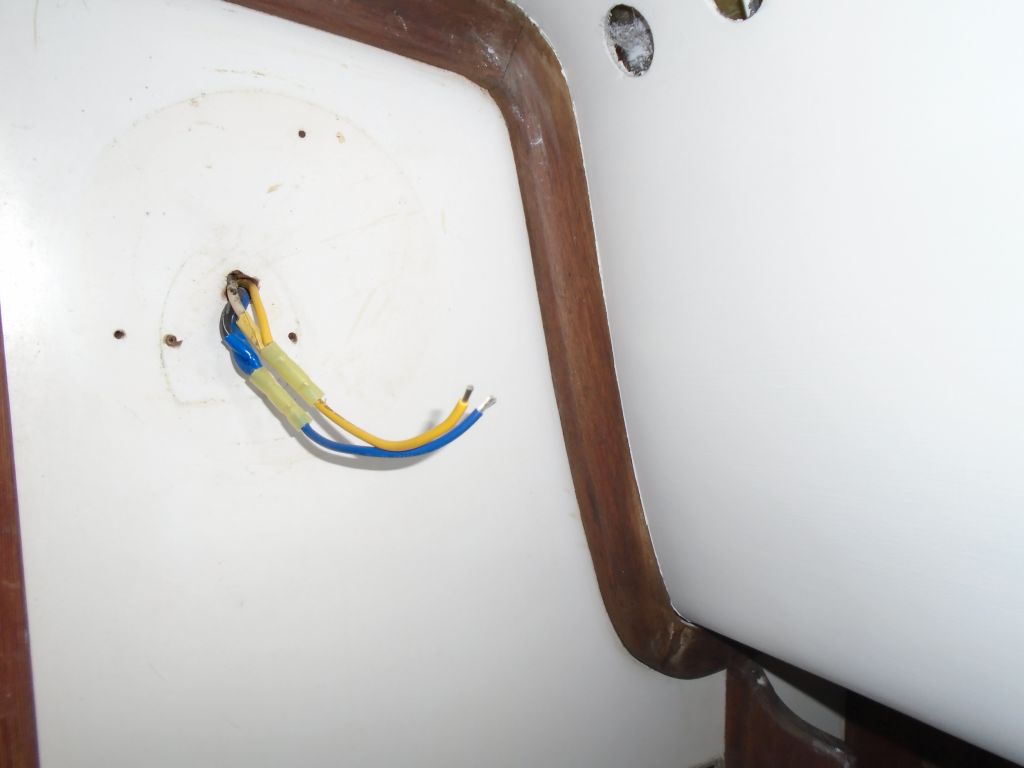
I removed the head fixture and went to install the new dome lamp the owner had purchased, but found that it had a flush back with no room for wiring, so I'd have to build a riser for it to sit on, since the existing wiring situation could not accommodate the fixture as designed. That would have to wait till next time.
Total Time Billed on This Job Today: 6.75
Hours
0600 Weather Report:
35°, mostly cloudy. Forecast for the day: Showers, then partial clearing, 50s
