April 25, 2016
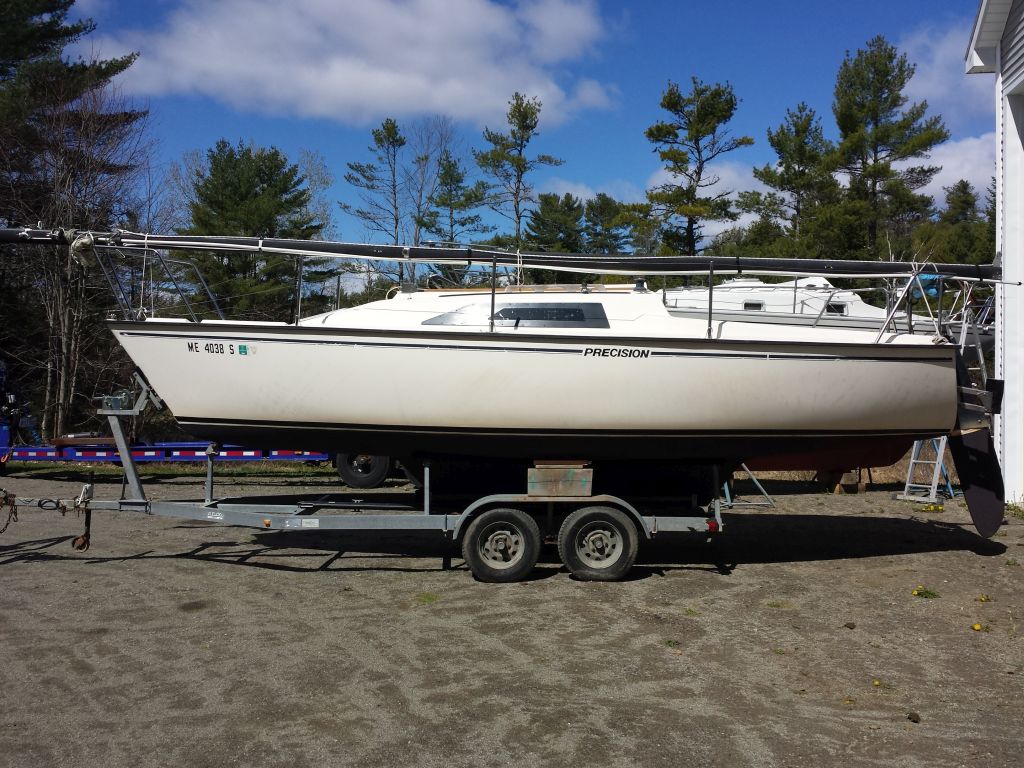
Precision 3
Monday
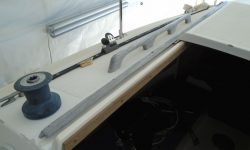
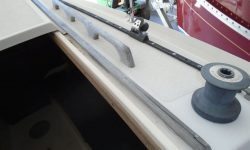
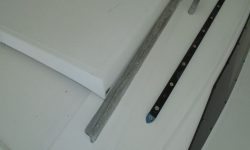
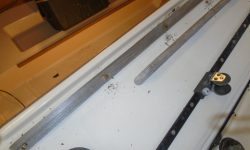
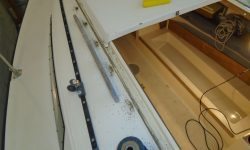
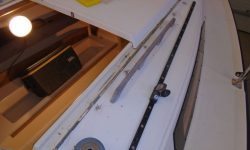
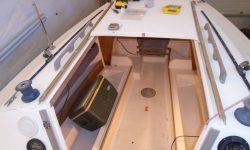
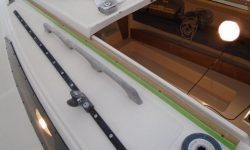
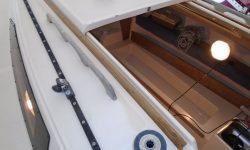
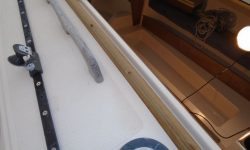
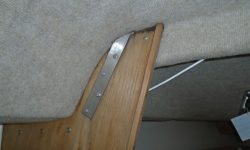
The sliding companionway hatch rode inside and beneath slim pieces of teak trim, which, over time, had become brittle and weathered, and were broken and cracked in places, limiting proper function as well as appearance. Replacement was warranted.
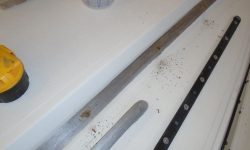
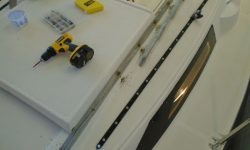
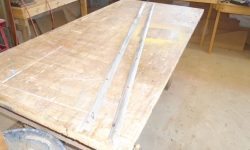
To remove the old trim for reproduction, I drilled out the bungs to expose the screw heads, then removed the trim easily from there.
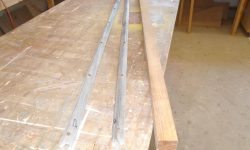
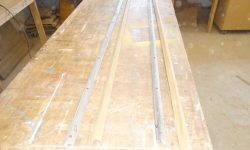
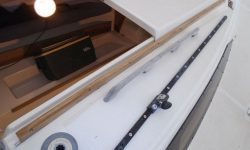
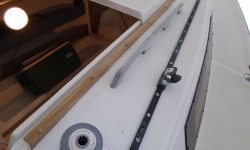
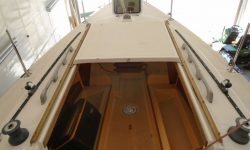
From some teak stock on hand, I milled new trim pieces, more or less duplicating through various saw operations the profile and details of the original trim, which was a sort of inverted, angled L shape. However, hoping to provide a little more strength over the long term, I made the top portion of the profile–the section that overhung the companionway hatch to hold it in place–a bit thicker than original. Afterwards, I cut the trim to the required length, pre-milled counterbores and screw holes for the fasteners, and sanded the pieces smooth, easing the edges as I went.
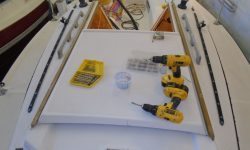
I intentionally changed the location of the screw holes to provide fresh material for the threads to grip, so I began the installation with a dry fit, in which I predrilled and secured all the fixing screws as needed.
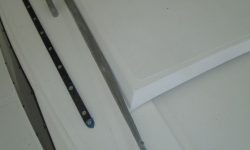
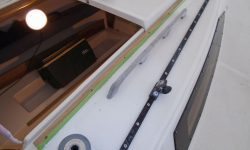
Next, I cleaned up the bonding surface, masked off the exposed edge of the teak trim, and installed the rails permanently with sealant and screws. After removing the excess squeezeout, I removed the masking tape, leaving the clean, bare teak. I bunged the screw holes, completing the job for now.
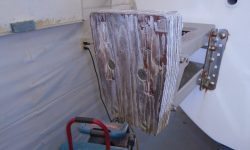
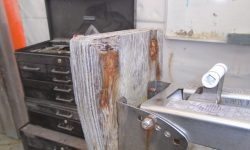
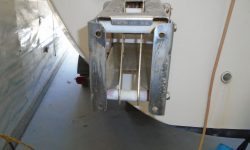
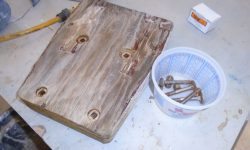
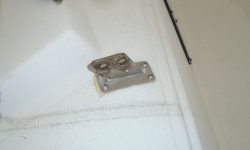
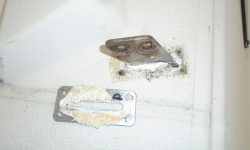
The owner had asked me to look at the original plywood outboard motor mount and see about somehow refinishing it. This would be possible, though it would never be beautiful, but as I looked at the piece I noticed plenty of splintering, compression, and missing chunks, and on impulse I decided it’d be better, less expensive, and ultimately more attractive and useful to purchase a replacement pad, which were now available in maintenance-free plastic. After confirming the bolt pattern was compatible, I ordered a new pad, and removed the old one to prepare for the new one’s arrival.
Meanwhile, I spent some time coming up with a new scupper plan, and ordering various materials for the job. I planned to remove the existing PVC pipe and elbows at both ends, and replace with new fittings and hose once I’d opened up access at the aft end of the cockpit. I ordered the new access port as well, and would begin this job later, once the pieces were on hand.
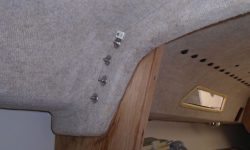
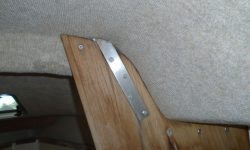
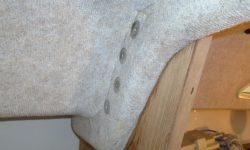
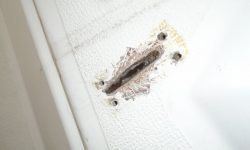
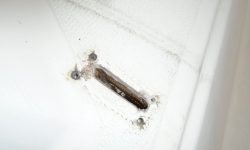
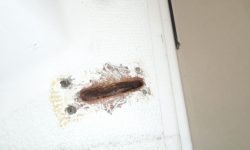
The owner reported a problem with chronic chainplate leakage, and indeed evidence of this was cl ear, with water staining on the bulkheads around the chainplates. Similar issues with this sort of through-deck design were common, as everything about the design and the forces involved made sealing a tenuous situation at best, but the leaks were probably more noticeable here because of the highly visible location well inboard and exposed on the bulkhead.
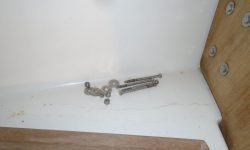
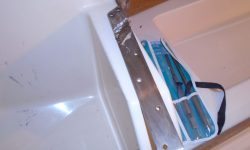
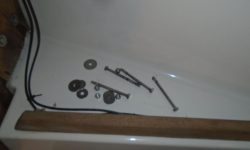
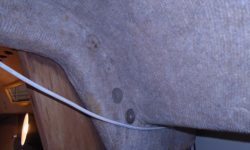
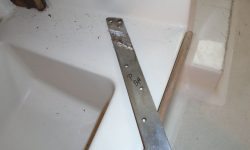
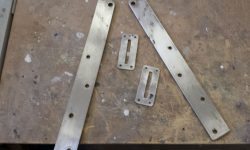
In any event, to address the issue now I removed the chainplates entirely, starting with the deck covers and then the stainless steel plates themselves, which were secured with four bolts through the bulkhead and a heavier support beam across the cabin. The various components were in good condition, and I cleaned them up to prepare for reinstallation, removing old sealant and staining. Though the fixing bolts were in sound condition, I decided to order new ones as a matter of course.
Afterwards, I cleaned up the chainplate slots through the deck, reaming out old sealant and other material to open them up as much as possible and provide a good sealing surface for reinstallation. Then, I sealed the insides of the openings through the deck with a thickened epoxy mixture; while there wasn’t an obvious issue with deck core moisture in these slots that required repair, it was sound practice to seal the openings now, while I had the chance.
Total time billed on this job today: 6.5 hours
0600 Weather Observation:
21°, clear. Forecast for the day: sunny, high in the 50s


