

April 27, 2016
Precision 5
Wednesday
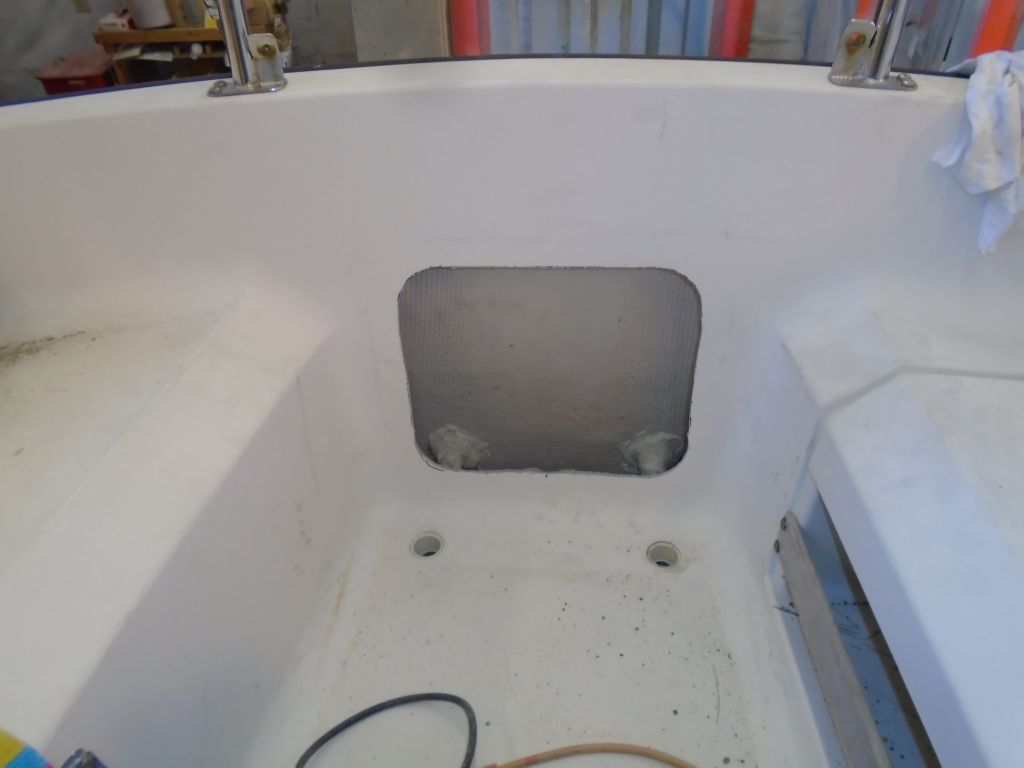
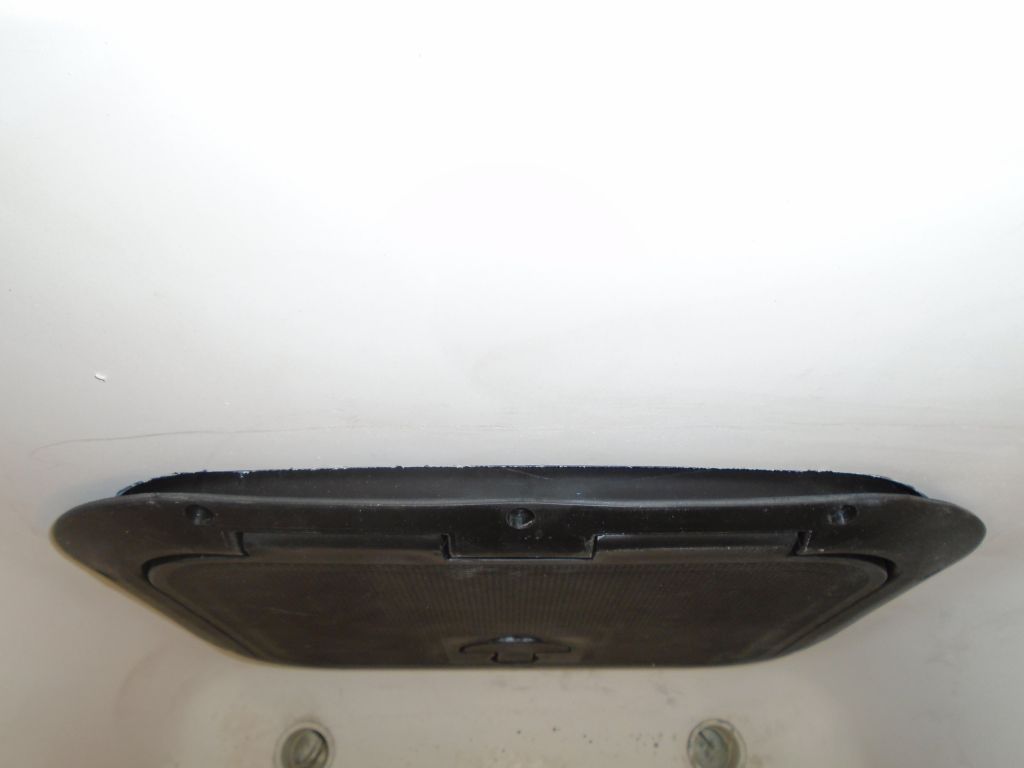
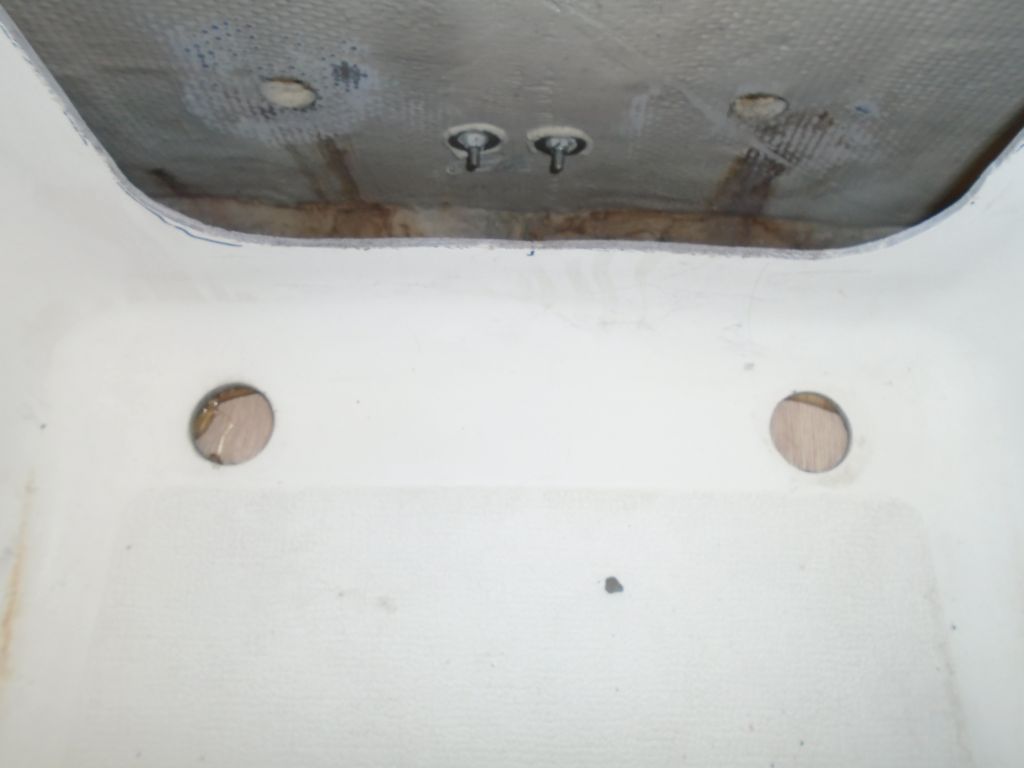
To access the aftermost part of the boat and the cockpit scuppers, the best way in seemed to be through the aft bulkhead in the cockpit, which would give access to the transom as well as the cockpit sole fittings. There was an existing access port there, but it was far too small for real access. To begin, I marked the bulkhead using the cardboard template of the cutout that I made earlier. With a 4″ hole saw, I made the 2″ radius cuts at the corners, then connected them with a saw to create the opening. The new opening gave quite good access to the required areas. Note that the original access port was not quite centered.


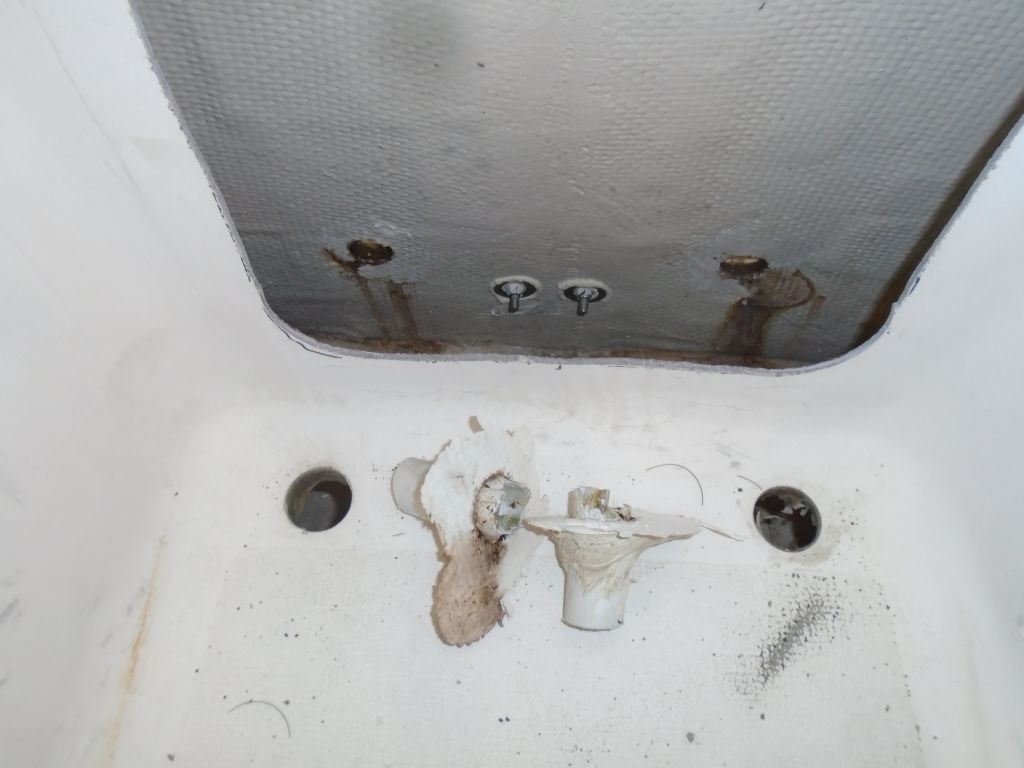
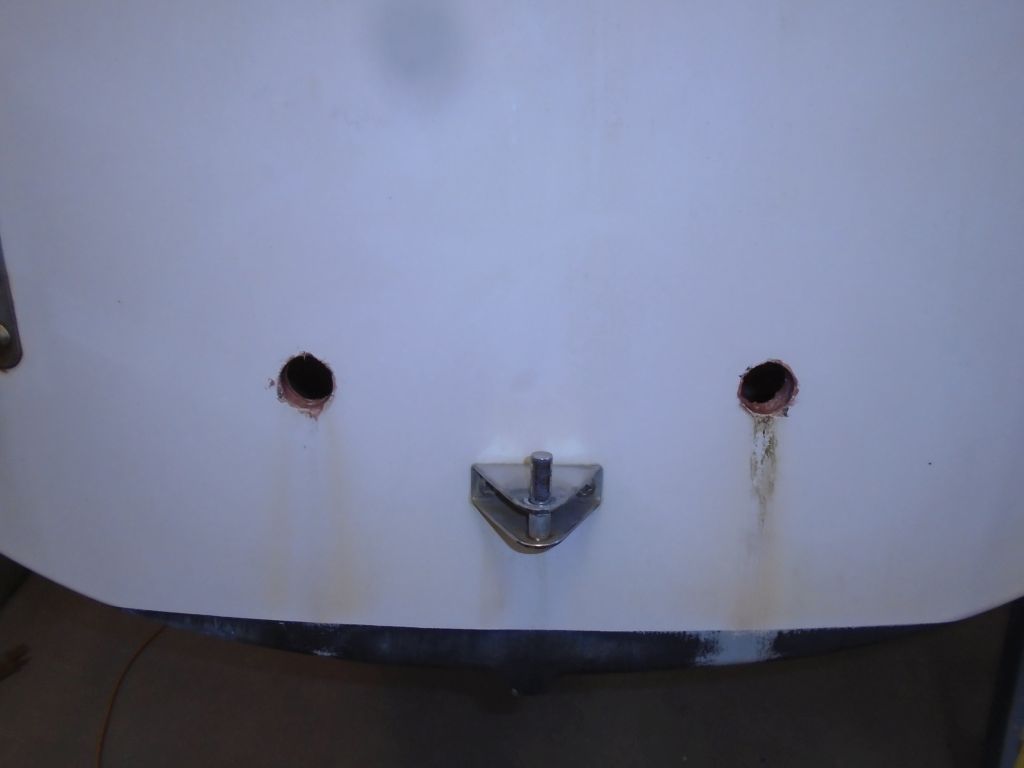
Next, I removed the old pipe and fittings. The cockpit side was already loose and took only a push from the top; the gobs of sealant securing the pipes to and through the transom were quite resilient, but eventually I got them loose and the pipes removed.

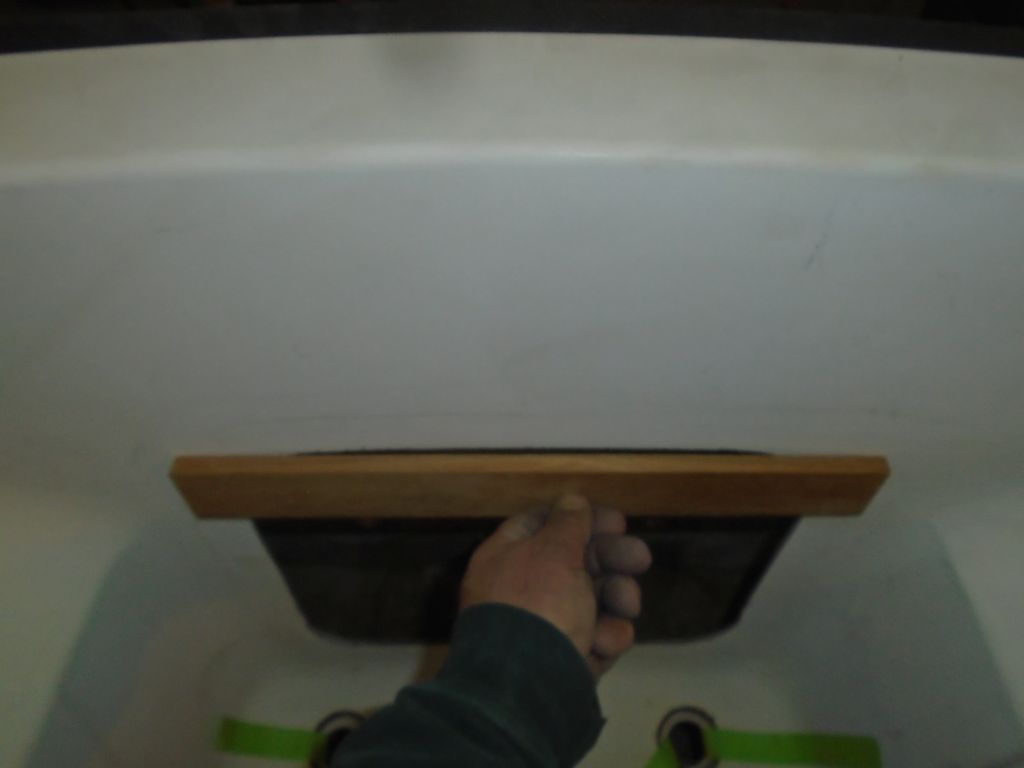
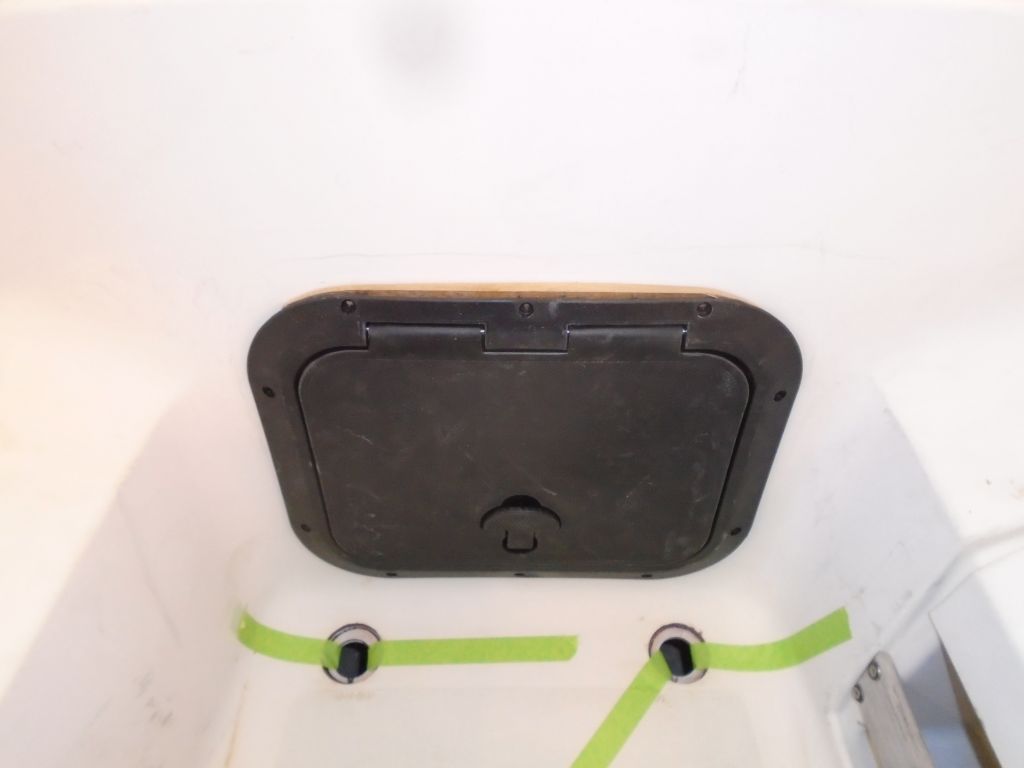
The bulkhead had a slight concave curve to its shape at the top of the new opening, and it was too severe to bend the new hatch into position. The bottom edge, and the vertical sides, were flat enough for a successful fit, but I needed to build a filler piece for the top to properly support the hatch and fill the gap. From teak stock, I scribed and cut a curved piece to fit; I’d await final installation of the hatch till I was done with all the scupper work, since the raw opening was quite a bit larger than the hatch itself.

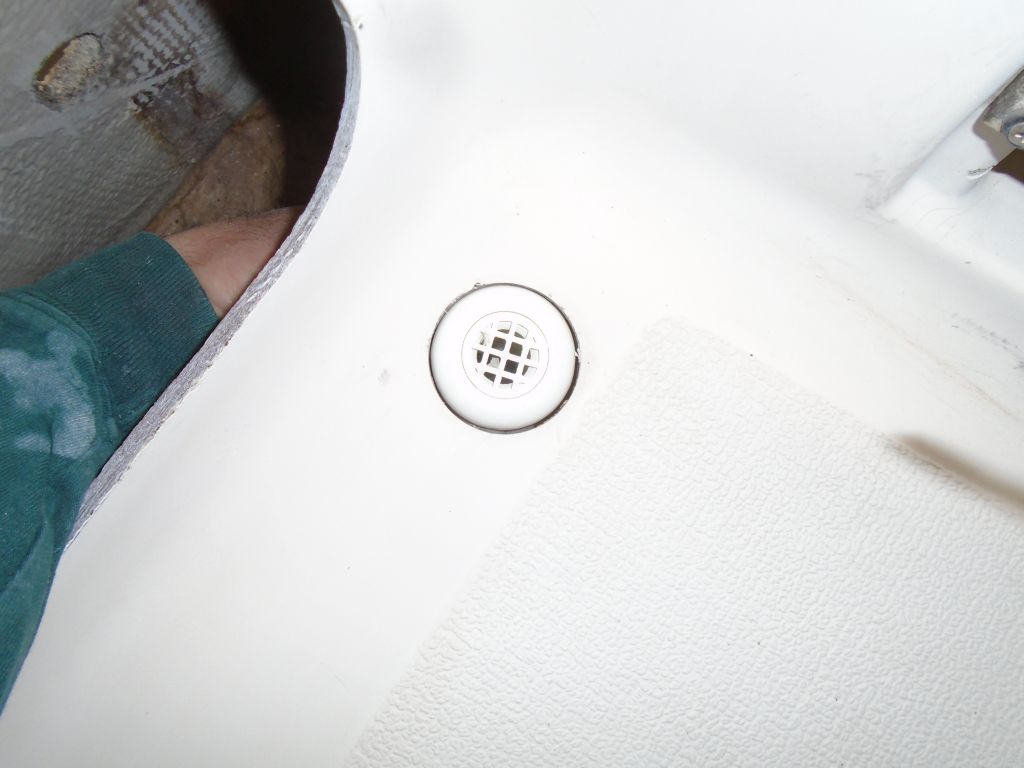
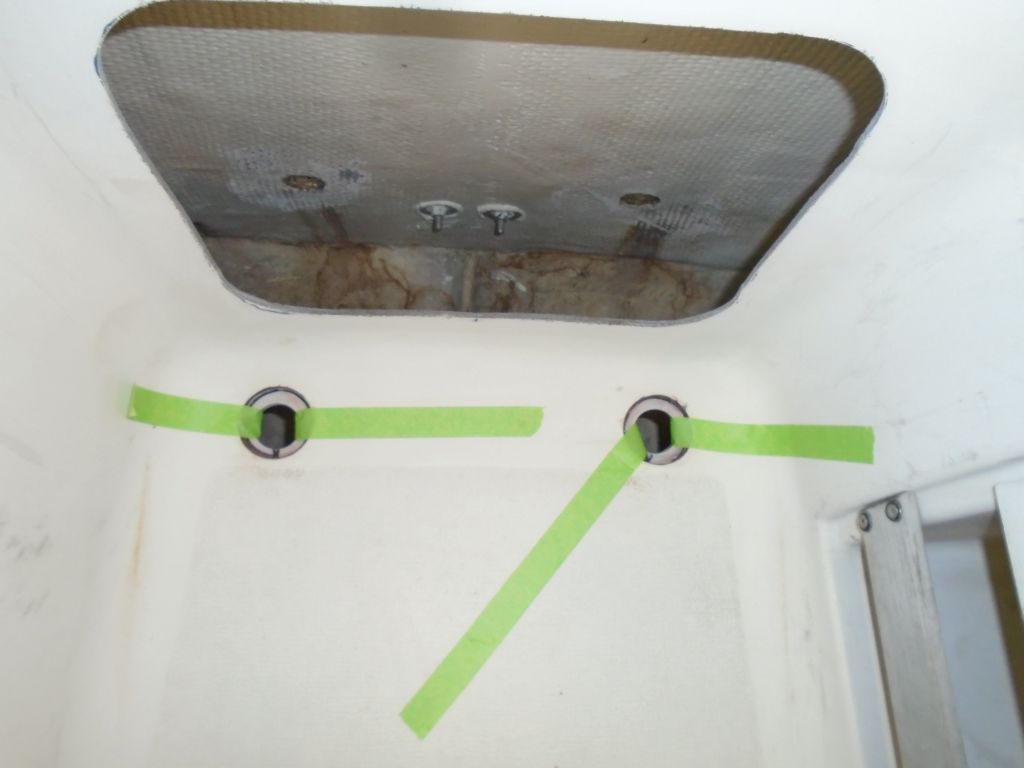
To rebuild the scuppers, I planned on new fittings at transom and cockpit sole, connected with hose to create a more flexible situation than the original pipe. For the cockpit, I selected Marelon fittings with a built-in screen. To provide complete drainage, I had to recess the mushroom fittings so they were flush with or beneath the sole surface. Since the laminate was no thicker than the thickness of the mushroom heads, I’d need to basically build a new supporting surface beneath the sole for the fittings. The original holes were the right size for the threads, but too small for the heads. So to open up the holes, I hot-glued some plywood beneath the openings, to give the hole saw pilot bit a guide, then used a larger hole saw to increase the diameter of the openings.
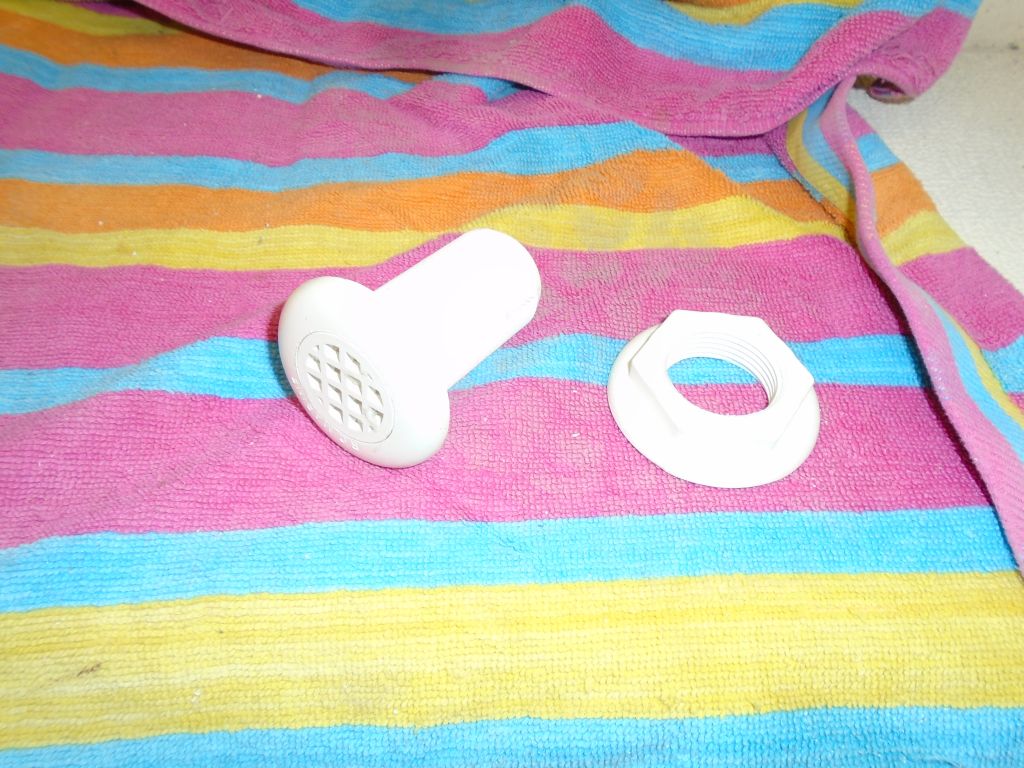
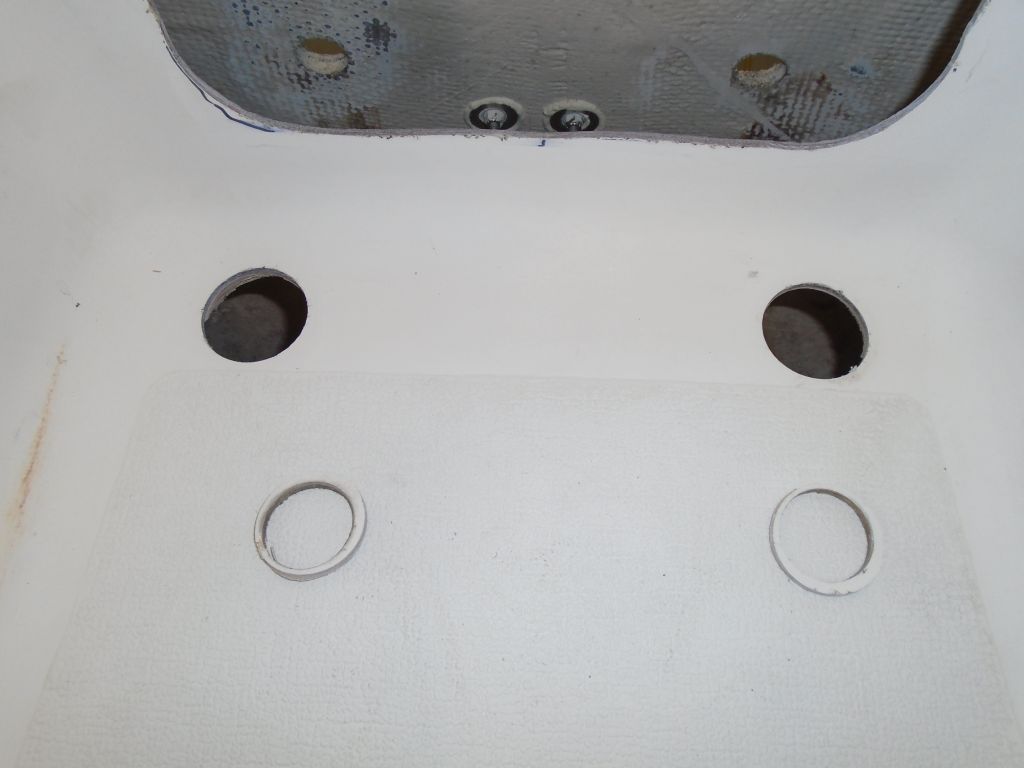
This allowed the mushroom head to fit flush through the sole.
To support the fitting below the sole, I used some circular cutouts from 1/4″ fiberglass, into which I drilled holes the right size for the fittings’ threaded necks. After cleaning up and sanding as flush as possible the bearing surfaces below the openings, I epoxied these discs in place, aligning the holes in the center. This effectively provided a “molded” flat-bottomed recess in the sole that would fit the scupper fittings cleanly. I made the epoxy mixture thick enough that it held the discs in place on its own, but to be sure that I continued to thwart gravity long enough for the epoxy to cure, I added some tape as a backup.
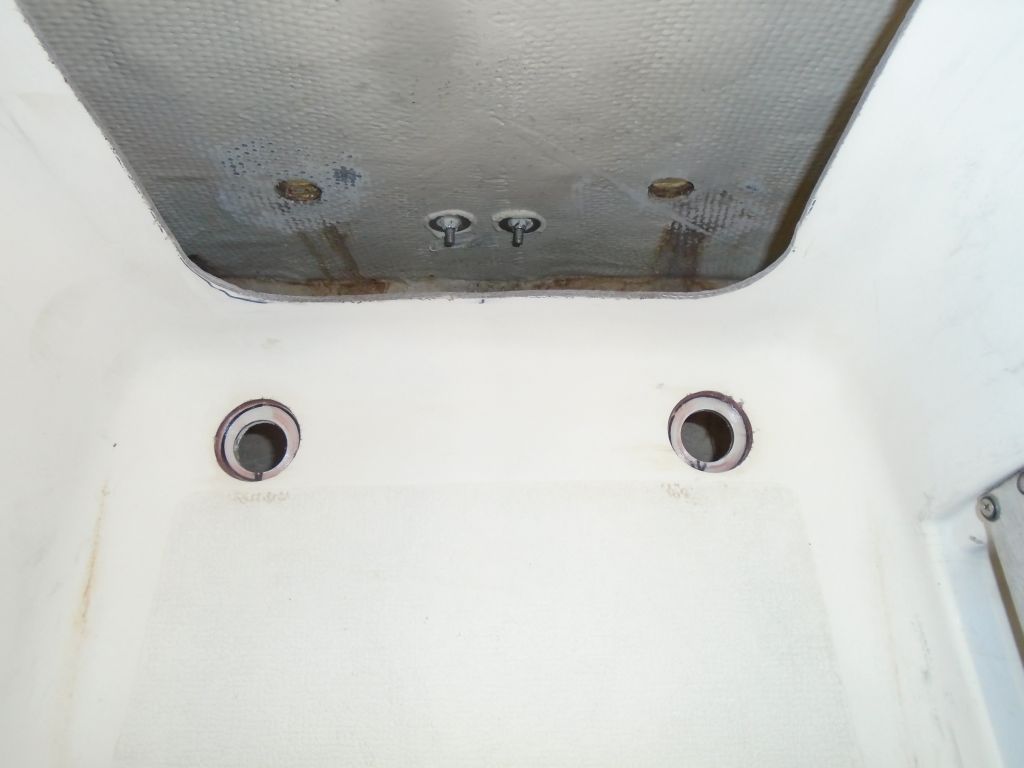

I also sealed the plywood edges of the transom cutouts with the thickened epoxy. Now I’d wait for all the epoxy to cure before I continued with work on the scuppers.
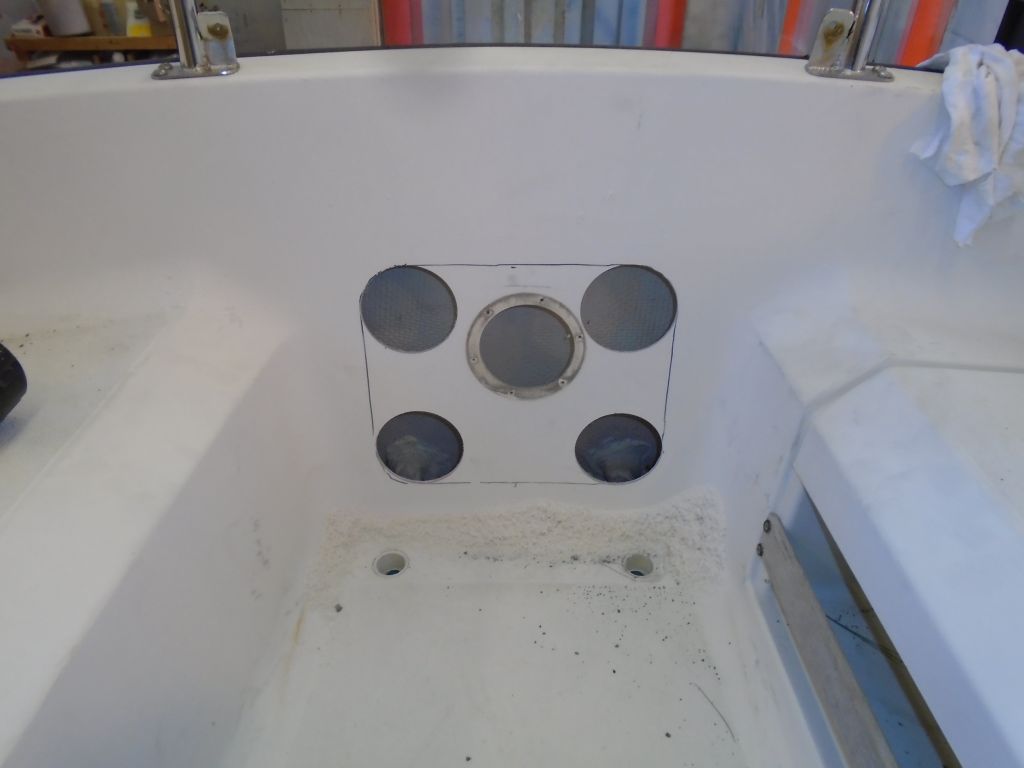
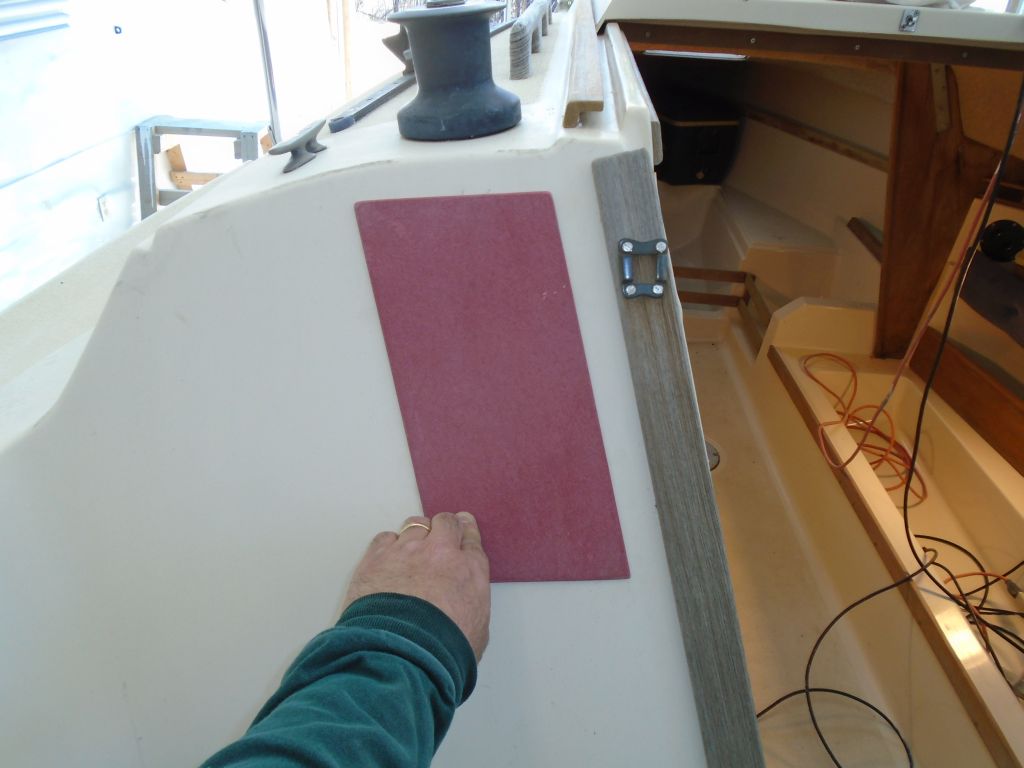
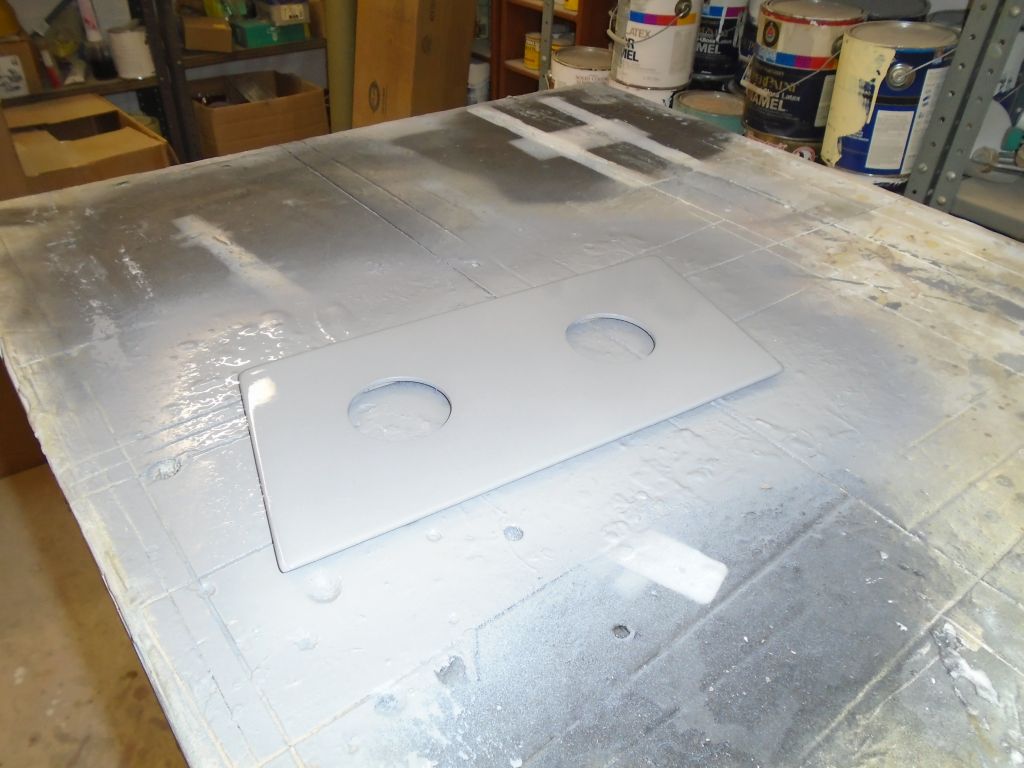
To cover the large holes left over from the old round instruments, I built a simple exterior panel from 1/8″ fiberglass laminate, which I cut to the angles required to tie in with the shape of the companionway and cabin top. After marking its position as needed, I drilled 2-1/8″ holes to accommodate the new instruments, then applied a few coats of epoxy primer during the remainder of the afternoon.
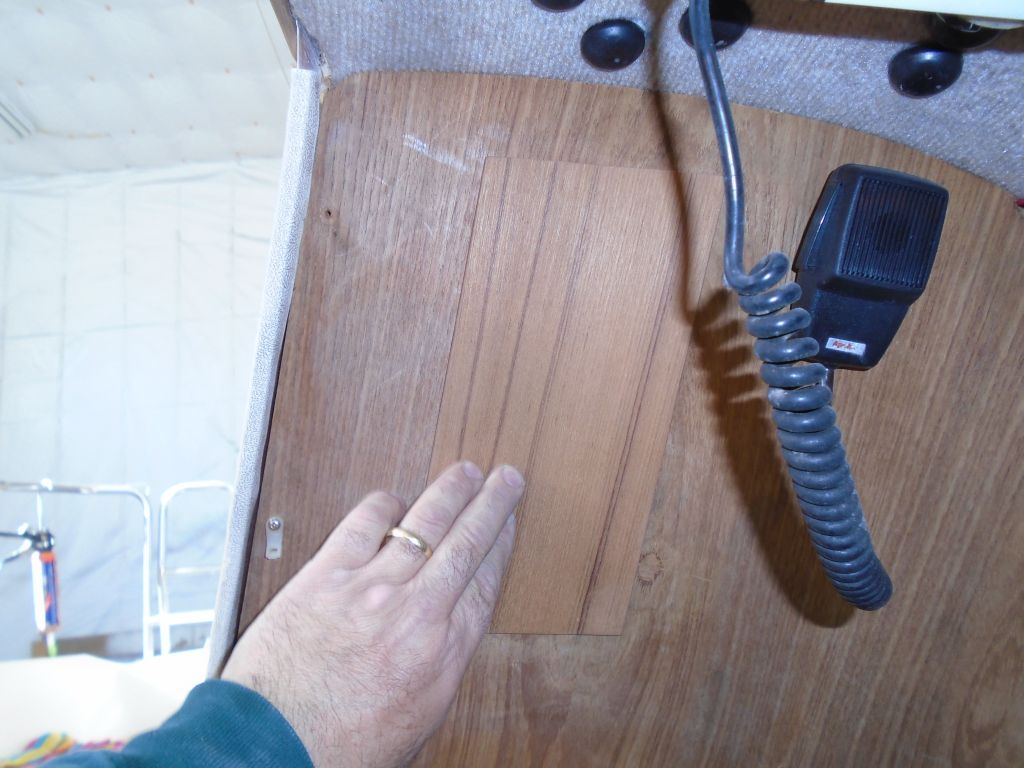
For the inside cover panel, I cut teak plywood to fit as needed, which blended well with the existing plywood cover on the bulkhead.
With the new instruments and transducers now on hand, I went ahead with the installation of the transducers (depth and speed), using the original holes in the boat, which I’d already prepared for the installation.
Then, I led the cables aft, following the same route and using the same support hardware as the original cables that I’d just removed. I’d make the final connections to the new instruments later, once the cover panels were done and ready for installation.
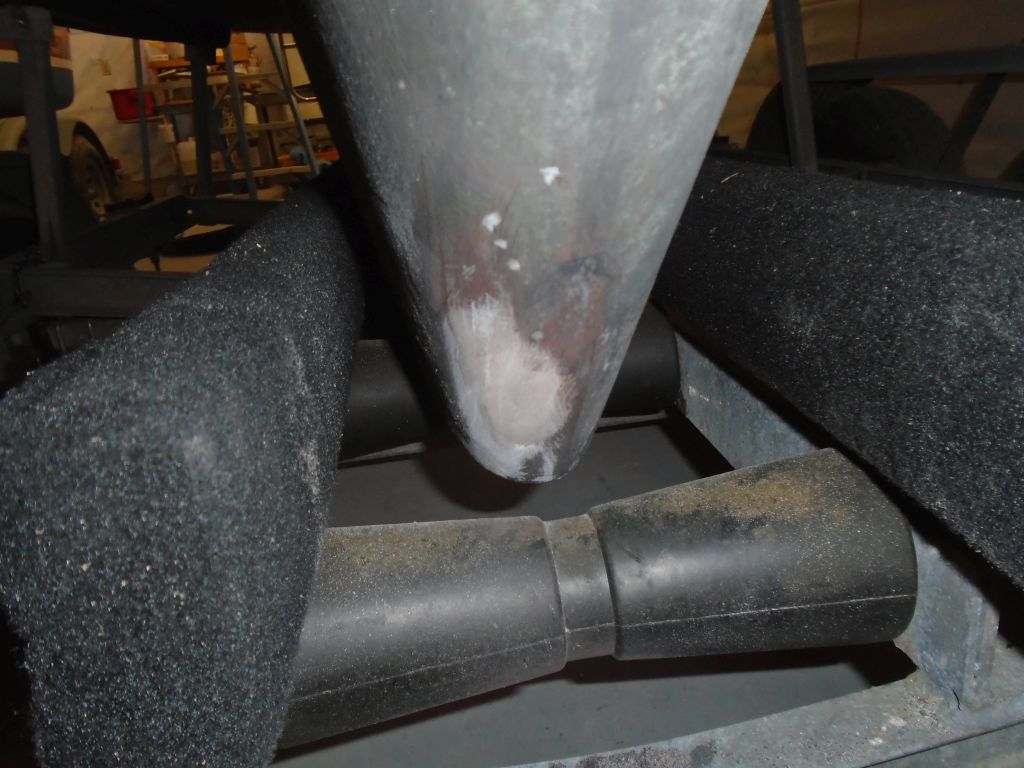
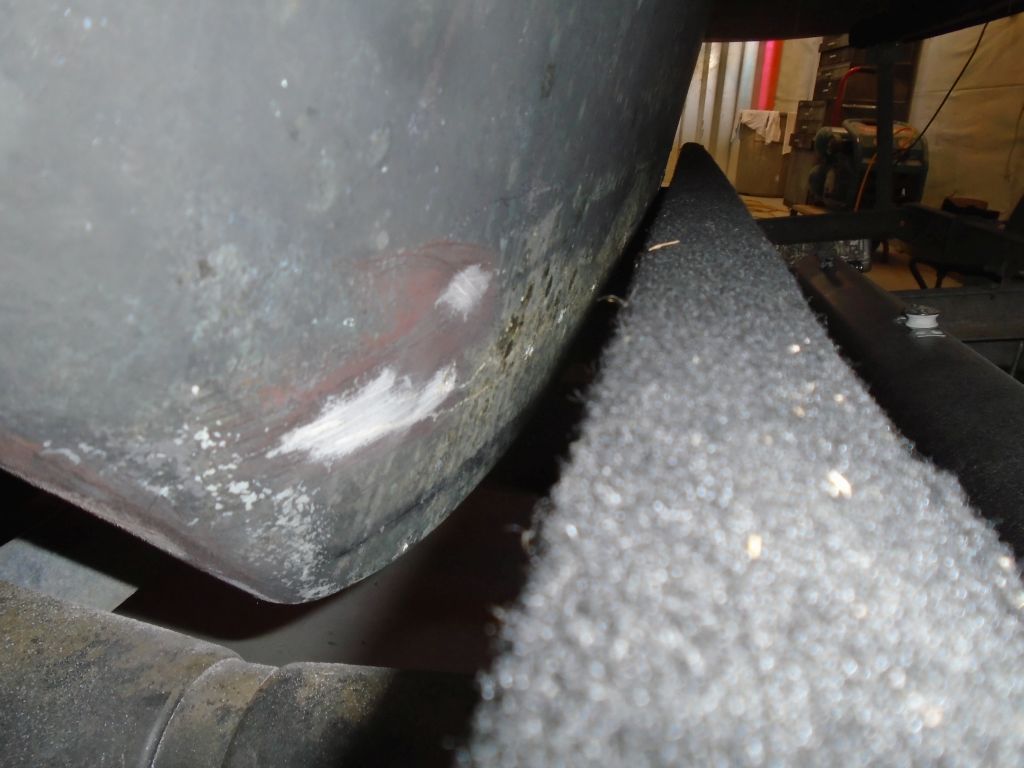
I finished up the minor keel work with a quick wash and sand of the filler I’d applied earlier.
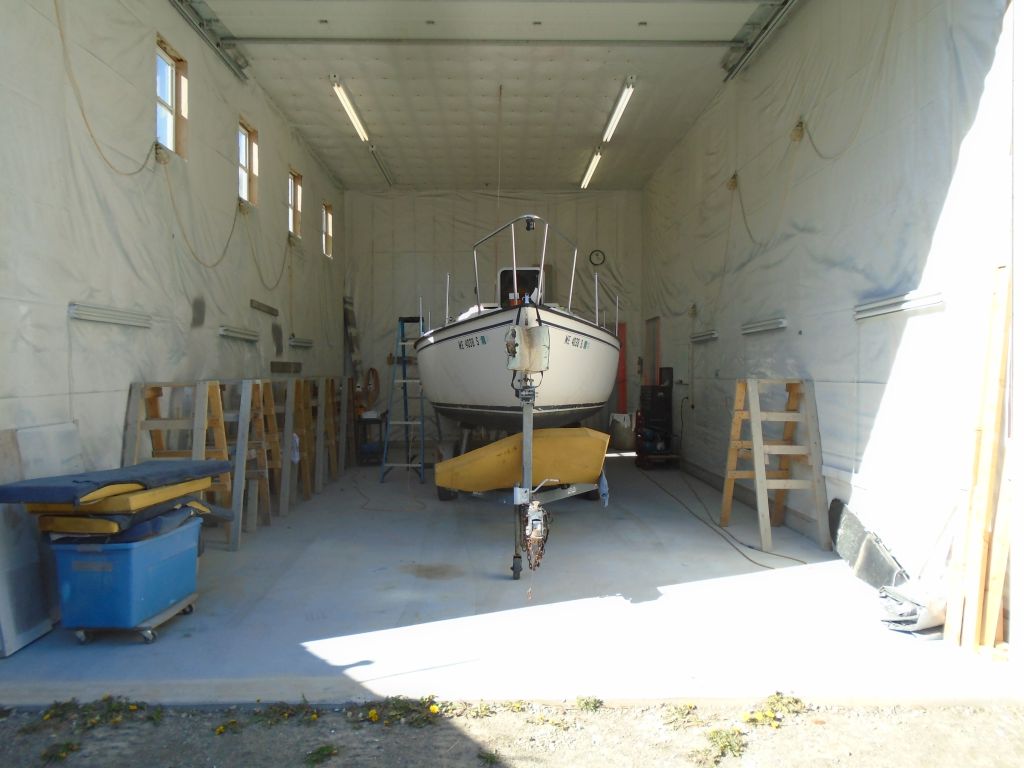
I’d moved some other boats around, which gave me the opportunity to reposition this boat alone in the center of the shop for better access for the remainder of the project.
Total time billed on this job today: 6.25 hours
0600 Weather Observation:
Clear, foggy, frosty, 22°. Forecast for the day: sunny, 50