

January 29, 2016
lh3
Friday
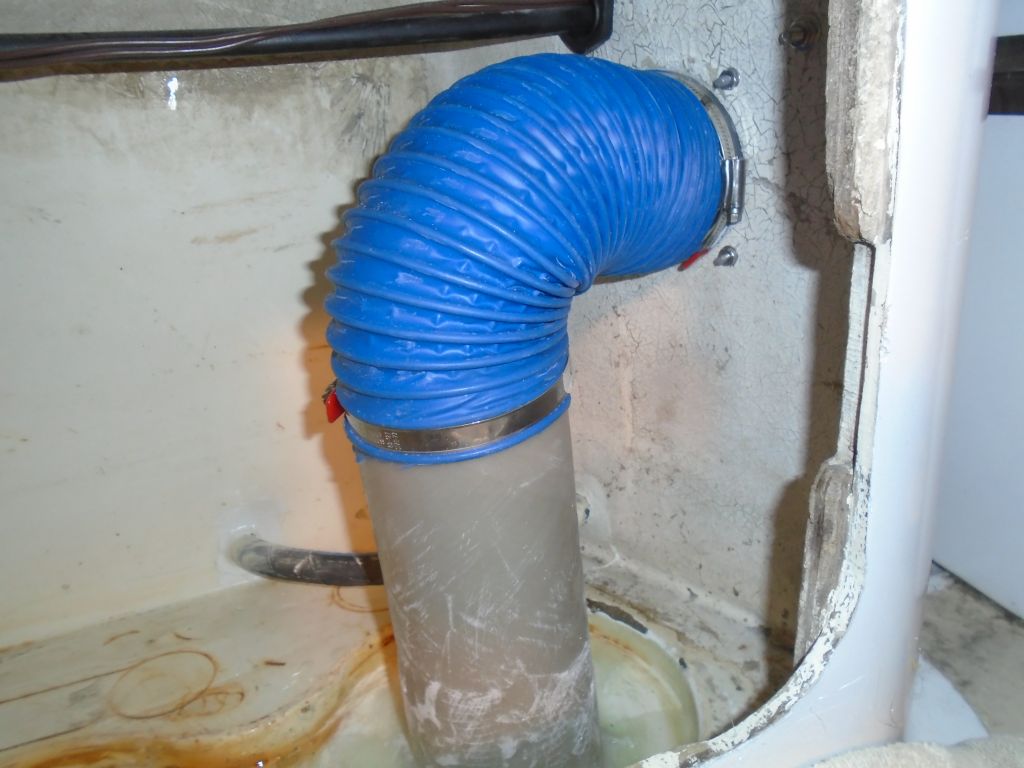
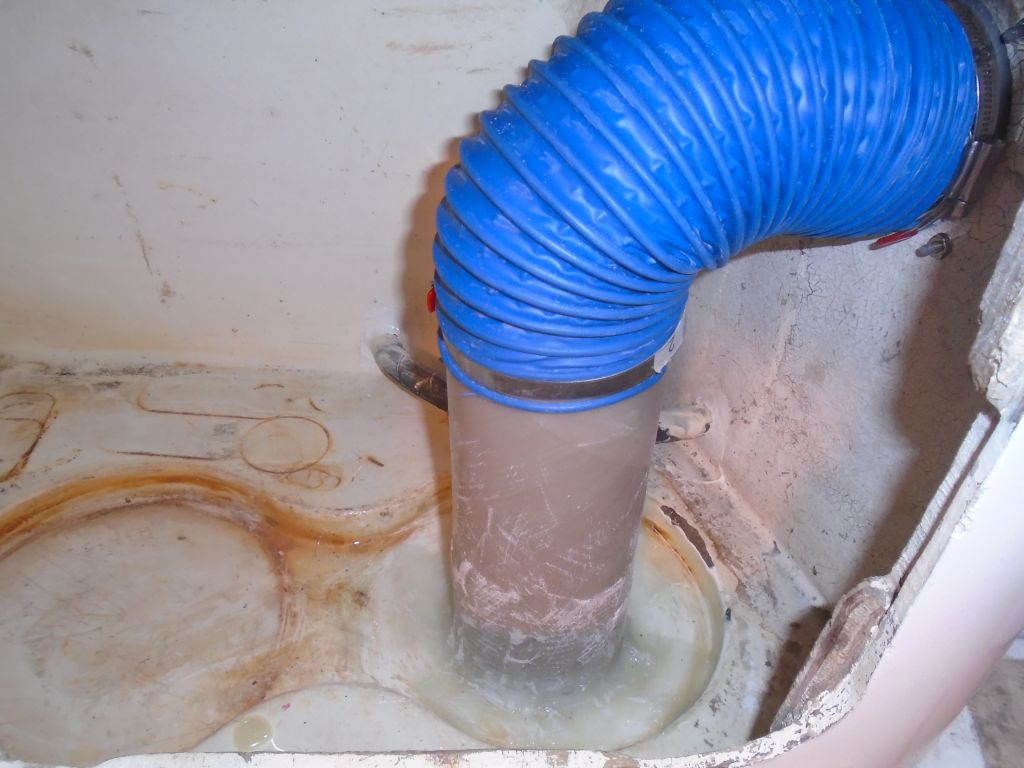
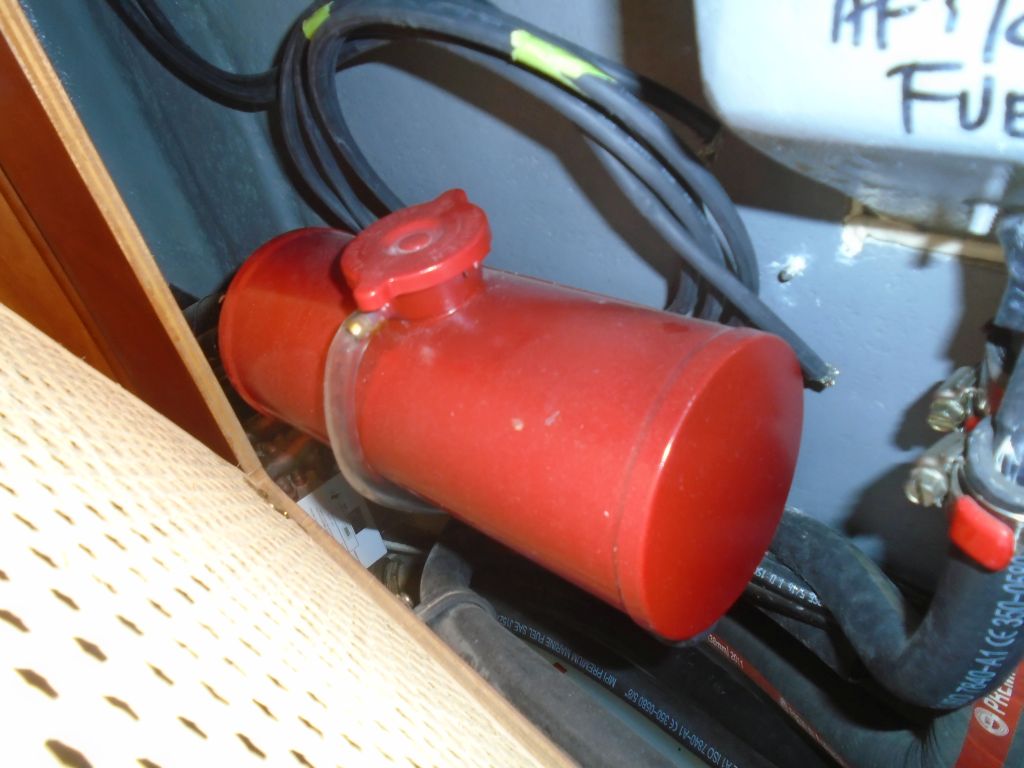
The tabbing securing the new blower vent pipe had cured in my absence, so with that complete I spent a few minutes touching up the new fiberglass with some sandpaper to remove sharp edges. Then, I cut the flexible hose to length and connected it to the nearby vent through the aft end of the locker, completing the job. This installation left a surprisingly usable amount of space in the tiny locker, which had been the goal of using the rigid pipe instead of simply running flexible hose only.
The owner would finish up the actual blower installation in the engine room, now that the wiring and vent components were in place. All he’d have to do was install the blower on its platform–it was all ready to go–and then secure the platform as he’d designed.
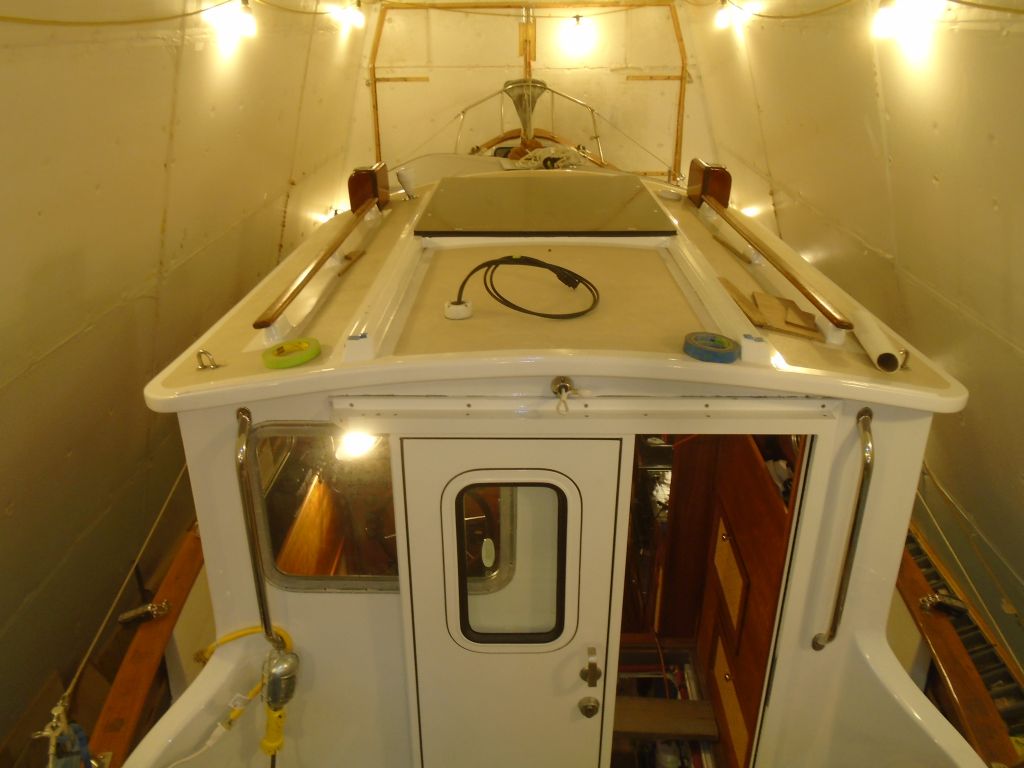
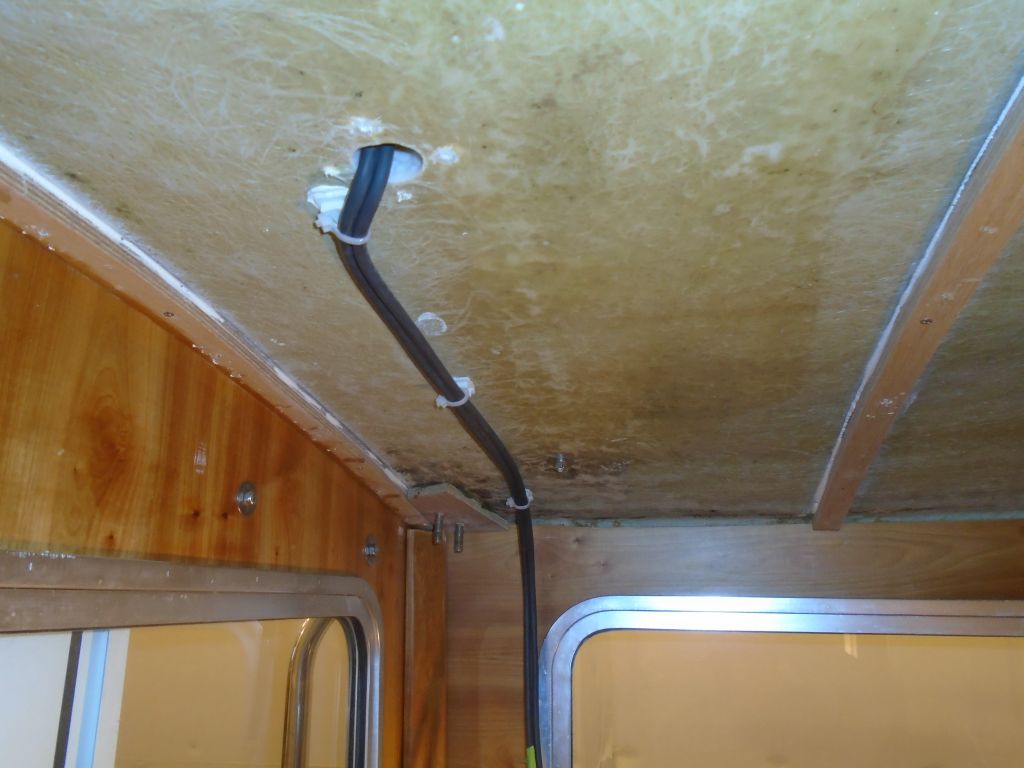
After cleaning up the rough edges of the epoxy filling the through-hole in the pilothouse overhead, I continued work on the wiring for the solar panel. I installed some wire tie mounts on the overhead, and ran through the extension cables–with standard MC-4 plugs at the ends to connect with the panel itself, using a cable clam to seal the wire penetration.
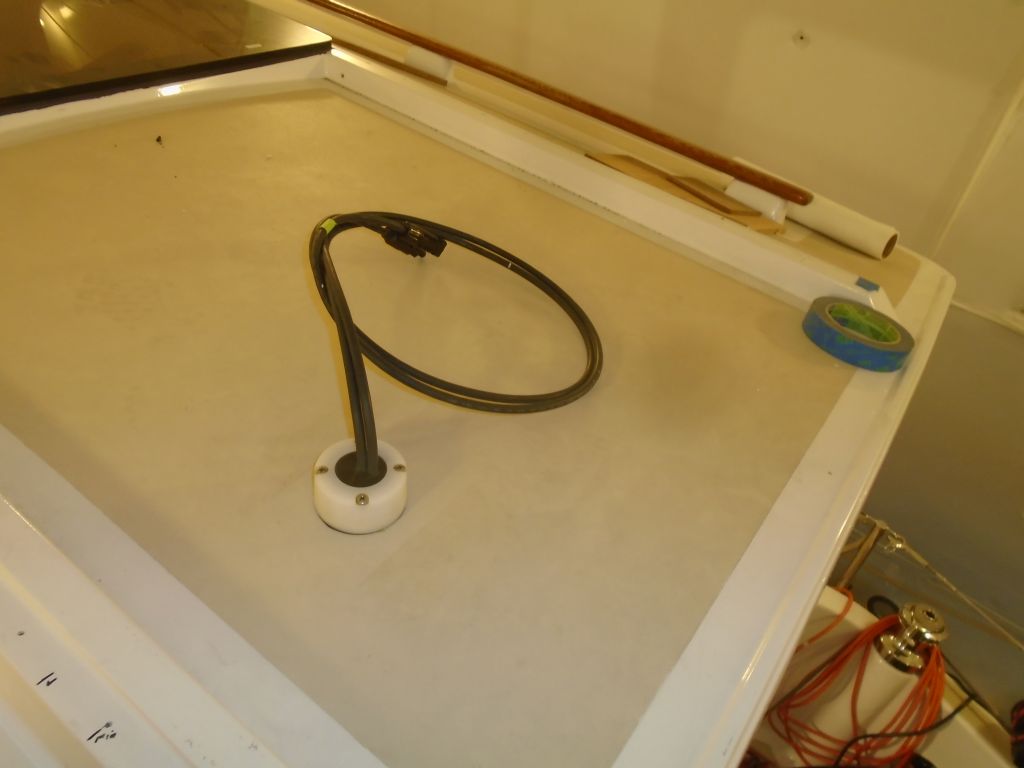

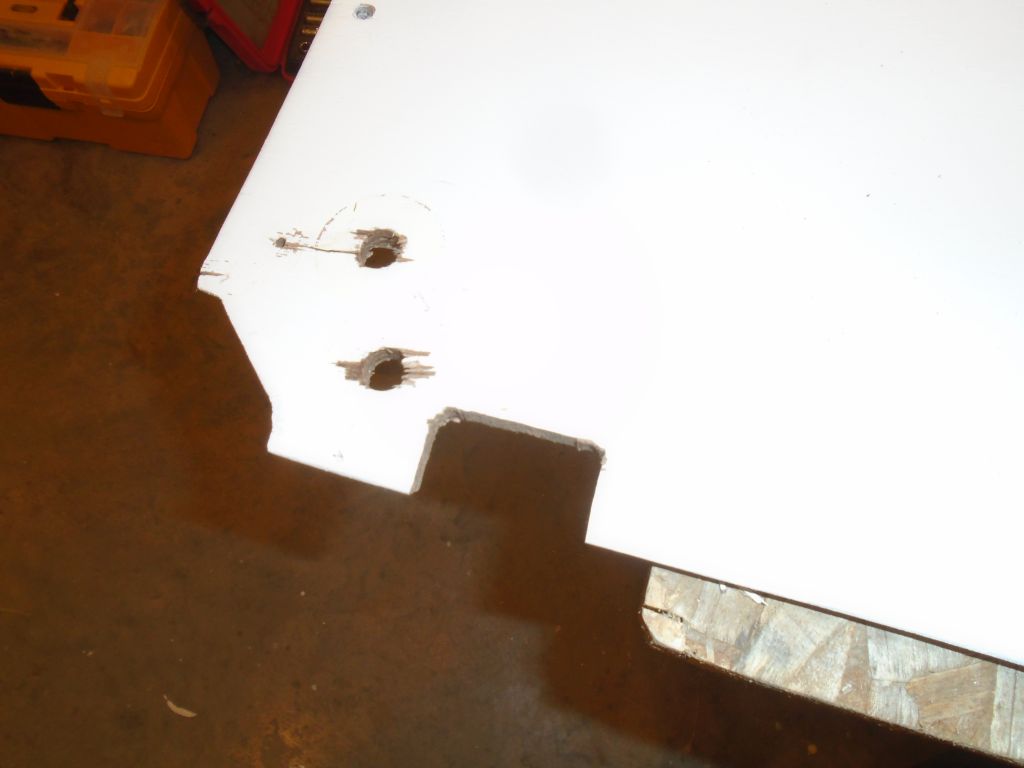
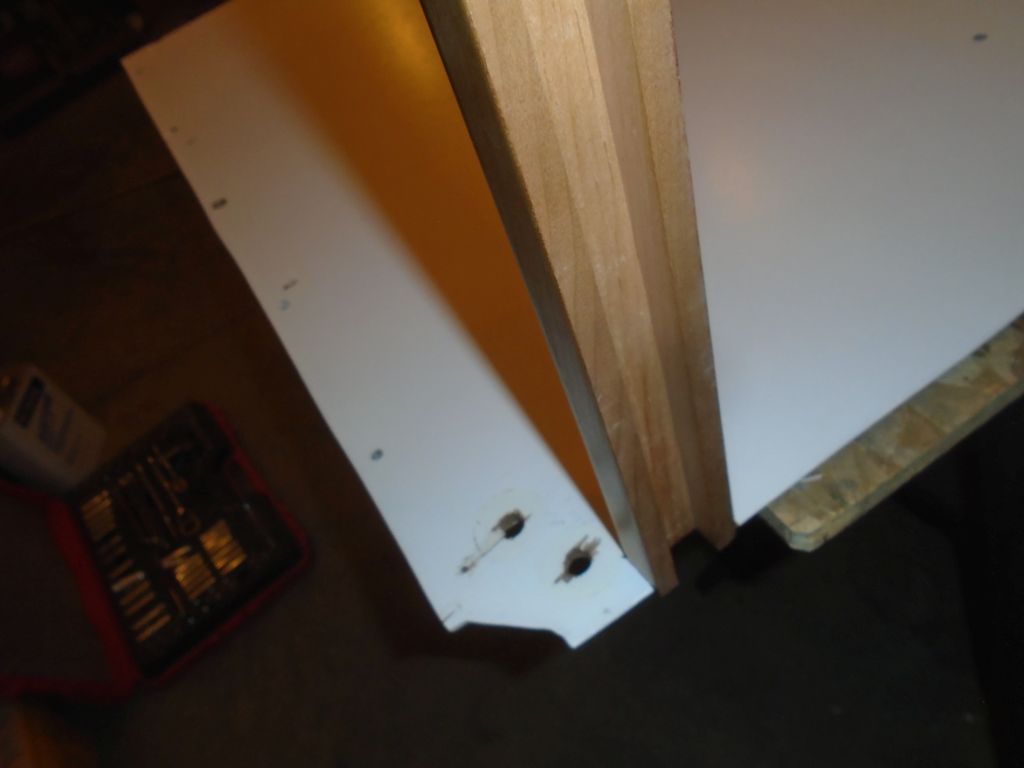
The wires needed to lead down into the utility space on the port side of the pilothouse, where eventually they could connect to the solar panel controller (and readout panel), which I’d later install in a blank space on the bulkhead there. Because there was no way to run the wiring completely hidden, back at the shop while preparing for the project I’d made a cherry wire conduit for the job, to span the pilothouse wall between the overhead and the space below. So now I ran the wiring along my new wire mounts on the raw overhead, and down the side of the pilothouse and through two holes in the little shelf, which allowed the remaining cable to enter the utility space beneath. This was as far as I’d take the wiring for the moment, as I first wanted to focus on mounting the solar panel itself.
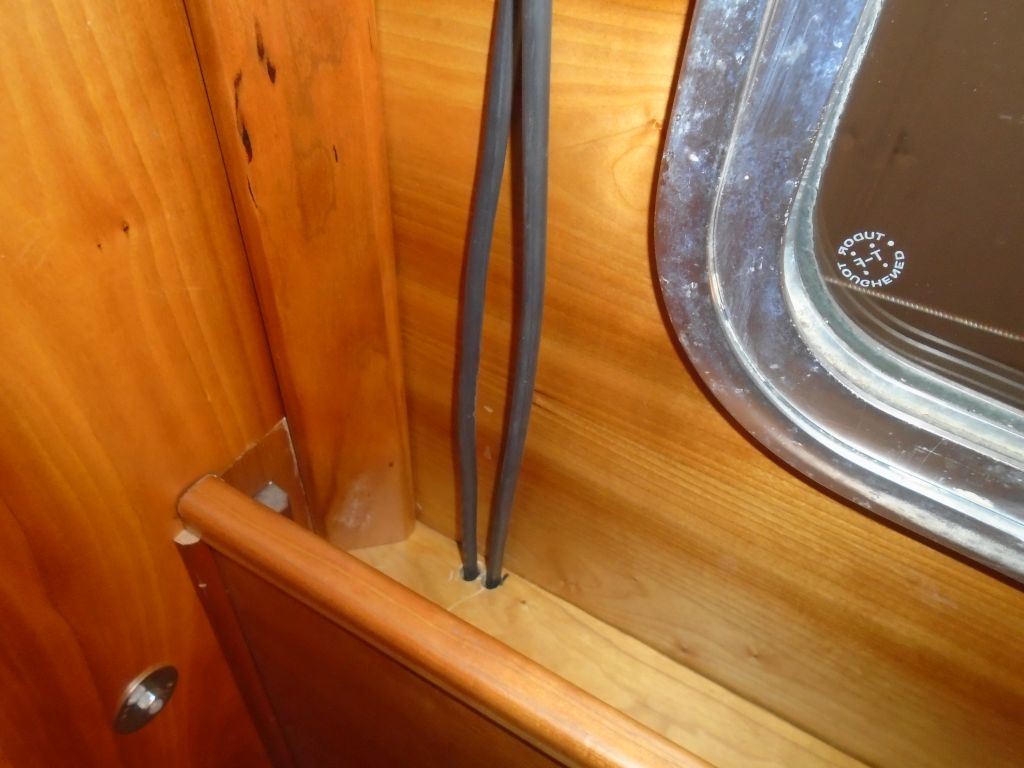
With the wire now secured, I could reinstall the overhead, but first I marked and cut out a notch to accept the top end of the wire conduit. Then I reinstalled the overhead panel and its trim pieces, and secured the wooden wire conduit over the exposed wires with a few screws.


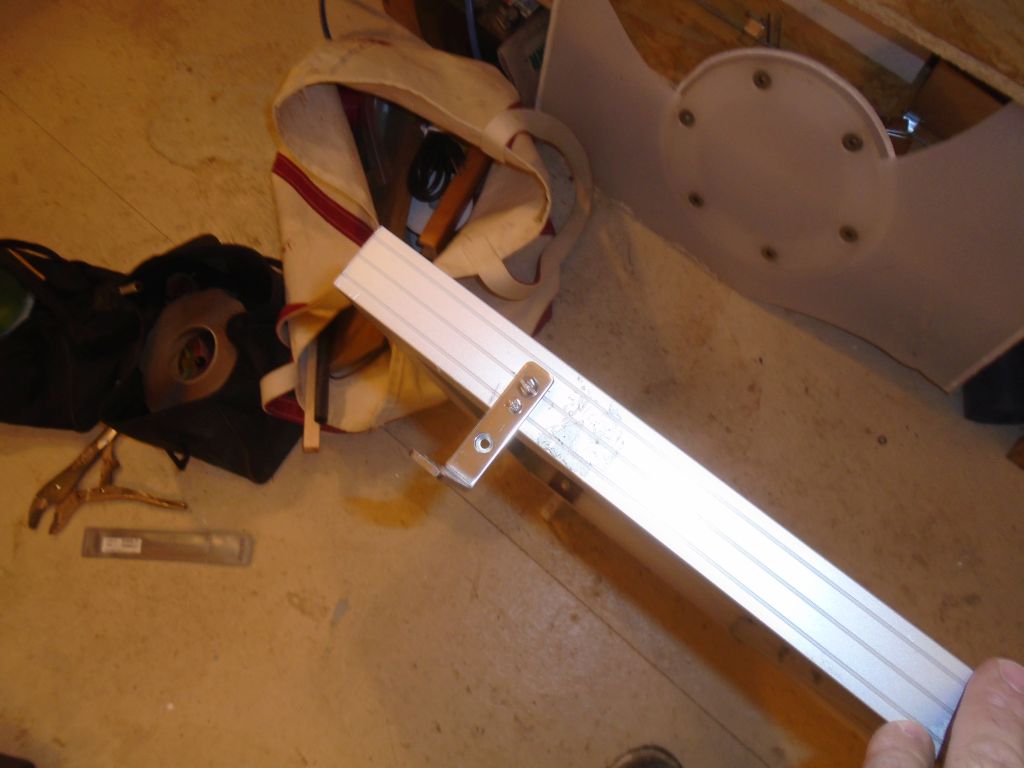
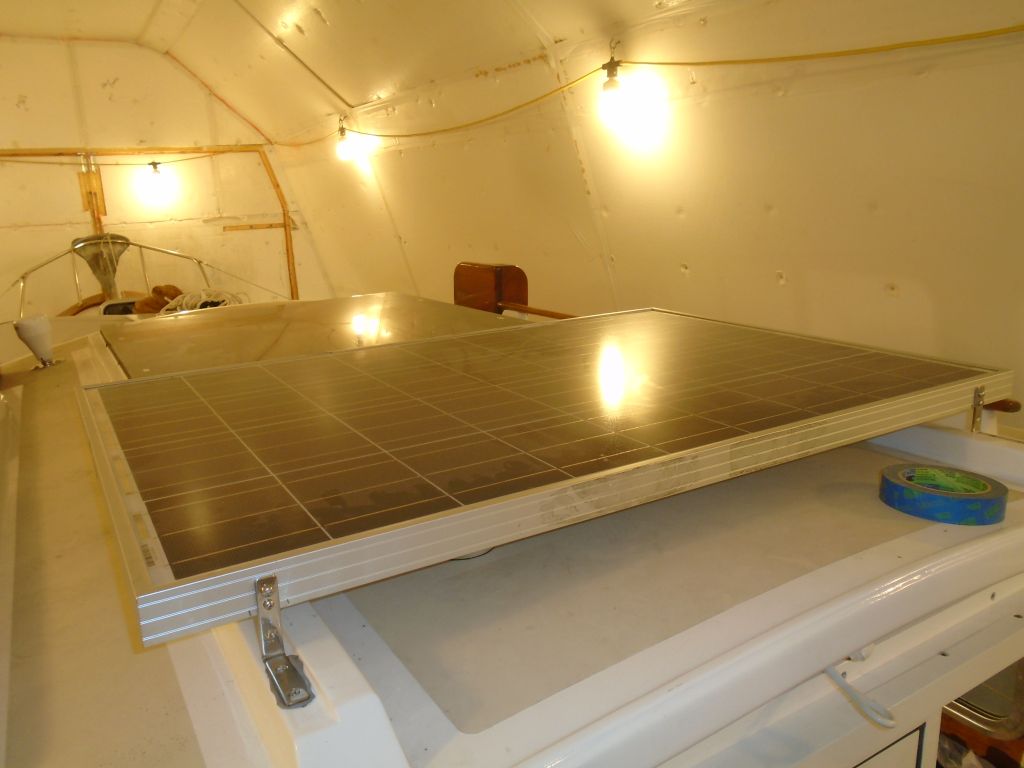
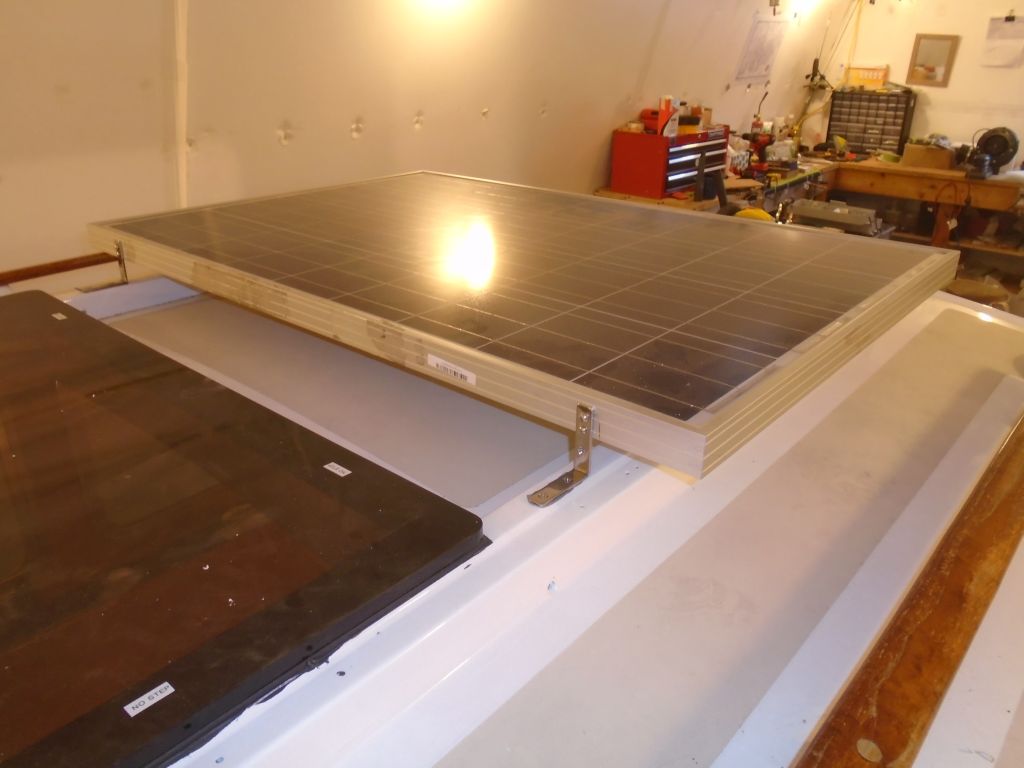
The owner wanted the panel removable without heroic efforts, so to mount it I chose some simple stainless steel angle brackets, which I secured to the panel frame with a bolt and wooden backing block to take up some of the space within. There wasn’t room for a second bolt, but to prevent any possibility of the bracket moving I installed a small sheet metal screw beneath the bolt location, just into the frame itself. Earlier, I’d marked where these brackets needed to be while the panel was mocked up on the boat, so the brackets would align with the molded rails that used to accommodate the sliding pilothouse overhead hatch.
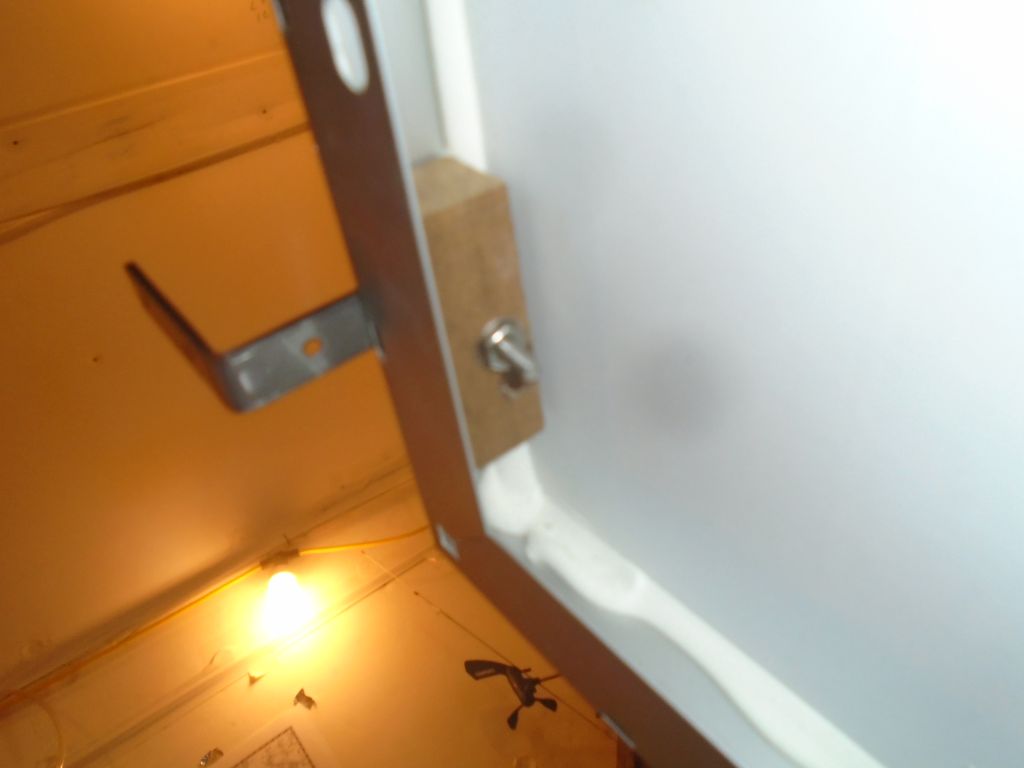

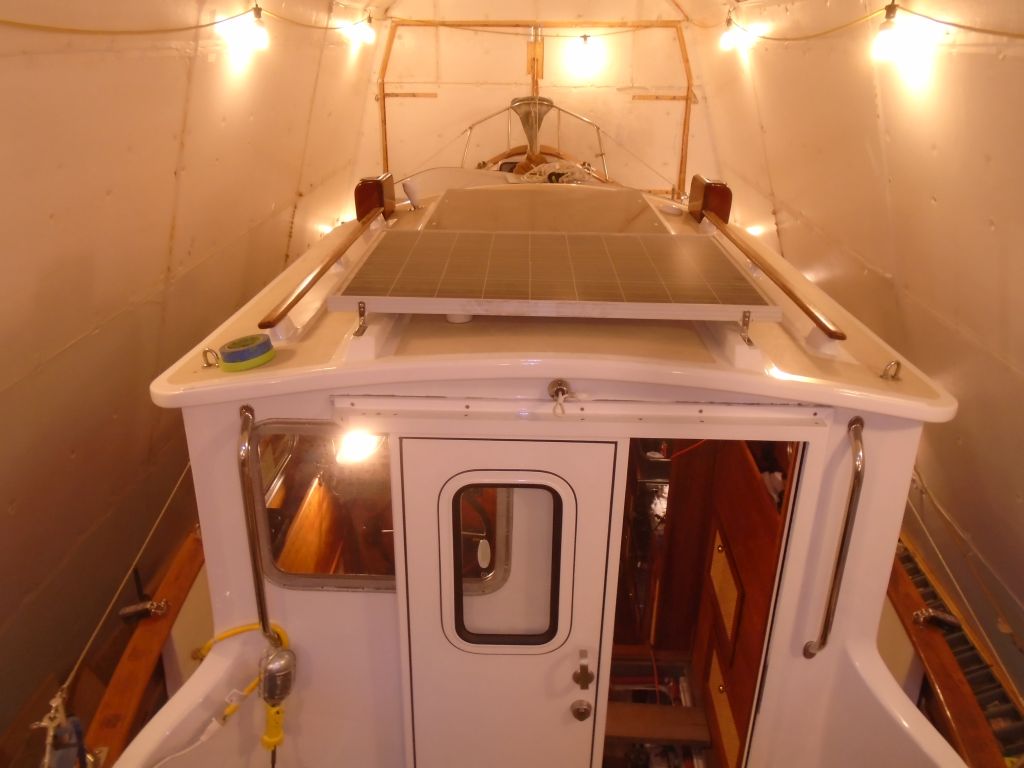
With the brackets secured to the panel, I mounted them to the pilothouse, drilling and tapping the molded rails for machine screws before securing the brackets with some butyl tape for ease of removal, if desired. The wiring entry point was hidden beneath the panel, but the wires were still accessible for disconnection as needed. To complete the installation, I’d need to install and wire in the solar controller in the pilothouse, but that would be a job for another day once I’d collected some materials required for the job.
In an embarrassing flub that the owner and I had discovered back when we launched the boat for him the first time, in June 2015, I’d found that somehow–and despite what I recall as great care on my part to avoid the very issue–I’d installed the mounts and blocks for a spreader flag halyard on the wrong side of the spreader–the top side, rather than the bottom. This was humbling, but ultimately minor for the moment, and the immediate fix at the time had been to simply remove the hardware and press on. Now, however, it was time to correct the issue. I used small screws set in Tef-Gel to fill the erroneous holes in the spreader top, and reinstalled the inchworms and blocks on the correct side of the spreader this time.

In the past few days I’d made solid inroads to the original project list, and felt good about the early jump-start. But for the moment, I’d reached the end of what I’d hoped to accomplish during these few days, and it was time to regroup and focus on the remaining elements of the project ahead, which I’d take care of over a few days as needed in the near future. So I cleaned up and packed away my tools and equipment, and would return soon to continue a few things and keep the job moving. For the meantime, though, it was back to the shop and relative normalcy.
Total time billed on this job today: 4.25 hours
0600 Weather Report:
25°, cloudy. Forecast for the day: Clouds, scattered snow and rain showers.