
110 Cookson Lane | Whitefield, ME 04353 | 207-232-7600 | tim@lackeysailing.com
Continuing on the starboard side, I worked to lay out and cut the port openings, following the same processes as on the port side earlier. However, this time the work was much quicker, since I'd fine-tuned the process with benefit of experience.
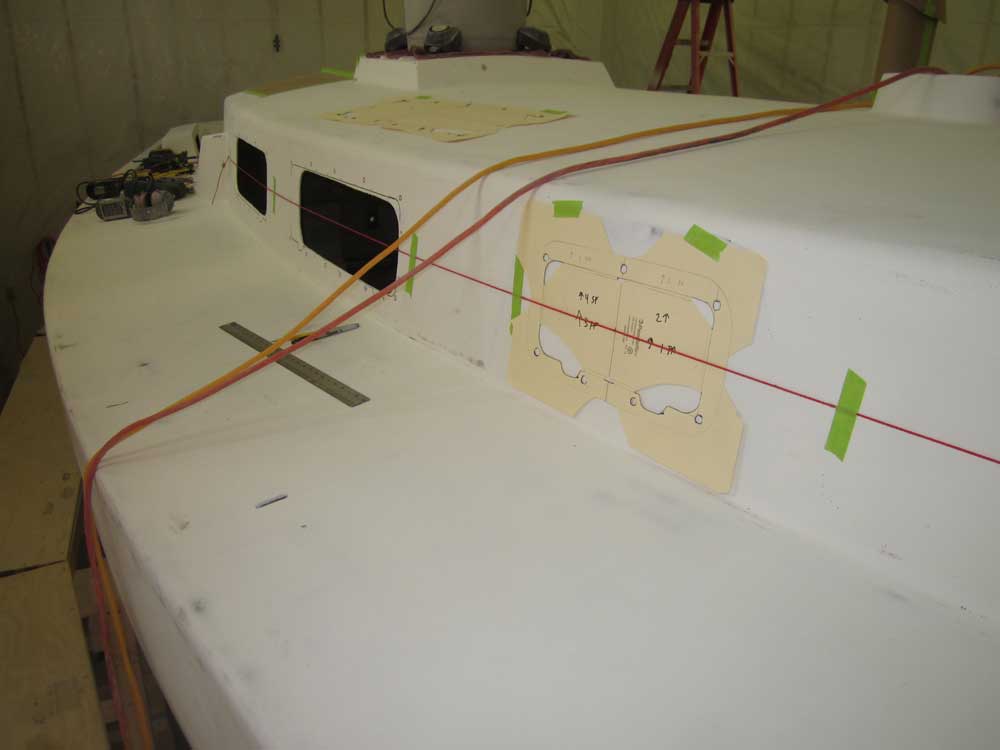
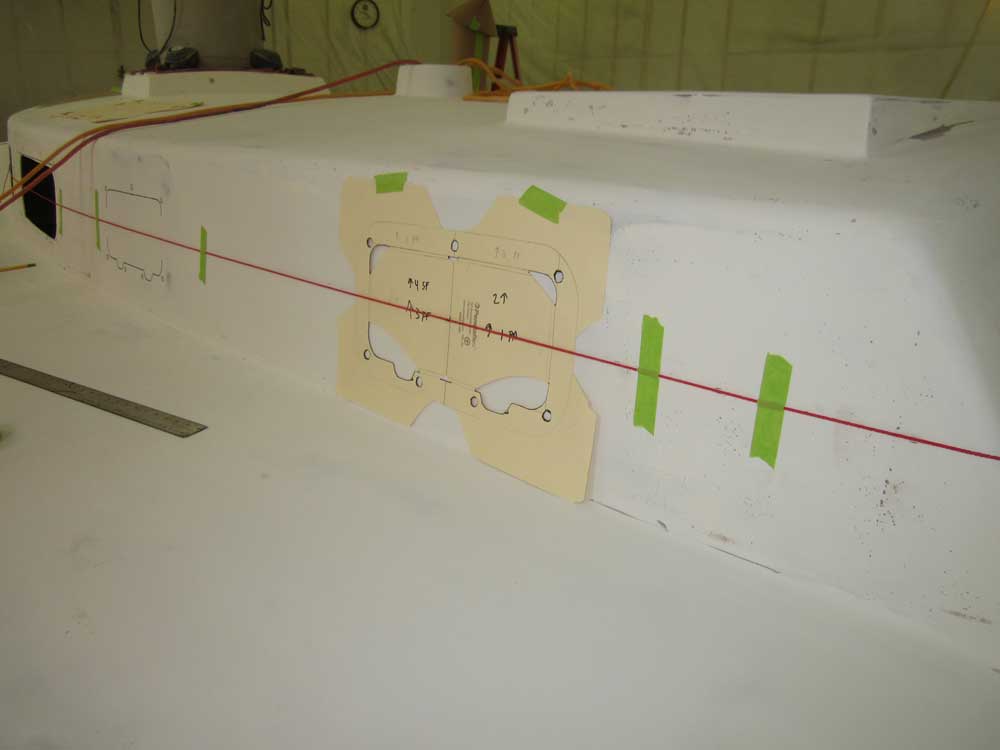
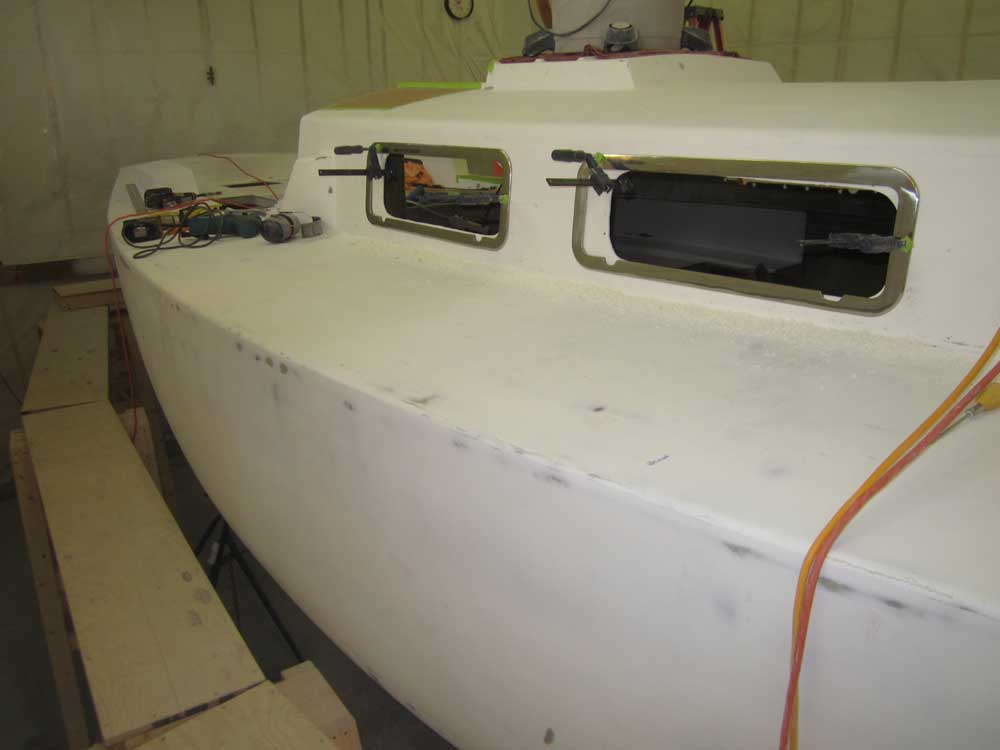
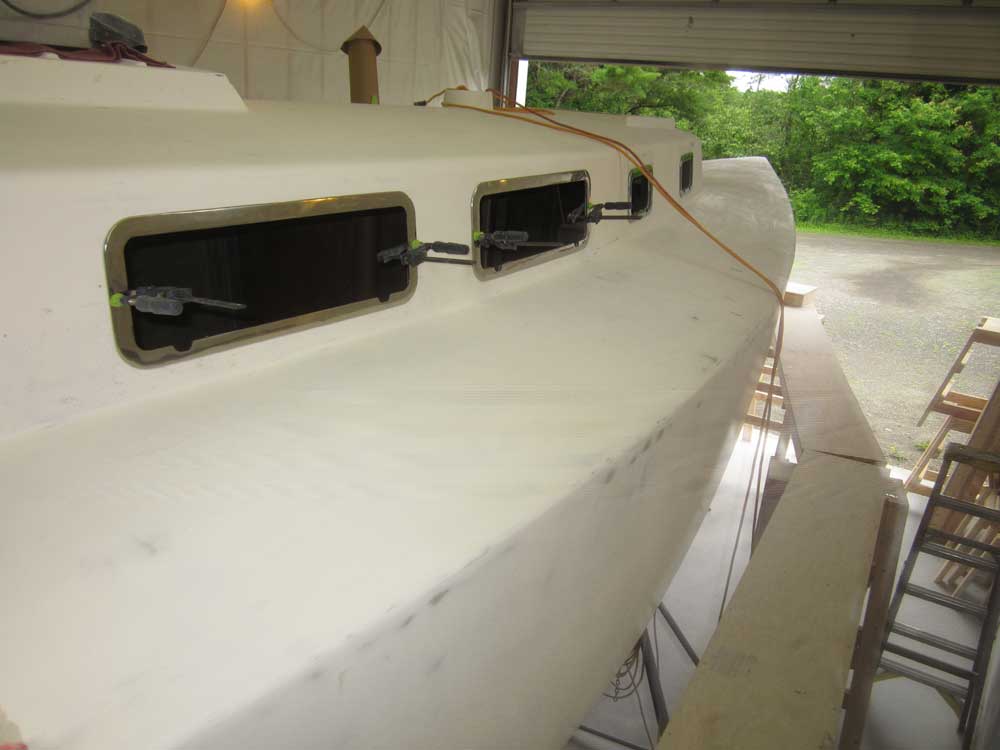
The basic positioning of the openings had already been determined on the port side, so with the central alignment string still in place to starboard, I began with the larger after ports, using my slightly modified template (i.e. stud locations) to lay out both openings according to the alignment line, and fine-tuned by eye as needed.
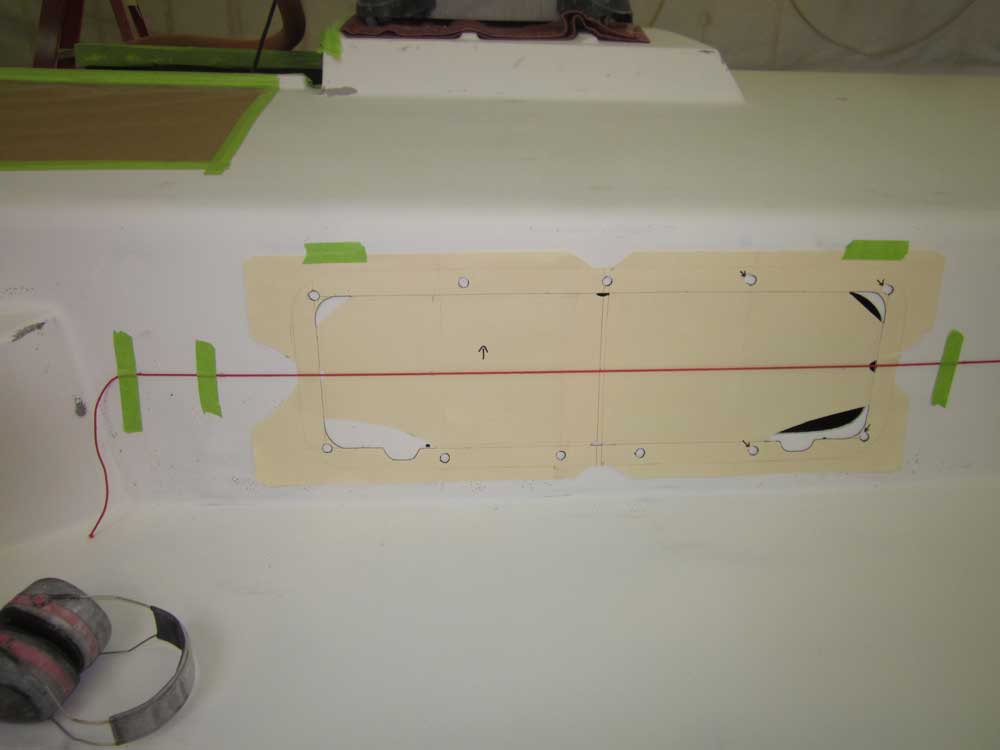
Then, I moved on to the two forward ports and repeated the process, aligning the template with the string and the vertical centers of the proposed openings (as determined by the centers of the original openings, which I'd previously marked with a drilled hole during an earlier part of the project) as needed.
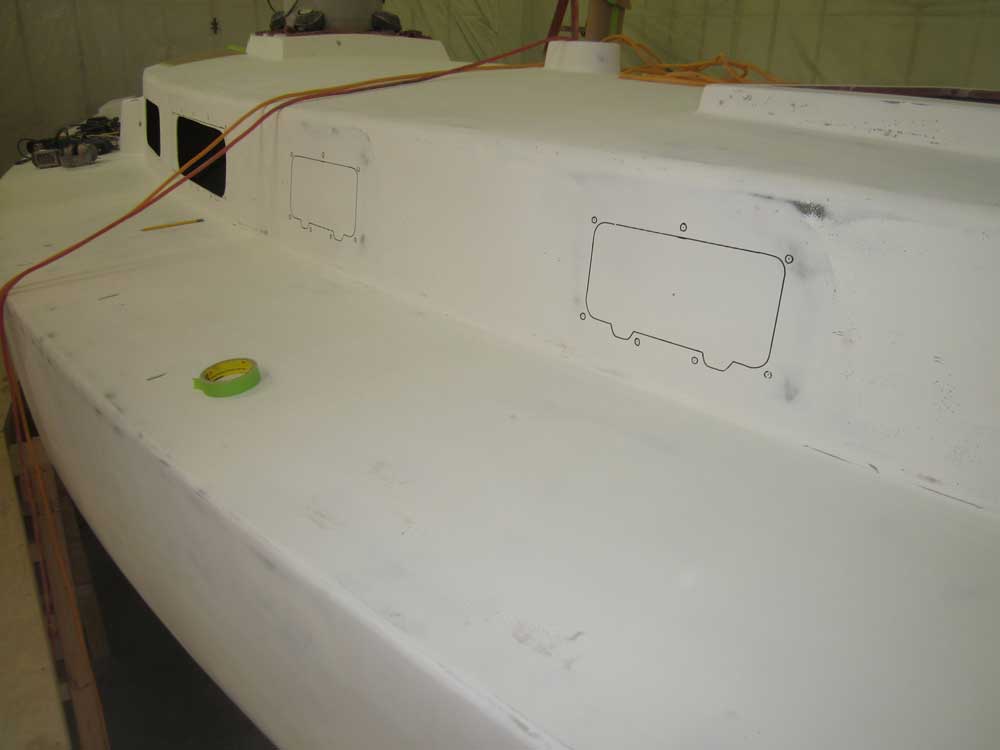
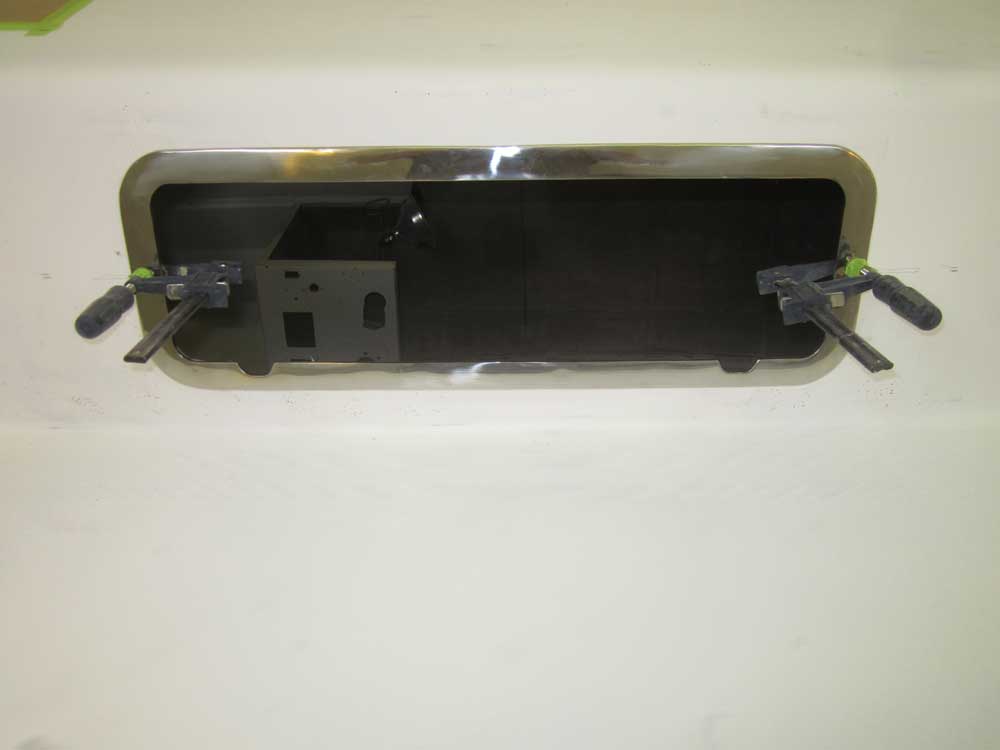
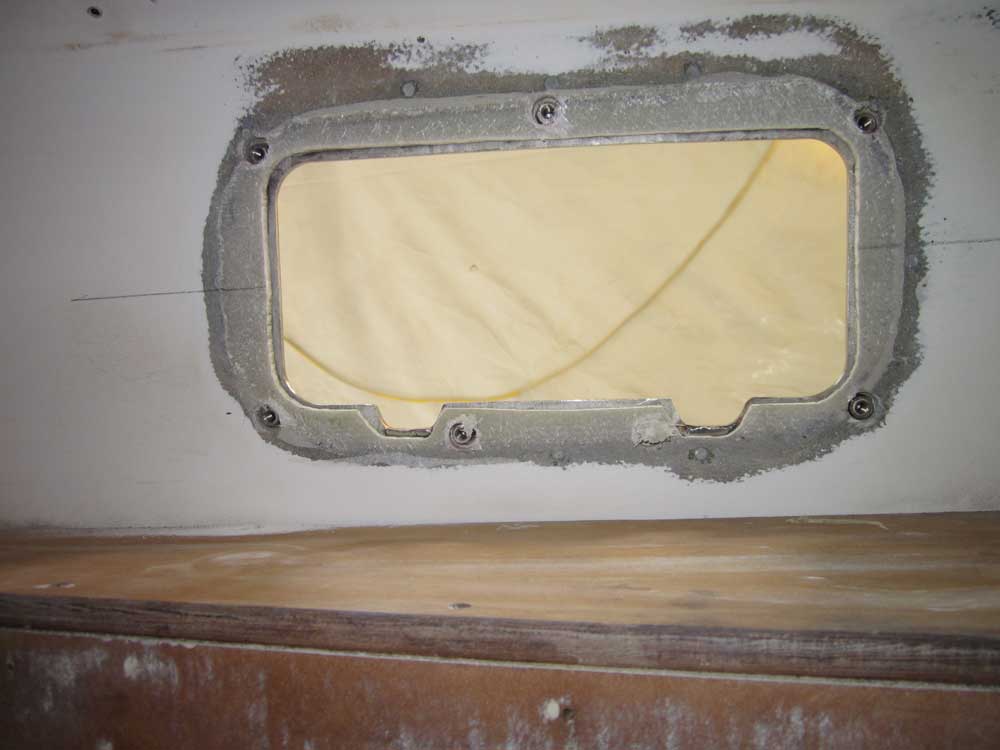
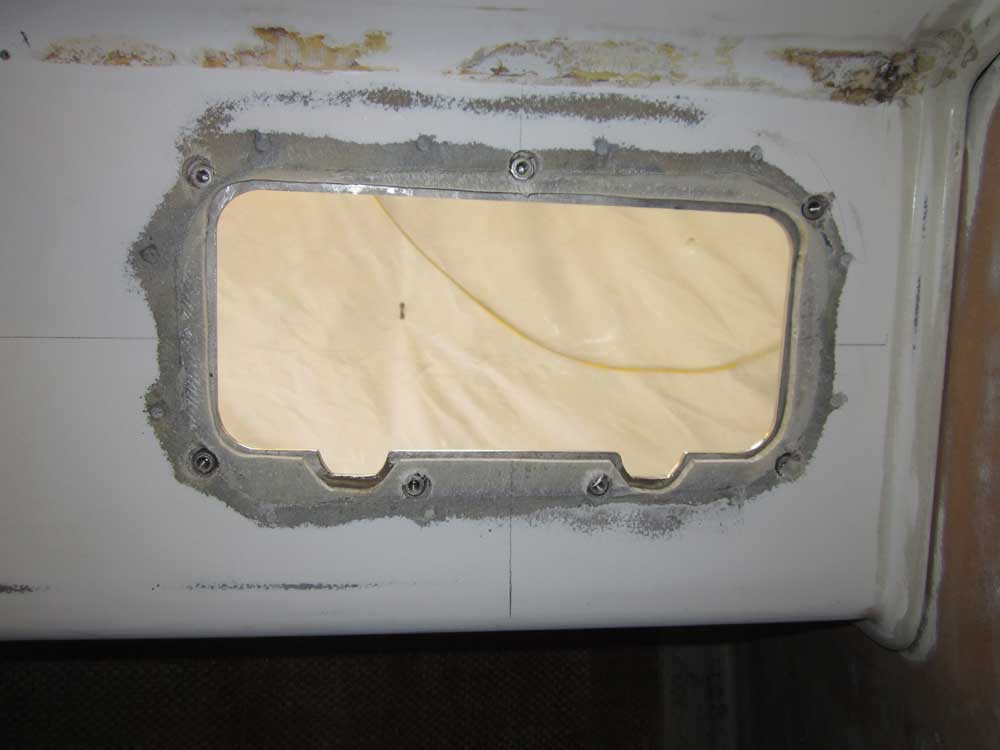
After viewing the outlines critically from as many angles as possible, I went ahead and drilled the mounting stud locations with my 5/8" bit, then clamped the trim rings in place to simulate the openings before I finalized the cuts.
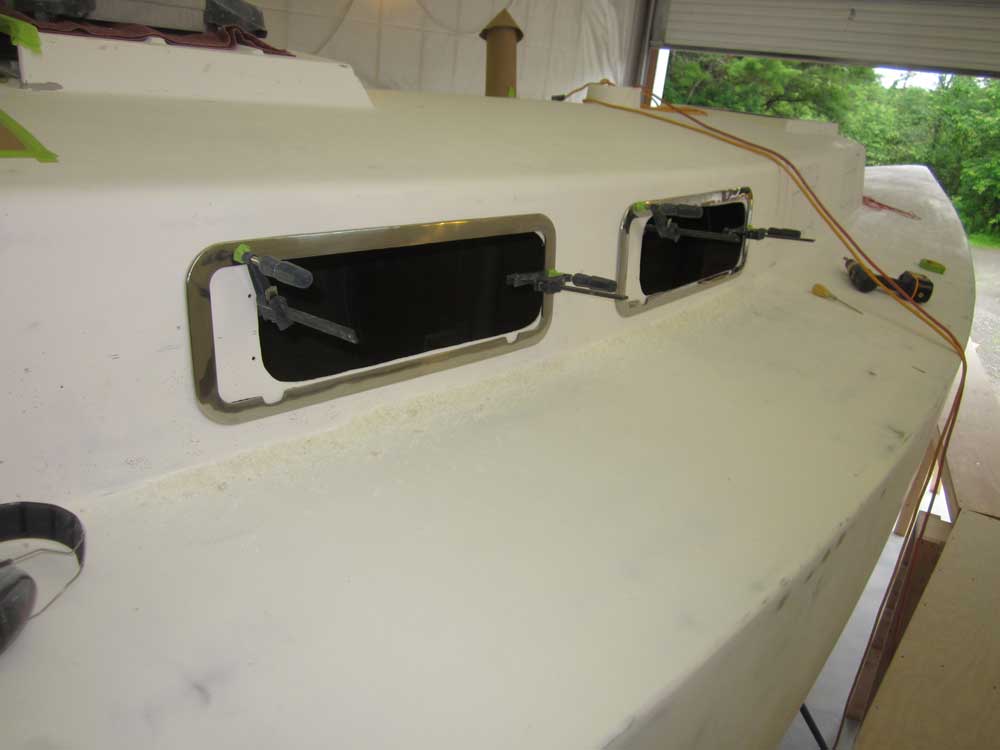
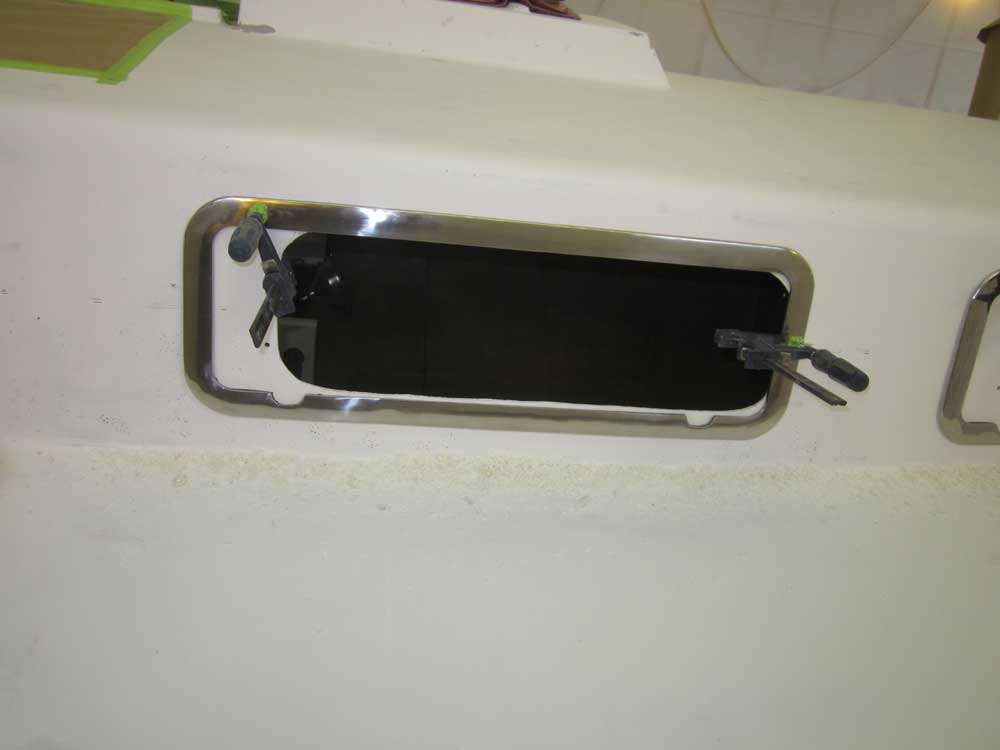
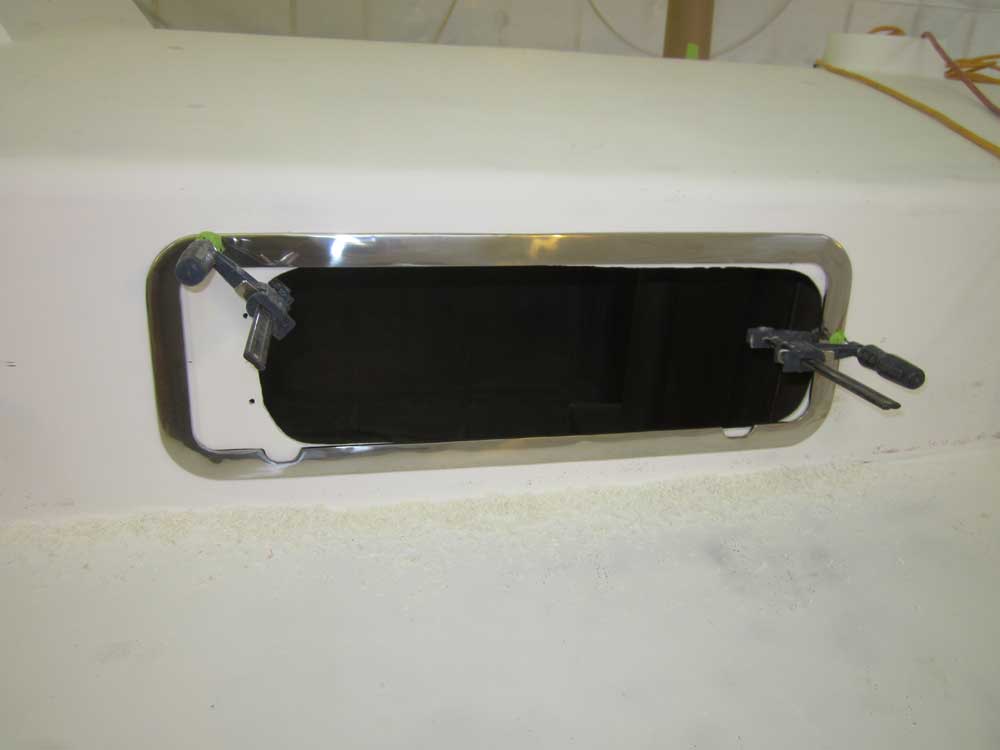
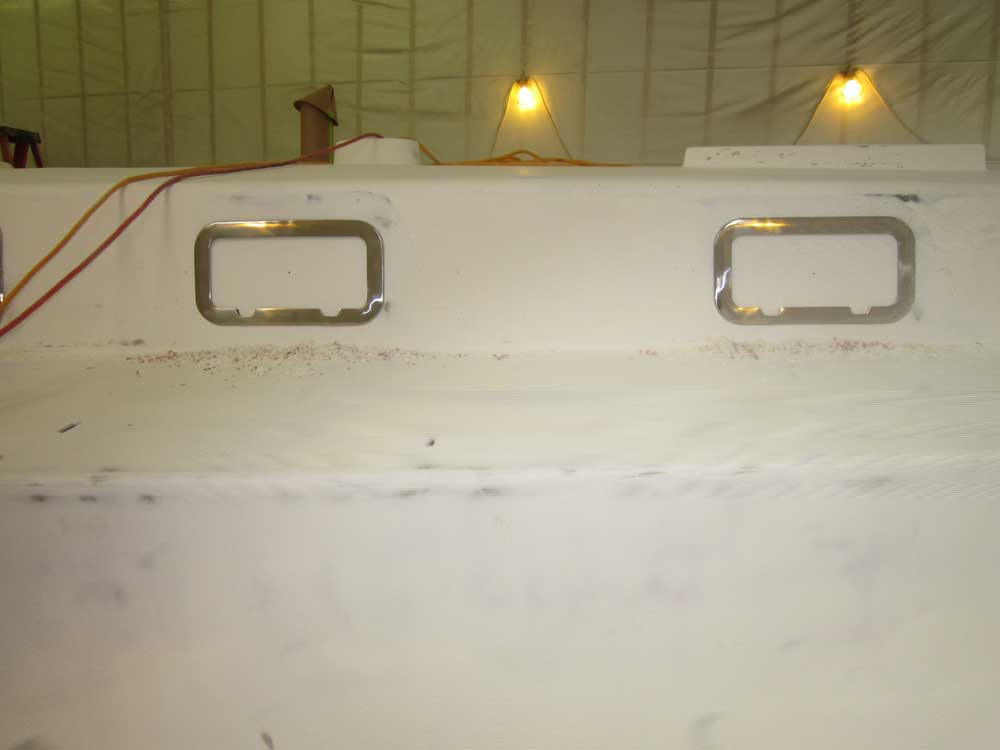
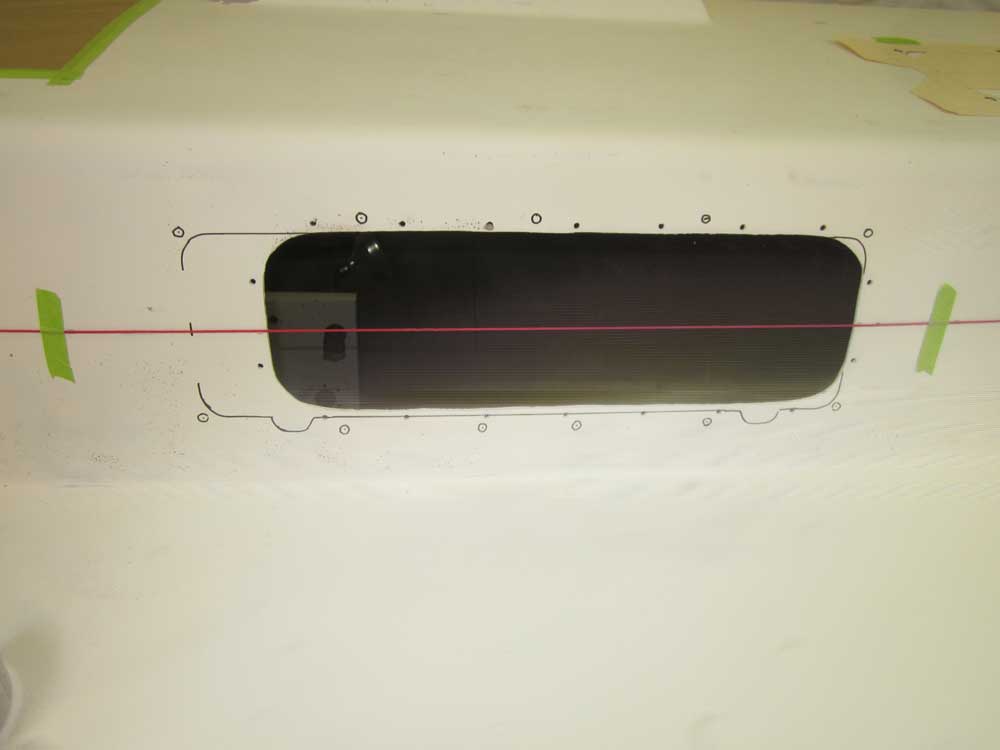
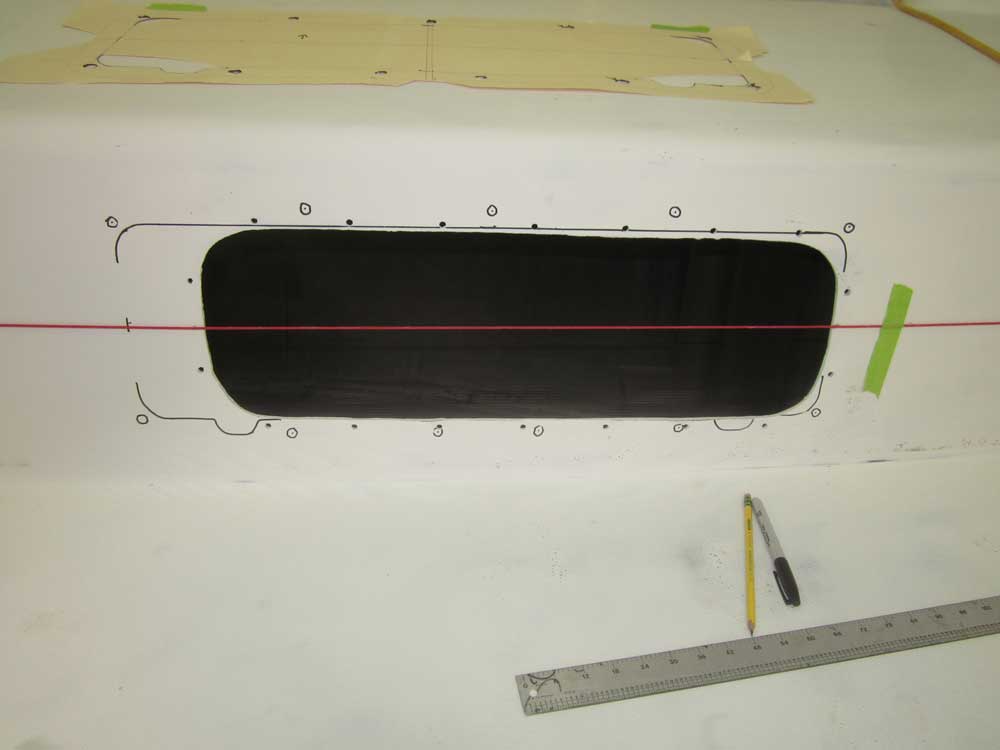
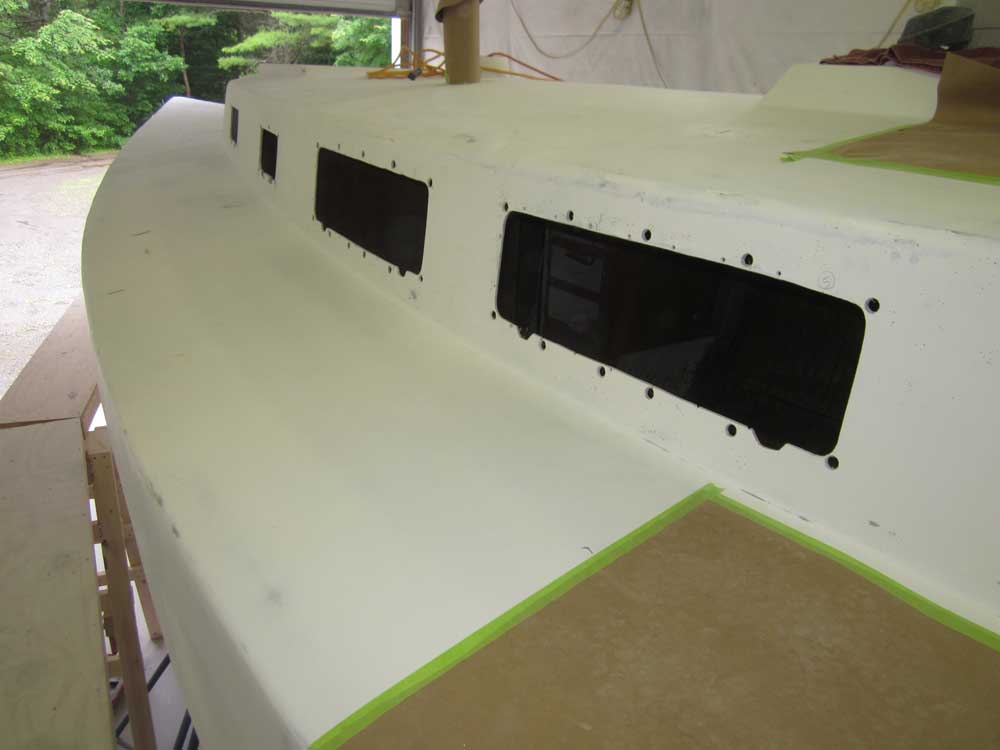
Next, I cut out the openings along the marked lines using a jig saw, then refit the trim rings for a final inspection.
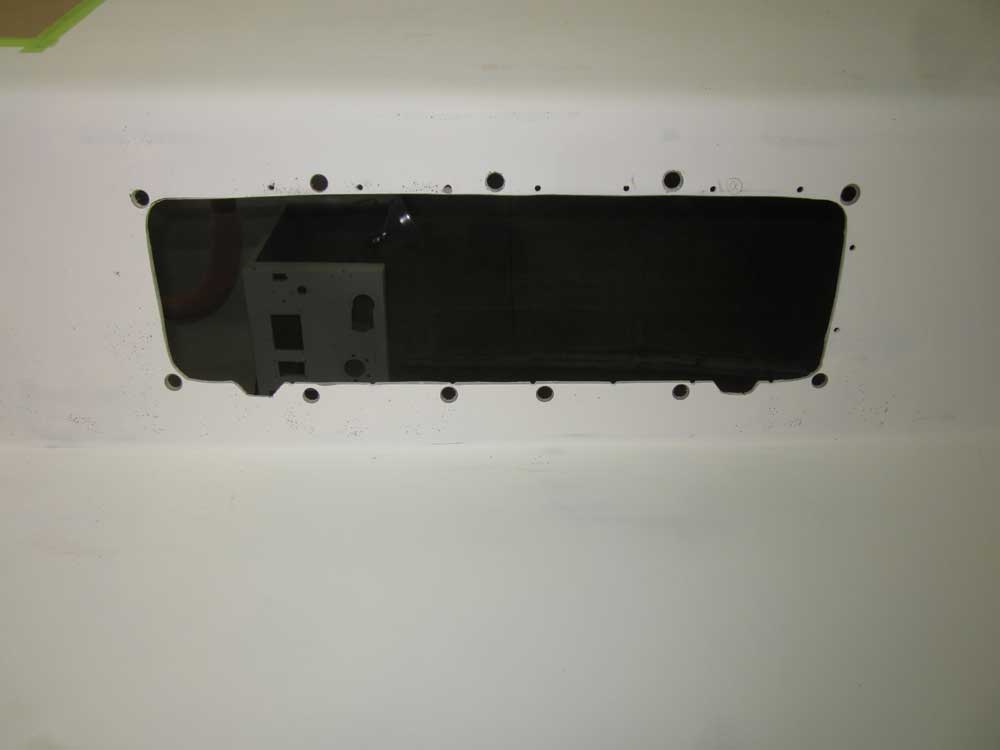
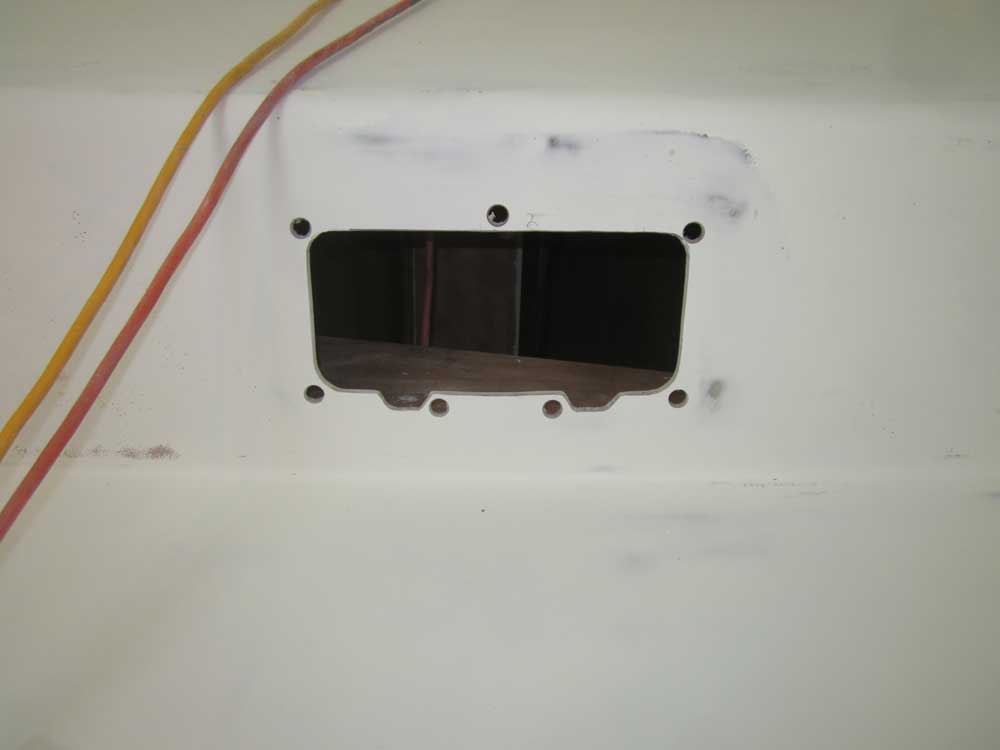
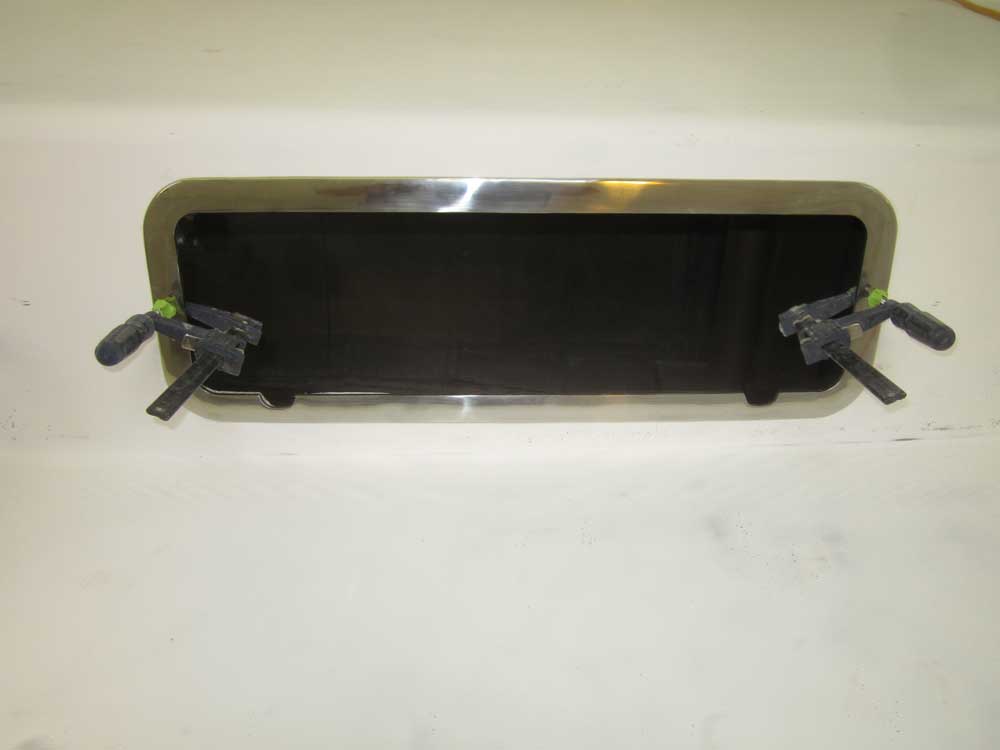
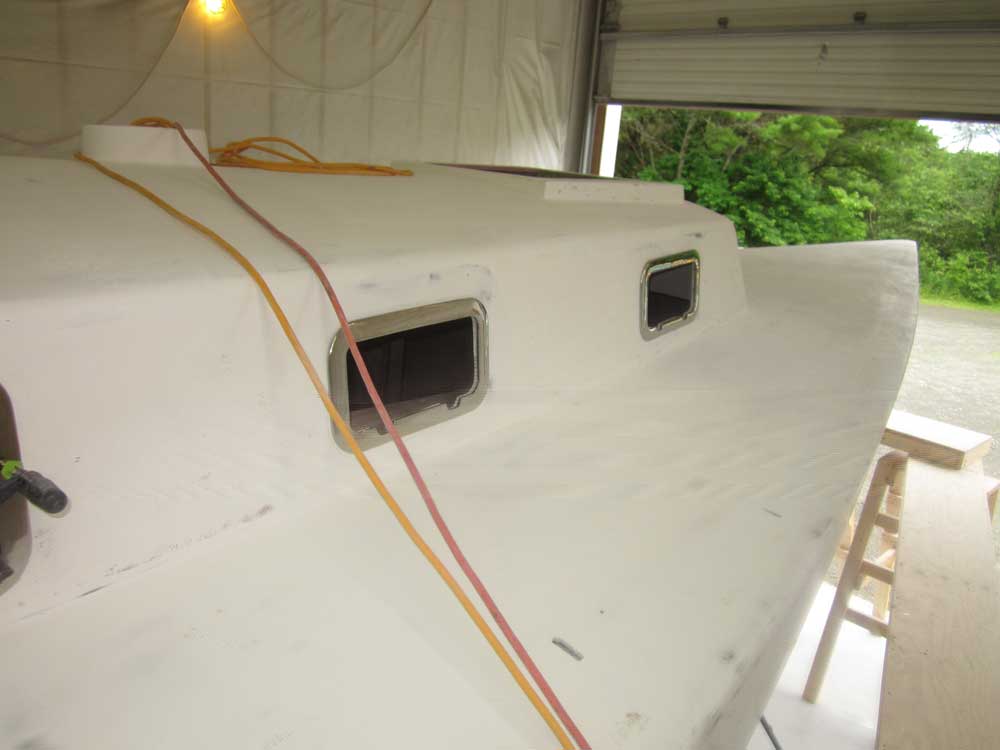

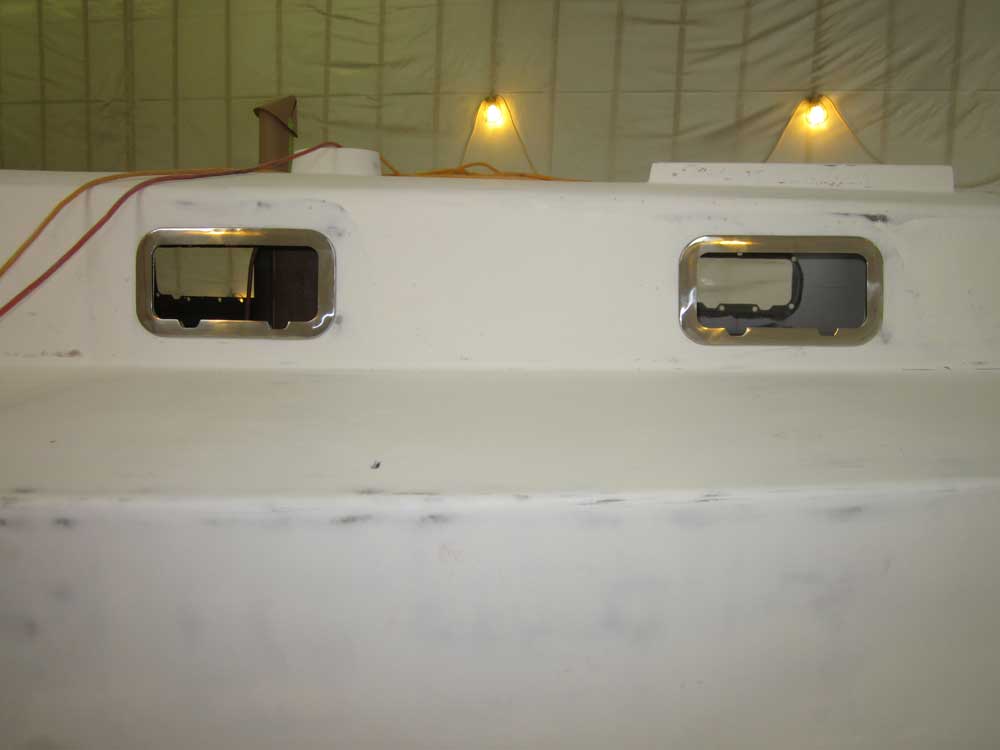
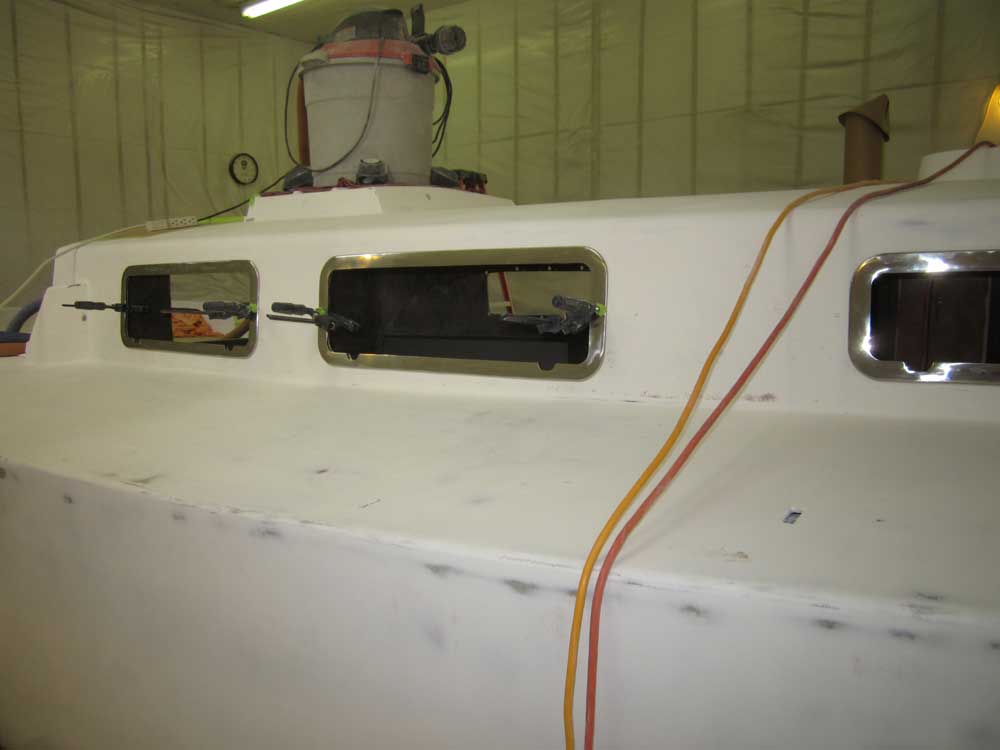
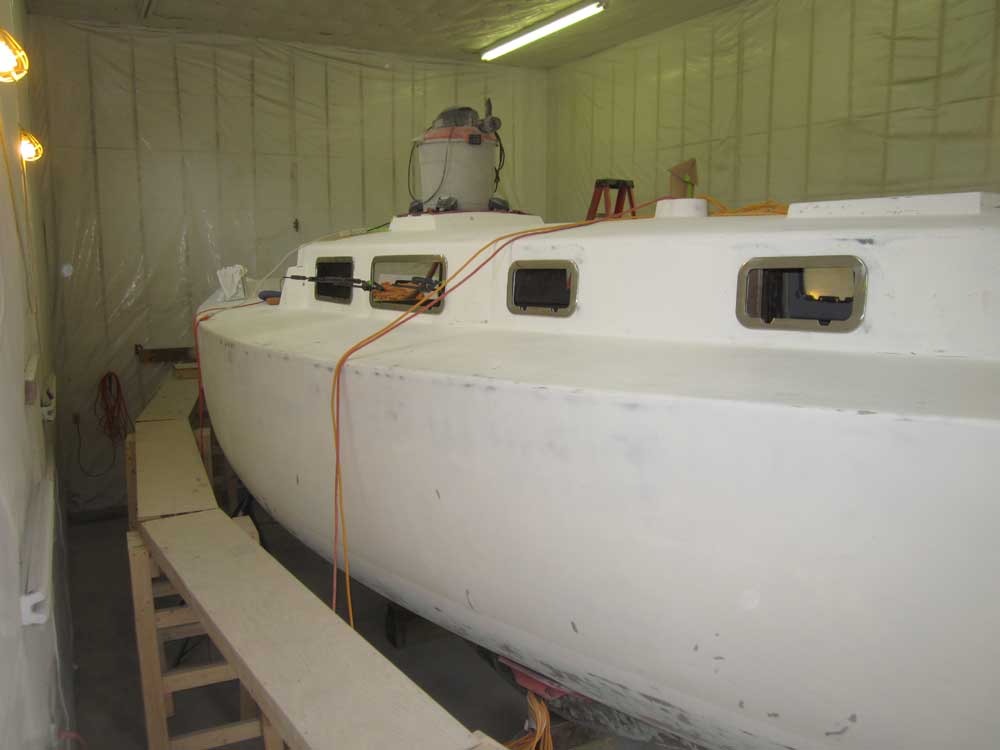


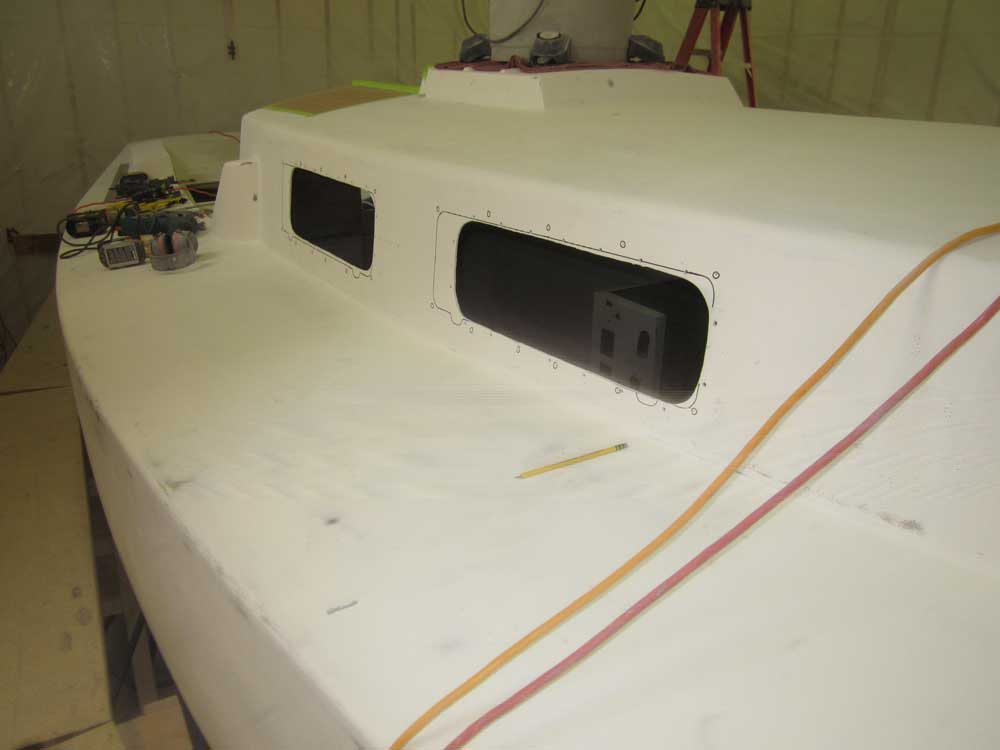
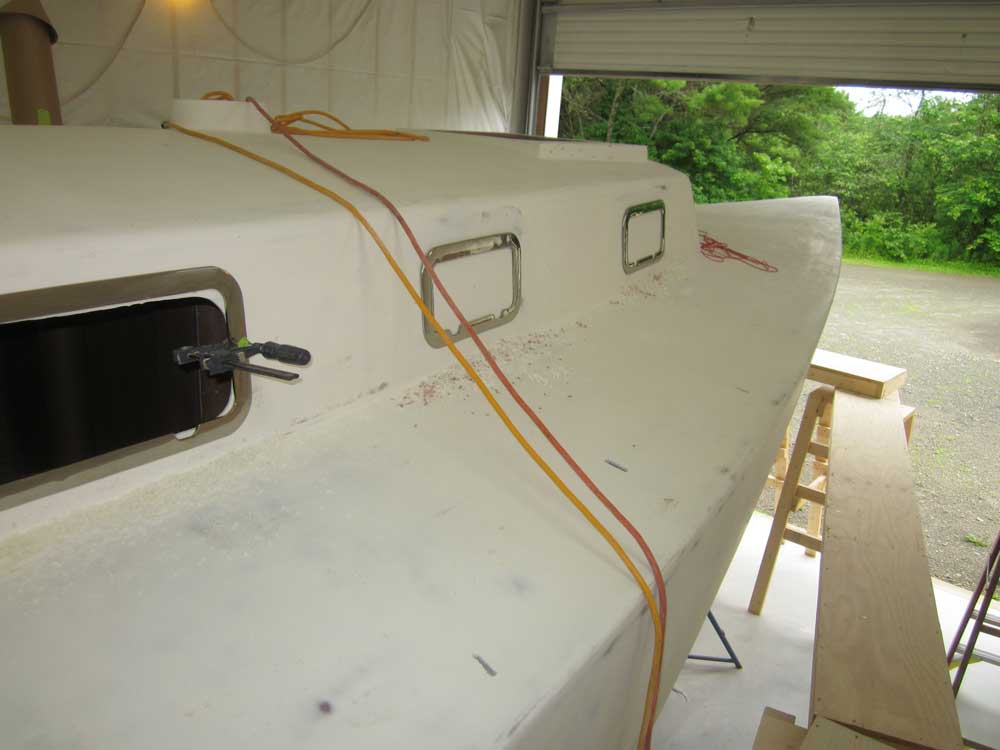
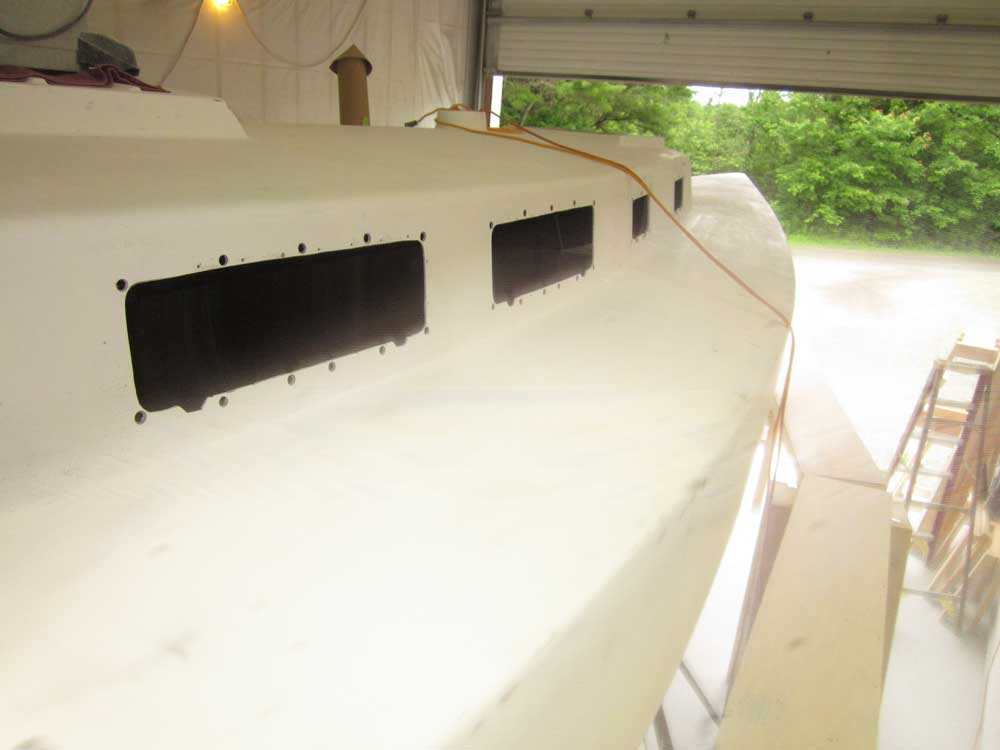
With all eight openings complete, I tidied up the cuts on both sides with some sandpaper as needed, and cleaned up any remaining layout marks from the cabin trunk.
The consideration of electric propulsion for this boat had brought up a number of issues along the way, but in terms of the physical components required for such a system, only the storage batteries posed much of a problem: batteries are large and heavy. The space requirements for conventional batteries were real, and would have an impact on other parts of the boat as well. This led the owner into the realm of alternative batteries, particularly lithium battery cells.
At this writing, I will not pretend to know anything about lithium batteries, and little specific knowledge of electric propulsion beyond (hopefully) the wherewithal to install any system in an safe and effective way. All research leading to this point was courtesy of the owner, and I was learning alongside.
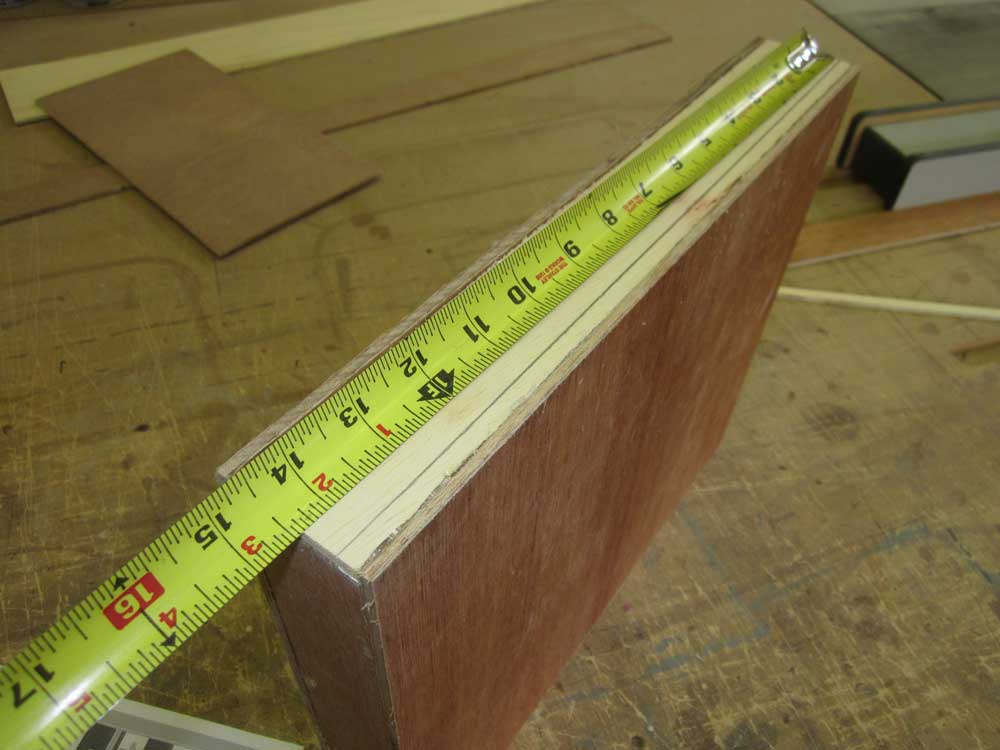
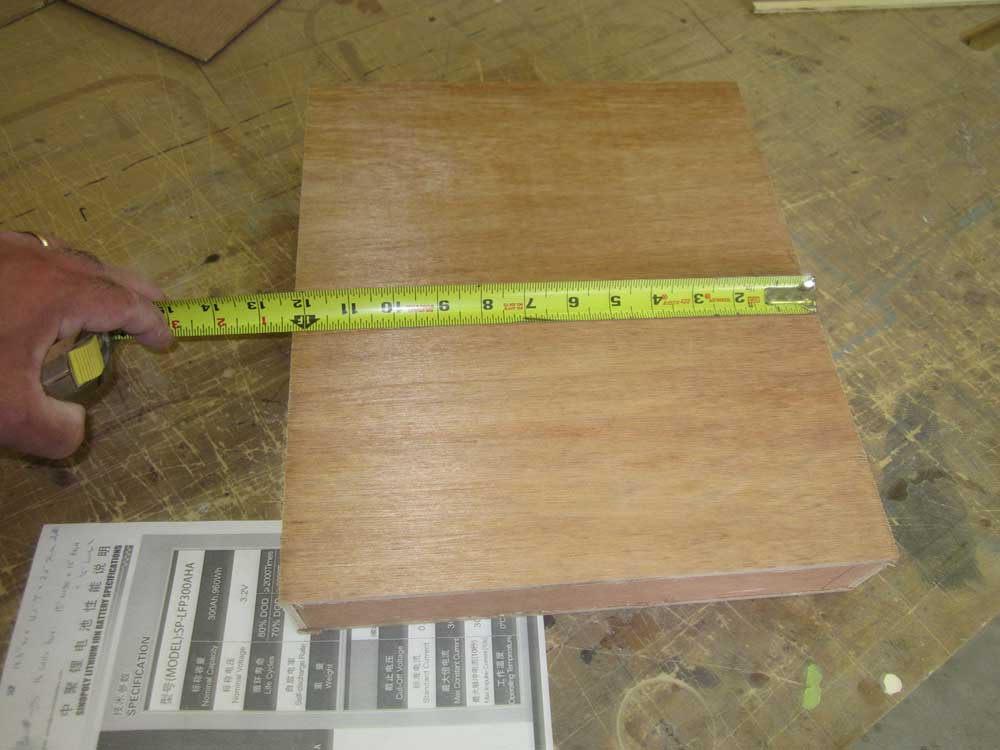
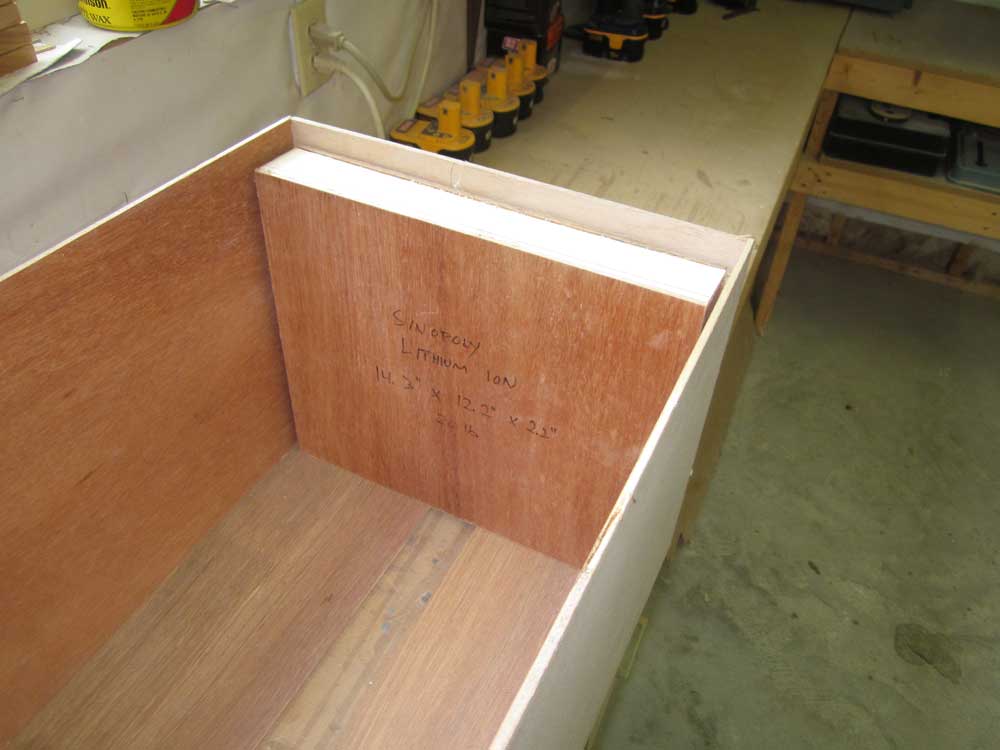
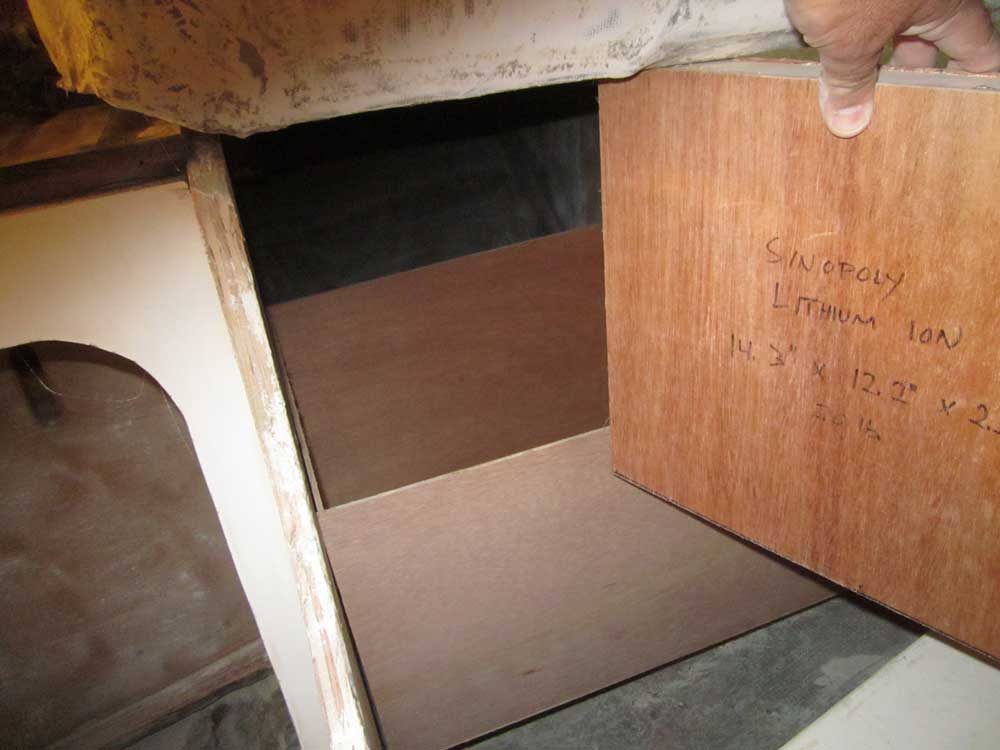
To this end, the owner contacted me with specifications for some typical 3.2V lithium cells in 300Ah configuration, which cells were individually relatively lightweight and easy to handle (20 lb, and about 14.5" x 12.25" x 2.25"). With his own calculations suggesting that a bank of sixteen of these cells would be what he needed for the system, he requested that I determine potential mounting locations for such a bank.
With space available beneath the cockpit thanks to the removal of the fuel tank, this was perhaps the only location where the entire battery bank could be installed together; other options would require dividing the cells into different compartments, adding complexity and difficulty to the installation. The after location was probably somewhat less than ideal from an overall trim perspective (the battery bank would weigh about 320 lb.), but also probably not to a point that couldn't be dealt with easily. All things require compromise.
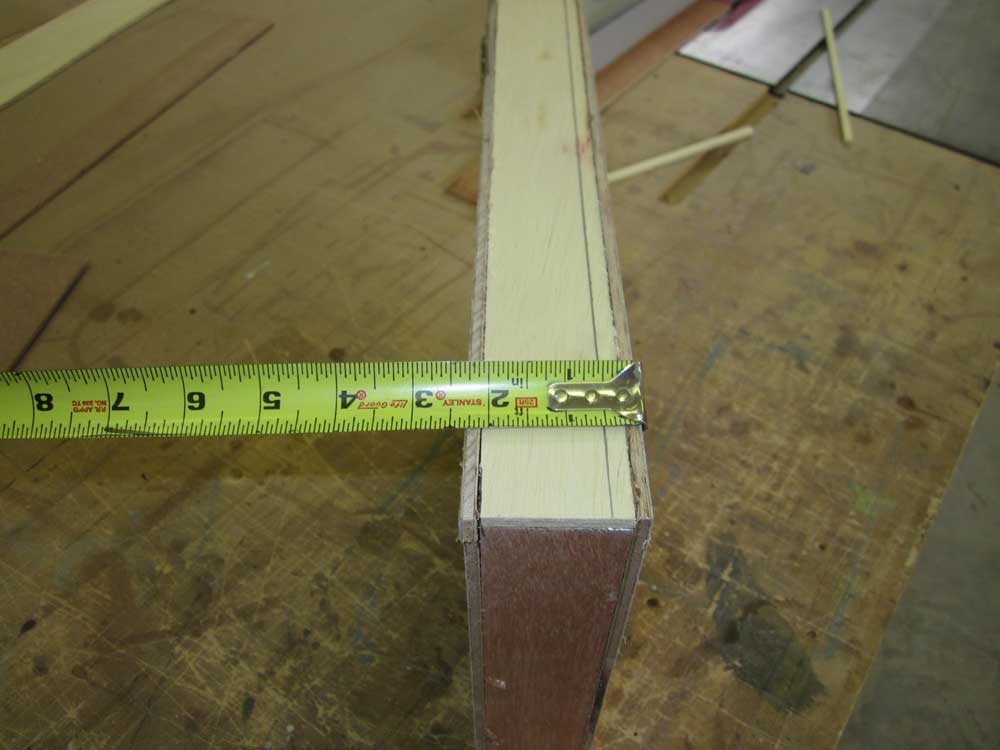
To begin, I made up a battery cell mockup from scrap plywood and hot glue, using the supplied measurements.
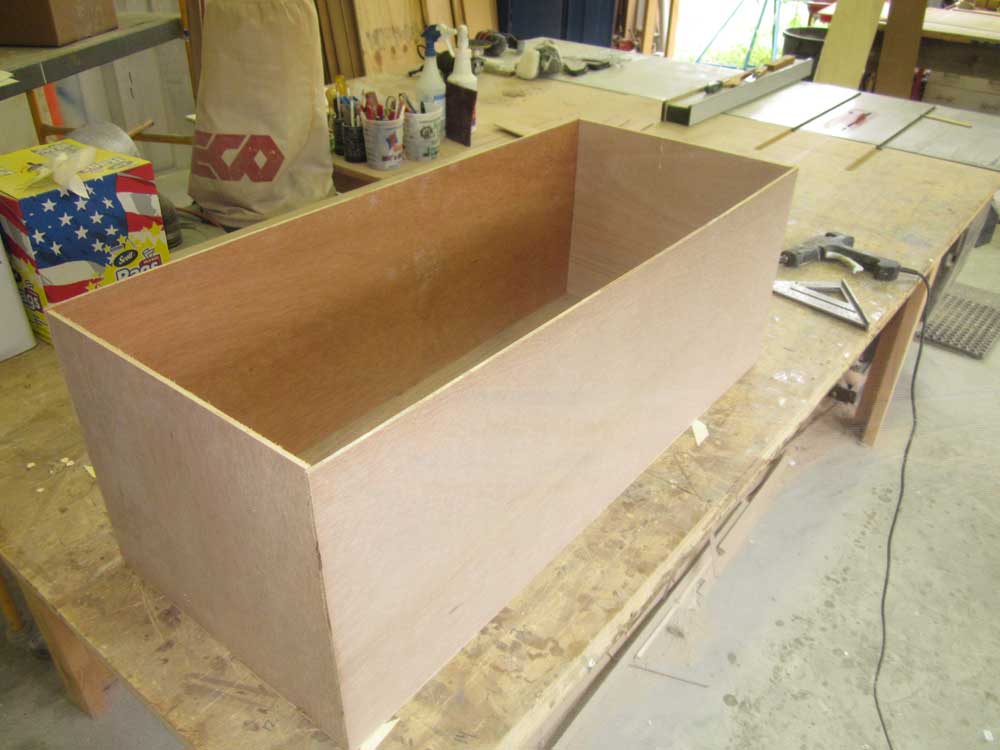
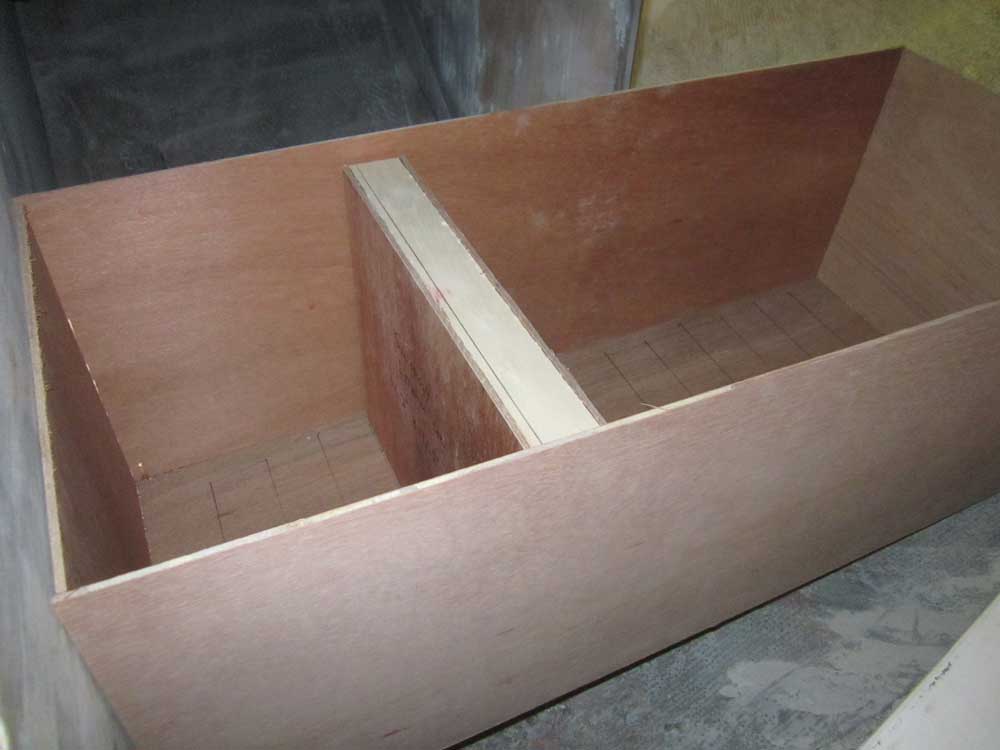
Afterwards, I glued up a scrap plywood box with the required inside dimensions of 36" x 15" x 13".
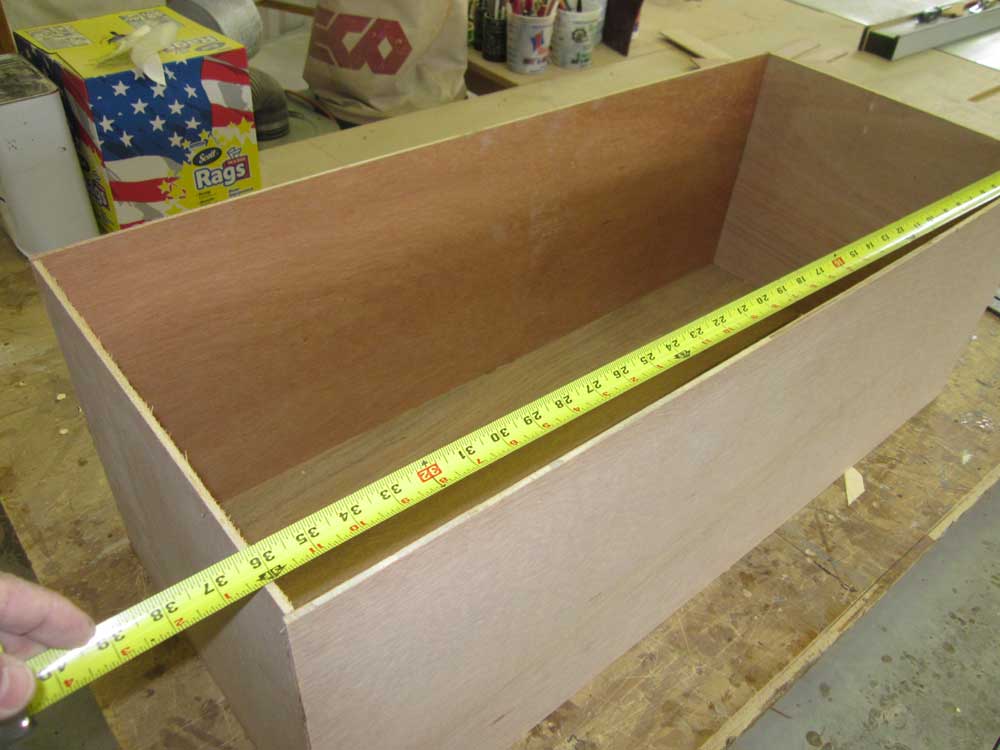
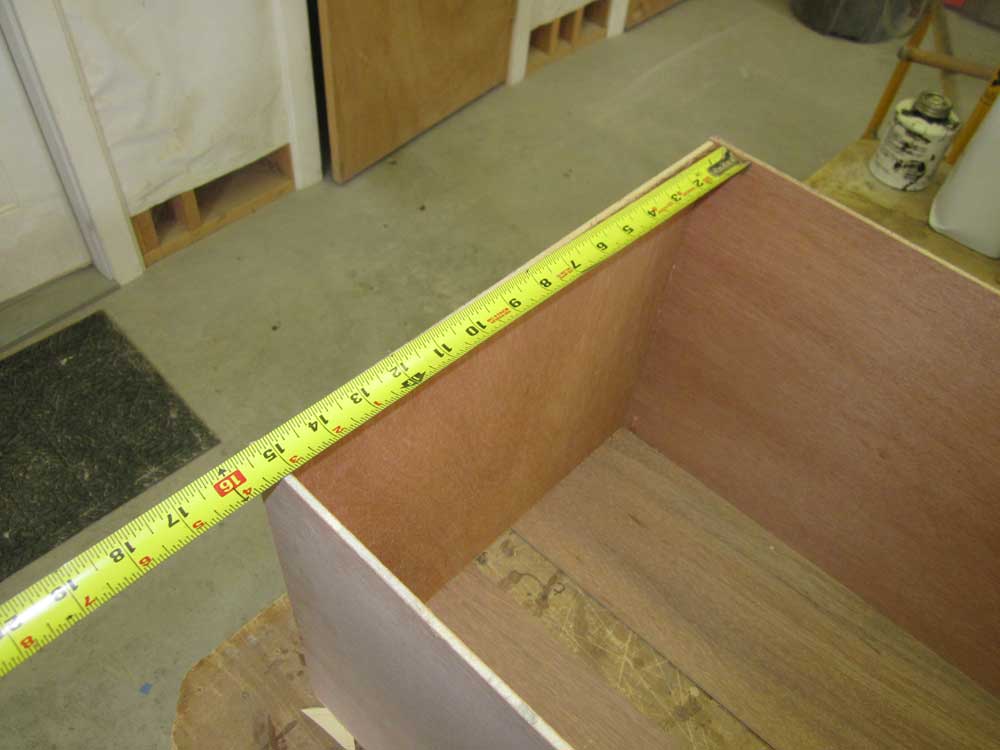
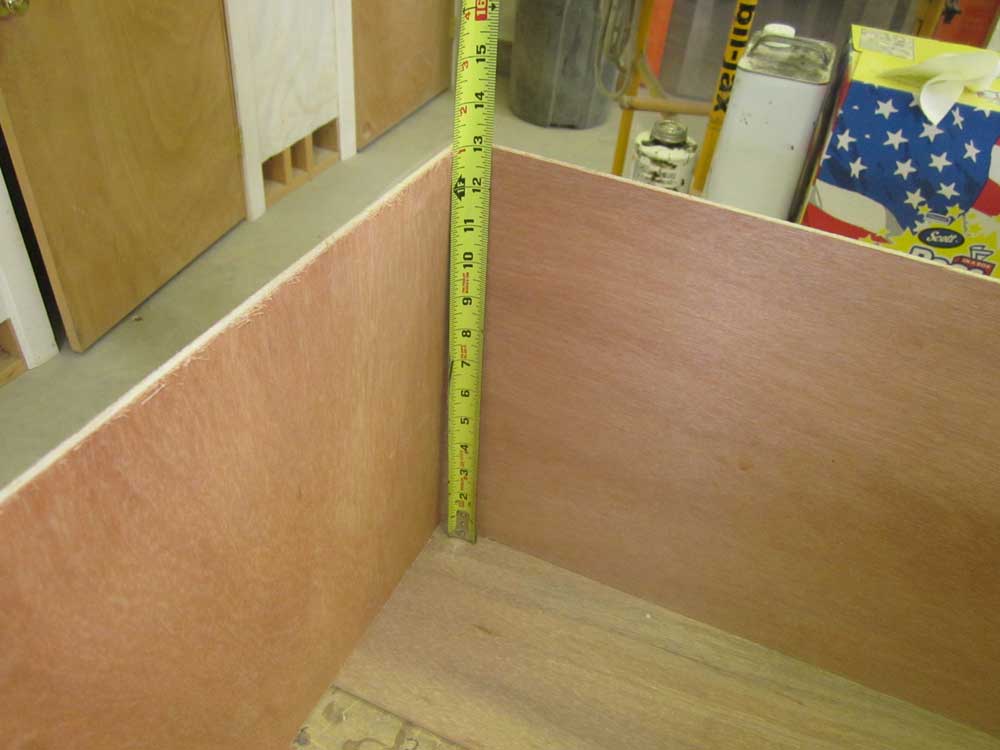
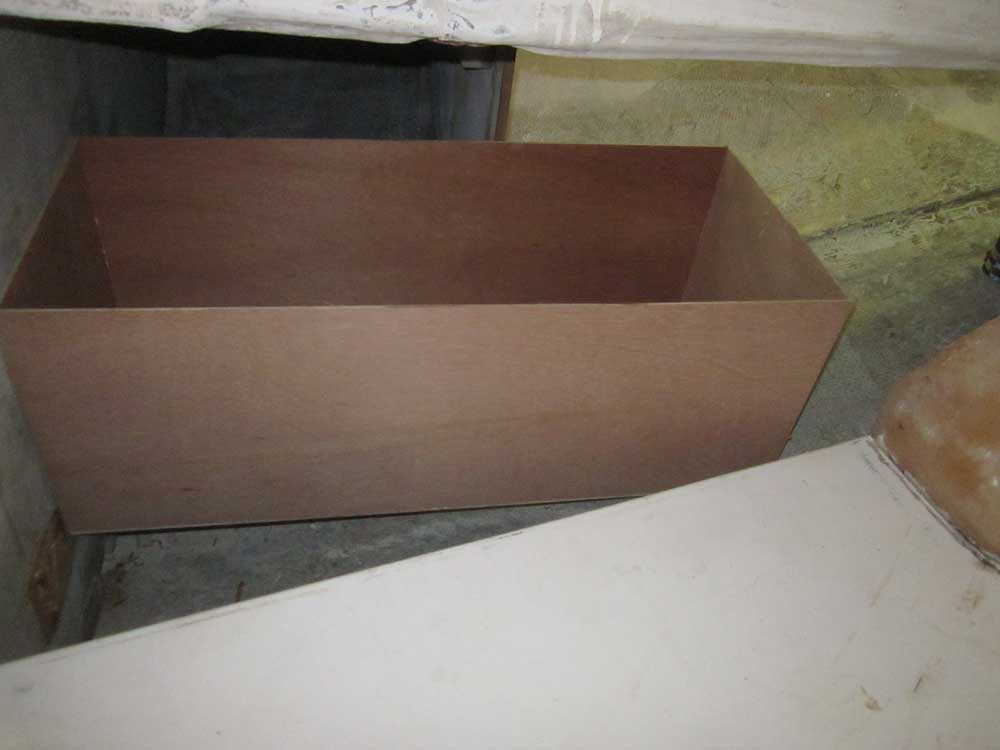
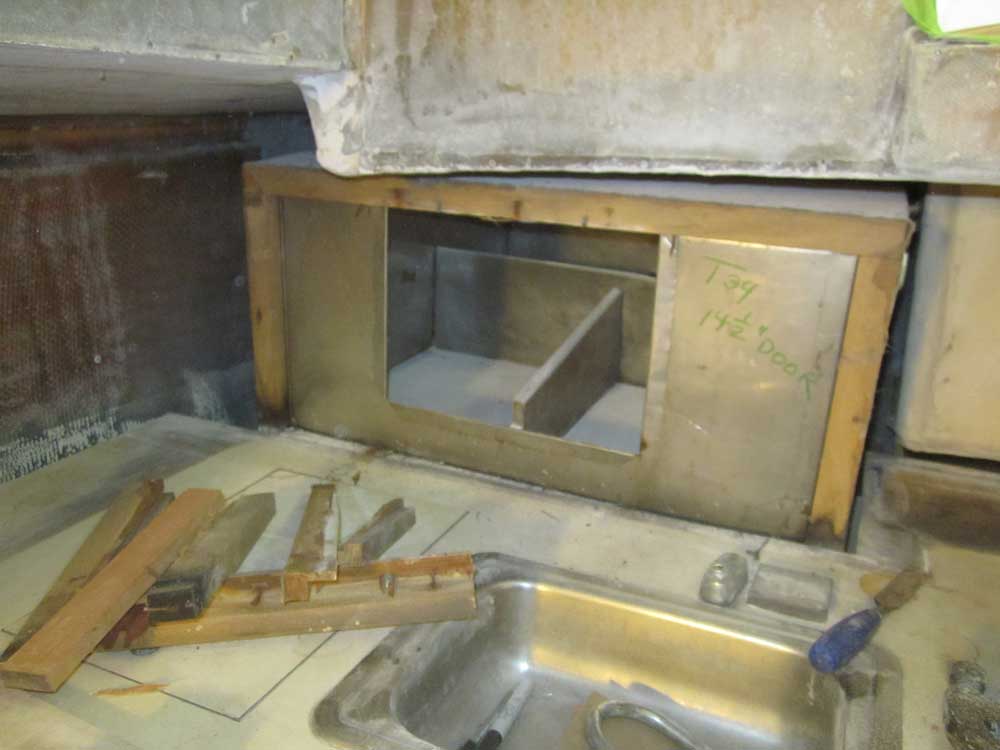
Bringing the box and battery mockup to the boat, I test-fit the box in the desired location. There was plenty of room for the box, even leaving more than adequate headroom for cockpit scuppers.
Whatever the actual construction details of the final battery storage box, I'd have to allow for battery cell installation, and there was not enough room overhead to allow the cells to slip into the box without interference from the cockpit well. However, this could be easily overcome, for example, by simply making the exposed side of the box in two sections, with the top part removable or hinged enough to allow the batteries to fit over the top while oriented vertically. This did not pose a problem, and generally speaking I was pleased with how well a box of this size would fit, even allowing for the actual scantlings of a finished (rather than mockup) box.
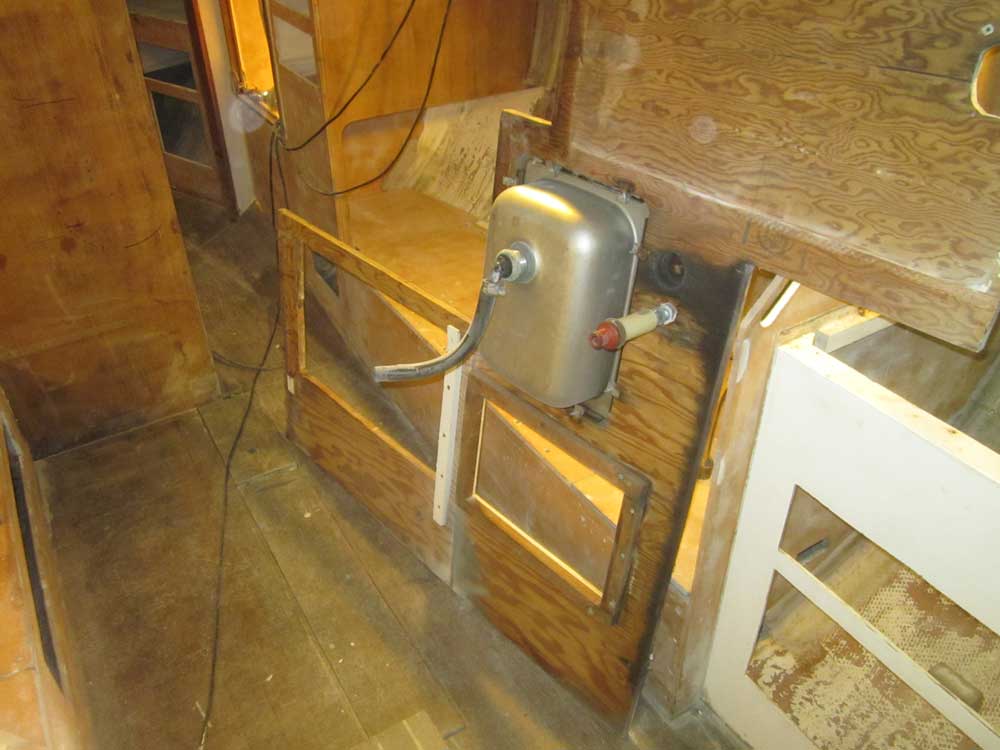
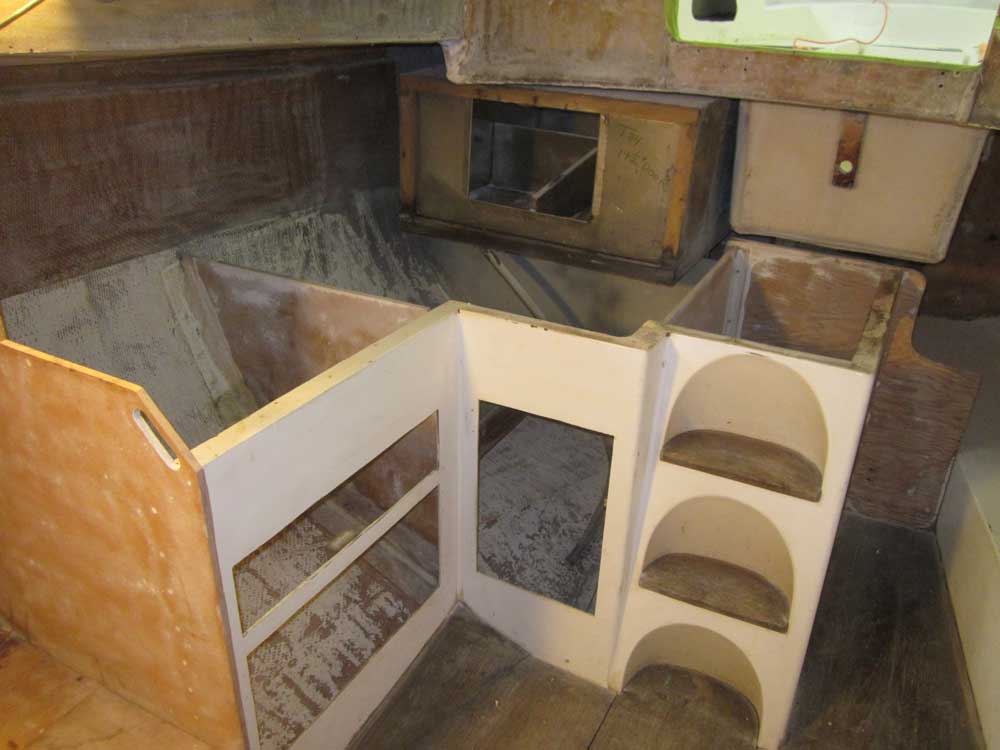
While looking over the interior and thinking through some of the work ahead, I decided to remove the small bulkhead at the aft end, over the existing icebox opening. During earlier demolition stages, I'd left this in place since I'd not been able to determine how it was secured, and had more important things at the time. But as time had gone on, and I'd had more time to examine the area, I realized this panel had to go as well, and that there wasn't much holding it in place. Indeed, it turned out that only a couple nails secured it to a light framework, and I easily pried the panel out.
This led me to remove the galley countertop, which I'd left in place only for convenience in giving me a work surface and storage area. With new work about to begin, it was time for the old to go. This was easy to remove by prying up around the edges, which pulled out the screws that had been driven in from beneath through the molded flange of the galley unit. I'd save the old countertop as a template for the new, since the new one would be the same shape other than extending all the way to the hull instead of ending in mid-air as did the original.

Total Time on This Job Today: 7.5 hours
