

January 5, 2022
Lyra Phase 2-7e
Early Informational Update
Wednesday
I hate when I have to do this. I’ve uncovered some unanticipated issues with the coachroof that are going to complicate and extend the repair work beyond expectations. I’ve prepared this treatise for you to try and explain the situation and a proposal for properly repairing it. Let me know all your questions and thoughts.
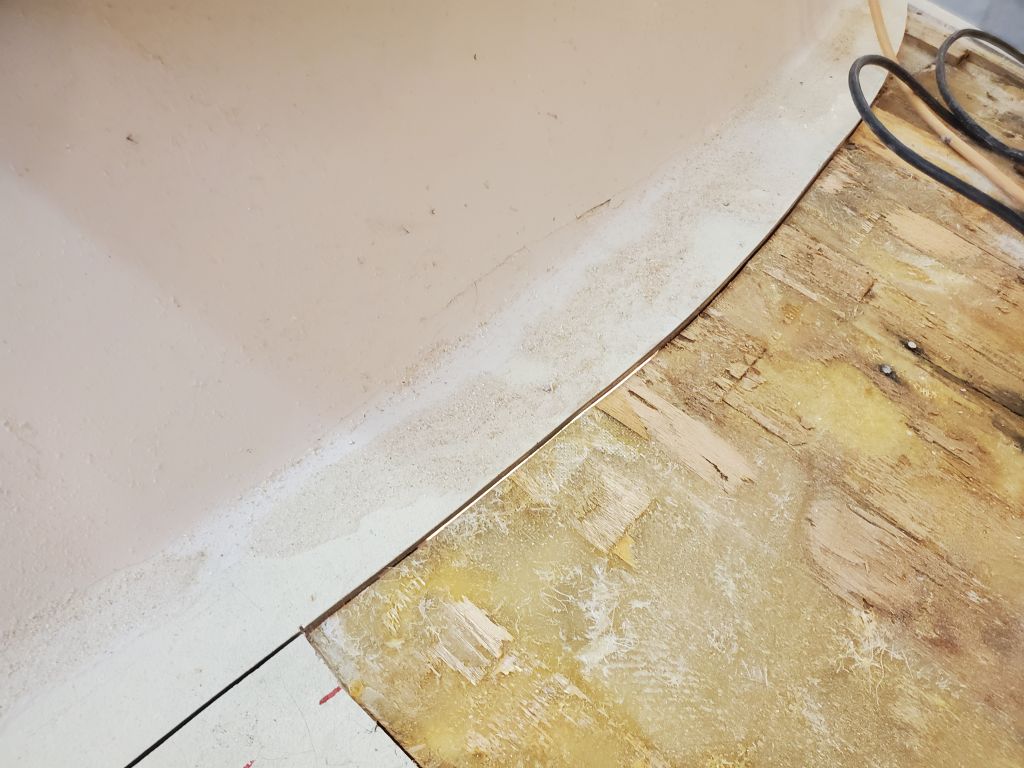
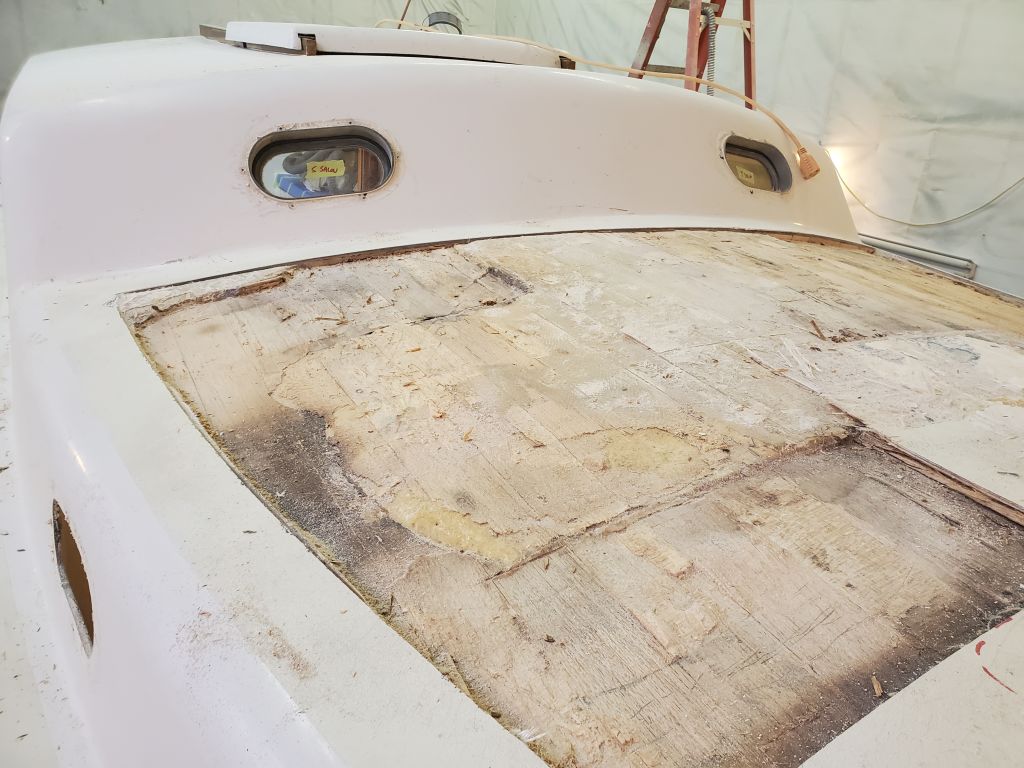
Beginning the repair work on the forward coachroof this morning, I proceeded in the usual way. Given the obviously poor condition of the deck, and the softness underfoot, and the fact that we knew that the coachroof hadn’t been recored during the Tristan project 10 years ago, I was pretty confident in my process for this repair: many boats, many Tritons, and figured I knew what to expect, so I made my first perimeter cut through the top skin, following a transverse line a few inches forward of the bumpup in the coachroof. As usual, I had the saw set to a shallow depth, approximately 1/4″, which should have been enough to cut through the top skin and perhaps just into the core beneath. I knew the coring would be 3/8″ thick, and the skin would be under 1/4″, and I always err on the cautious side with the first cuts till I confirm my expectations.
So imagine, upon completing the first cut, my surprise I thought I saw light (coming from belowdecks) through the saw kerf.
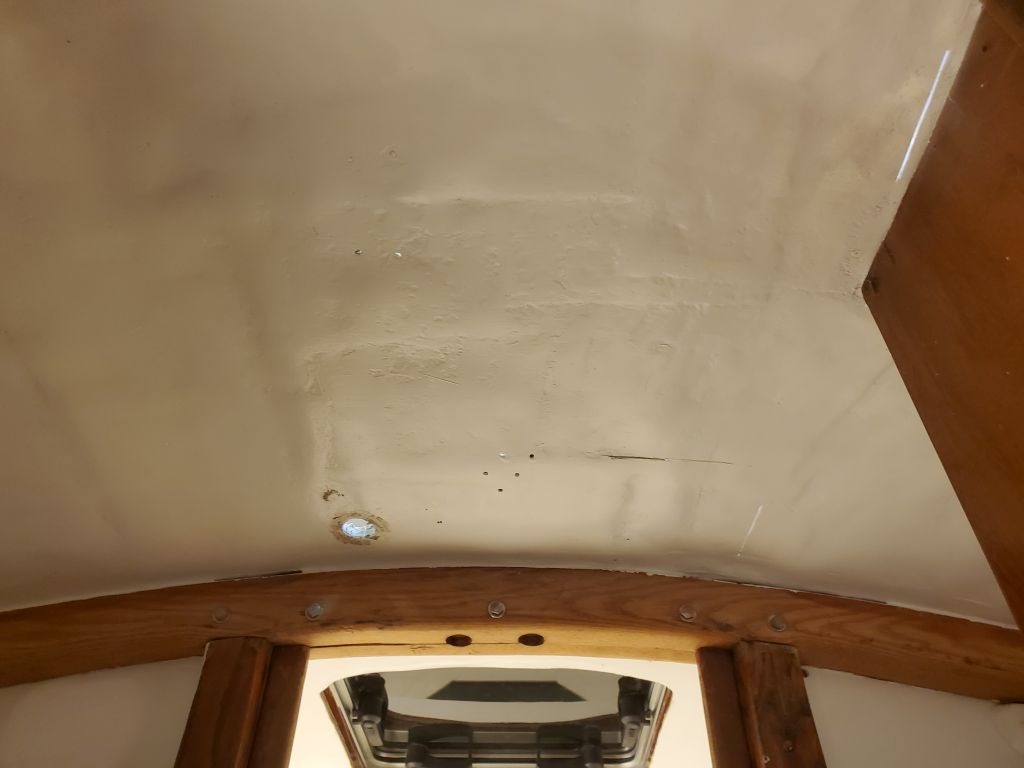
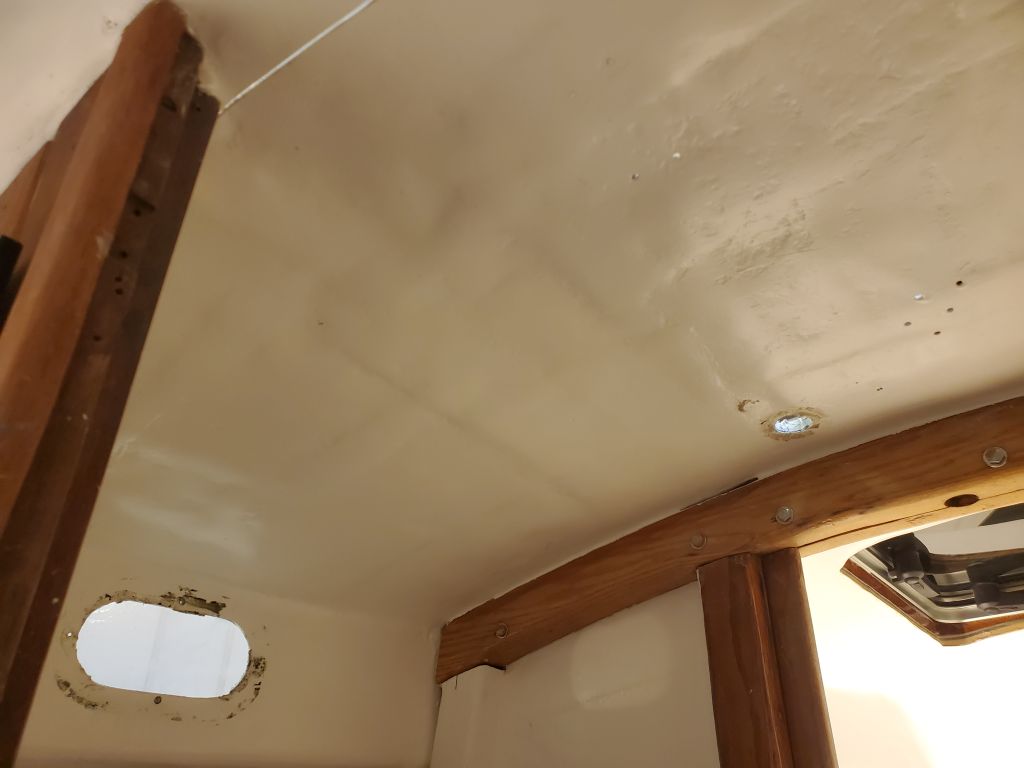
This did not compute, so I immediately went below, to discover that indeed the saw had come through the bottom skin in the center portion of the head, just forward of the passageway opening. I was horrified, but still couldn’t–and didn’t–understand how that could have happened. But OK, I could and would deal with the mistake, and no substantial harm.
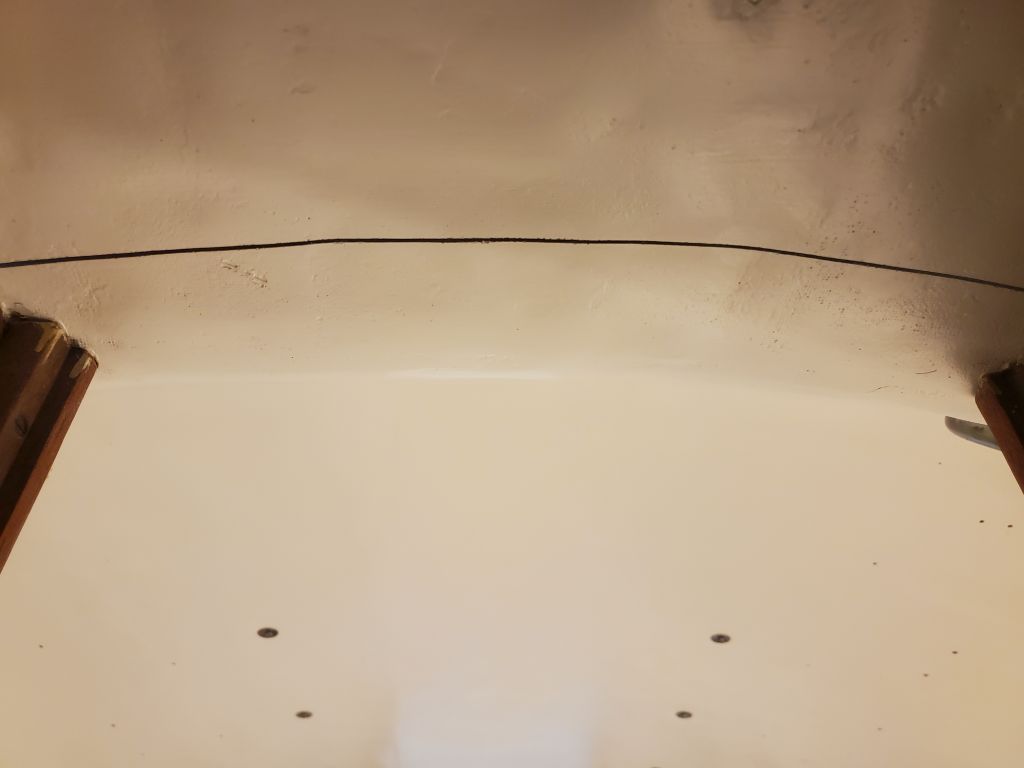
The cut line disappeared on either side of the passageway, which cheered me up a bit, so I carefully proceeded with additional cuts to release the top skin for removal. To my horror, I found a few more sections of cut–now with the blade even less exposed out of an abundance of caution–where the kerf had gone through the inner skin again. How could this be? Eventually, and carefully–though the deck had to come apart one way or another–I removed enough of the top skin where I could begin to piece together what was happening beneath.
First of all, the old core was the balsa planks used in the earlier Tritons, before they switched to end-grain blocks (the type which is still used today). I’d forgotten about that particular bit of Triton lore, but it didn’t explain the other things I was seeing and experiencing.
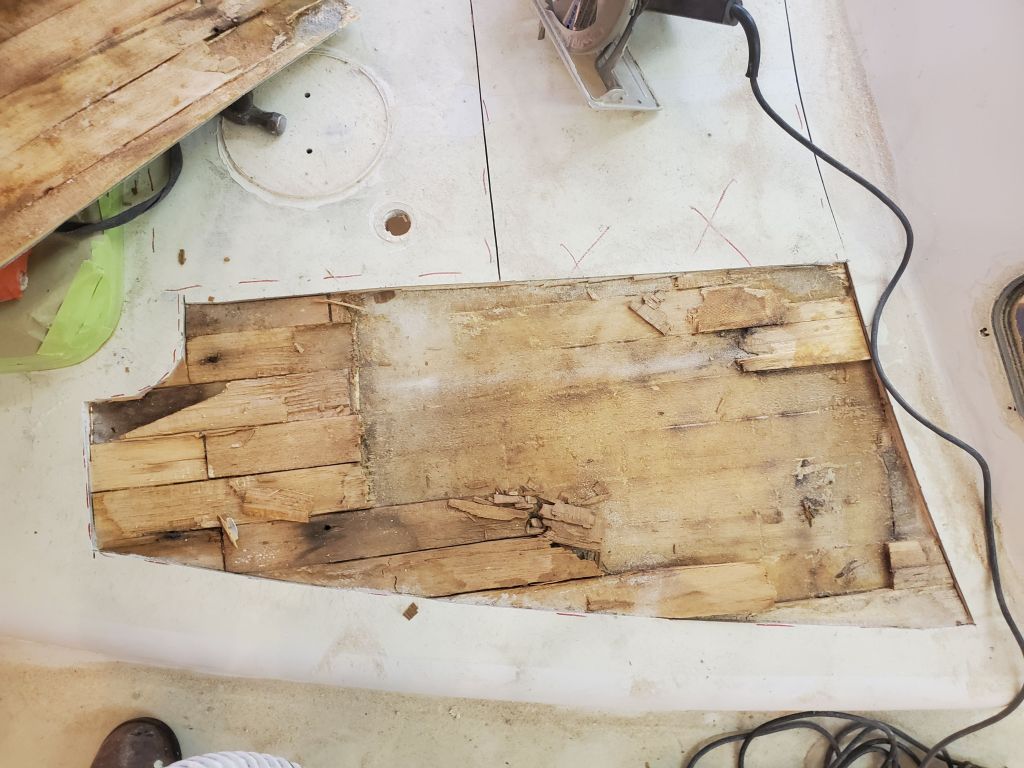


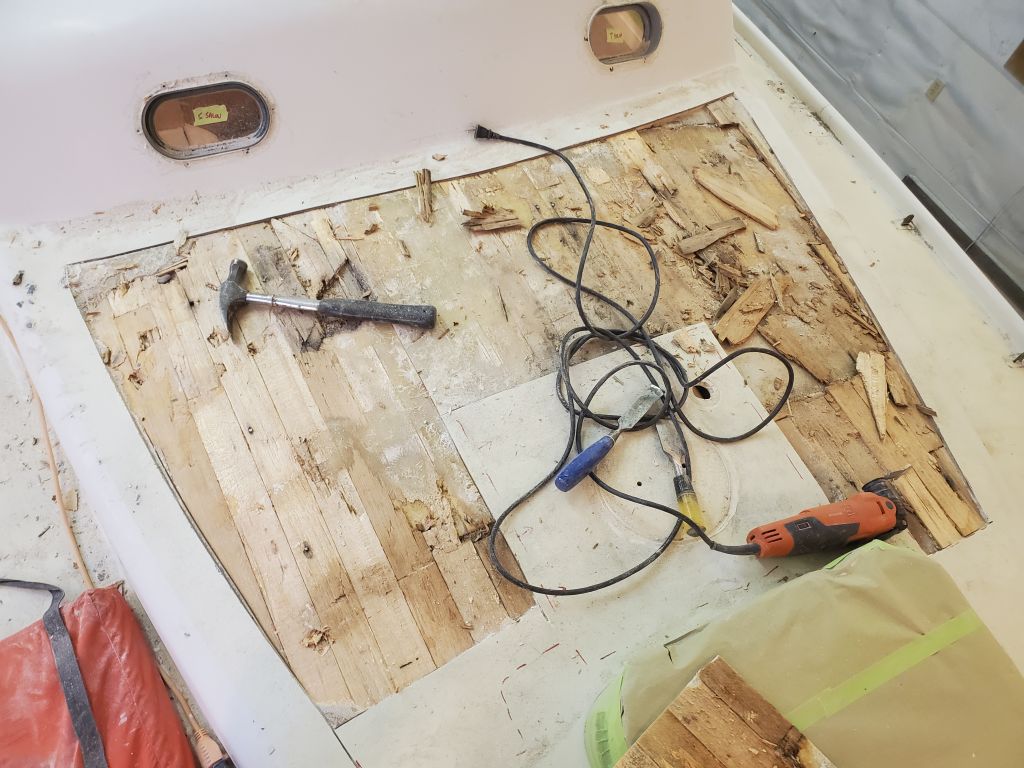
Apparently, some person (and I use the term generously) had done some horrendous work to the area from below (I should have guessed, given the lumpy bumpy mess on the head overhead, but then again Tritons have lumpy bumpy overhead laminates anyway, so it never struck me, last year, as being unusual–just downright sloppy, but again, not unusual). The previous “repair” apparently had replaced some of the core (from below) with solid glass, so there was now a newer inner skin applied directly to the underside of the original top skin. This previous repair person had just removed whatever core was bad, left the rest in place, and put on some fiberglass from beneath. Now, exposing things from the top, the picture finally began to come together. I suppose I should have anticipated some weirdness, but honestly, who could anticipate this level of poorness and incompetence? (OK, I still should have, as I’ve seen this level of work before, but there wasn’t an outward sign of it that would have truly made me understand what I might find.)
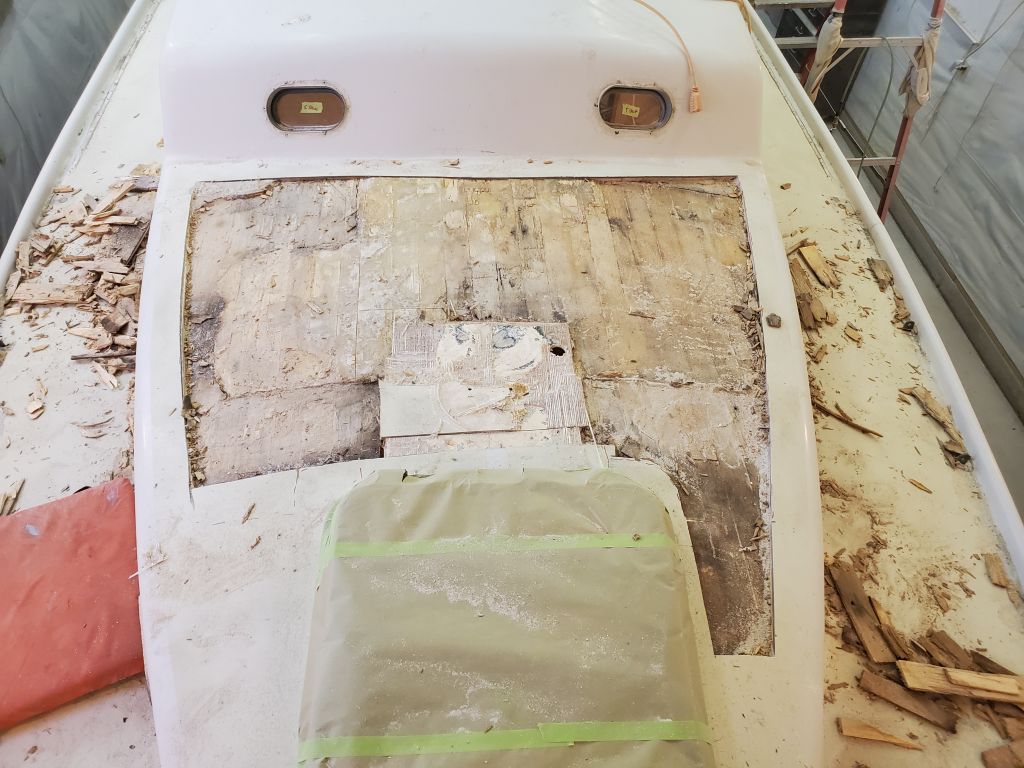
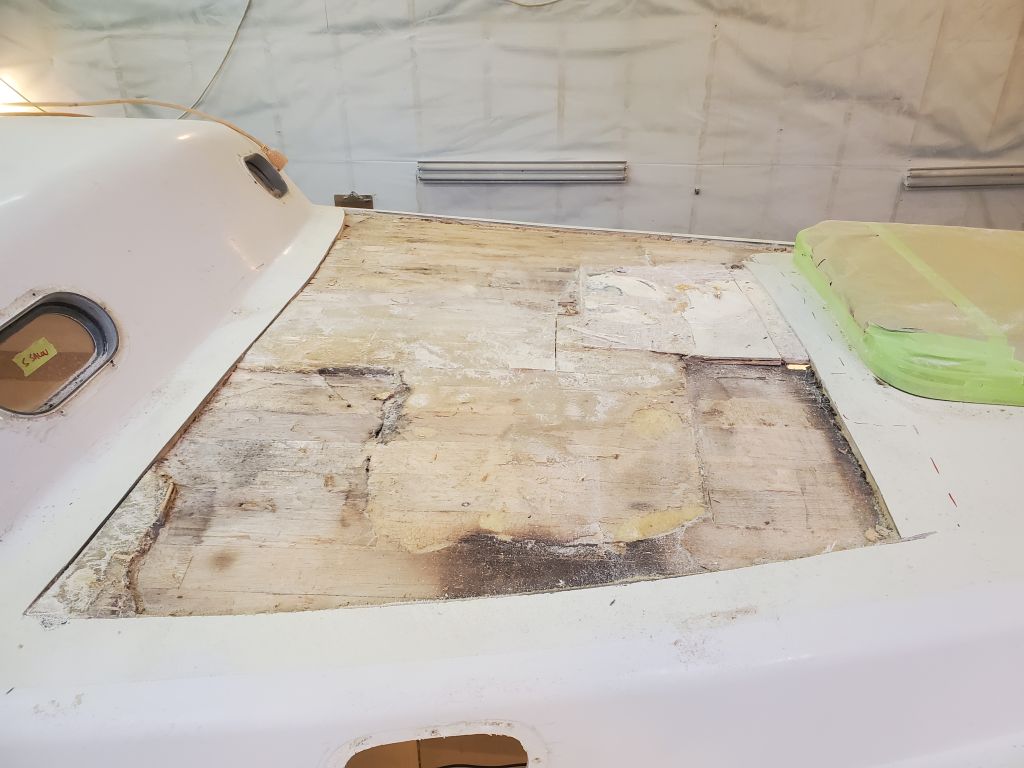
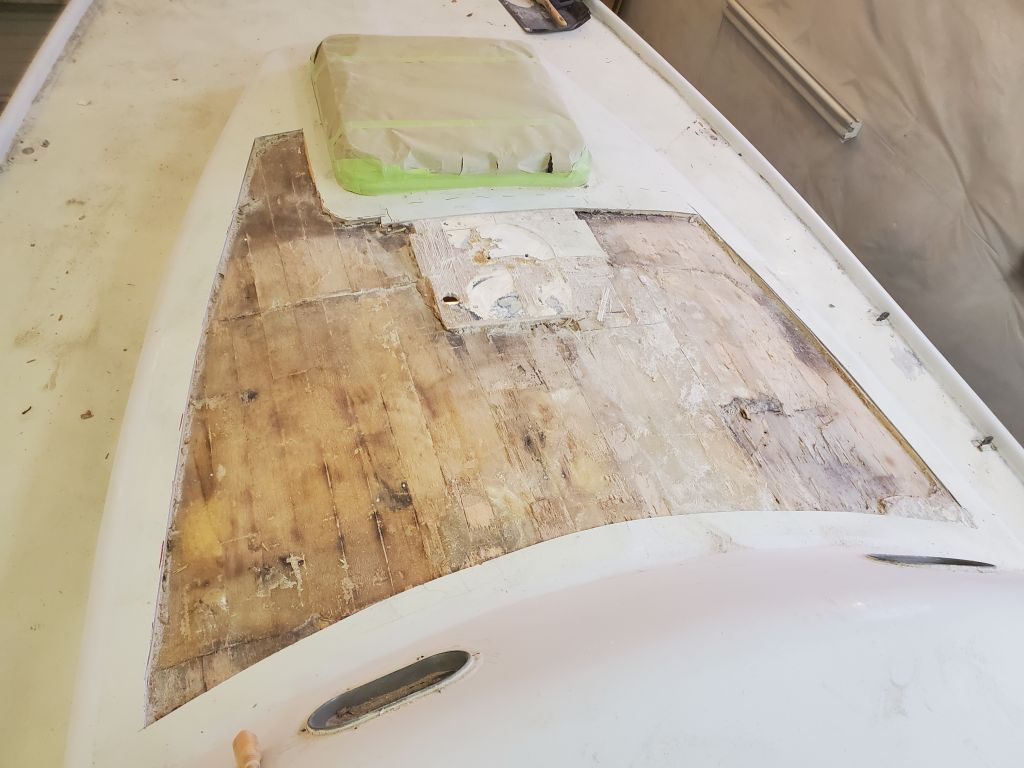
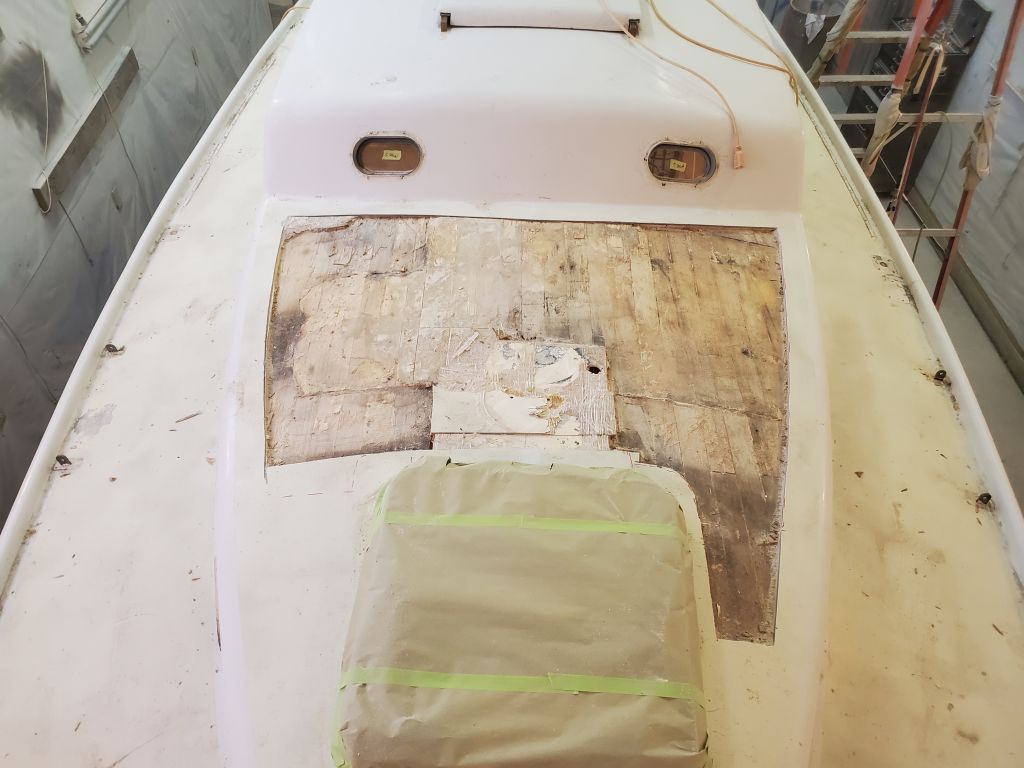
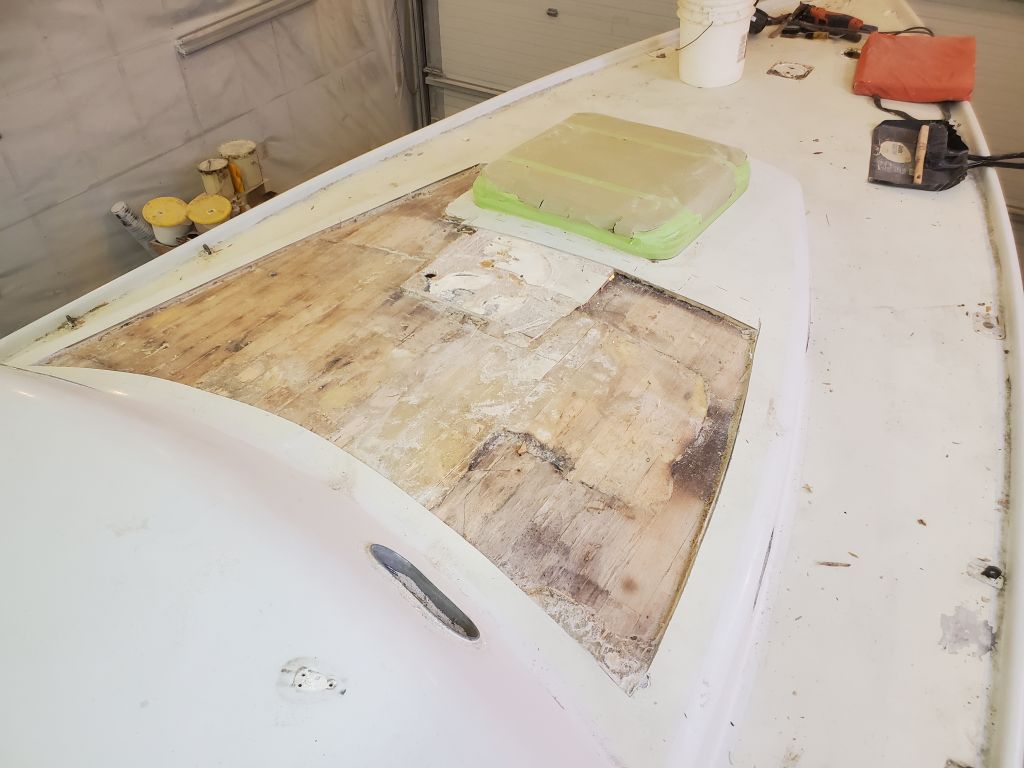
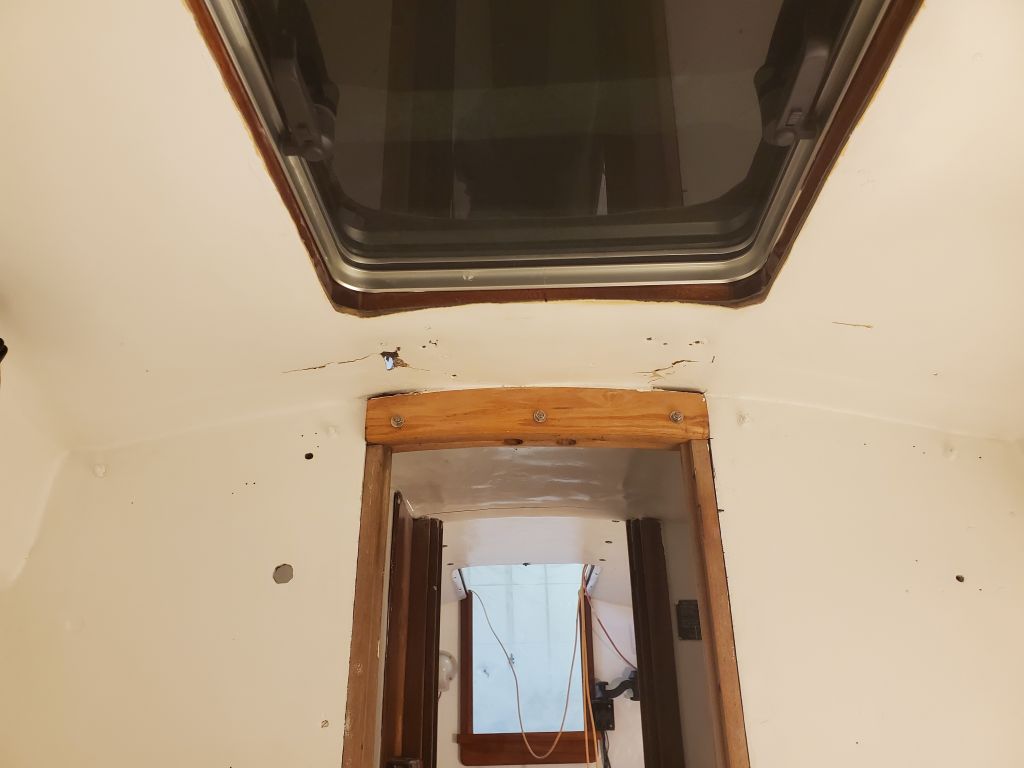
After some more careful, but still necessary, demolition work, I exposed most of the area and removed the old coring. There was indeed some solid material in way of the mast step itself, and I slowly cut towards it till I could remove all the surrounding core, and then peel back, with effort, the fiberglass over the top. Any new work to repair this area would of course have to properly incorporate the mast step area, and I now just needed a real sense of what was going on, and to help me come up with some means of repair.
With the detritus cleaned up, it’s pretty clear to see the geography of the “repair”. The “solid” part of the deck (the part badly repaired from below) extends along the basic centerline, aft of the mast step. You can see how the bottom skin contacts the remaining top skin between the ports, and then the exposed edge of the core on either side outboard (the way the whole deck should be). then there’s the solid stuff beneath the mast step. It’s not fiberglass, but some kind of filler.
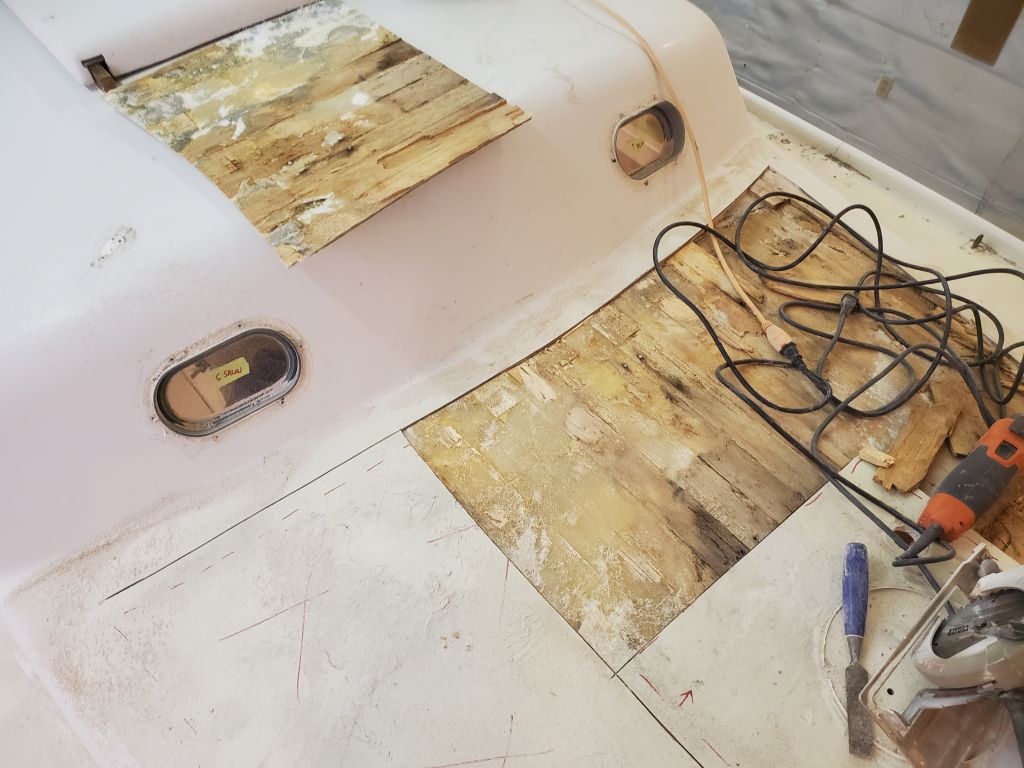
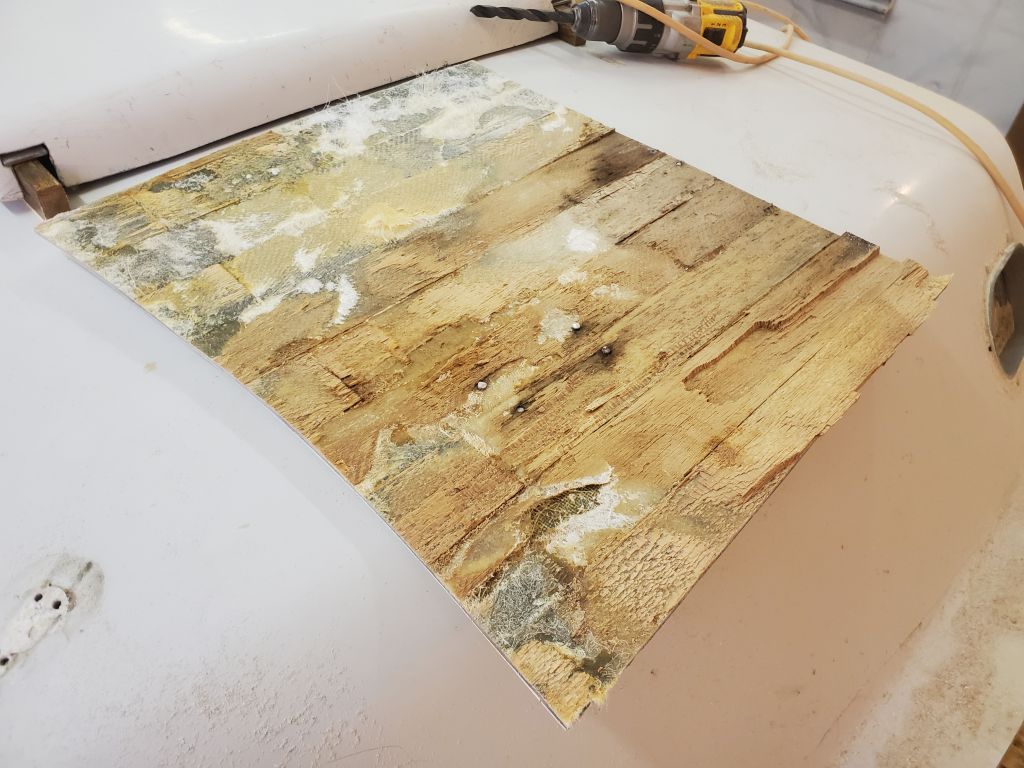
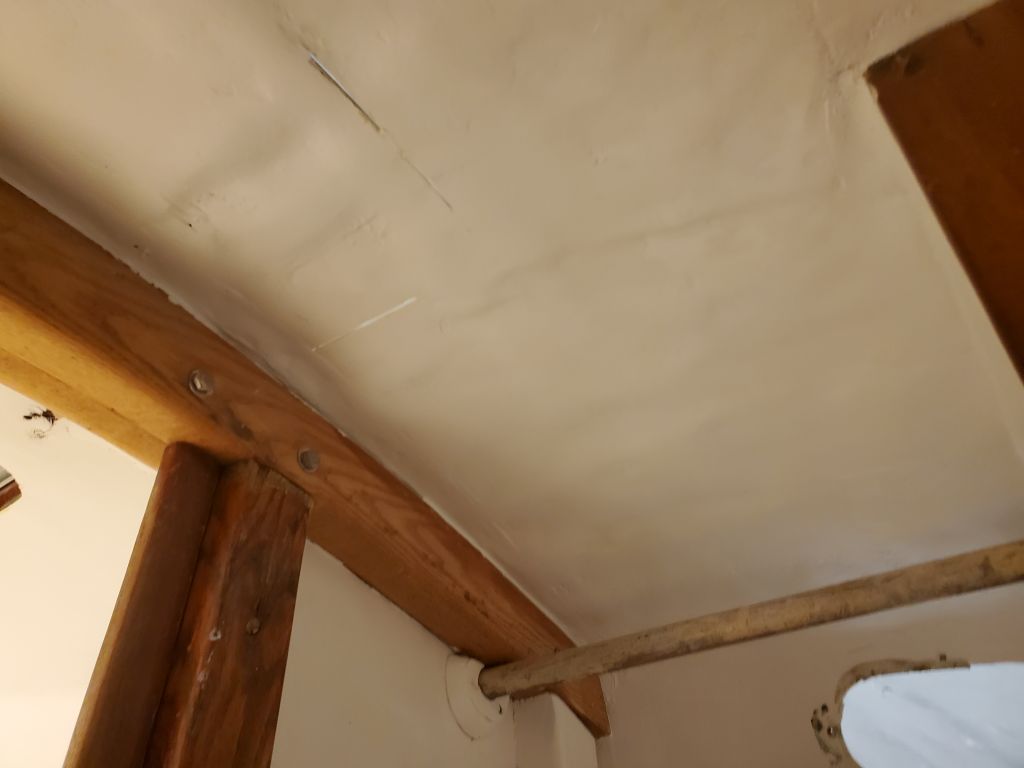
Some of the saw cuts came through in the head, which I already knew about, and the old inner skin (part of the original, forward of the mast beam) was damaged during the removal processes above, poking through a bit into the forward cabin just forward of the mast step.


After some thought, and as the whole picture finally started to come together, here is what I am thinking for the repair. This is early and some of the details may change as it gets underway.
- I think I should remove the mast beam to expose the deck through the passageway to the forward cabin, which will allow me to integrate the new work as well as possible with the existing structures.
- I will remove the existing inner skin (i.e. the overhead) in the head, stopping short of the existing structure all around to leave room for bonding. As needed, I will continue this cut through the centerline/passageway to the forward cabin, to ensure that the mast step is well-supported. This will create a large hole in the deck. Grind and prepare adjacent areas to allow for new work and bonding.
- My current thought is to laminate, on the bench, a new inner skin of fiberglass, thin enough to remain flexible. Then, once the panel is cured, I’ll cut it to size, and install it from below, spacing it as needed to allow for new coring and solid glass at the mast step. The details of all this will work themselves out as the process gets underway.
- Once the new bottom skin (new overhead) is in place, I can fiberglass it to the existing/adjacent structures, then, from above, add new core and top skin to complete the structure. This part is not unlike what I was planning for the recoring in the first place, so once the new bottom skin is in place, the work will proceed roughly as planned all along.
- Cosmetic work and repainting from below as needed
While this is unanticipated and will add time to the whole project, I don’t think it’s terrible in terms of cost and time. It adds more work because it will affect some of the painting and cosmetic work that I did in the cabin last year, and the head isn’t the funnest place to work, with tight confines, but if the plan I’ve outlined works as I think it will, I think it will be about as streamlined and efficient as possible, and minimize the worst work in the tight space.
Anyway, this is where we are now, mid-day on Wednesday. I will not do any more substantial work on the coachroof for now, though timing requires that I begin some of the planning for my chosen repairs, and obviously these repairs, in one form or another, must proceed. Let me know any and all questions, thoughts, concerns, and we’ll go from there. We can also discuss tomorrow morning when I drop off the woodwork, probably between 8:30 and 9:00 if that is OK with you.