(page 2 of 3)

Skeedeen 12

Monday

To begin, I wet-sanded and polished the new gelcoat repairs in three areas on the boat, completing this work.

Afterwards, I finished sanding the brightwork in those areas that had been covered and inaccessible while the gelcoat repairs were underway.

Meanwhile, I lightly sanded the loose trim pieces I’d varnished last time, preparing them for another coat later.

Looking to finish up with dusty work so I could clean up the boat and prepare for the varnish work, I laid out the top of the engine box for its new nonskid.  Using dividers, I determined the width of the borders around the nonskid elsewhere in the cockpit, and used this measurement to mark the engine box accordingly.  Conveniently, this measurement just cleared a pair of socket mounts in the engine box, keeping them clearly outside of the border.  I masked to my marks, and cut a large radius at the corners, again matching the radius I found on other areas in the cockpit.  Then, I sanded the field area with 120 grit to prepare for the coatings later.

After thoroughly vacuuming and solvent-washing the entire boat, including the decks and brightwork, I was ready to start masking off as needed for the varnish work.   By the end of the day, I’d masked the forward side of the windshield, the eyebrow and handrail trim, the forward hatch, and the toerails.  I’d finish up with the inside of the windshield next time, and then I’d be ready to start the maintenance coats of varnish on all areas.

First, though, I applied a thinned coat of sealer varnish to the bare forward hatch frame, and also the little lips at the base of the windshield that I’d stripped earlier.

Total time billed on this job today:  6.5 hours

0600 Weather Observation:  26°, mostly cloudy.  Forecast for the day:  Mostly cloudy, 45°

Skeedeen 11

Friday

In the cockpit, I finished up the detail sanding at the edges and corners of the nonskid, places I’d not been able to reach with the power tool earlier.  I also sanded the area beneath the hinged engine box, and a couple small areas of the deck just outboard of the cockpit.

The owner requested that I apply nonskid to the top of the engine box, which was currently plain white gelcoat.  I planned to lay out the borders for the new nonskid area and sand and prep the engine box a little later.

Armed with new materials, I turned my attention once more to the gelcoat patches (3) around the boat.  Starting with an ample amount of white gelcoat, I slowly added pigments, using only bits of black and brown since I’d determined last time these were the only colors needed.  Not wanting to steer the mix too far in one direction, and knowing, thanks to my experience earlier in the week, that the existing gelcoat was a tough match that somehow incorporated both gray and beige tones, I proceeded in tiny increments of color, testing each uncatalyzed mix in two places on the boat and allowing the test to dry (and perhaps slightly change color) before adding more pigment.    At length, I decided I’d gotten a reasonable match.

Once I was satisfied with the color mix, I catalyzed about half of the mix–reserving the other half should I need it–and, in several coats, sprayed the mixture on all three patches.

The gelcoat came with a wax additive designed to be used in instances like this where the gelcoat would be open to the air, to allow the gelcoat to properly cure in the open air (the gelcoat straight from the can would only cure to a tacky consistency).  However, I was unfamiliar with the additive, and instead chose my default method of spraying the patches with PVA, which forms a water-soluble coating on the surface and acts as an air inhibitor to allow full curing.  This lent a slight purple color to the patches.

To round out the day, I vacuumed and solvent-washed the various loose wooden trim pieces I’d earlier prepared in the woodshop, and applied the first coat of maintenance varnish to everything but the newly-stripped fishing rod holders, which received a sealer coat of thinned varnish over the raw wood.

Total time billed on this job today:  6 hours

0600 Weather Observation:  48°, rain.  Forecast for the day:  Rain, 50s

Skeedeen 10

Thursday

After spending most of the morning away from the shop on an appointment, I continued work in the cockpit and finished up the bulk sanding to smooth and prepare the nonskid surface for refinishing.

Afterwards, I repeated the process on the remaining deck areas.  Here, I sanded the field as much as possible with a power tool and 80 grit paper, but sanded tight areas, edges, and corners by hand as necessary to finish up the preparations.

Total time billed on this job today:  4 hours

0600 Weather Observation:  40°, mainly clear overhead with ground fog.  Forecast for the day:  Clouds and showers, rain overnight, 51°

Skeedeen 9

Wednesday

I continued work on the brightwork preparation, this time with the large windshield and dash area.  To begin, I attacked the remaining adhesive left behind by the Velcro strips I’d removed from the top edge of the windshield; the Velcro may have been slightly loose and wrinkled, but that should take nothing away from the tenacity of the adhesive residue, which fought me to the end but ultimately succumbed to a dynamic combination of solvent, light scraping, and sanding.  It was enough to make me wish I’d left the stuff in place from the getgo.

With that mess out of the way, I sanded the outer surfaces of the windshield.  I found I had to start with 120 grit on a sanding block to get through the corrugated and grit-filled surface of the last coat or two of varnish, which had been inexpertly applied, and I followed with 220 grit on all surfaces once they were approaching smoothness.  Fortunately, there was a sound base of varnish on the wood from many years of buildup, giving me the thickness required to flatten the surface without sanding through.  At the sides, where I had an ongoing repair to the cabin trunk masked off, I left the brightwork alone for the moment, but I’d come back and sand those final areas as soon as the gelcoat work was finished.

I repeated the process on the inside faces of the structure, where I fortunately found the old coating was not quite so rough, so I could use only the finer paper to prepare these areas.  Still, it required substantial effort to flatten the surfaces as required.  I worked my way around the windshield frame and the various trim bits around the instrument panel and controls and companionway, leaving for now the area on the port side where I’d masked off an unrelated gelcoat repair.

At my gentle but non-binding suggestion, the owner decided to remove a folding extension attached to the aft end of the engine box, since he never used the extension (I guess it was supposed to be a seating area, had there been a cushion) and it seemed to just sit out there in the sun and weather so the brightwork could fail, as it clearly had in the past, though the blackened and weathered spots had been varnished over at some point.  So rather than spend time preparing the varnish here for its next failure cycle, I removed the full-length hinge securing the extension, then removed the two plywood fold-out supports as well.  This left a few screw holes behind that I’d need to deal with, but I had a plan for that.  Meanwhile, I lightly sanded the remaining fiddles surrounding the top of the engine box, completing for now the main brightwork prep.

With some time left in the afternoon, I decided to begin the prepwork for the nonskid.  I needed to sand the existing surfaces to at least partially smooth them and otherwise prepare them for new coatings.  The existing nonskid appeared to be thick gelcoat that had been applied into some semblance of a nonslip surface with a roller or other application tool, but the surface was rough in texture and also rough in overall application style, and despite its rough texture it managed to be slick and slippery underfoot.

We planned a new nonskid texture that would be forgiving of substrate imperfections, which meant I didn’t need to sand the old gelcoat perfectly flat and smooth, but I did have to substantially flatten and abrade the surface to prepare for the new paint, so I got to it with 80 grit paper on my sander, starting at the bulkhead and working aft.  Coarser paper would have made quicker work of it, but I didn’t want to overdo it, and though it took some time, the 80 grit brought the old surface down to where I wanted it, more or less.  For the moment, I concentrated on the main field, but I’d have to come back later with a different tool and take care of the tight corners and borders where the nonskid met smooth white gelcoat.

Before beginning, I used a scraper to remove the old silicone sealant from around all six deck hatches, and as I worked by with the sander I cleaned up any remnants around the openings.  By the end of the day, I’d sanded my way back to approximately the aft edge of the hatch just behind the engine box, leaving about half the cockpit to finish up next time.  In the first photo below, the line between sanded and unsanded is visible about halfway across the photo.

Total time billed on this job today:  7.5 hours

0600 Weather Observation:  35°, mainly cloudy.  Forecast for the day:  Clouds and sun, showers later, 50°

Skeedeen 8

Tuesday

I spent the bulk of the day sanding the newly-stripped toerails and other areas, working through the grits to 220 and cleaning up and smoothing the raw wood to prepare for varnish.  I started on the starboard side aft and worked forward to the bow.  When I stripped the toerails earlier, I’d left the bow platform alone, not sure whether it required stripping or not, but as I regarded it skeptically now I knew I had to strip the old finish, which looked worse than ever.  So after removing the anchor roller, with heat gun and scraper I removed the varnish from all sides of the platform.

Afterwards, I sanded the platform to 220 and continued down the port side toerail to finish up this round of sanding.

Next, I sanded the newly-stripped forward hatch surround, and lightly sanded other areas at the forward end of the cabin trunk, including the eyebrows and handrails to smooth the existing coatings and prepare these areas for the varnish ahead.

Total time billed on this job today:  6.25 hours

0600 Weather Observation:  38°, cloudy.  Forecast for the day:  Clouds and sun, 47°

Skeedeen 7

Monday

I started out with a little more work on the various hole patches on deck, sanding the second round of filler and then touching up with a quick-dry finish putty to take care  of any final pinholes or other low areas.  Once I sanded that, it completed the basic prep  work on these areas.   I planned to work on the gelcoat matching and patching later in the day.

Meanwhile, I got to work on the loose brightwork pieces down in the shop, and sanded these as needed to prepare them for their maintenance coats of varnish.  I found that some of the previous and recent coats of varnish on these bits were pretty rough and goopy, with thick brush marks, but fortunately there was ample base to allow me to sand the surface more or less smooth again while maintaining the base coats.

During removal, I’d noticed that one of the two teak rod holders from inside the cockpit was broken, but  I found the missing piece inside the binocular holder, so over the weekend I glued it back together with epoxy.  Now, I sanded the repair smooth, and also sanded off all the failing varnish from these fussy little pieces on which it’s tough to maintain the finish because of the myriad hard corners.  I’d build up six or more coats of fresh varnish here, along with the other areas on the boat where I’d removed all the old coating.

In the afternoon, I decided to tackle the gelcoat repair over the holes I’d filled on deck.  First, I masked off and prepared the areas for the refinishing, using a foam masking tape to minimize the transition from old to new, and sanding the entire area with 320 grit to prepare for the new gelcoat.

I spent most of the afternoon mixing and matching the gelcoat, trying to get as close to the existing color as possible.  While the deck was basically white, pure white gelcoat wouldn’t ultimately match, as there were subtle undertones from aging, sun, and within the original color itself.  Using various pigments, I adjusted my base batch in tiny increments, spreading some of the uncatalyzed gelcoat on the boat to air dry and check the match; pigmented gelcoat changes color slightly when cured.  The existing white had a cold gray to blue undertone that meant the pure white would soon show up blatantly, much like a previous repair nearby that had been done at some point.

I repeated the coloring  process over and over, abandoning three separate batches when the pigment I added took the color mix in an irreversible direction.   At length, I found a color combination that seemed to match reasonably well, and I prepared to spray the areas.   These photos show the various blobs of gelcoat that I tried out while matching the color.

Catalyzing the mix, I used a small sprayer to begin to apply the gelcoat, planning on several thin coats on each area, but to my dismay I found that after one coat I’d almost used up all the gelcoat I had.  The wasted mixes from early on had used up my supply, leaving me without enough to complete the job in the end and essentially wasting the entire afternoon.  Disappointed, I wiped off with solvent the gelcoat I’d applied, and ordered new supplies so I could try again in a day or two.

Total time billed on this job today:  4.75 hours, including two hours discounted

0600 Weather Observation:  40°, cloudy.  Forecast for the day:  Showers, 49°

Skeedeen 6

Saturday

I lightly sanded the new epoxy over the fastener hole patches on the cabin trunk and elsewhere, smoothing the excess.  This revealed various low spots requiring additional fairing compound.

As needed, I added a second coat of the epoxy fairing compound to all areas.

Total time billed on this job today:  0.5 hours

0600 Weather Observation:  33°, clouds.  Forecast for the day:  Cloudy and then rain, possibly with snow or a mix, and windy, around 40°

Skeedeen 5

Friday

I spent some time with a new wiper motor I’d bought, mocking it up against the windshield, but it seemed bulky and the owner and I discussed the pros and cons and how best to address the original complaint about wiper performance.  For the moment, I set the new items aside and looked into replacement arms and blades for the existing motor once more.

The removal of the unused antennae and horn brackets from the sides of the cabin left holes behind, and now it was time to begin the repair and patching of these holes.  There were three additional holes in the port side of the dashboard, where an old piece of electronics had once stood, and I planned to fill and patch these holes as well.

I prepared the holes for filling by reaming them out with a countersink (smaller holes) or a small grinding disc to provide a better bond with epoxy filler, then, after final preparations, including cleaning and masking the visible side, and masking over the holes from the back side, I installed epoxy filler in the holes, troweling it flush.  The eventual gelcoat repair would cover these entire areas and more, so I wasn’t worried about epoxy in the field between the holes–and most of that would get sanded off later anyway.  I’d probably need a second application of filler later, but for now I moved on.

Preparing for the varnish maintenance ahead, I removed the remaining hardware and hinges from the companionway top and doors, separating the pieces for best access for sanding and varnish.  Each assembly had two sets of hinges, plus various knobs, hooks, and snaps, so there was quite a bit to disassemble.

Next, I got set up with tools and power cords for some brightwork stripping, starting with the hatch surround on the coachroof, which I’d built and installed some years ago.  The old varnish here was in poor condition.  With heat gun and scrapers, I removed the old finish; sanding would come later.  While I was in the area, I stripped two small horizontal trim pieces at the bases of the main windshield panels, as these sun-facing trims had suffered from their exposure.  The remainder of the windshield assembly would get a heavy sanding and multiple coats of fresh varnish, but didn’t require stripping at this time.

Afterwards, I stripped the two toerails, which ran from the stem to just aft of amidships on each side.  The old finish had failed in several places from water infiltration.

Total time billed on this job today:  5.5 hours

0600 Weather Observation:  24°, clear.  Forecast for the day:  Sunny, 44°

Skeedeen 4

Thursday

Continuing down the port side, I cleaned and polished the deck edges and cabin trunk, as I’d done earlier on the port side.

I spent the remainder of the day in the cockpit, where the gelcoat was especially dirty but, with less exposure to UV and salt, in good condition overall.

As before, I cleaned and polished the cockpit liner, deck edges, and inside of the coamings and cabin trunk as far forward as the main bulkhead.  The staining and discoloration at the lower edges of the was more or less permanent, mainly old sealant and varnish from the teak trim, but would all be hidden again once I reinstalled the trim later.

Total time billed on this job today:  3 hours

0600 Weather Observation:  26°, clear.  Forecast for the day:  Sun and wind, low 40s

Skeedeen 3


Wednesday

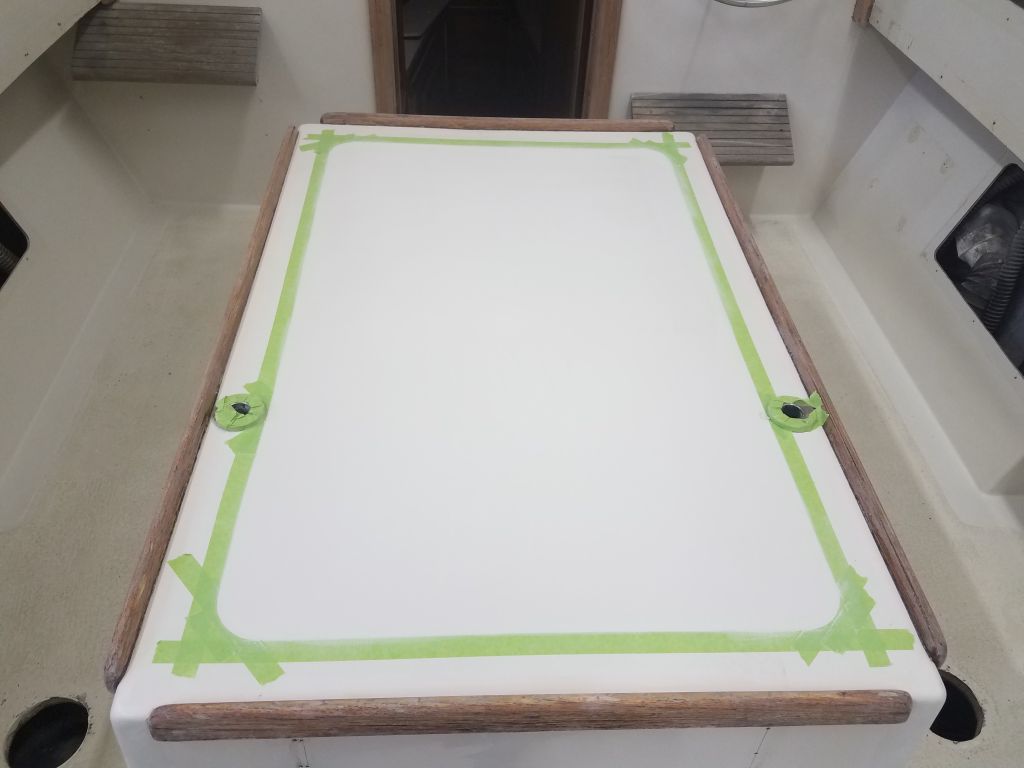
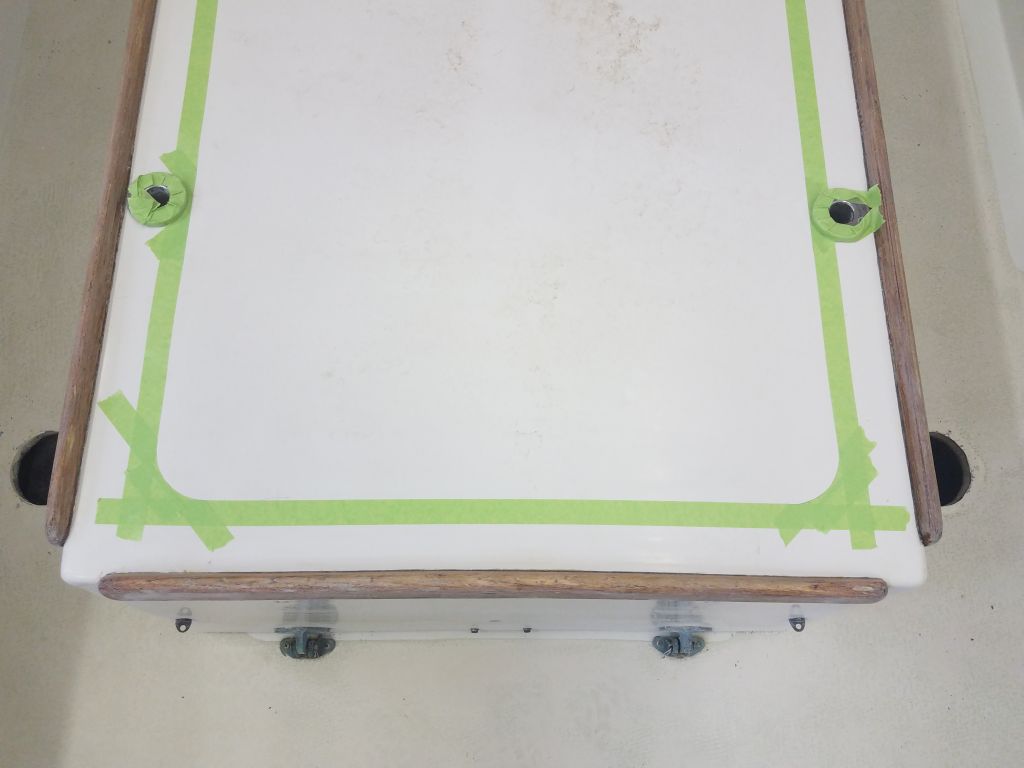
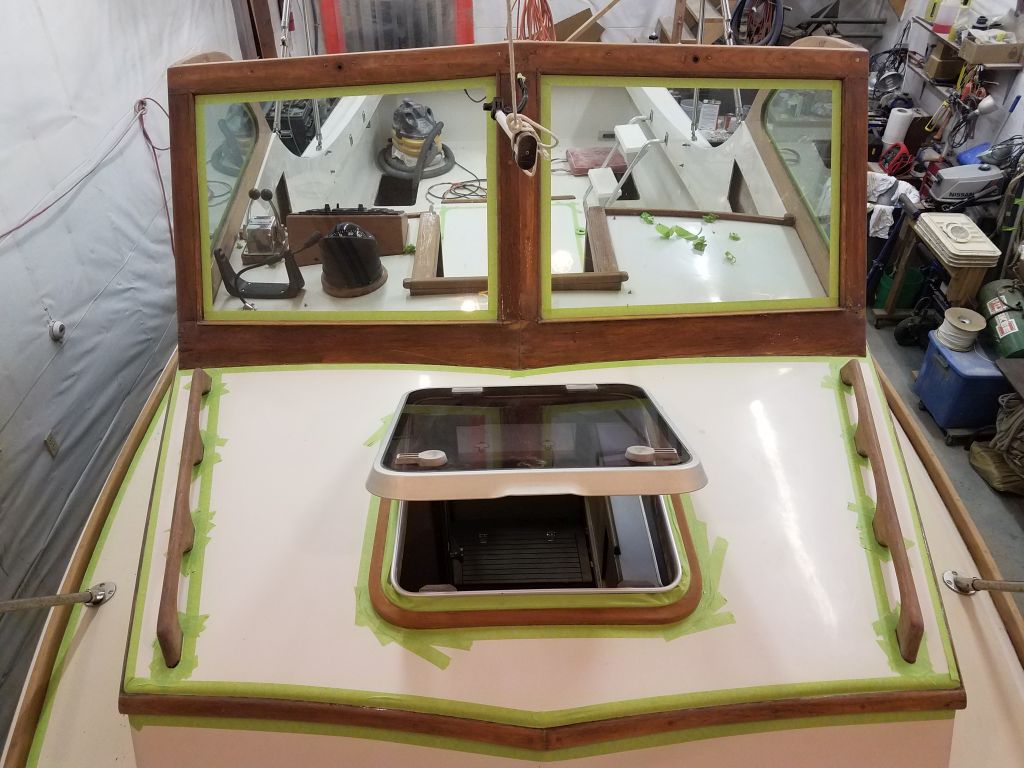
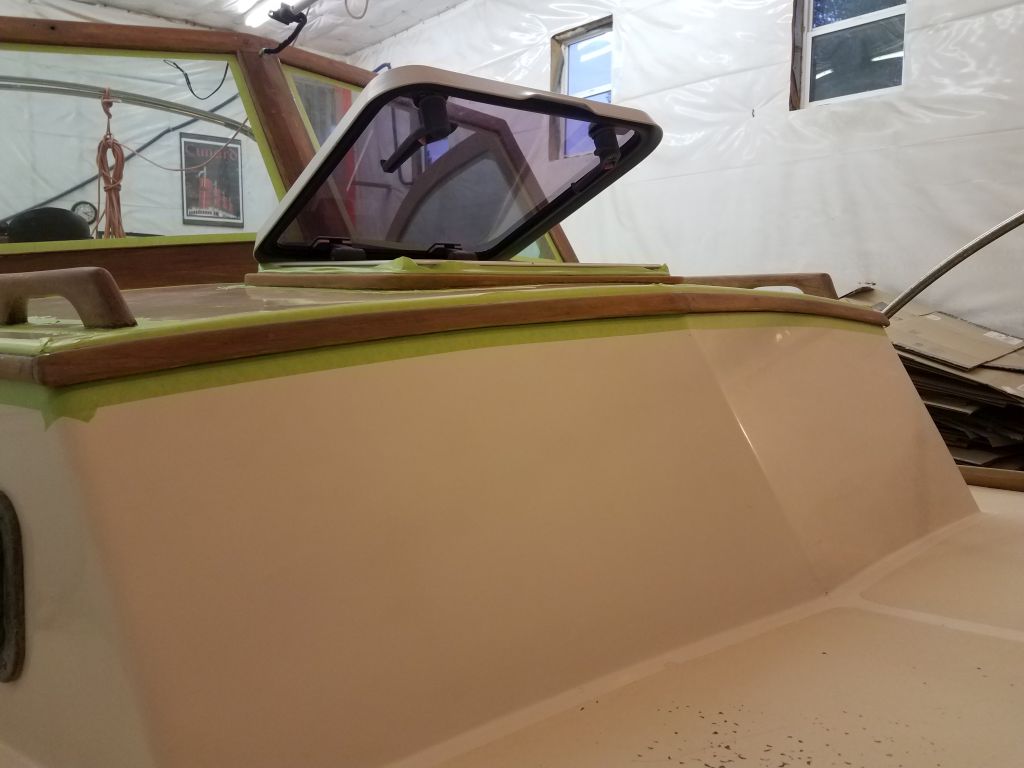
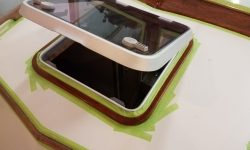
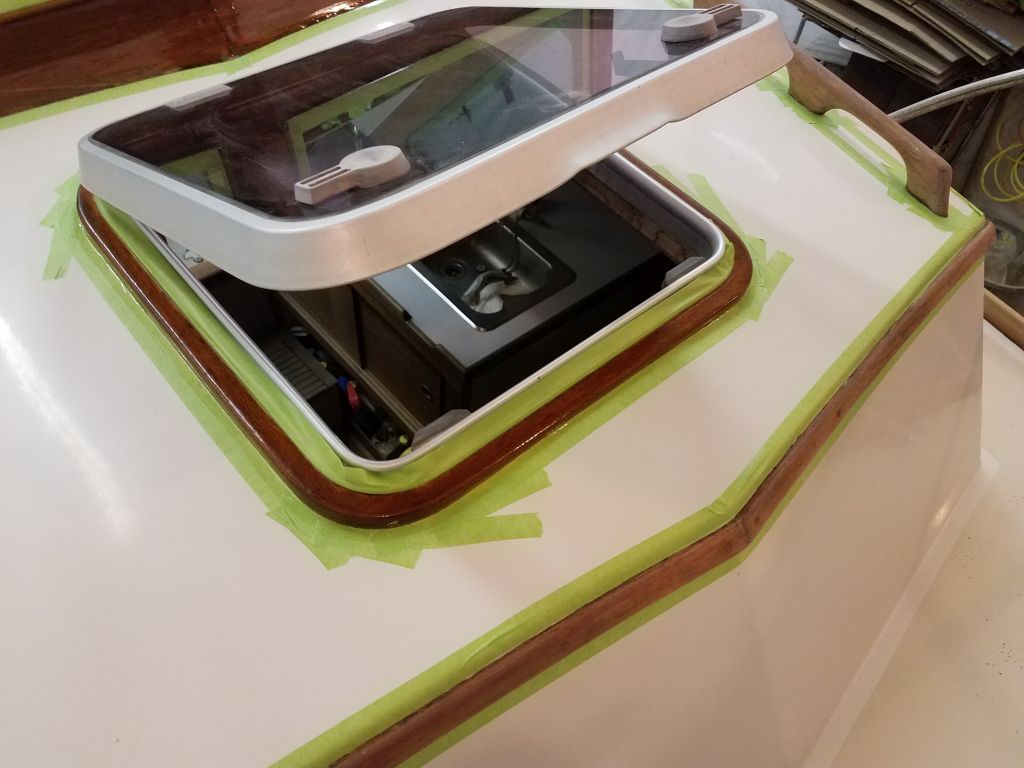
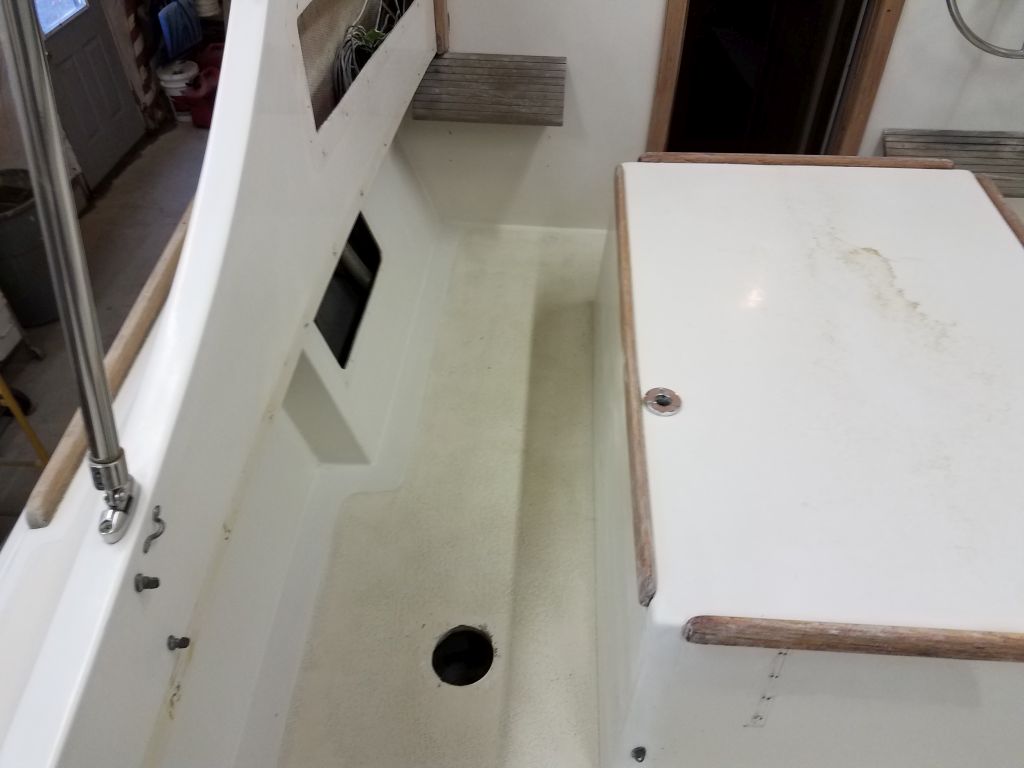
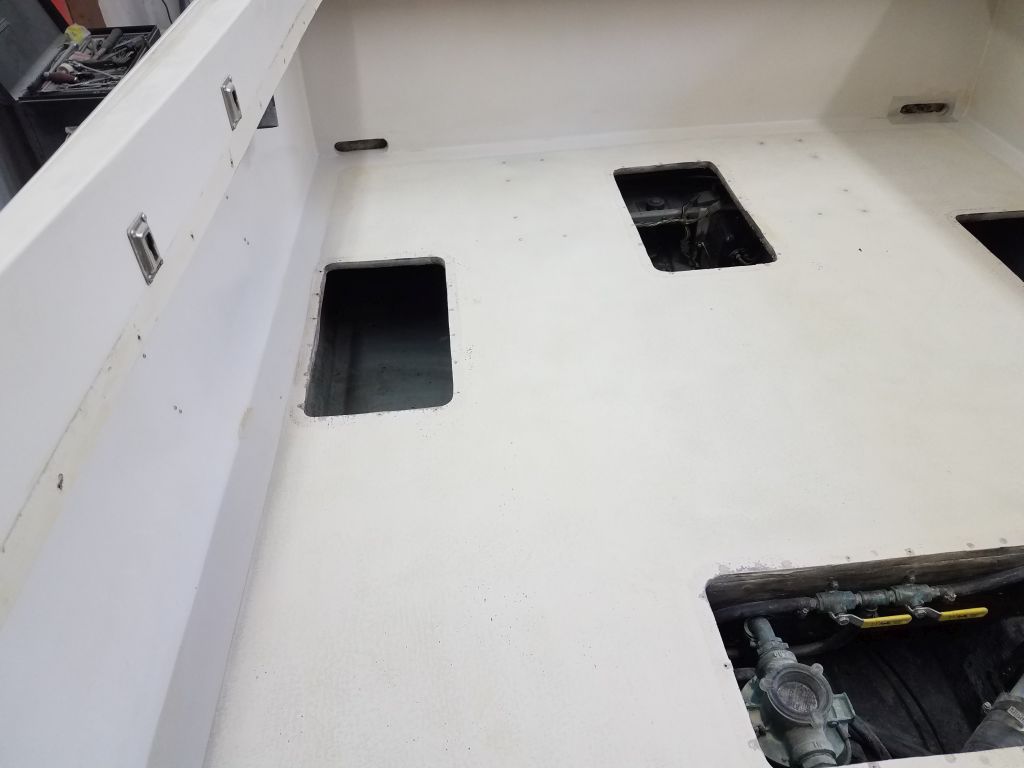
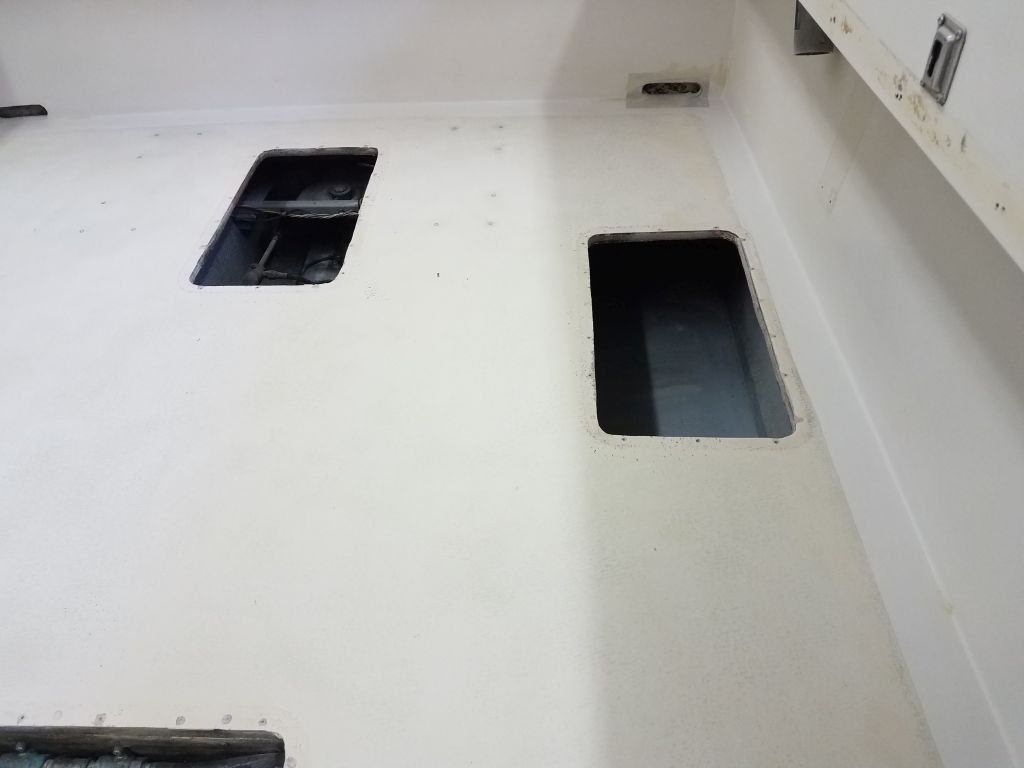
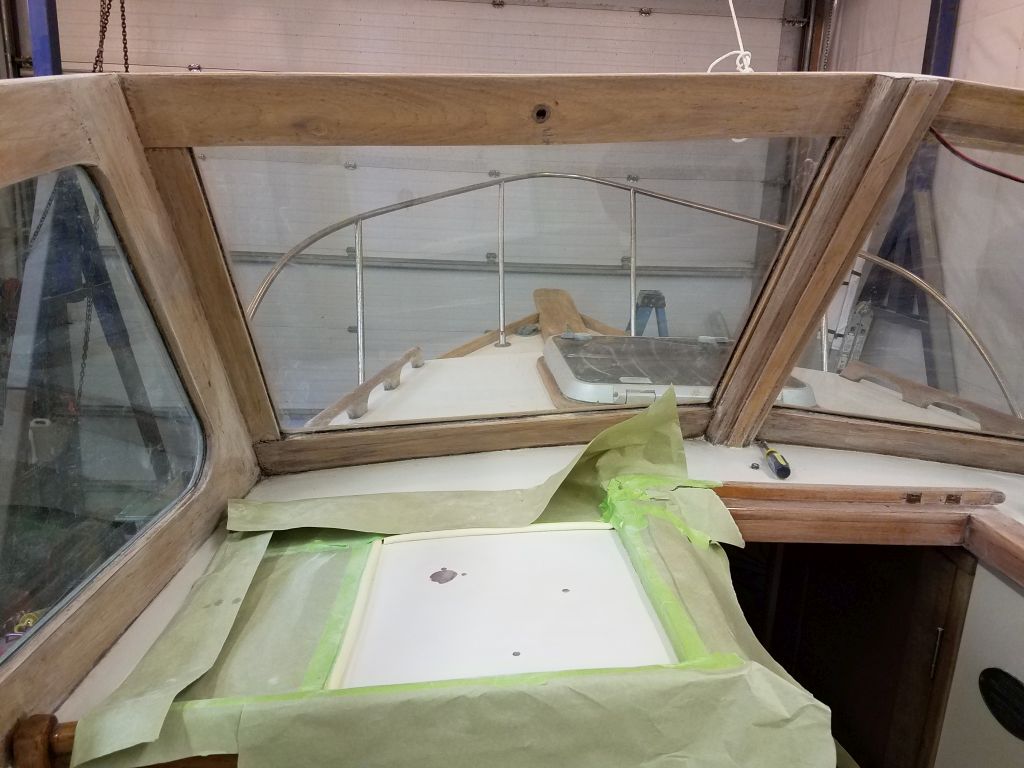
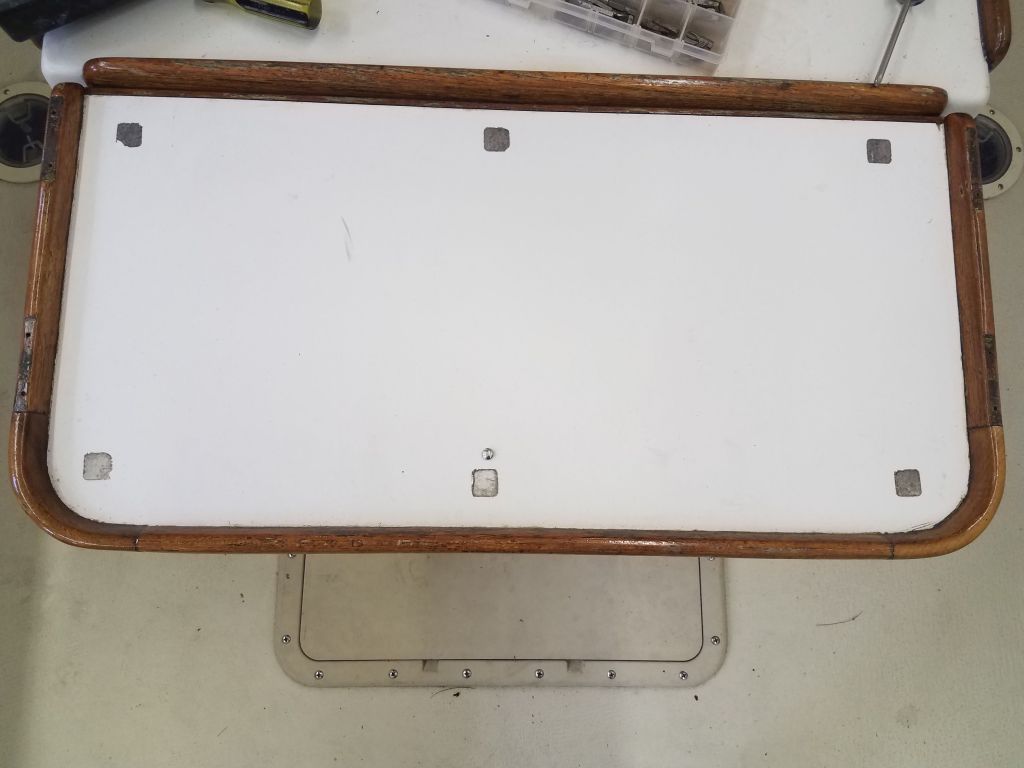
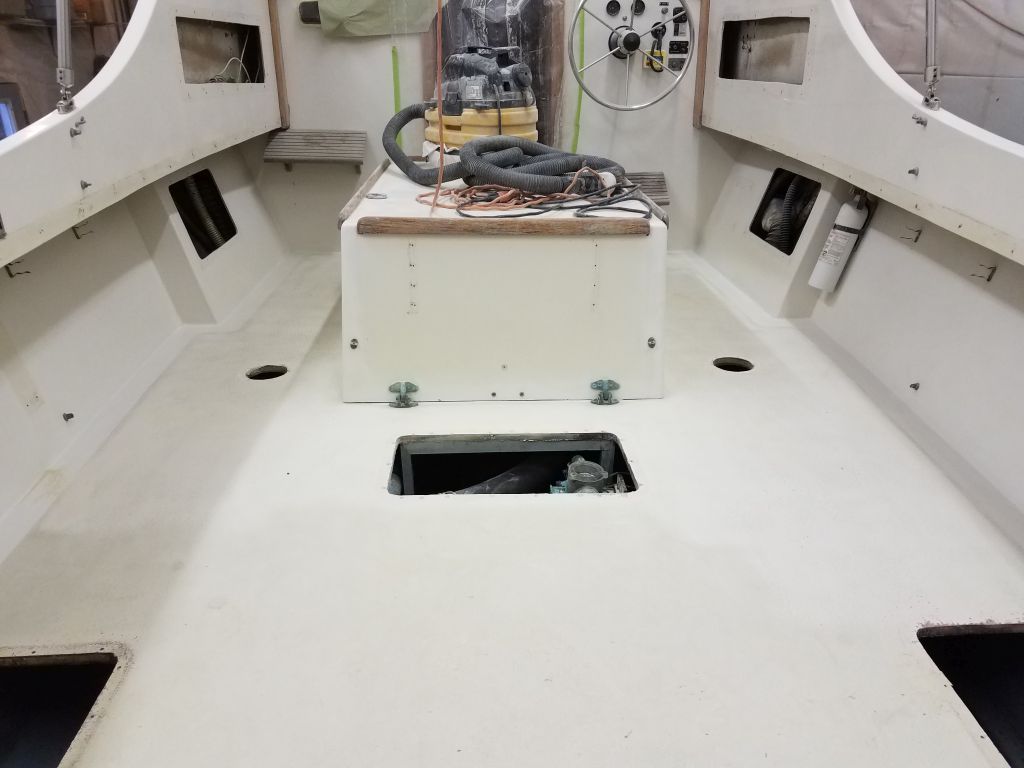
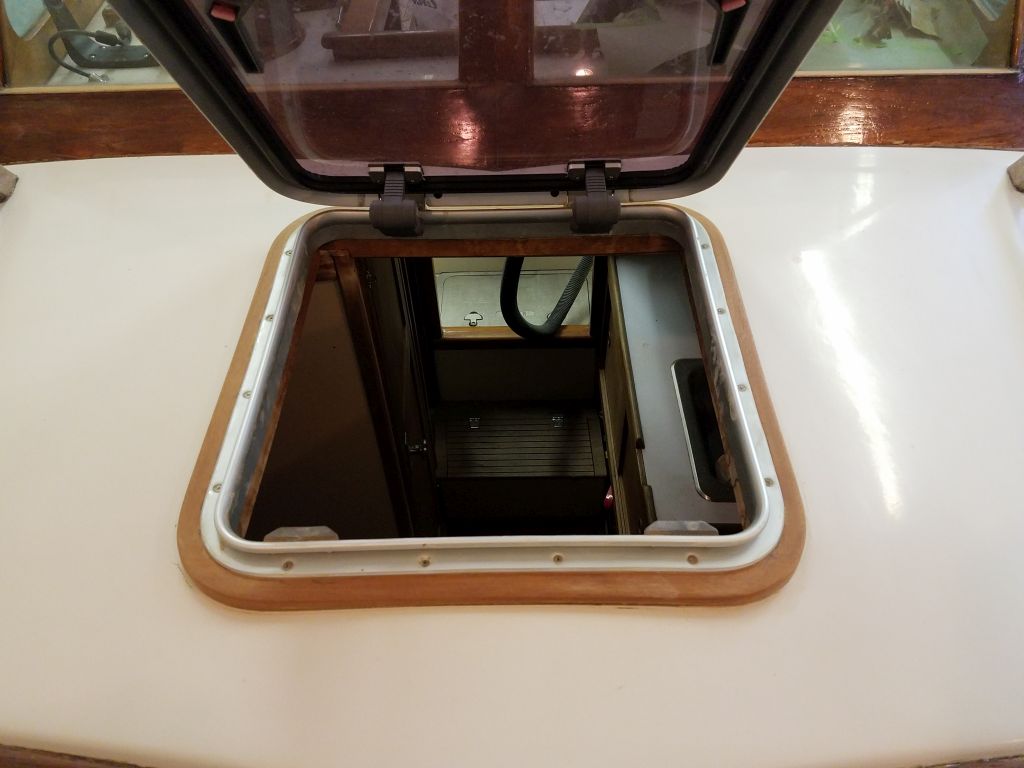
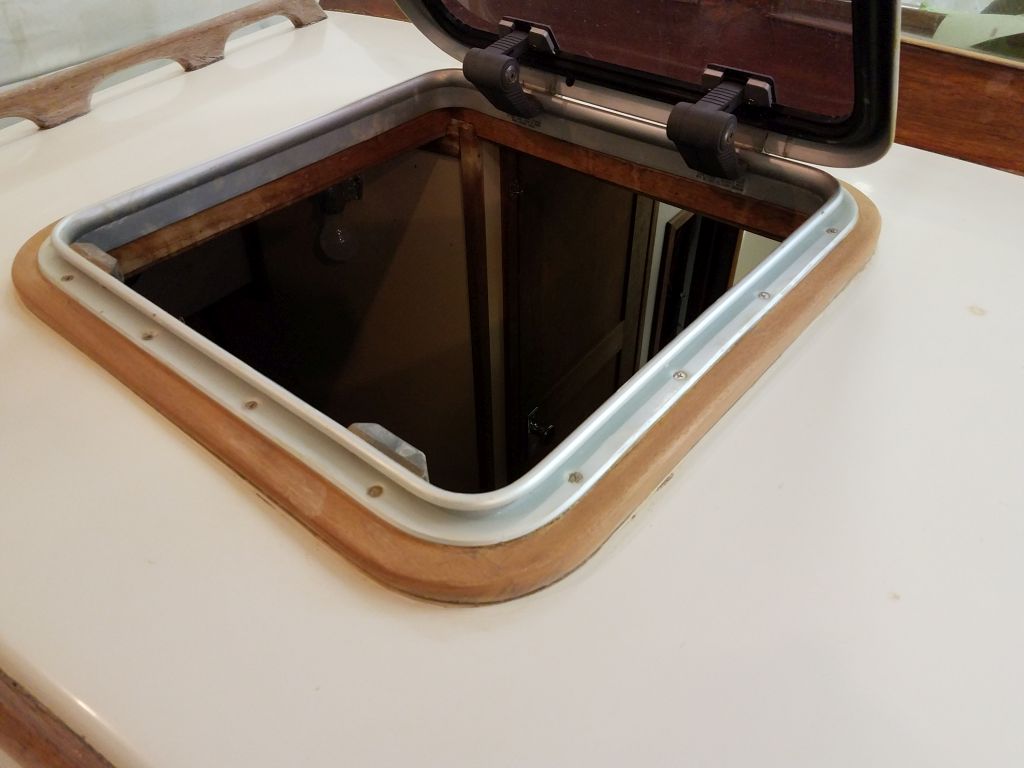
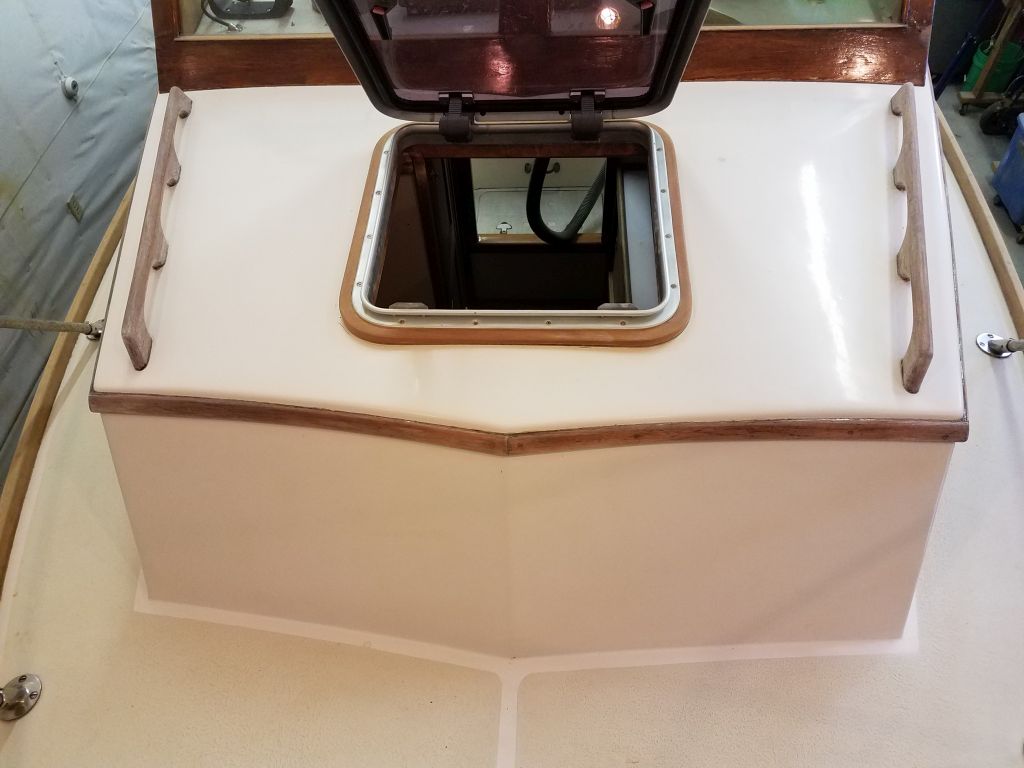
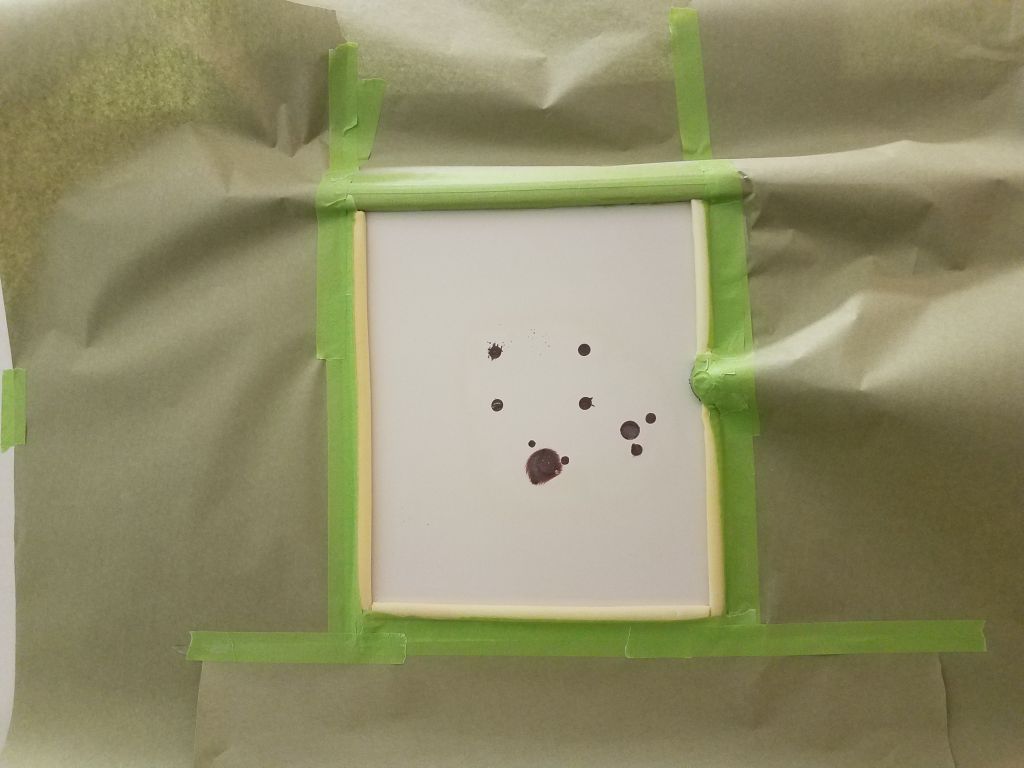
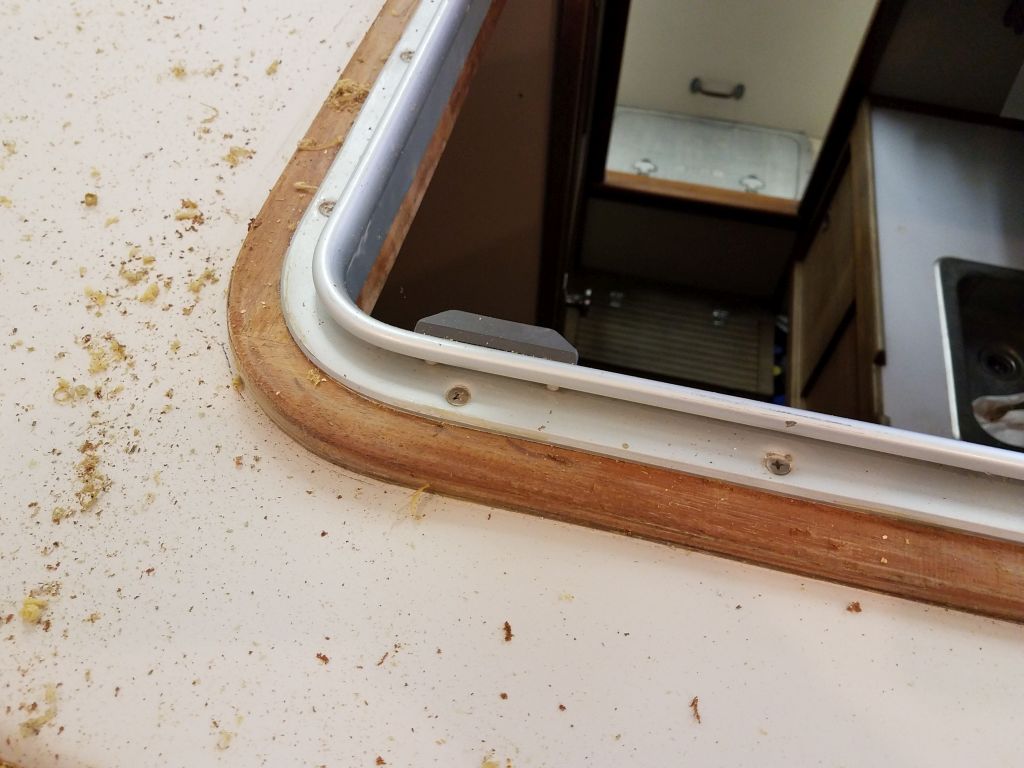
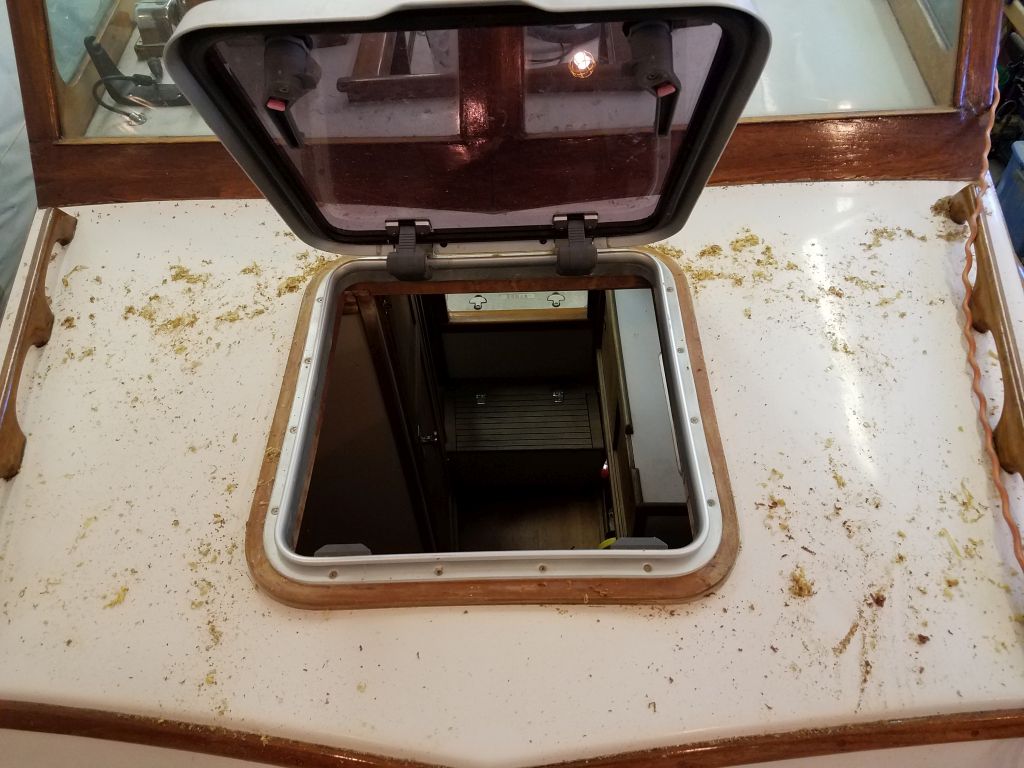
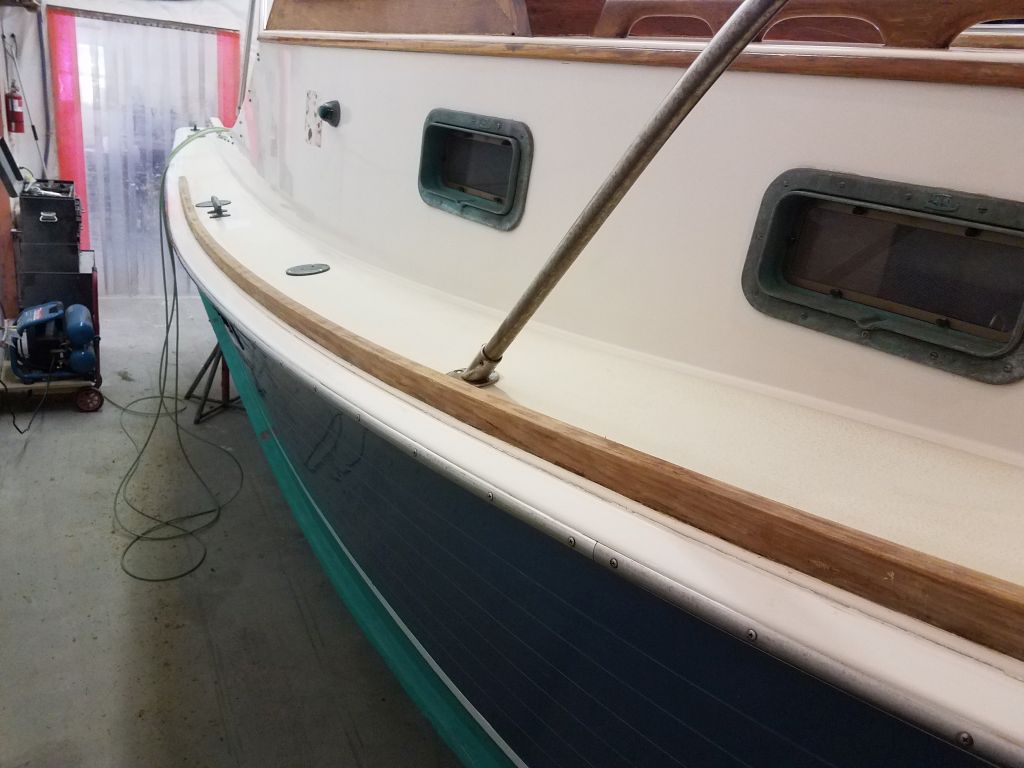
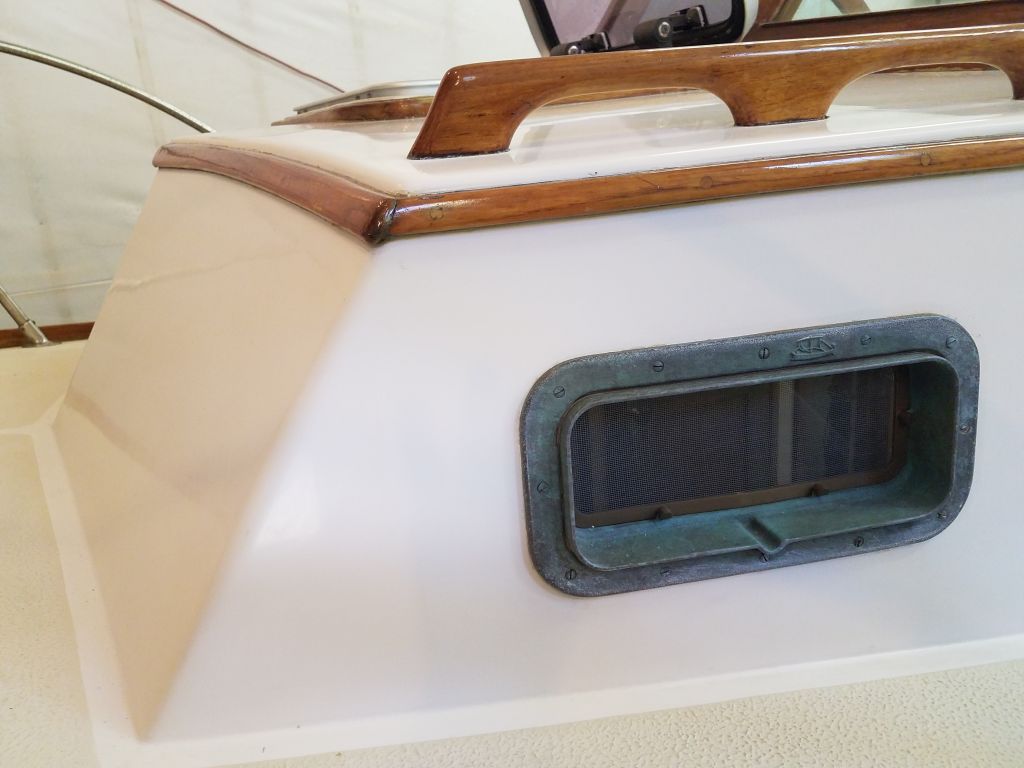
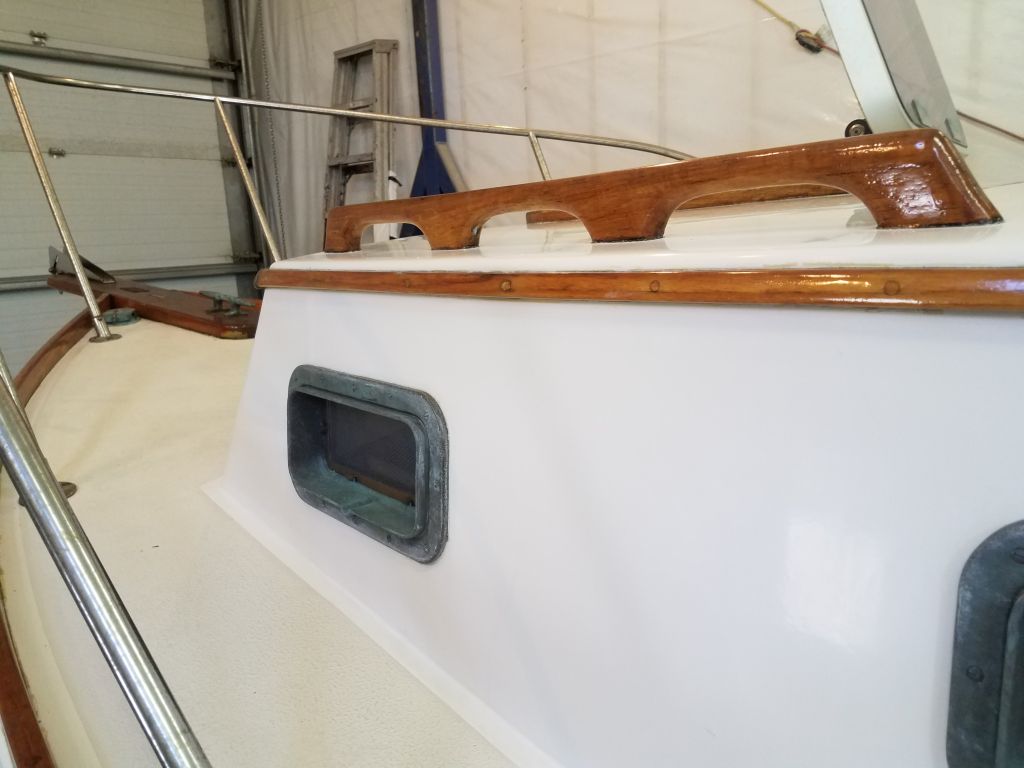
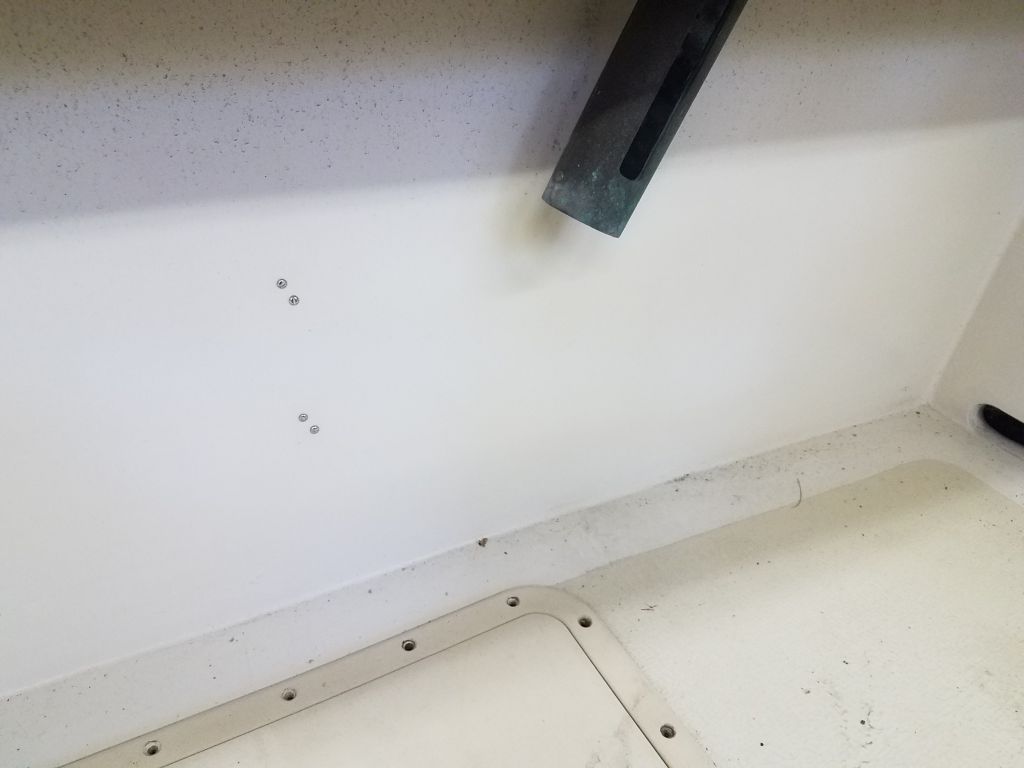
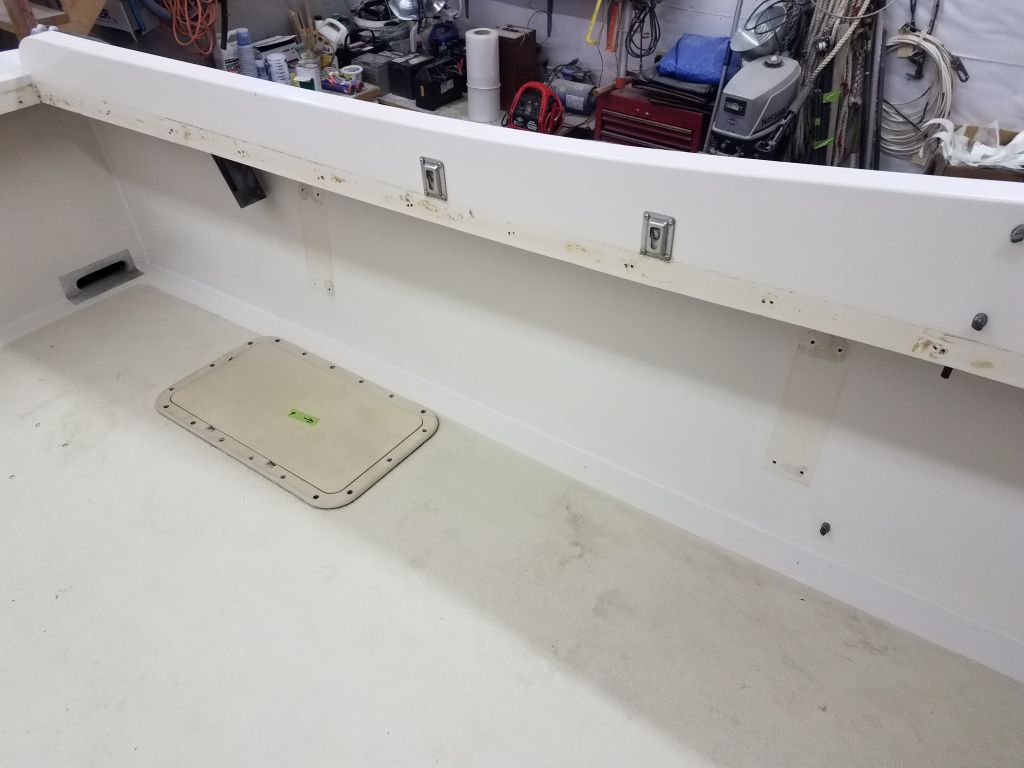
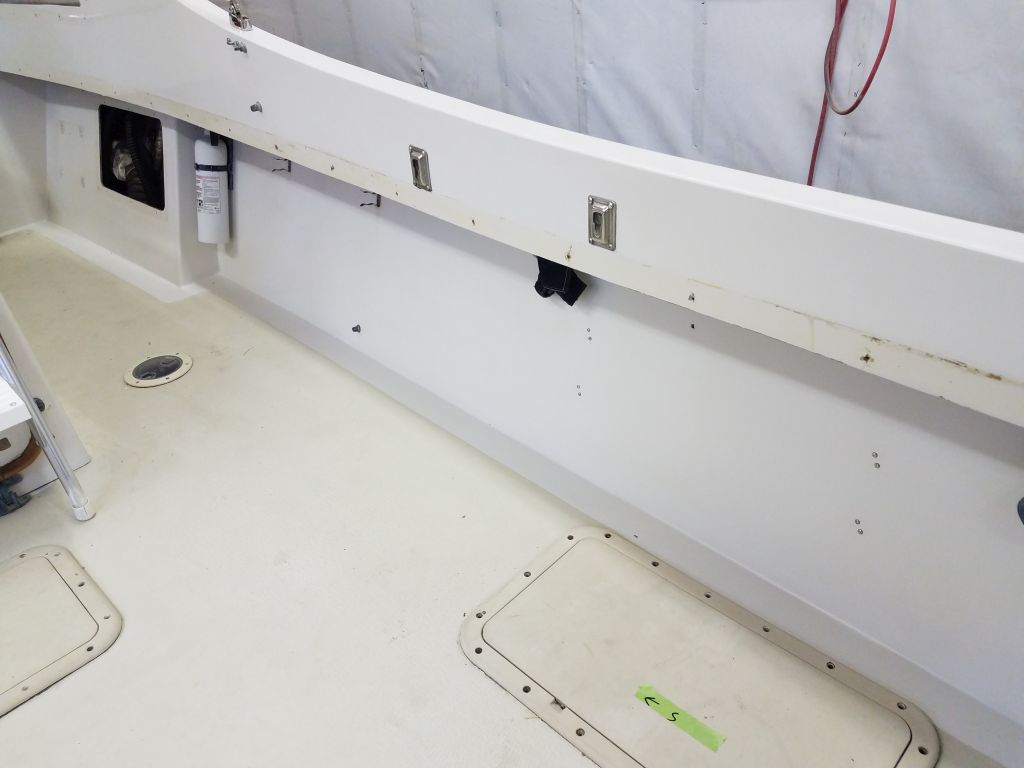
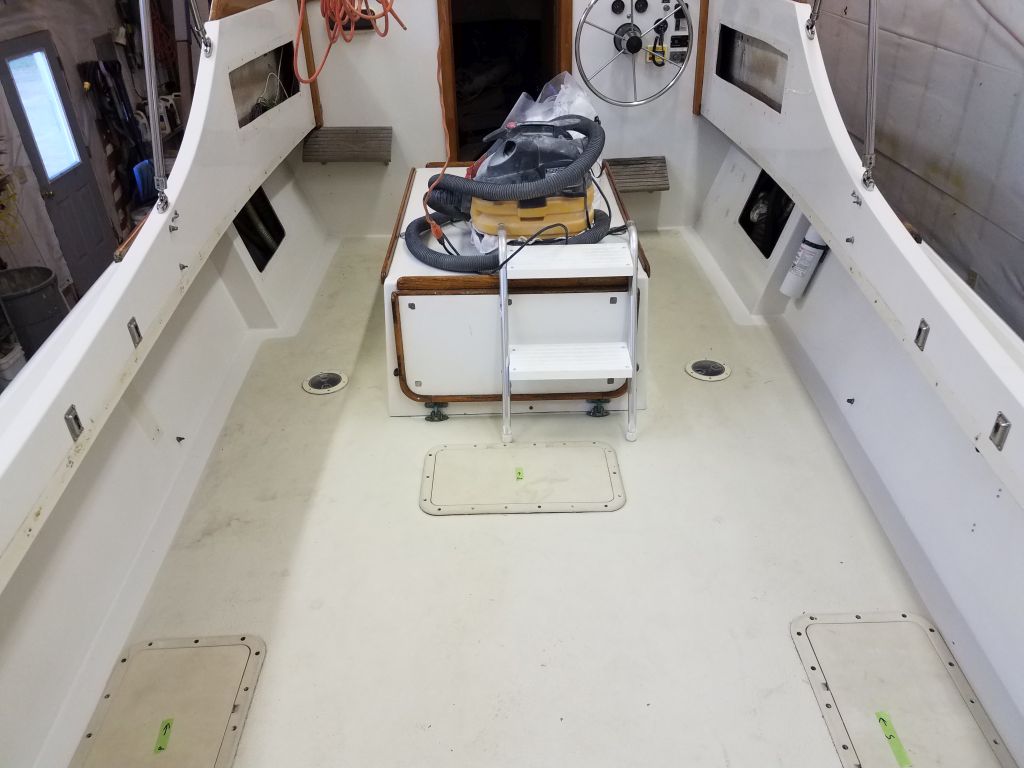
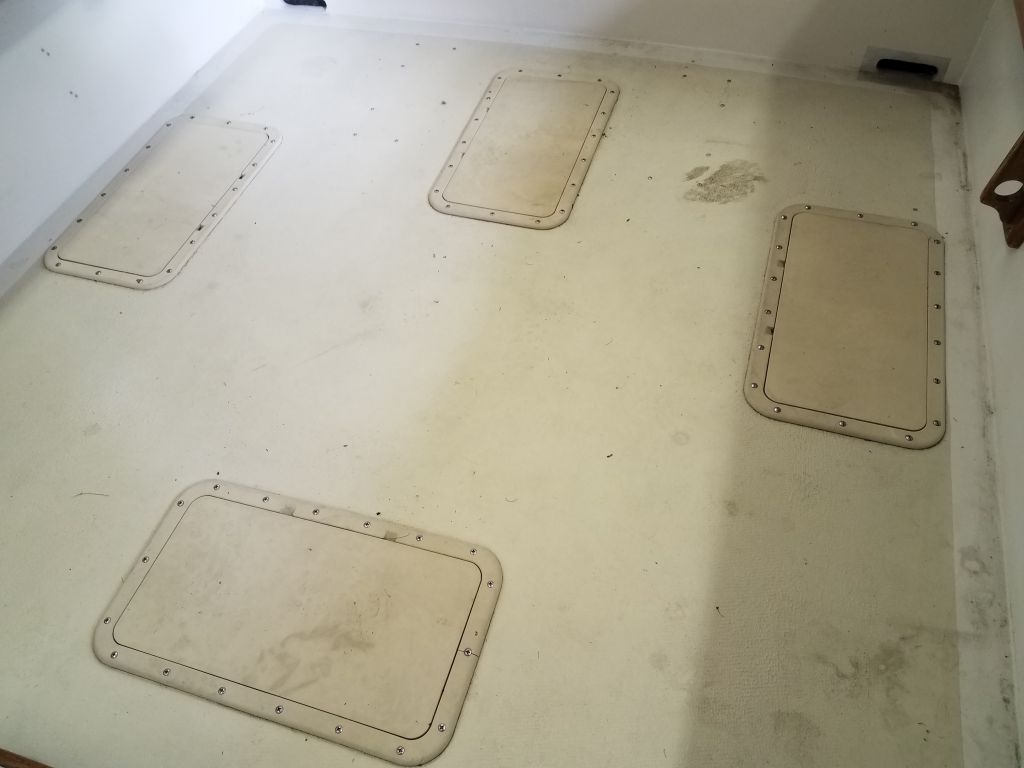
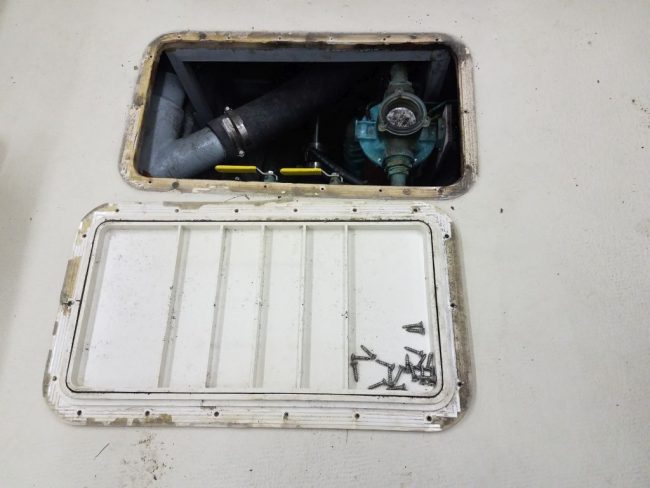
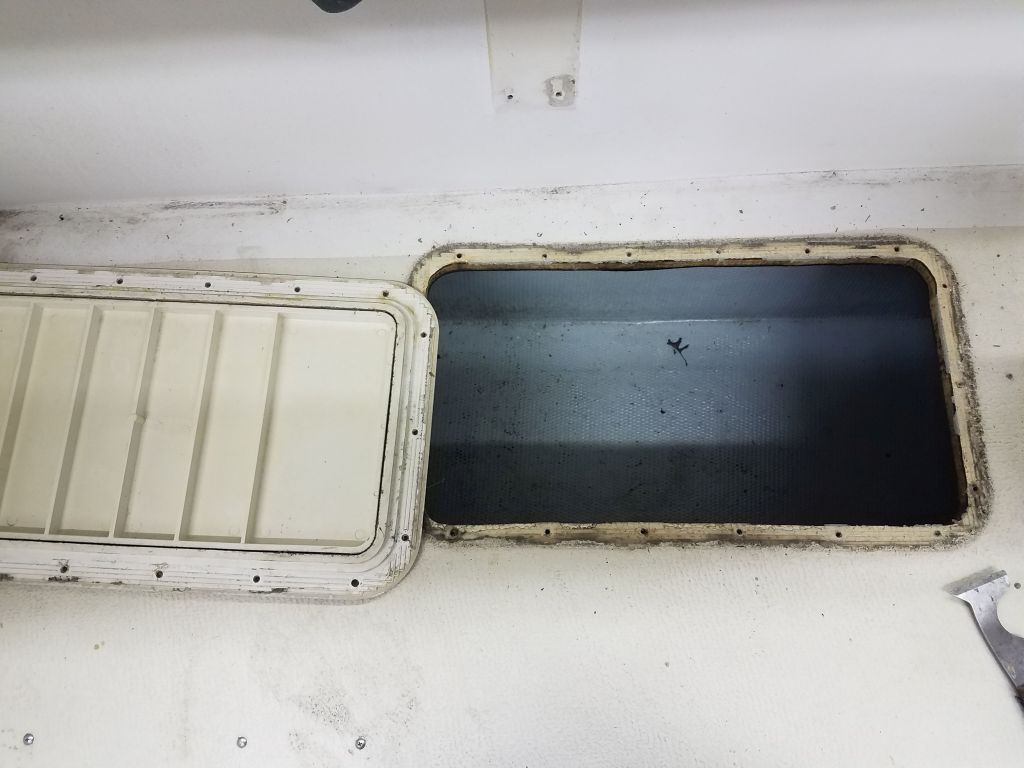
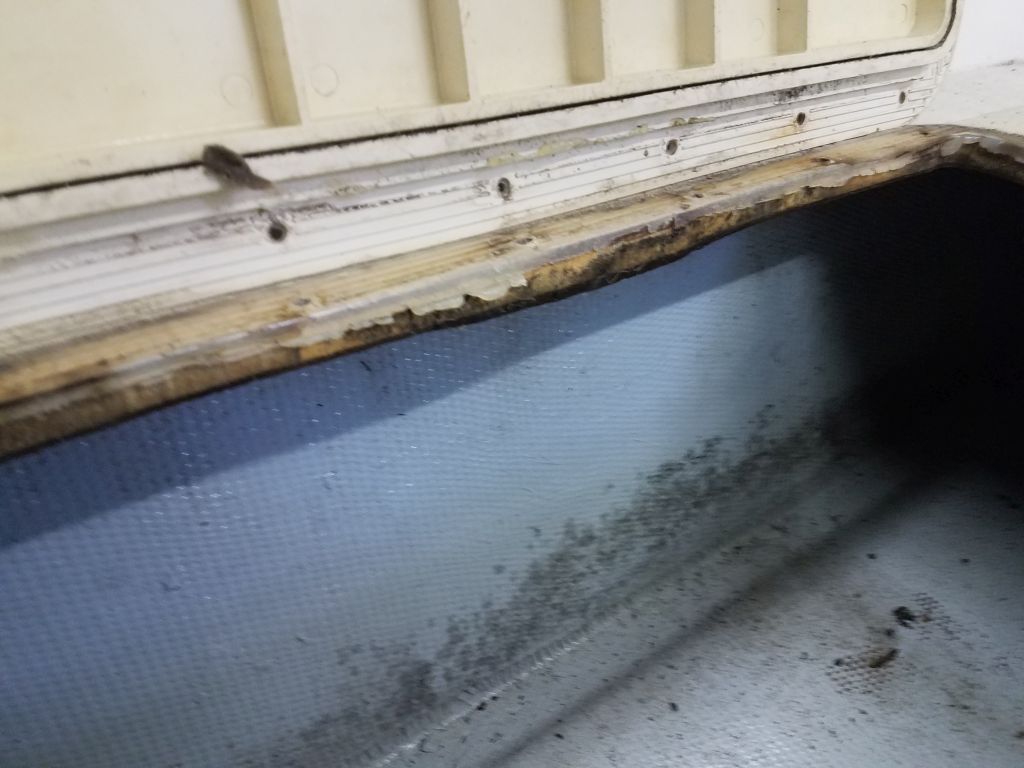
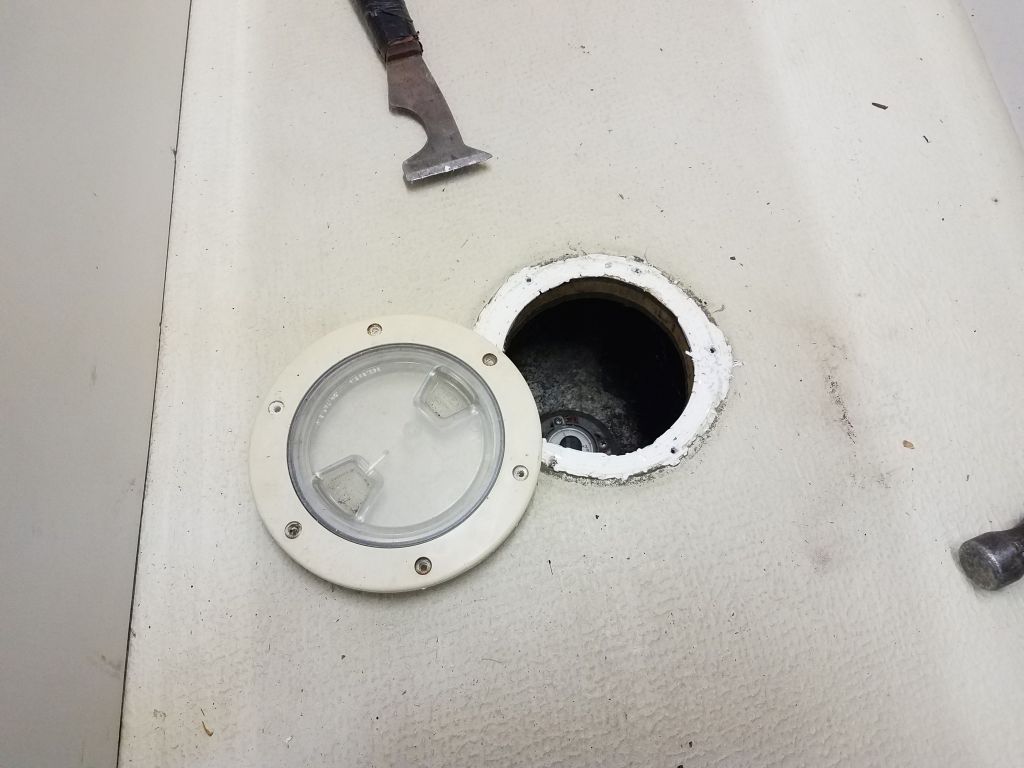
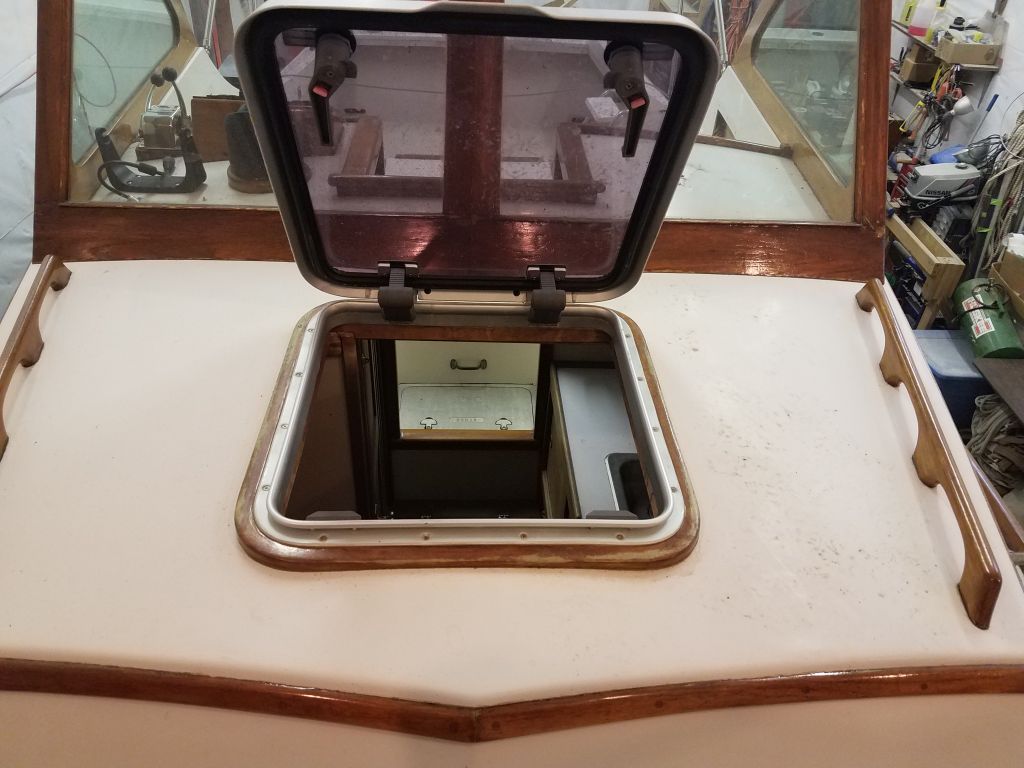
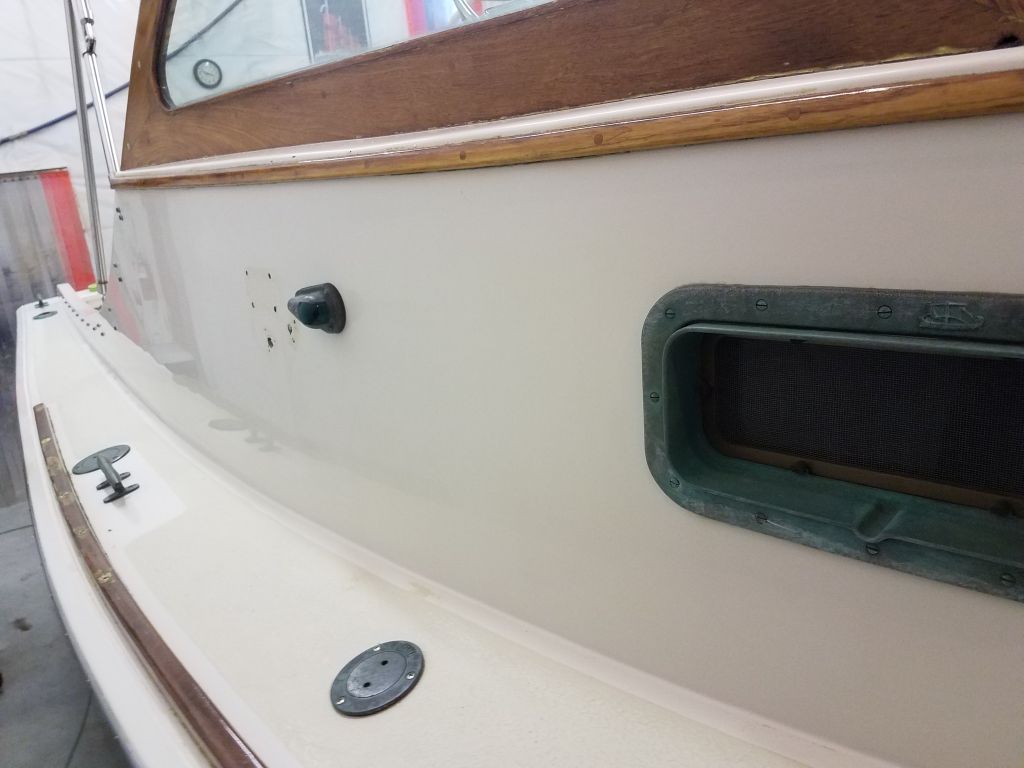
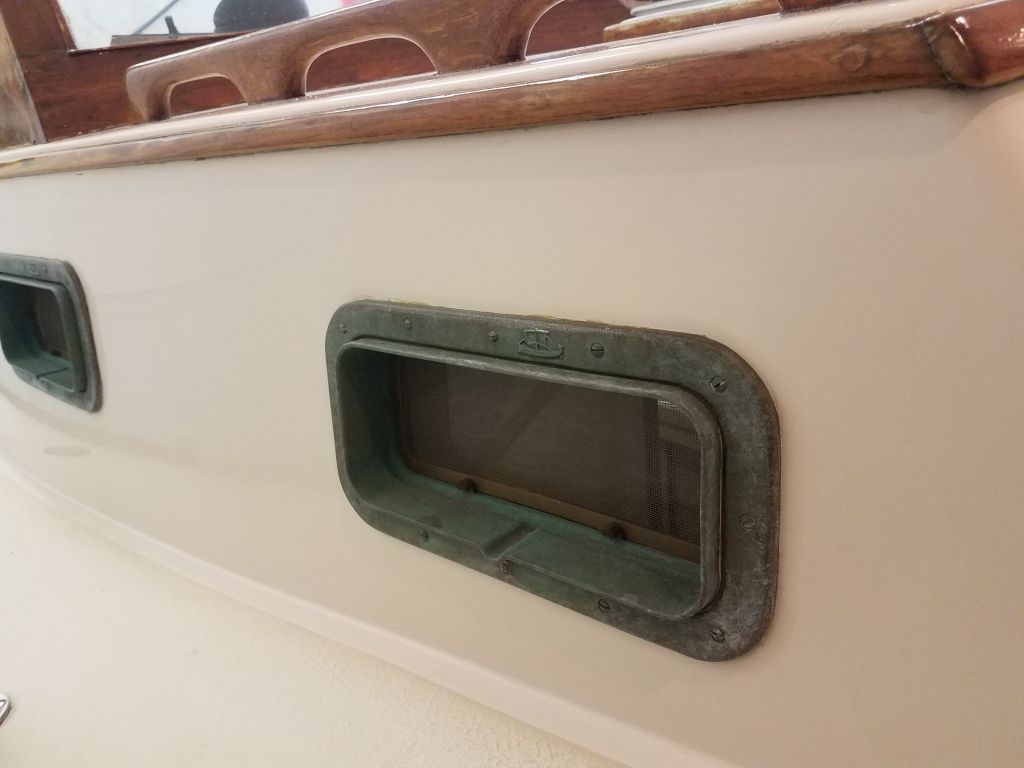
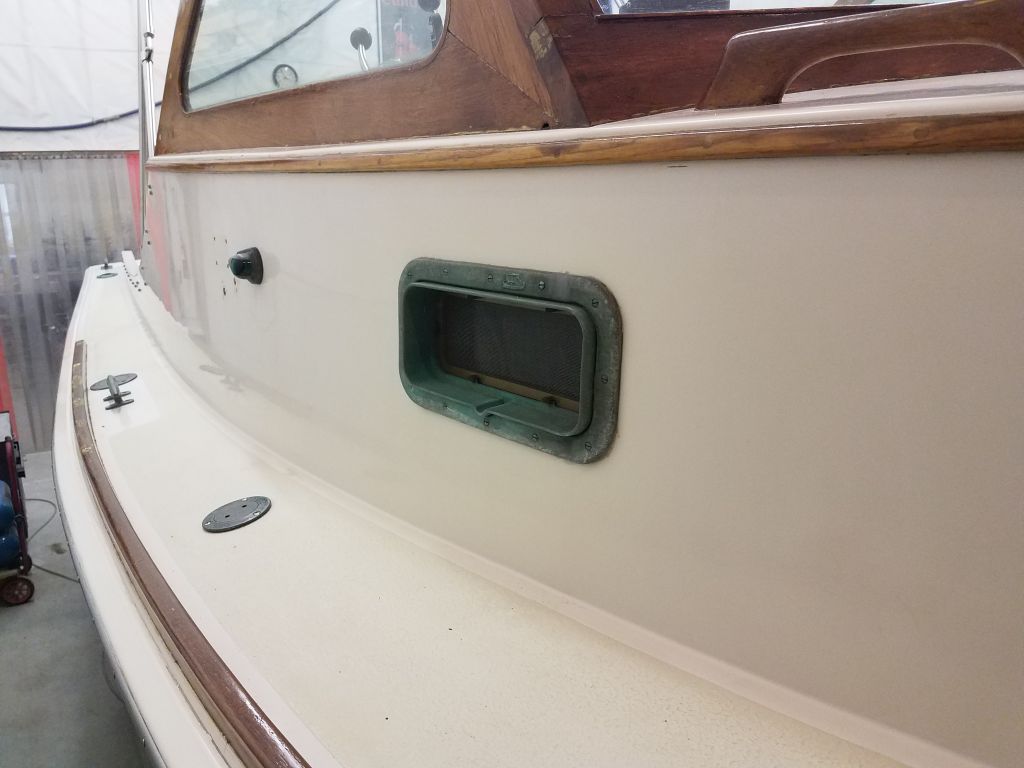
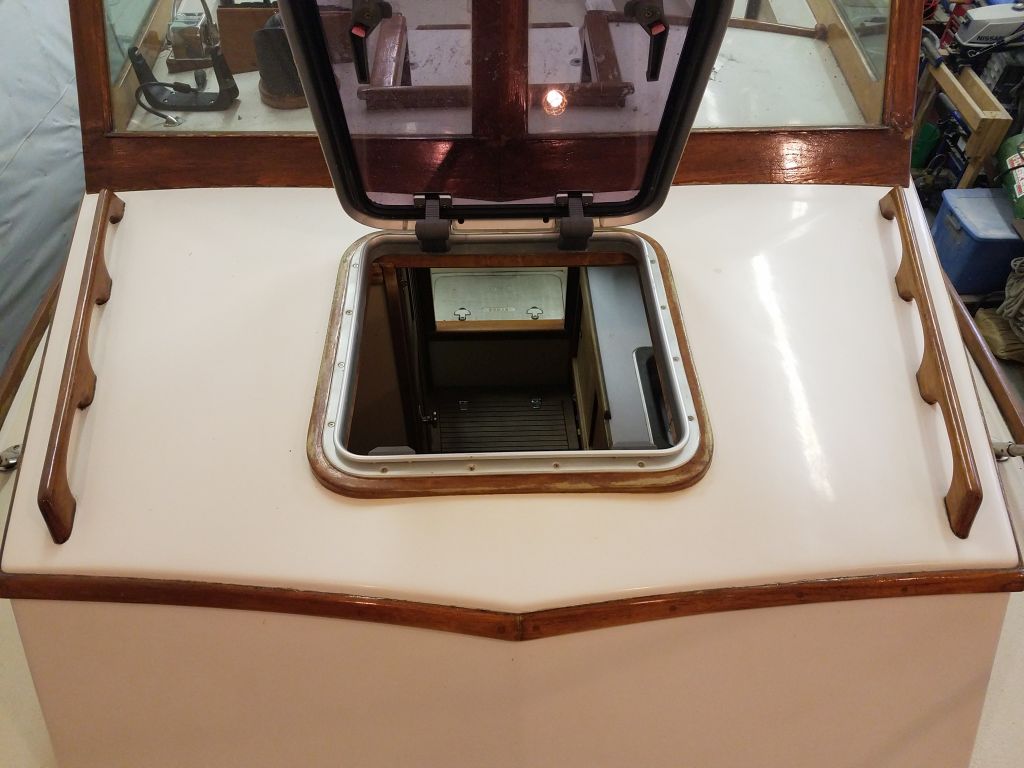
There were several large plastic deck hatches in the cockpit, which appeared original and were in fair condition.  At least one of the flanges had a crack, and the surfaces were dirty and shop-worn.

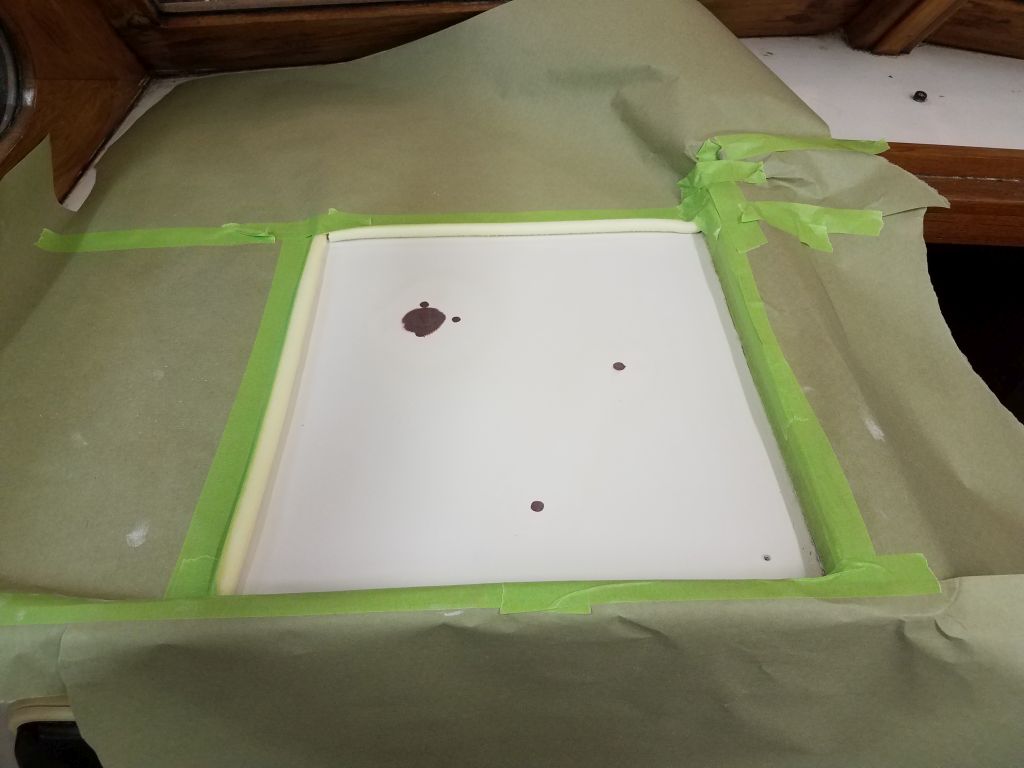
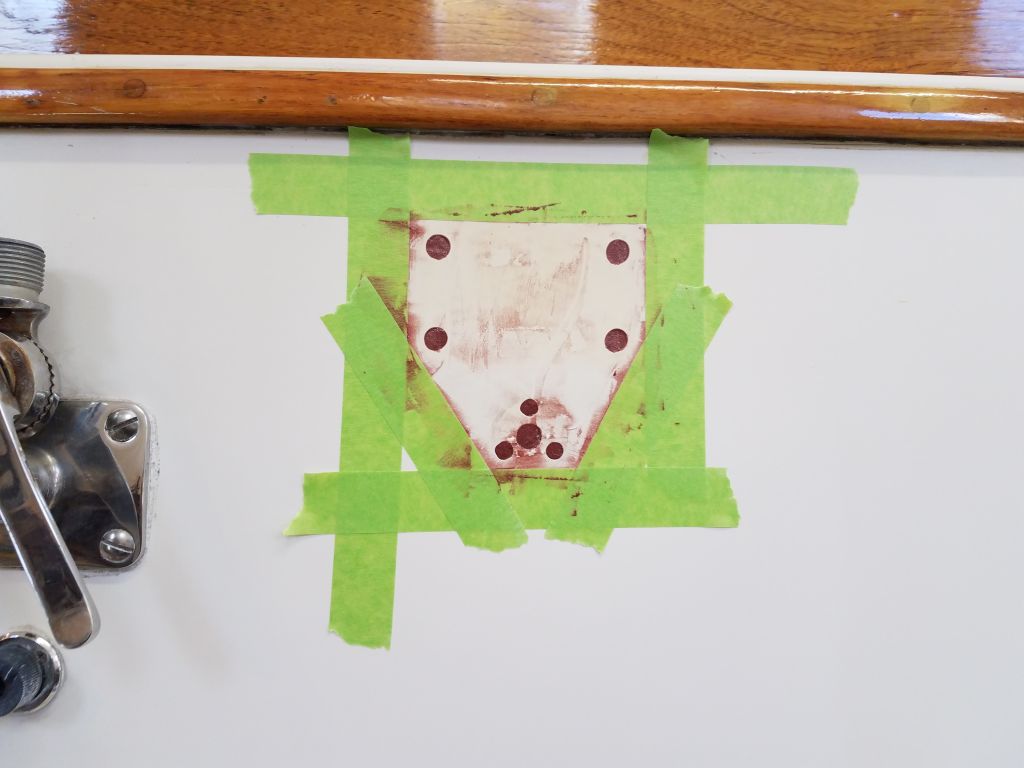
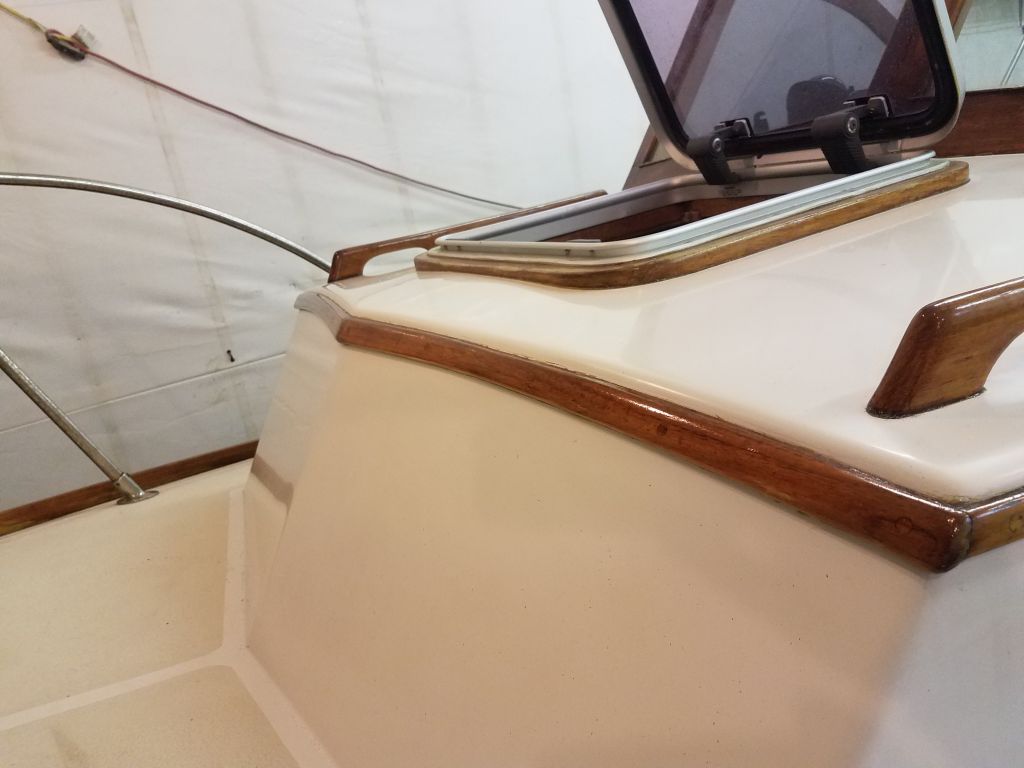
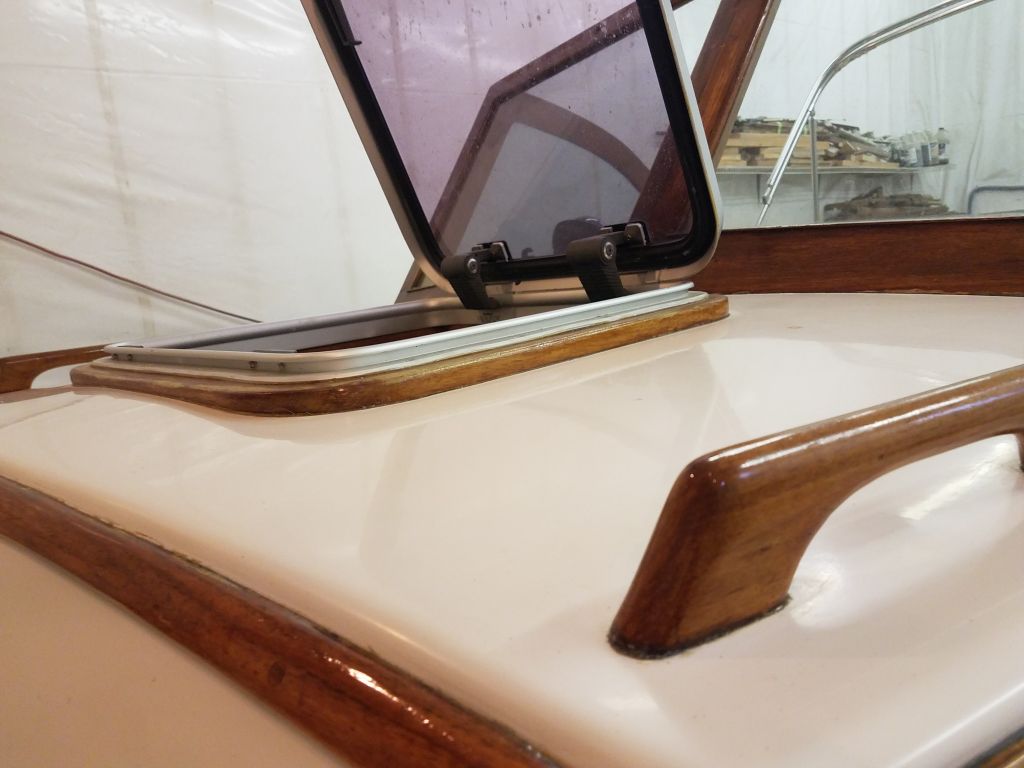
I wanted to remove the hatches before painting the nonskid, and approached the first one cautiously (well, I approached them all cautiously, but particularly the first), as I was concerned that it might be hard to remove the hatch without damaging it.  Plastic hatches can become brittle with time and UV exposure, and depending on the installation details this means removal often irreparably damages the hatch.  Before attempting to remove the hatches, I researched replacement possibilities, which the owner wanted anyway, but I didn’t want to end up with damaged hatches and no ready replacements.  I found new hatches made by the same company and to the same dimensions, though with a different lid design (hinged and handled, rather than pry-out), so we were all set there.  I ordered the replacements and got down to the removal.

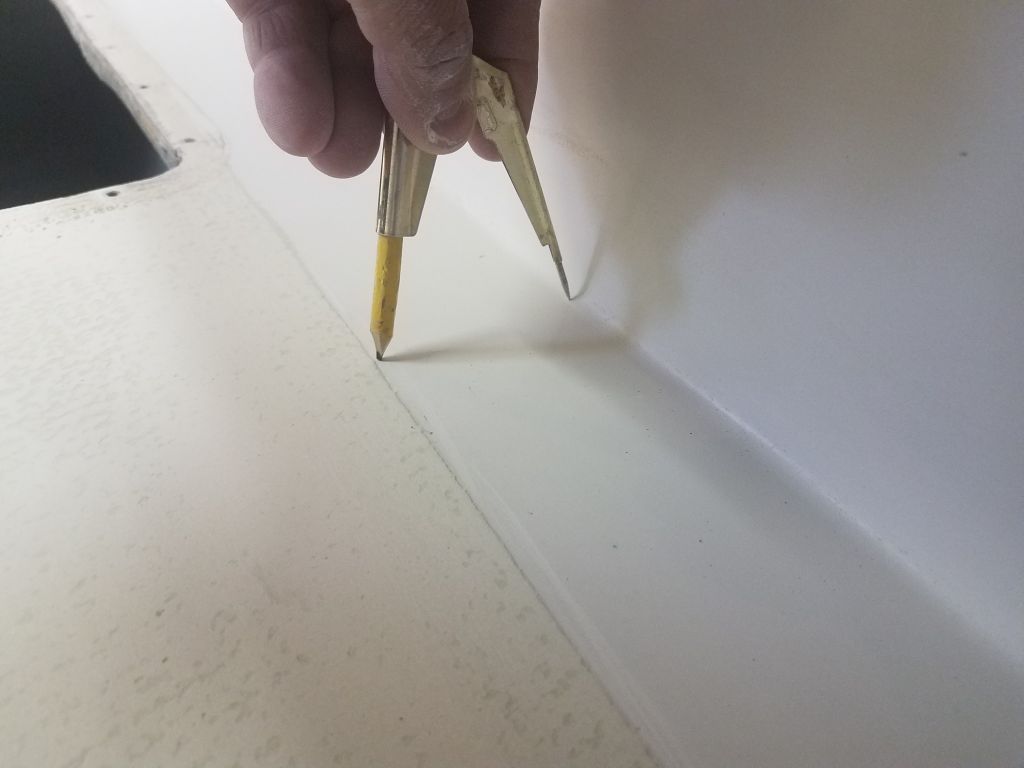
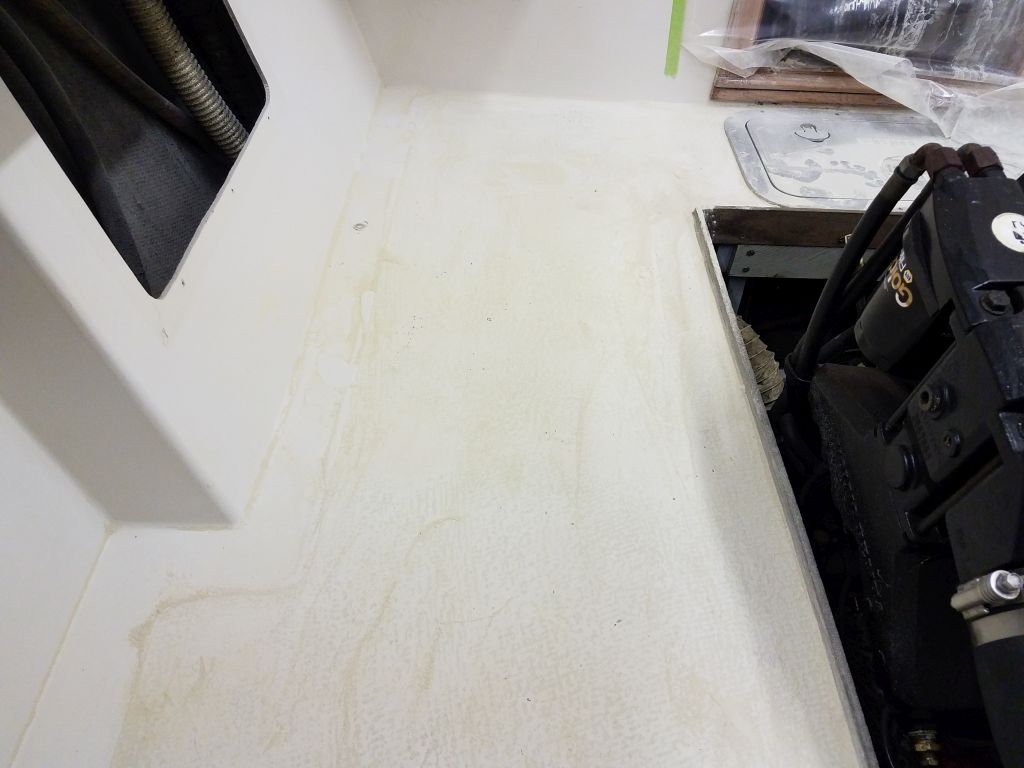
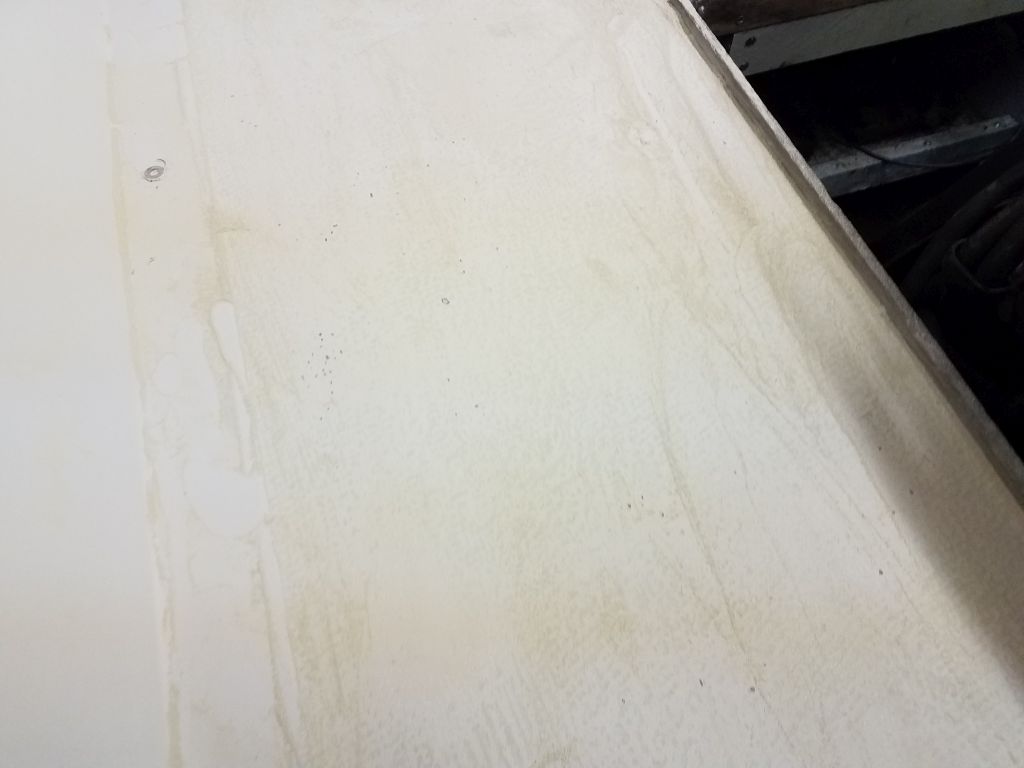
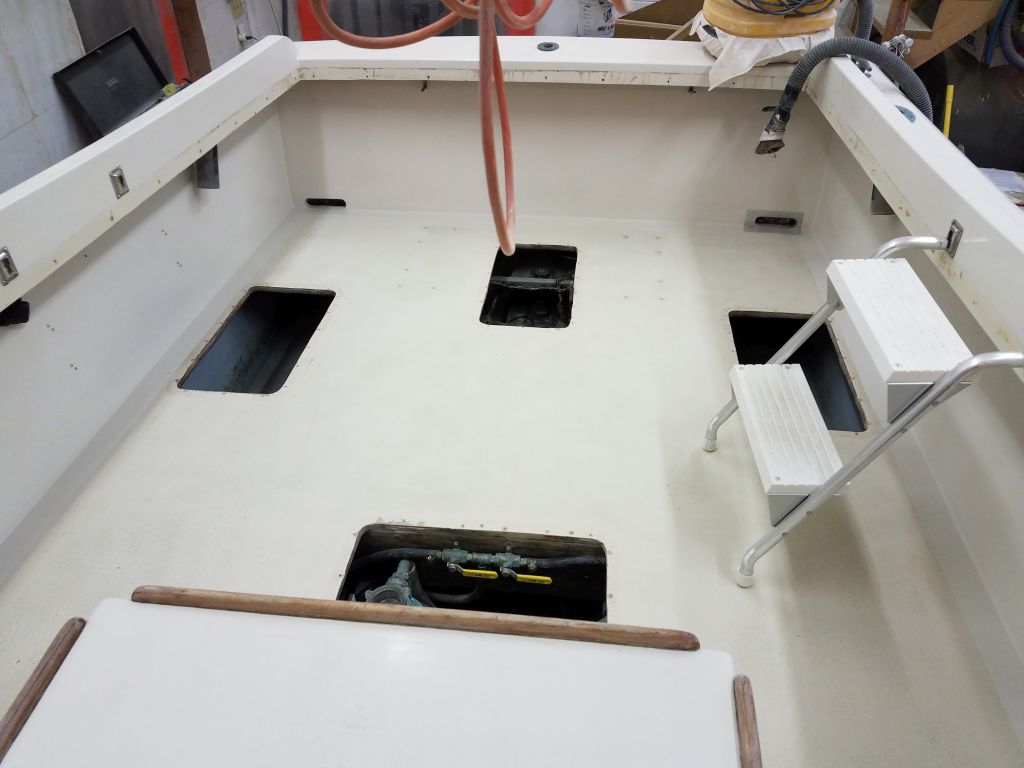
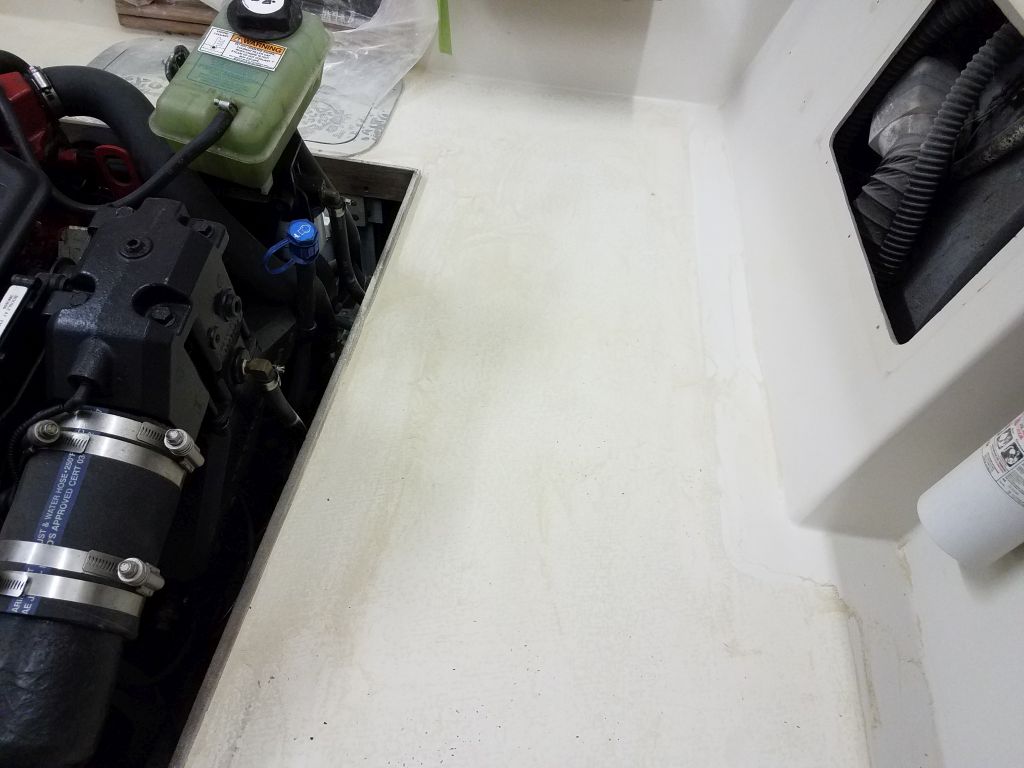
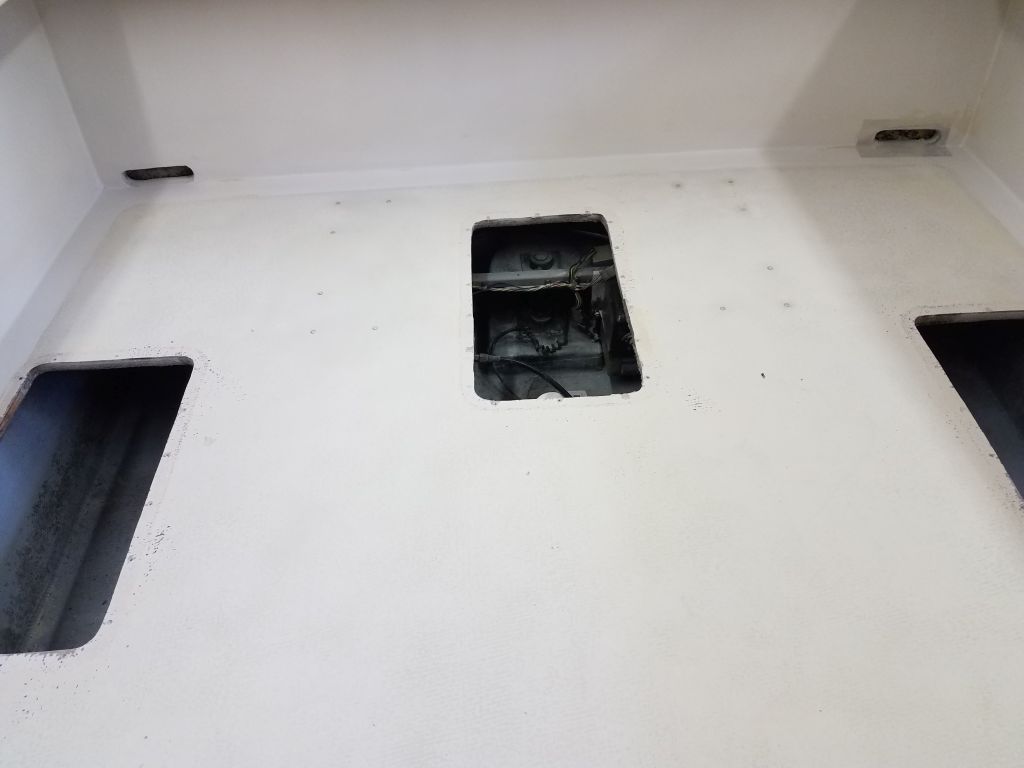
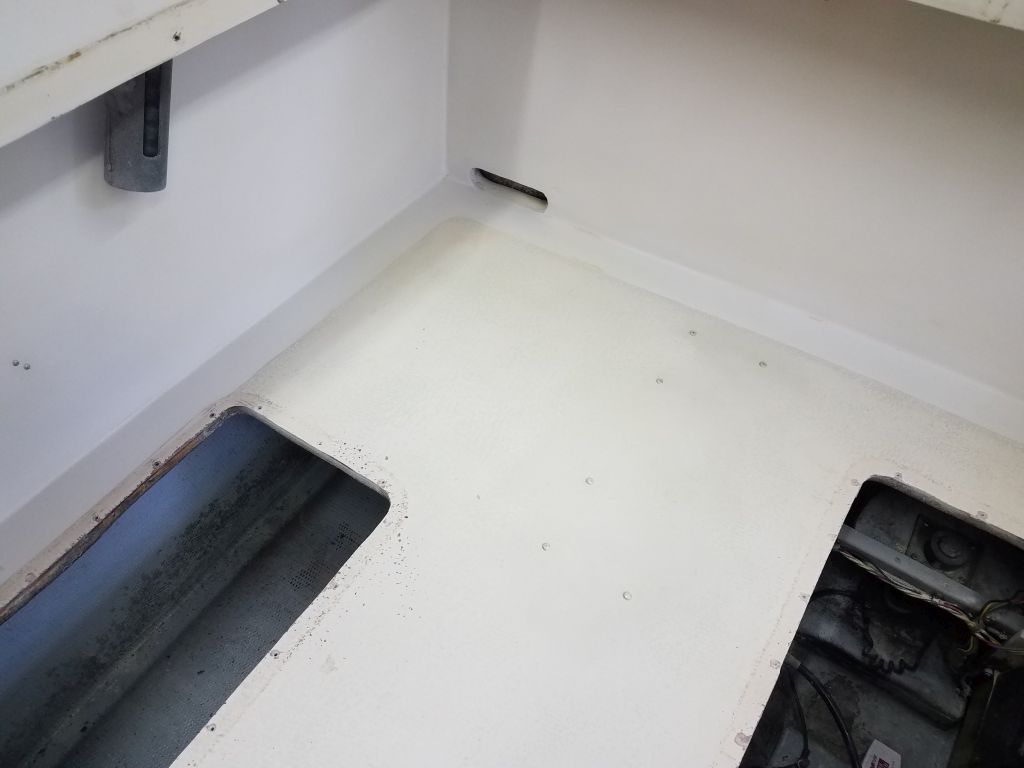
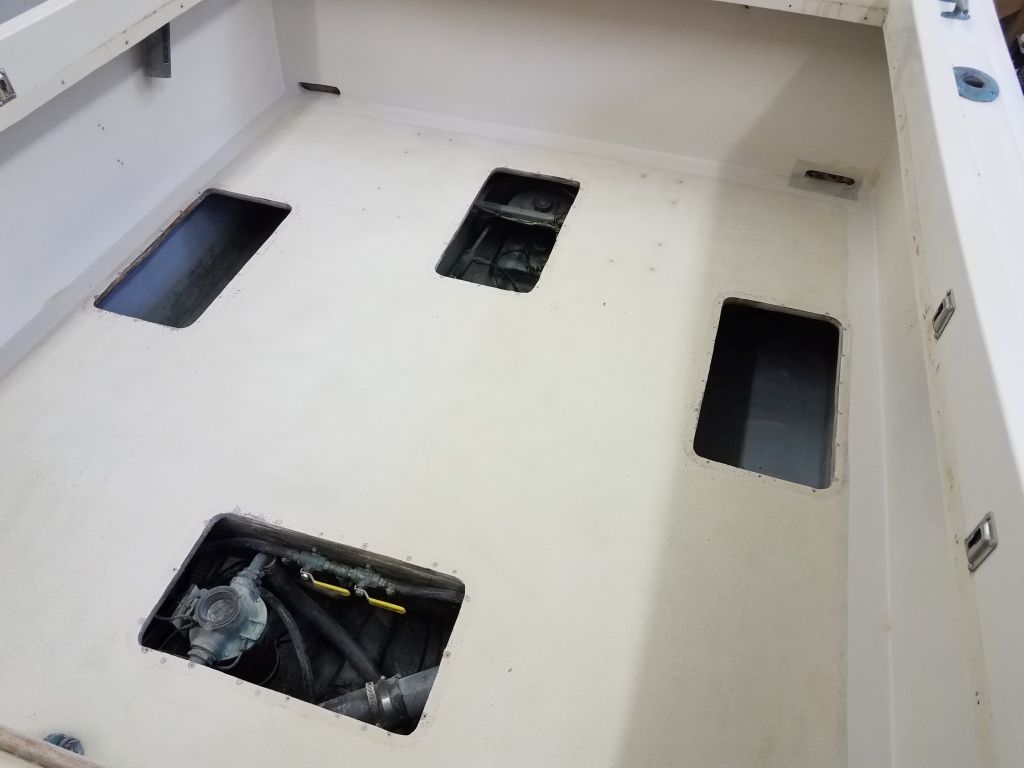
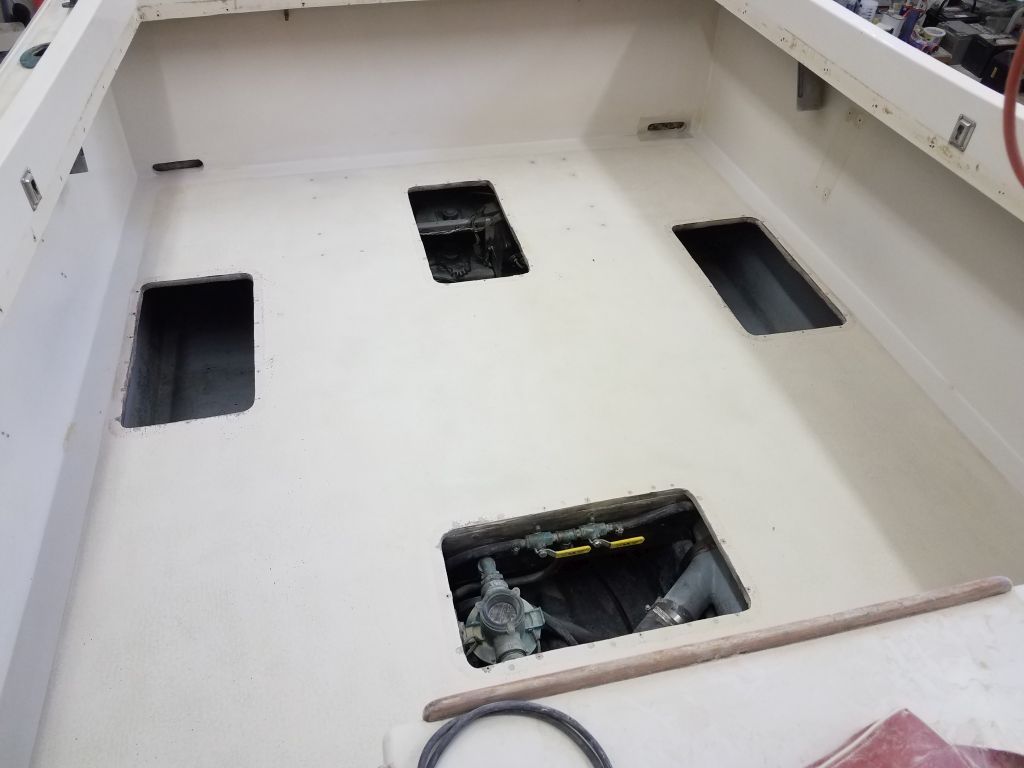
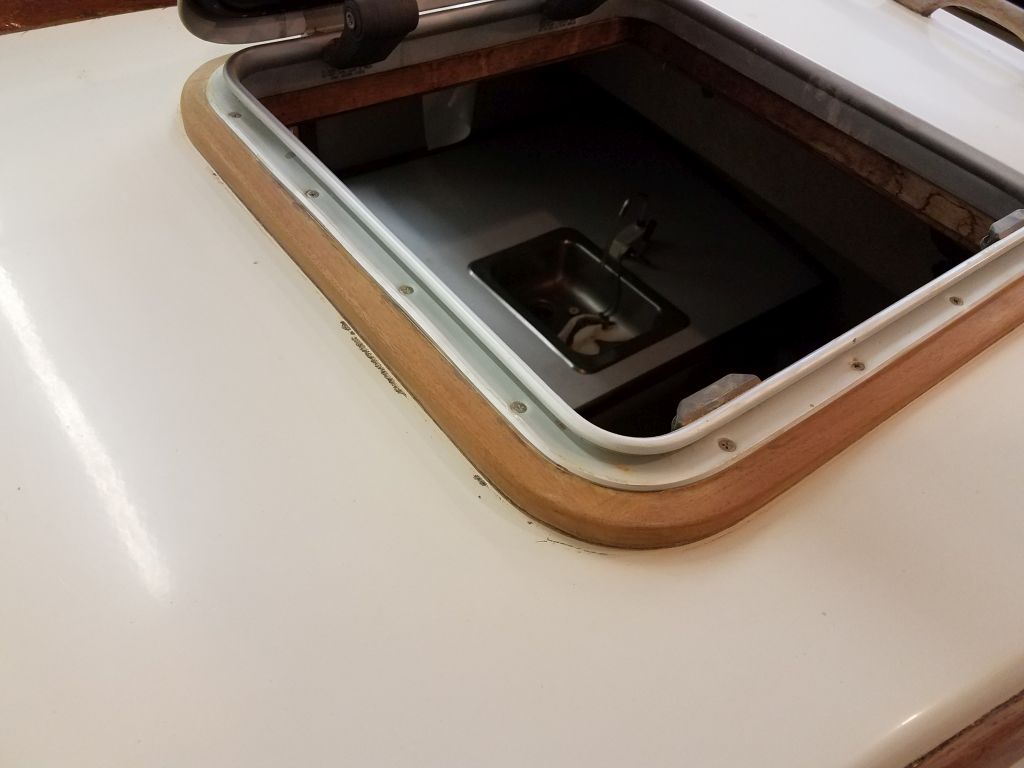
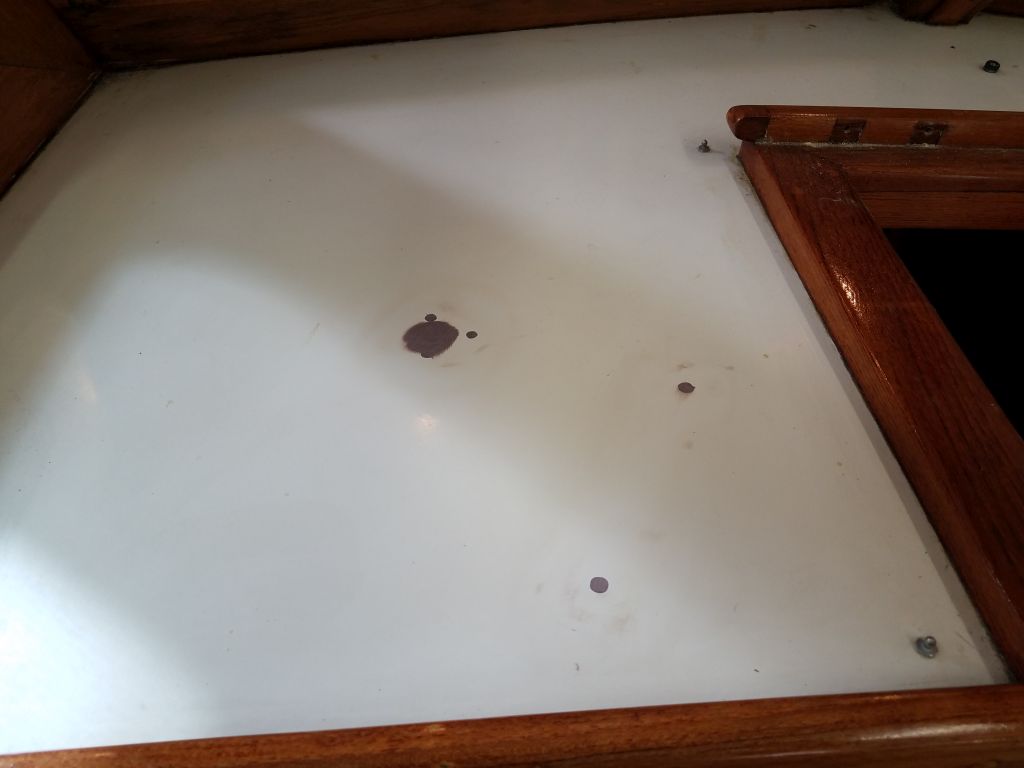
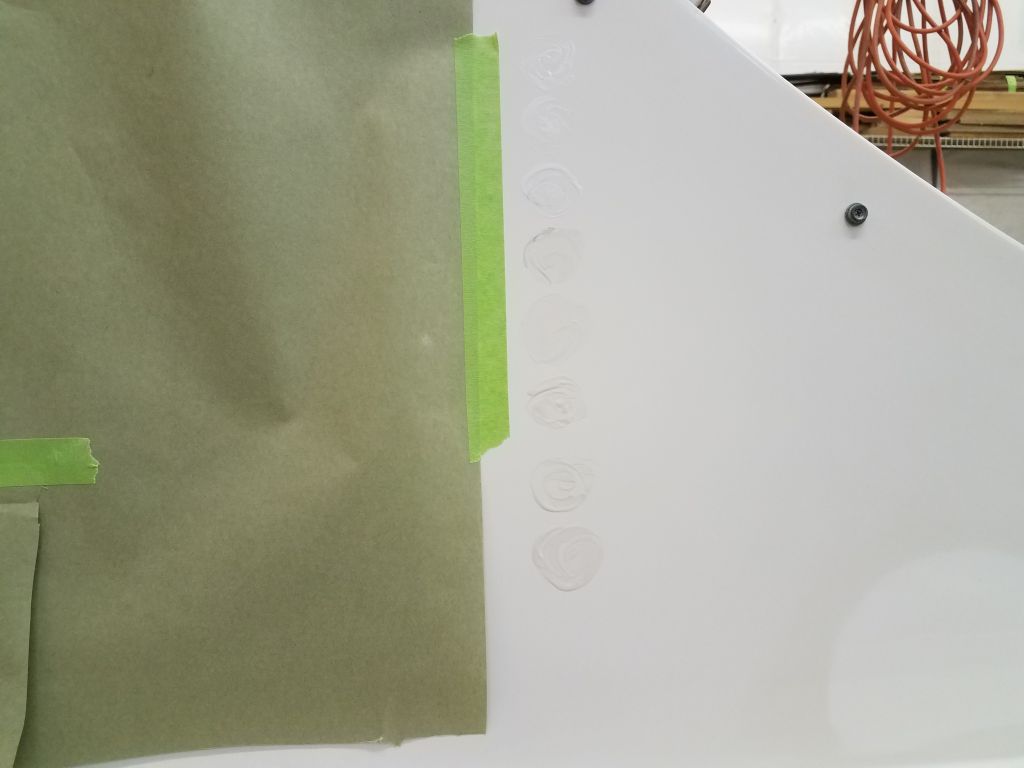
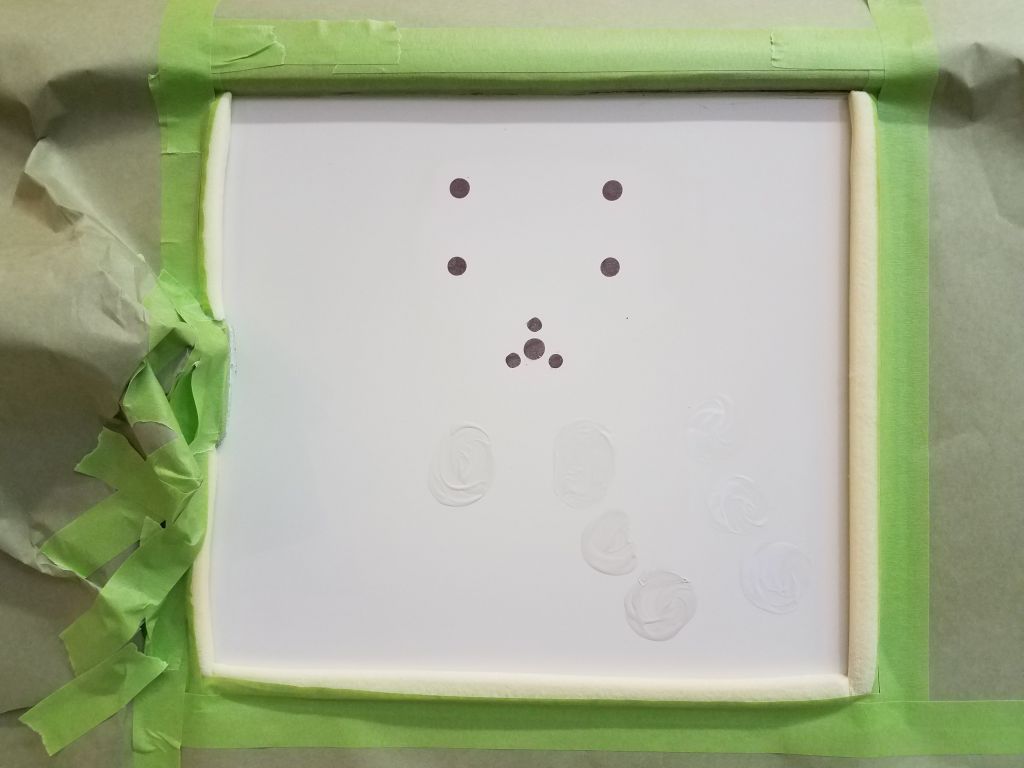
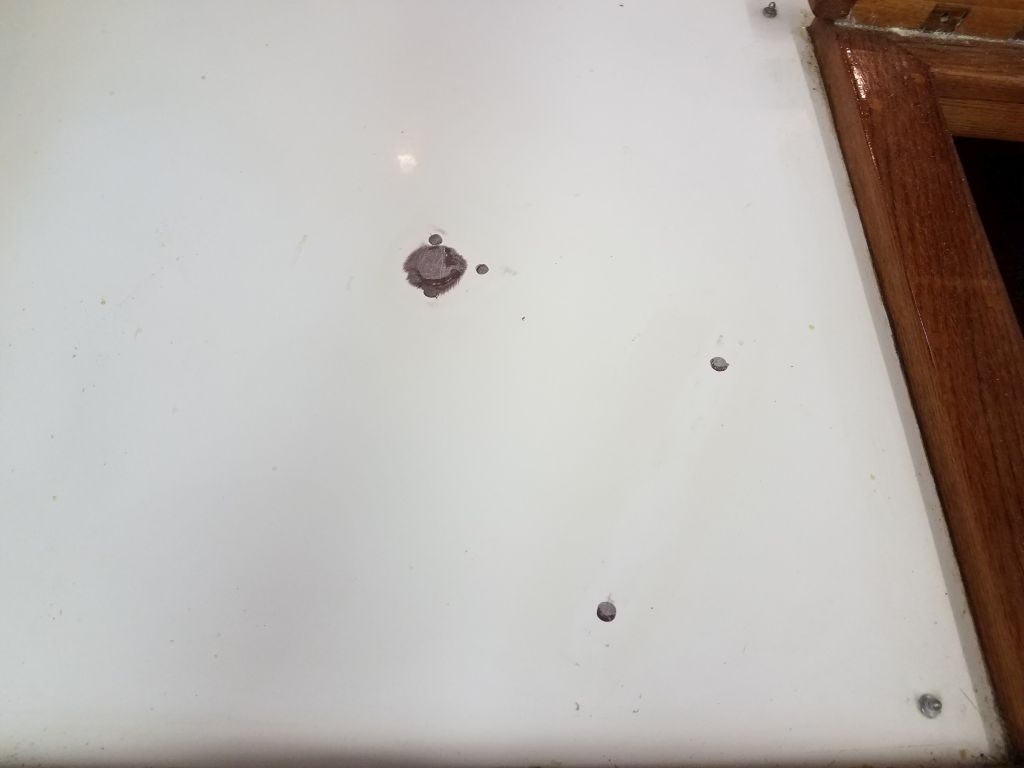
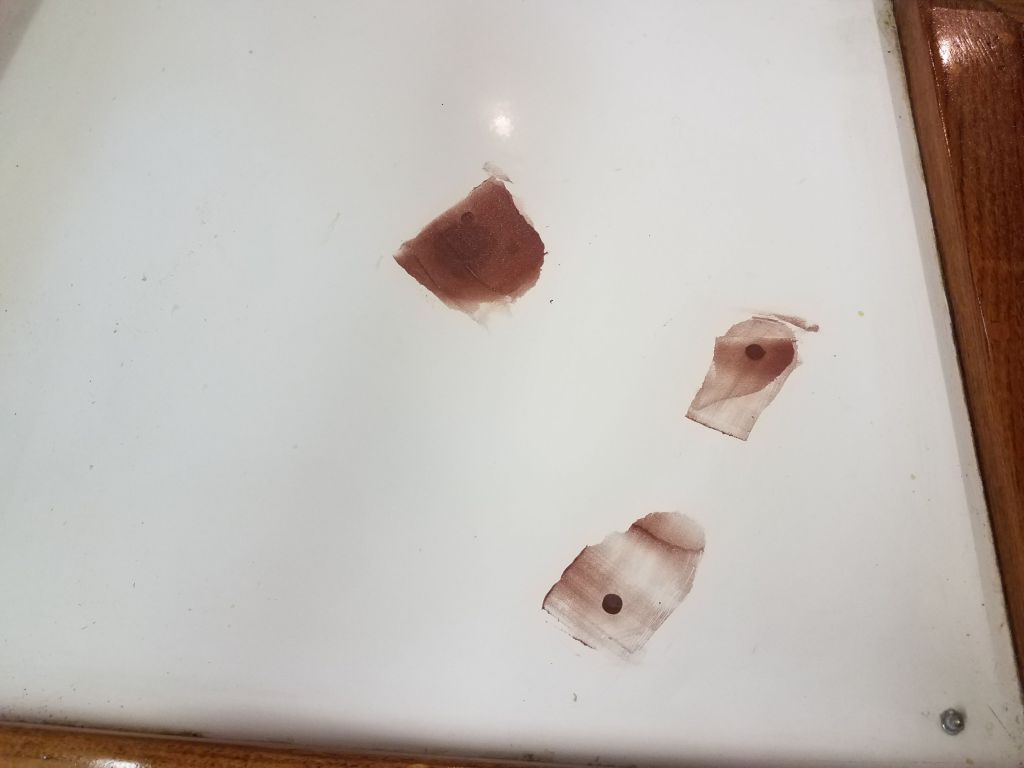
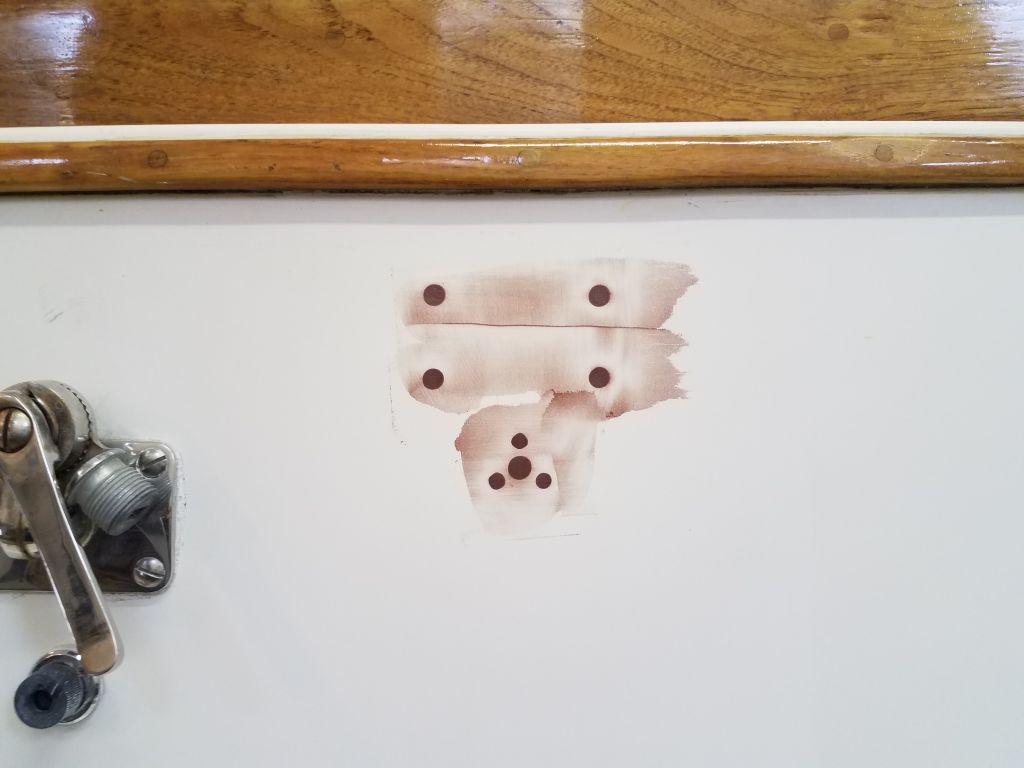
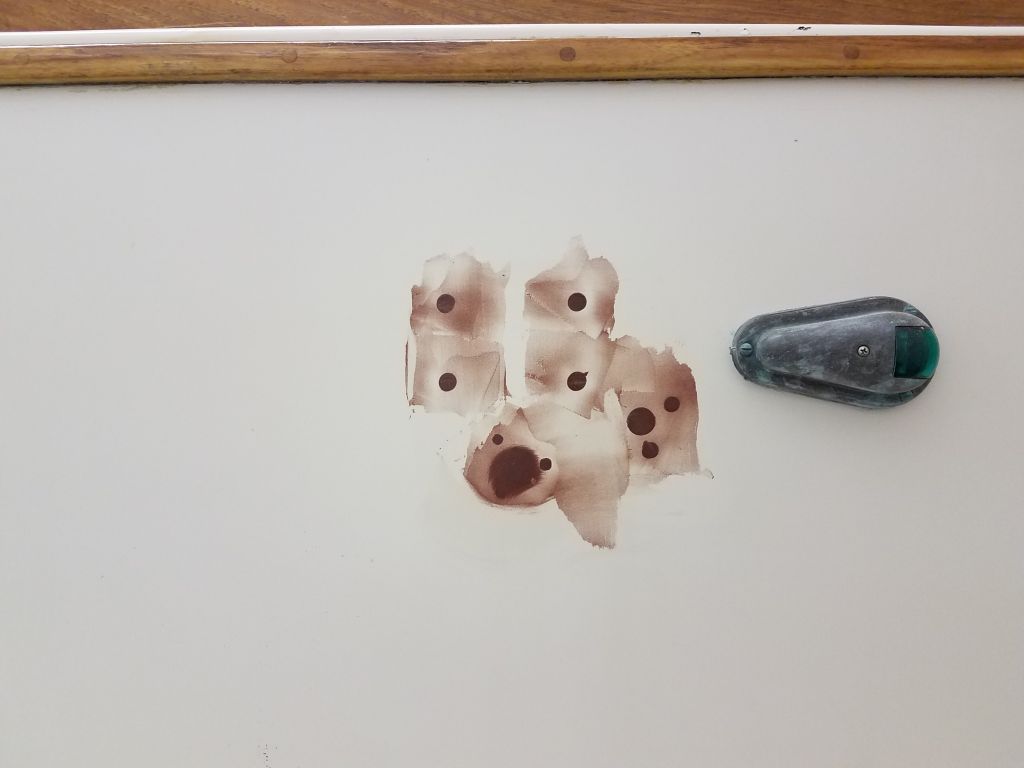
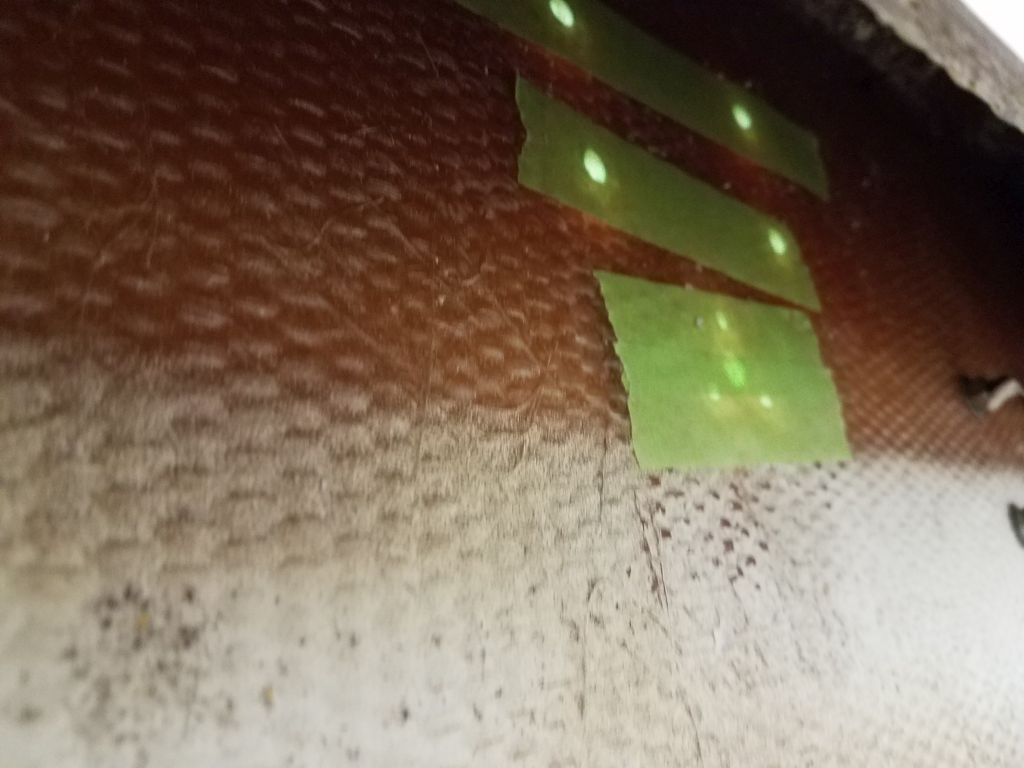
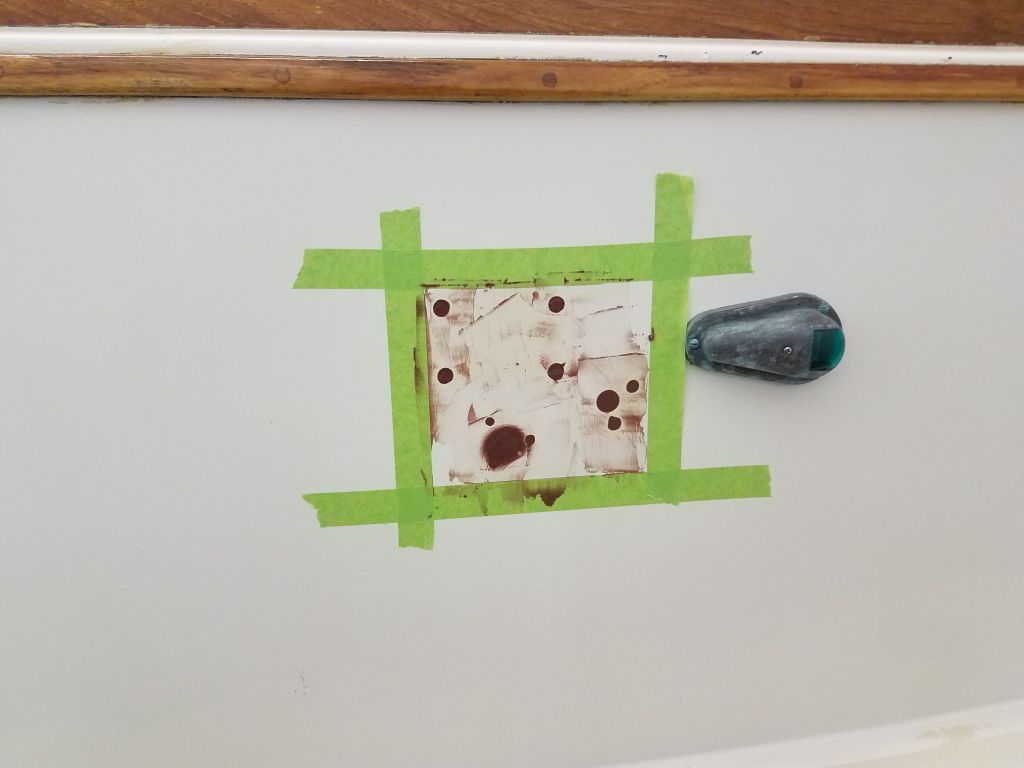
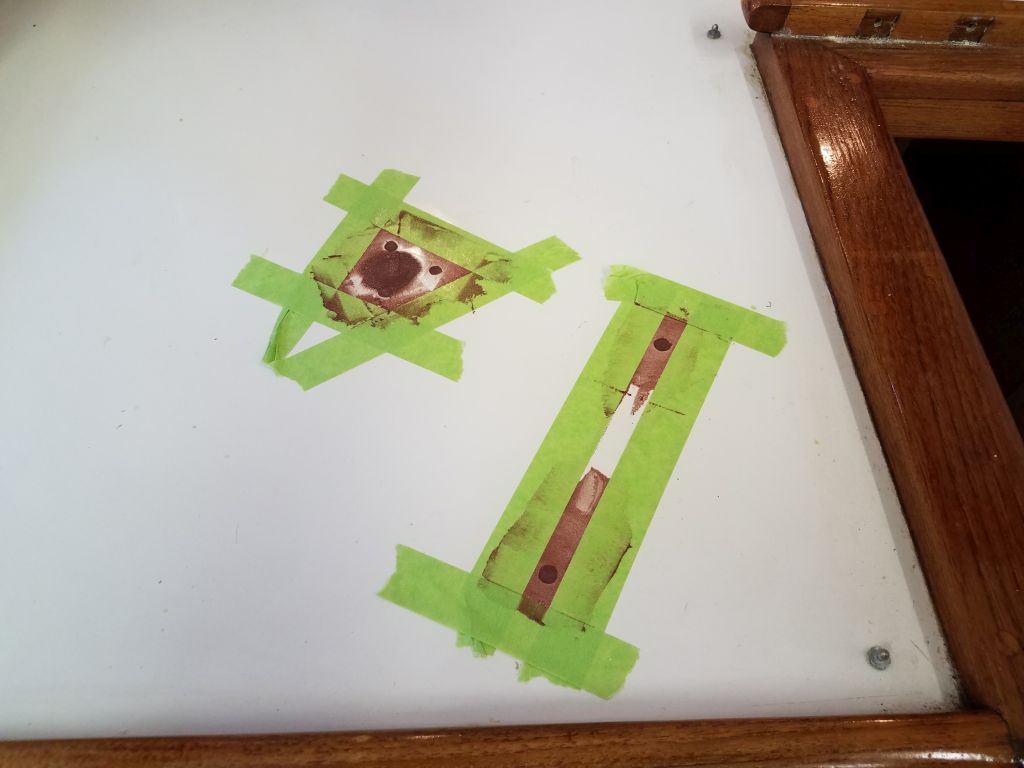
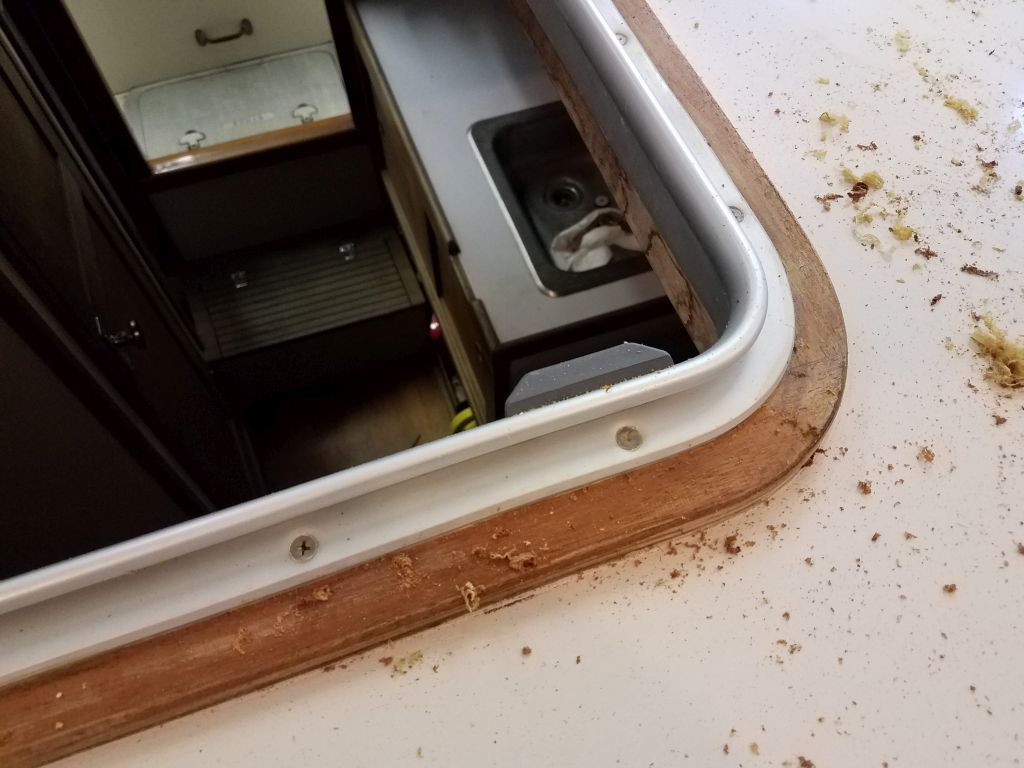
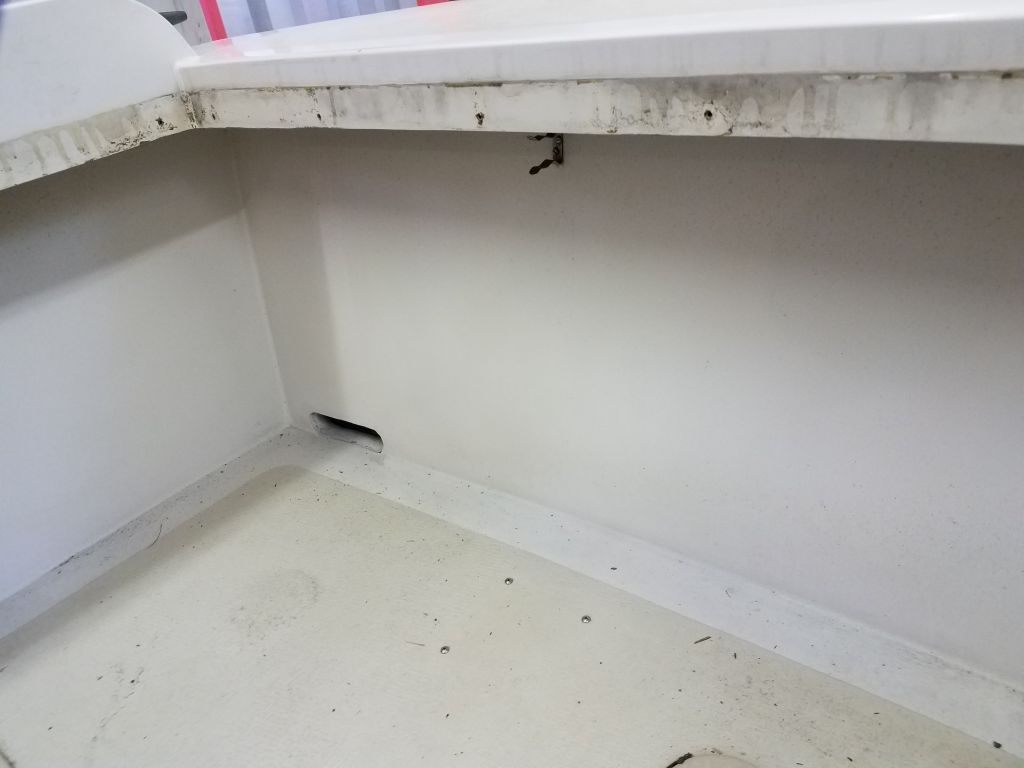
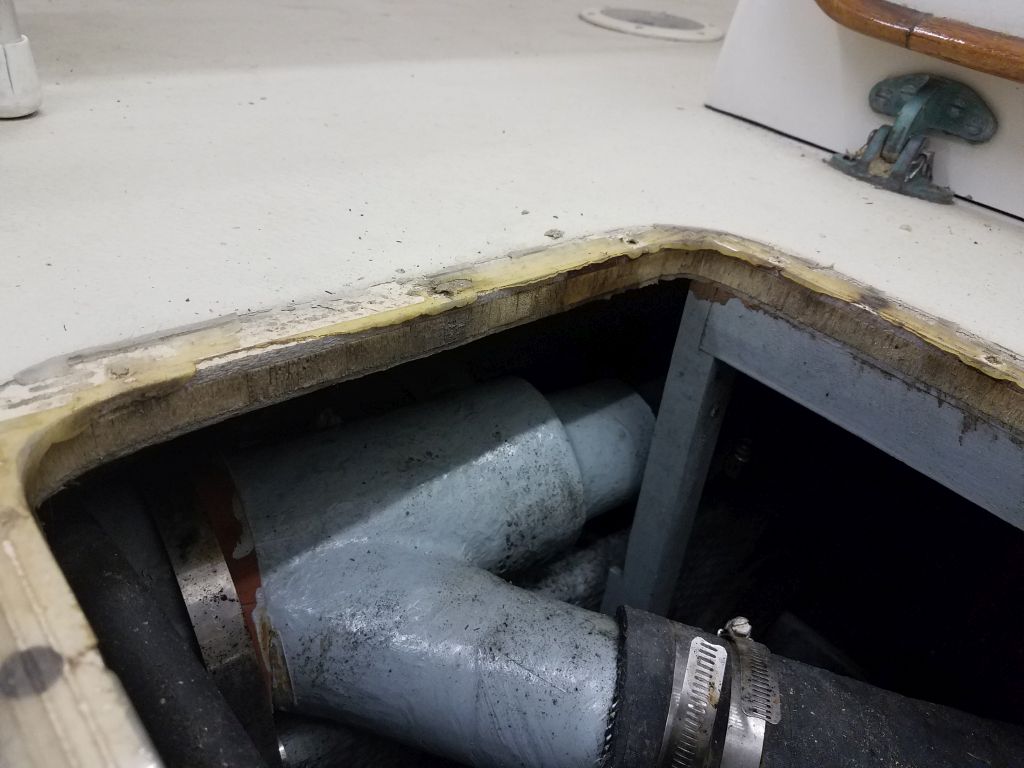
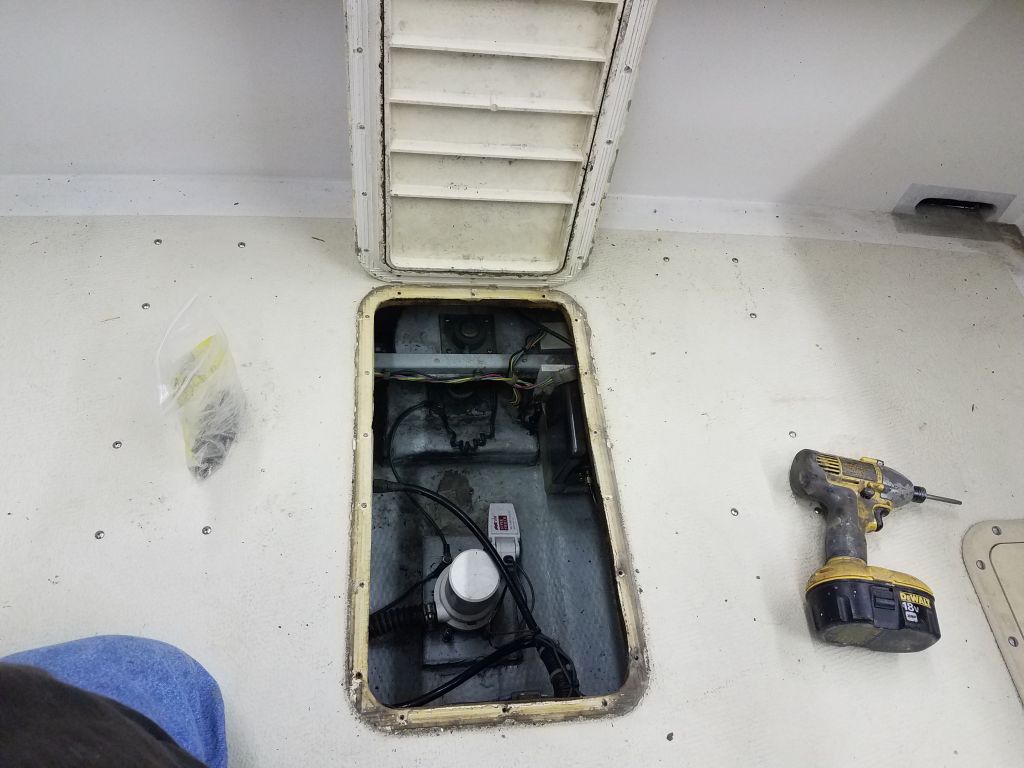
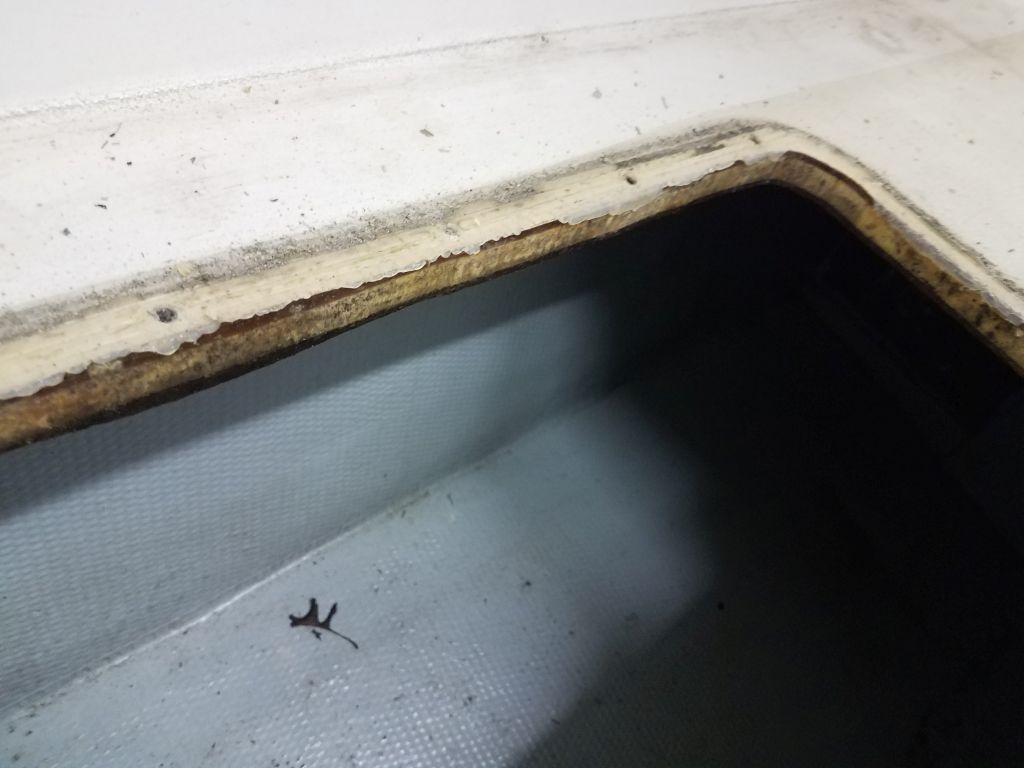
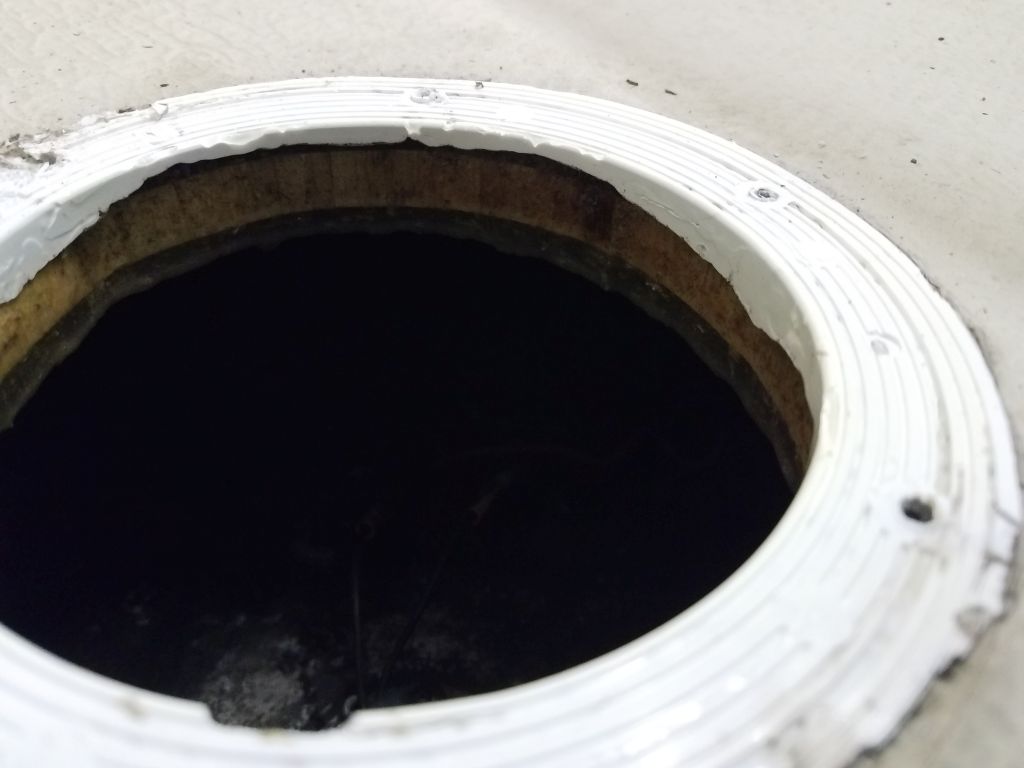
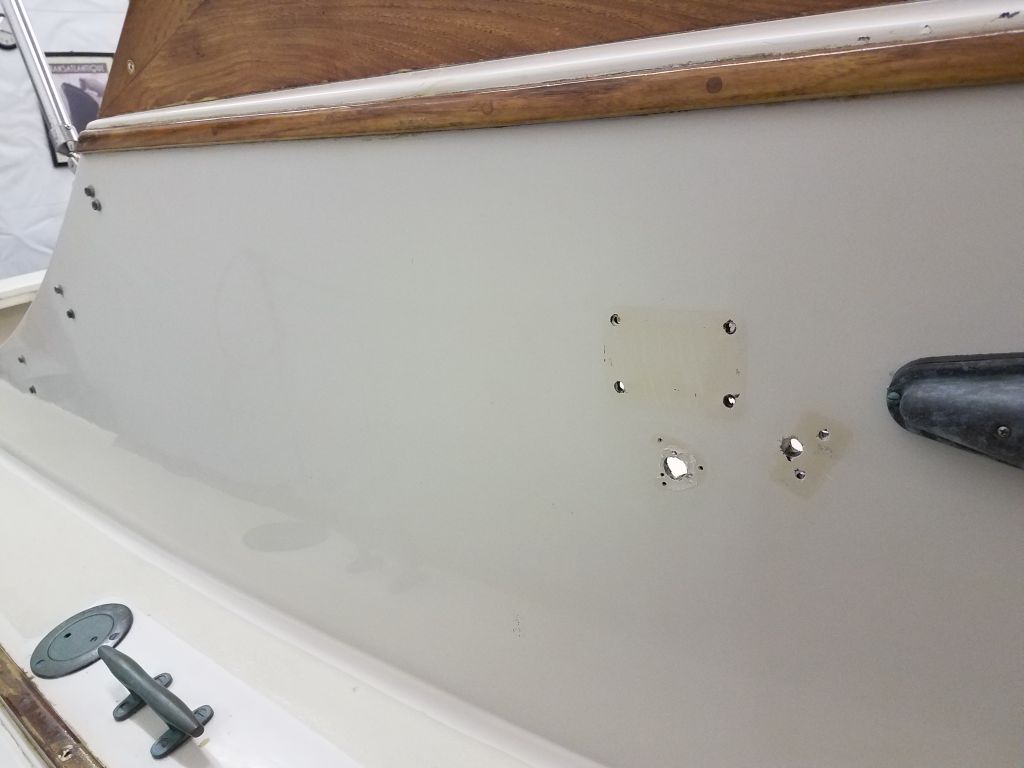
Fortunately, in this case the hatch was easy to remove.  It was installed in a bed of silicone sealant, but fortunately one that didn’t have much in the way of adhesion to the hatch flange.  The exposed core in the opening, under close inspection, had been coated with resin during the boat’s construction, and this had protected it successfully from any real damage, though there was minor water discoloration here and there.

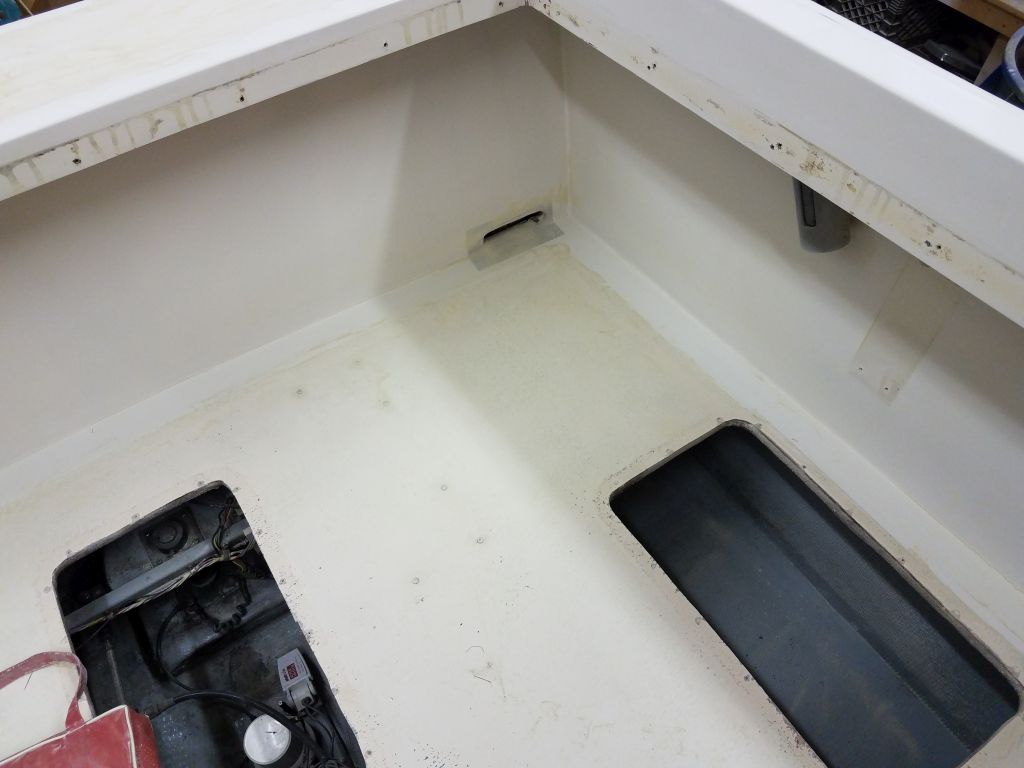
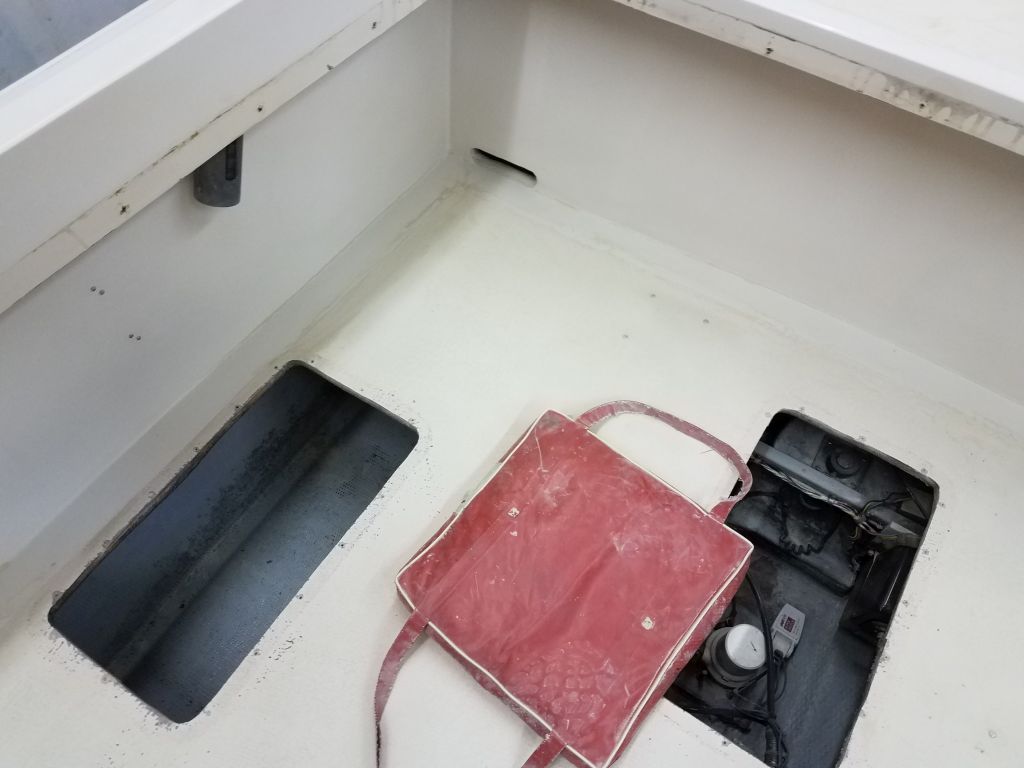
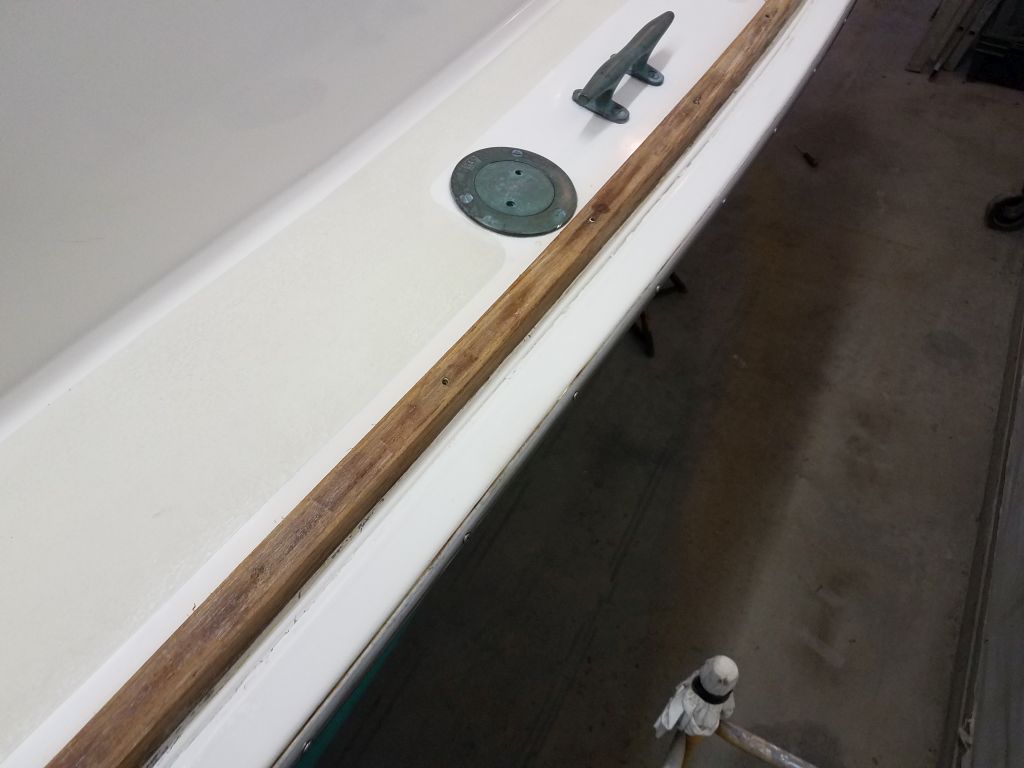
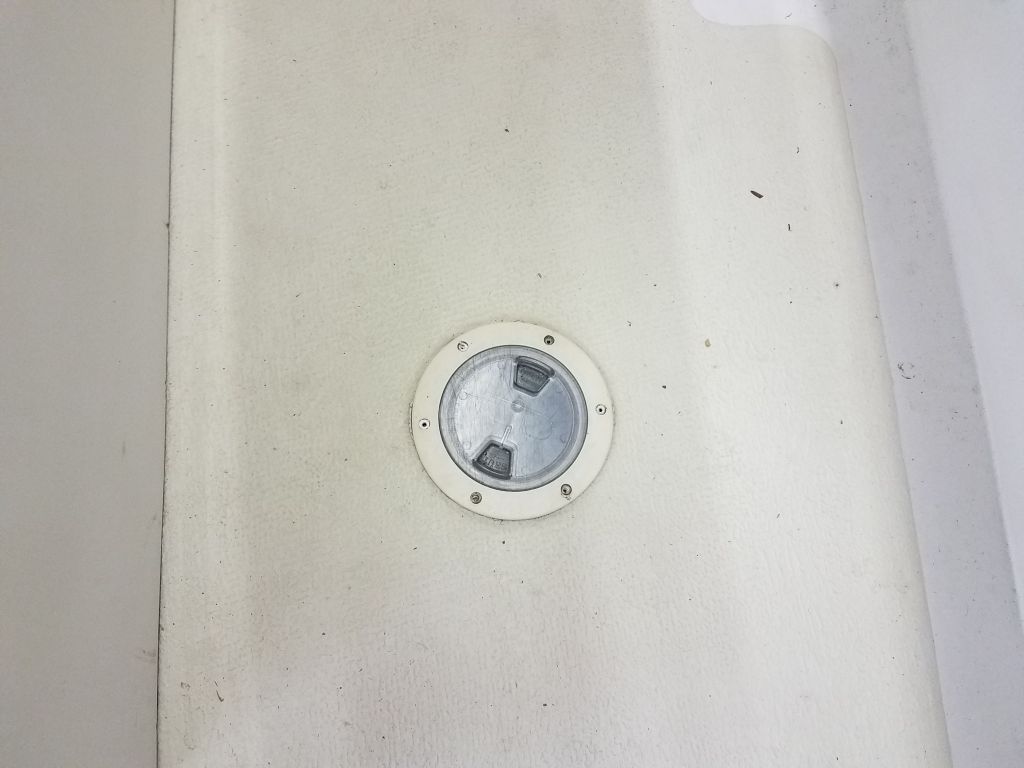
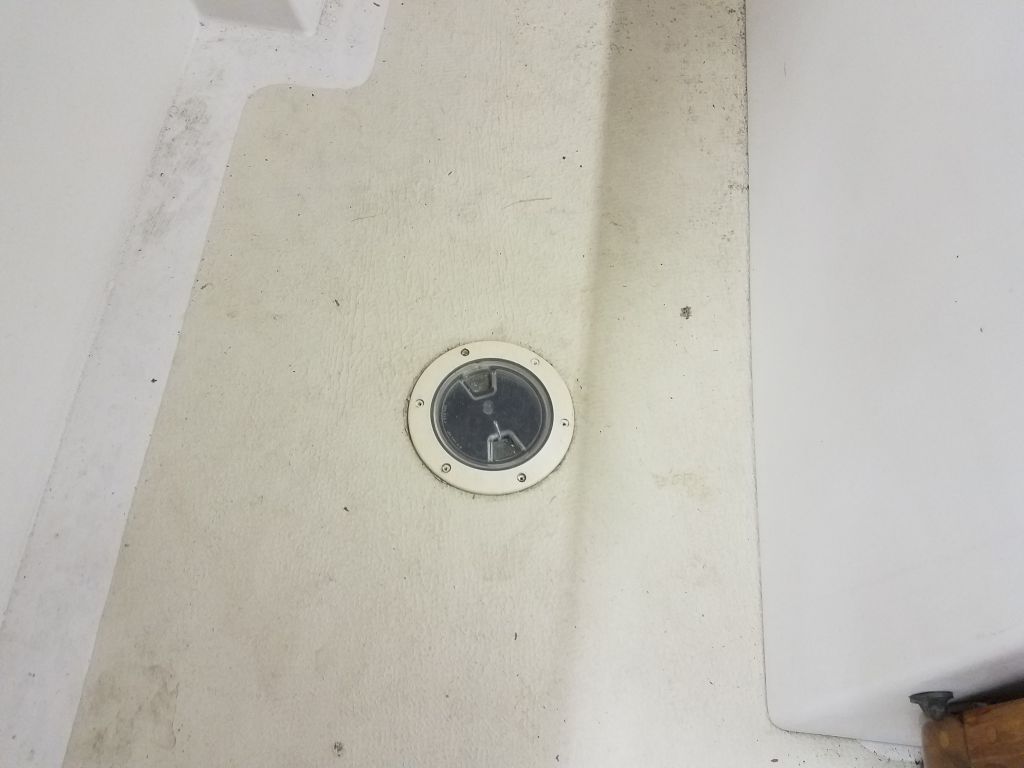
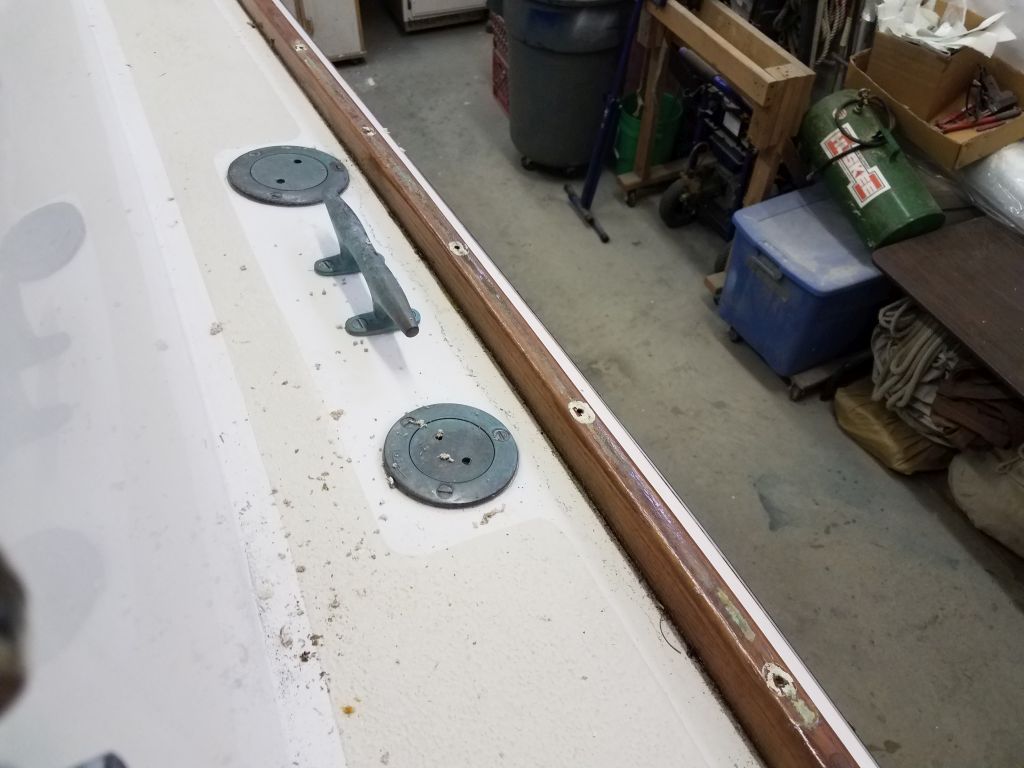
Buoyed by the success, I quickly removed the remaining three rectangular hatches, along with a pair of round inspection plates over the fuel tank gauges.  All openings were in similar condition.  For now, I left the hatches loosely in place while I worked around the boat.

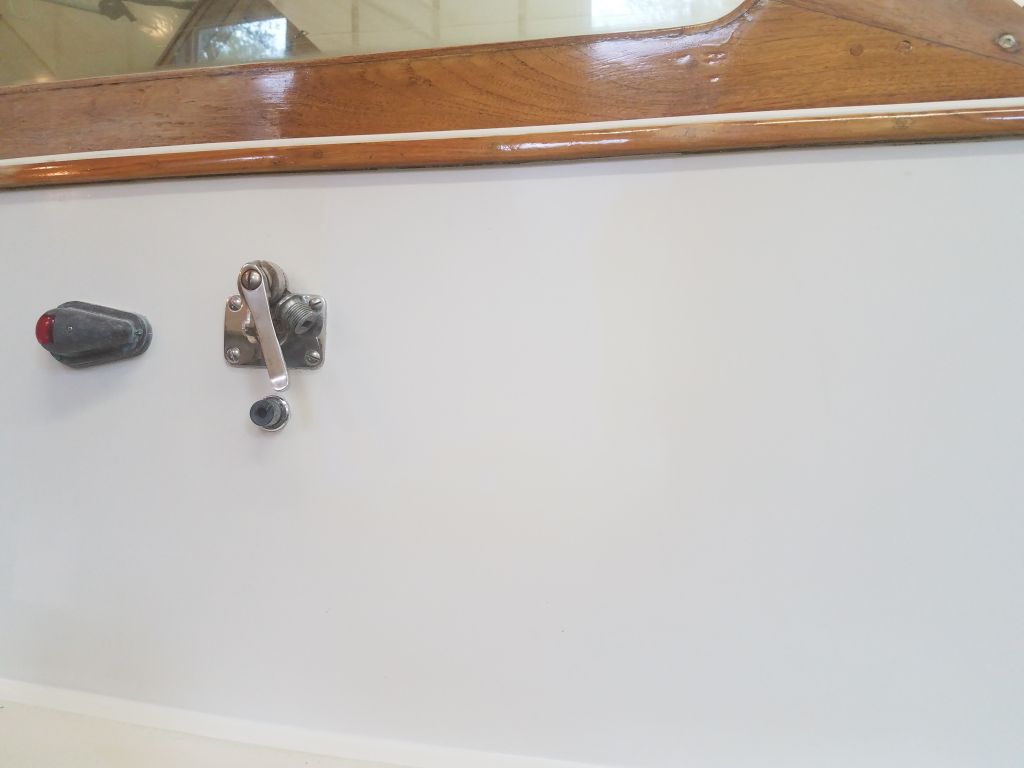
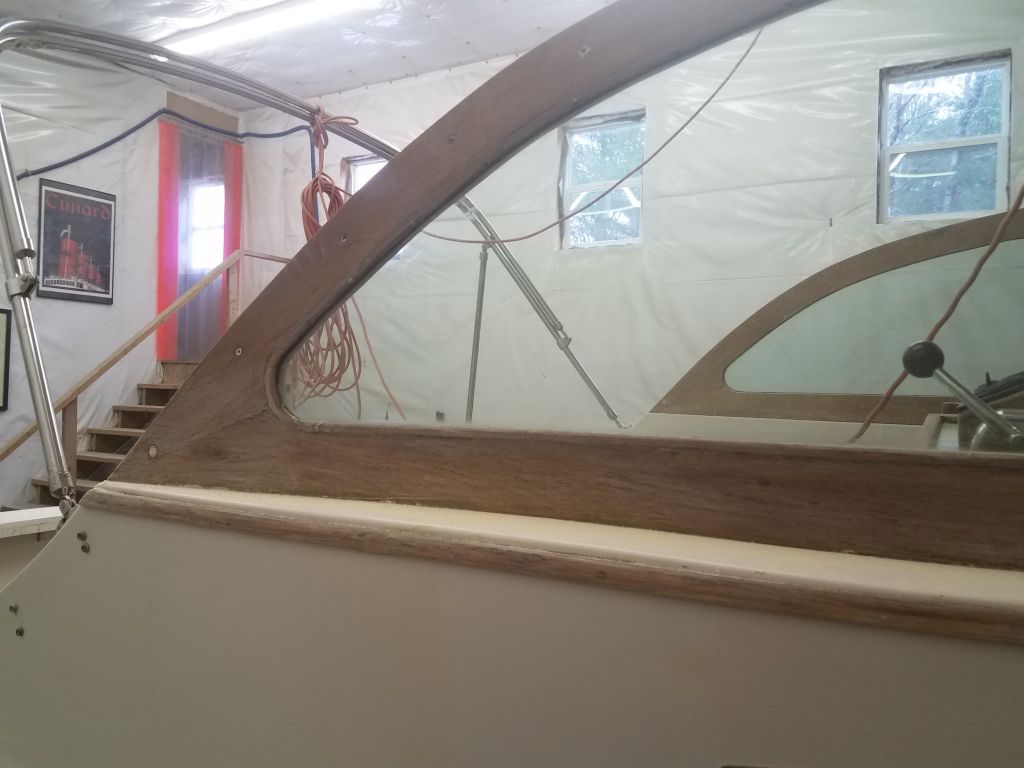
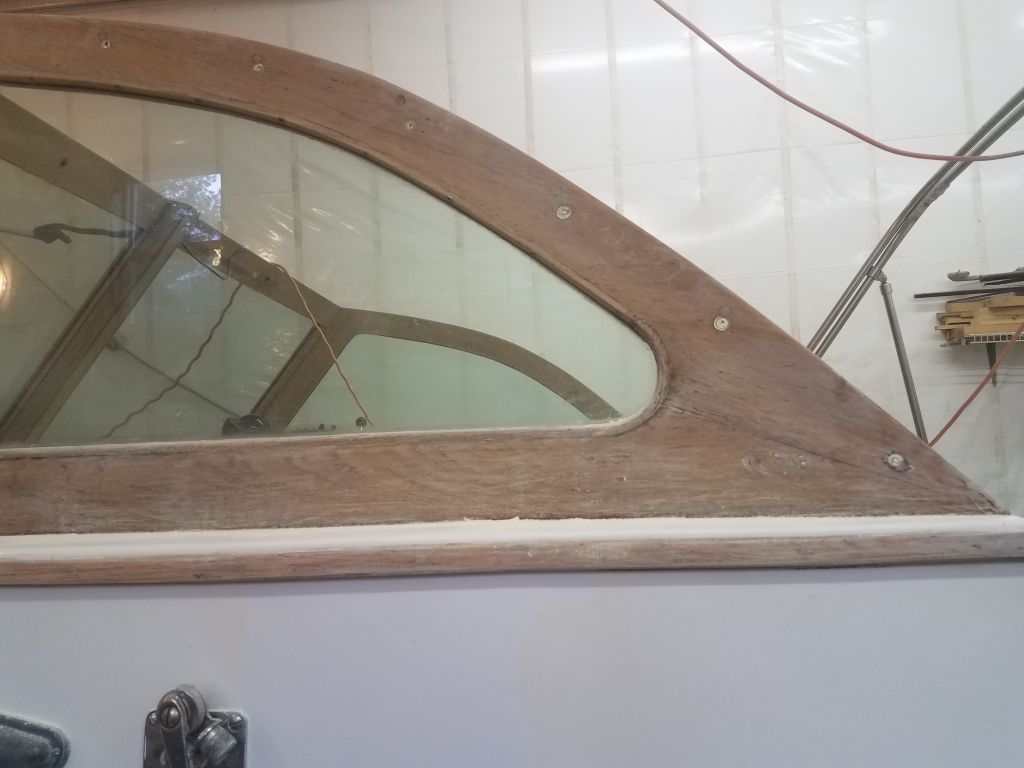
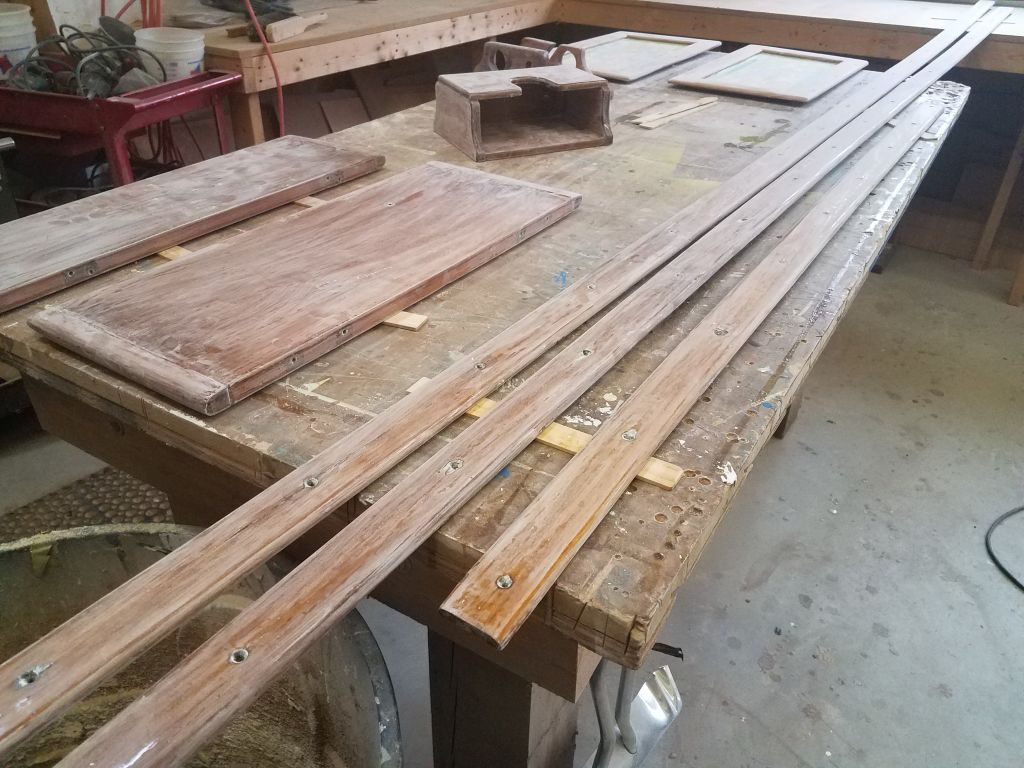
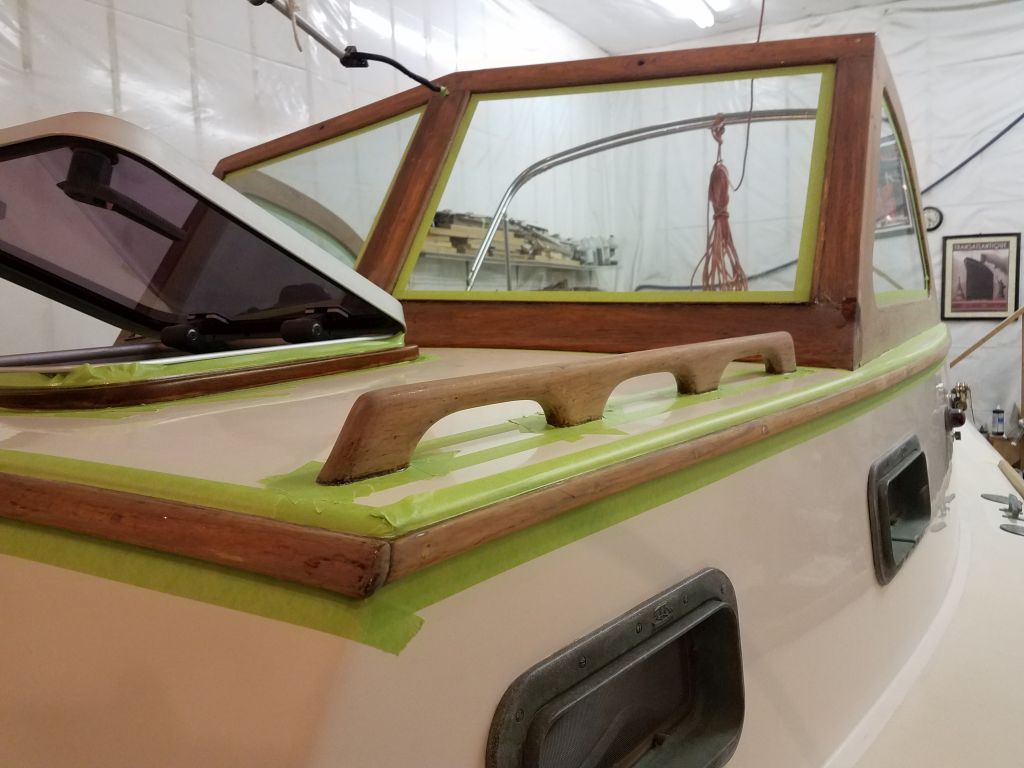
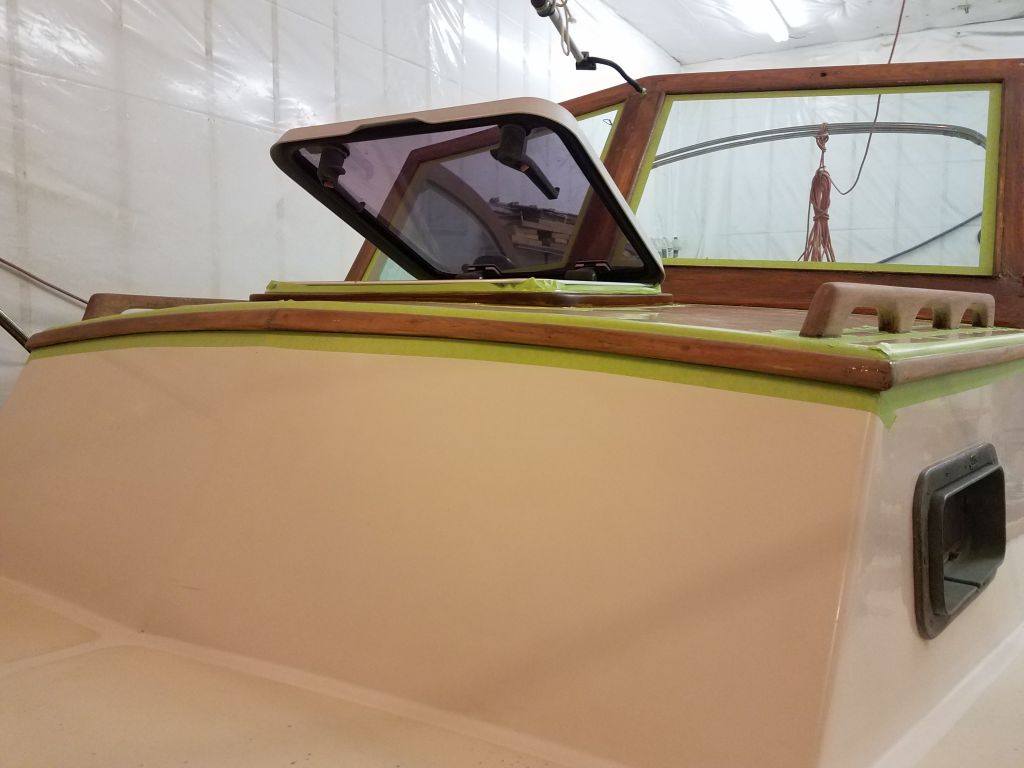
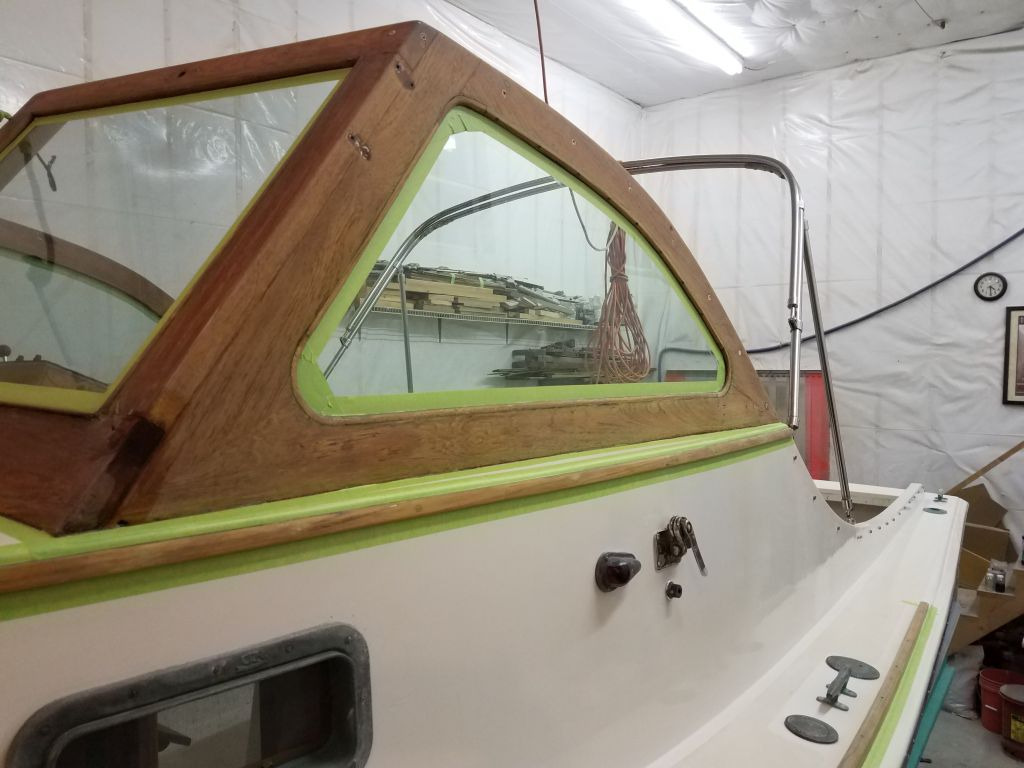
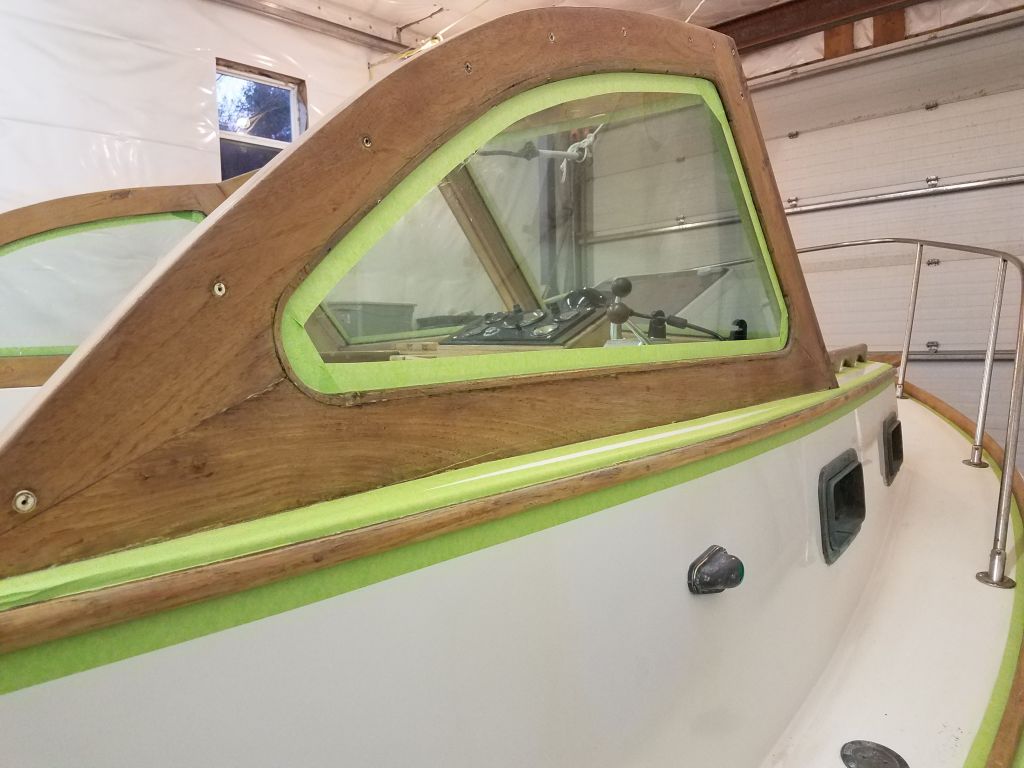
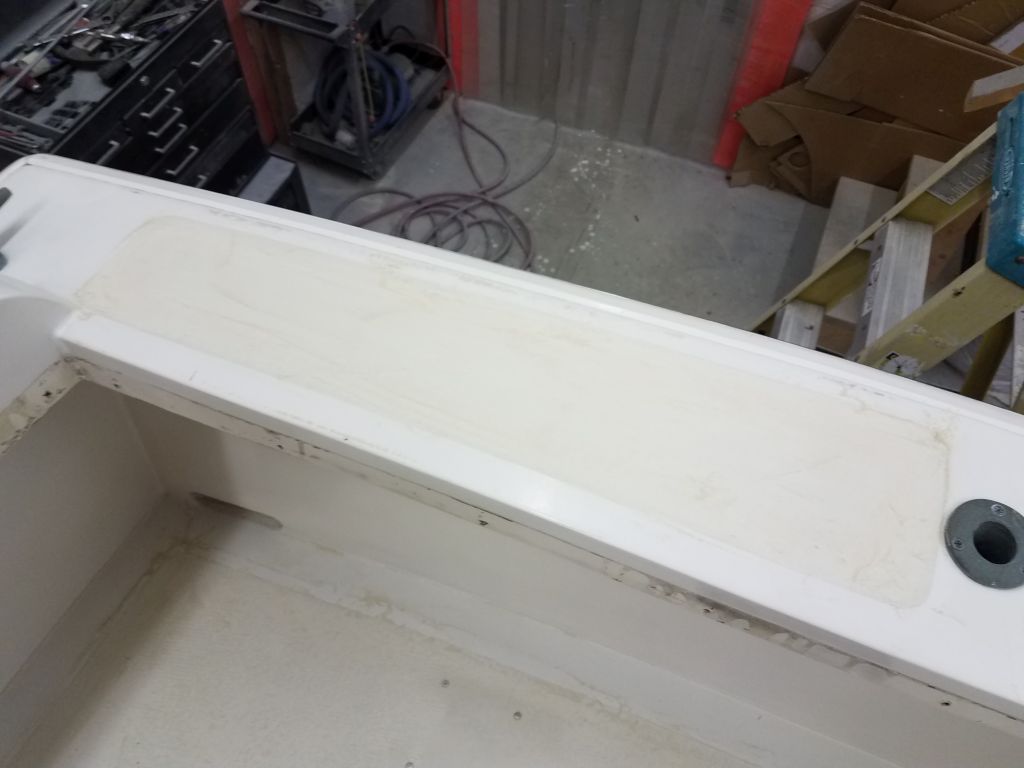
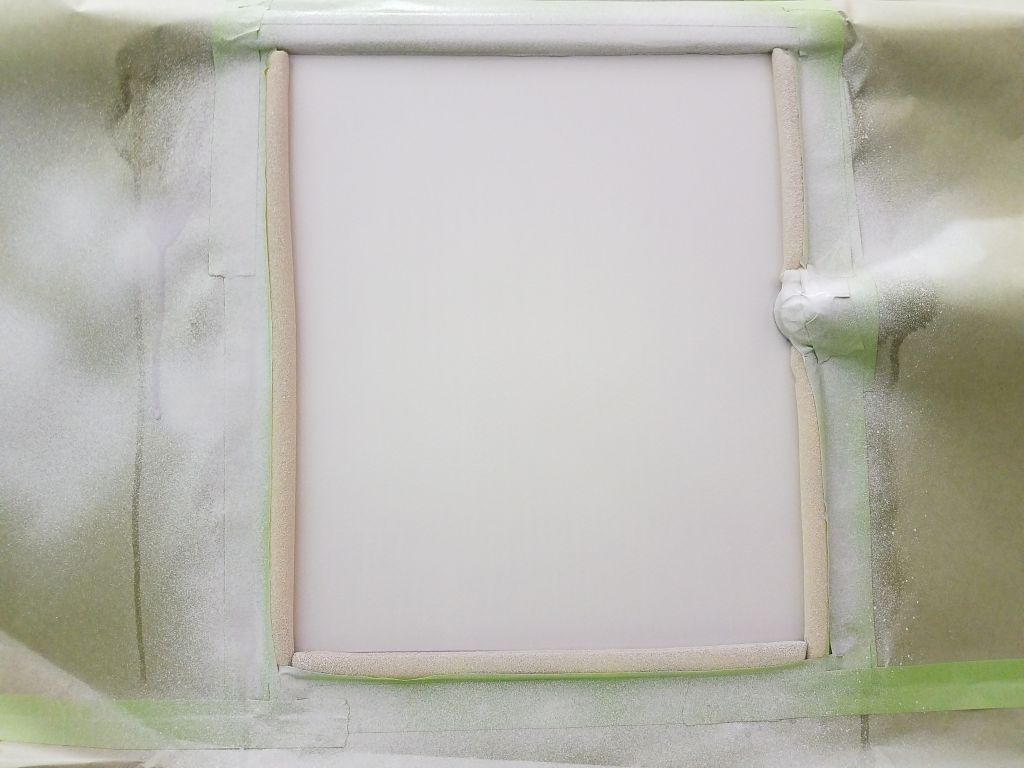
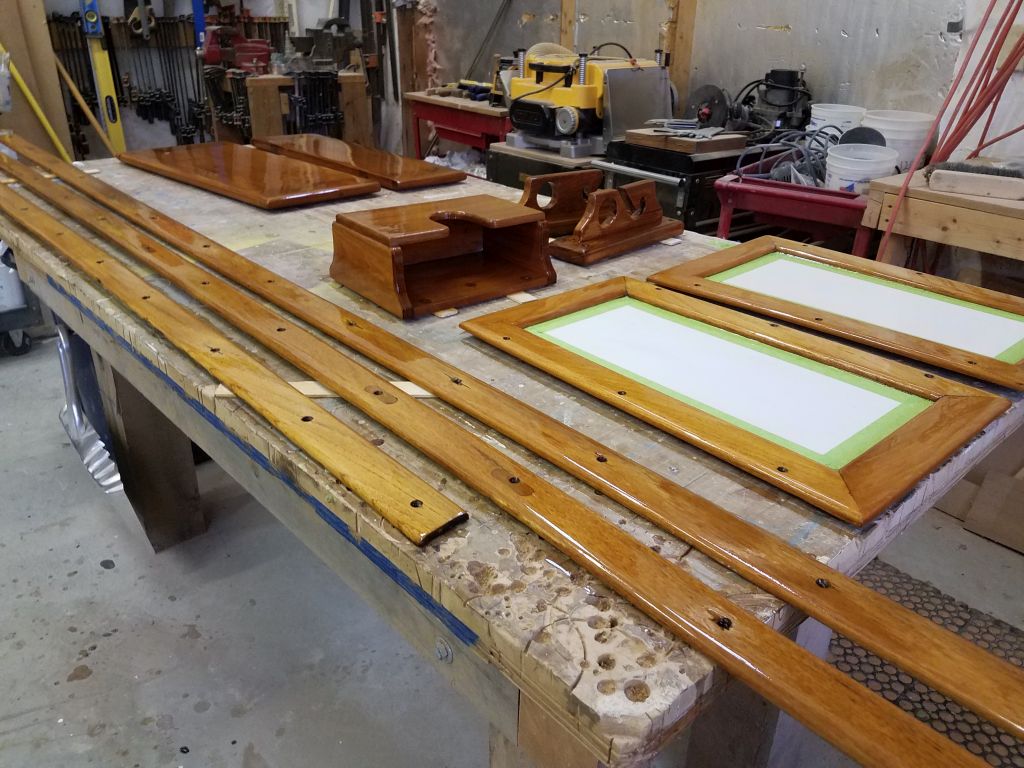
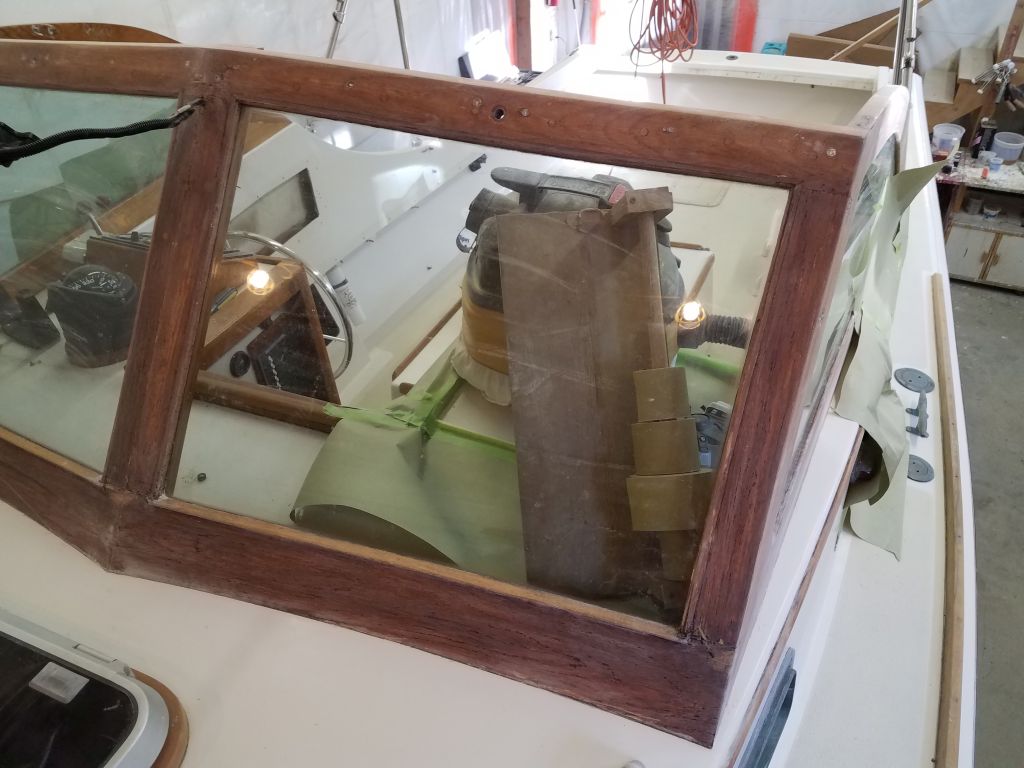
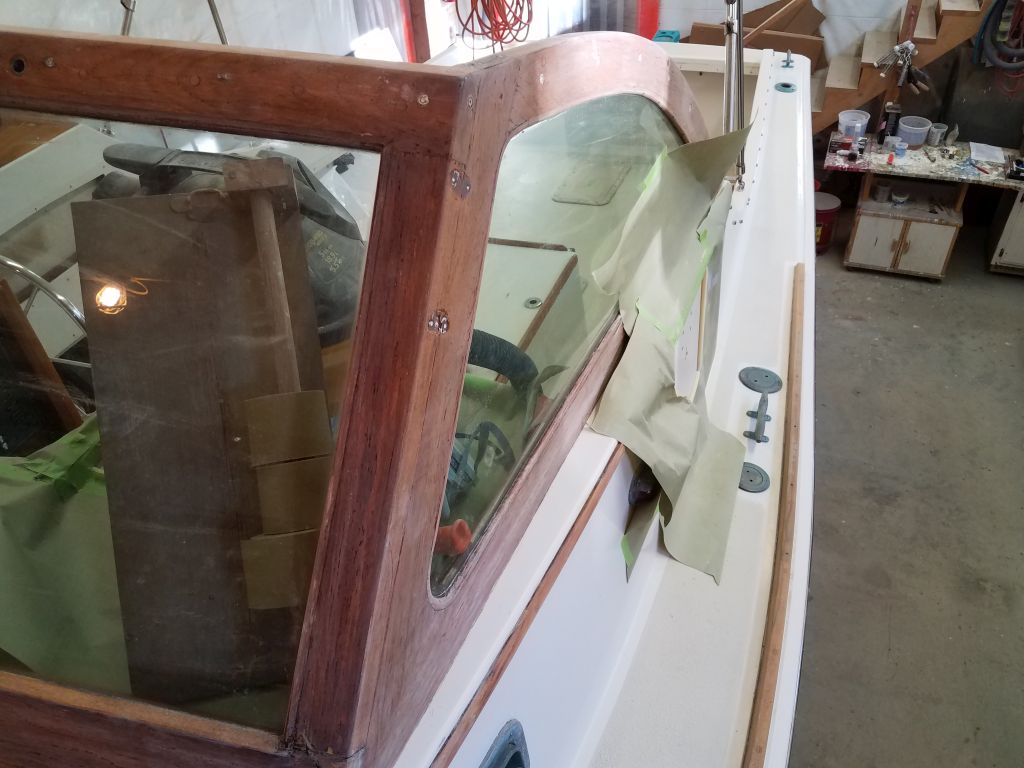
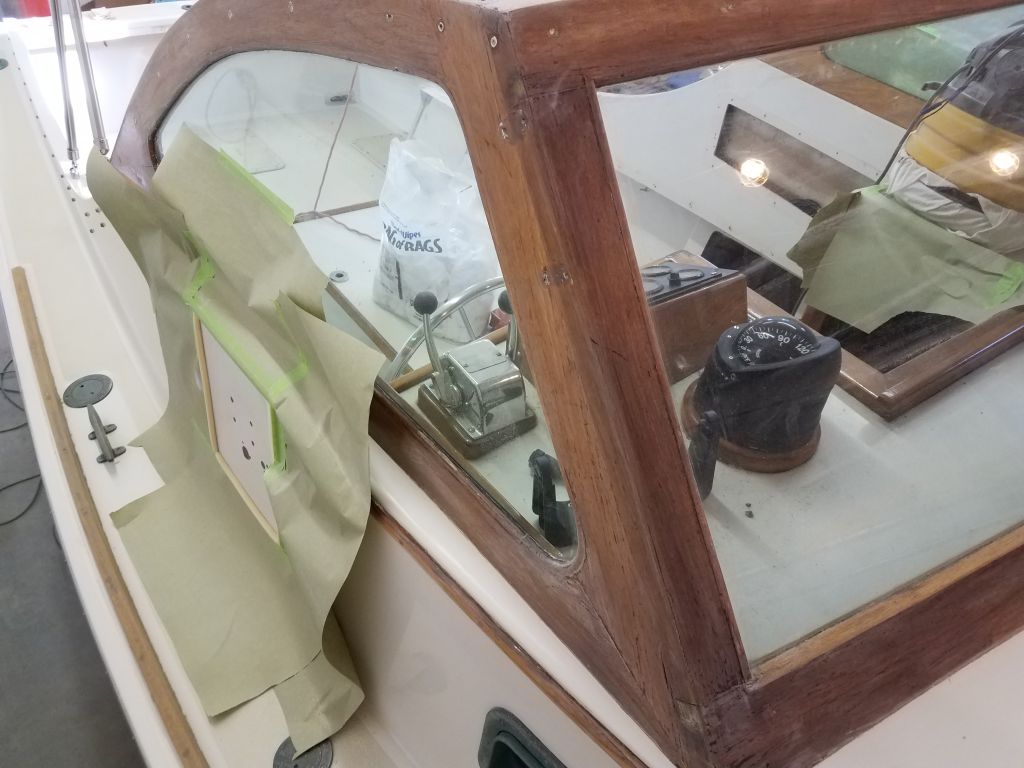
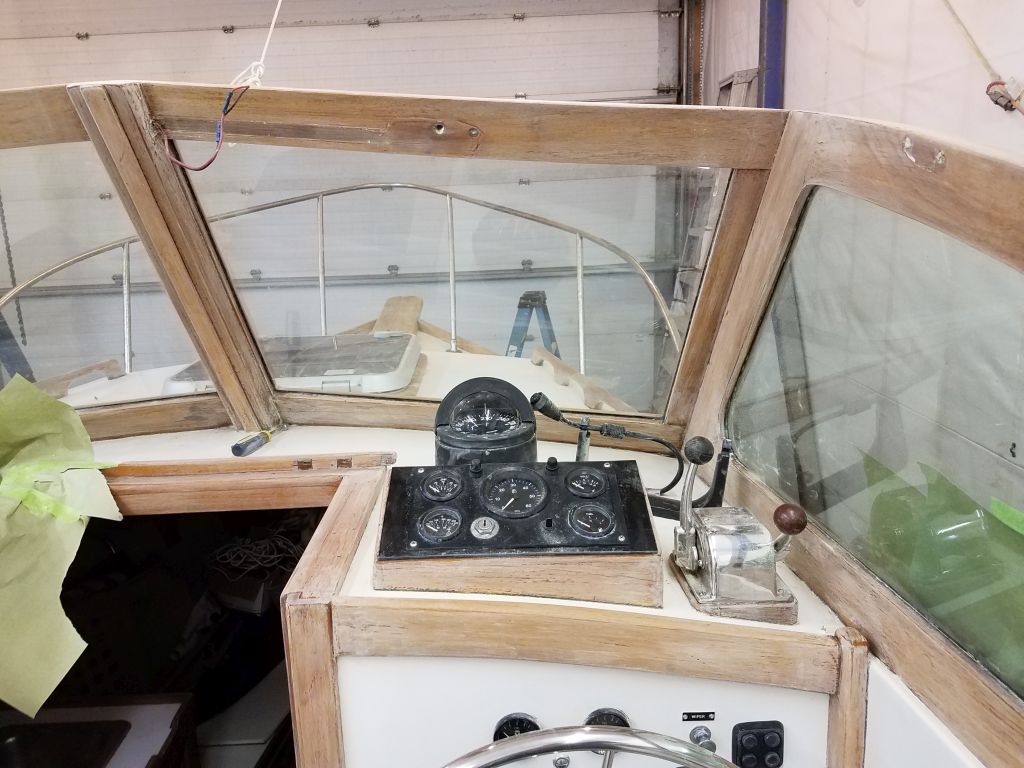
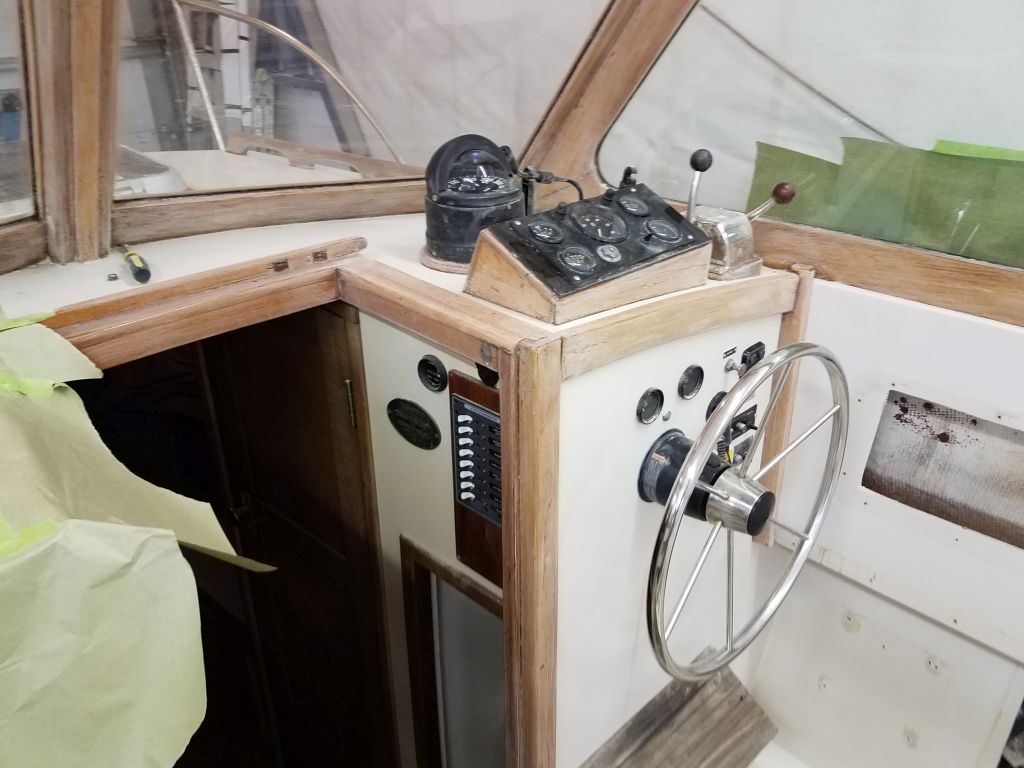
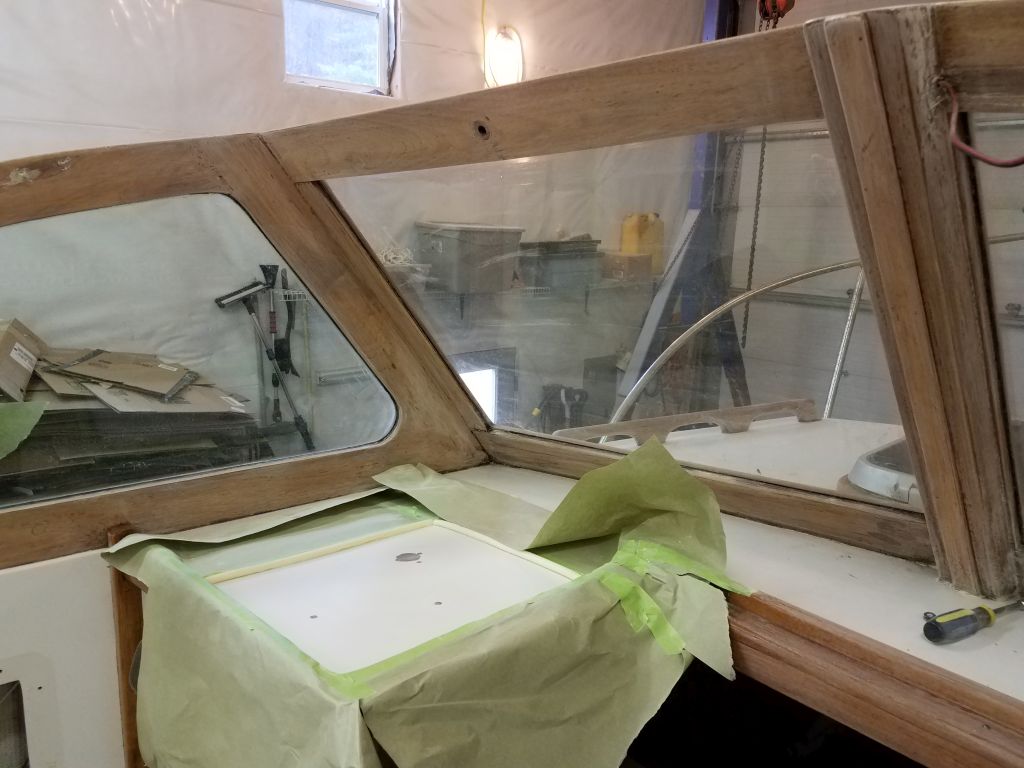
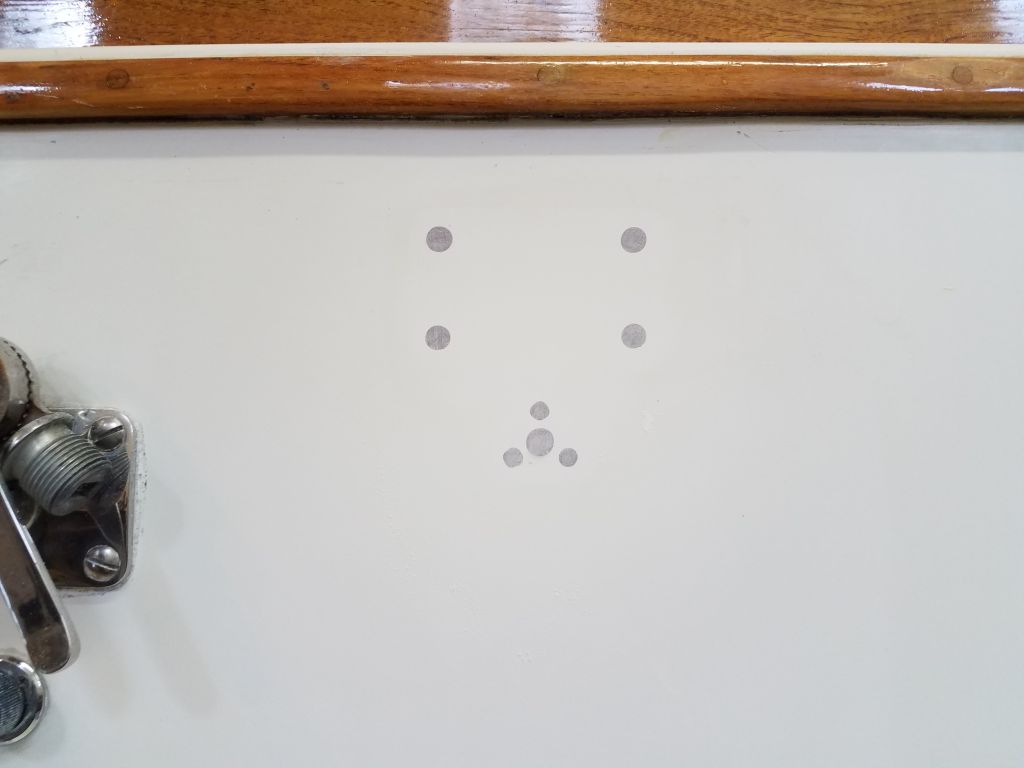
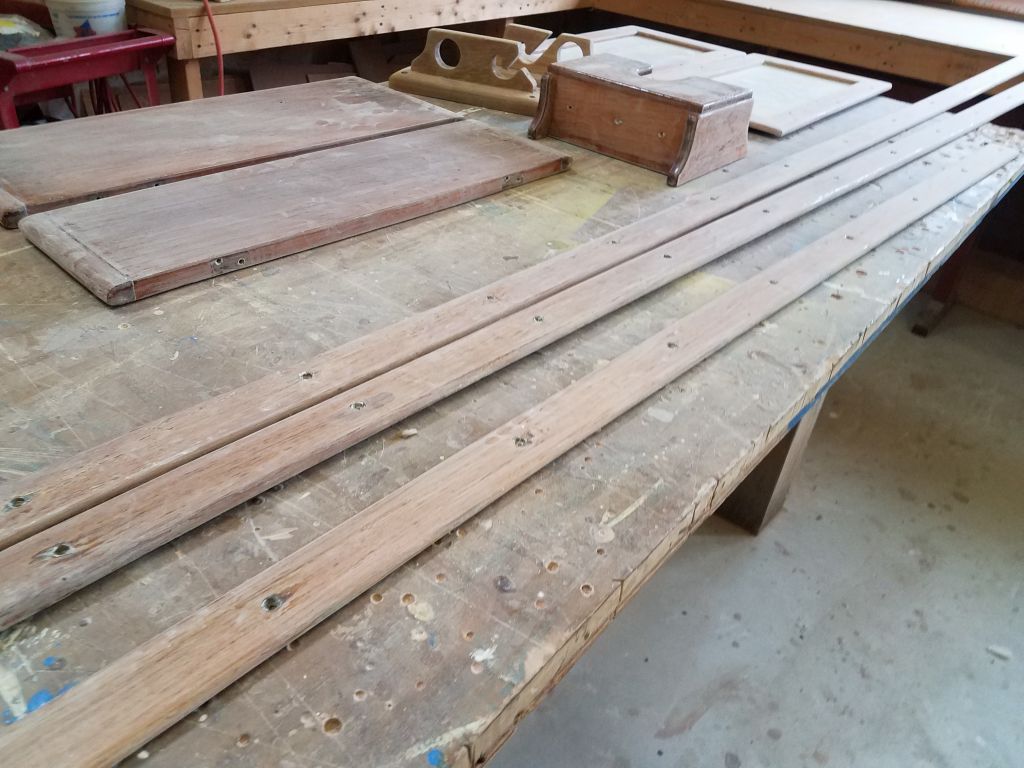
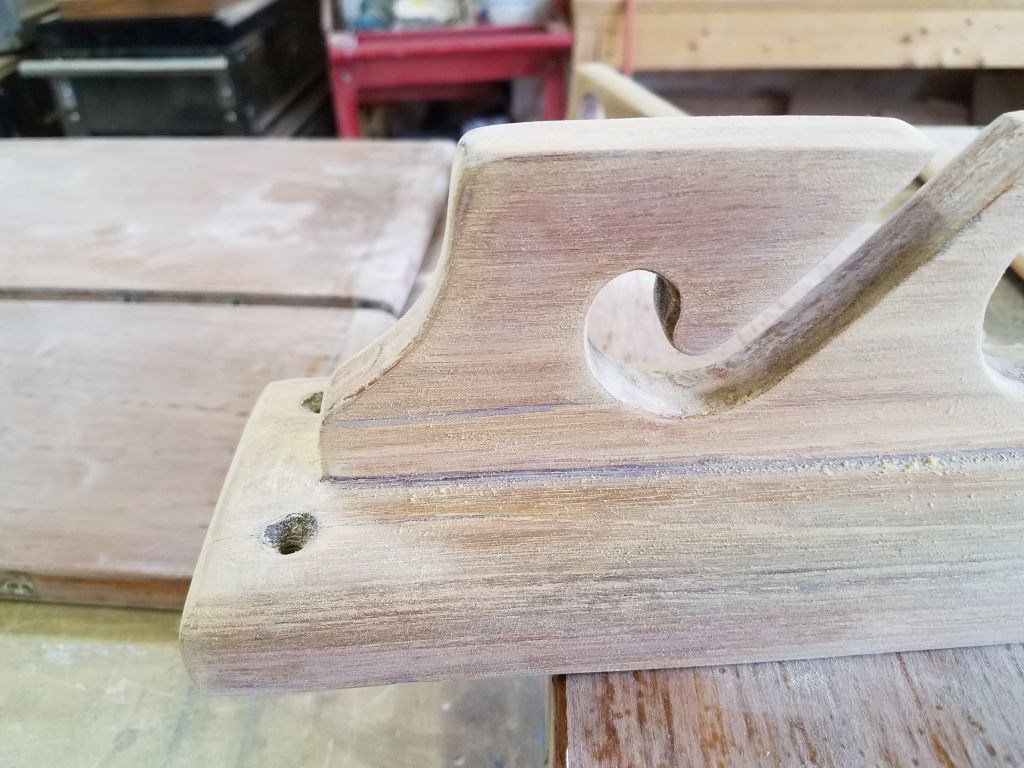
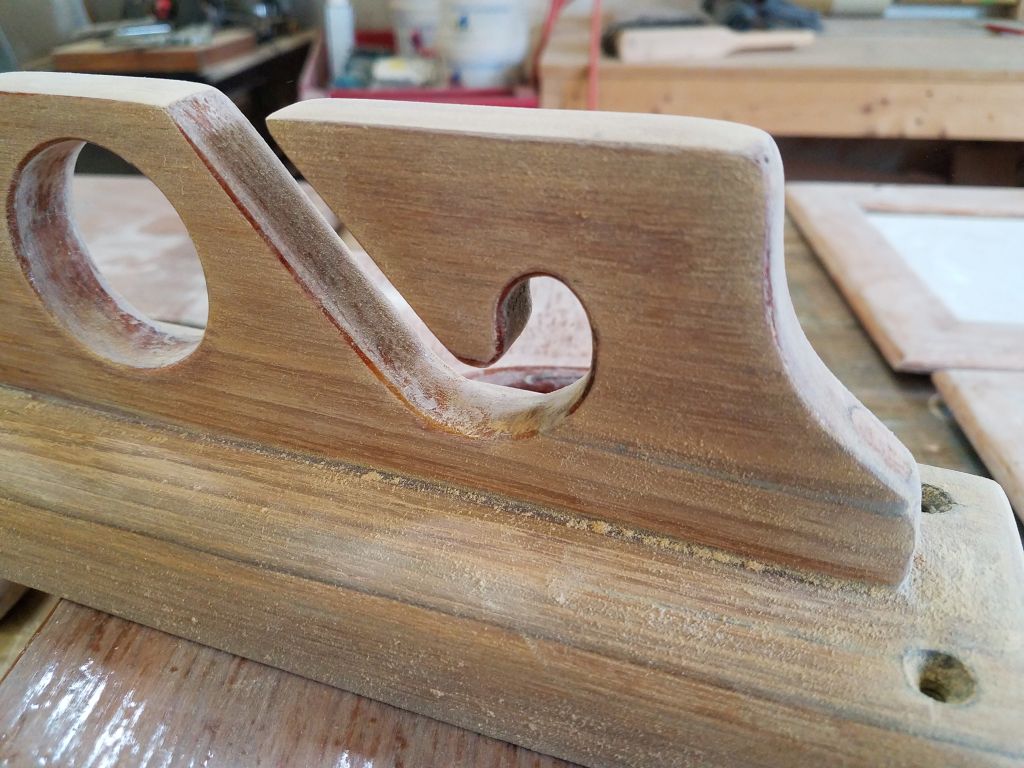
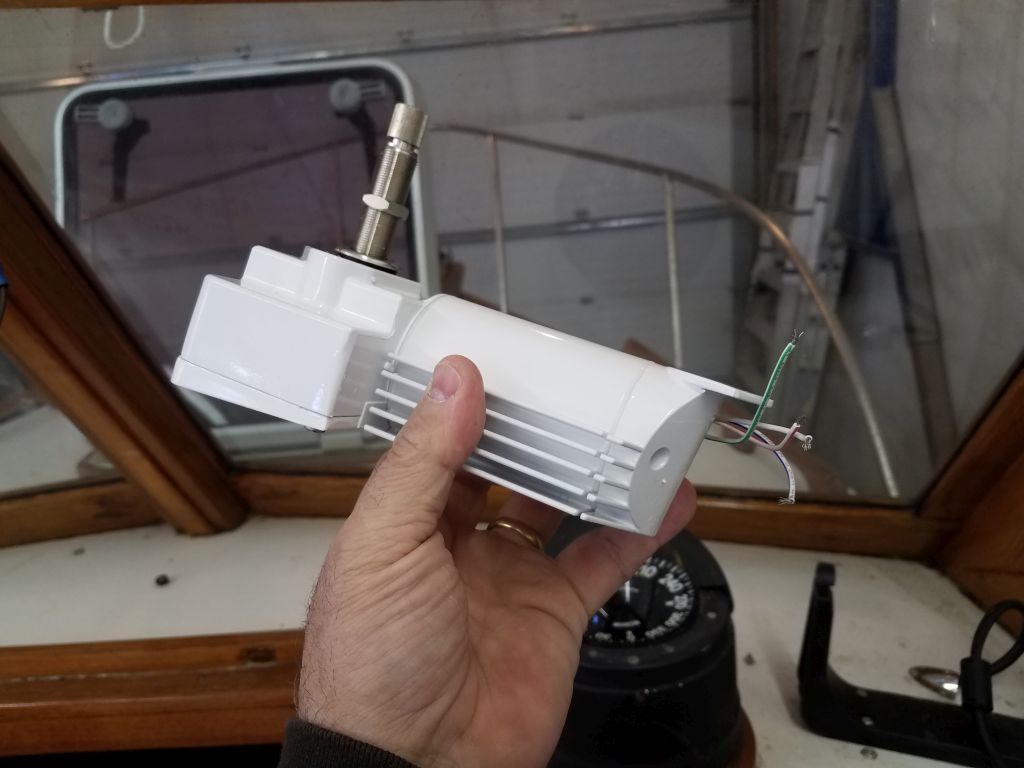
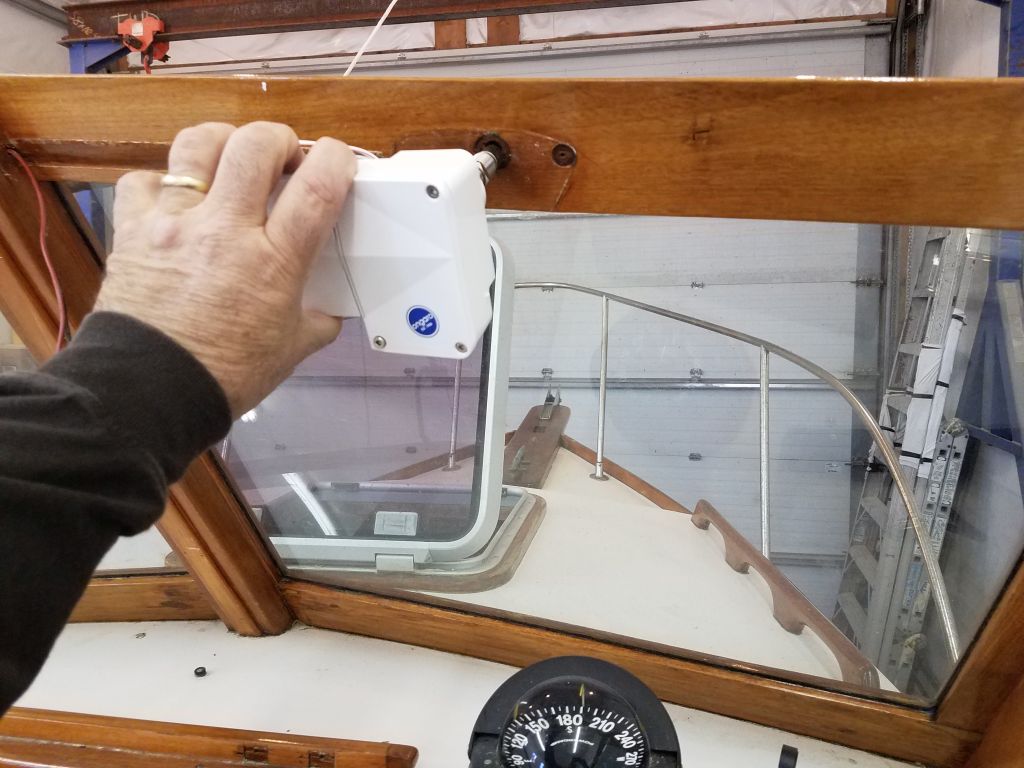
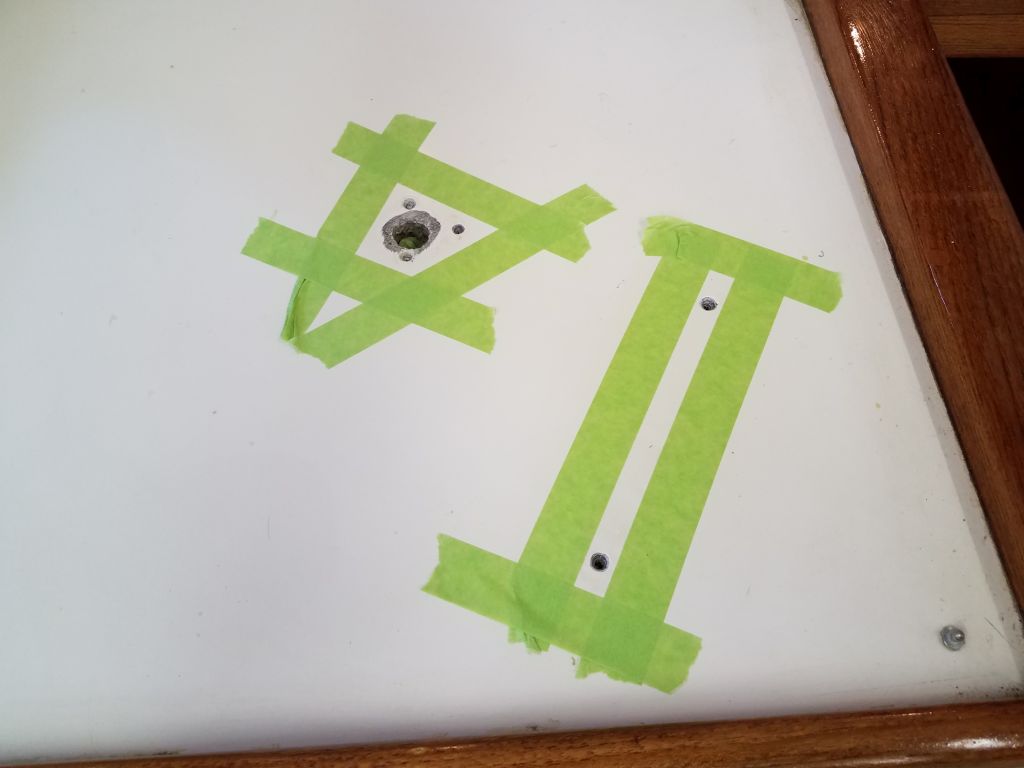
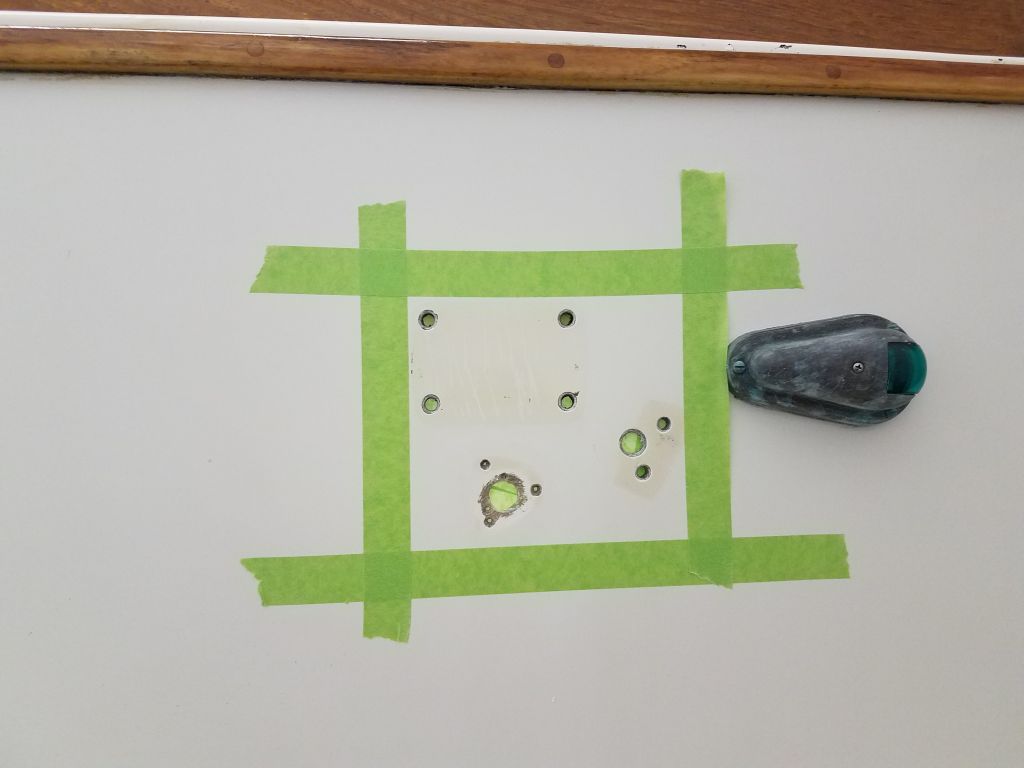
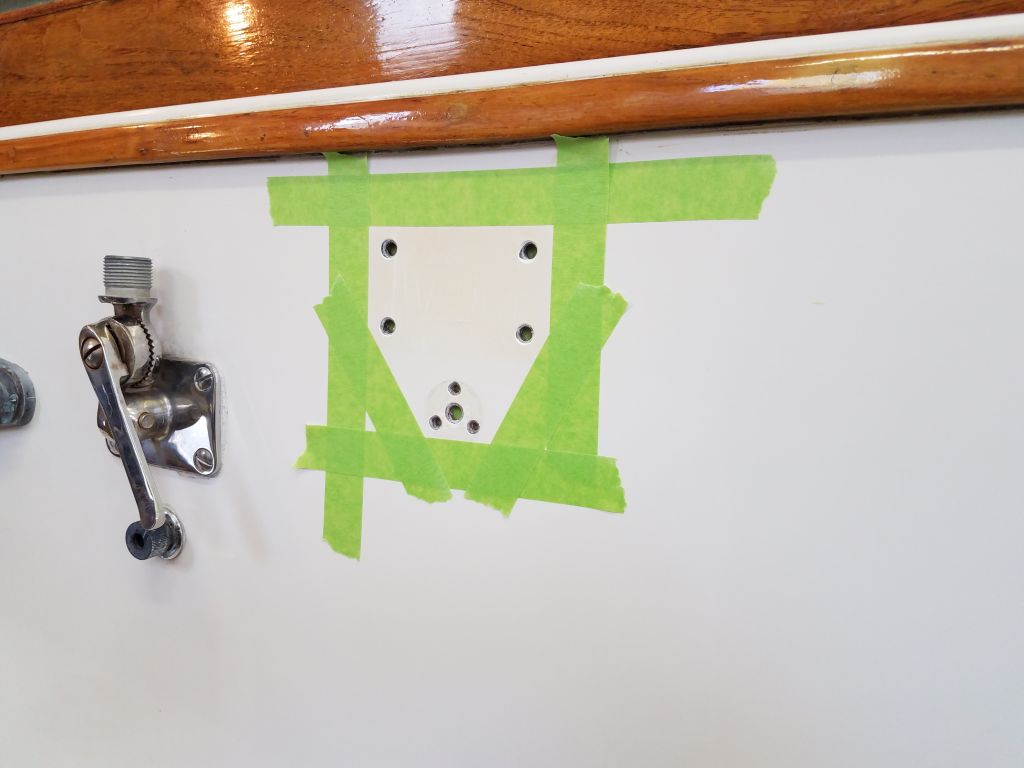
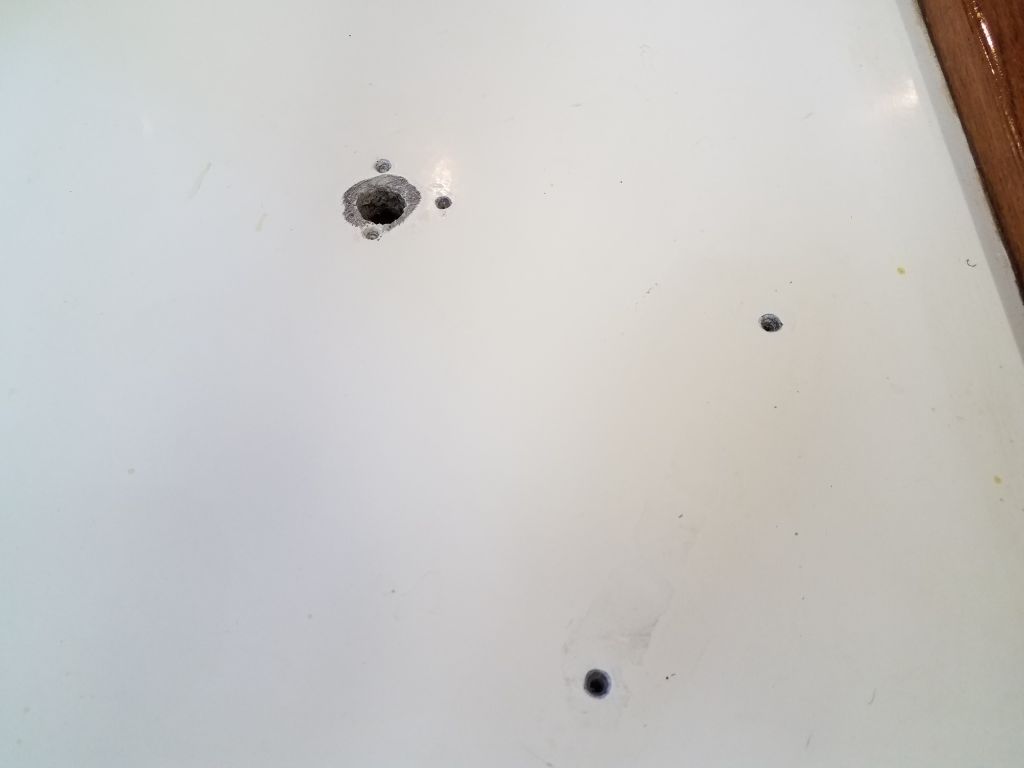
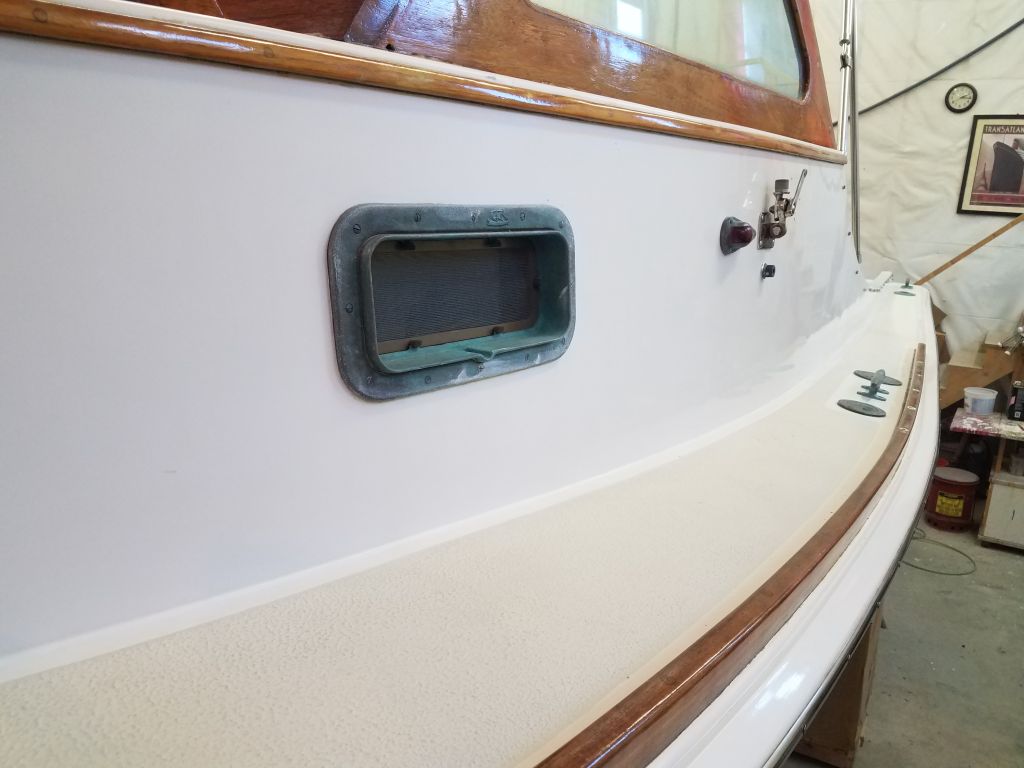
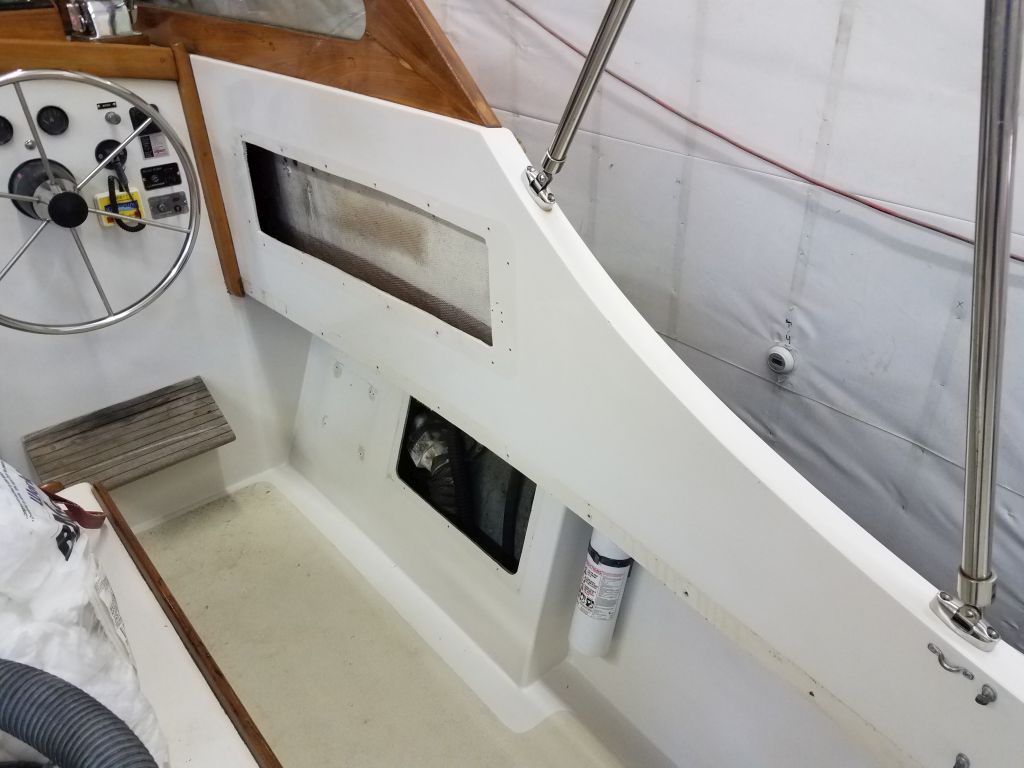
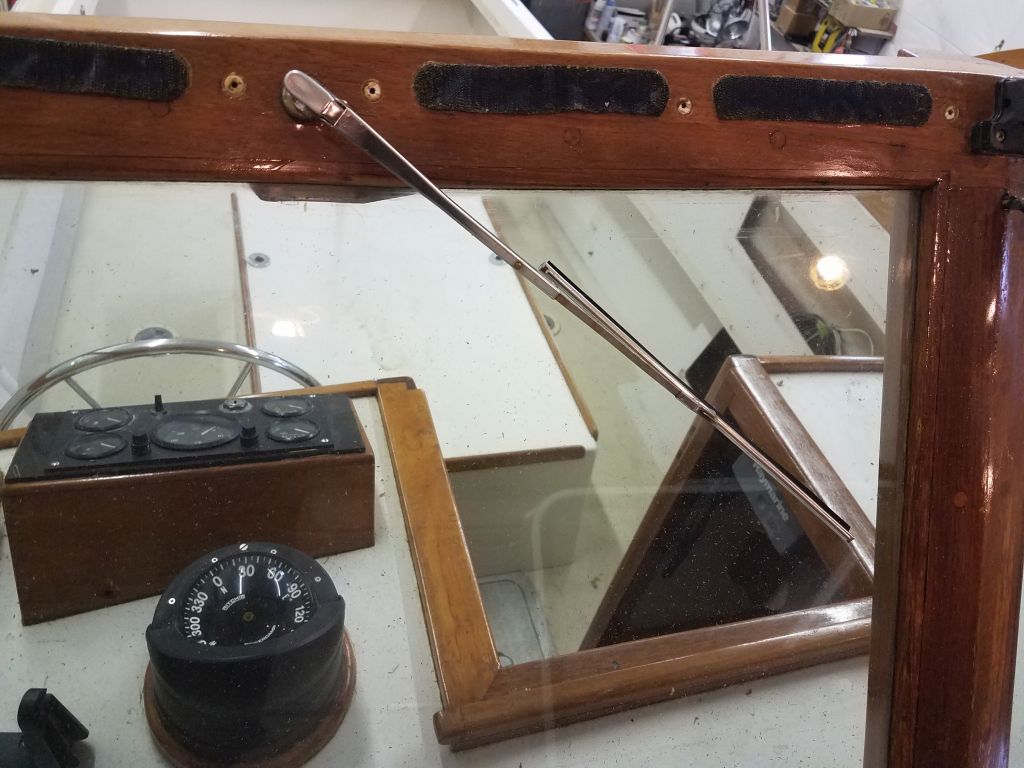
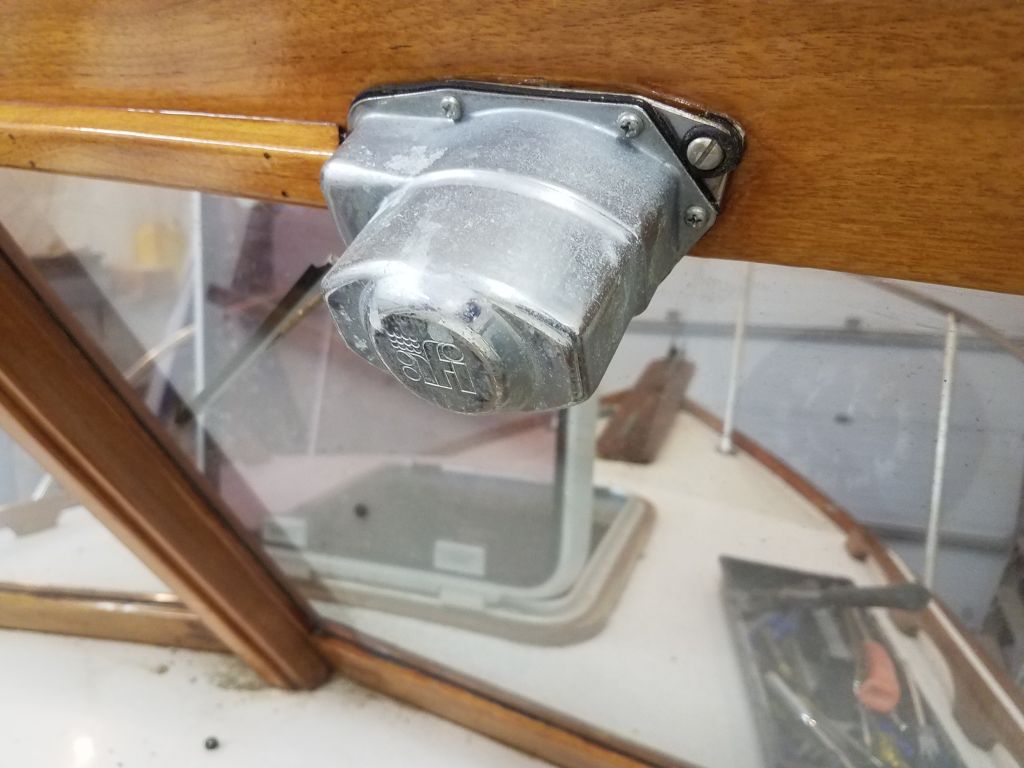
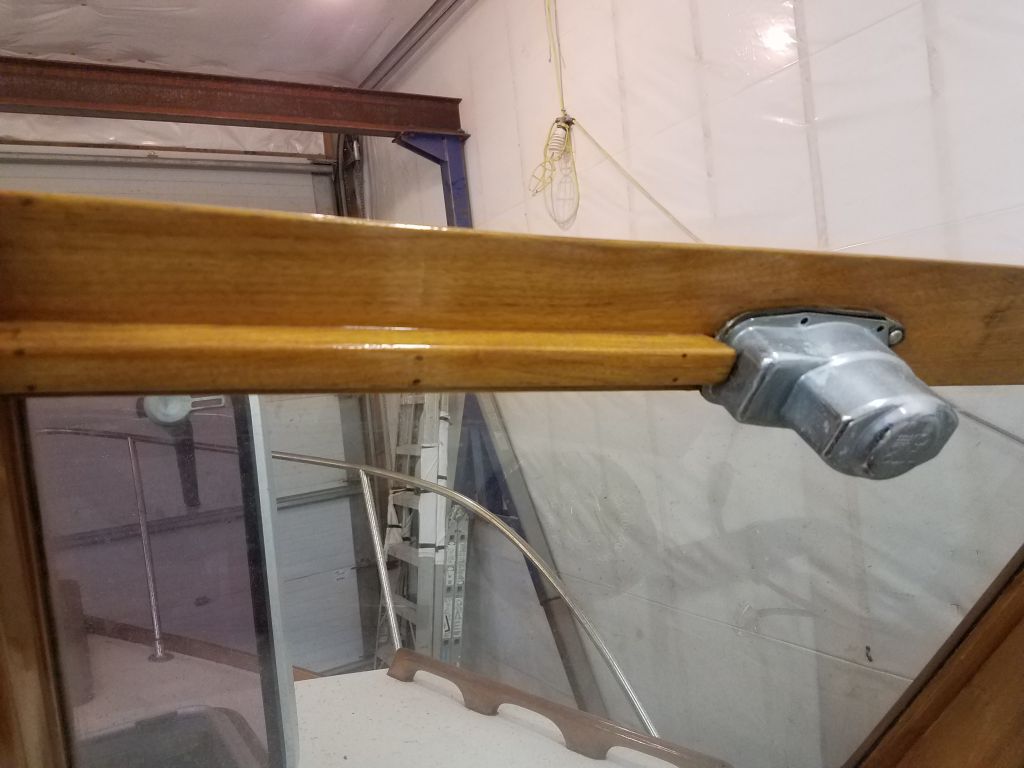
The owner suggested that the windshield wiper located on the starboard side was less than adequate for the task, with a weak motor and unhelpfully lightweight arm and blade, so I looked into replacements.  Having located a motor, arm, and blade combination that seemed appropriate, I went ahead and disassembled the existing wiper, carefully removing the parts and a wooden trim piece over the wiring.  This would have the added benefit of making the varnish work that much easier and better.  I’d install the replacement unit later, once the maintenance was complete.  I’d already removed a simple manual wiper from the port side.

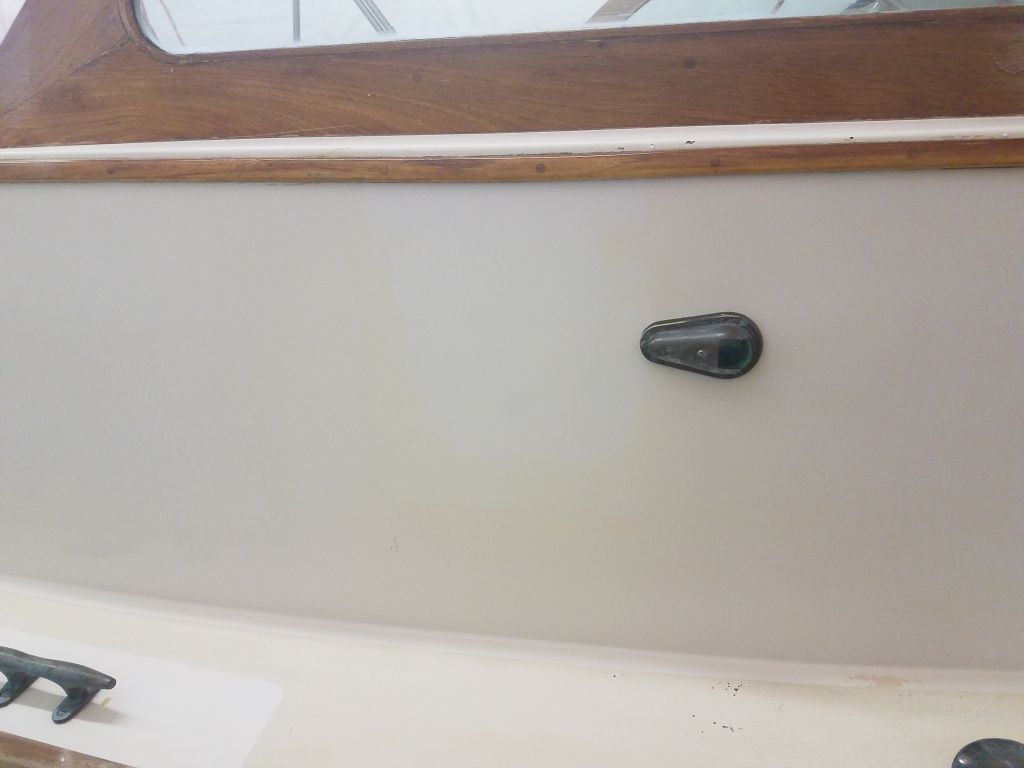
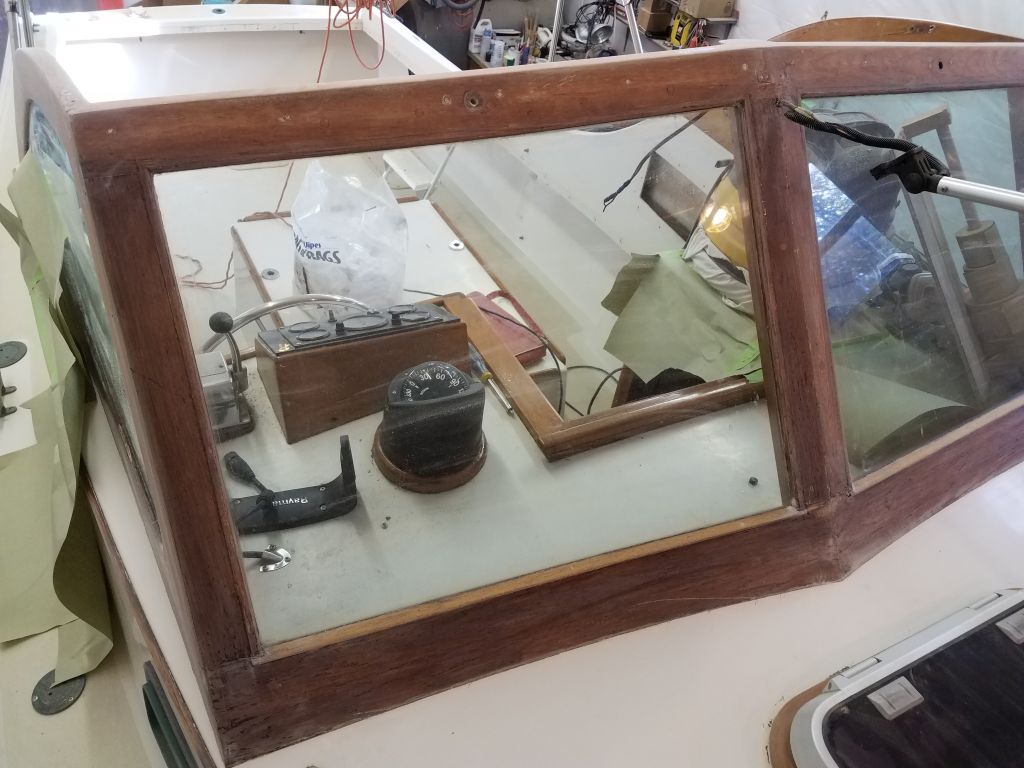
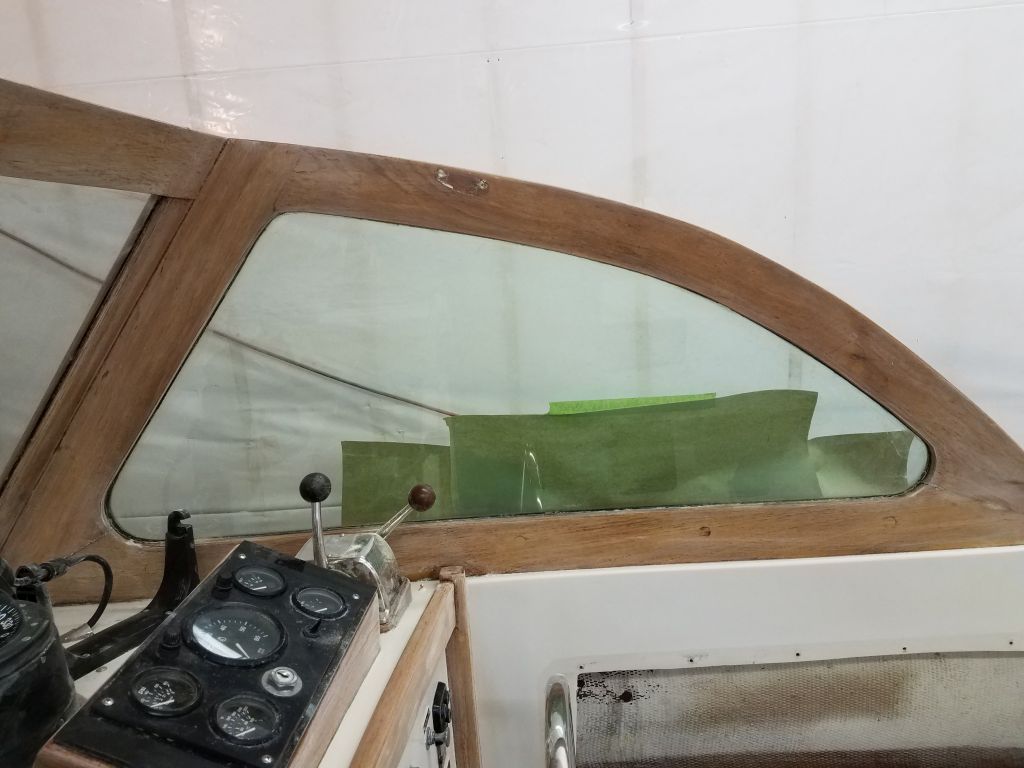
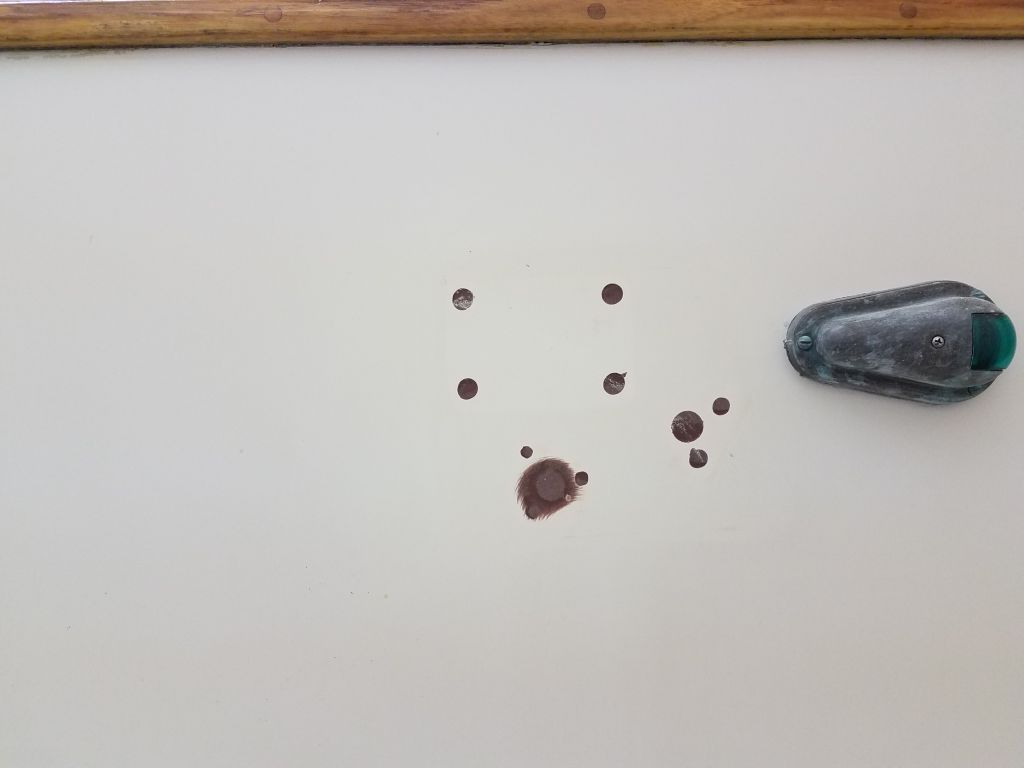
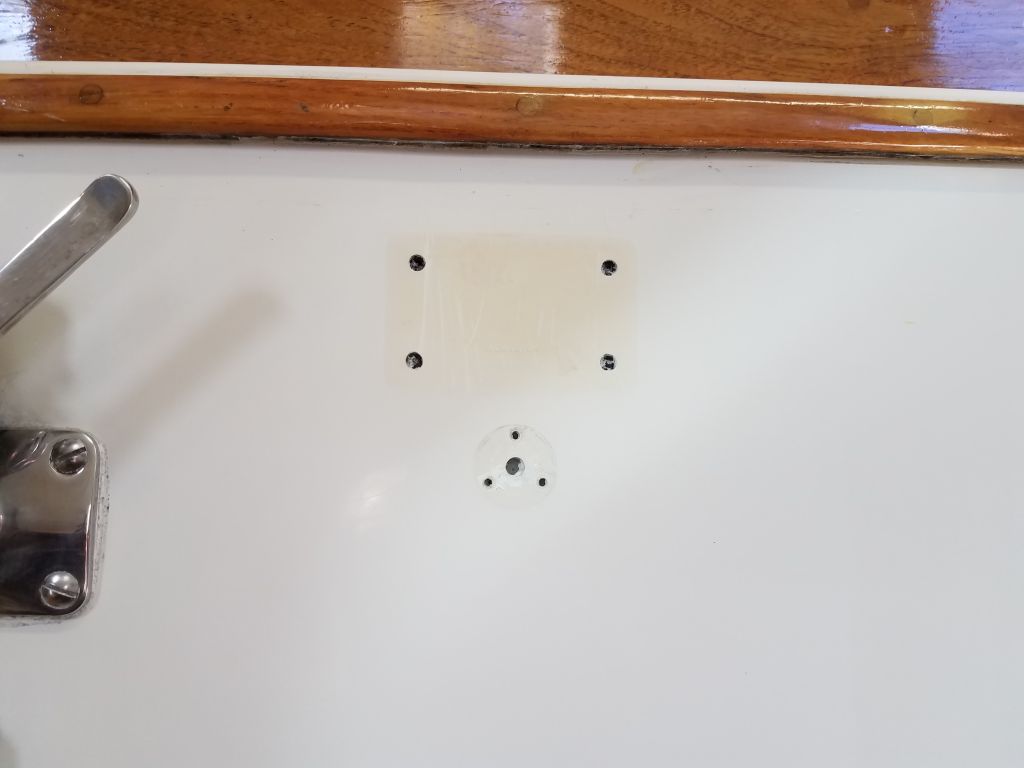
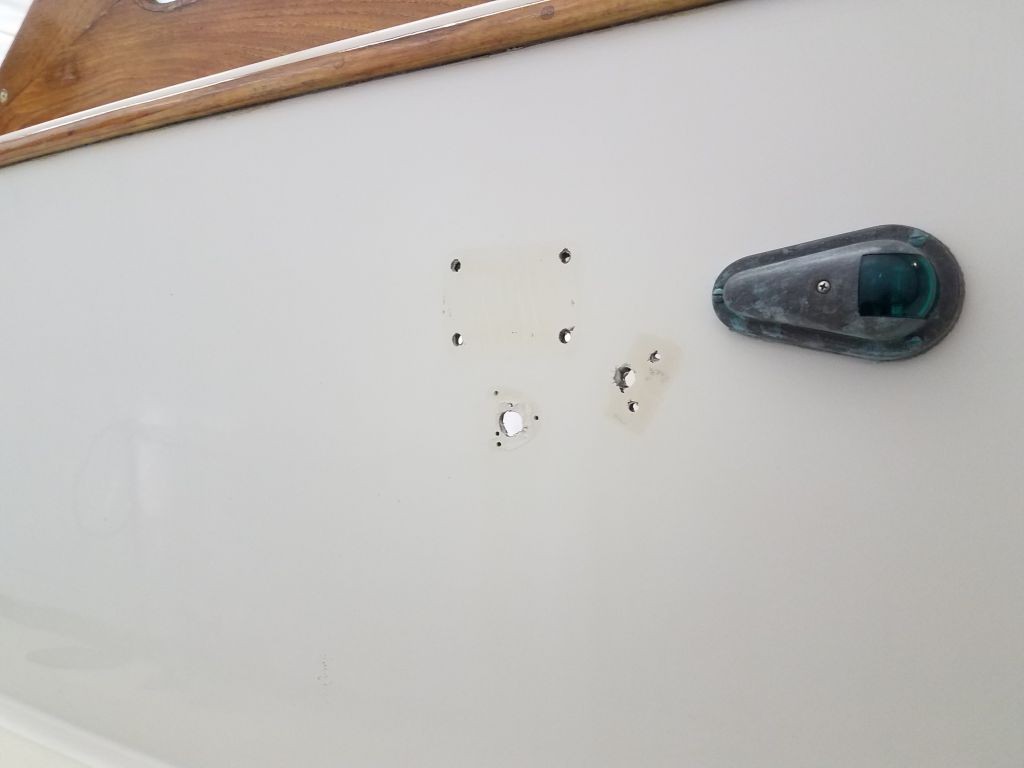
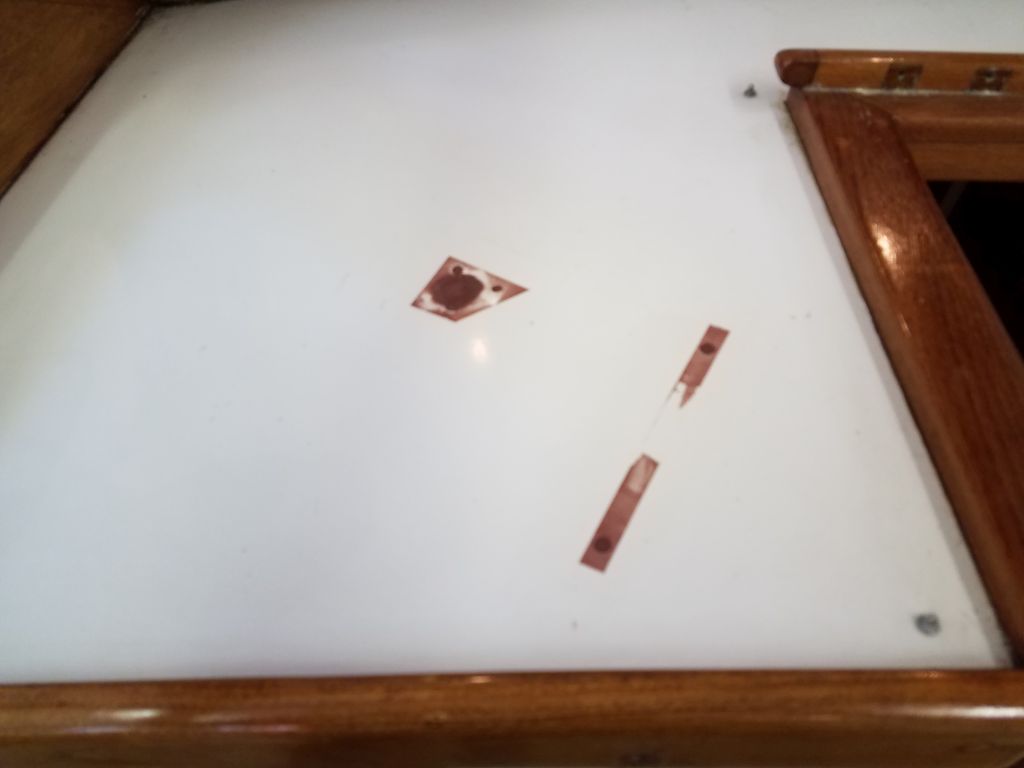
A series of Velcro strips at the top edge of the windscreen, used to help secure the canvas top, were wrinkled with age, and partially losing their adhesion, so I decided to remove them, which would also make the varnish work easier.  I also removed and secured out of the way the little light fixture in the center of the windscreen.

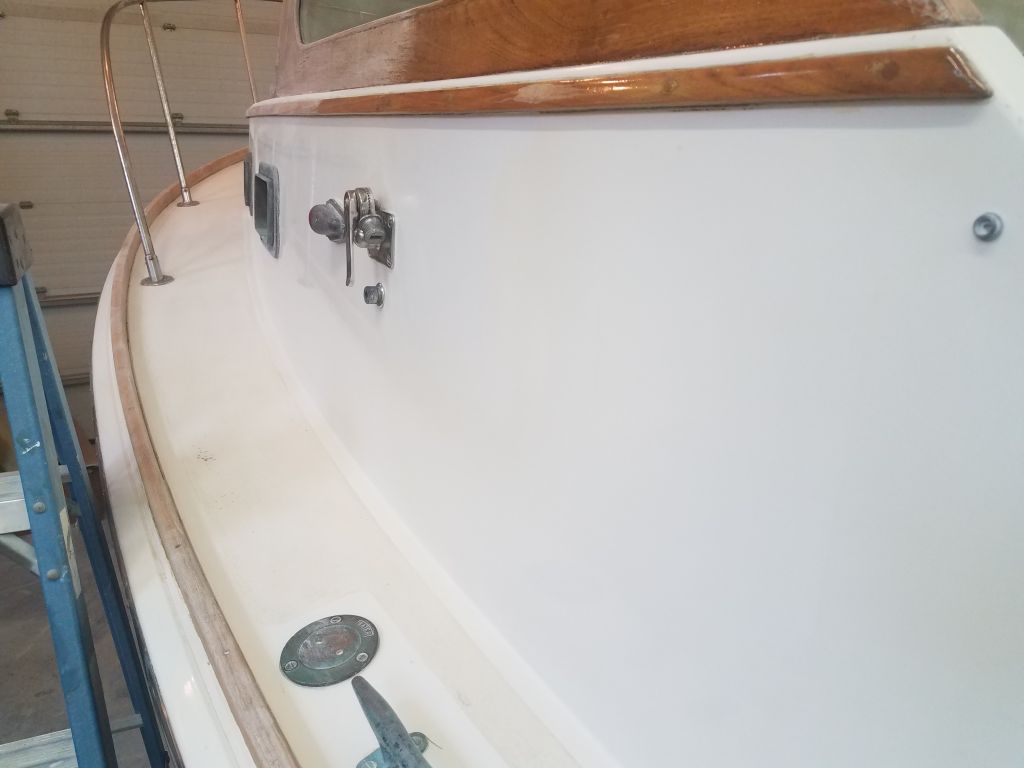
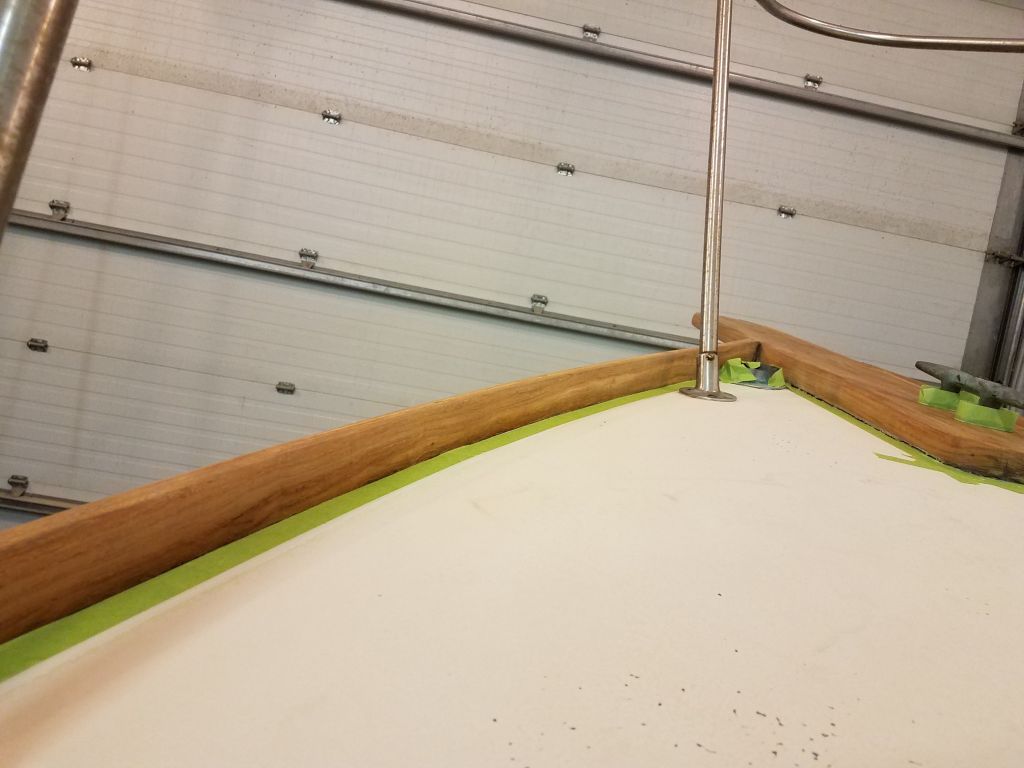
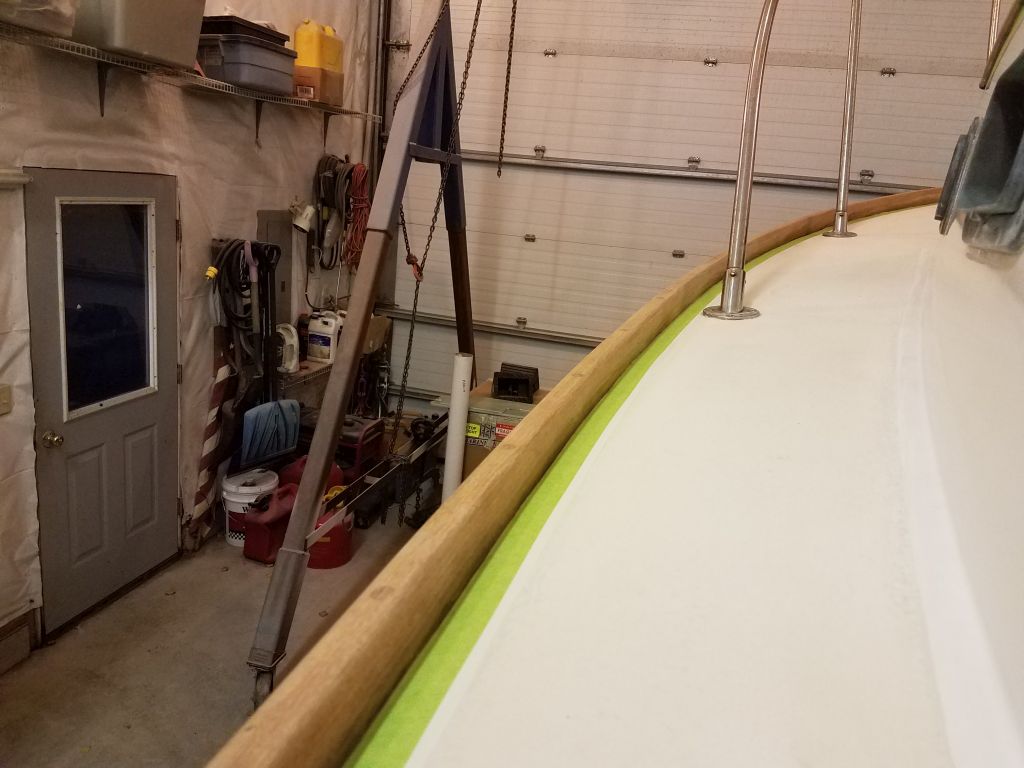
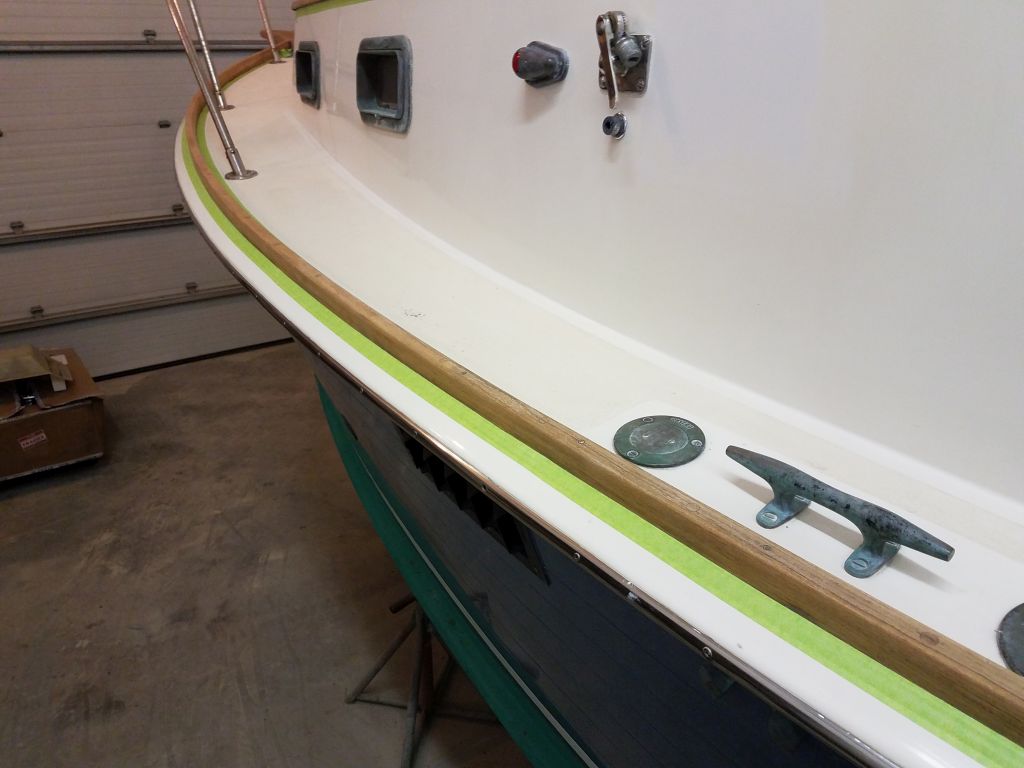
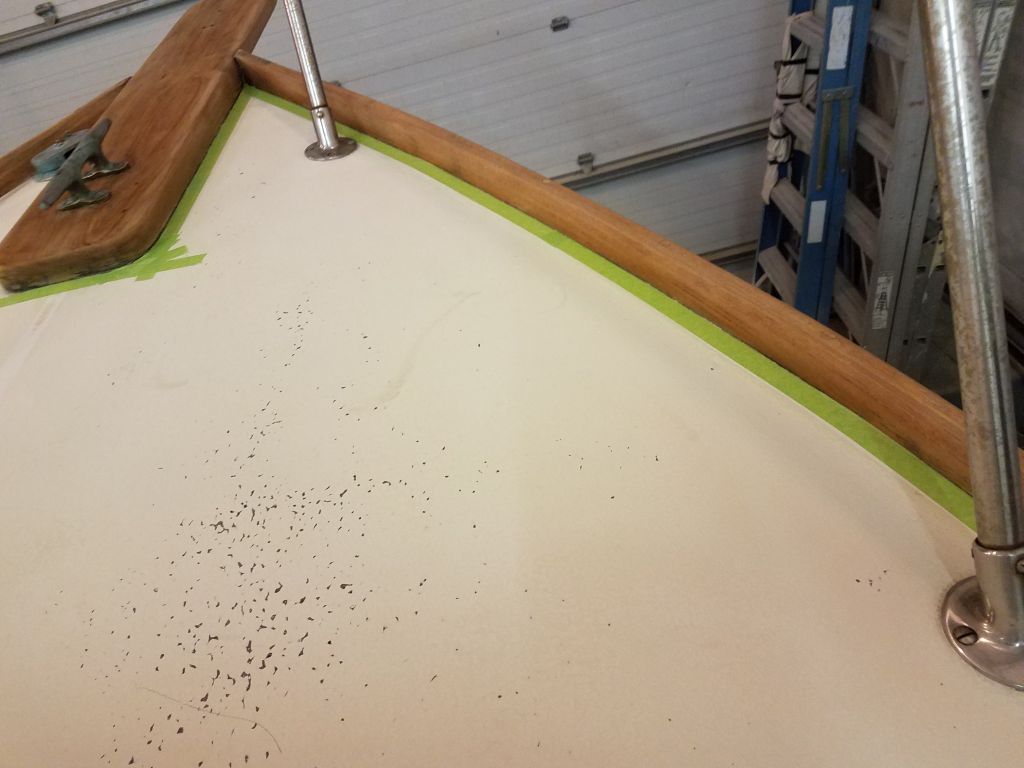
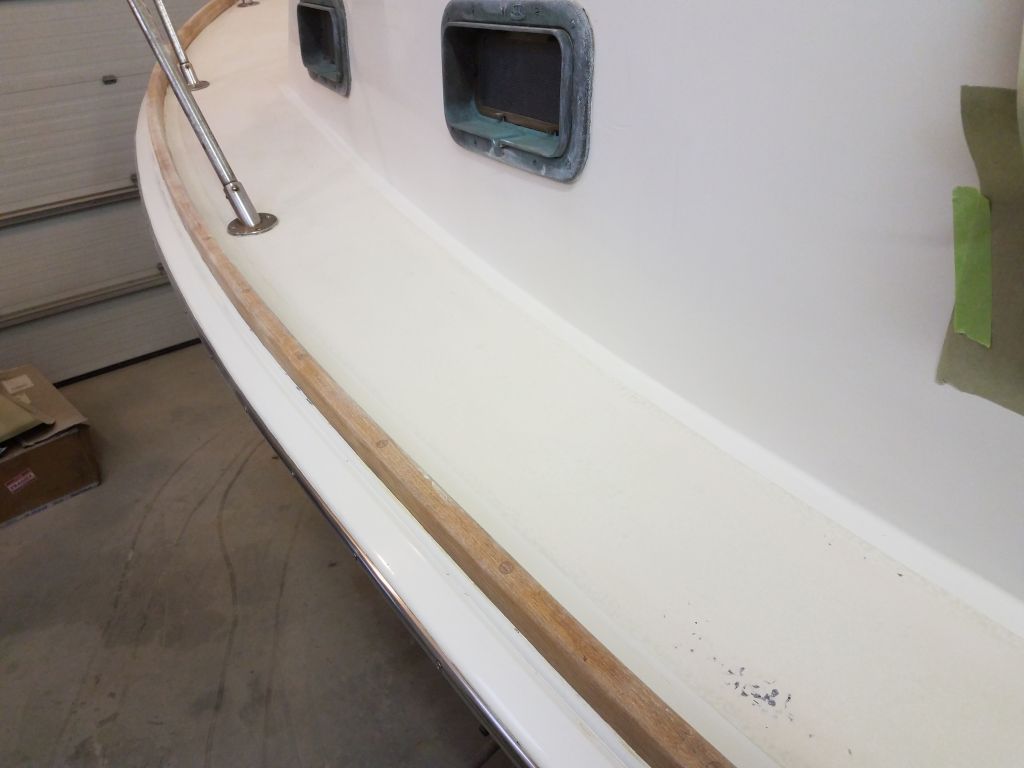
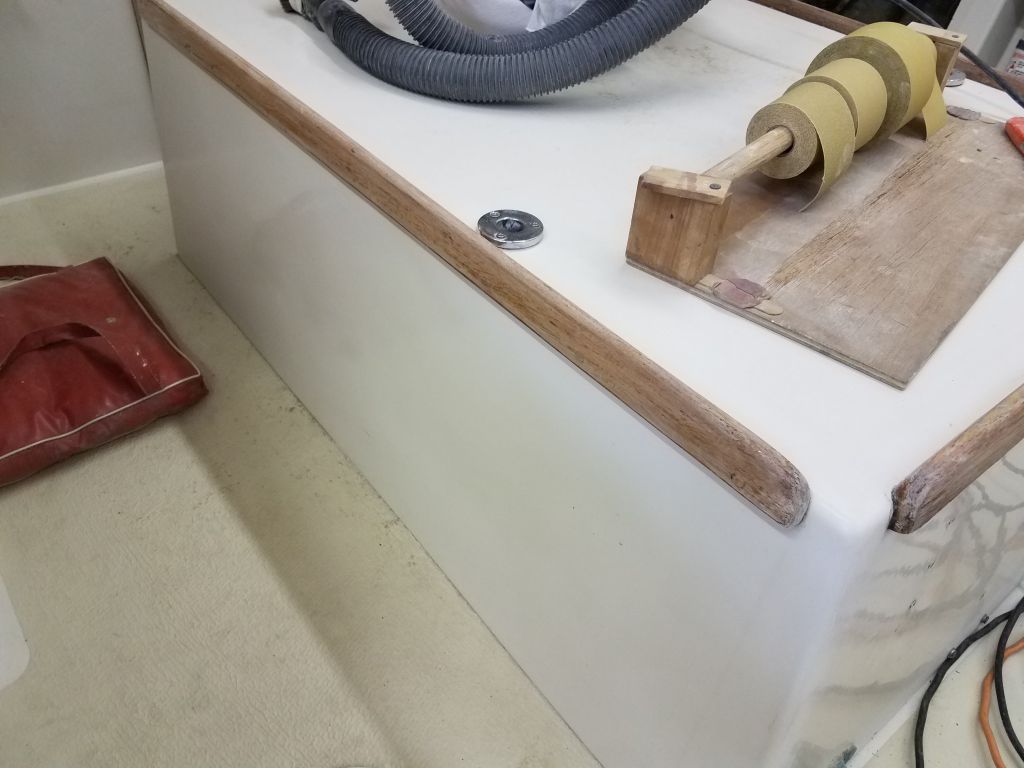
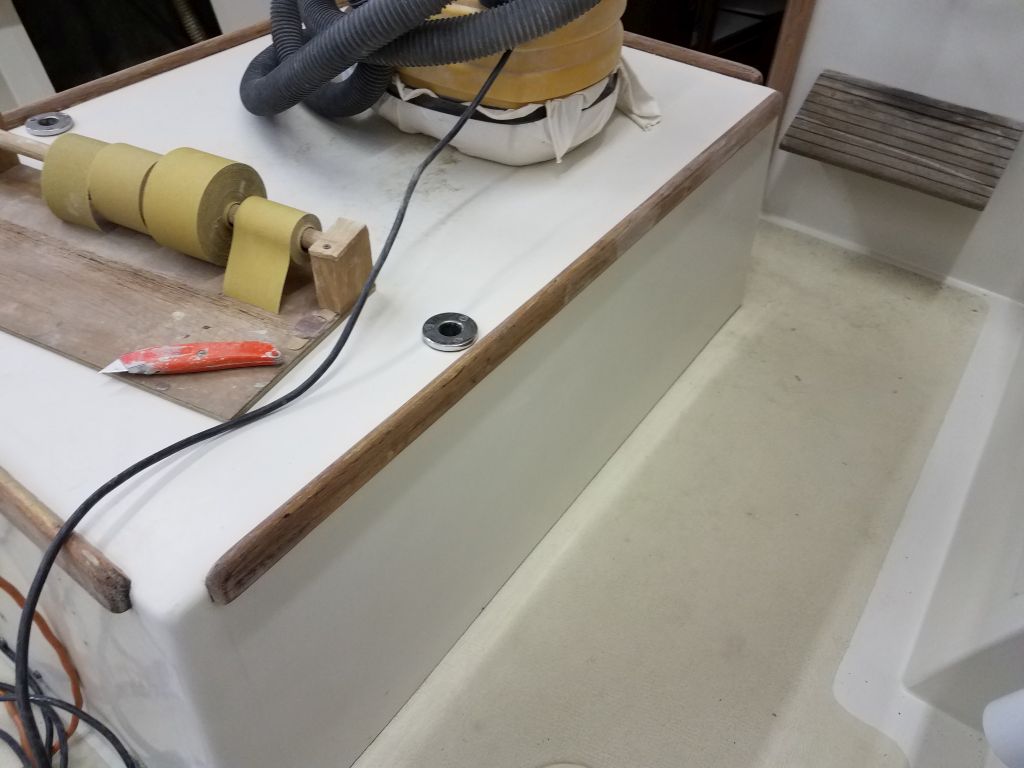
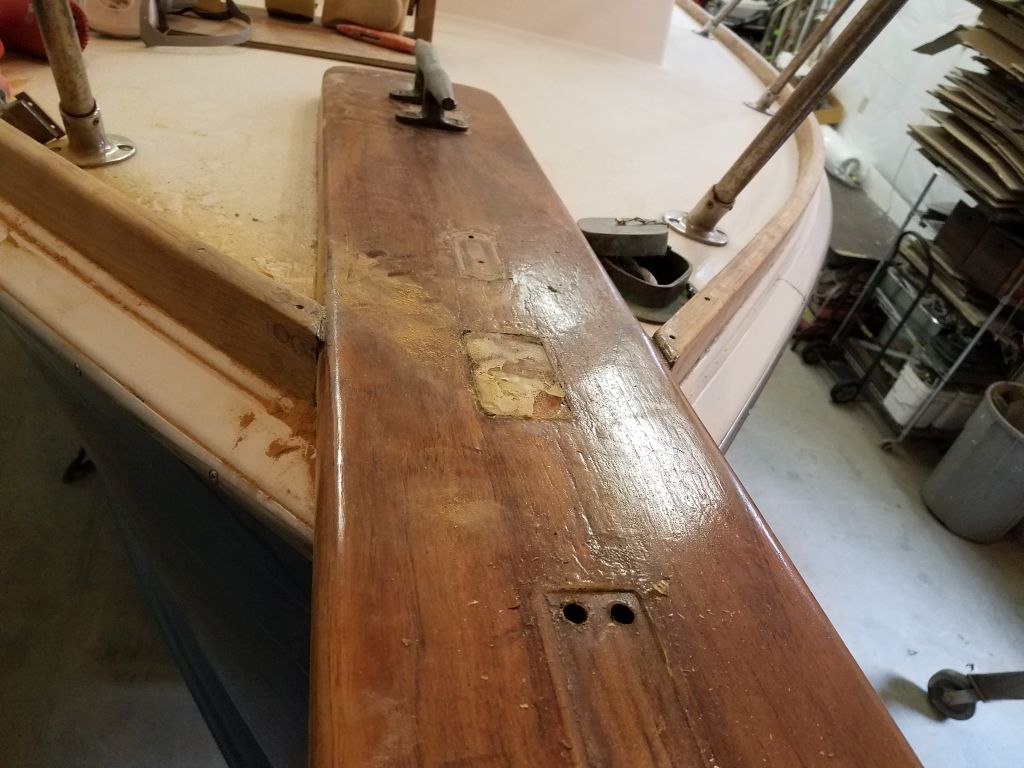
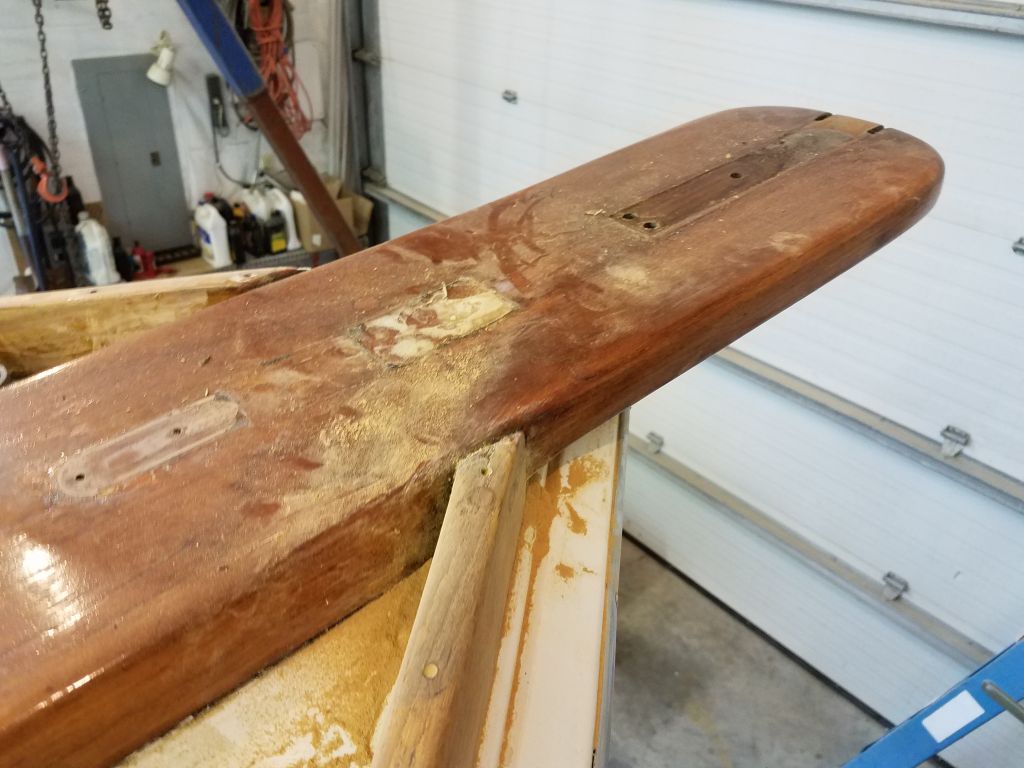
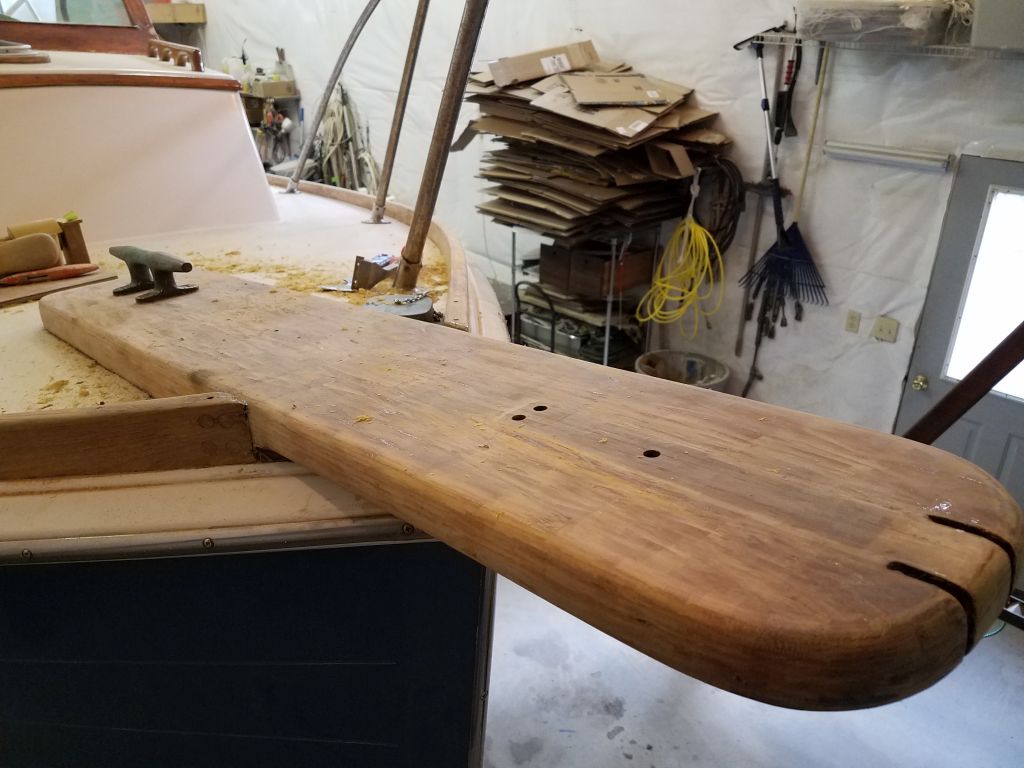
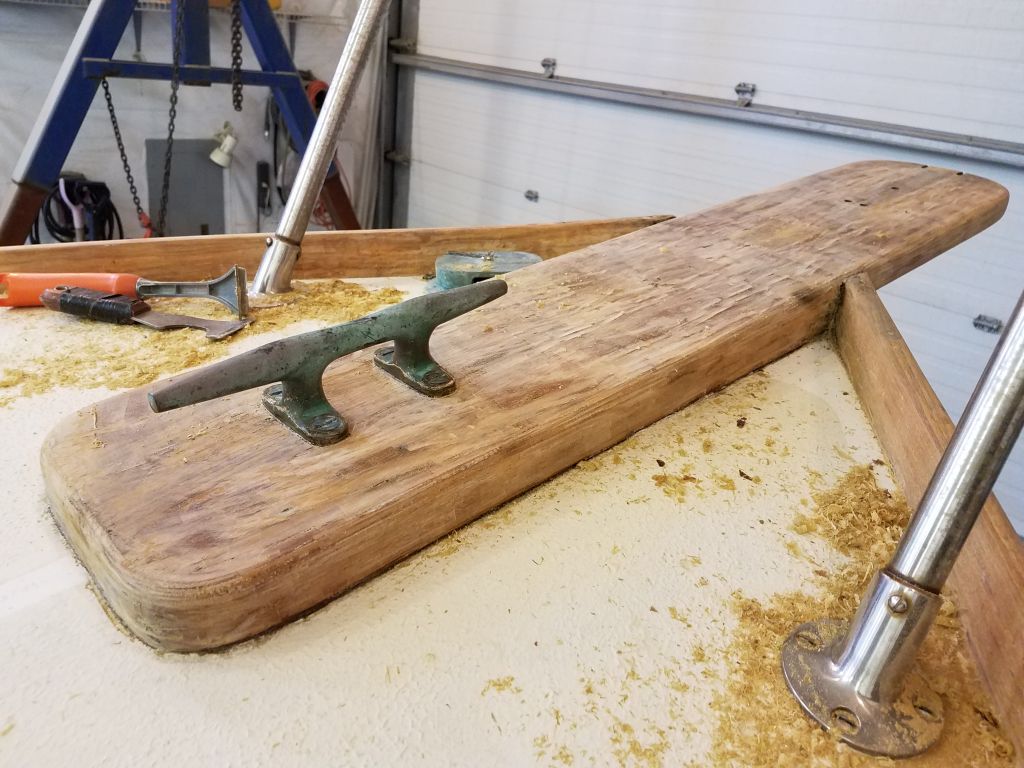
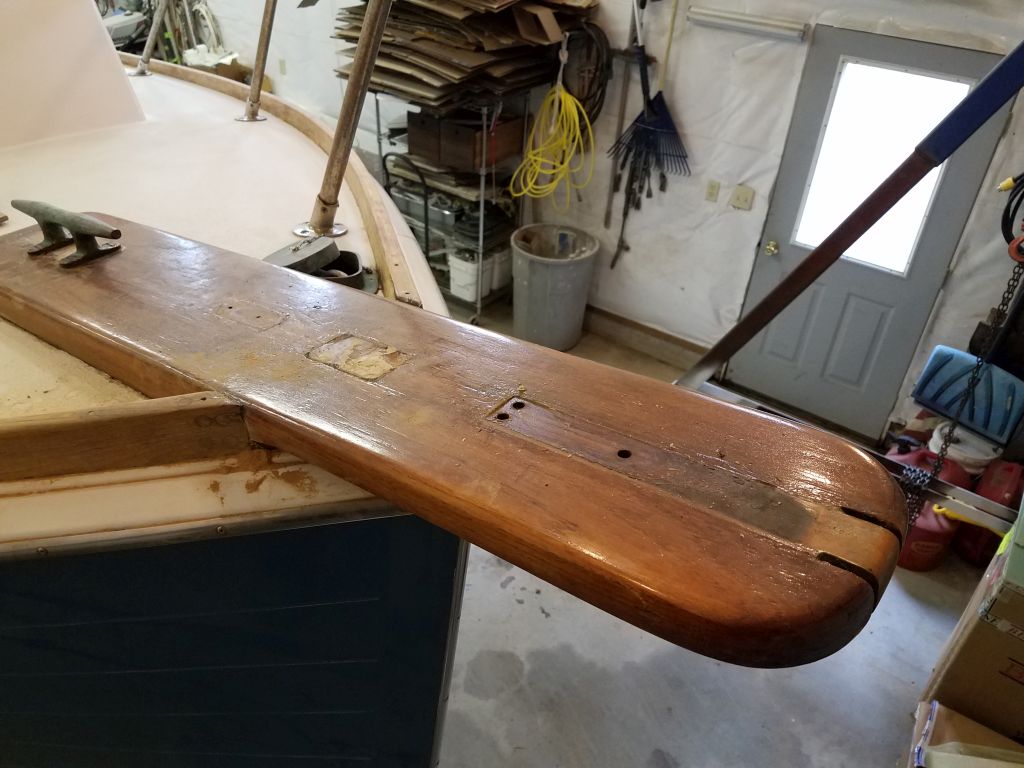
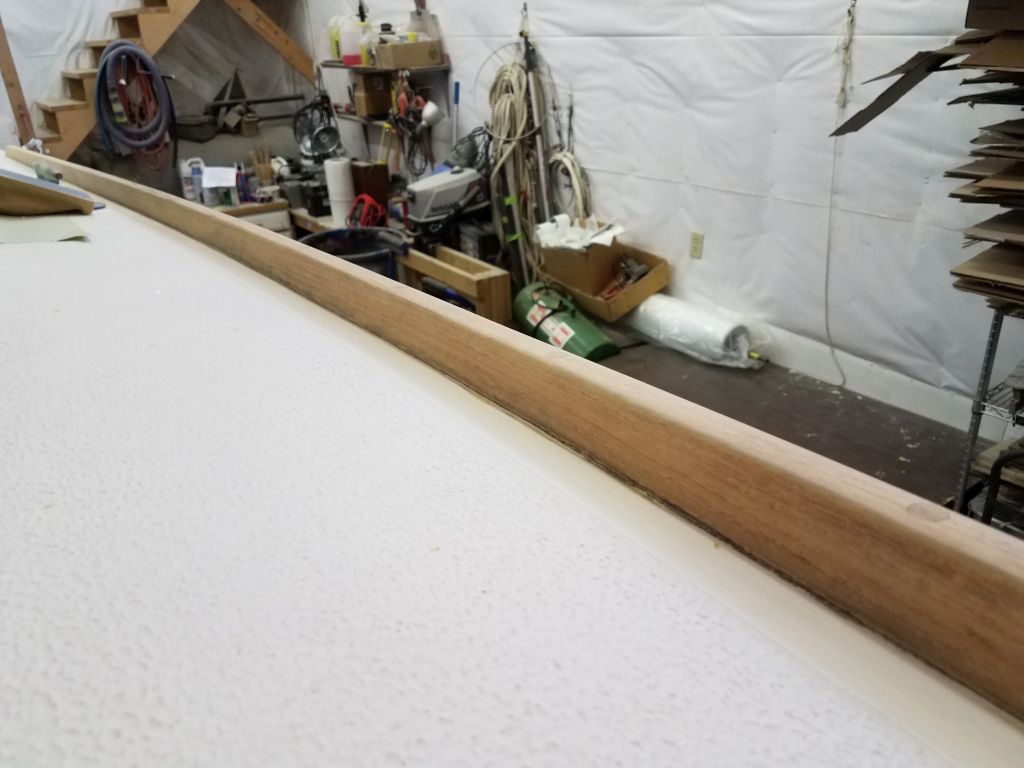
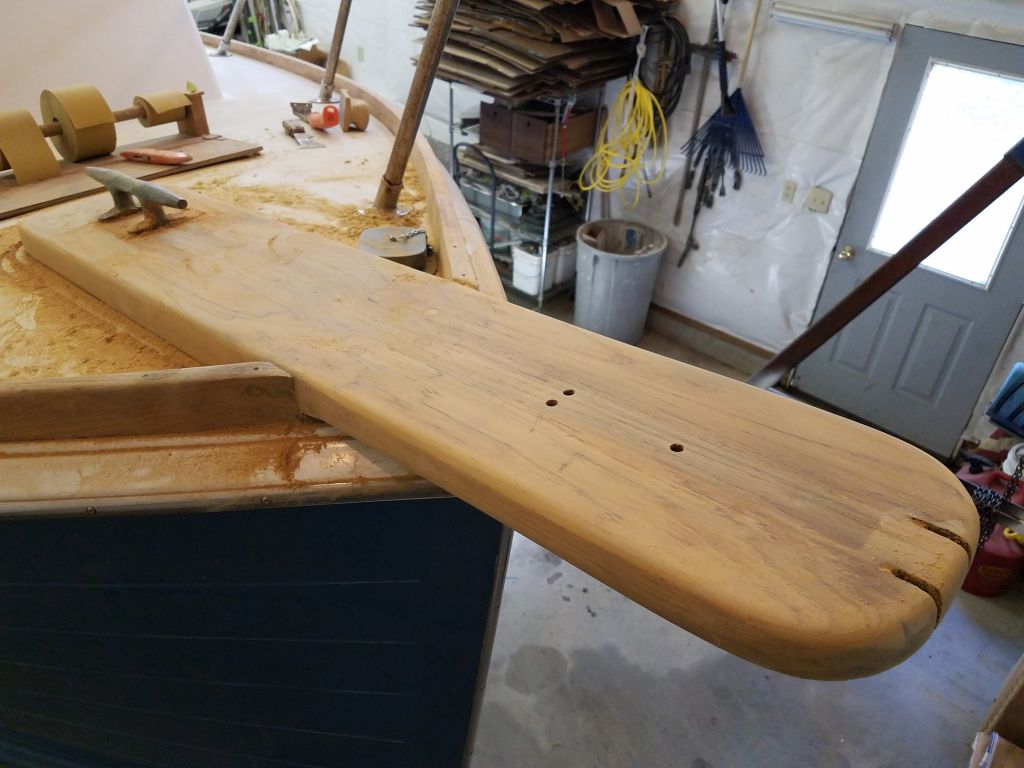
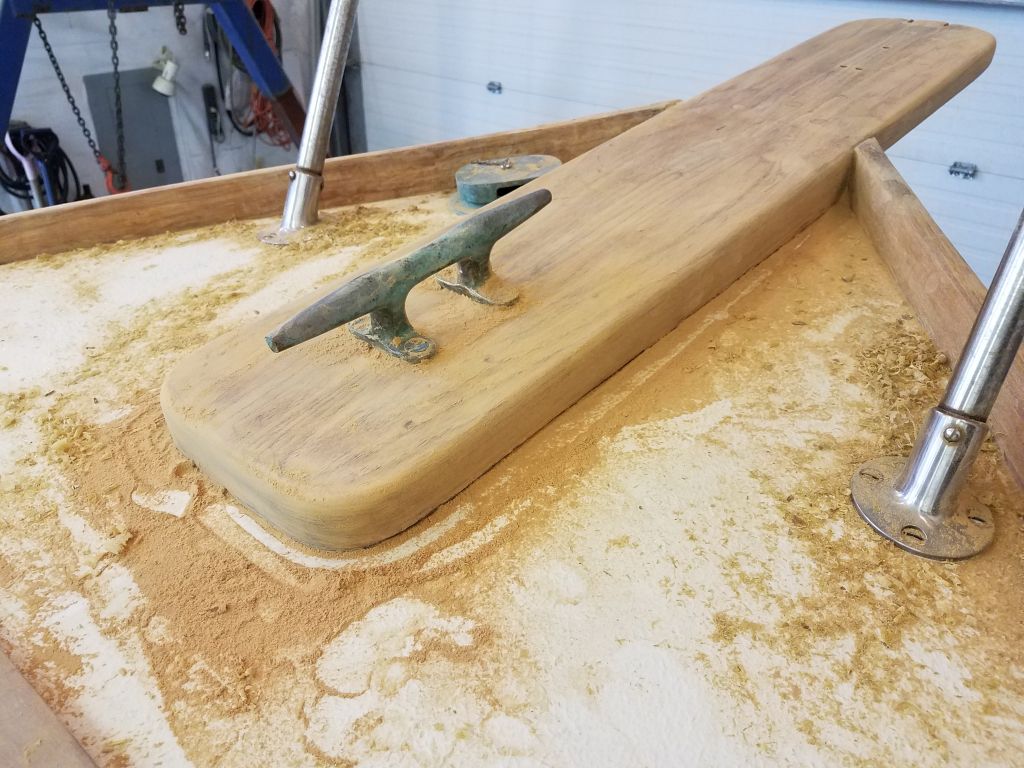
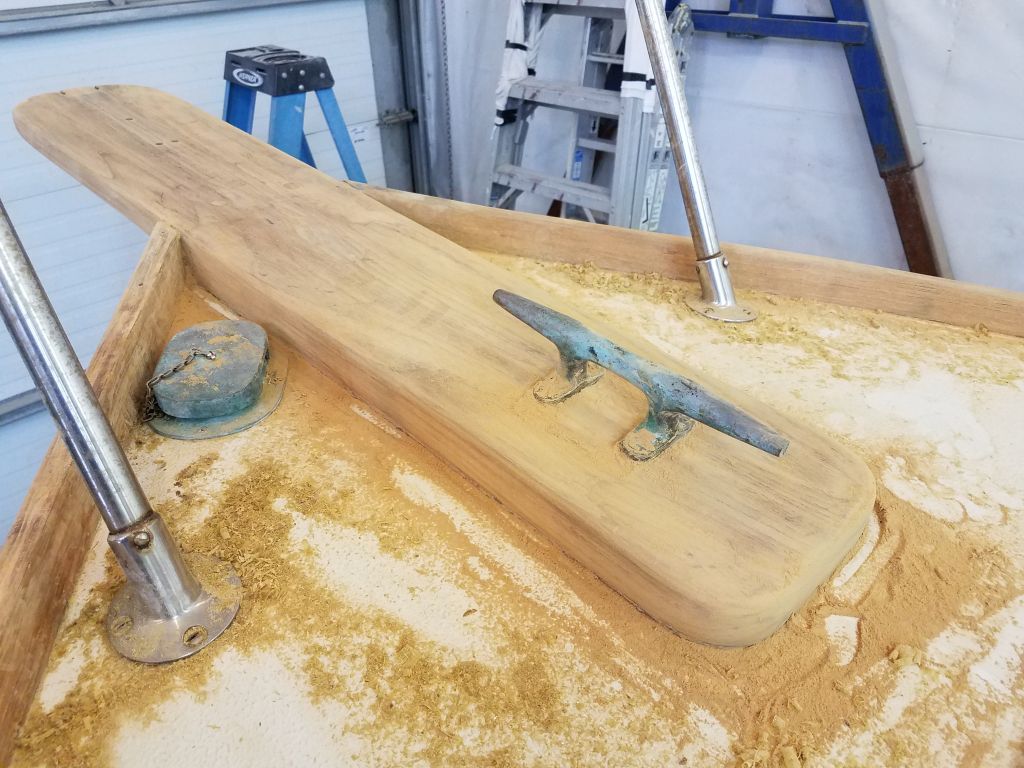
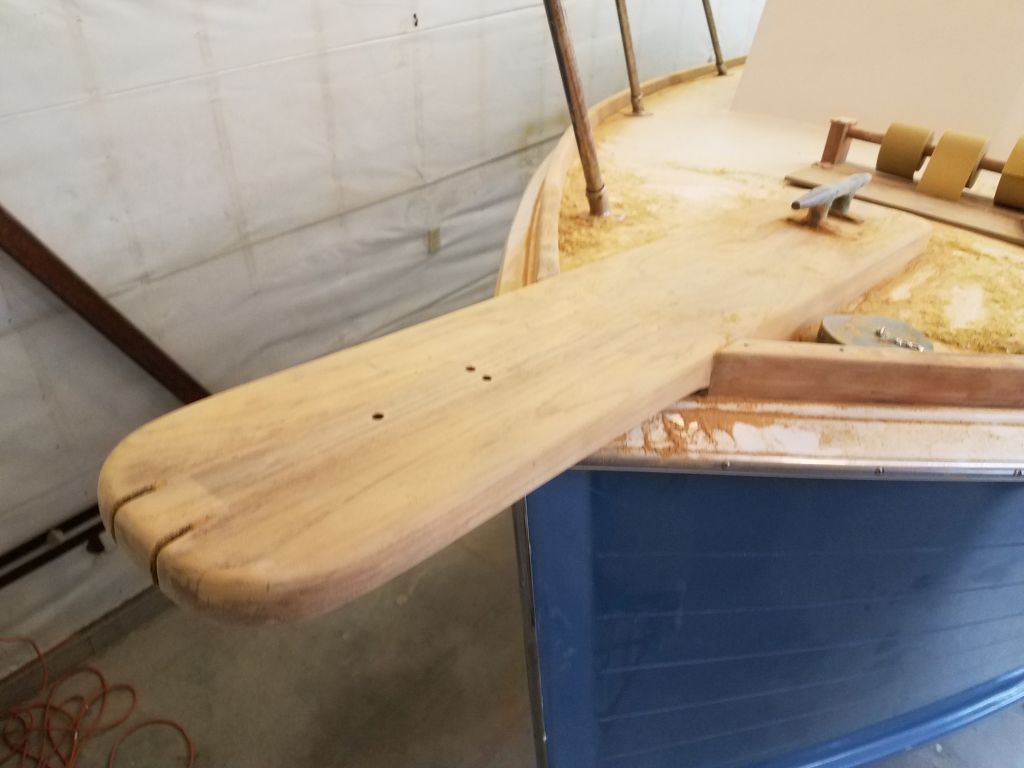
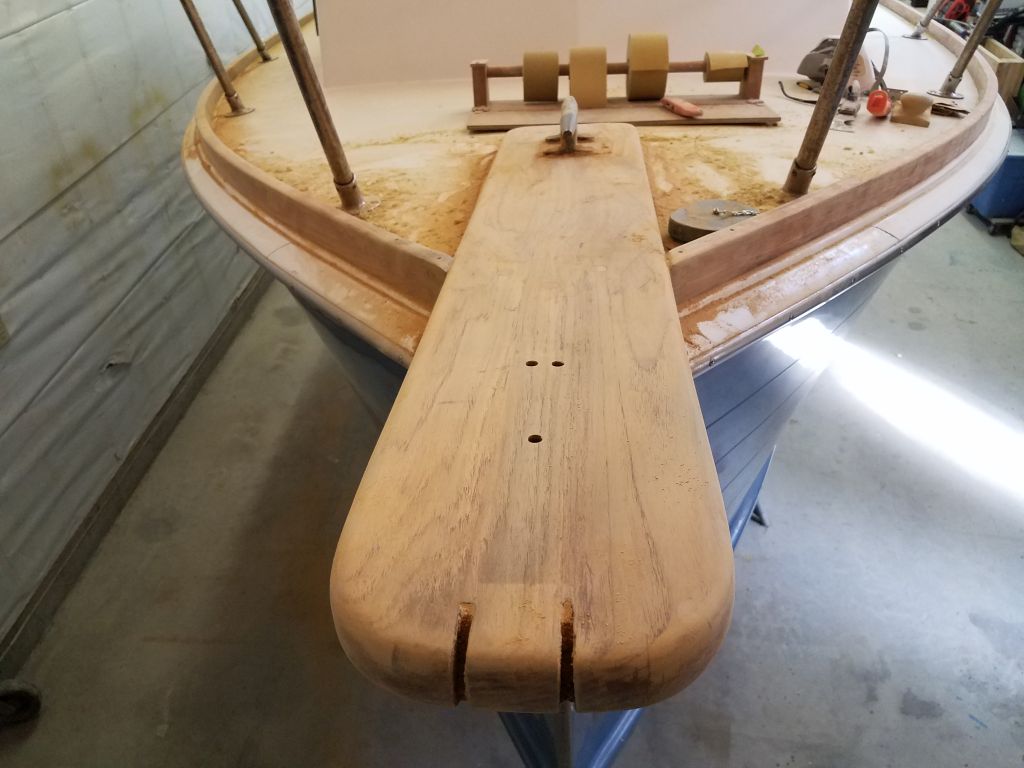
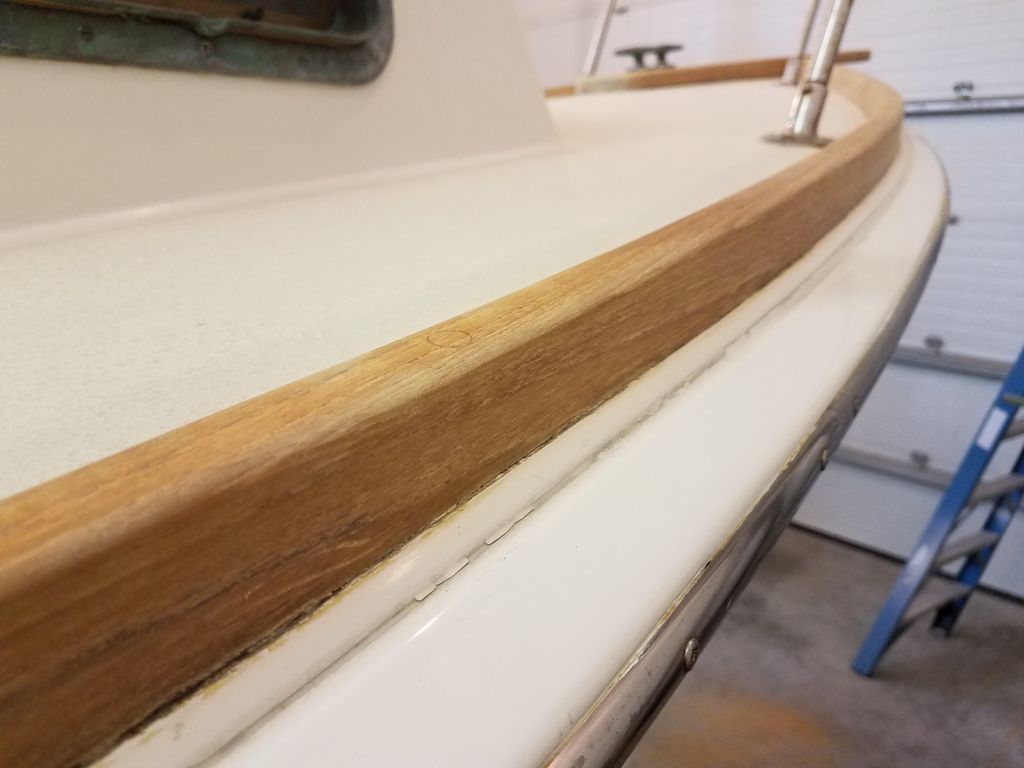
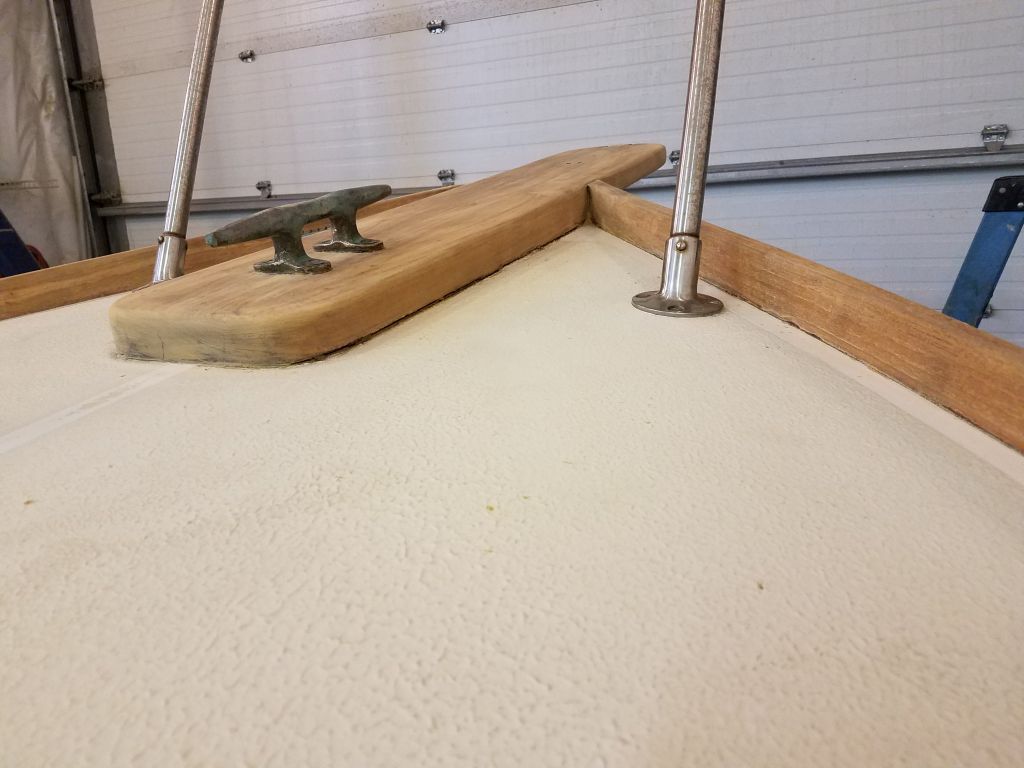
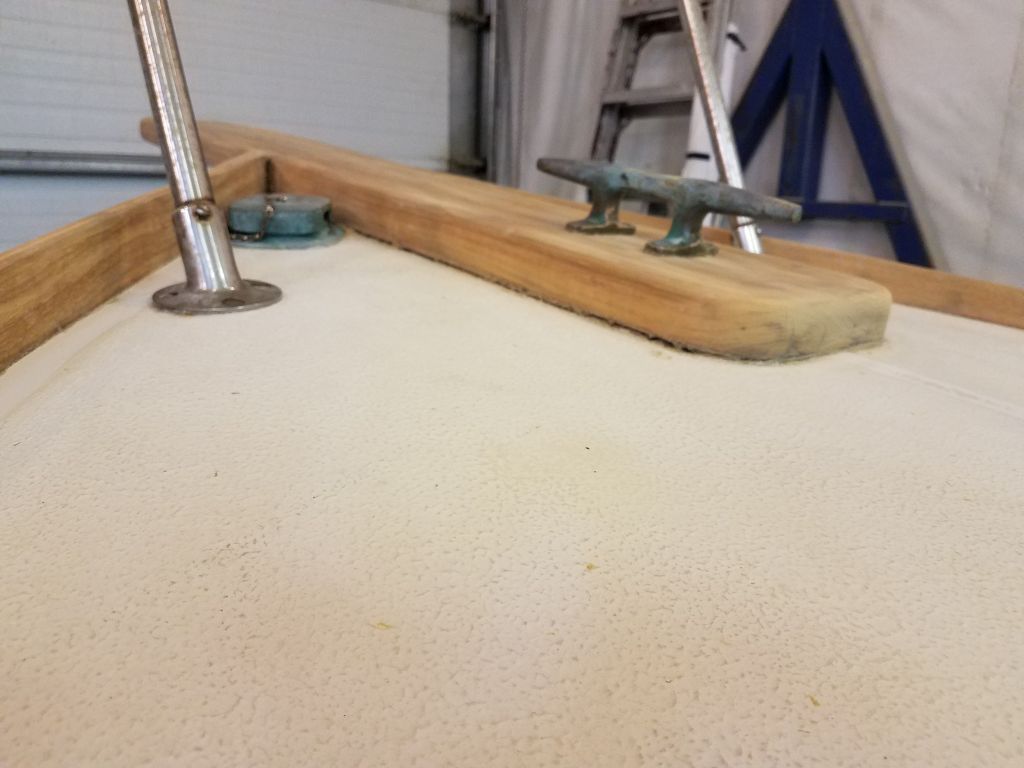
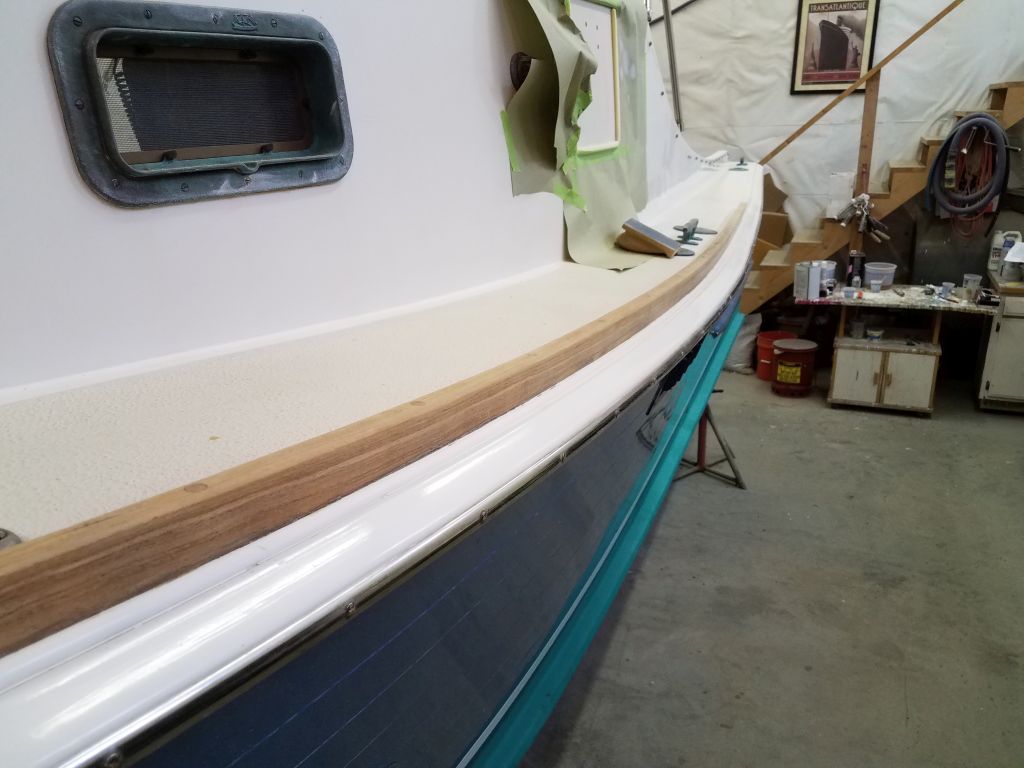
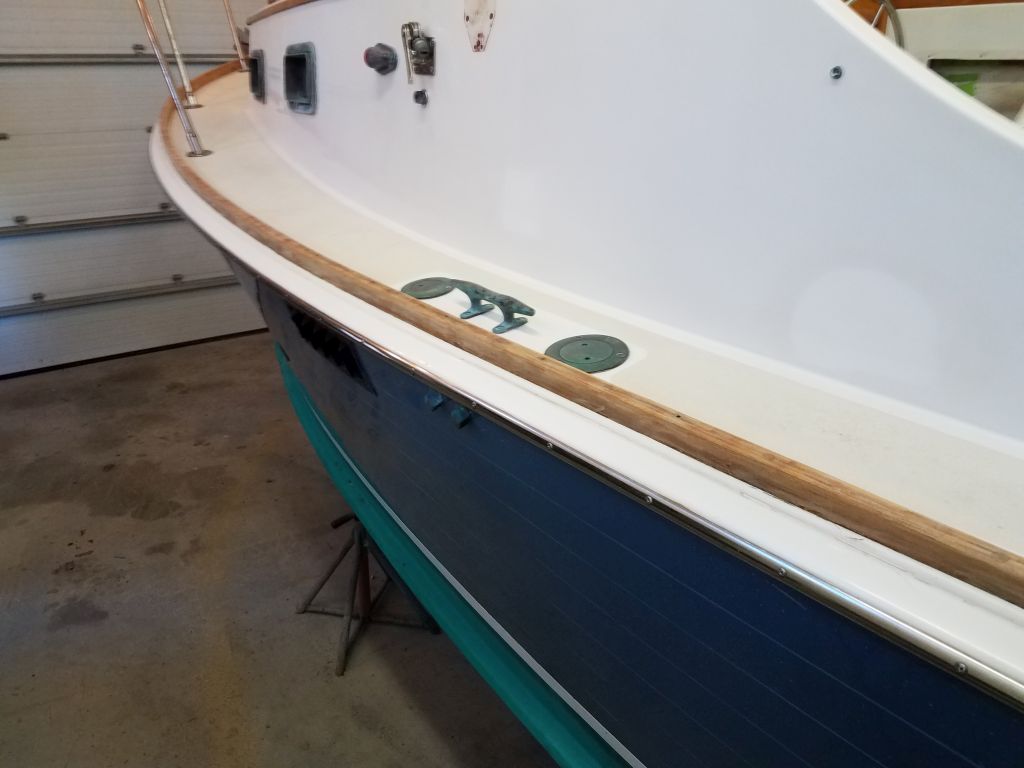
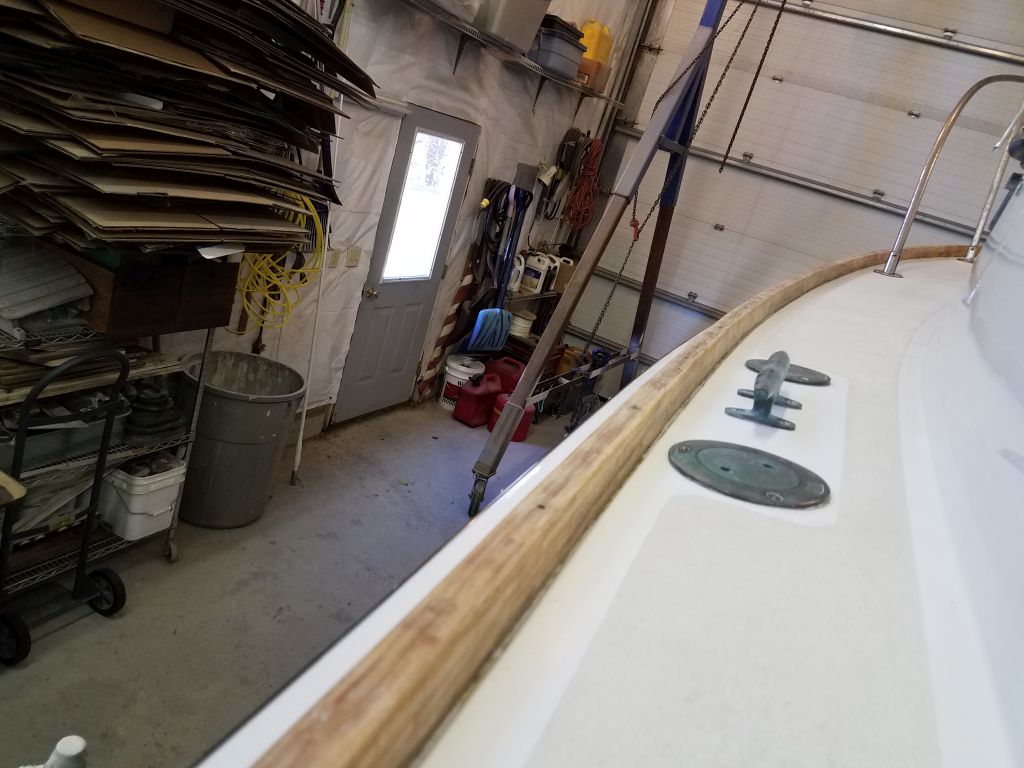
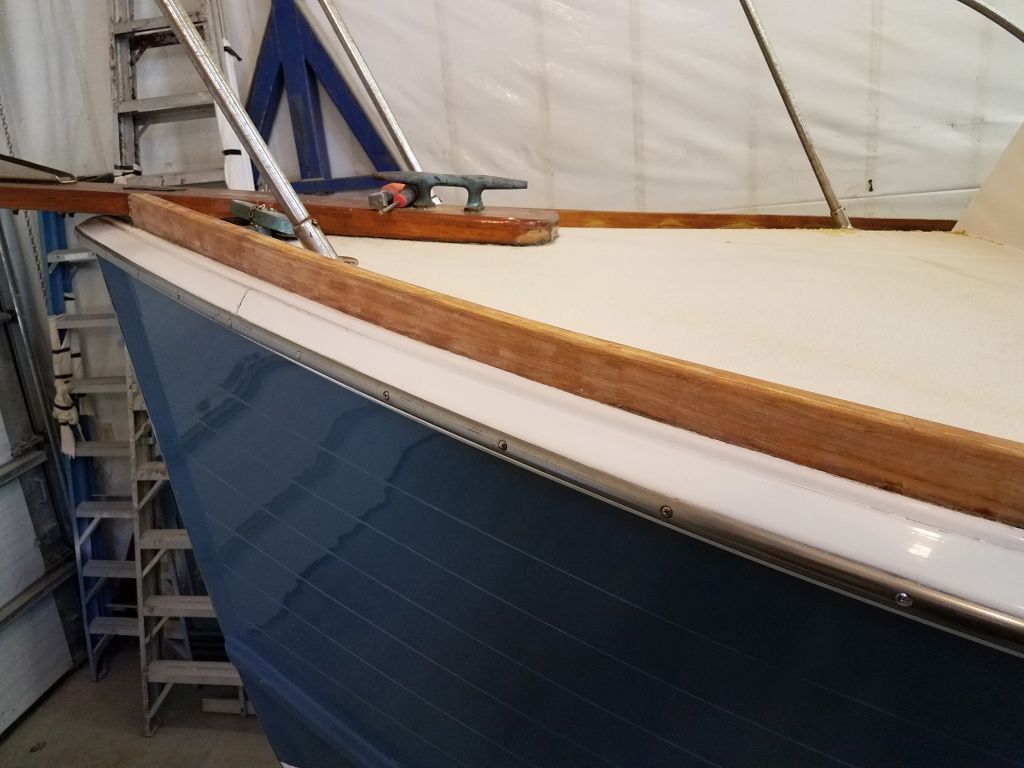
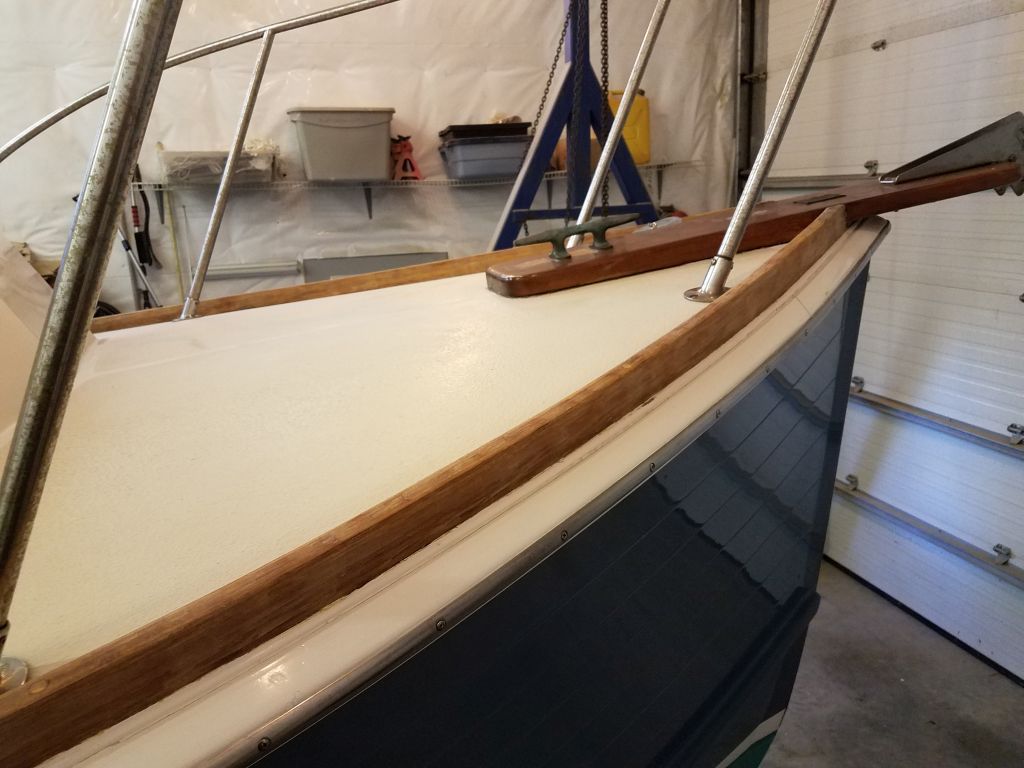
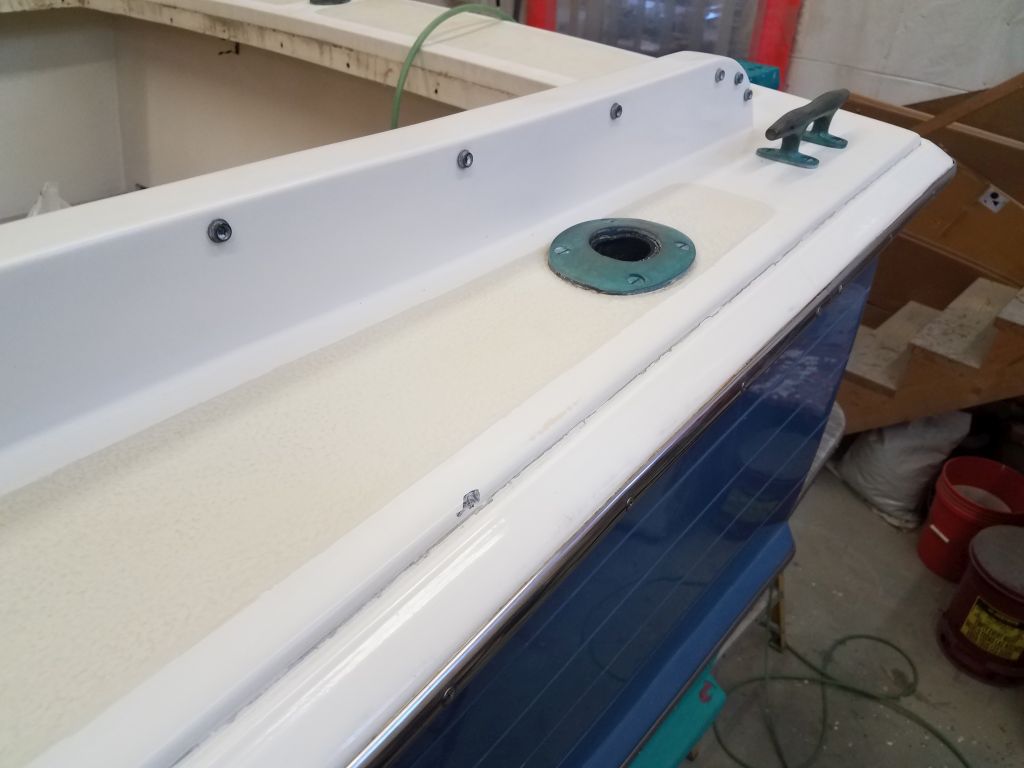
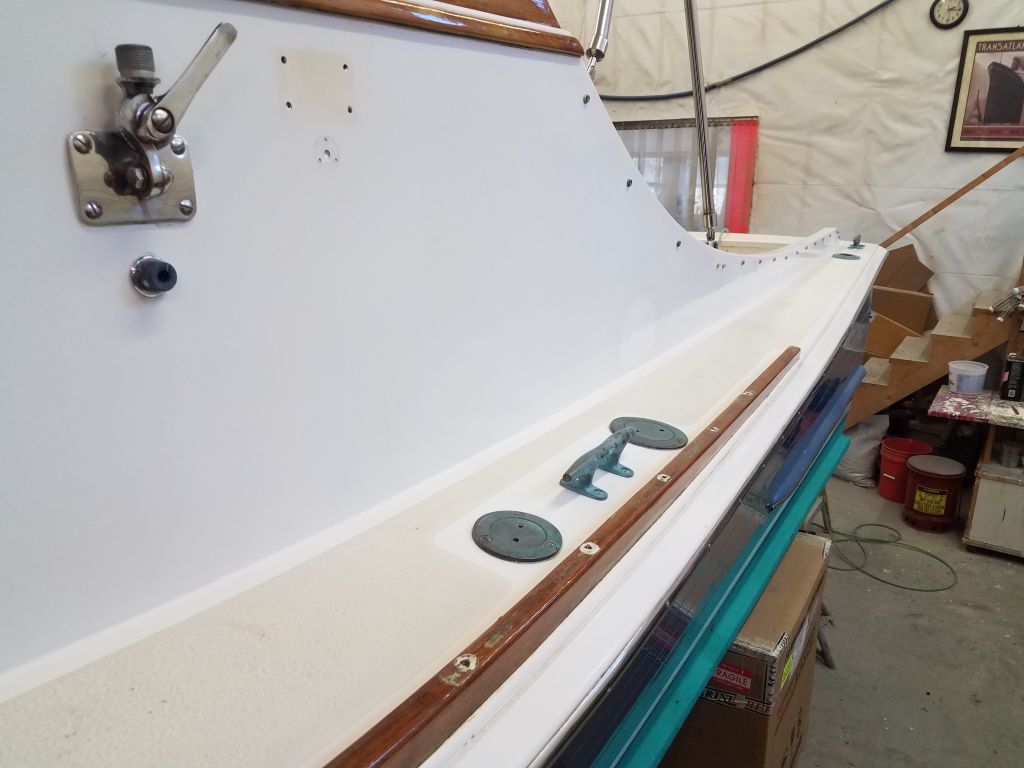
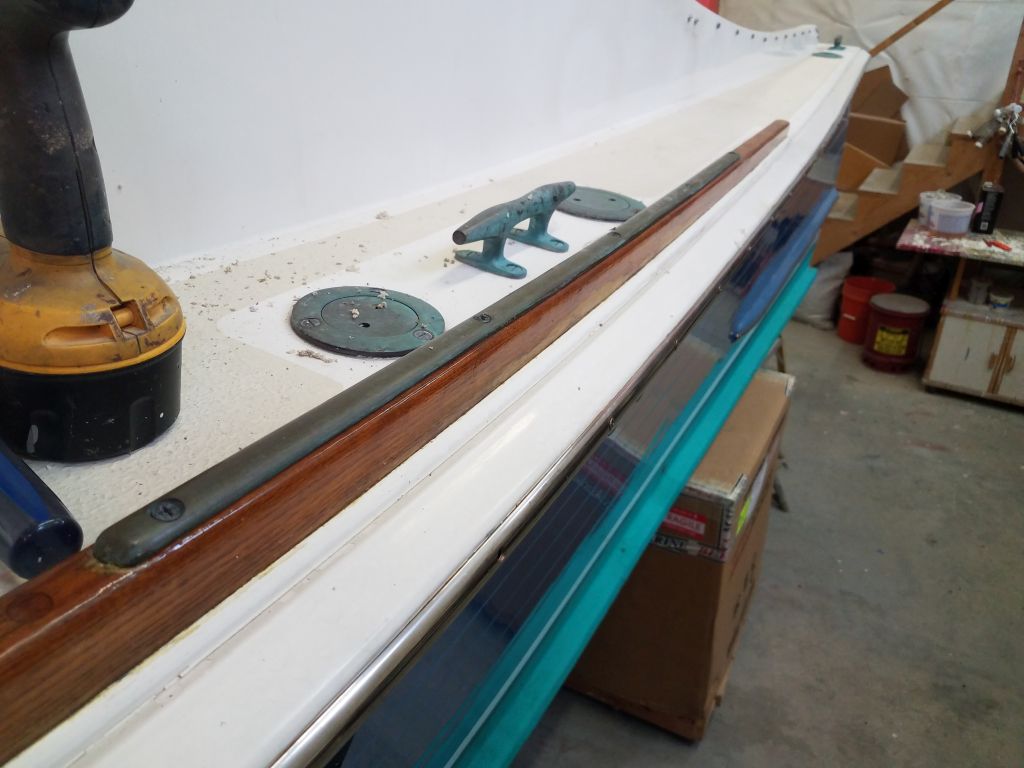
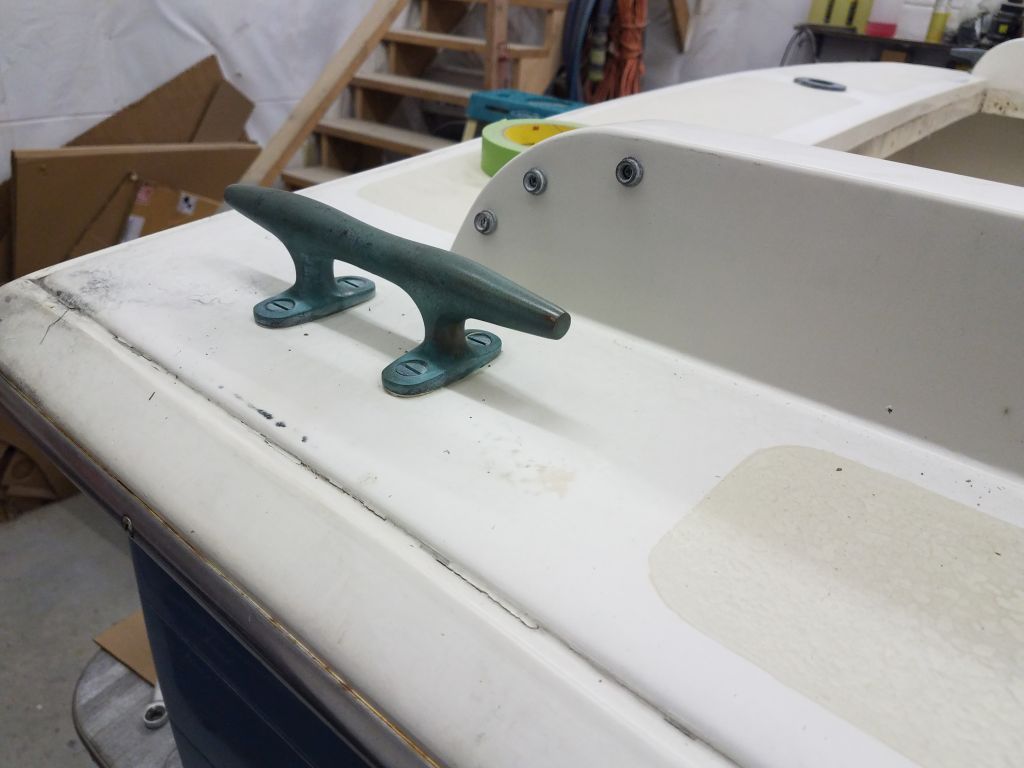
Some final trim in the way was a pair of bronze chafe guards on the toerails amidships, in way of the breast cleats.  I removed these so I could strip the toerails and revarnish.

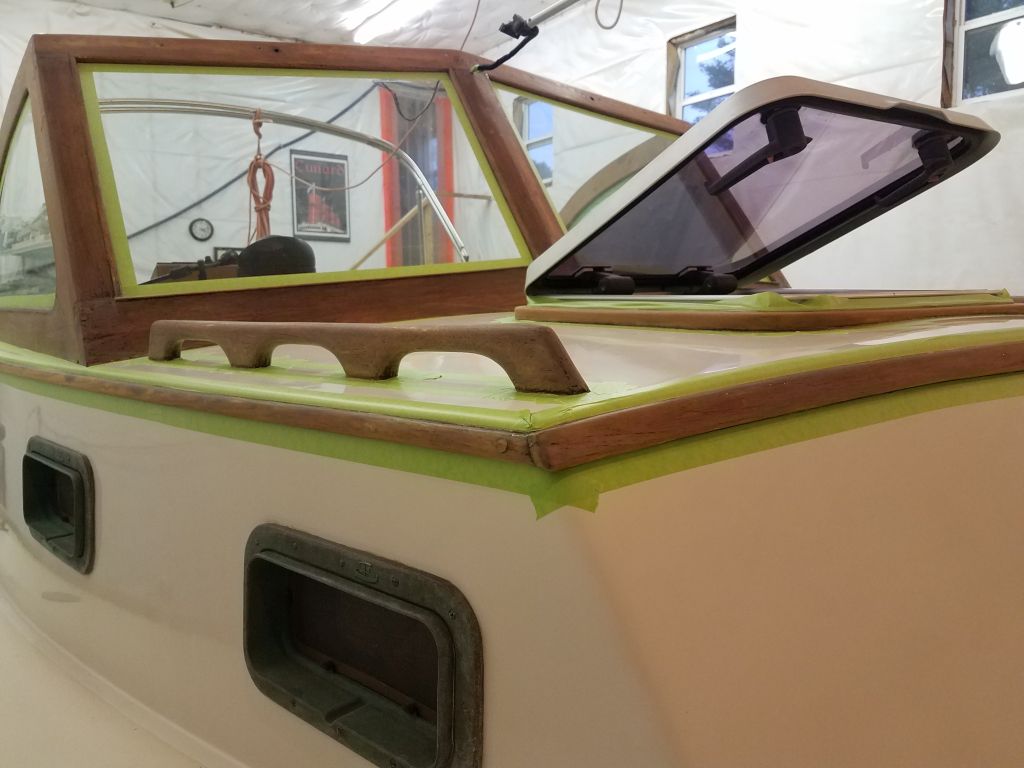
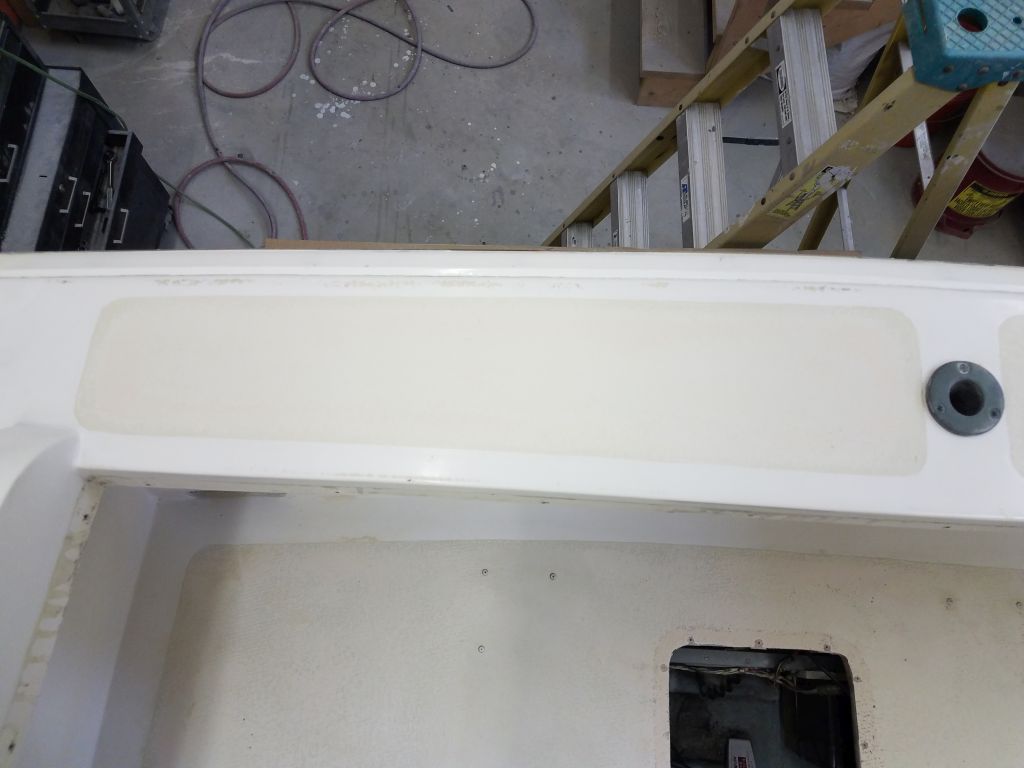
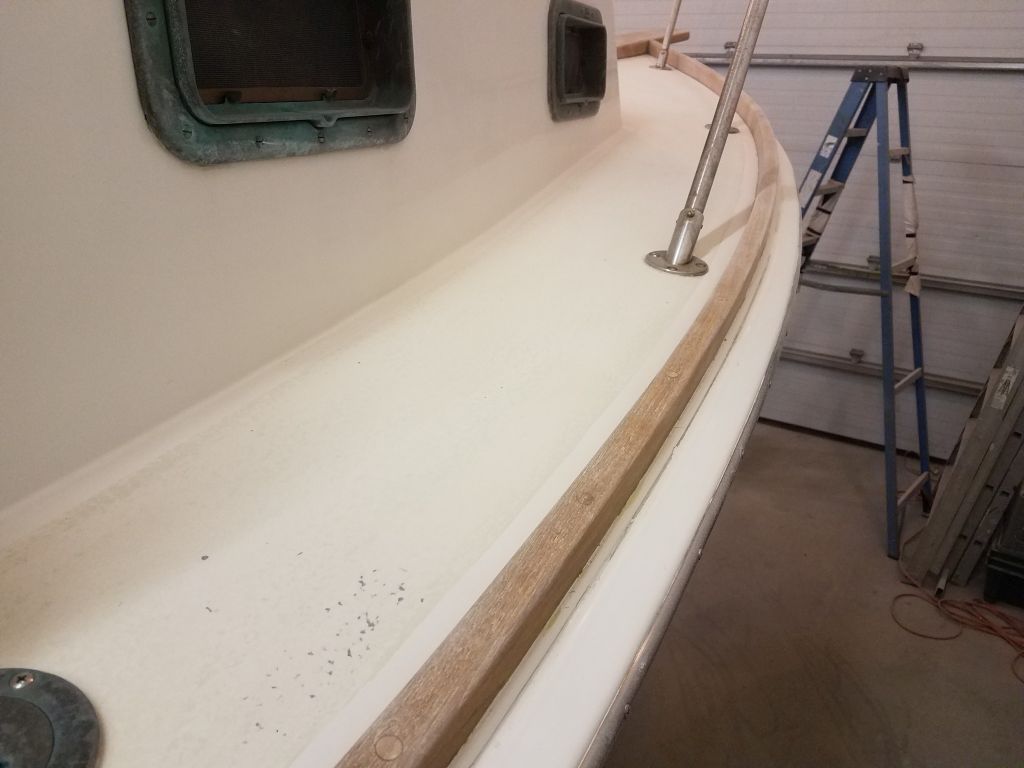
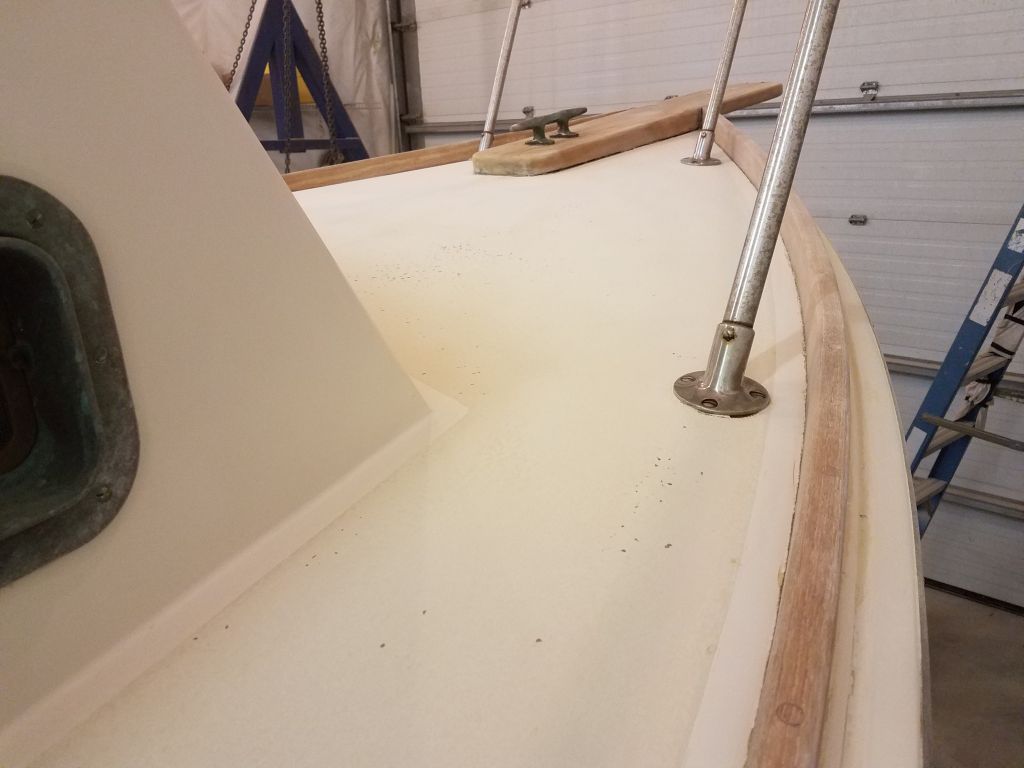
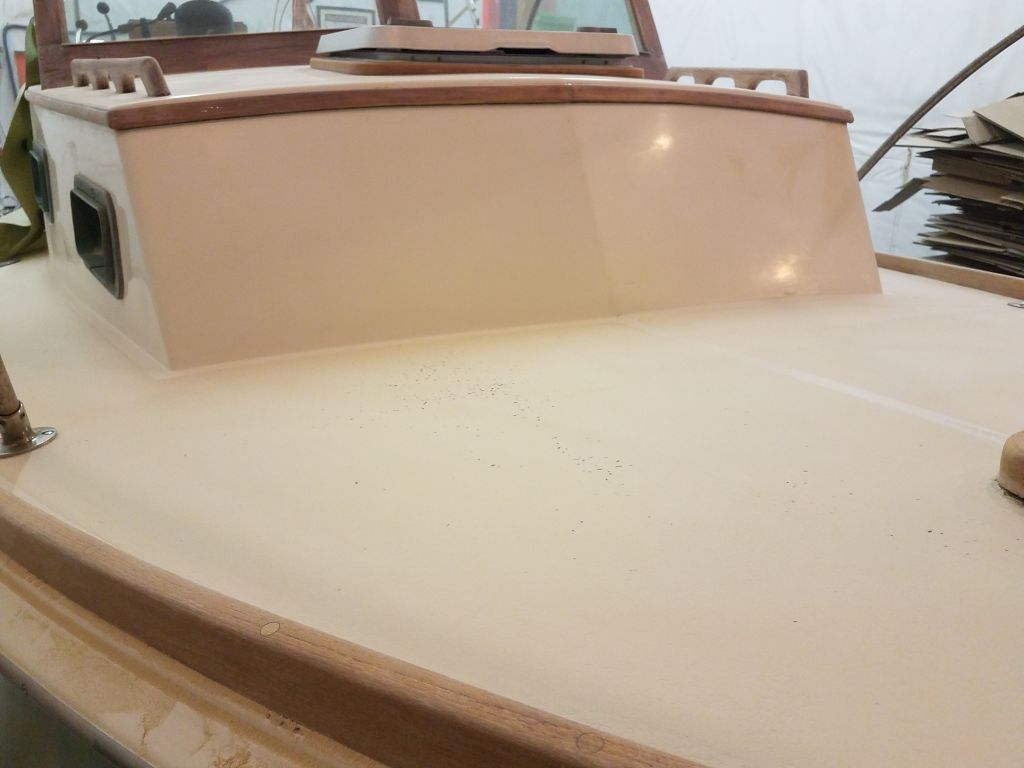
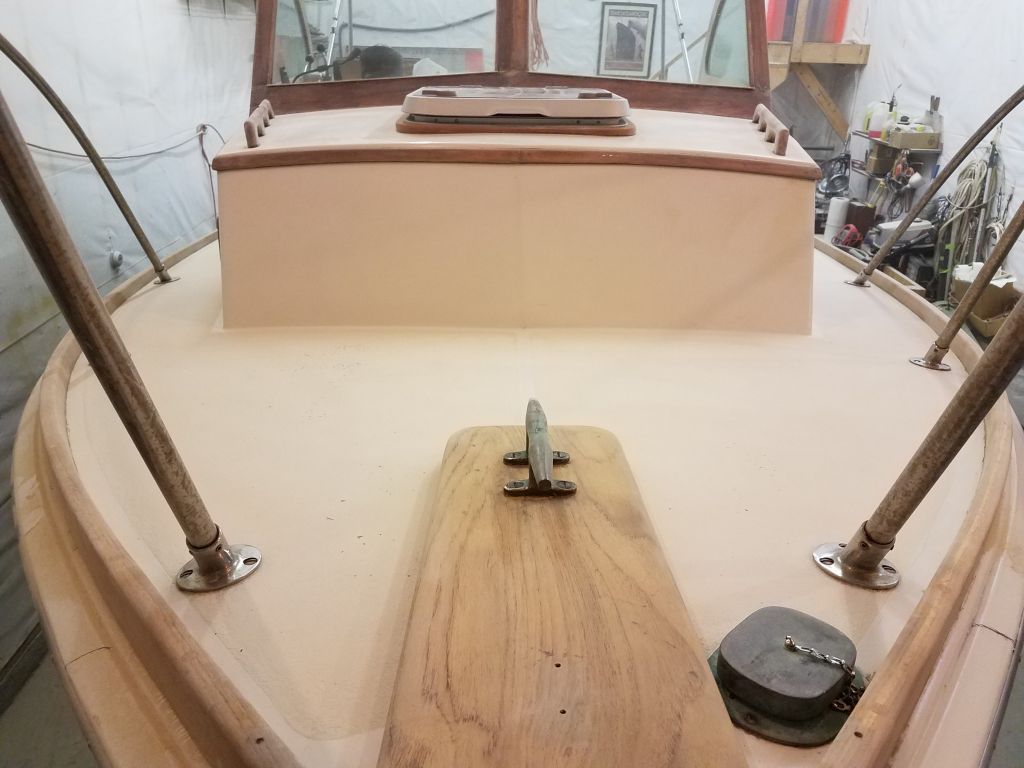
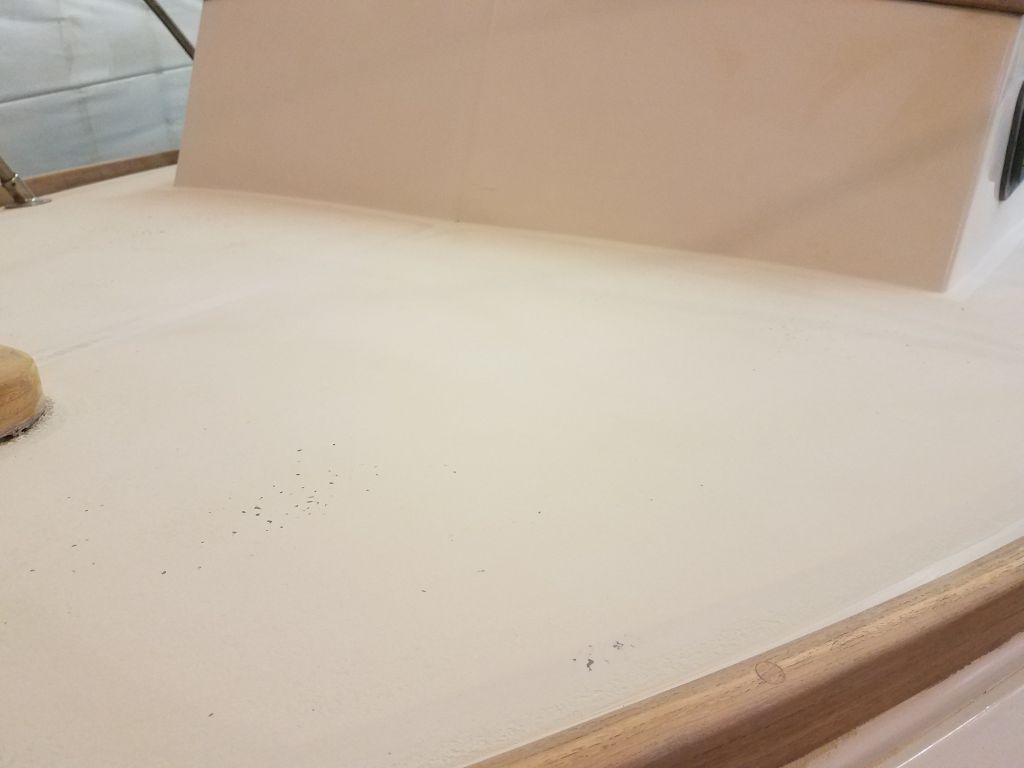
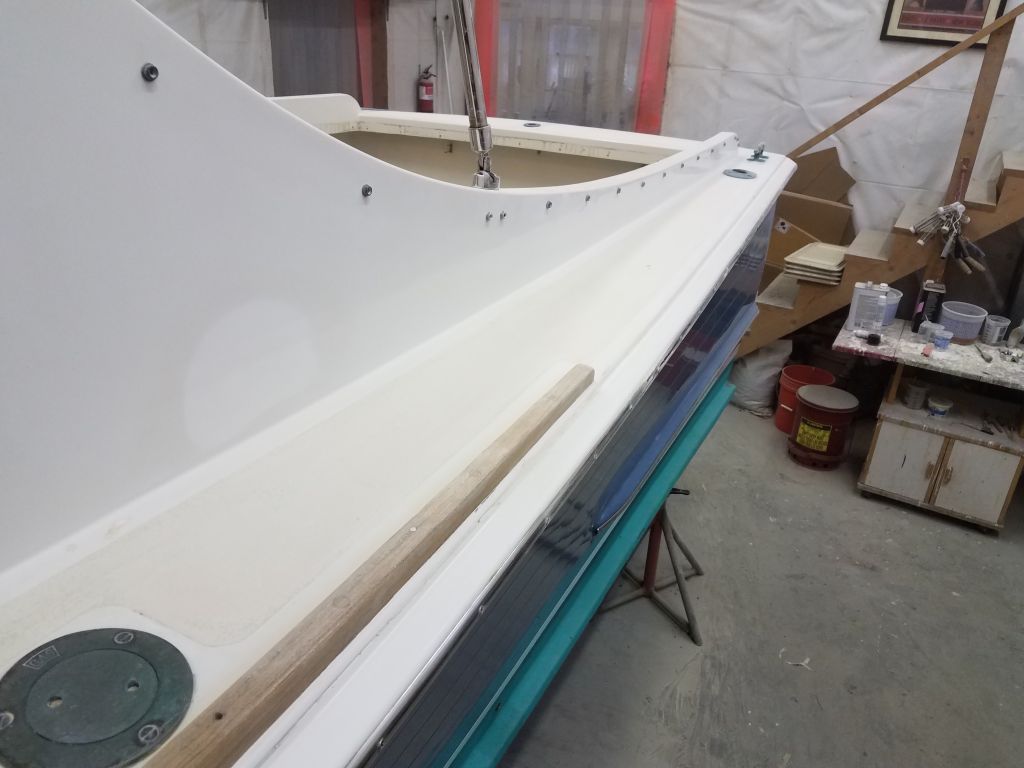
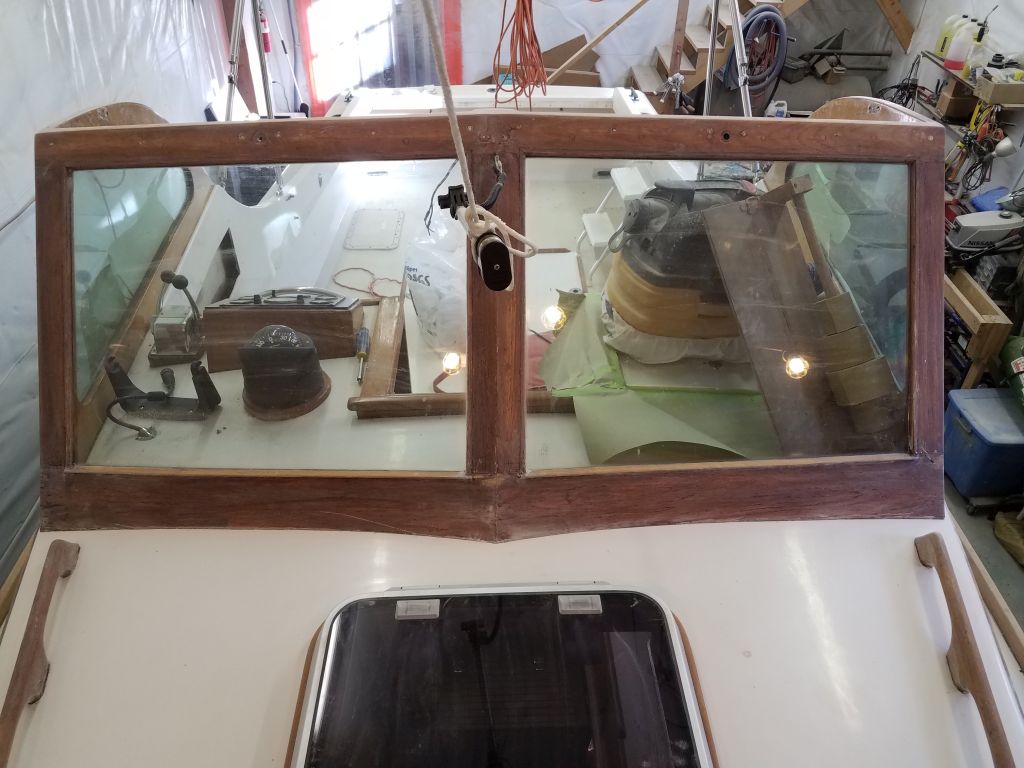
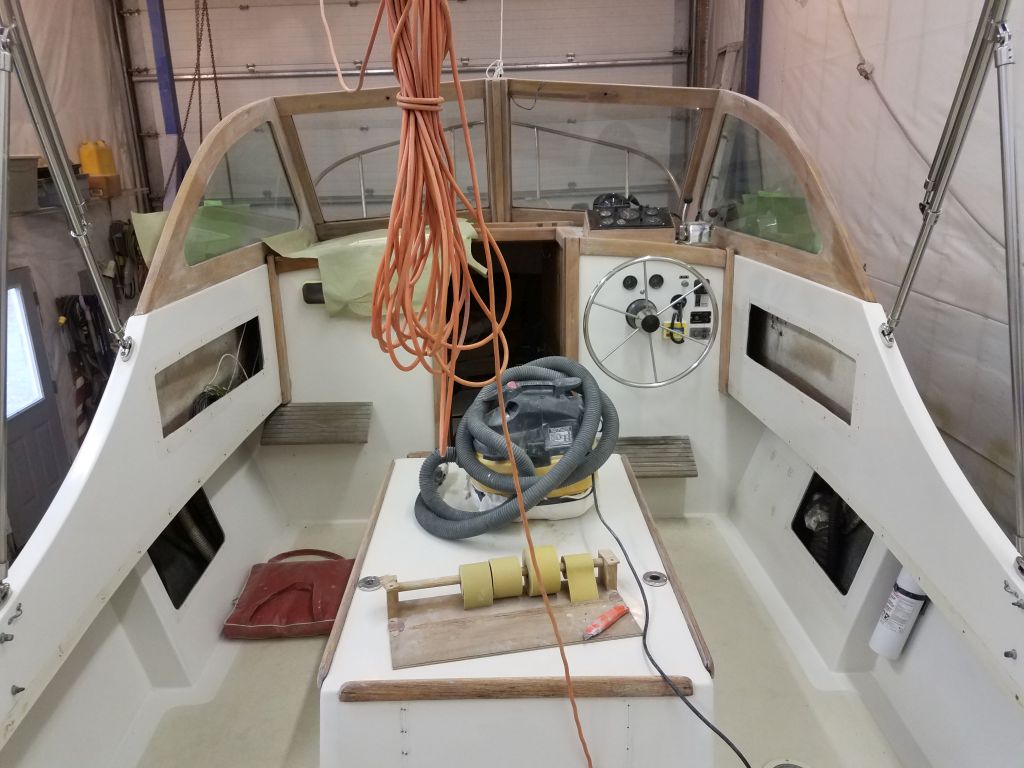
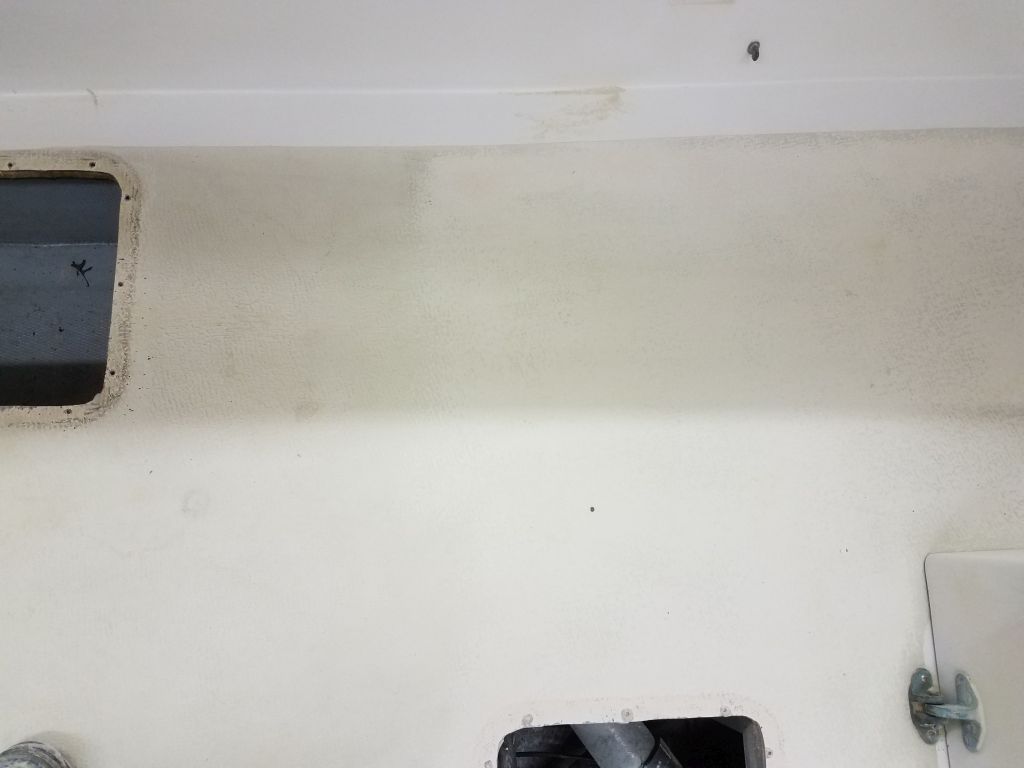
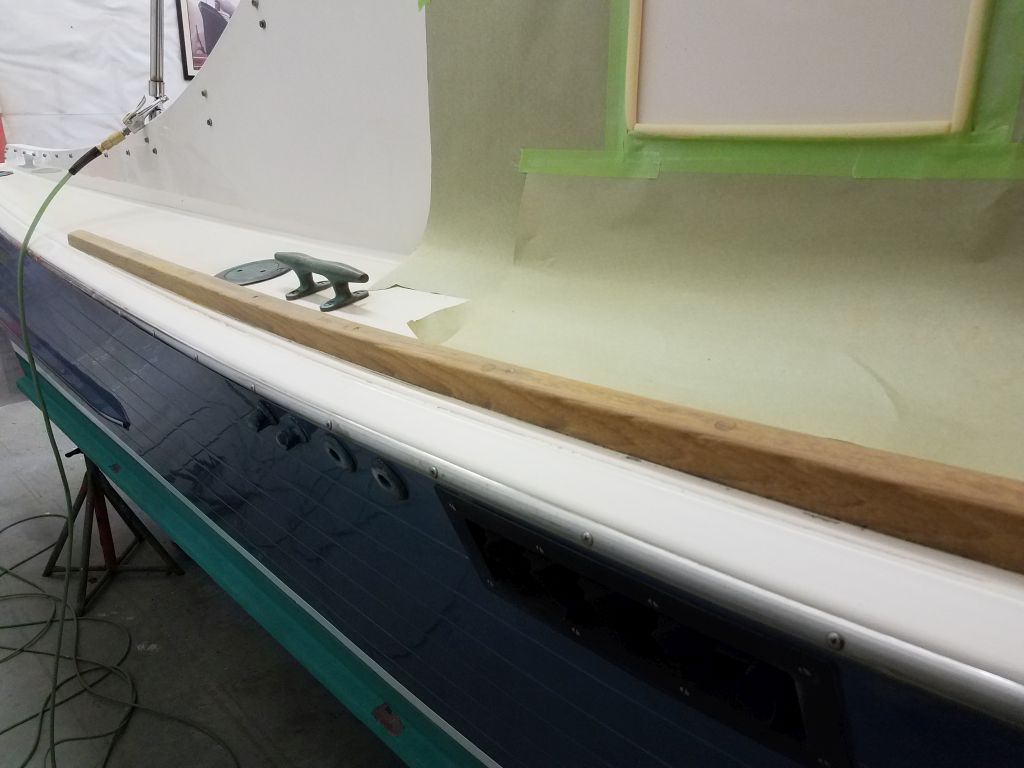
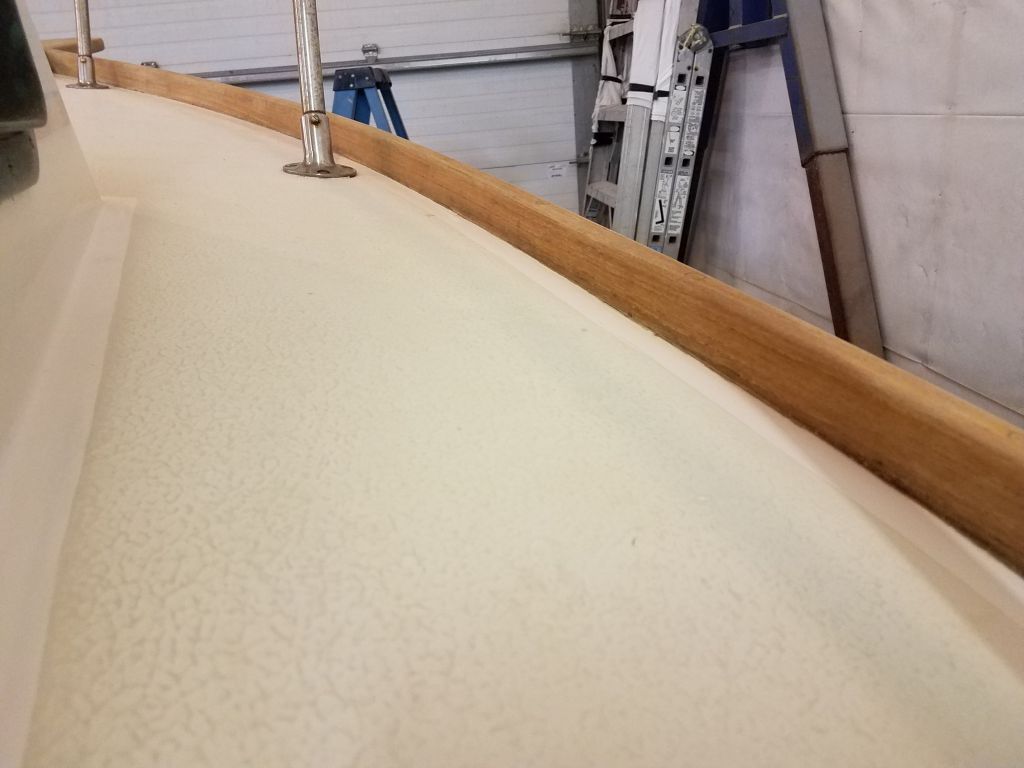
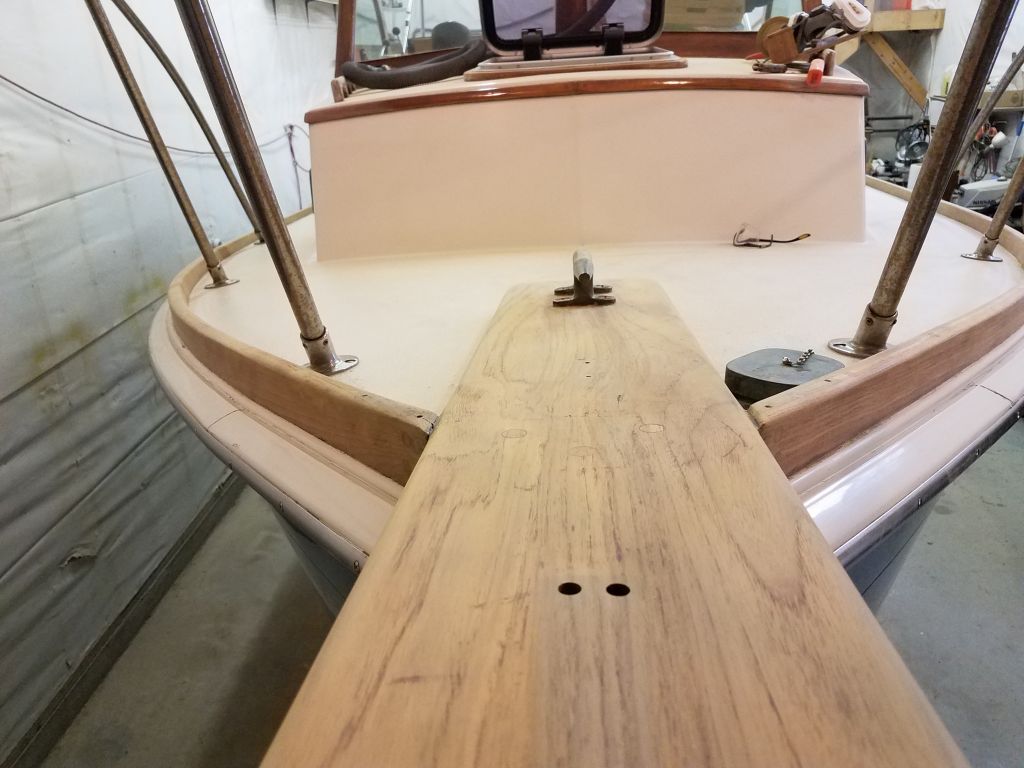
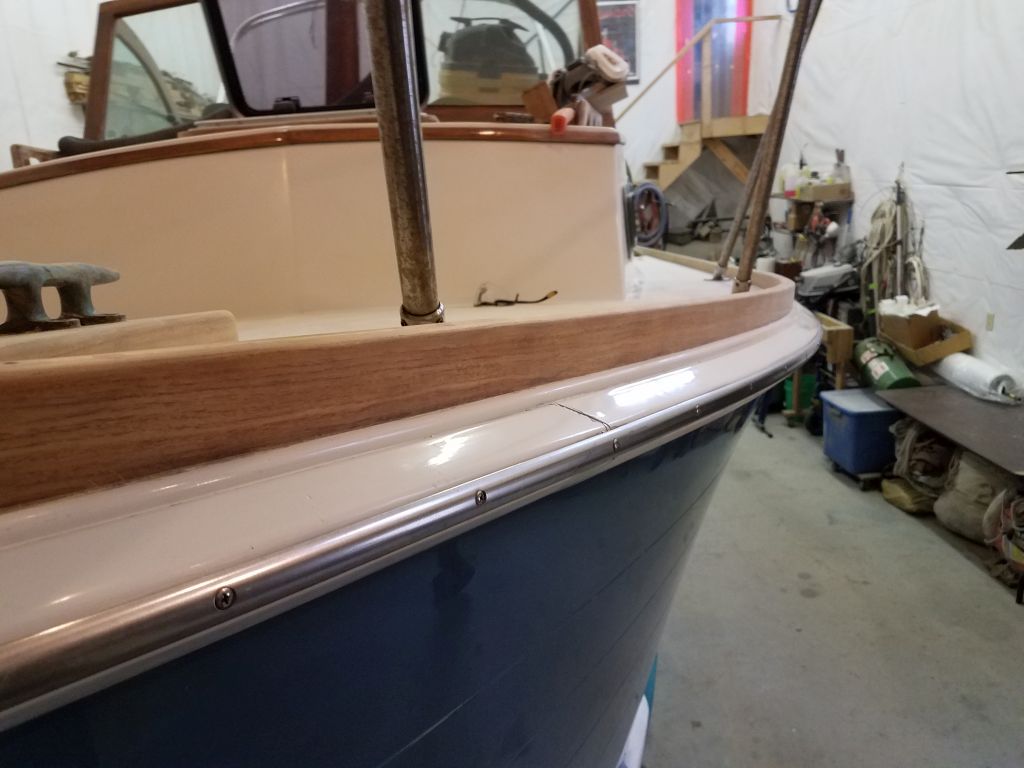
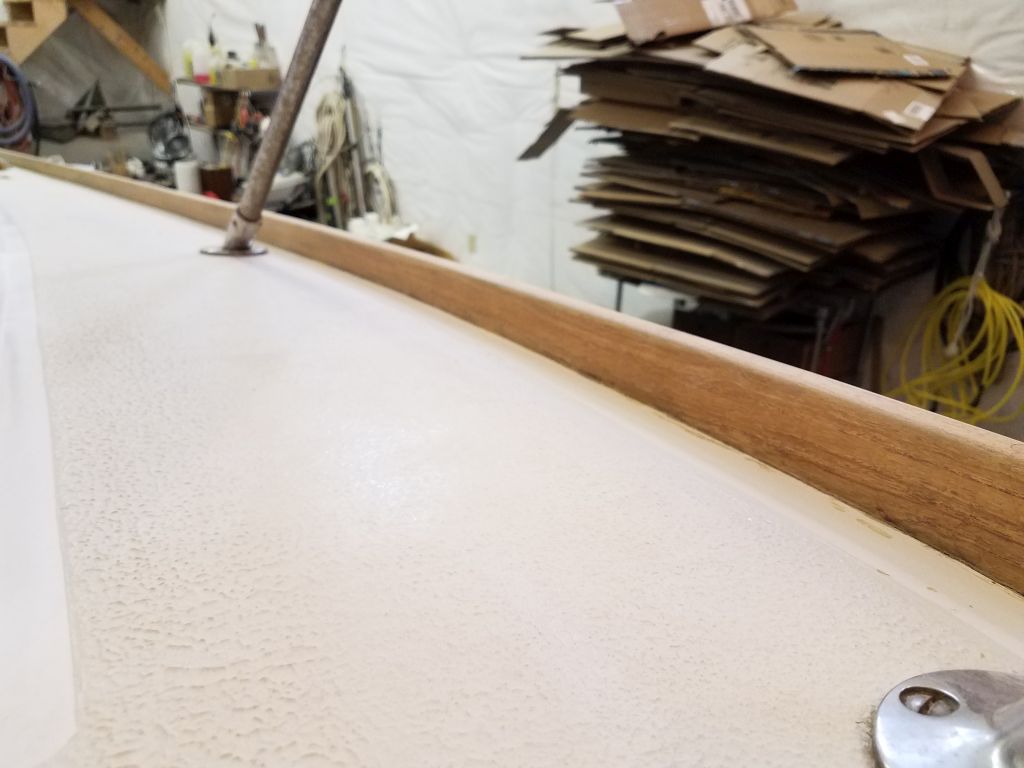
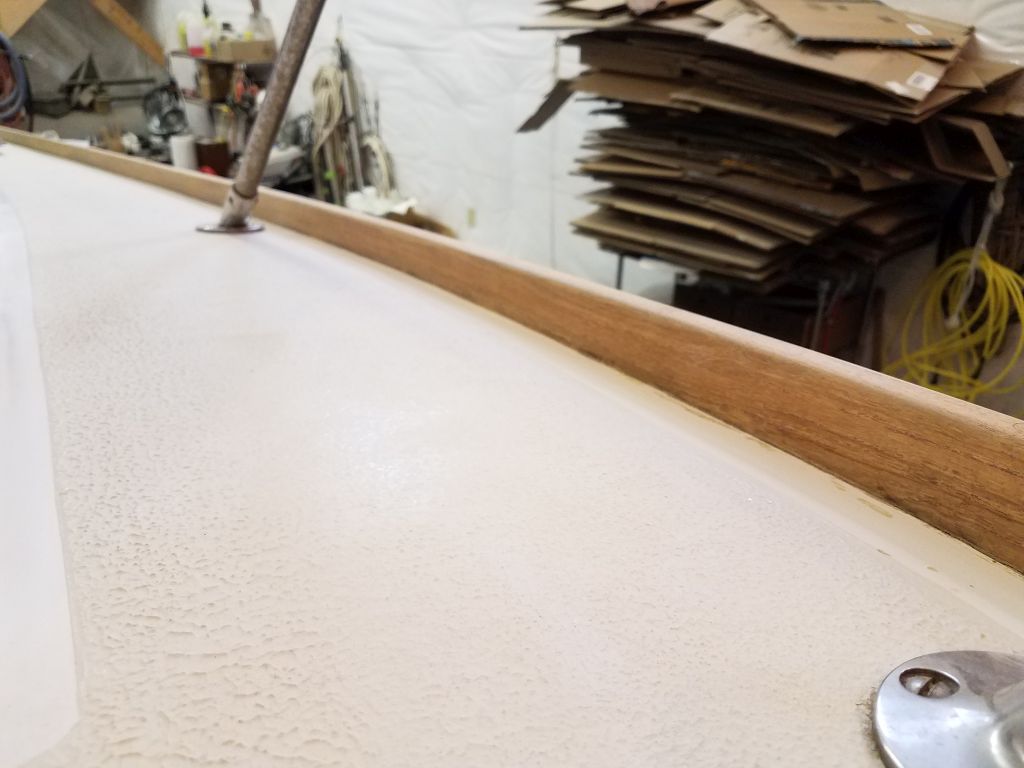
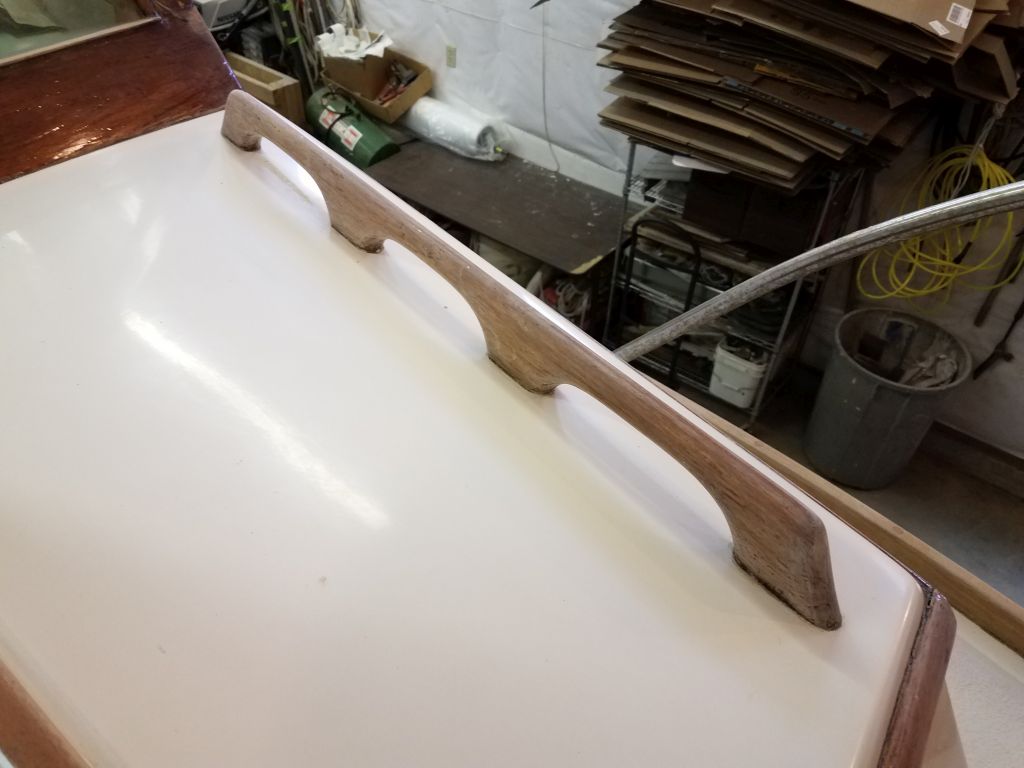
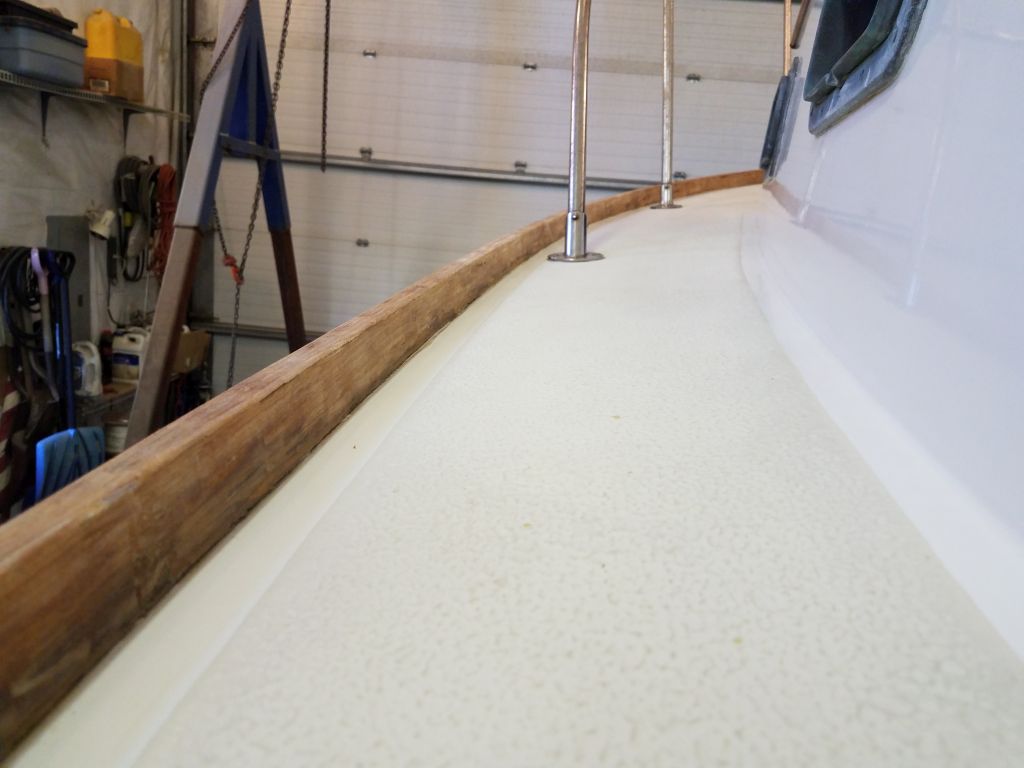
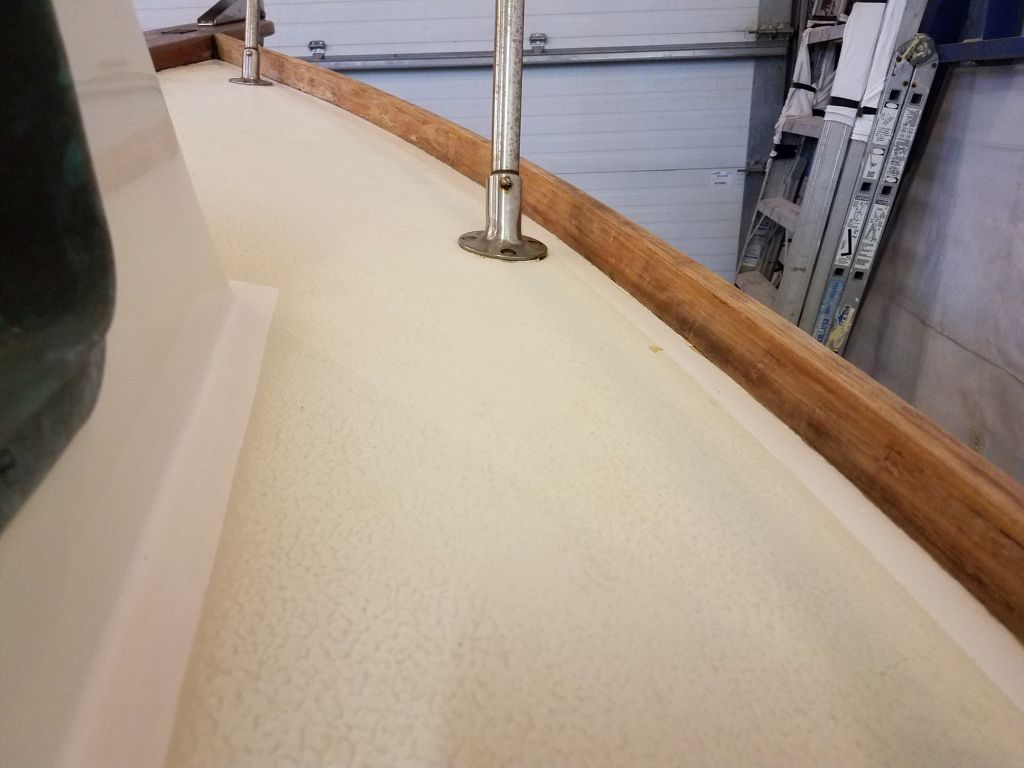
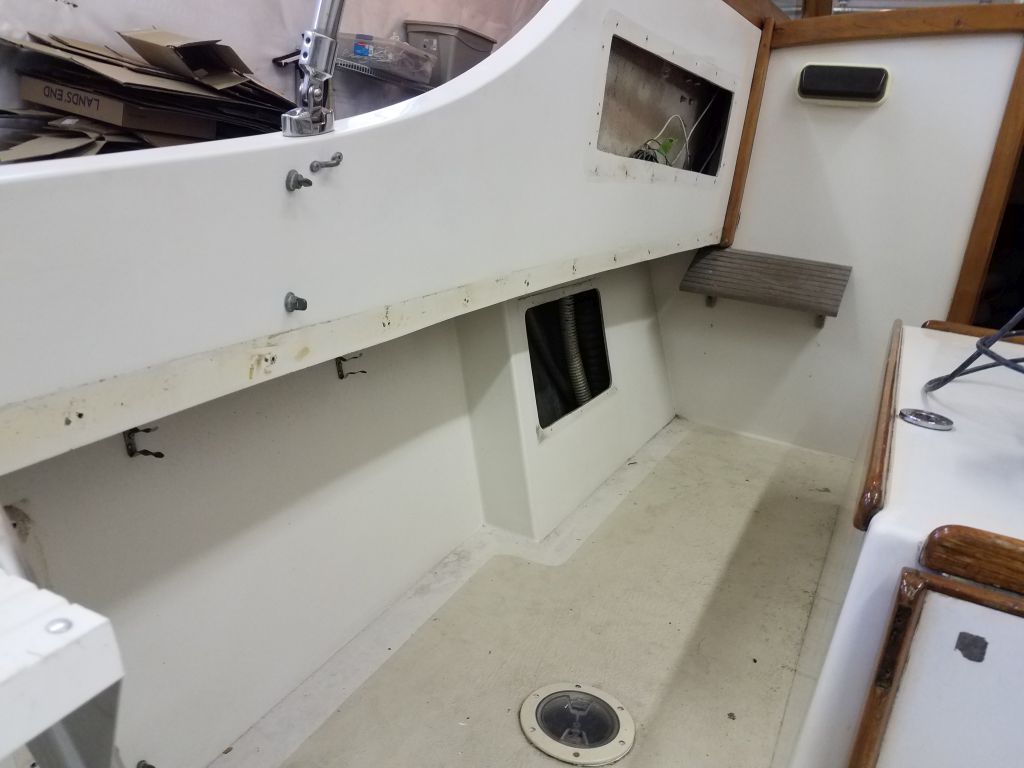
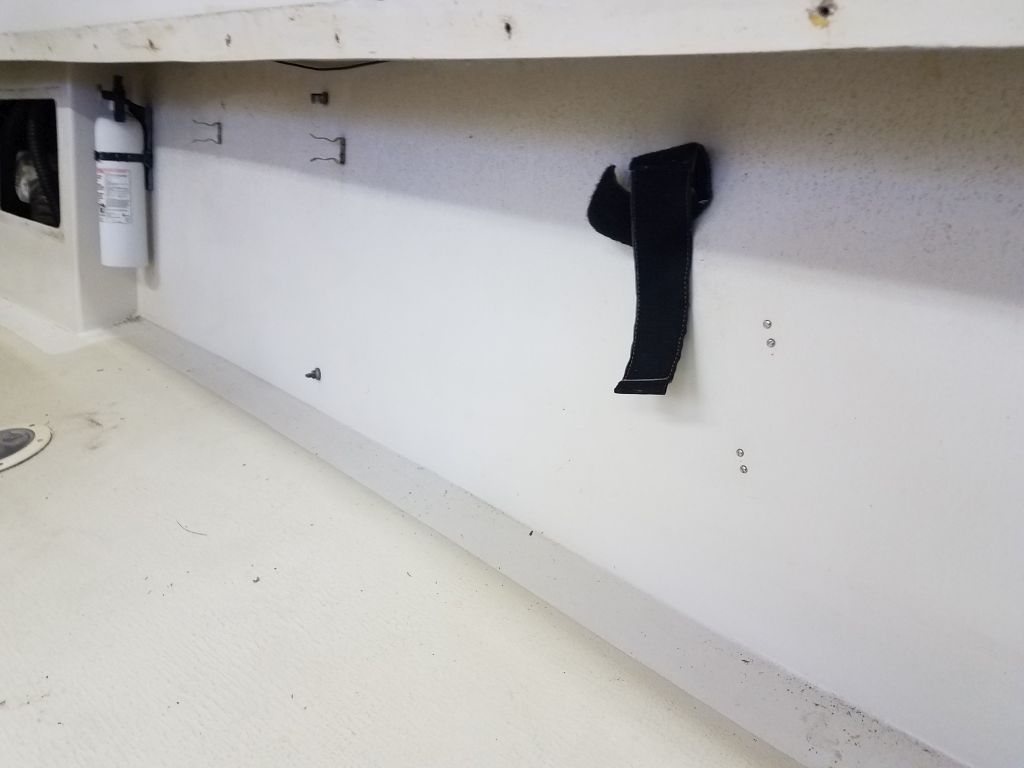
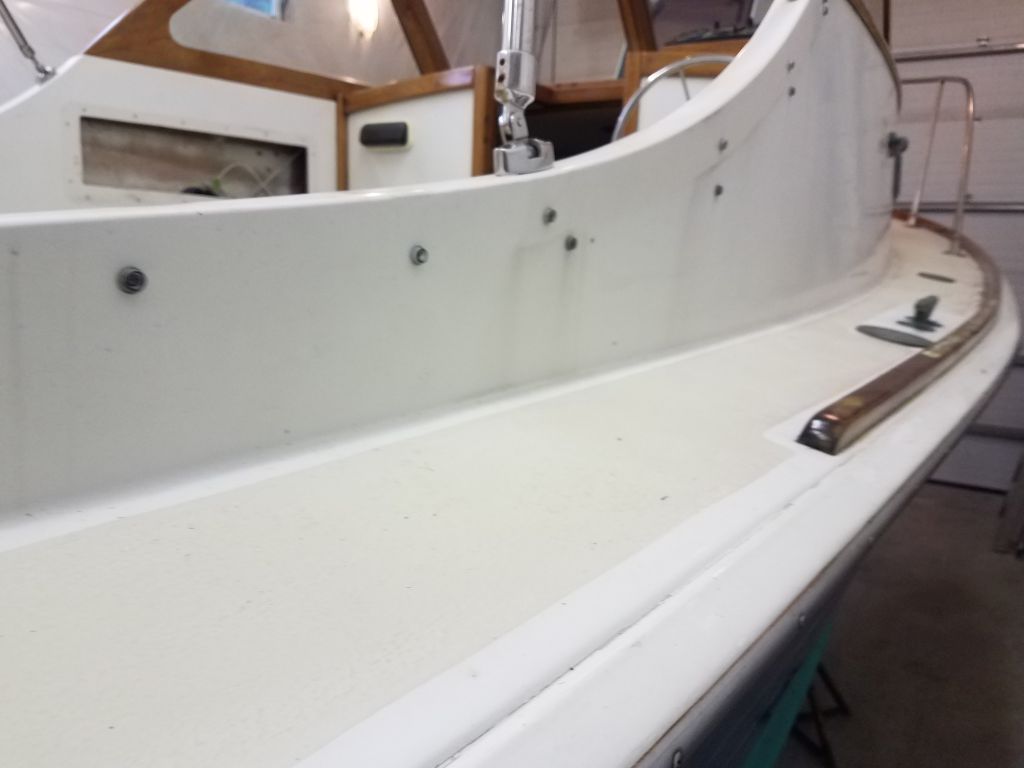
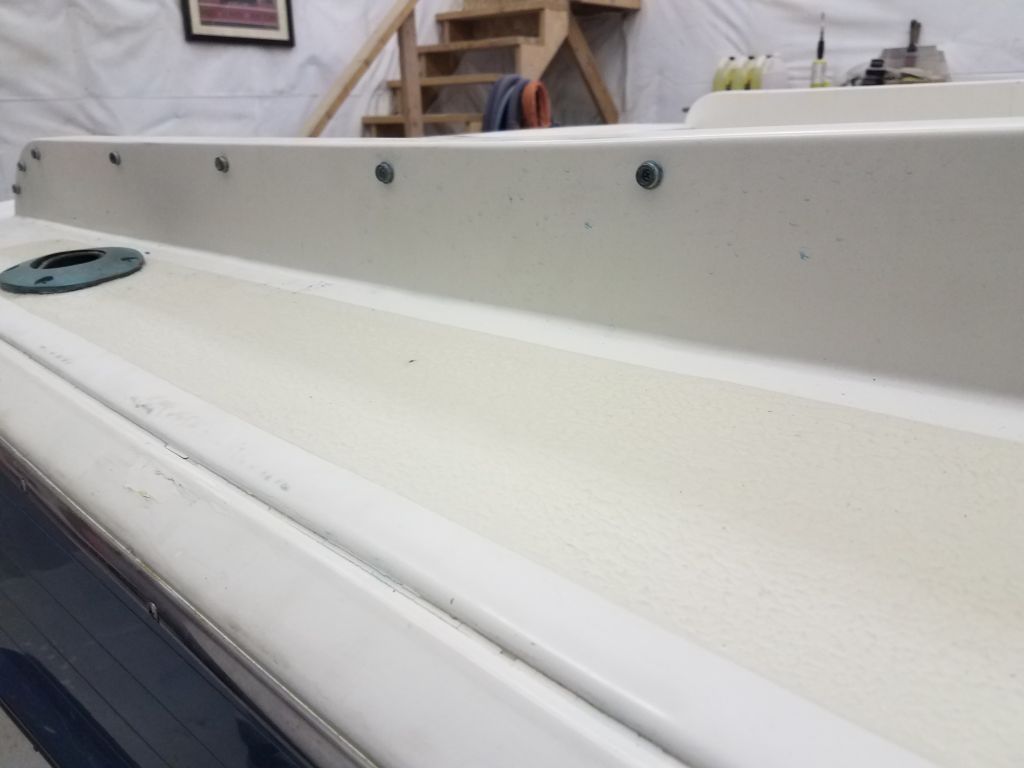
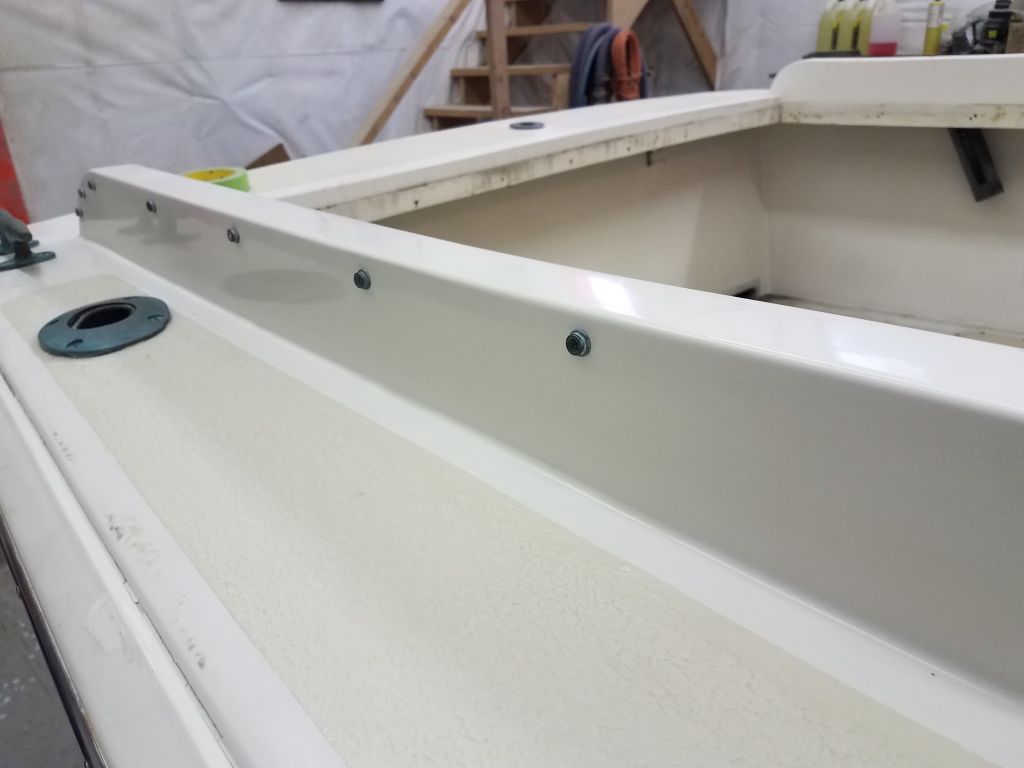
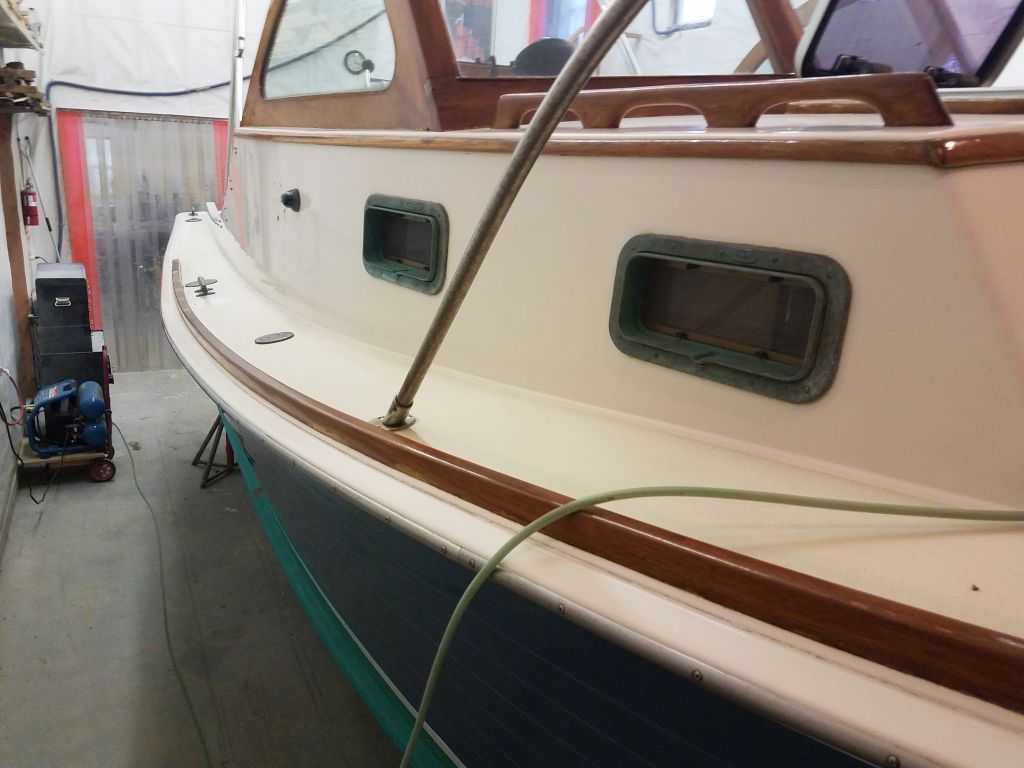
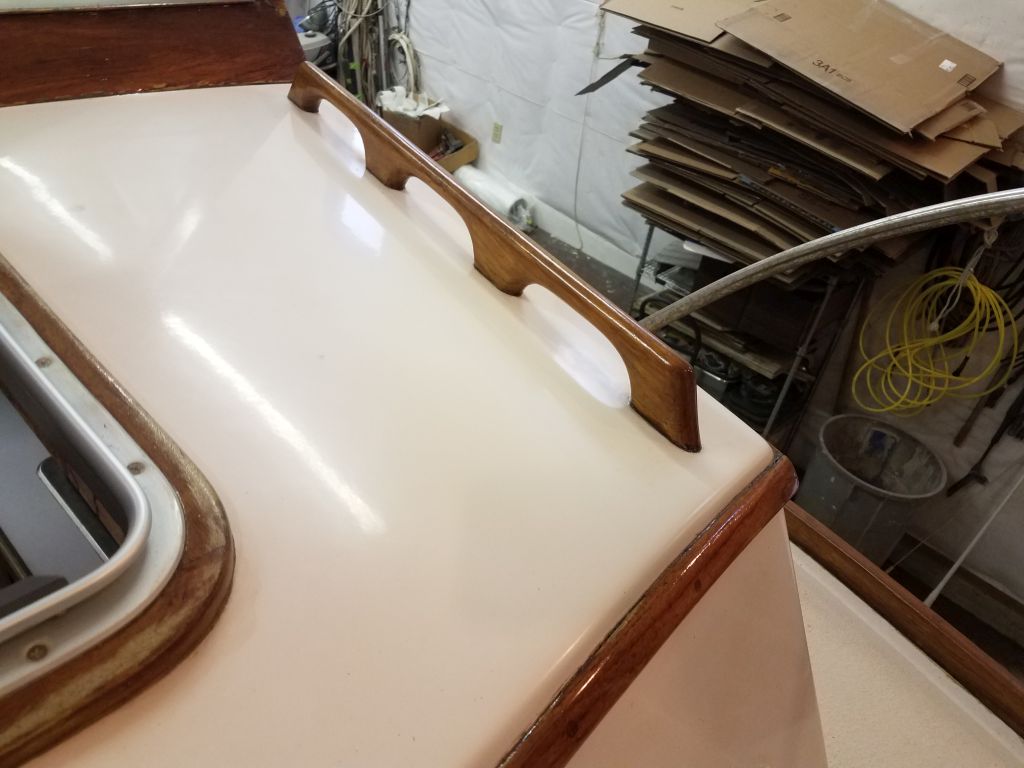
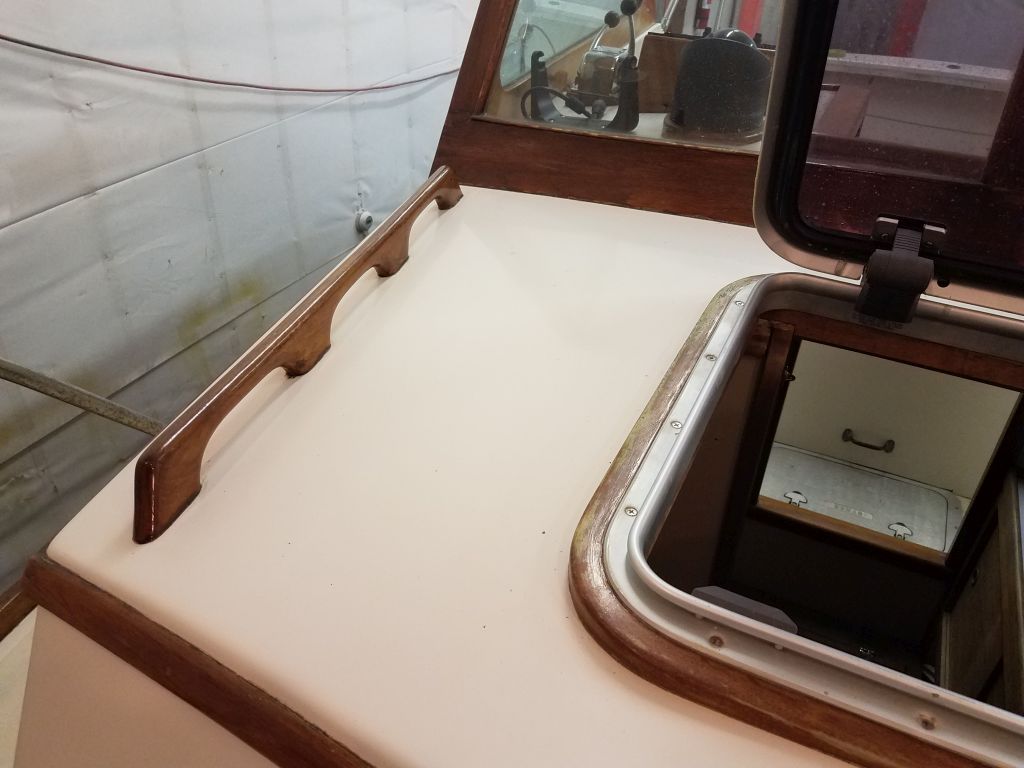
With the dismantling and related work complete, I spent the rest of the afternoon working on another item on the work list:  gelcoat polishing, starting with the starboard sidedeck and cabin trunk.  The original gelcoat was in generally good condition and had been maintained throughout its life, but was dirty and oxidized.  I chose to clean this now since it was easier to do the areas adjacent to the nonskid now, before painting, because all the surfaces required cleaning before I could mask for paint and varnish anyway, and this way I didn’t have to tiptoe around freshly-refinished surfaces.  It was also a good way to fill random bits of time like I had available now.  These photos give a sense of the initial condition of things before I started.

Over an hour or so, I cleaned the starboard side of the cabin trunk and sidedeck, as well as the coachroof and forward side of the cabin trunk.  This brought me to a good stopping point for now.

Total time billed on this job today:  4.5 hours

0600 Weather Observation:  38°, rain.  Forecast for the day:  Rain and snow , then mainly cloudy.

Older posts Newer posts