< Back to Patience
Tuesday
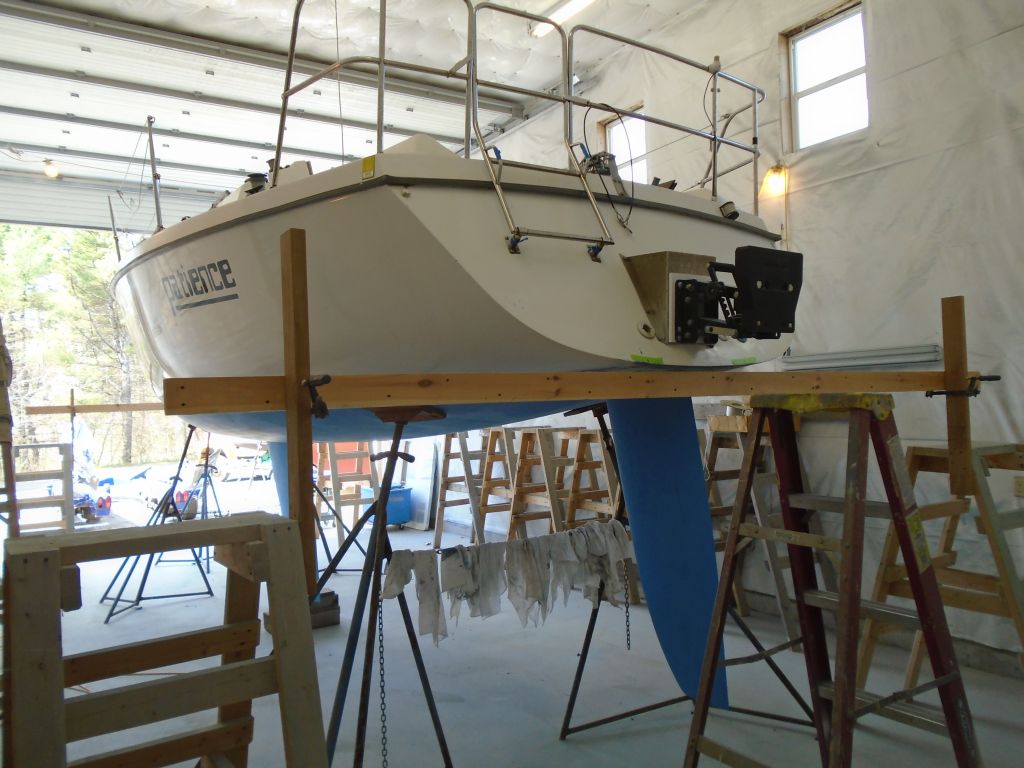
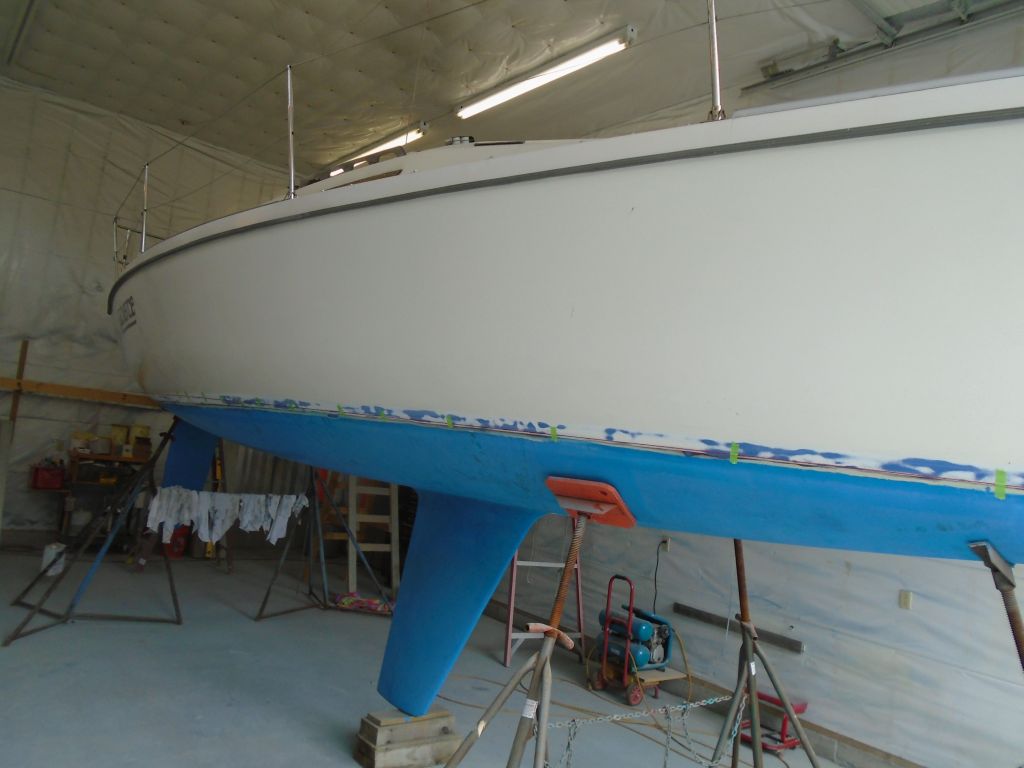
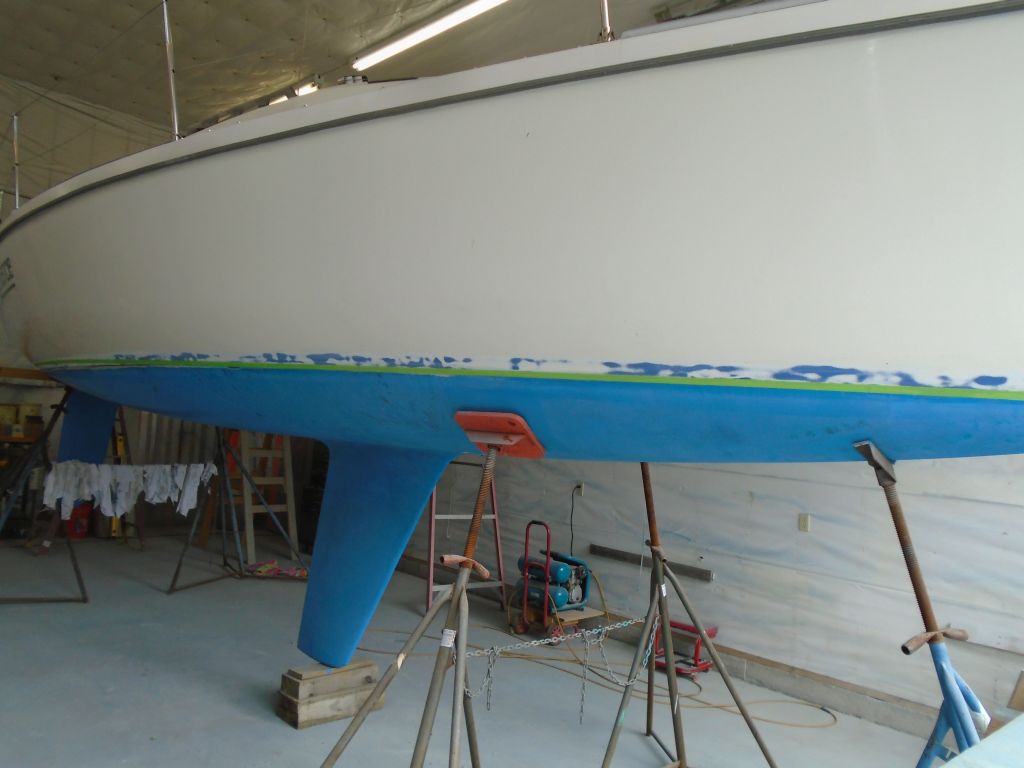
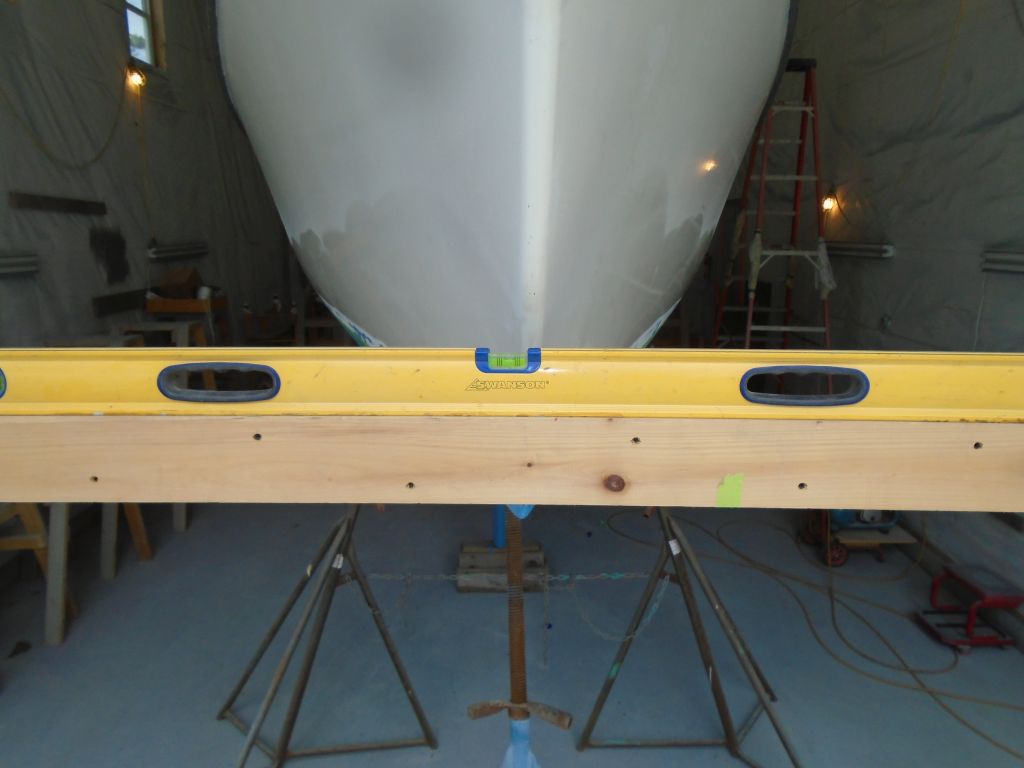
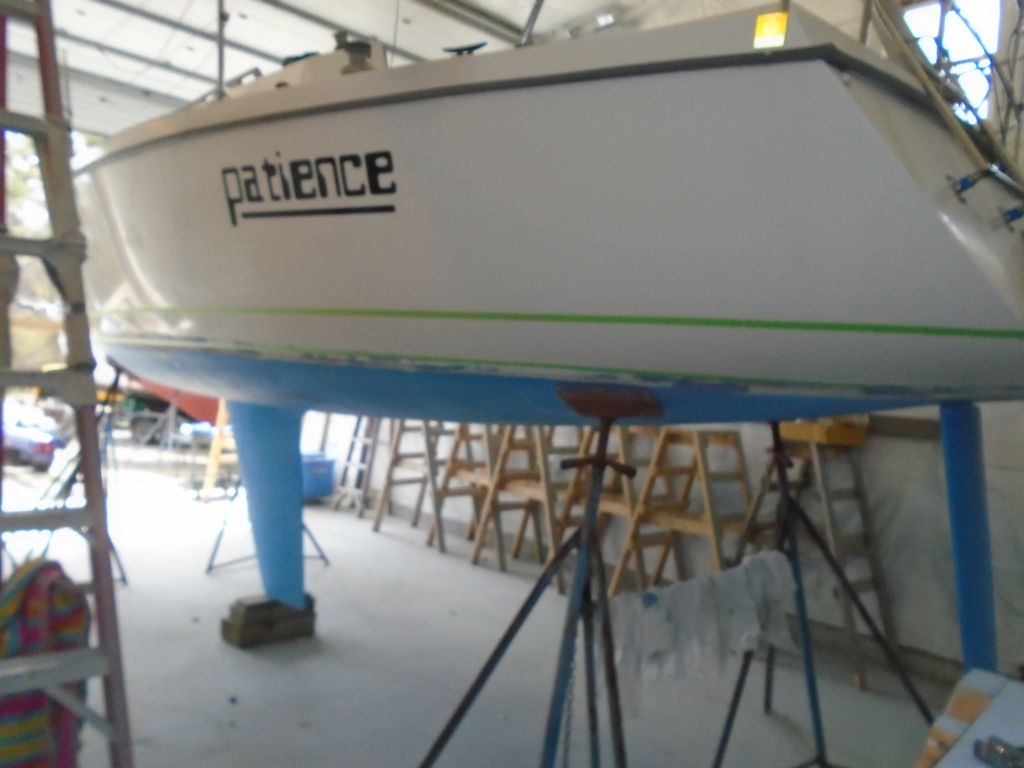
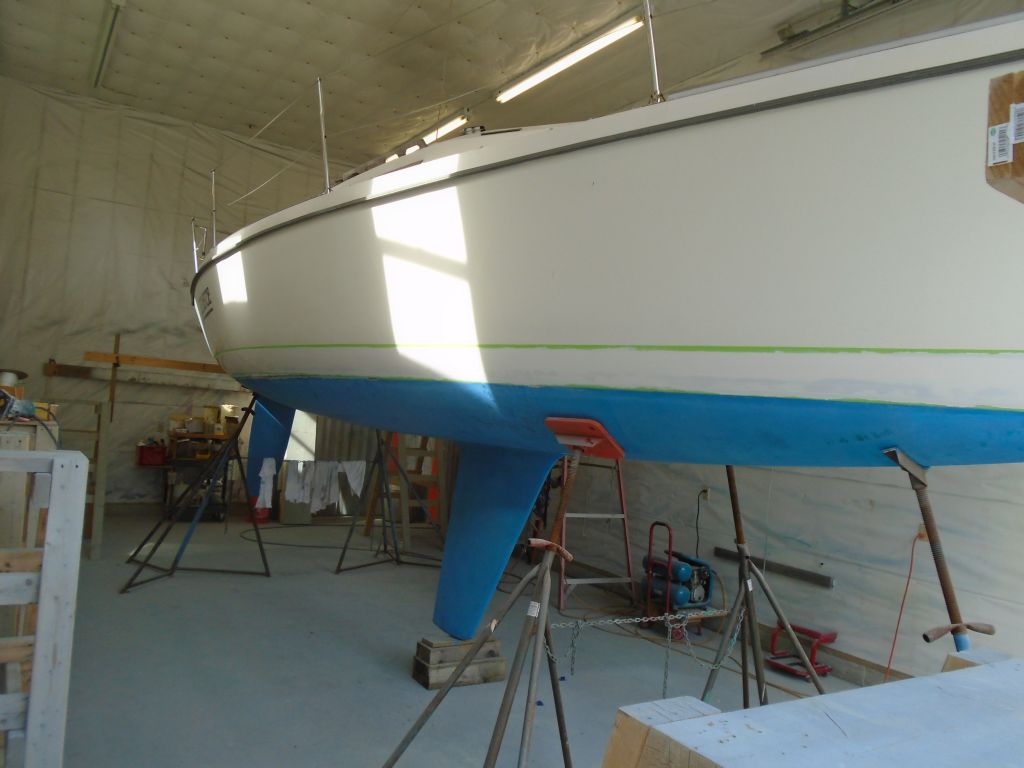
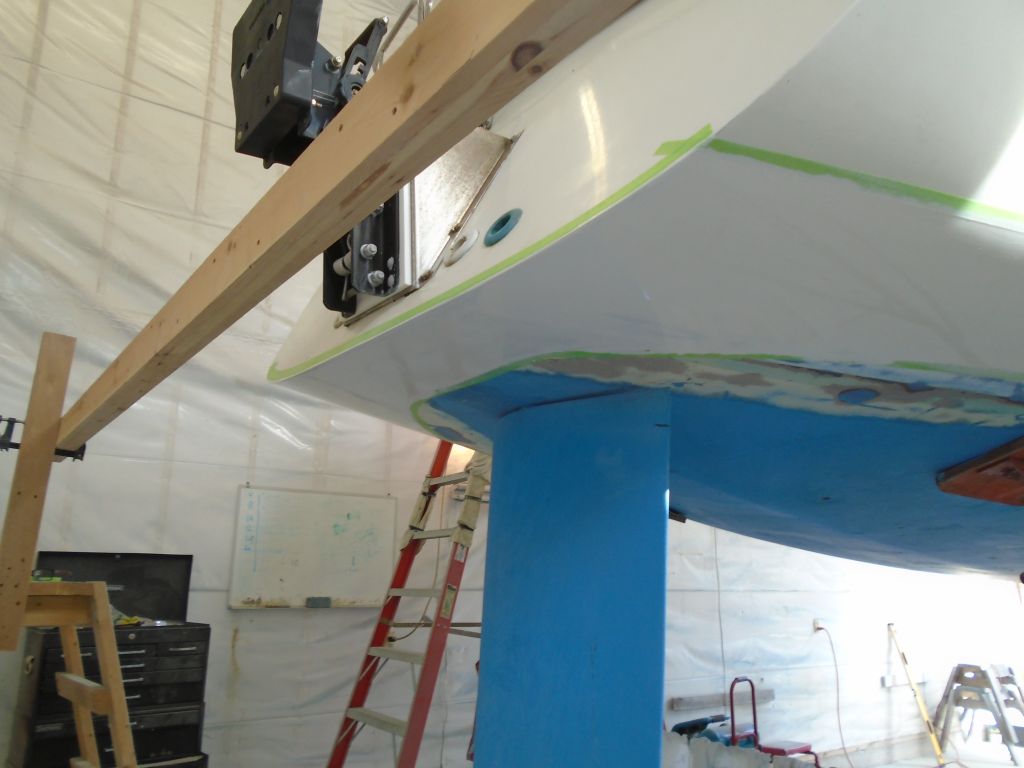
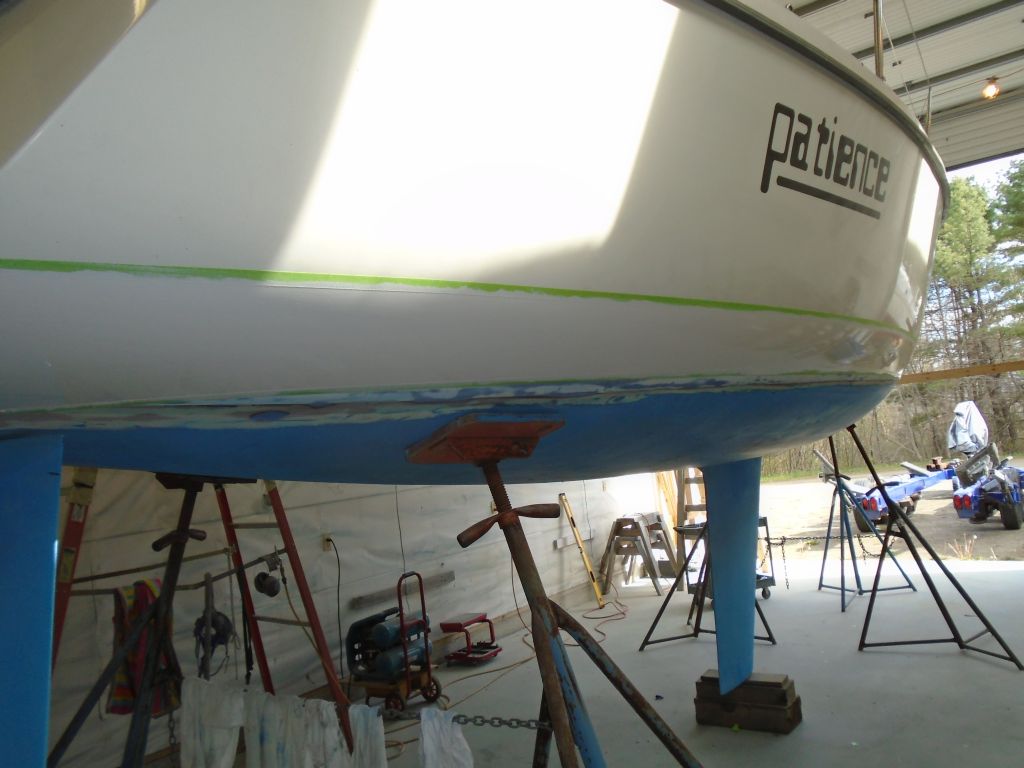
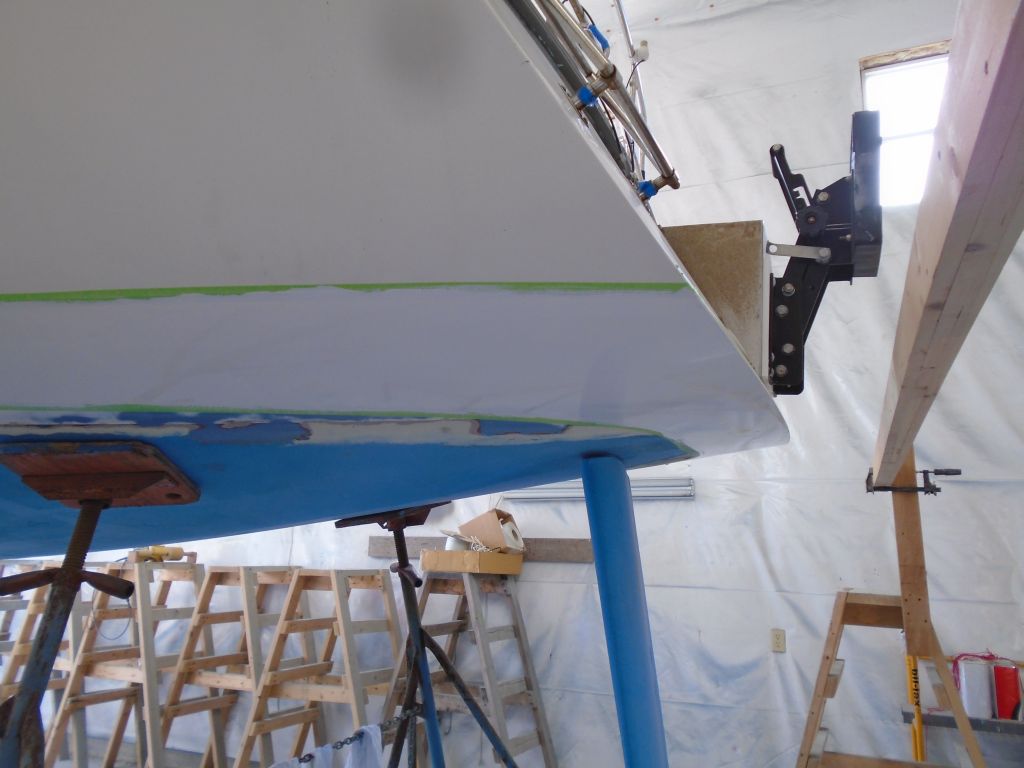
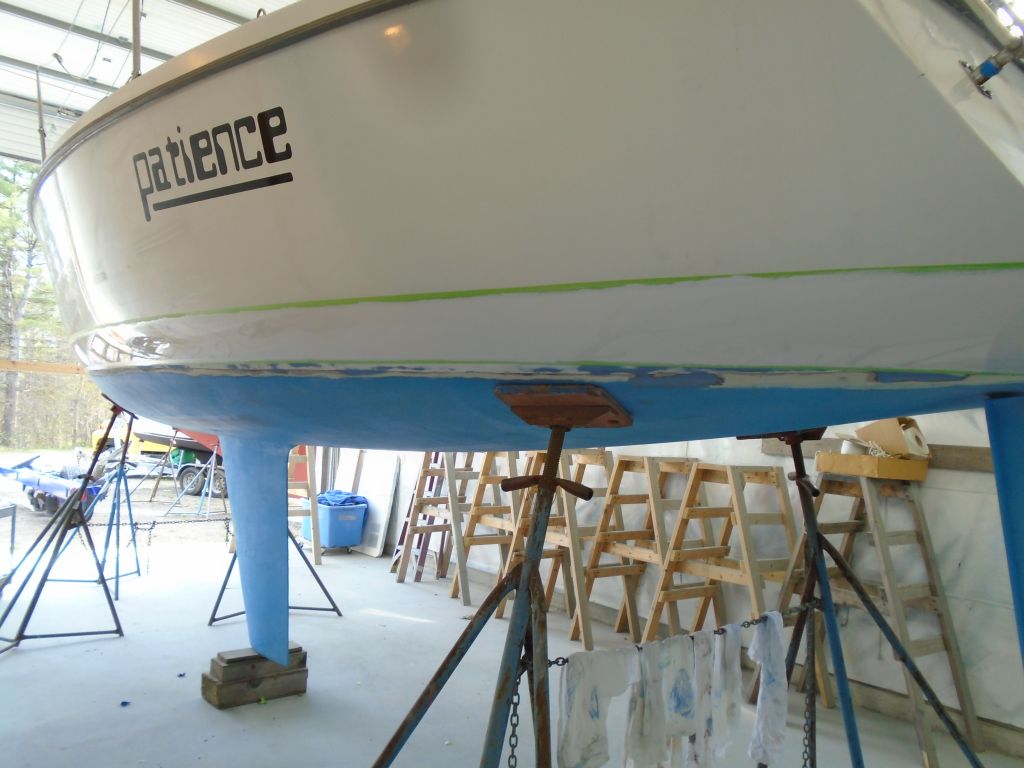
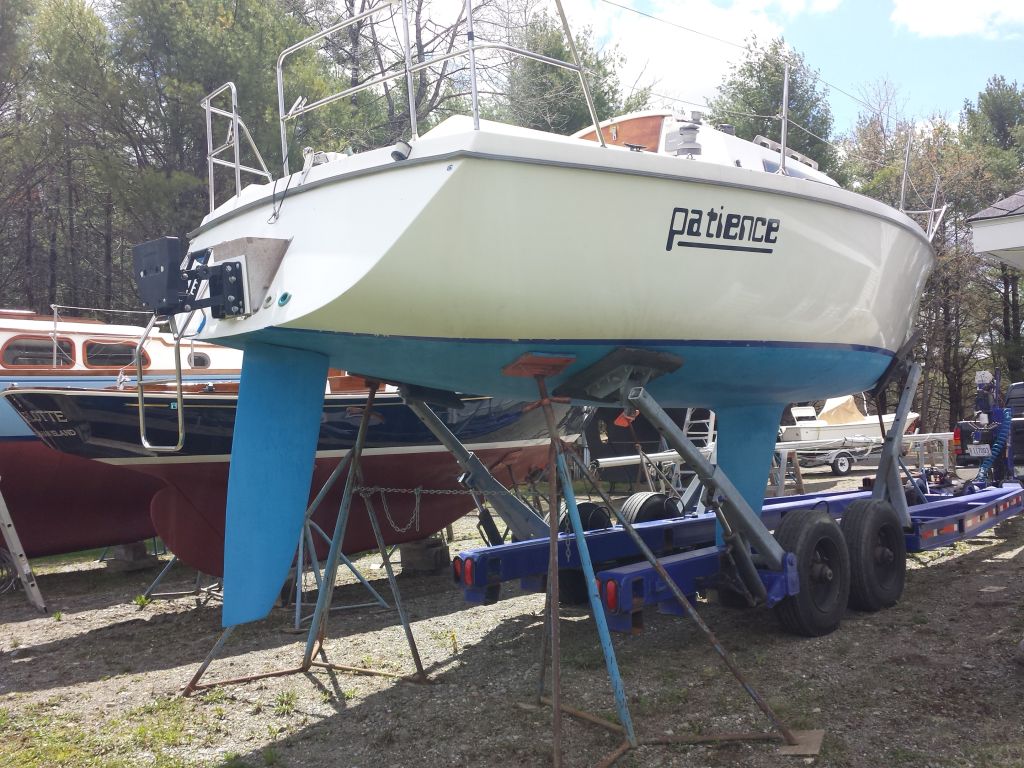
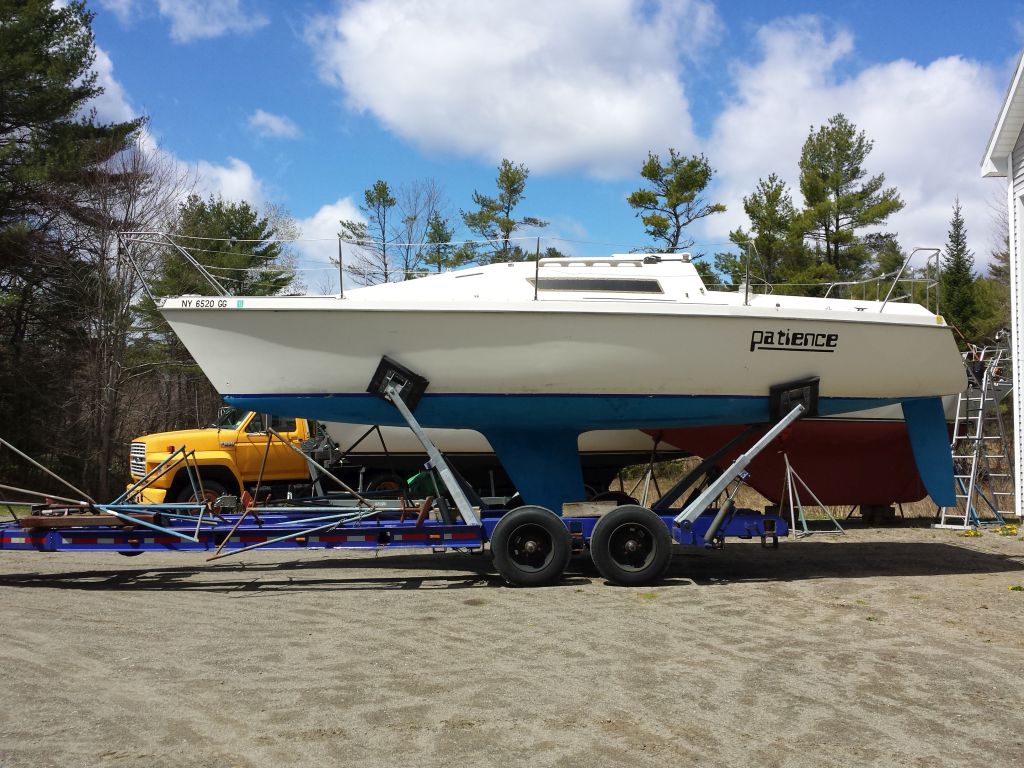
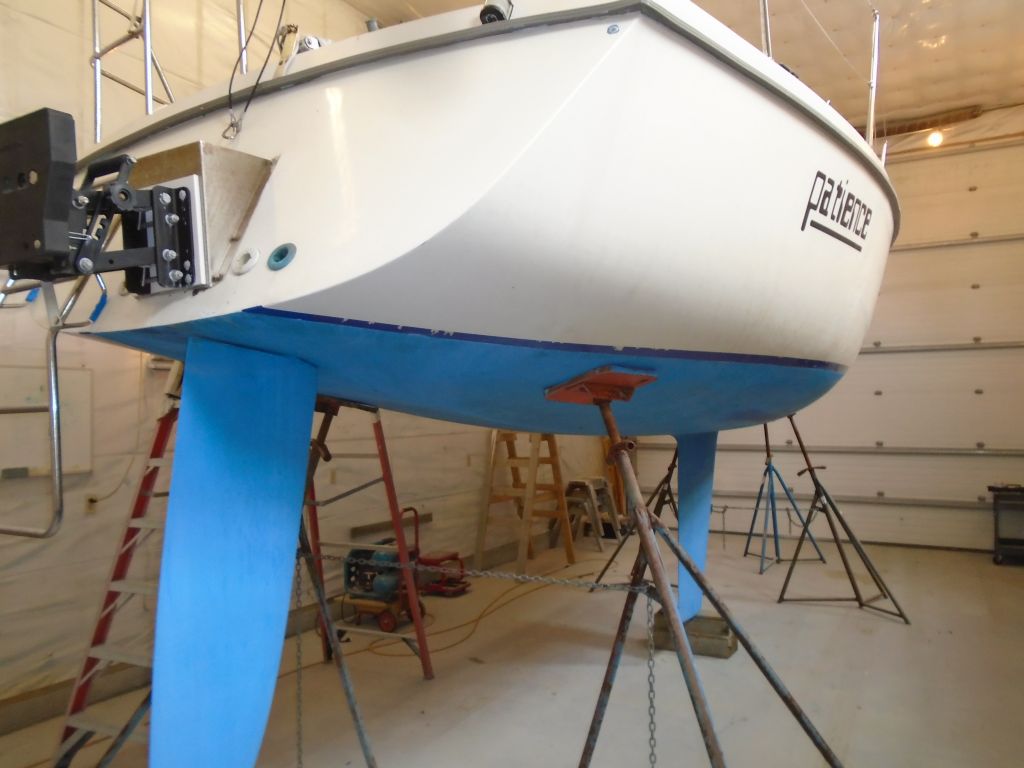
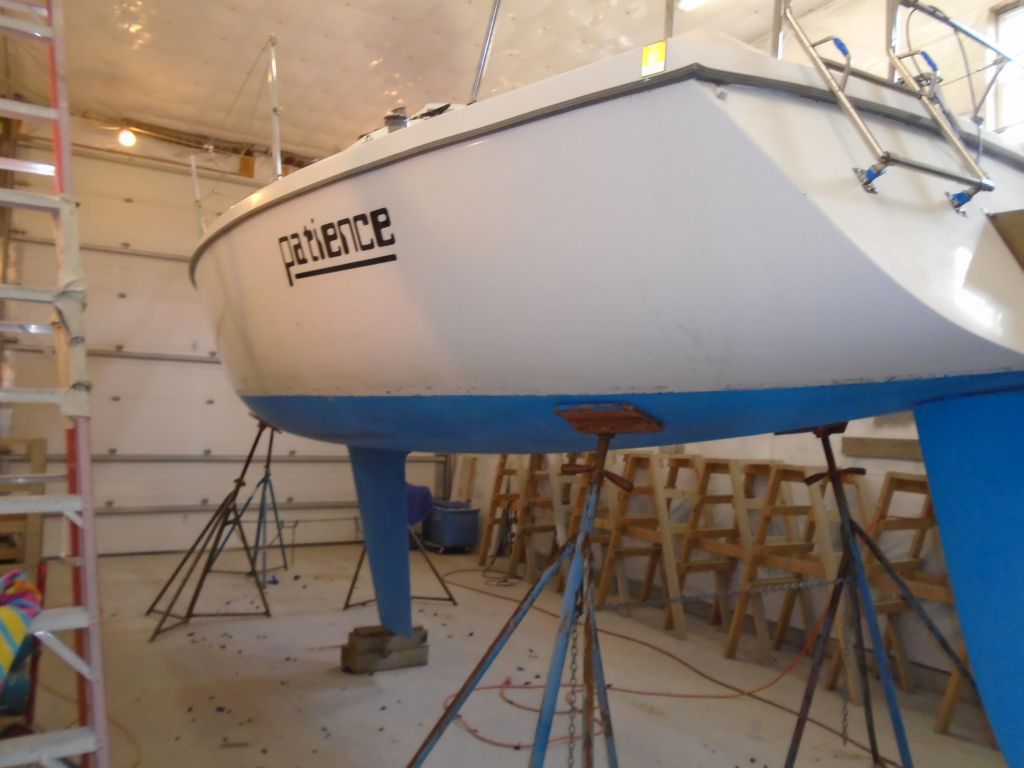
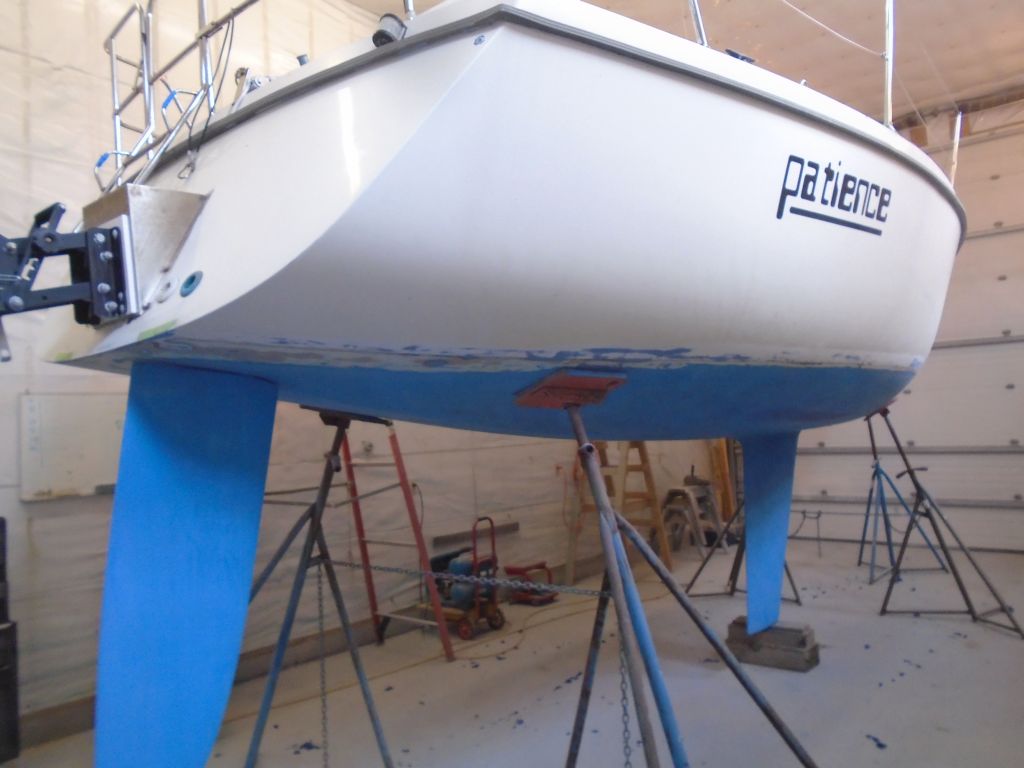
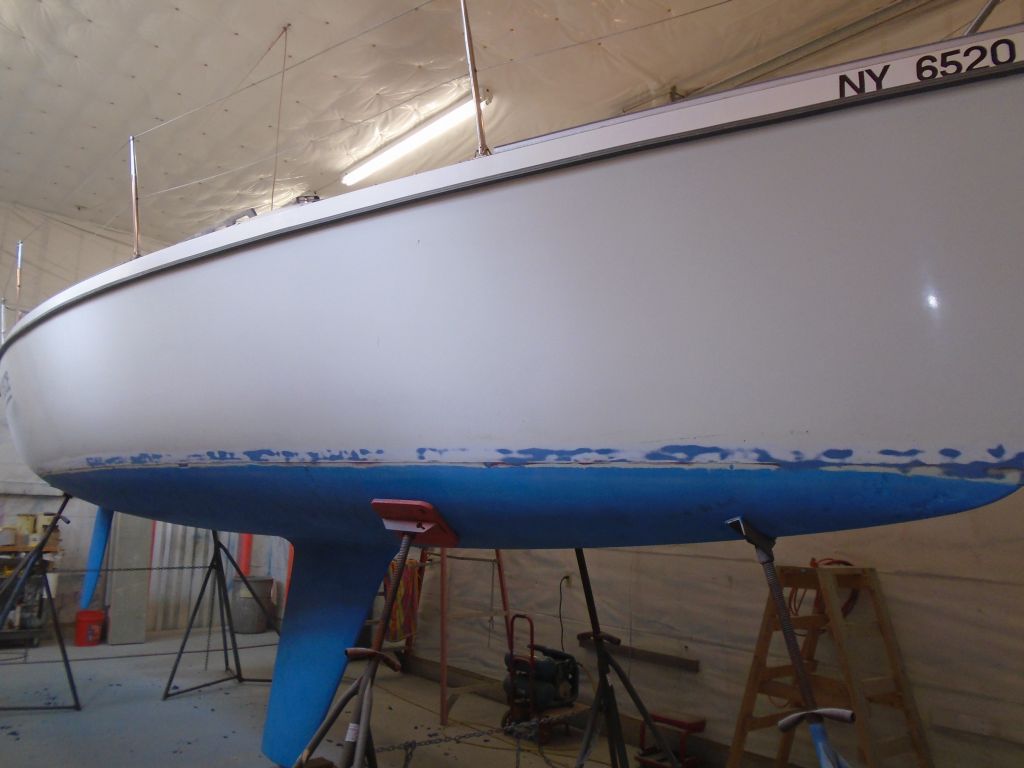
I spent the first part of the day leveling the boat accurately from side to side, and cleaned up the lower part of the hull to prepare it for the layout work ahead for the new striping.
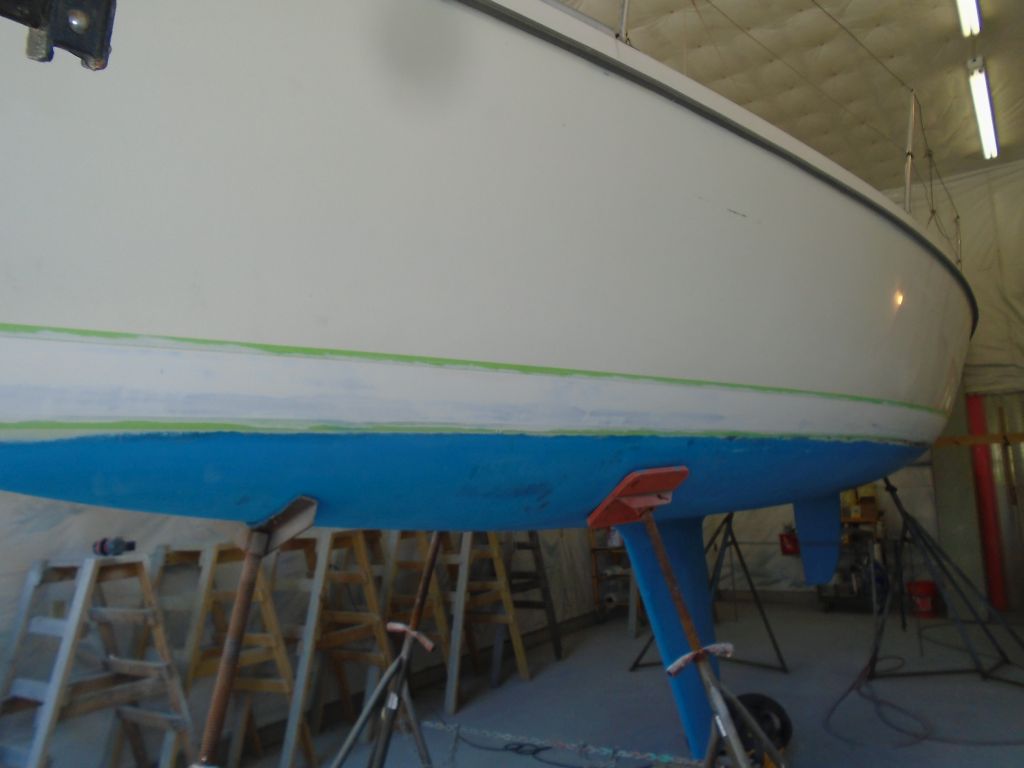
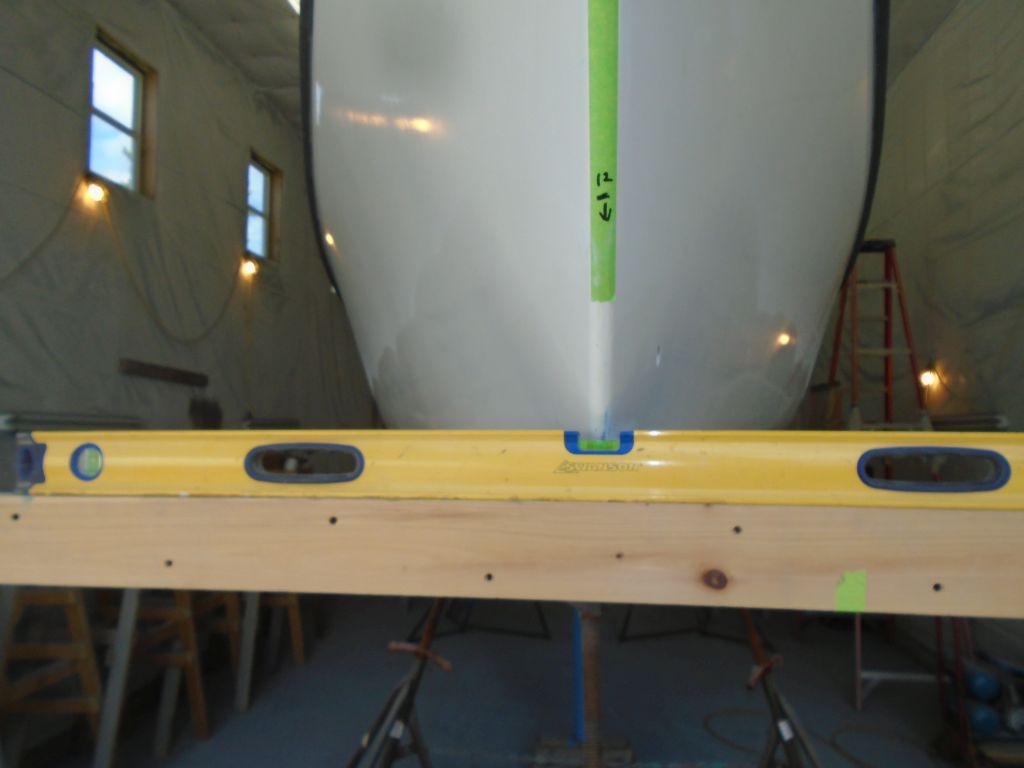
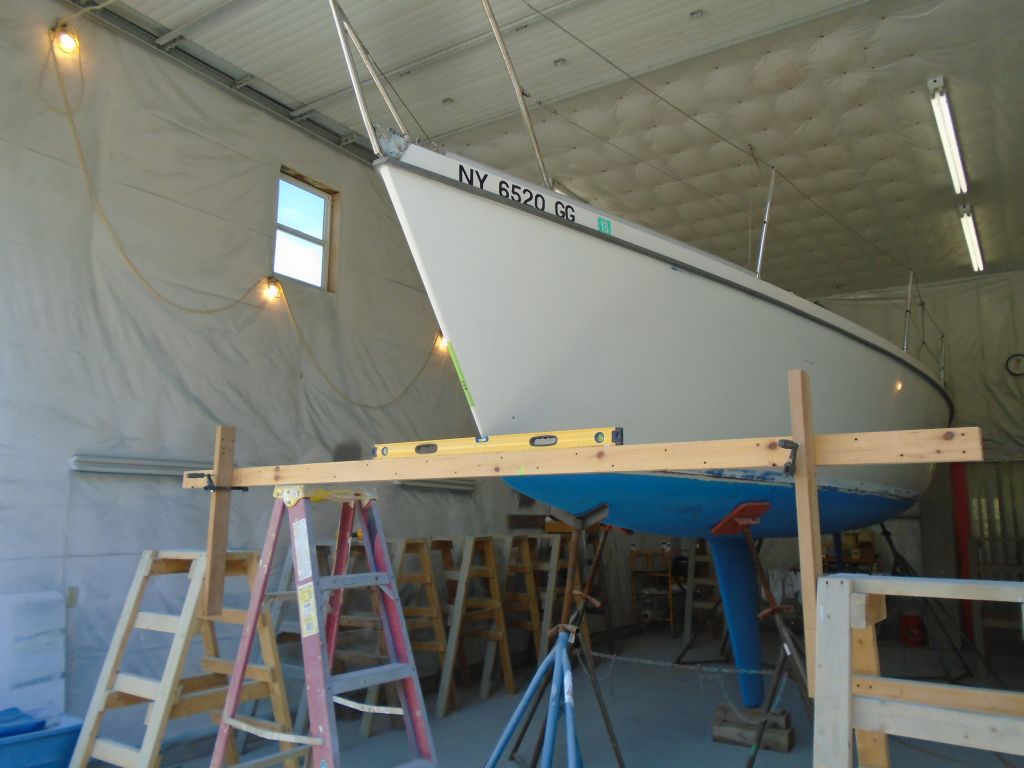
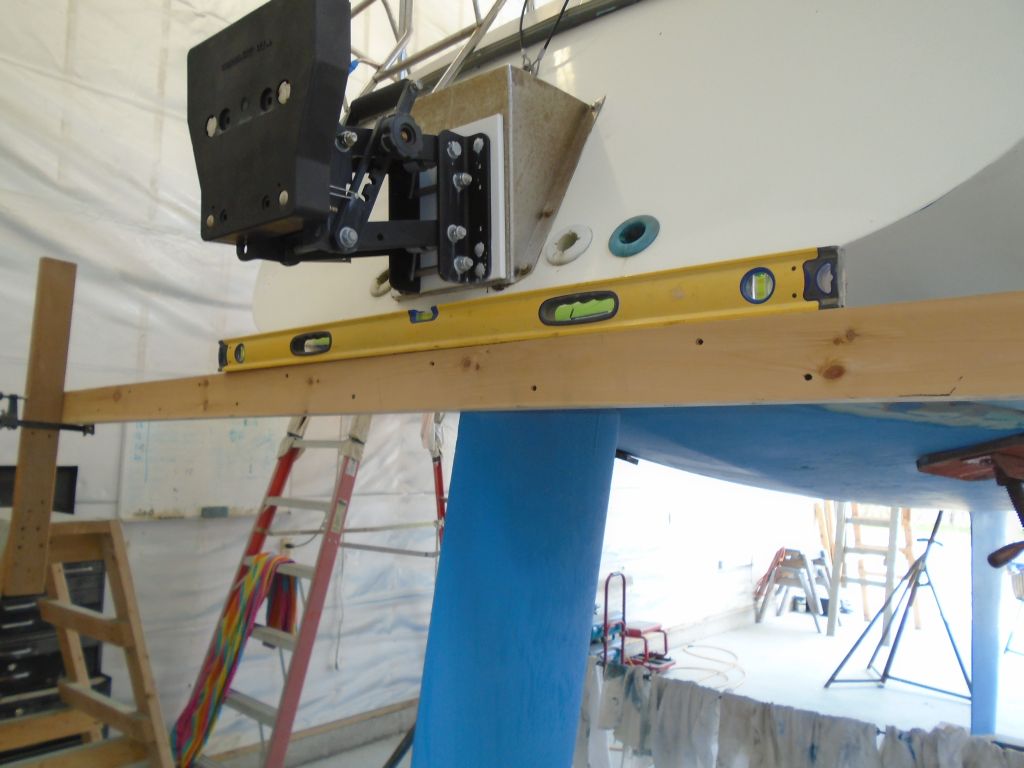
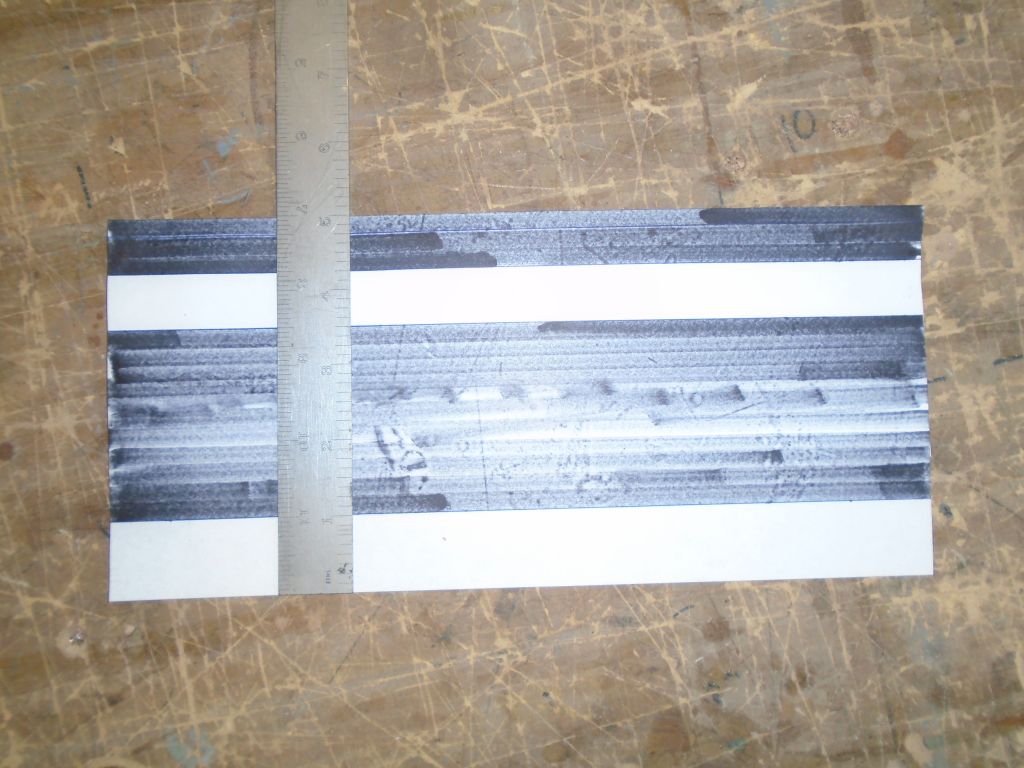
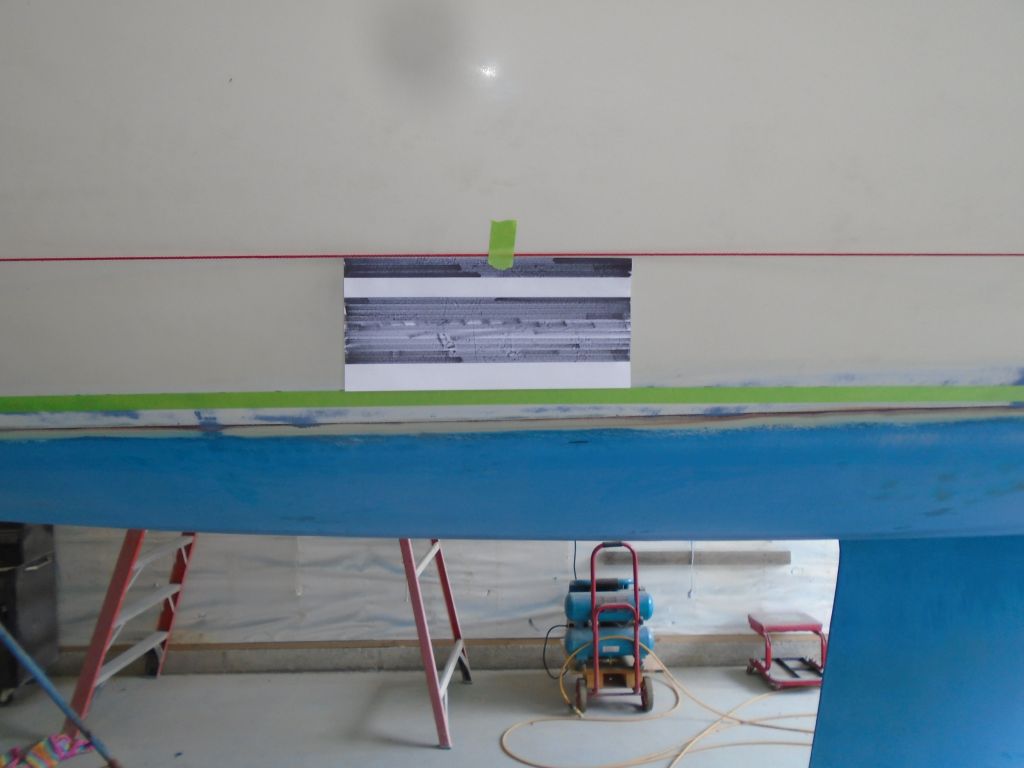
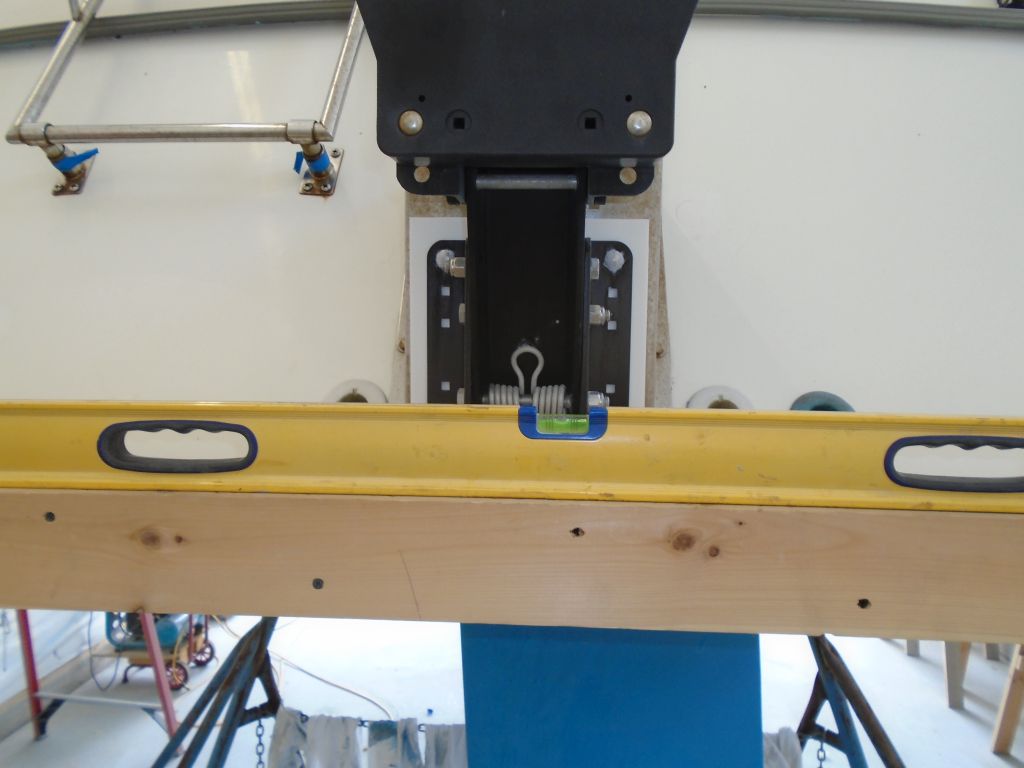
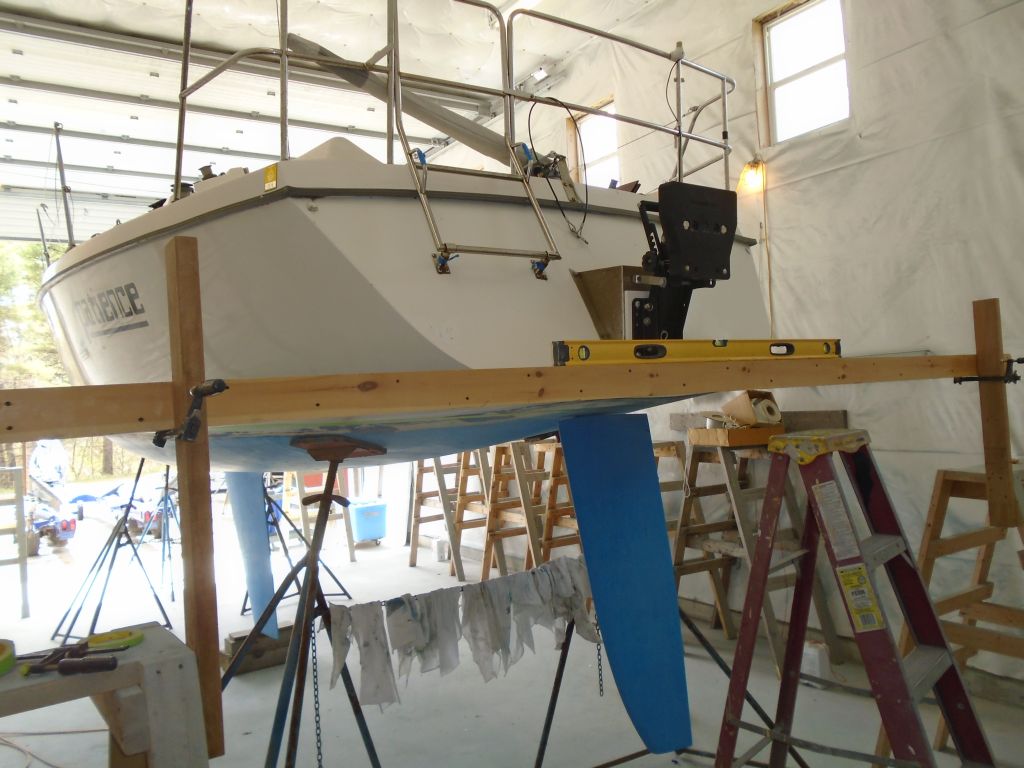
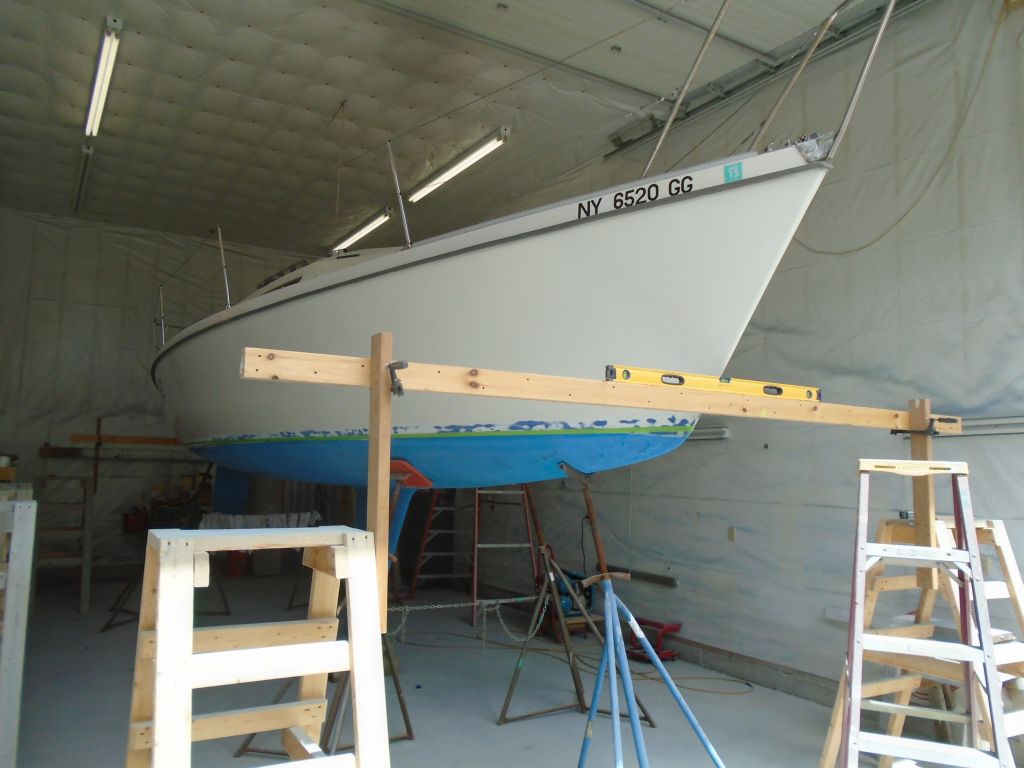
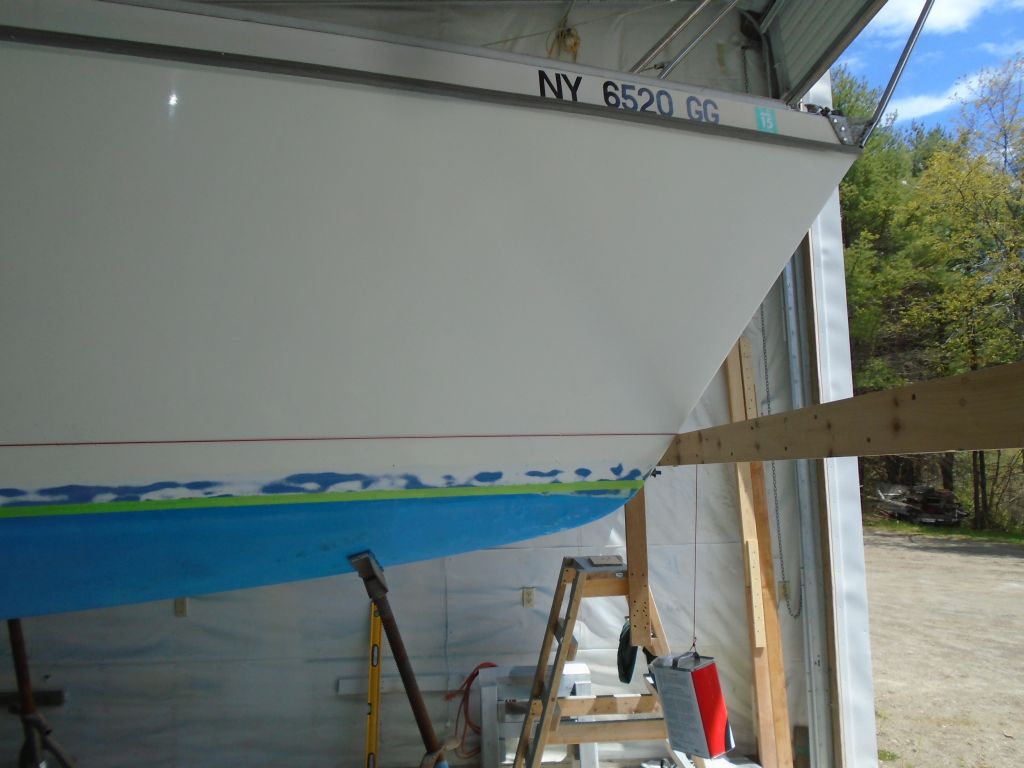
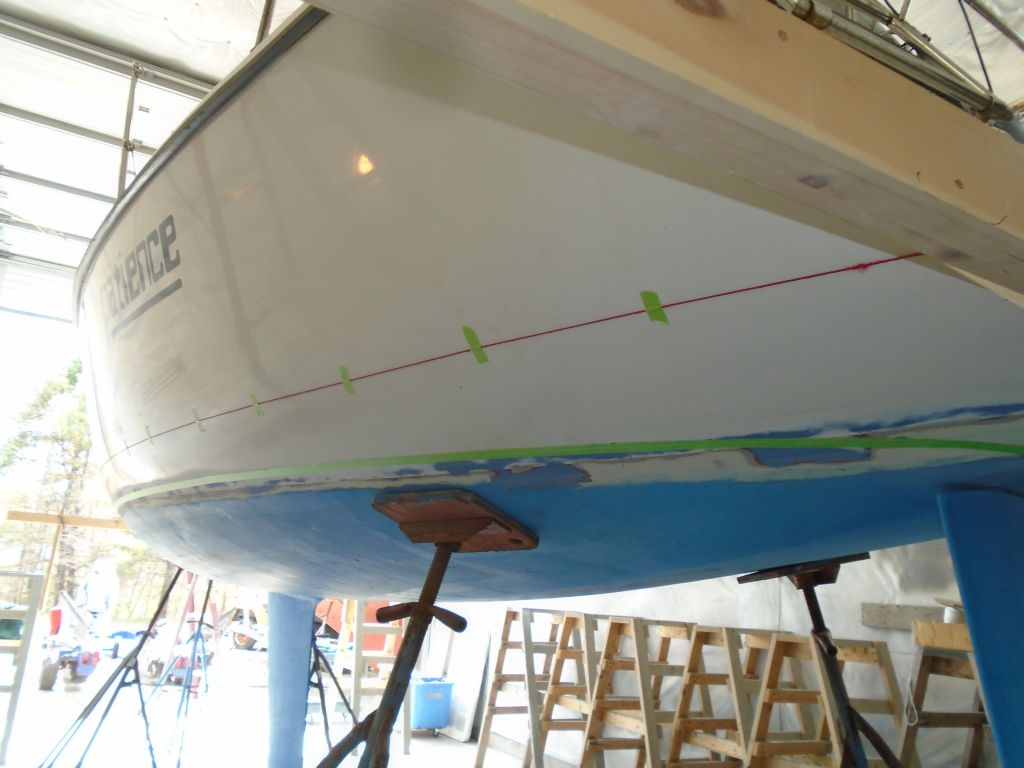
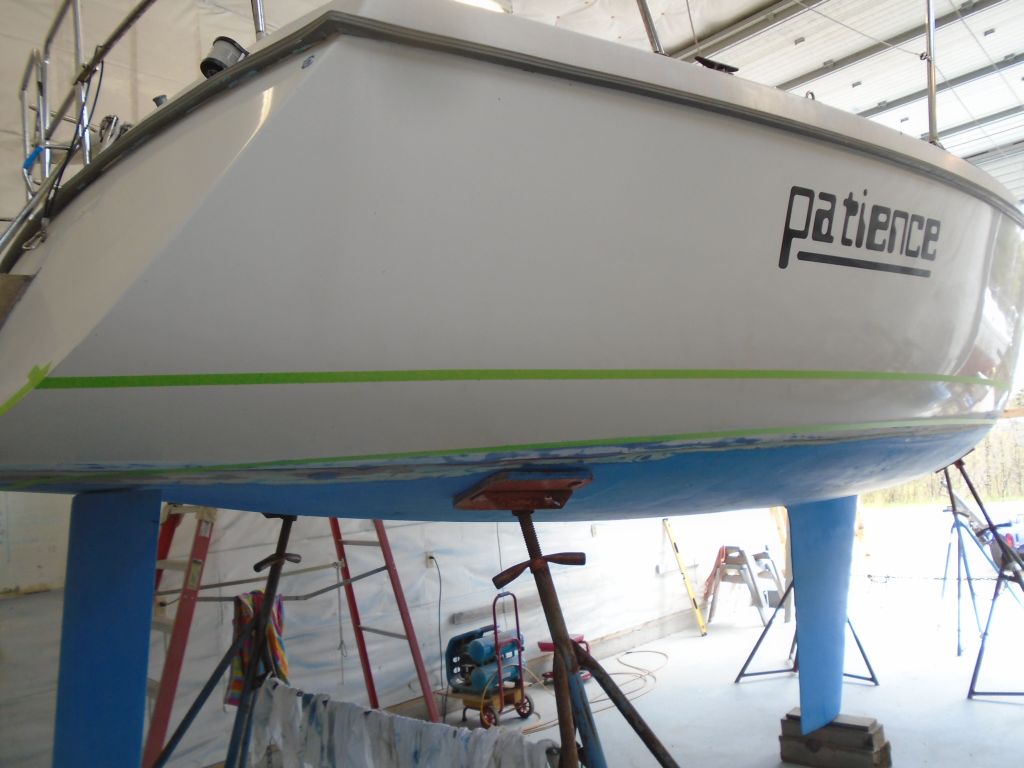
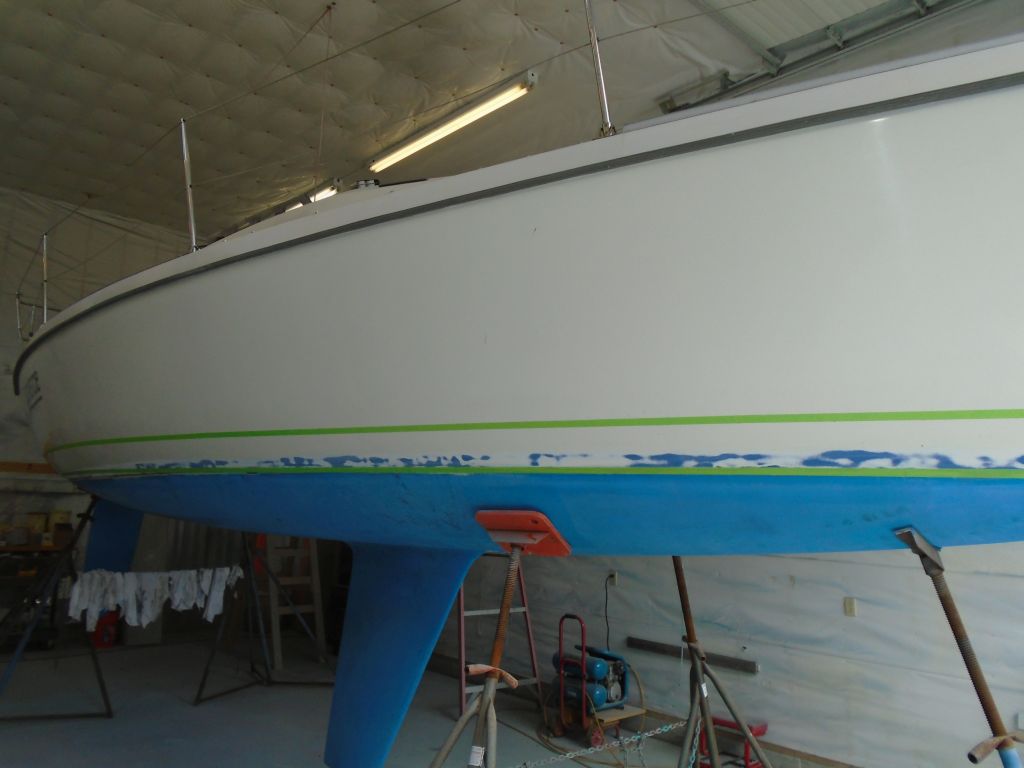
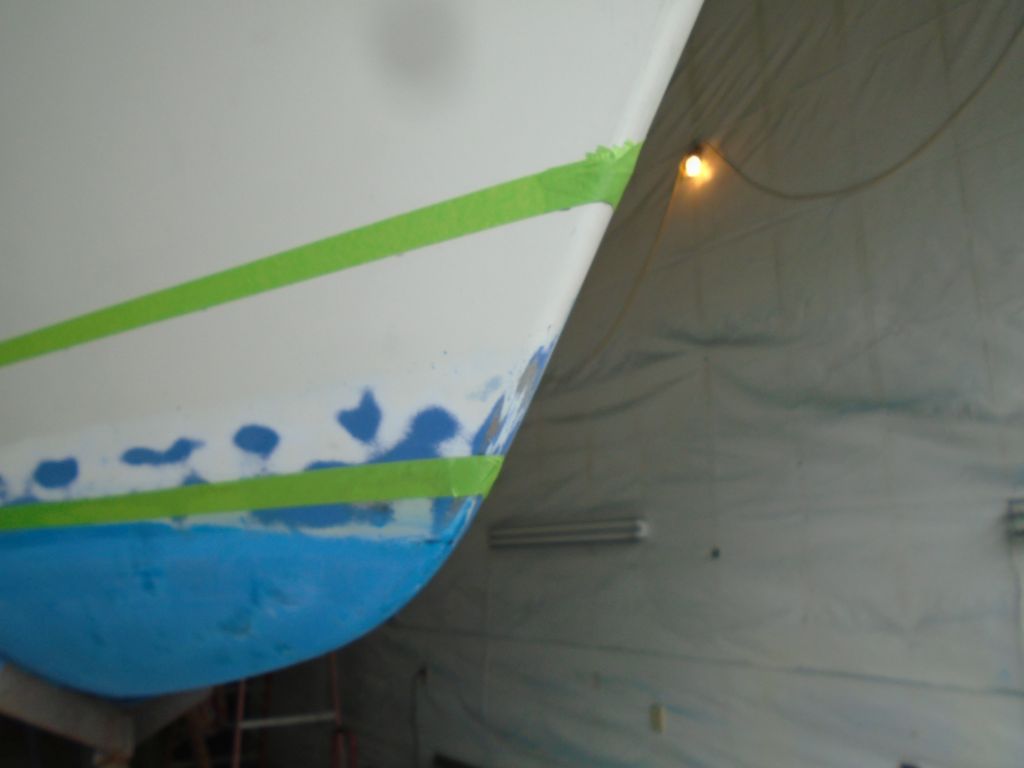
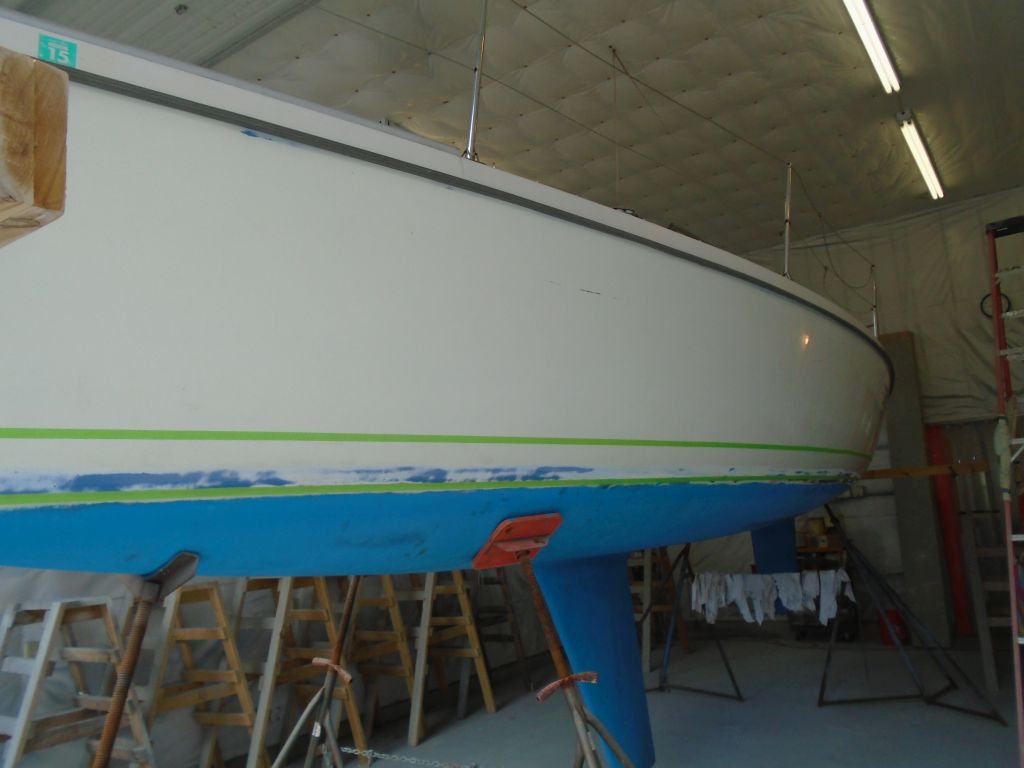
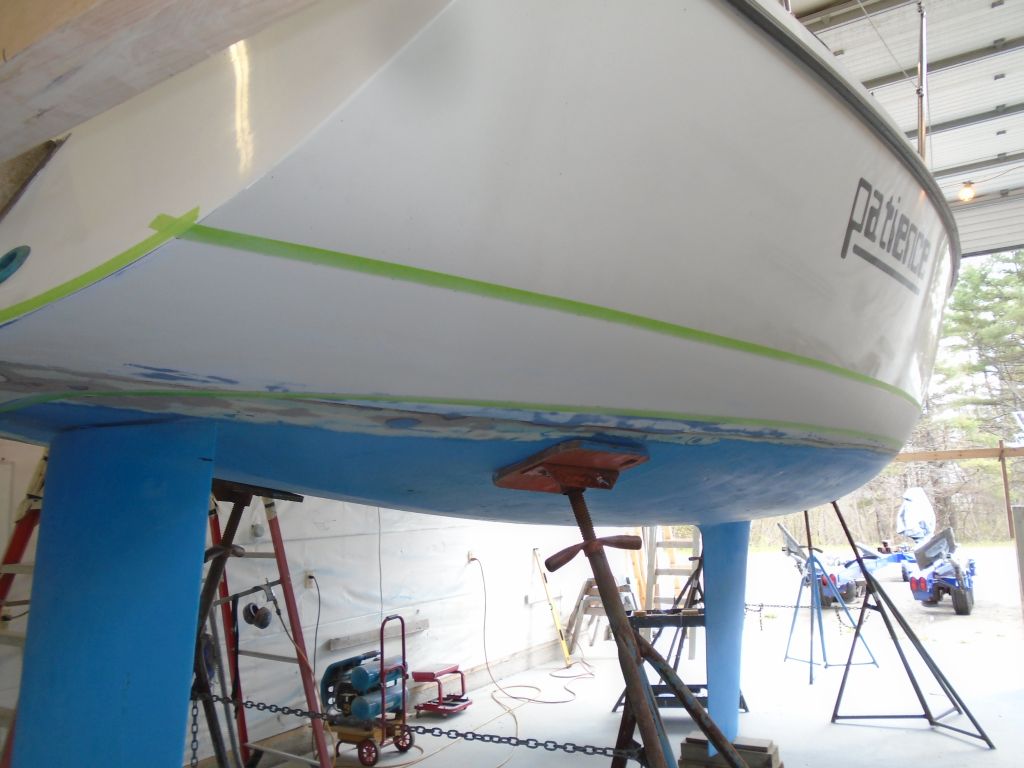
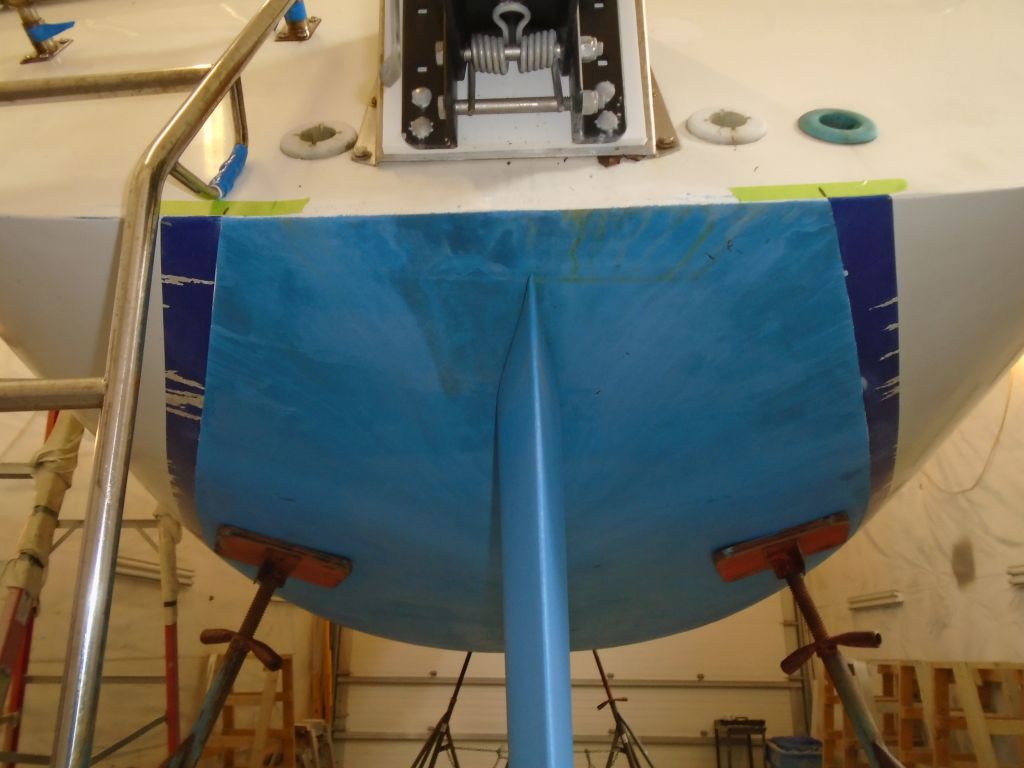
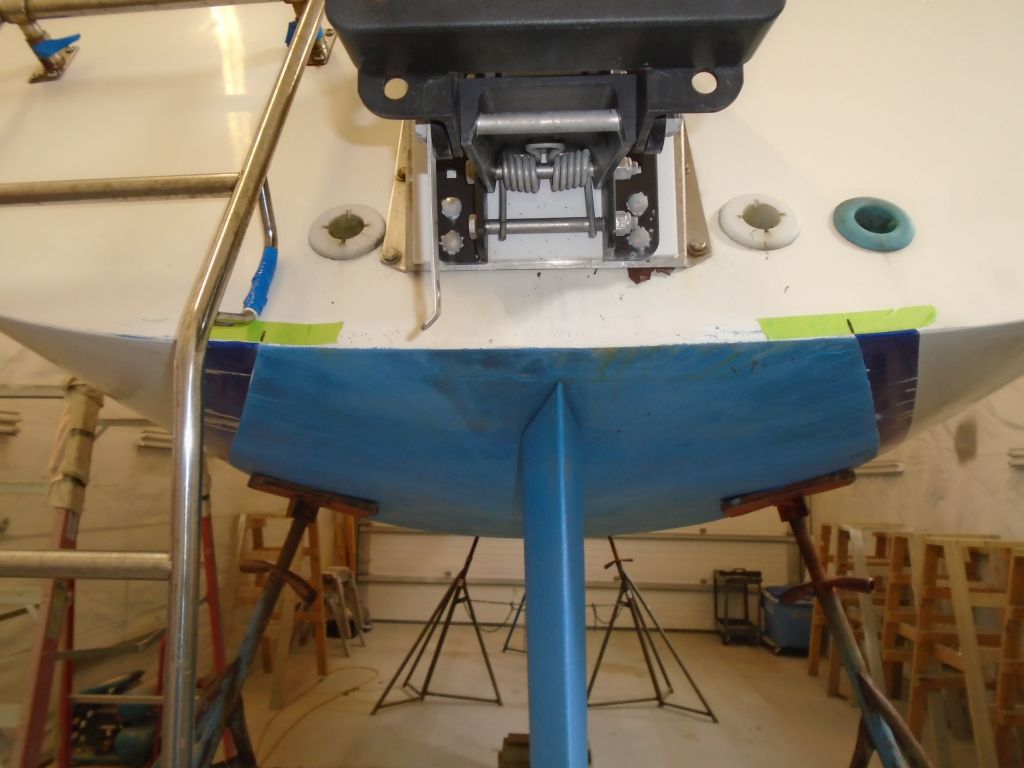
Afterwards, I set up my special 3D marking system to strike and mark the waterline (aka top of the bottom paint). At the stem, I used the existing paint line as my mark, as all indications suggested this was a good point. I had to use more guesswork at the stern, where there was not as clear an indication of the actual waterline. There was a light scum line on the rudder that helped, and I spent some time searching online for photos of other Laser 28s to help; there were few relevant photos that I could find that really showed me what I wanted to see, which was the stern quarters of a sistership out of the water, but after a while I got the idea, and made my mark at the aft side so I could set up the second cross beam. Ultimately, the chosen spot ended up 2-1/4″ above my best guess at the actual floating waterline, which corresponded to the height at the stem. This seemed to tie in with what limited information I could find online, and from the owner’s recollections.
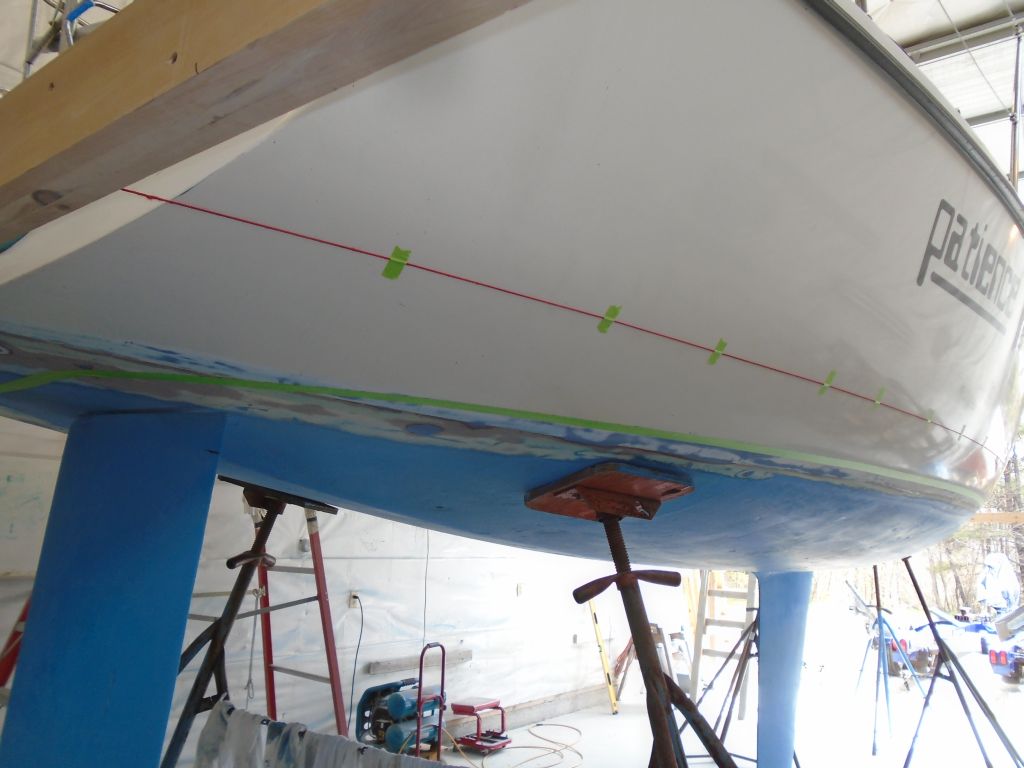
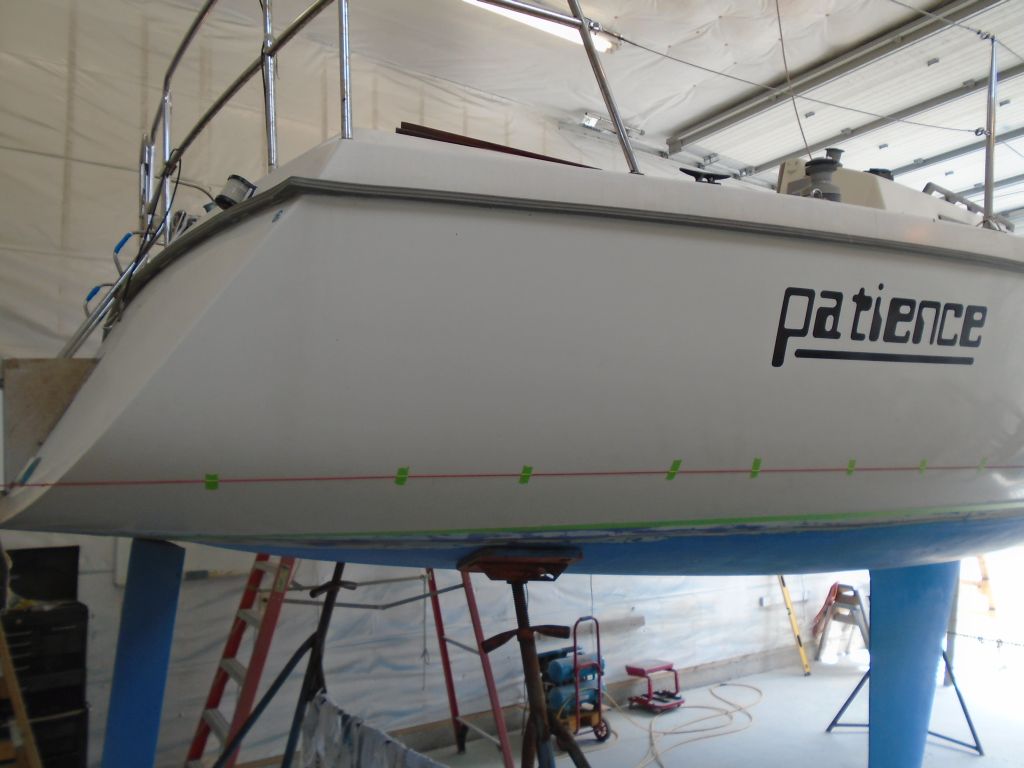
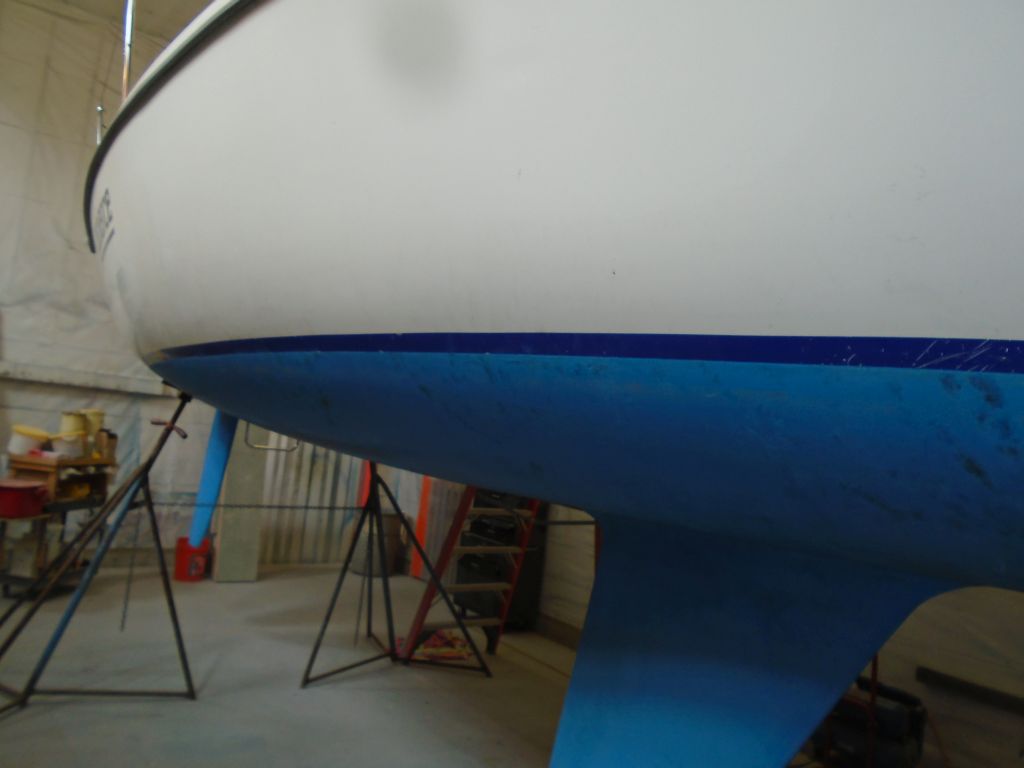
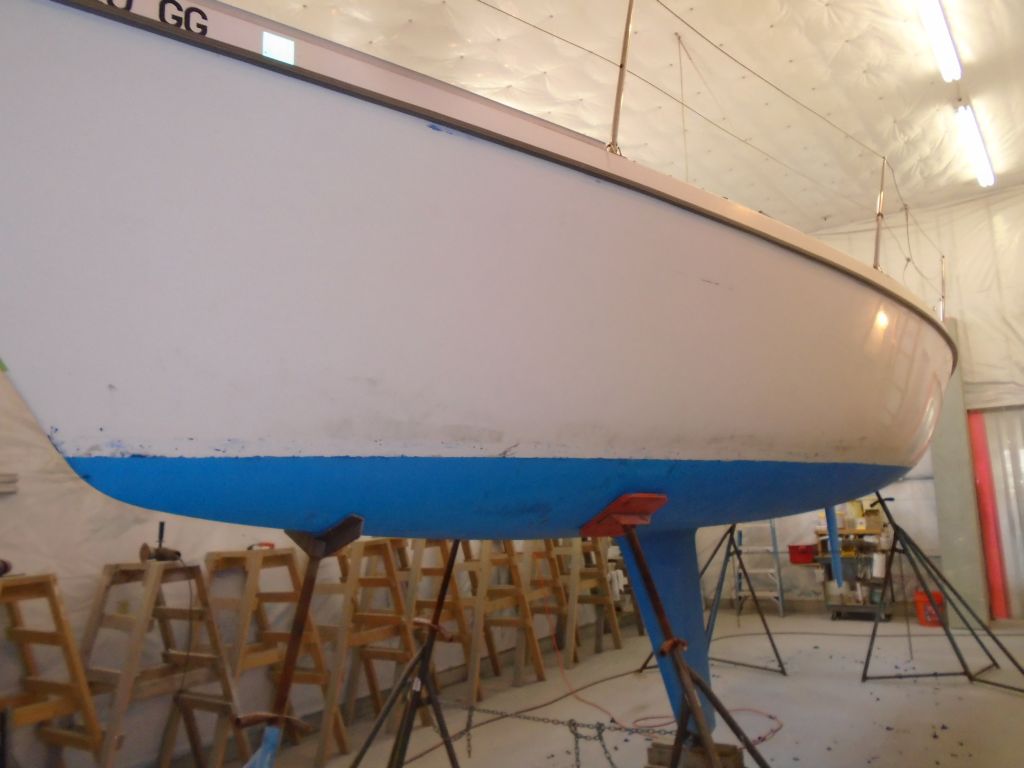
With the beams set up and leveled at the final height, I strung a string between the two and, in my usual way, marked the waterline on both sides. Doing this on a boat with a suspect waterline is always a leap of faith, and here was no exception. Though I knew that the after part of the bottom paint on this boat was wonky, I was surprised to find that the new and level, planar line demarked by the red string was as much above the old line as it was and as far forward as this extended, even though the forward end was at the original starting point. But the new marks looked good when viewed properly, and created the correct shape for the new line at the aft end, where the flat aft sections of the boat exited the waterline plane. The idea of this exercise is for the lines to appear visually straight in profile. In this way, I made a series of tick marks on both sides of the hull to demark the new waterline.
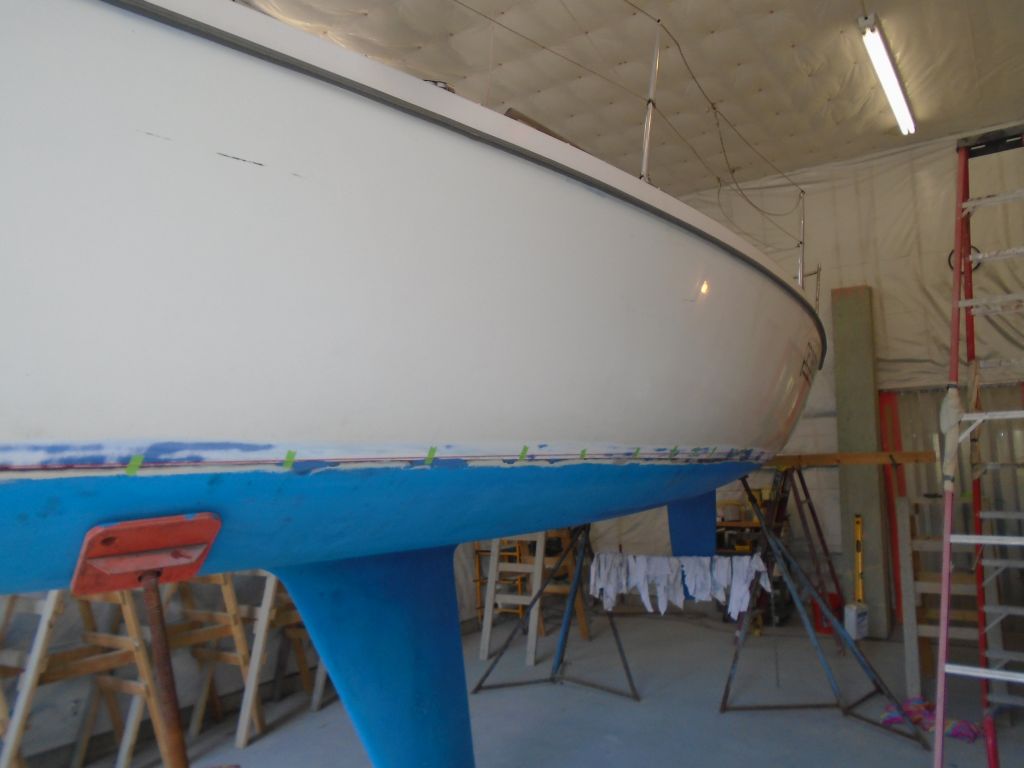
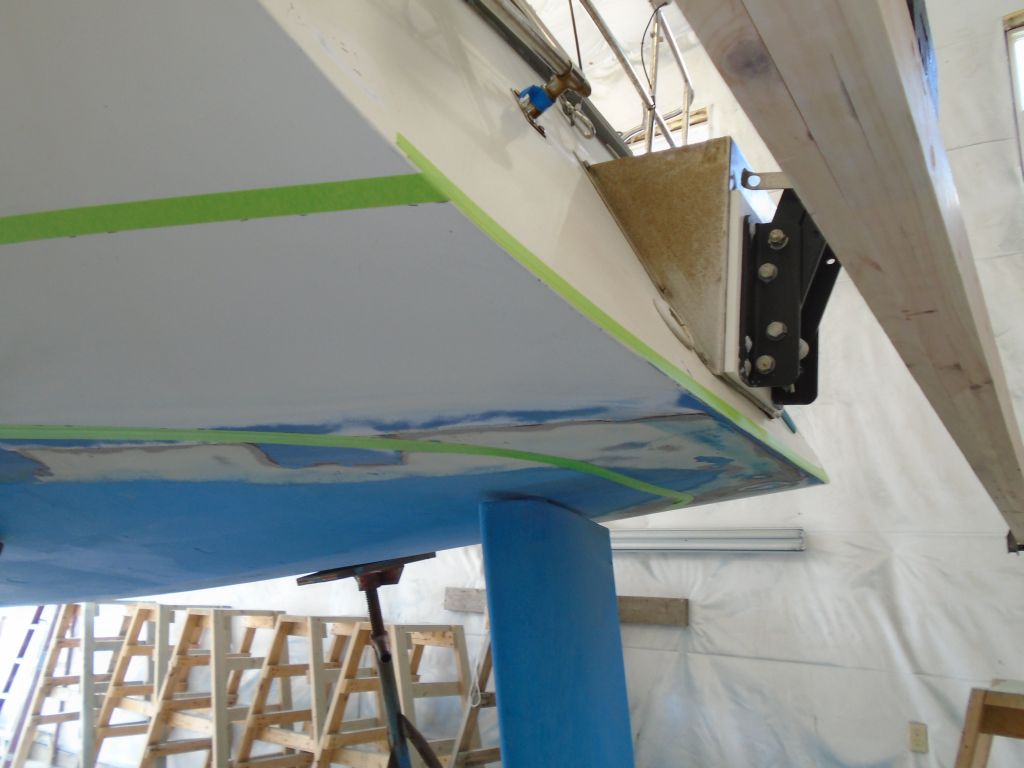
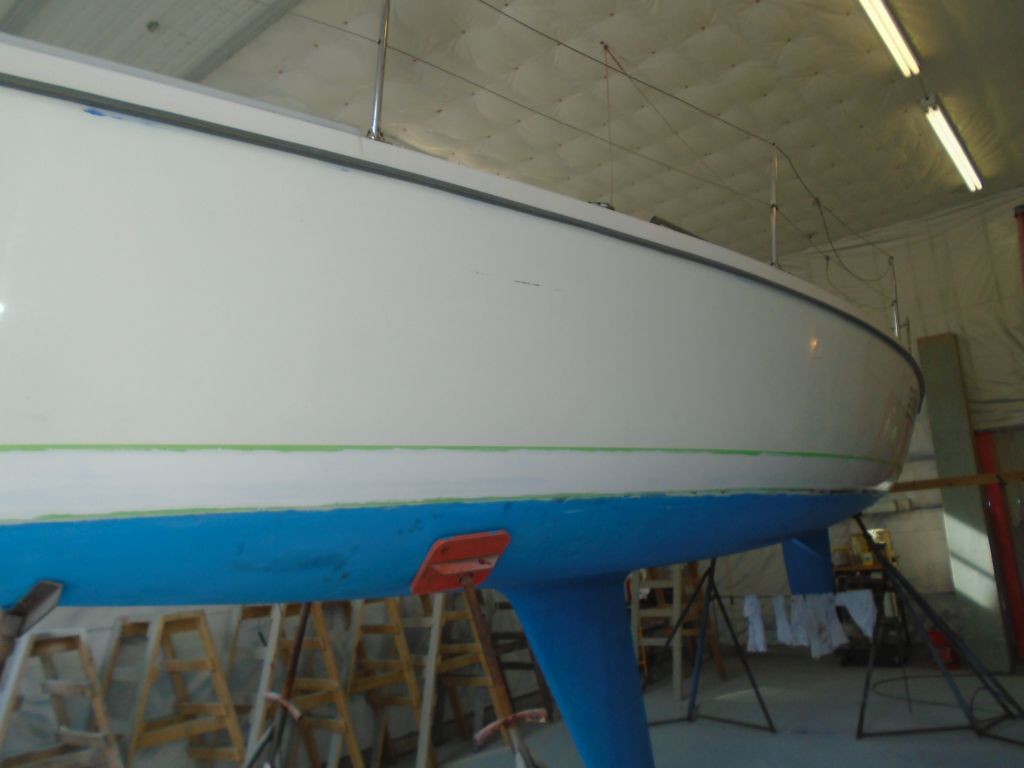
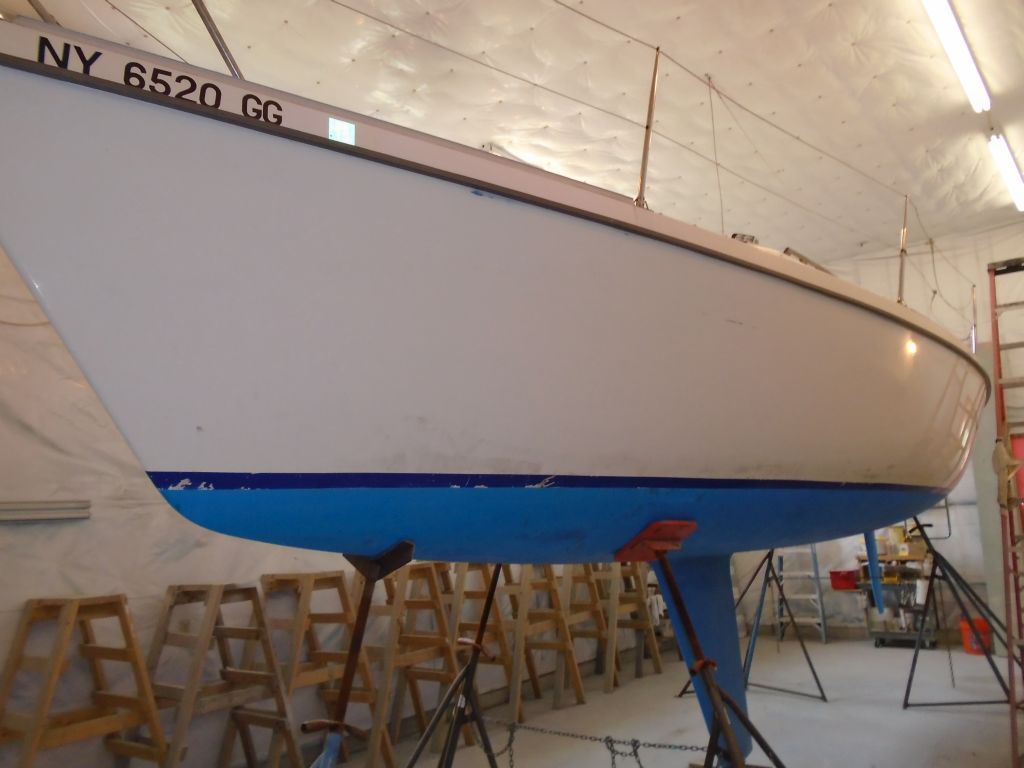
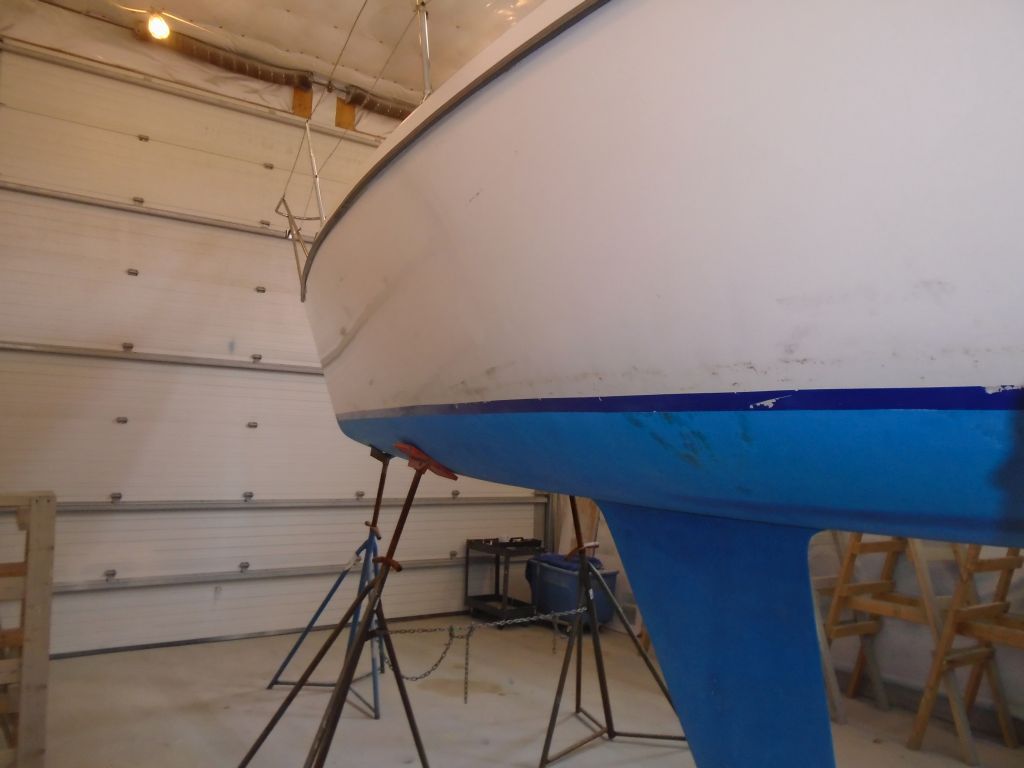
Afterwards, I masked to the new marks, leaving the top edge of the tape at the marks to signify the eventual top edge of the bottom paint. But all the striping would occur above, and down to, this line.
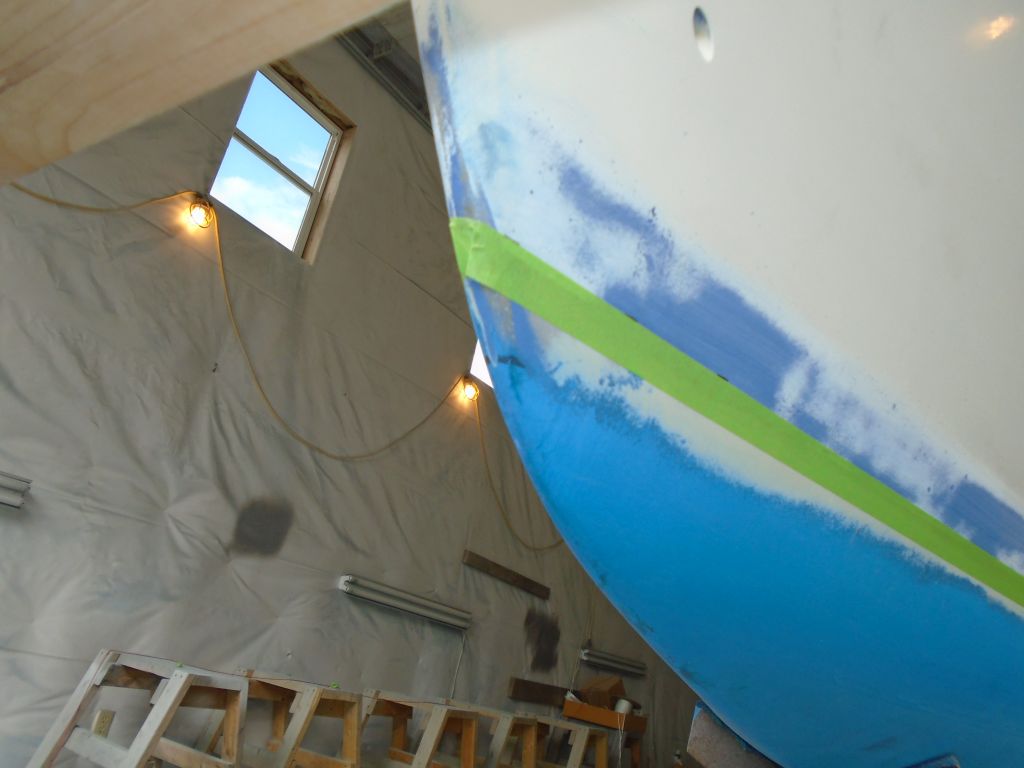
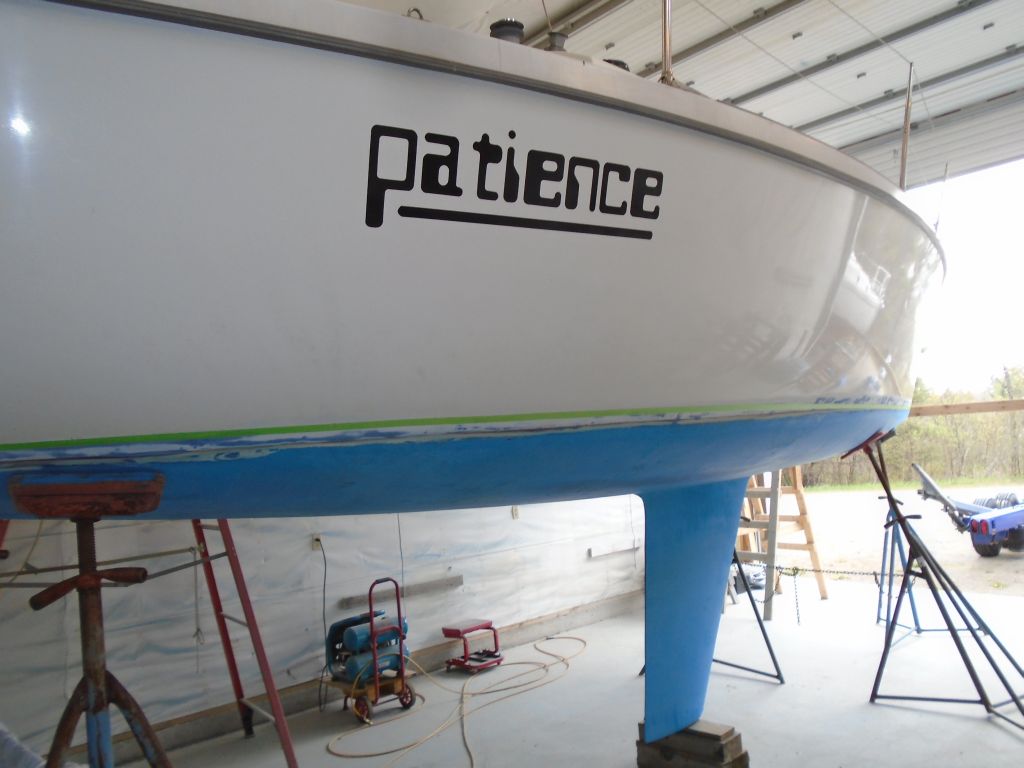
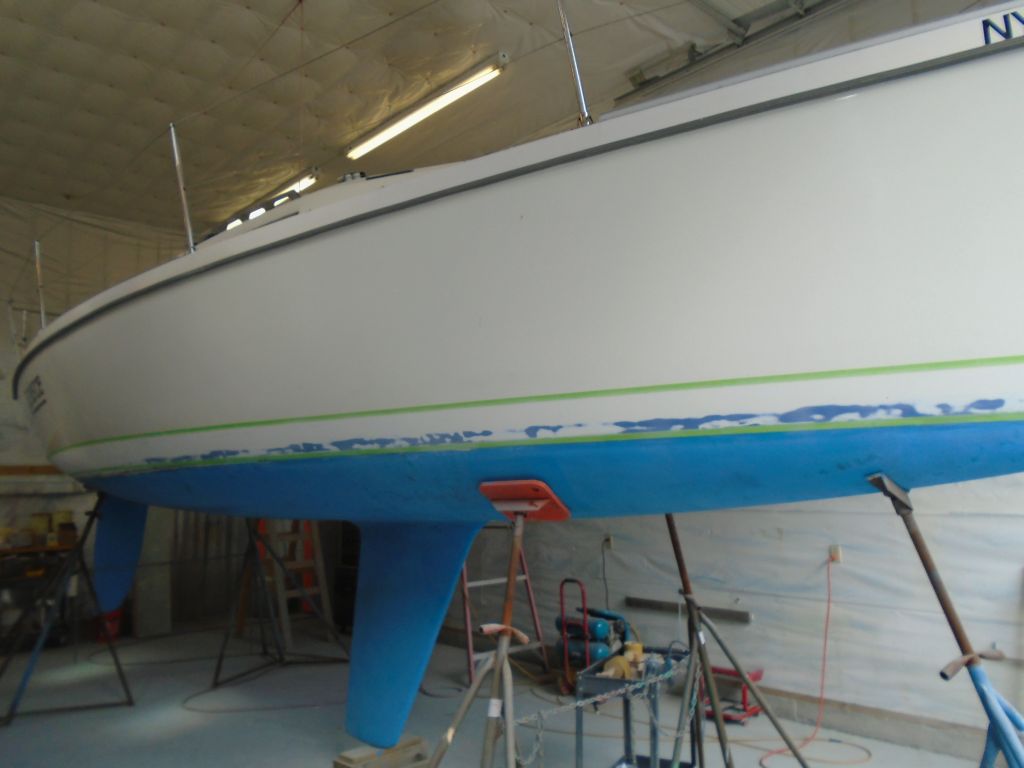
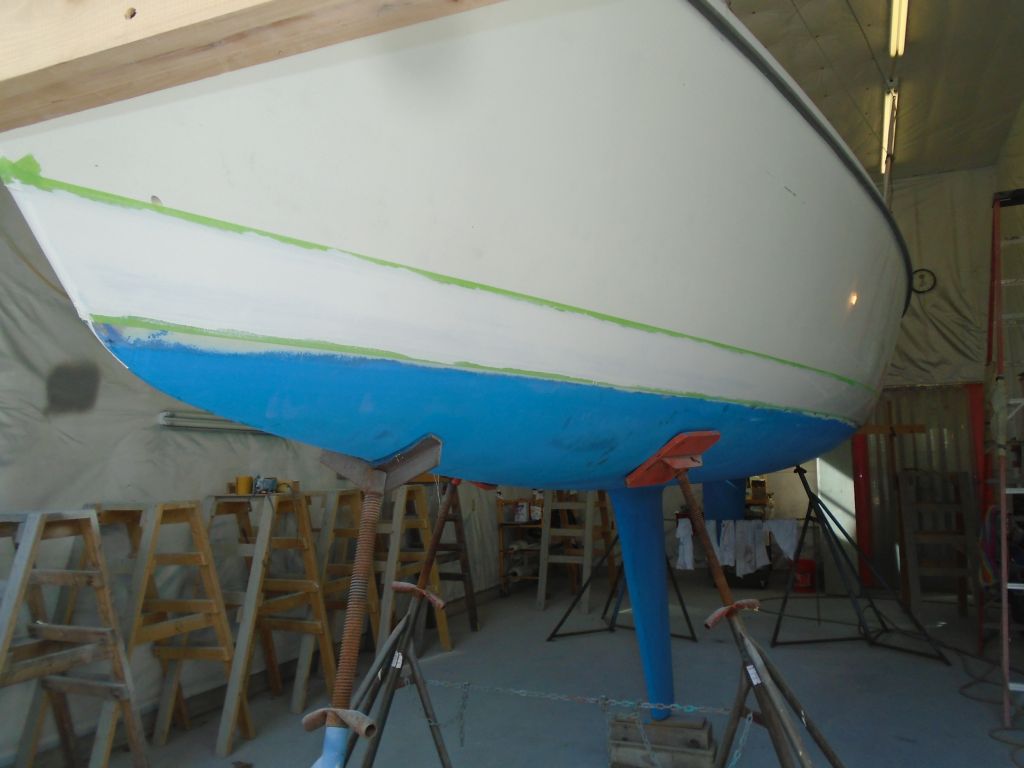
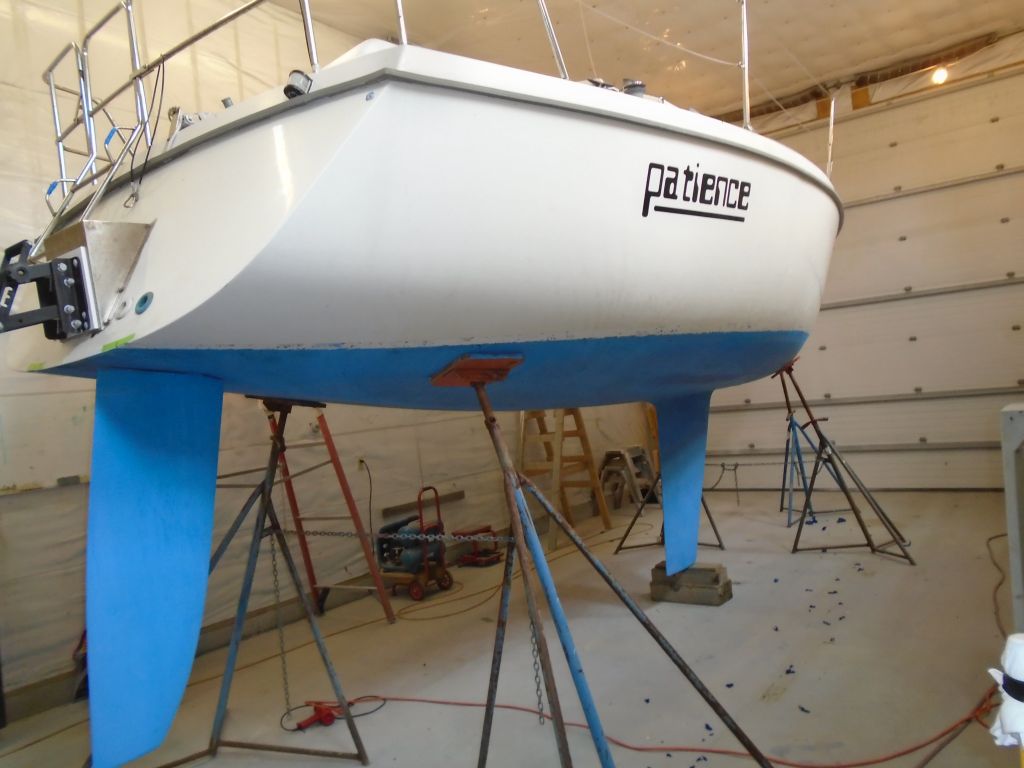
The new striping scheme the owner requested would include two main stripes: a wider, lower stripe in one color, and a narrower, upper stripe in a different color, both to match a color scheme he had in mind. This boat had high topsides that offered plenty of room for striping options, and in addition to properly laying out the new striping, the new appearance would help lower the visual height of the topsides, which as of now were a sort of featureless white expanse. So with all this in mind, I laid out on a piece of paper my thoughts for the new striping as a mockup, which I then taped in place in a couple places on the hull so I could get a visual sense of how the new stripes worked. The overall height of the new scheme was 5″ from bottom to top, and would include two hull-color (white) bands to separate the stripes from each other and from the bottom paint as well.
From bottom to top, the mockup shows a 1″ white band; then a 2-1/2″ wide band (light blue); then a 3/4″ white band; and finally a 3/4″ top stripe (red). The tall topsides offered ample room for the overall height of this new boottop.
Satisfied with my mockup, I prepared to move on with the preparation and marking. After some thought, I decided to strike the topmost line (5″ above the waterline) and sand and prime the entire area beneath it all at once before doing the final striping. Although there were two hull color bands in the stripe, the lower one would have to be painted separately anyway, since the position of the waterline had changed and I’d sanded away the mess of the old boottop, and although the second hull color band could have worked as is, on balance I thought the process would work better–and the end result be better–if I didn’t try to tape and sand each line individually from the getgo. While this would eventually lead to an additional painting step, I thought that compromise was preferable and that sanding and priming the whole area en masse would be faster, easier, and more efficient in the end.
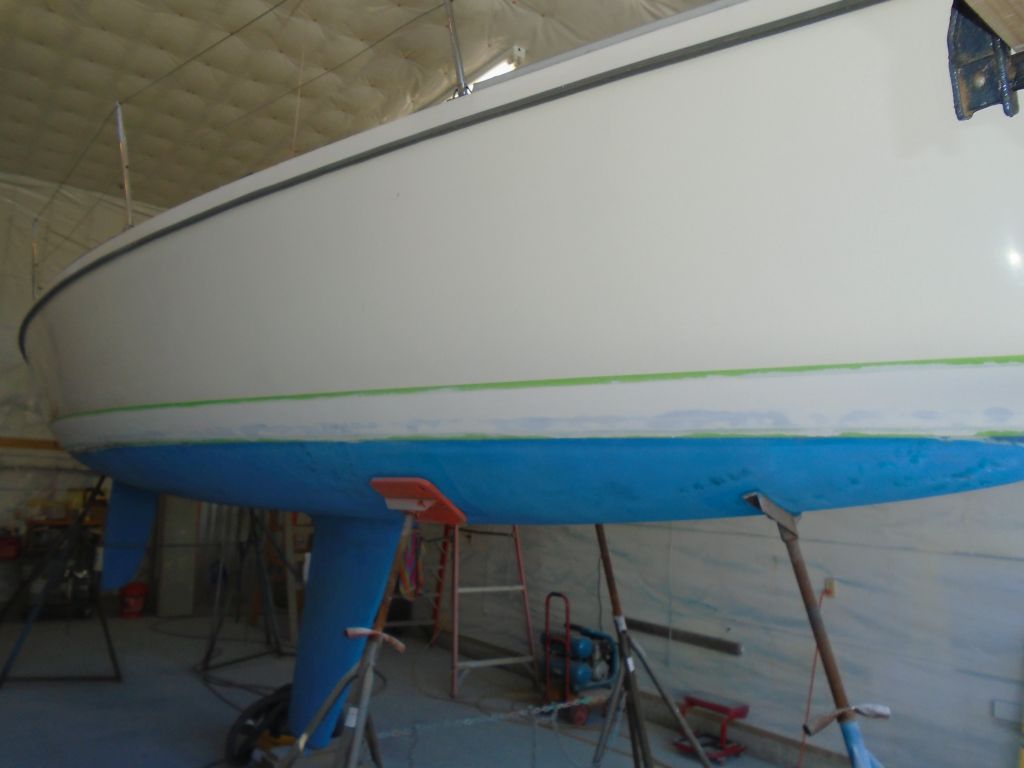
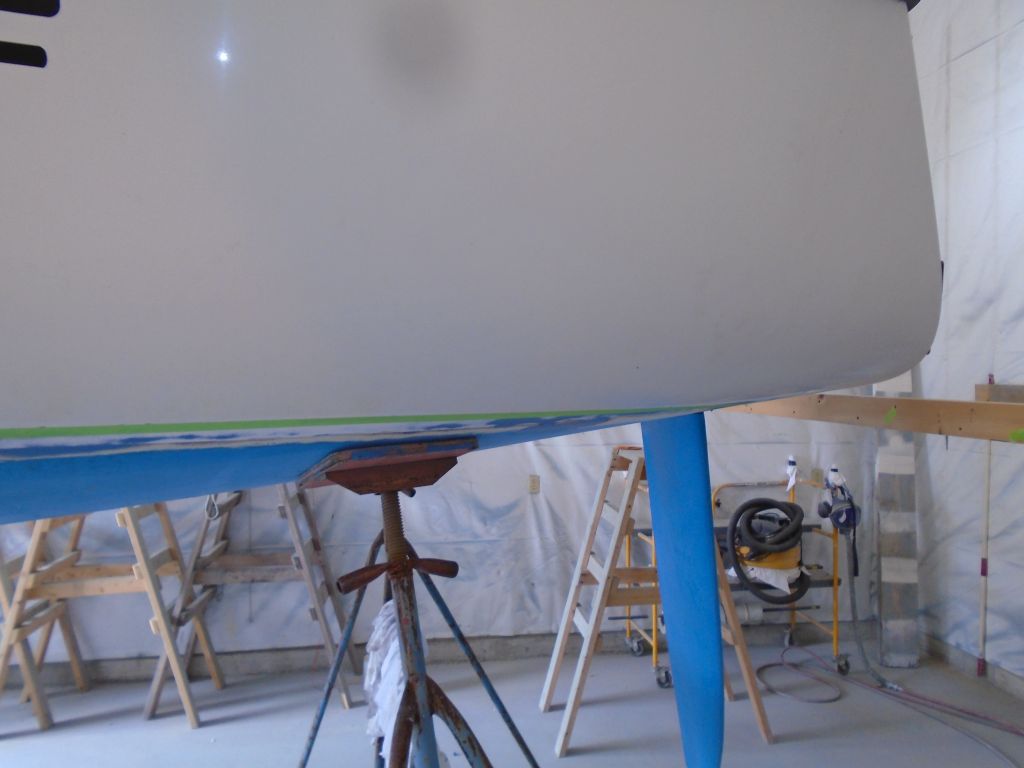
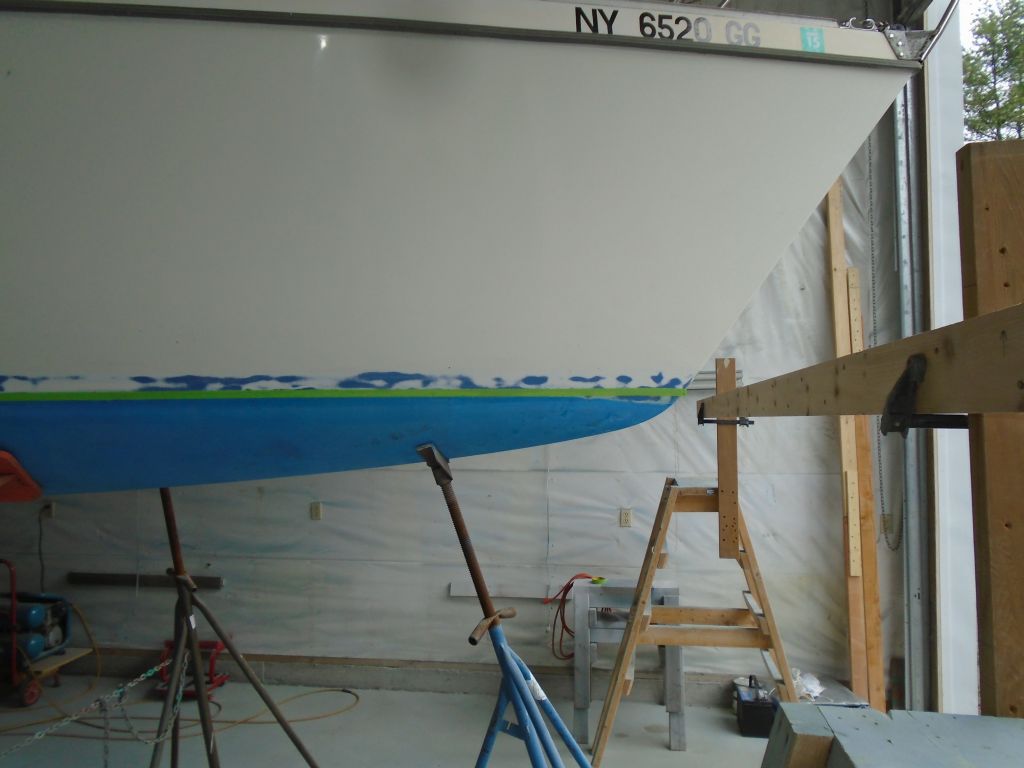
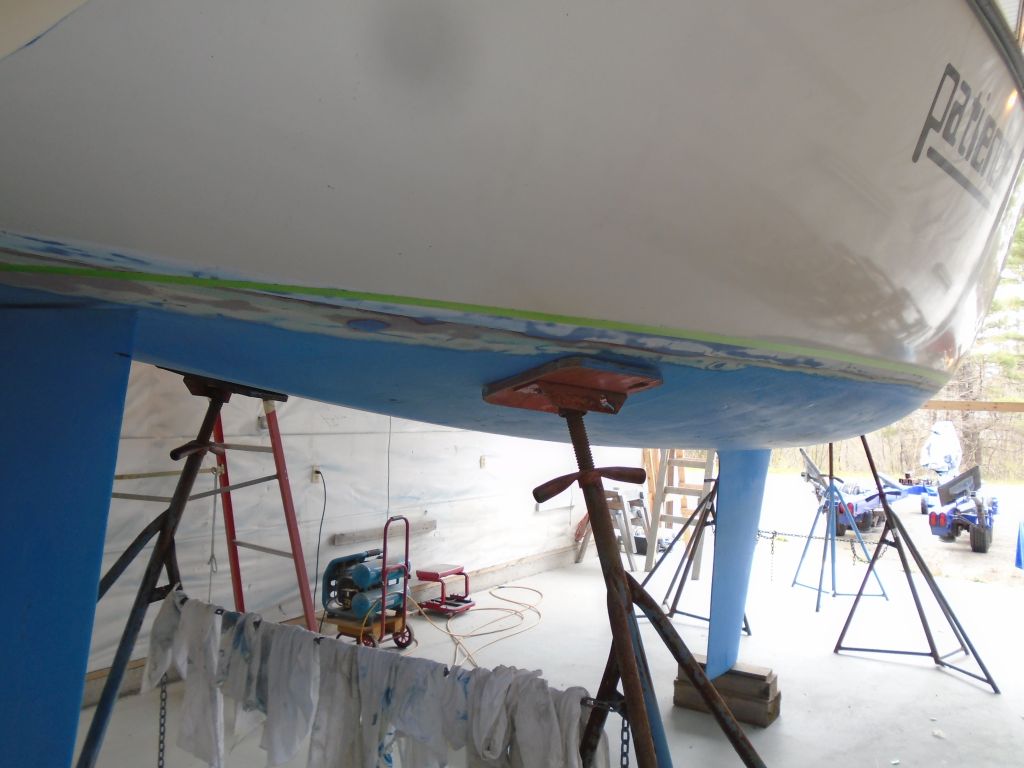
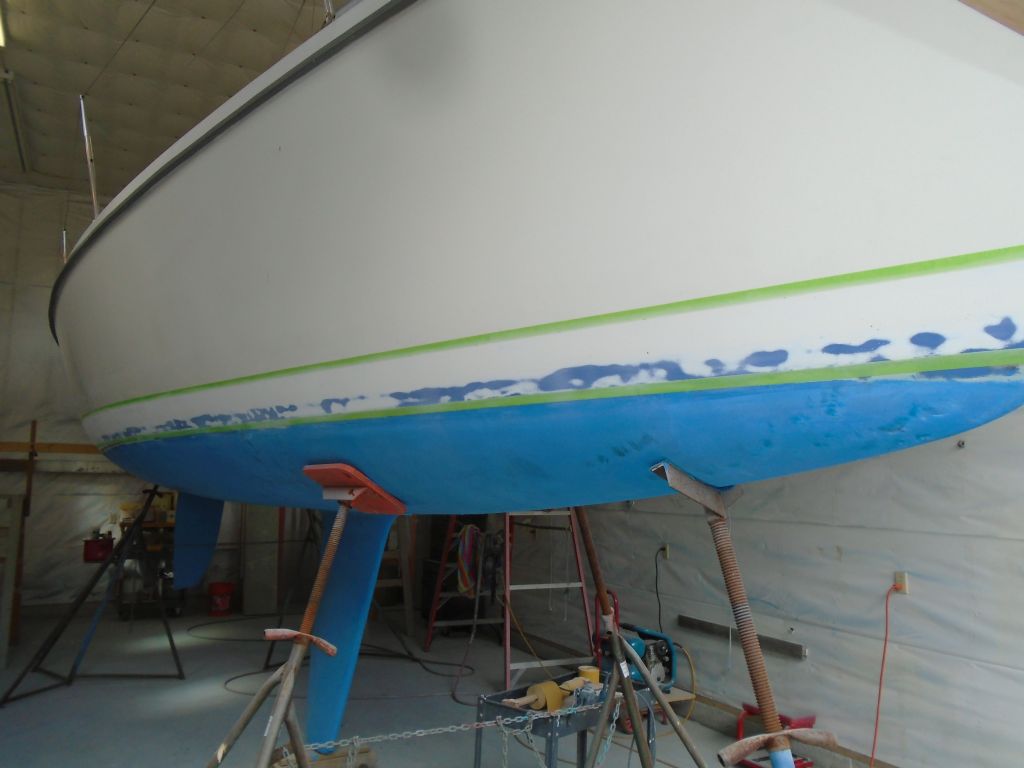
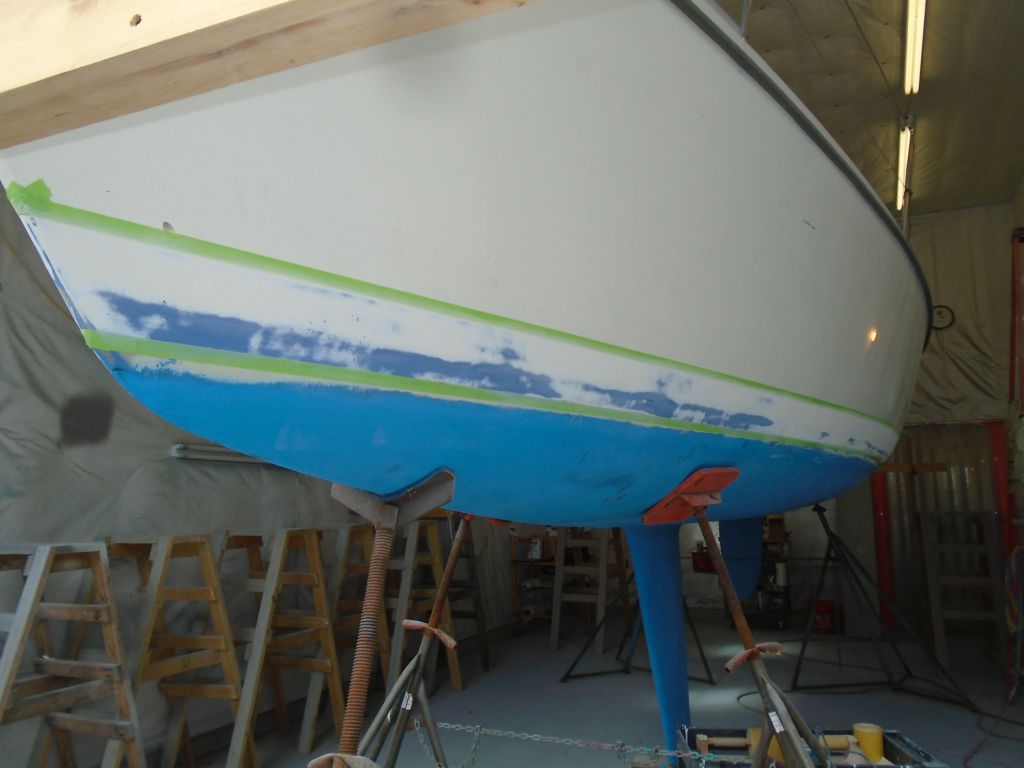
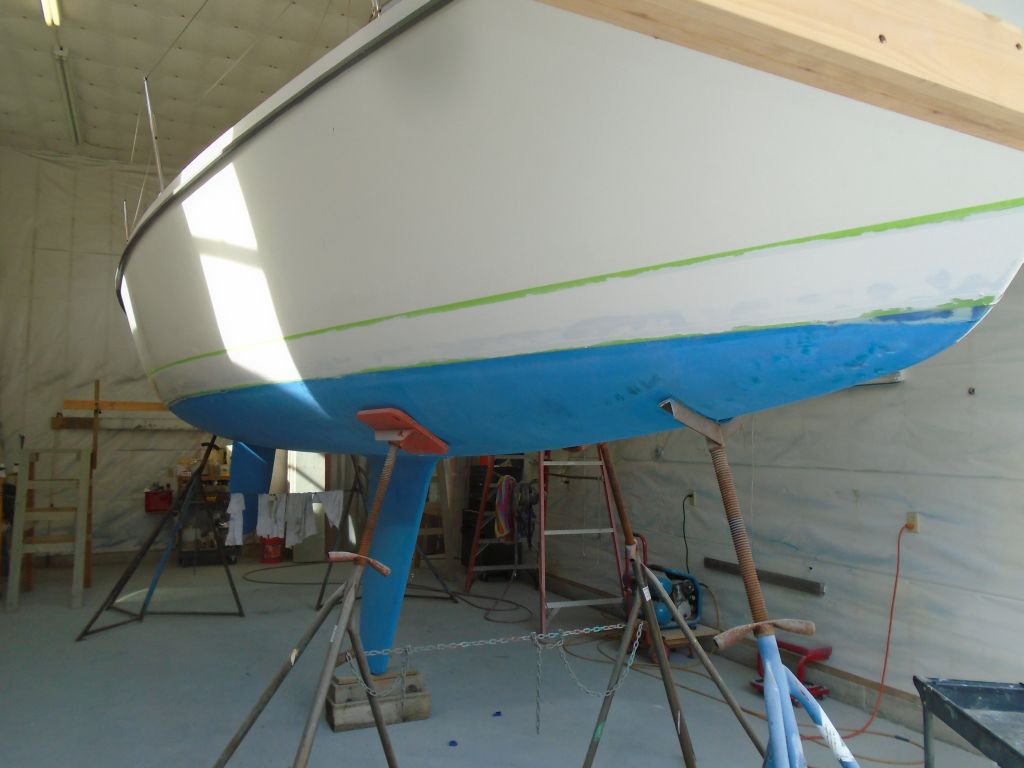
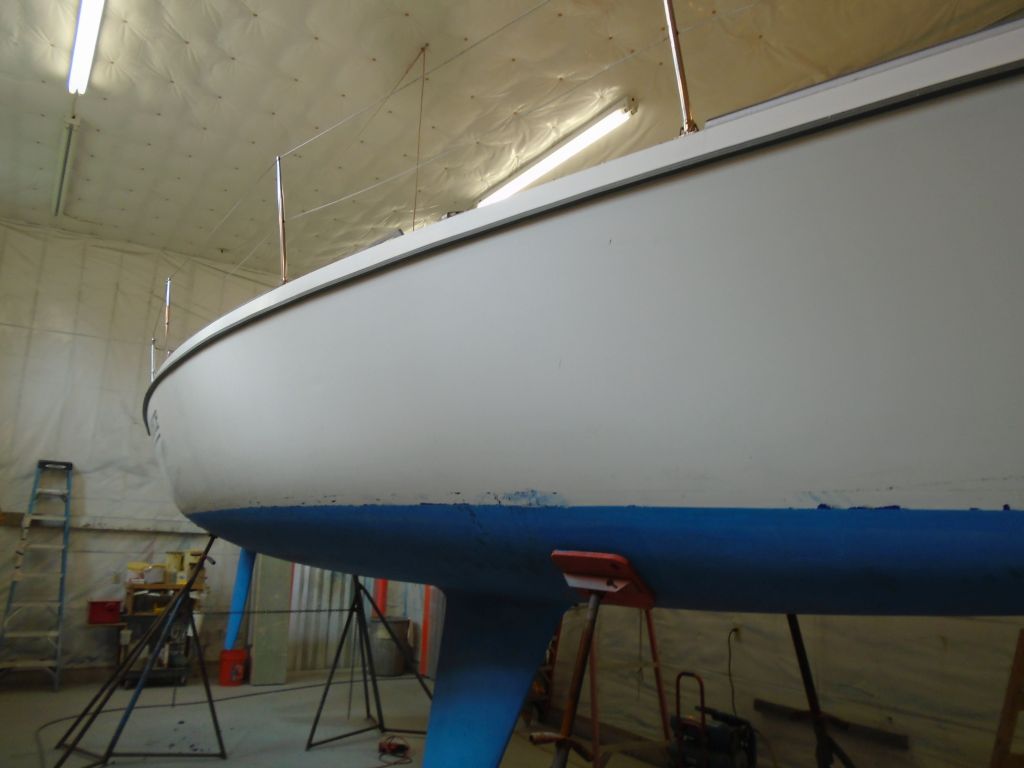
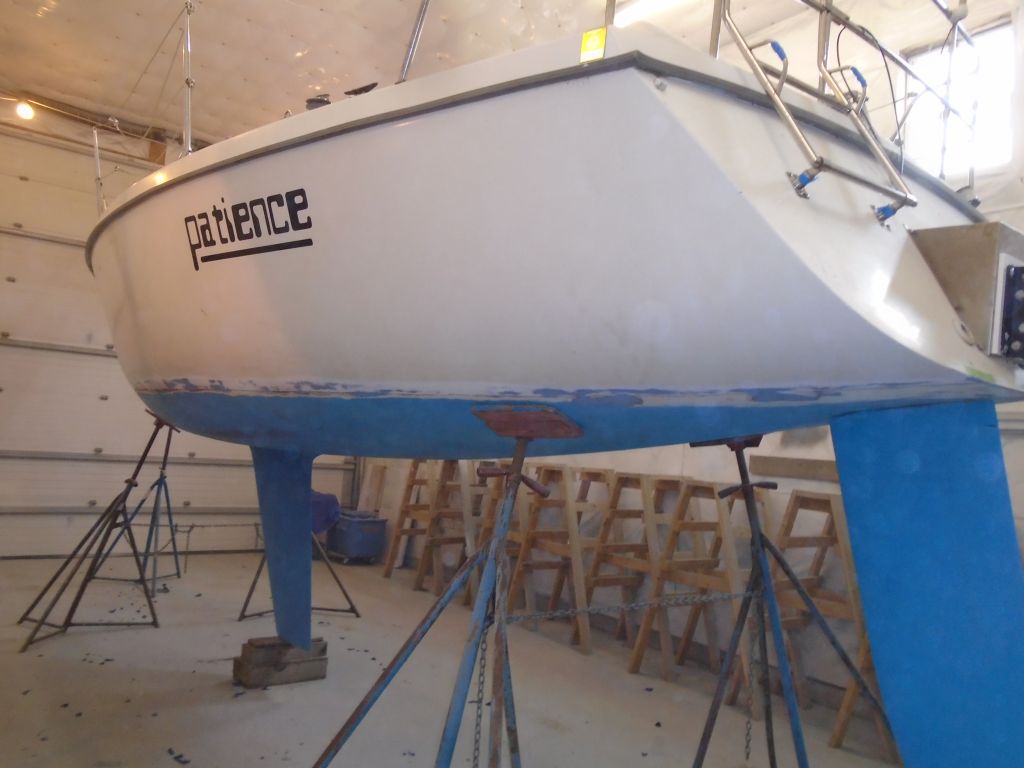
To this end, I moved my cross beams up the required 5″ at each end, leveling them in turn, and then I marked the new top edge of the boottop at this height, masking it off afterwards. While this looked foolishly high and wide by itself, remember that this is just the top edge, and that the area beneath would be filled with multiple stripes later.
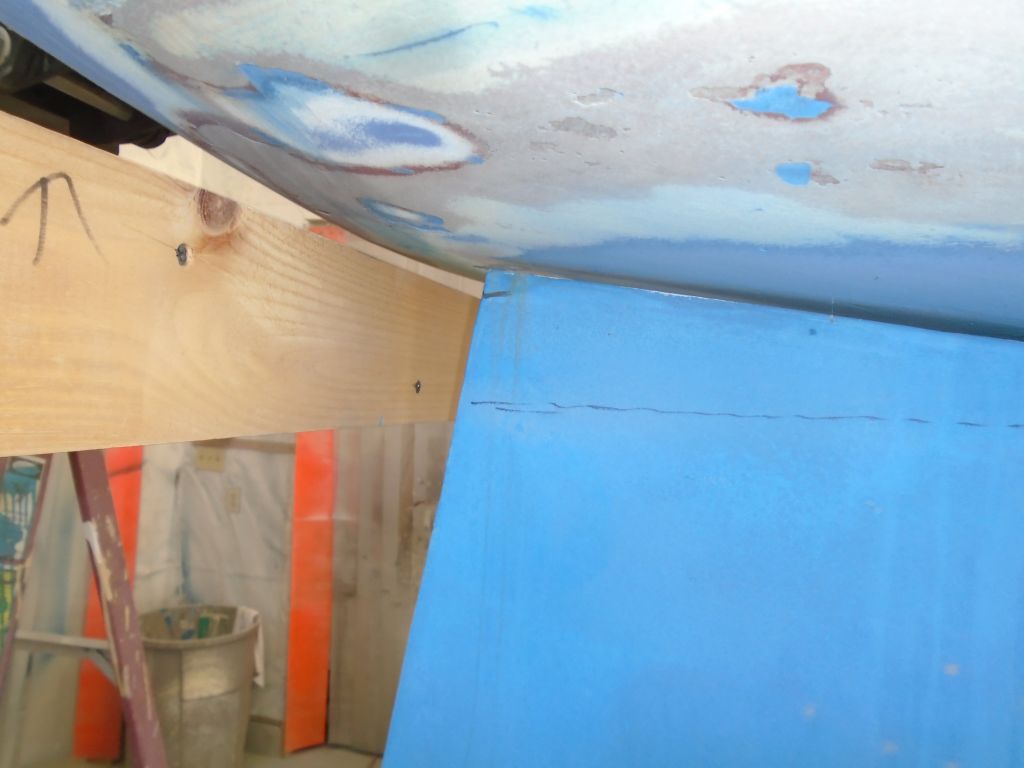
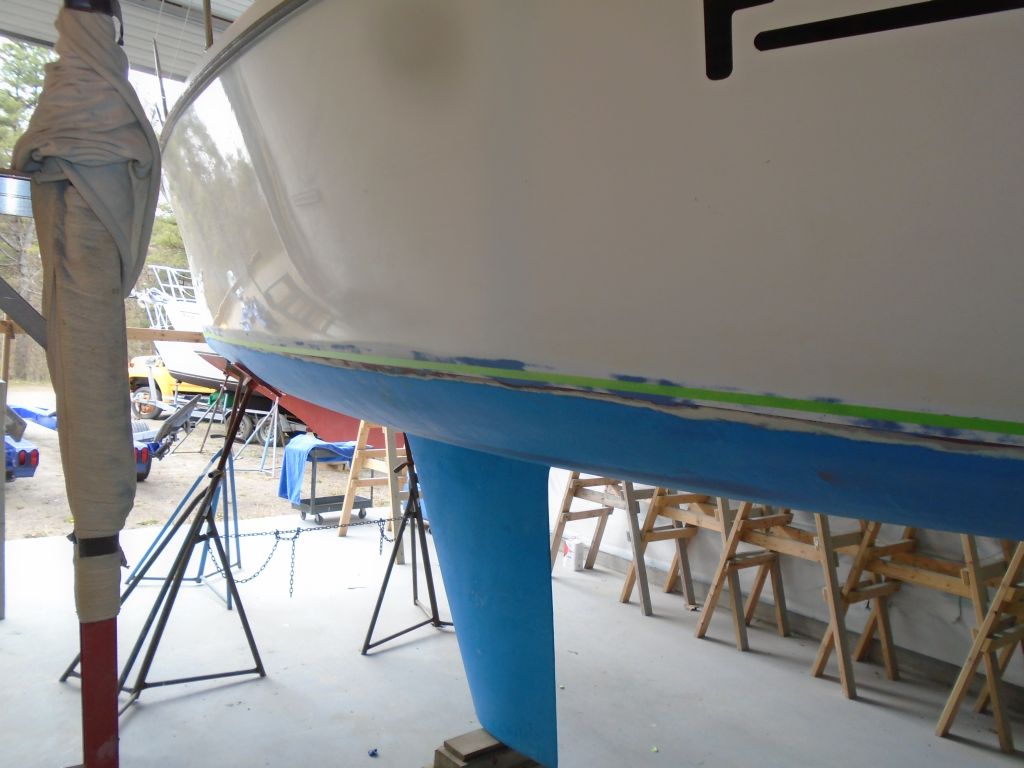
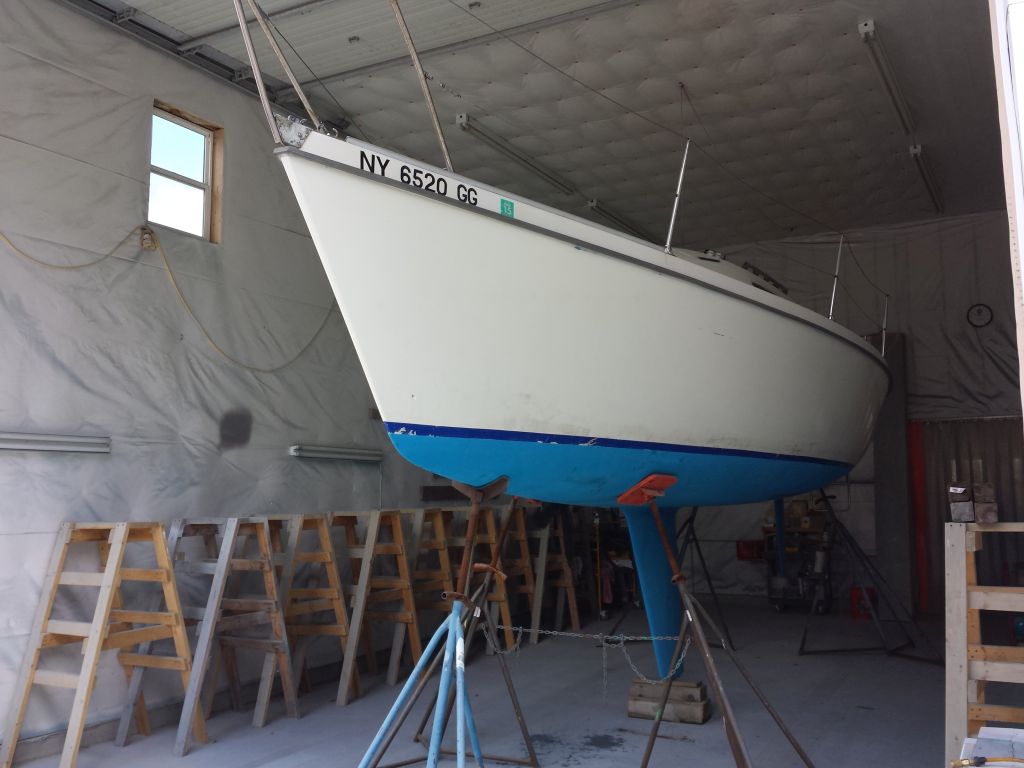
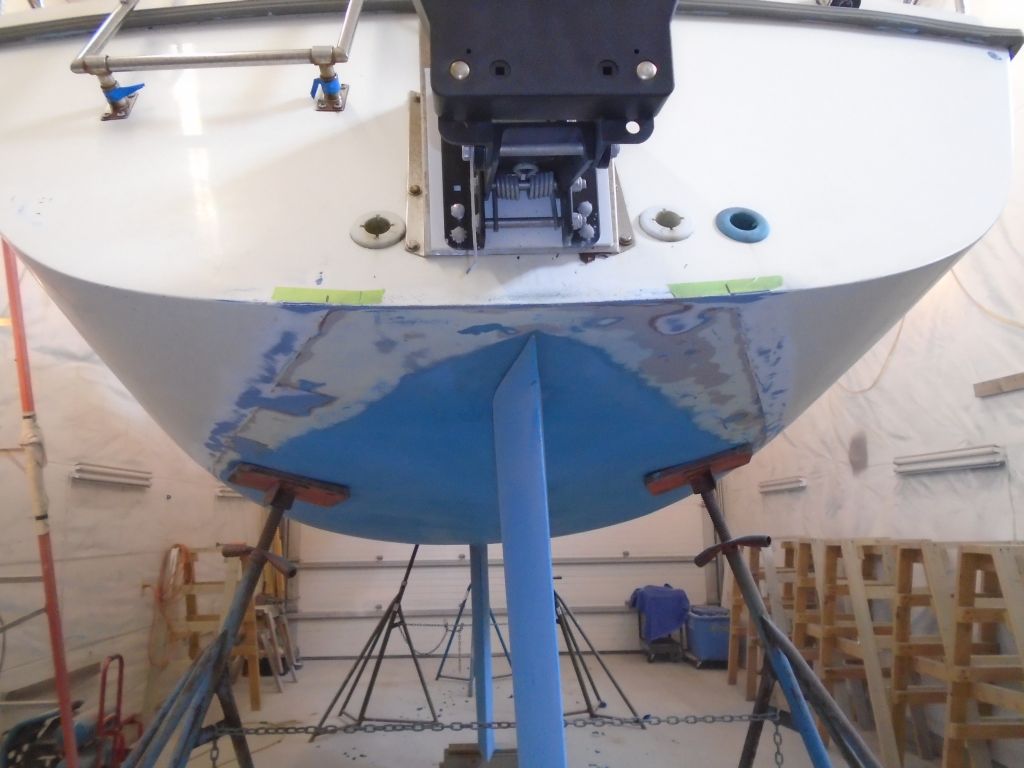
With the whole boottop area now defined and masked, I sanded the area within as required, using 80-120 grit paper. The existing hull paint was generally in fair condition and suitable for use as a substrate in this case, so I made no attempt to remove it all, instead simply sanding the area till it was properly scuffed and prepared for the work ahead. Afterwards, I vacuumed and solvent washed the area. The stern quarters took a bit more work, as I had to clean up the old transition where the old bottom paint had been, and also remove a bit of additional bottom paint at the very stern and just above the newly-taped waterline, where I’d not removed enough during my early round of sanding the day before.
To round out the day, I applied a coat of white primer over the entire boottop area.
Total time billed on this job today: 8 hours
0600 Weather Observation:
40°, clear. Forecast for the day: Mainly sunny, high in the low 60s