

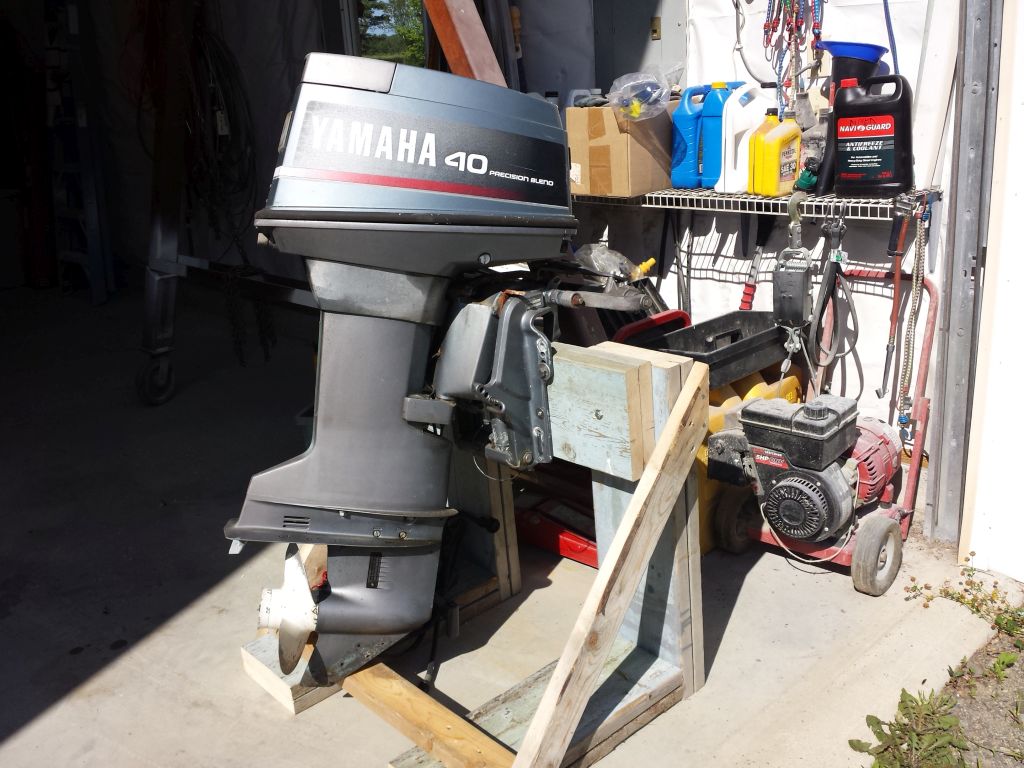
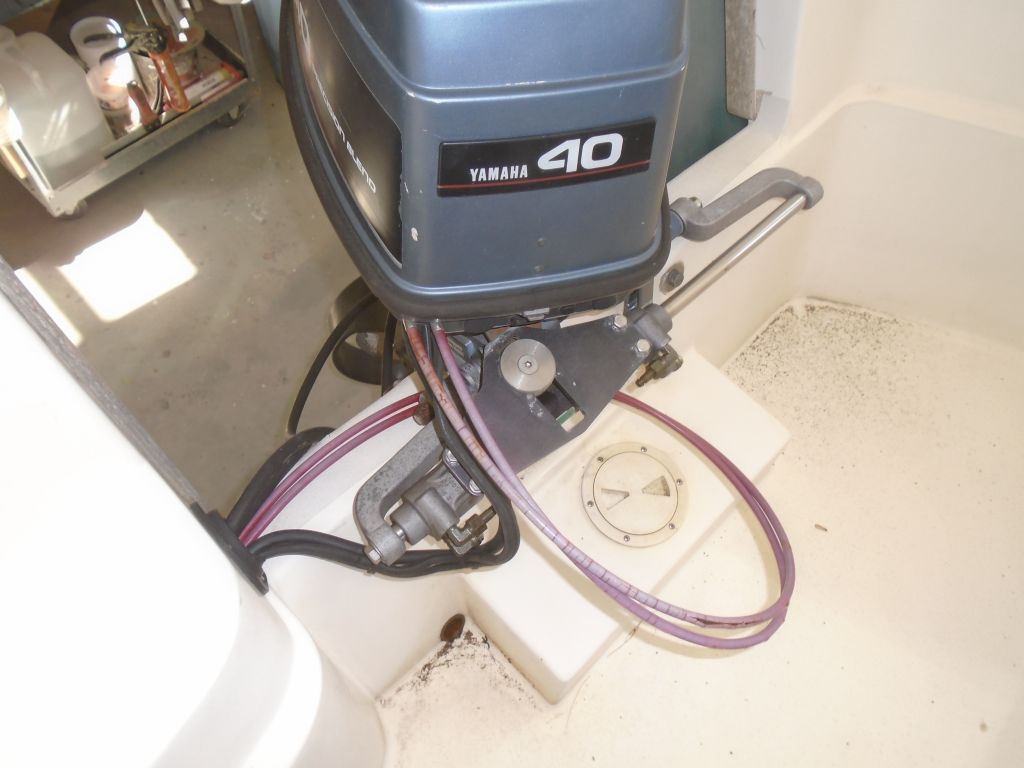
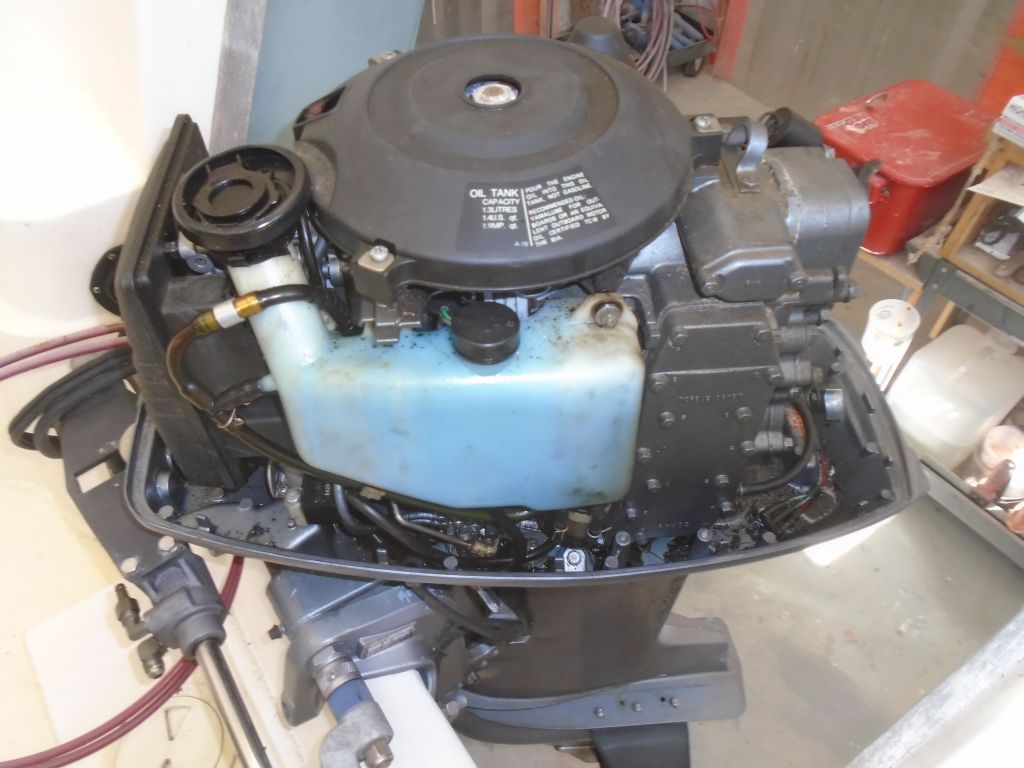
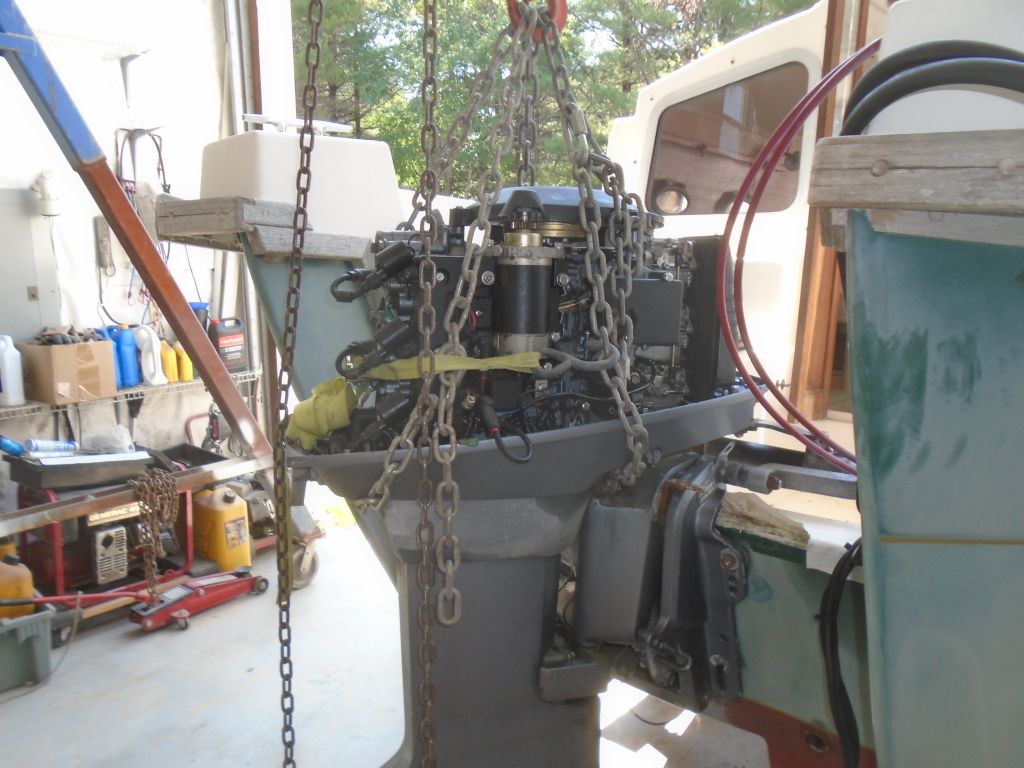
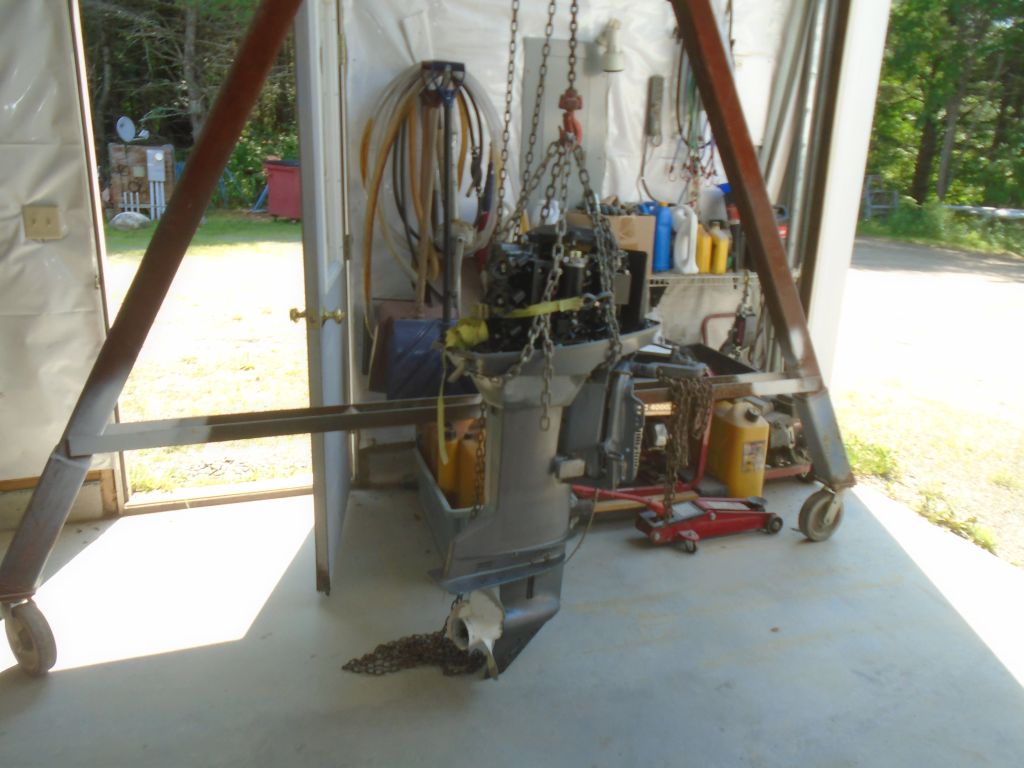
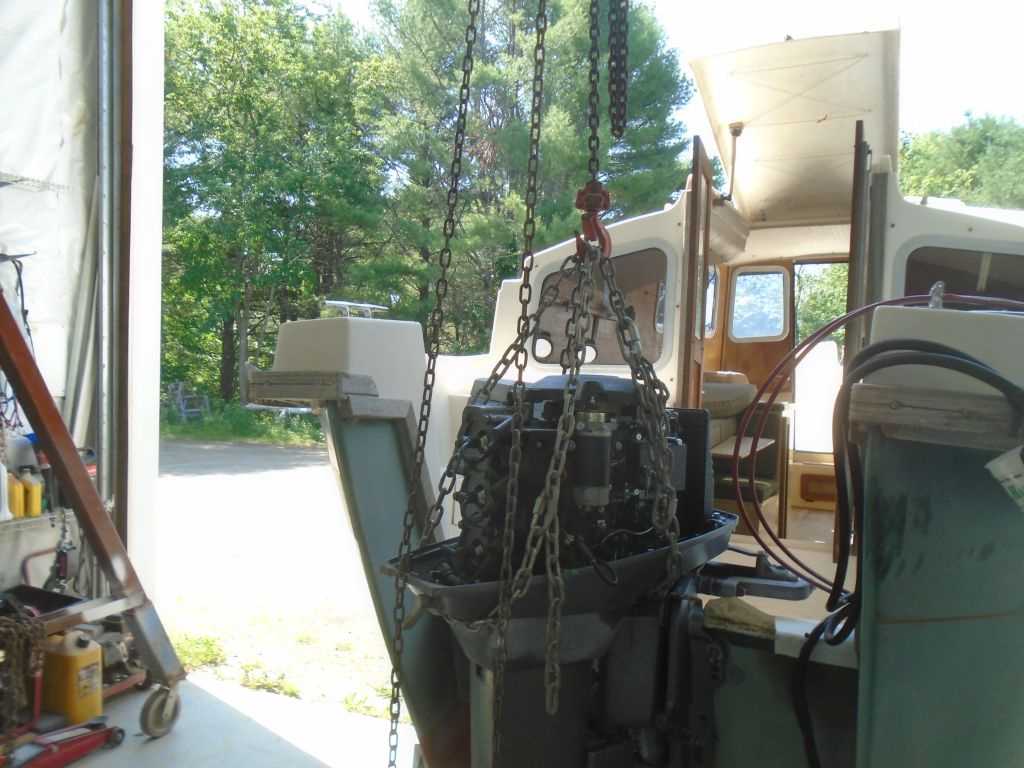
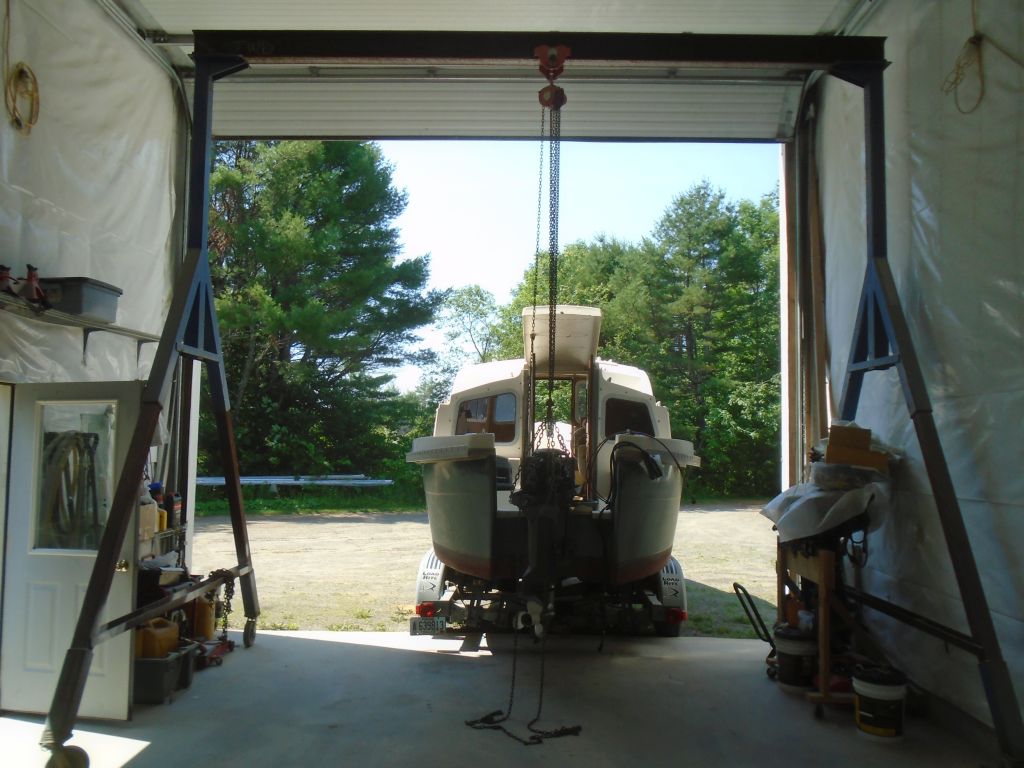
Earlier, in some quiet moments around the shop, I put together a simple yet strong stand for the outboard, using old yard scraps.

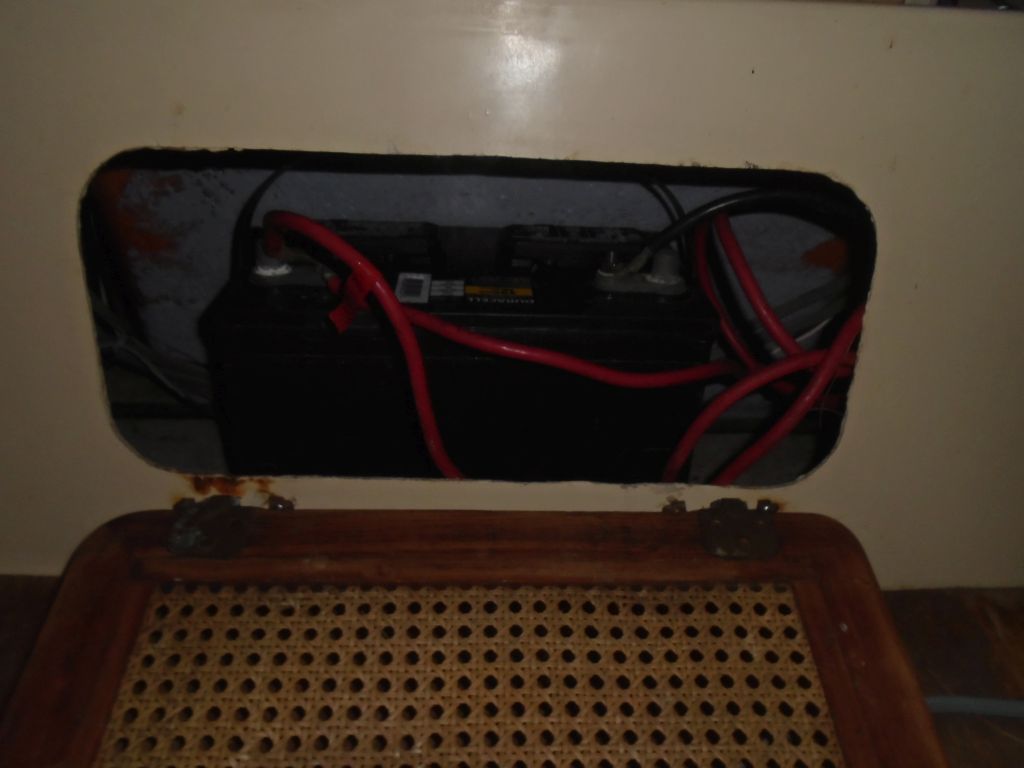
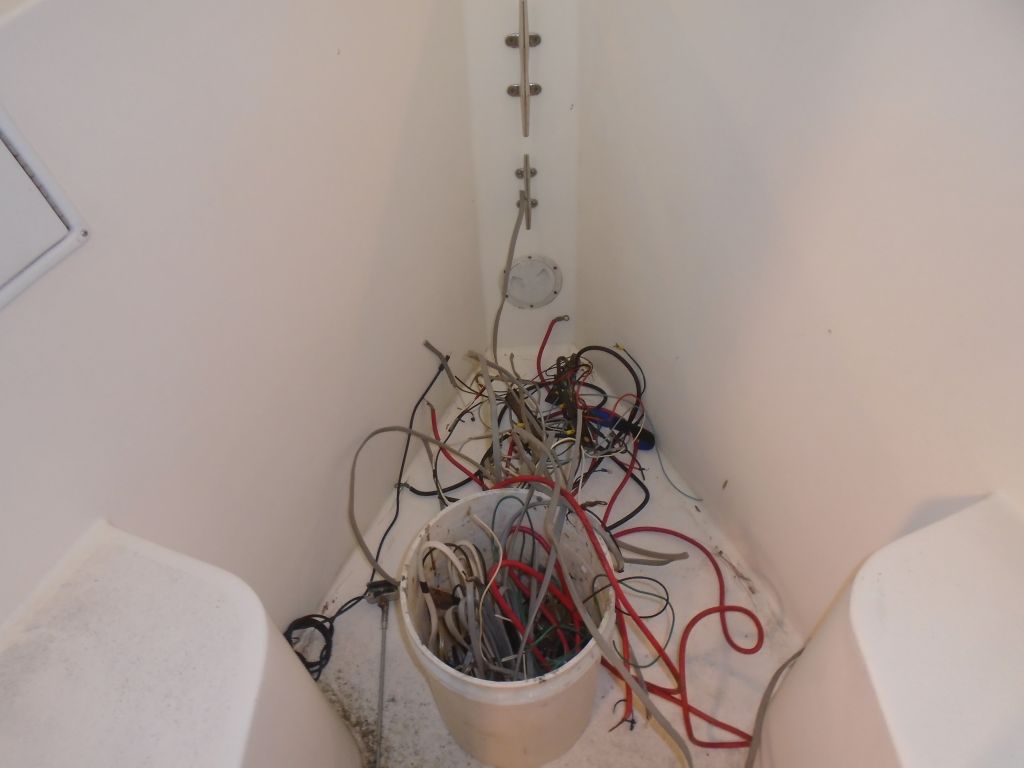
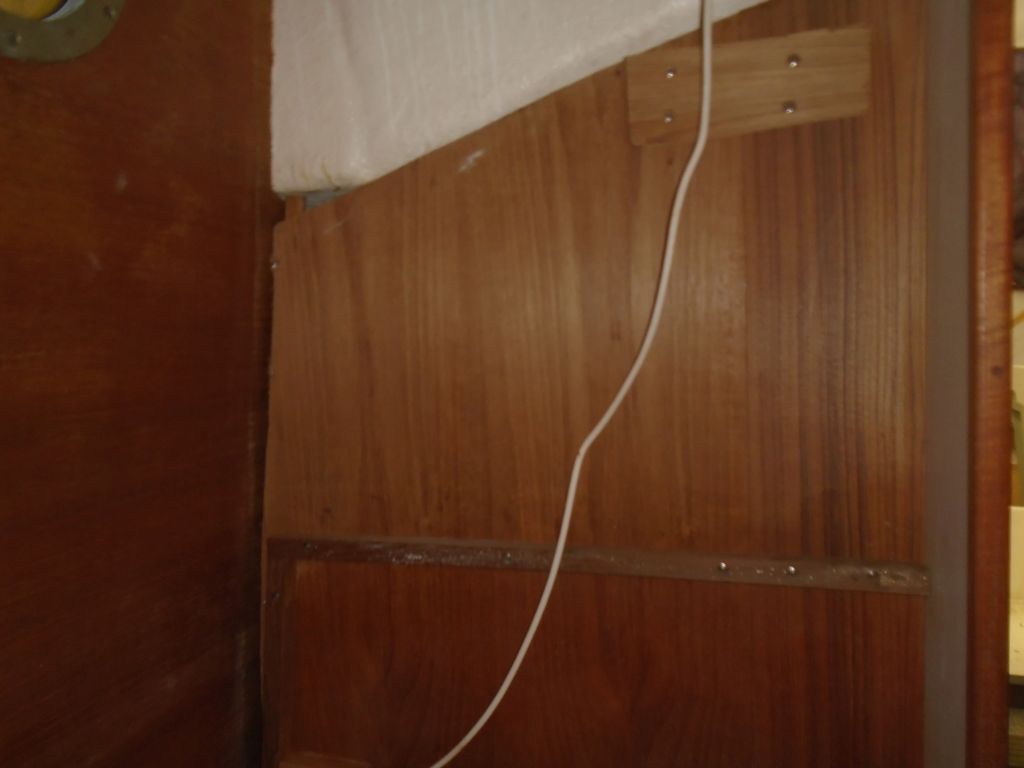
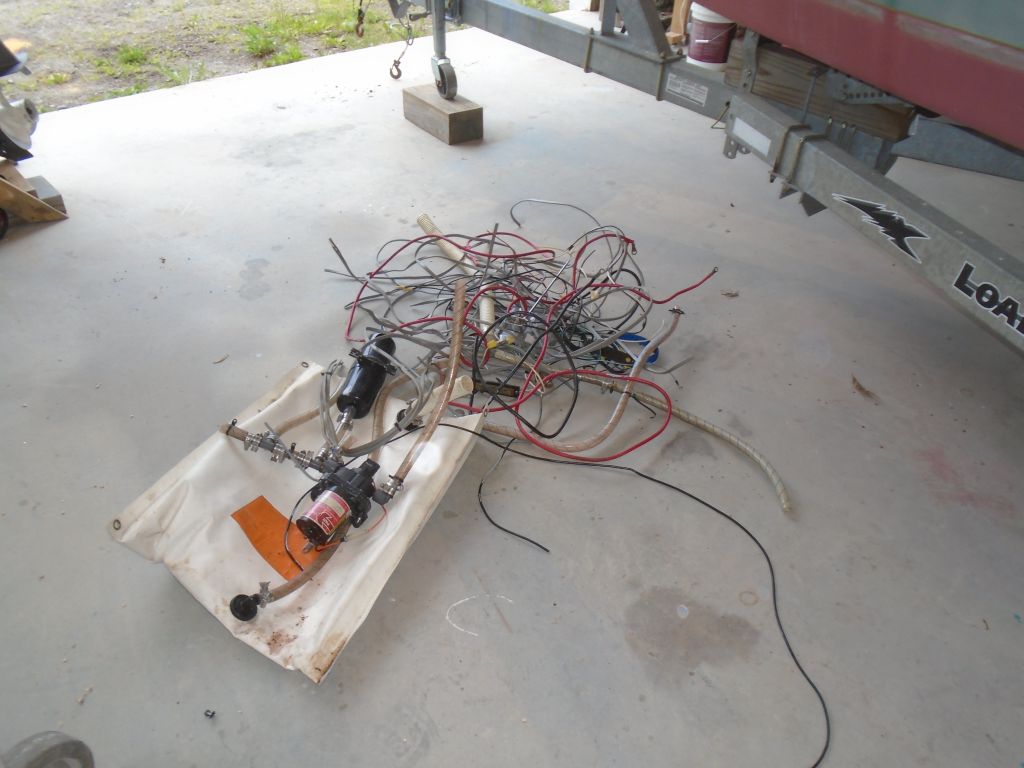
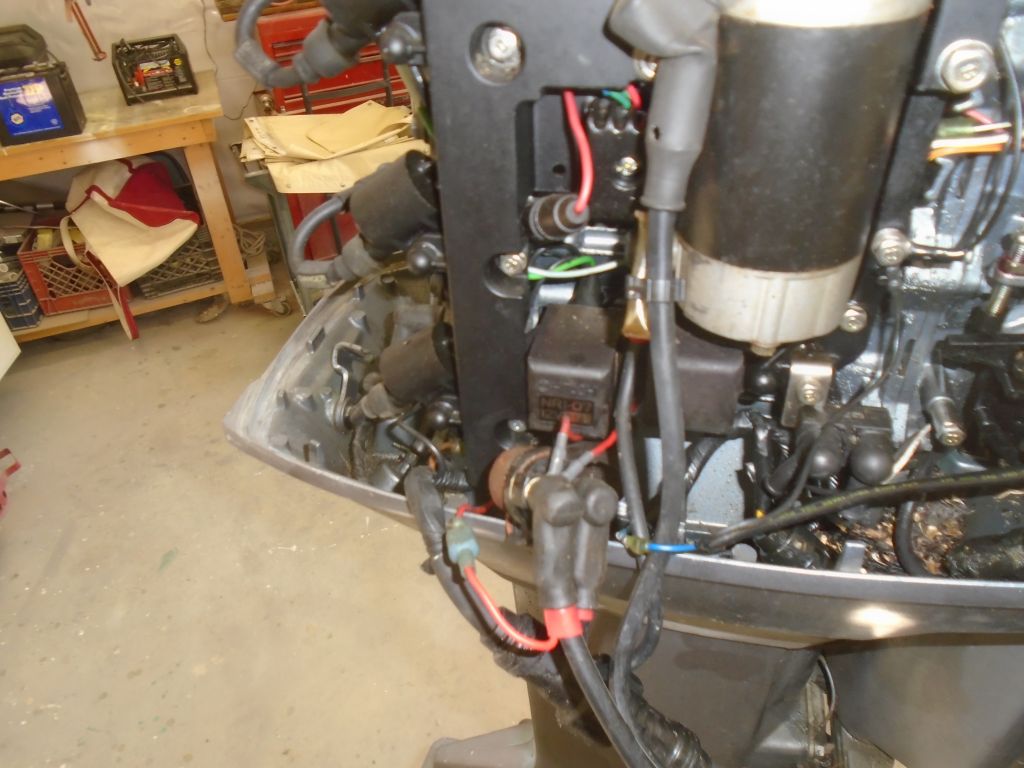
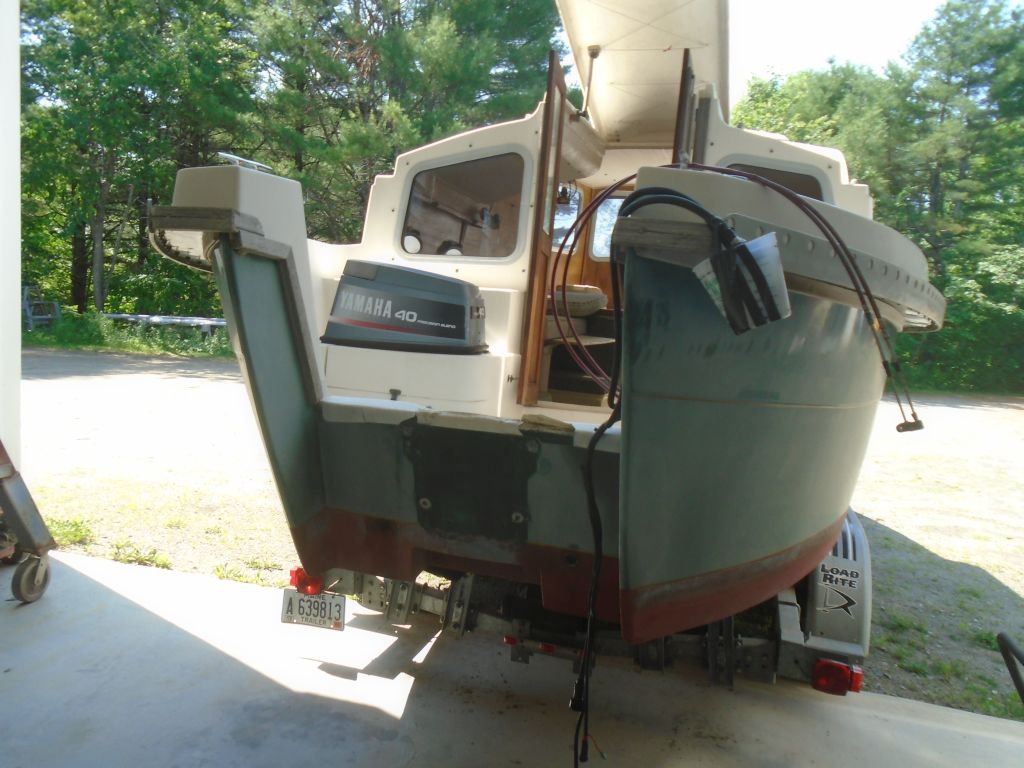
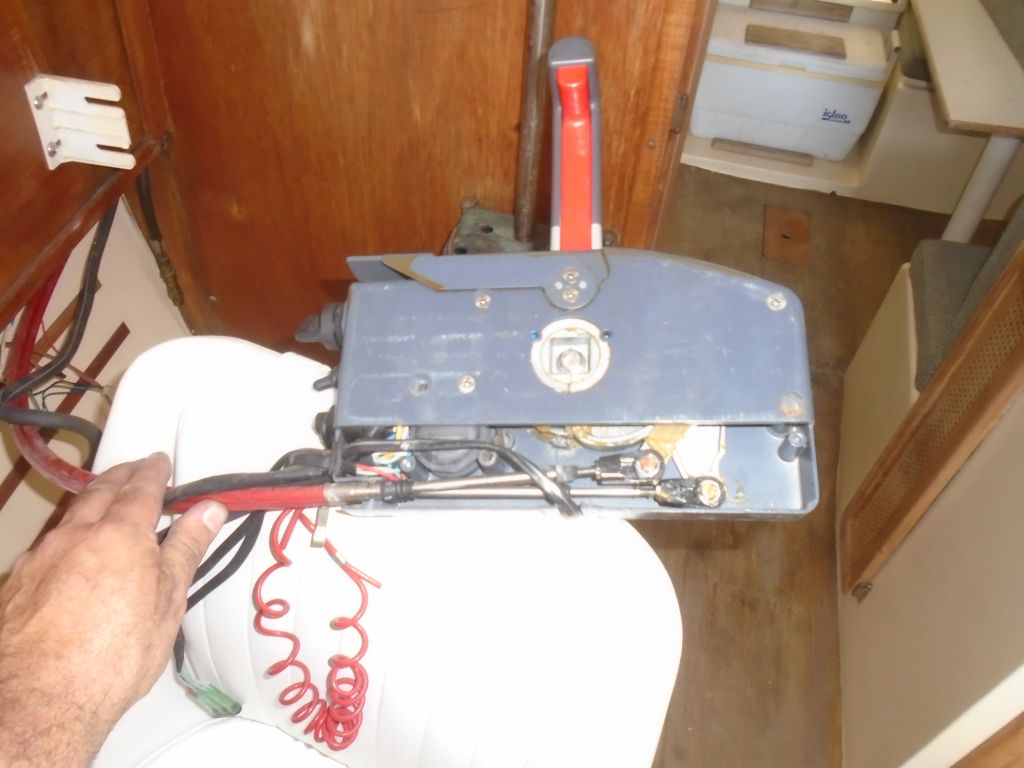
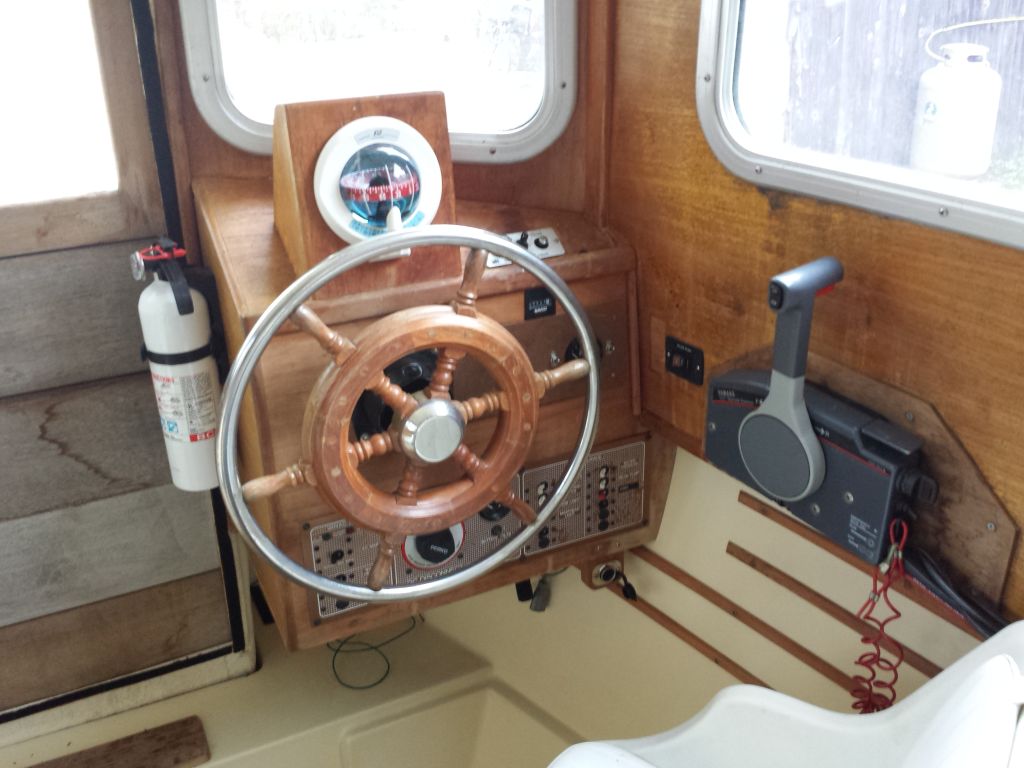
Removing the old engine controls and cables earlier had highlighted the condition of the boat’s original (I think) wiring. The space beneath the helm console was a nasty-looking rat’s nest of sloppy wire, and in beginning the process of sorting it out as I removed the unwanted power cables from the old engine, I soon realized that I’d have to clean up the wiring more than I’d originally anticipated. As much as I hoped to keep the project scope minimal, and although everything on board currently worked, I wasn’t content with the way the wiring looked now. The battery cables were poorly done, with lousy crimps, and all in all it was time for some maintenance.
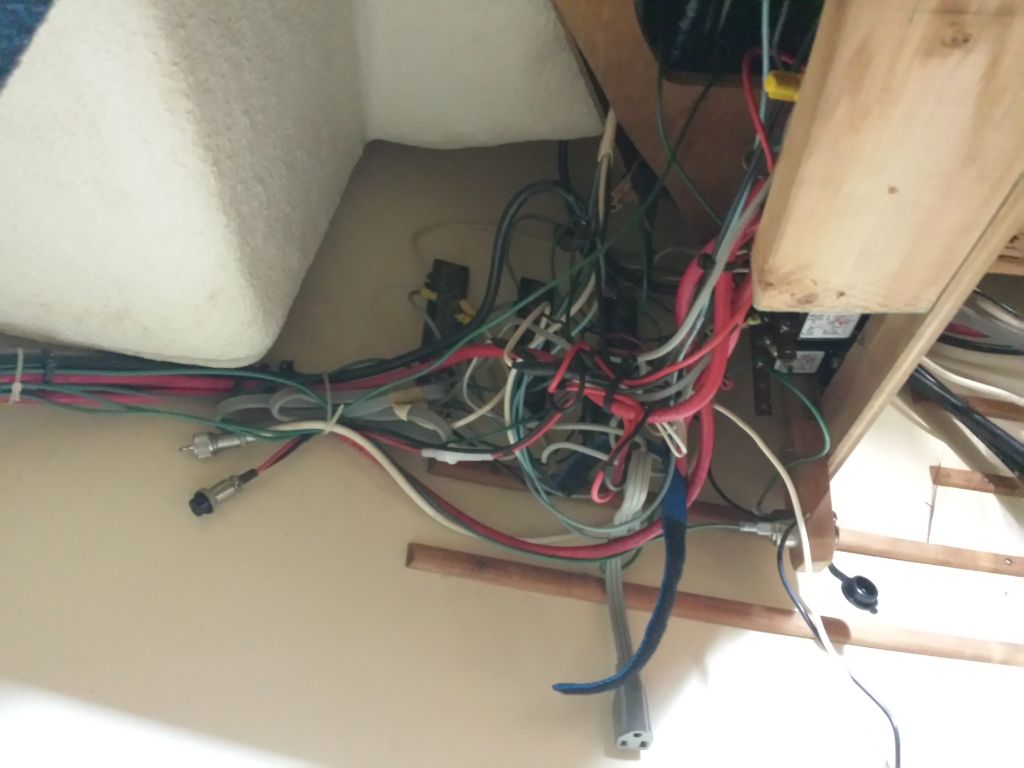

When I started to really get into it, however, I found that the original wiring was solid-conductor household wire, sometimes known as Romex. This was unacceptable to me, and it was clear that I’d have to start over to satisfy myself. Later, I also found several daisy-chained connections made with those cheap plastic clamp-on connectors that knife into the wire to allow an easy addition of another fixture.

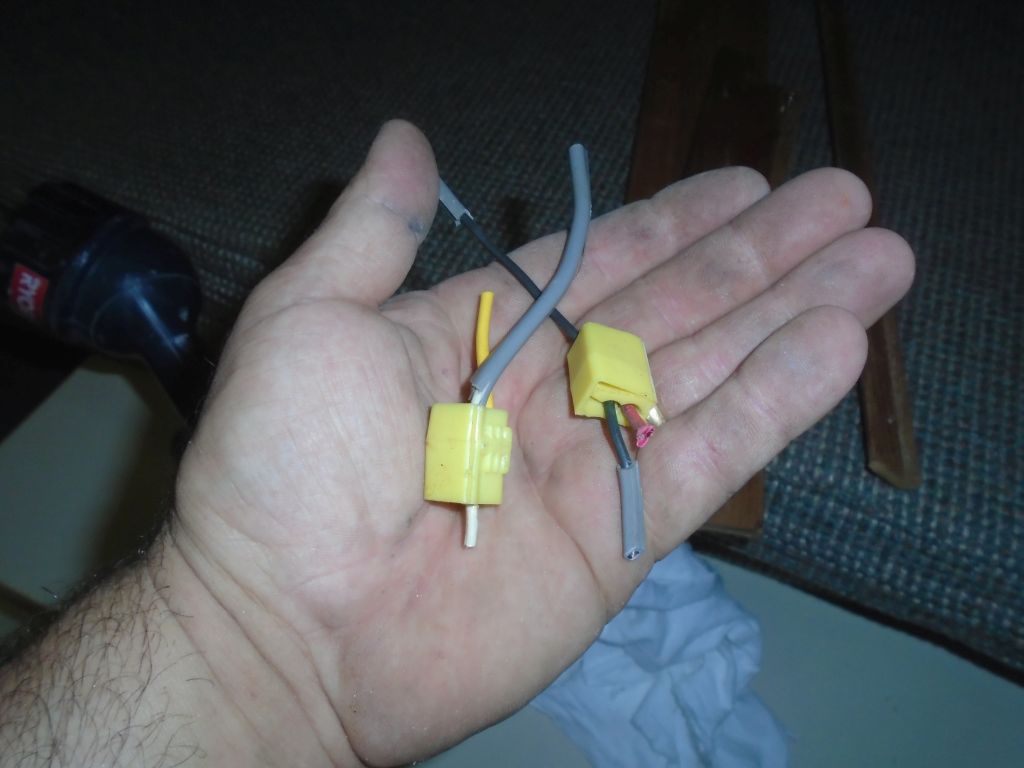
This wasn’t a major setback, as my goals for the boat were to keep the electrical system extremely simple and straightforward, and anyway, there was always something satisfying about tearing out old, poorly-executed systems and starting fresh. So it was out with the wire nuts and Romex, out with the sloppy mess behind the helm, out with everything unnecessary. There weren’t many fixtures on board–only a few lights, which I’d planned to replace with new LED fixtures anyway, and the water pump.
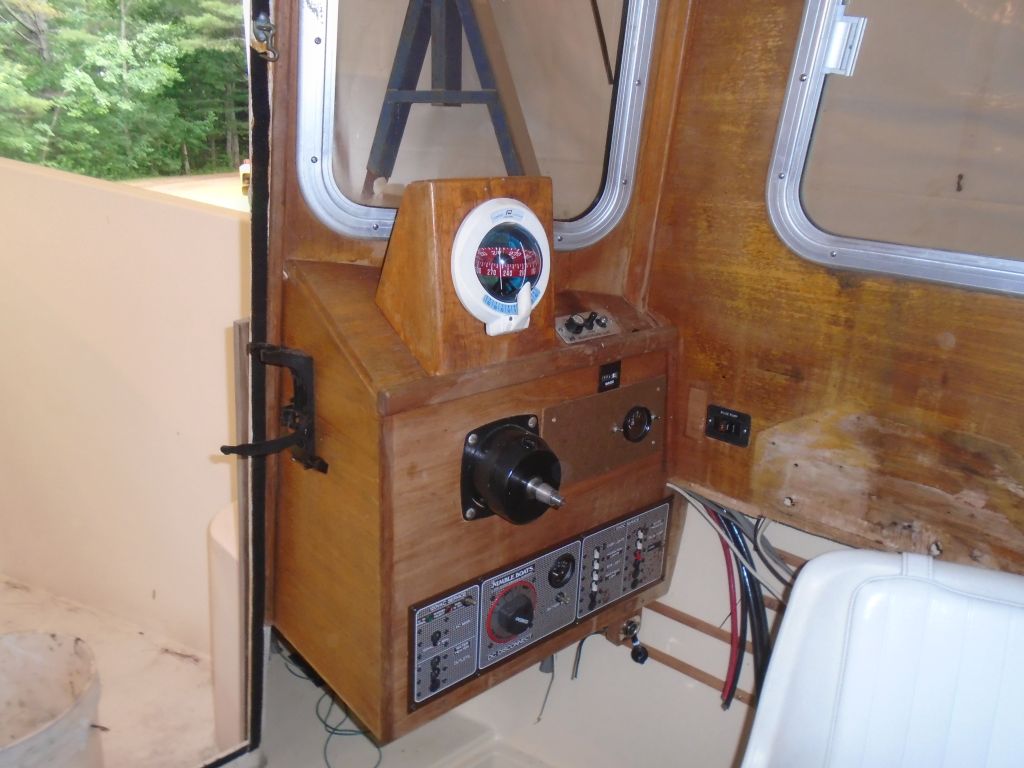
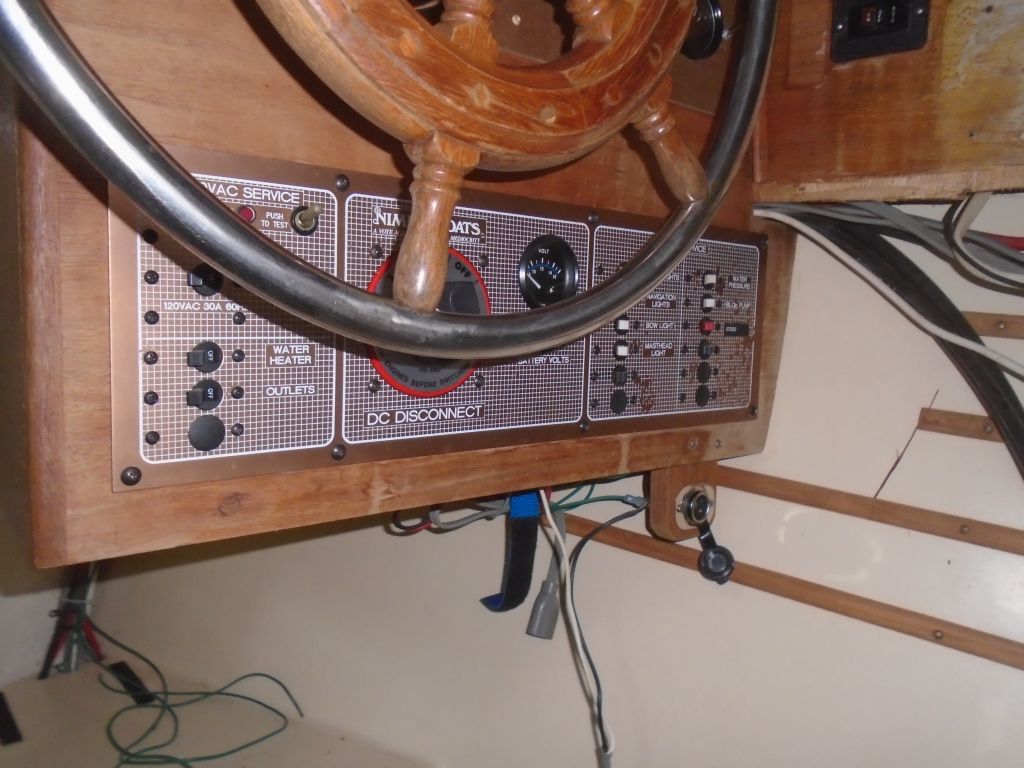
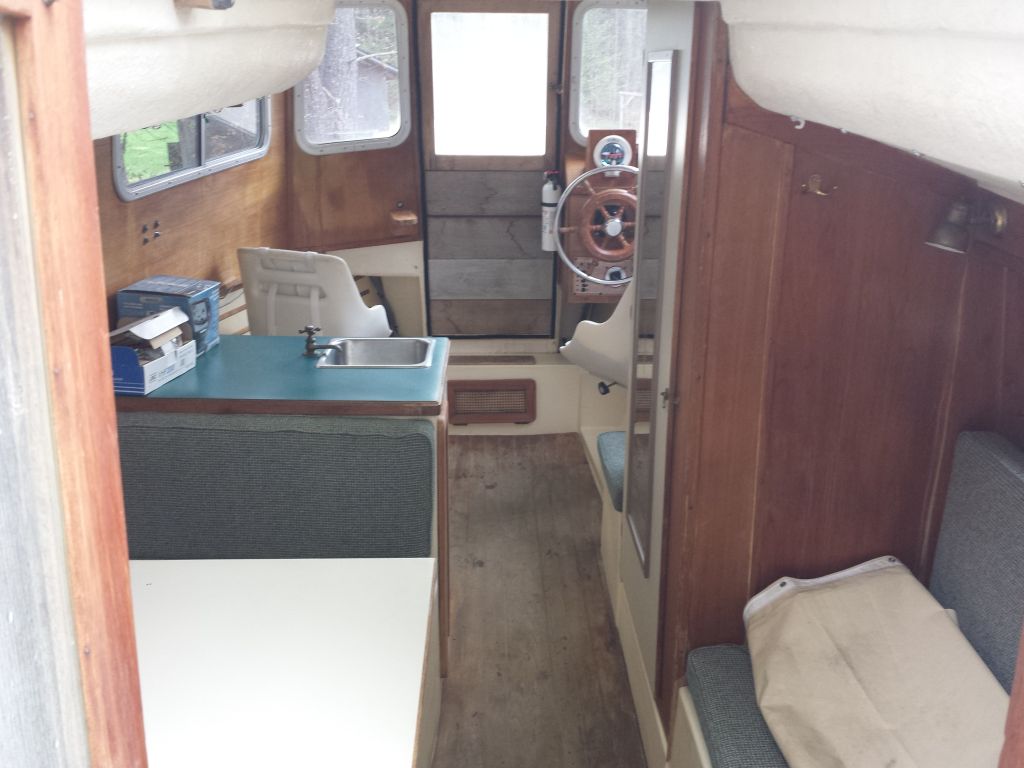
I planned to reuse the original electrical pane at the console, which incorporated an AC panel (which I didn’t plan to use at this time), battery switch, and enough breakers for the vessel’s minimal needs. So I unscrewed the panel and cut the wires as needed: later, I’d remove the remnants of old wire in preparation for reinstallation, but for now I just wanted to clean things out.


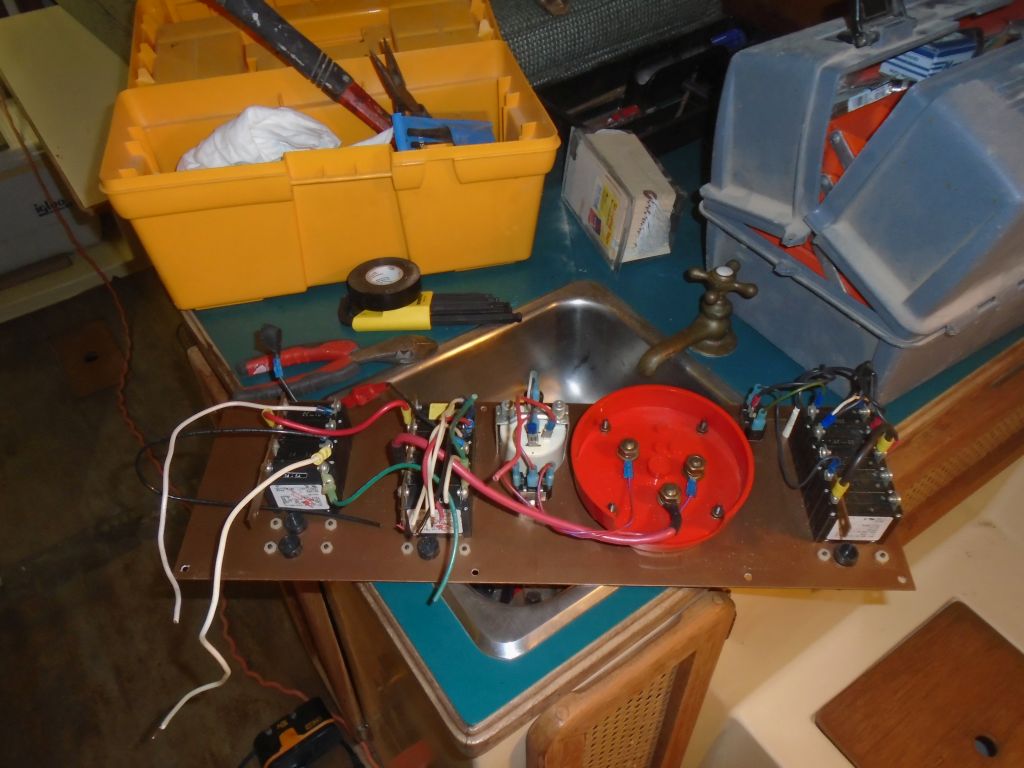
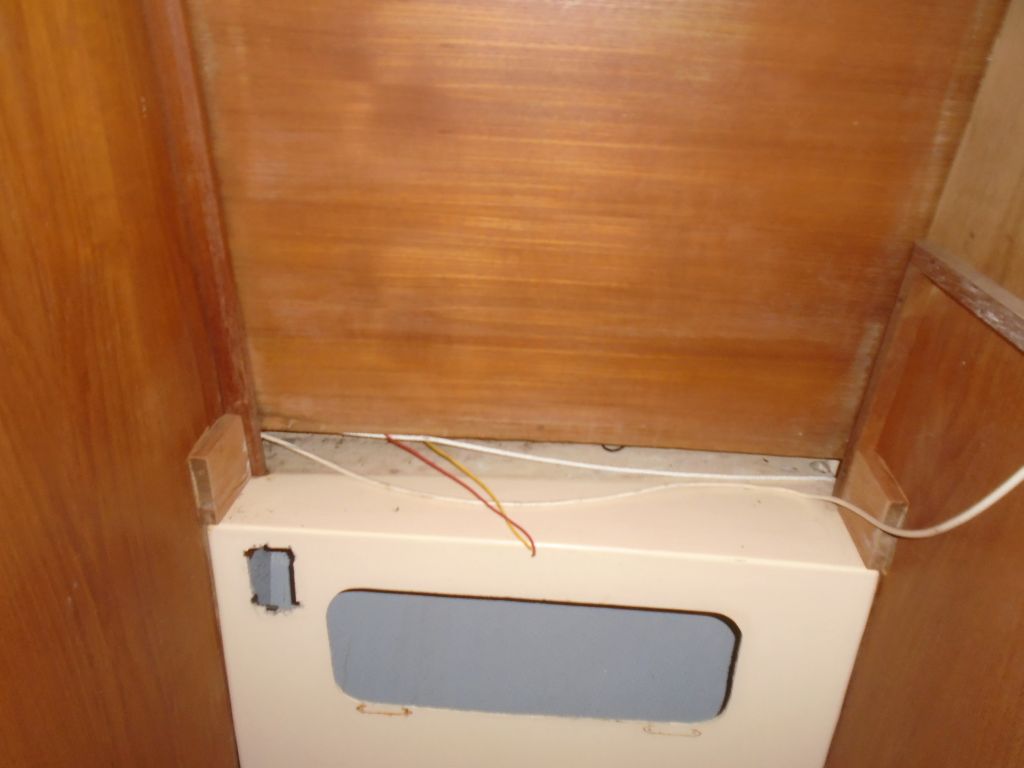
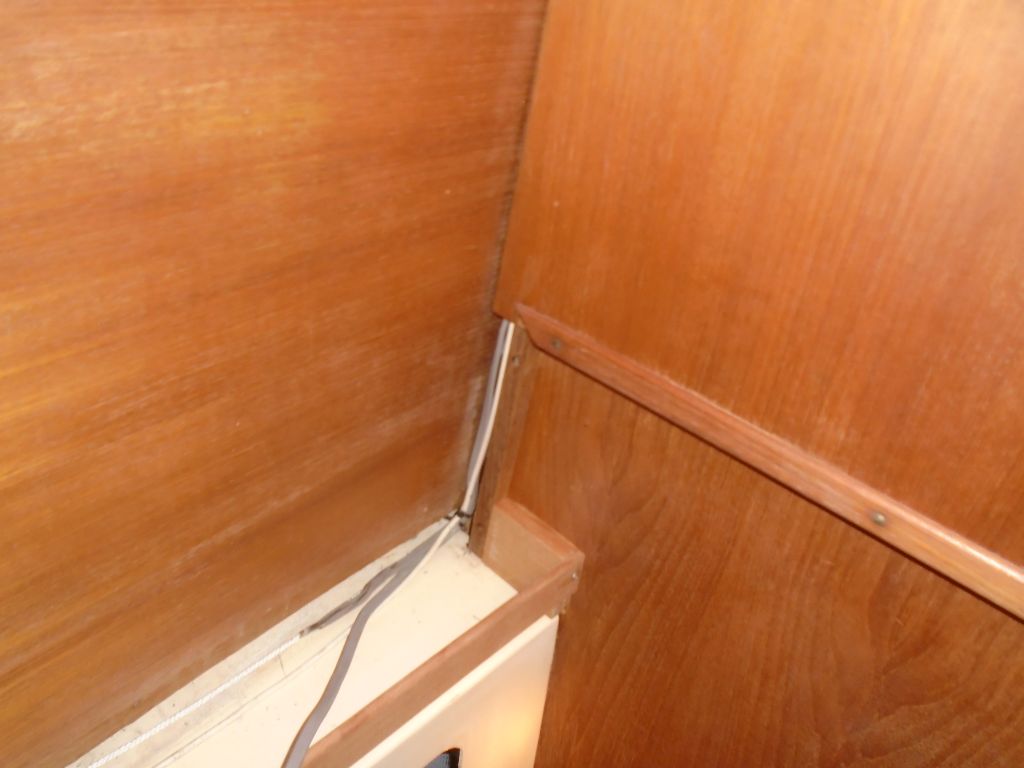
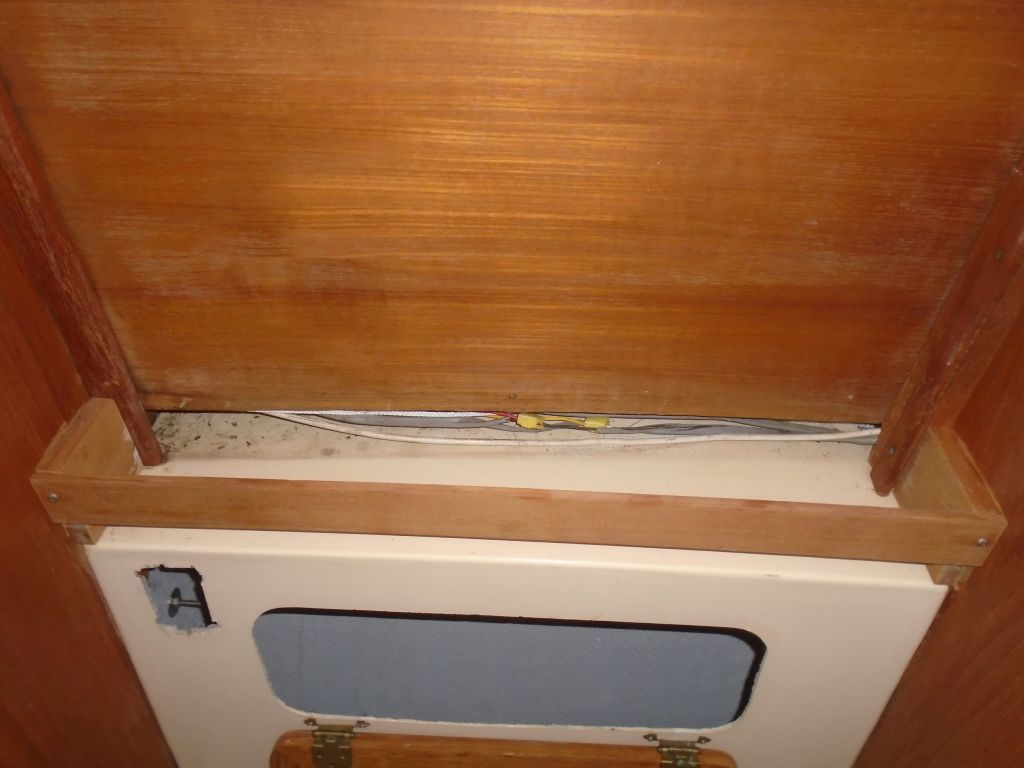
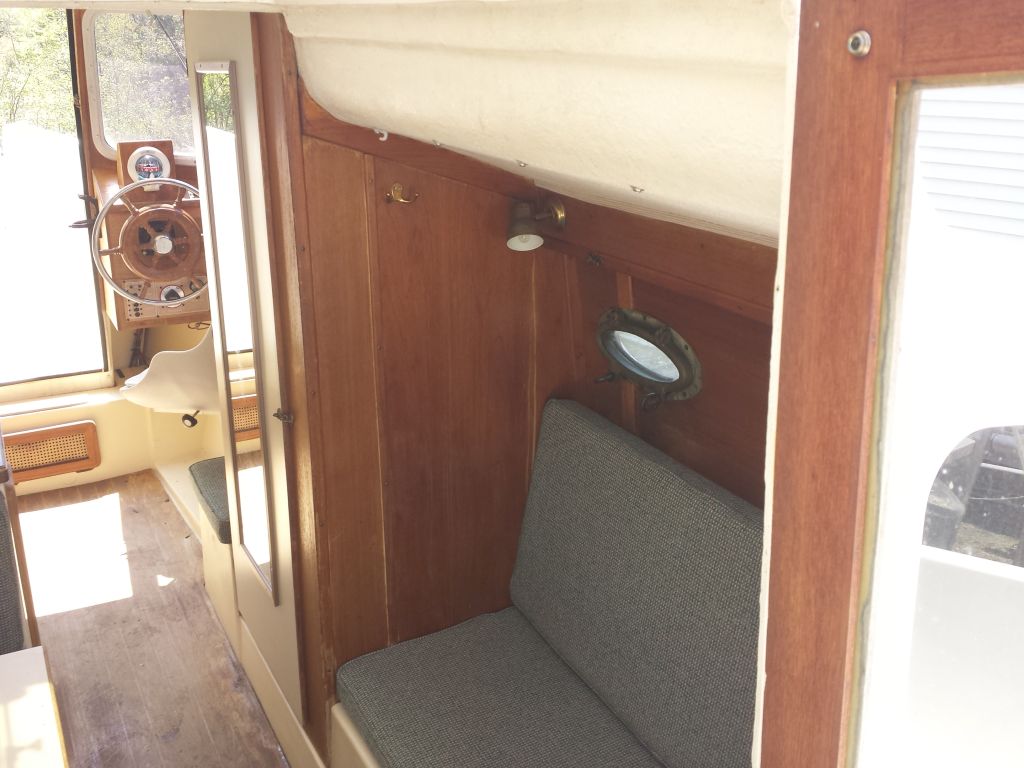
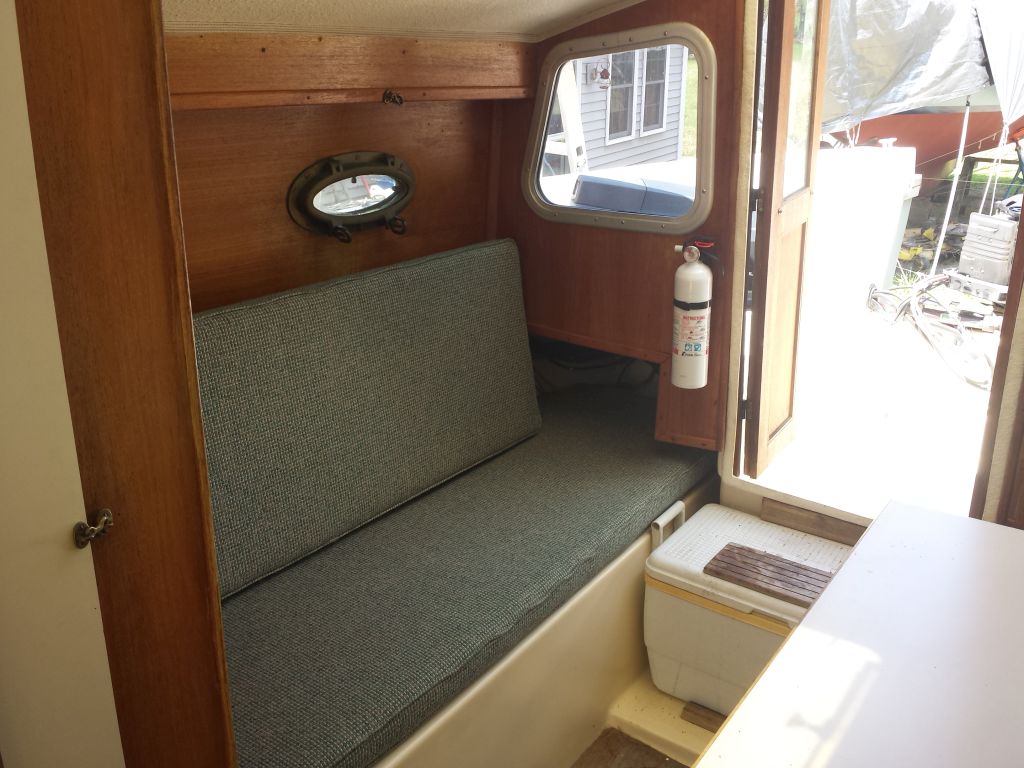
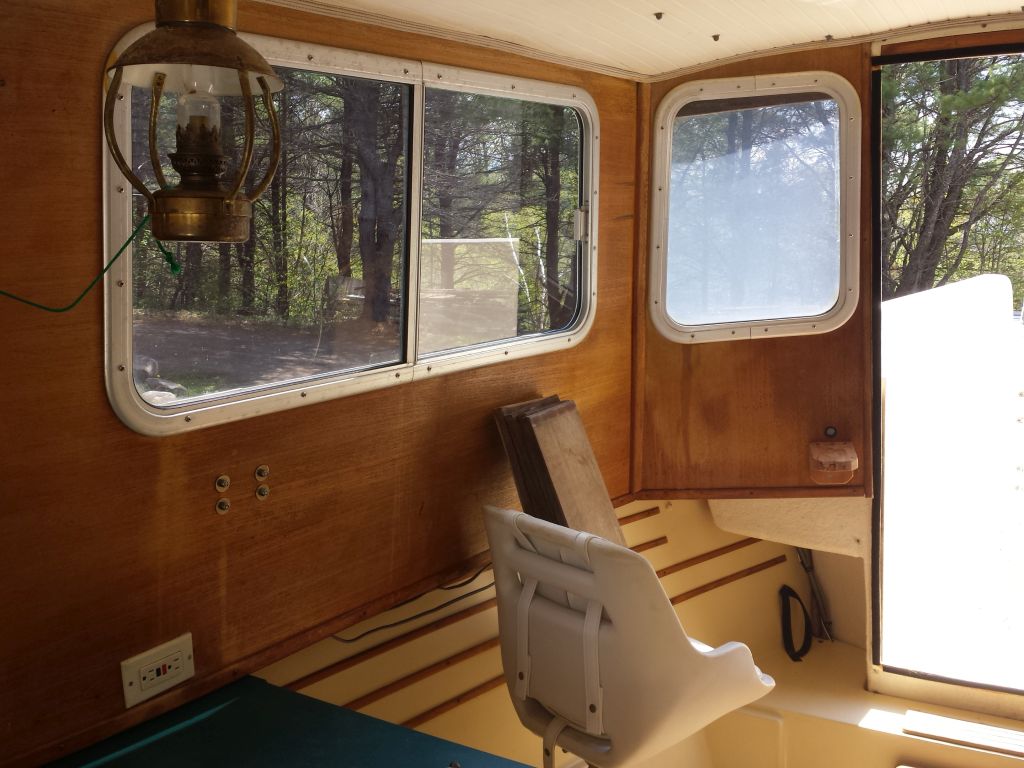
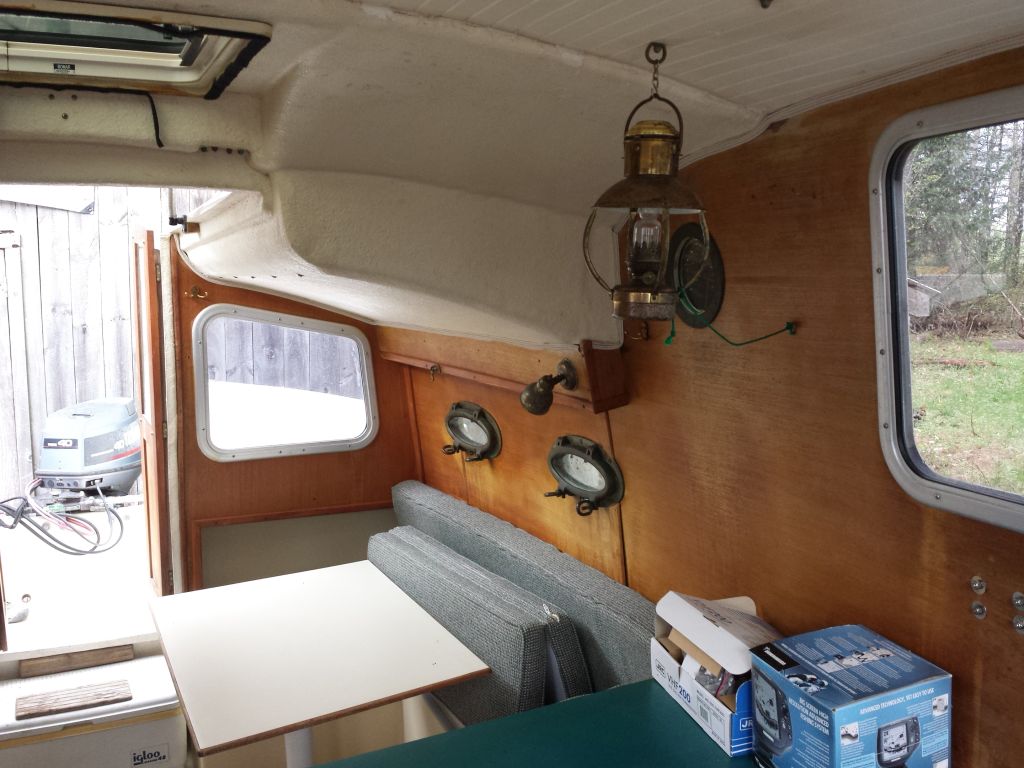
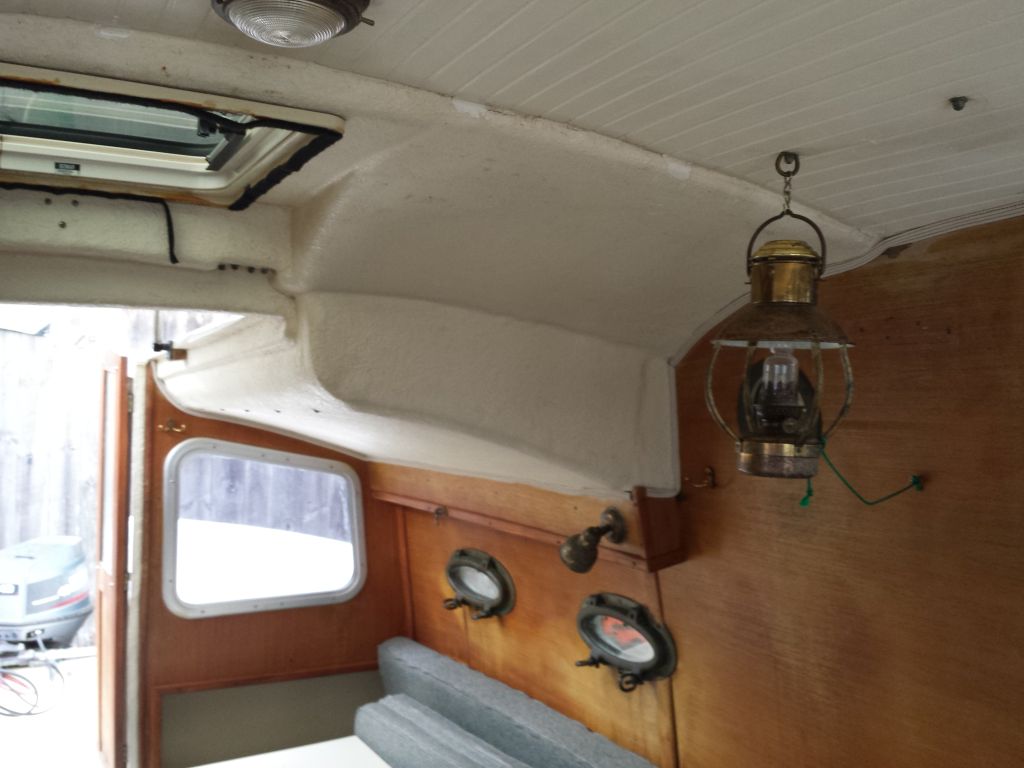
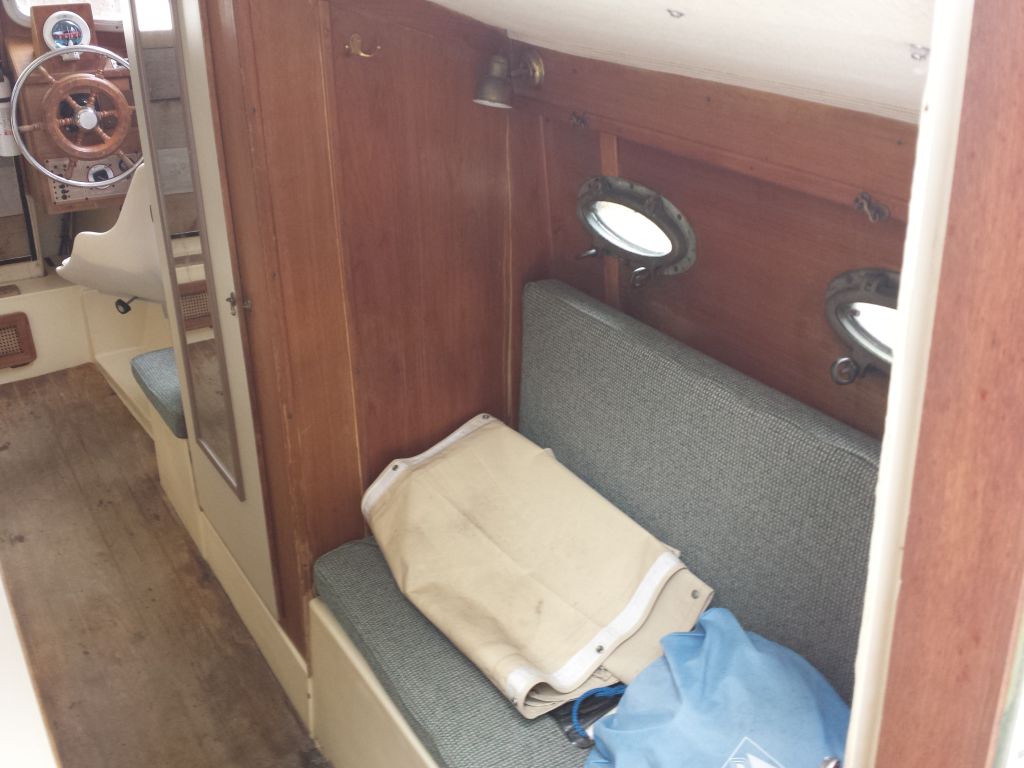
Starting at the helm, I systematically removed everything, from the messy bundles to the unwanted searchlight controls to the old buss bars and clamps. I worked my way through the boat, removing the old bundles bit by bit as I went, and cutting things along the way to ease how much wire I had to actually pull through access holes and the like. A few of the fixtures, like the running lights atop the pilothouse and the overhead light in the cabin, had their wiring–stranded copper of appropriate type here–run behind or beneath panels that obviated its removal, so I left these in place for reuse. I removed all the AC outlets and their metal boxes that I didn’t like, and all the lighting fixtures, leaving (for now) only the bilge pump in place for some later time.
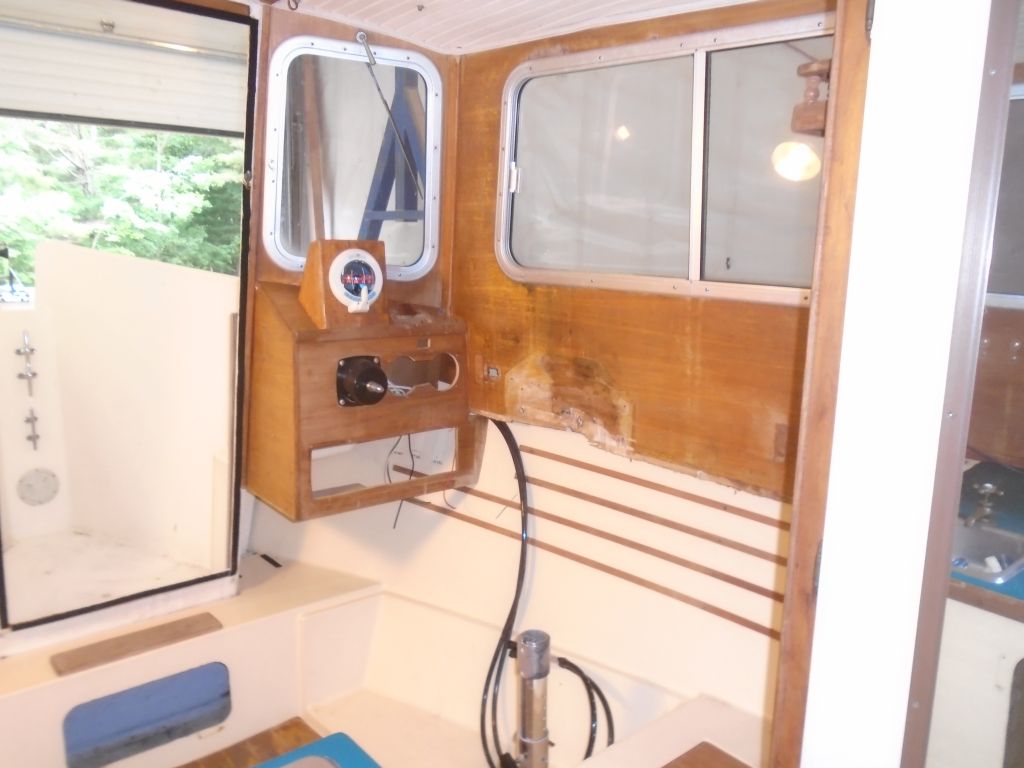
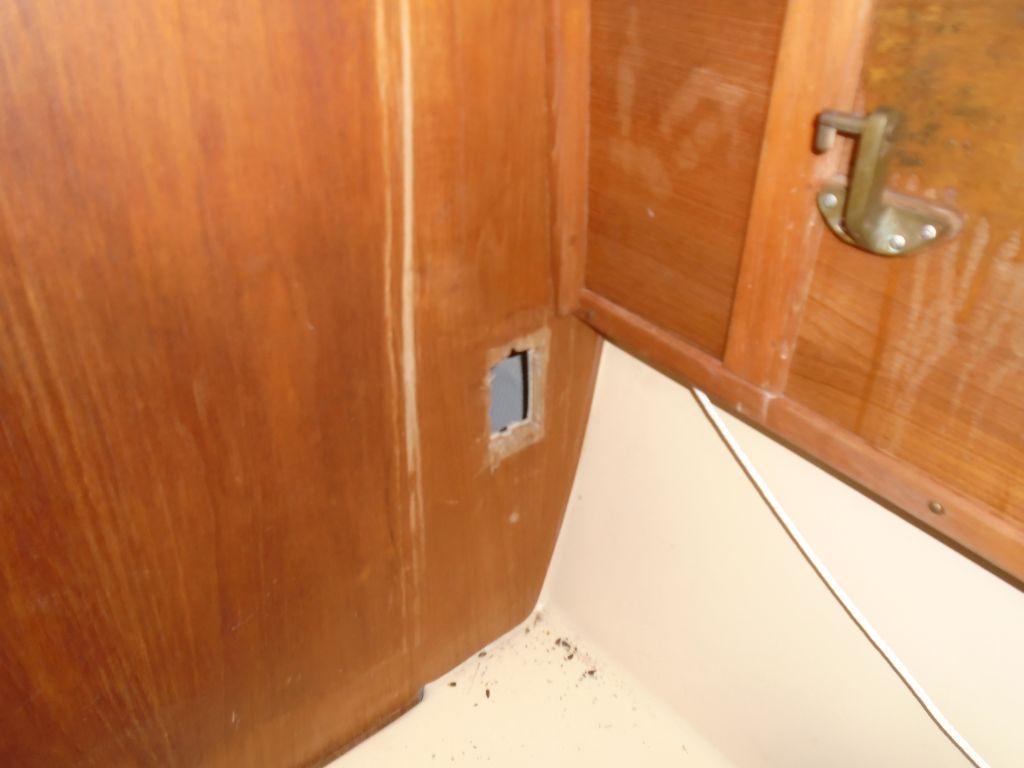
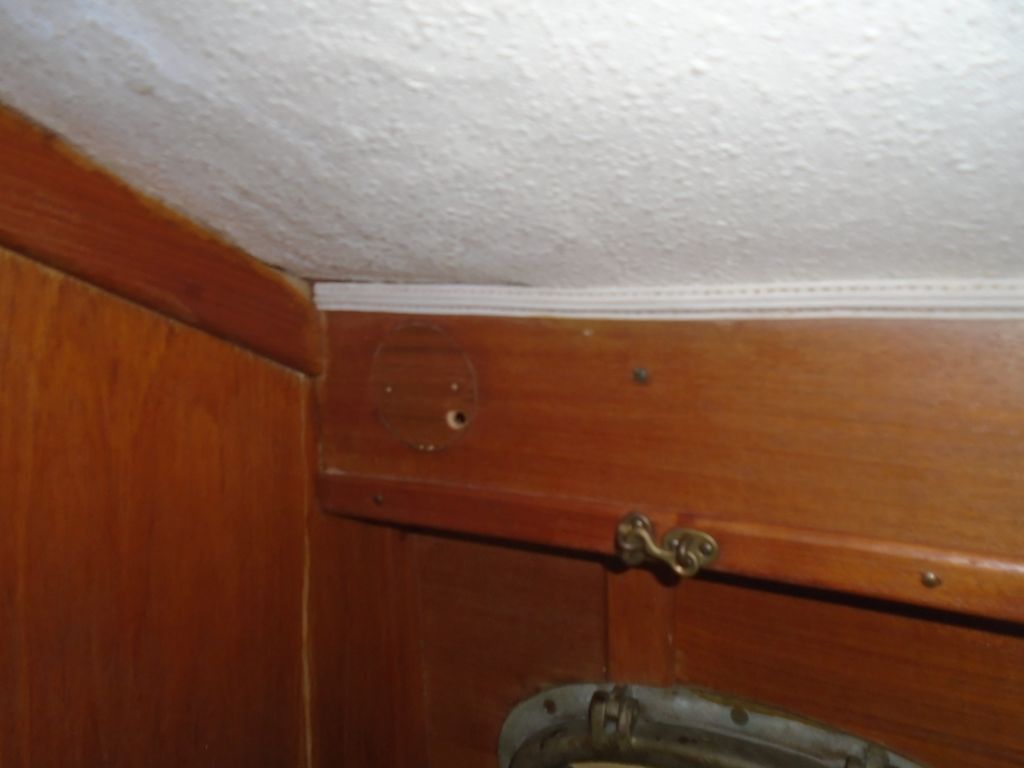
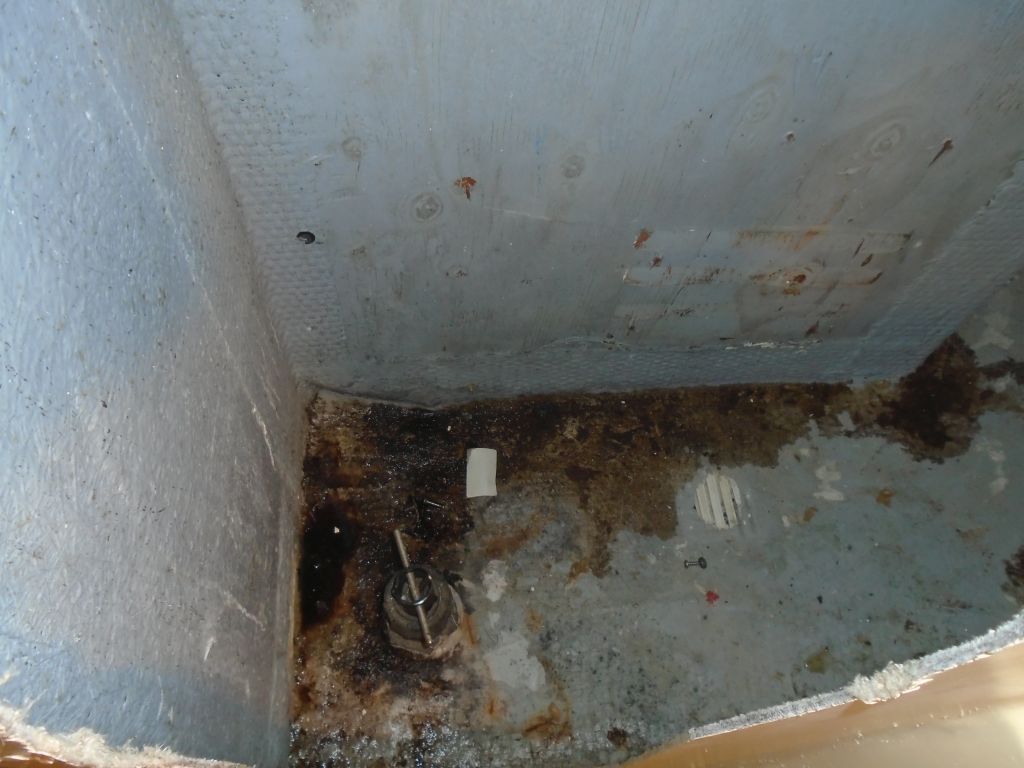
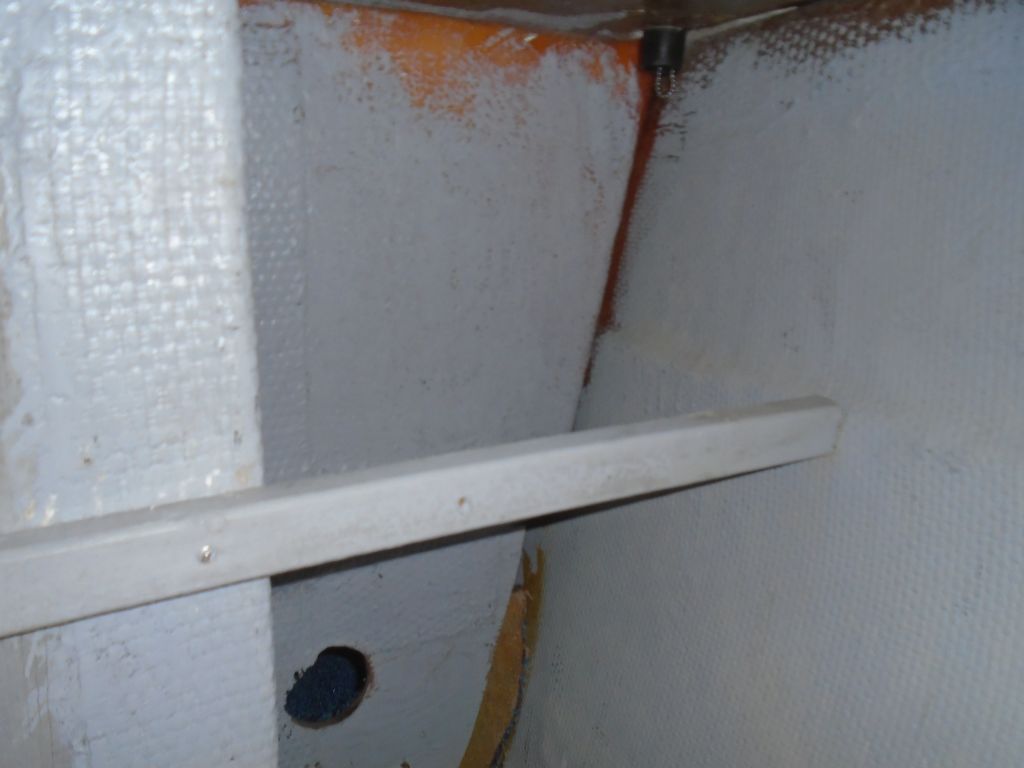
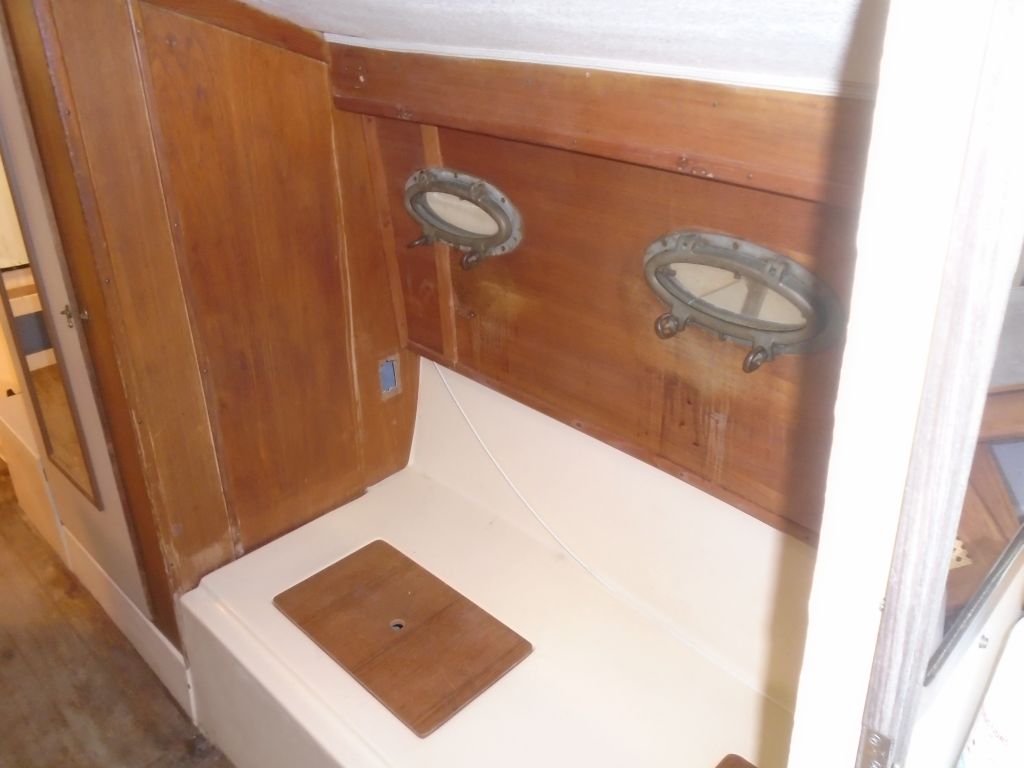
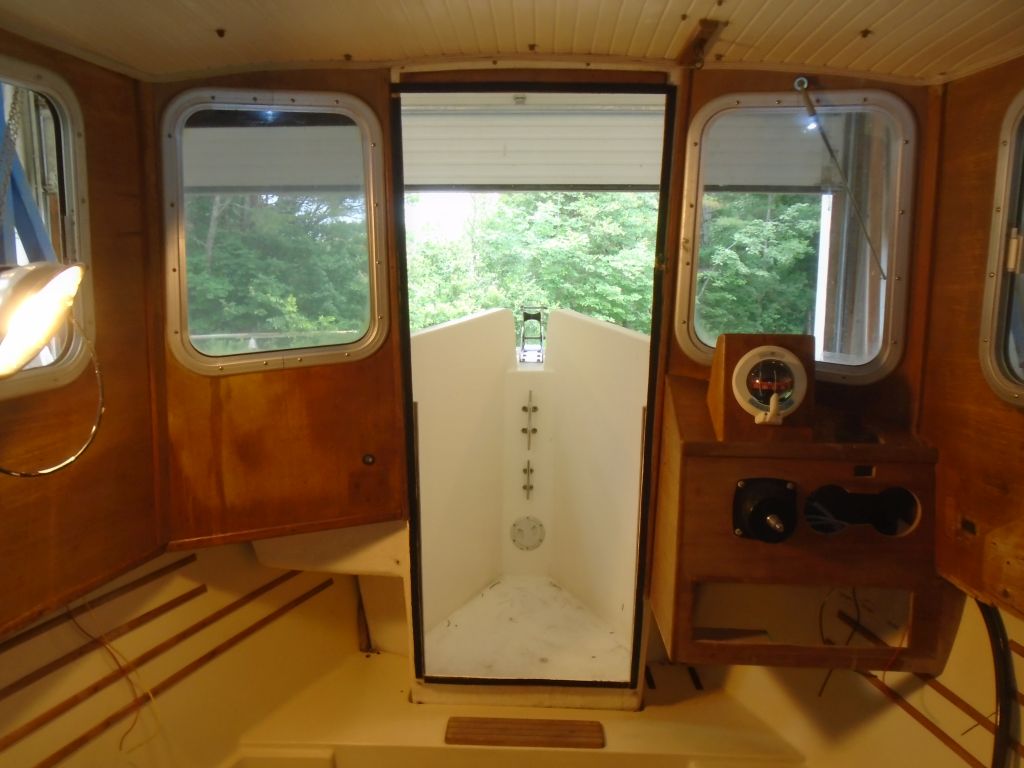
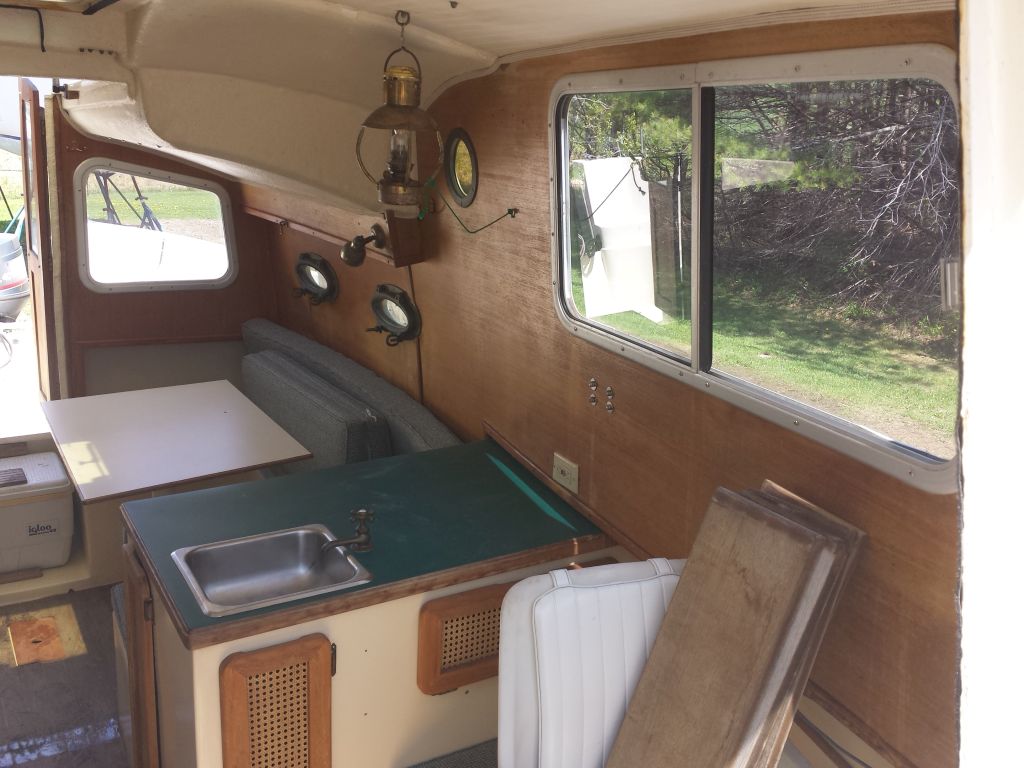
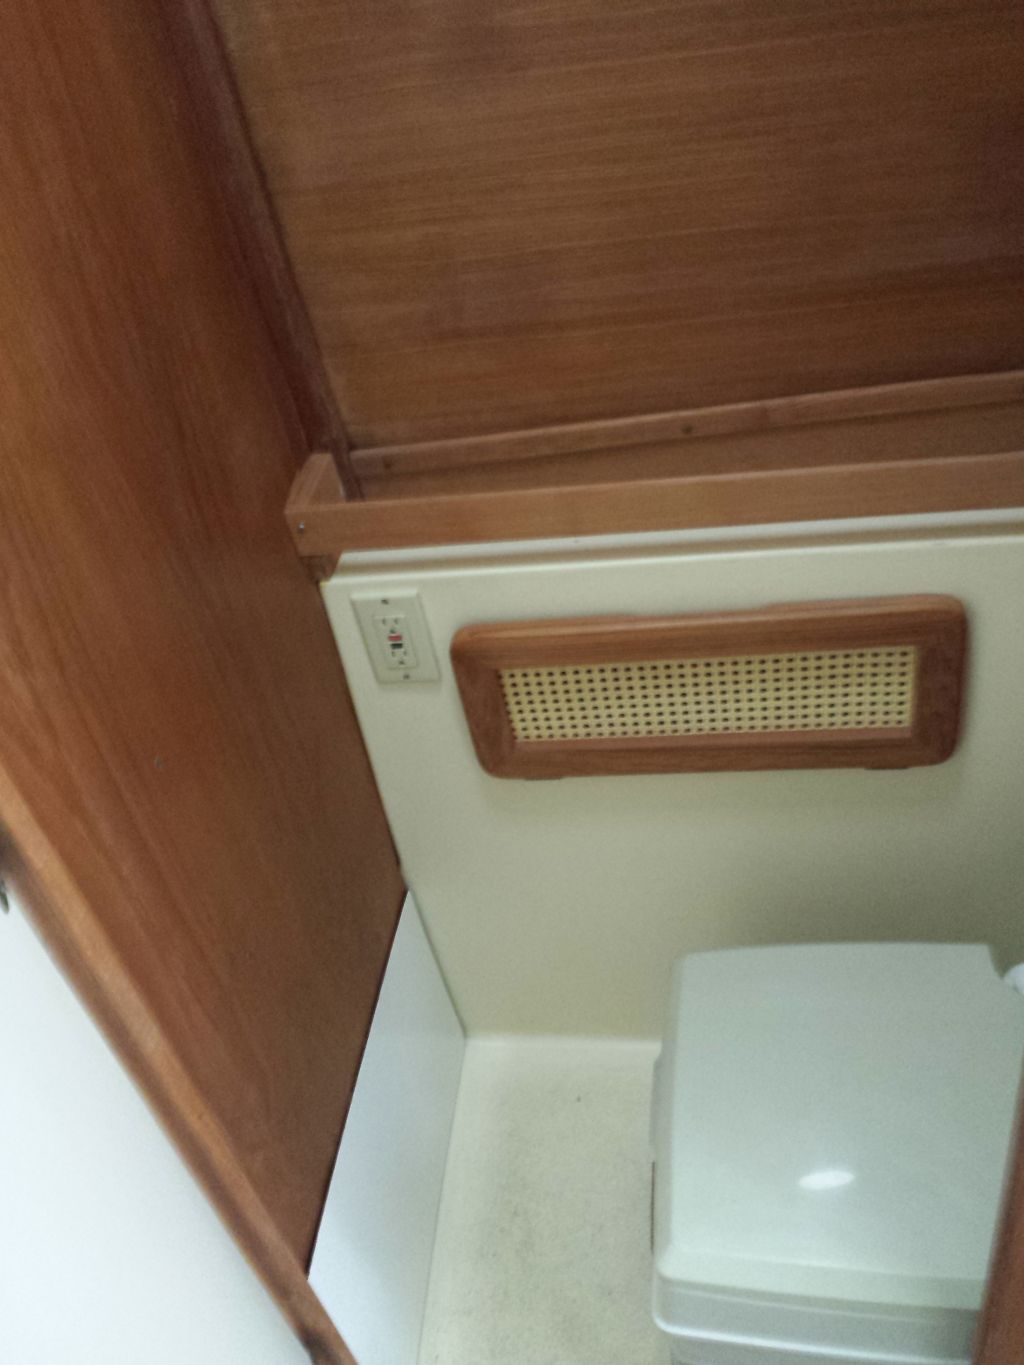
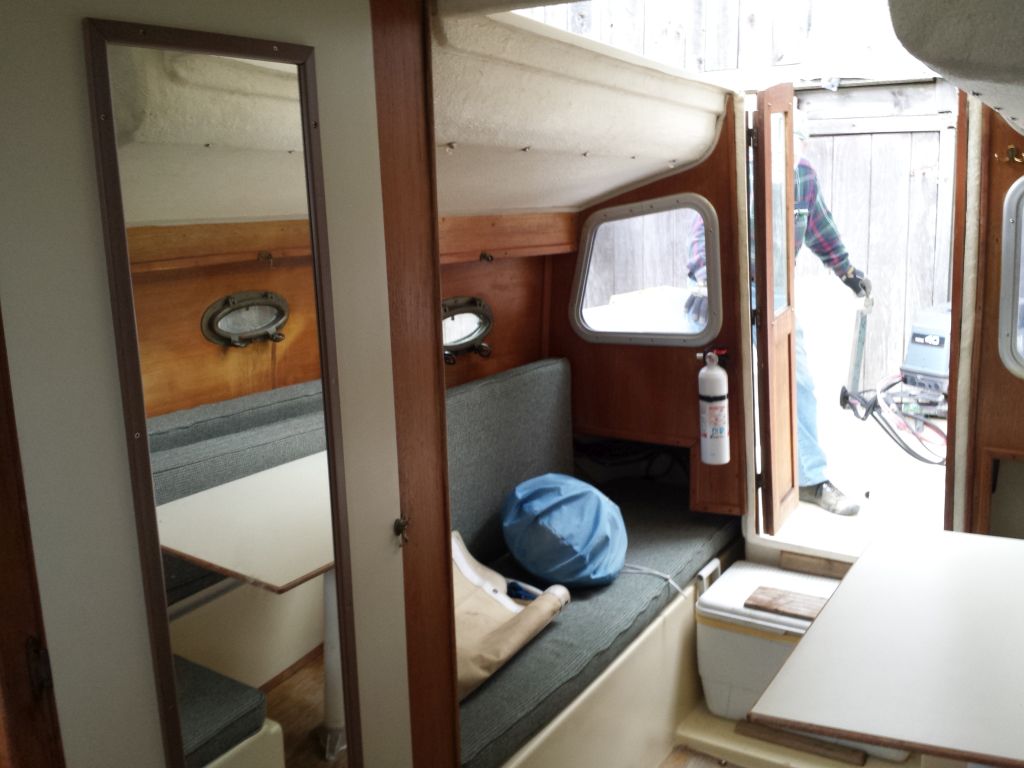
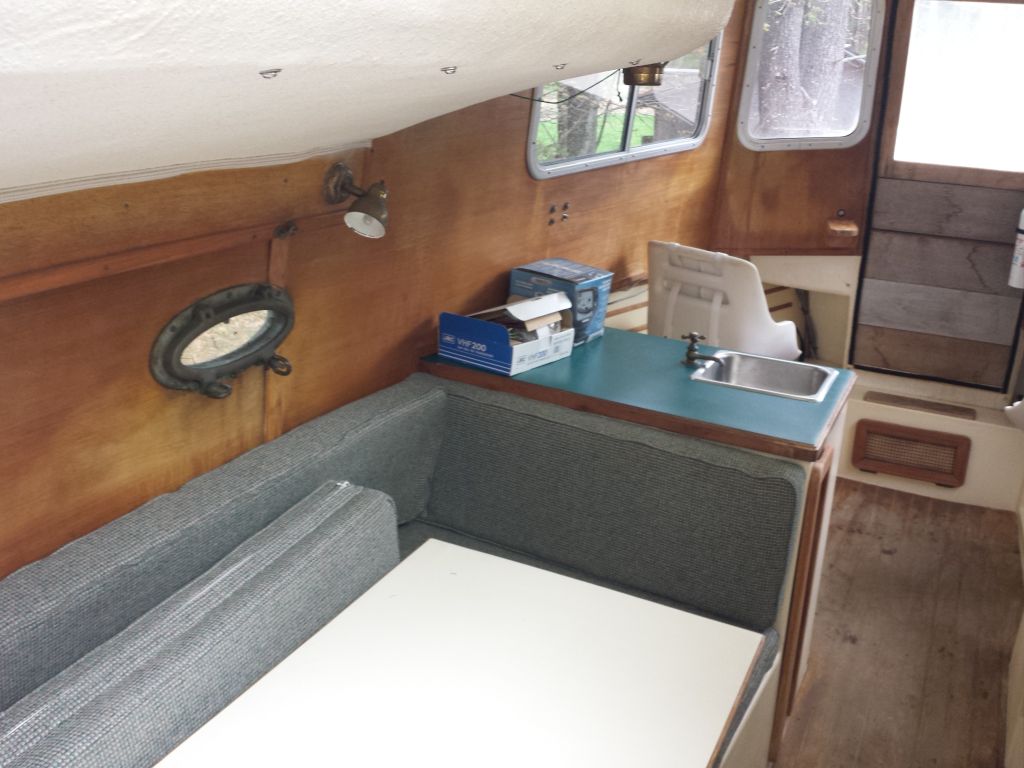
In the head, some dismantling of panels was required for appropriate access to the wiring–a panel along the hull on the outboard side, plus some access panels on the aft side, which allowed me to get to the wiring for various lights and the exterior mast. The aft panel was full of seeds apparently stolen by the rodents that had also made a huge foam and paper nest beneath the galley. I left the VHF cable in place because there was no reason to replace it.
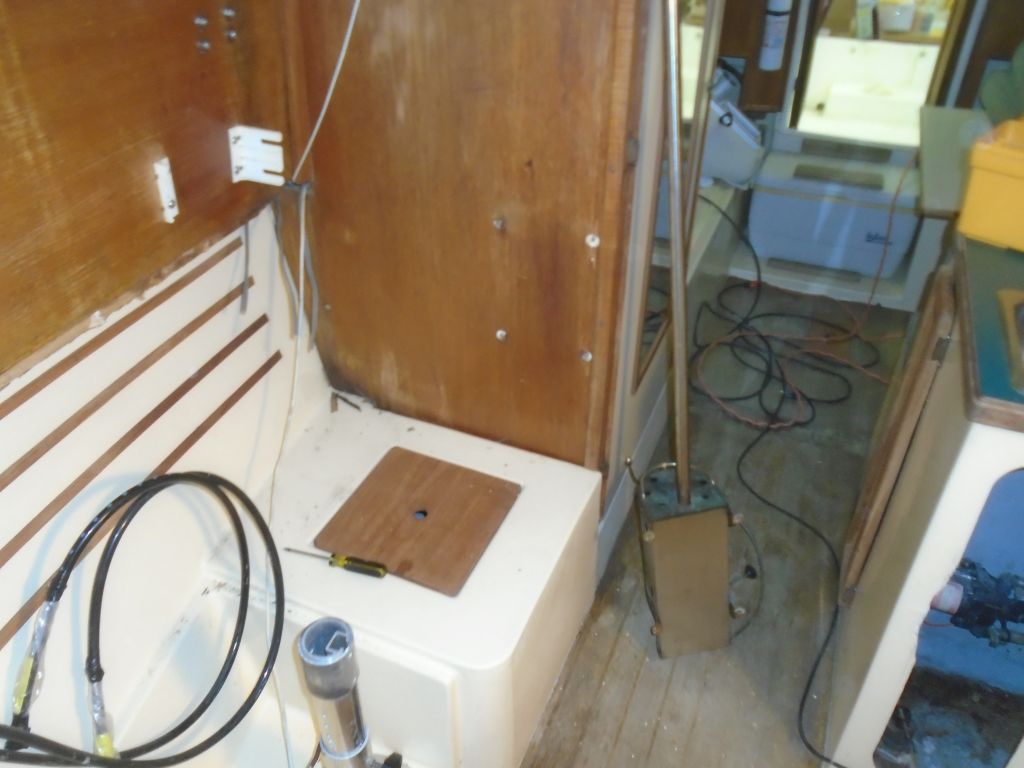
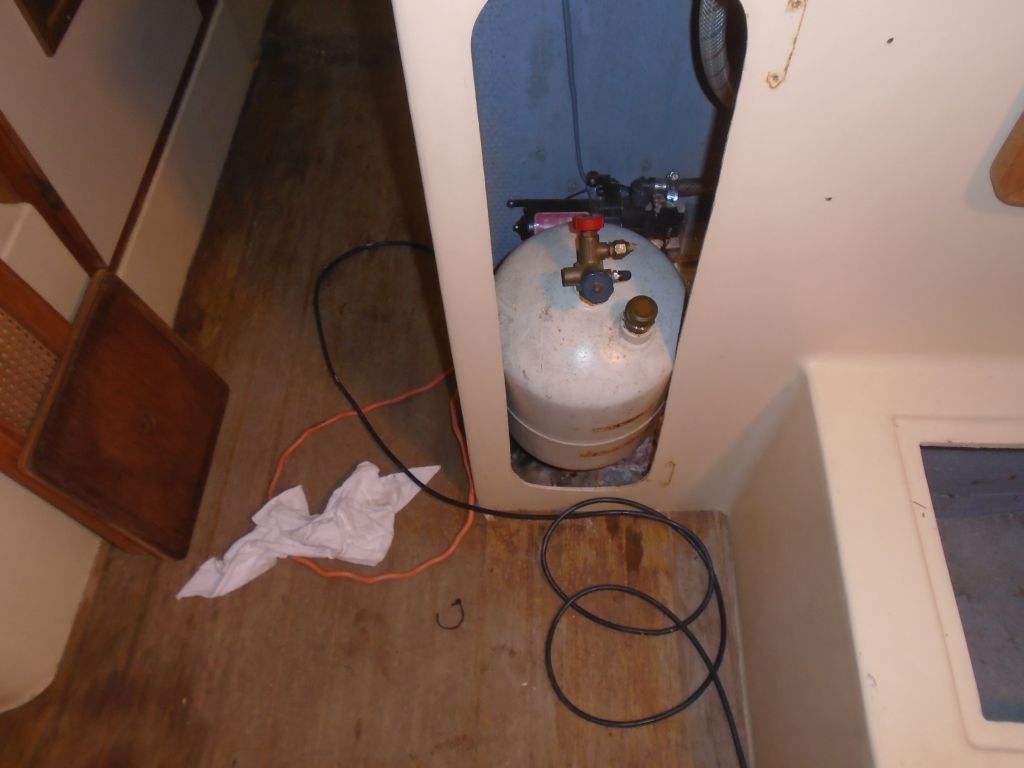
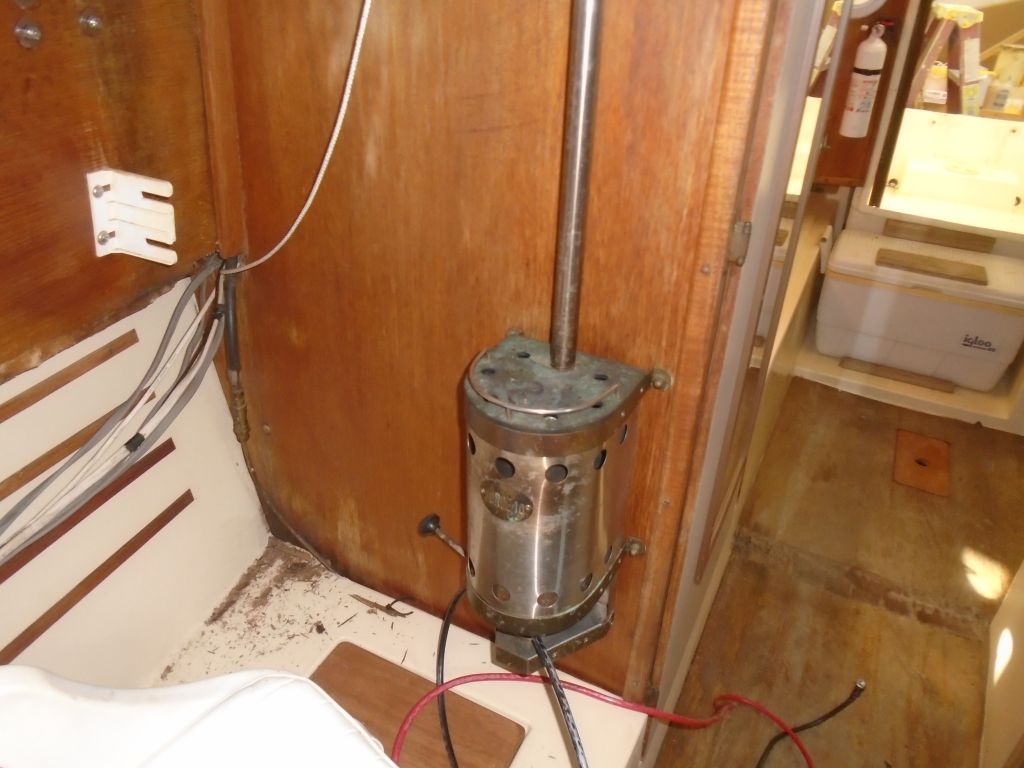
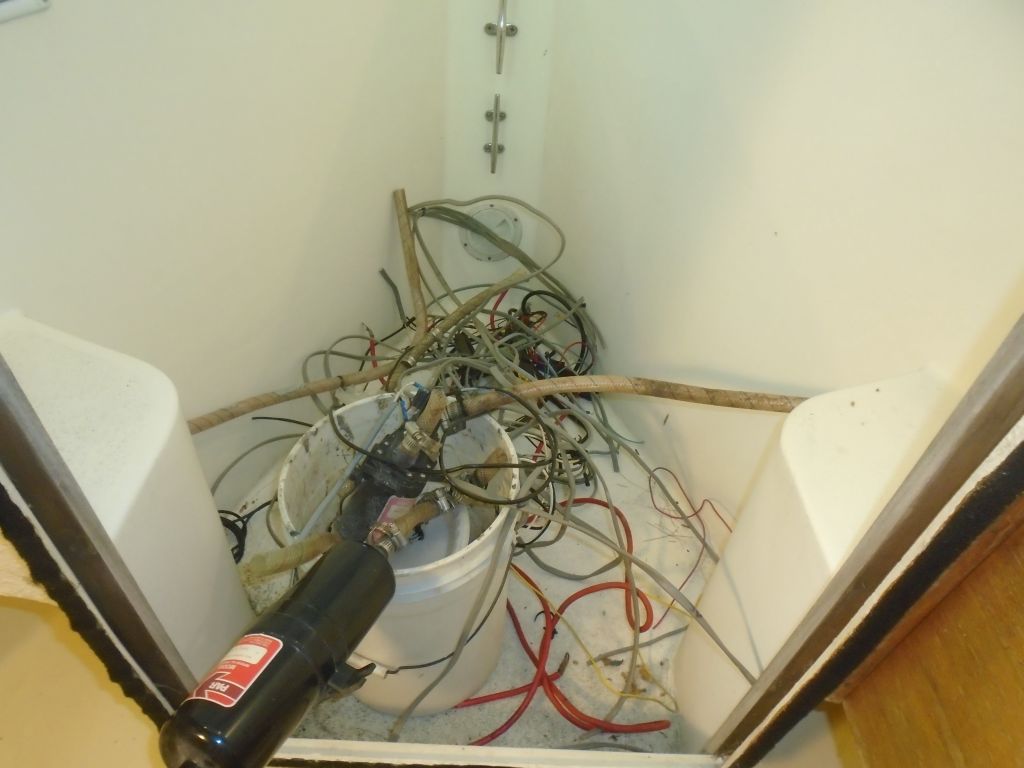
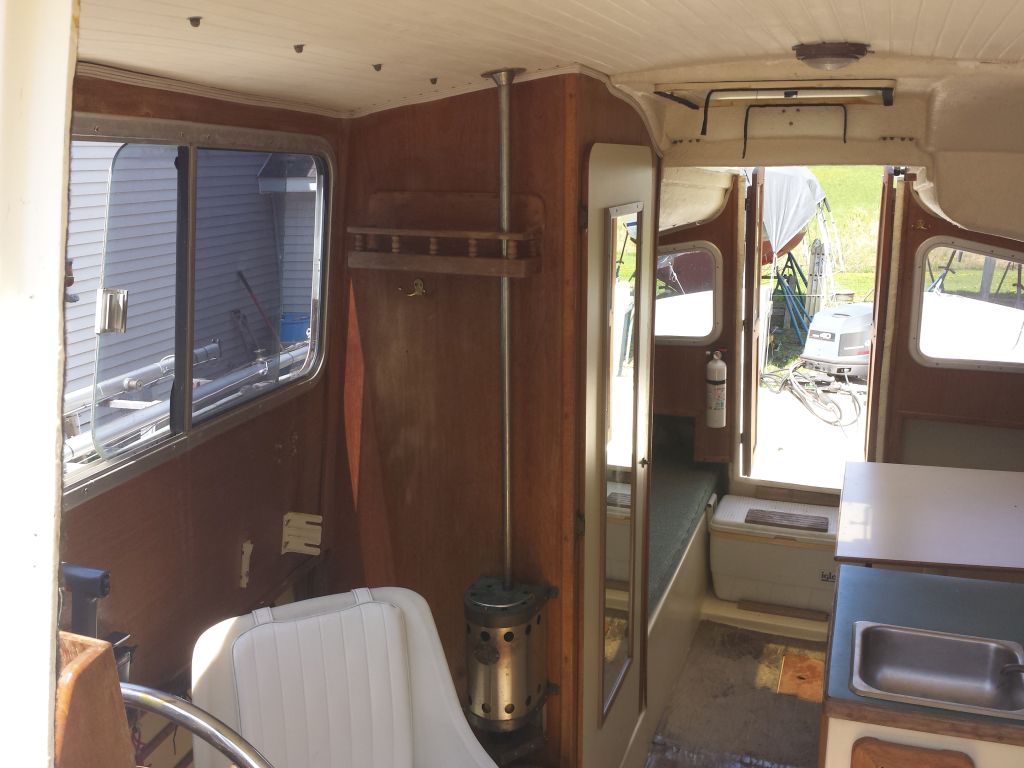
There was a Force 10 kerosene cabin heater behind the helm, and I knew I didn’t want that. It had a tank located beneath the galley, and a long fuel line connecting the two. All must go. I found at once that the galley tank didn’t fit through any of the openings in the cabinet. Perhaps it was installed through the sink hole in the countertop, but I couldn’t properly access the nuts securing the sink in place, so eventually I decided to slightly enlarge the opening in the access door to allow the tank–with some effort–to finally come through. By the time this was done, I was so irritated at the heater, the stupid leaking tank, the disgusting rodent nest beyond, and the faceless, uncaring people that installed such a thing in so ignorant a fashion, that with great indignation I decided to throw the silly heater and all its parts in the trash rather than try and sell it and subject anyone to one of these ridiculous, fussy, inept, foolish things.

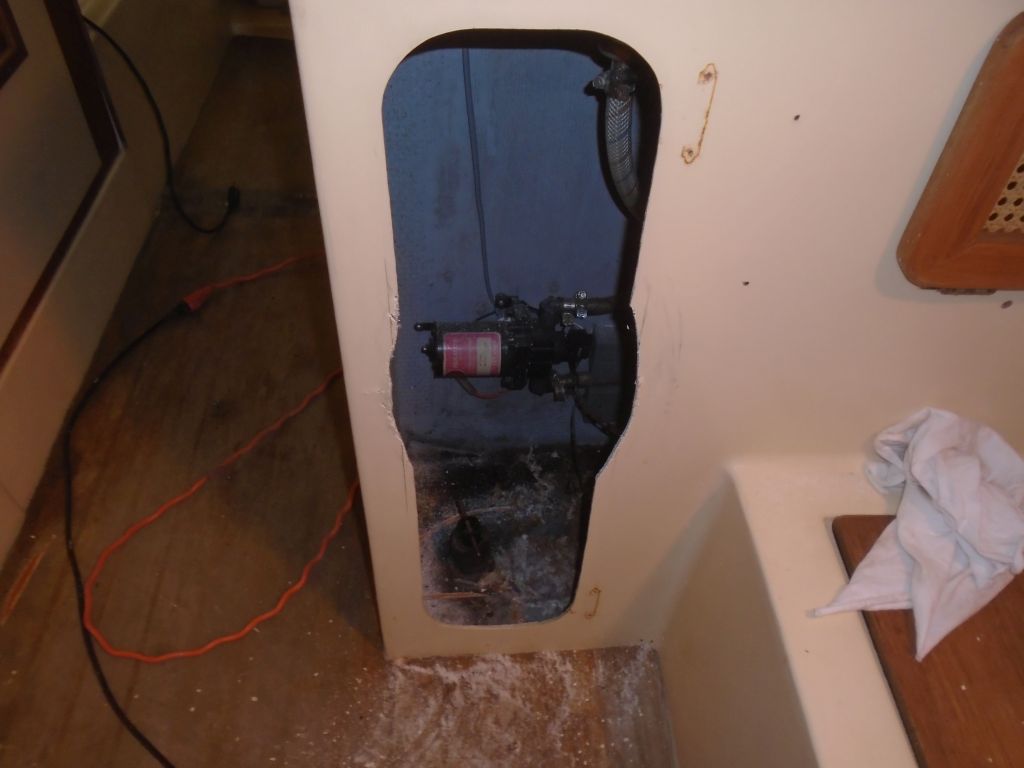
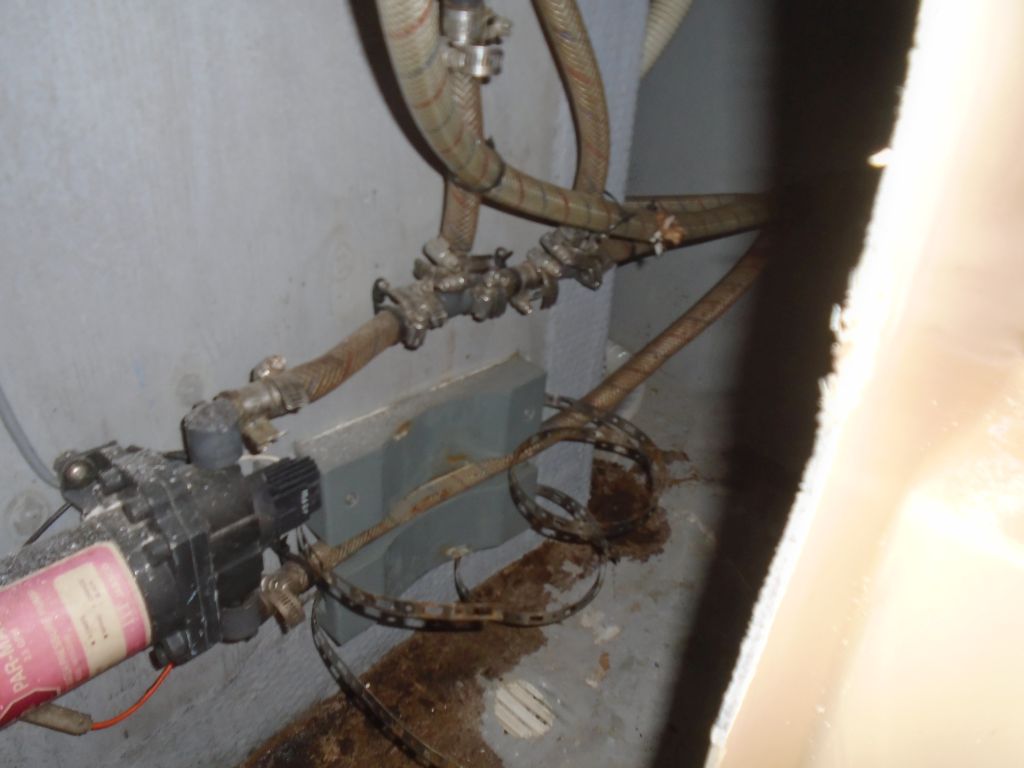
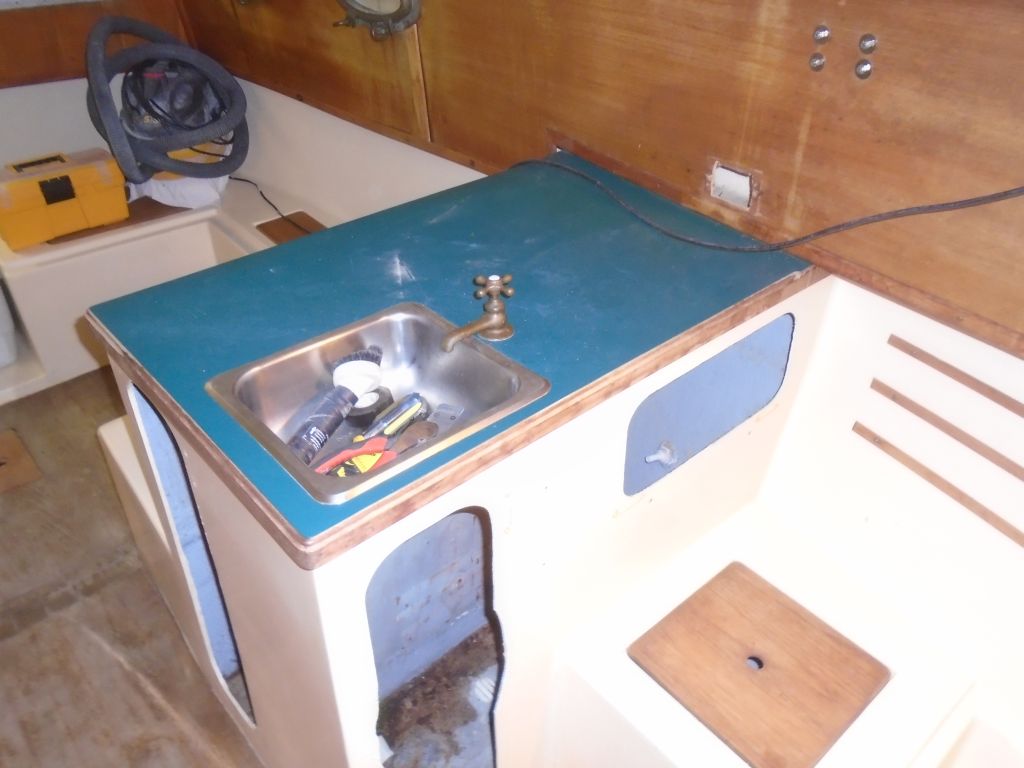
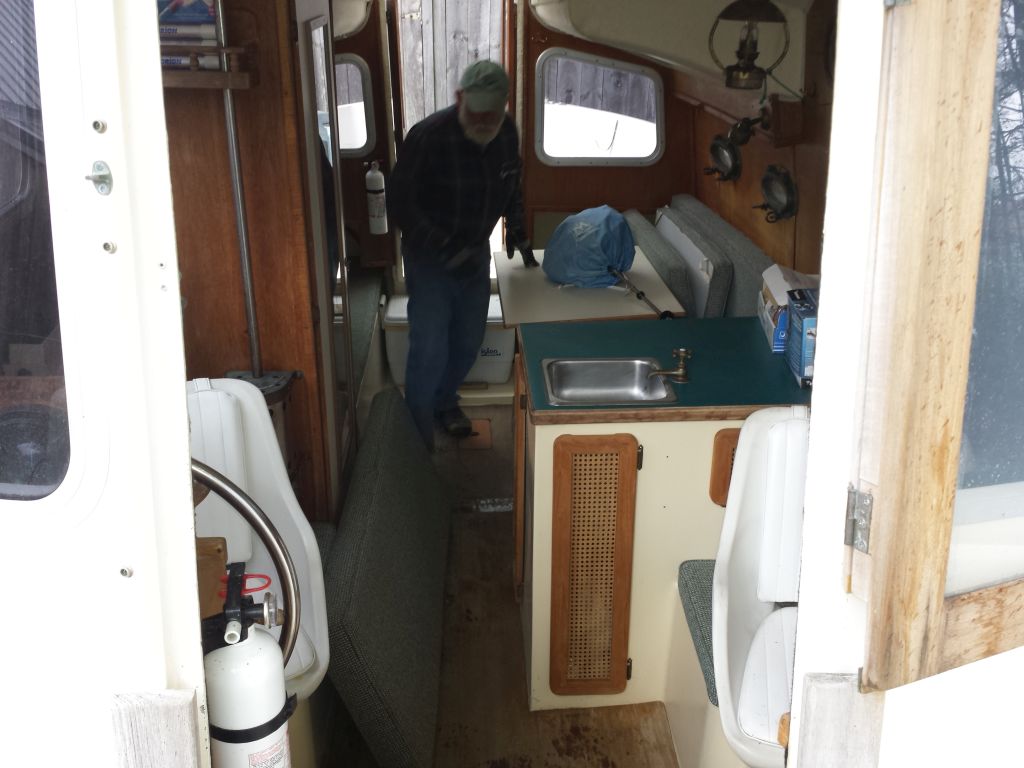
Meanwhile, I removed the old plumbing, electric water pump, and accumulator tank, along with the bladder water tank from beneath the dinette and its fill hose. I suppose I could have left this be, but the locker in which they were installed was a mess, someone had used so many oversized clamps to secure all the hoses, and I just wanted a fresh start. Plus I might just install a nice easy foot pump. I found the desire to rid the boat of the old and decrepit and start anew as overpowering, as usual.

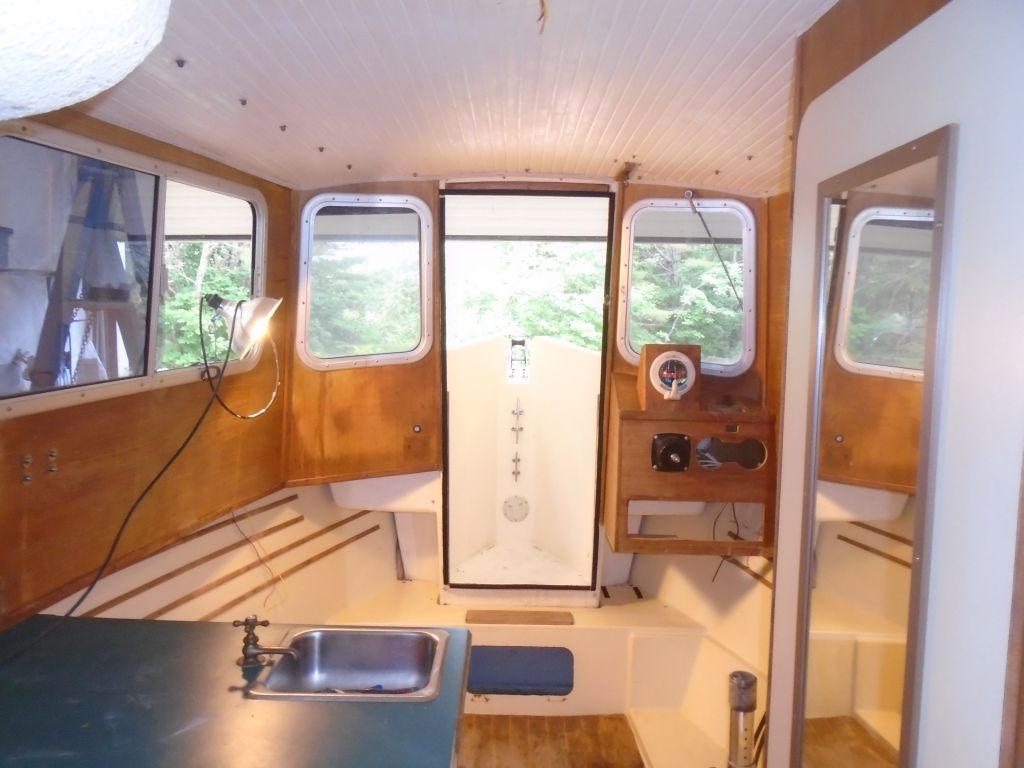
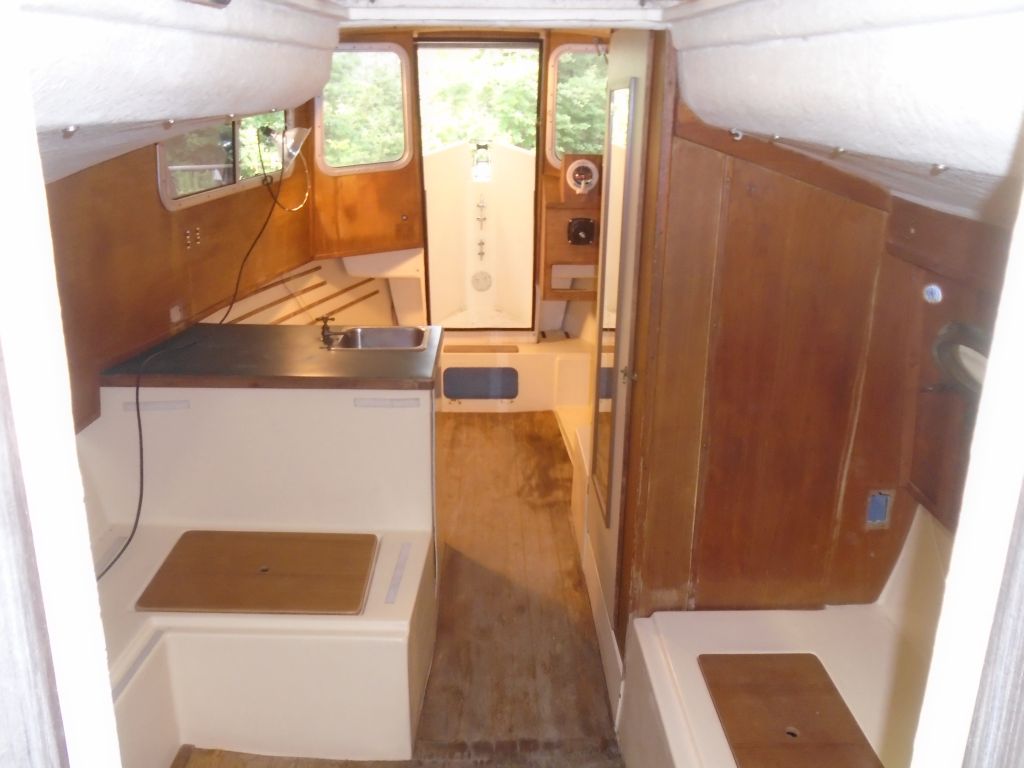
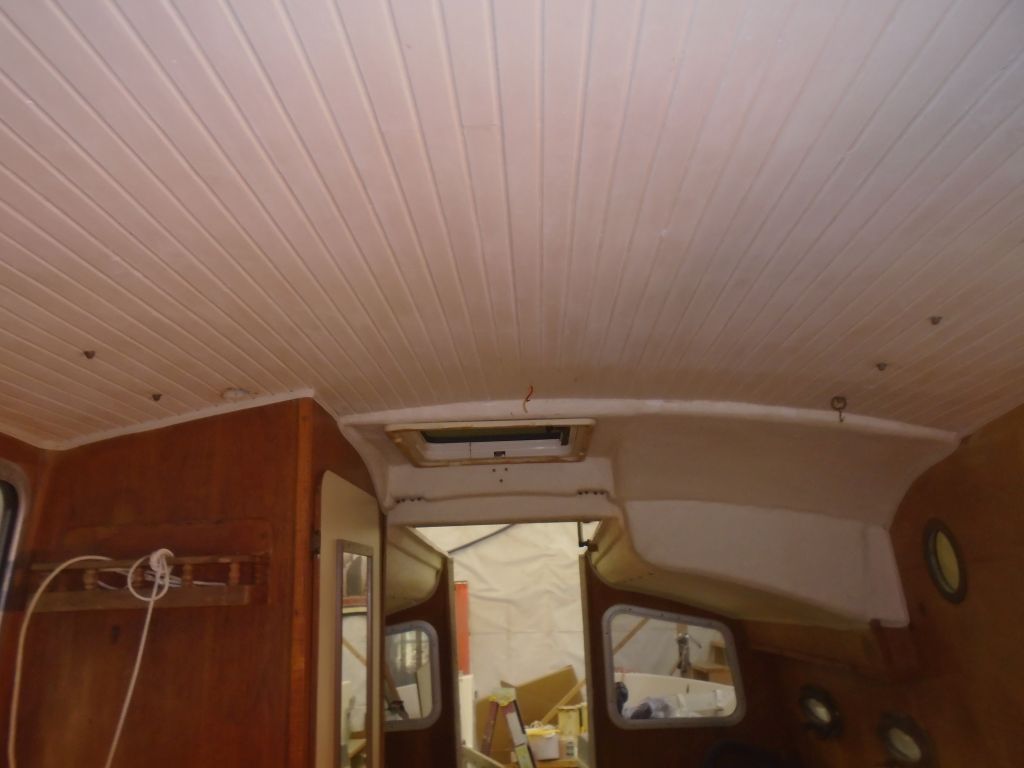
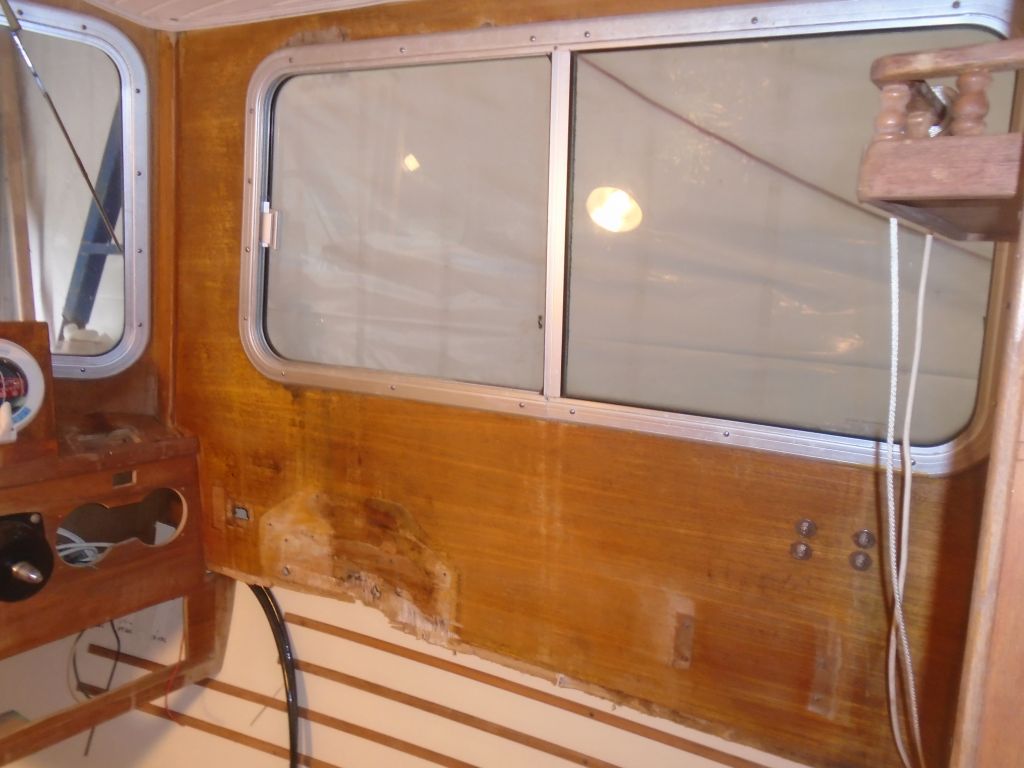
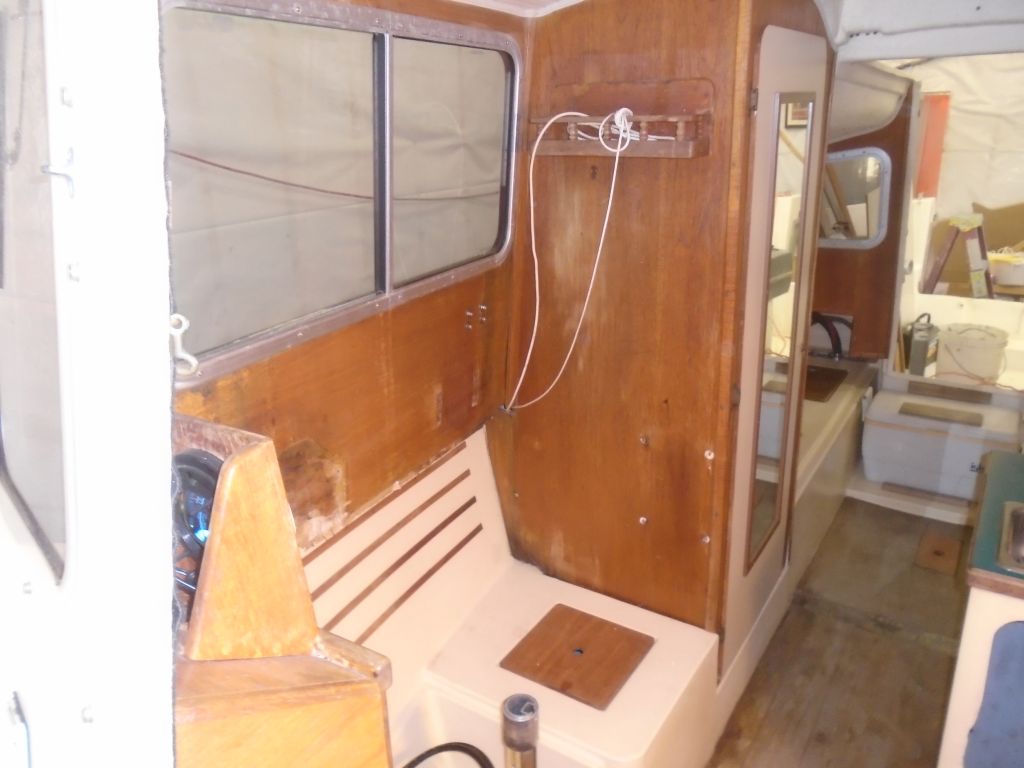
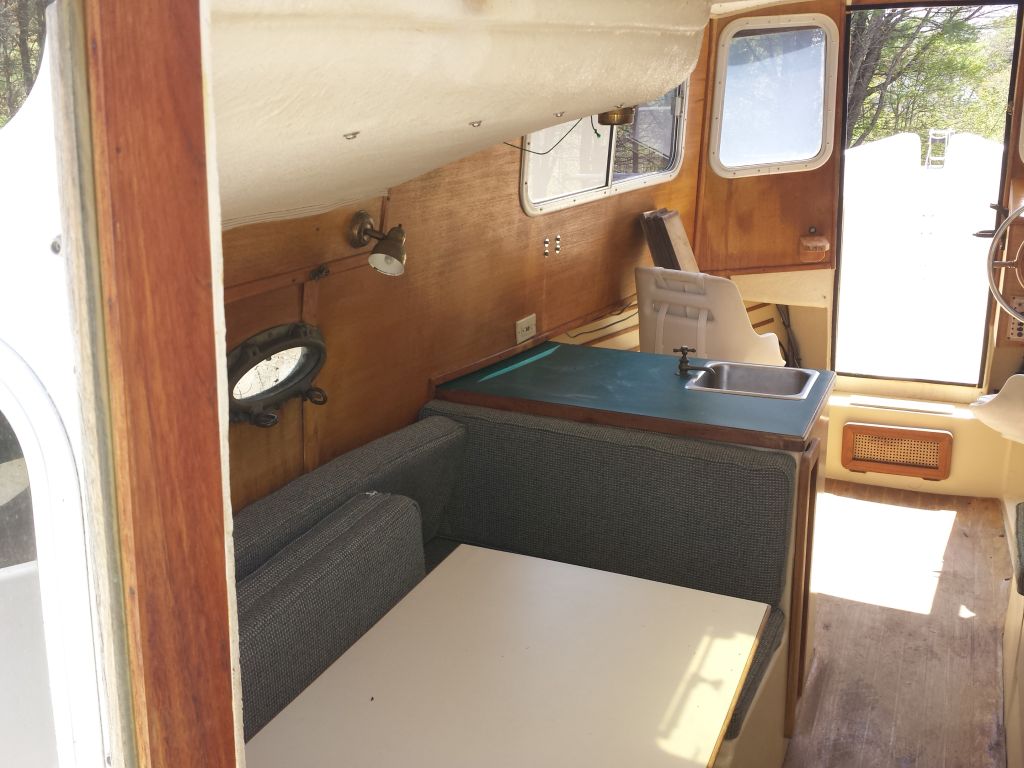
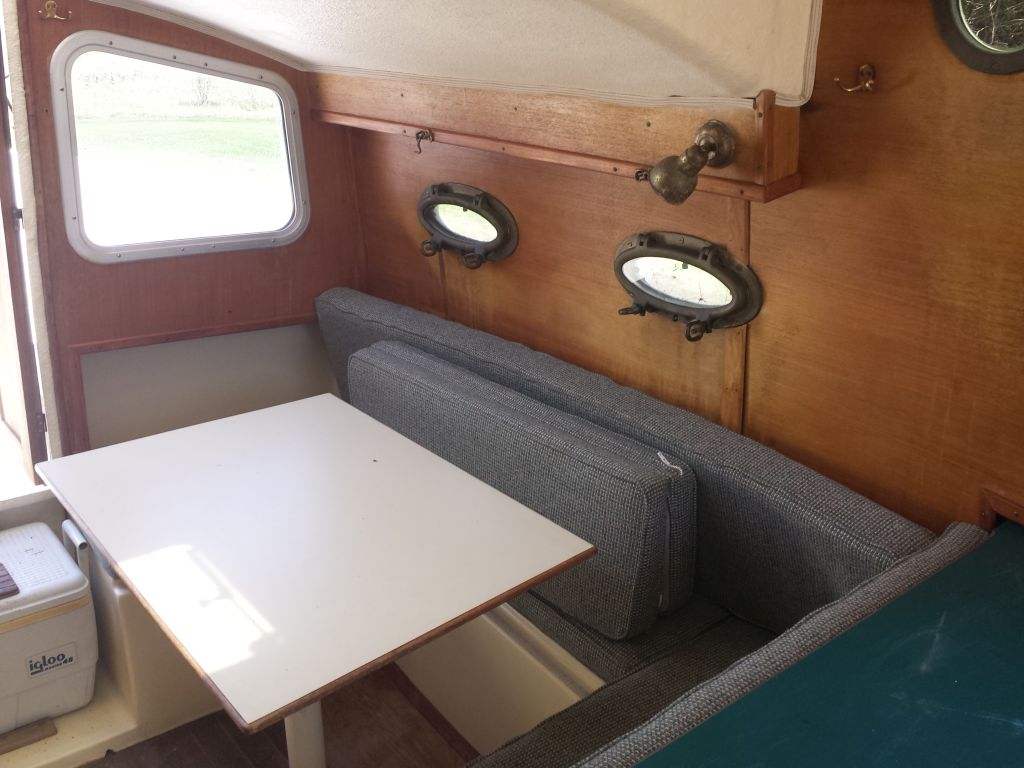
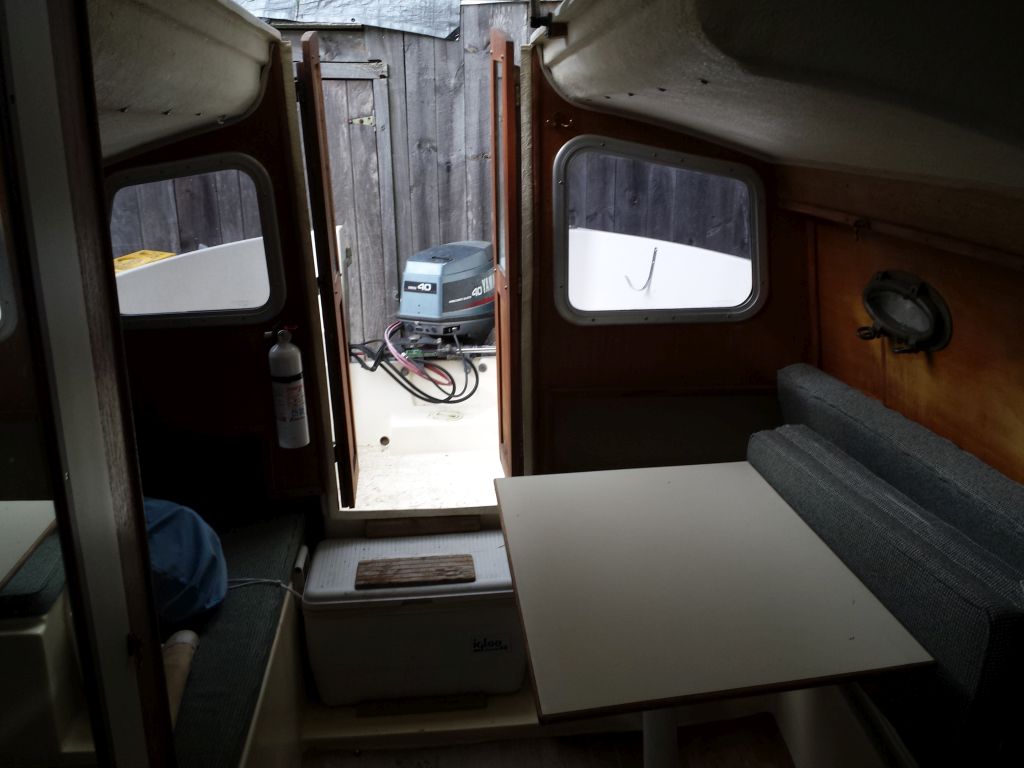
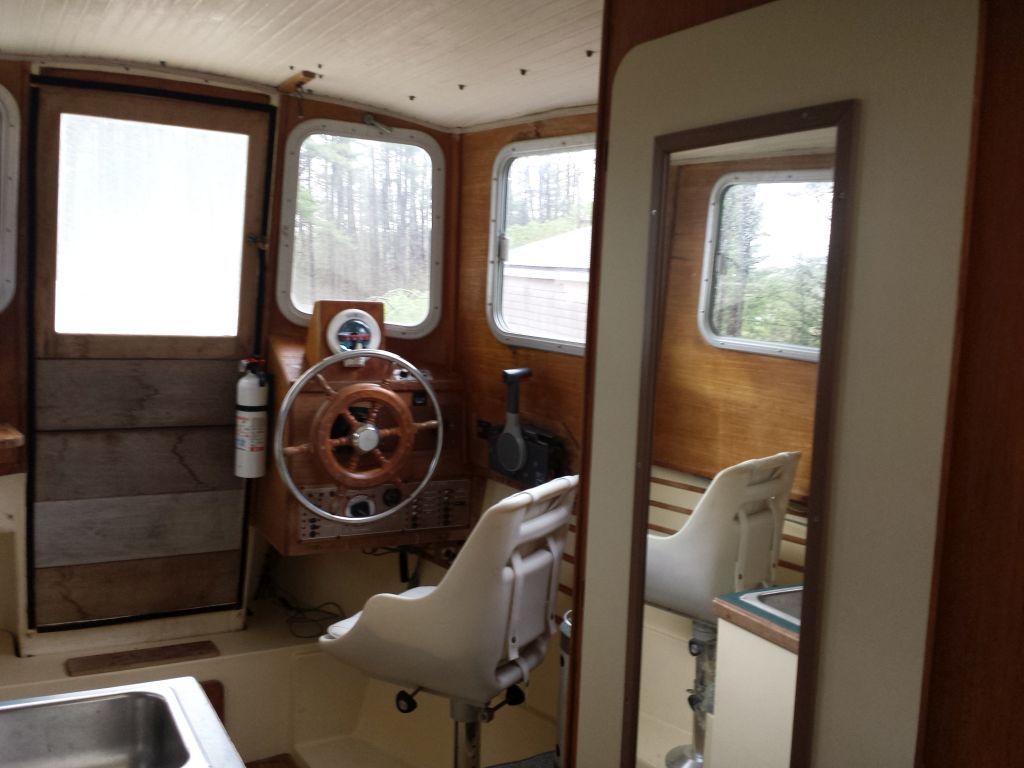
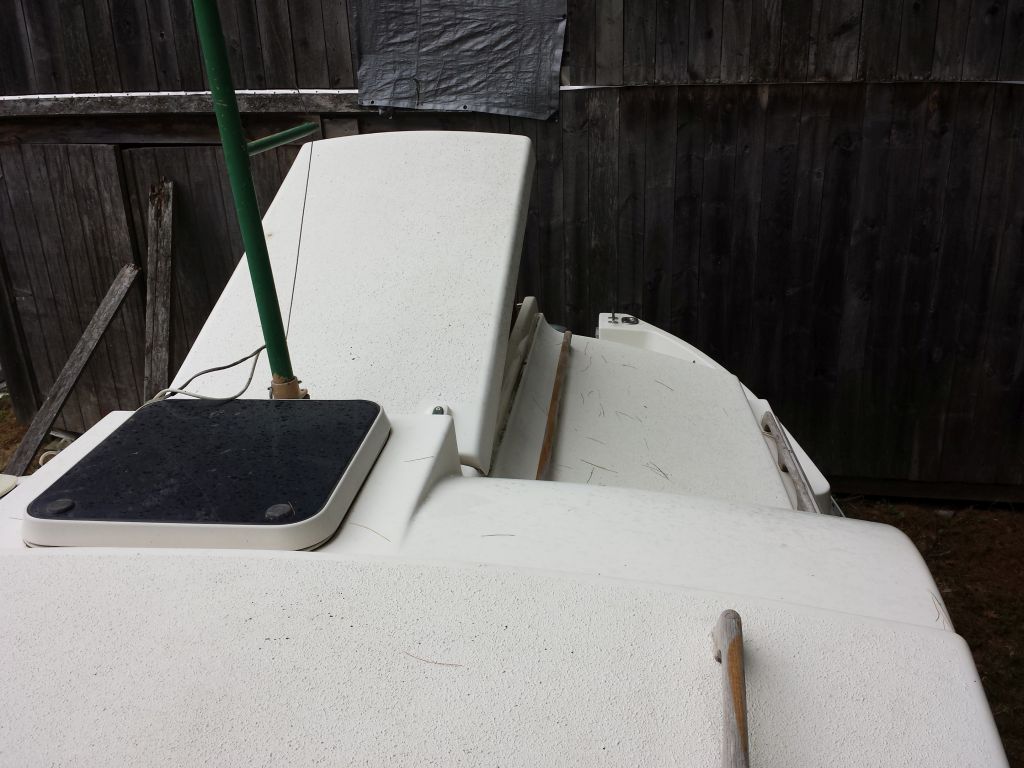
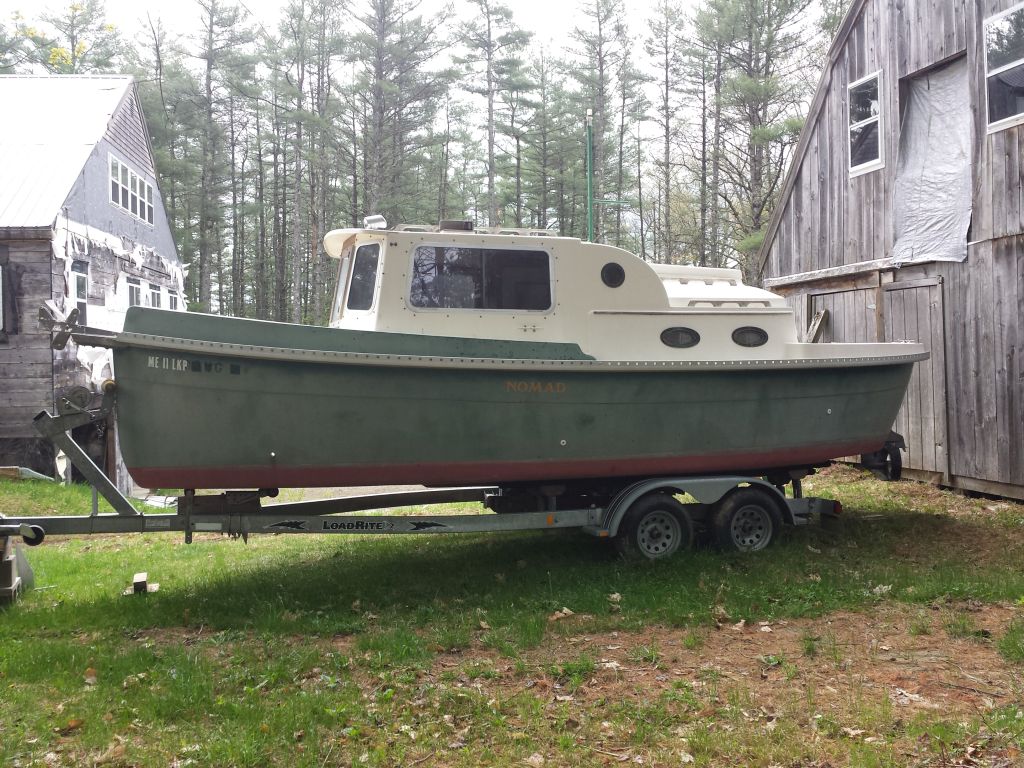
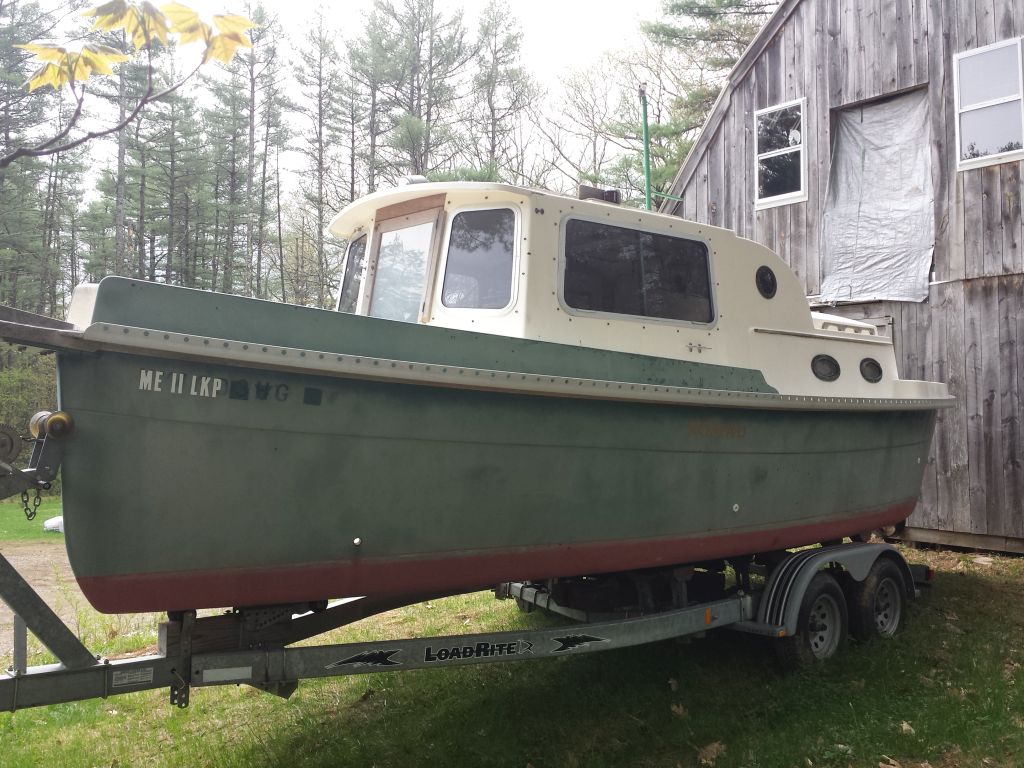
By the end of the day, I’d removed all the old systems, along with the dinette table, helm chairs, cushions, cockpit doors, and whatever else I could. I needed everything out of the way so I could eventually start to deal with the interior finishes, which were in need of refreshing. Most of the plywood paneling along the cabin sides had been badly stained from water leakage from the windows, but I hoped I’d be able to clean it up and save it. The starboard side of the pilothouse, however, was going to be unsalvageable, with several rotted and damaged areas, and a generally terrible appearance. The numerous large holes and basic construction of the helm console also started me thinking about whether I should just rebuild that too. And so it goes.
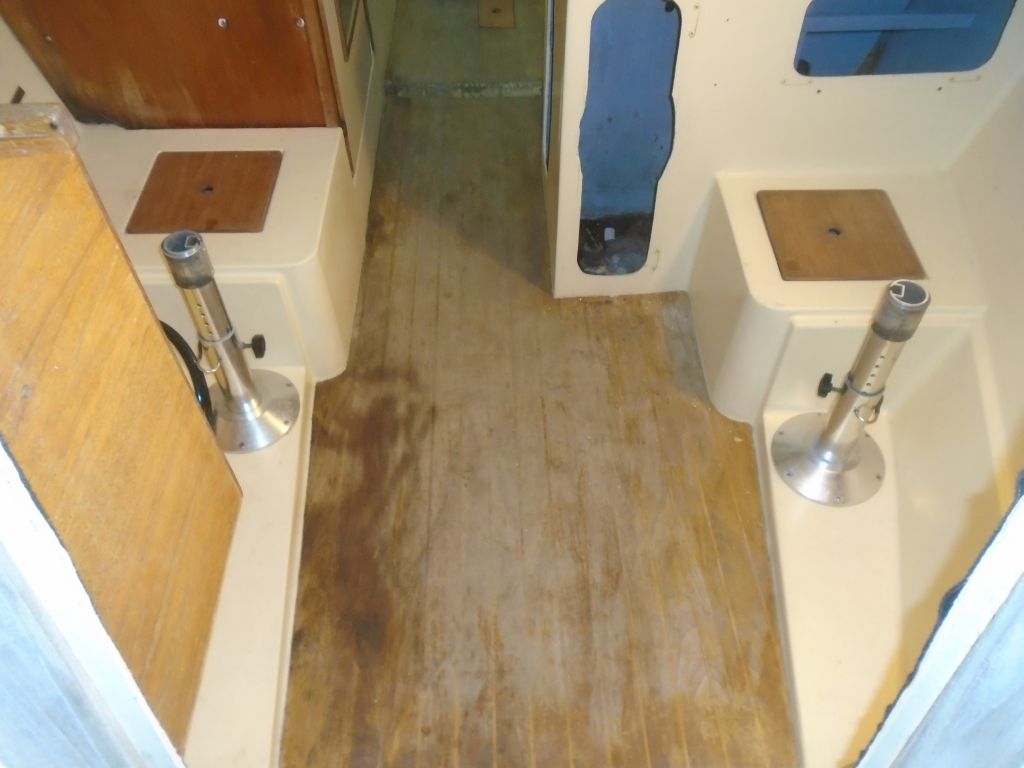
The cabin sole would require replacement, and the old was weathered and in poor condition, and the overhead would require sanding and painting for improved appearance. I’d need to rebed all the windows and ports, and refinish the exterior doors and swashboards (along with the other minimal exterior wood).


Total Time Billed on This Job Today: 5.25 hours (including building the stand)


