(page 6 of 6)

Lyra Phase 2-5

Monday

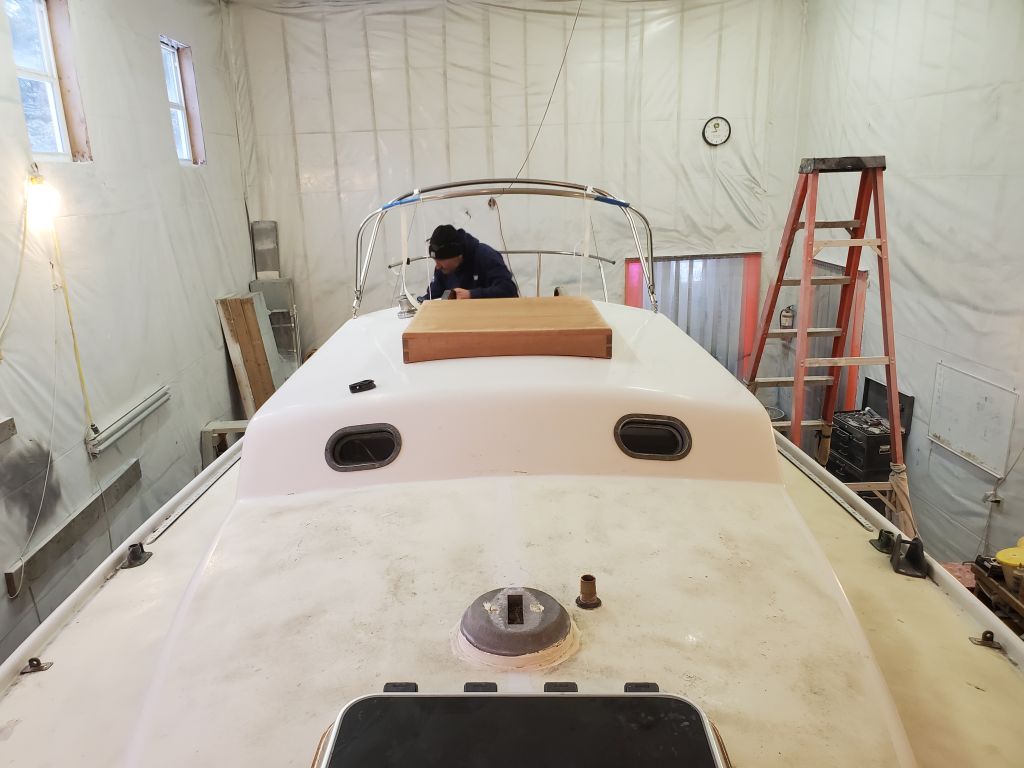
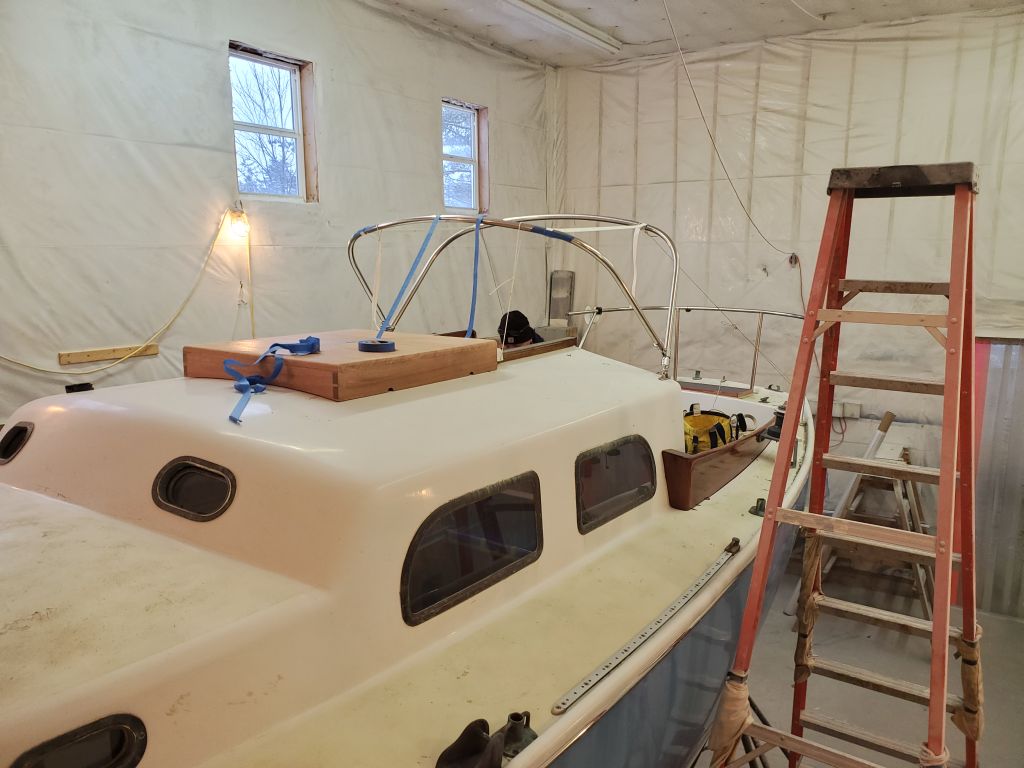
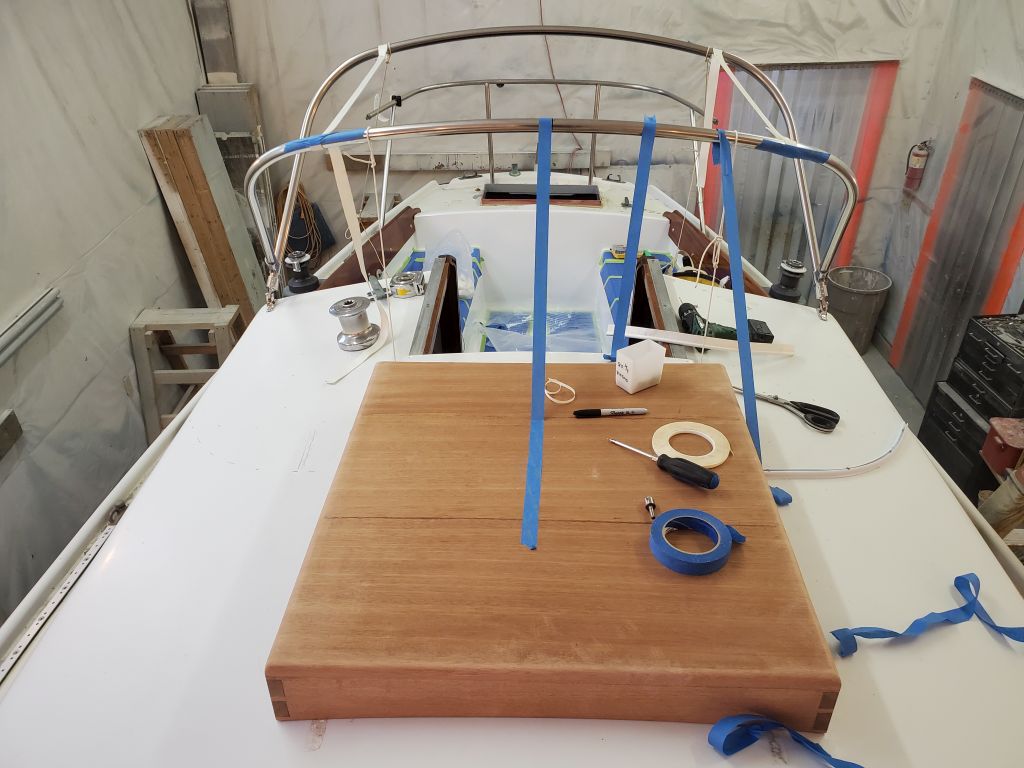
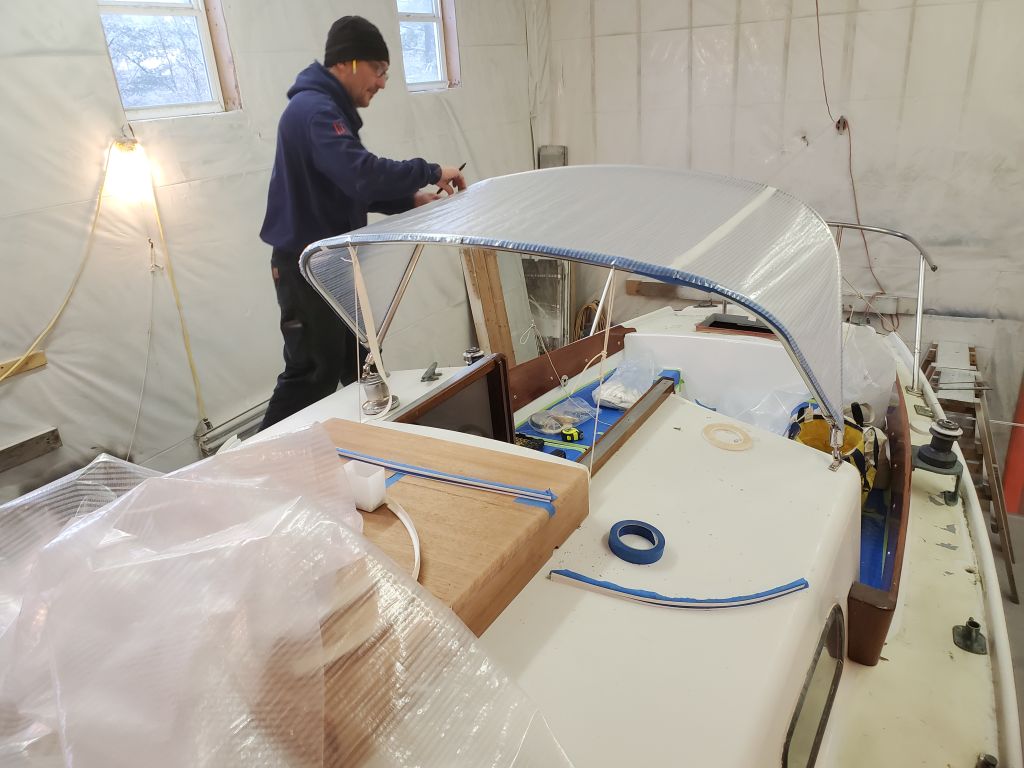
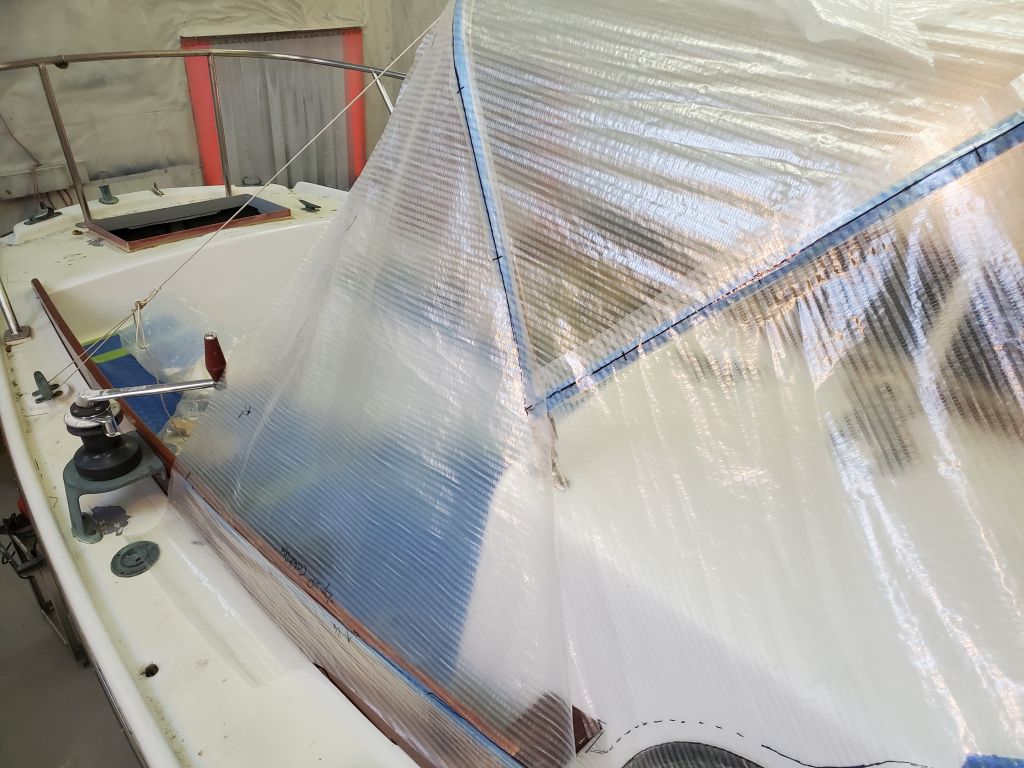
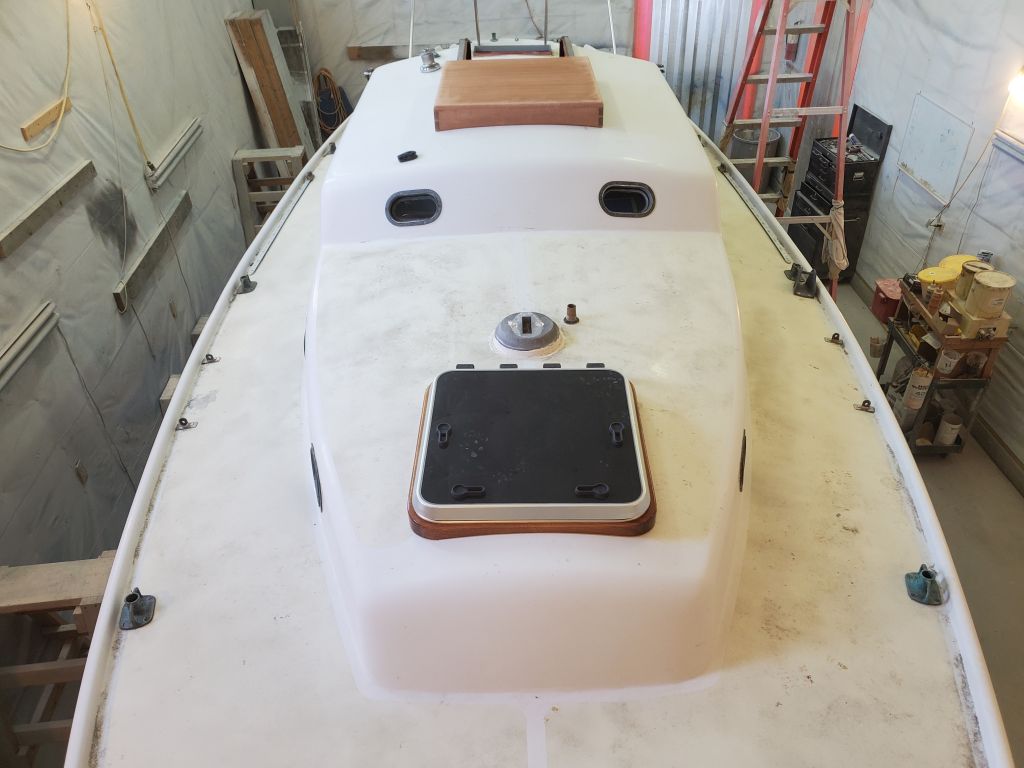
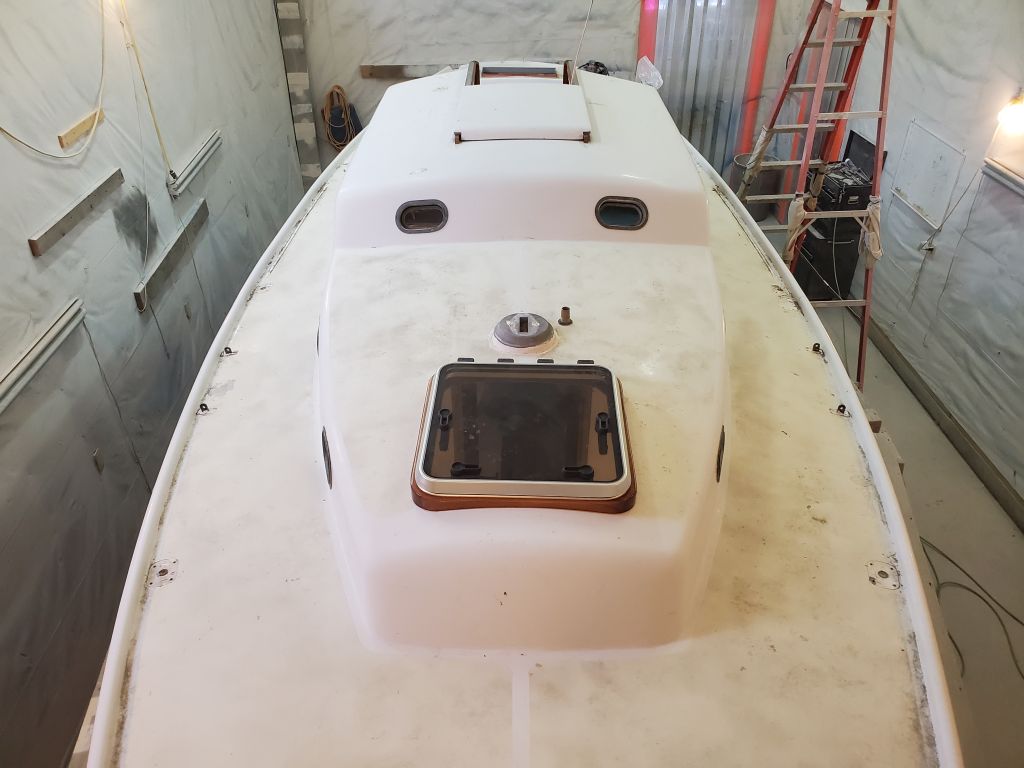
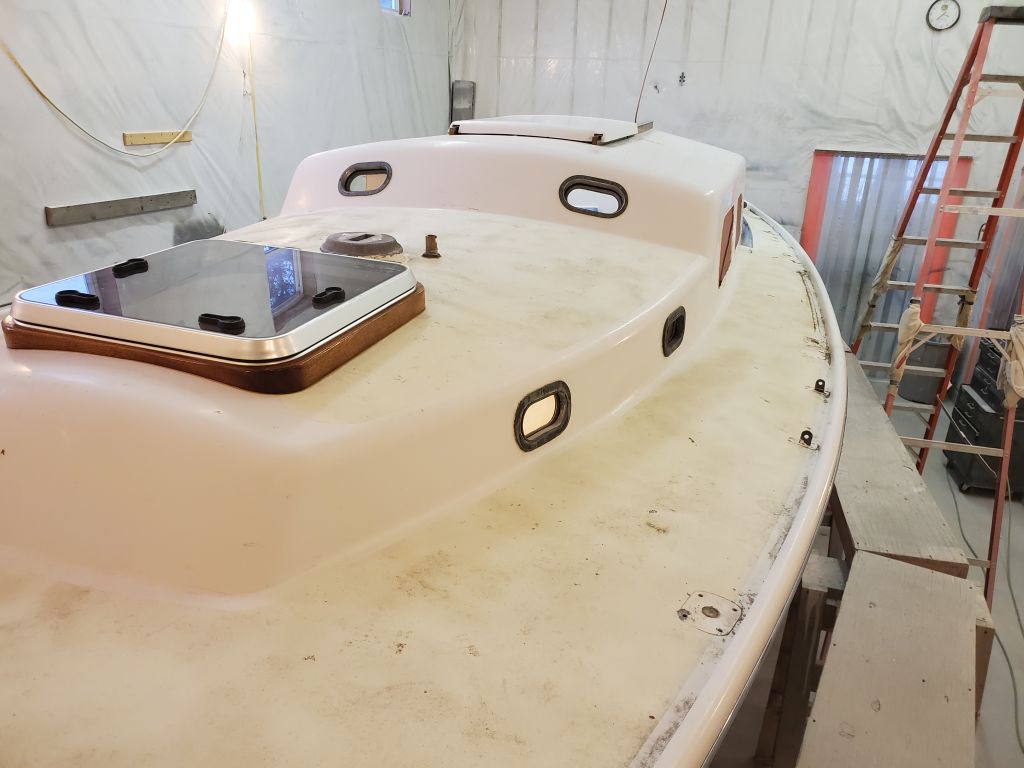
Preparing for the deck work ahead (mainly a thorough cosmetic overhaul, but the forward coachroof was soft and required recoring), my first task, as usual, was to remove deck hardware.  In this case, I’d only just installed the hardware six or seven months earlier, during phase 1 of the project, so removal went smoothly and quickly since the fasteners were still new and access was quite good in most parts of the boat; even areas with blind access were easy enough to reach.

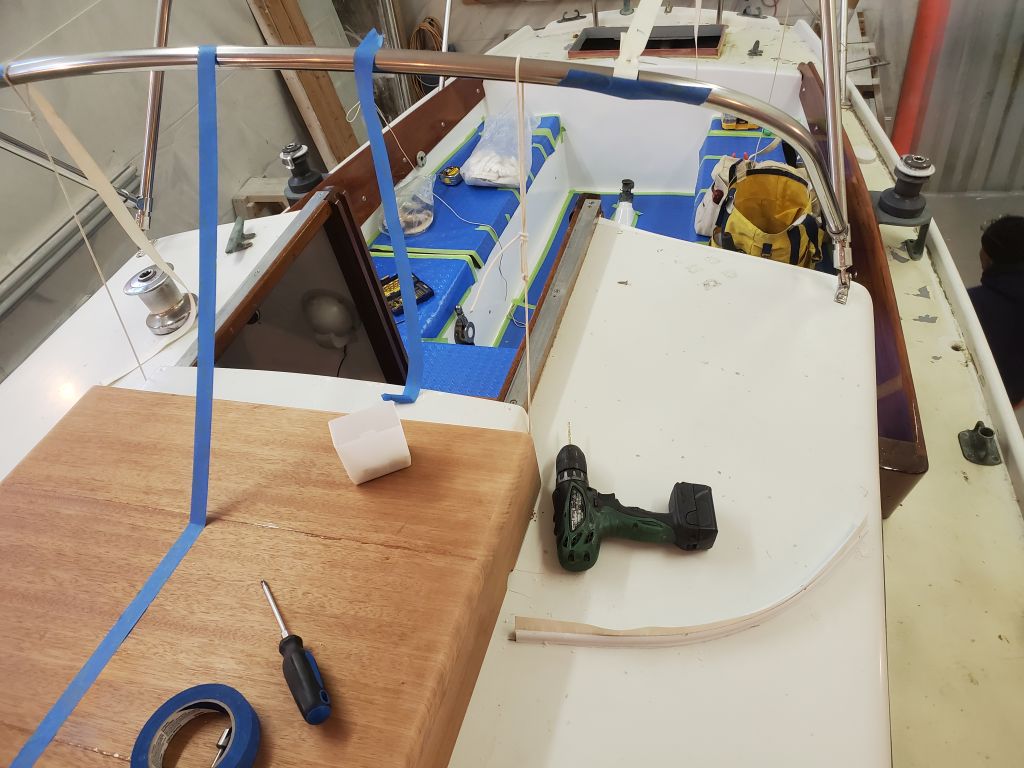
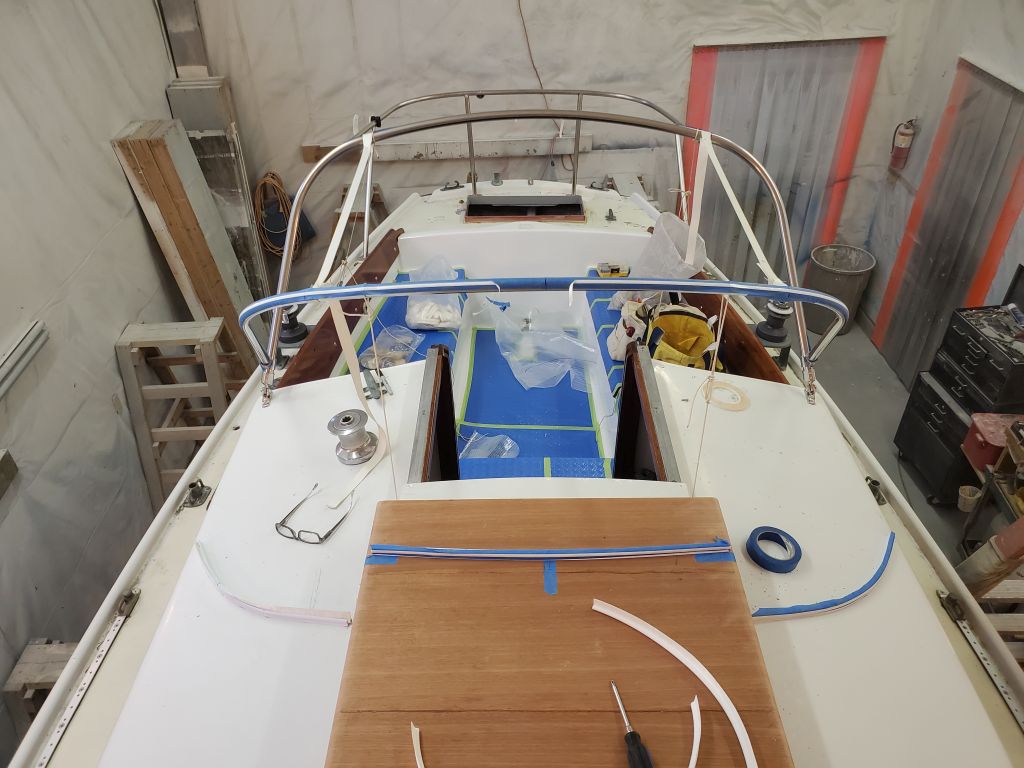
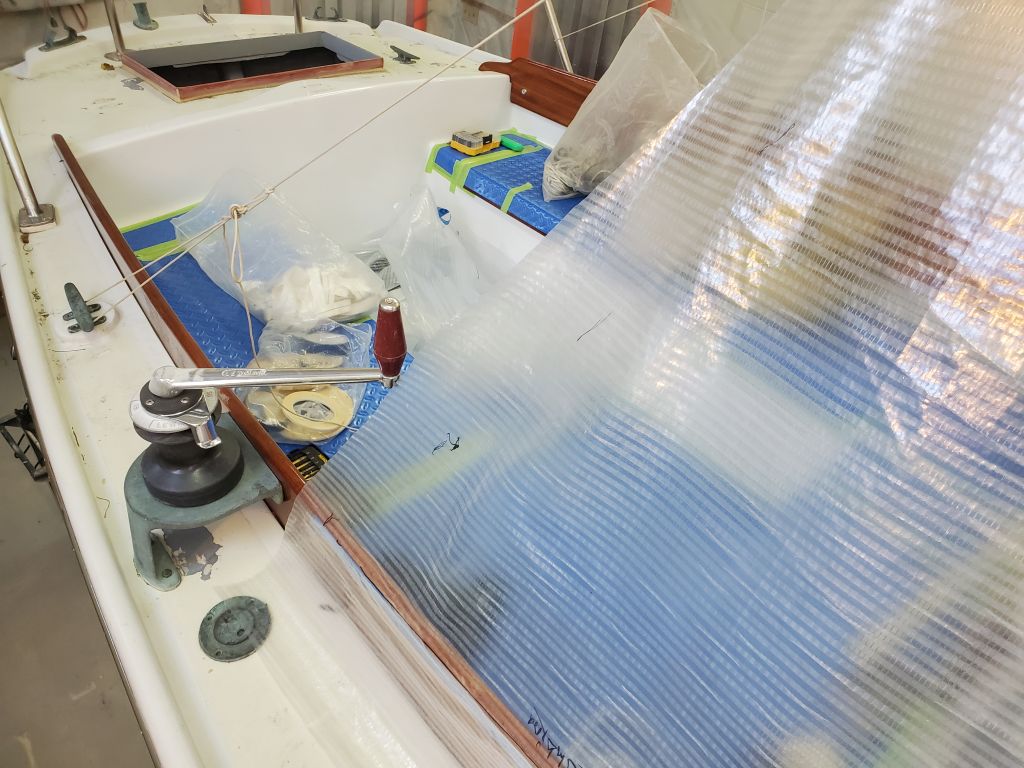
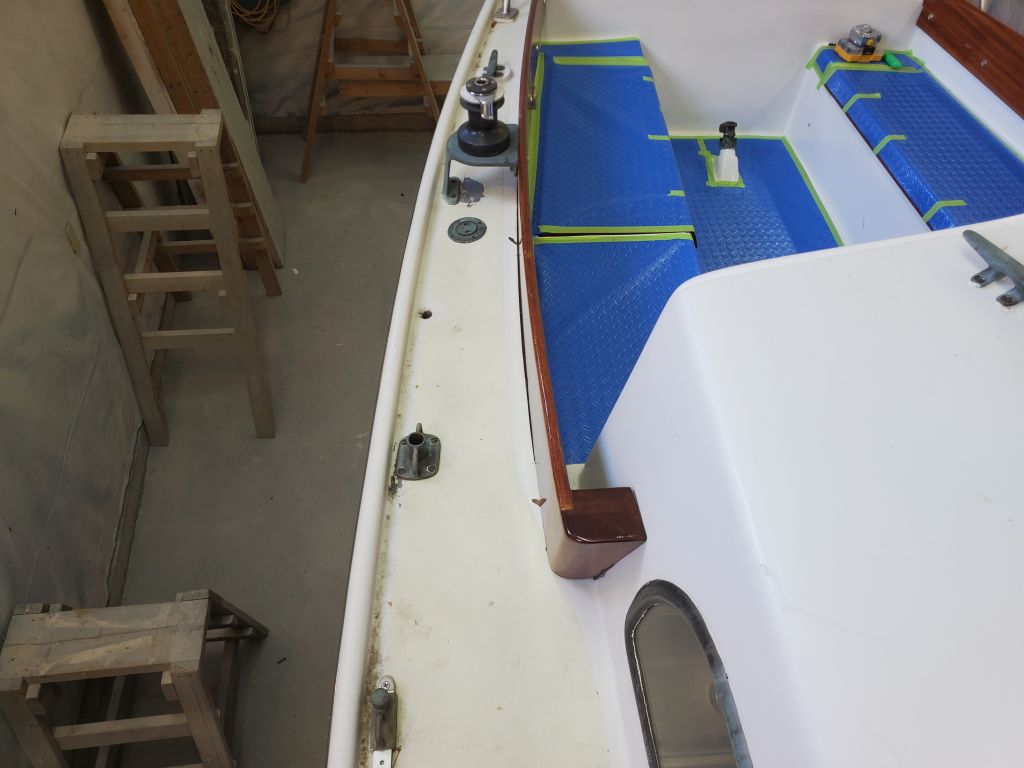
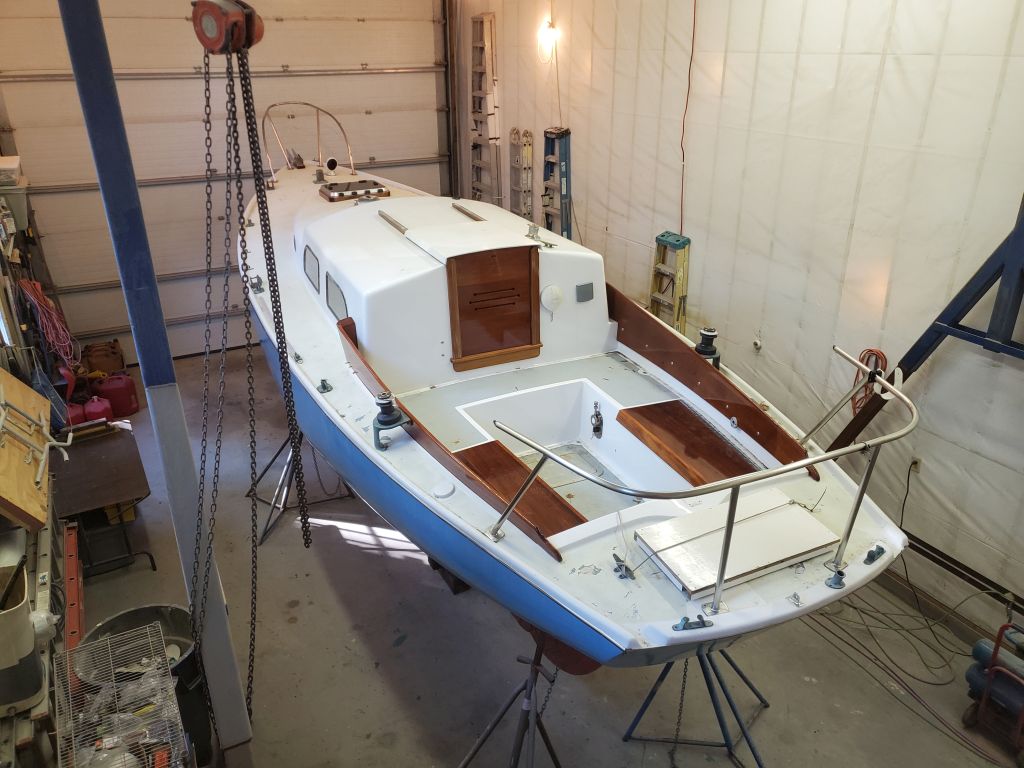
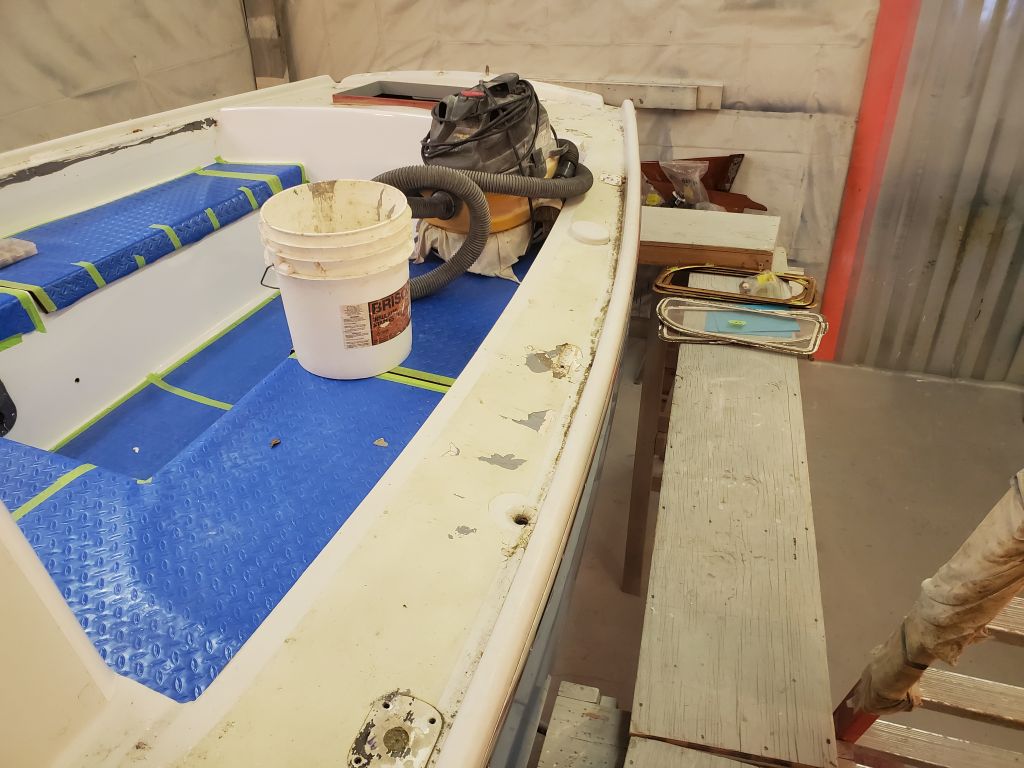
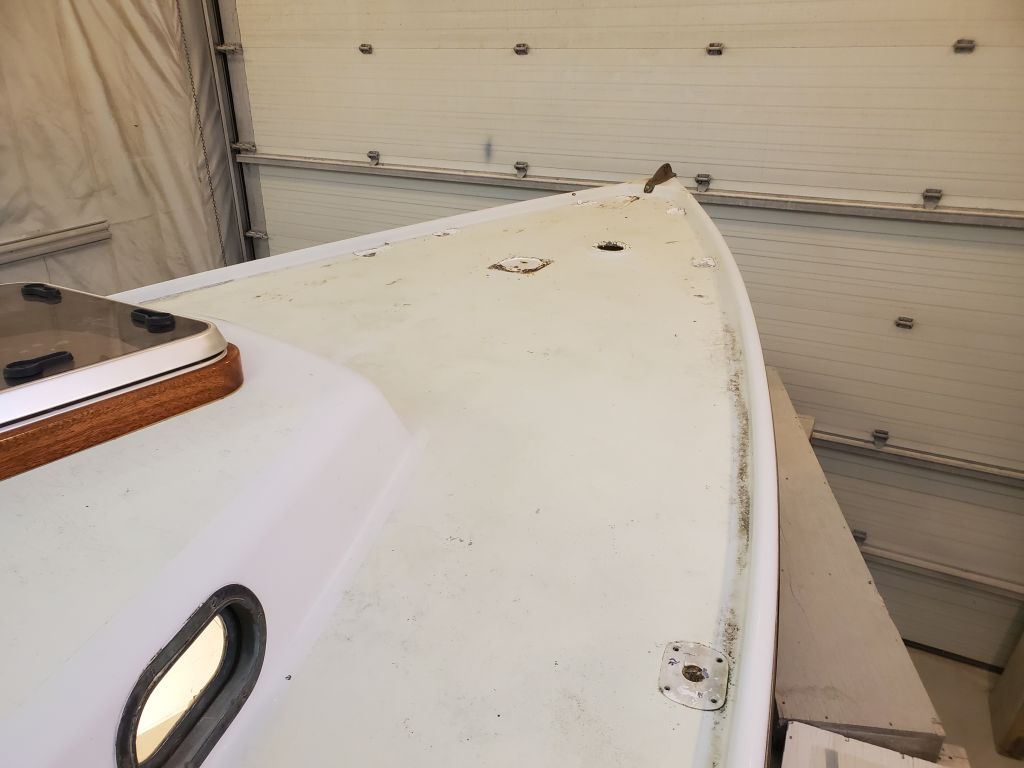
During the course of the day, I removed all the deck hardware, starting in the stern and cockpit with the pulpit, cleats, winch bases, and cockpit coamings.  I was surprised at how well the thin strip of butyl tape I’d installed behind the coamings held:  With all fasteners removed the coamings didn’t budge from their curves.  It was quite stretchy when finally released.  I also found that the sealant I used on the bulk of the deck hardware held firmly as well, but released well enough once I got it started.  Since on this boat the existing deck paint was in poor condition with serious adhesion problems–the main reason for the work ahead–the paint often failed when in way of the hardware removals.  I’d actually never had opportunity to dismantle anything I’d installed over the years, so it was interesting to gauge the efficacy of the various sealants.

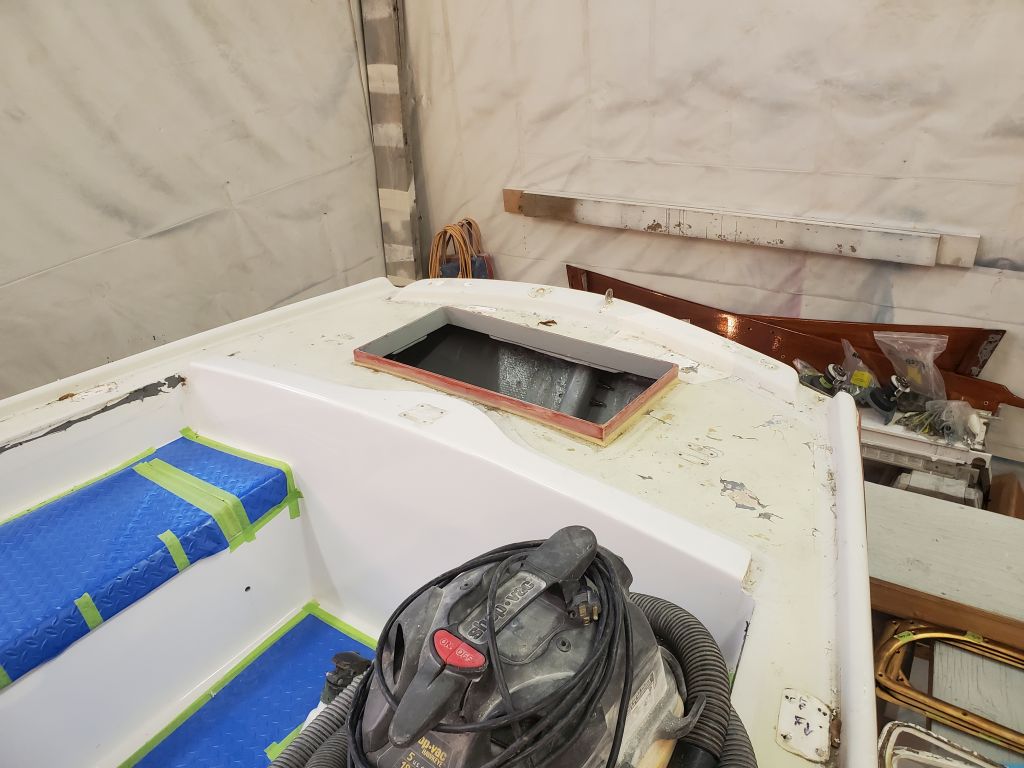
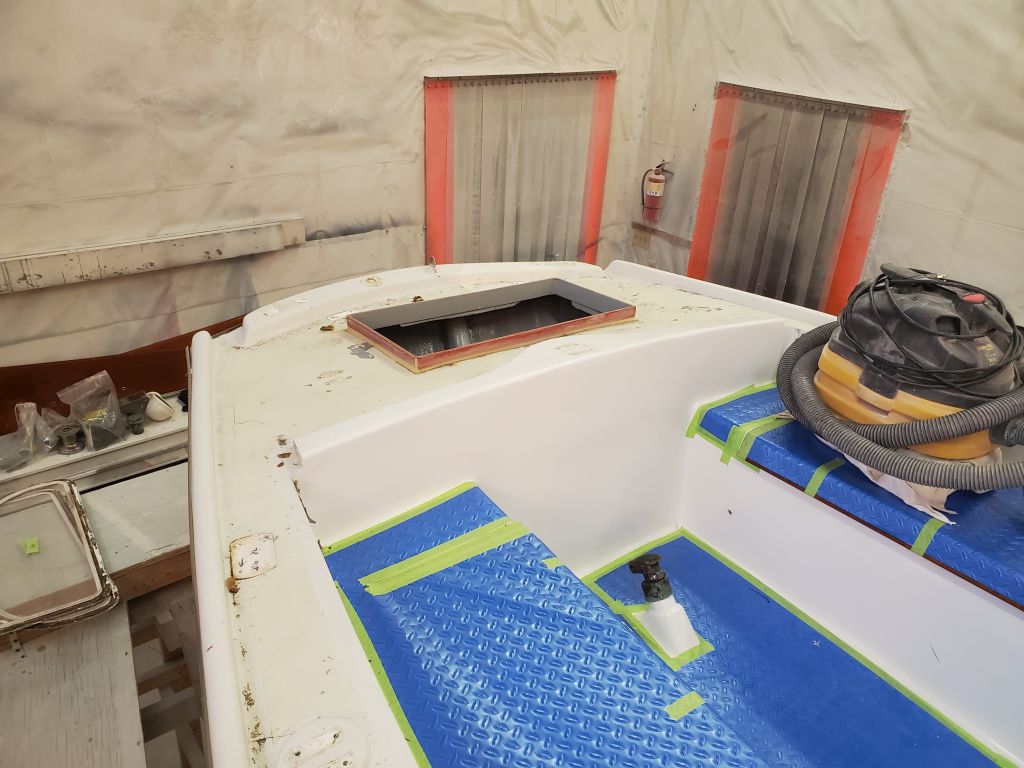
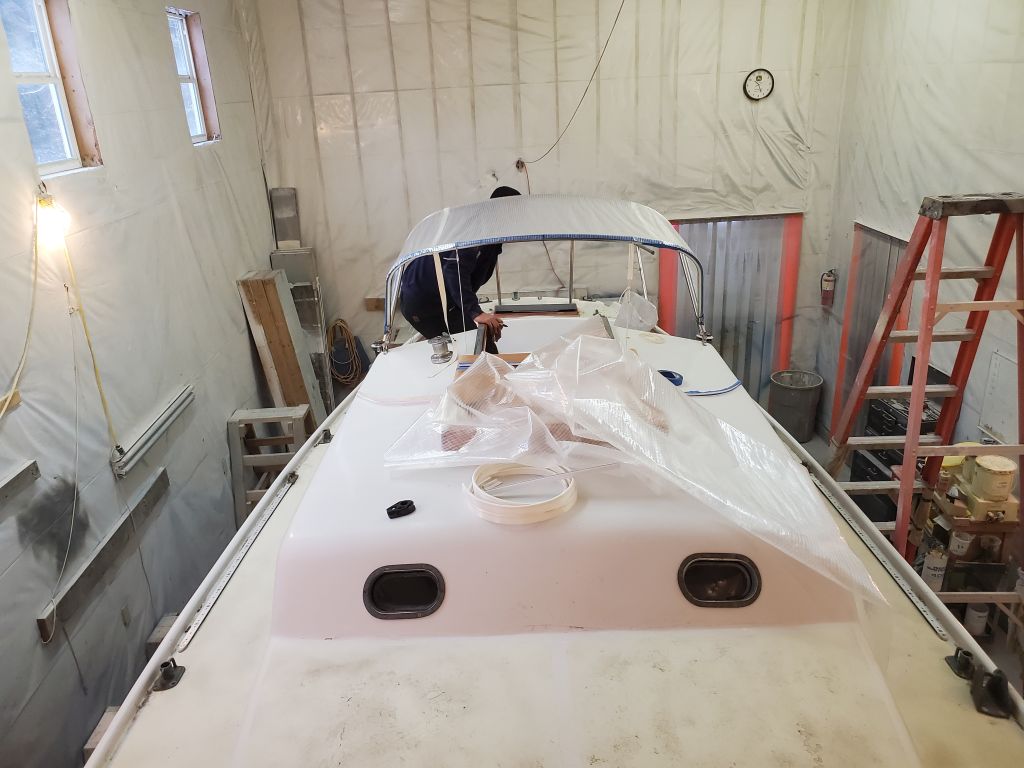
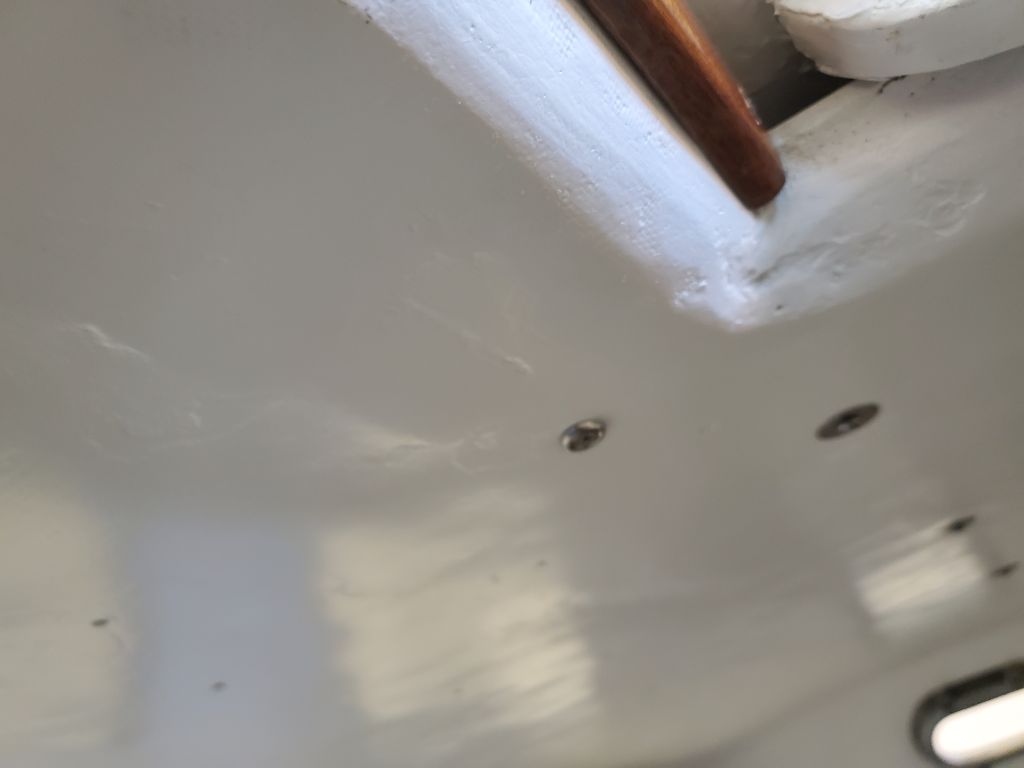
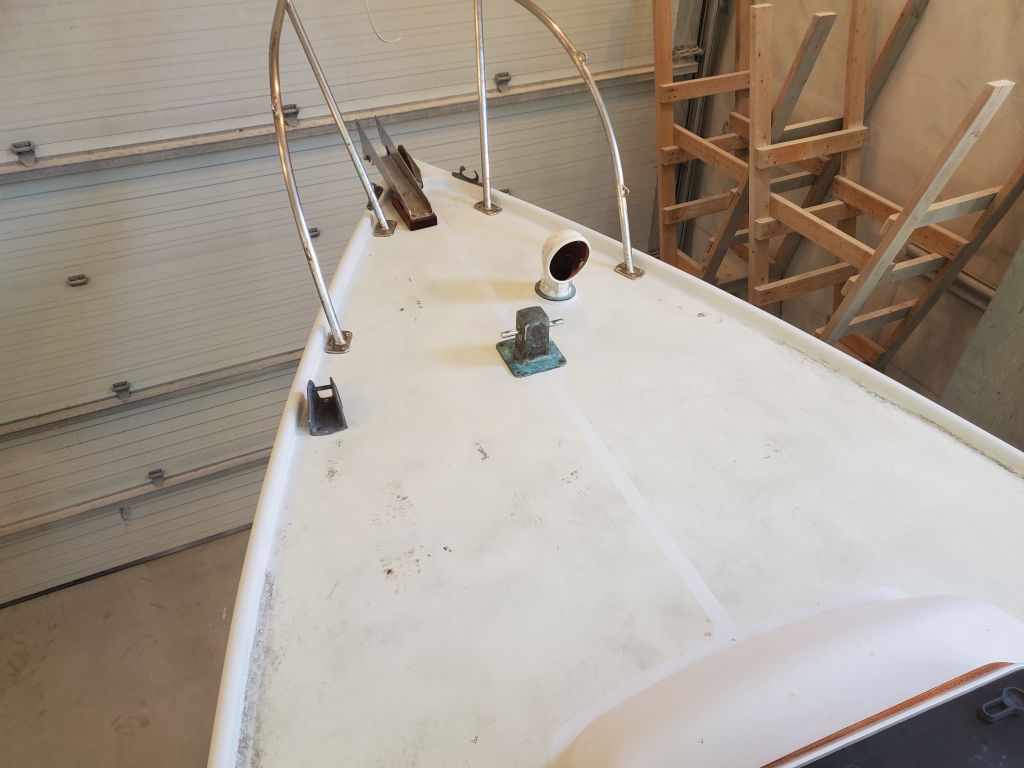
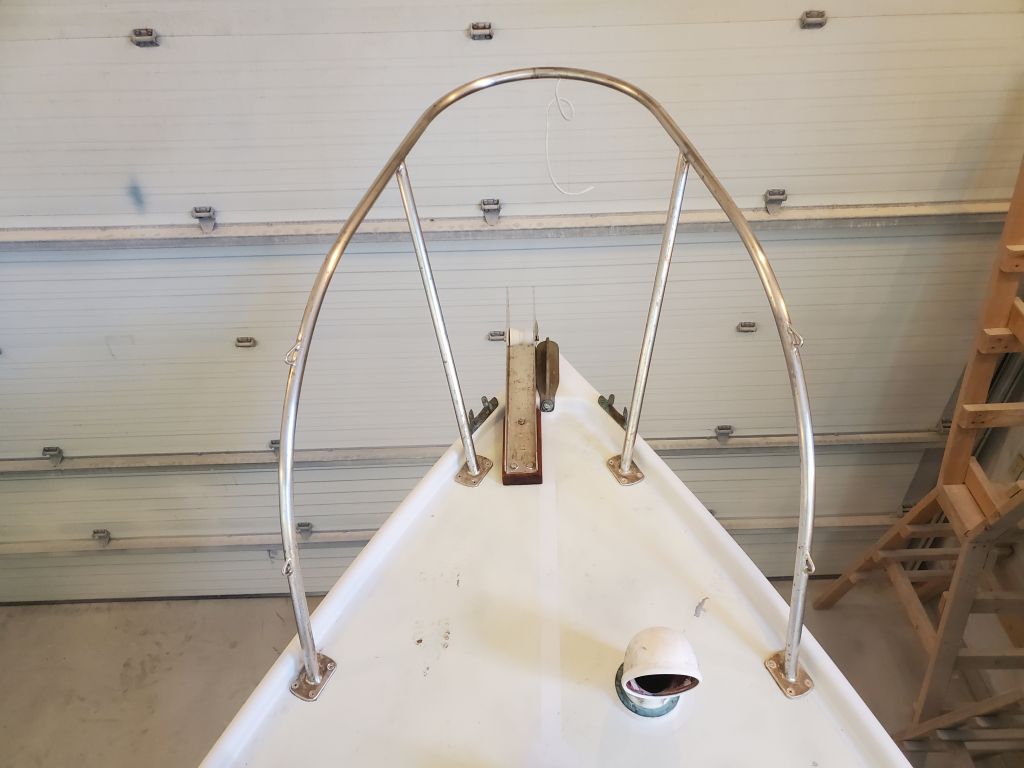
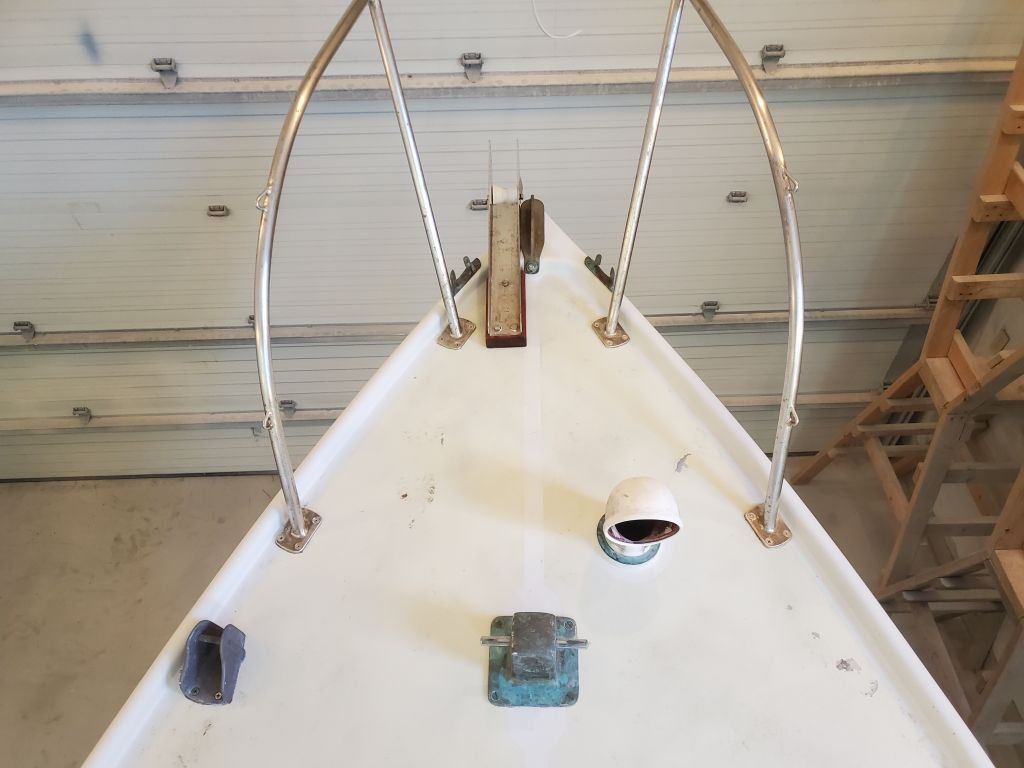
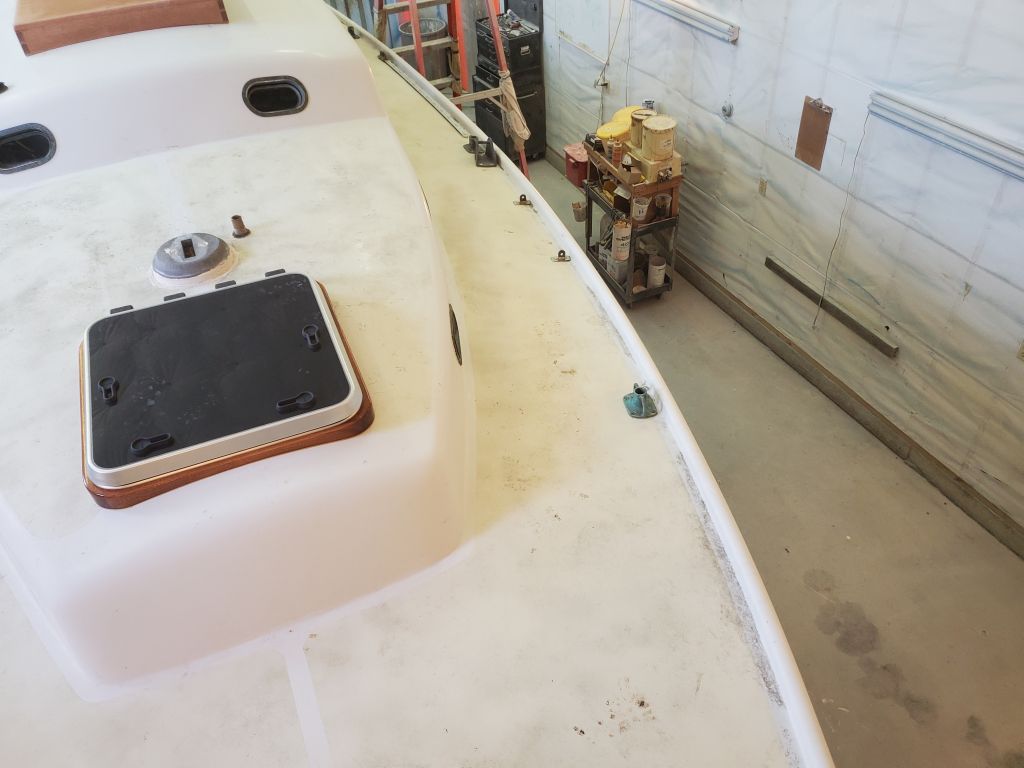
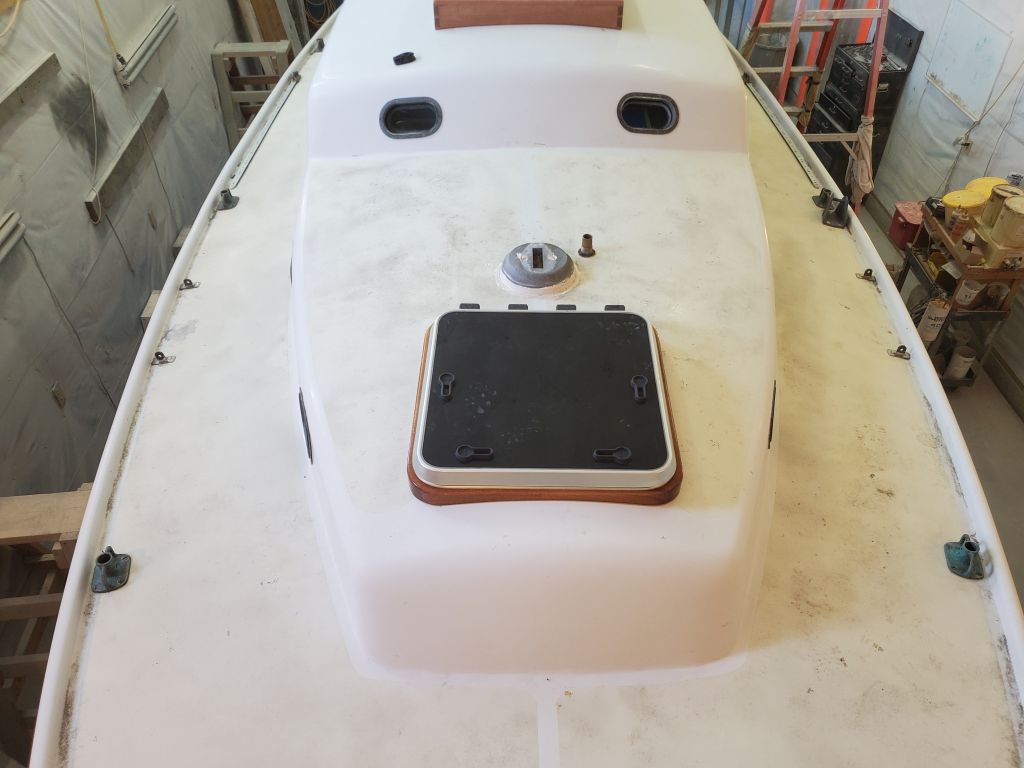
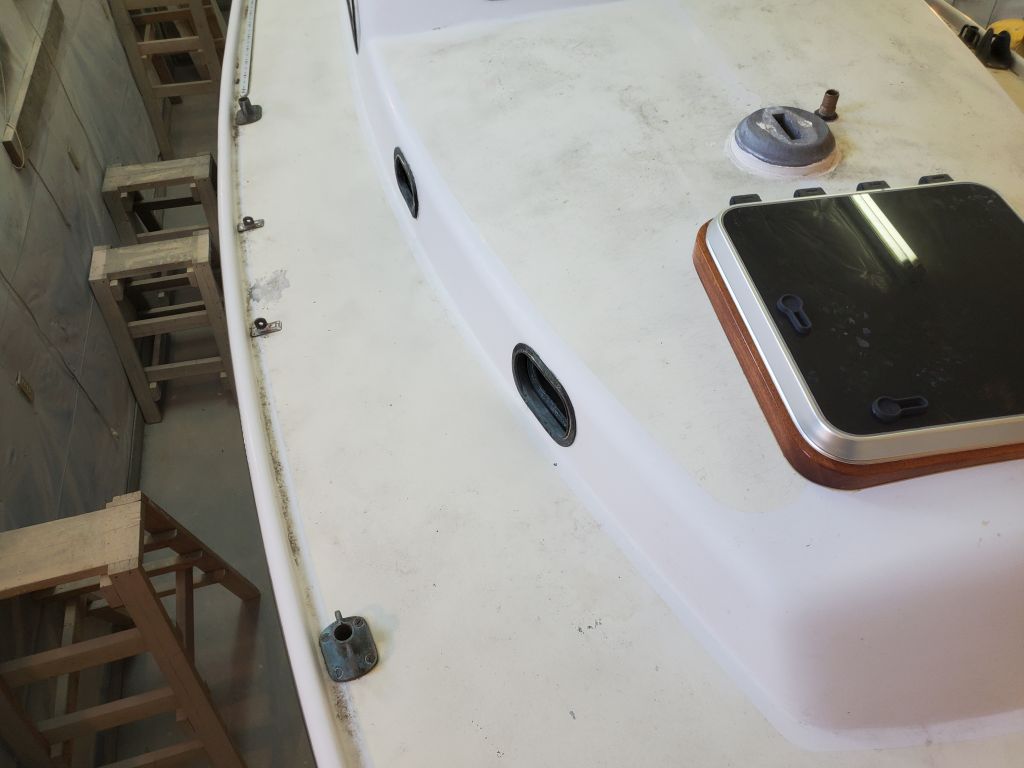
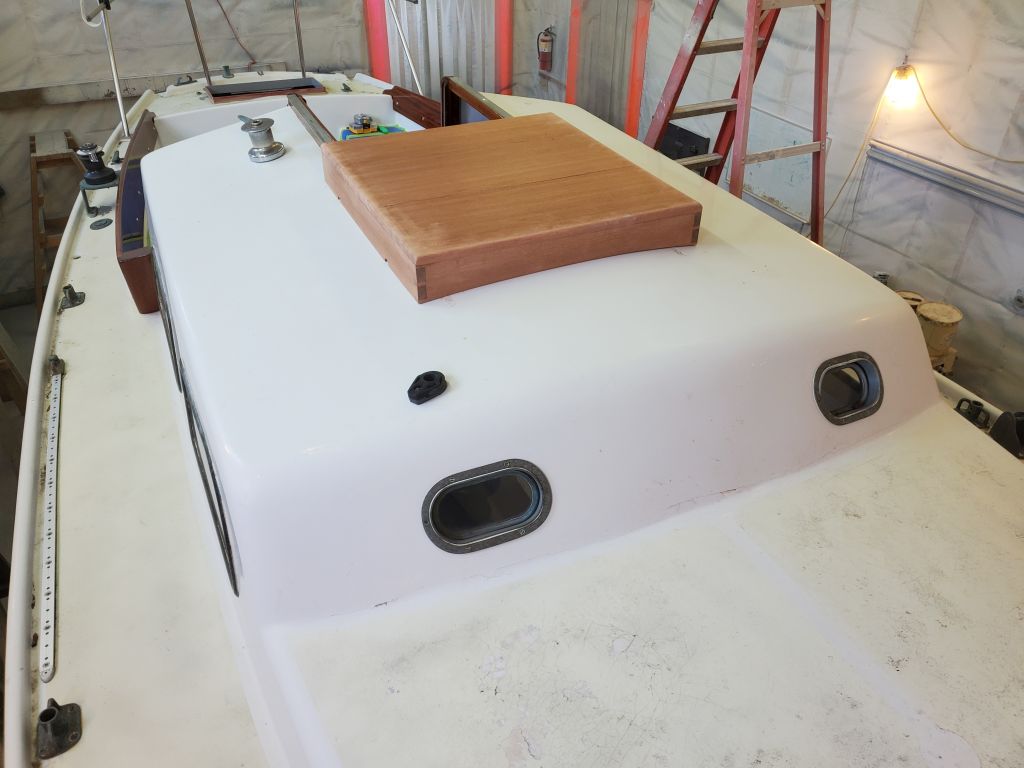
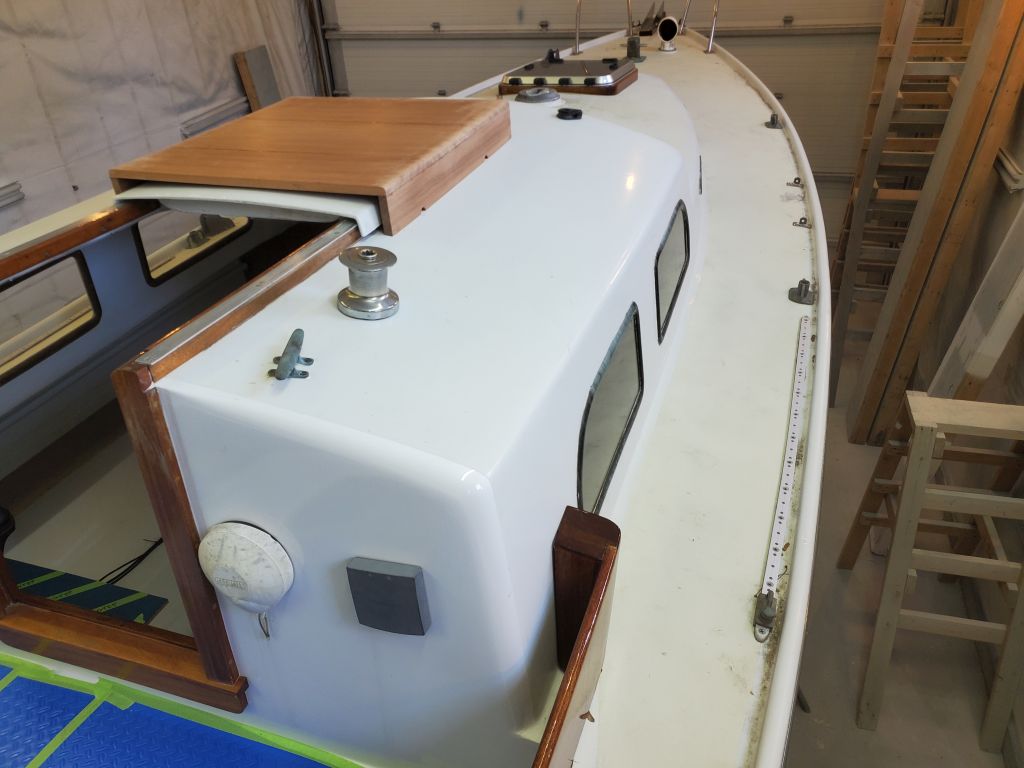
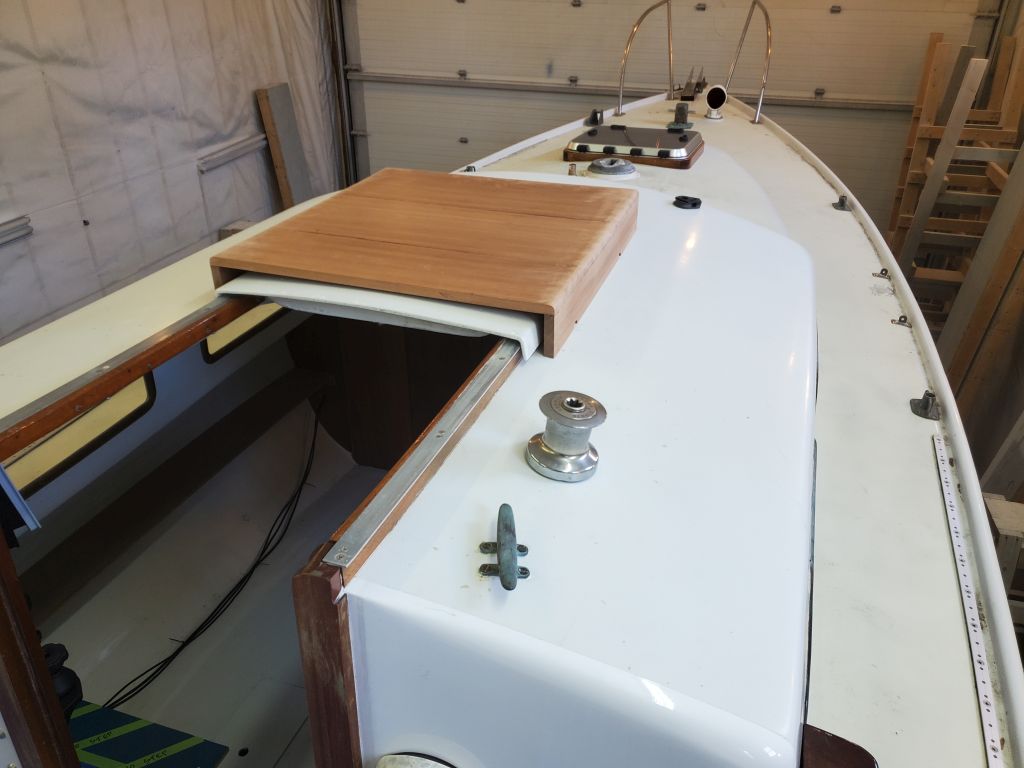
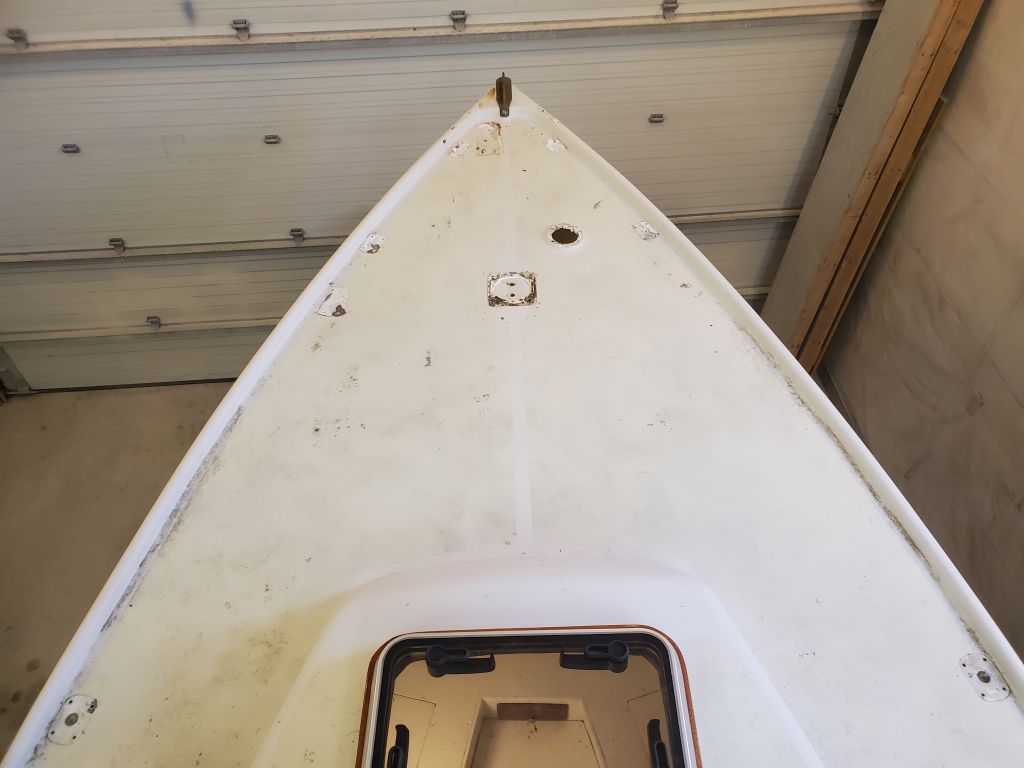
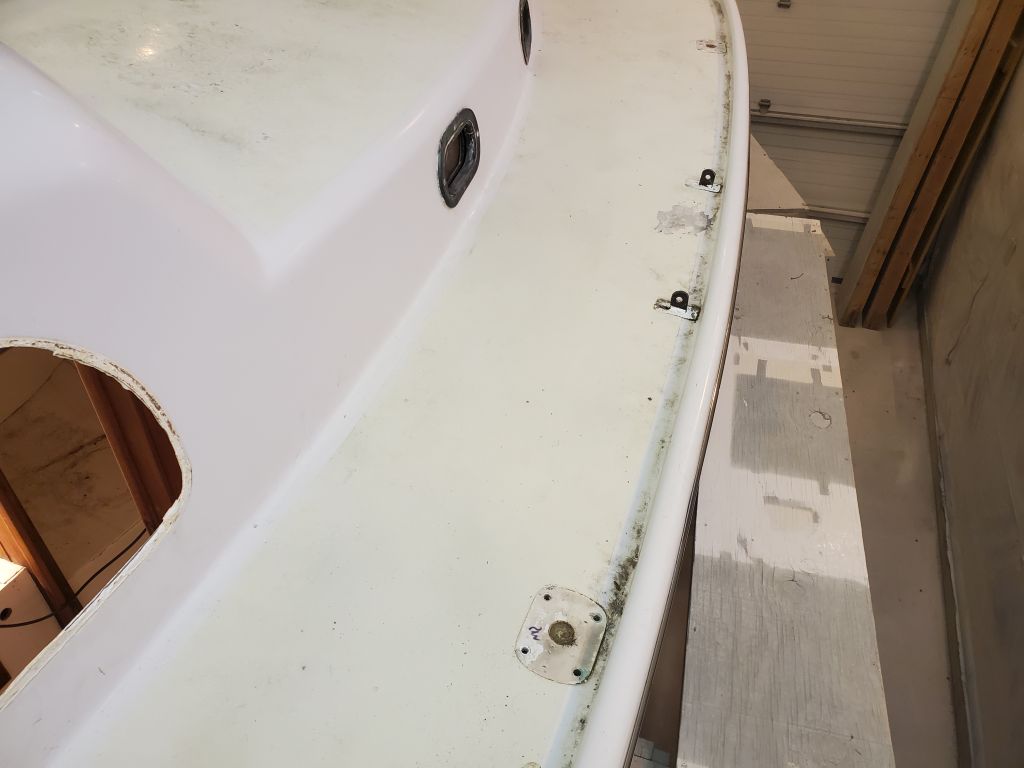
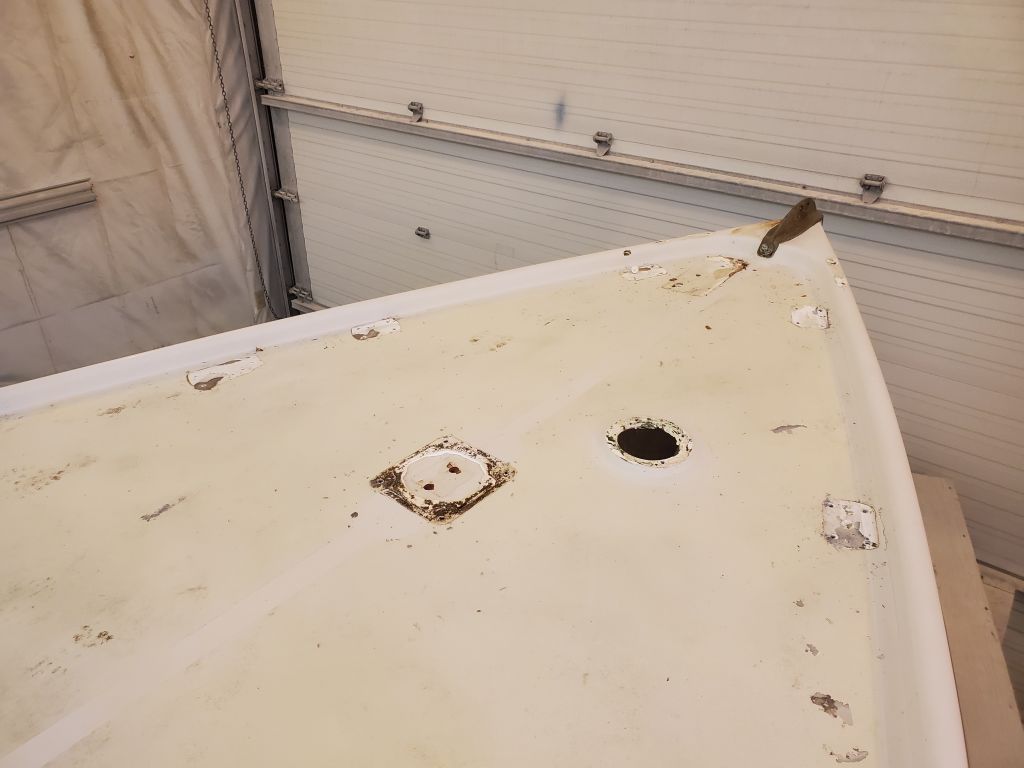
Moving on, I went to the bow and started working aft from there, removing the bow pulpit, anchor roller, mooring bitt, chocks, cowl vent, and spinnaker pole chocks.  Then, I finished up the bulk of the deck hardware with the genoa tracks, stanchion bases, chainplate covers, and main halyard gear on the coachroof (winch, cleat, and fairlead).  In all cases, I could easily remove the nuts from belowdecks (none of the fasteners spun in place, thanks to the combination of newness, good sealant, and the threaded deck holes), then remove the fasteners from above.  This all made the process go inordinately quickly.  I saved all the fasteners I could for reuse, as most were in like-new condition; I’d specifically chosen not to cut off any excess bolt length during the original installation so that I might be able to reuse the fasteners now.

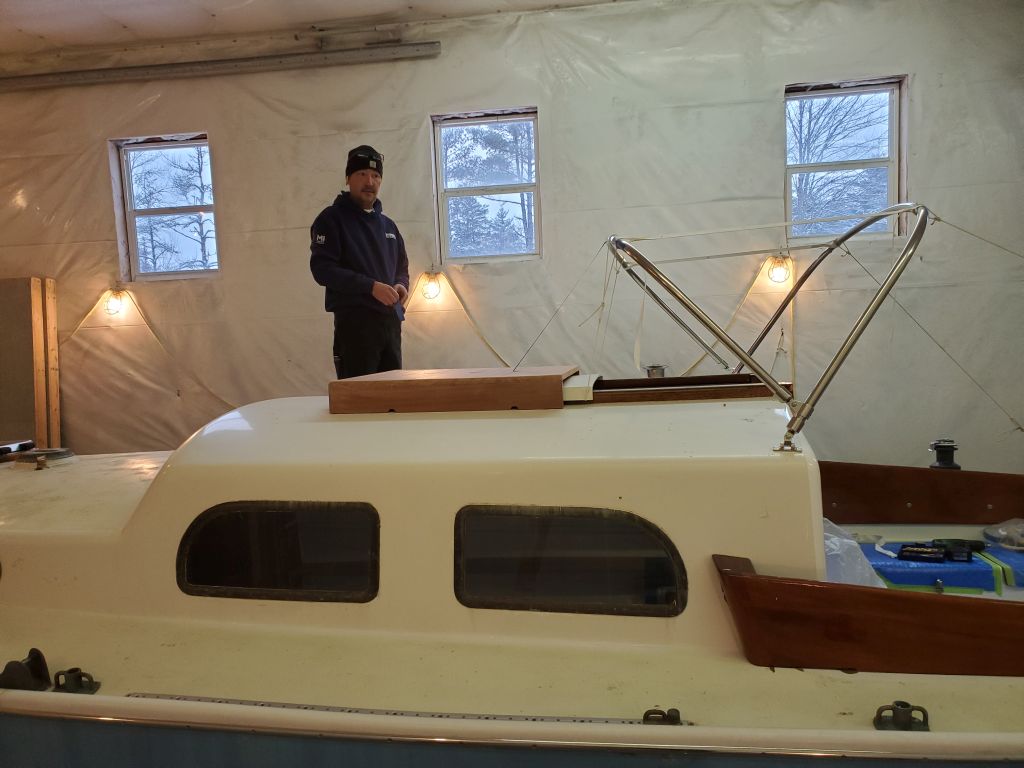
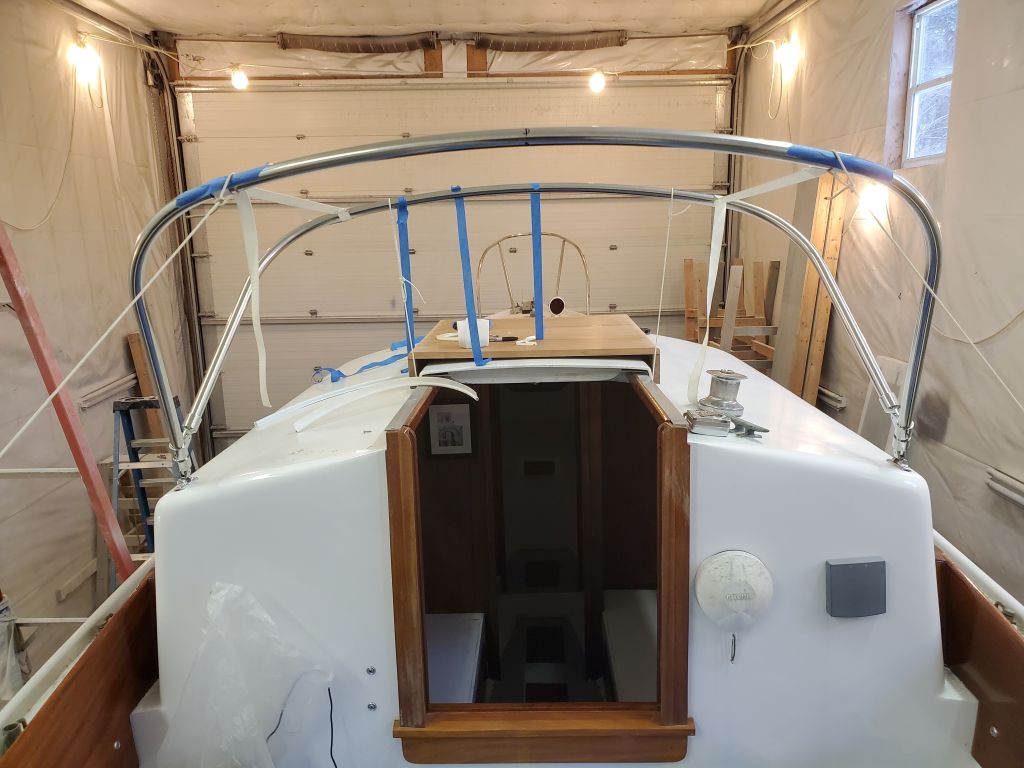
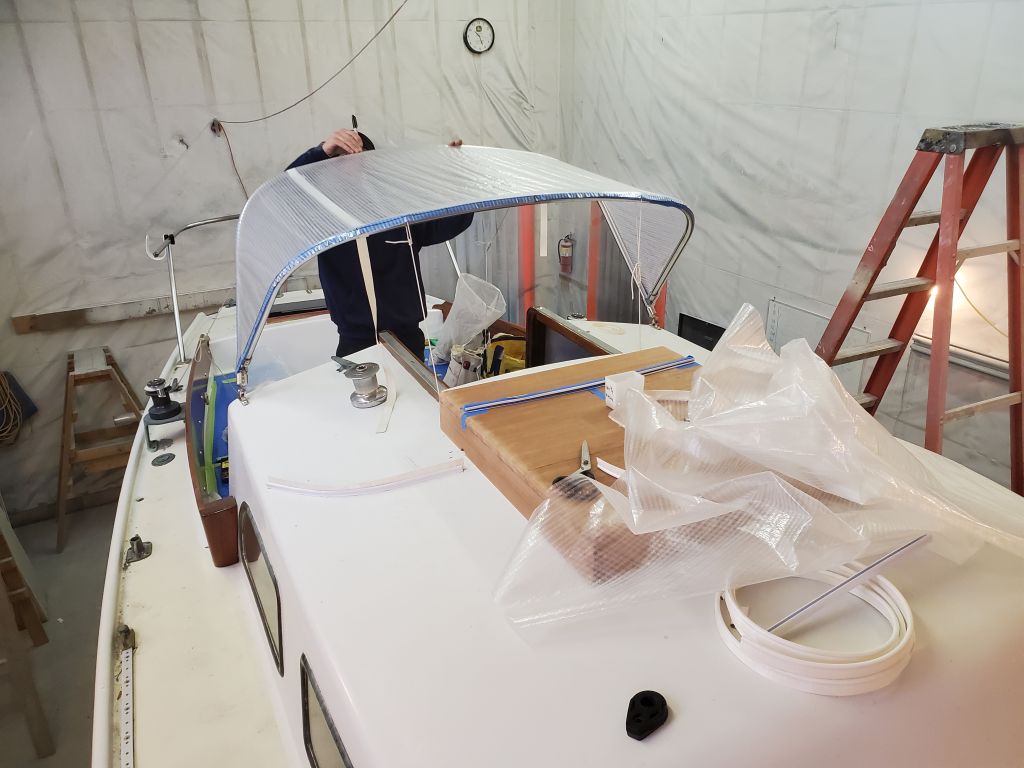
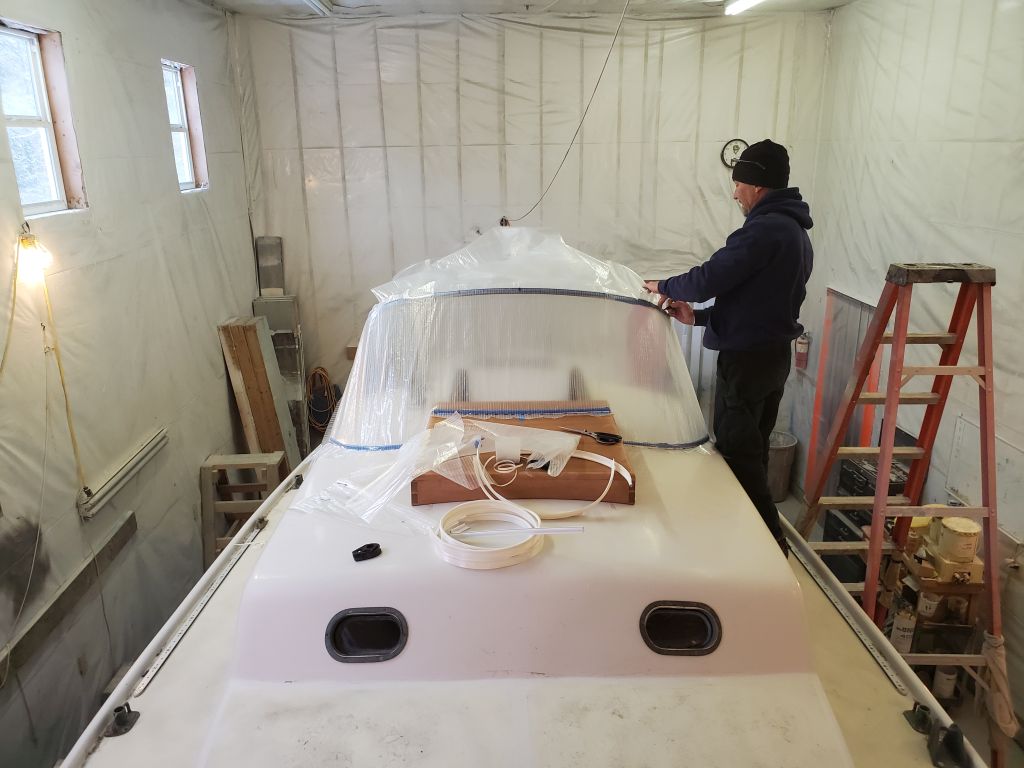
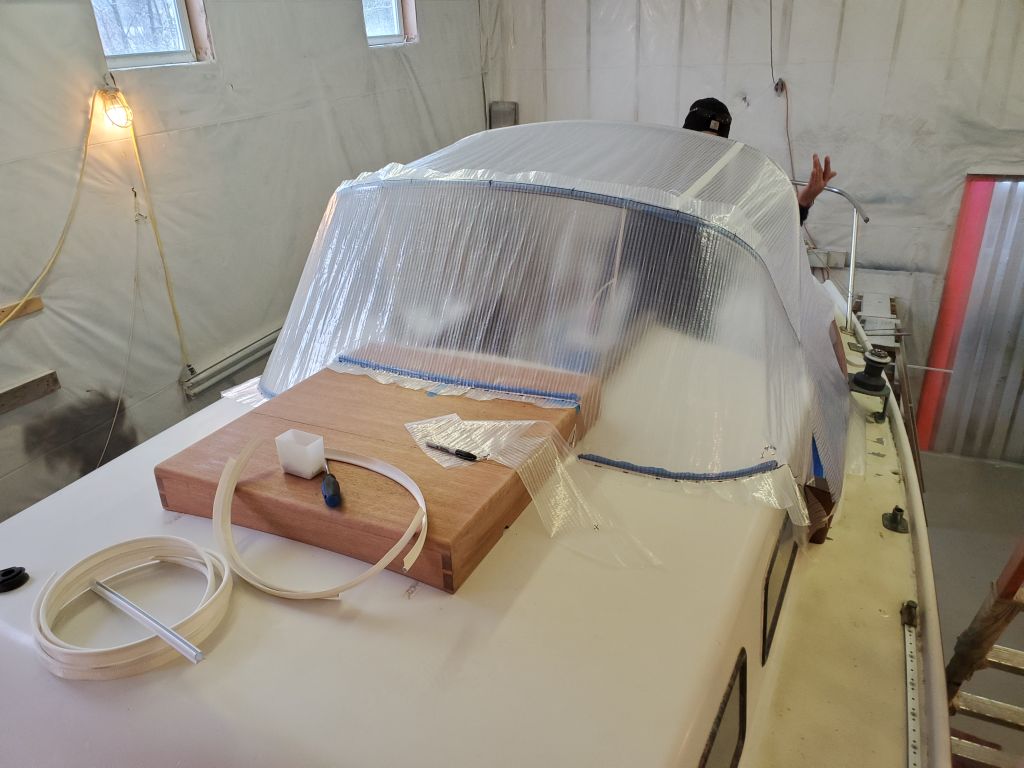
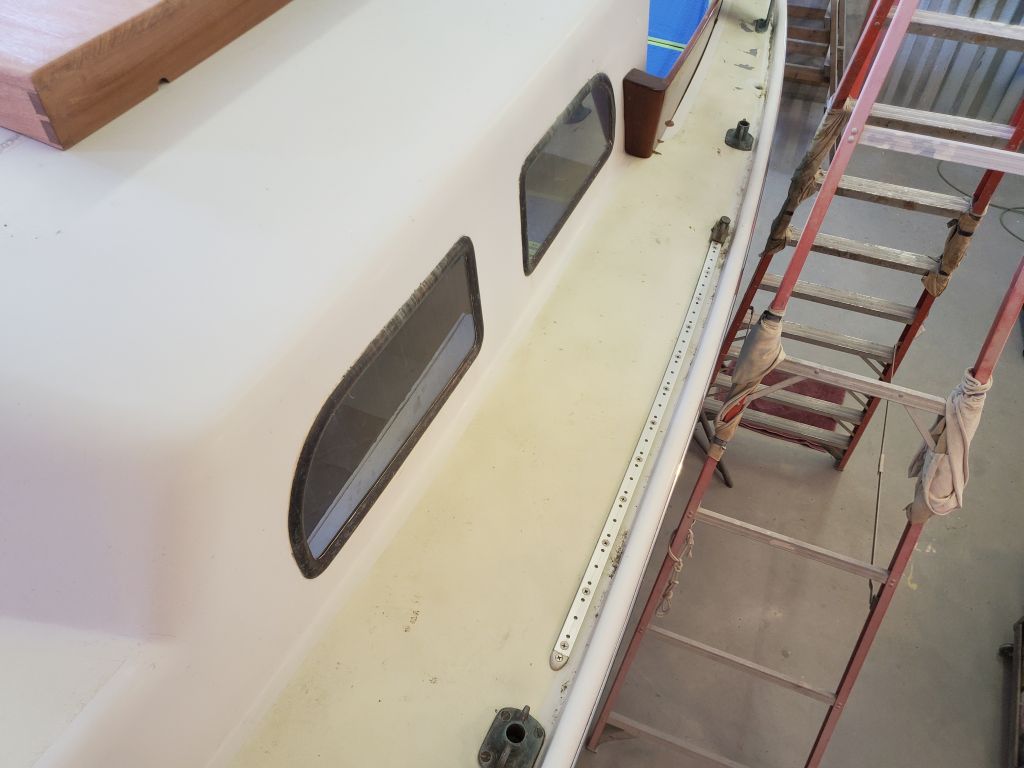
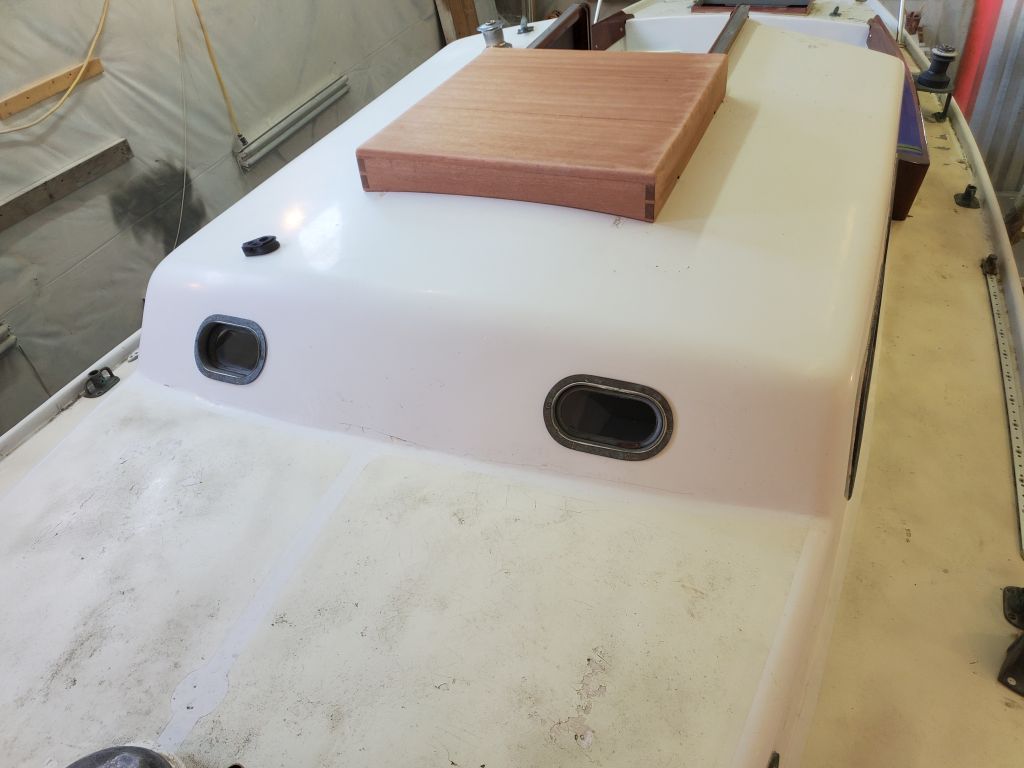
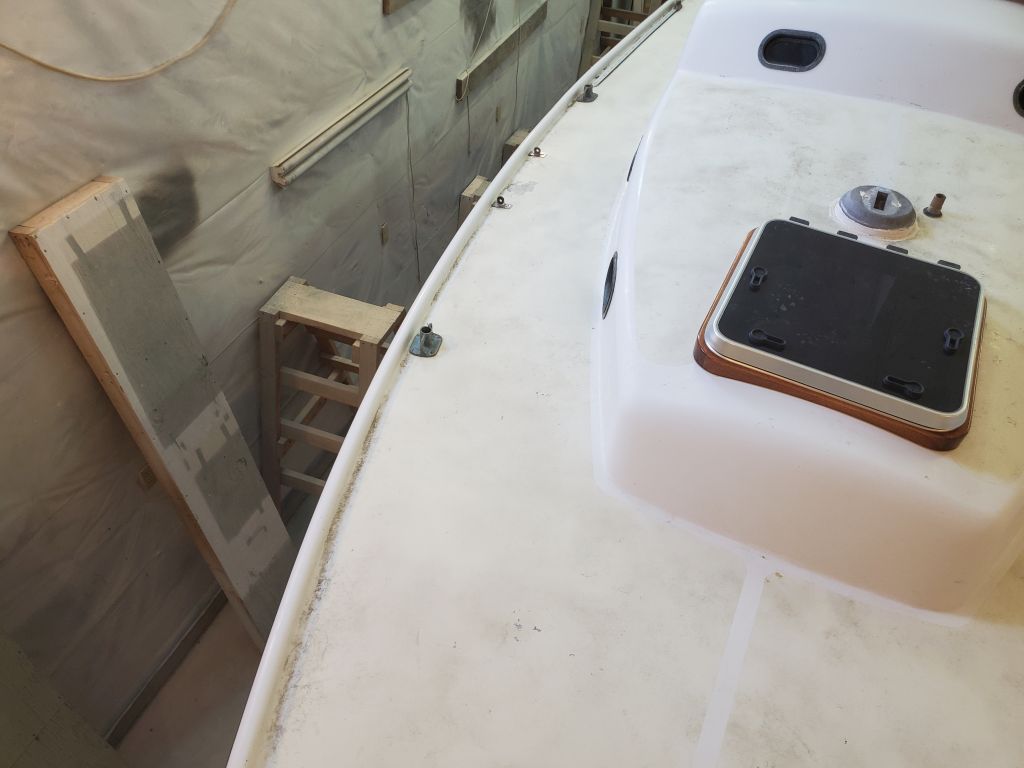
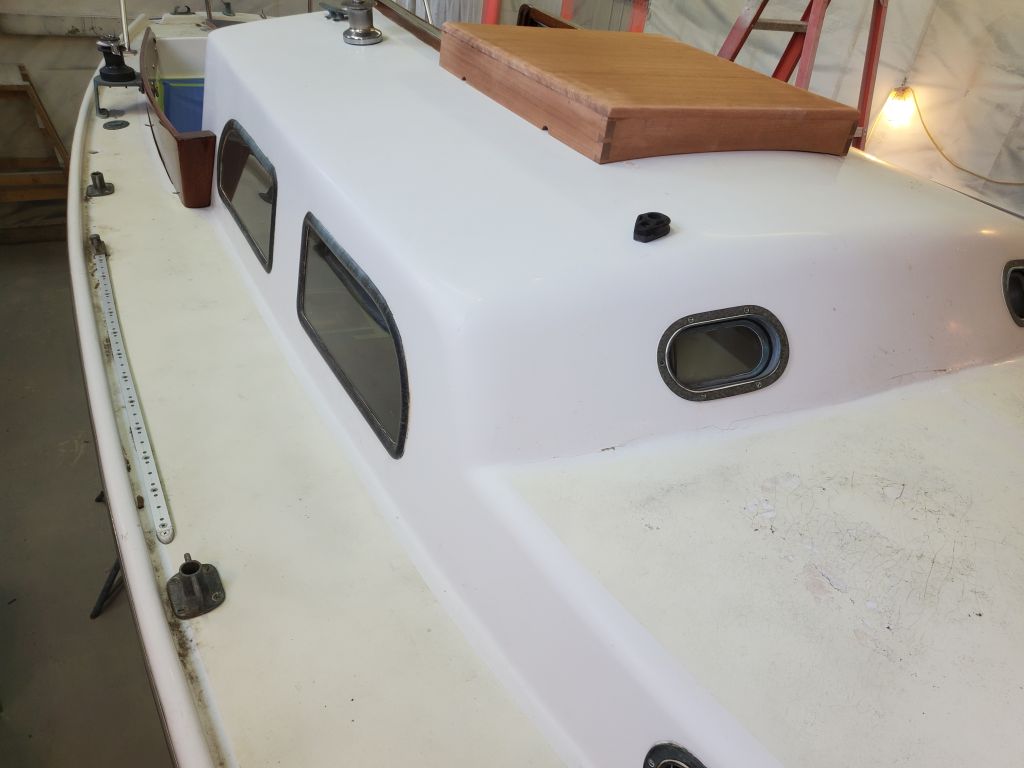
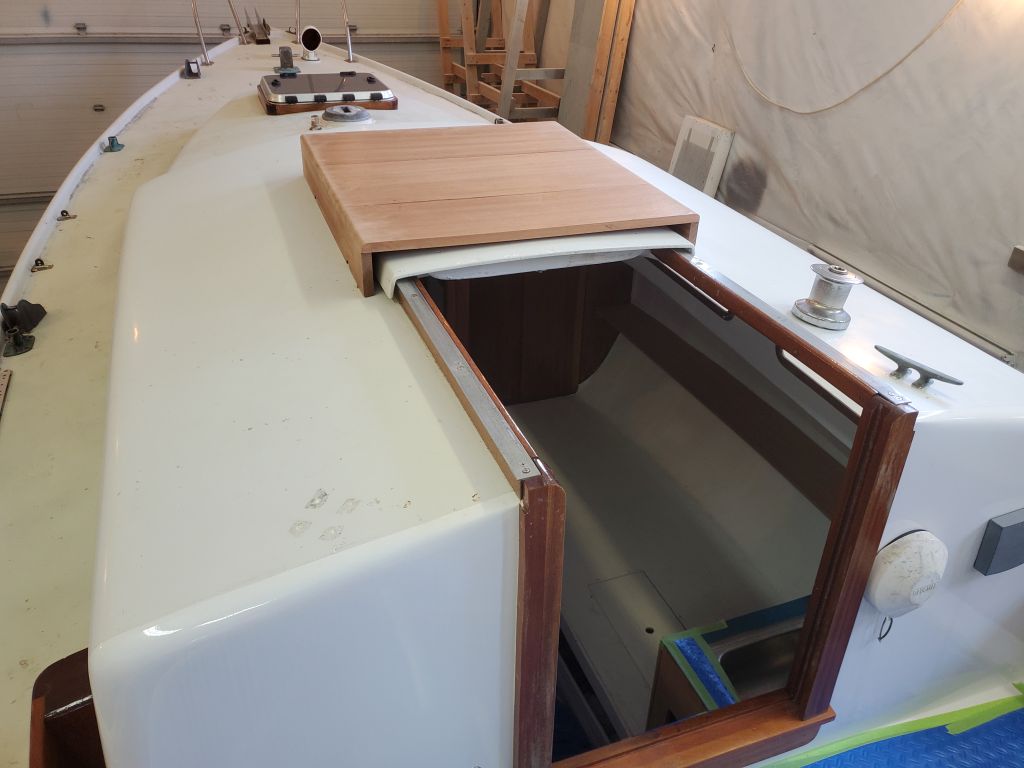
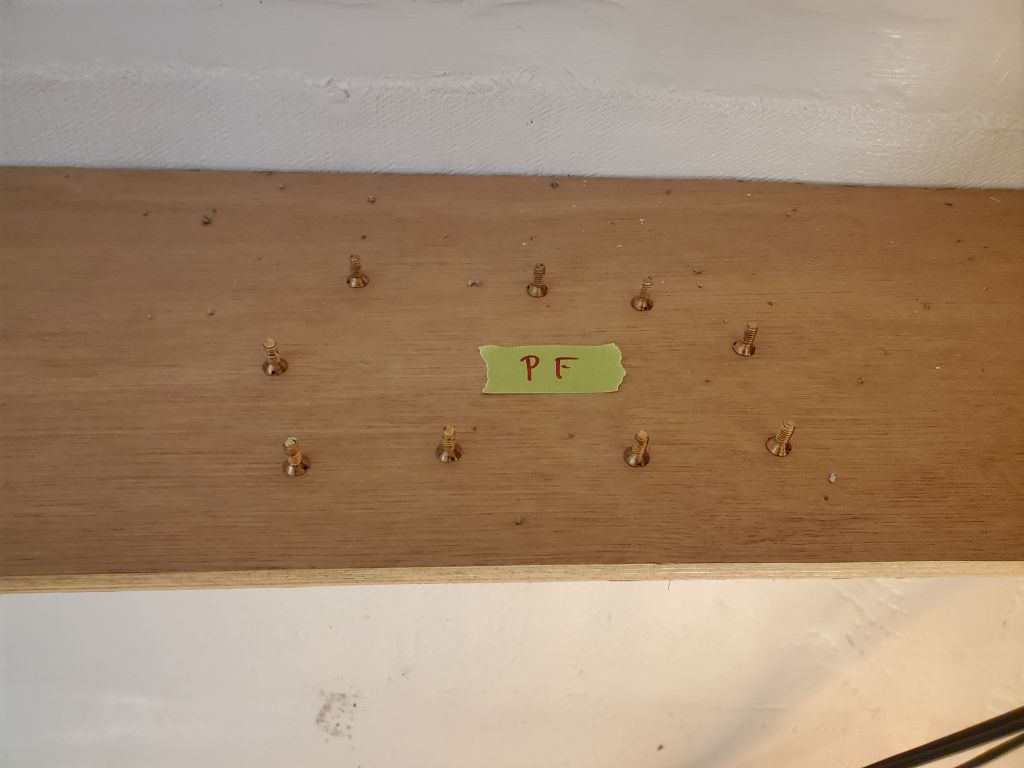
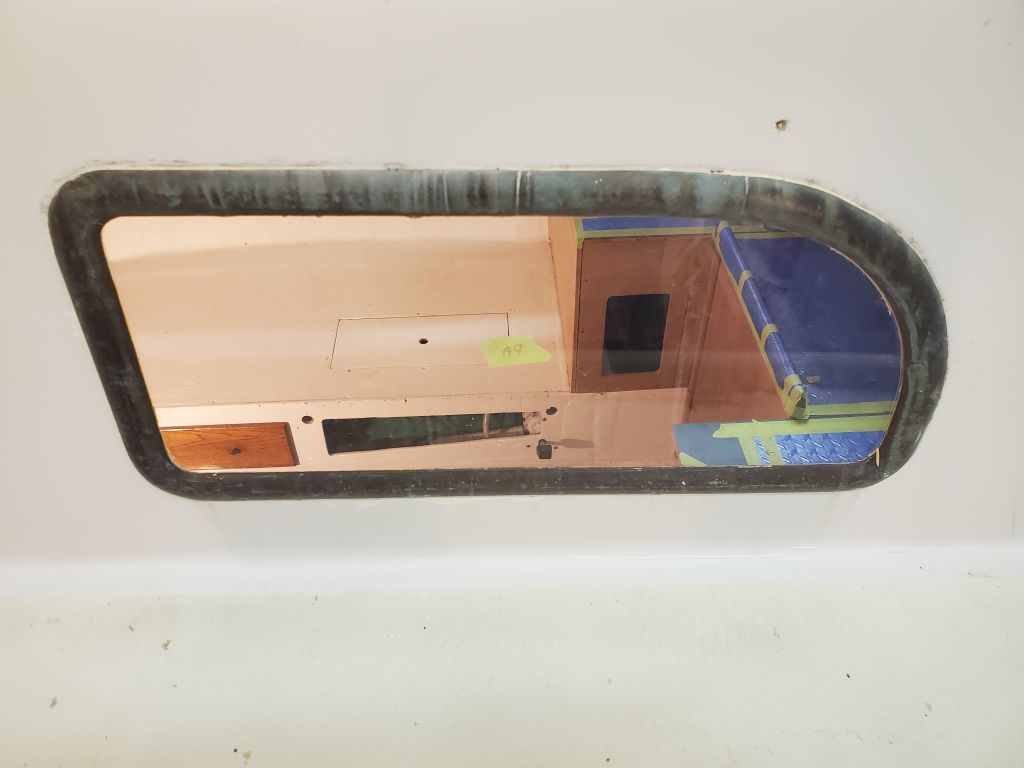
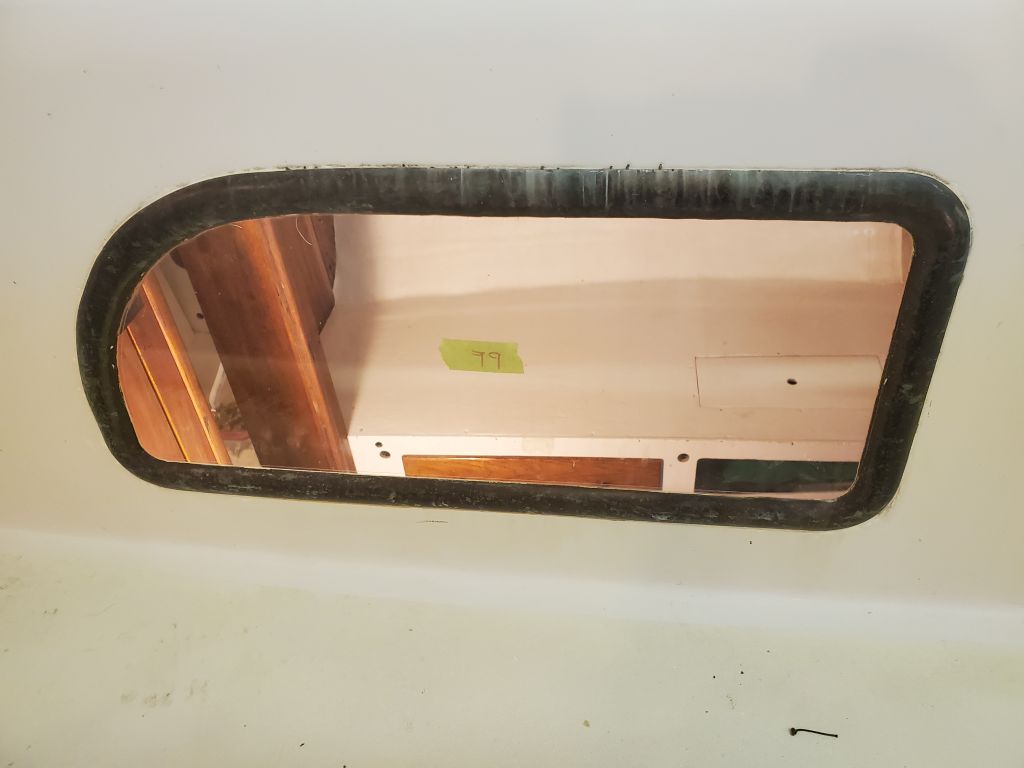
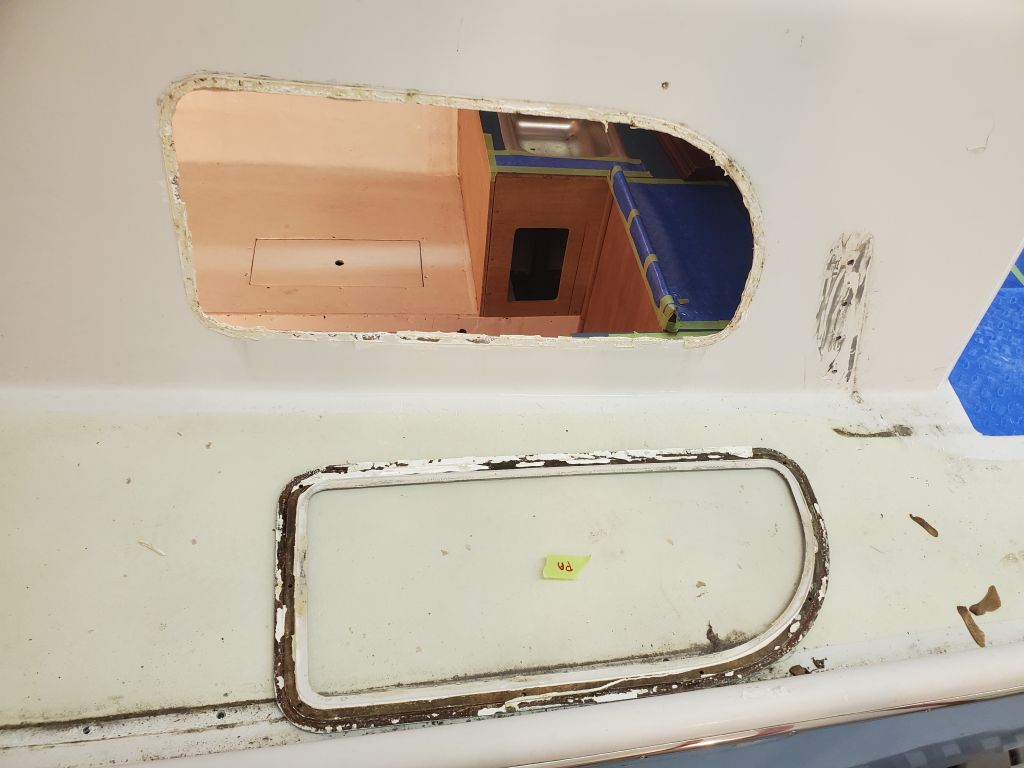
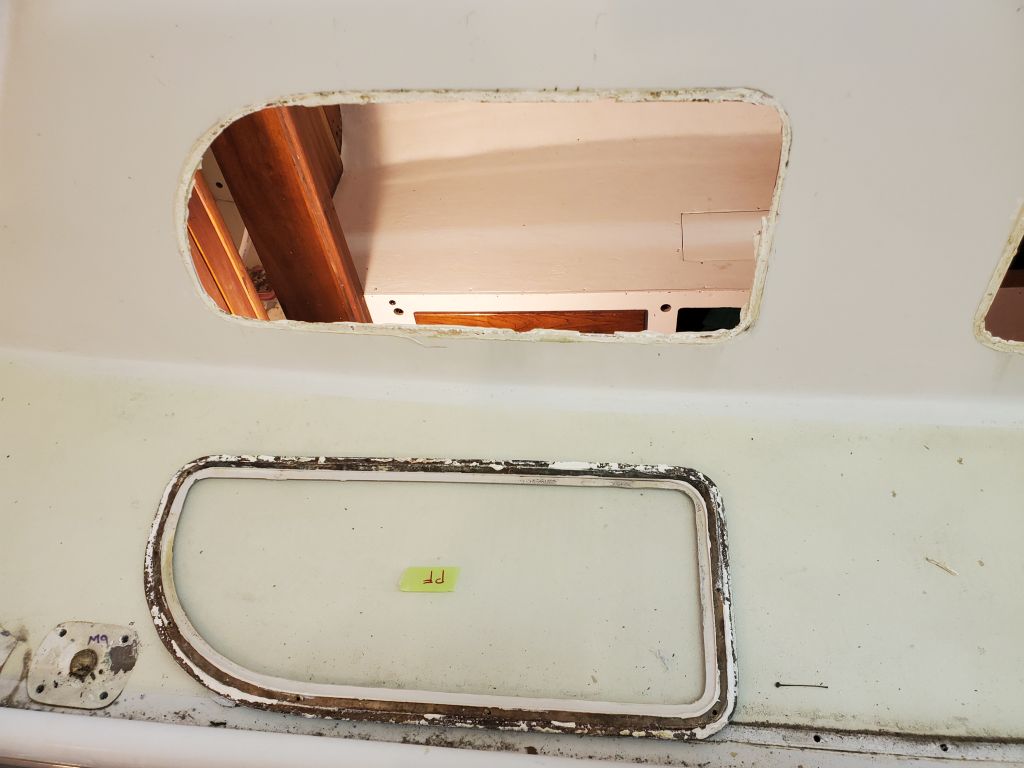
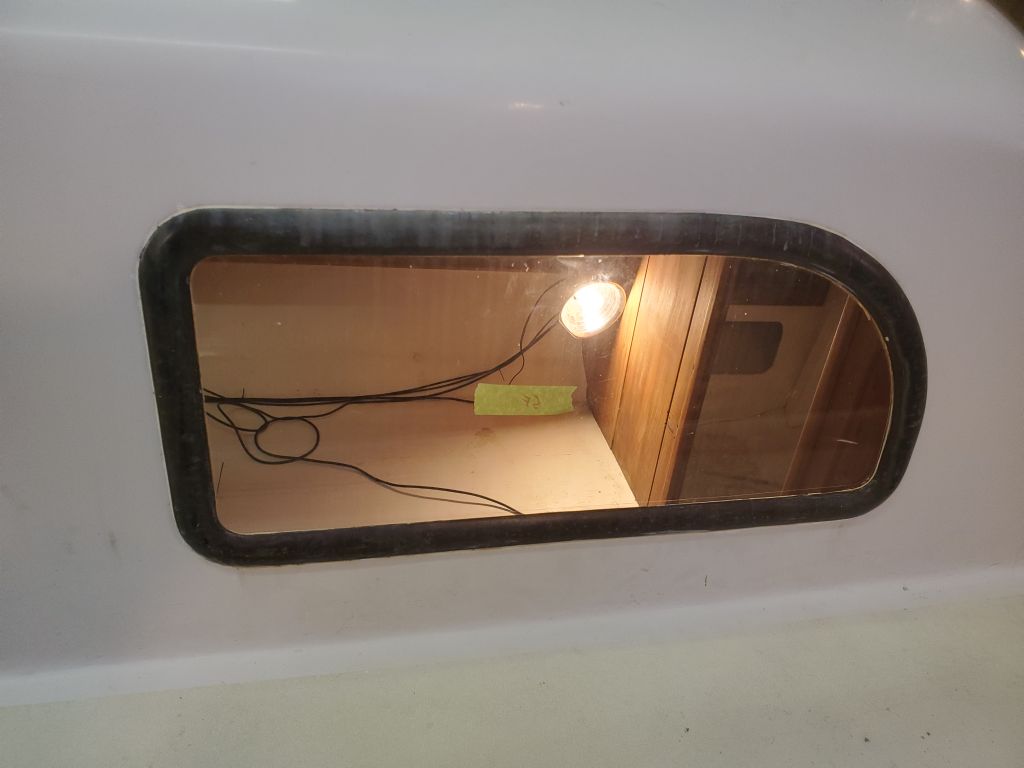
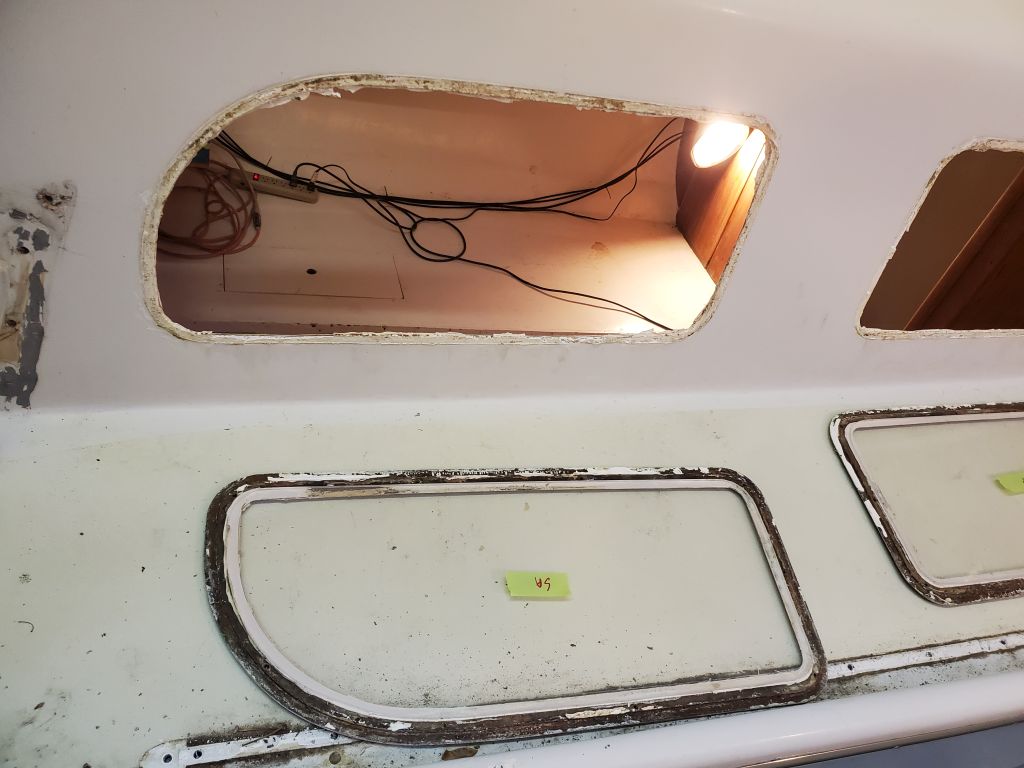
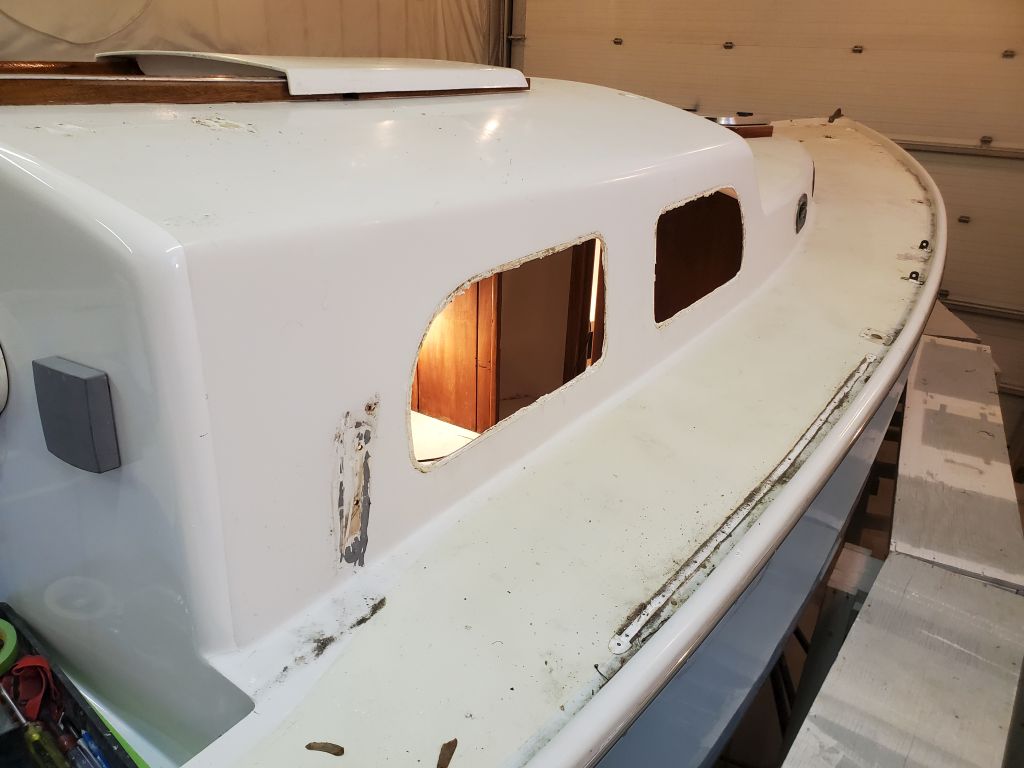
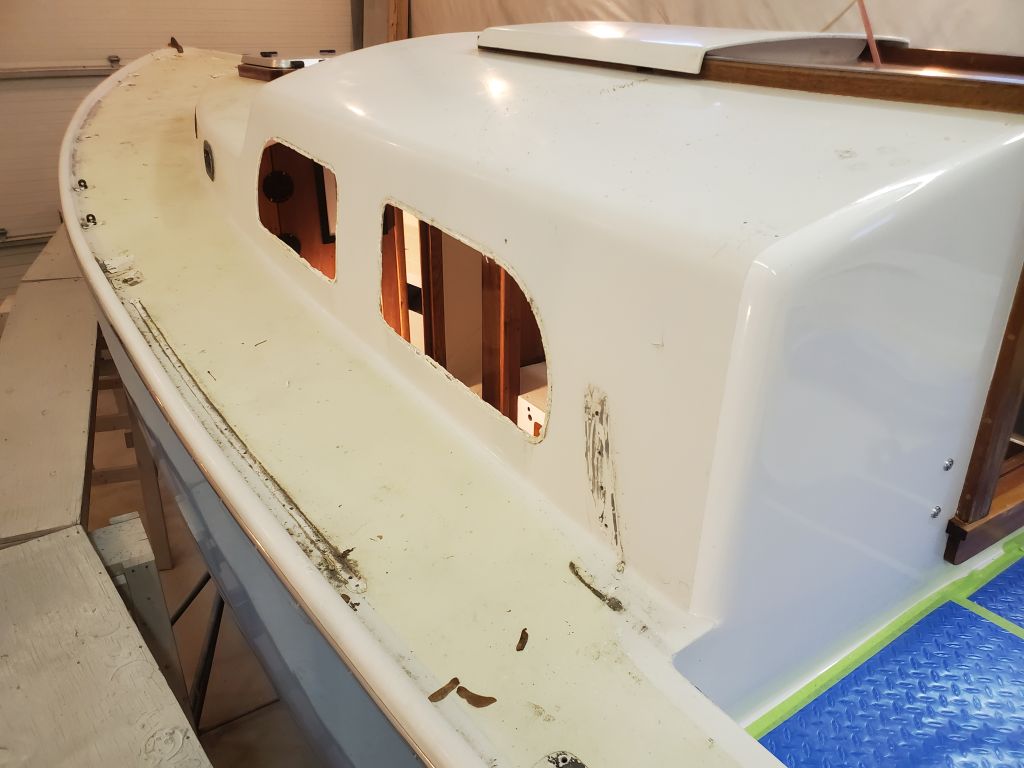
Next, I removed the deadlights from the main cabin, taking care to note any fasteners that were different from the rest.  Most were of consistent length, but there were a couple shorter ones, and one longer one, plus two bolt/washer/nut combinations I’d had to use on the starboard forward light since I couldn’t get the machine screws to grab otherwise.  I hoped and planned to correct these during the fresh installation ahead.  All four installations appeared well bedded once I’d removed the inner frames.

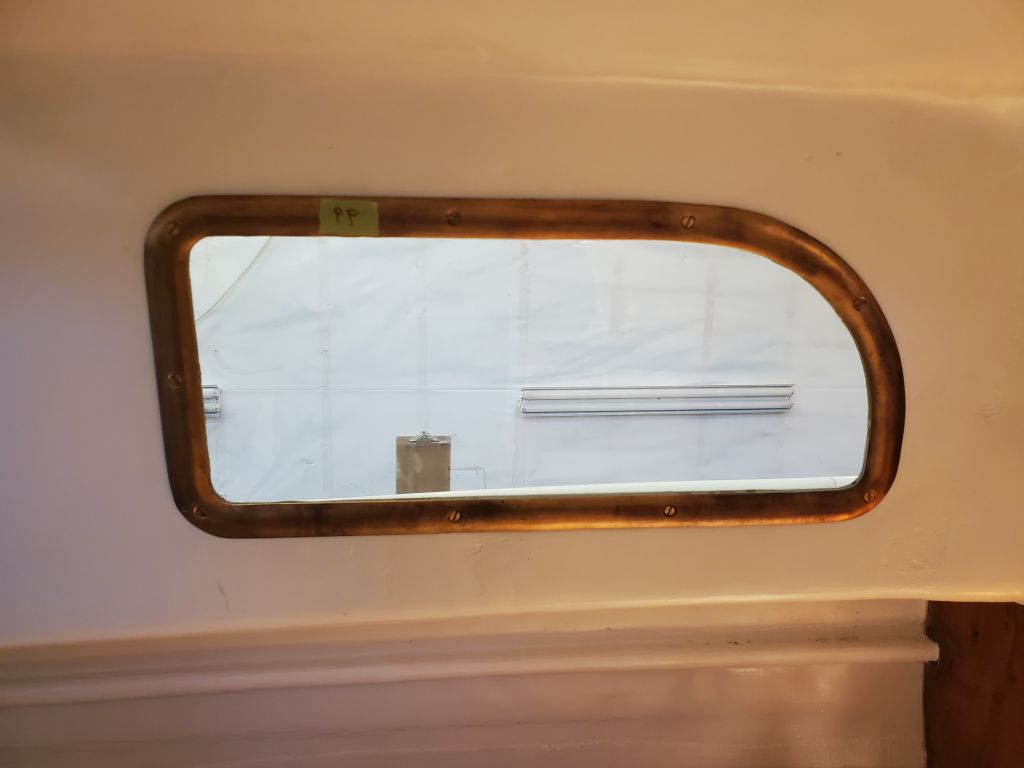
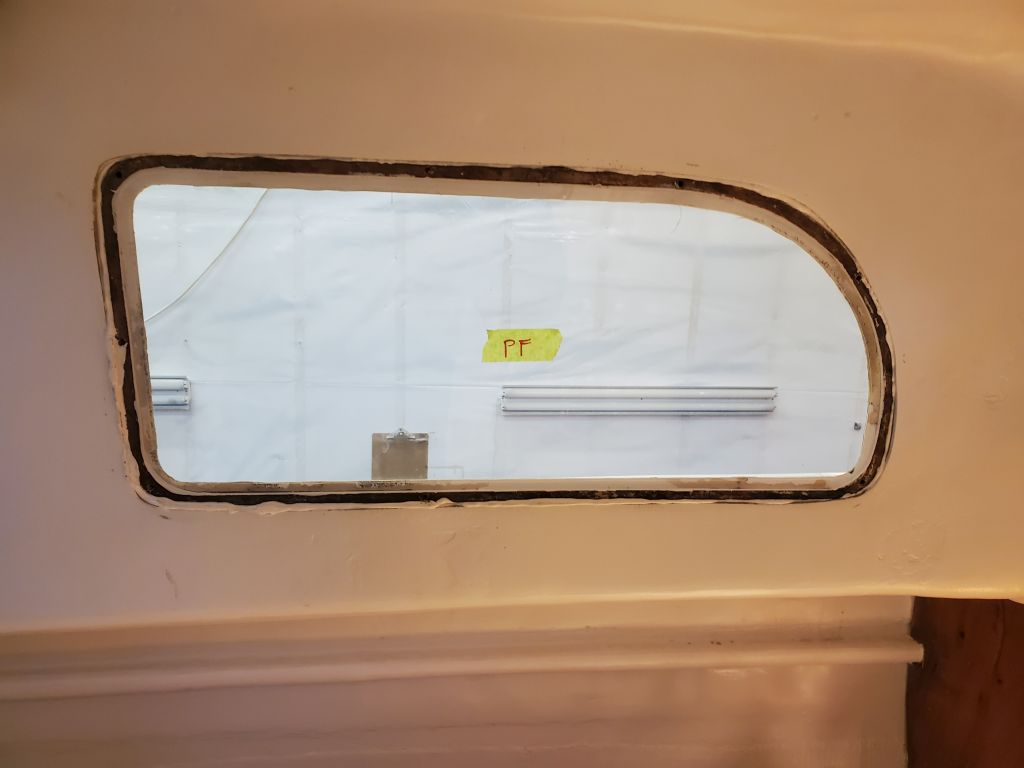
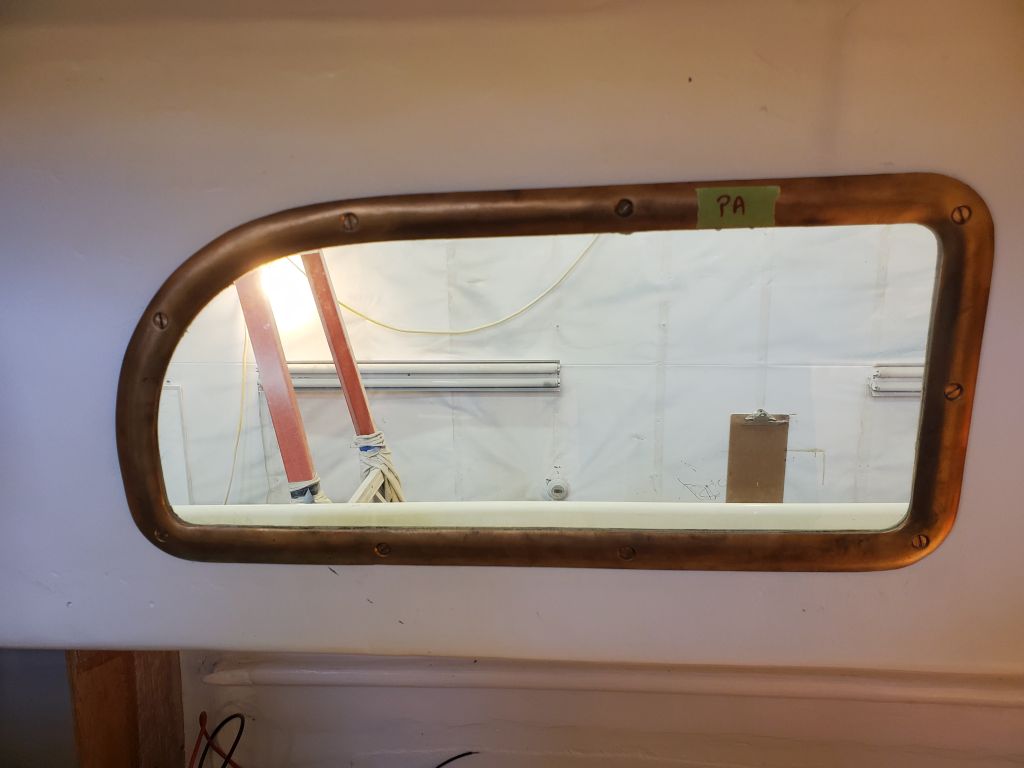
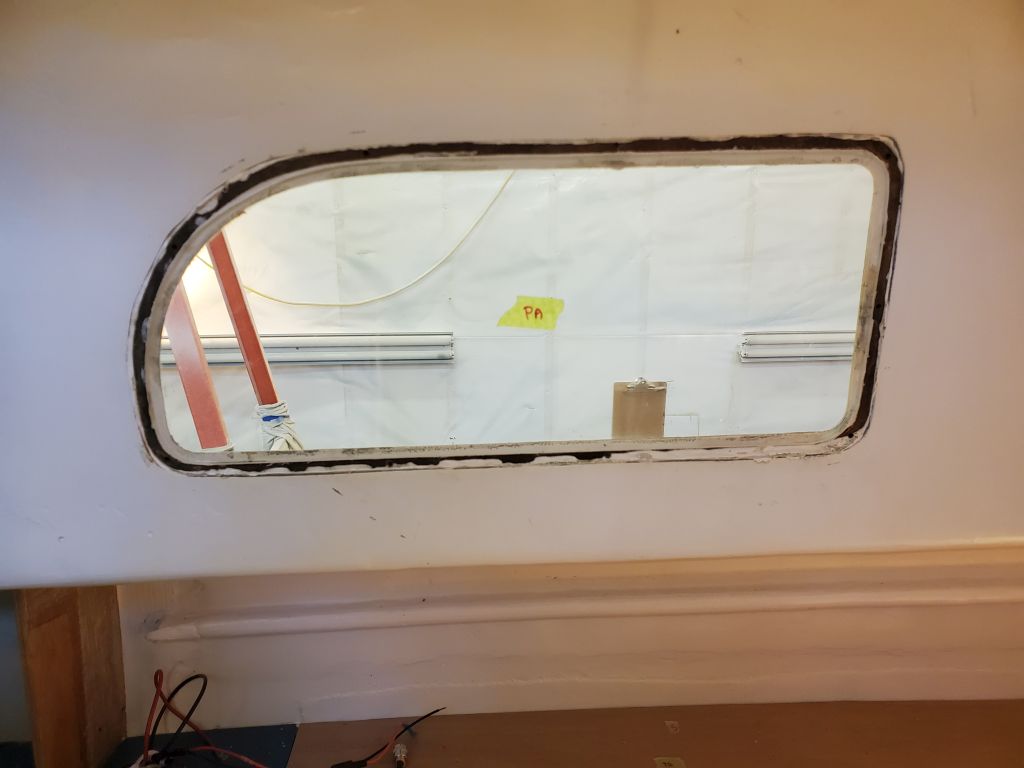
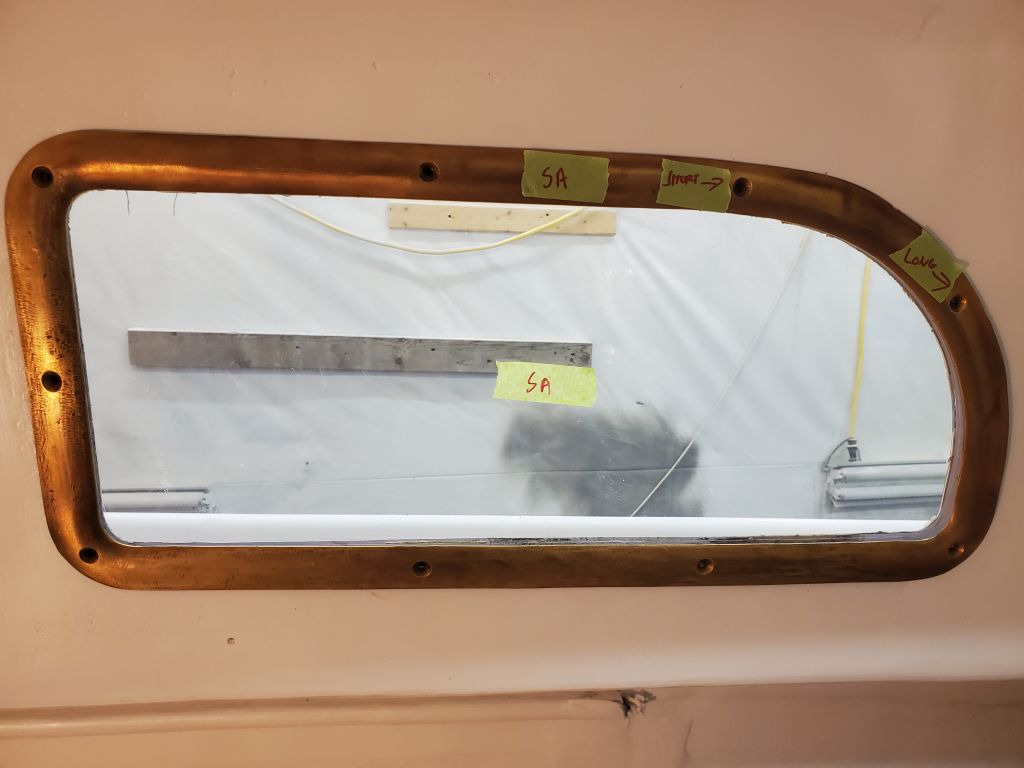
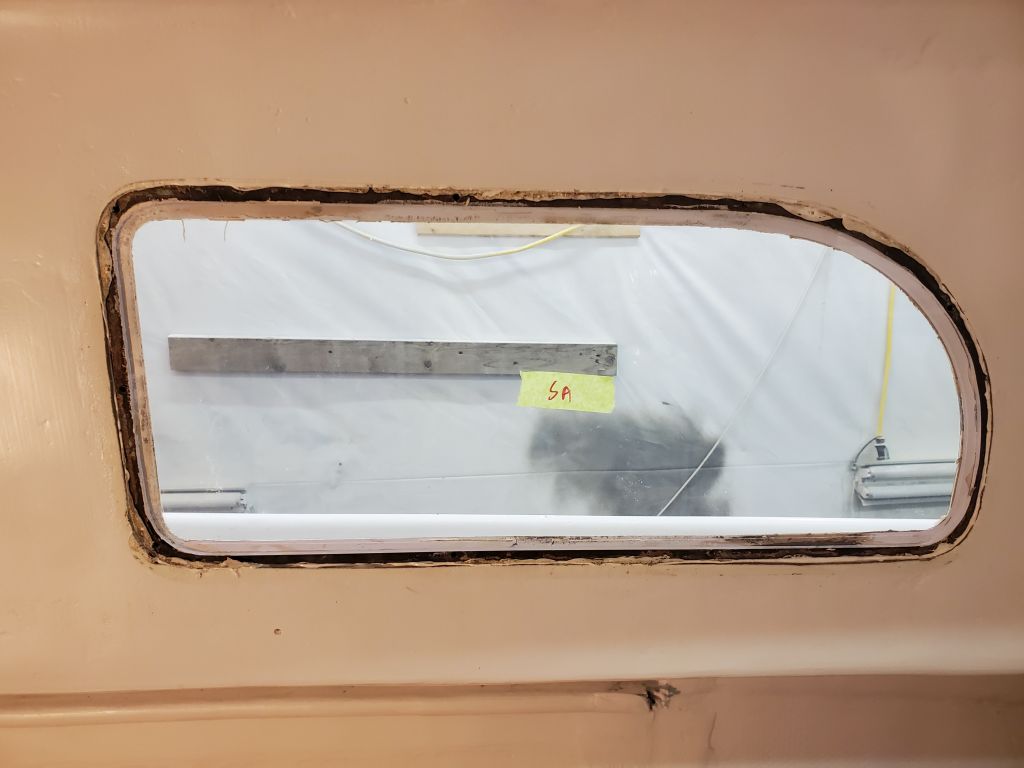
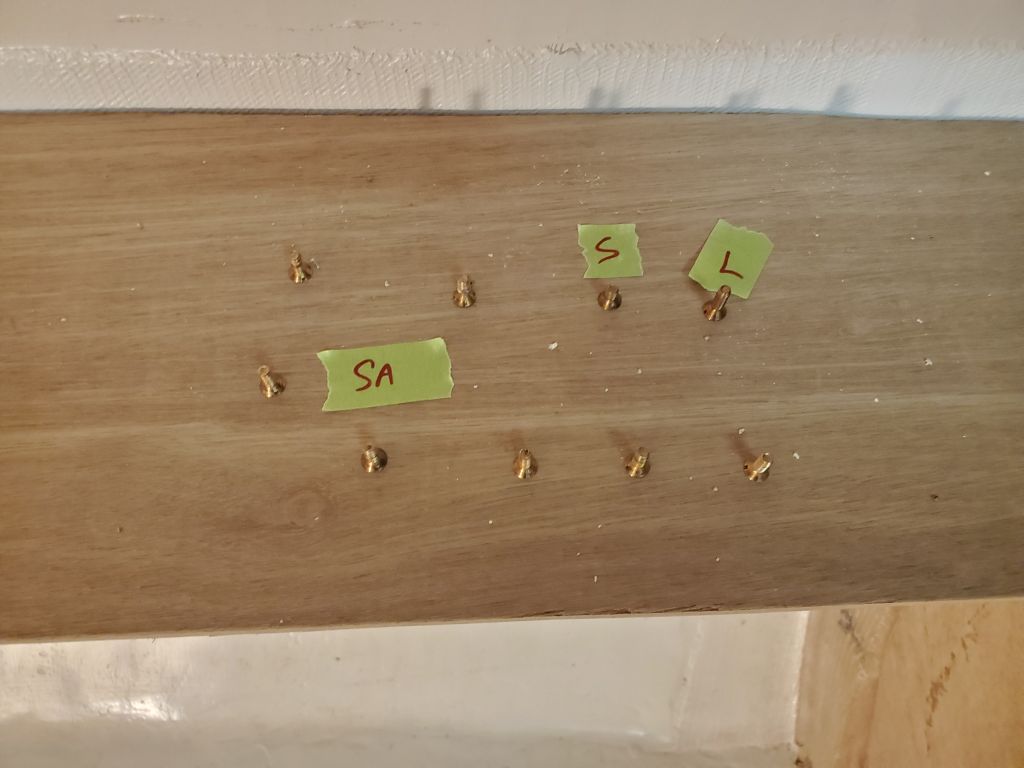
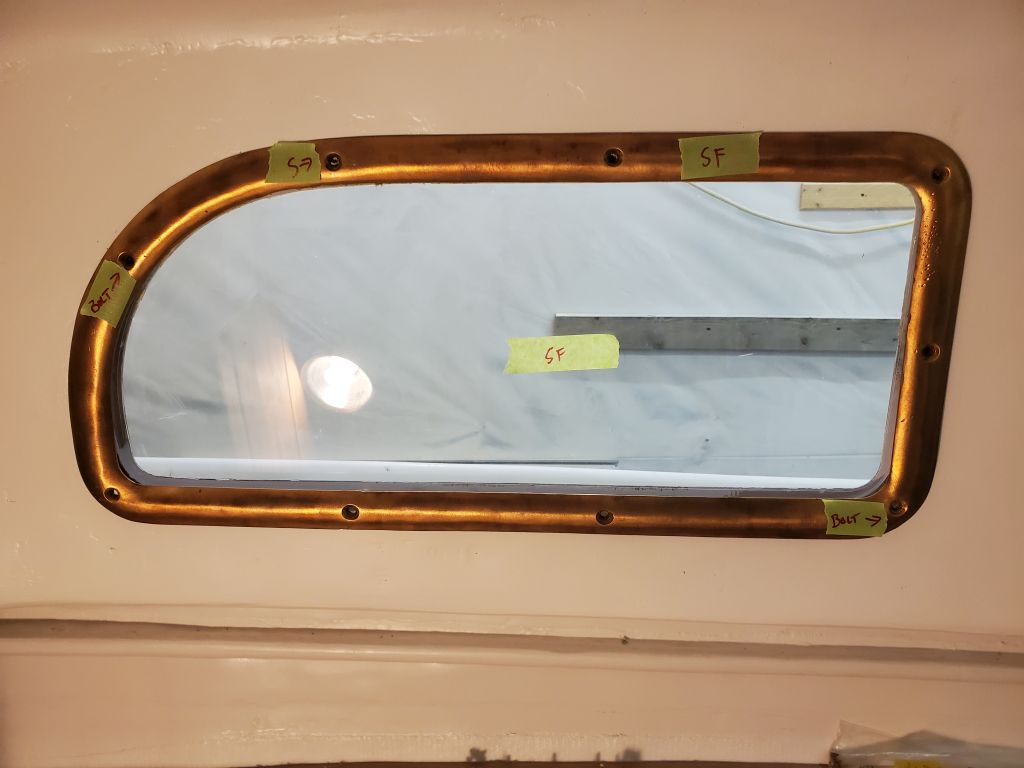
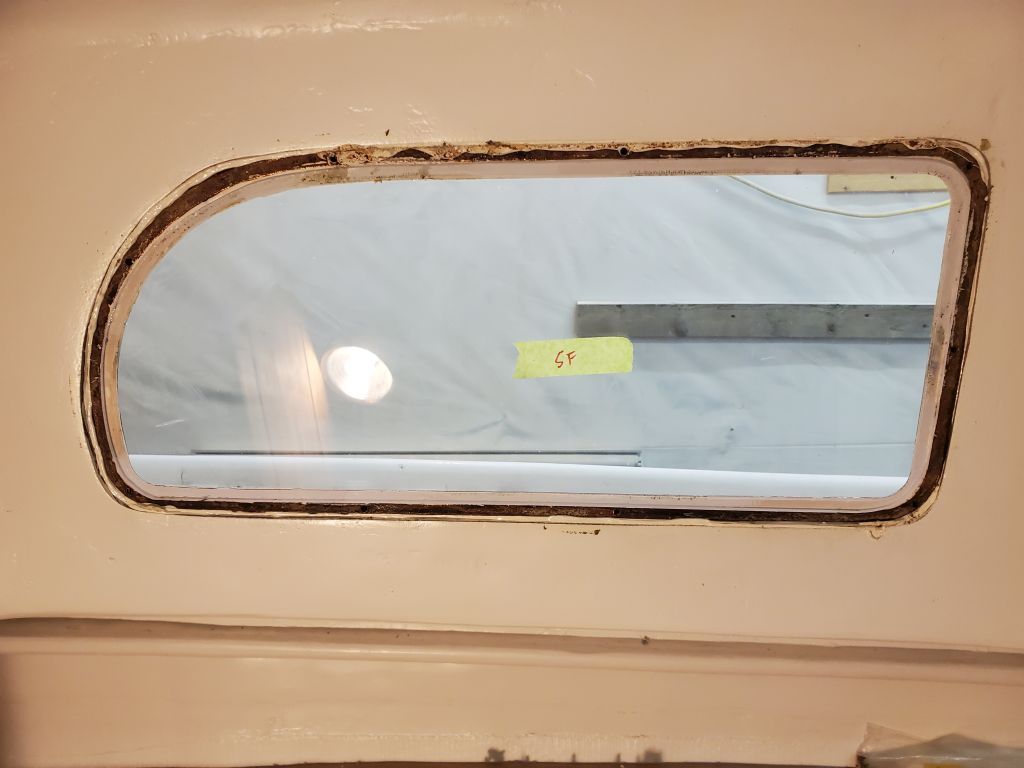
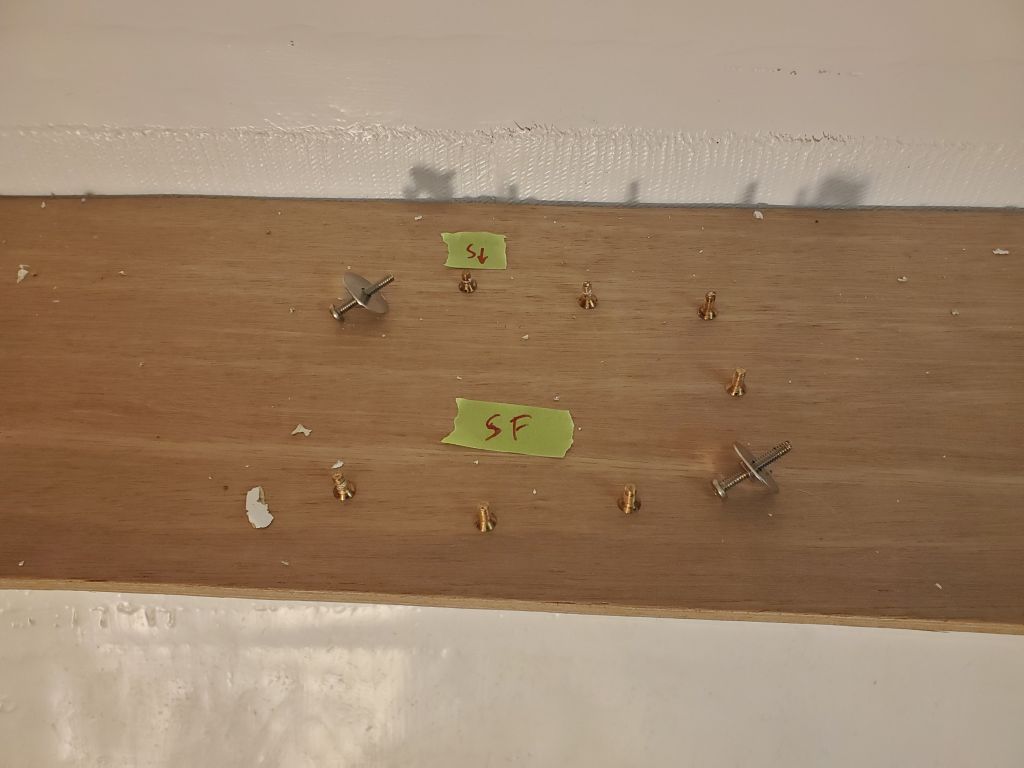
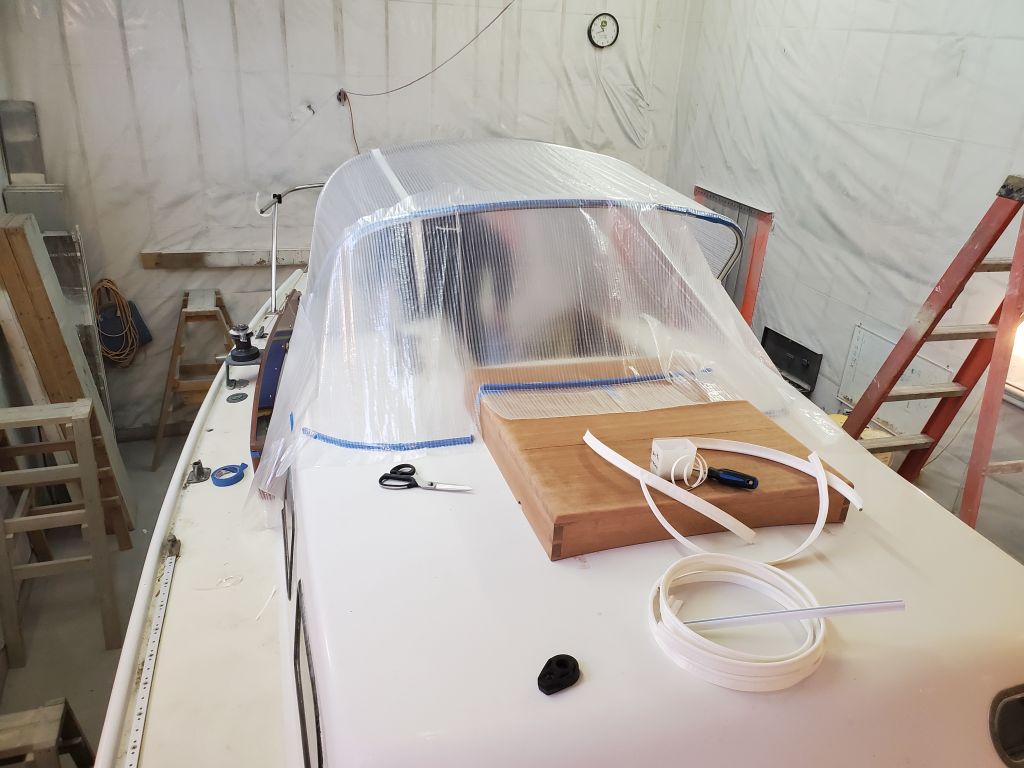
Removal of the outer frames was not difficult; I planned to leave the lenses in place and intact for the reinstallation, as all were well-installed from a few months earlier and there was no reason to think of replacing them.

Still ahead were the small opening ports, and the mast step, but for now the day was done.

Total time billed on this job today:  6 hours

0600 Weather Observation:  Fair, 17°.   Forecast for the day:  Sunny, 20°

Lyra Phase 2-4

Wednesday

Preparing for the imminent commencement of the real work on this project, I took advantage of a quiet afternoon to set up the staging all around at deck height.

Total time billed on this job today:  1 hour

0600 Weather Observation:  Partly cloudy, 26°.   Forecast for the day:  Sunny, 33°

Lyra Phase 2-3

Tuesday

A week or two earlier, Jason, the canvas contractor, had come by to get some basic measurements of the boat in order to make a new frame.  With the frame built, but with the legs intentionally a bit longer to allow for some final height adjustment on the boat (we’d not had all the information about boom and owner height during the initial consult), the first real step towards building the new dodger was to finalize the frame height and position.  I happened to be the same height as the boatowner, which was handy for helping determine the final frame height, and along with some boom height measurements provided in the interim, it took two tries, removing a bit of the frame legs each time, to lower the frame appropriately and to its final height, after which we could install the bases on the coachroof and secure the frame in the correct position, with the main (aft) bow just a bit higher than the forward bow, and confirming the position visually and with measurements for symmetry, inasmuch as possible.

Next was to determine the landing point of the forward edge of the dodger, which defined the essential shape and appearance of the product.  The angle of the forward edge was to approximate that of the forward end of the doghouse, which we eventually accomplished visually, and used this information to lay out and locate the first of the deck tracks required to form and secure the forward edge of the canvas:  There’d eventually be three tracks, one each on the sidedecks (curved for appearance), and a third section on the sea hood.  These plastic tracks could be manipulated with heat and curved to suit, and after a while we landed on the correct shape and position for the port track and secured it temporarily to the deck.  Using this as a guide, Jason made a simple template, with some key reference points, to transfer a line for the curve to the port side, and repeated the installation process there.  Then, mainly by eye, Jason located the third section of track on the sea hood; this also formed a slight curve to match that of the frame above.

The final photo in this series attempts to show the eyeball view from the cockpit, just skimming the top of the dodger frame at my height.  This view would be good for distance visibility; for closer views, one need only duck an inch or two down to look straight through the dodger itself.

With the frame and all key attachment points in place, Jason moved on to the plastic pattern, beginning with the top, then the starboard side, and finally the port.  With a 12″ long (vintage) winch handle that I keep on hand for these sorts of things, we made sure there was ample clearance to the dodger wings at the primary winches, and inside the dodger, there was ample clearance for a handle for the main halyard winch as well, at least for a 10″ or 8″ handle, which are common these days (the 12″ handle just interfered with the frame on the side).  Note that the end of the plastic shown here forming the wings does not represent the final position of the canvas; instead, there are some tick marks on the plastic, visible particularly in the photos of the port side, that roughly signify for Jason the final, slightly-curved shape of the wing.

Afterwards, we removed everything, and the process would continue some weeks in the future once my main work list for the boat was complete, and she was reassembled.

Total time billed on this job today:  4 hours

0600 Weather Observation:  Snow showers, dusting overnight, 24°.   Forecast for the day:  Snow showers, freezing drizzle, but improving, 36°

Lyra Phase 2-2

Monday

The owner had built a wooden sea hood for the companionway, for all the reasons one might want one but also specifically to provide a fixed landing point for a new dodger, construction of which was to begin this very week–this very day, initially (but rescheduled for Tuesday).  However, he ran out of time before the boat was delivered to the shop, and couldn’t complete the woodwork, so the sea hood was still in a rough, just-glued-up condition.  To prepare for accurate dodger patterning, I needed to do some minor work to the sea hood, though I kept my involvement to an absolute minimum so that the owner could have his intended pleasure of finishing the new construction and finishing himself during the winter.

The top overhung the sided by small amounts in some areas, so my first step was to use a router and a straight bit to trim these flush with the sides.  Then, I used a 1/2″ roundover bit to create a smooth edge, which I finished up as minimally as possible with some light sanding to create a decent profile.  I left the bulk of the surface prep and smoothing for the owner; I did only that which I felt was needed for the dodger work to come.

I positioned the sea hood as needed above the companionway, then made some reference marks so I could drill a fastener hole on each side, through the deck and to accept a pair of screws from below that would secure the sea hood for now.  Final installation, when it happened, would continue in this way with additional screws all around, but the pair near the aft end was sufficient to hold the sea hood in position for the dodger patterning to come.

When Jason called to reschedule the patterning for the next day, I continued with some other preparatory work on board.  The cockpit, which I’d repaired and repainted the year before as part of a limited scope project at the time, had some dirt and leaves from when the boat was stored outdoors before she arrived at the shop several weeks back, so I began by cleaning that up enough so I could mask off all the seating and stepping surfaces with diamond plate plastic sheeting for protection throughout the project.  I covered the cockpit lockers separately, as I’d need to lift these lids to access some of the adjacent deck hardware that I’d soon be removing as I prepared the remainder of the decks for paint.

Meanwhile, I documented the as-is condition of the remainder of the decks for posterity.

Total time billed on this job today:  1.5 hours

0600 Weather Observation:  Mainly clear, 23°.   Forecast for the day:  Sunny, 33°

Lyra Phase 2-1

Friday

When Lyra was delivered here a few weeks earlier, I’d put her in my secondary shop bay for safekeeping, since this space was open and available.

Planning for the beginning of the project in earnest in January, I took advantage of a good weather forecast with mild temperatures and a still-snowless property to shuffle the boats between the shops, moving Lyra into my main shop where I planned to complete the work ahead.  I set her up pretty close to level side to side (things had shifted just a bit after I’d completed the stands and blocking, but easily adjustable from there), and eyeballed her longitudinal level vis-a-vis the obvious “real” waterline vice the painted version.  Keeping her as close to level in both directions would help when it came time to set up for striking the new waterline and boottop later during the hull work.

Total time billed on this job today:  1 hour

0600 Weather Observation:  40°, fair.   Forecast for the day:  Sunny, 48° but falling in the afternoon.

Newer posts