(page 6 of 6)

Aventura 6

< Back to Aventura

Thursday

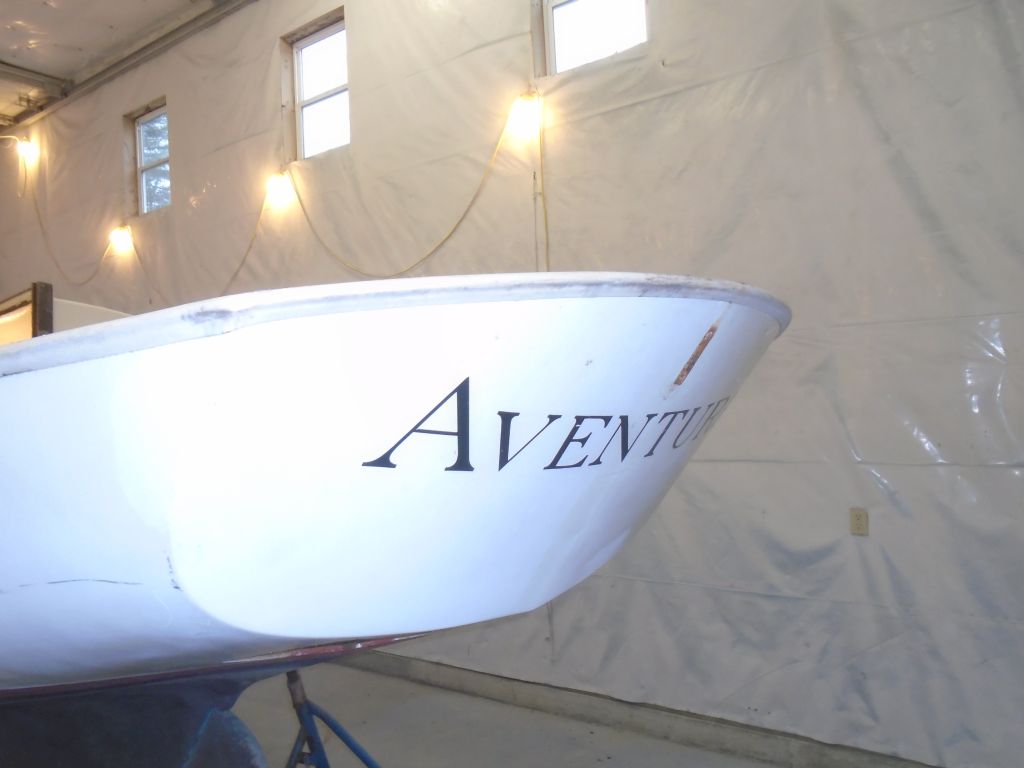
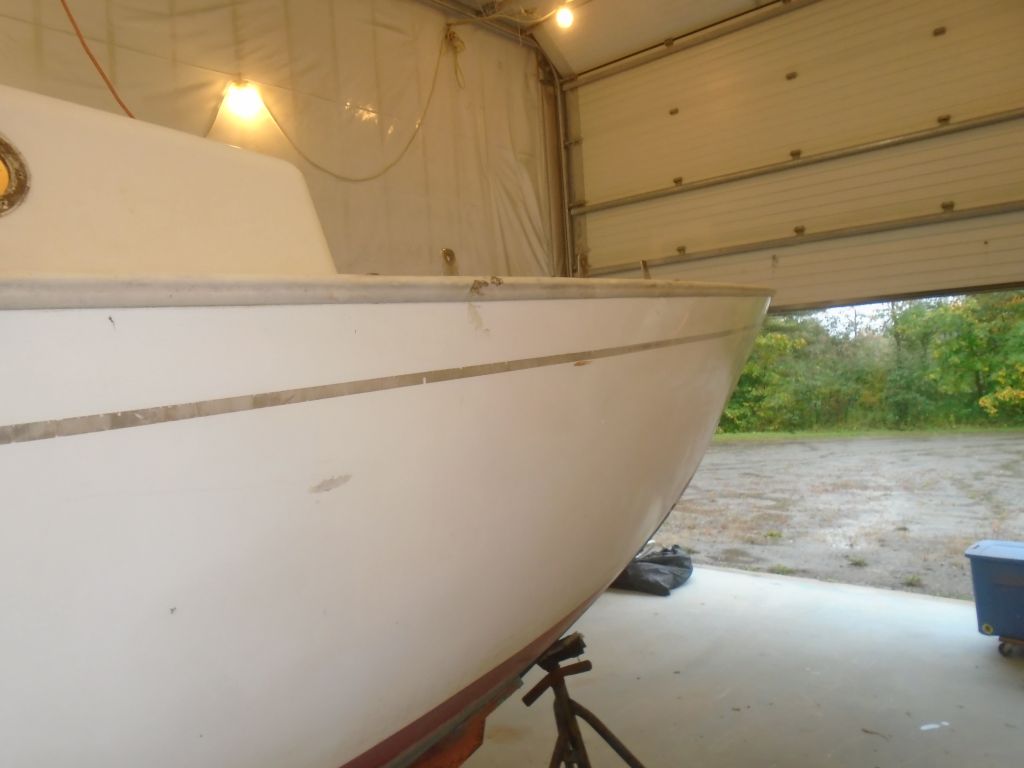
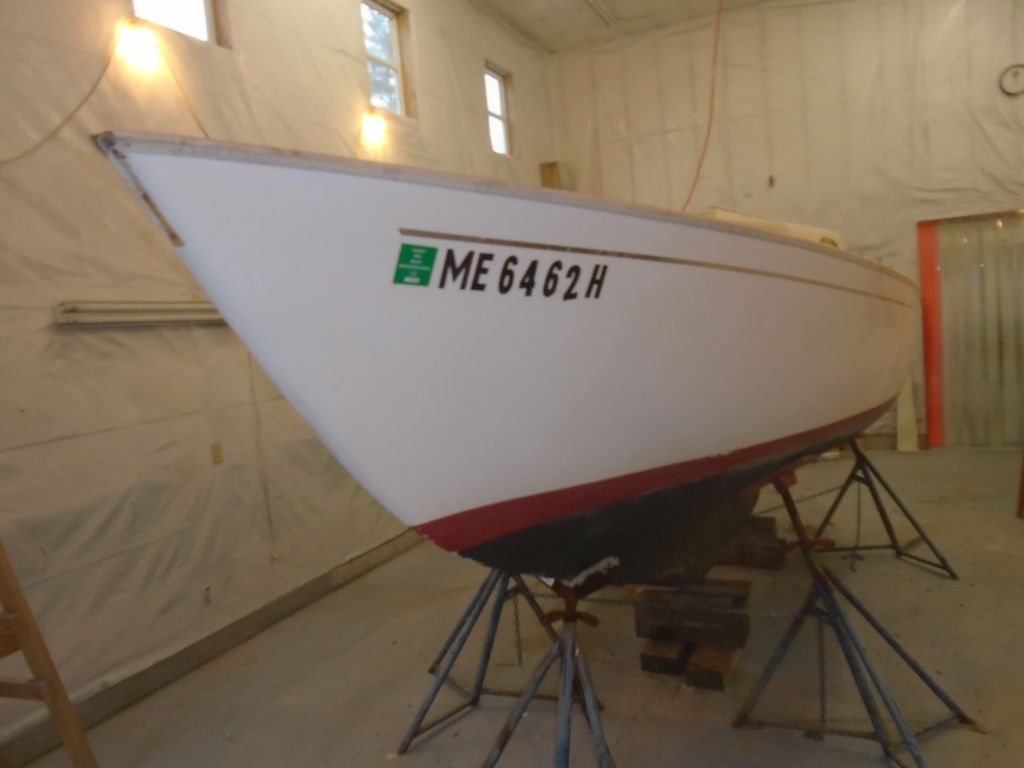
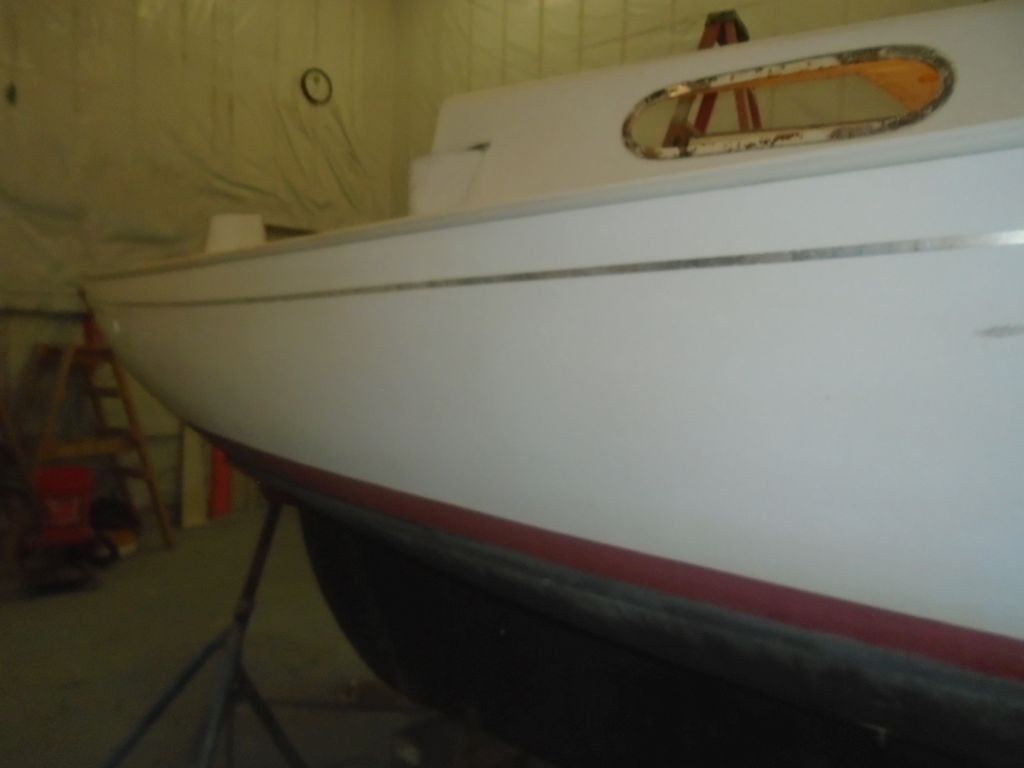
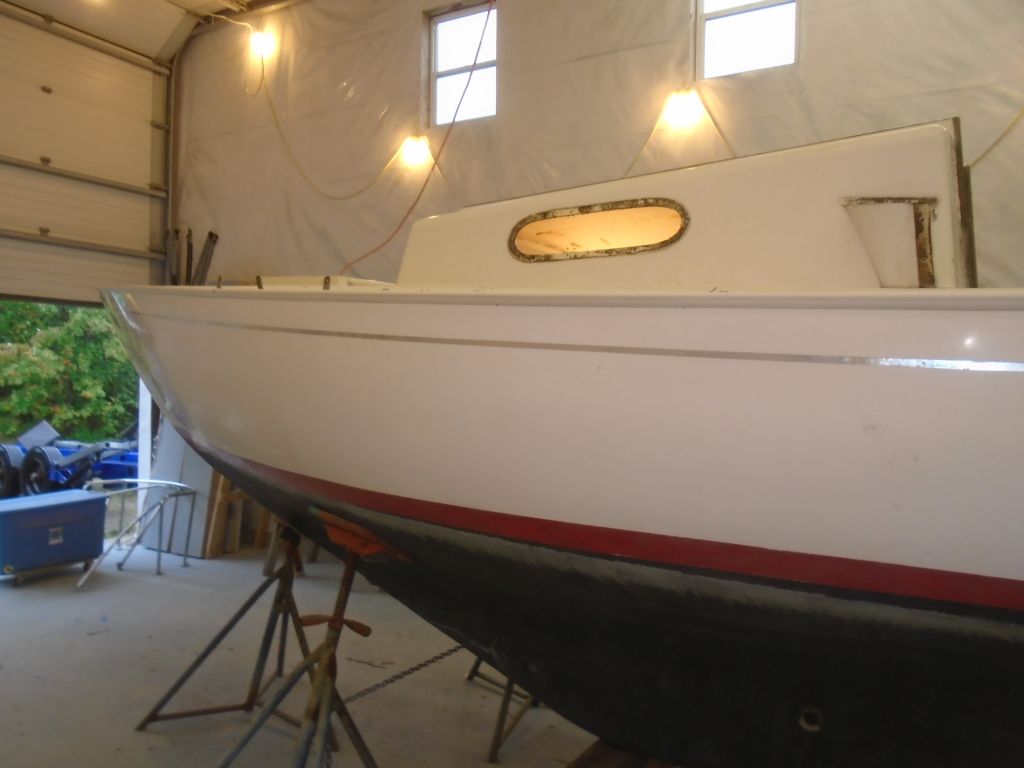
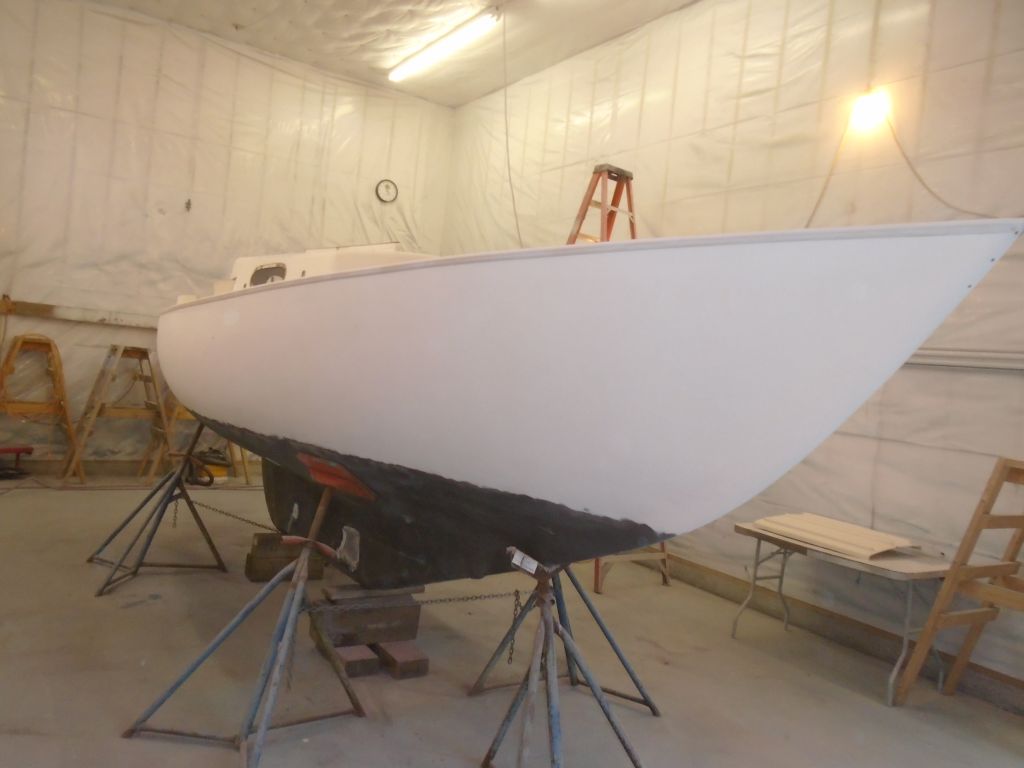
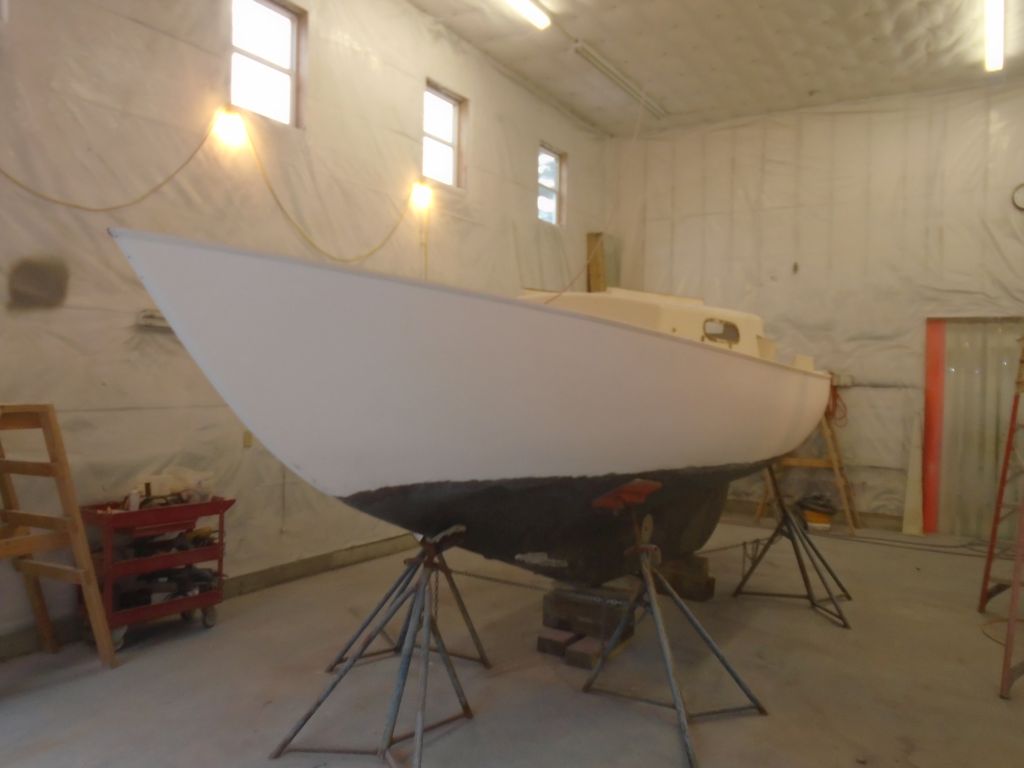
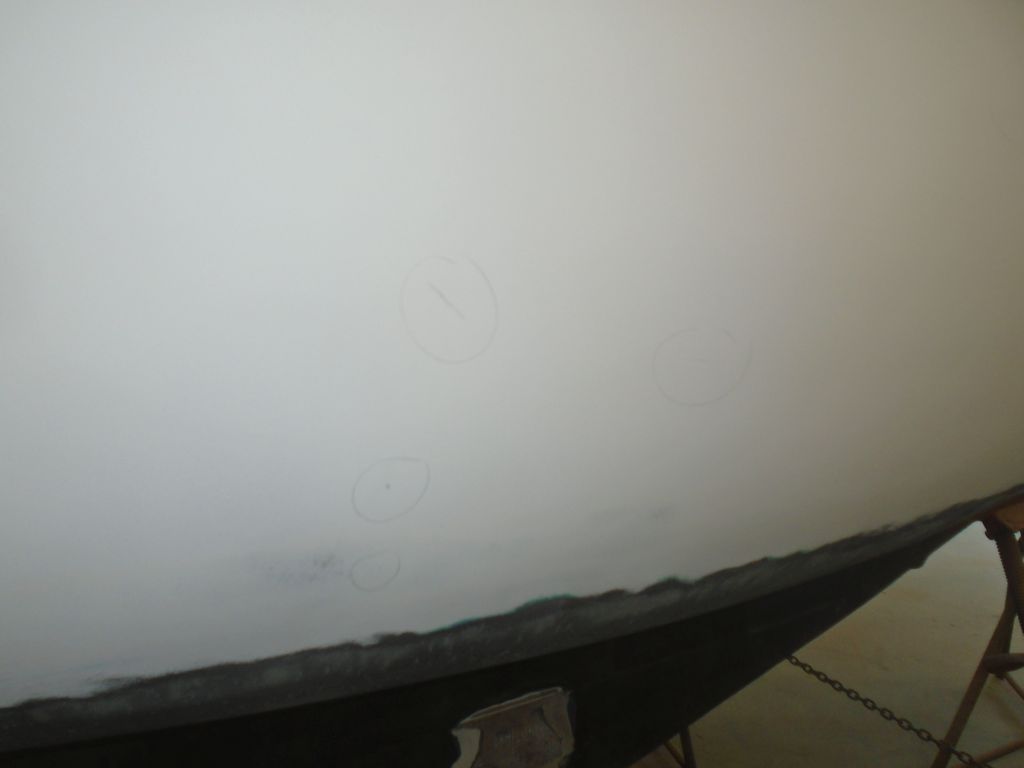
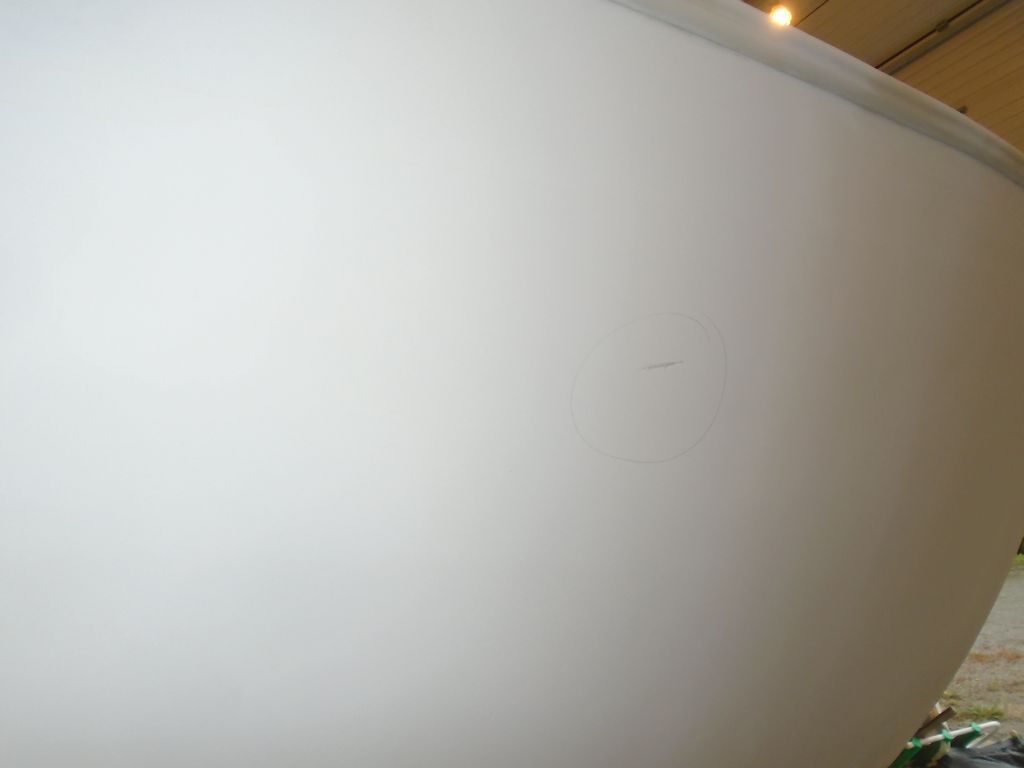
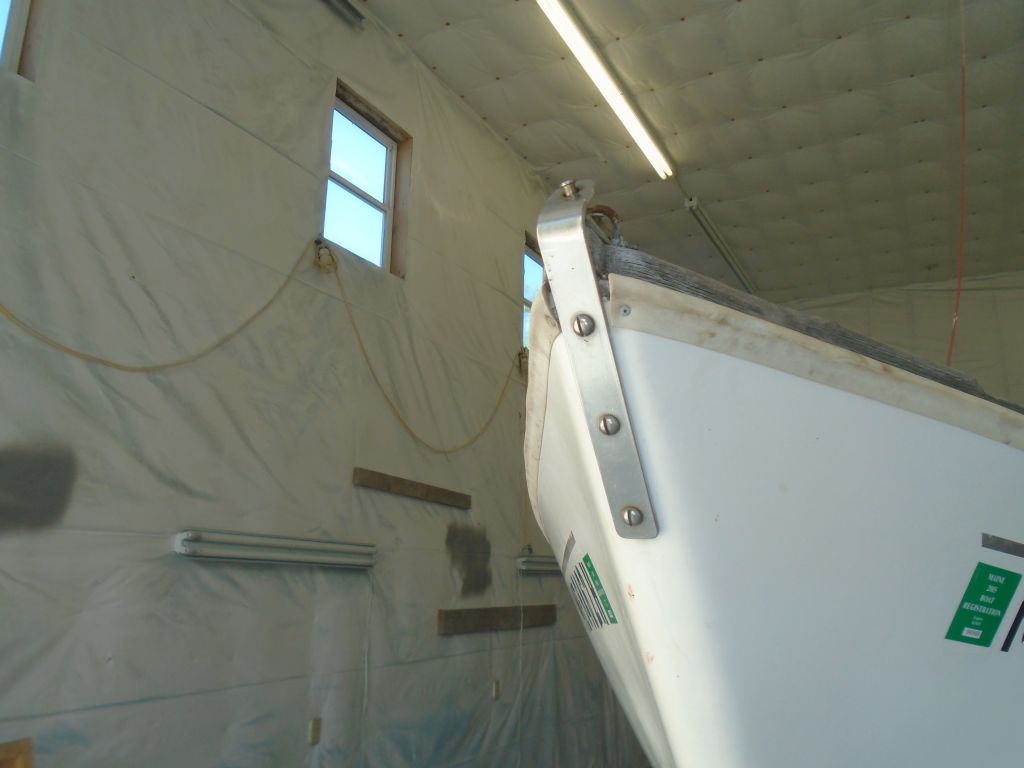
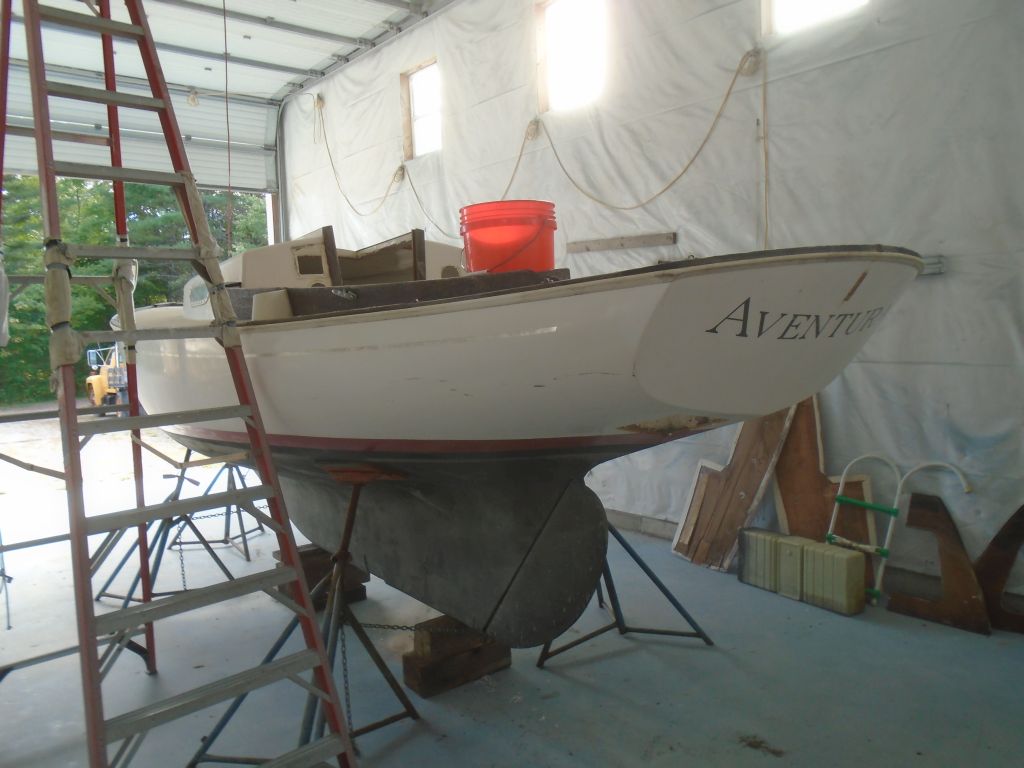
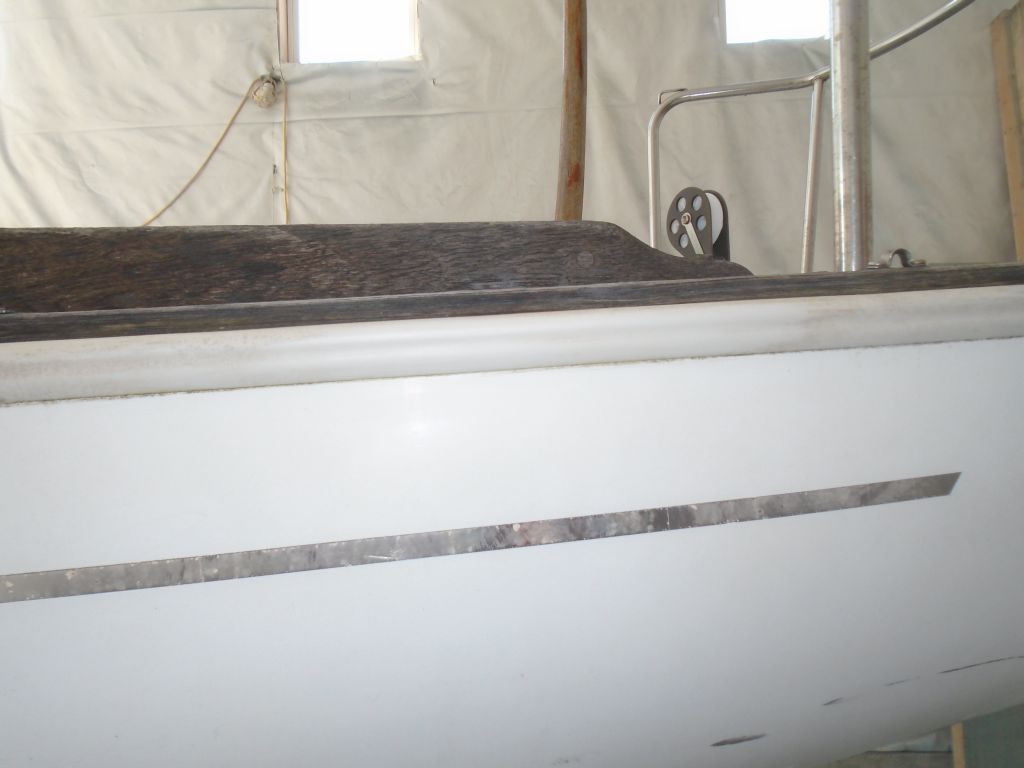
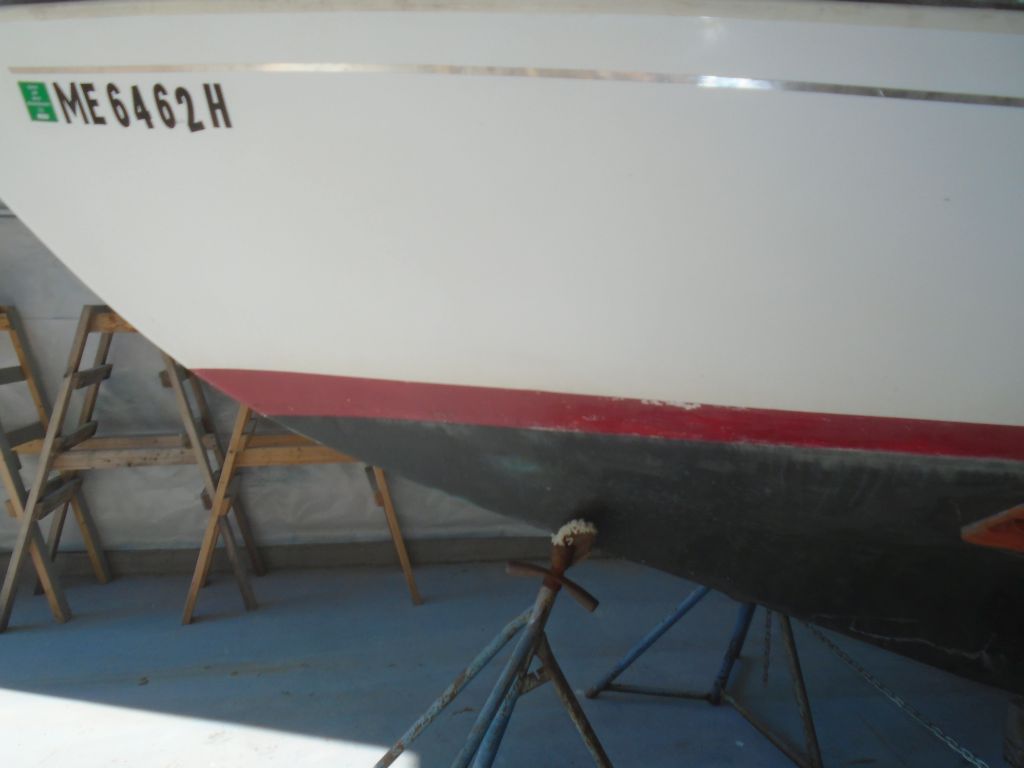
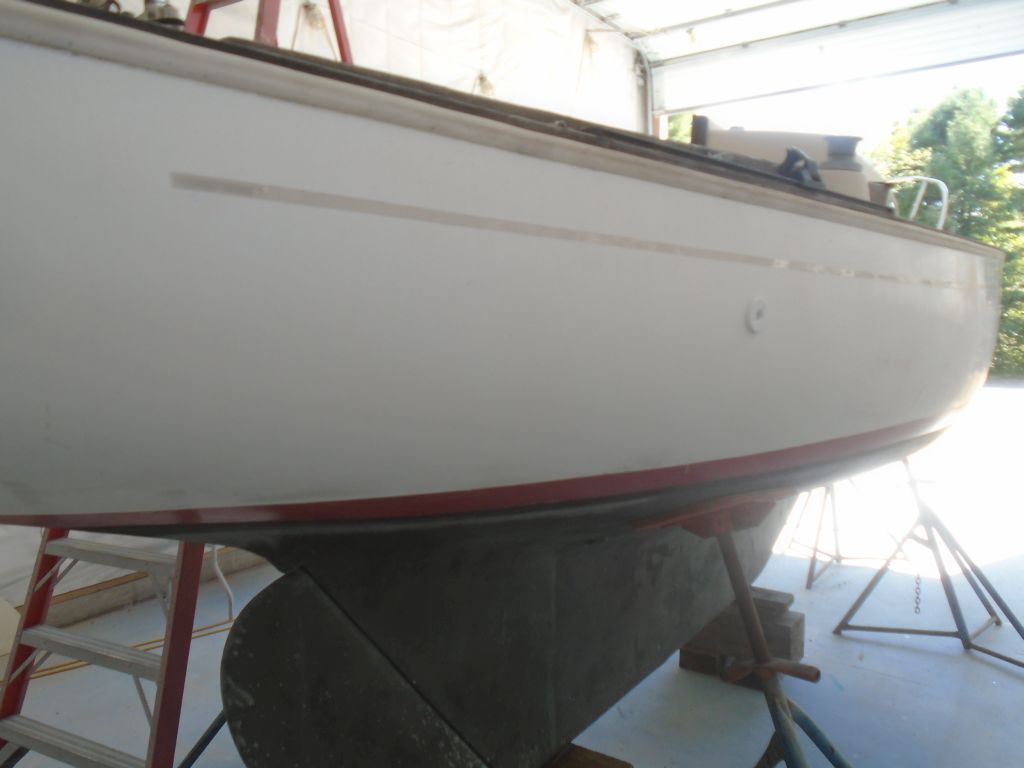
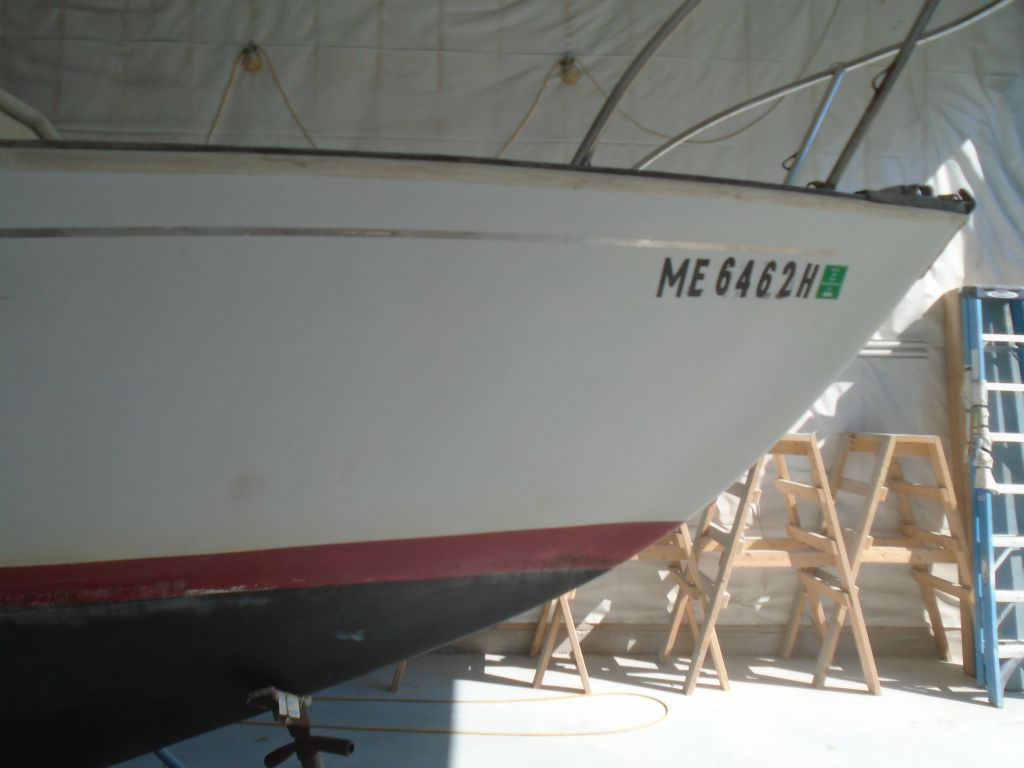
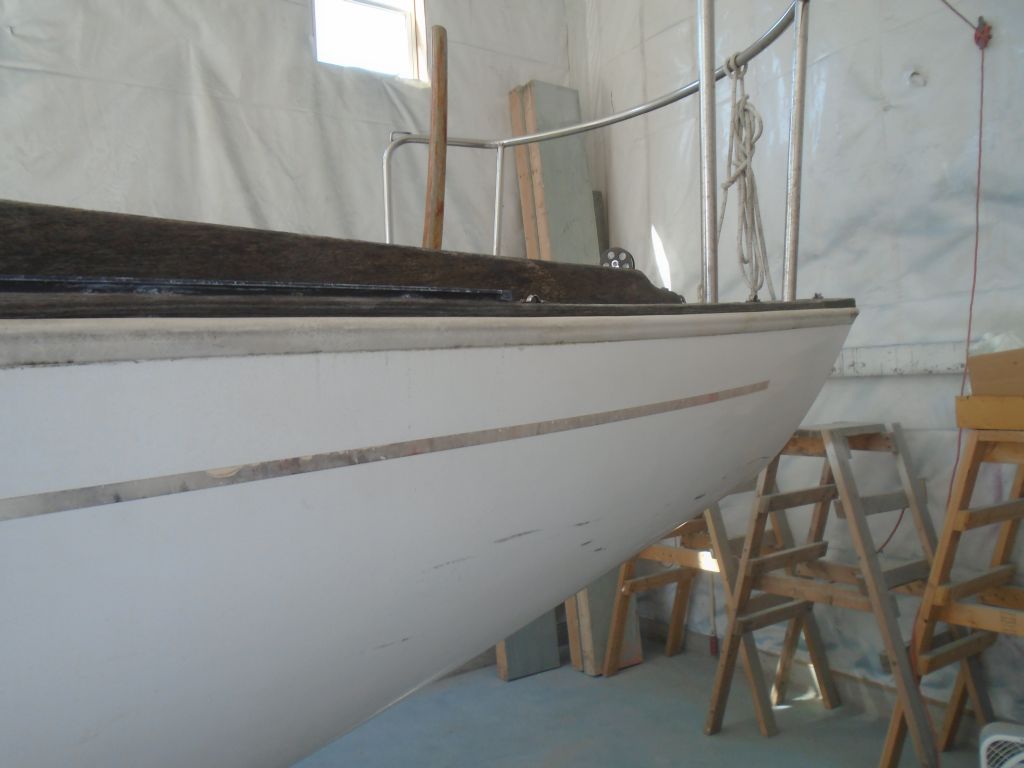
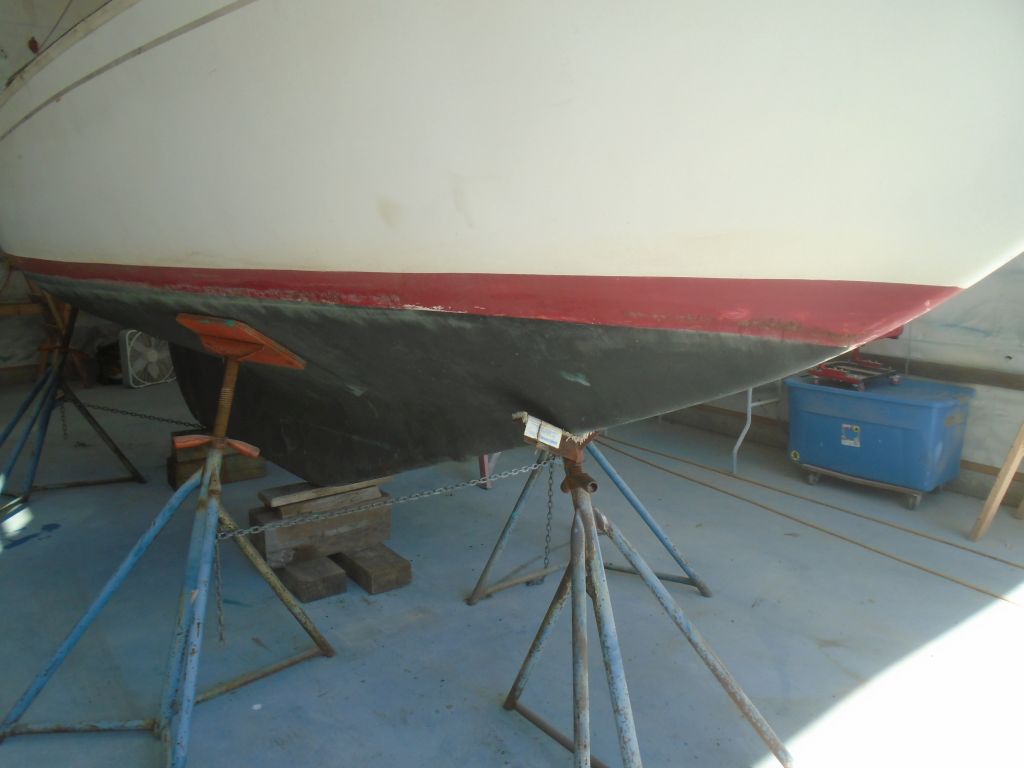
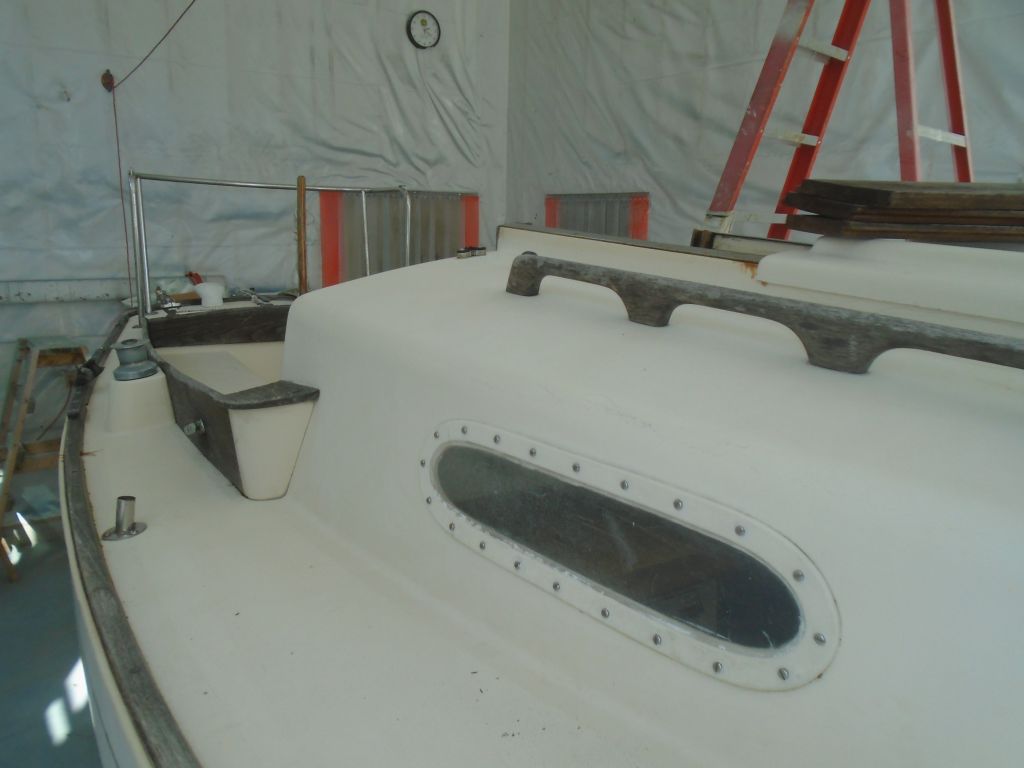
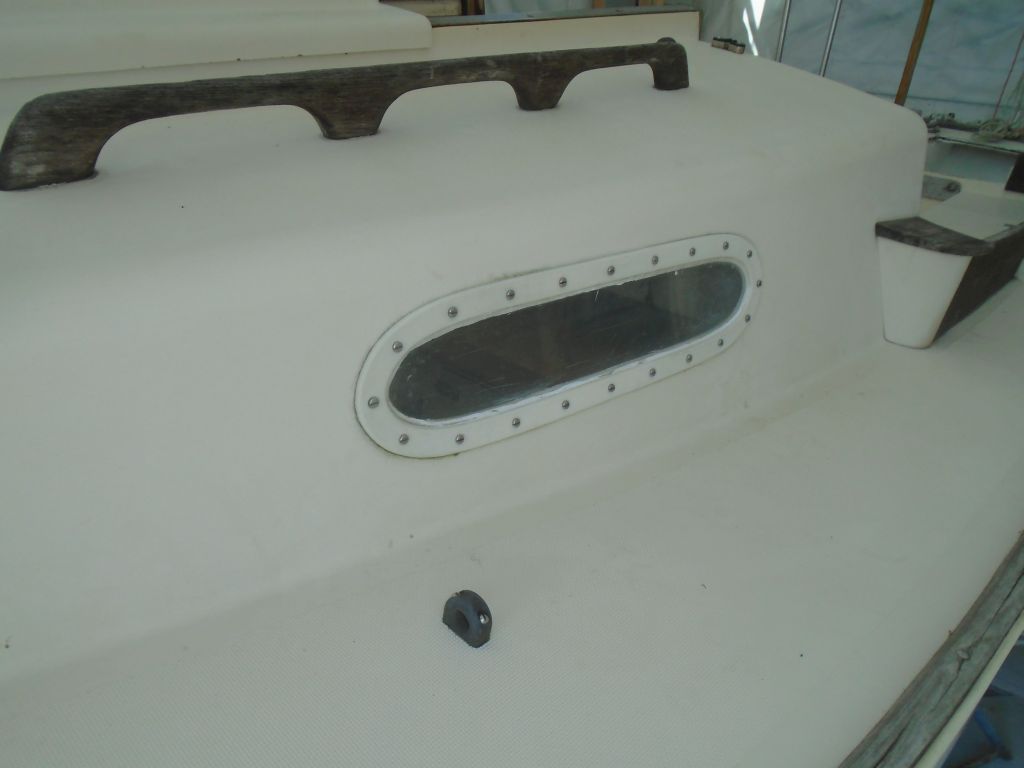
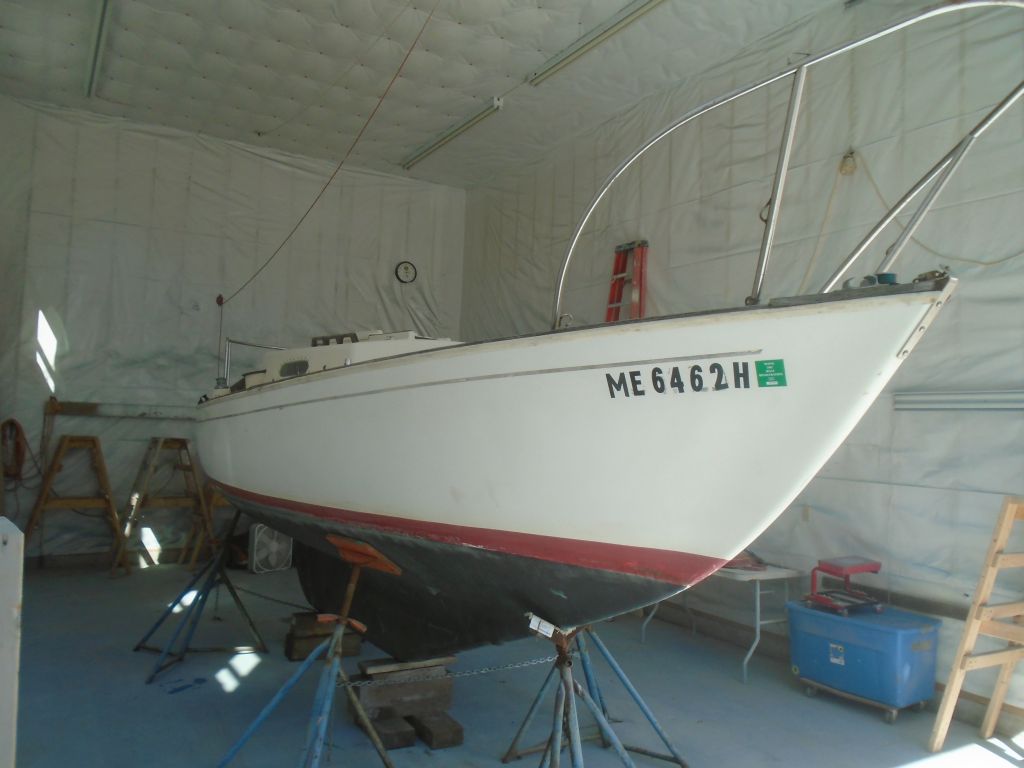
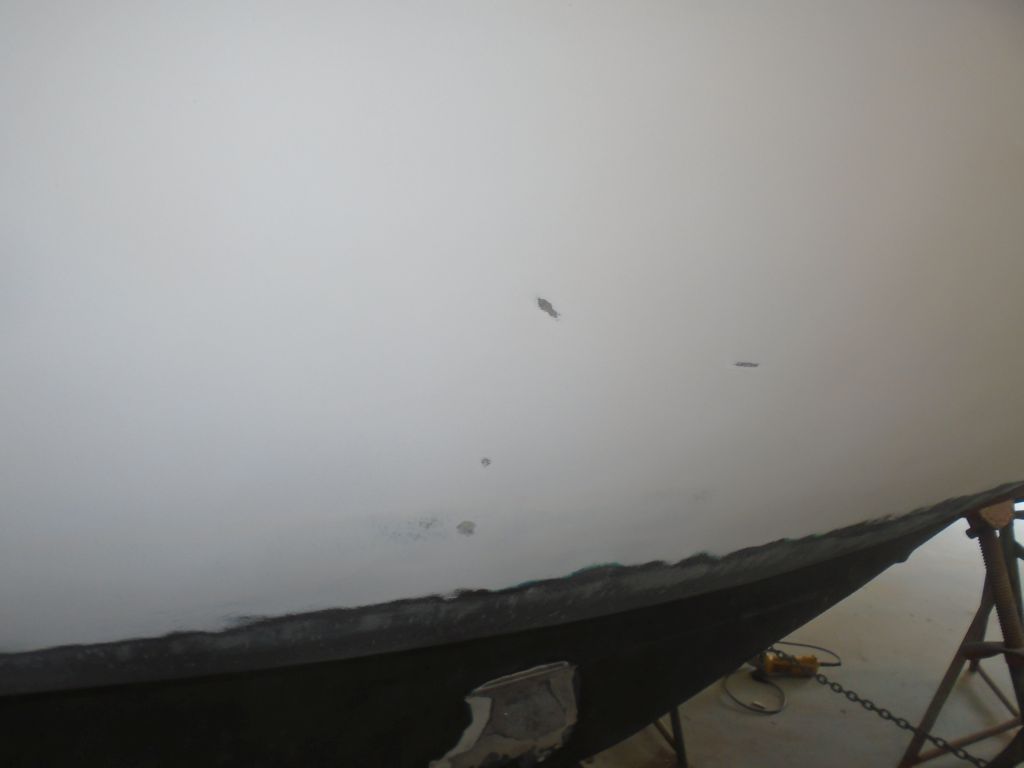
With a small grinder, I opened up various existing gouges and small cracks or voids that I’d noted on the topsides, preparing them for filling.  After solvent-washing as required, I applied a coat of epoxy fairing compound to these areas.

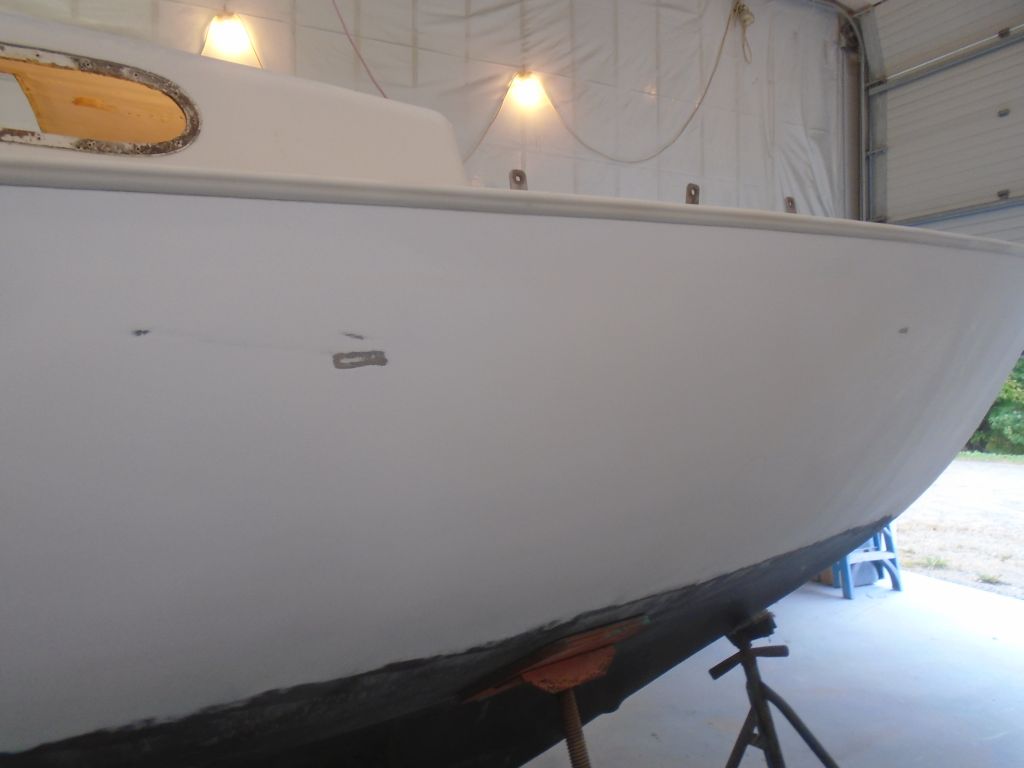
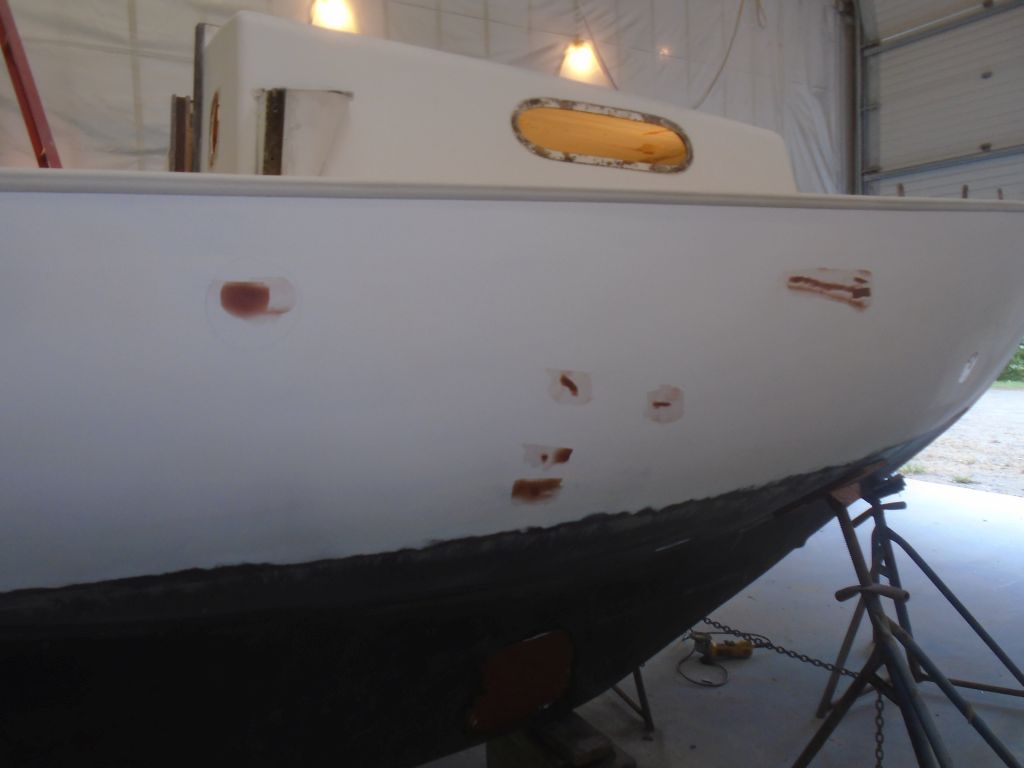
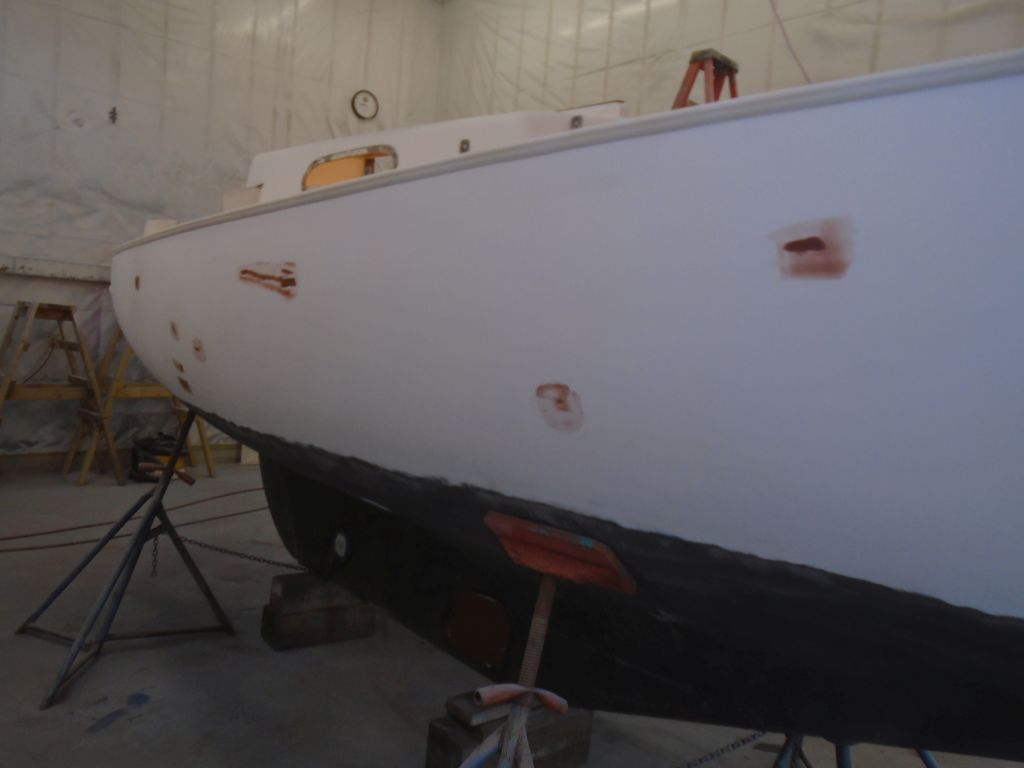
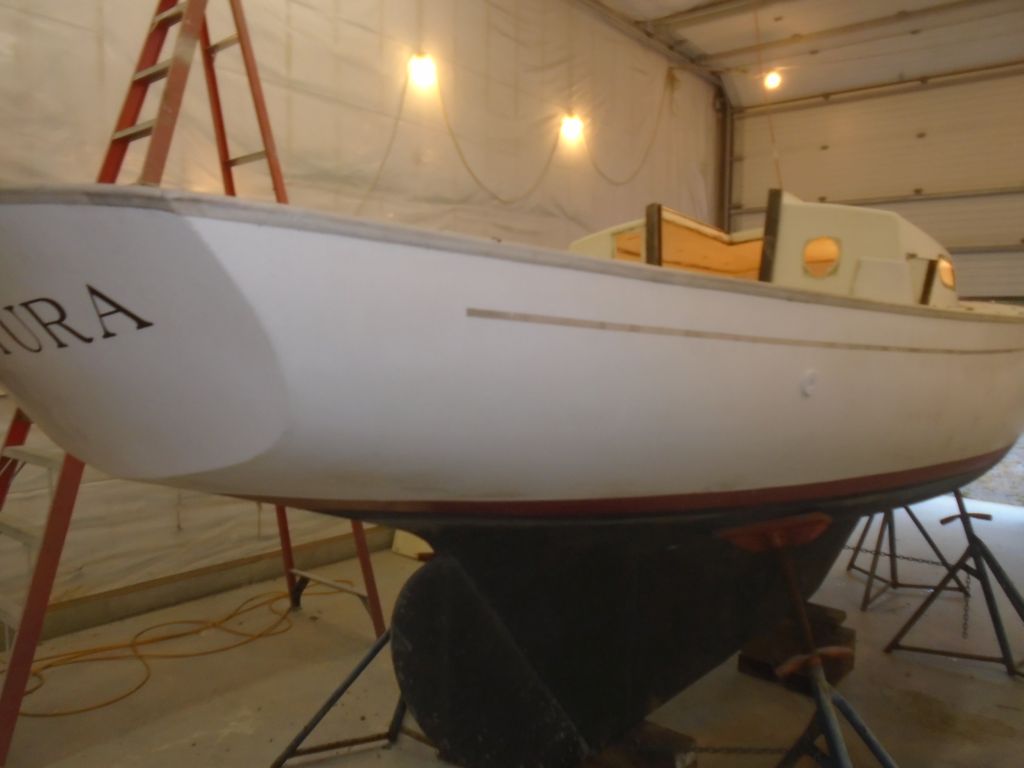
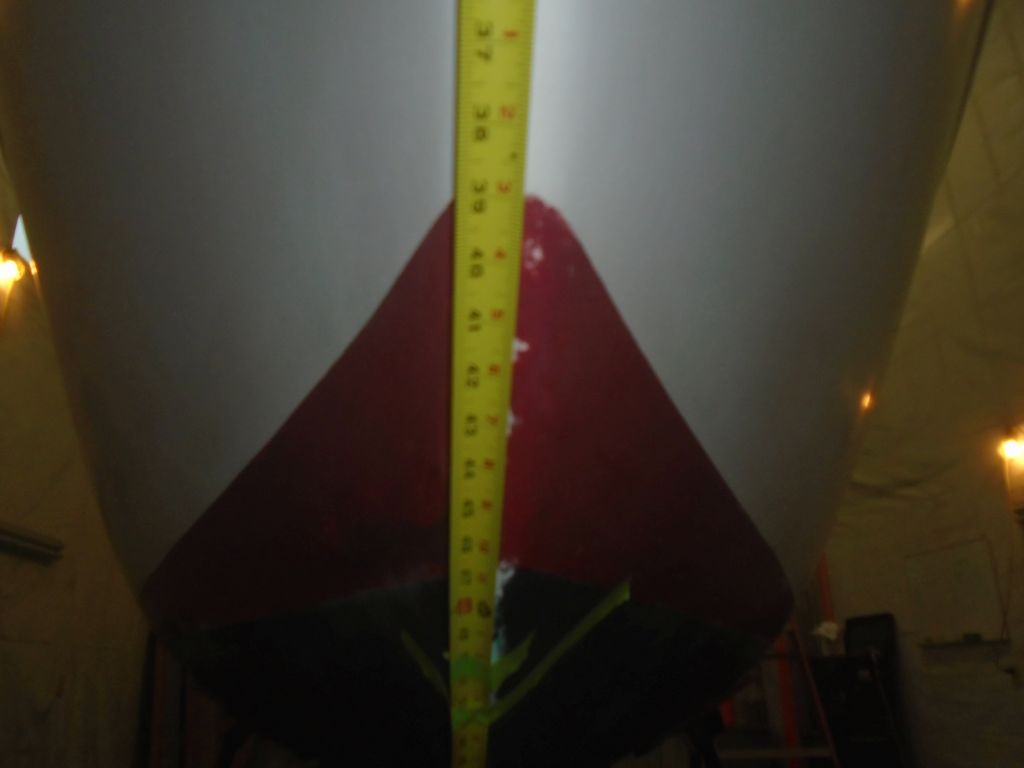
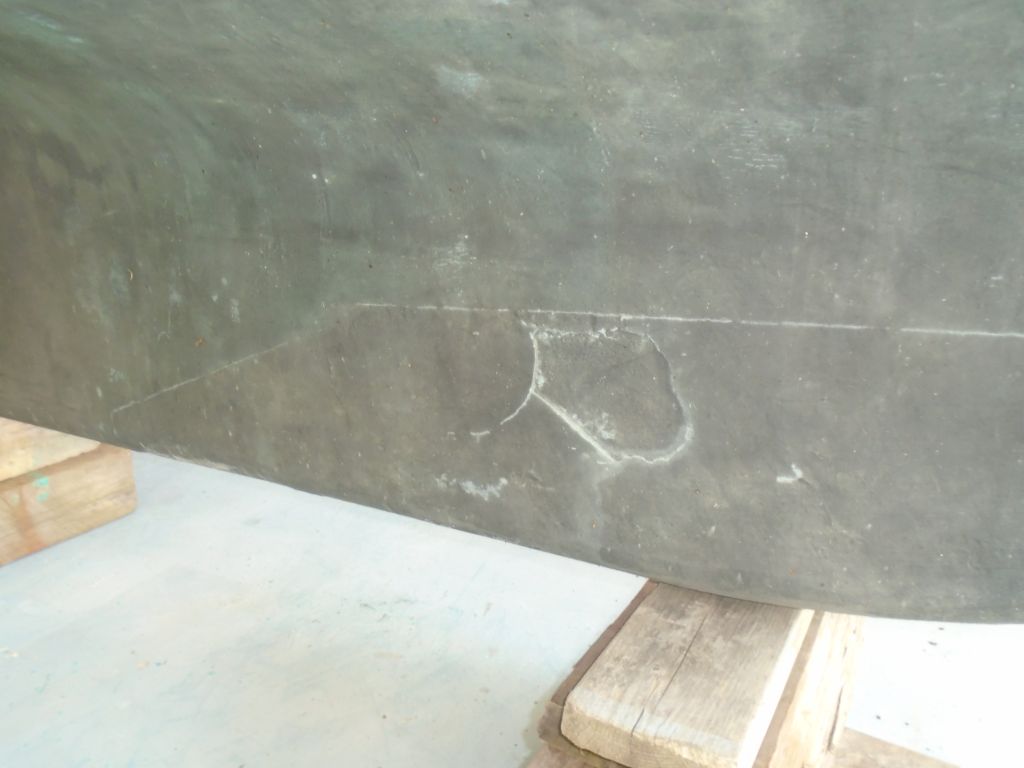
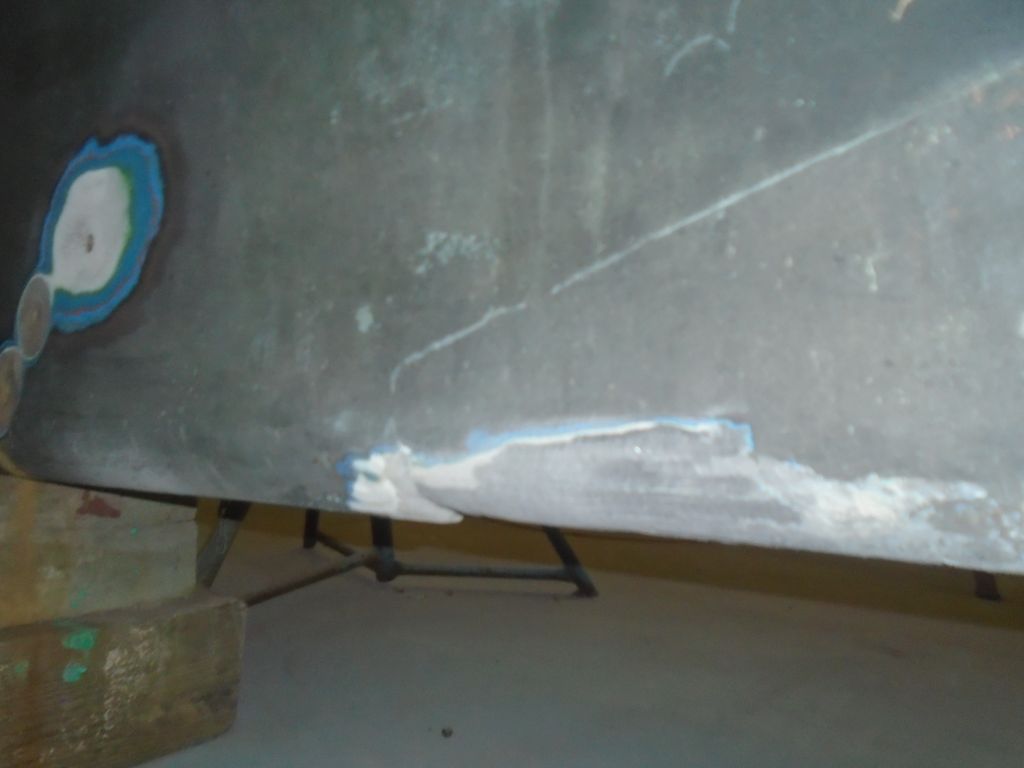
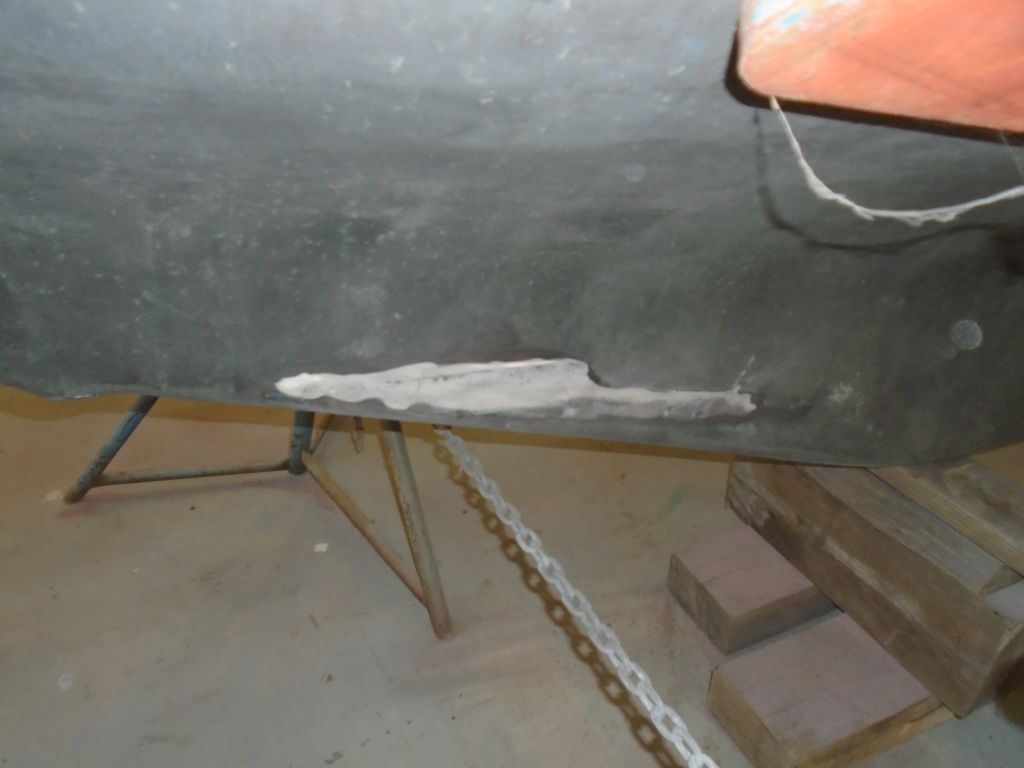
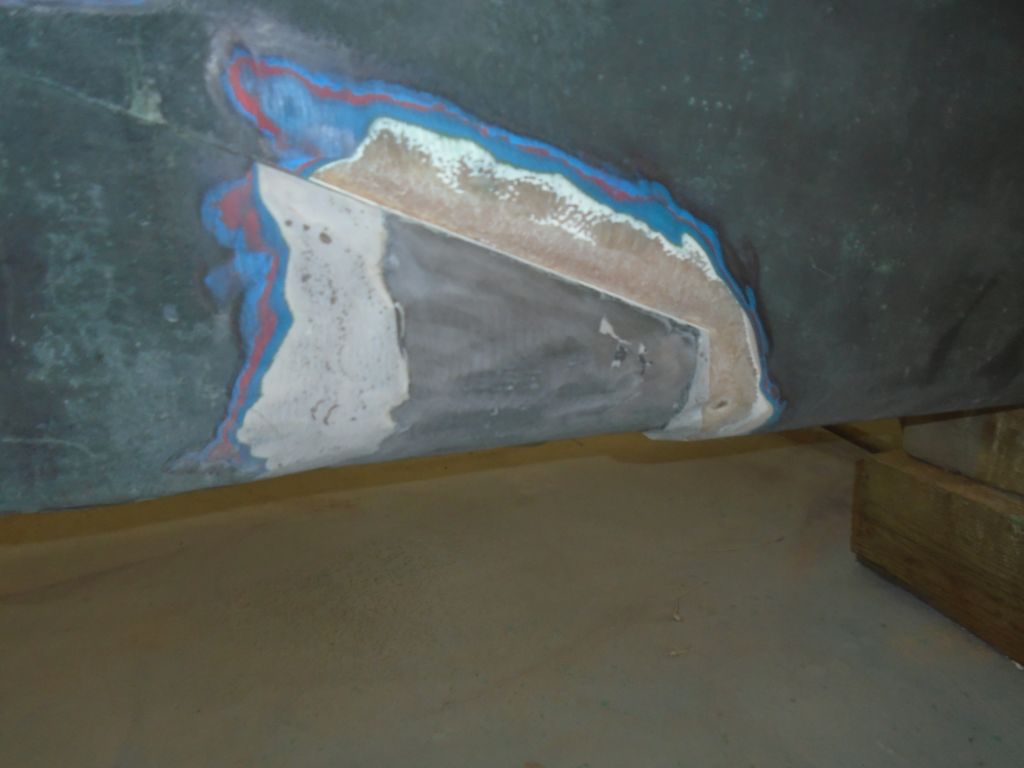
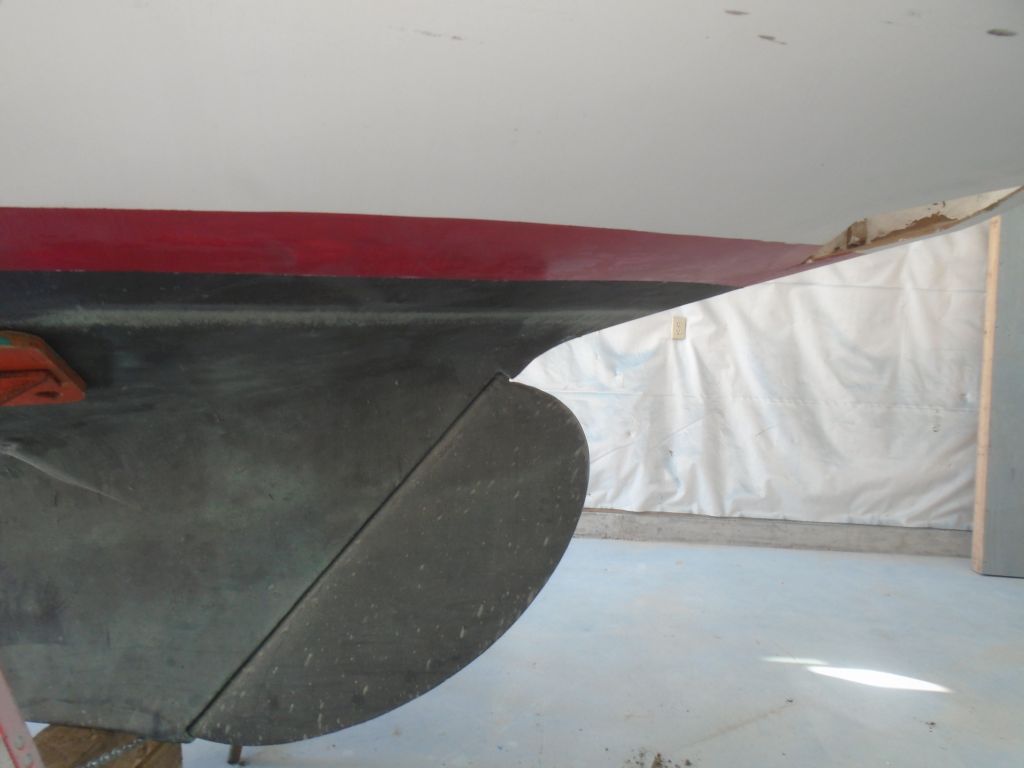
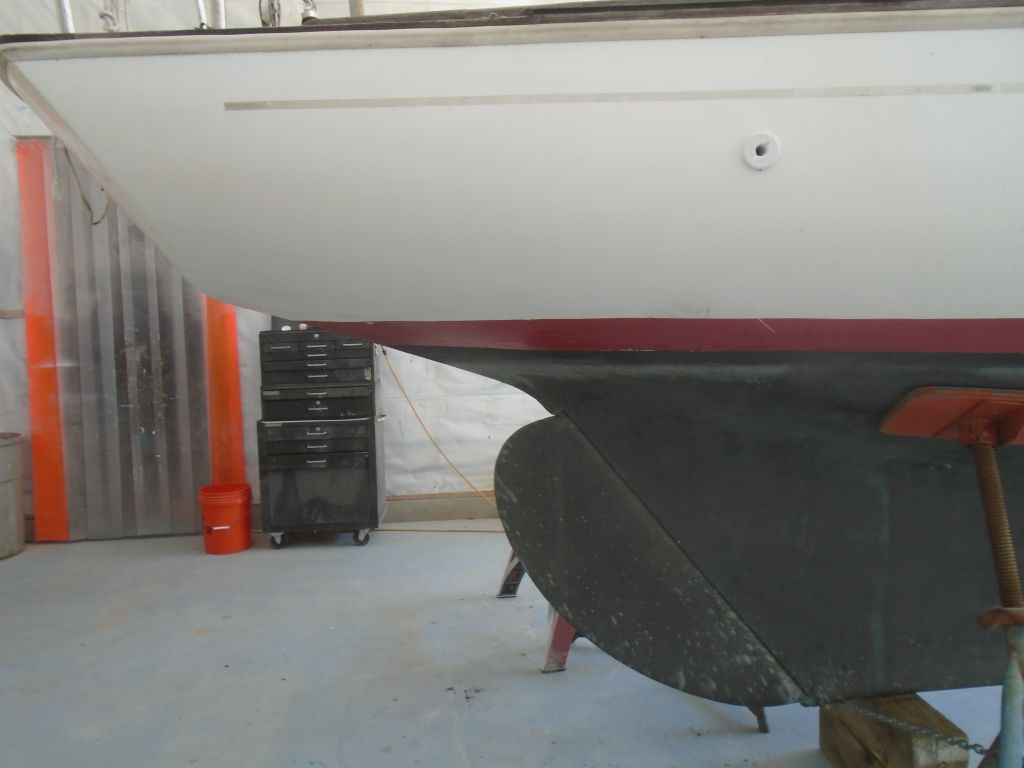
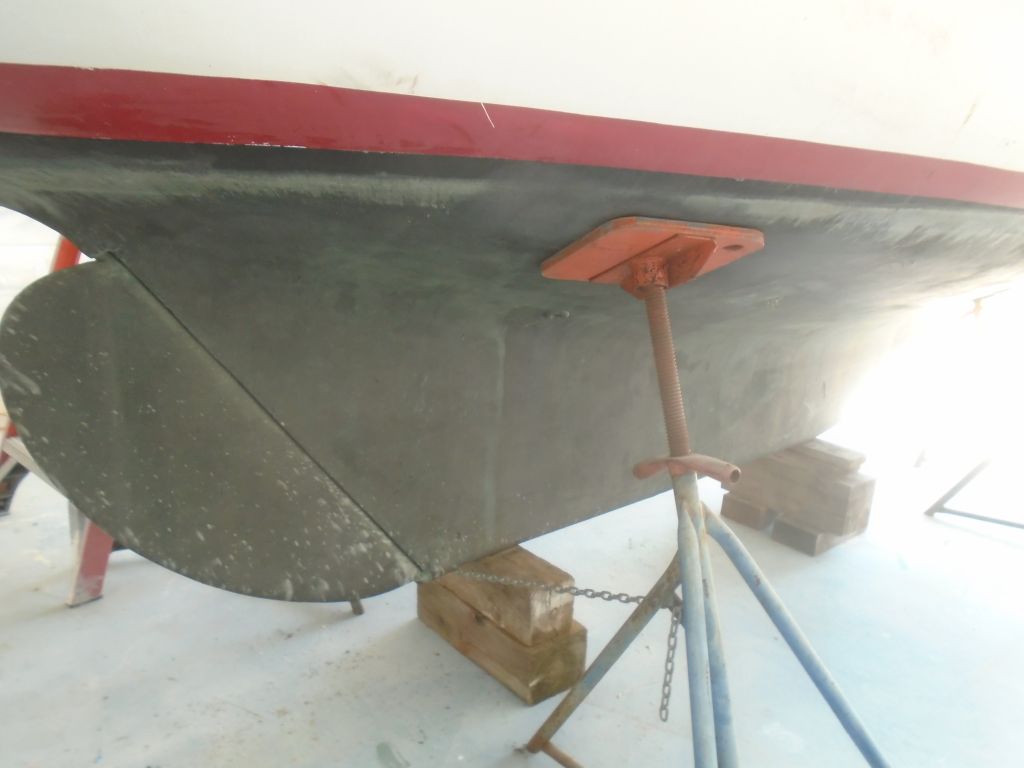
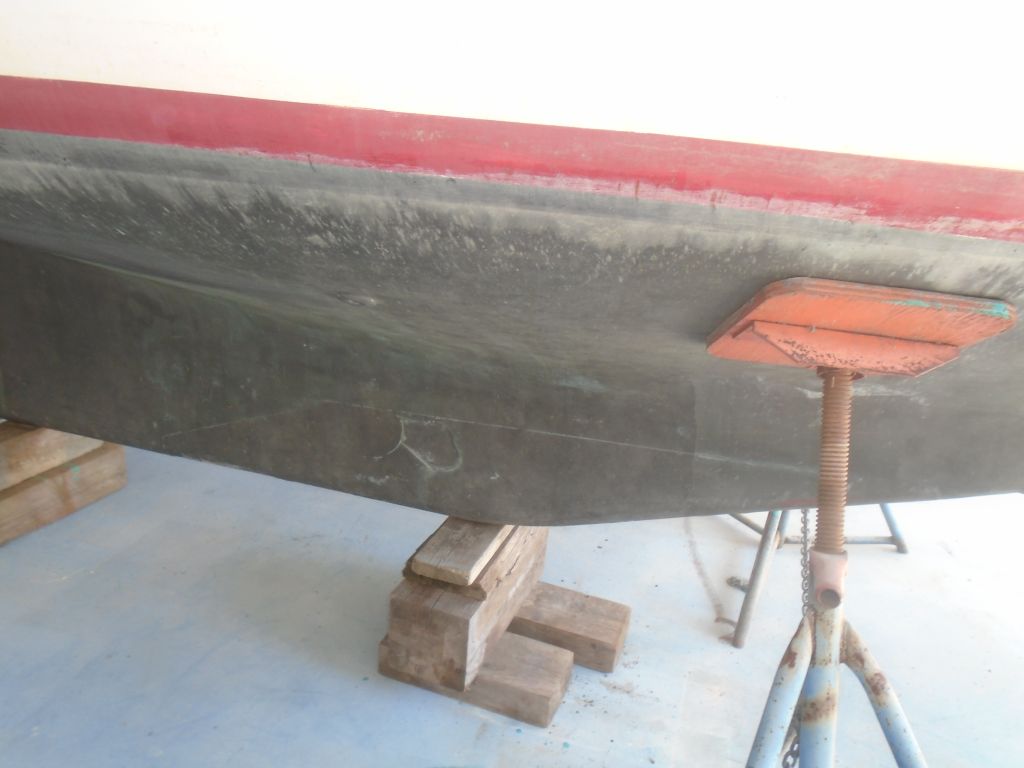
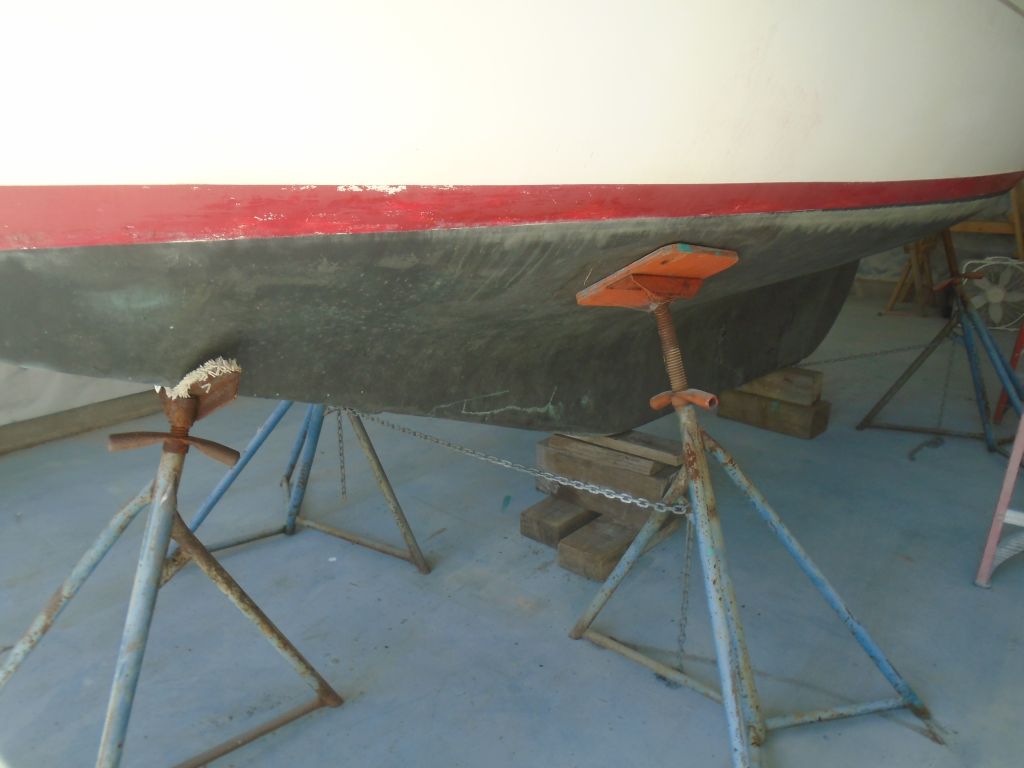
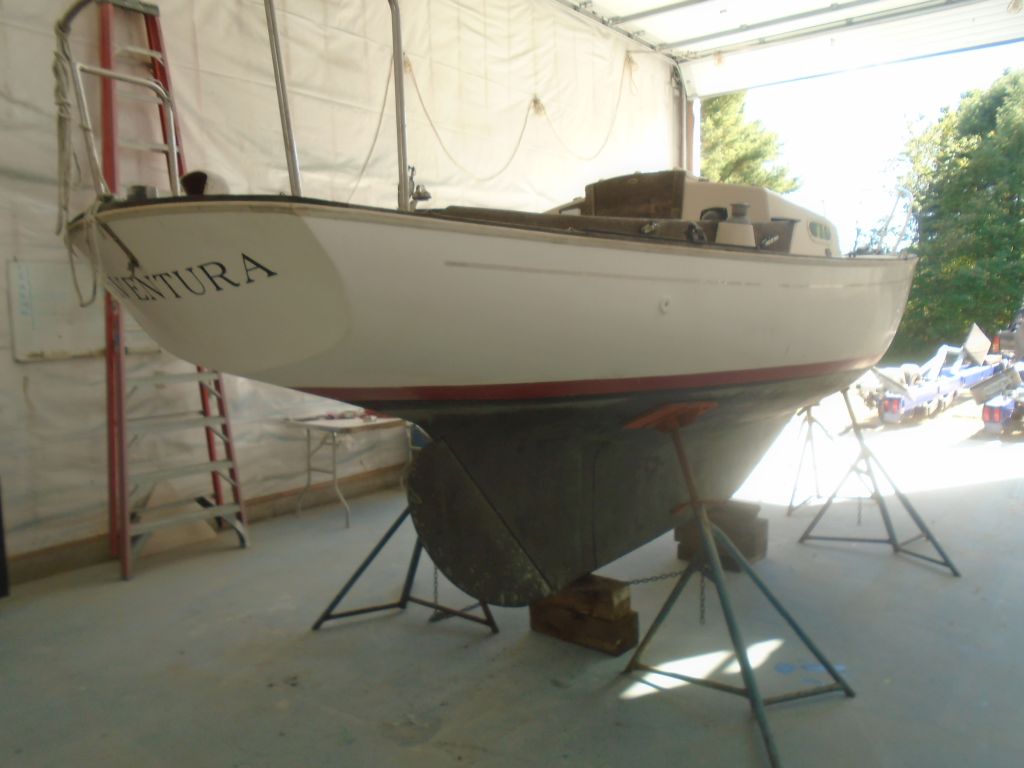
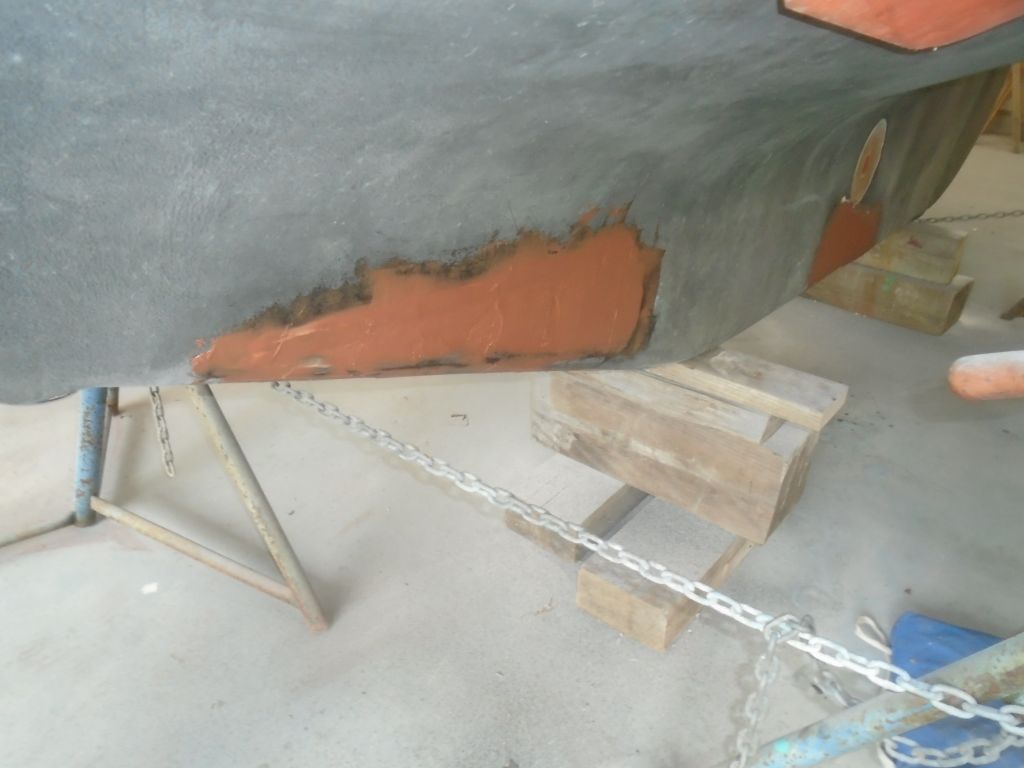
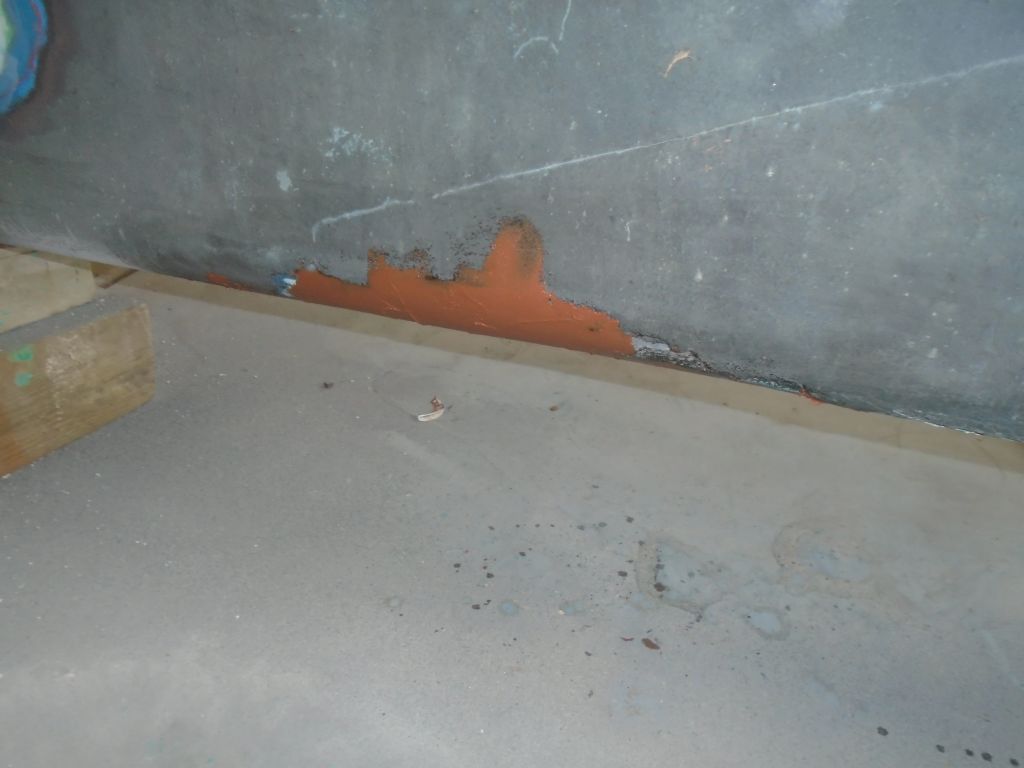
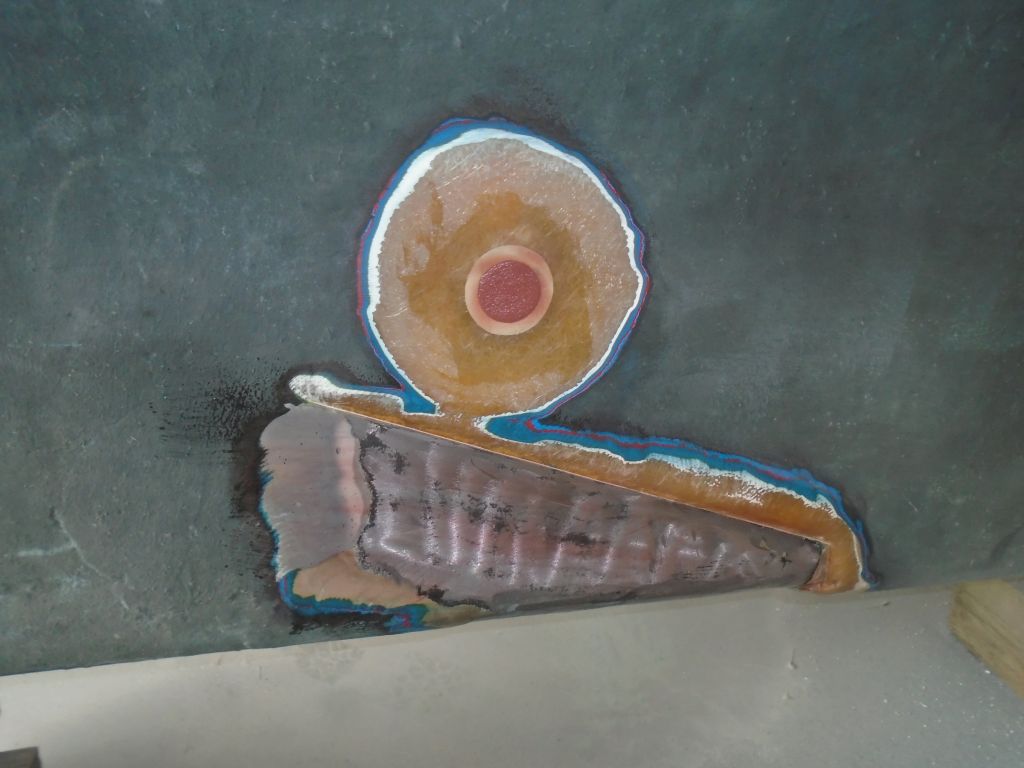
Preparing the keel ballast areas for refairing, I determined a need to open up the two areas on the port side a bit more, as I found loose material at the edges of the areas I’d ground out before.  So I pulled out the old fairing material and ground these areas back to sound material, and brightened up the exposed lead to prepare it for epoxy-coating and first round fairing compound, which I applied in turn once I’d thoroughly cleaned the newly-ground areas.

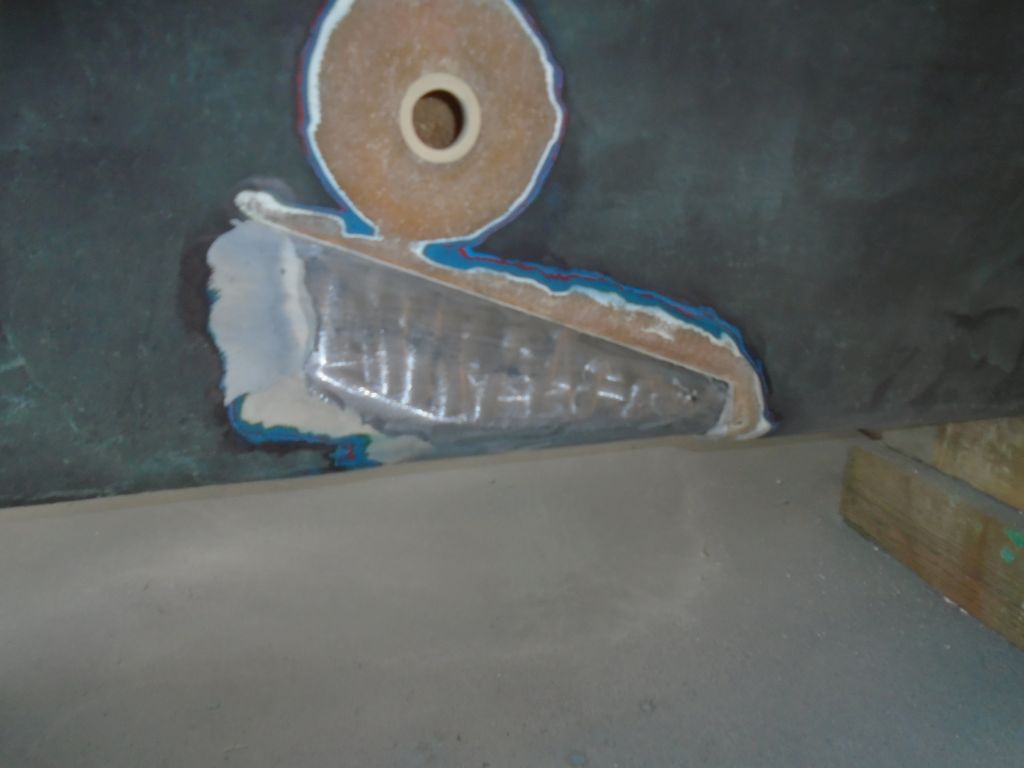
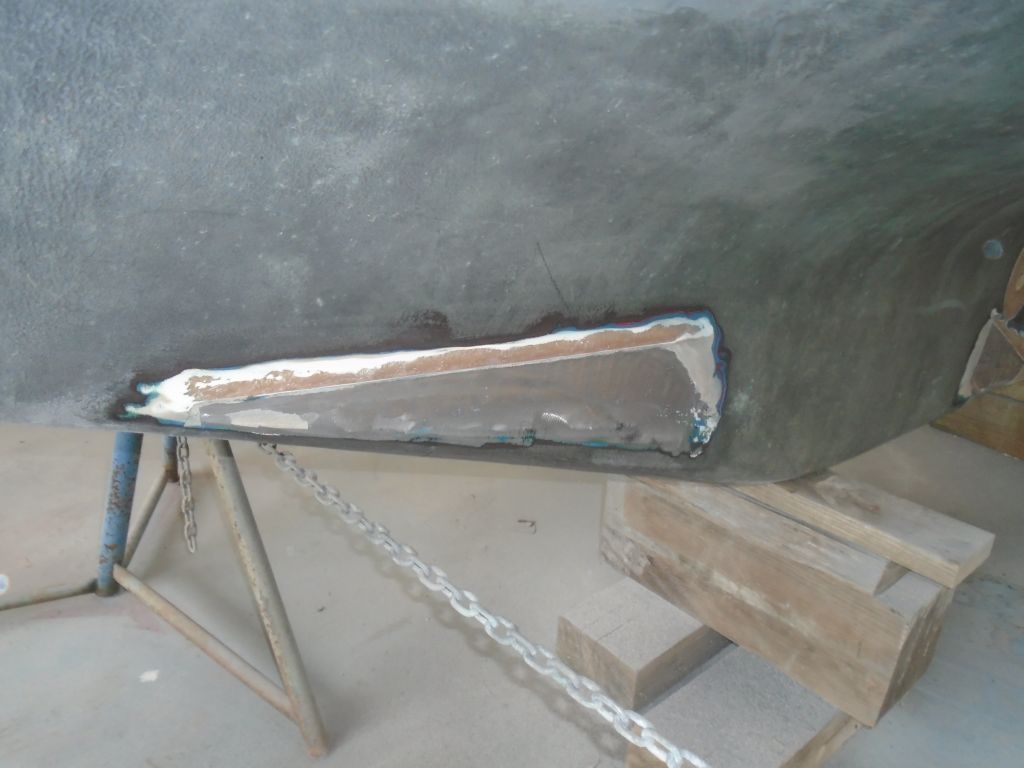
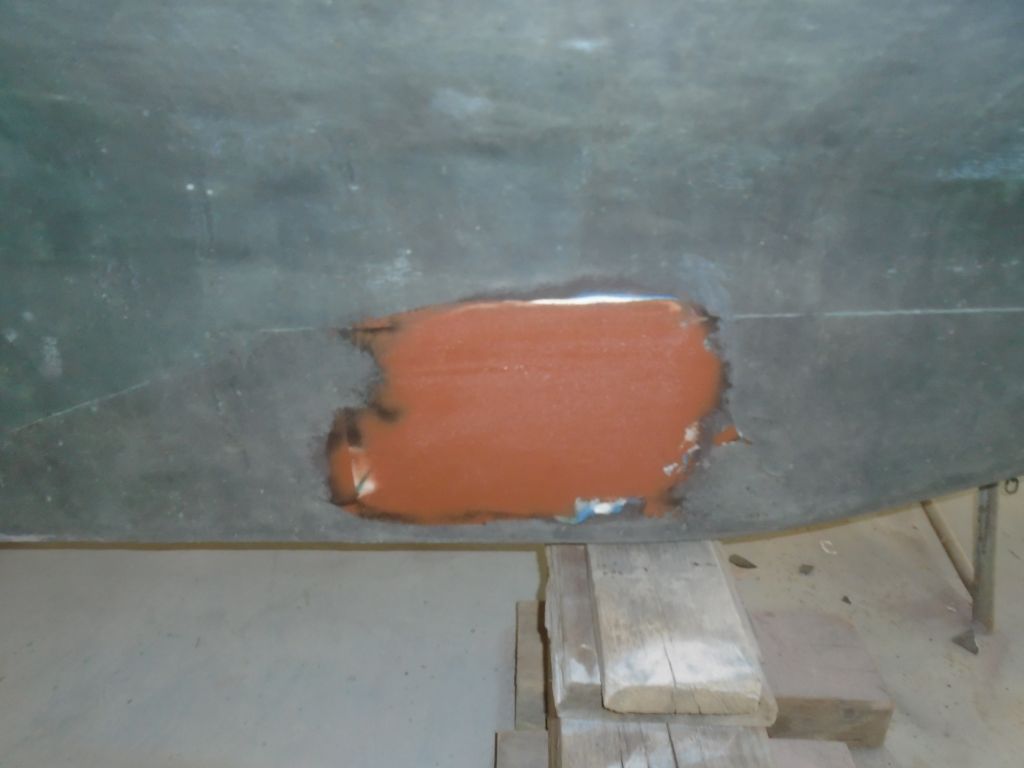
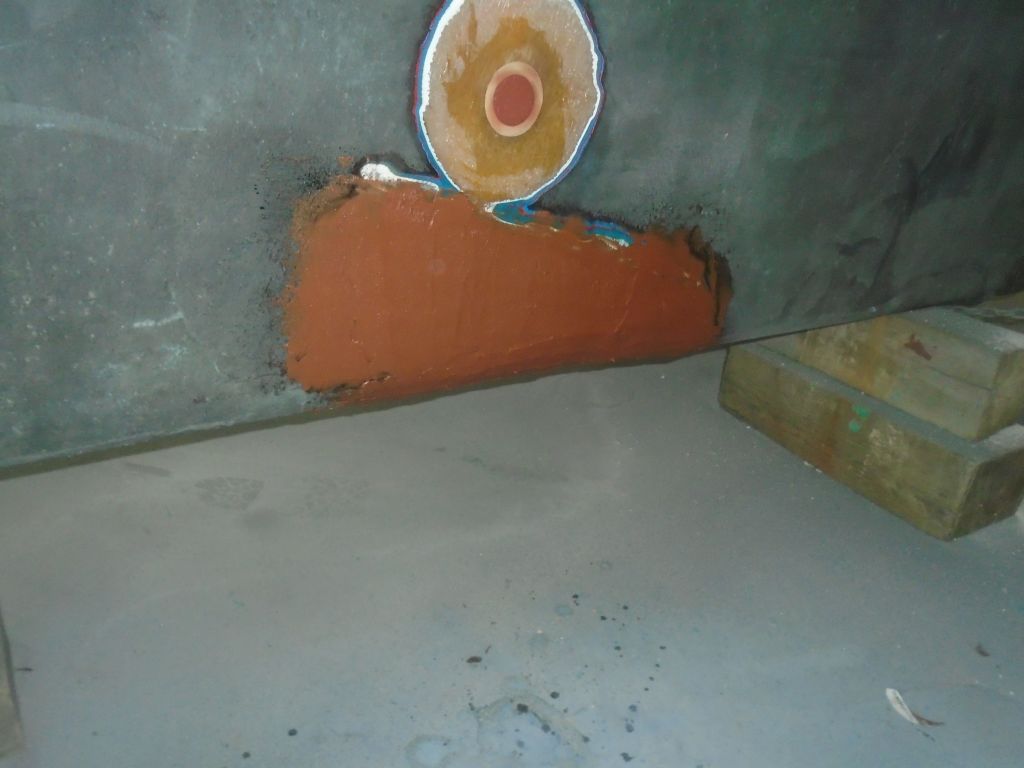
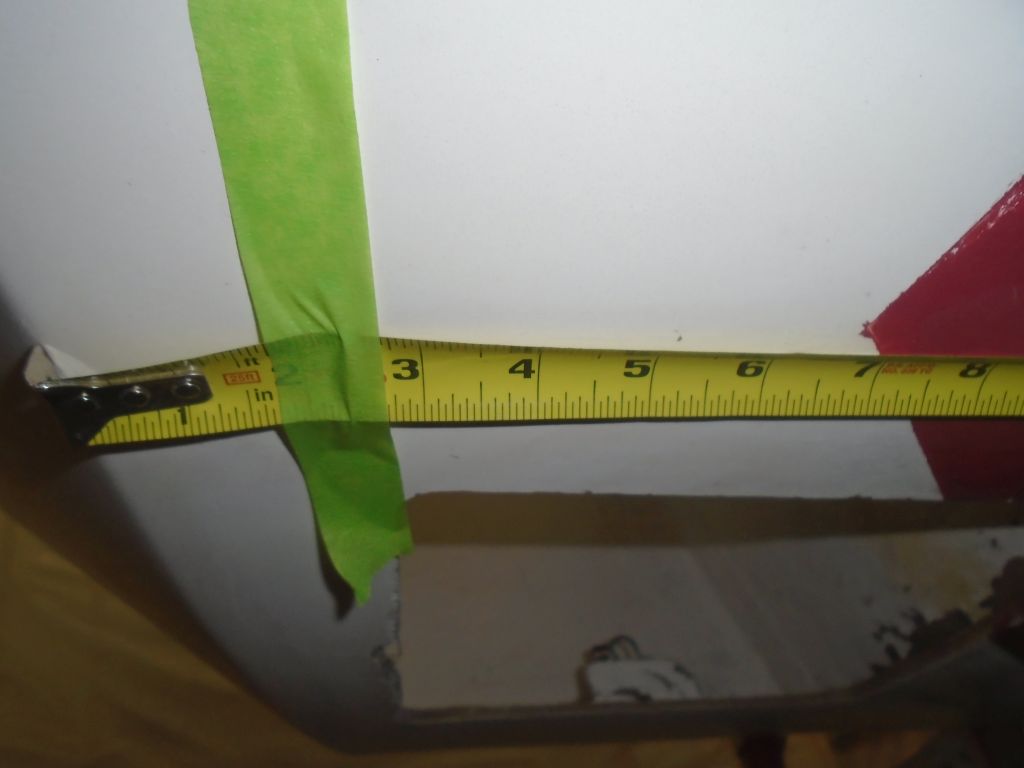
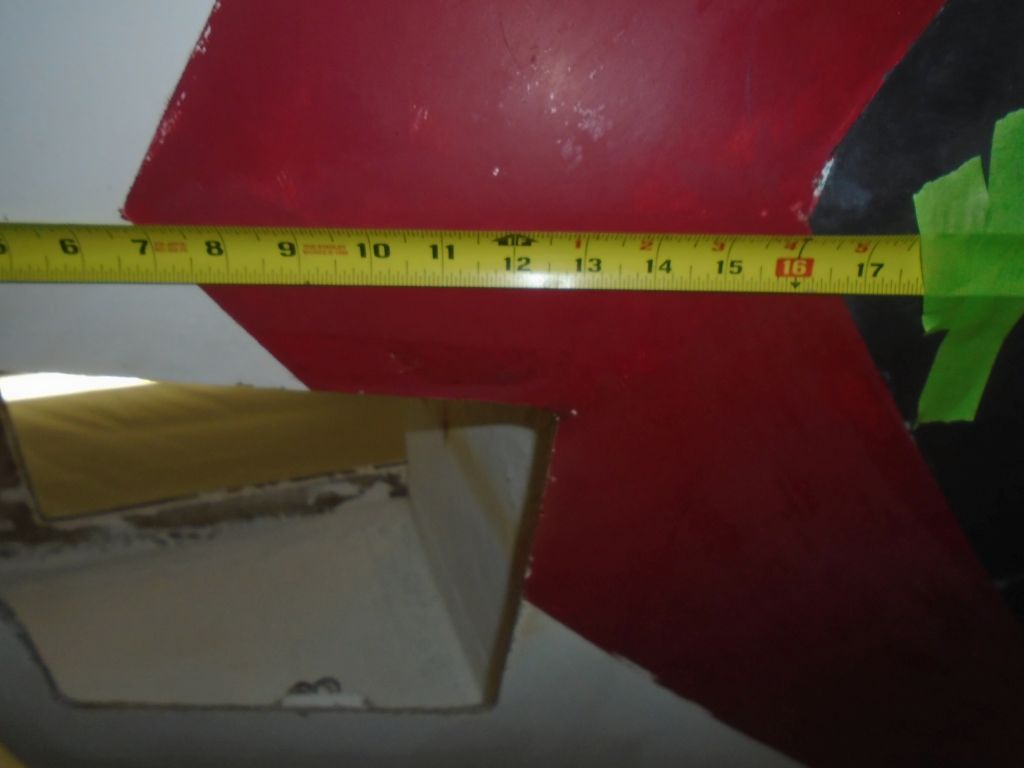
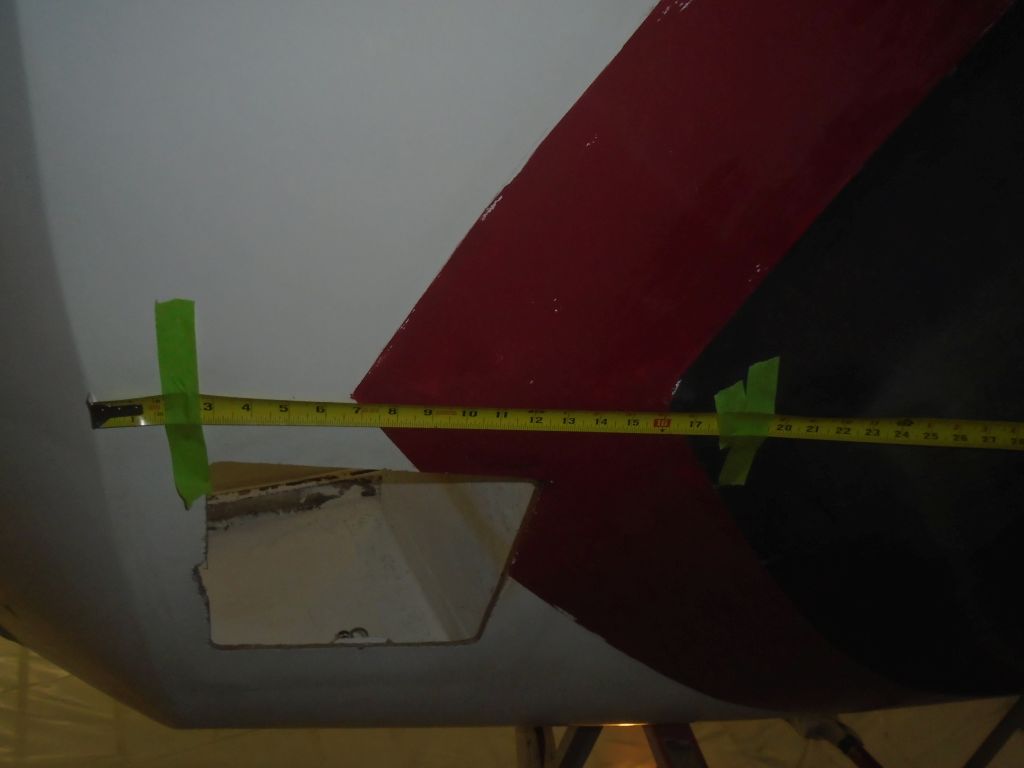
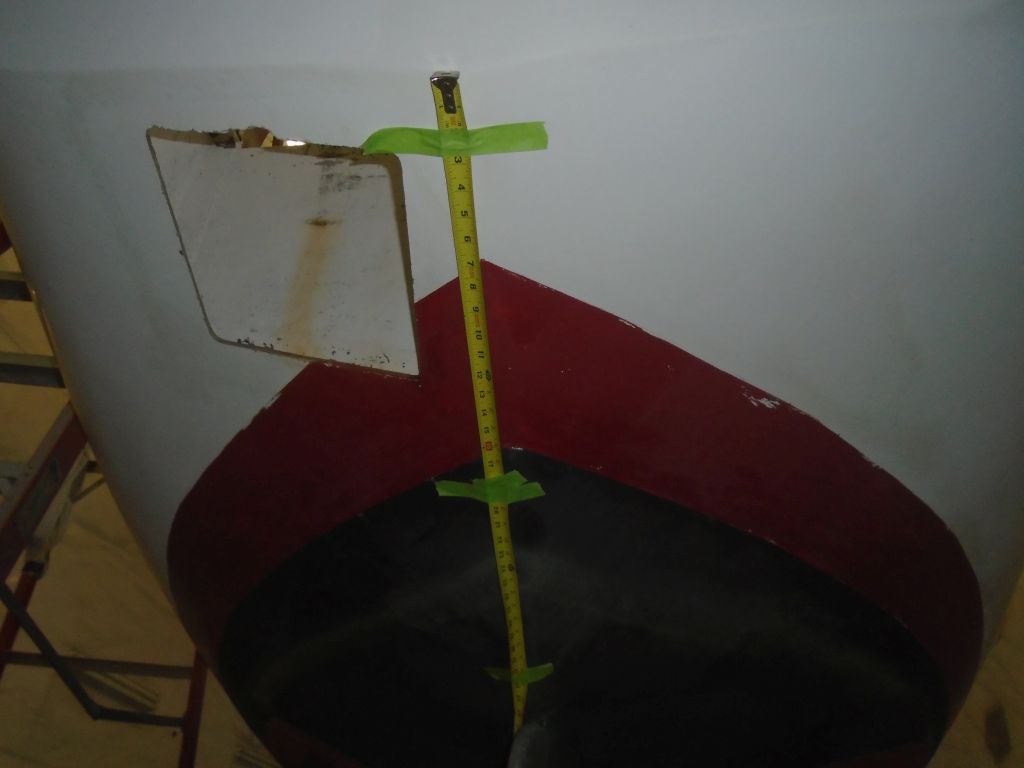
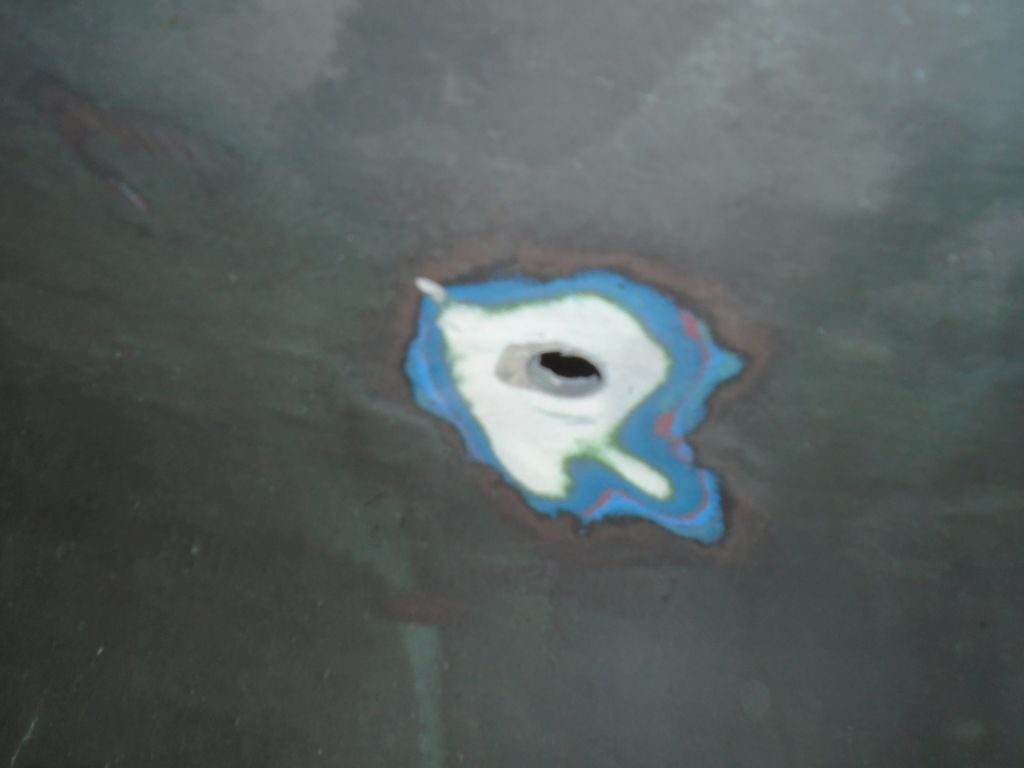
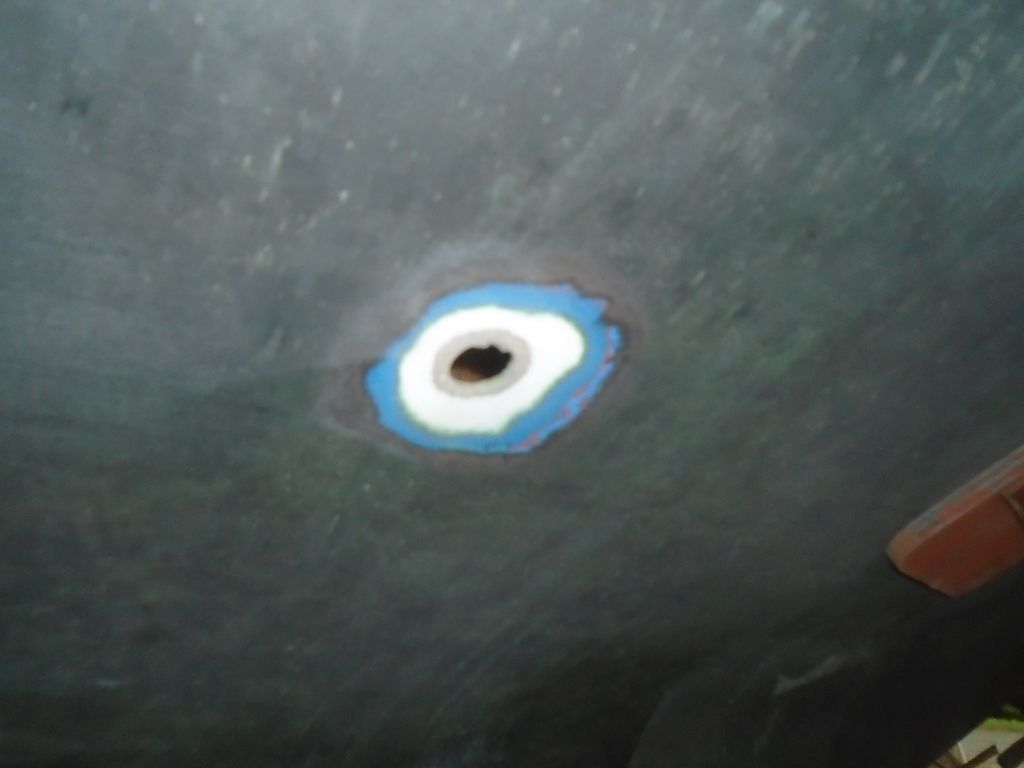
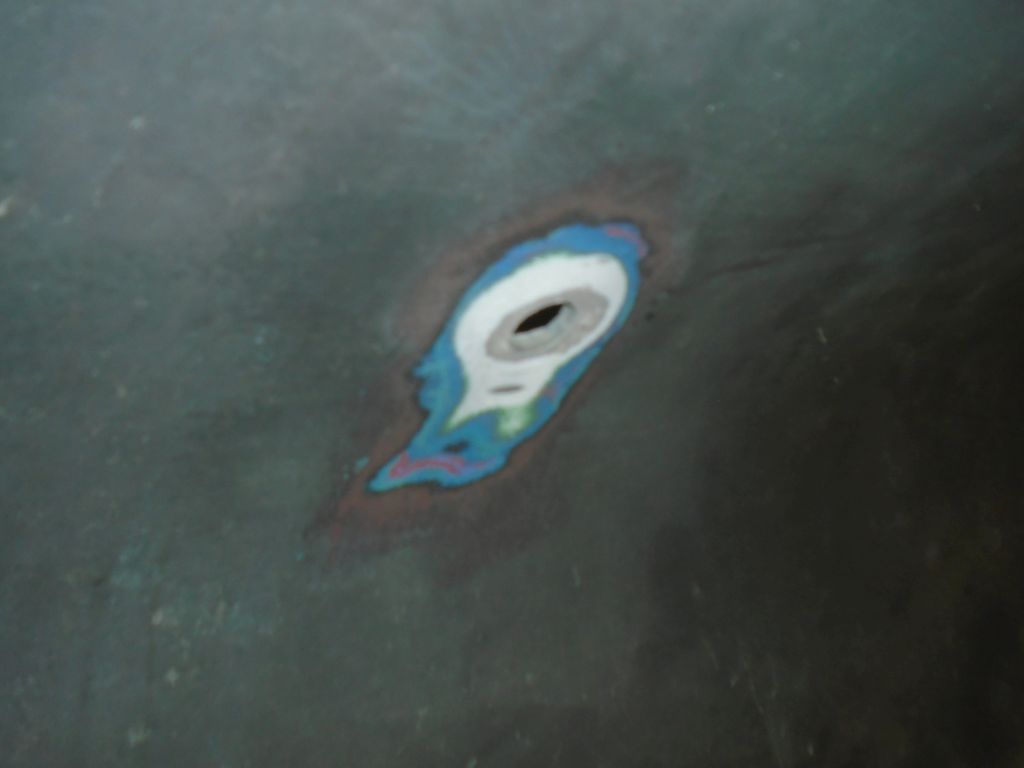
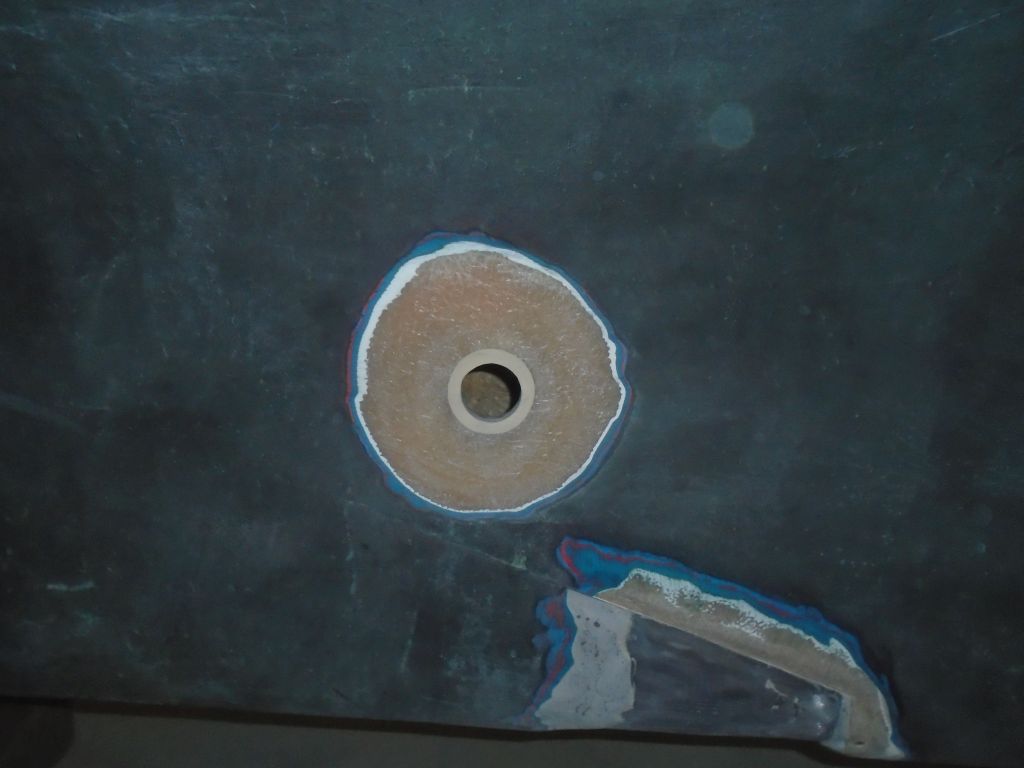
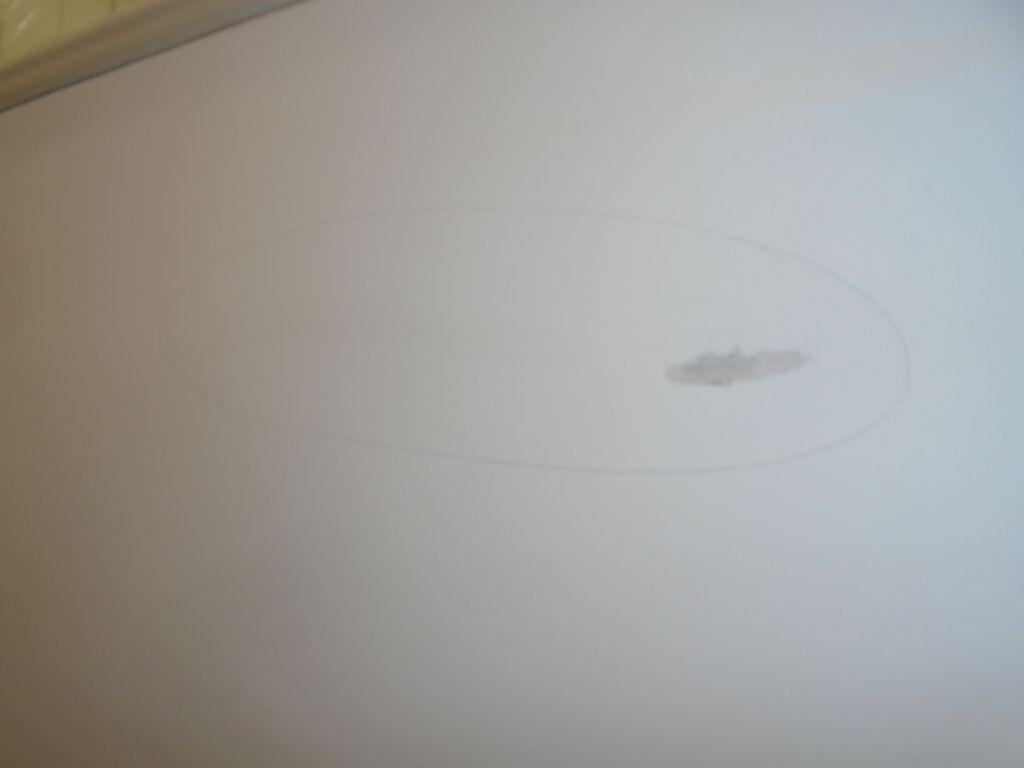
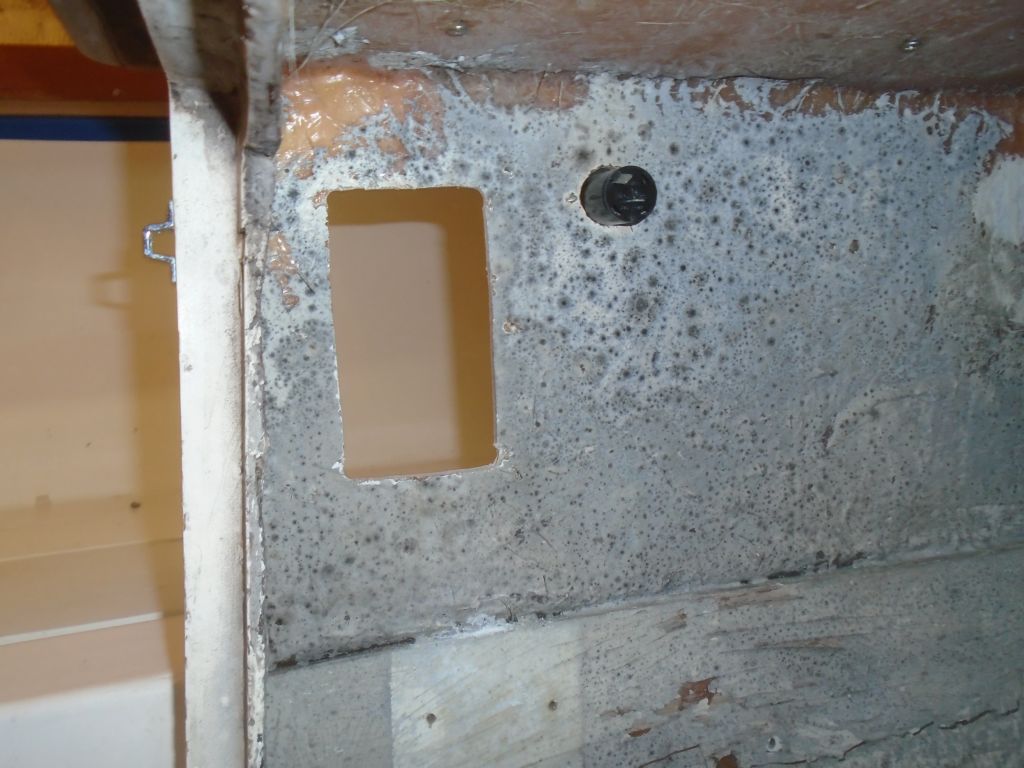
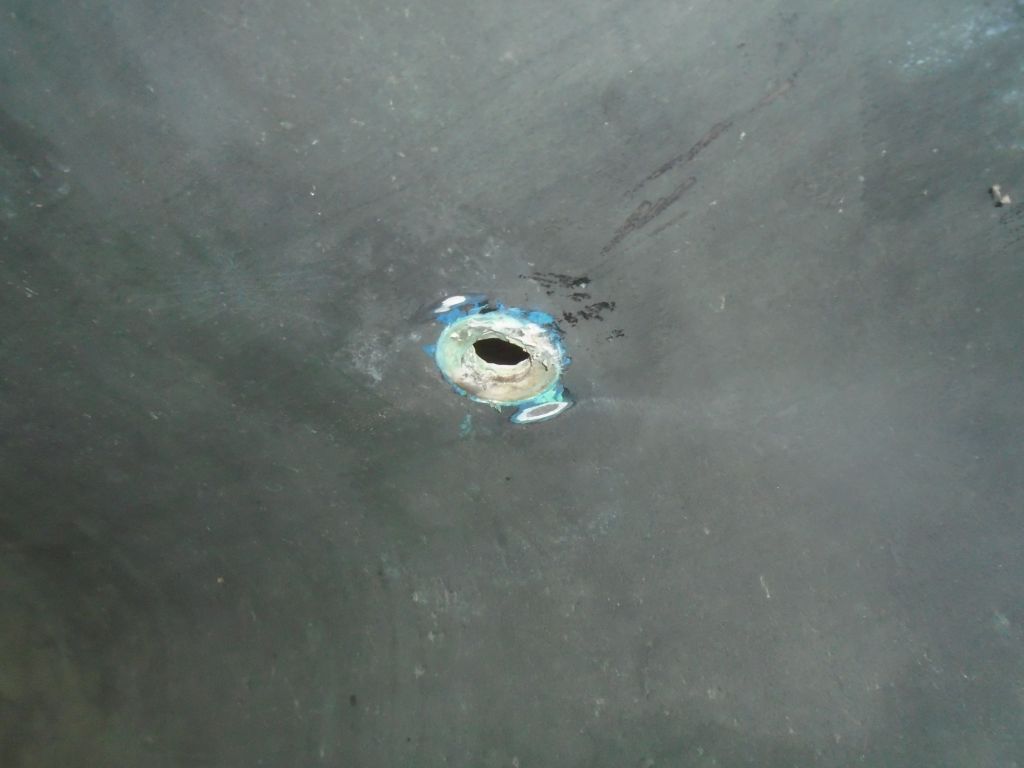
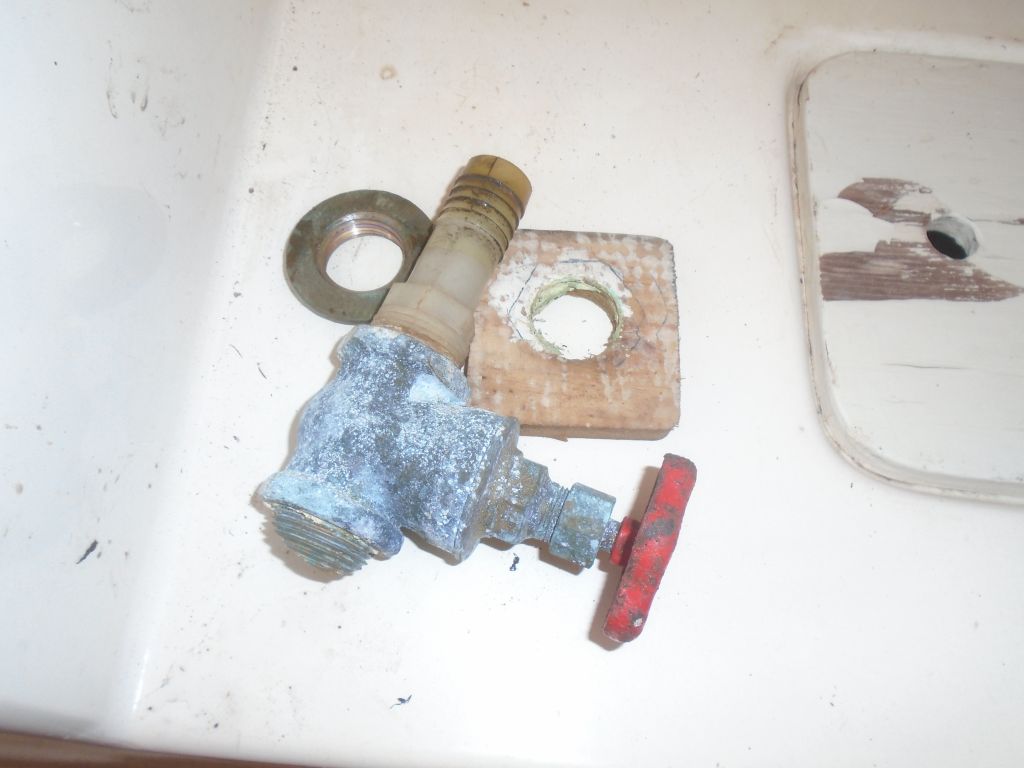
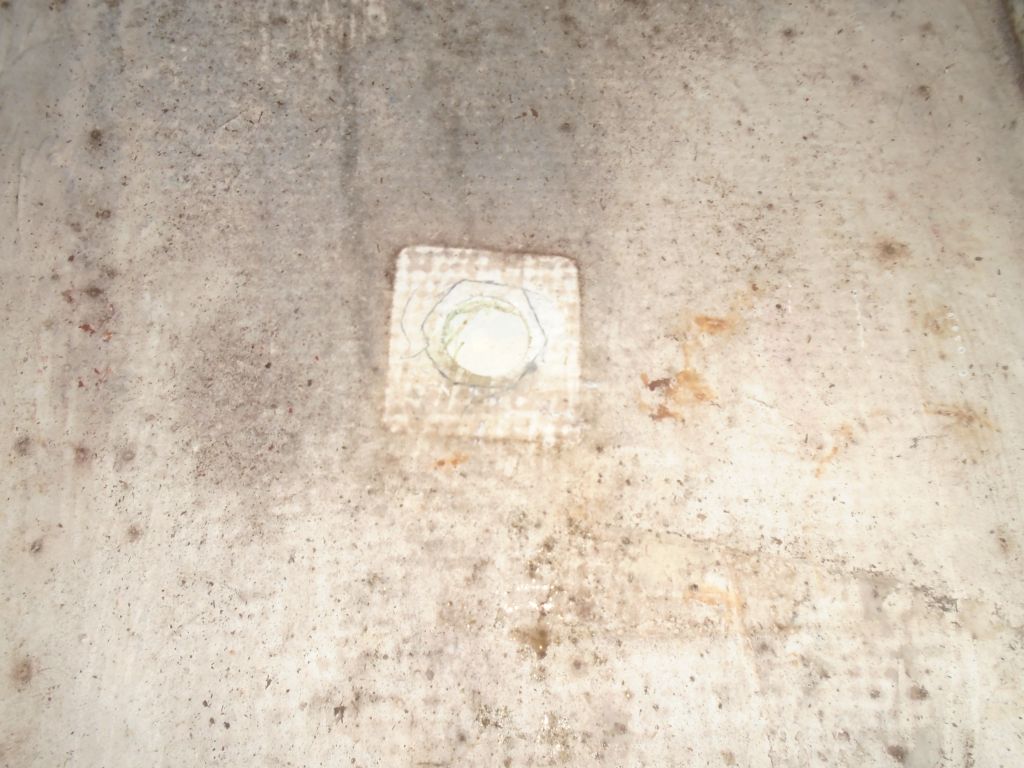
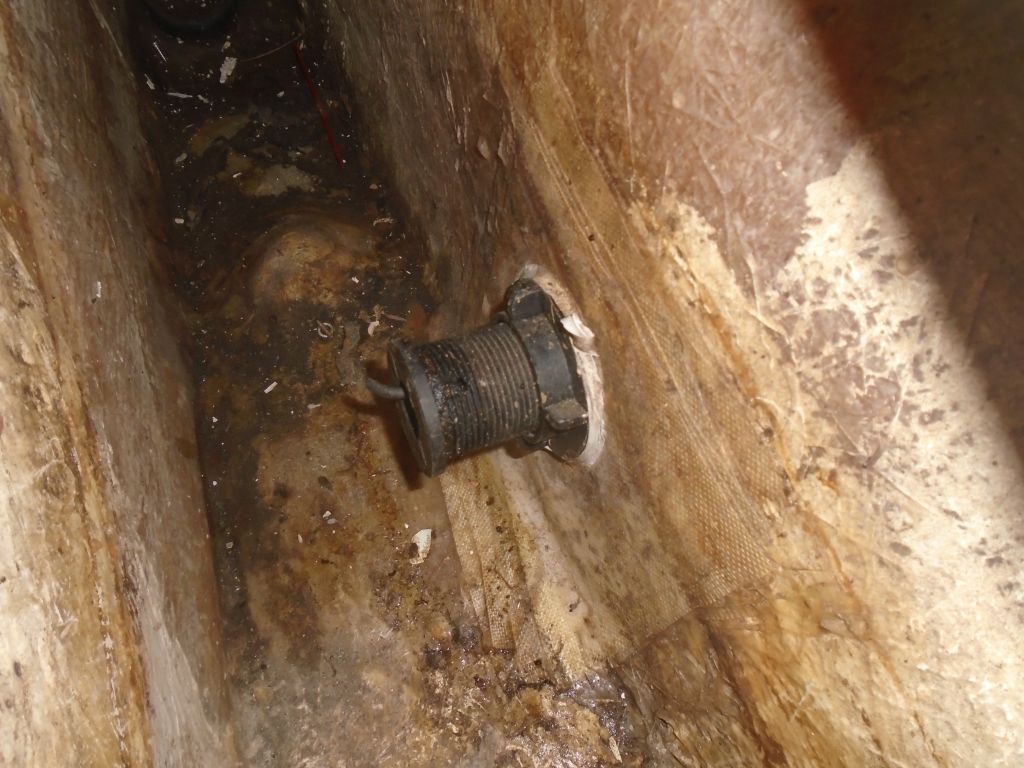
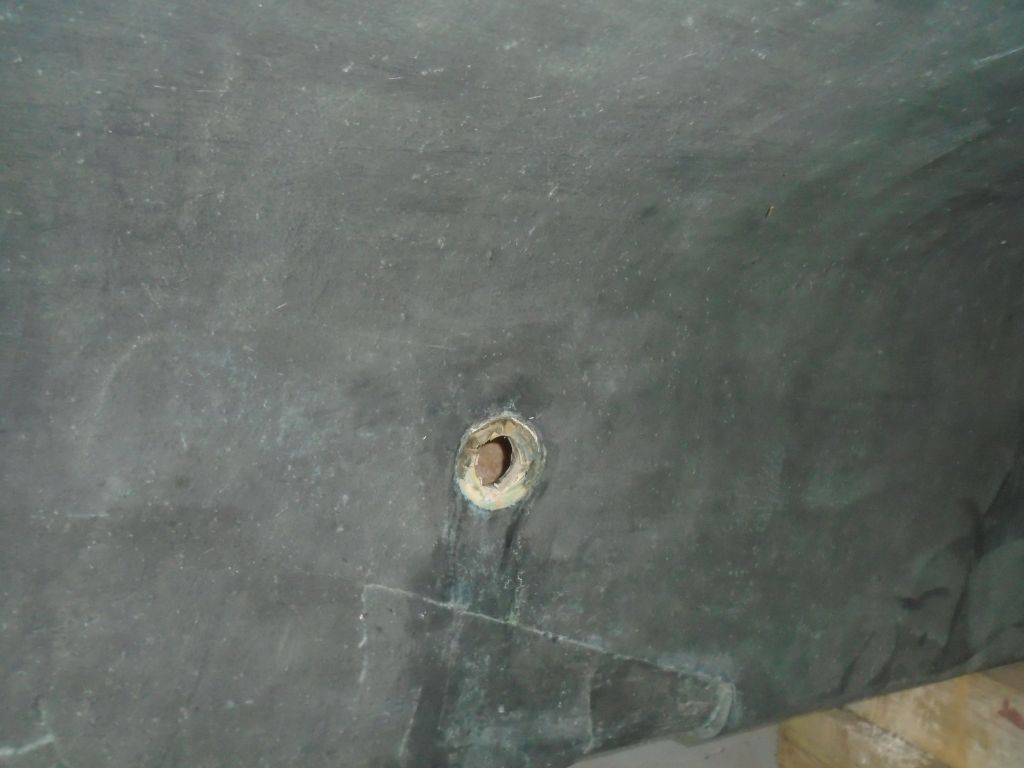
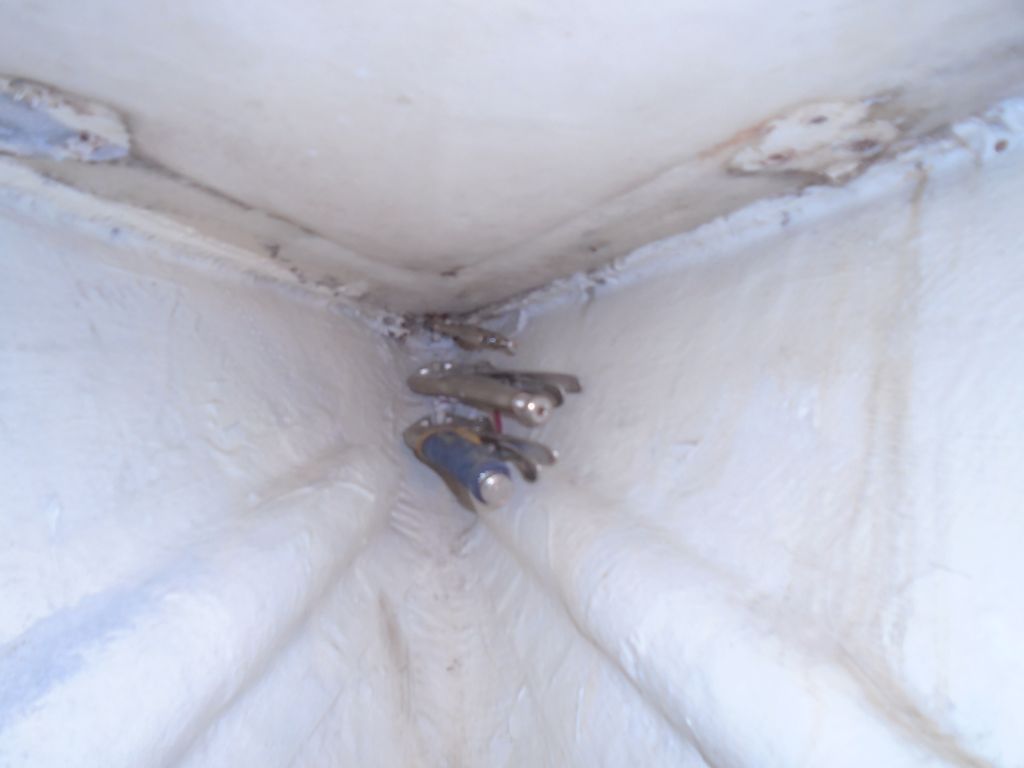
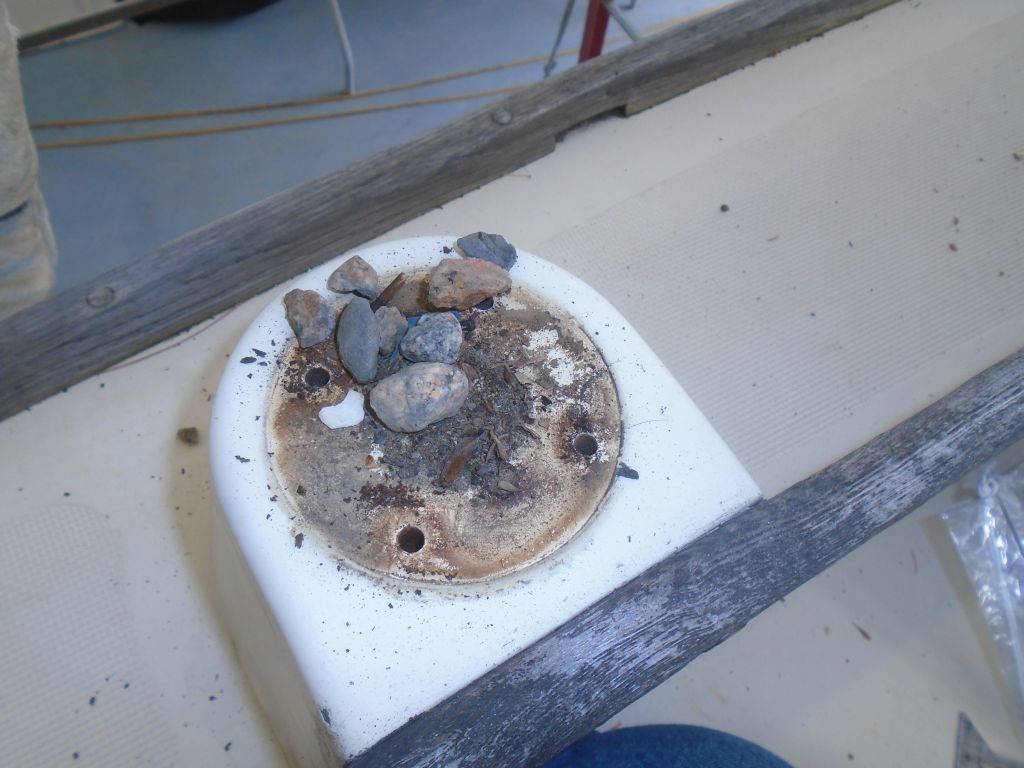
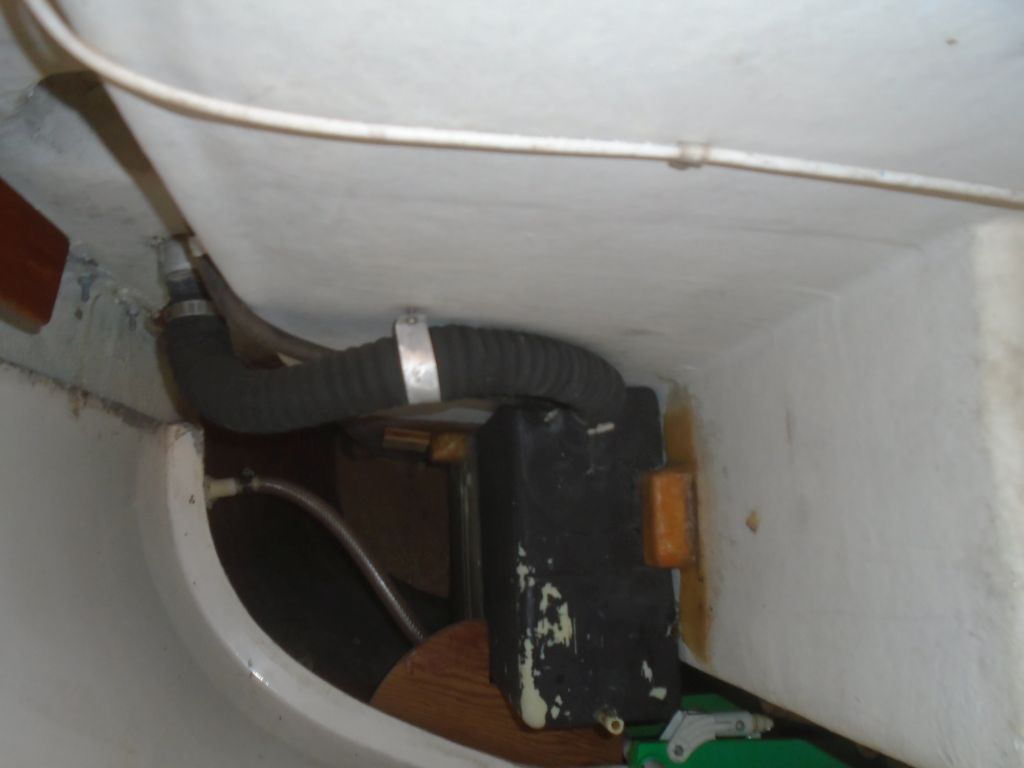
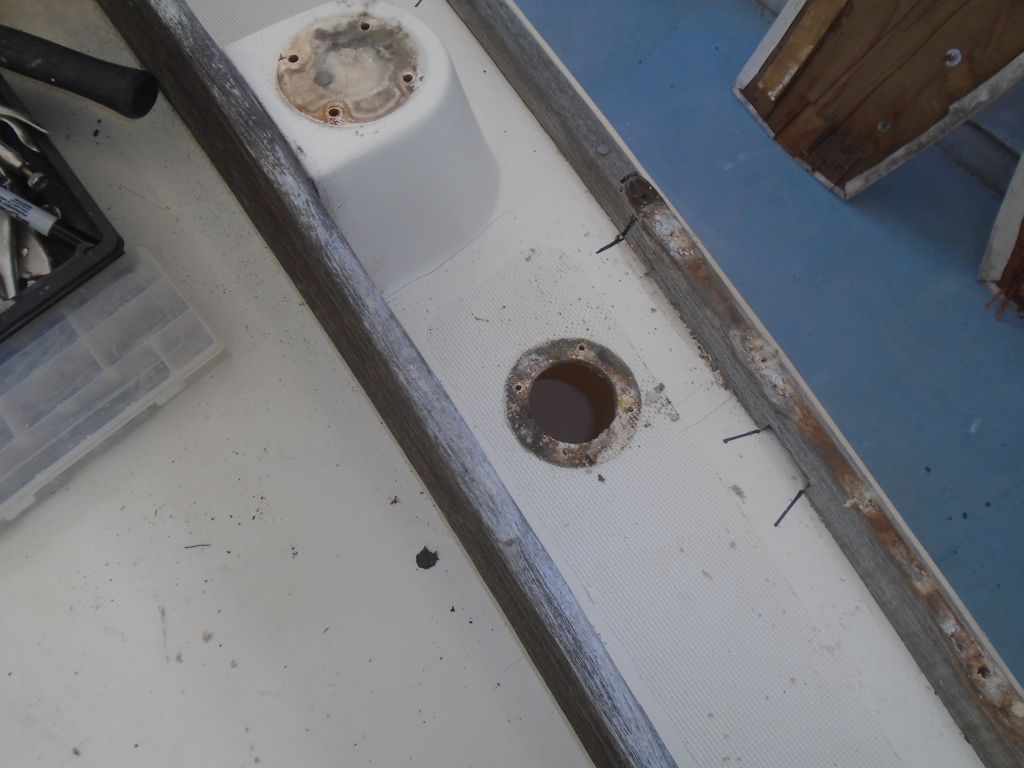
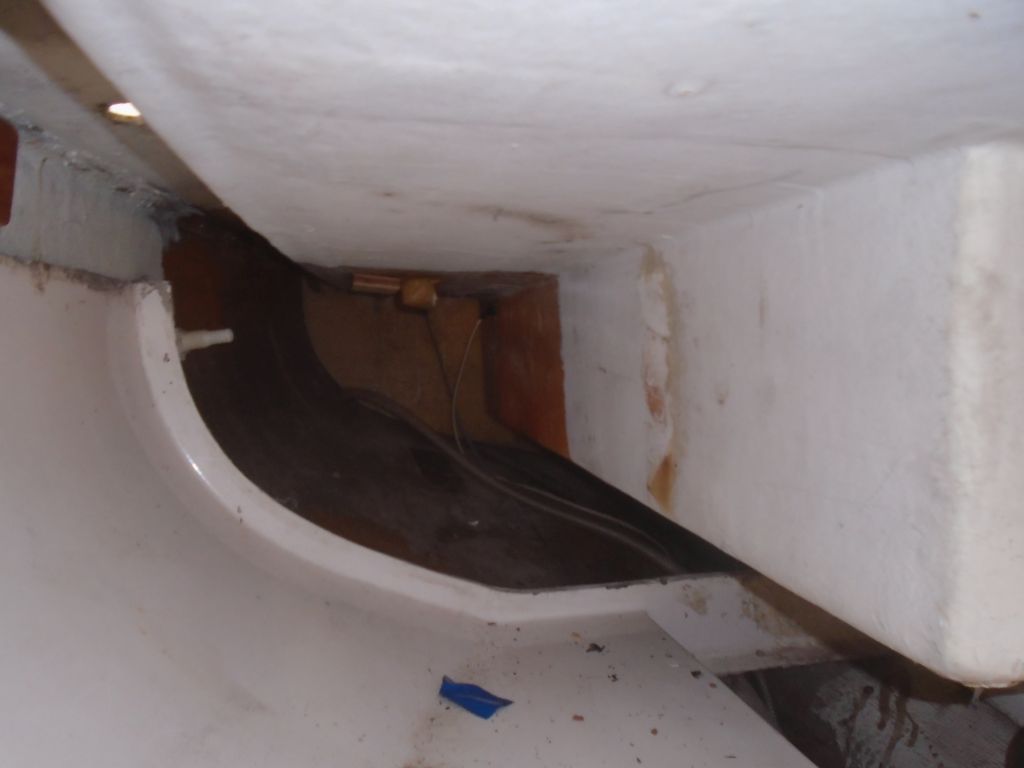
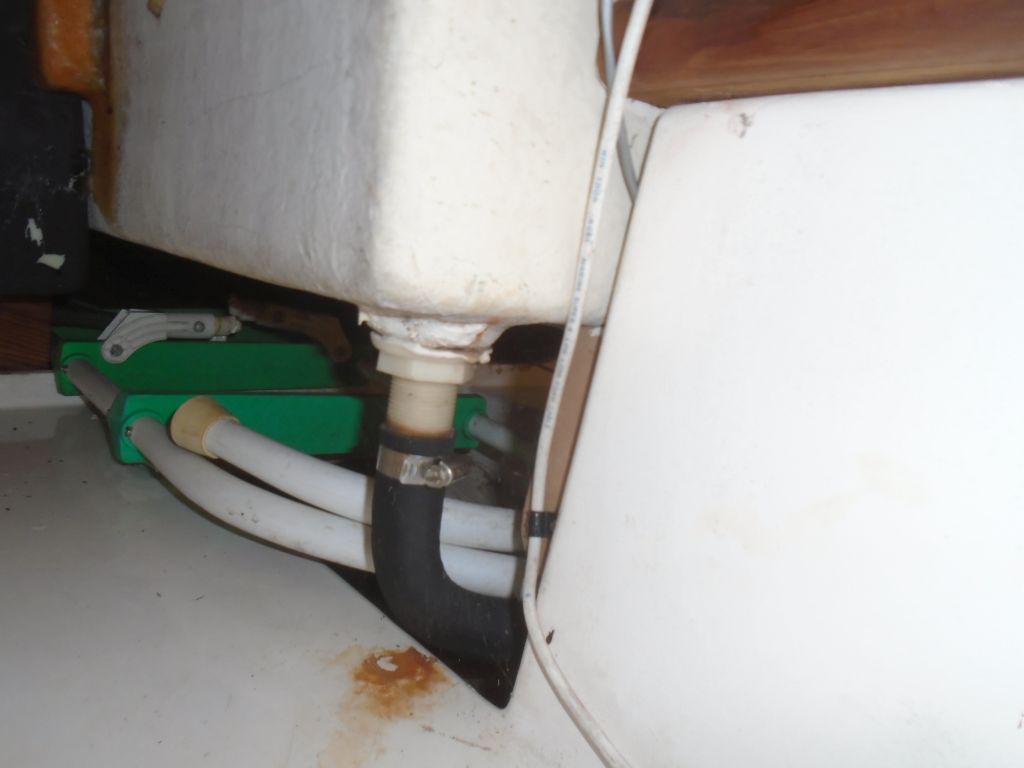
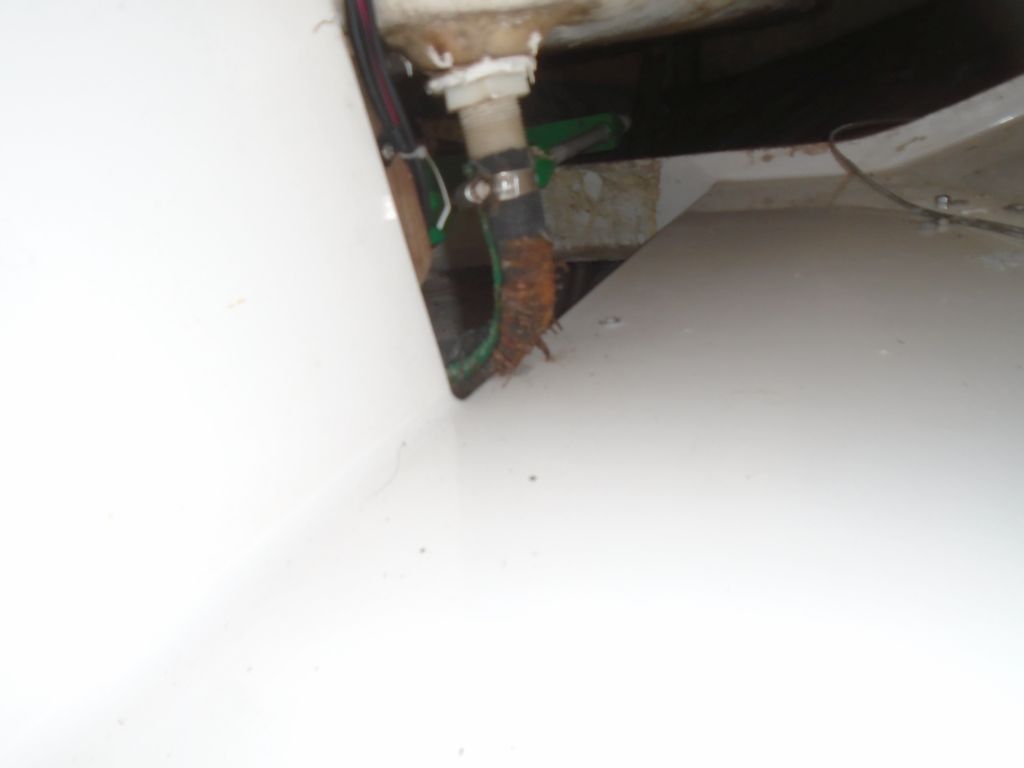
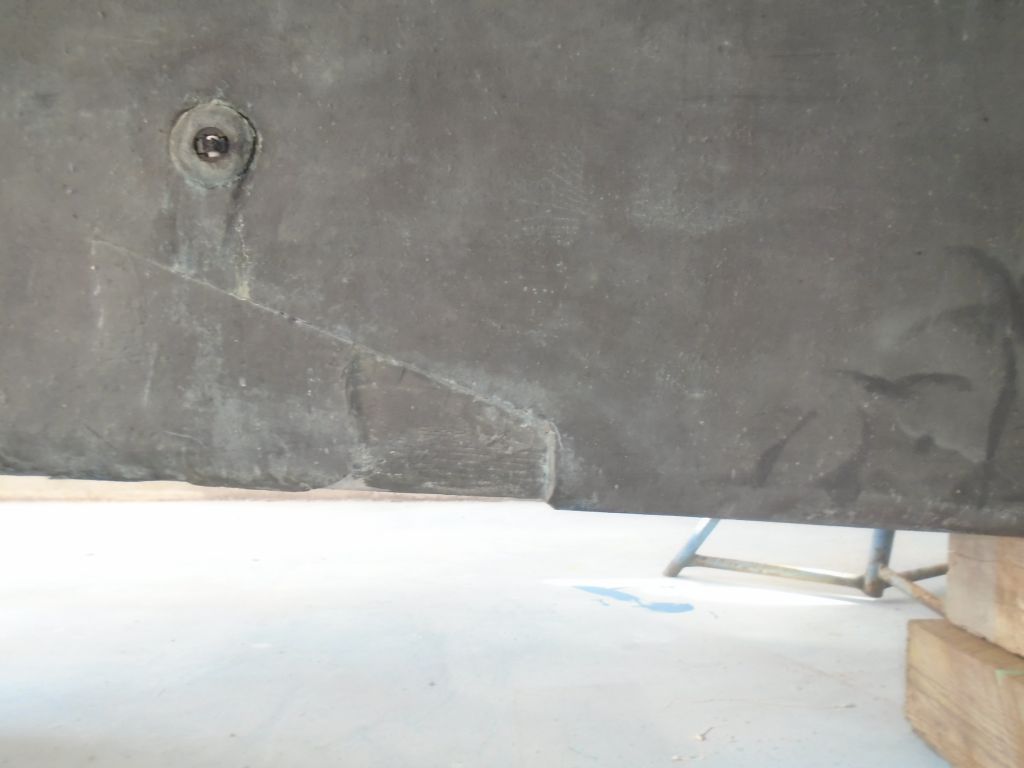
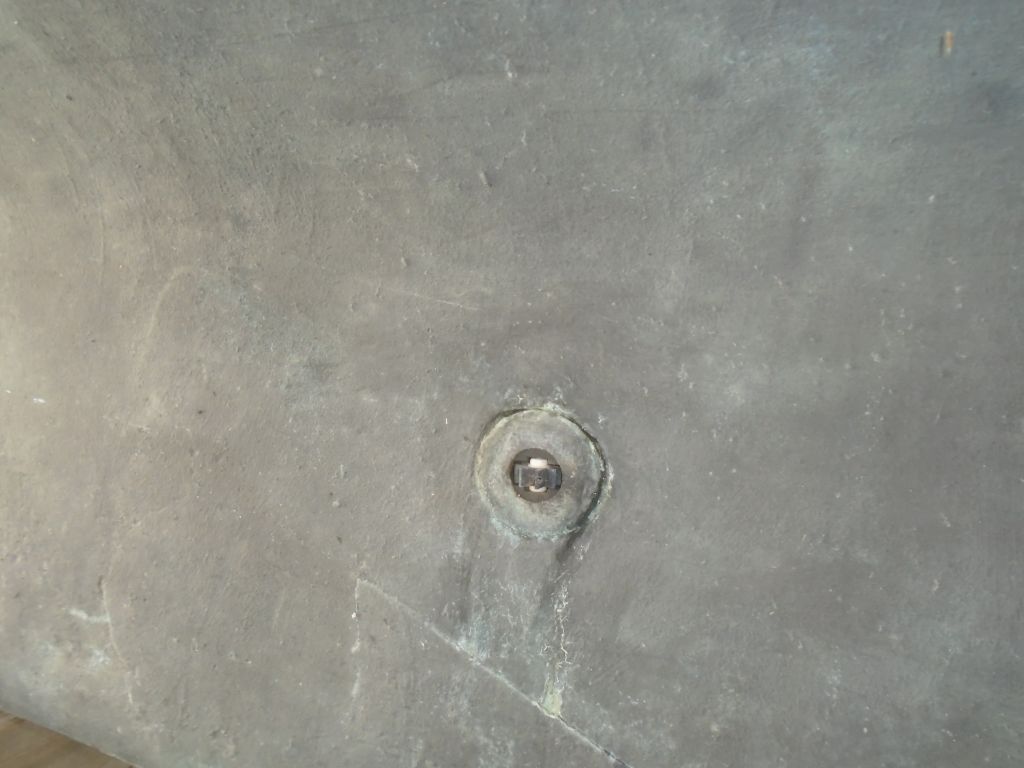
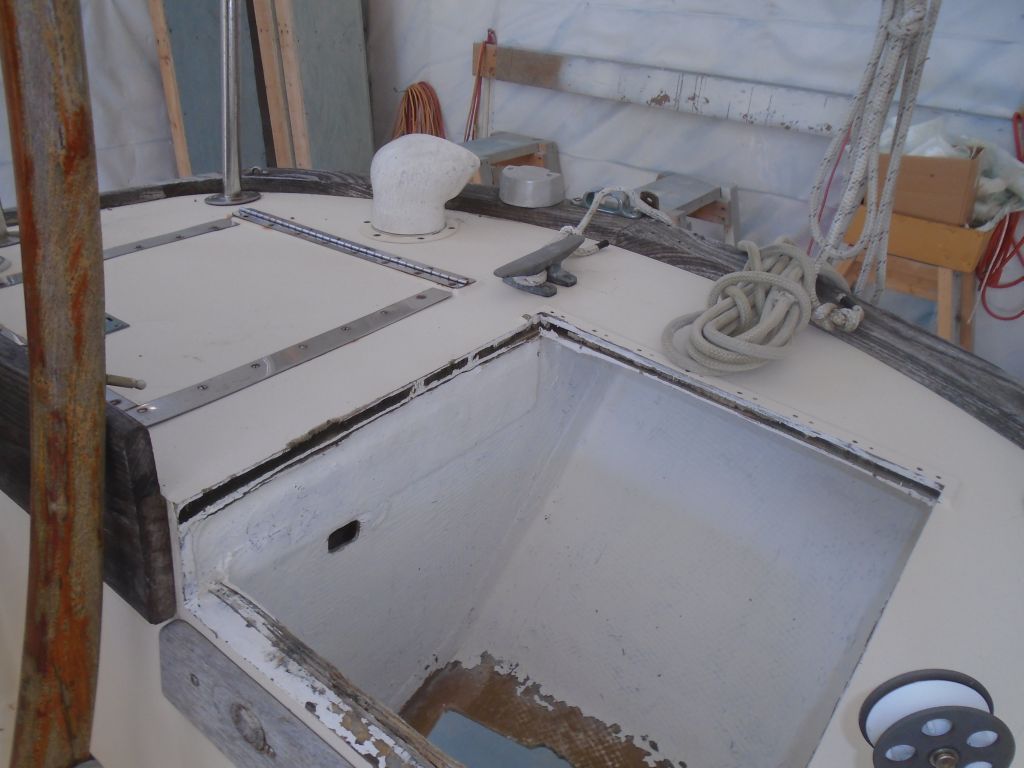
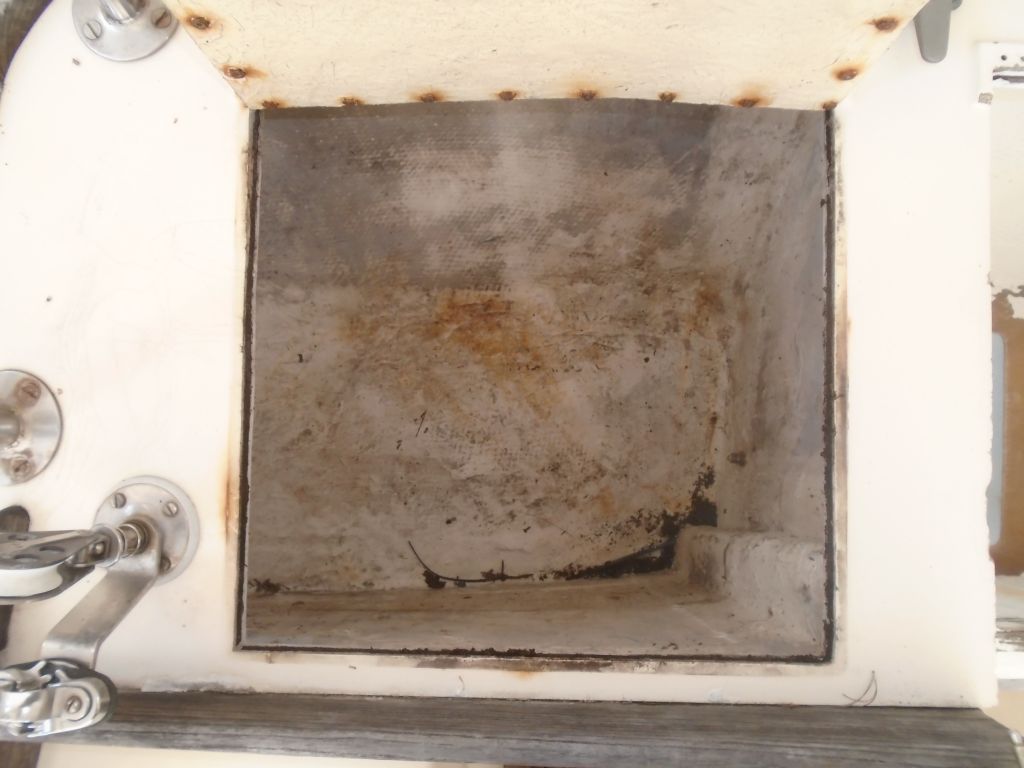
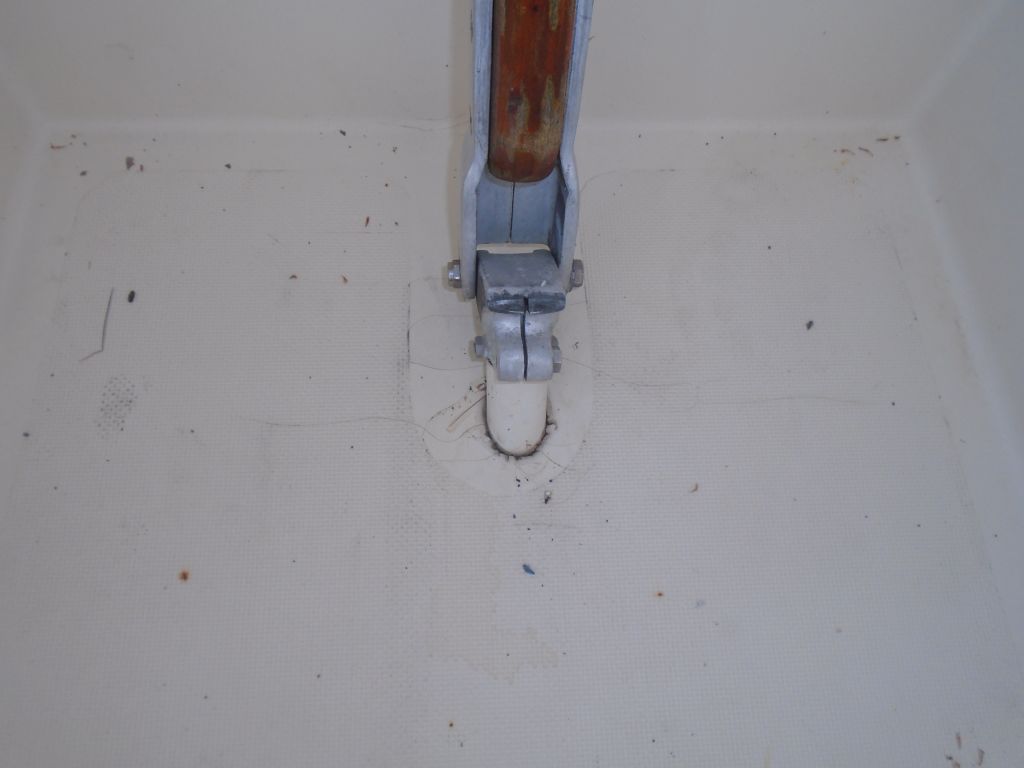
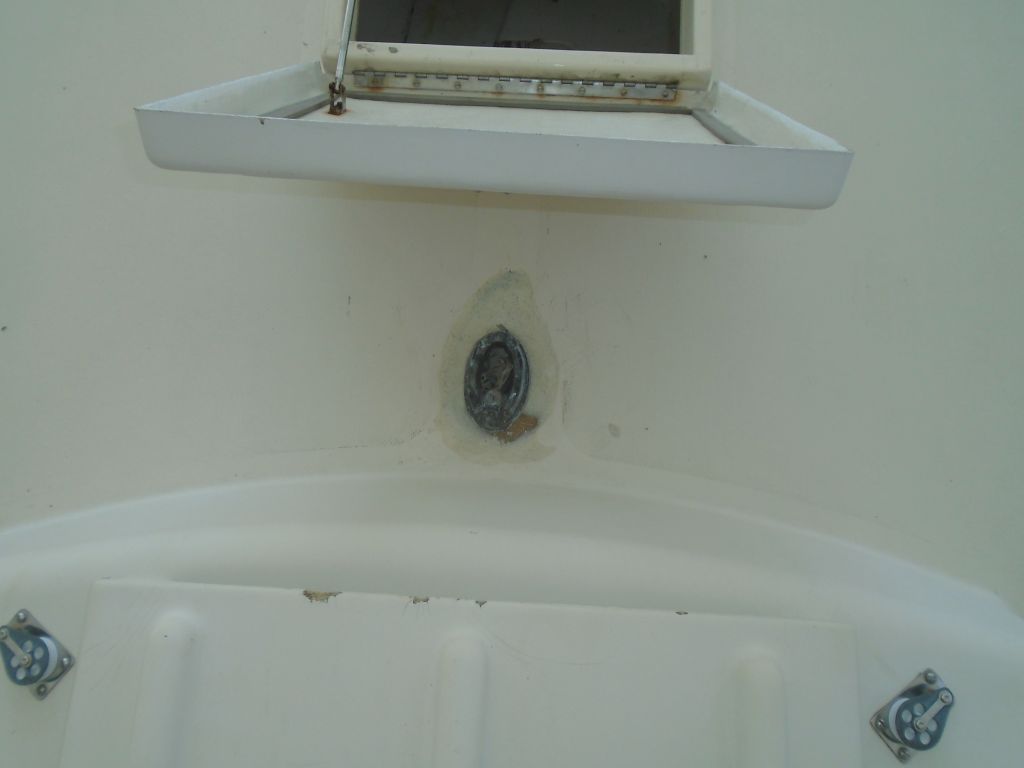
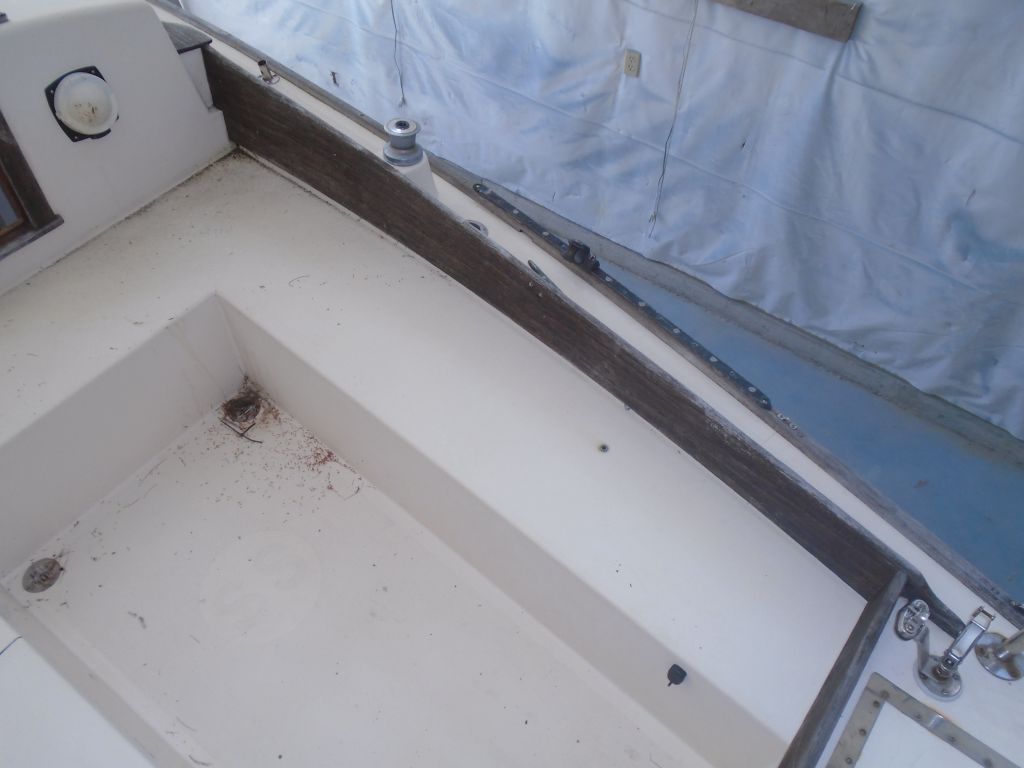
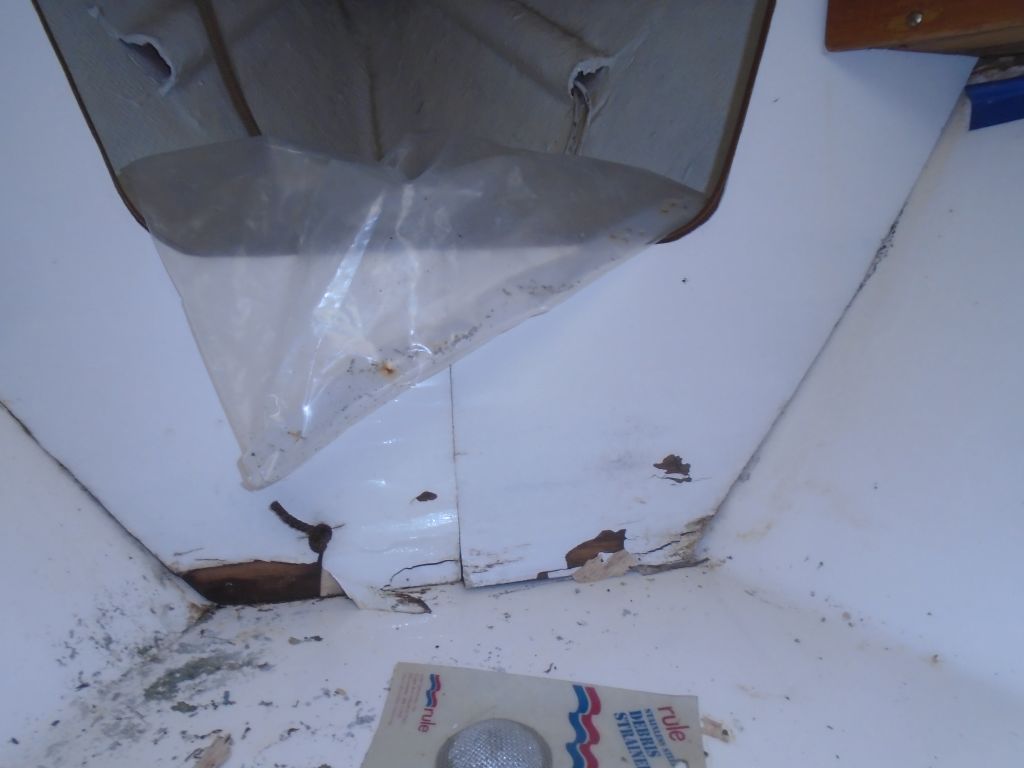
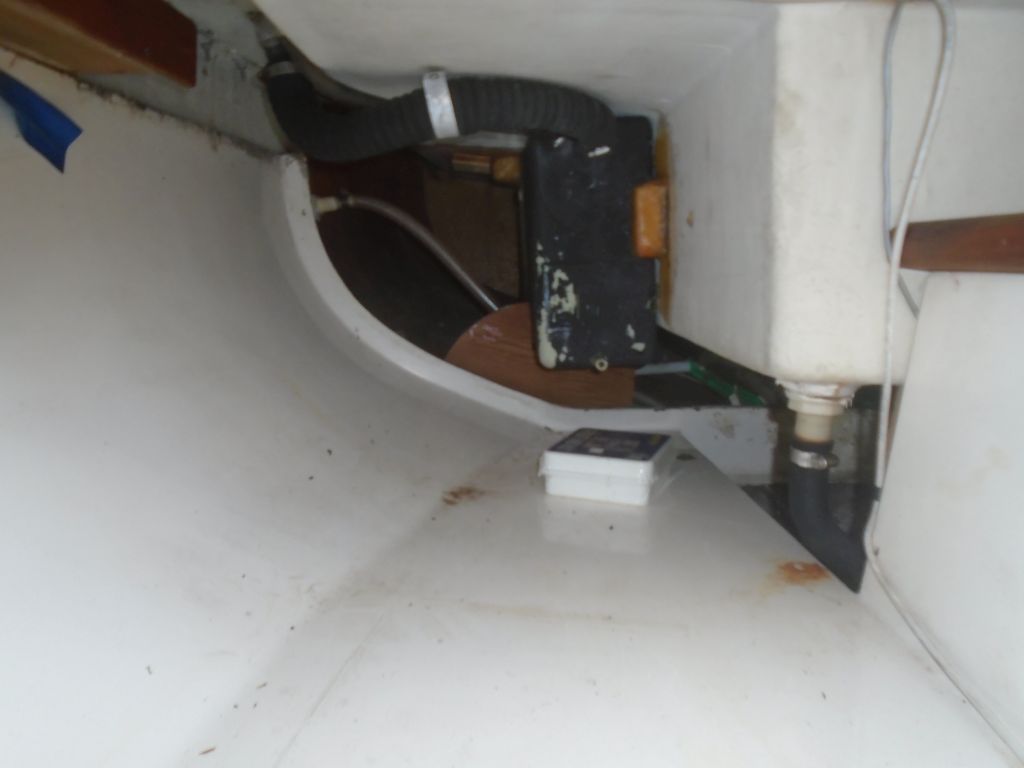
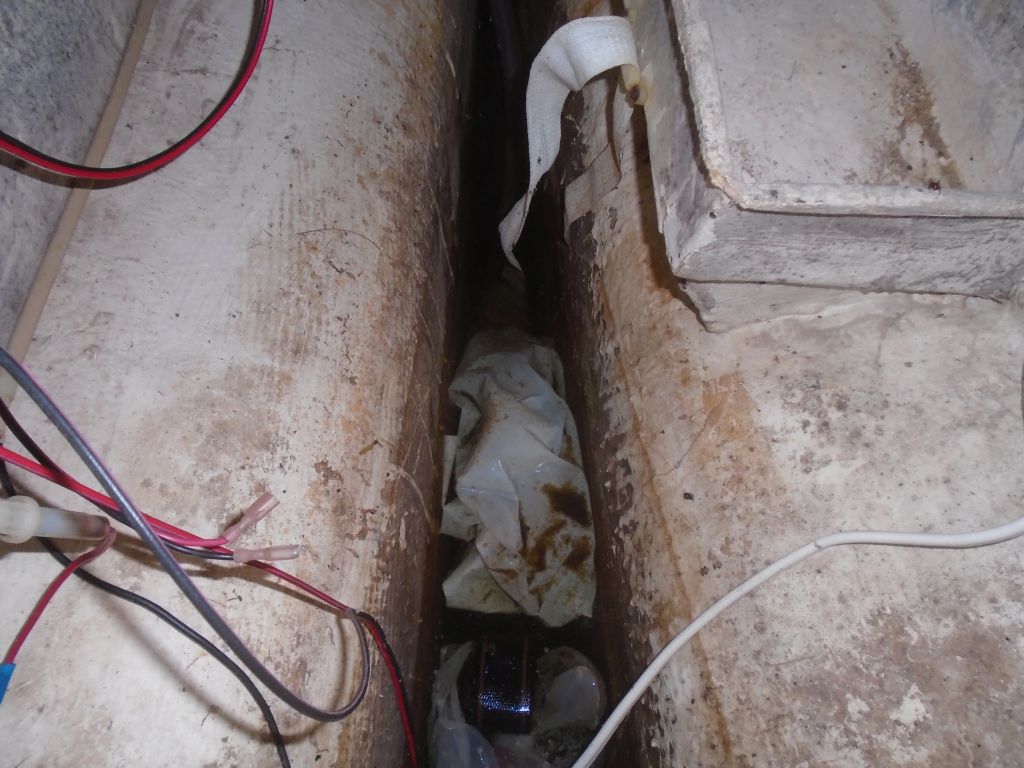
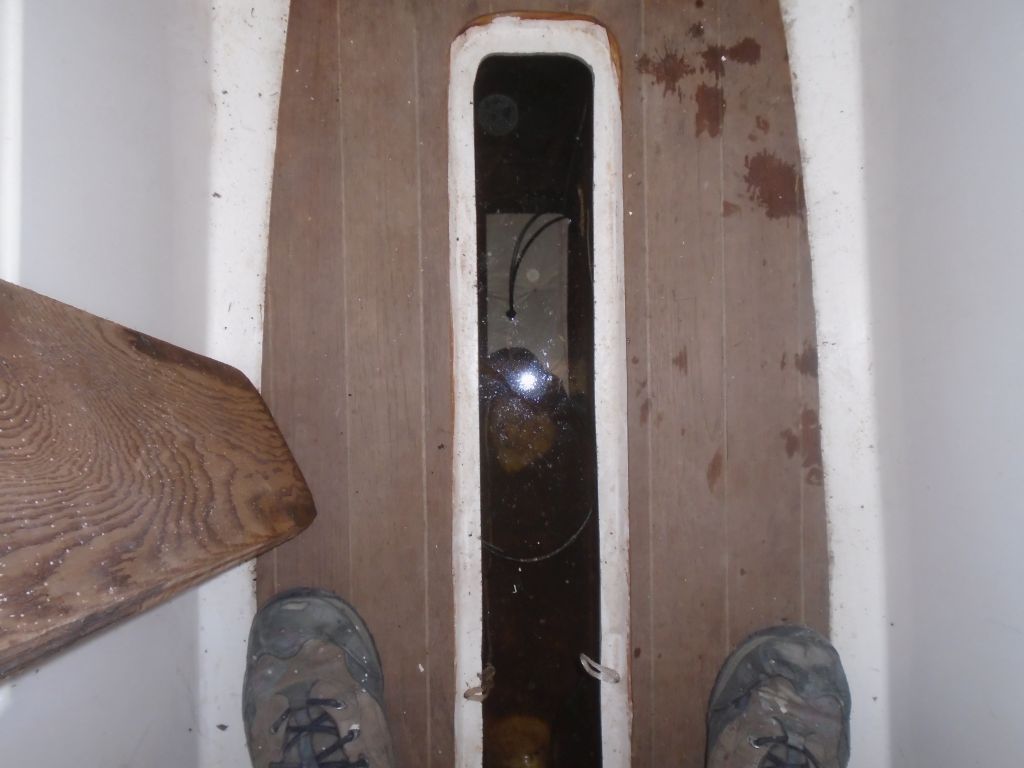
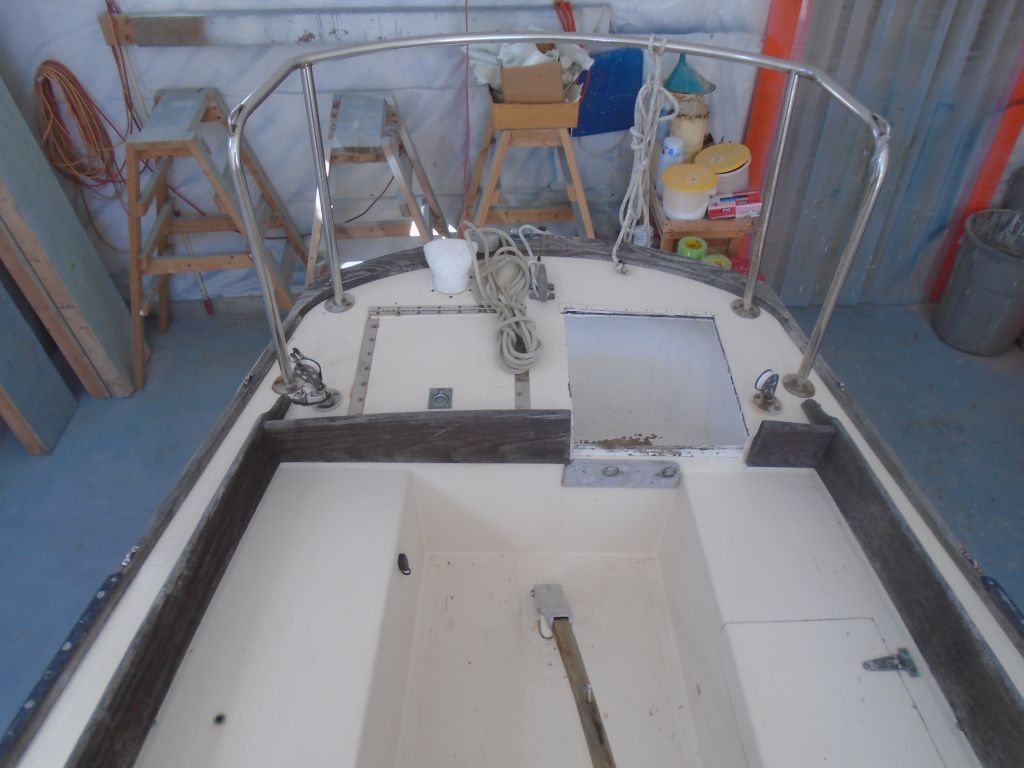
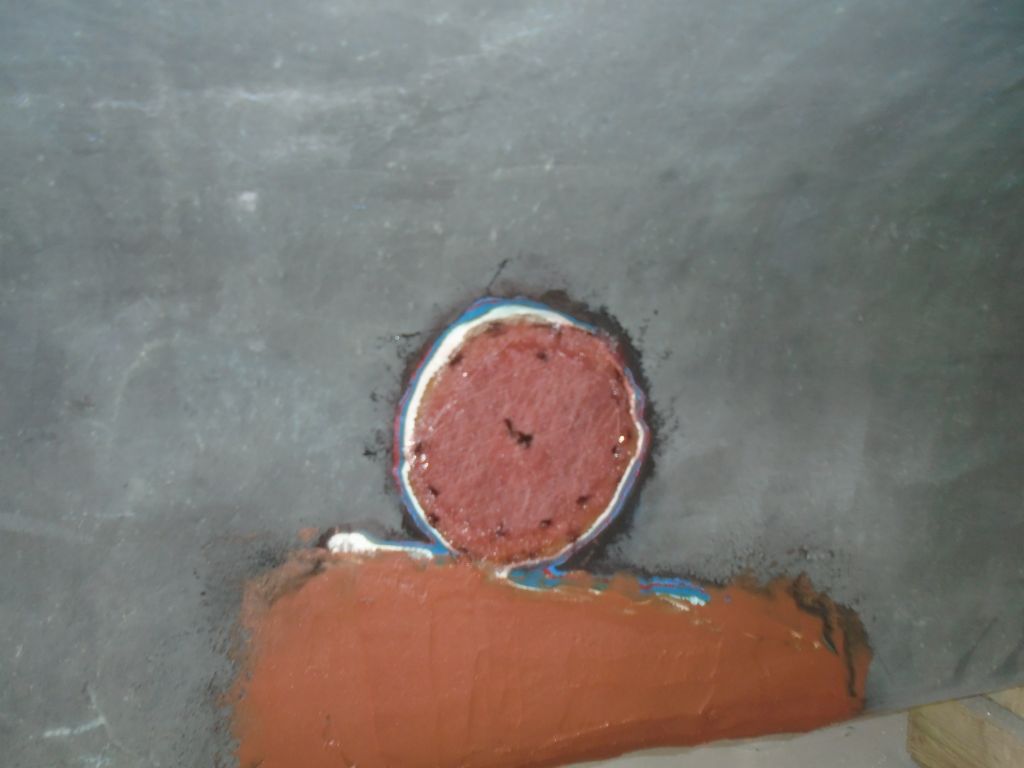
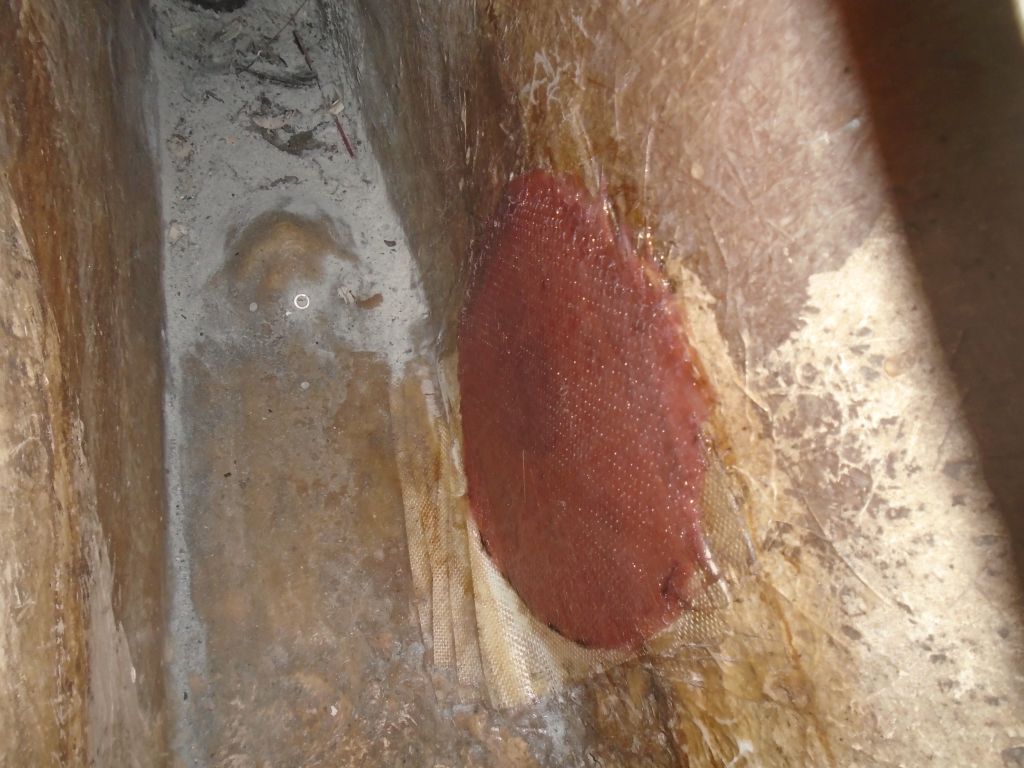
Meanwhile, I sanded the inside of the knotmeter patch area, and, after cleaning, masked over the opening in the bilge so I could fill the hole from outside with a thickened epoxy mixture.  After a while, the epoxy plug had cured enough to allow me to install layers of biaxial fiberglass on the outside and, later, on the inside, once I removed the tape.

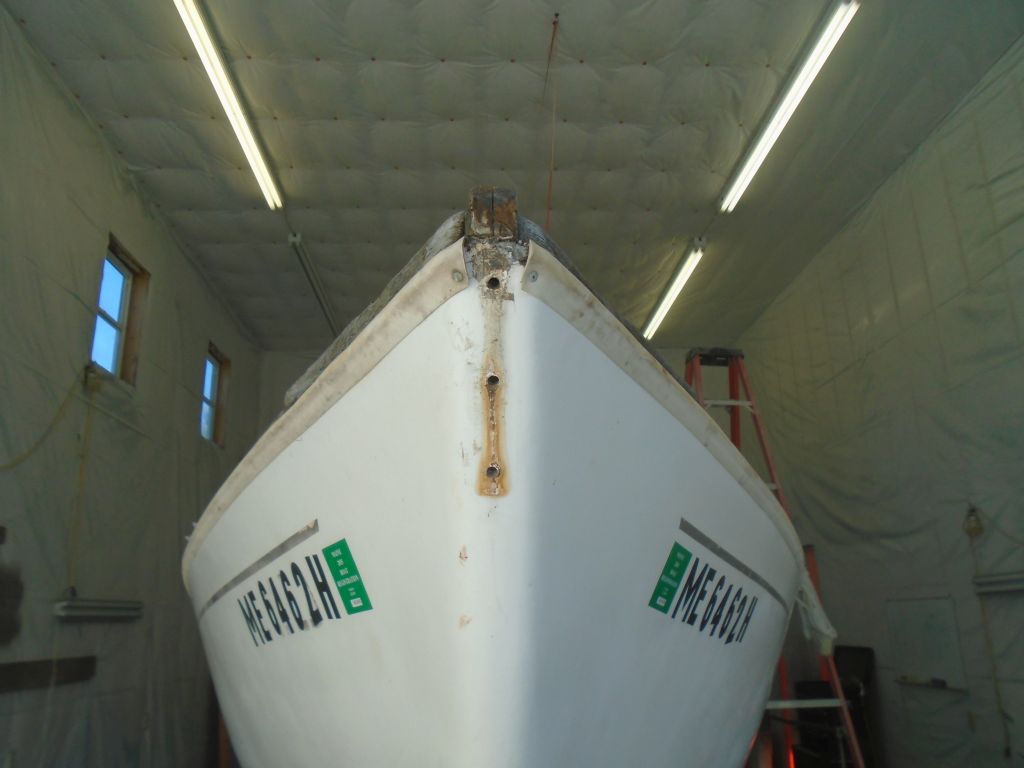
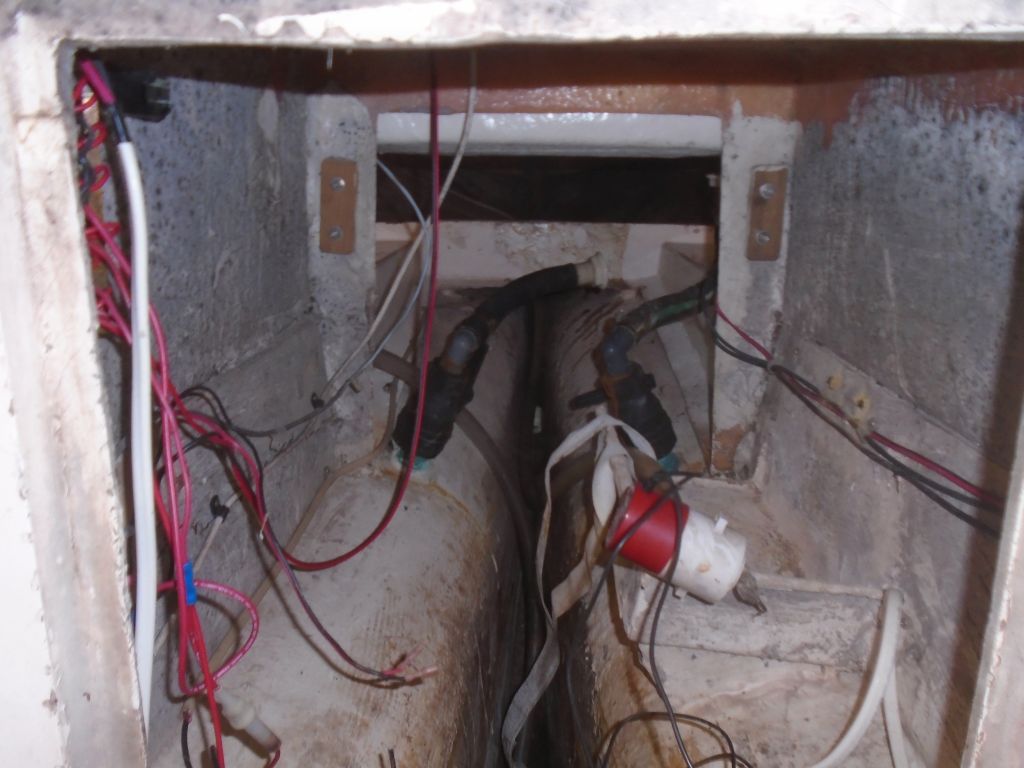
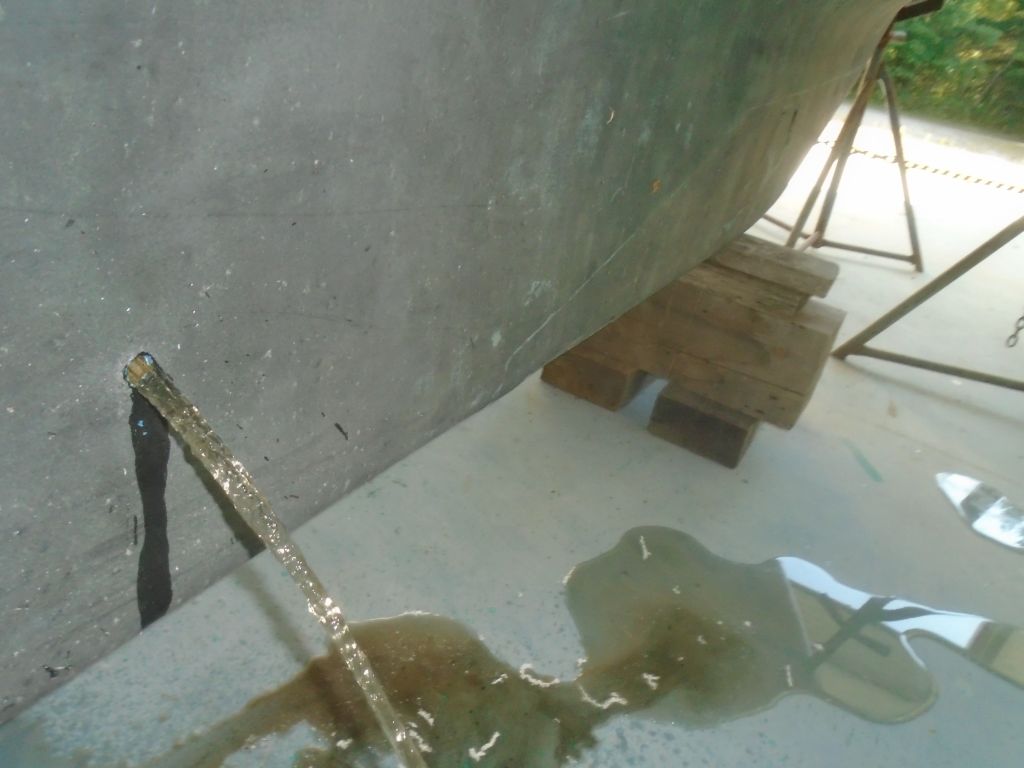
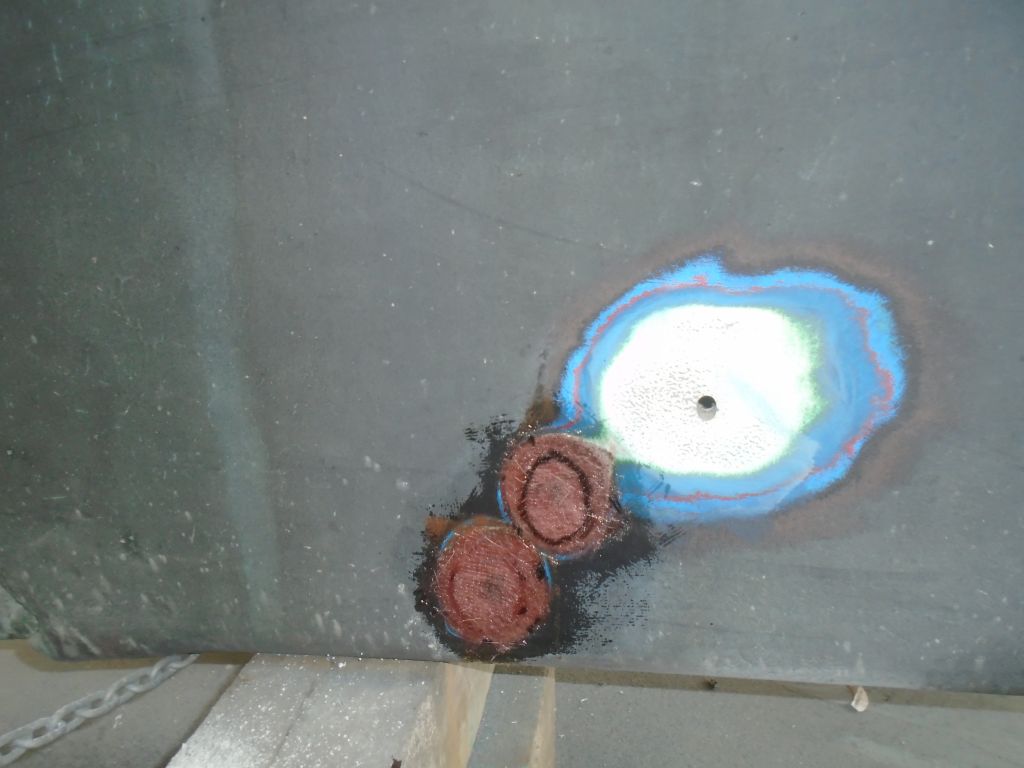
I also took a moment to fill and patch with fiberglass two erroneous holes someone (ahem) had drilled in the keel deadwood while searching for the actual bilge sump to drain the water at the onset of the project.  The third hole, which was in the right location, would later become a larger hole to accommodate a bronze garboard drain.

km3-100115

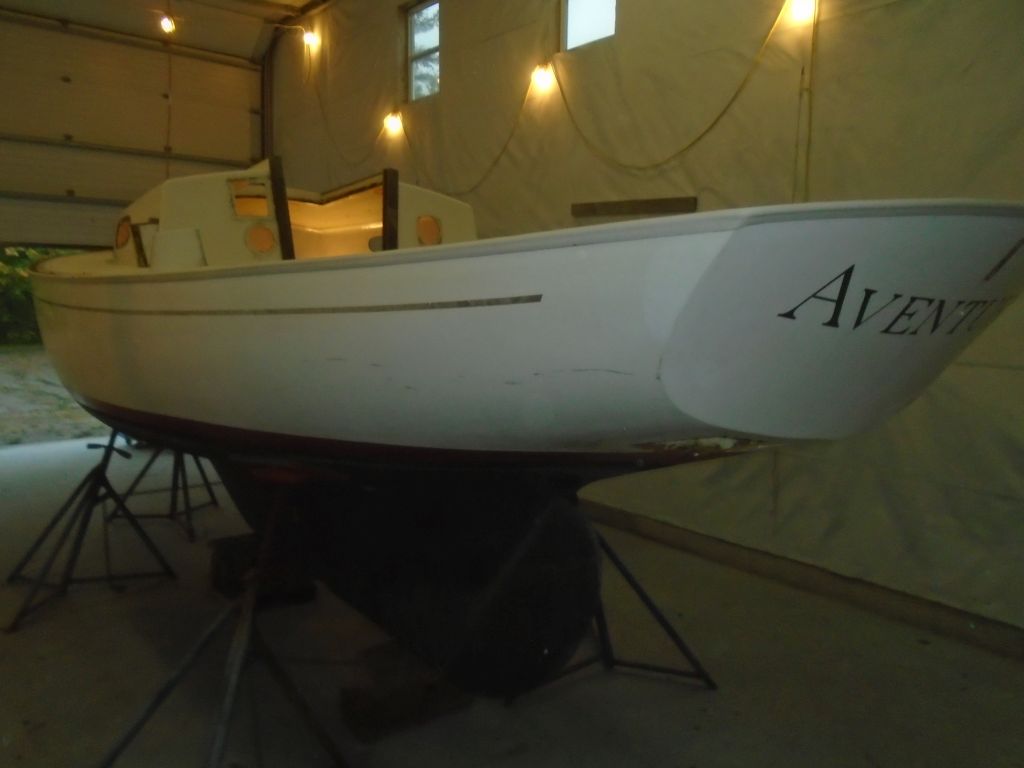
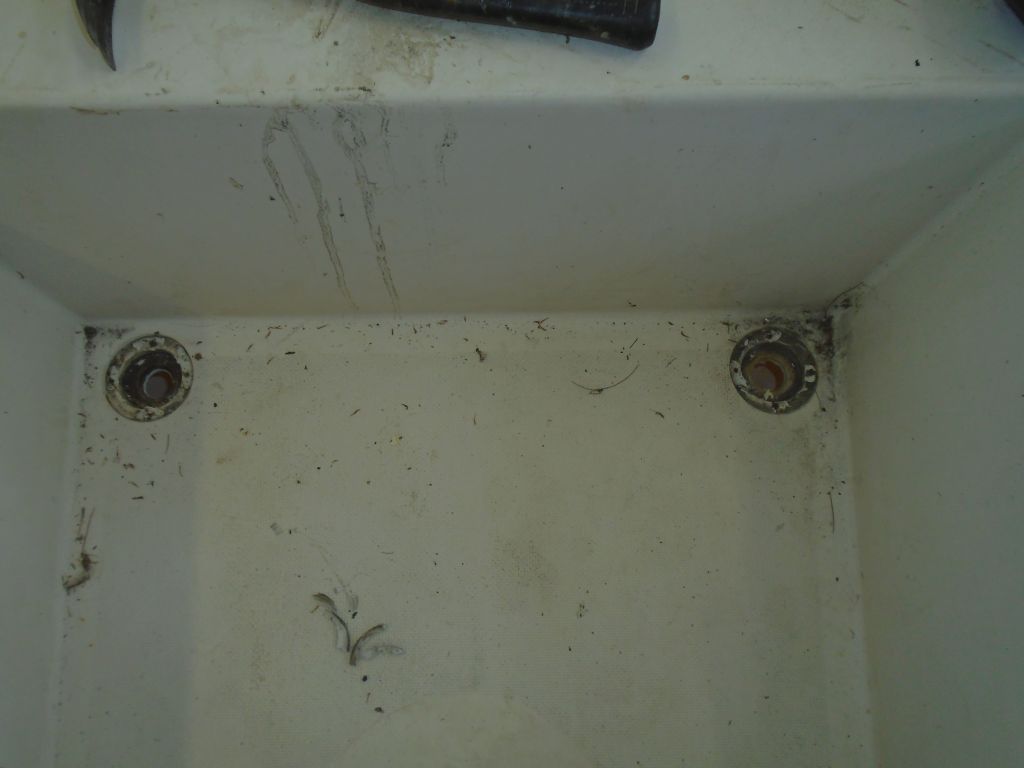
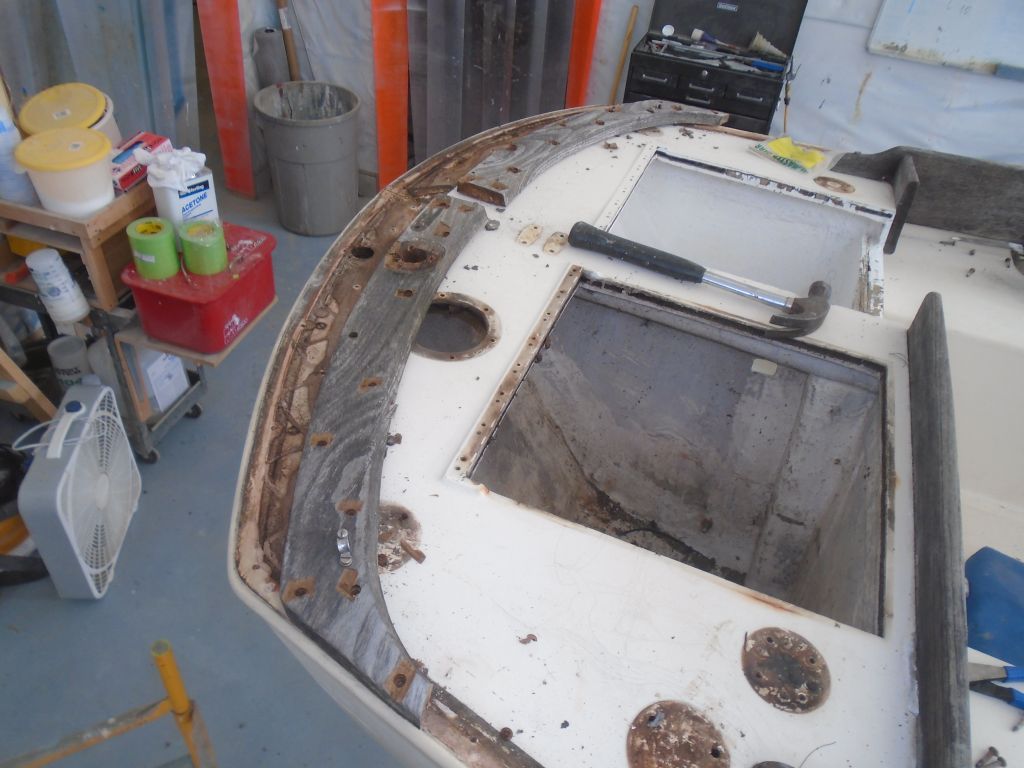
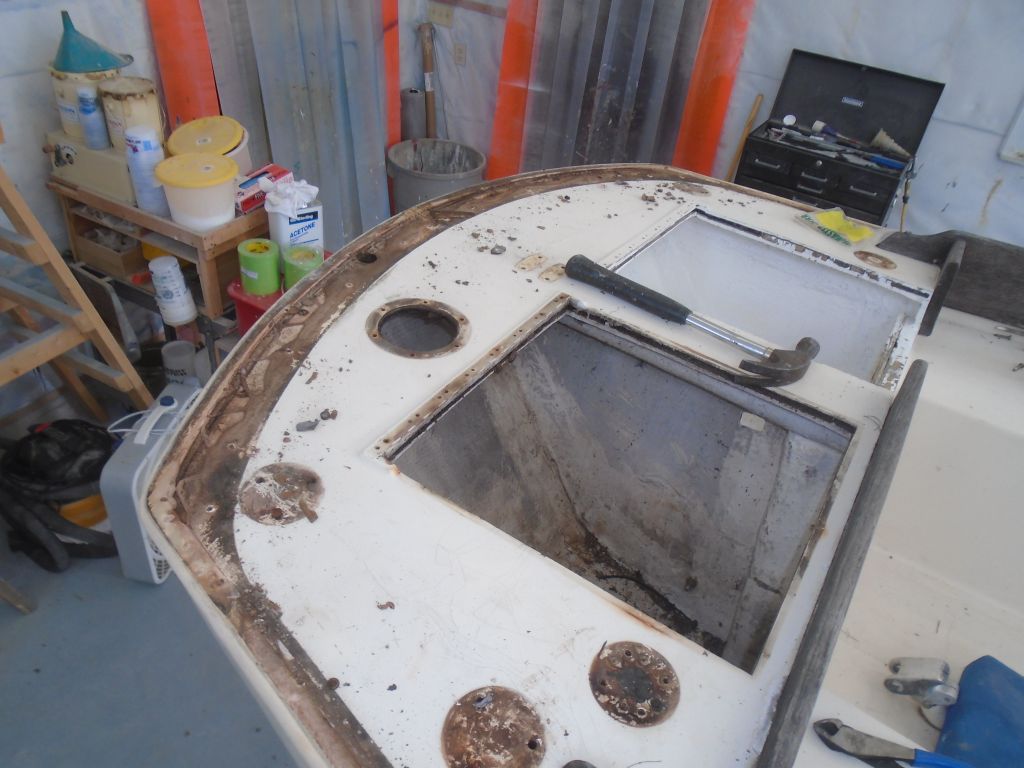
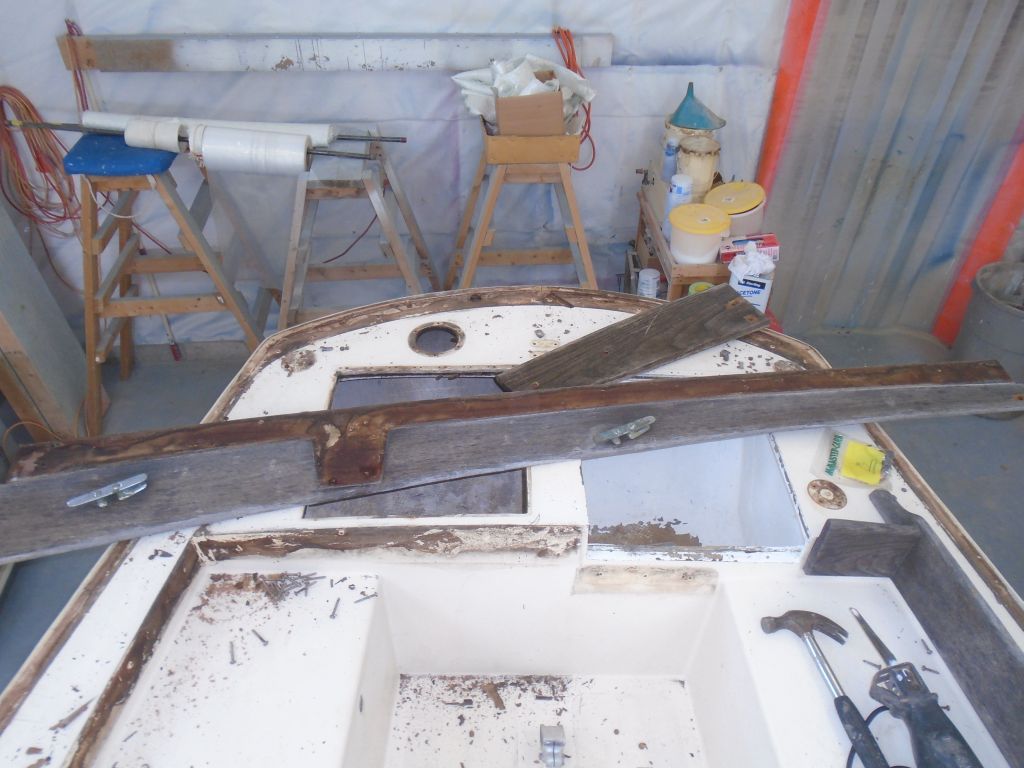
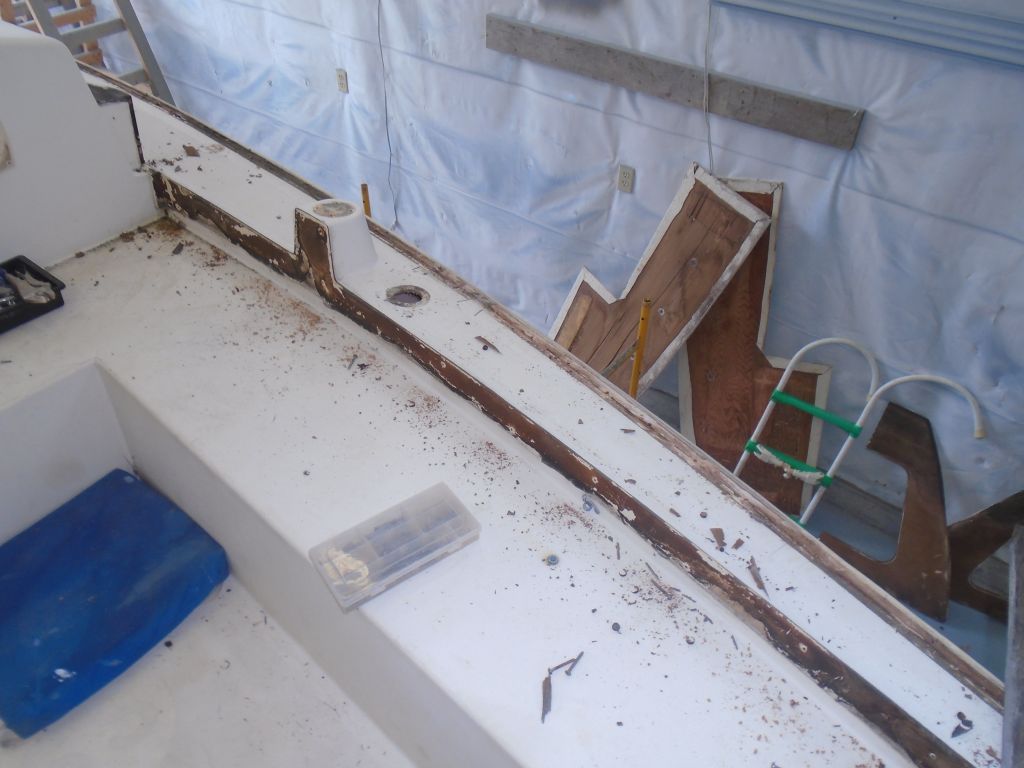
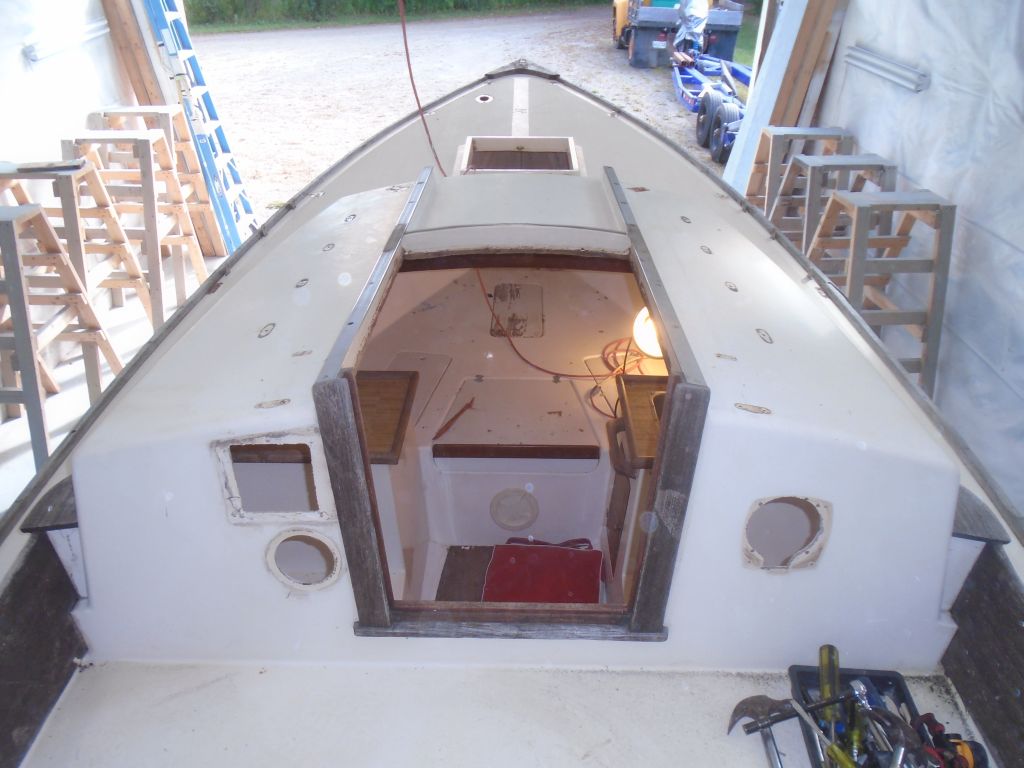
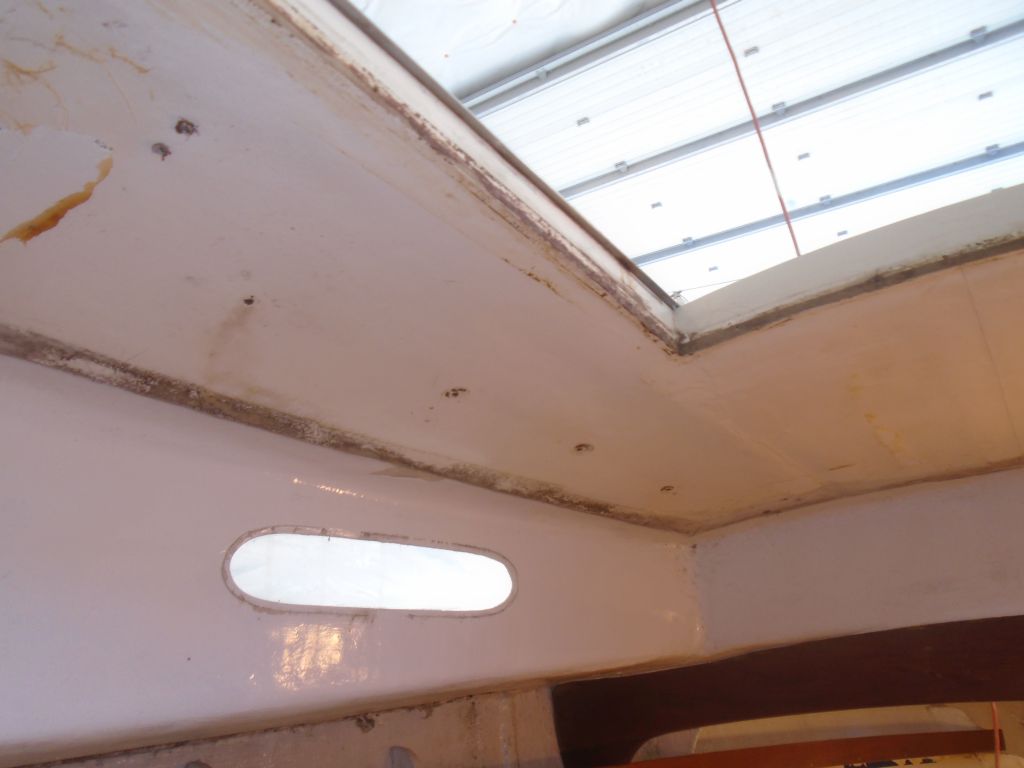
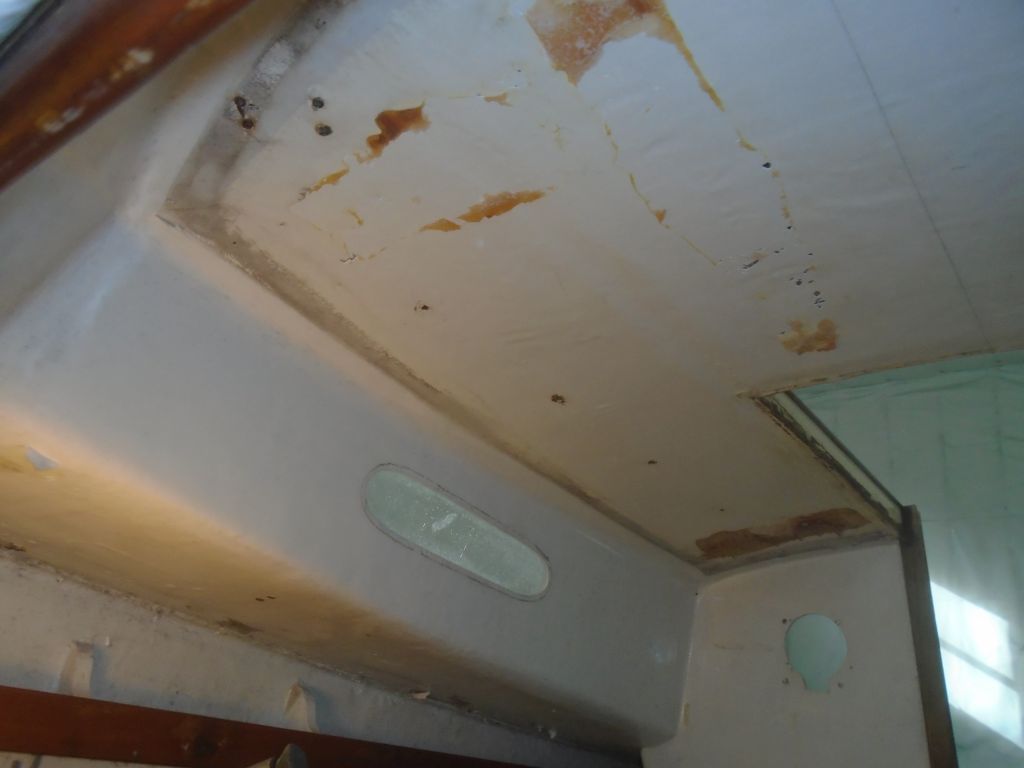
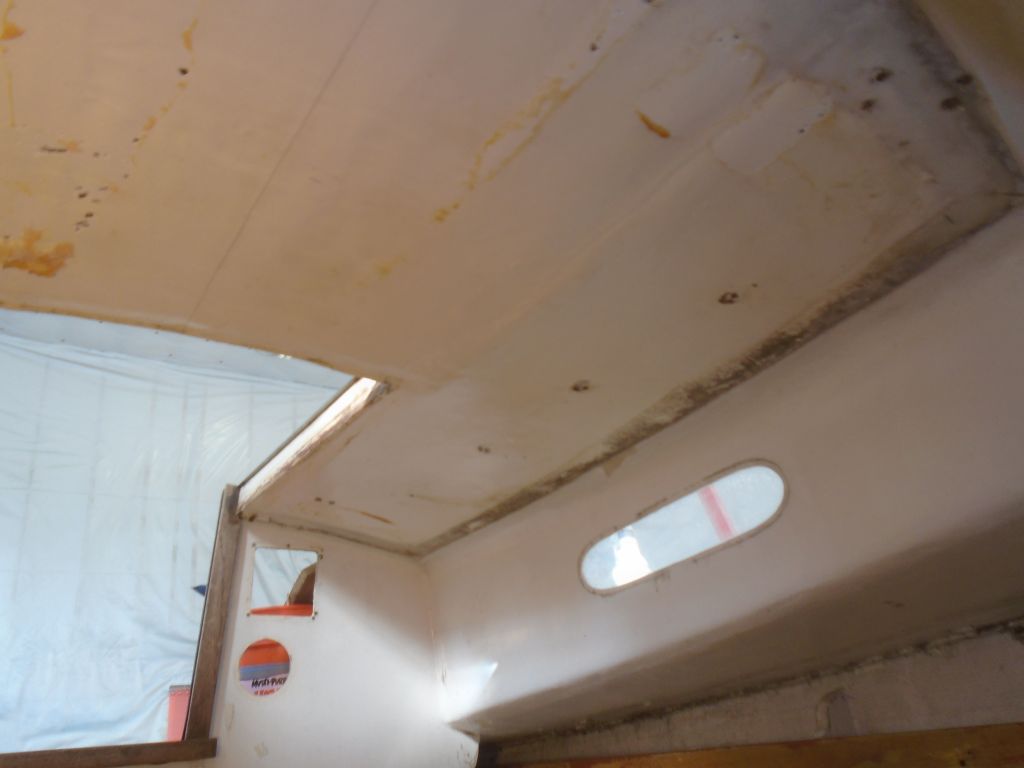
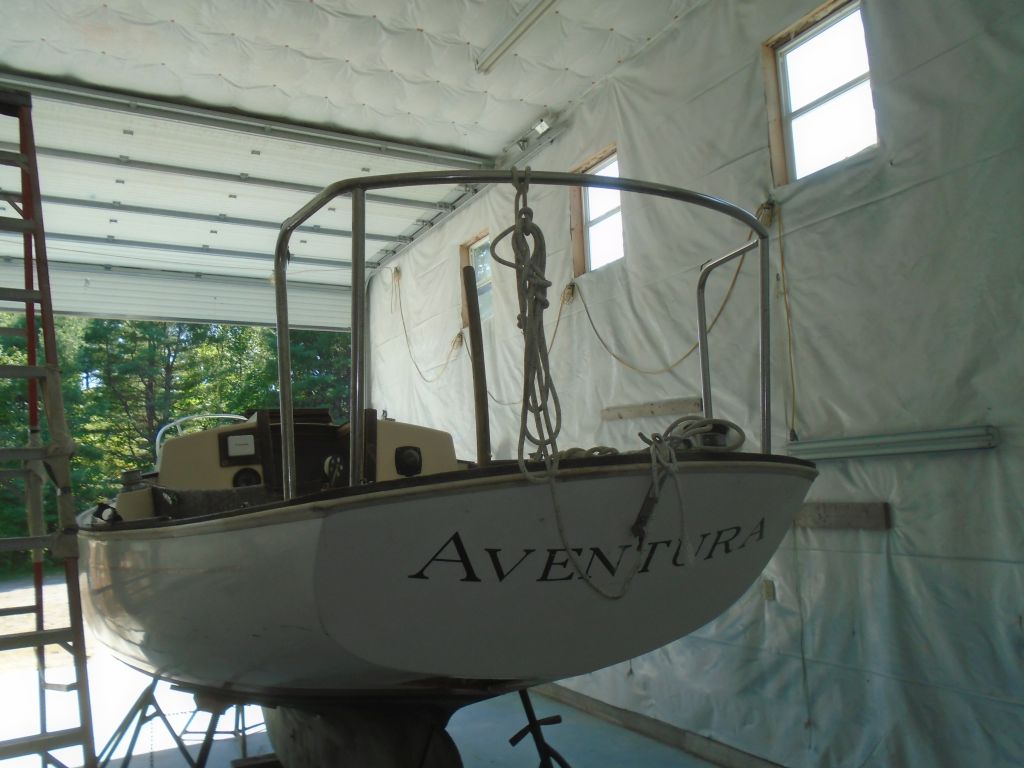
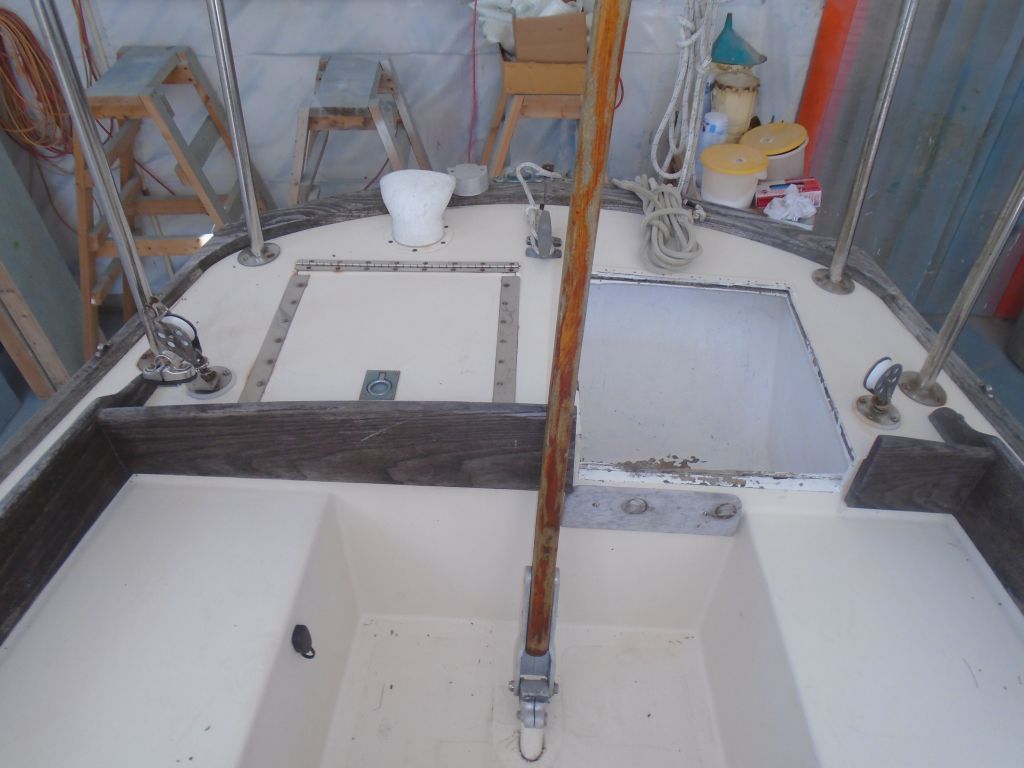
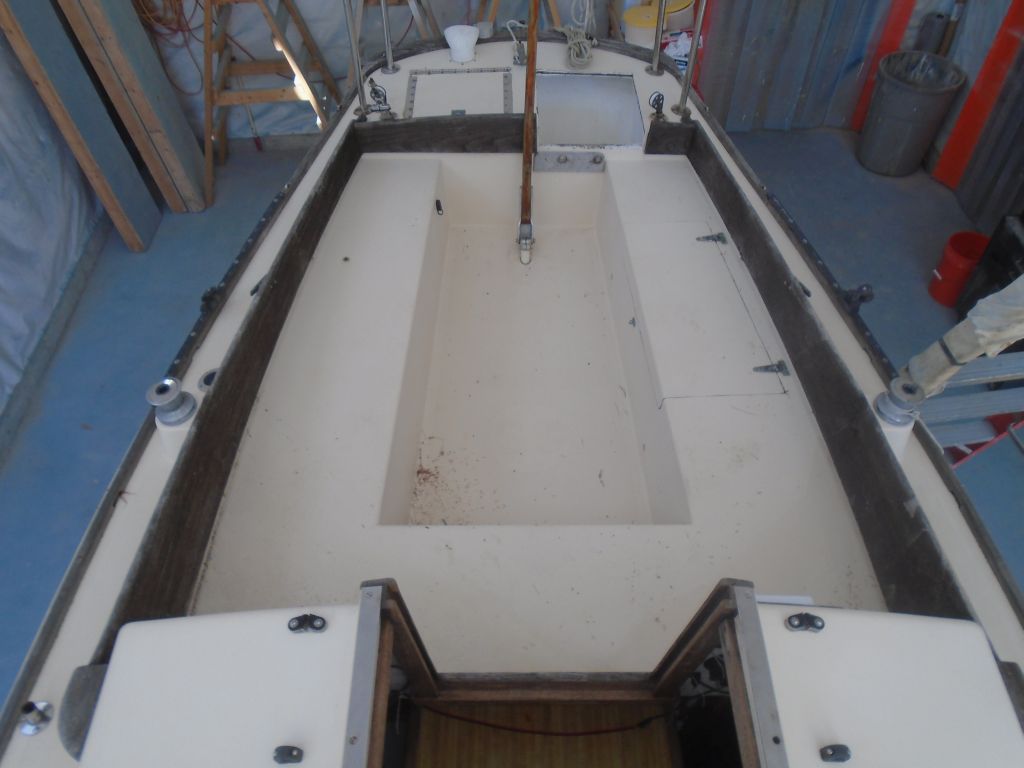
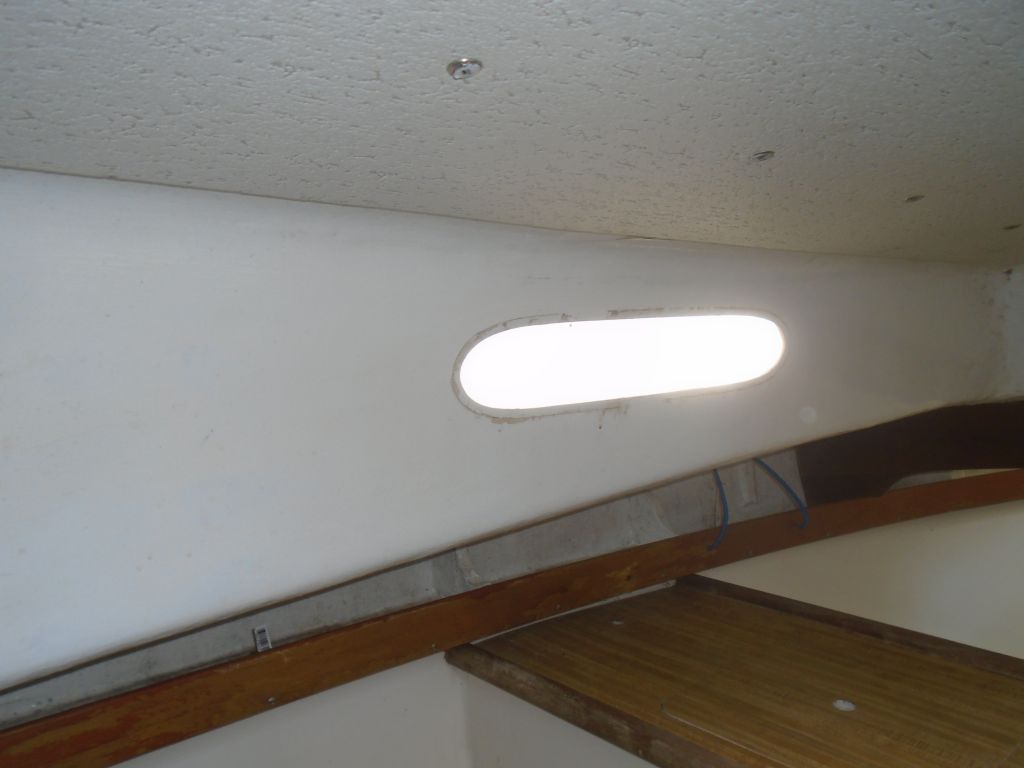
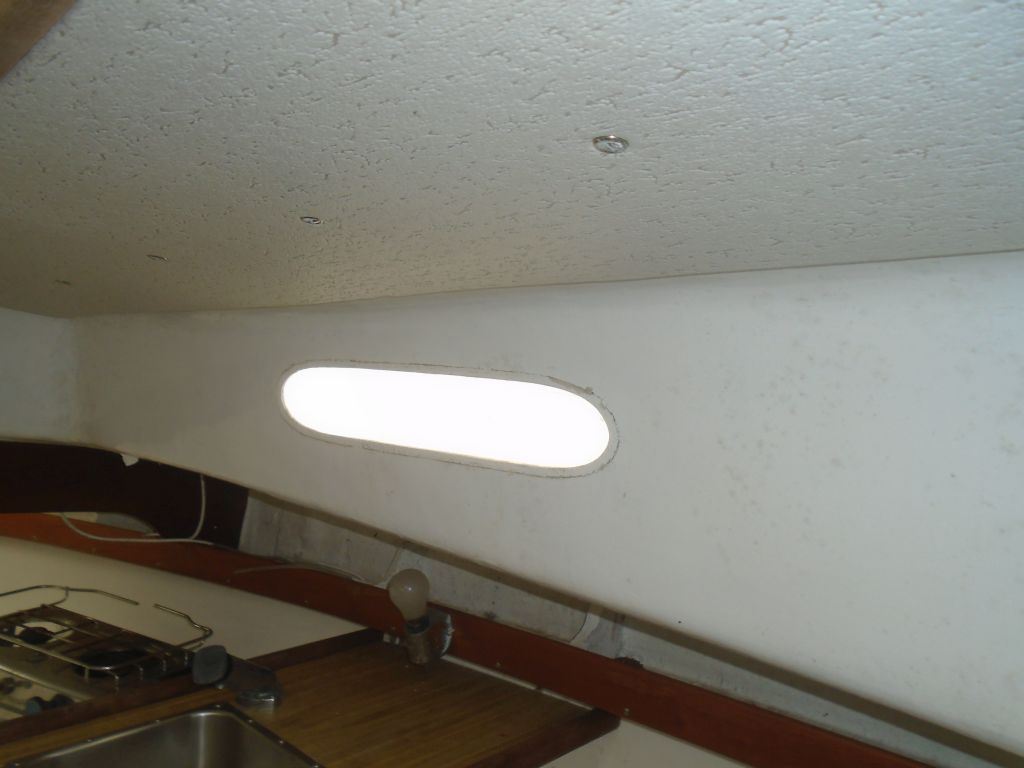
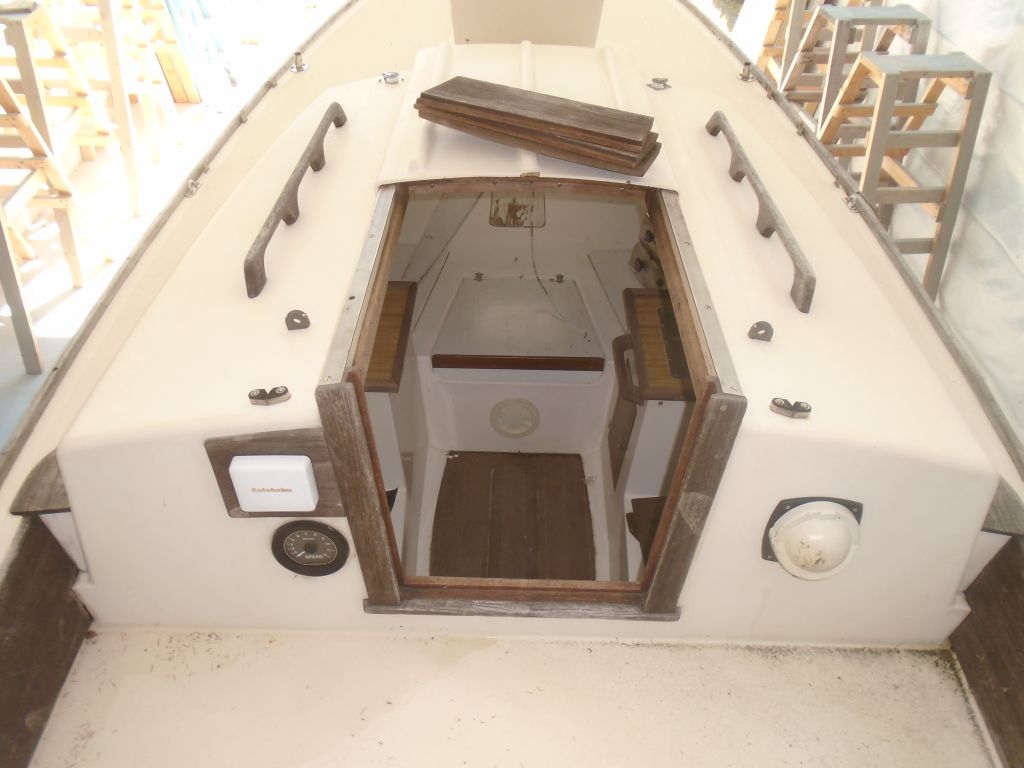
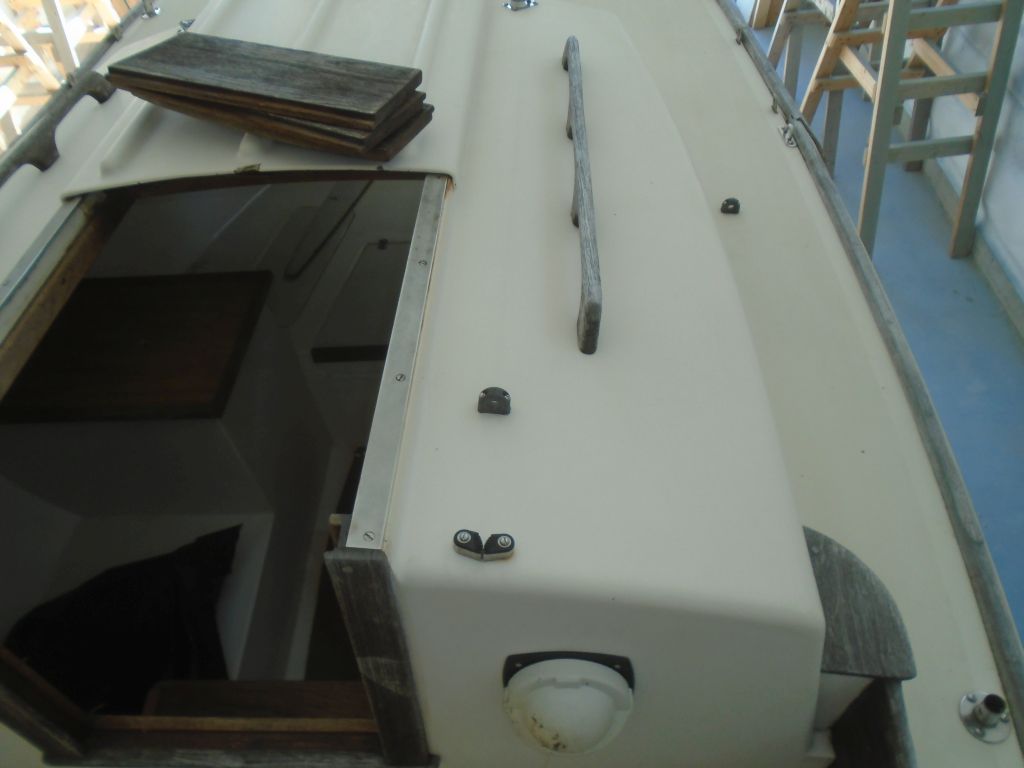
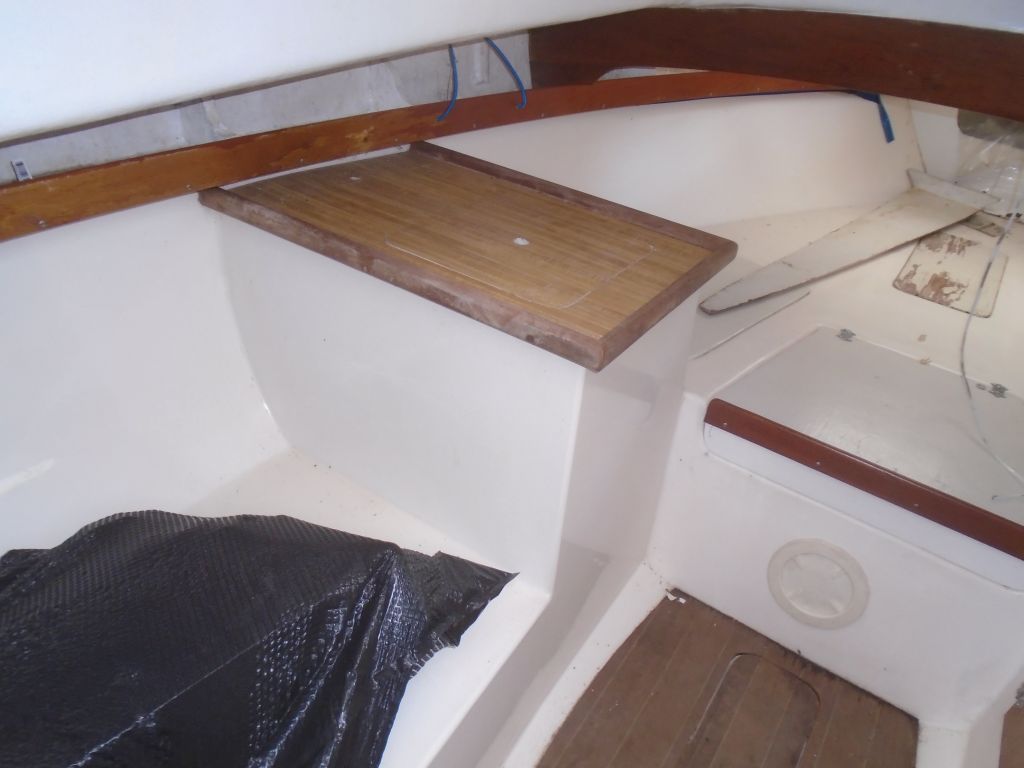
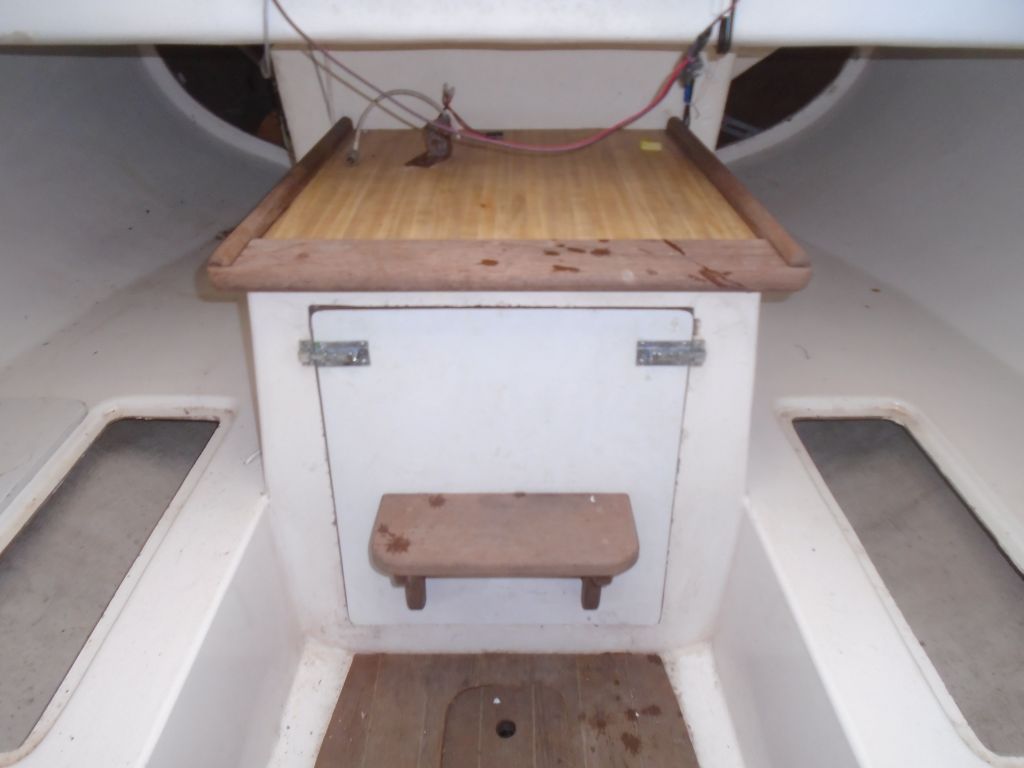
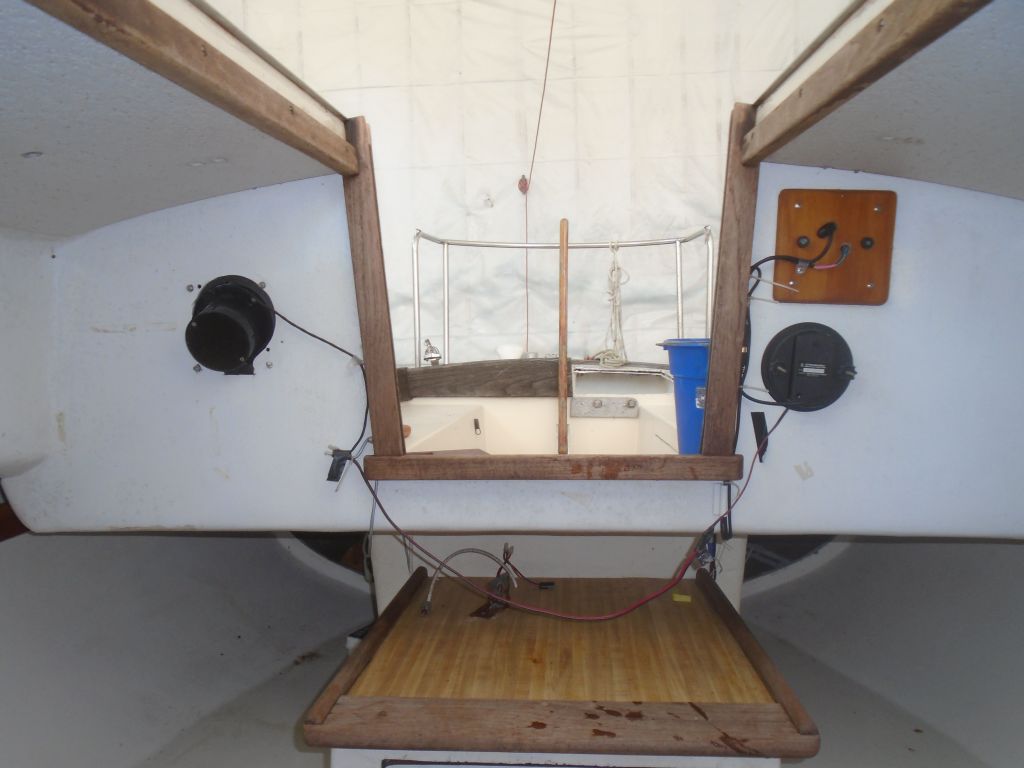
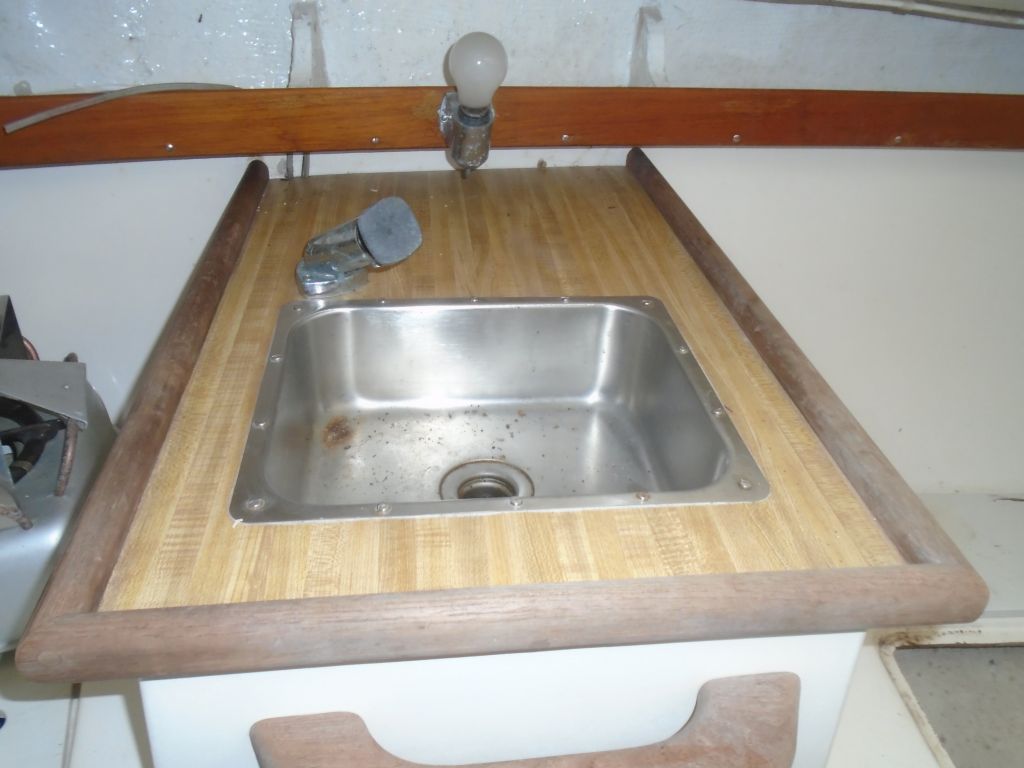
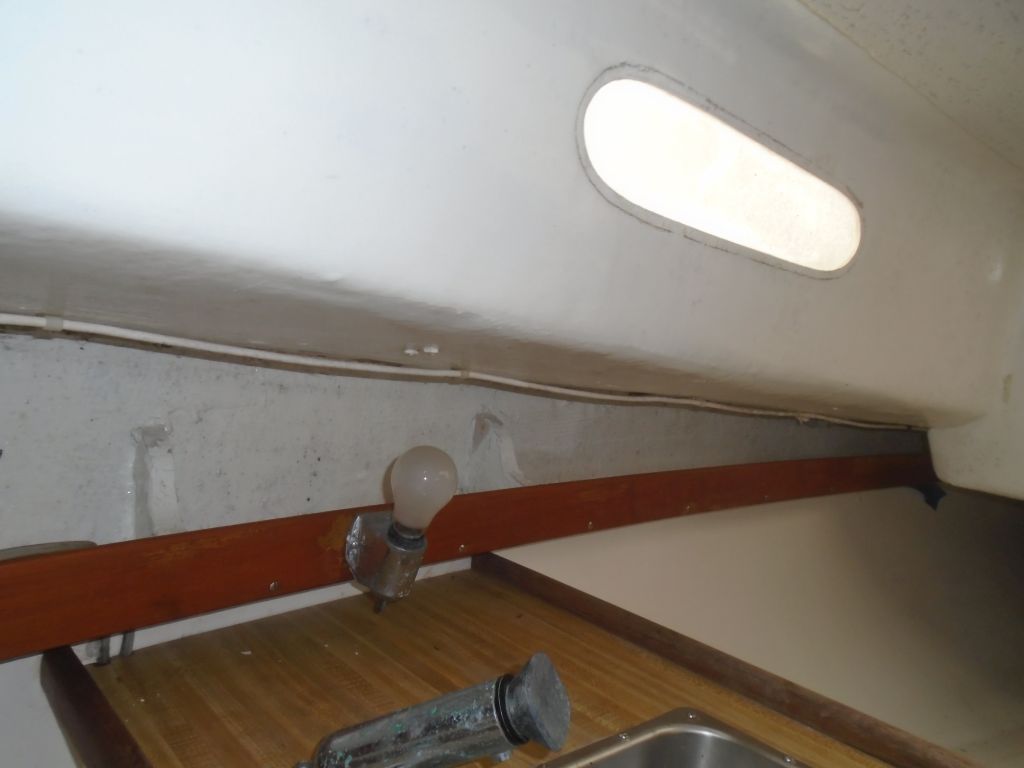
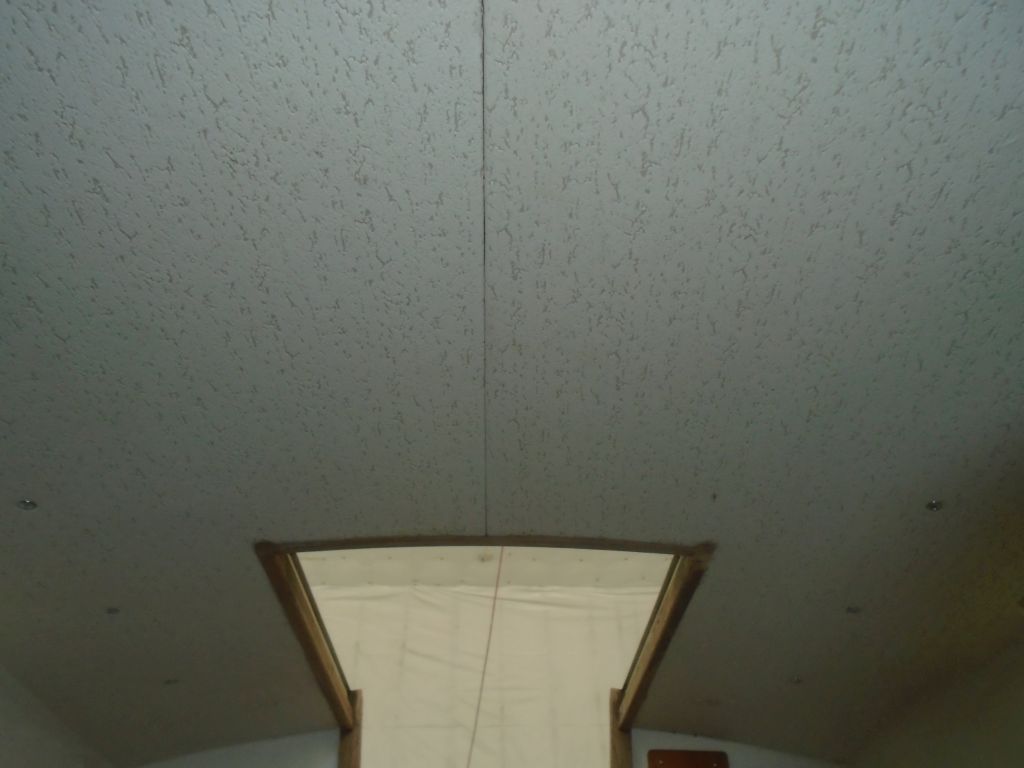
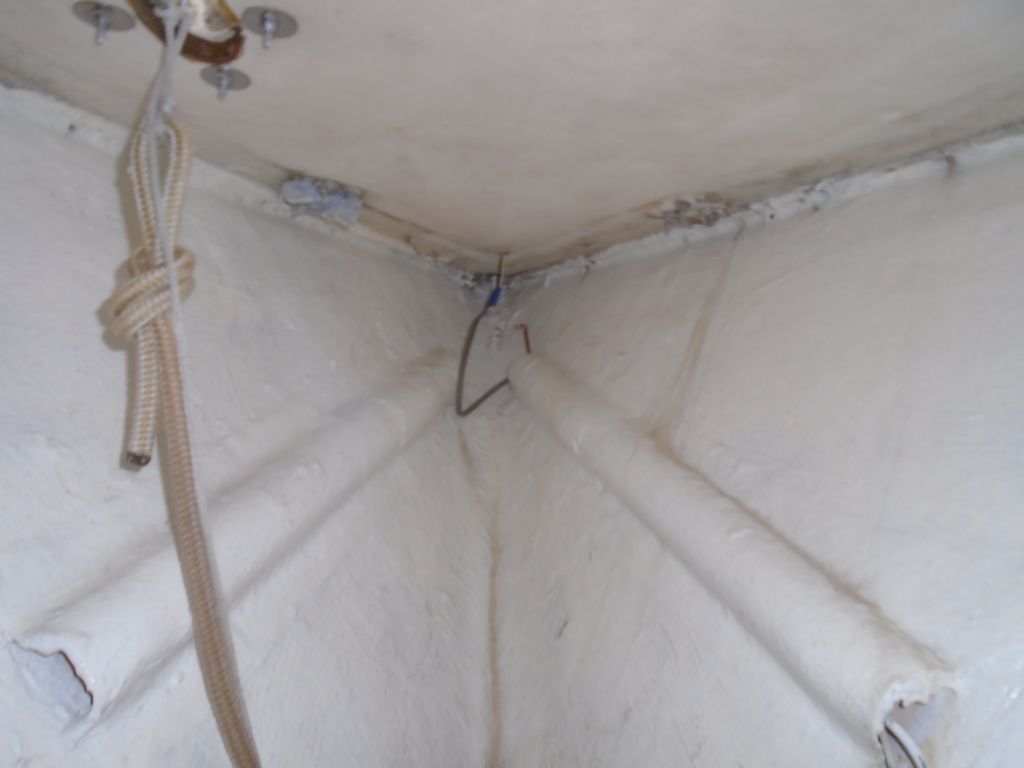
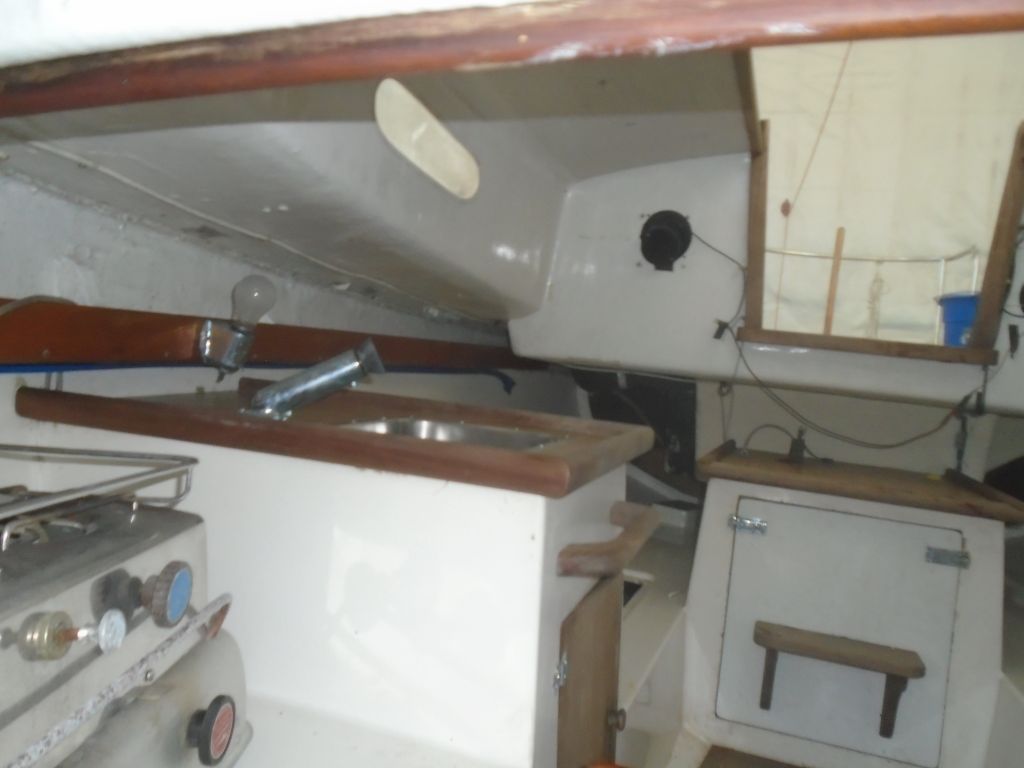
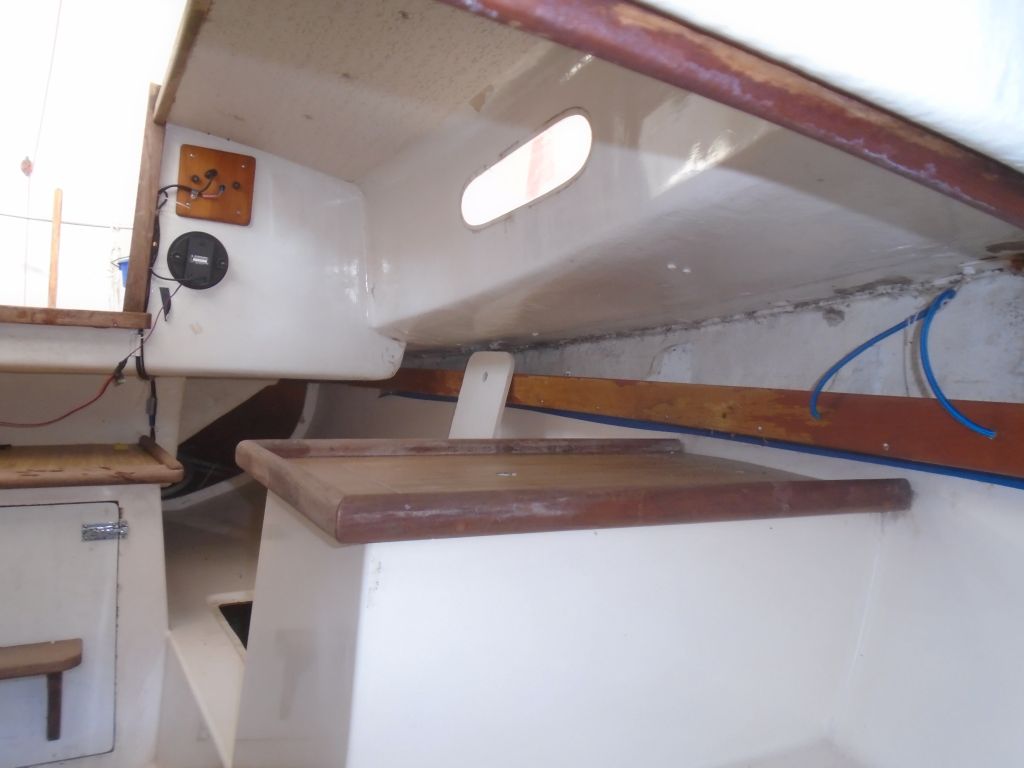
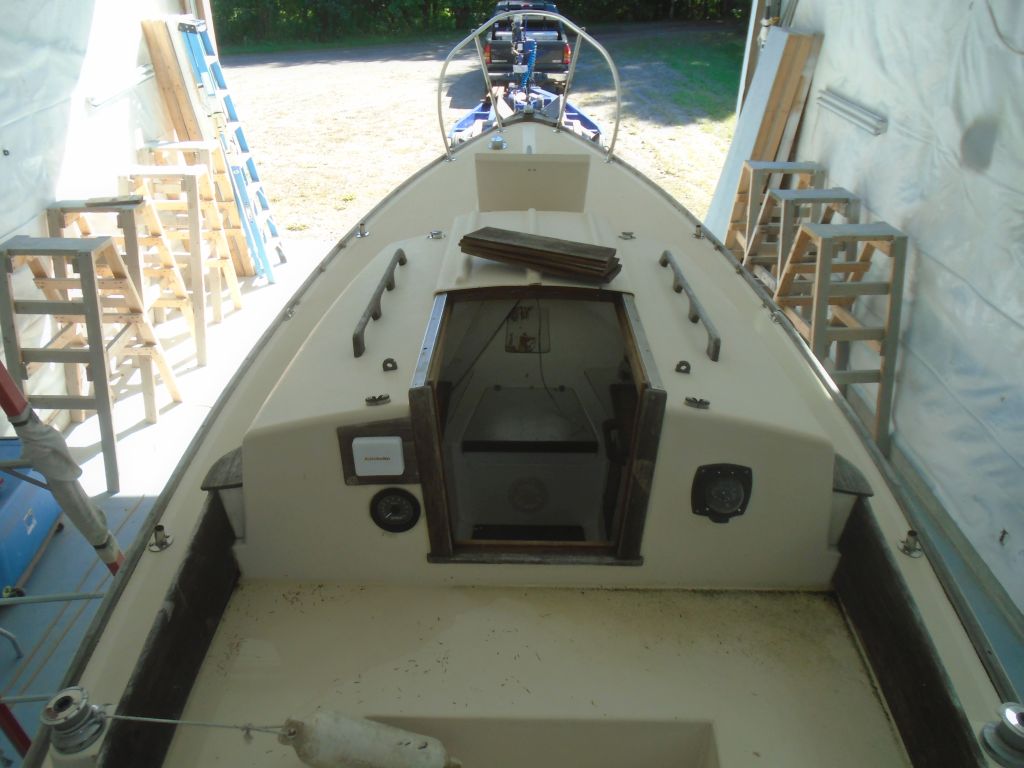
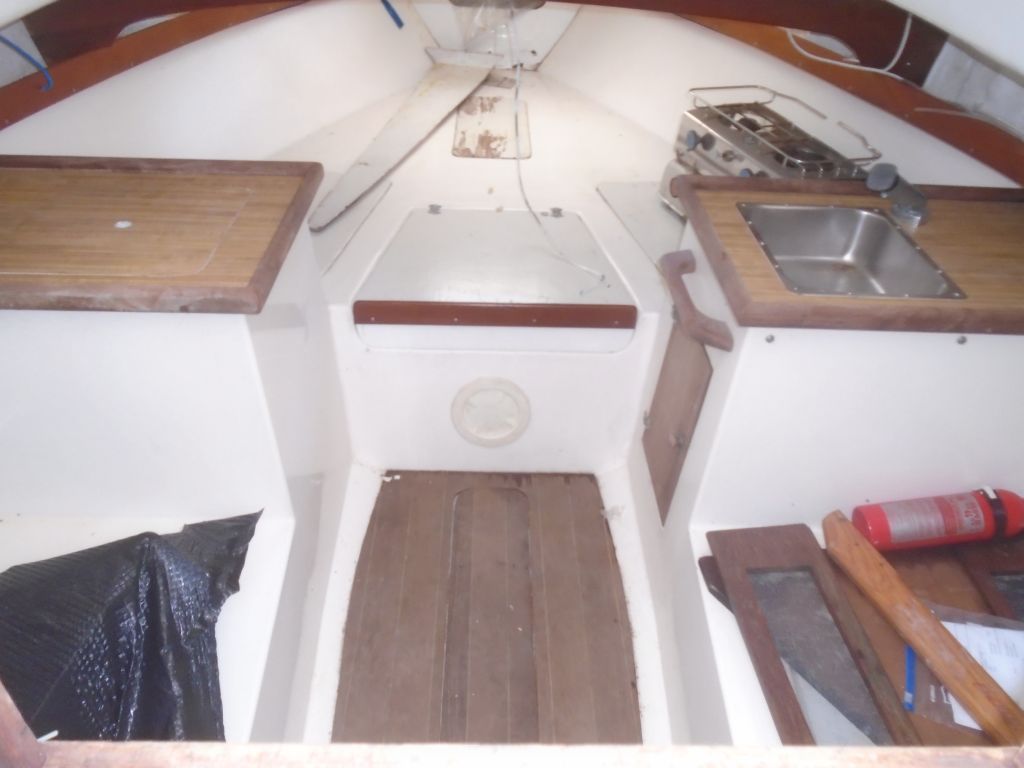
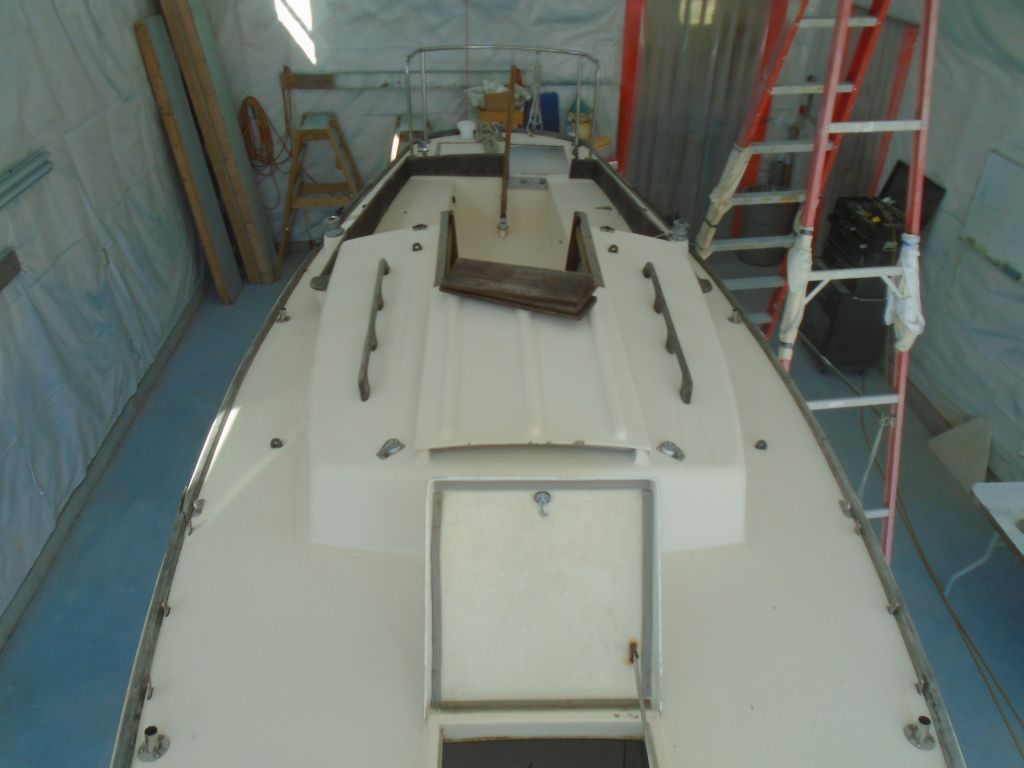
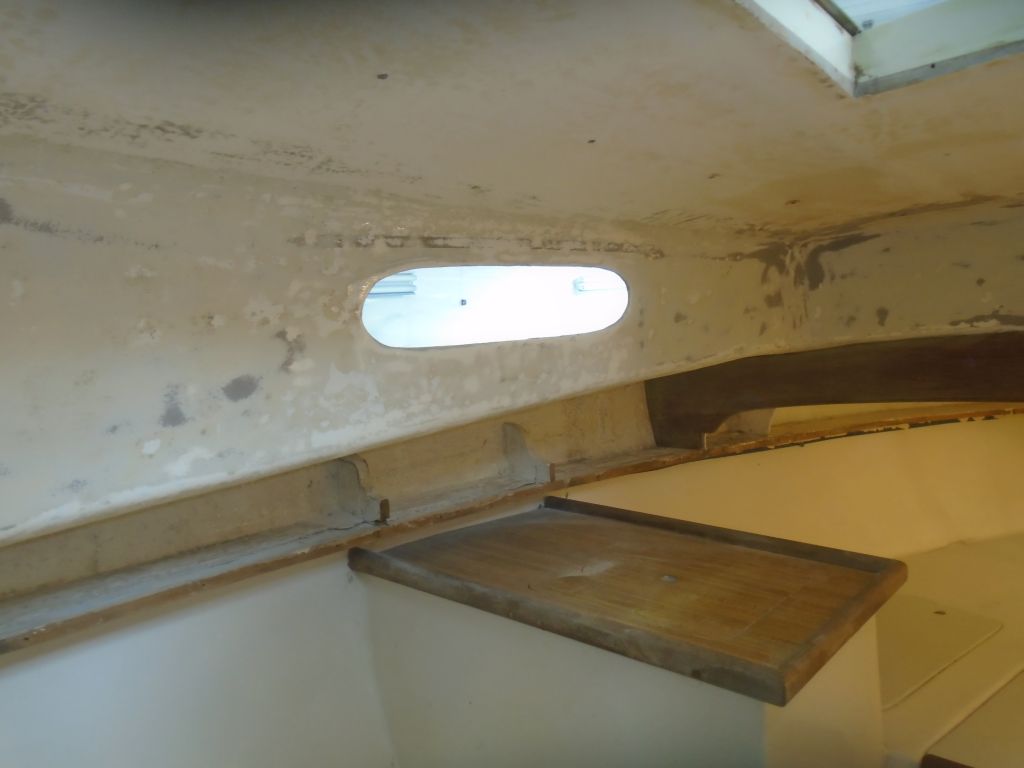
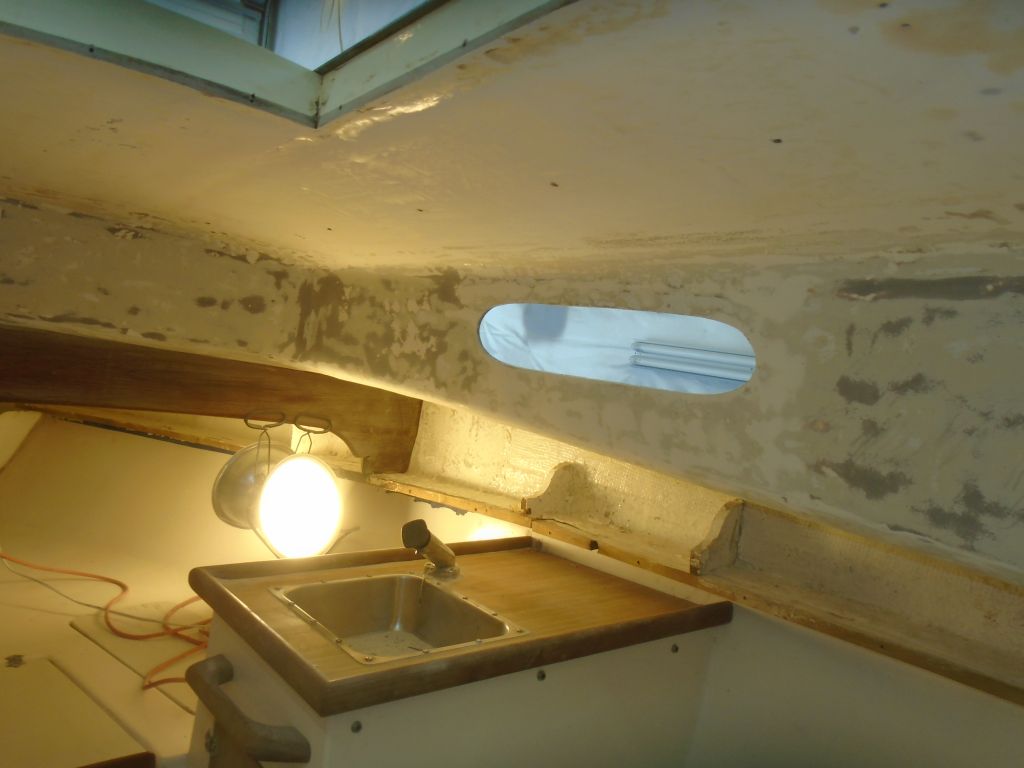
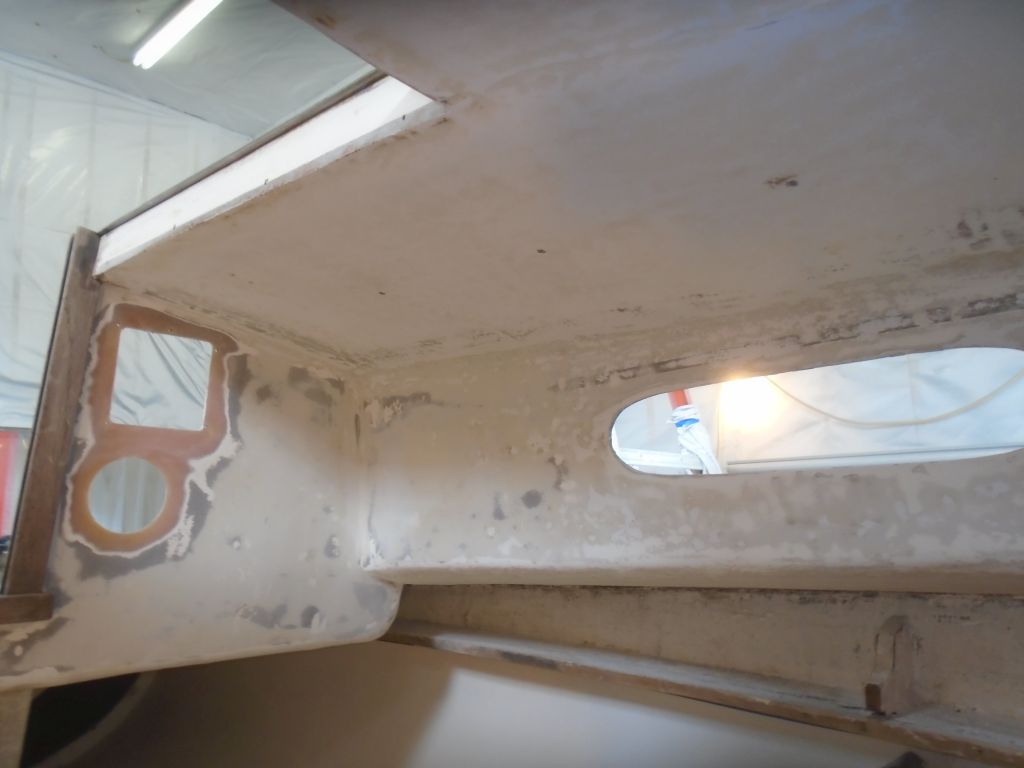
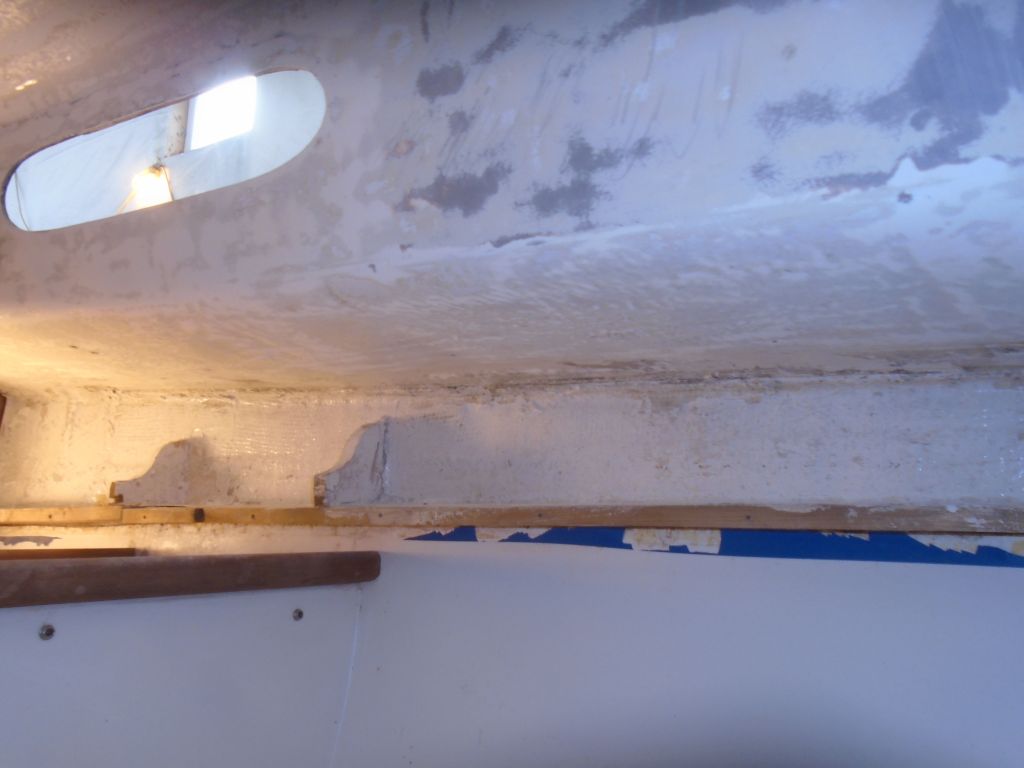
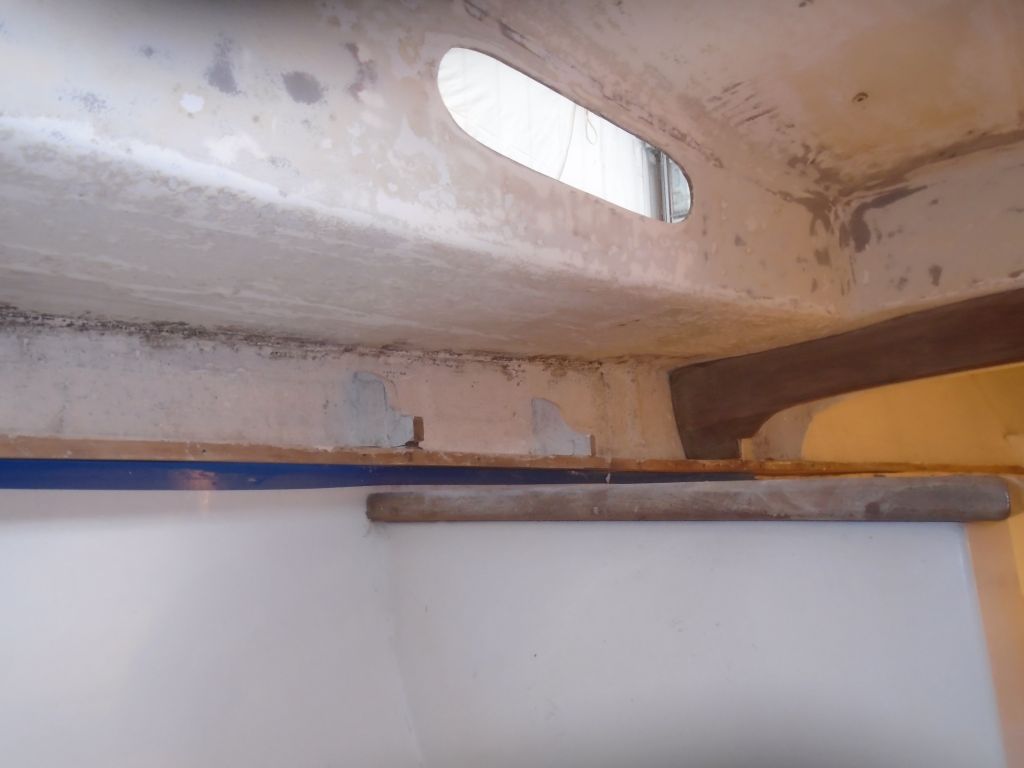
With the hull work well underway for now, I turned to the interior.  The scope of work in the cabin for the moment was to clean up most of the areas and leave as is, as the molded liner and forward cabin areas were mainly just neglected and dirty, and the owner had minimal plans for actually using the interior.  However, the overhead in the main cabin, including the cabin trunk, quarter berths, and other areas down as far as the full-length shelves on each side, required more work to bring back to acceptable condition, with poorly-applied and peeling paint, and the remnants of the old plywood and vinyl overhead system.

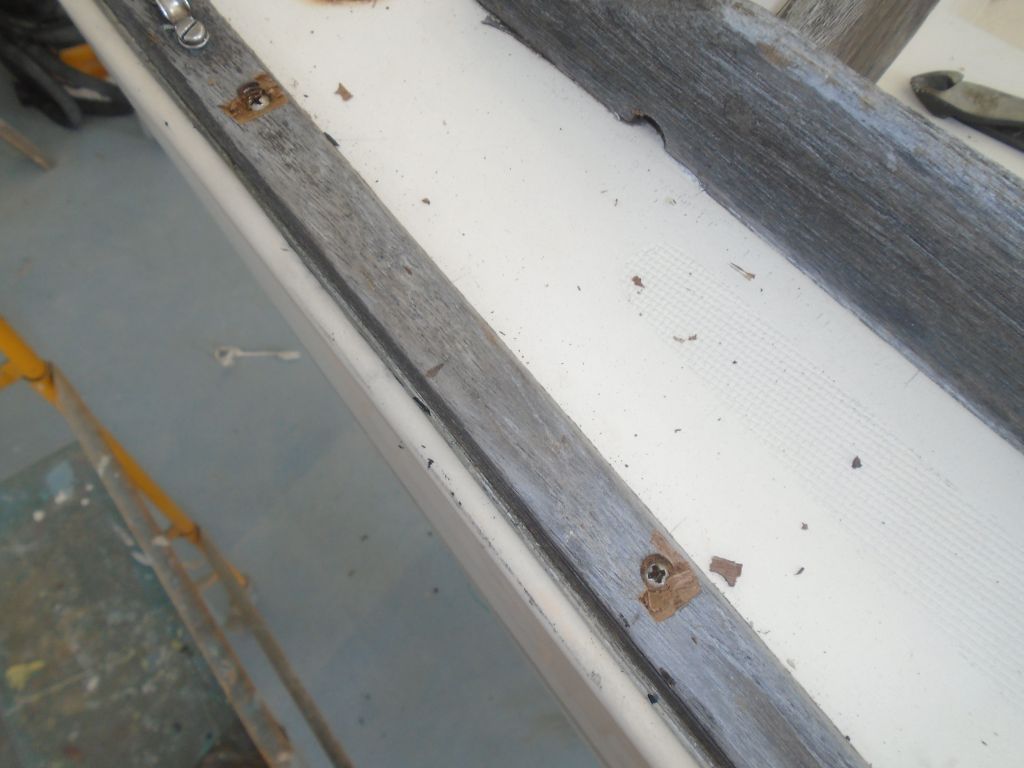
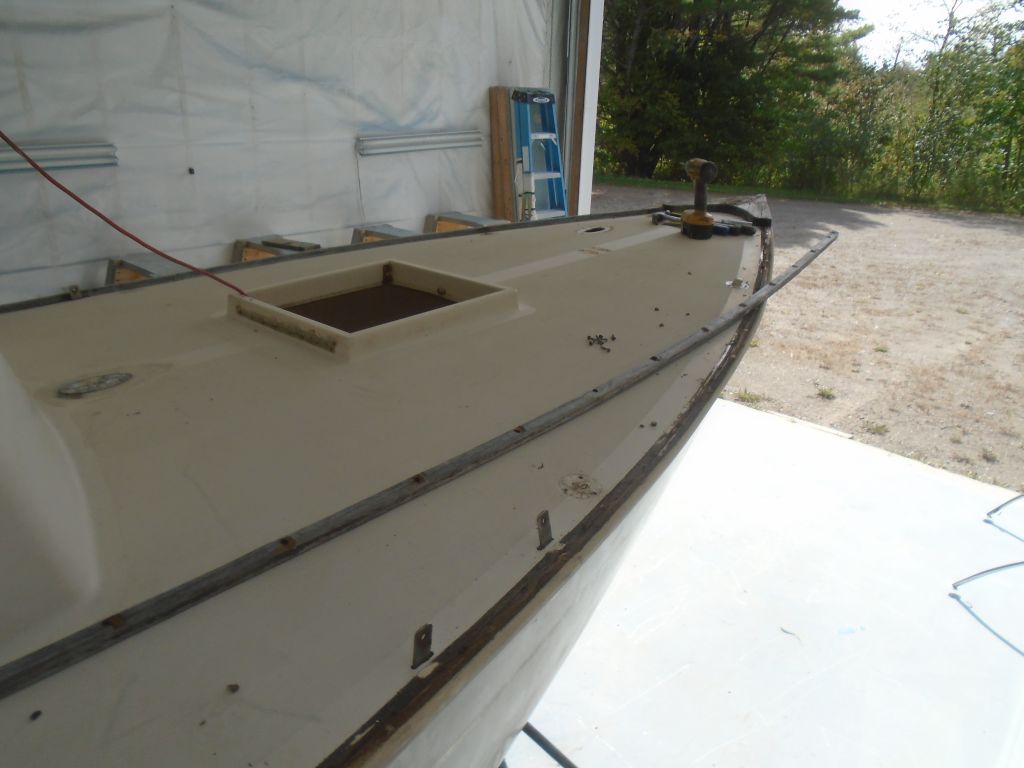
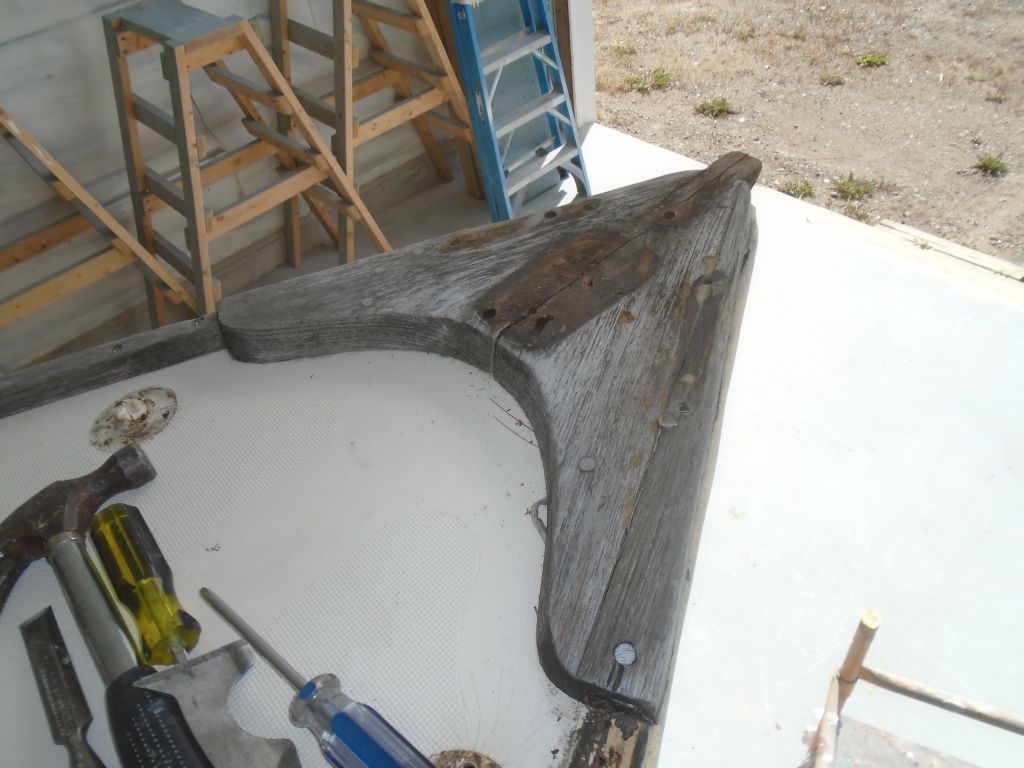
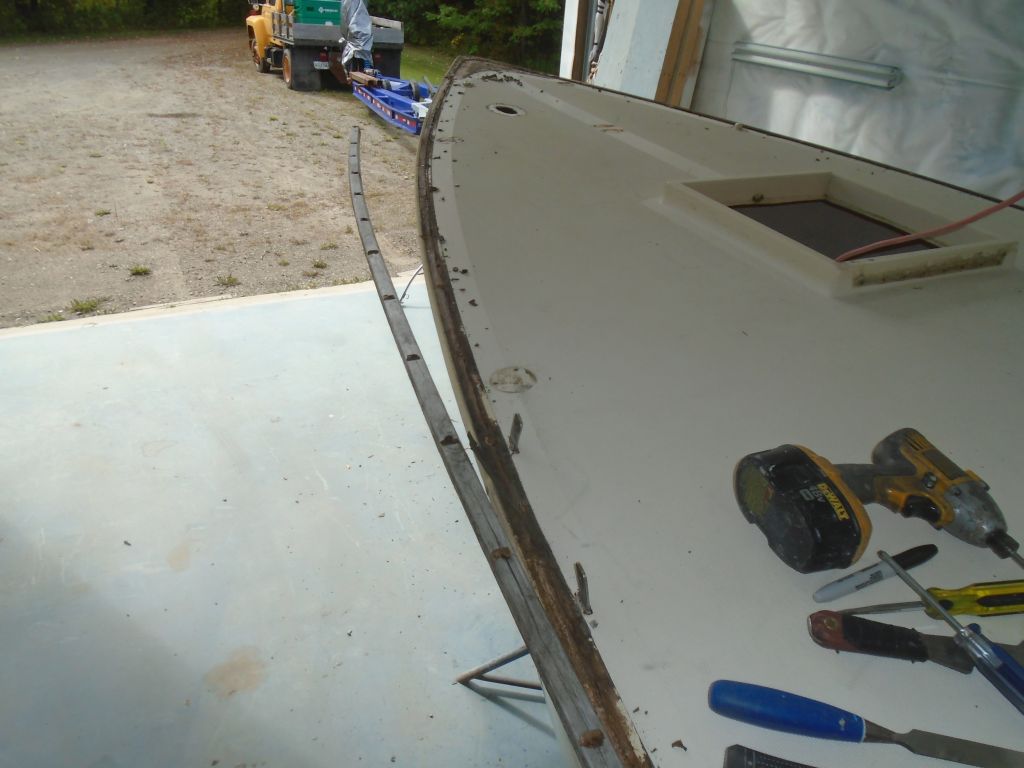
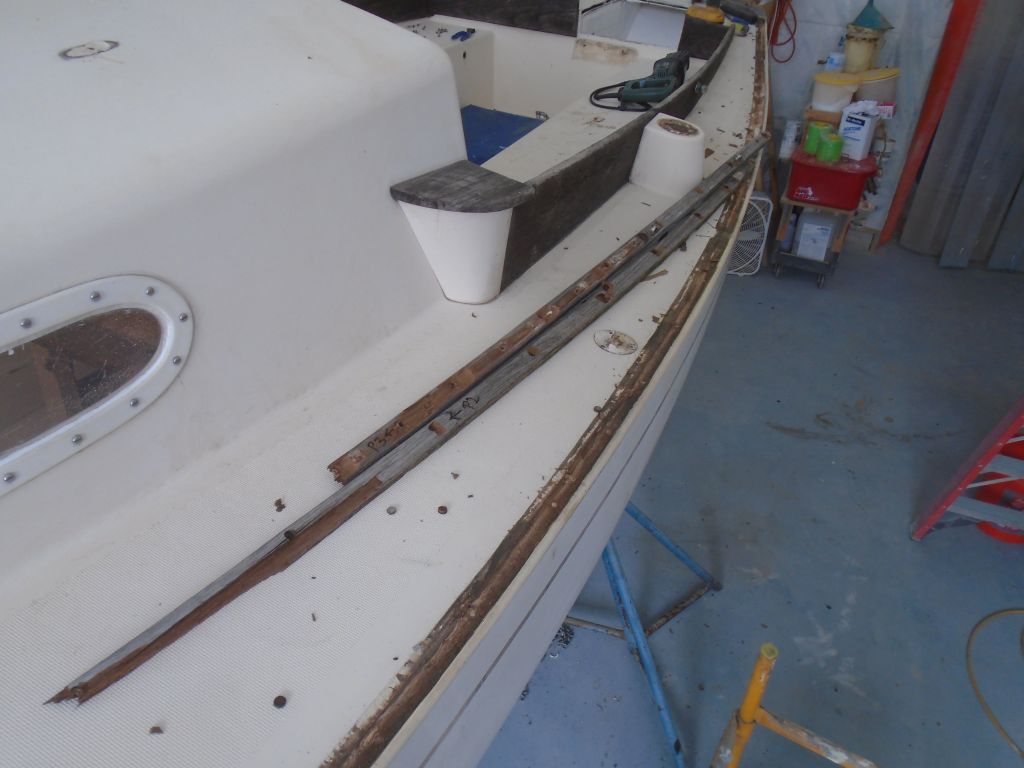
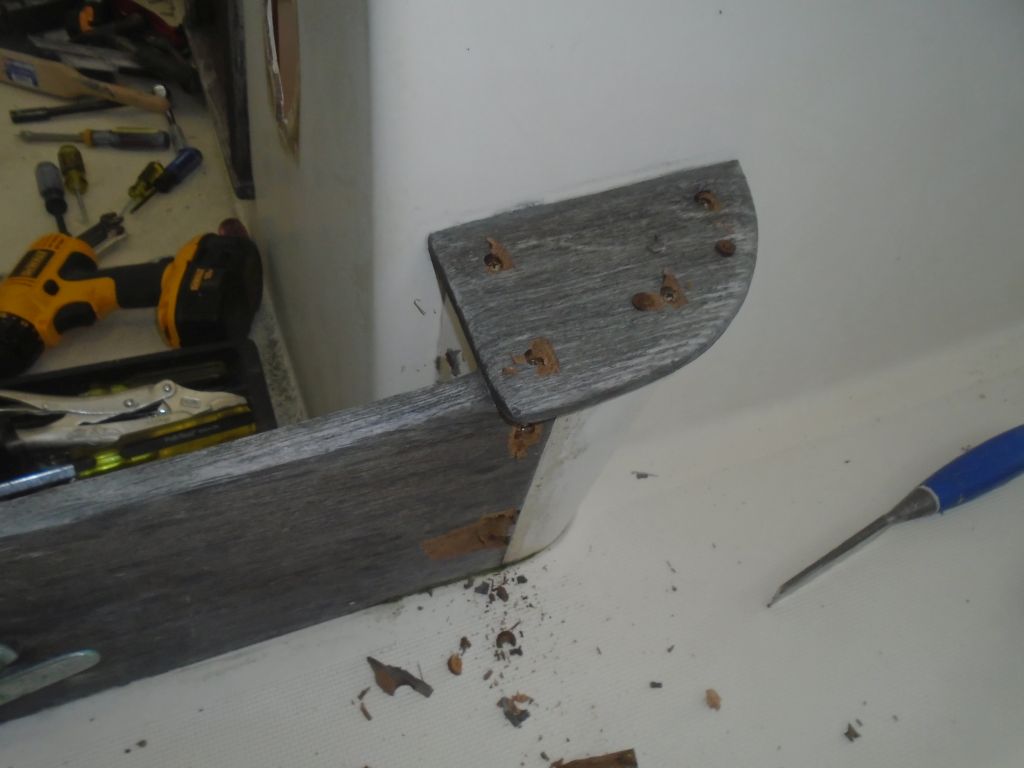
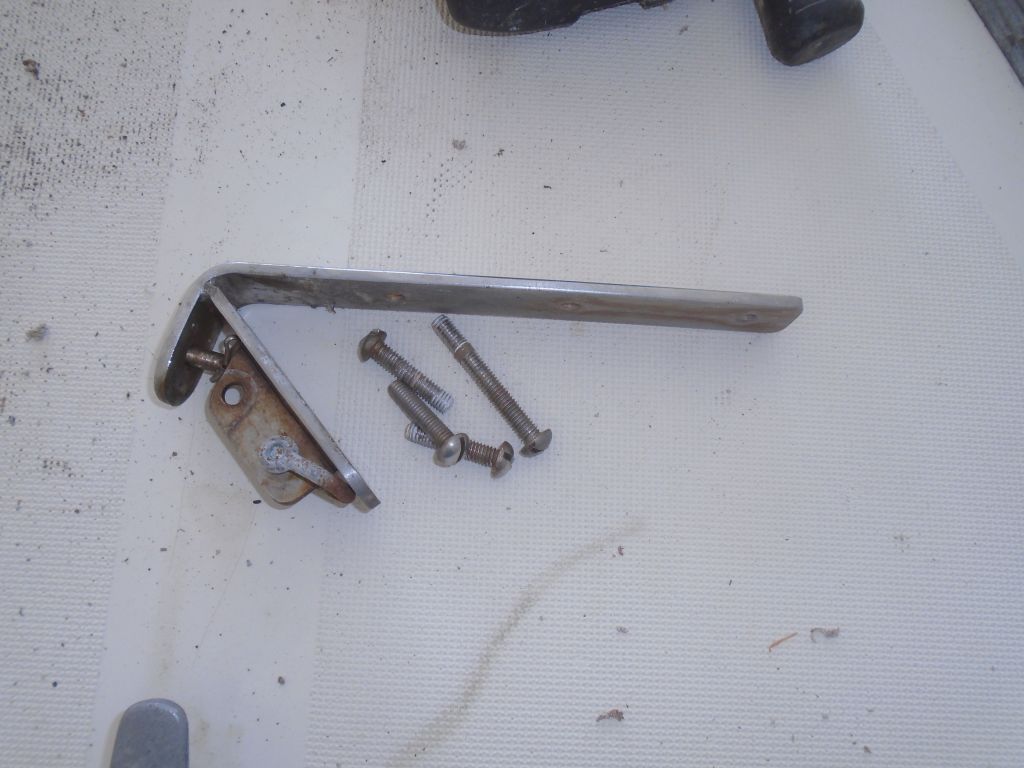
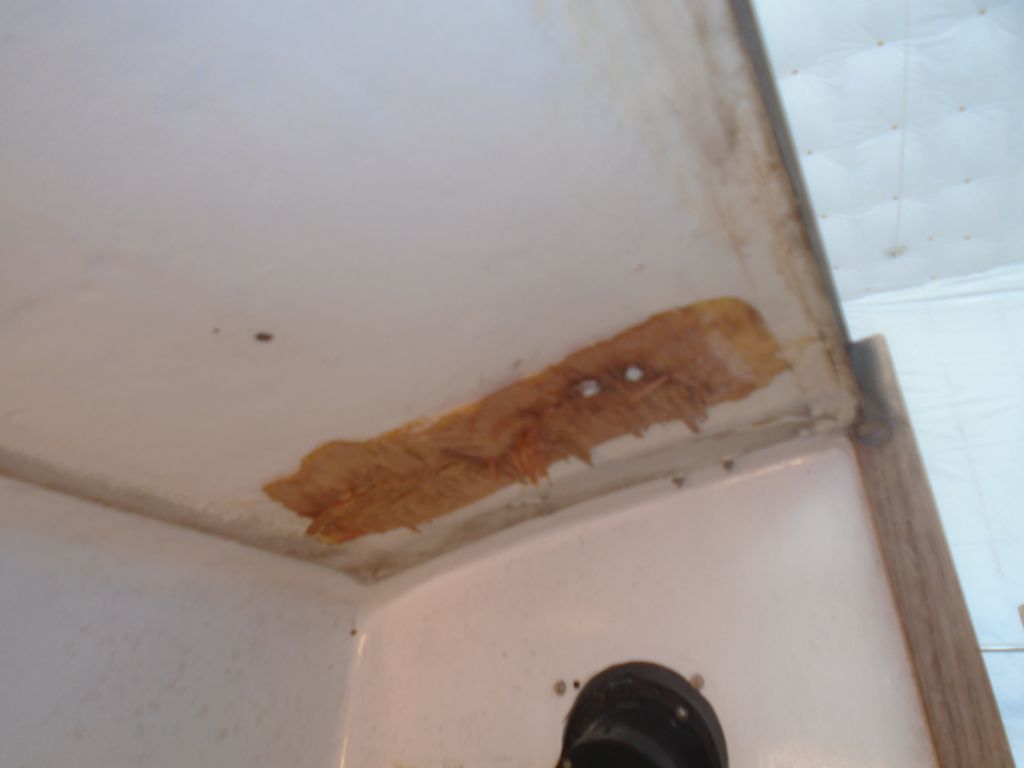
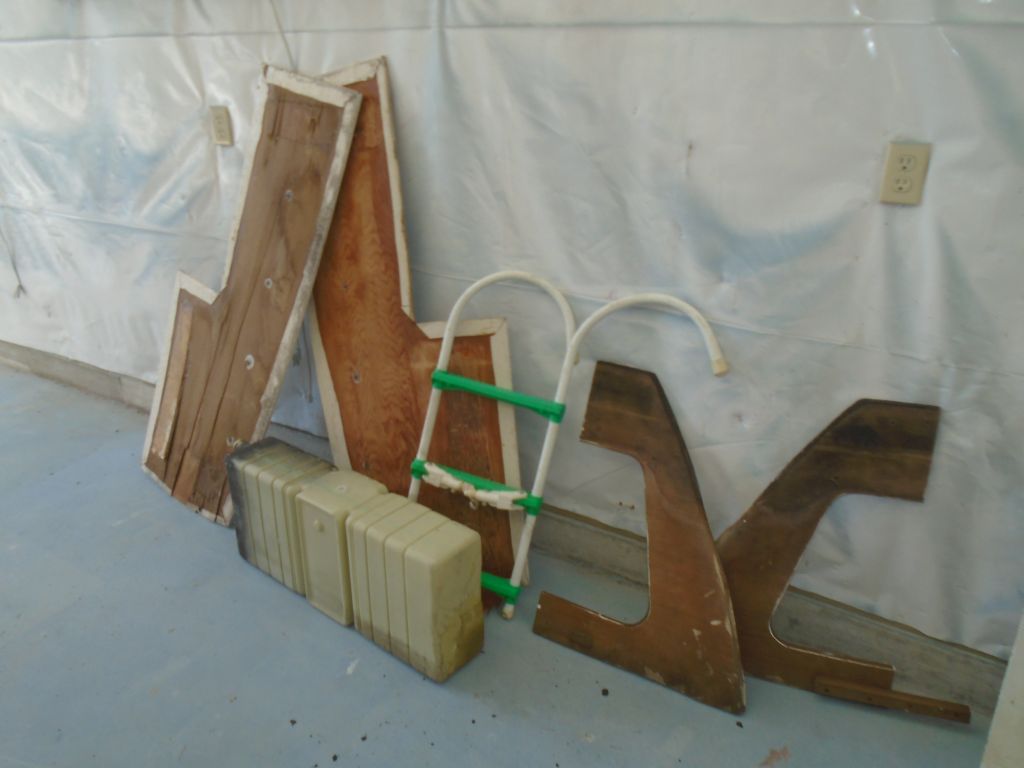
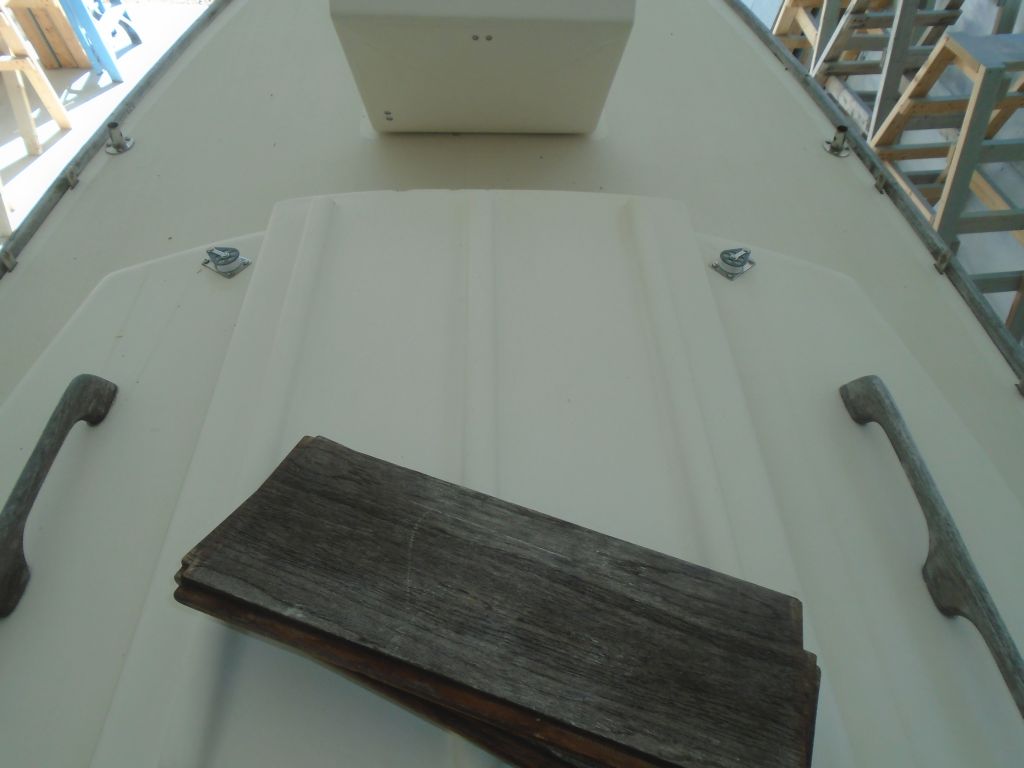
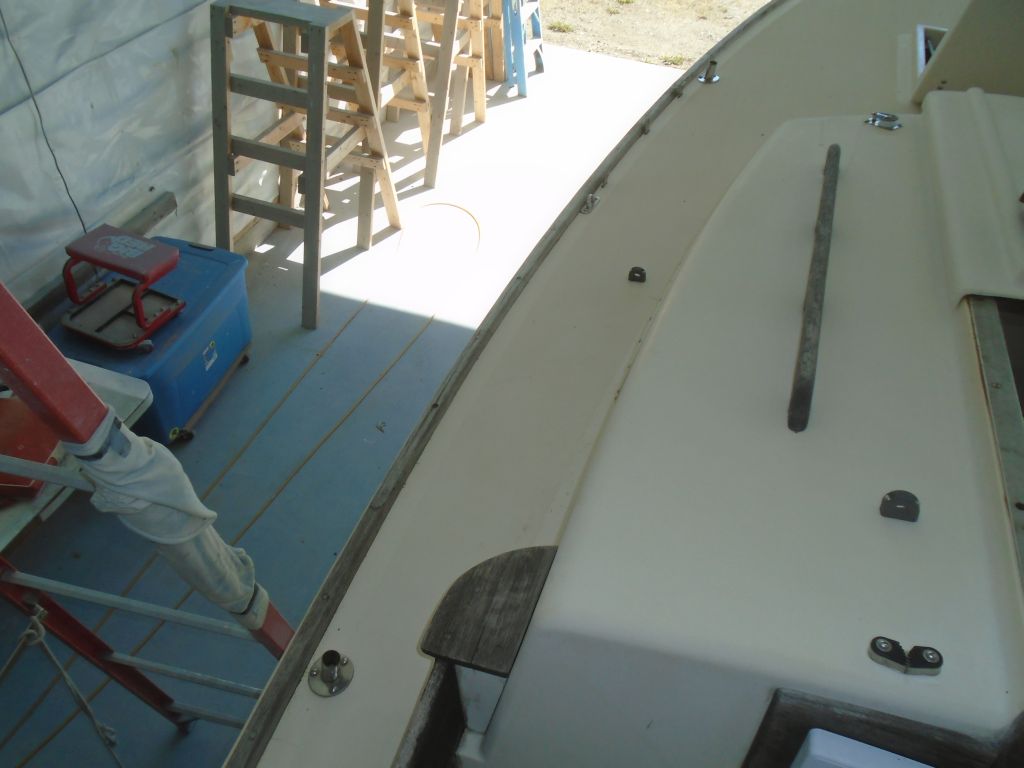
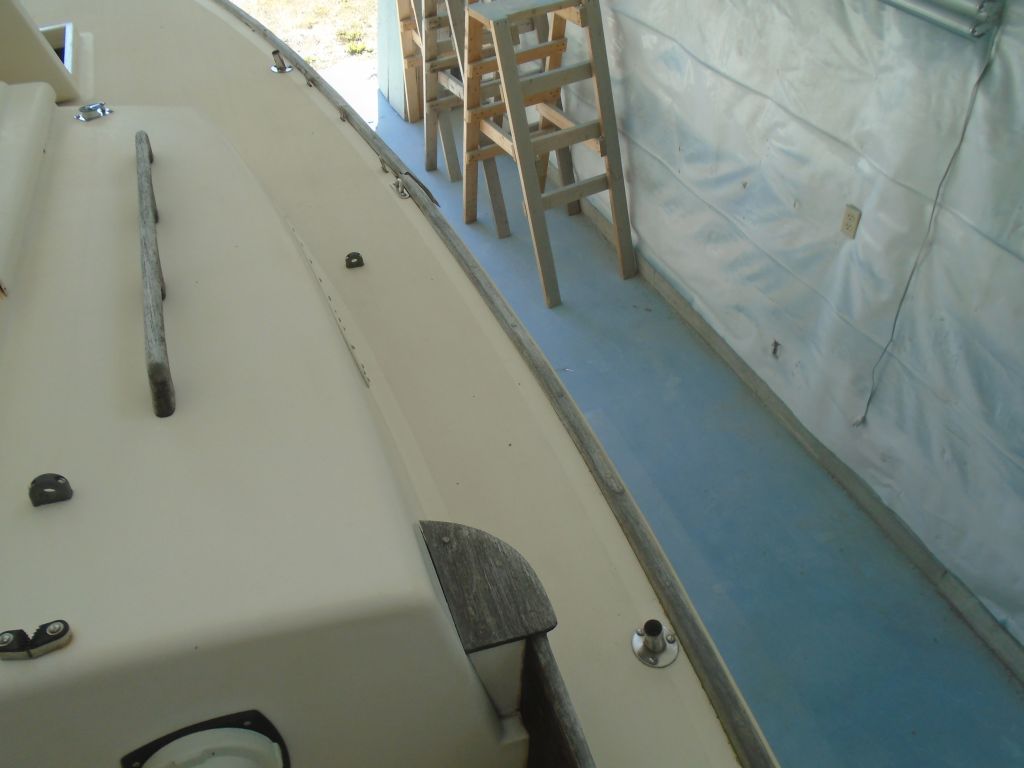
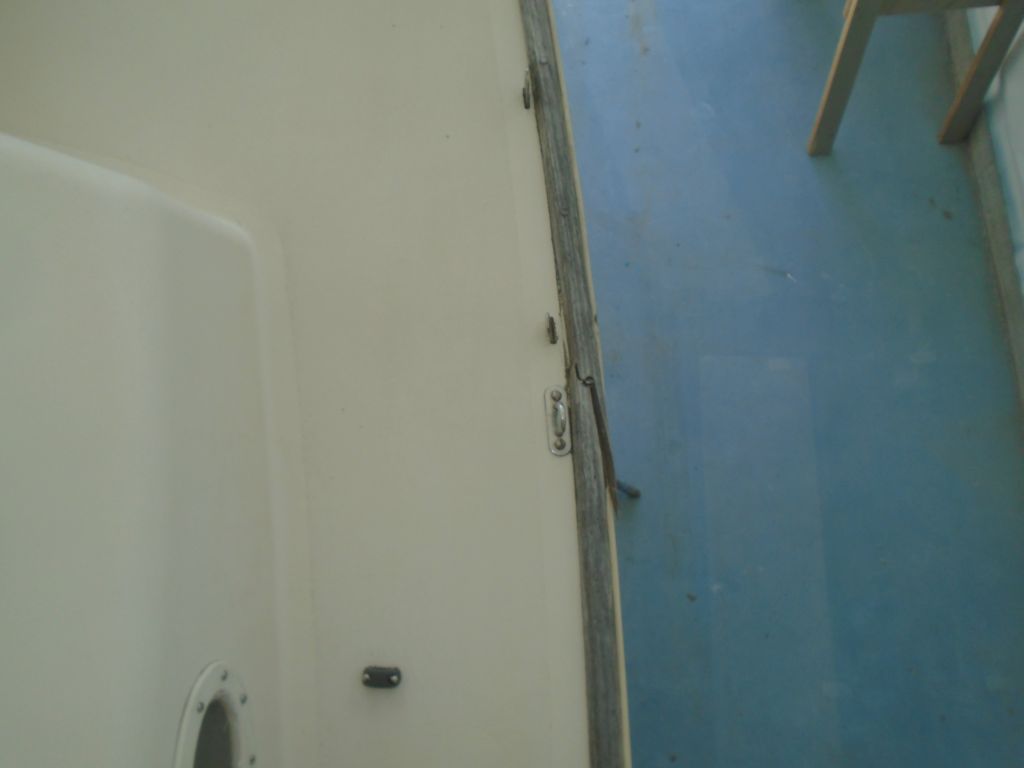
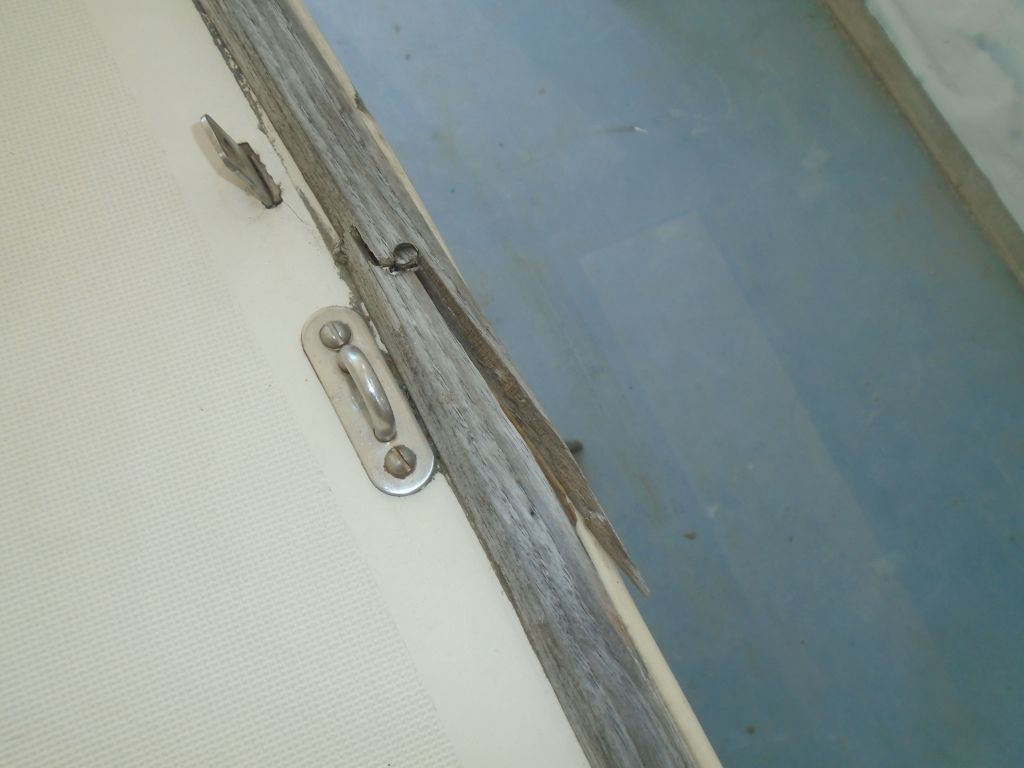
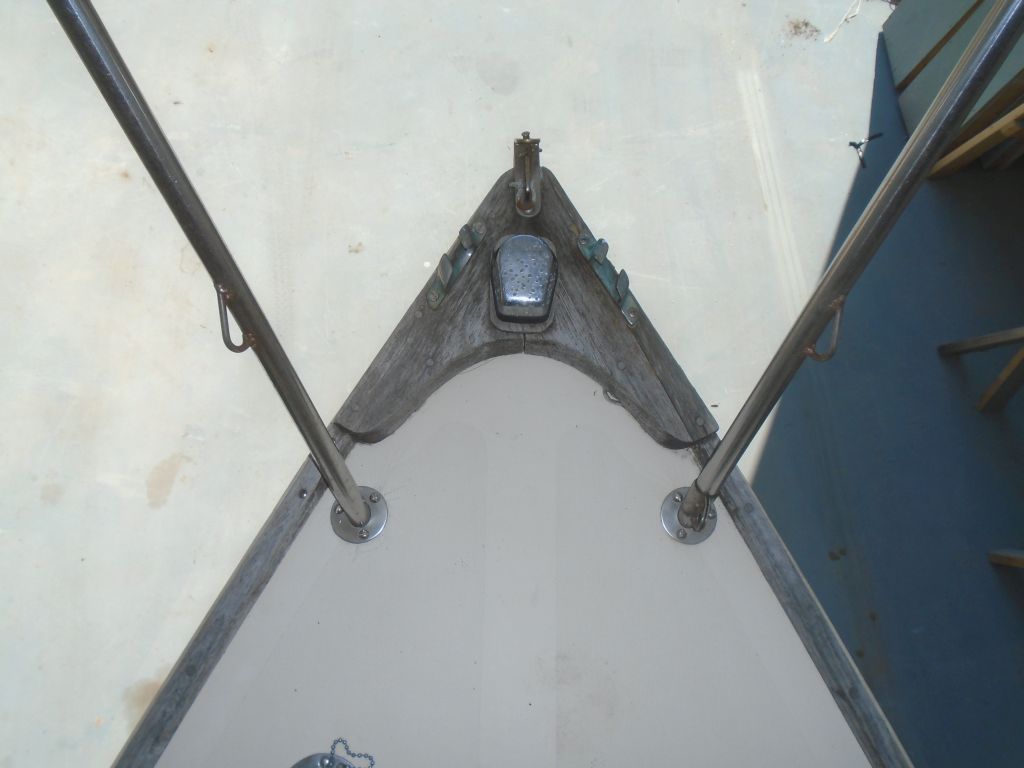
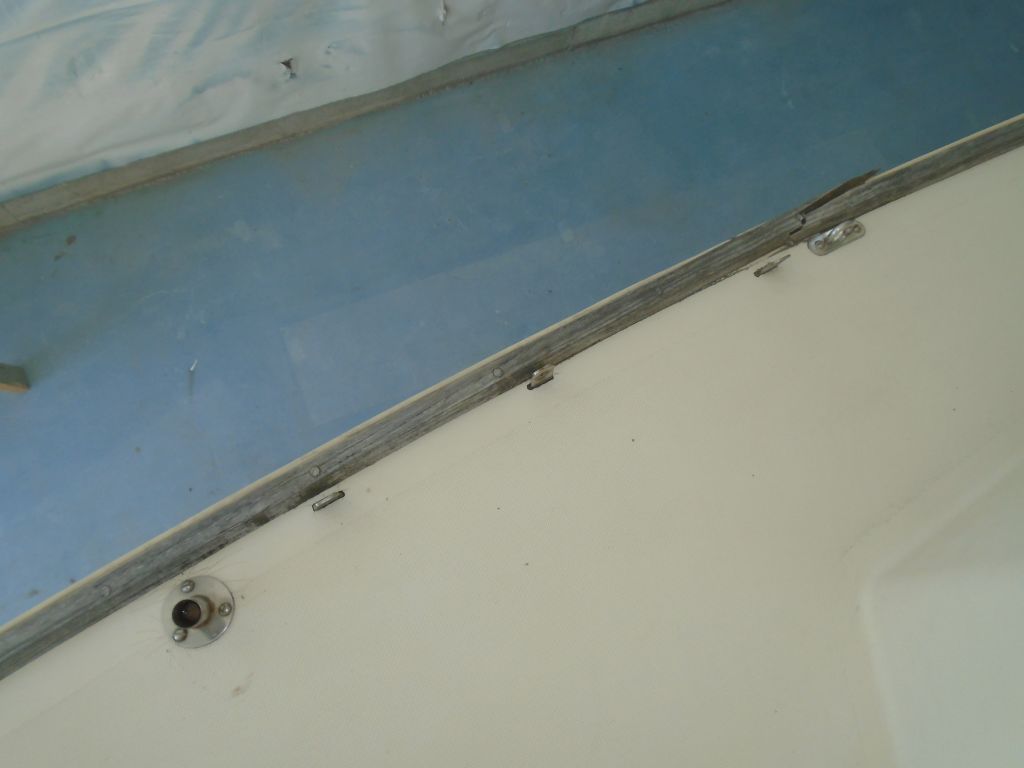
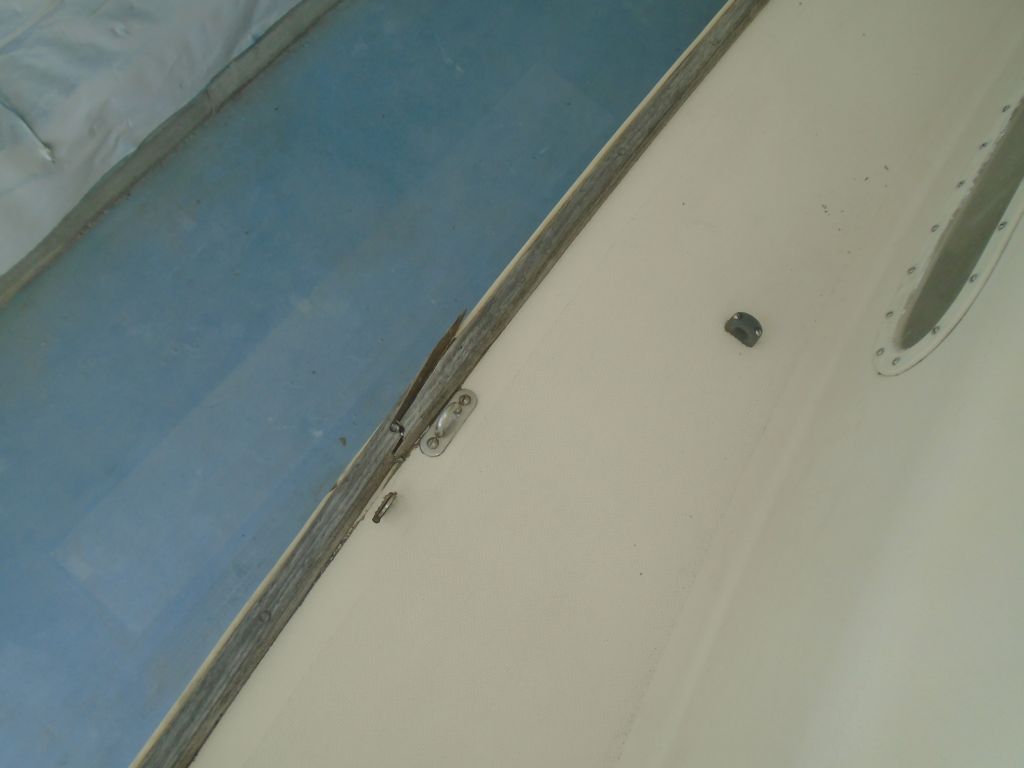
So after first removing the long teak fiddles from the shelves, to allow better access for prep and paint work, I spent the afternoon preparing these areas for new primer and paint, sanding away the failing paint and scuffing all areas.  The old resin and mat that had actually stuck to the overhead where the old panels had been was recalcitrant to remove, but I eventually prevailed, as prevail I must.

Total time billed on this job today:  7 Hours

0600 Weather Report:
48°, partly clear.  Forecast for the day:  partly sunny, windy, about 60°, drying out from 6-8″ rain on 9/30

Aventura 5

< Back to Aventura

Wednesday

Before starting work on the hull, I decided to clean up the vinyl rubrail.  With solvent, I cleaned the rail, greatly improving its appearance.

Before:

After:

Next, I measured and noted the existing positions of the boottop and waterline (i.e. bottom paint) for future reference before I began surface prep.  There was also a clear scum line denoting where the boat actually sat in the water, with the typical Sea Sprite nose-down attitude, so I noted this position as well.

The bottom was in pretty good shape, and the owner did not want to strip the paint–I shed nary a tear–but there were a few areas requiring some attention nonetheless.  At each of the through hull locations, I sanded away old sealant and paint to allow the new fittings a clean bonding surface.

At the old knotmeter location, I ground out a larger circle, removing all paint and gelcoat and forming a dished area to accept the fiberglass patch for this obsolete hole.

bottom2-93015

The external lead ballast keel was at best a casual approximation of the shape of the molded keel to which it was attached, and this meant that at the time of manufacture the builder was required to add a substantial amount of fairing compound to provide a clean and smooth transition between the casting and the molding.   In some areas, mainly on the port side, it was apparent that there was at least 1/2″ of fairing material.   While there was nothing wrong with the installation per se, in several areas the thick, old fairing compound had failed, either cracking or in some areas, leaving large, deep chunks missing.

To prepare these areas for additional cosmetic filler, I ground the edges down to provide a transitional bonding area between old and new, and removed all the paint from the areas in question.  I’d repair these areas in due course.


The hull was original gelcoat, and in generally good condition from a damage/structural standpoint.  Cosmetically, the original surface left something to be desired, which of course was one reason the boat was here in the first place.  However, there were only a few surface gouges to be found on the entire hull, so pre-painting preparations would be straightforward.

To begin, I solvent-washed the hull to remove contaminants before sanding.  Then, I sanded away the the boottop paint and the top inch or so of the bottom paint, using two coarser grits of paper on a 5″ right-angle sander.  I also sanded away the vinyl cove stripe and name, and the old registration numbers.  Afterwards, I switched to a 6″ orbital finishing sander, and, during the remaining course of the day, sanded the topsides twice, with 80 and 120 grit paper.

After cleaning up, I went around the hull closely and marked any surface voids or gouges that would require additional attention.   There were few, so this would be a quick process.


Total time billed on this job today:  6.75 Hours

0600 Weather Report:
60°, muggy, foggy, showers.  Forecast for the day:  rain, heavy at times, temperature falling through the 60s and mid-50s.


Aventura 4

< Back to Aventura

Tuesday

The old electrical system was decrepit and no longer needed nor desired, so I started the day by removing what was left of it–all the wiring, connectors, wire clamps, and electrical panels.  (After I took these photos I removed the 12-volt outlet still in place, which needed a smaller screwdriver.)

The port cockpit scupper fitting was also damaged, so I removed it, like its counterpart to starboard.  Then I removed the hoses and, finally, the old valves and through hulls, all slated for replacement.

The sink drain, with an old gate valve, was slated for replacement as well, so I removed the old fitting and hose.

An obsolete knotmeter impeller in the keel sump was next to go.  Later, I’d patch this hole.

bottom8-91615

With everything of substance removed from the deck and interior, I moved on to the old toerails.  The owner requested replacement, so I removed the old rails, along with the stem fitting and taffrail sections.  I chiseled out the bungs as needed, and unfastened the rails, which went without issue.  The vinyl hull-deck trim pieces would remain in place on this boat, and during a later stage of the project I’d replace the teak rails in kind.  I found a group of tiny little bugs beneath the stem piece; they’re too small to show up in the photo, but they were contributing nicely to the dterioration of these pieces.  During deck work later I’d clean up the old sealant where the rails had been.

I’d already removed the cabintop handrails, which I’d replace with new, and I thought that the companionway trim could be restored as is, but the cockpit coamings were badly weathered and slated for replacement, so I removed them next.  For the moment, I kept all the old pieces of trim for later reference.

The final bits to remove before continuing with the next stages of work were the two deadlights, which I’d reuse and reinstall later in the project.

With the disassembly complete, and an appointment in the afternoon, it seemed a good time to stop for the day


Total Time Billed on This Job Today:  4.25 Hours

0600 Weather Report:
65°, partly clear, muggy.  Forecast for the day:  clouds and sun, increasing chance of shower by evening, 70s

Aventura 3

< Back to Aventura

Monday

After a break, it was time to get into the project for real.  The scope of the project was mostly well-defined, and certainly included full restoration (and, as needed, repair) of the hull and deck, so as usual I began by removing deck hardware.  After documenting all the existing installations around the boat, I started at the stem and worked my way aft during the course of the day, removing all the hardware and retaining it mostly for re-use.  The bow and stern pulpits and stanchion bases would not be reinstalled.

I removed an old knotmeter instrument (later I’d be removing its through hull impeller also), as well as the compass (no fluid) and a depthsounder instrument, which might be reinstalled.  I also removed a wooden filler/backing plate around the depthsounder, since I preferred to patch the large square hole along with the knotmeter hole beneath, then reinstall the instrument properly as need be.

I hadn’t planned–nor wanted–to remove the overhead panels that someone had installed in the main cabin, as the initial scope of the project didn’t include major cosmetic work on the interior.  Unfortunately, these panels had been installed over the nuts securing some of the cabin top hardware, so I had to remove the panels for access.  The panels were installed with some strips of polyester-soaked mat tape, most of which peeled off without much effort, though some of the tabbing had actually stuck and would require more work to remove.  The panels themselves were poor quality plywood covered with vinyl material, and while they’d looked OK before I had to touch them, it seemed clear that they were not worth salvaging.

When I removed the port genoa winch, I was amused to find the base full of small rocks.  Apparently a child (or a very bored adult) had had a fun afternoon dropping these through the winch handle opening in the winch.  There was only one rock inside the starboard winch.

hw10-92815

The owner requested I remove the fresh water tank and related plumbing, so with all the deck hardware now off the boat I continued inside.  The tank was secured minimally with some tabbed-in blocking that I removed bare-handed, then removed the tank and its fill and vent hoses and deck fitting without issue.

Renewing the cockpit scupper drains and through hulls was on the list for the project, and a good thing too.  The port hose was virtually nonexistent with deterioration, and while the starboard hose was in better shape, I found that the plastic drain fitting broke at the cockpit when I tried to remove the hose, leaving nothing worth saving on either side.  I’d continue work on these fittings’ removal presently.


Total Time Billed on This Job Today:  6.5 Hours

0600 Weather Report:
50°, clear.  Forecast for the day:  Partly sunny, low 70s,

Aventura 2

< Back to Aventura

Now that Aventura was in the shop, I took some time to go over the boat more carefully to help determine the most appropriate work list.   The boat featured what appeared to be mostly original finishes inside and out, and, while a bit tired, dirty, and neglected, she wasn’t in terrible overall condition.

The topsides were as expected, and refinishing them was part of the project that was already determined.  The hard vinyl hull/deck joint trim, which covered the seam between hull and deck and on which the teak toerail sat, was in fair condition cosmetically but otherwise in good shape and complete.  I tried a couple methods on a test area to see about cleaning up the vinyl’s appearance, and had decent success.  (first photo)

The bottom was in fair condition overall, with not too much paint and which was still mostly well-adhered to the hull–in other words, better than most.  The ballast keel, as seemed to be typical on these boats, was a poor fit with the molded hull–substantially narrower, which required a heavy layer of fairing filler over the top from the factory to fair it in with the hull.  This material had failed in a couple spots, leaving large voids of a cosmetic nature, but which would require repair/refairing nonetheless.  Structurally speaking, there were no apparent issues with the ballast pig.

The decks were original gelcoat and molded nonskid, with a few cracks near hardware or stress points, and some evidence of core softness in the cockpit around the rudderpost, and on the port seats forward.  Other deck areas, at casual inspection, didn’t immediately alarm in terms of potential core issues, but I’d do a more thorough inspection as part of the overall deck preparation process.  The lazarette hatch was in poor condition and would require recoring, and the exposed core at the edges of both aft openings was soaked; these areas would require repair.  Really, who thought that leaving the core exposed here was a good even remotely acceptable idea?

The cover for the outboard well, along with the hull plug, was not on board.

The woodwork was original teak, heavily weathered and darkened by time.  There was a split in the toerail on the starboard side, just aft of the aftermost chainplate.  Otherwise the woodwork was sound, if unattractive.  Whether to salvage or replace had not yet been determined.

The interior showed its age, but wasn’t in terrible condition for all that.  Someone had installed cork or similar type material on the cabin trunk overhead, which was painted to match, and which looked pretty good.  Certainly some cleaning and sprucing up was in order, the scope of which would be determined in due course.  There was some water damage to the chainlocker bulkhead, the extent of which I didn’t determine at this time.

The bilge had a lot of water in it, with no drain plug, so I drilled a hole in the deadwood to let out the water and start to dry things out.  I’d install a garboard drain later.  There was a fresh water tank and plumbing, and a rudimentary slapdash electrical system on board.  Through hull fittings and hoses were in poor condition.

Total Time Billed on This Job Today:  1 Hour

Aventura 1

< Back to Aventura

With the restoration project about to begin, I moved Aventura into the shop.  My first step would be to assess various areas of the boat so the owner and I could come up with the final work list.  I’d begin this soon.

Total Time Billed on This Job Today:  1 Hour

Newer posts