(page 13 of 13)

Calliope Girl 7

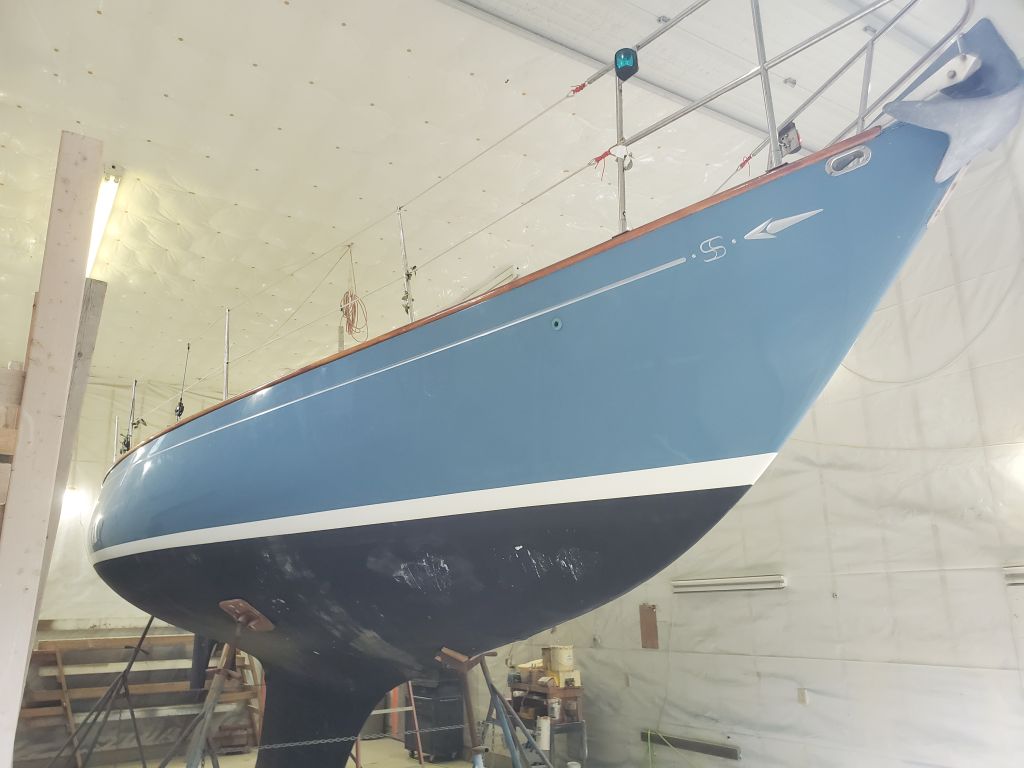
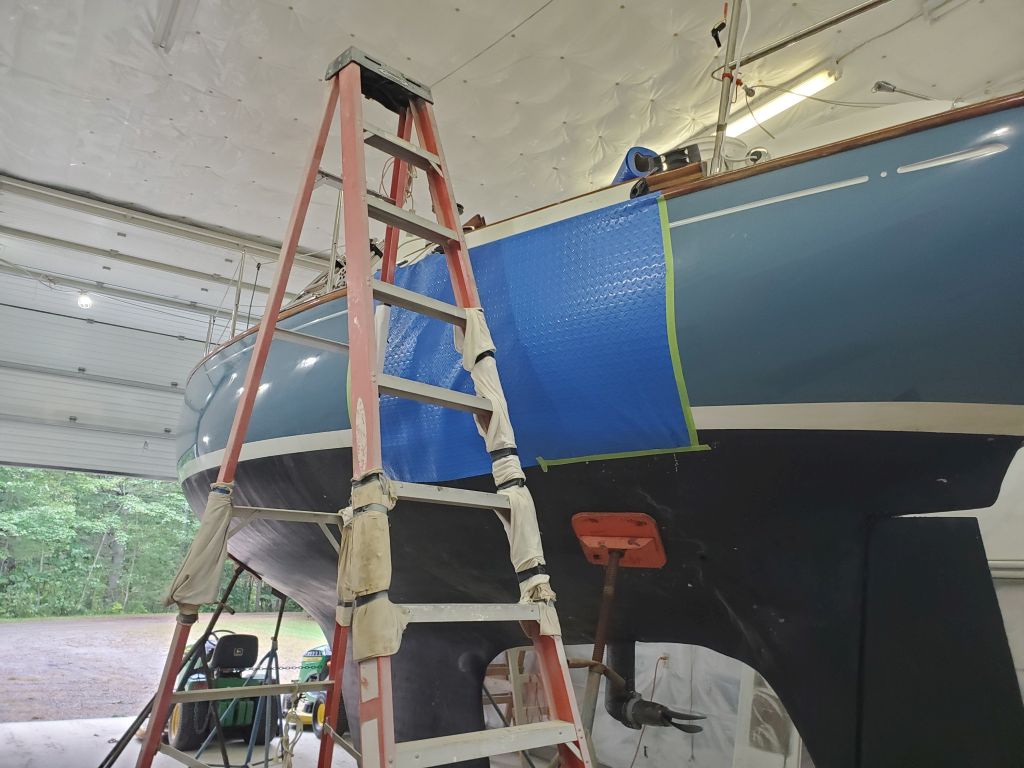
Following a productive meeting with the owner at the boat on Saturday, I now had more clear direction on the project scope, and was ready to get to work.

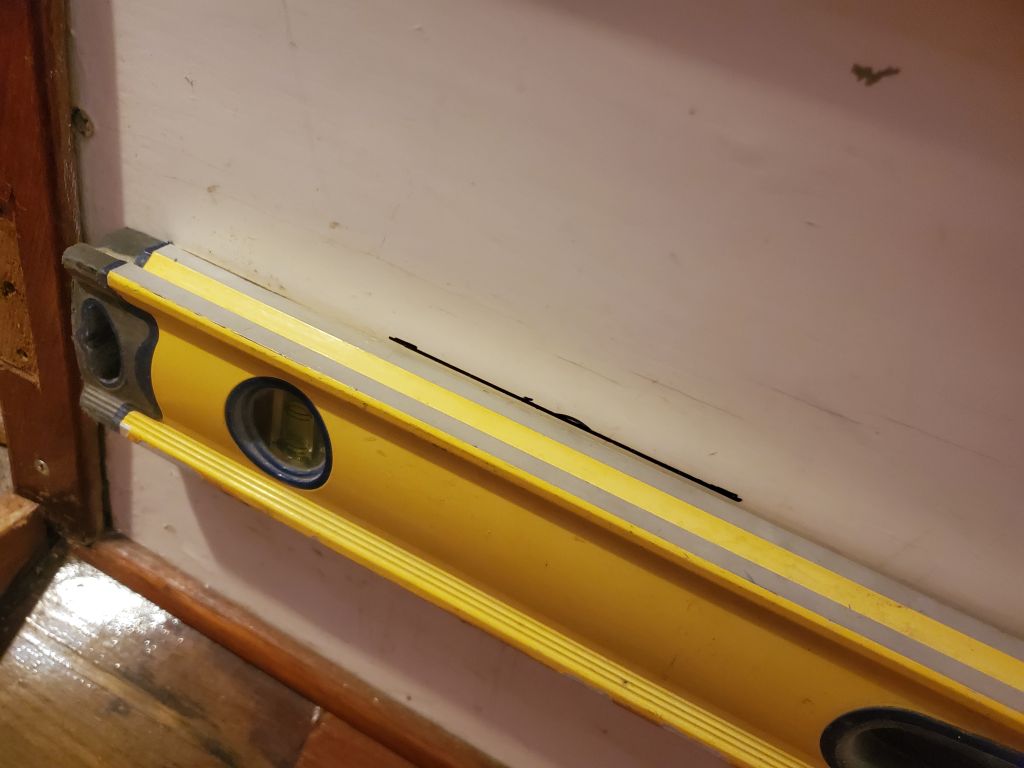
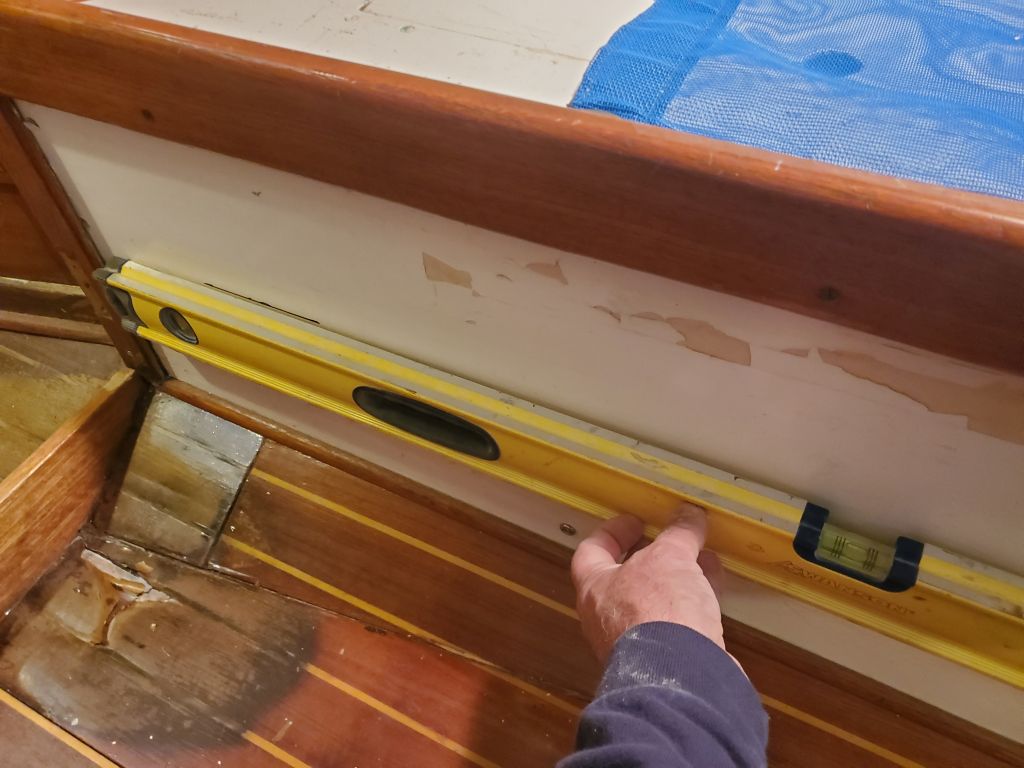
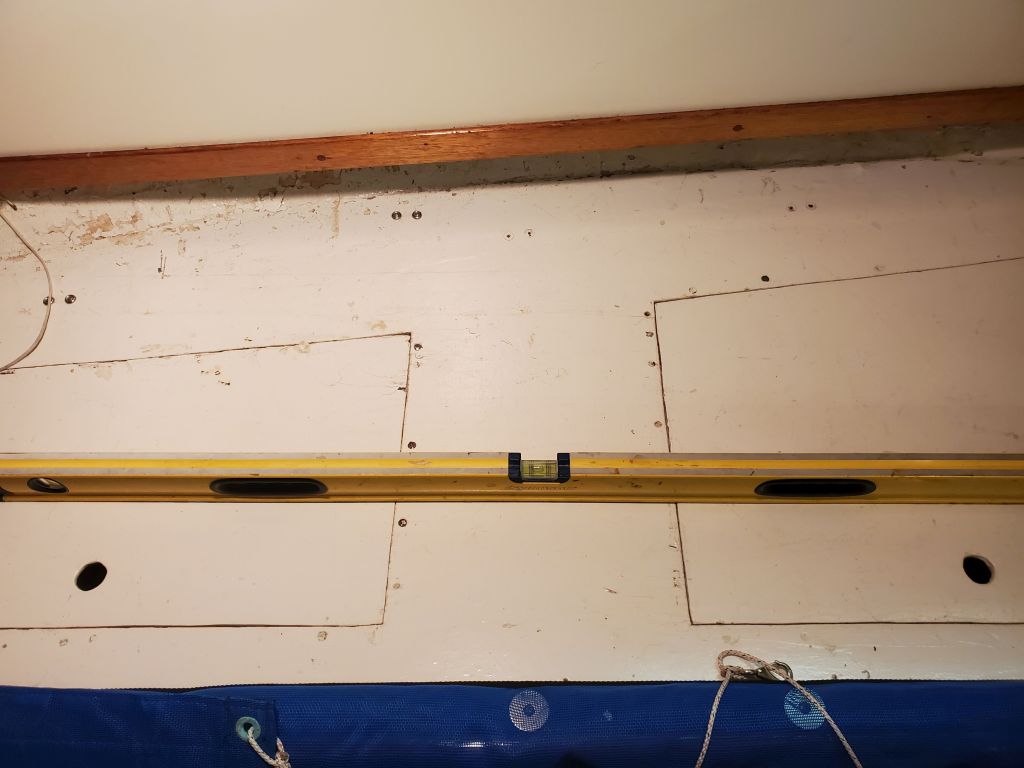
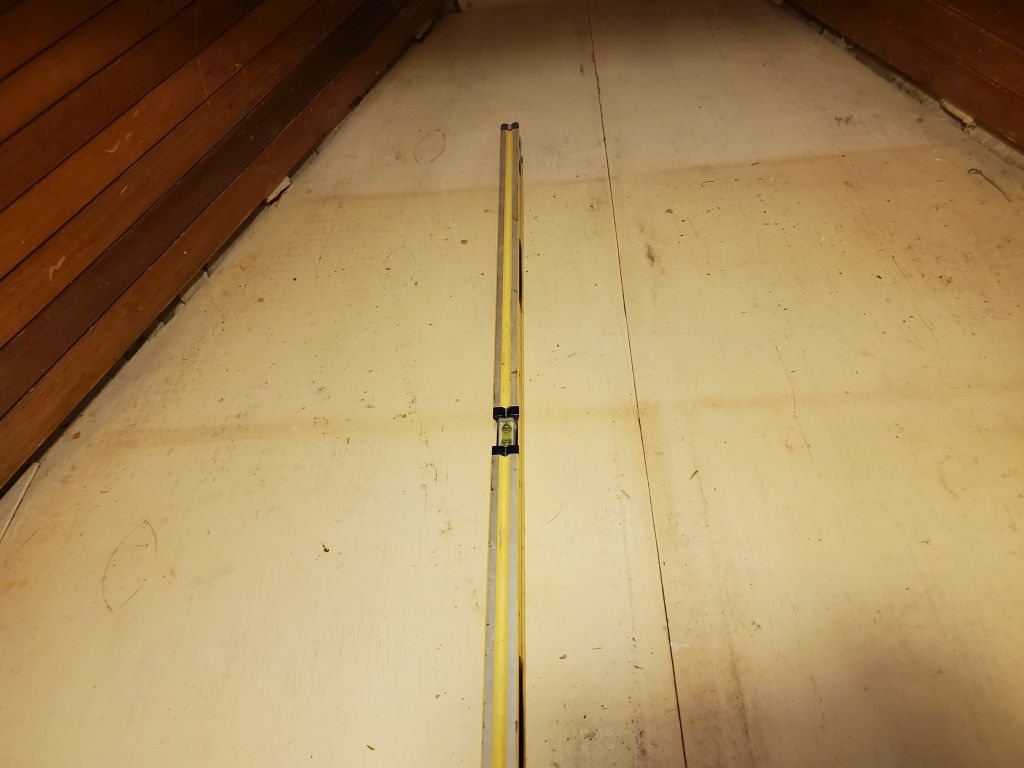
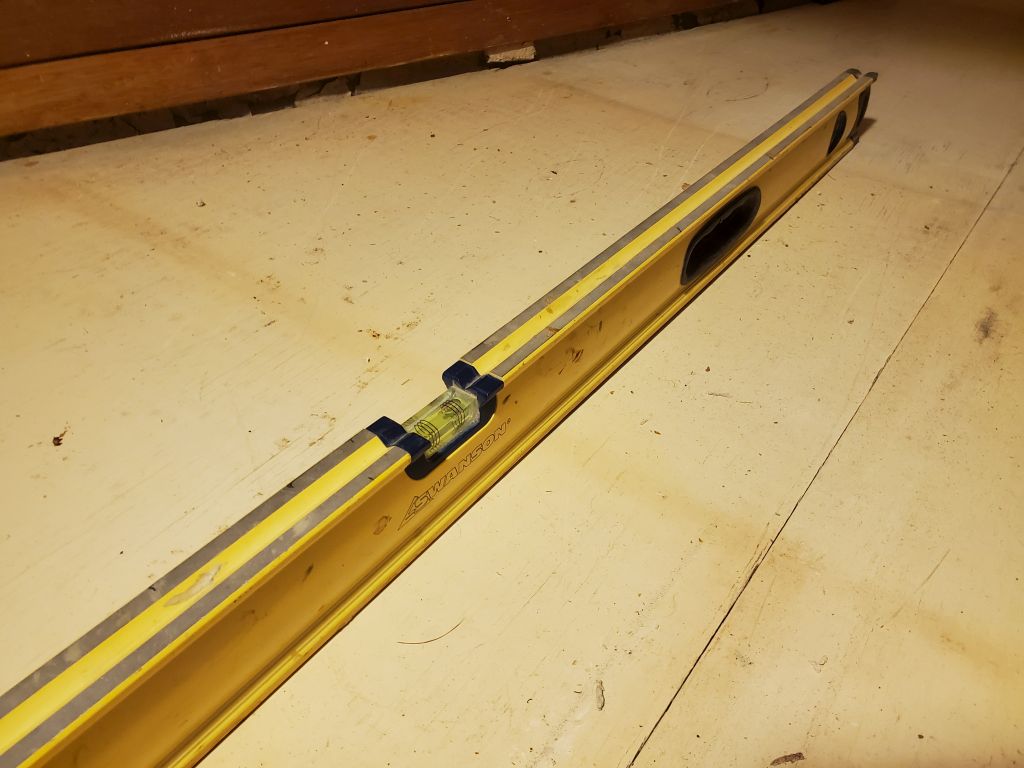
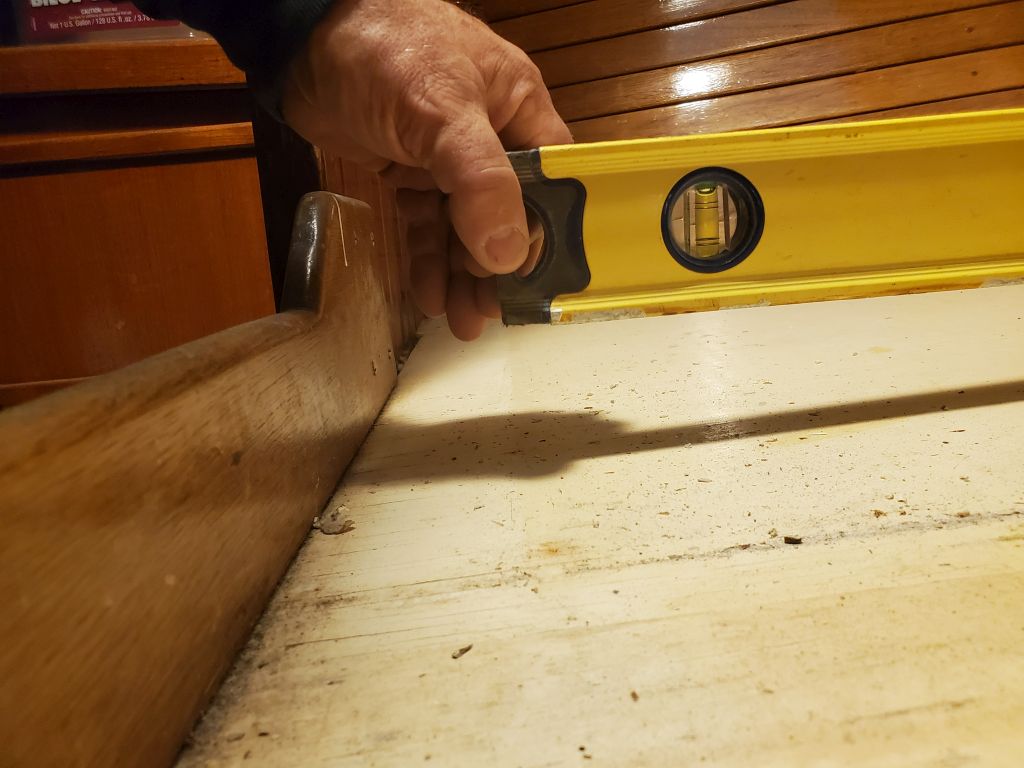
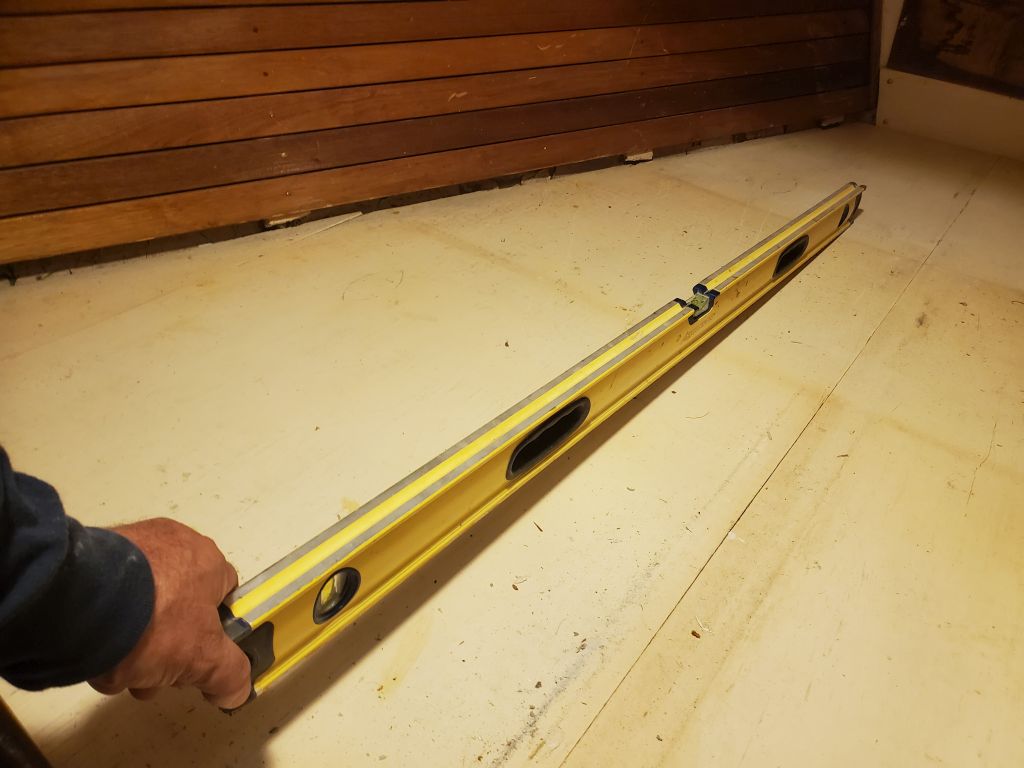
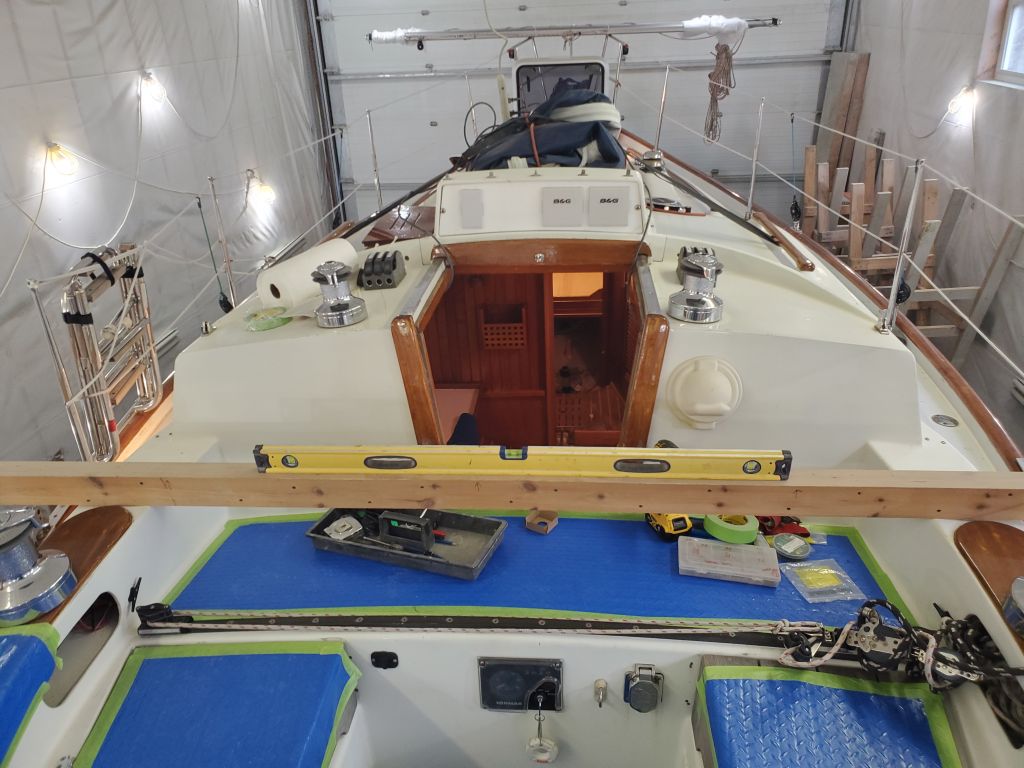
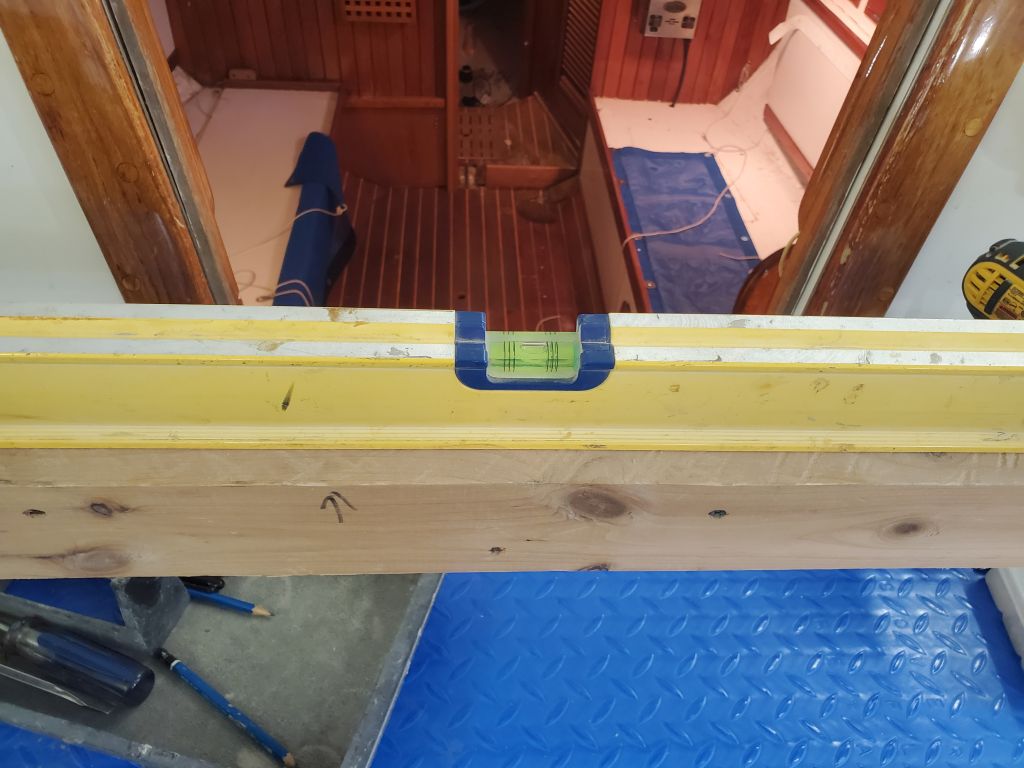
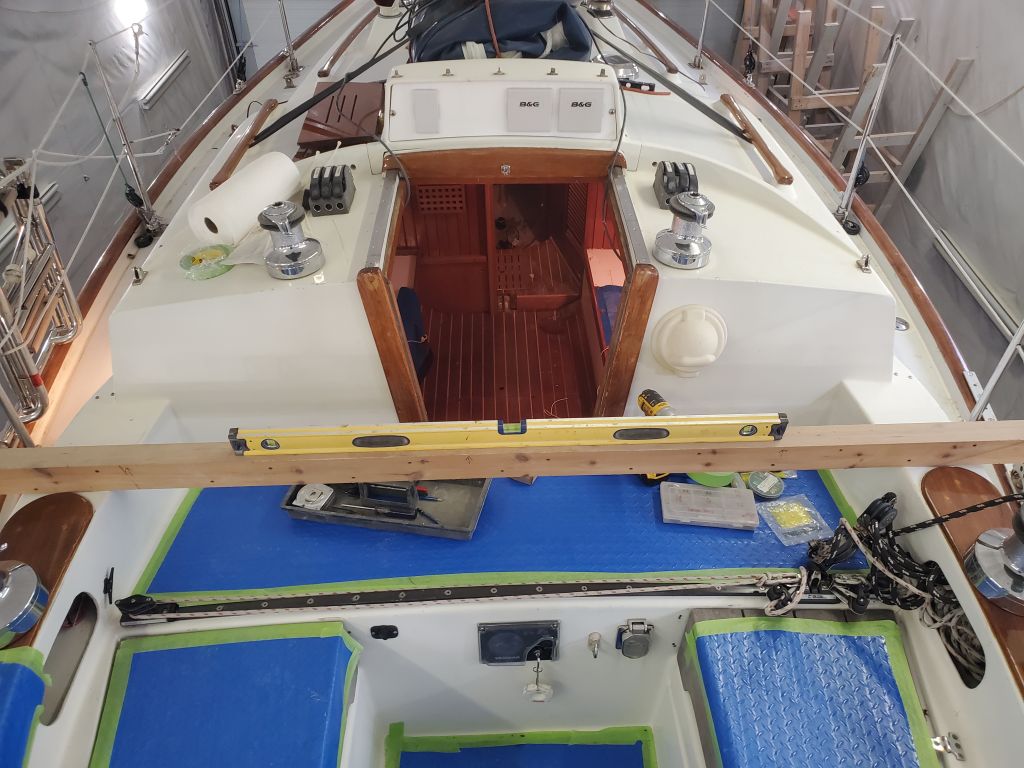
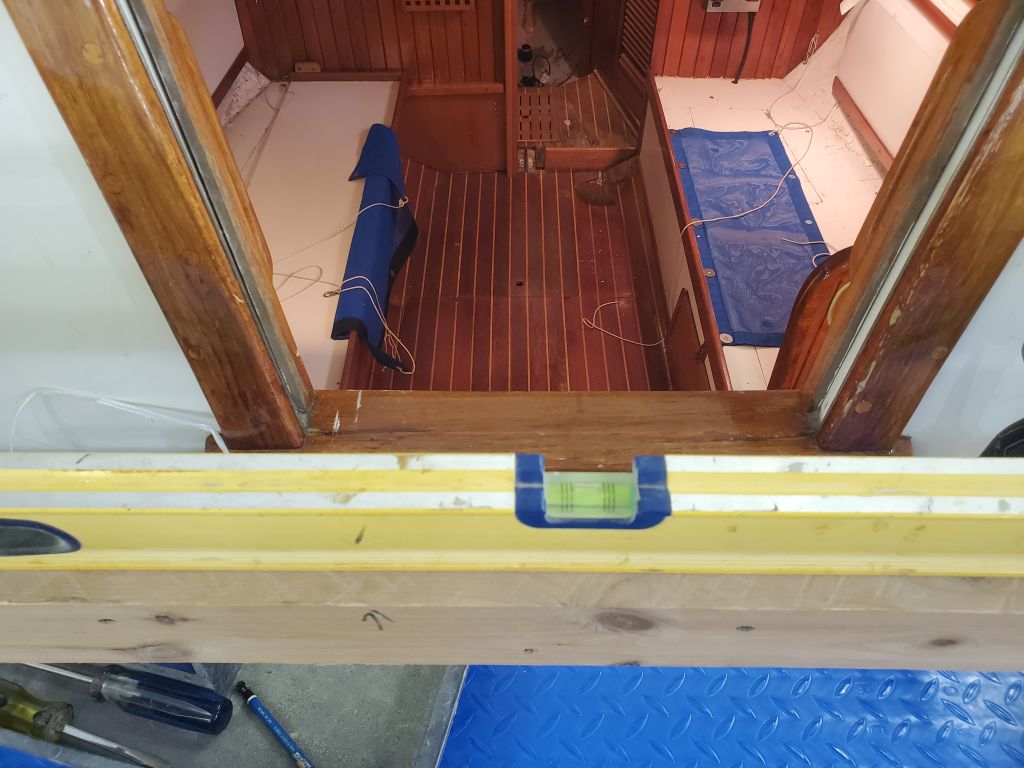
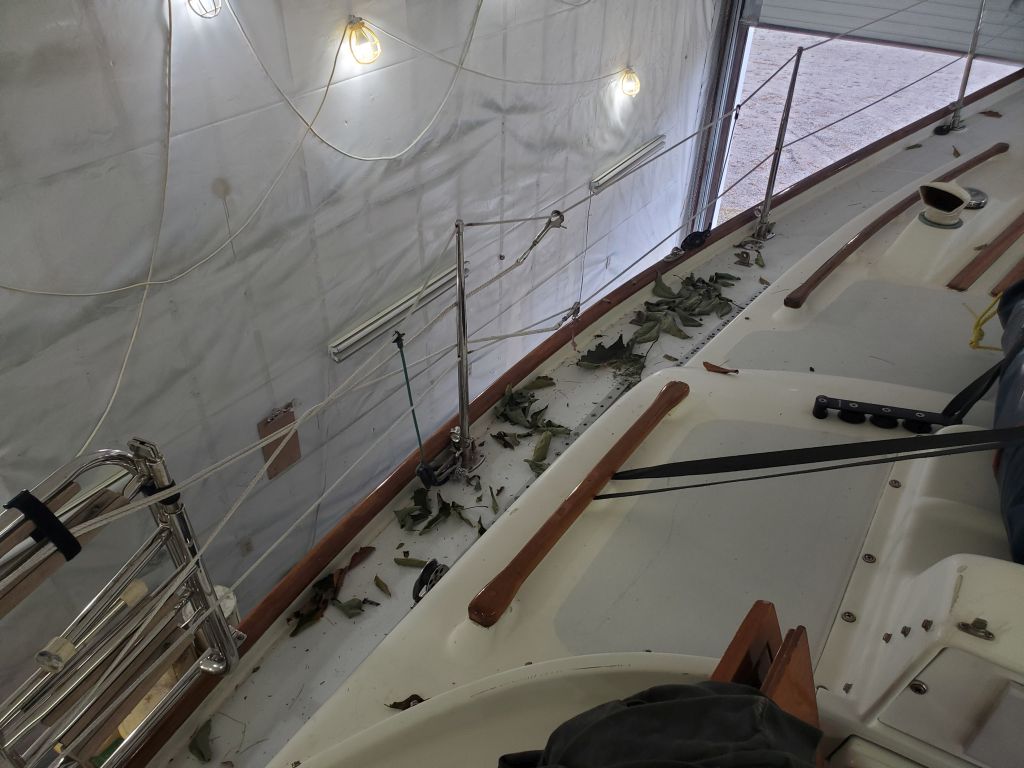
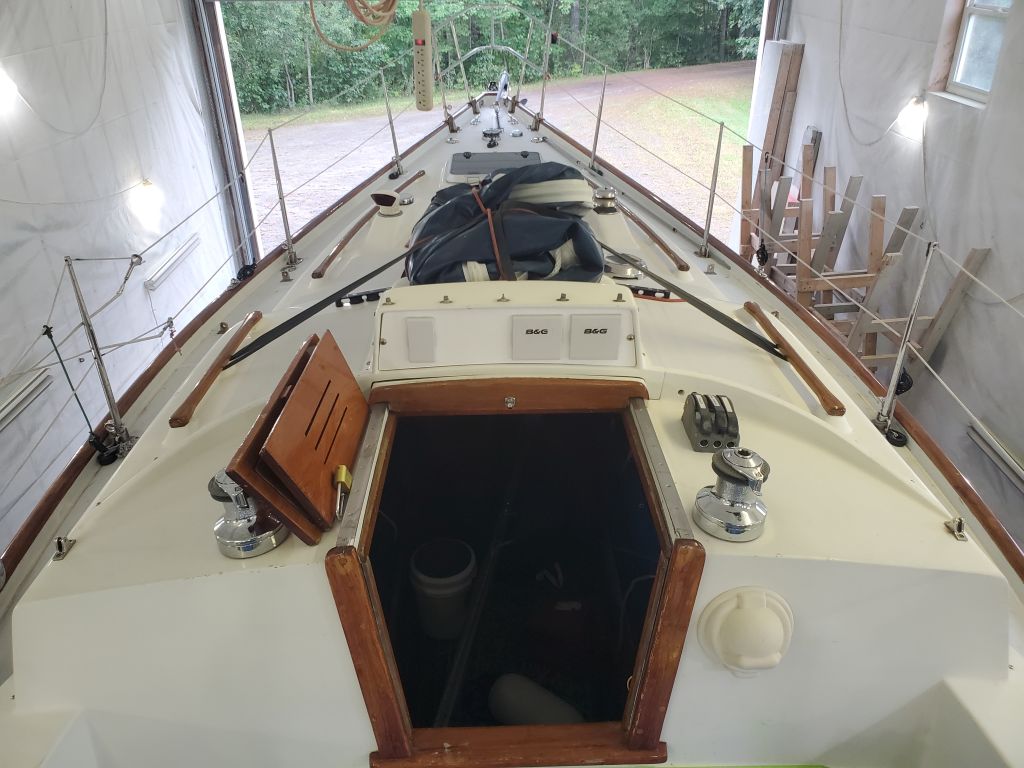
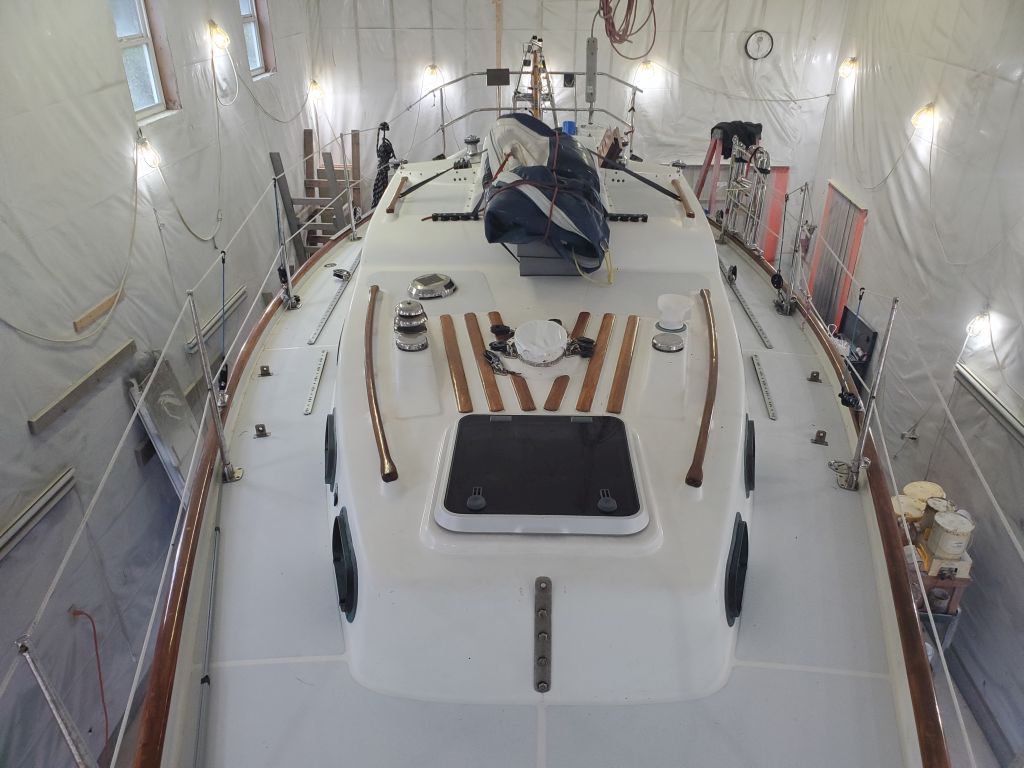
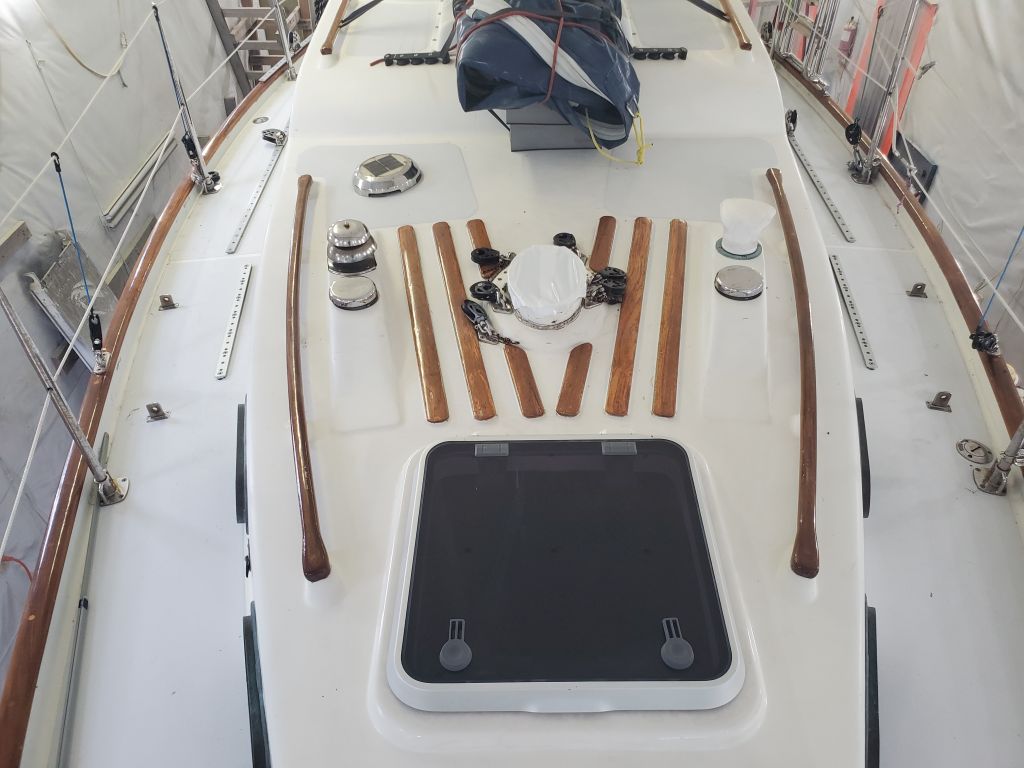
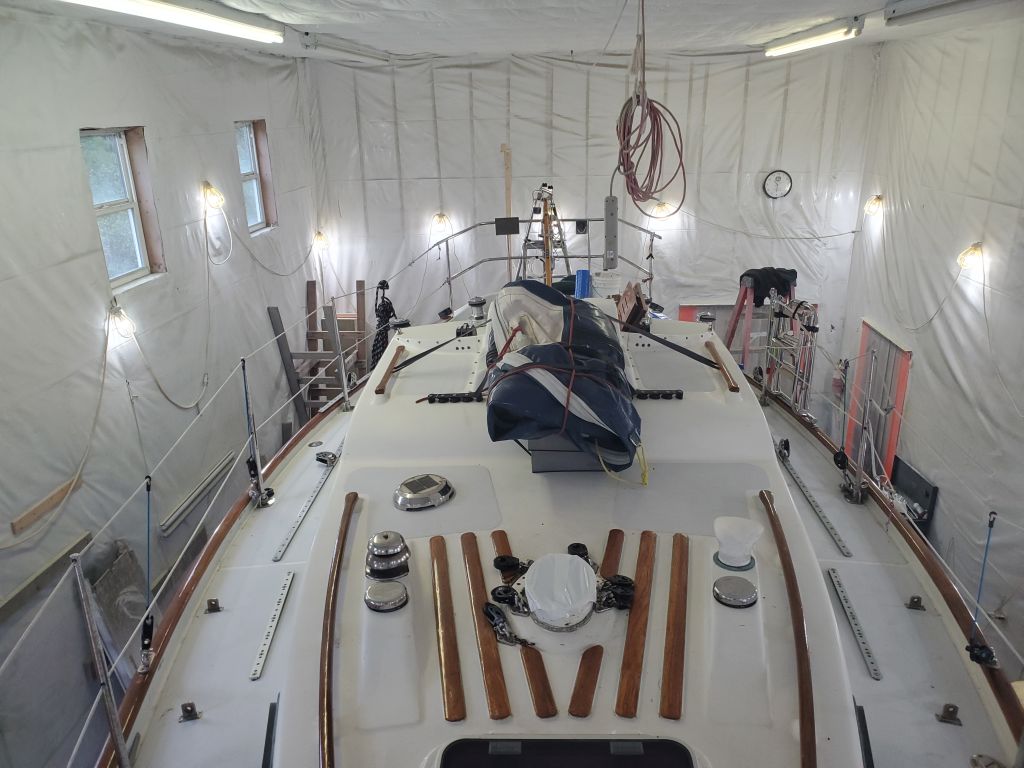
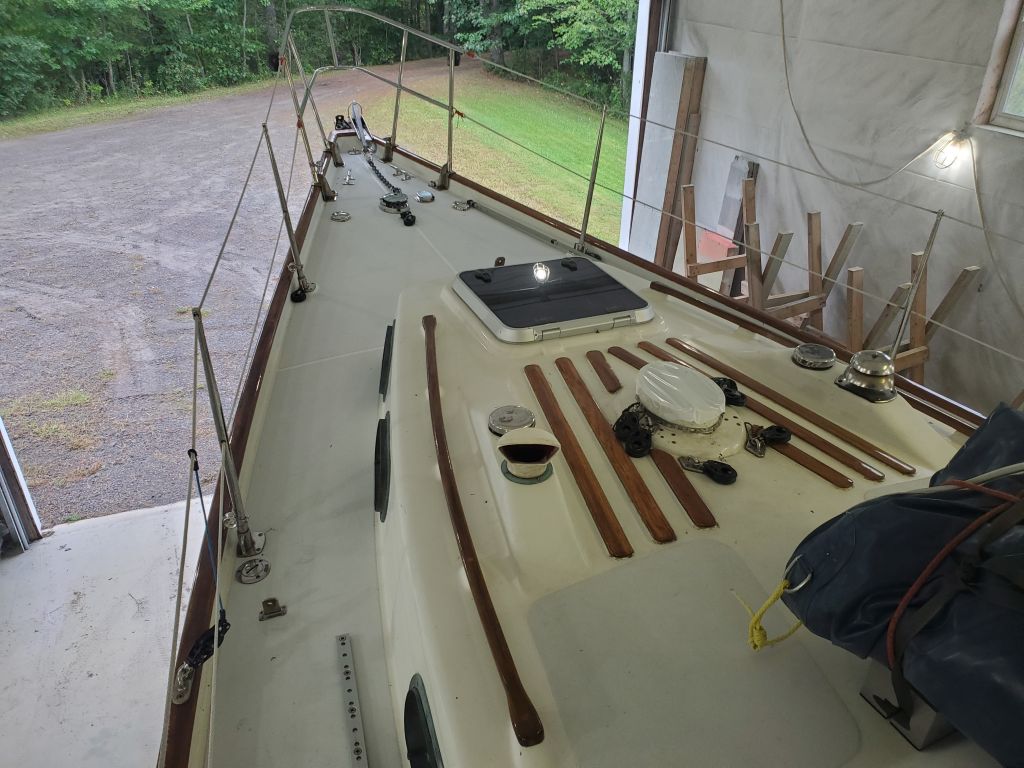
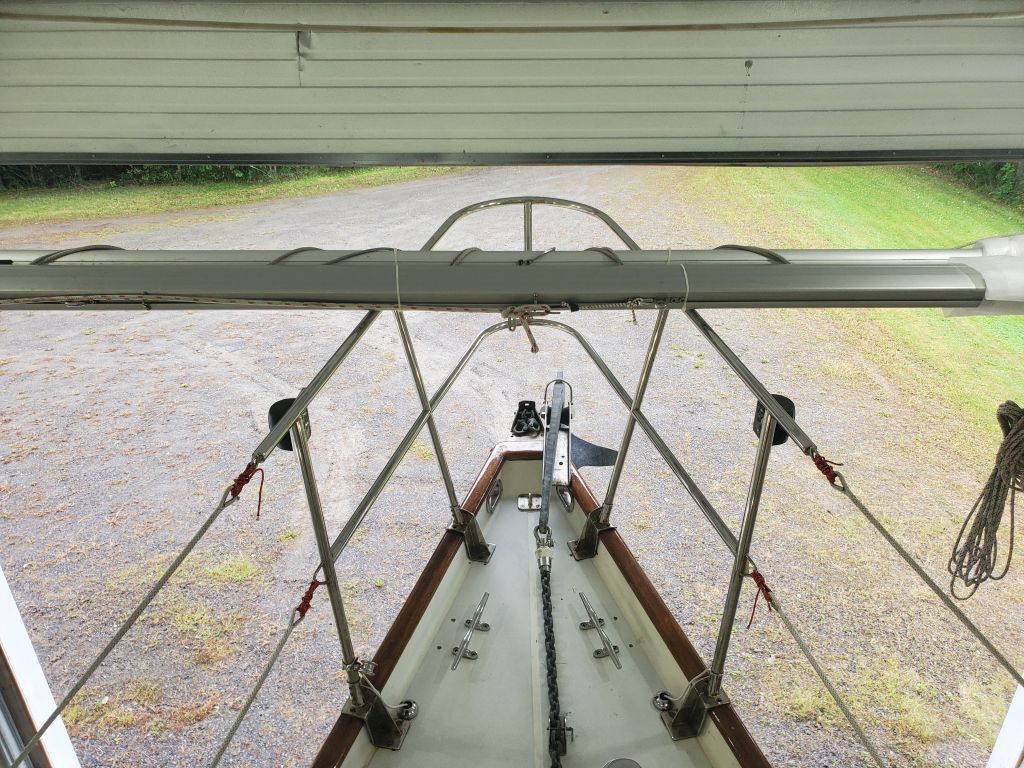
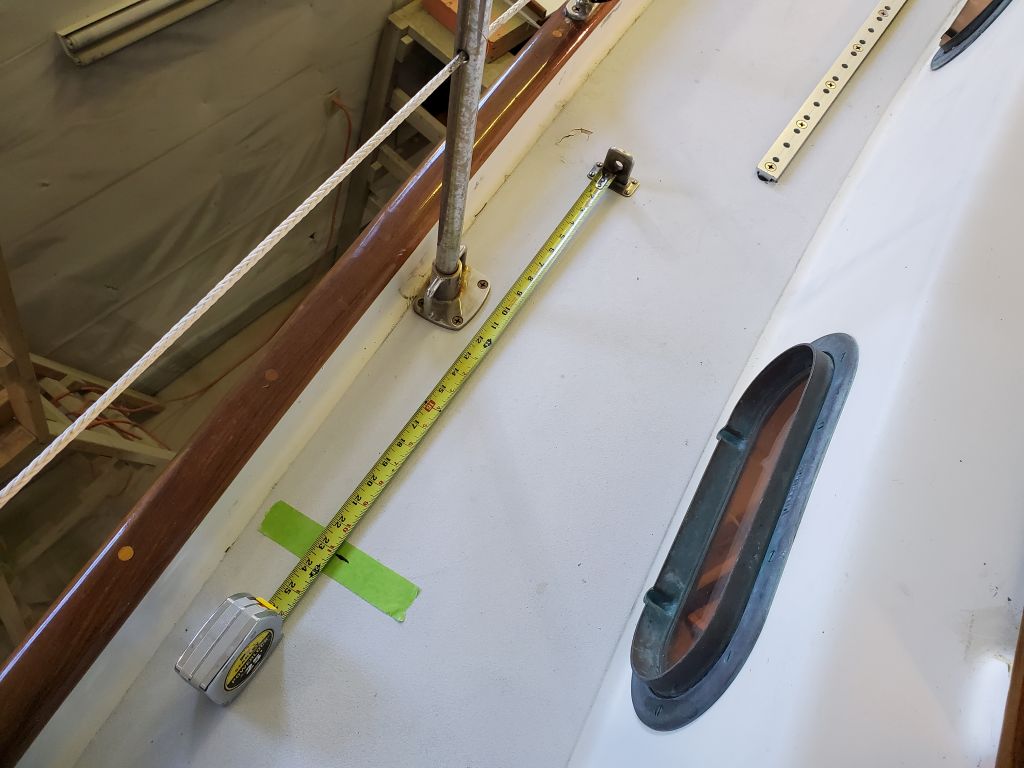
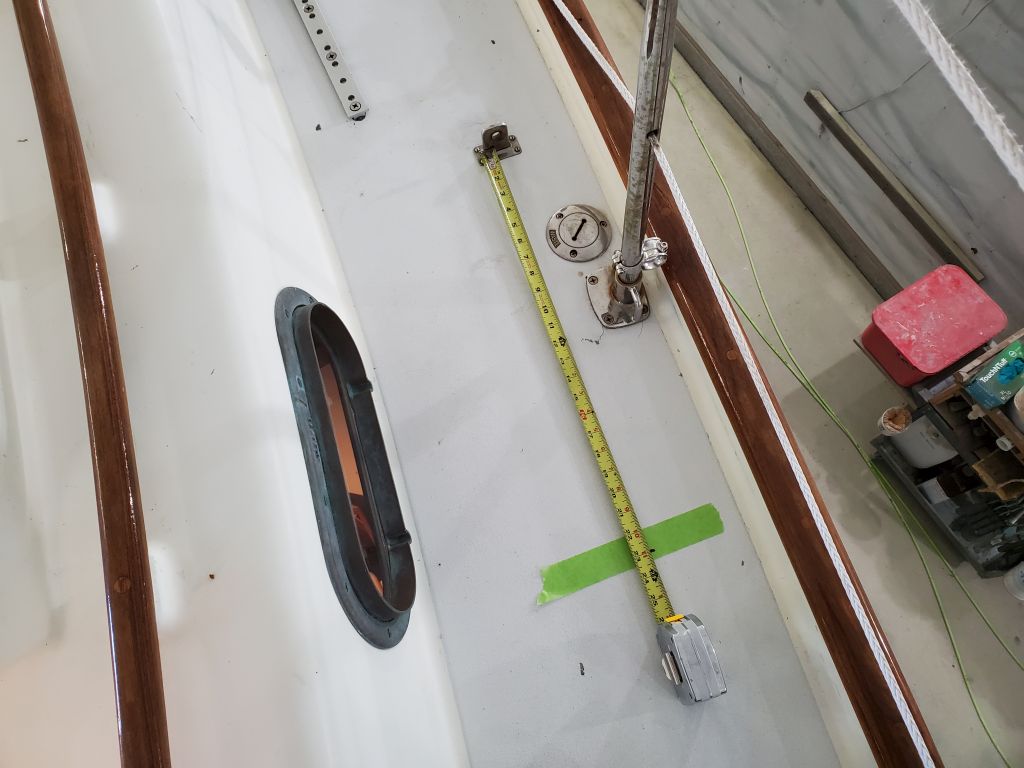
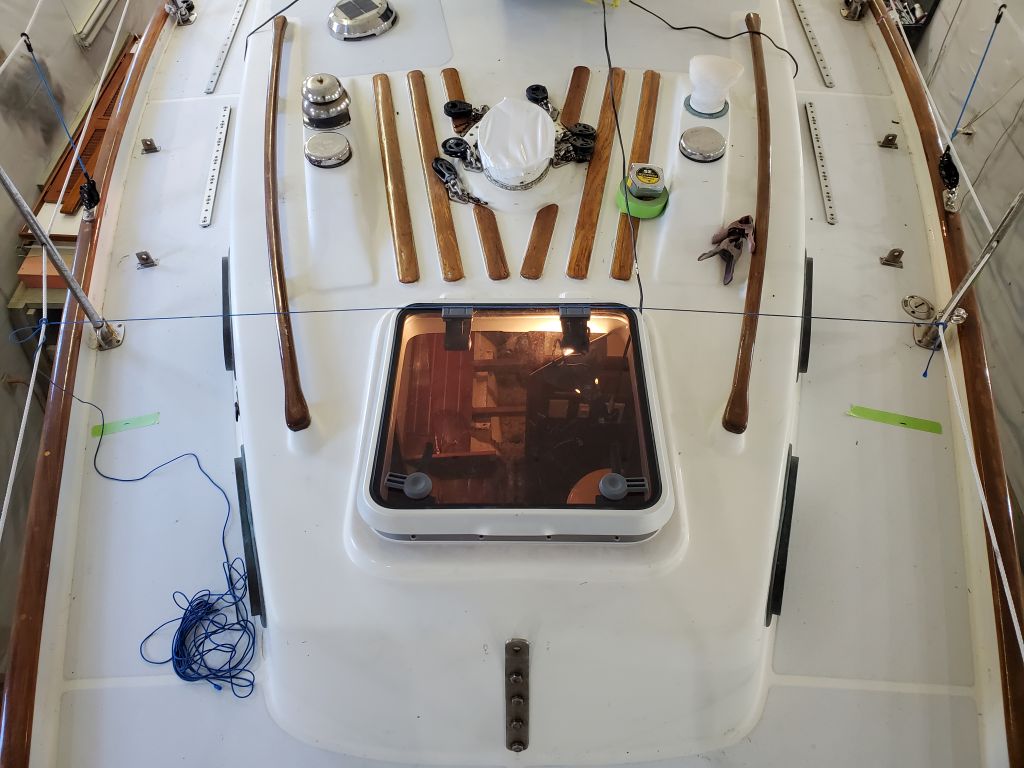
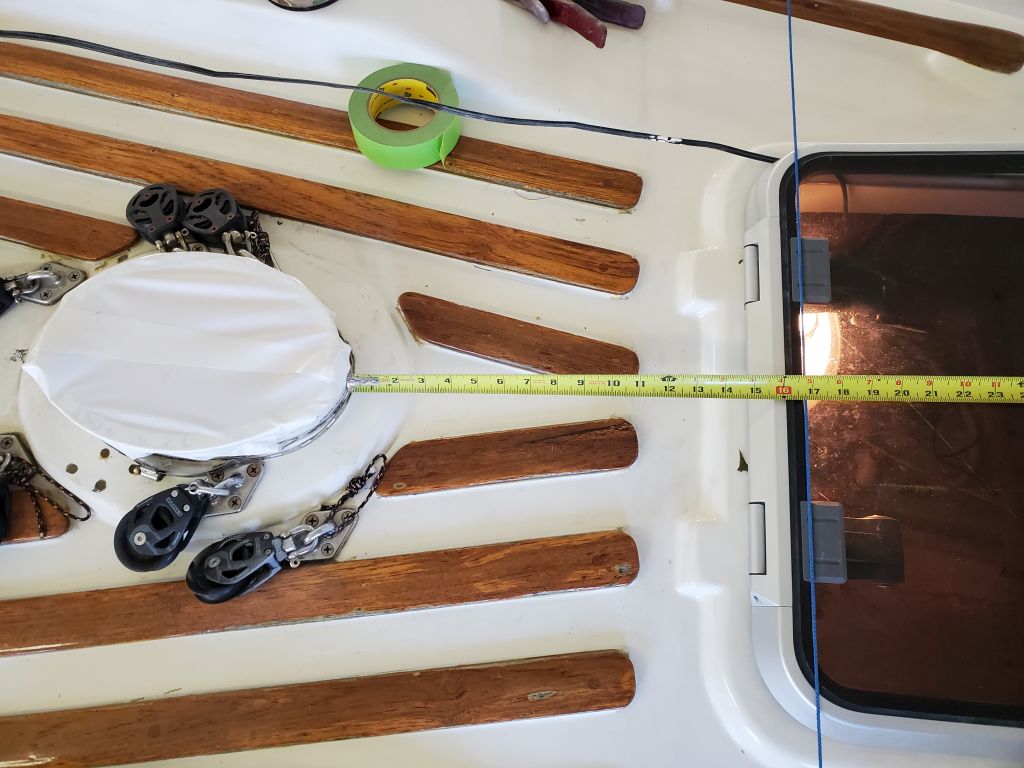
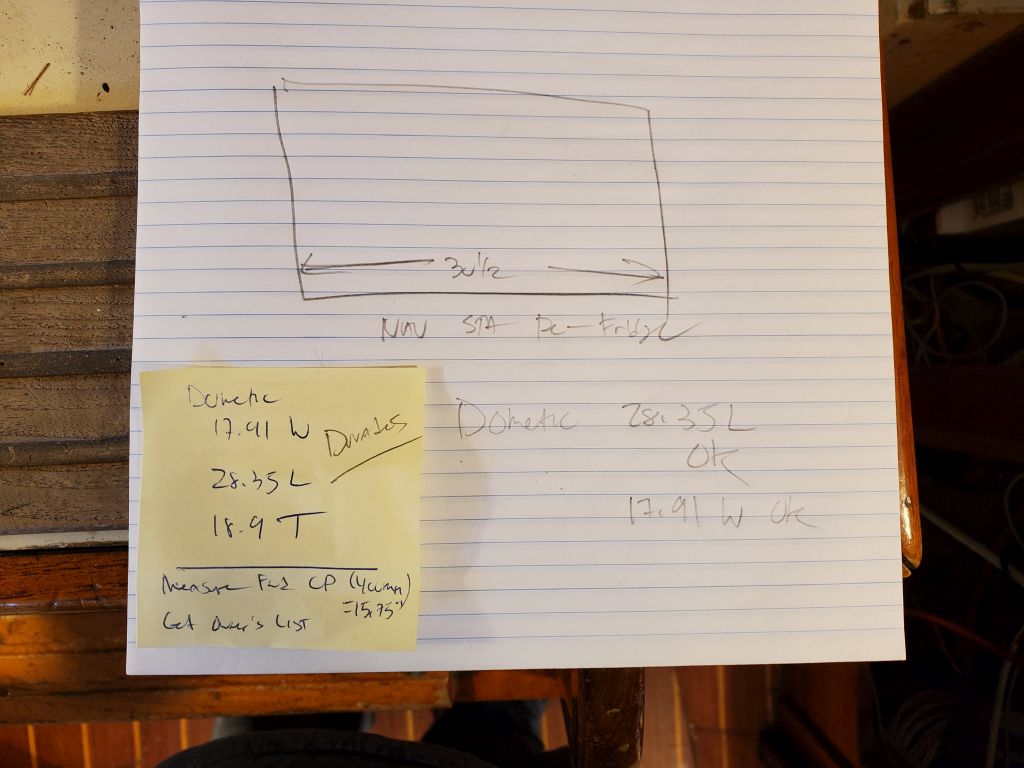
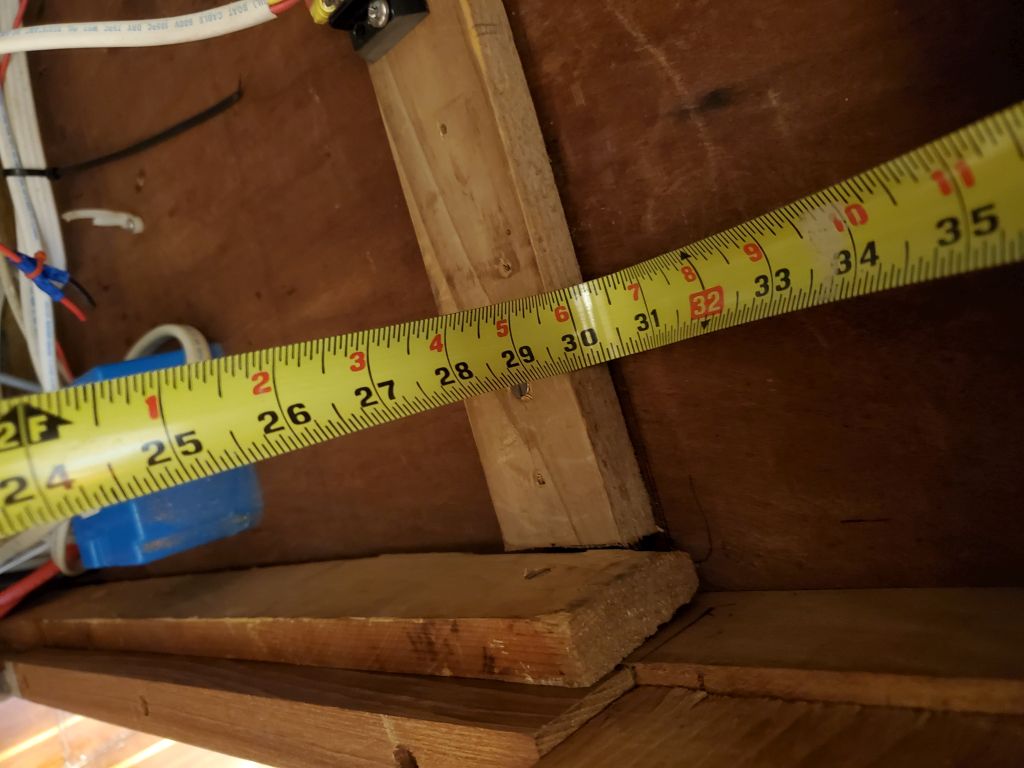
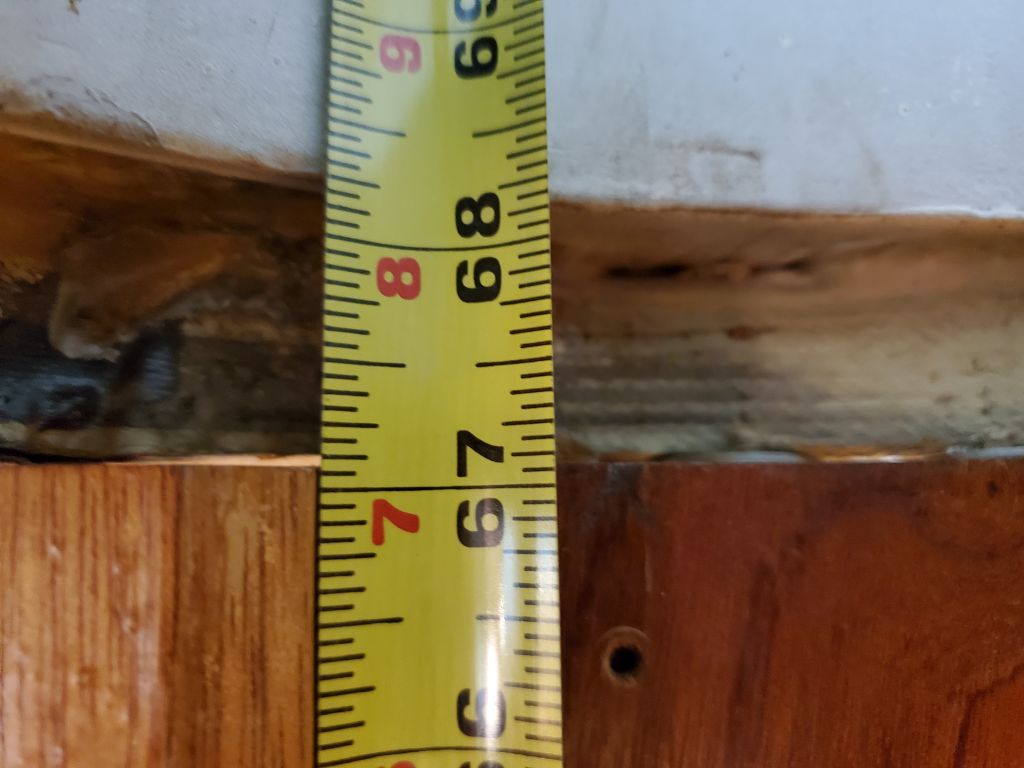
To begin, I addressed some questions the owner had had after our meeting, starting with some investigative measurements with the forward lower chainplates.  There were knees installed belowdecks, but forward lowers had never been installed to the best of the owner’s knowledge, and he hoped to replace an existing babystay with forward lowers during this refit.  The spar maker required a minimum distance of 15.75″ (400mm) forward of the mast (whether forward edge of the mast or mast centerline was not determined) for these to be effective.  The way the knees were situated didn’t allow me to easily make this measurement from belowdecks, so I transferred the knees’ positions to the deck and, with a string led between the marks across the deck, made the necessary measurement.  I used the forward edge of the mast collar as my reference, as if the minimum measurement was satisfied there, at the forwardmost point, it would surely be acceptable by any standard.  With over 16″ available from these criteria, the forward chainplates appeared to be properly positioned as needed (aad also the same distance forward of the center chainplates as the after ones were aft, which is typical).

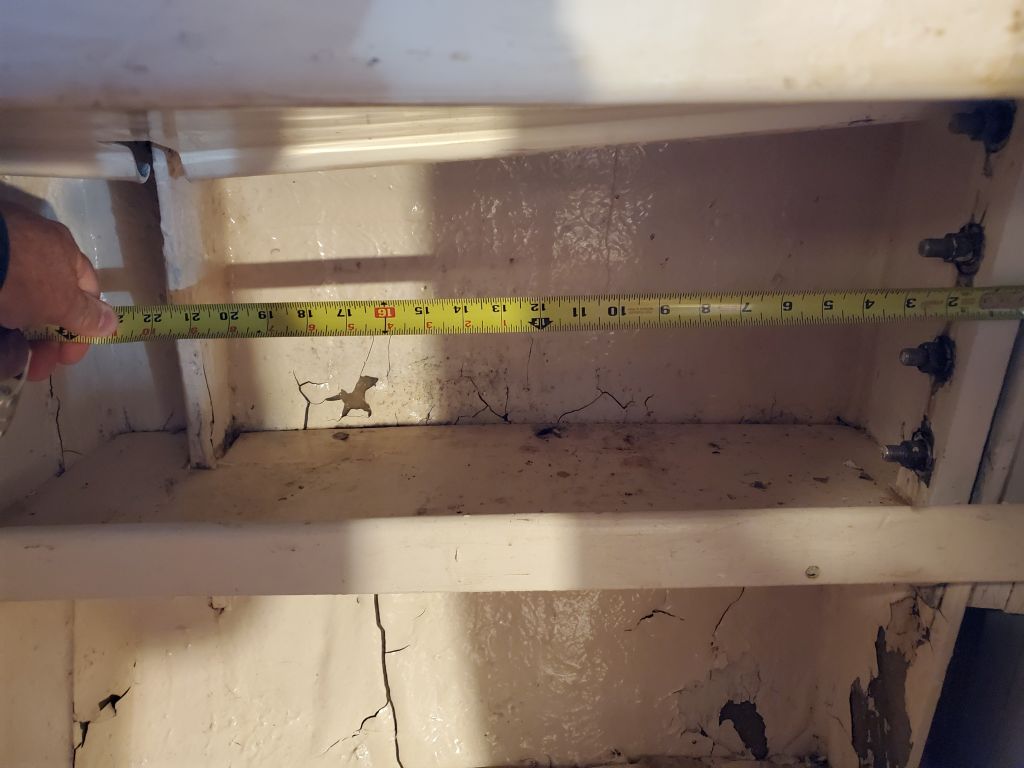
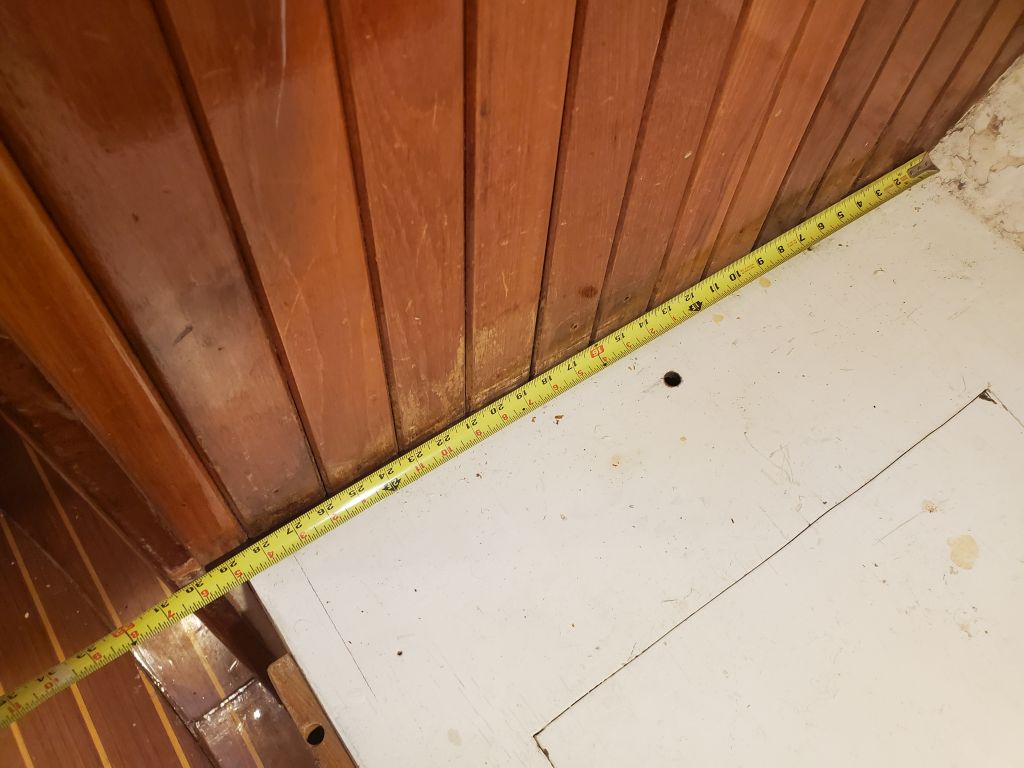
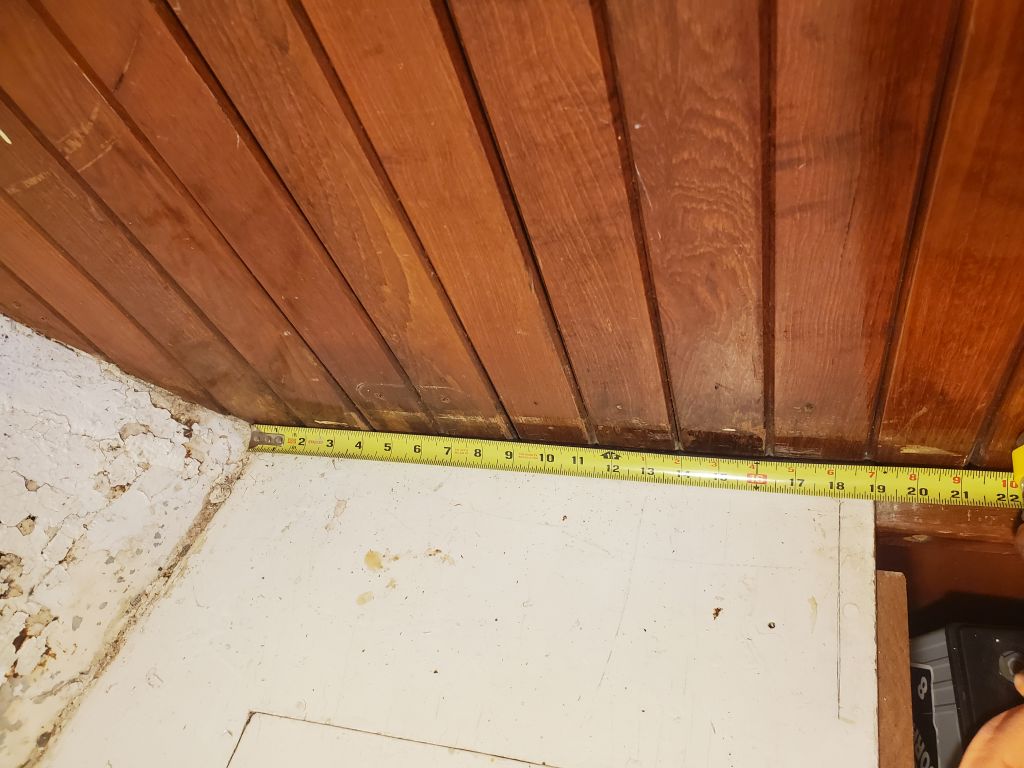
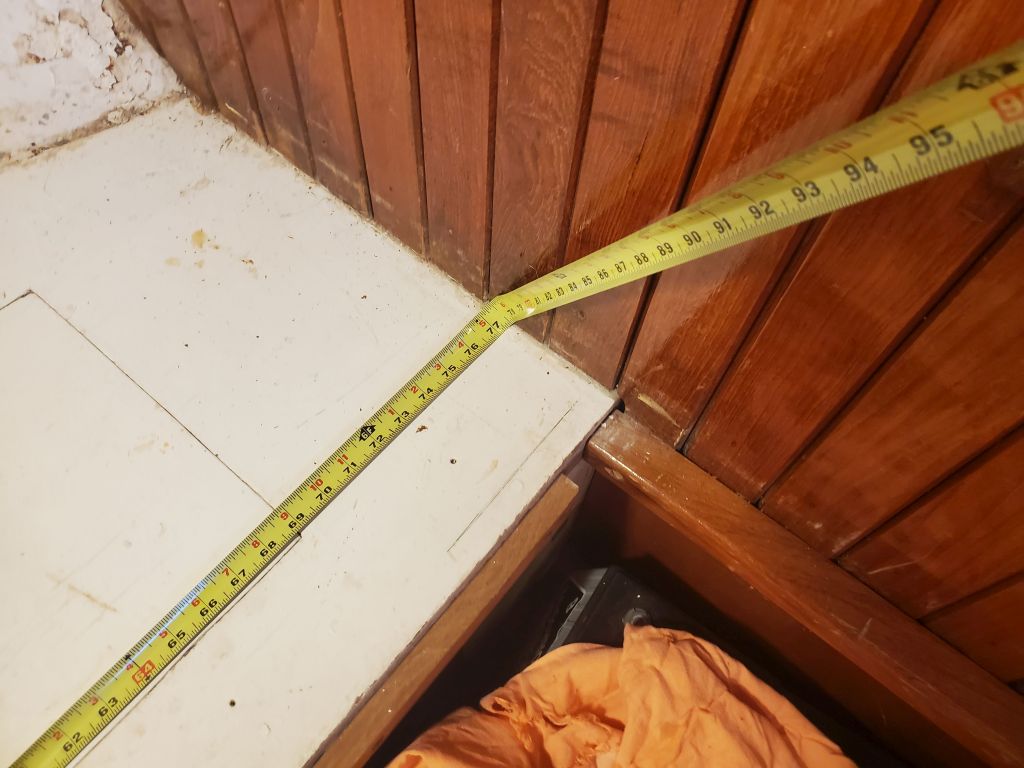
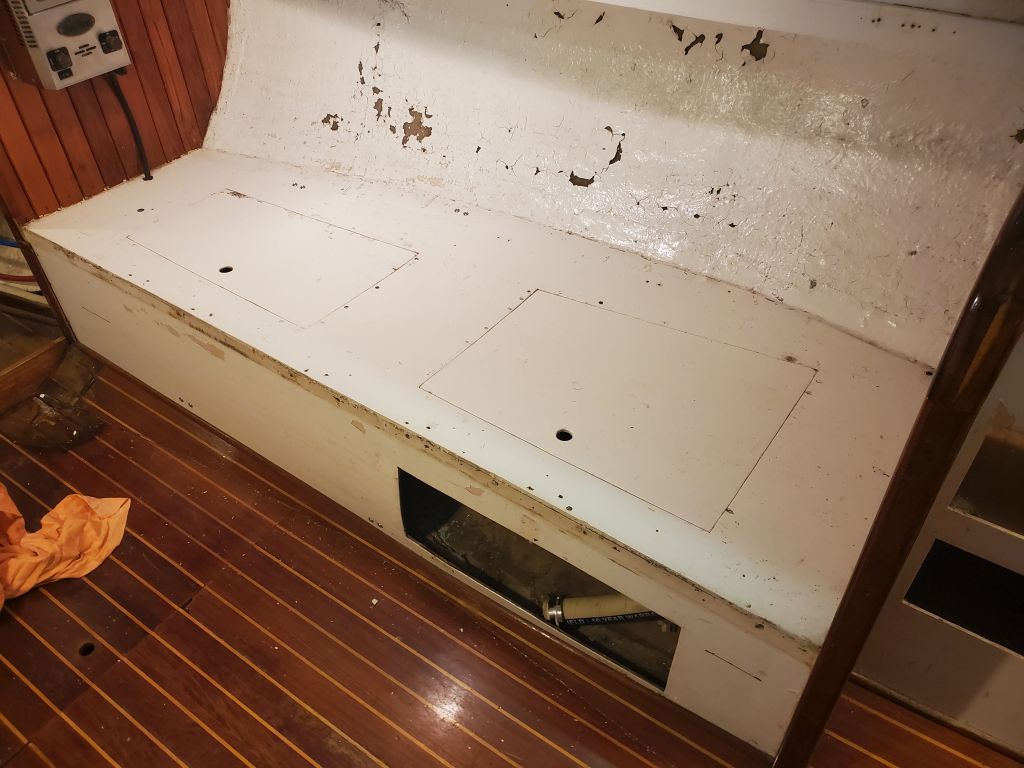
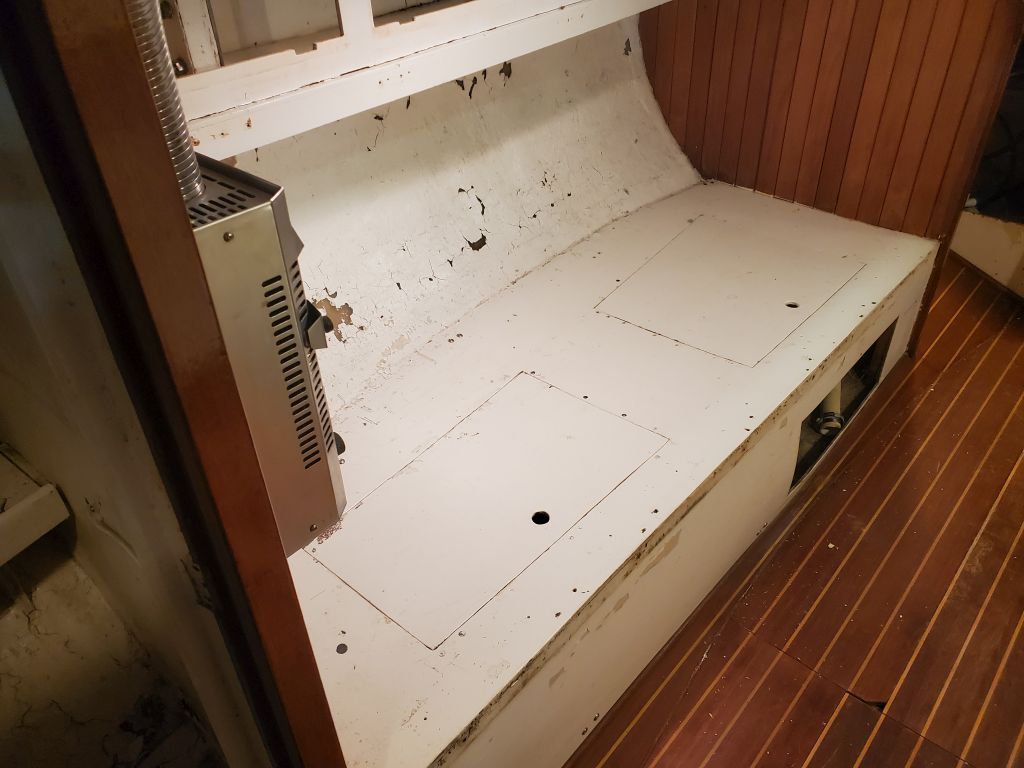
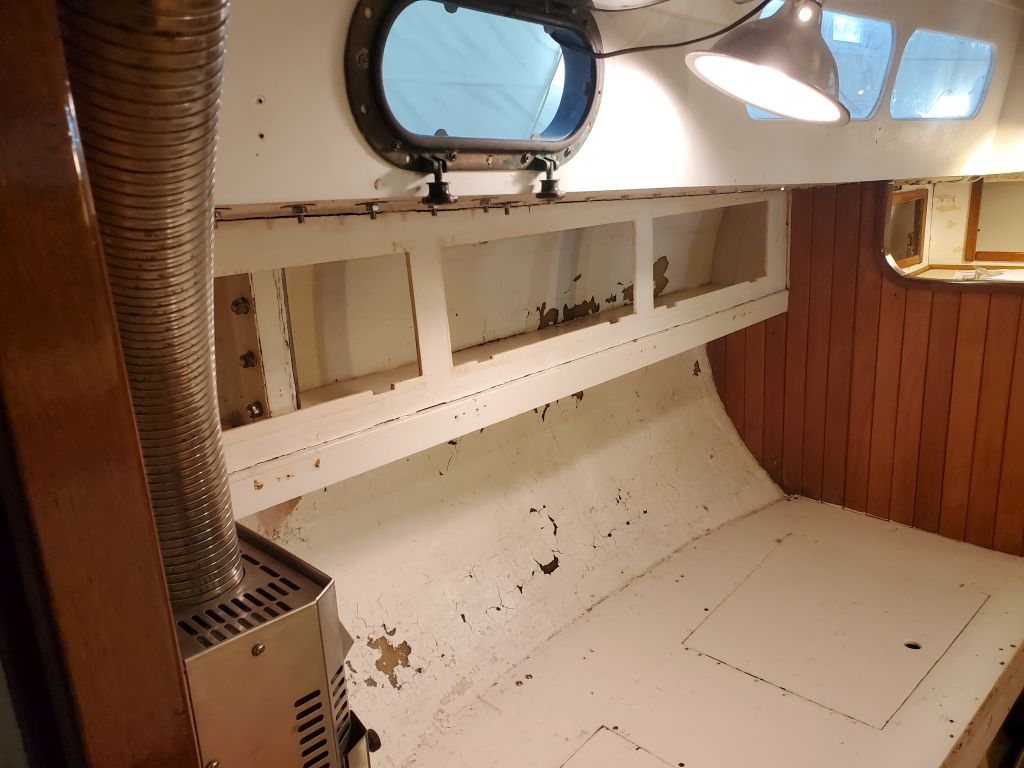
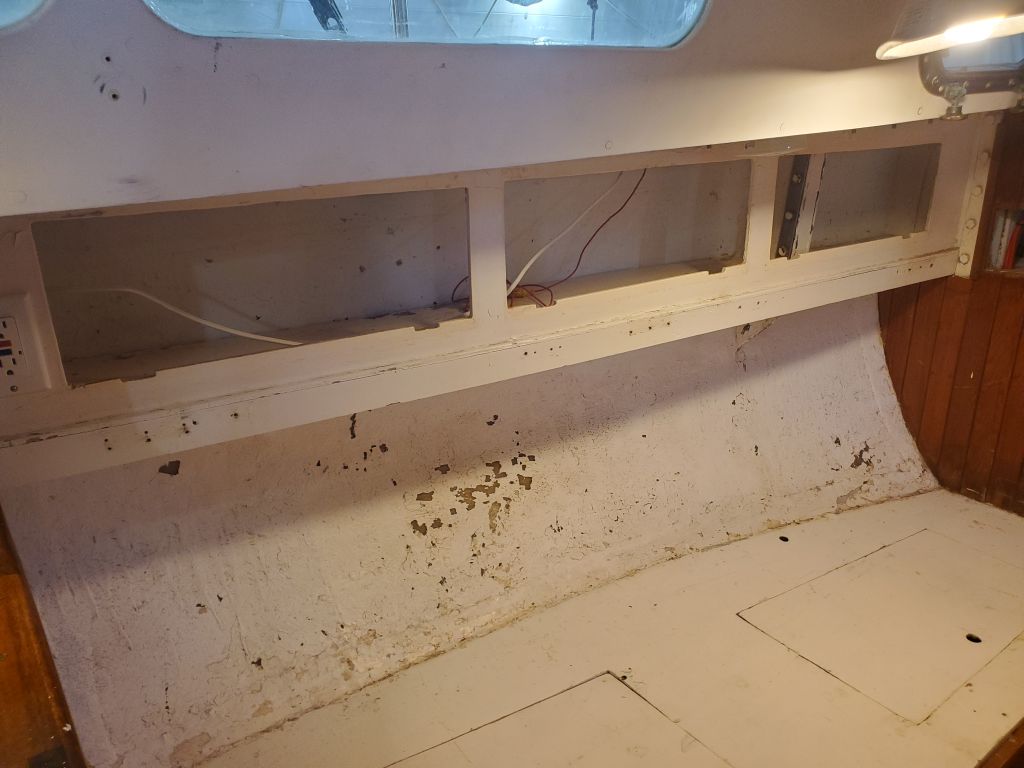
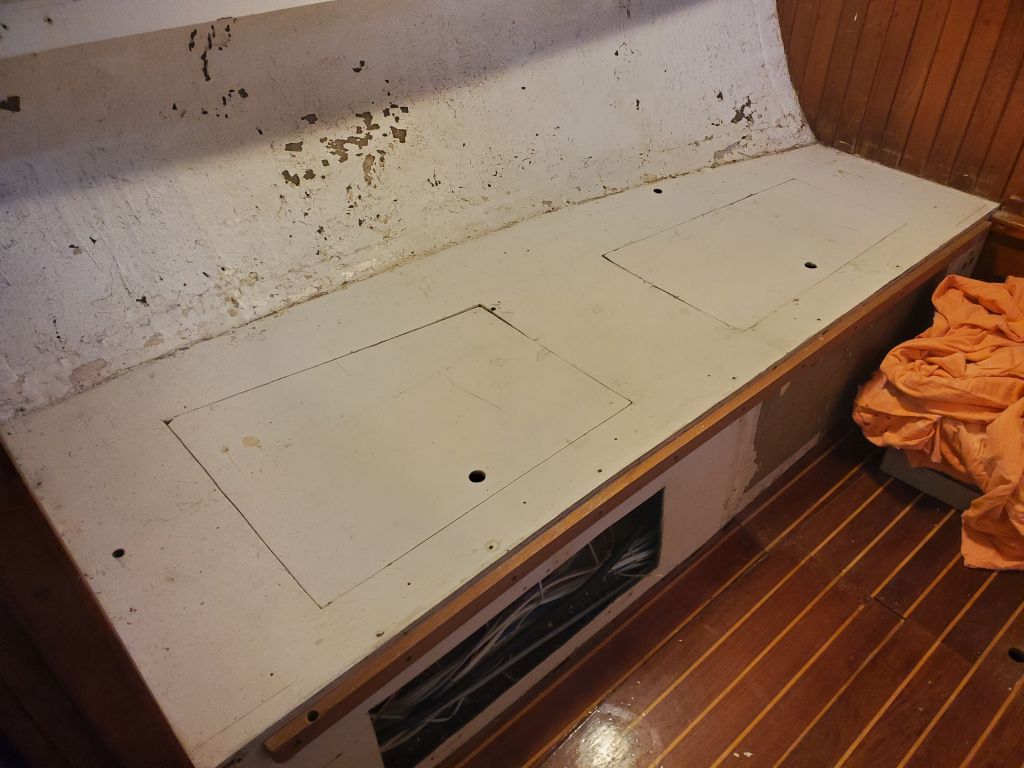
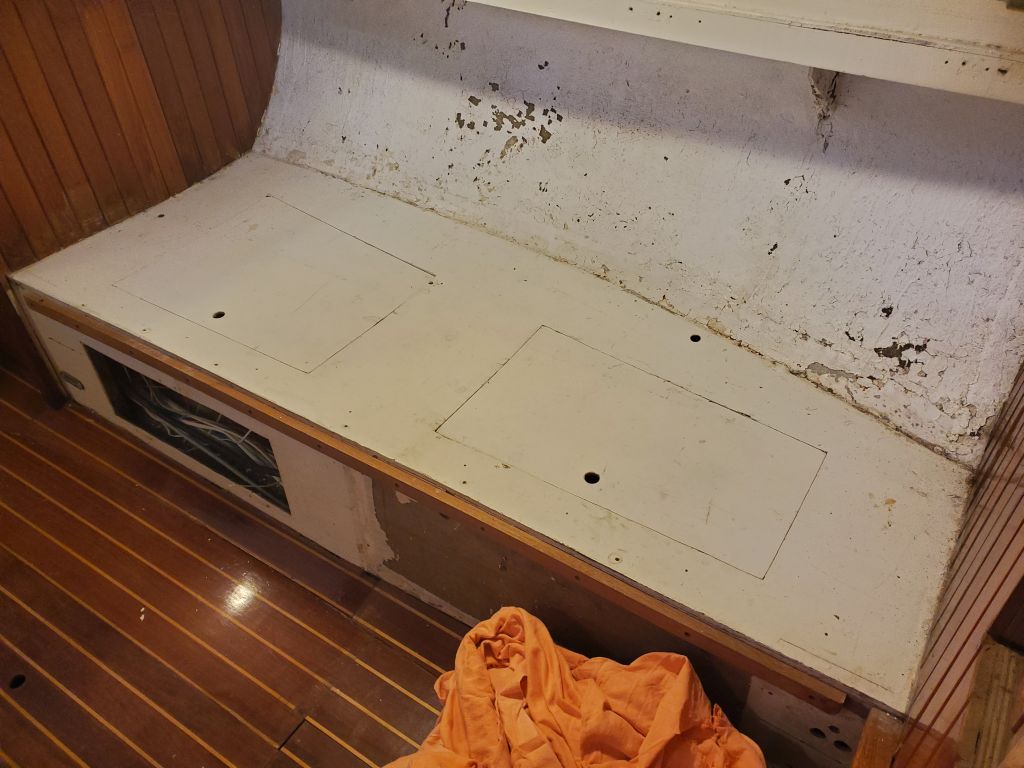
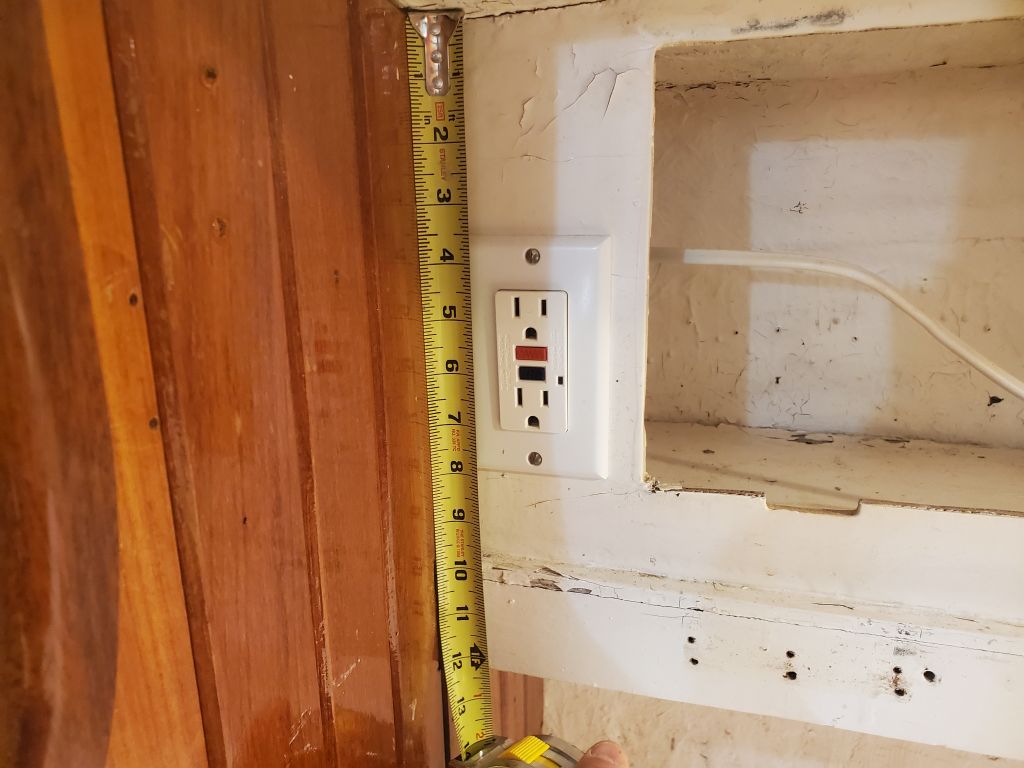
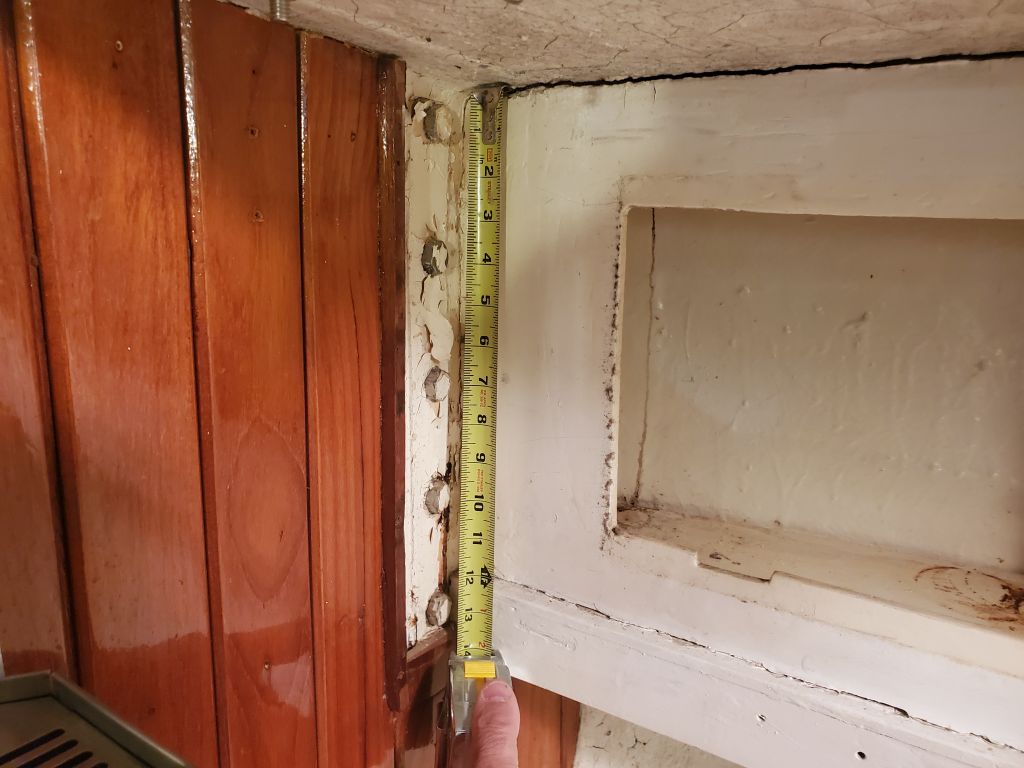
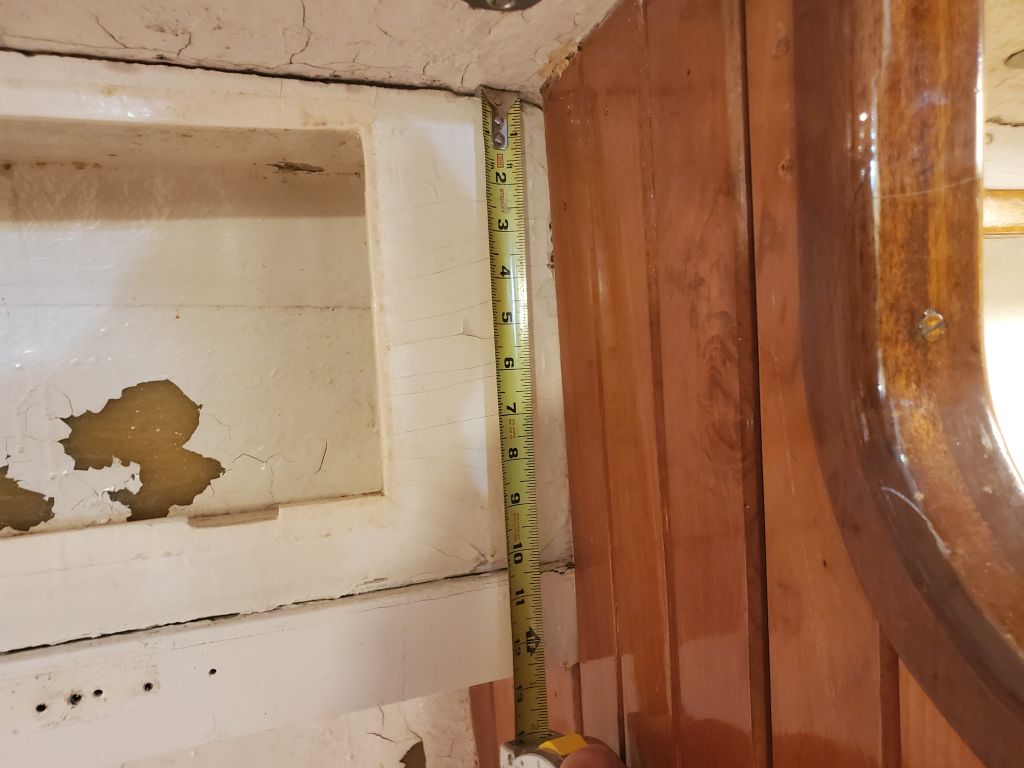
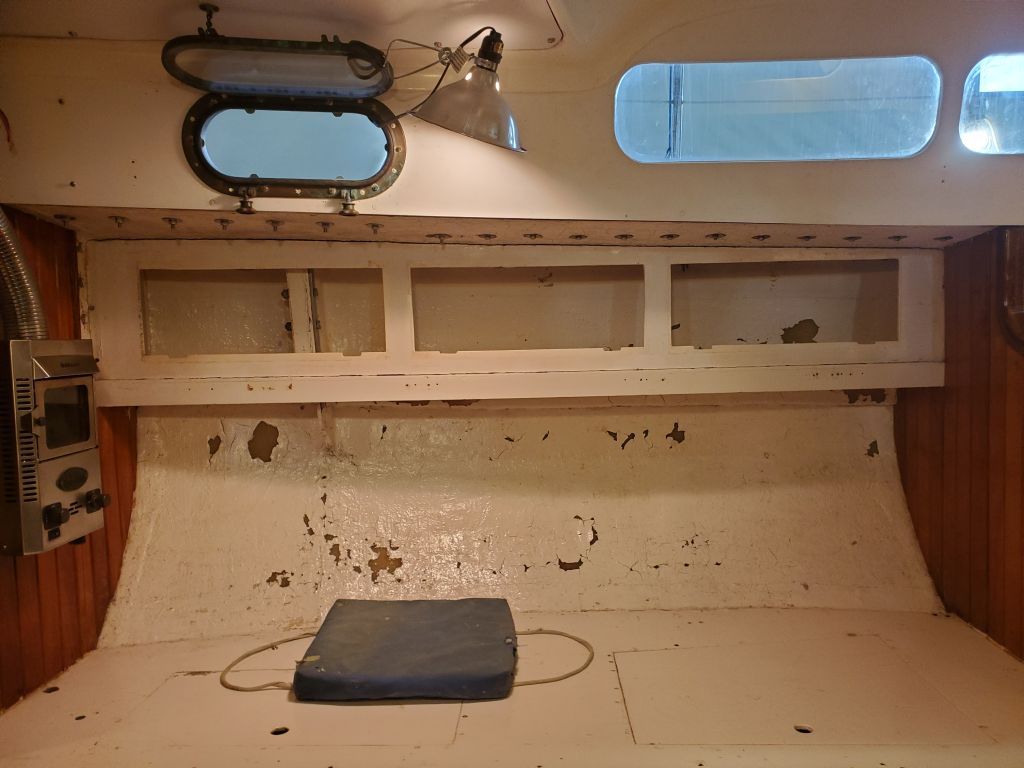
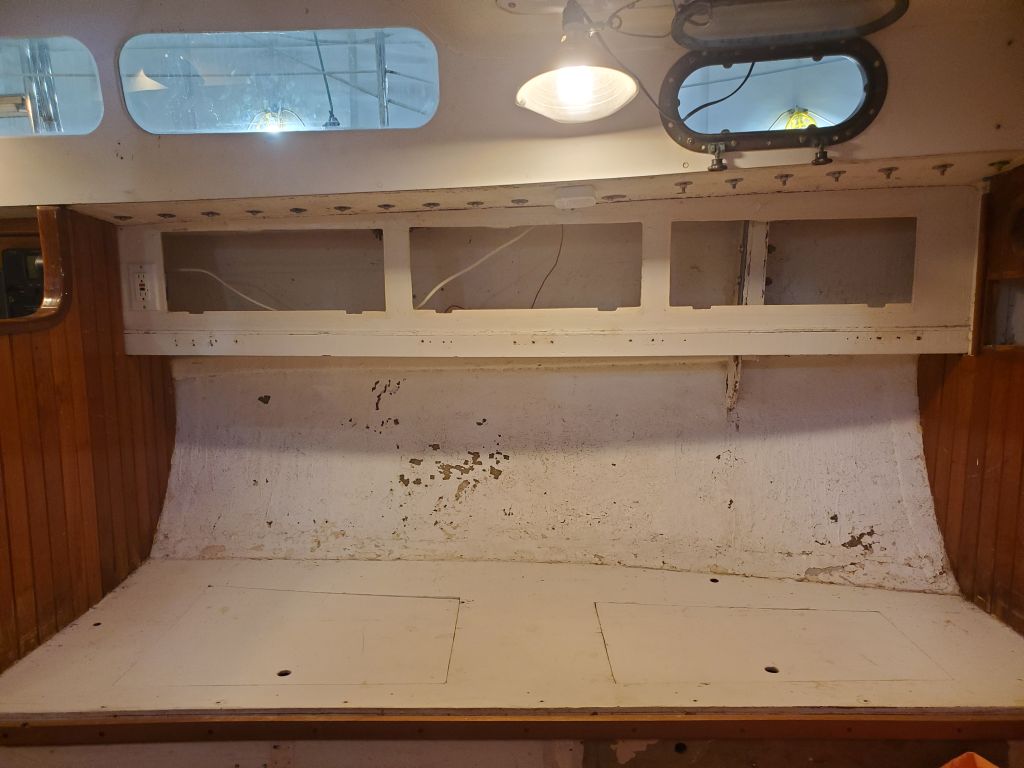
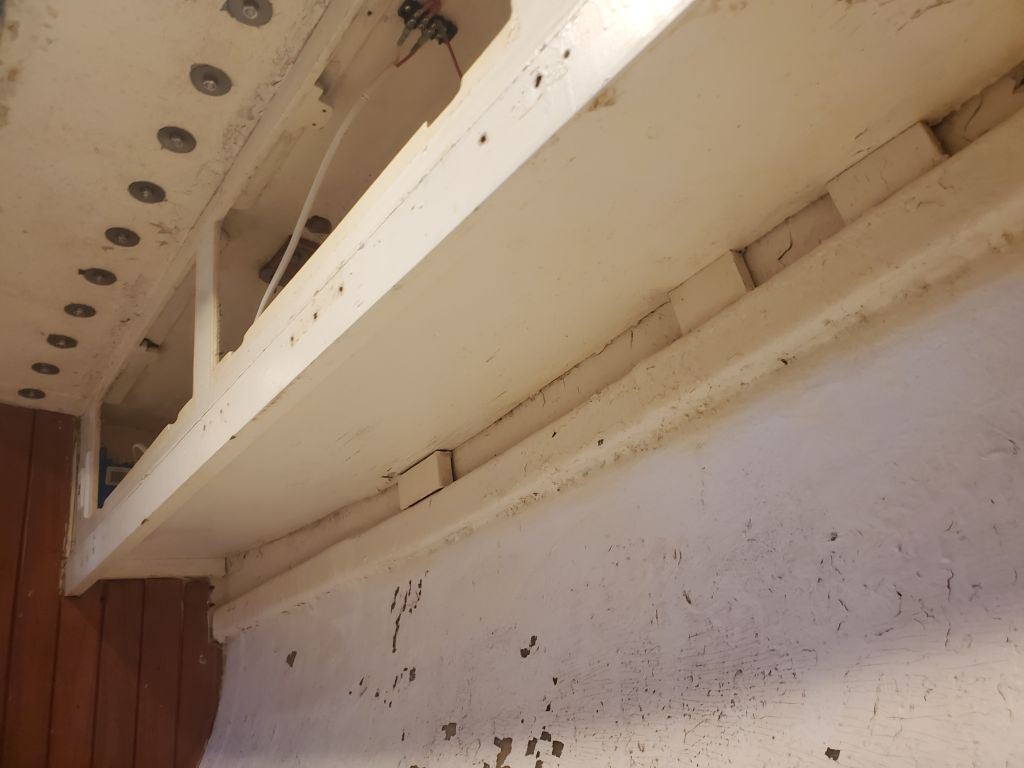
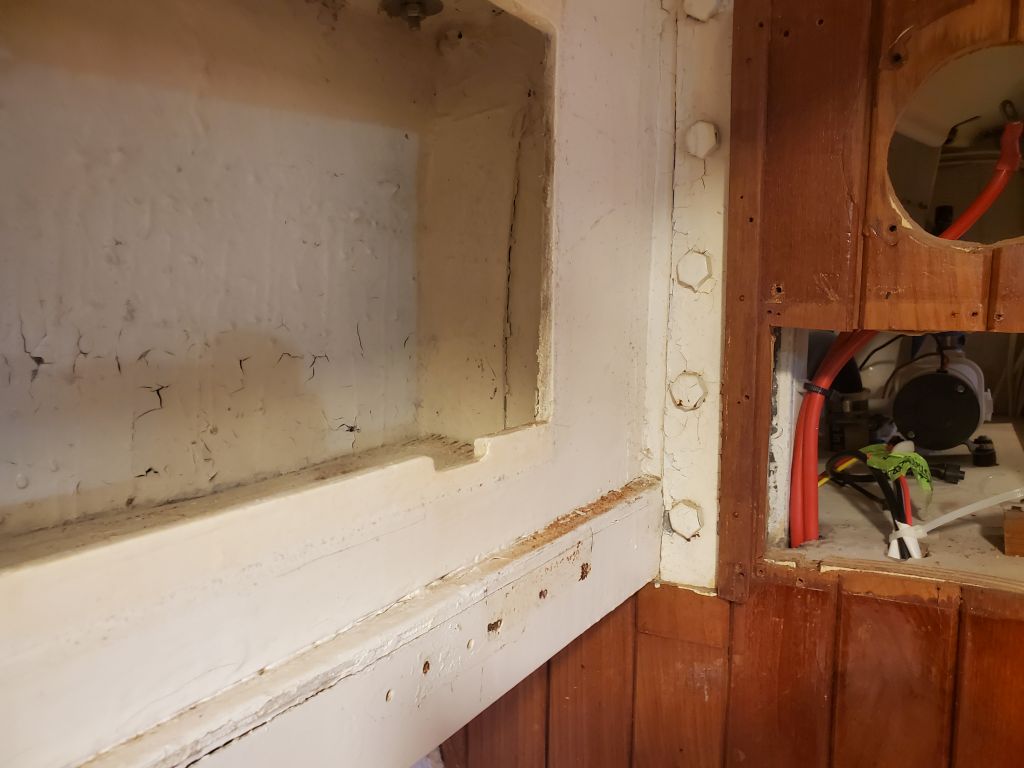
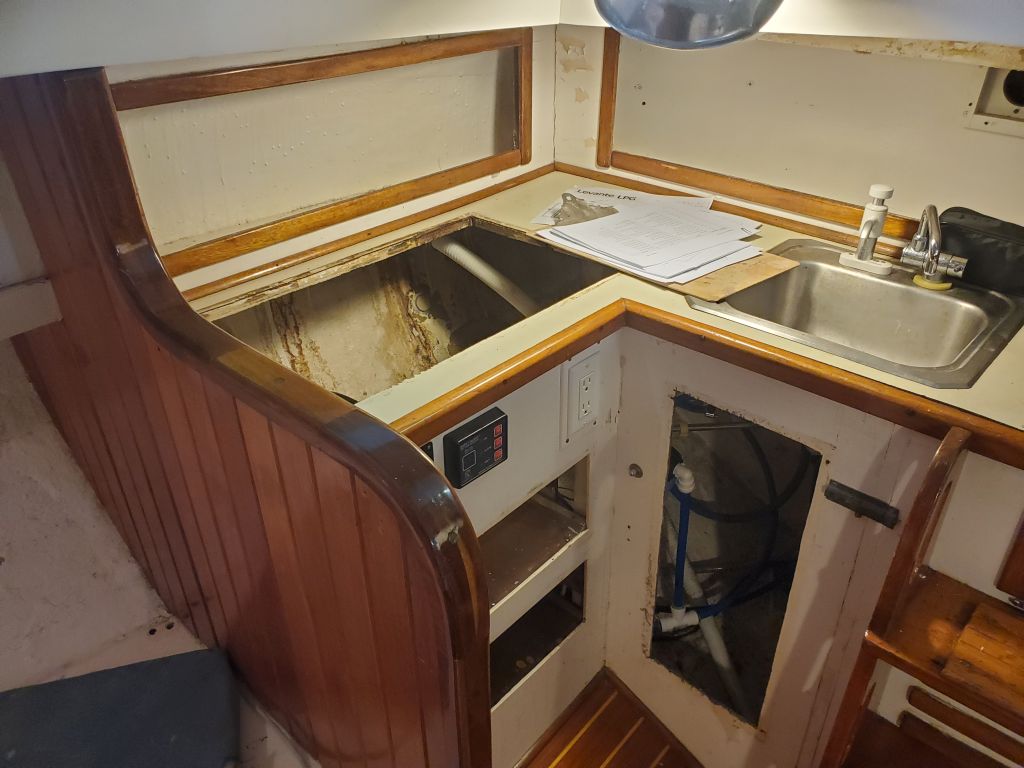
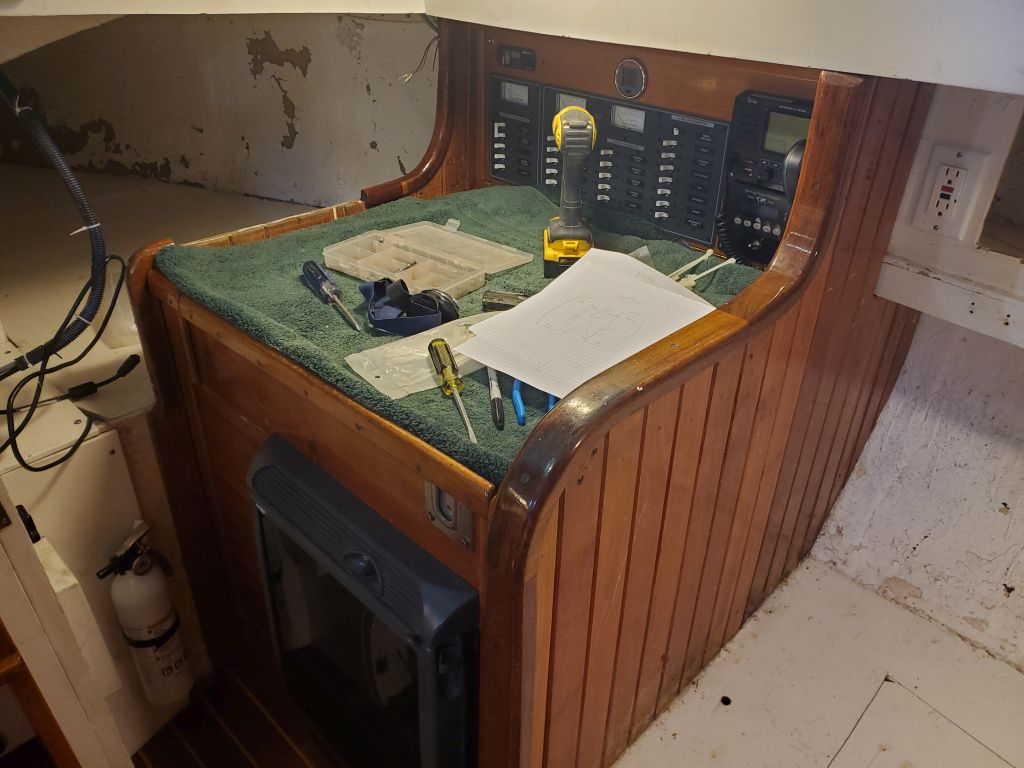
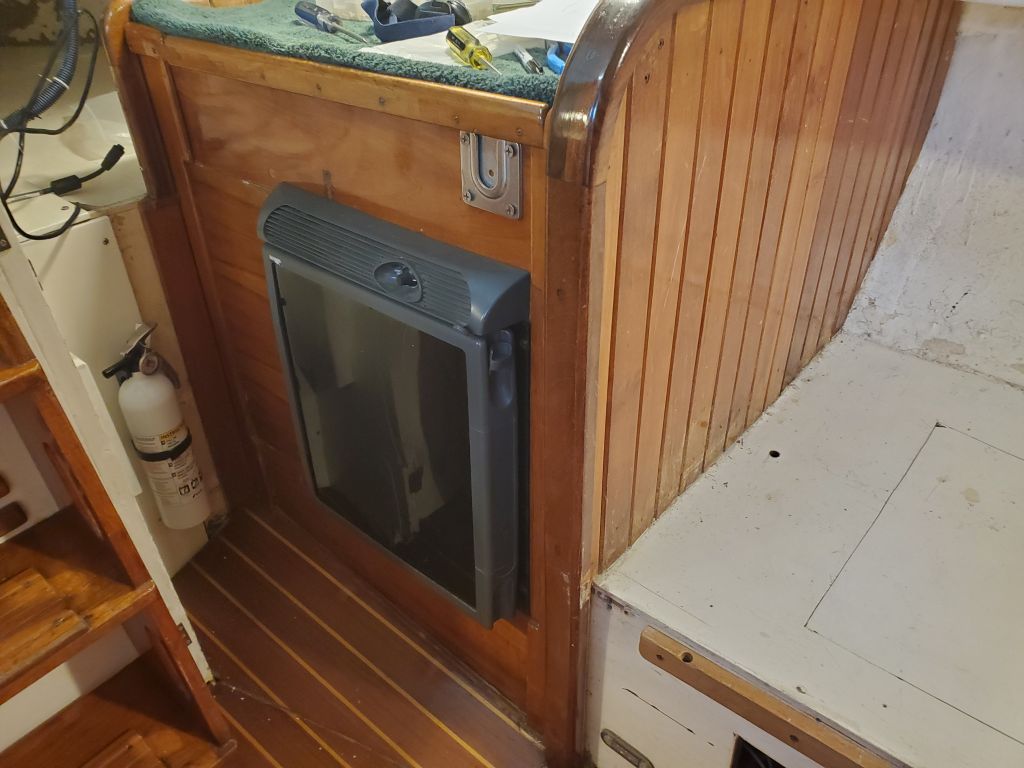
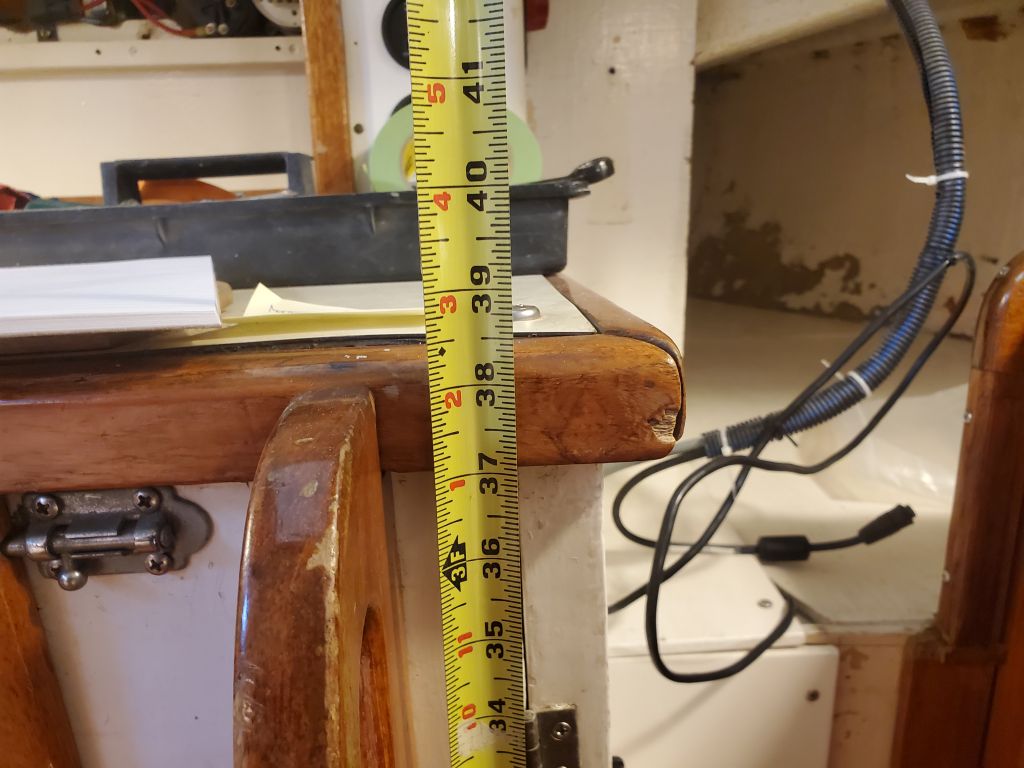
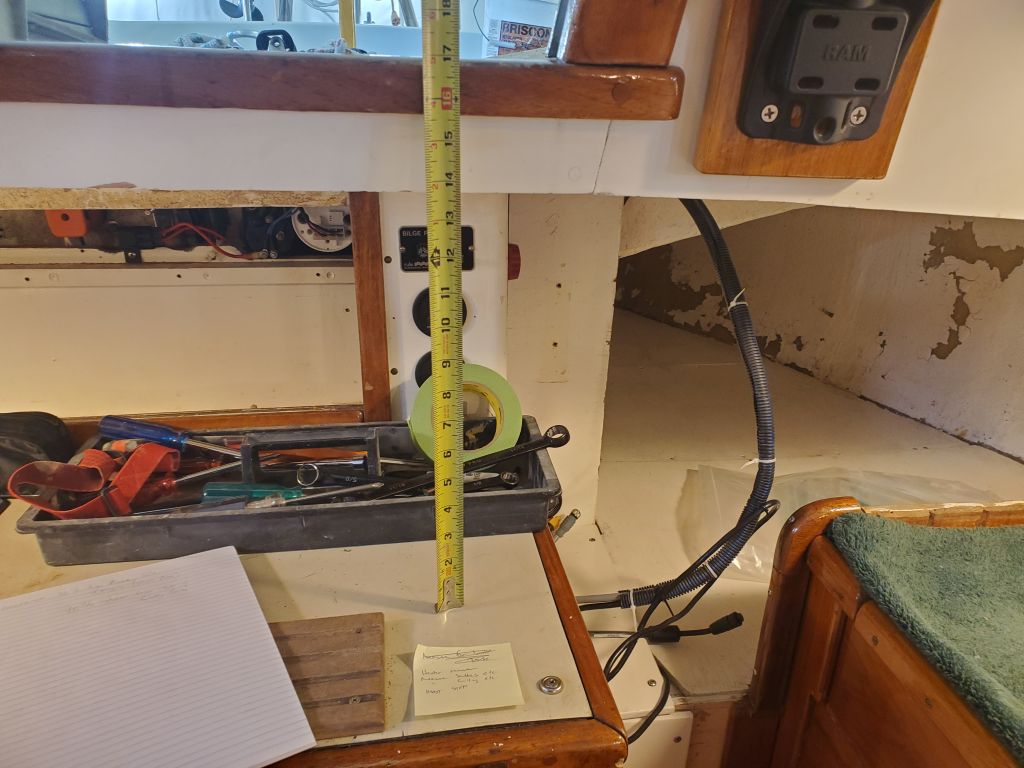
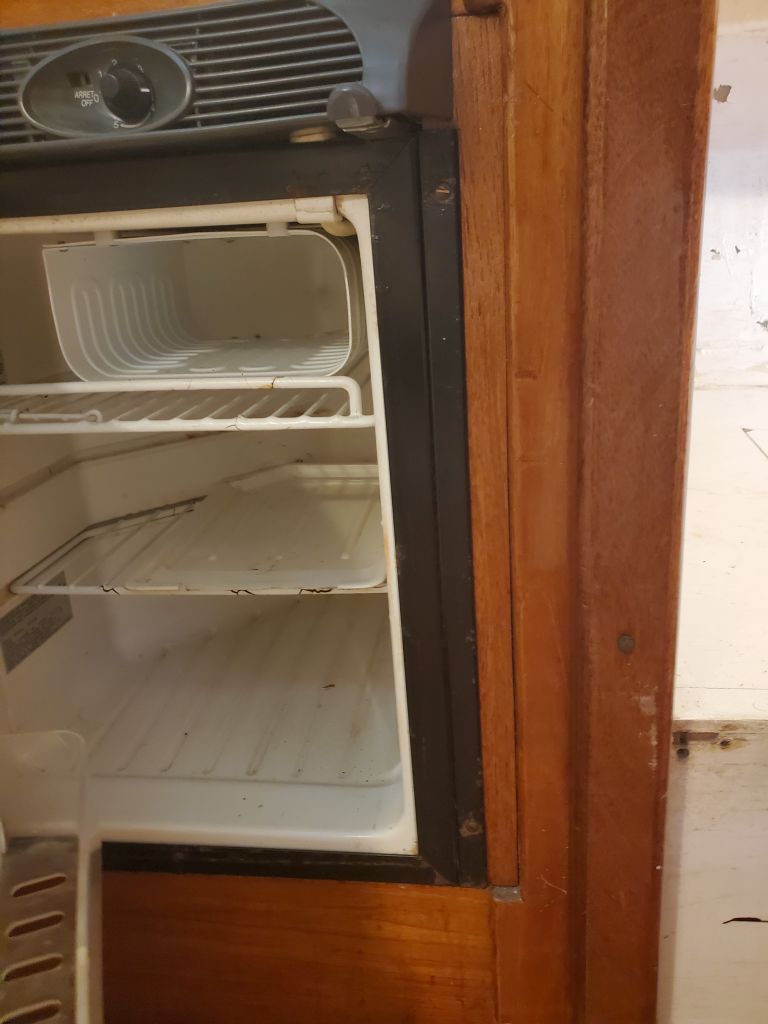
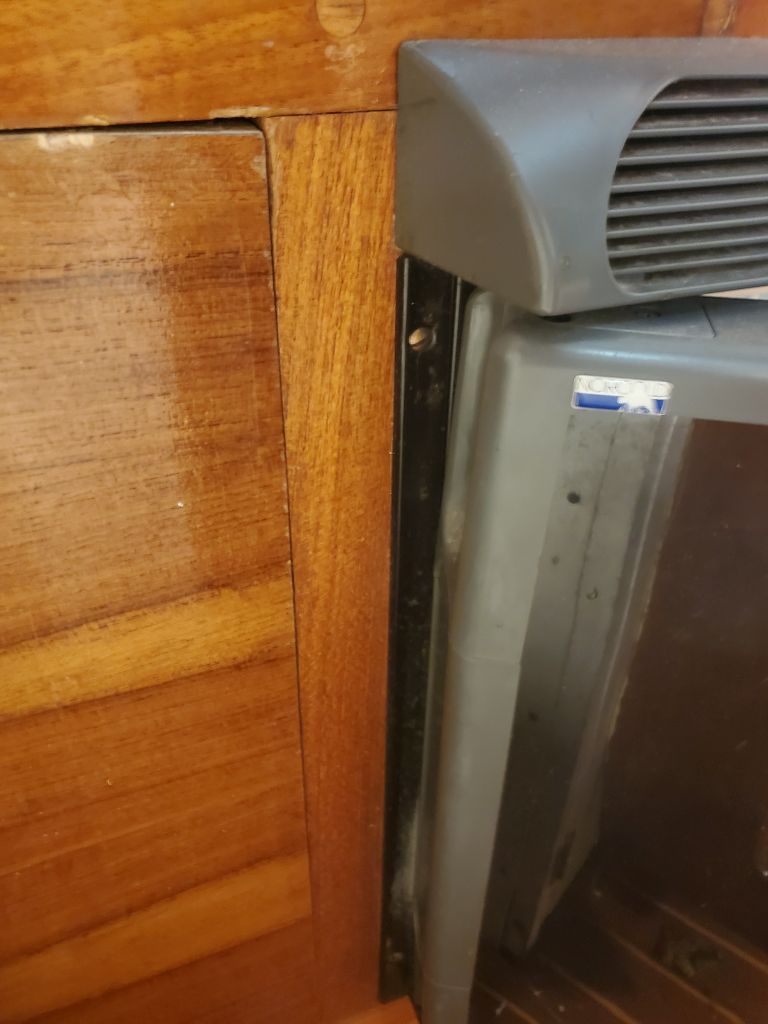
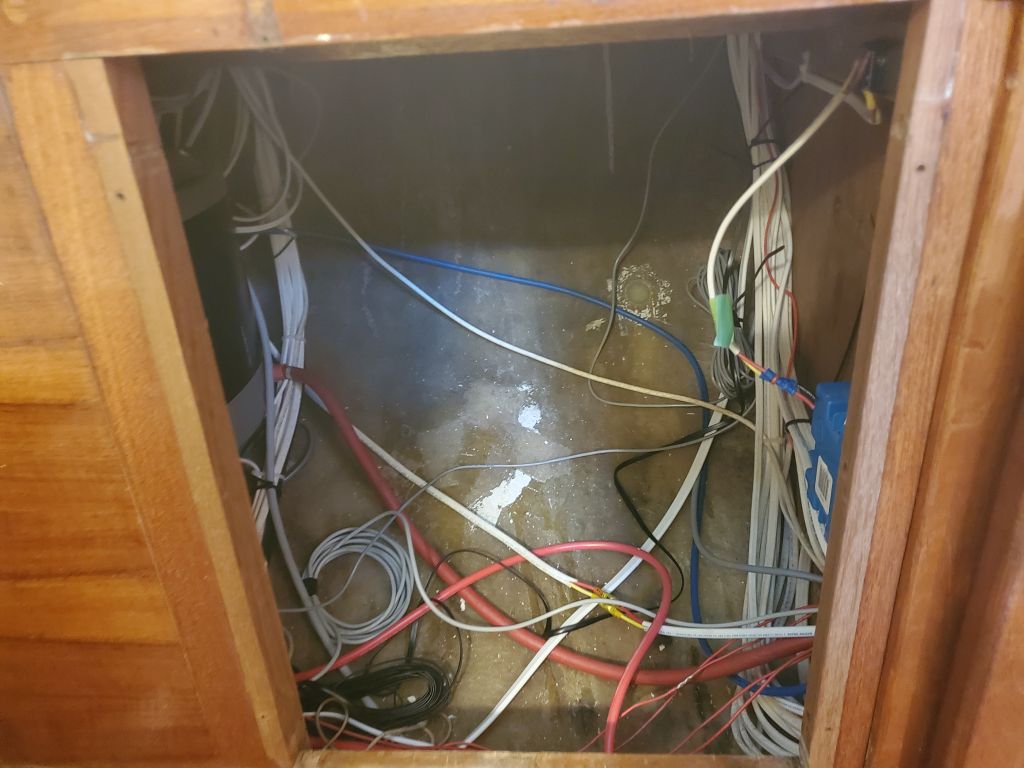
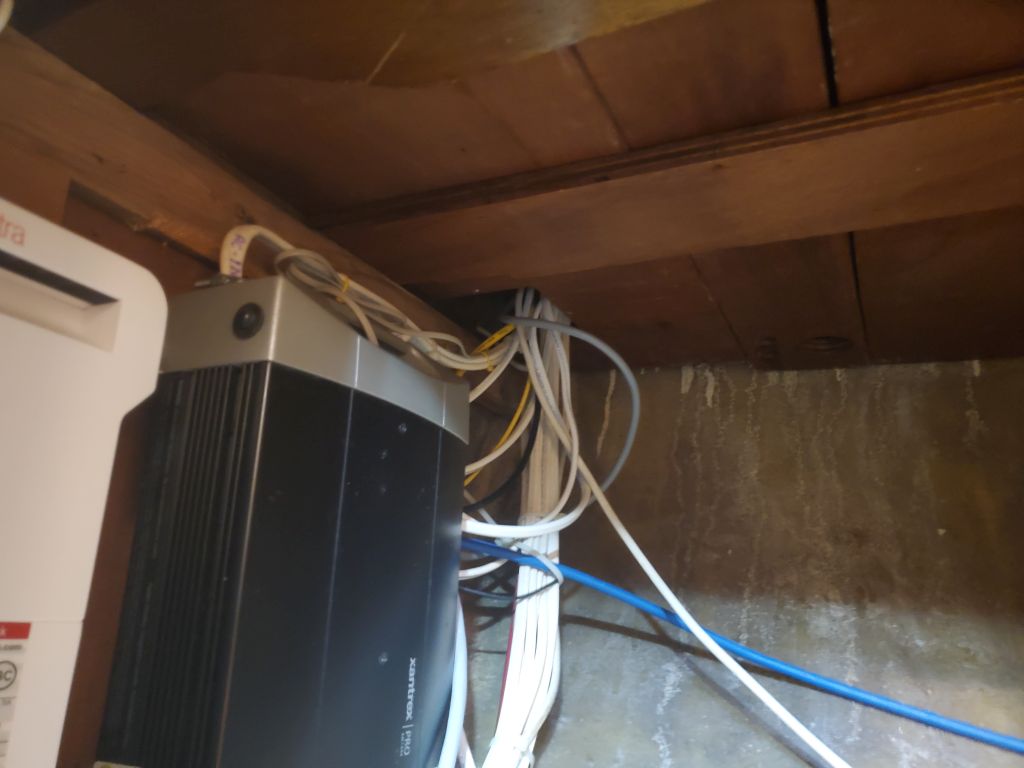
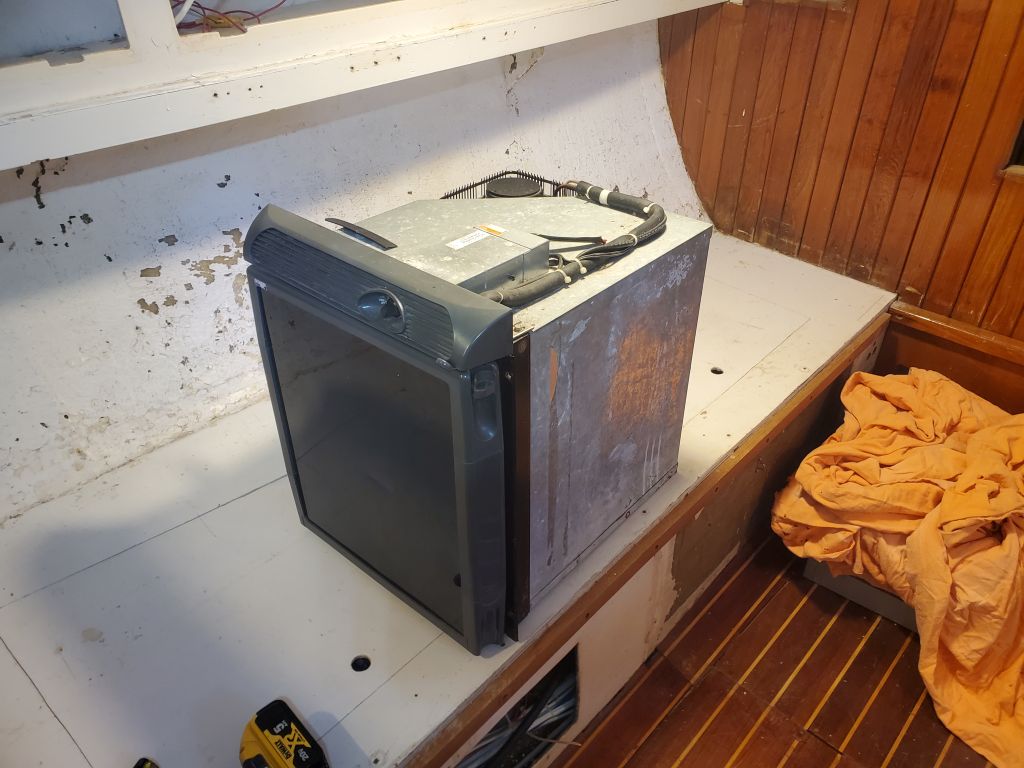
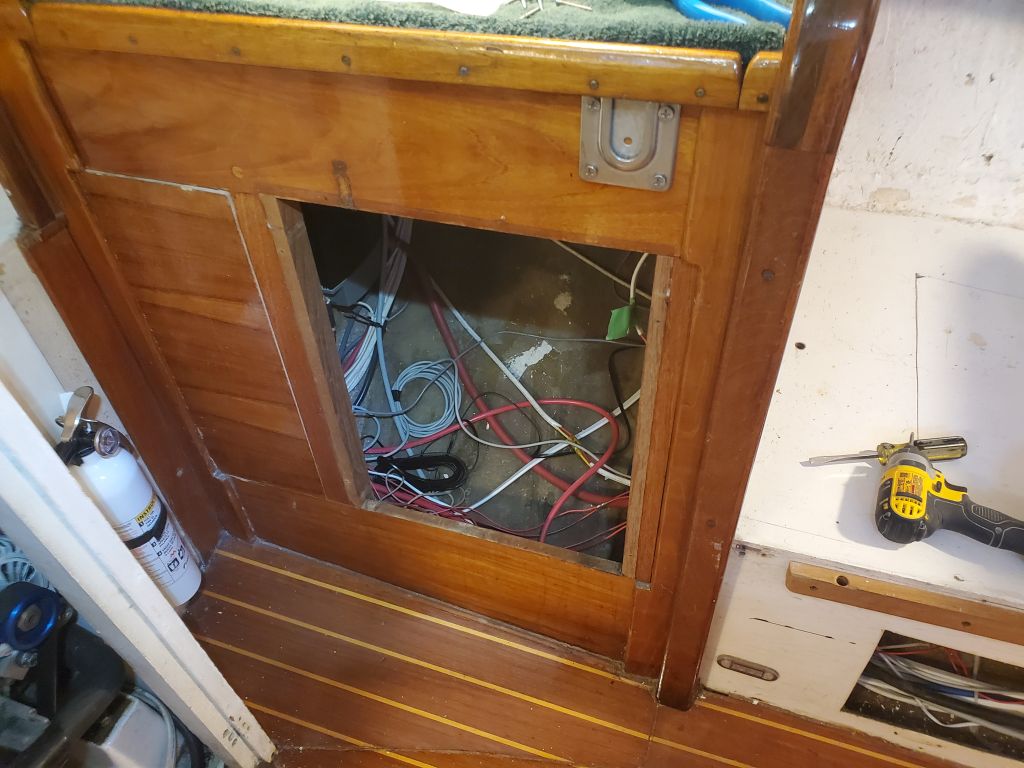
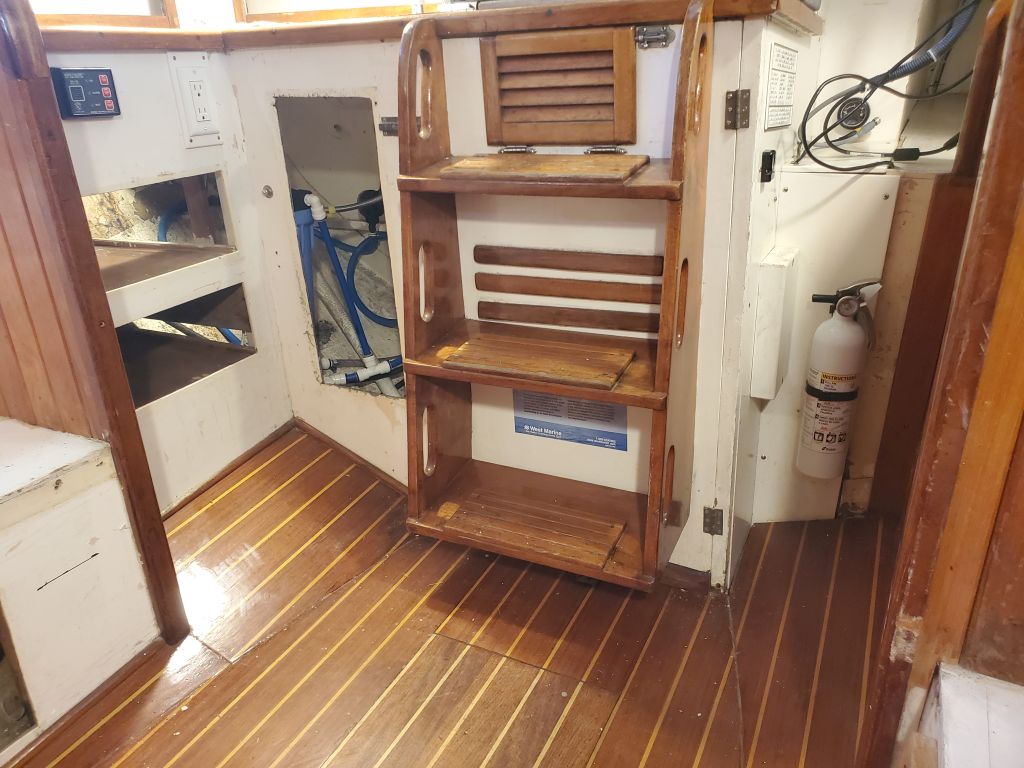
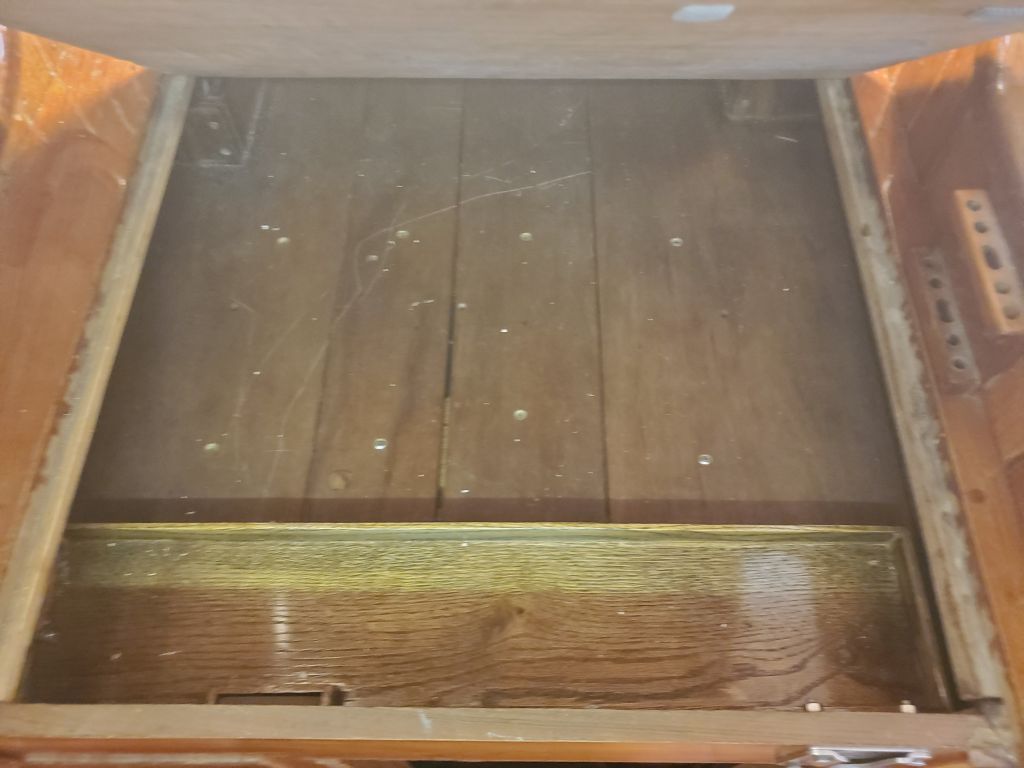
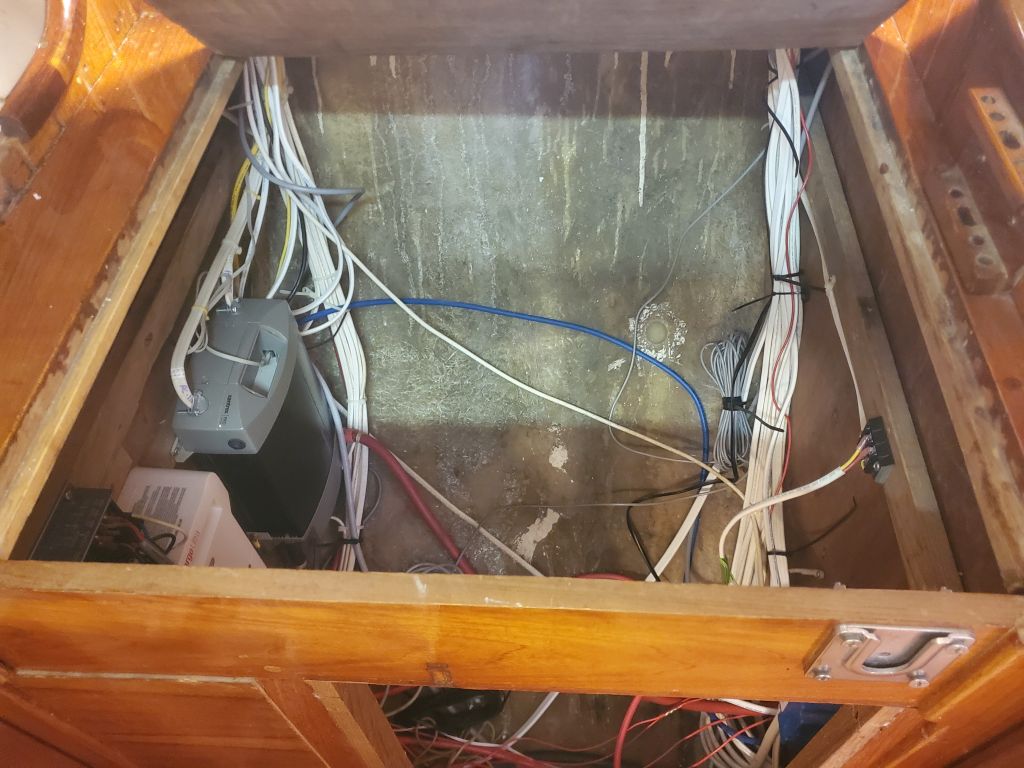
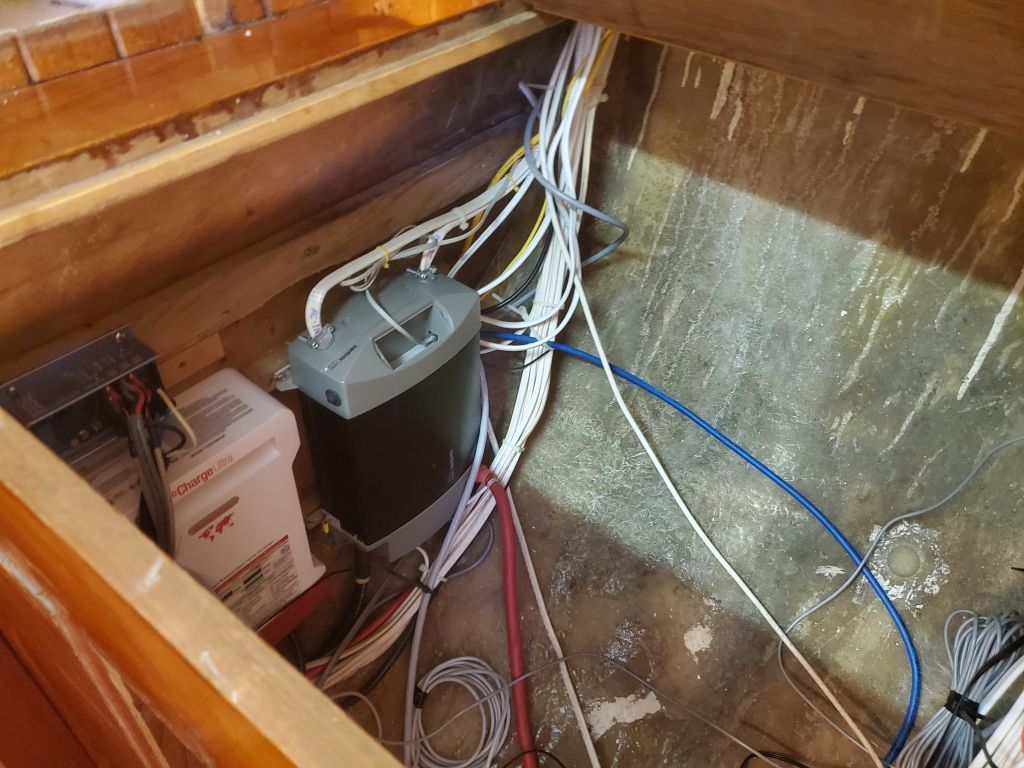
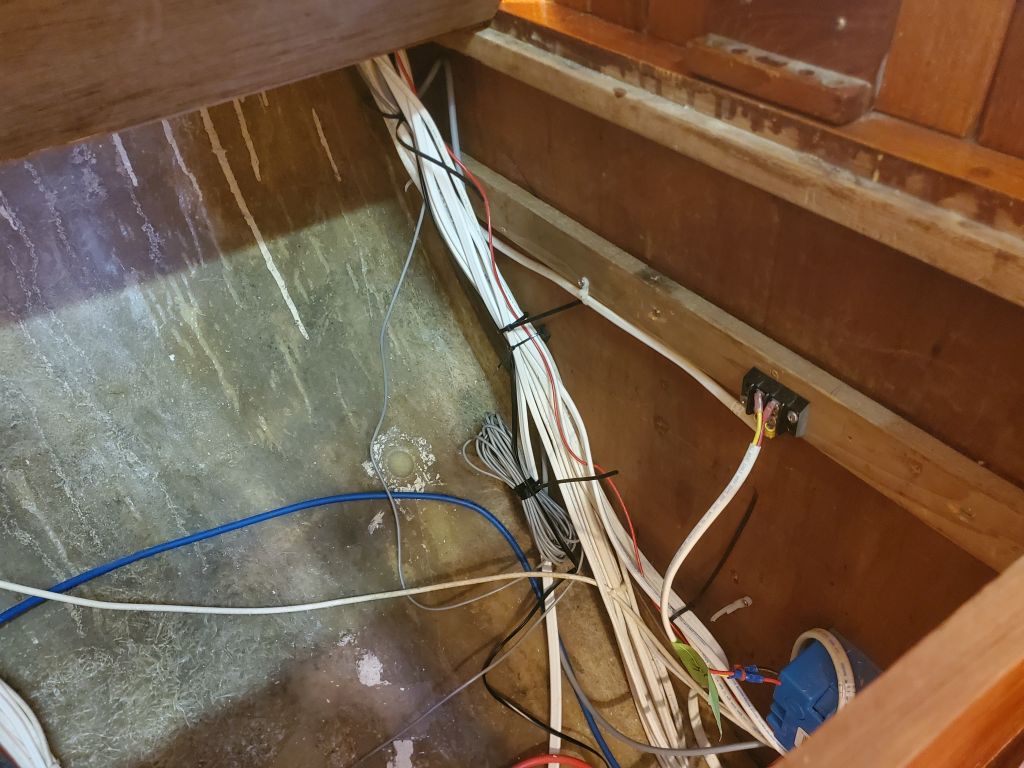
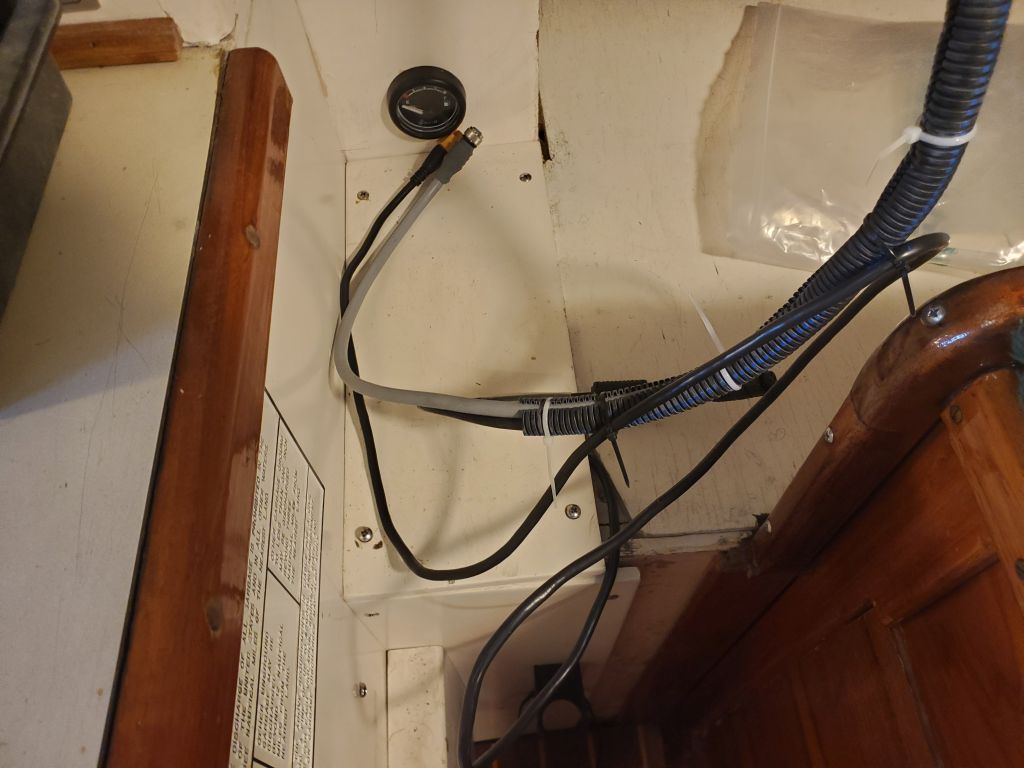
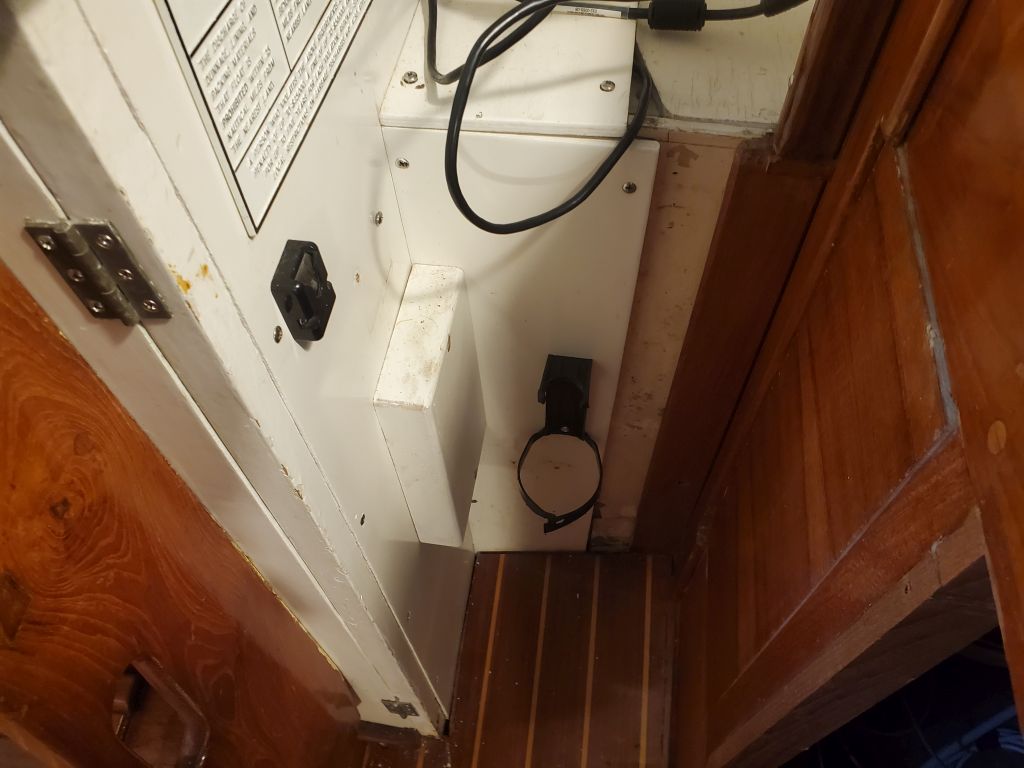
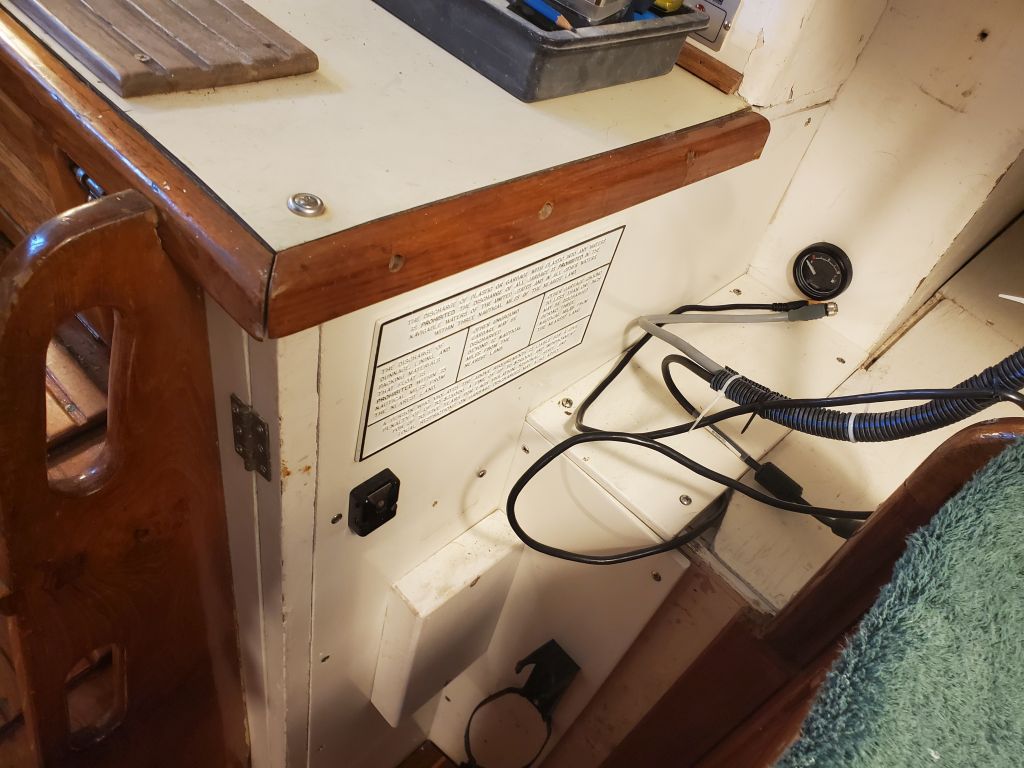
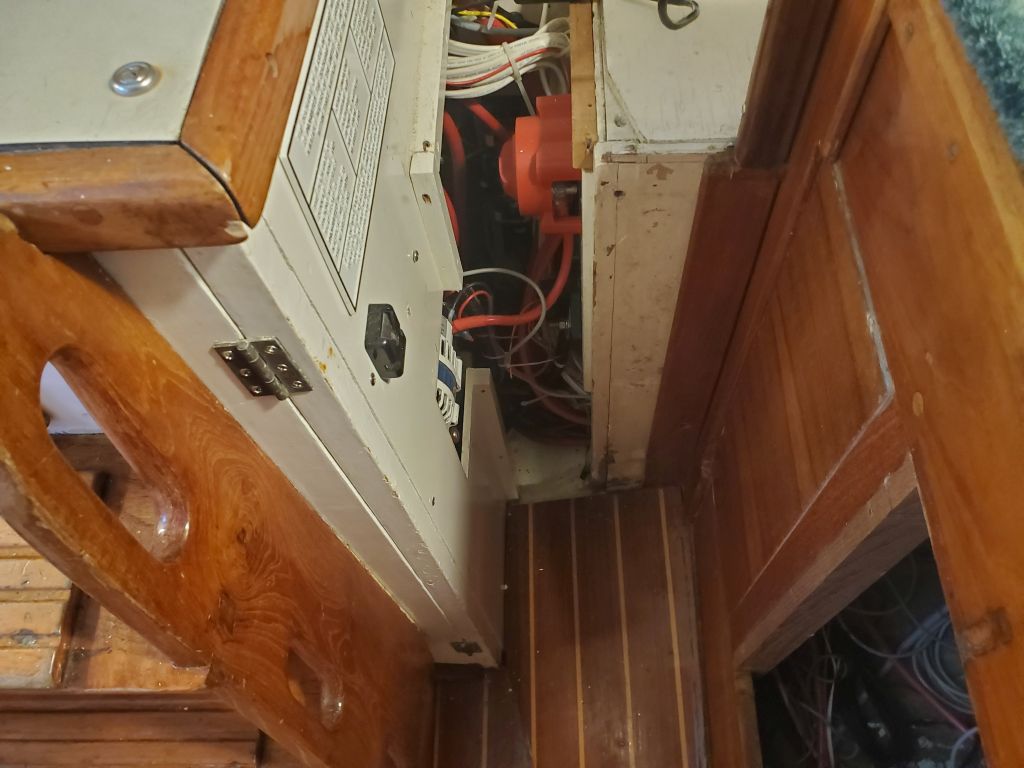
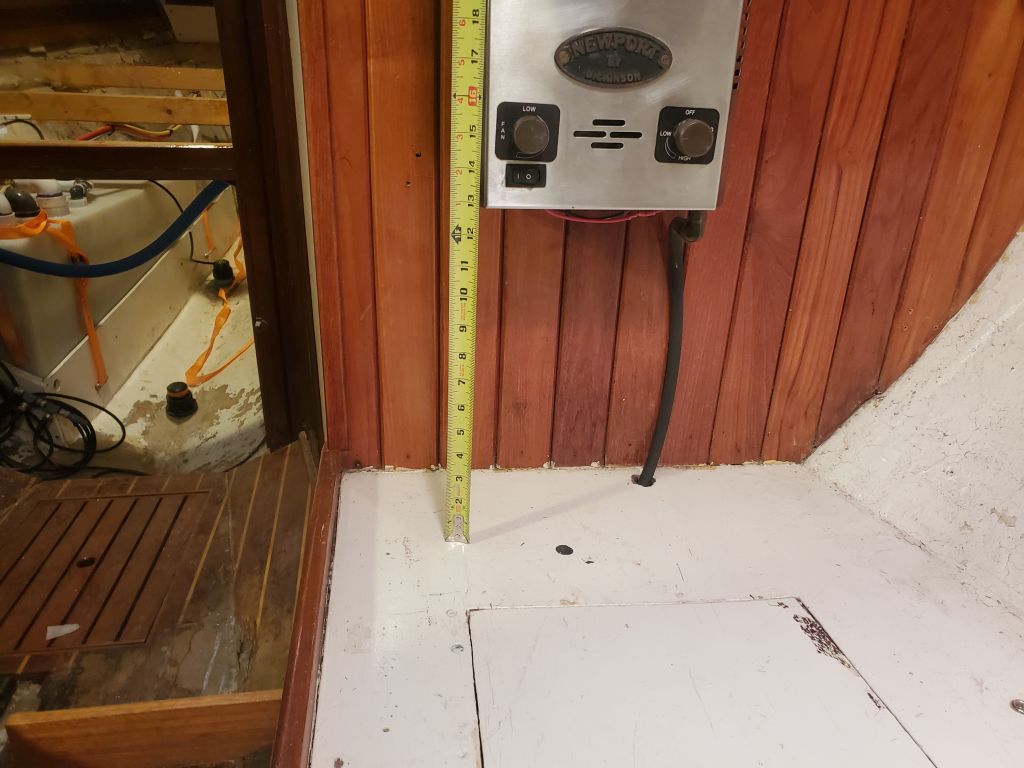
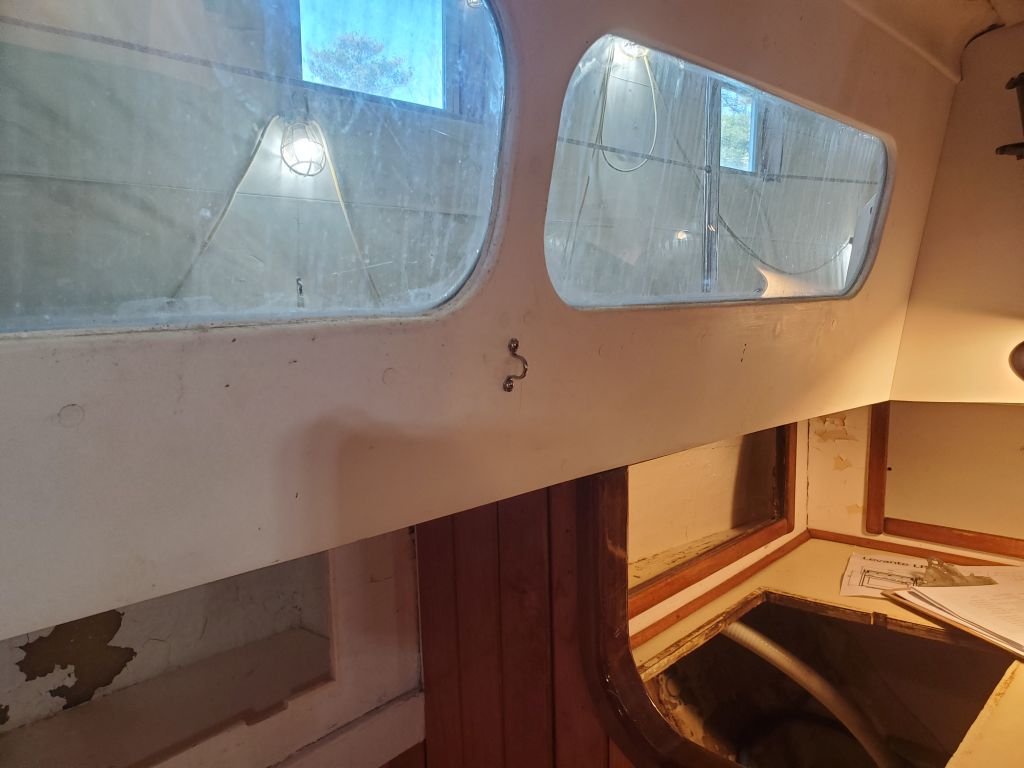
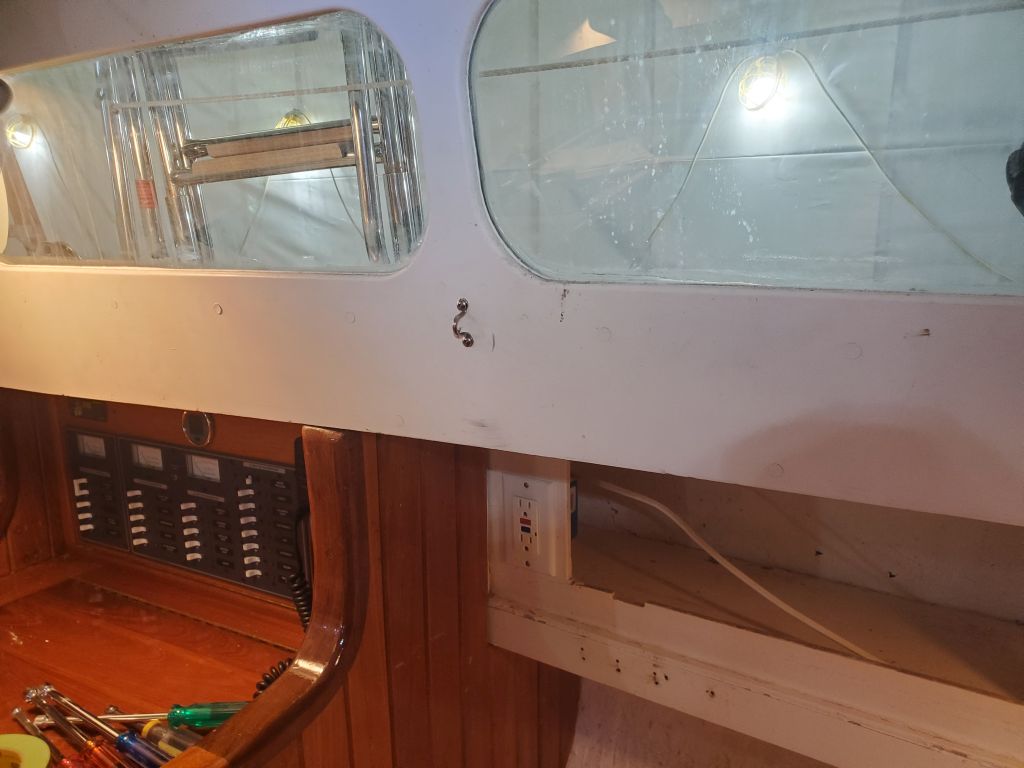
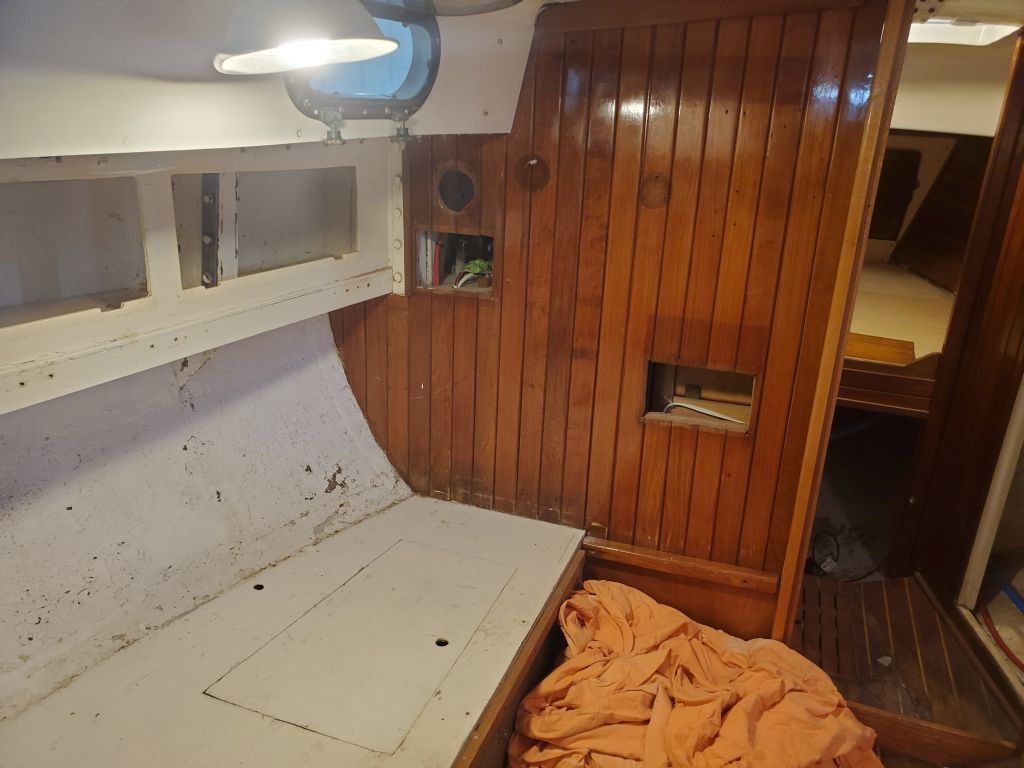
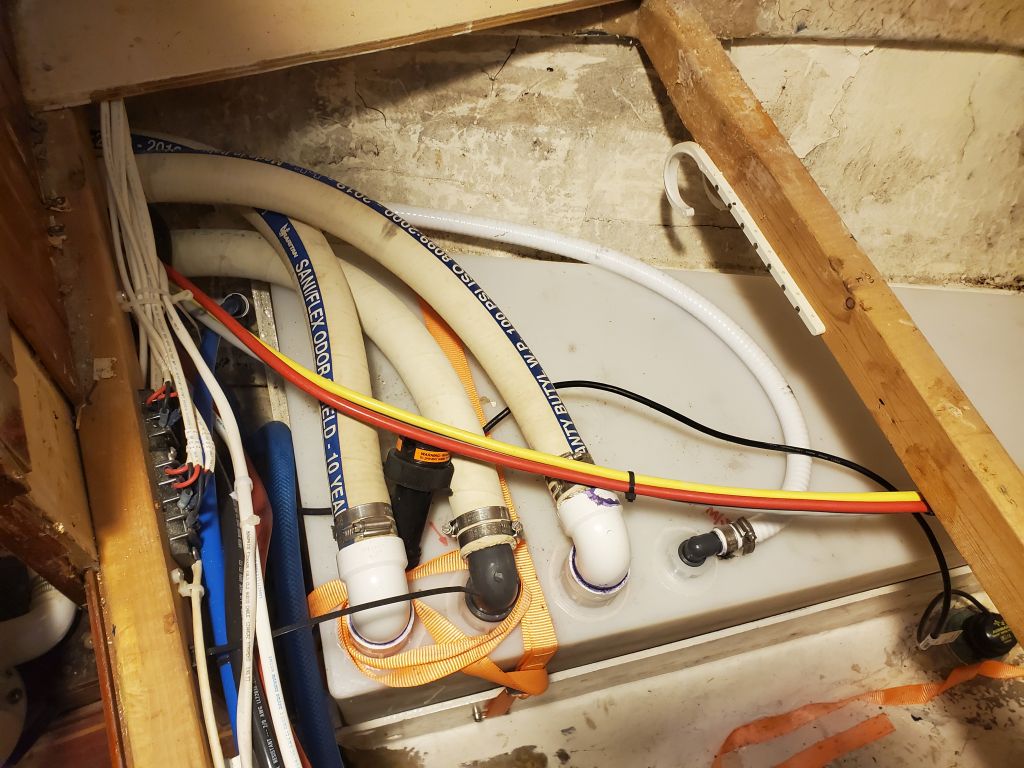
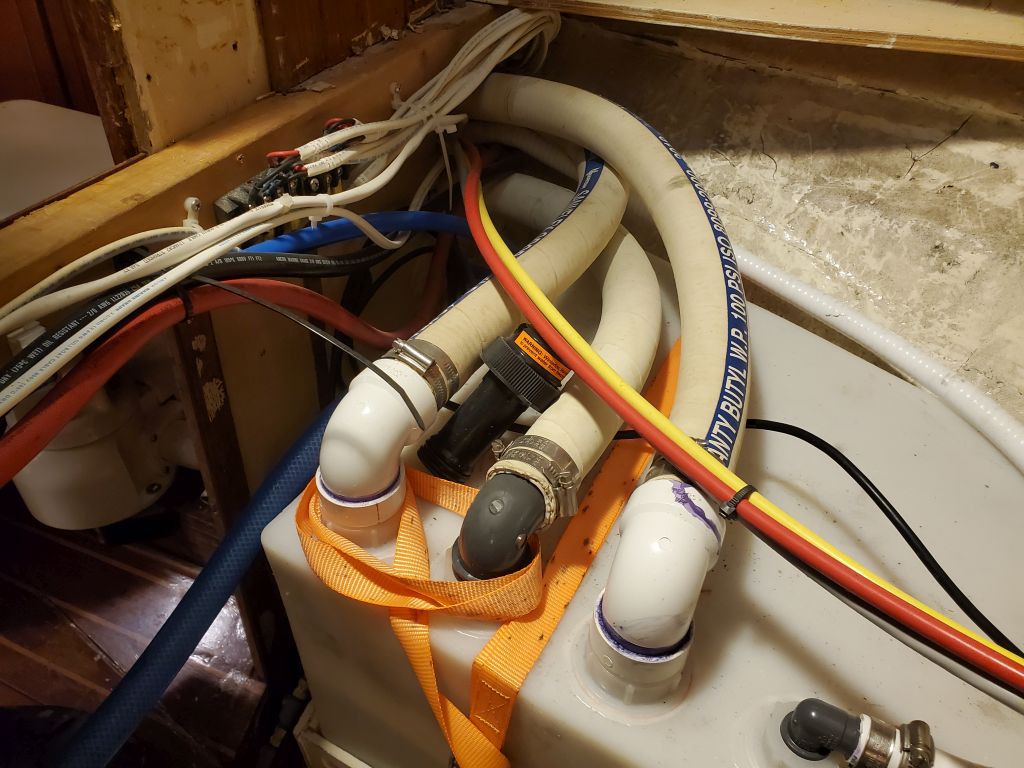
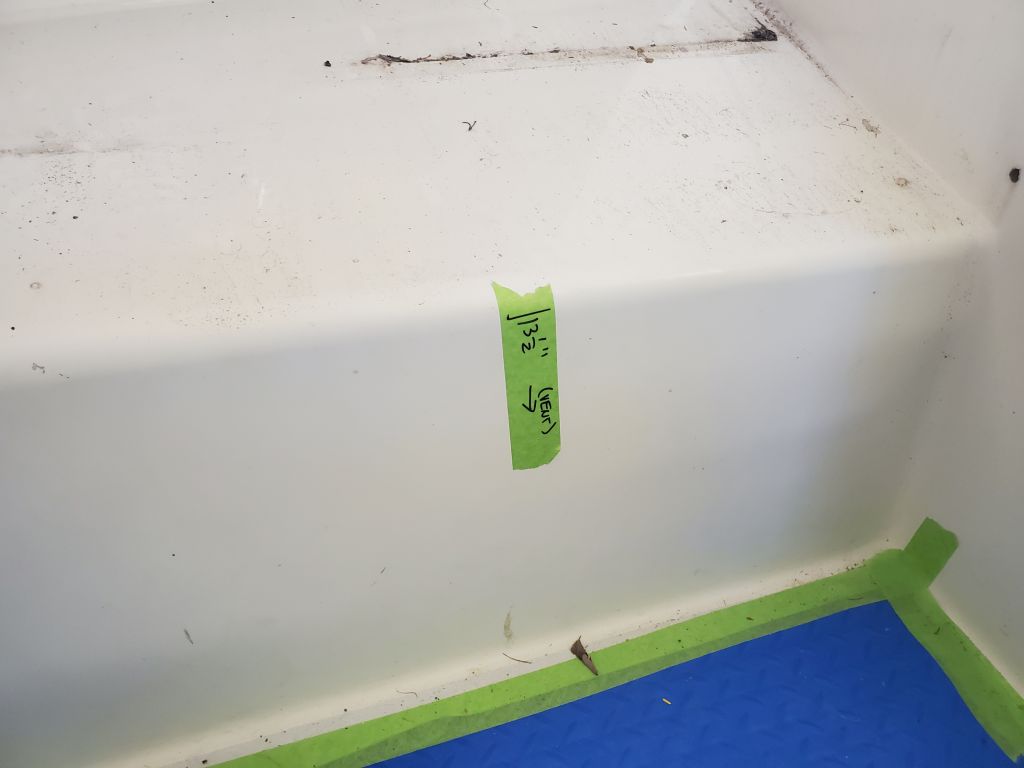
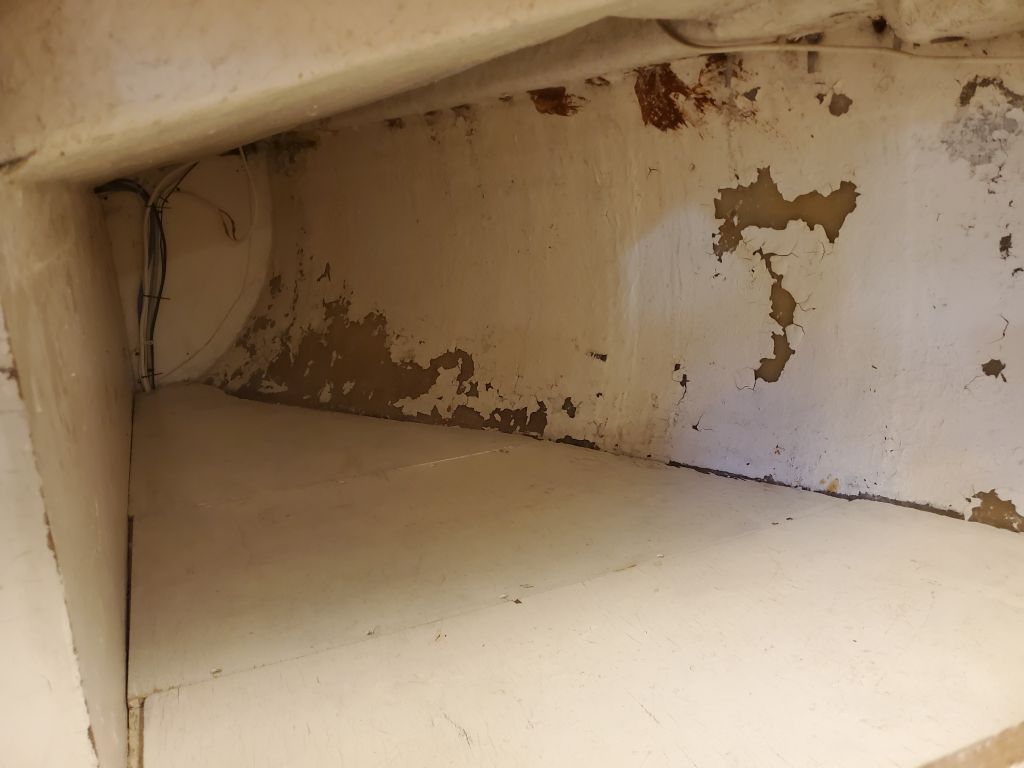
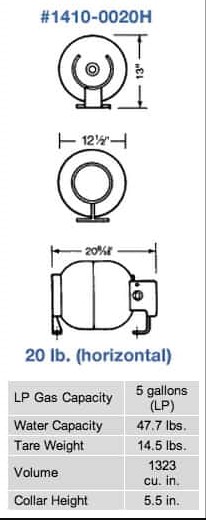
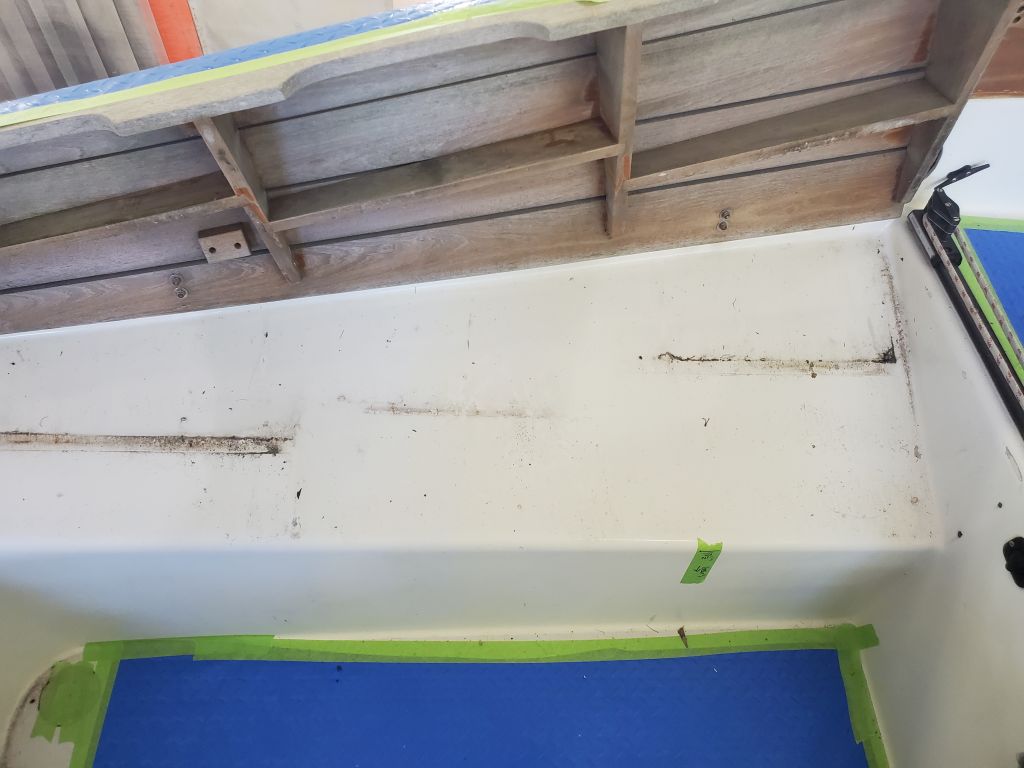
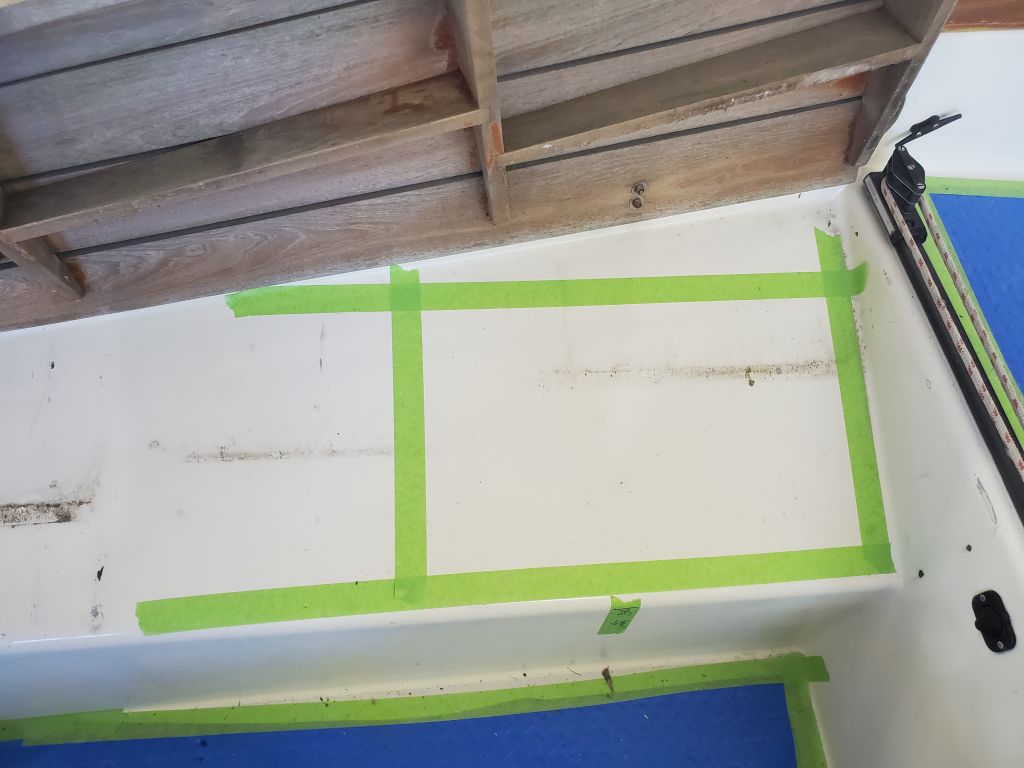
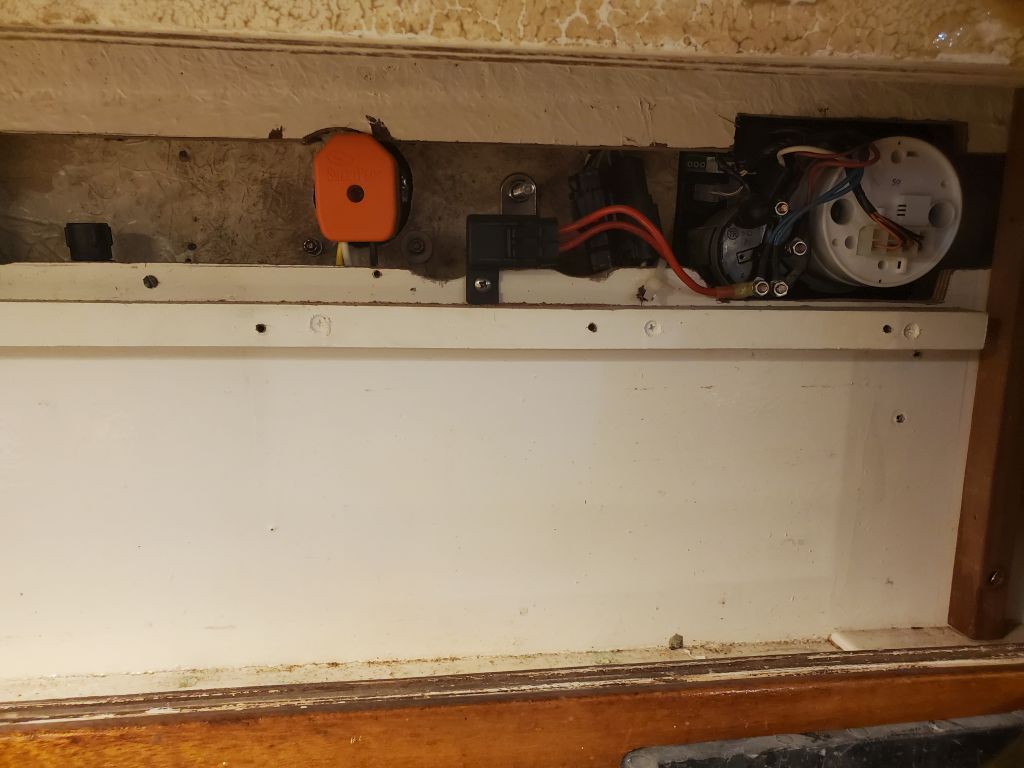
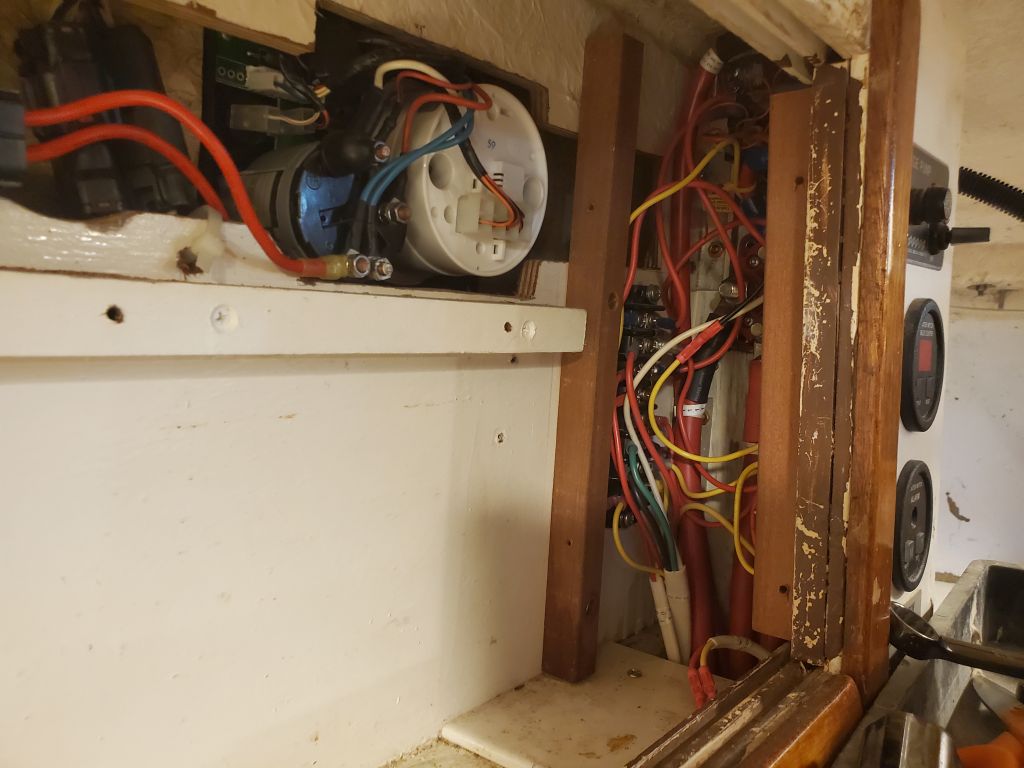
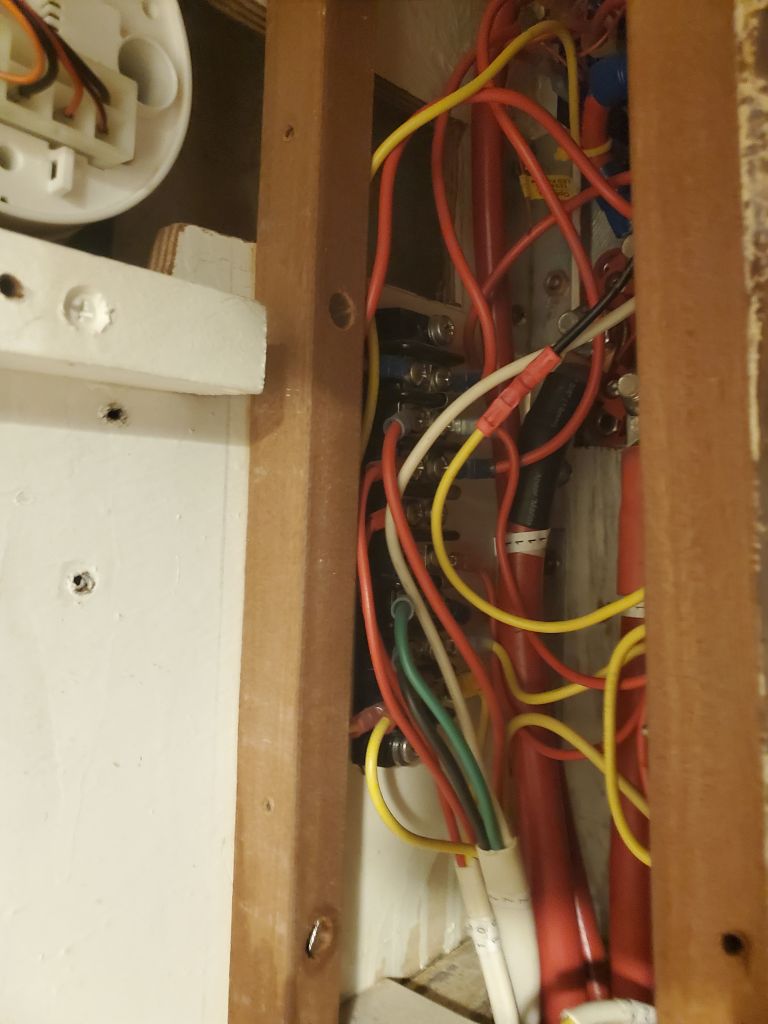
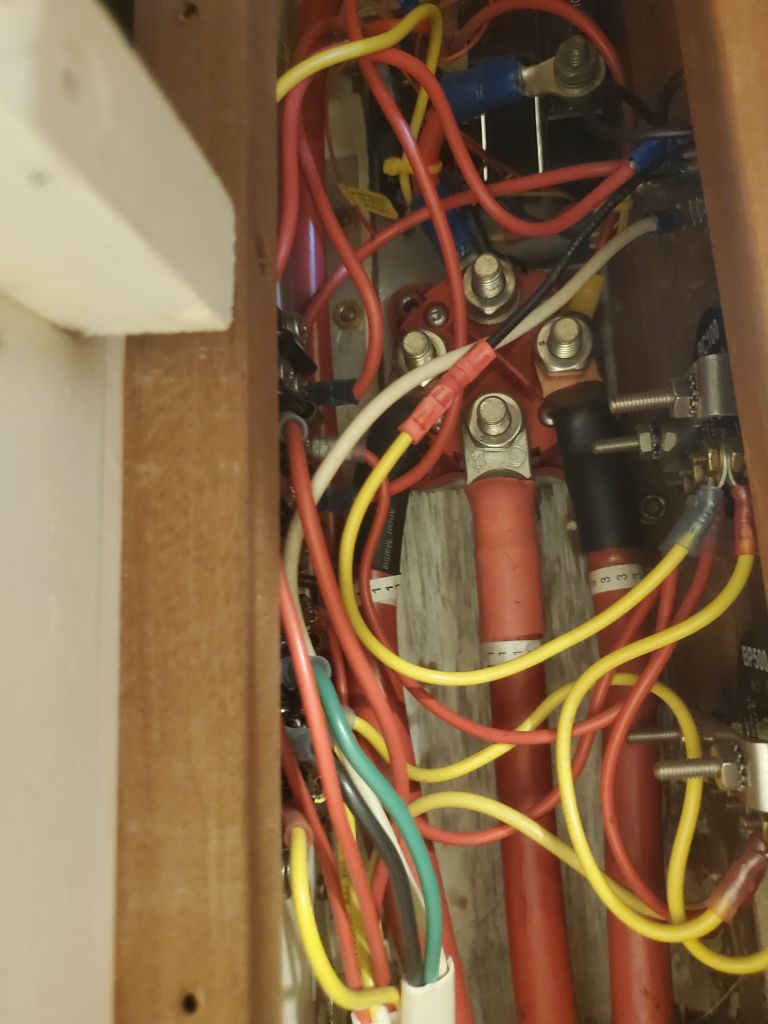
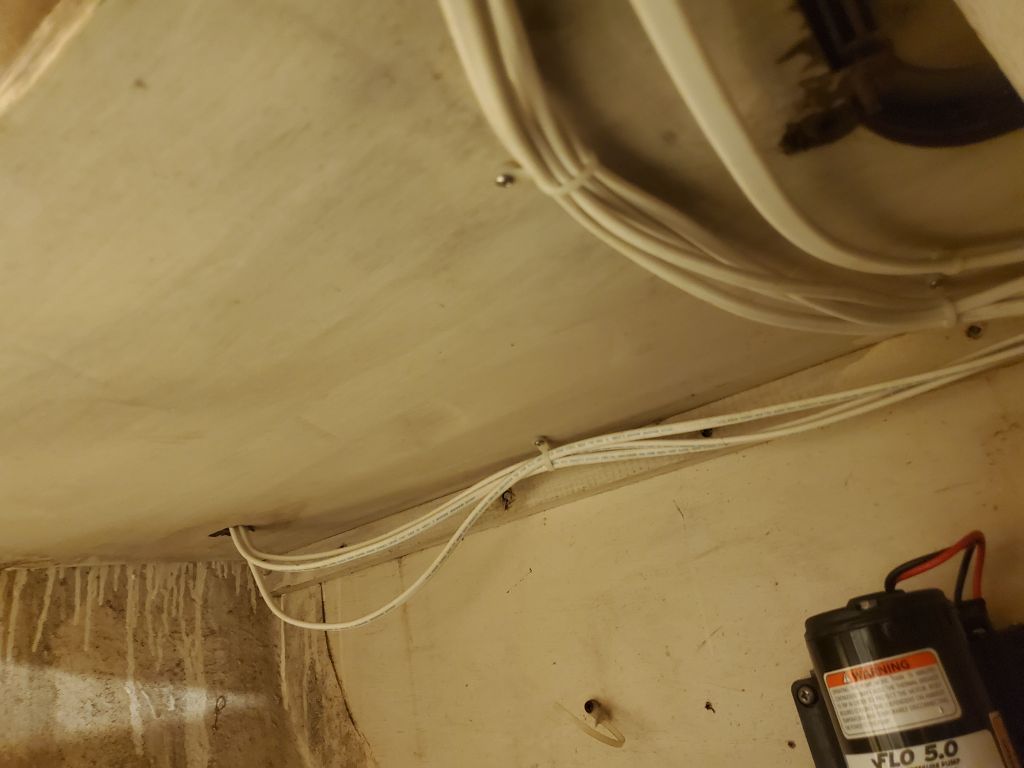
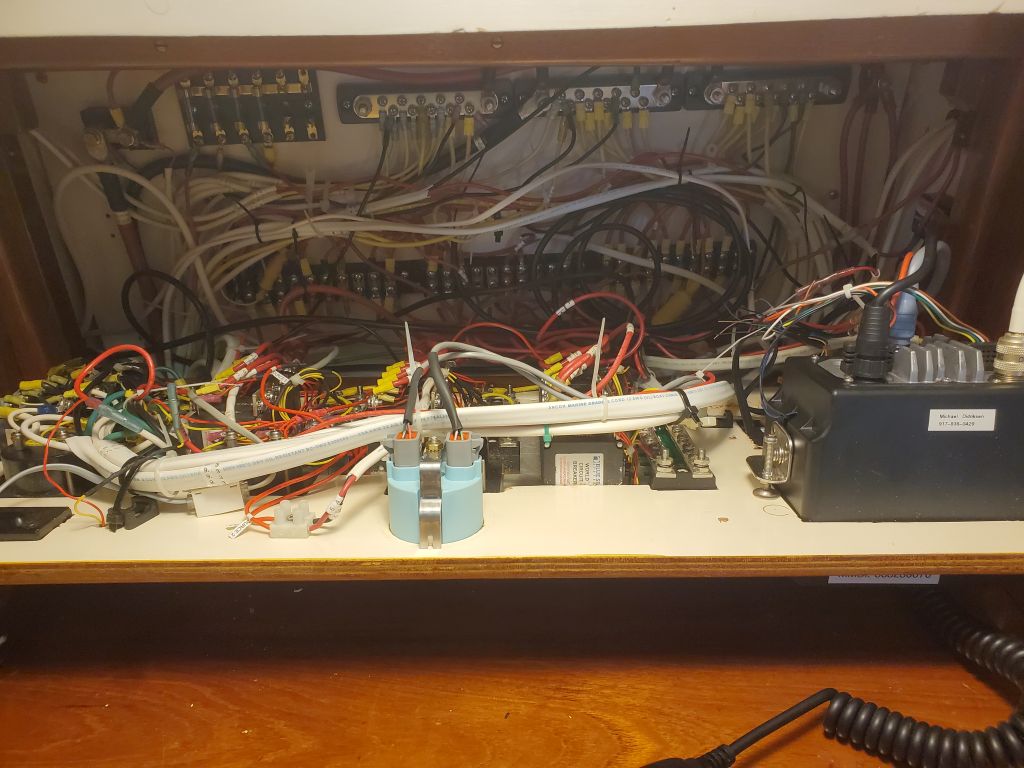
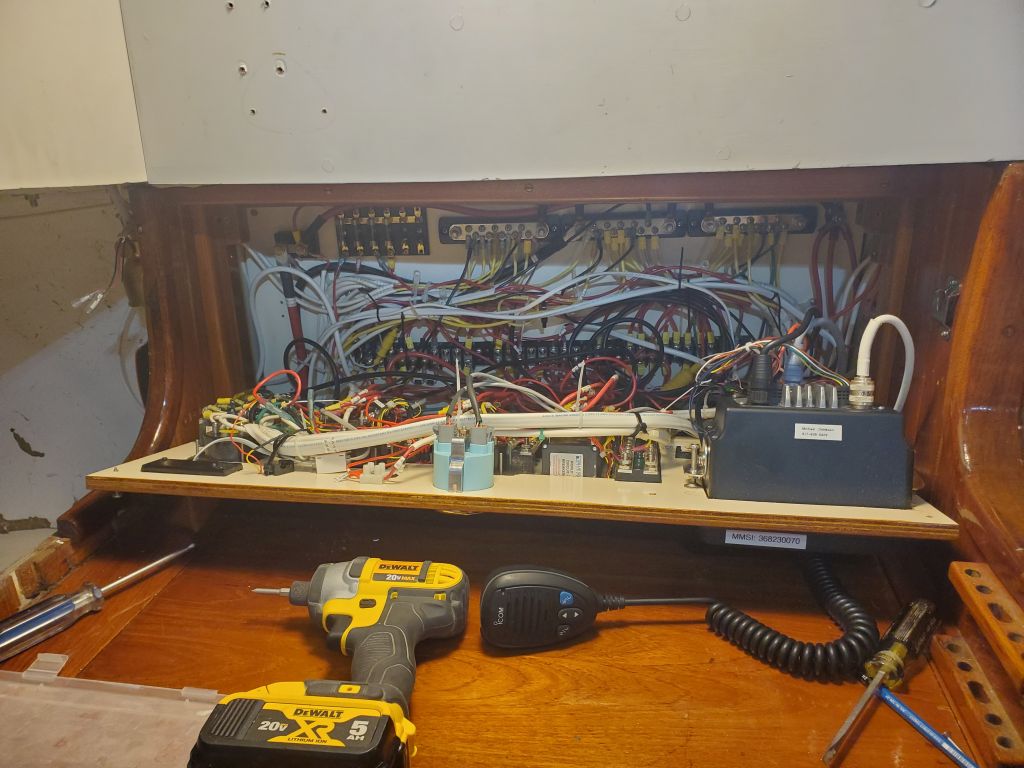
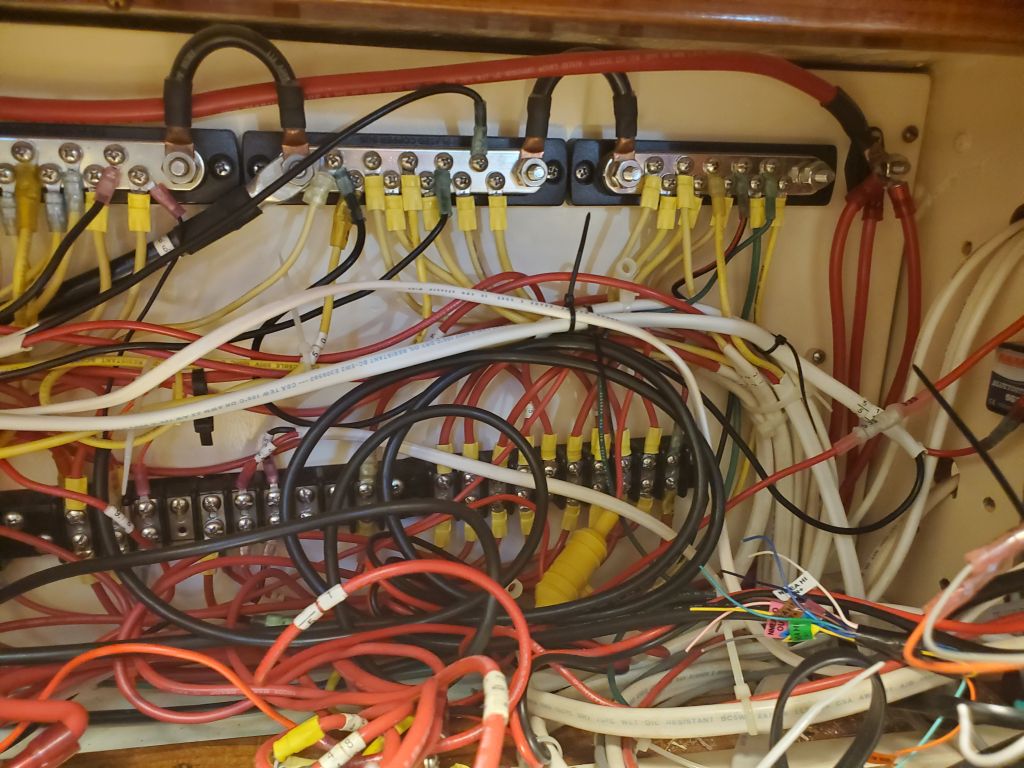
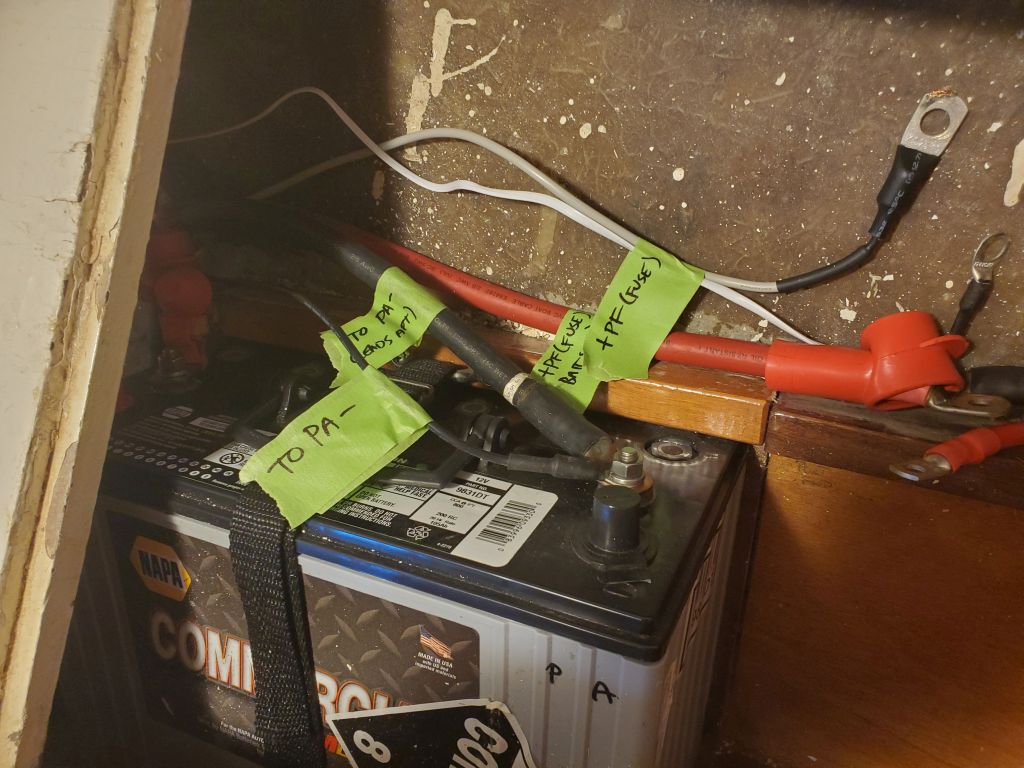
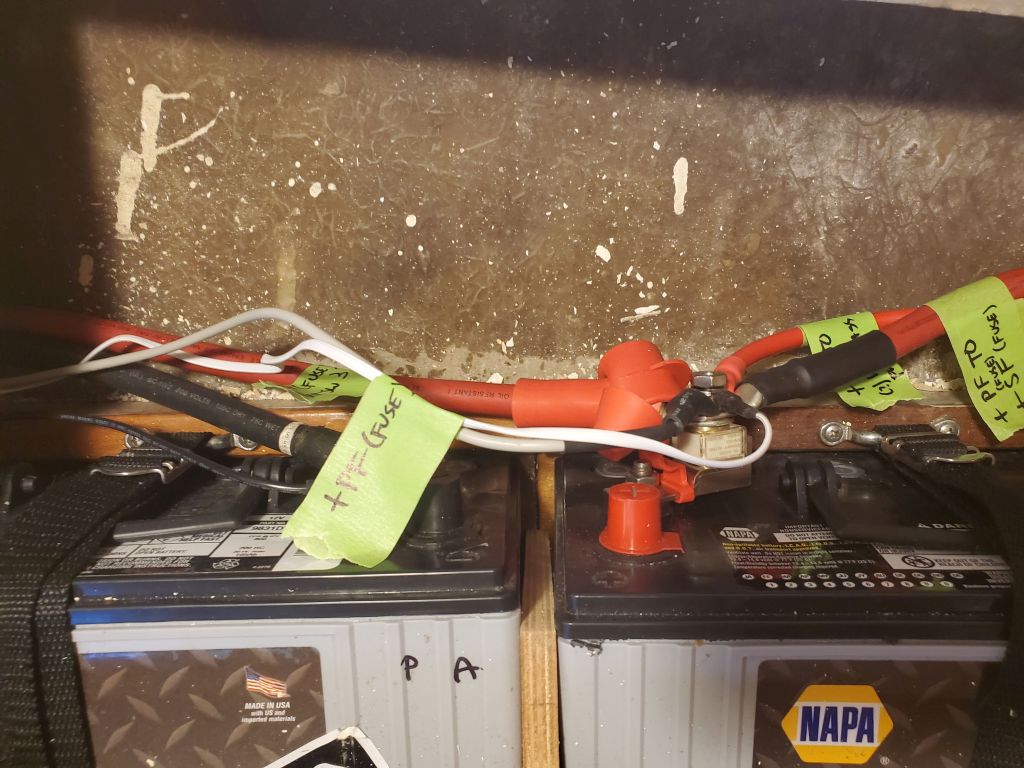
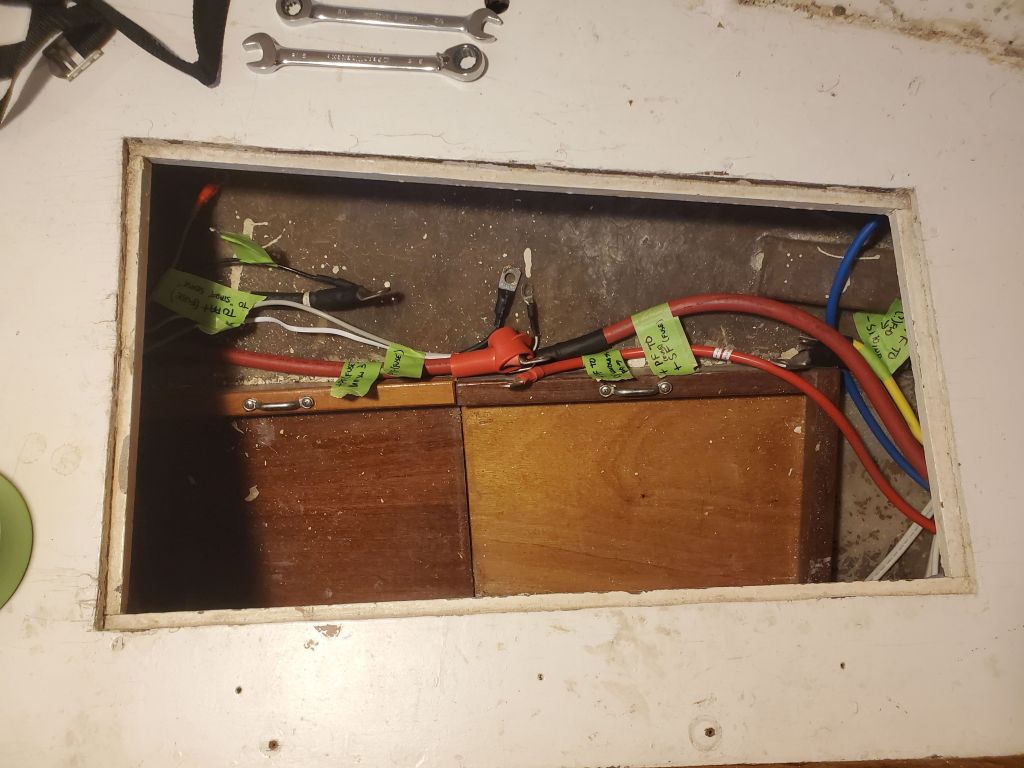
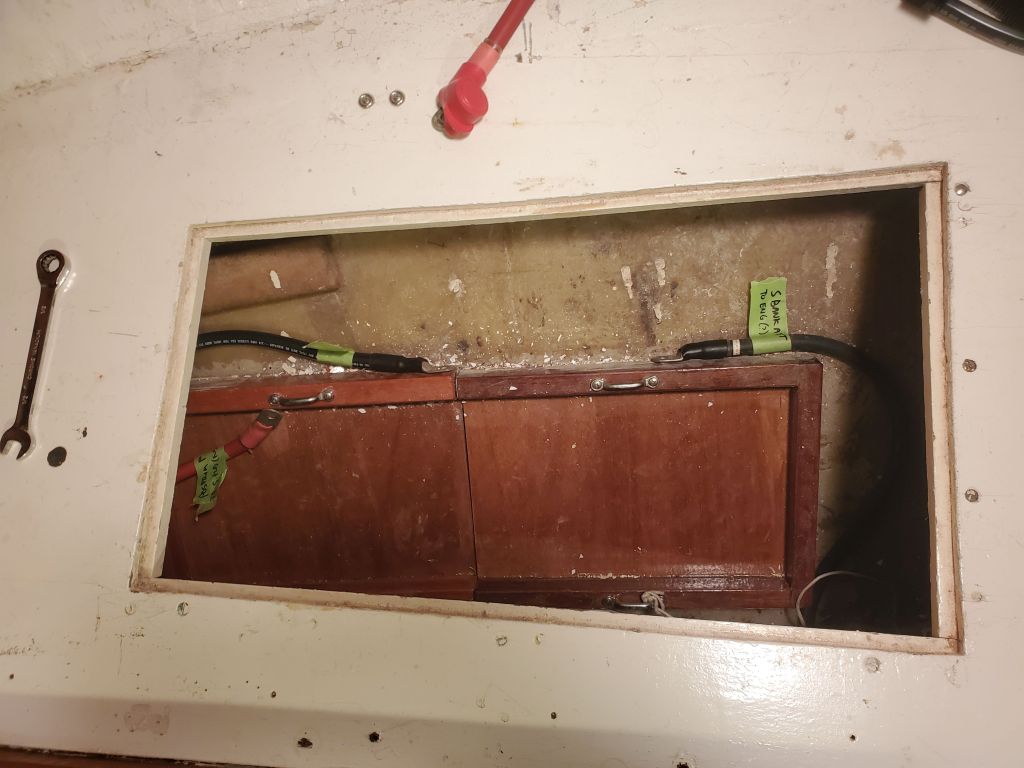
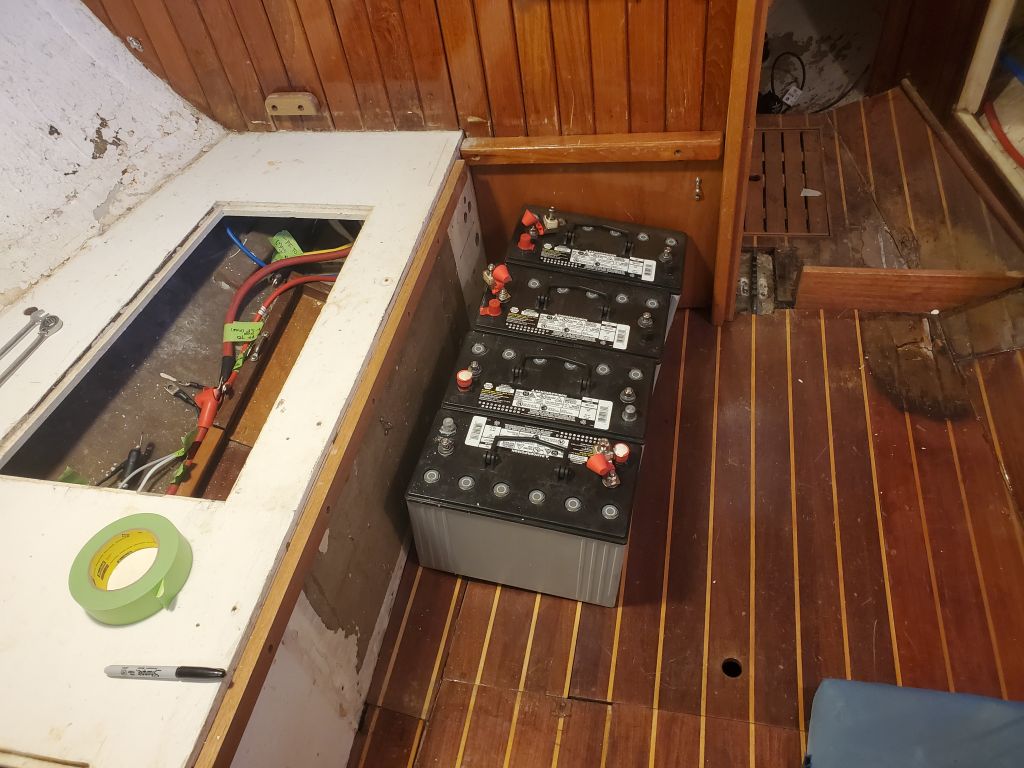
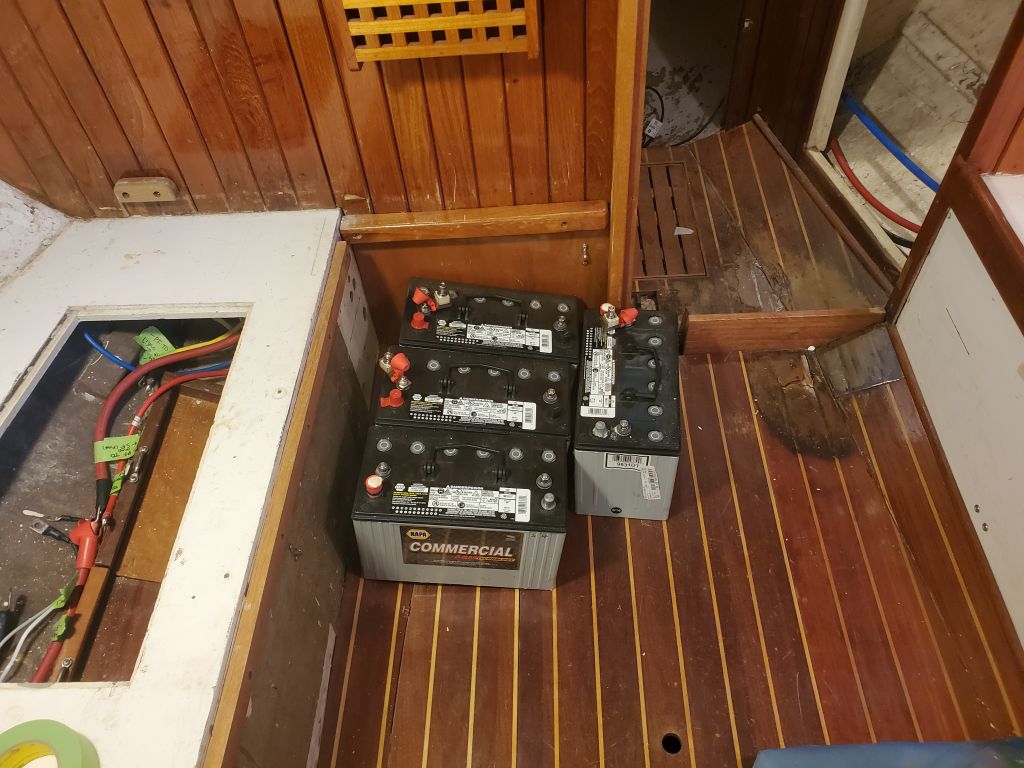
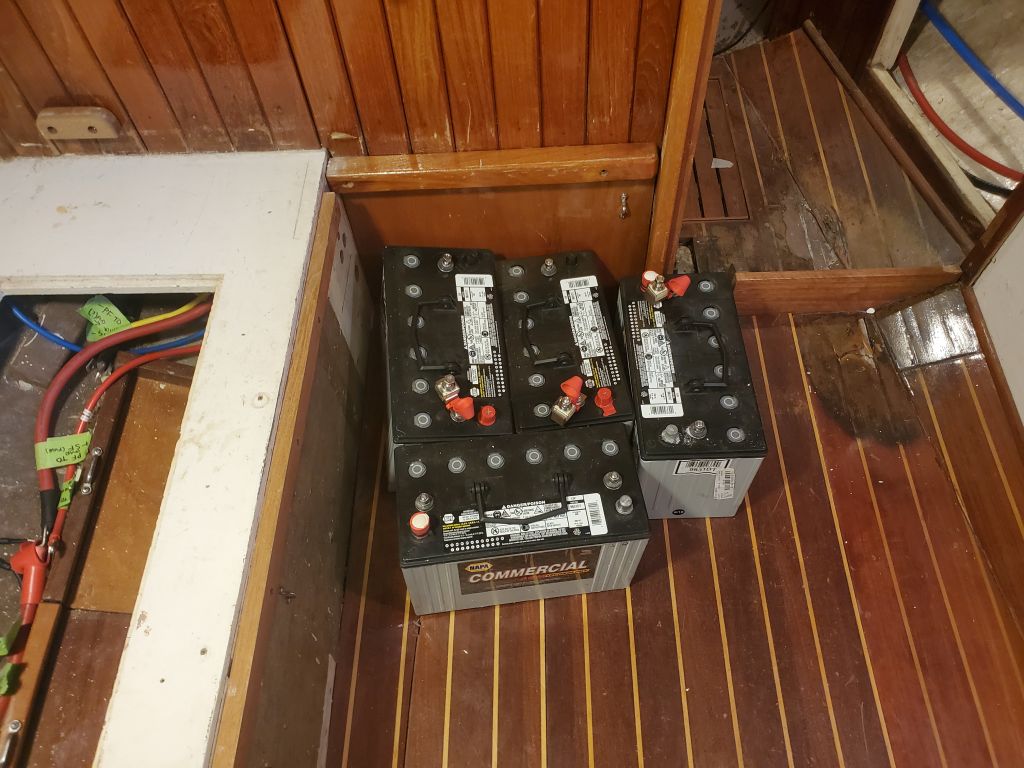
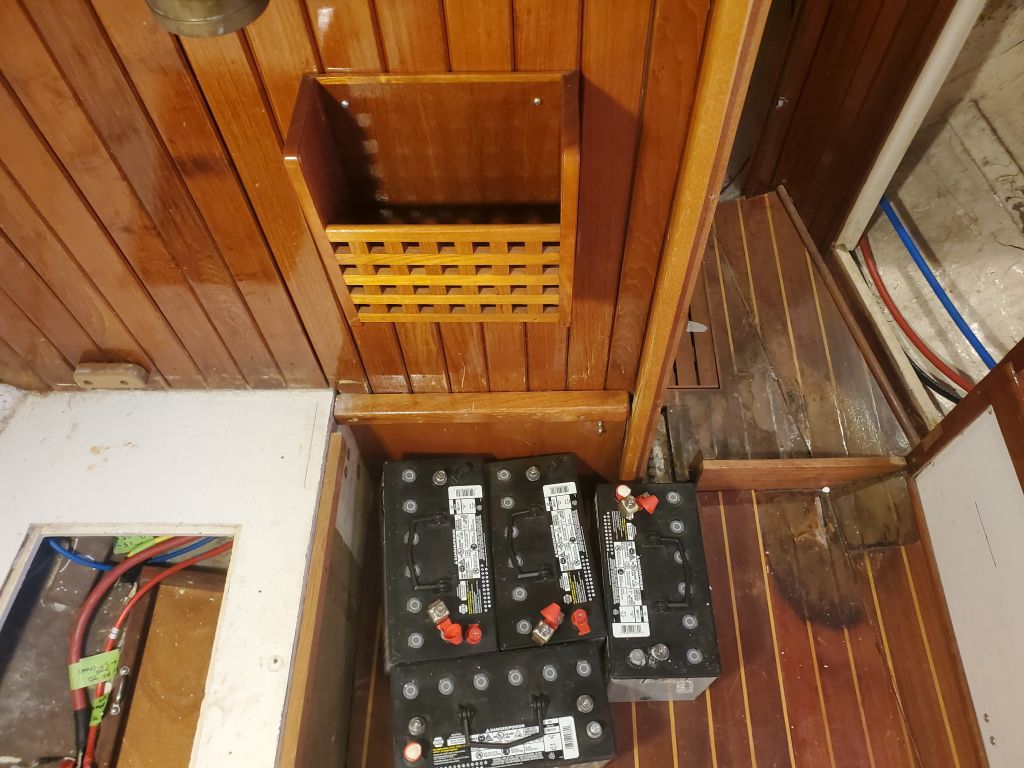
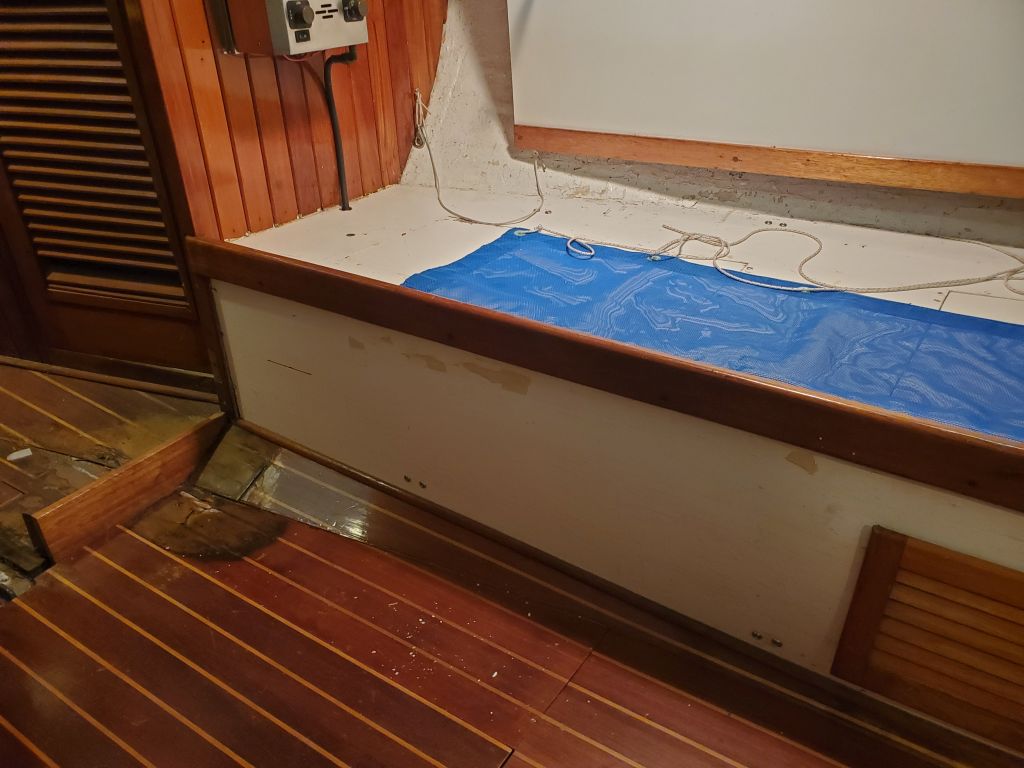
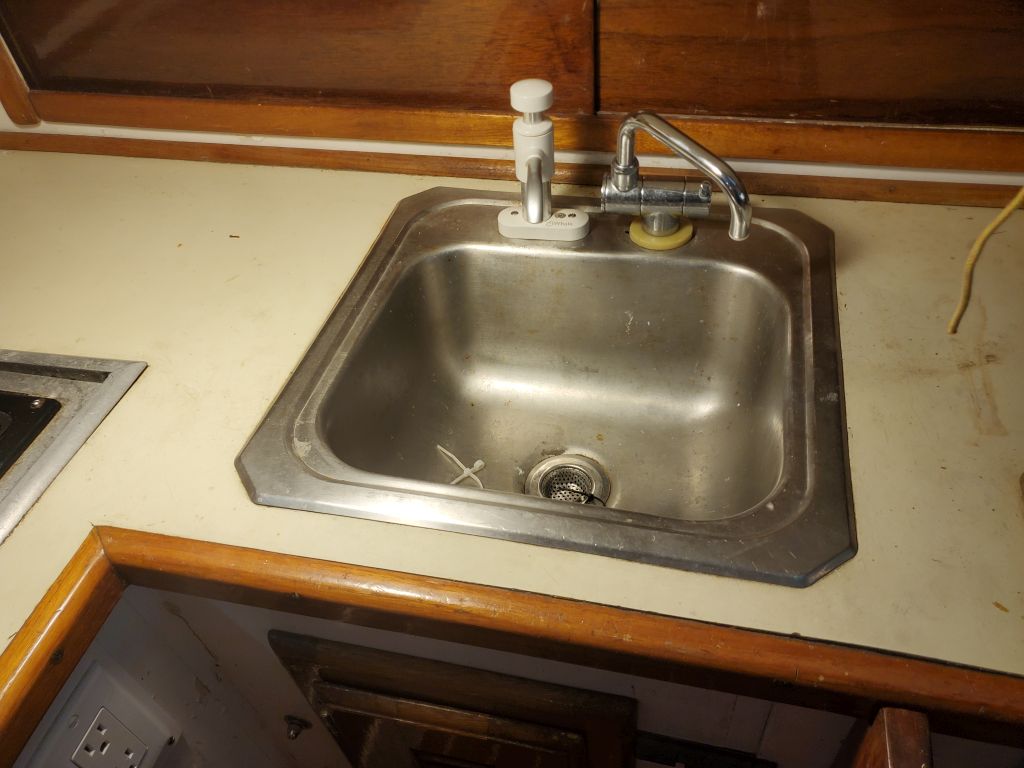
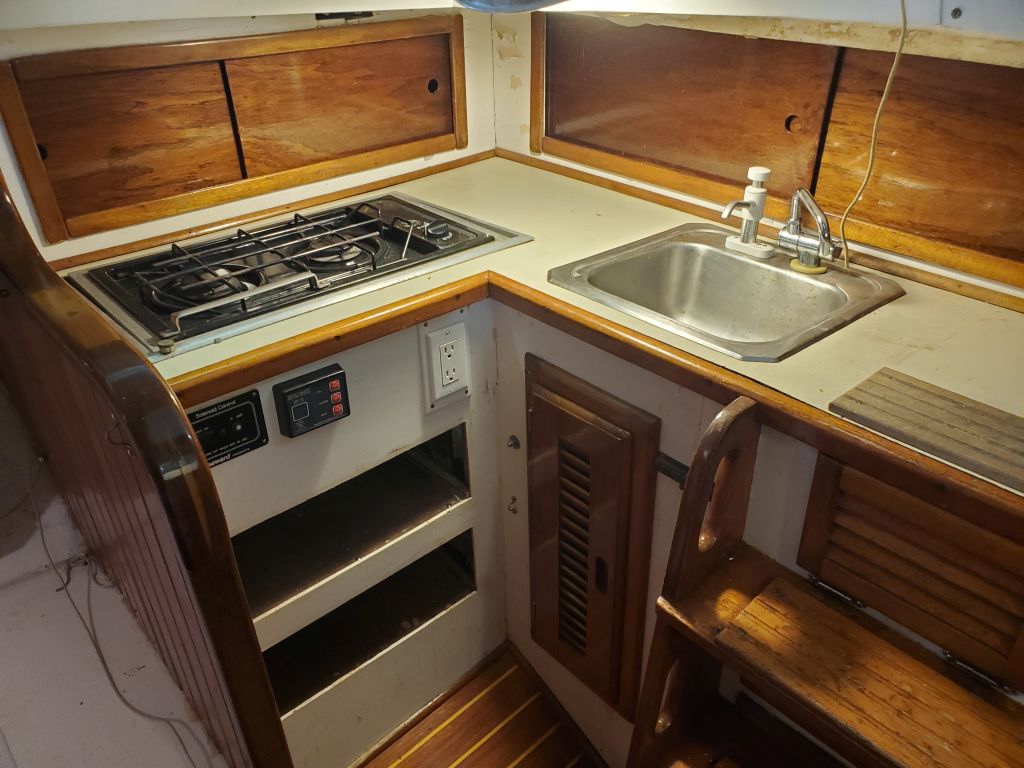
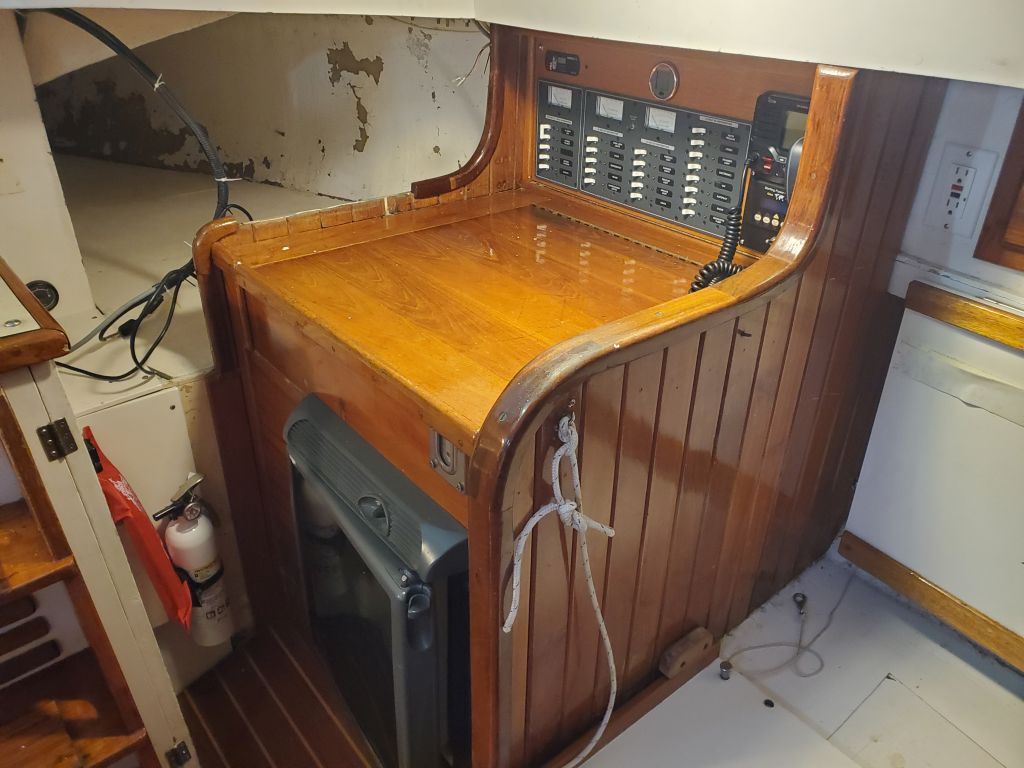
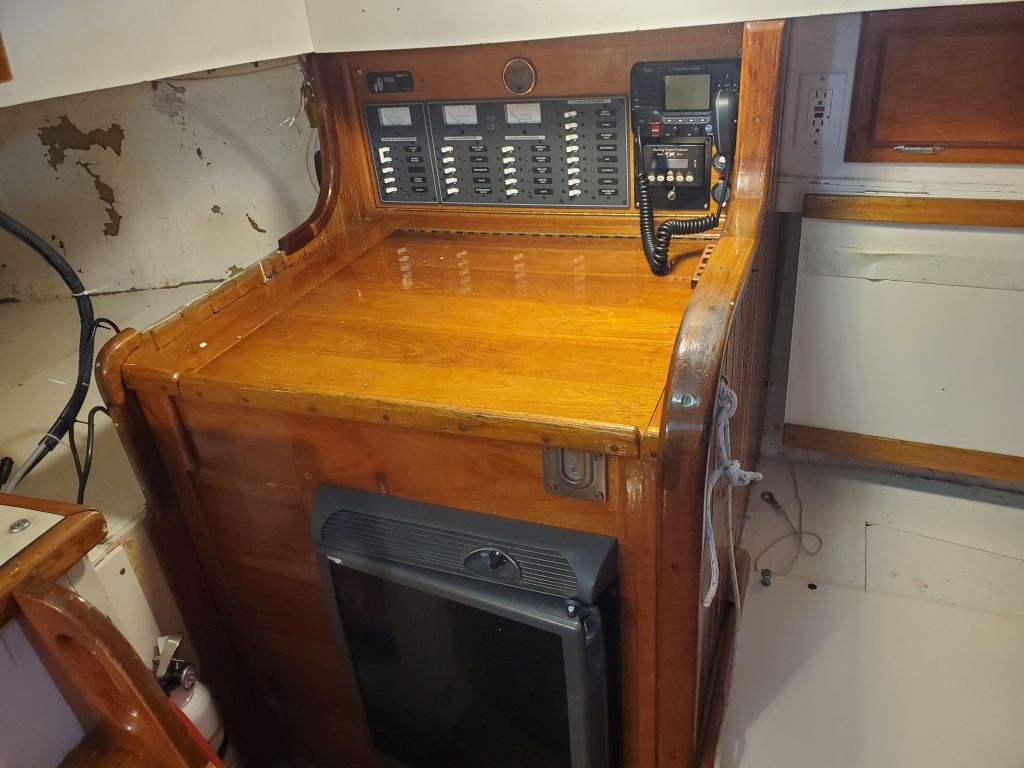
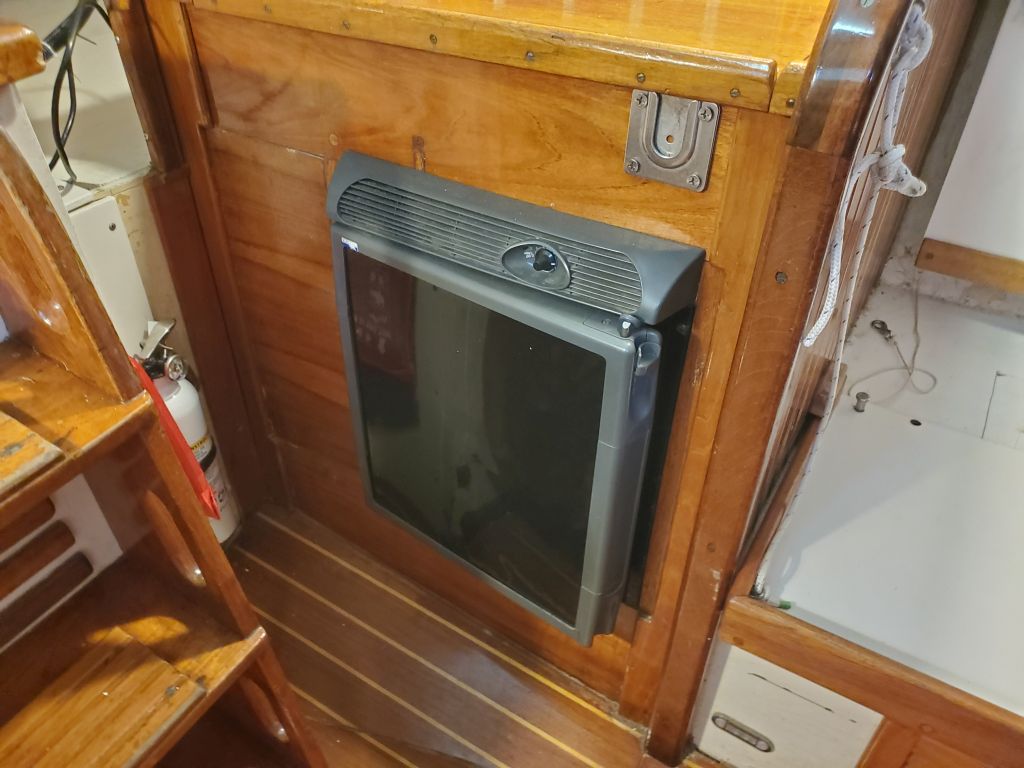
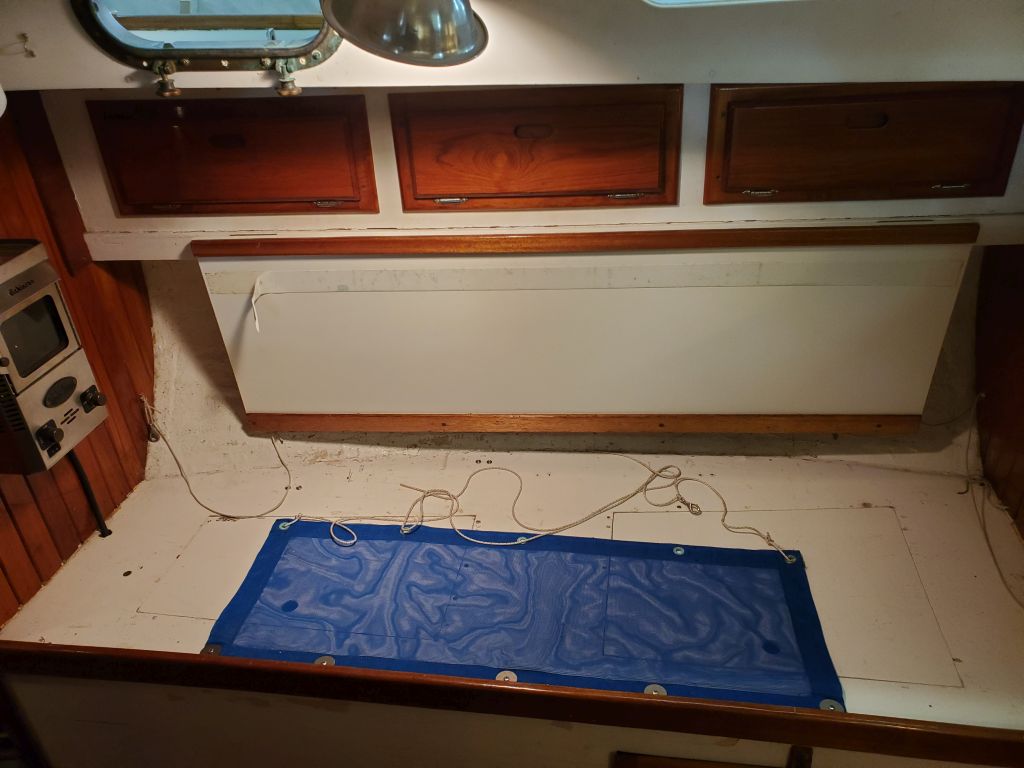
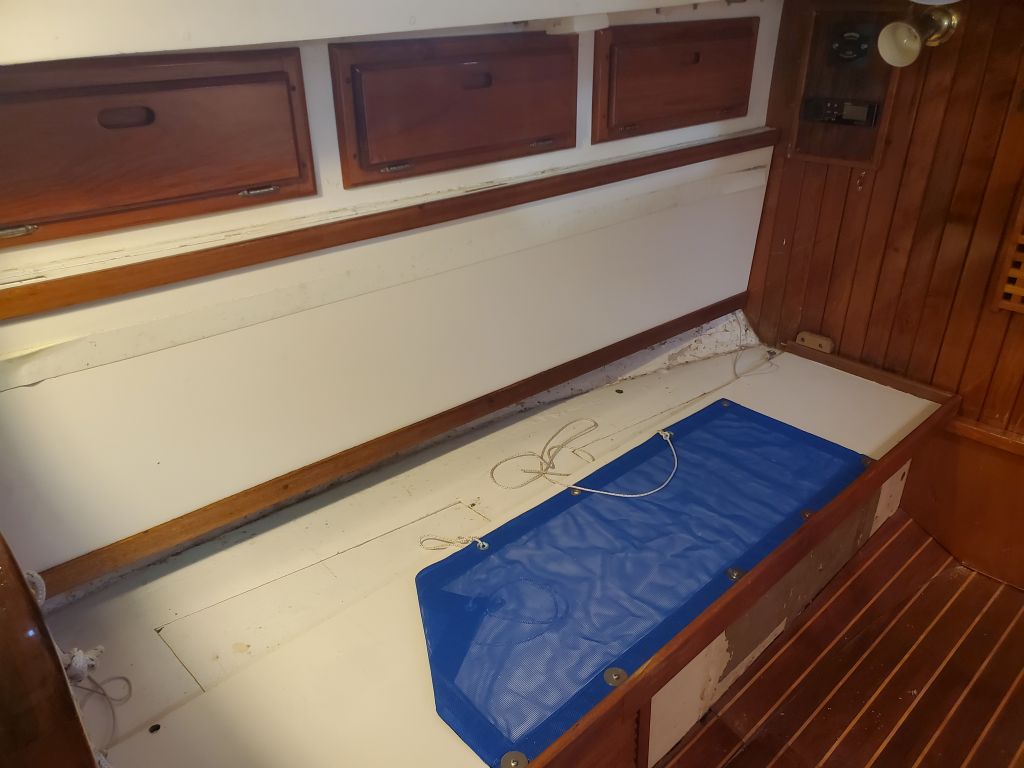
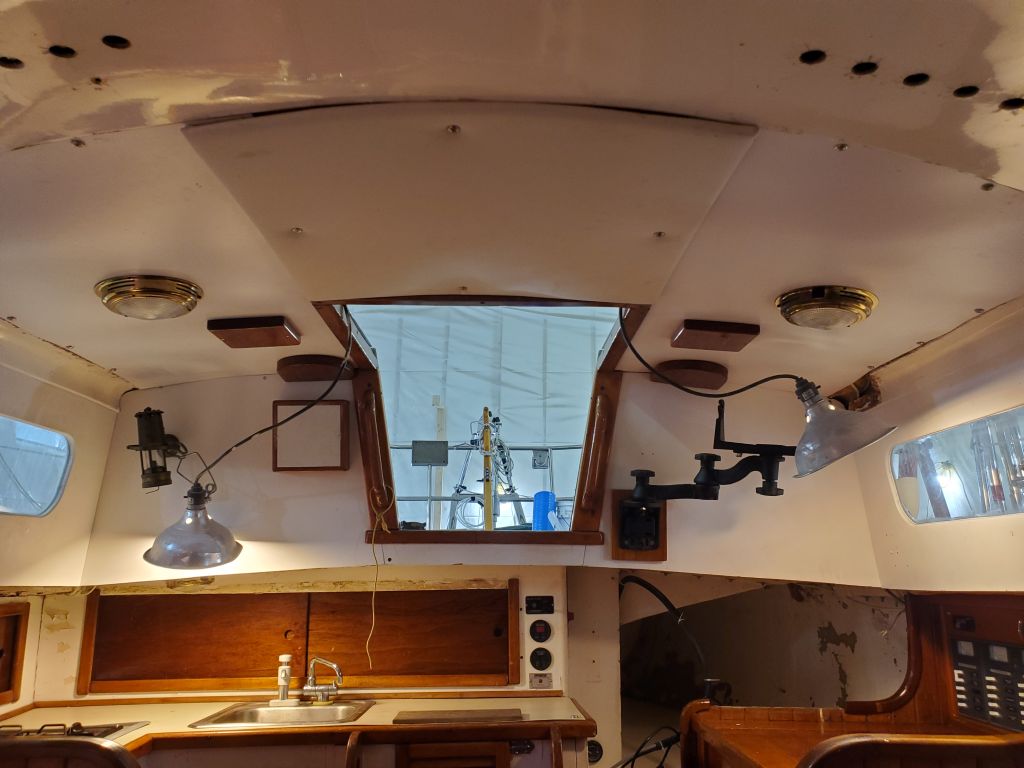
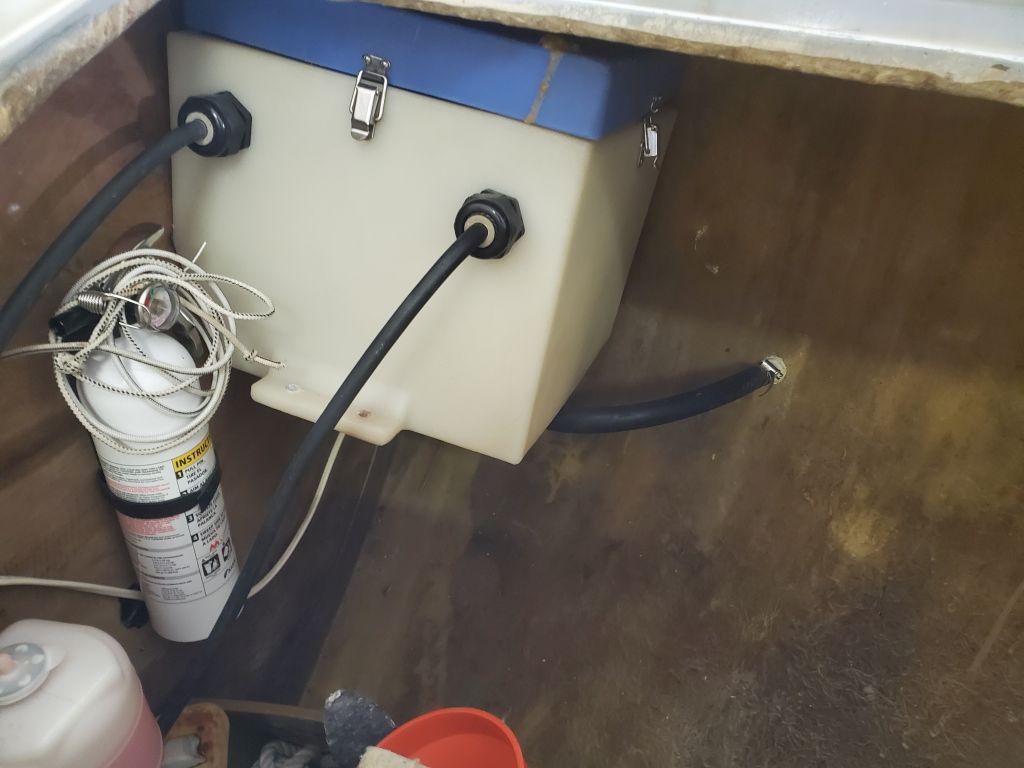
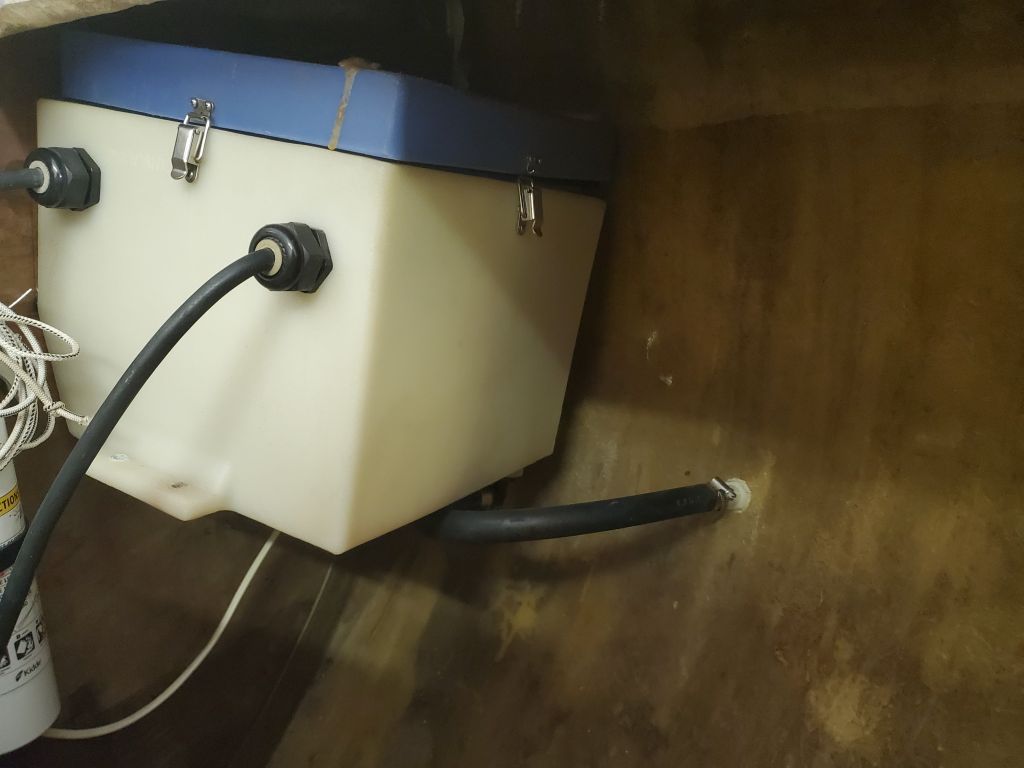
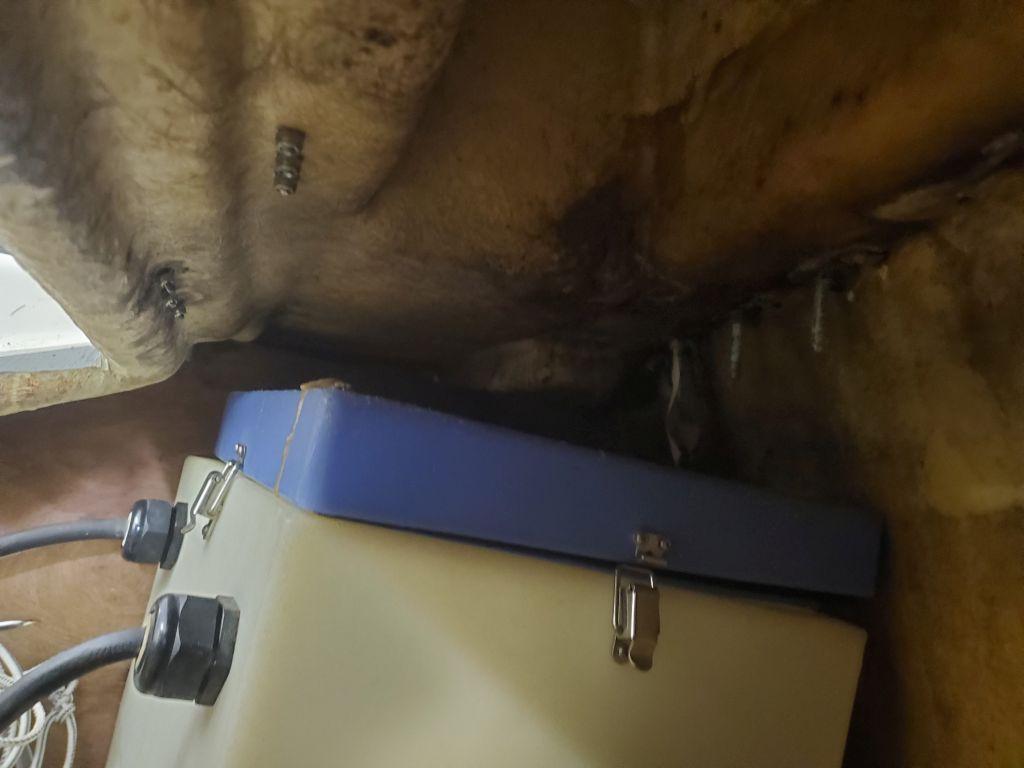
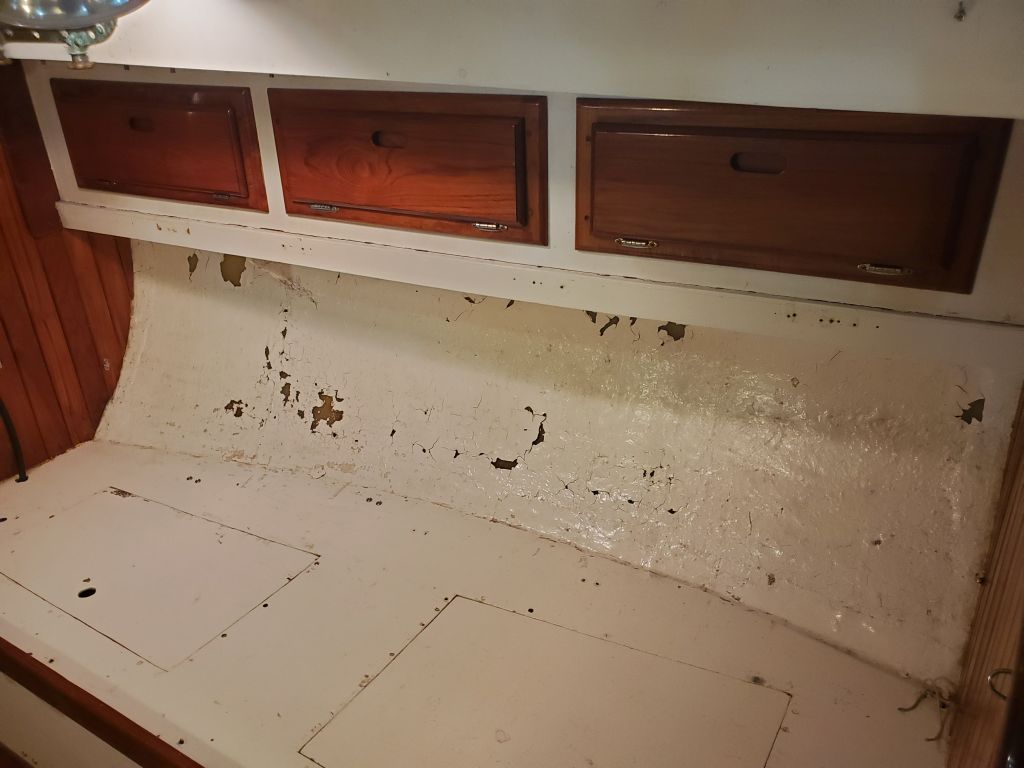
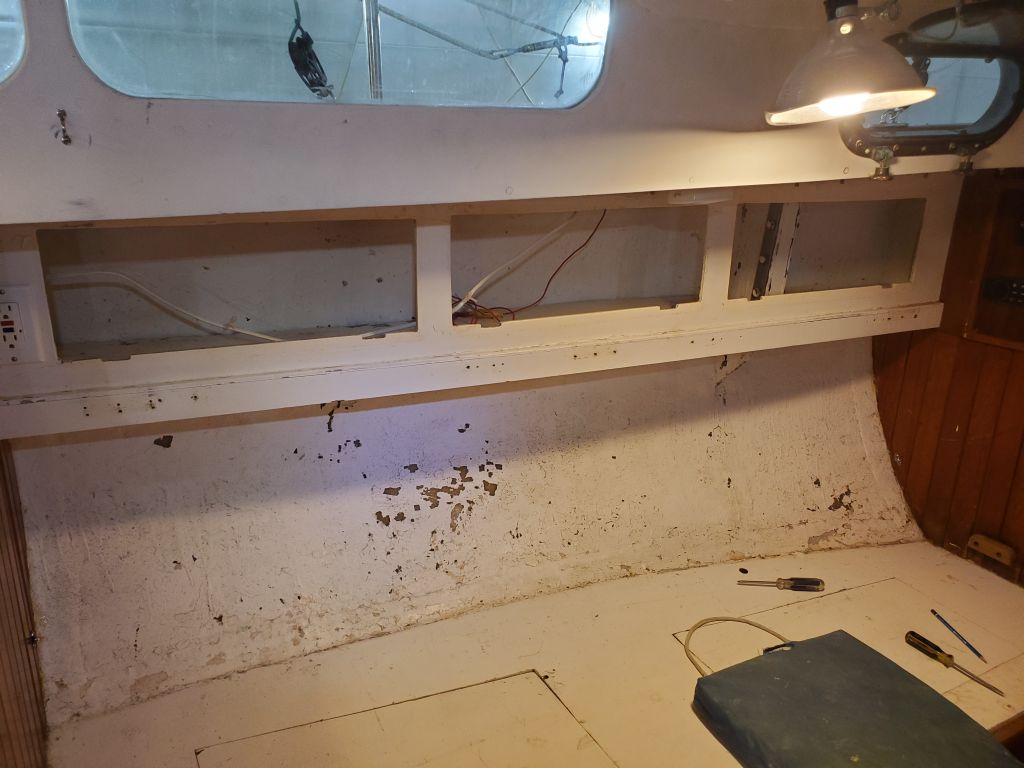
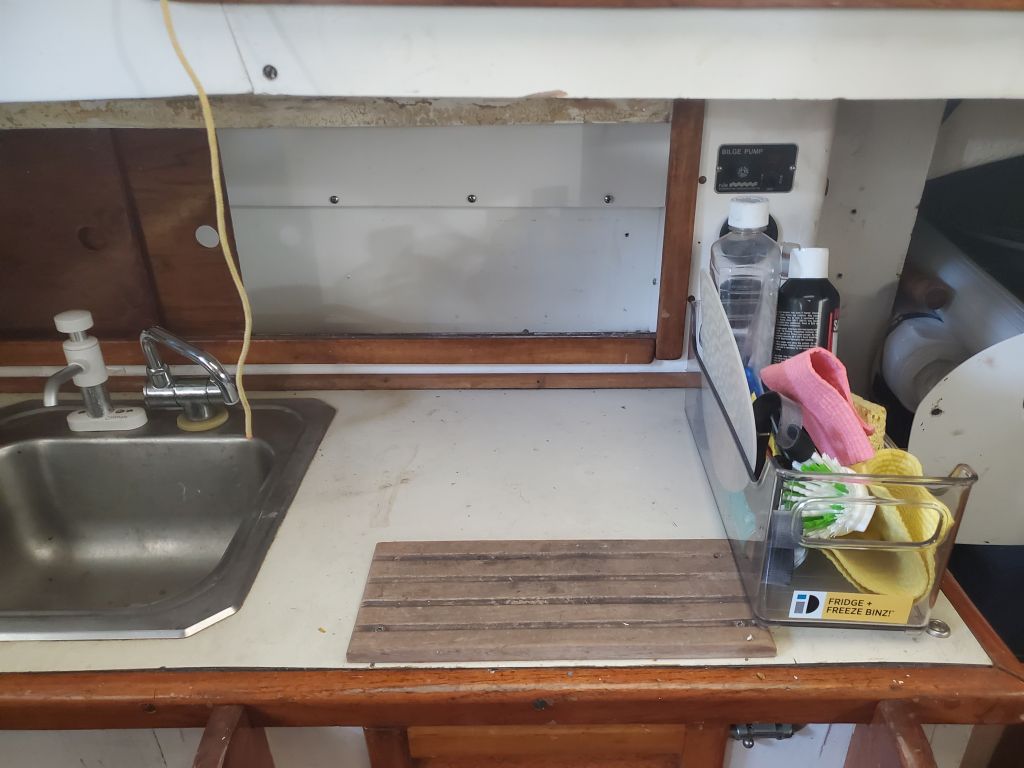
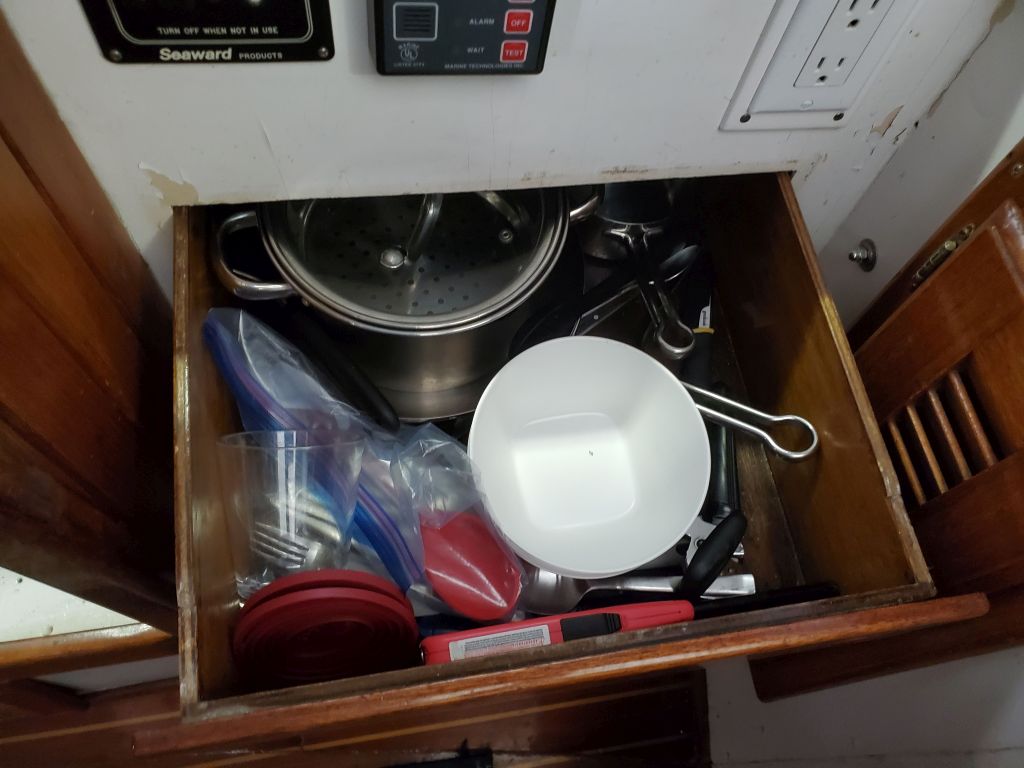
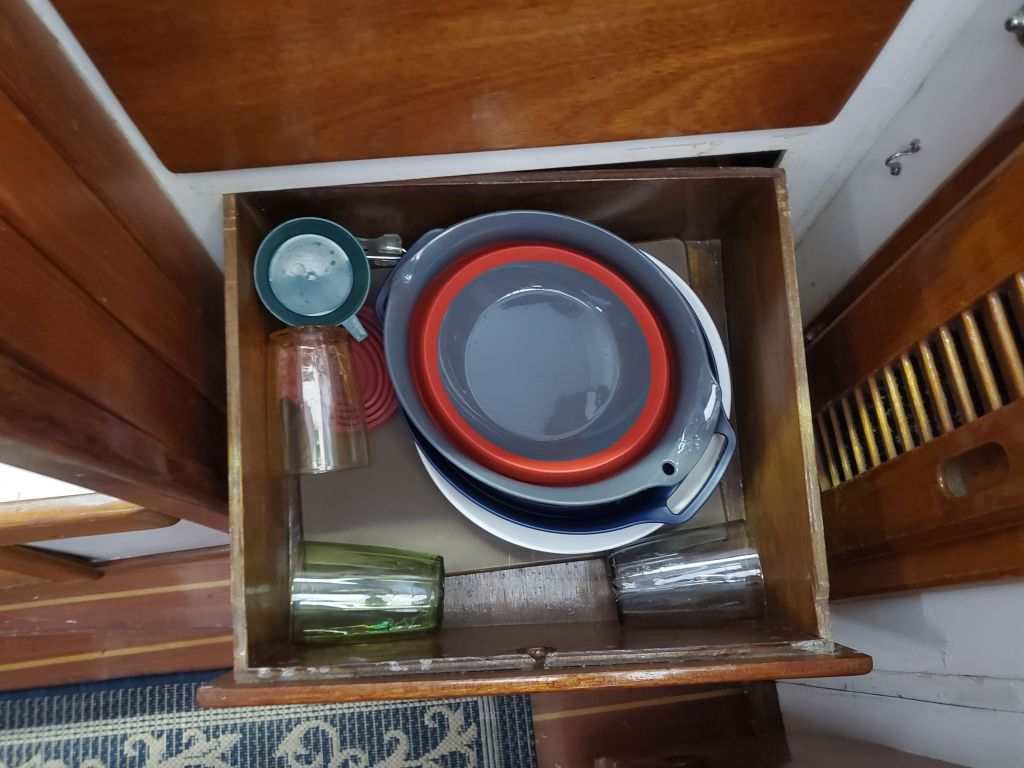
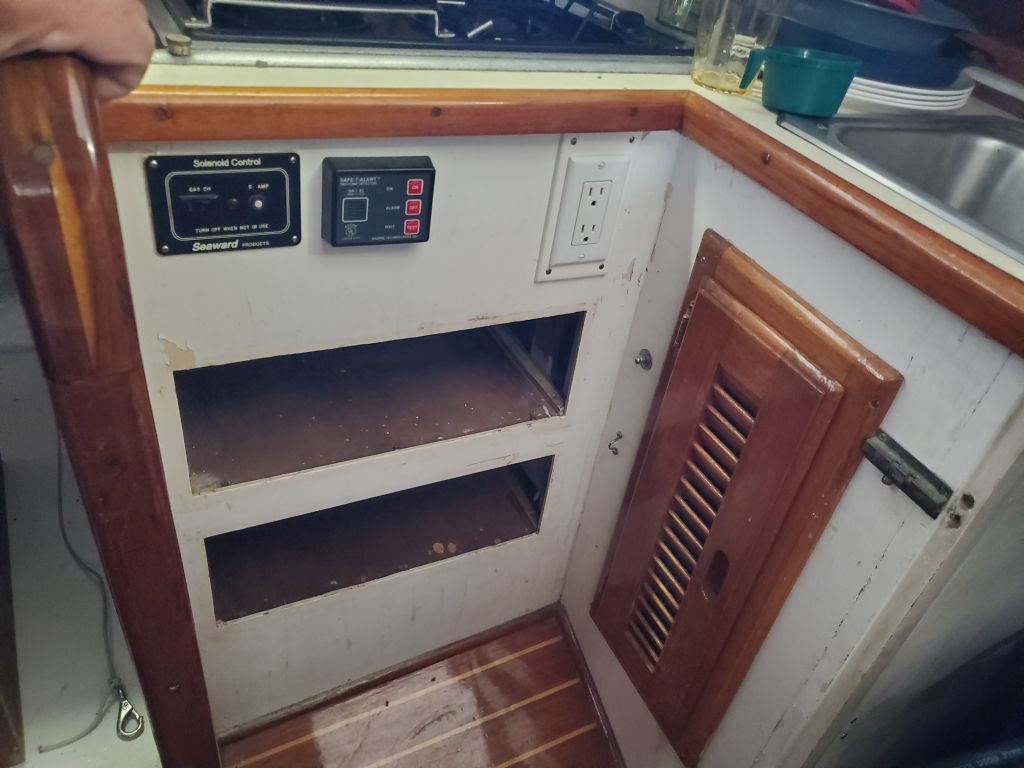
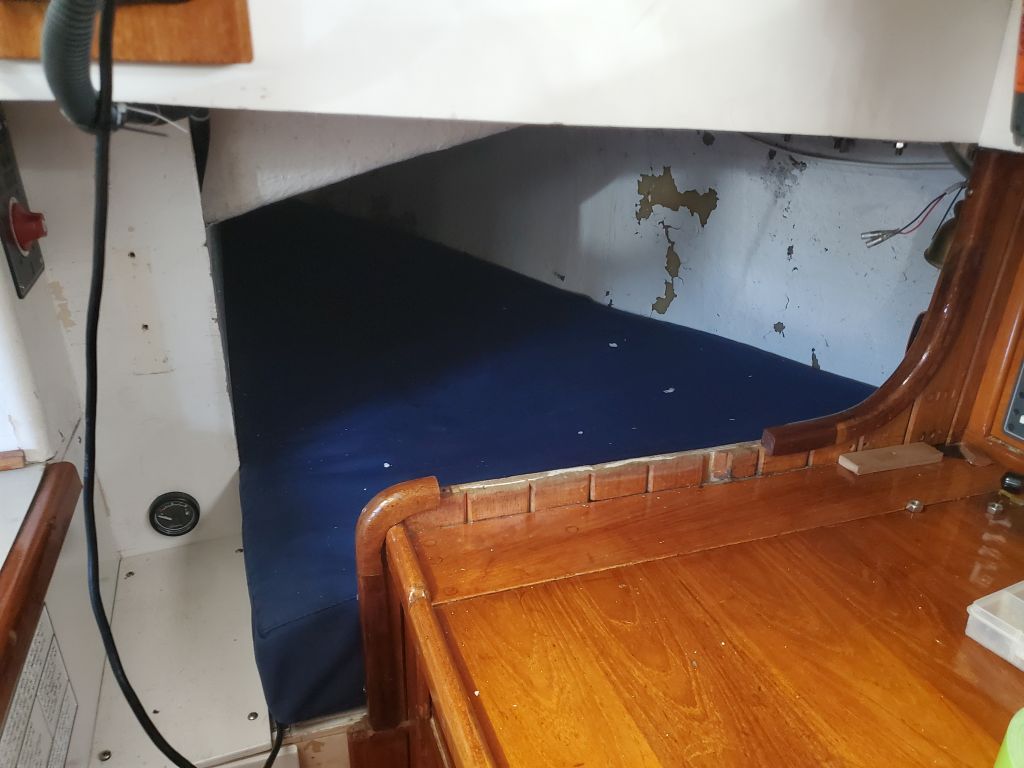
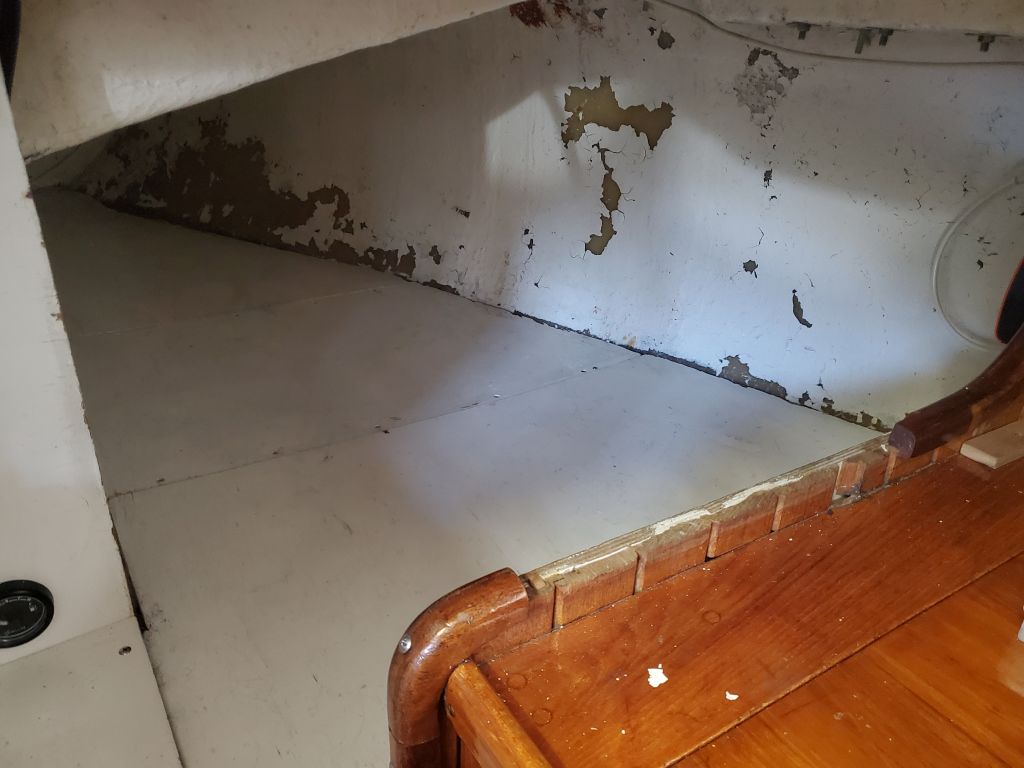
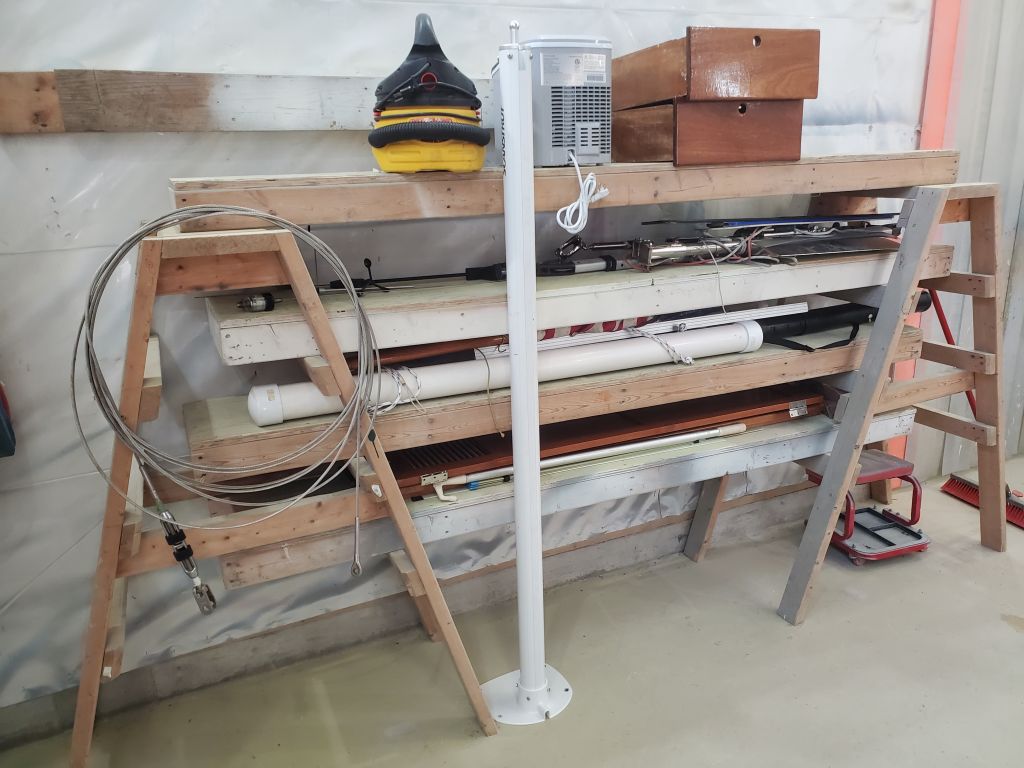
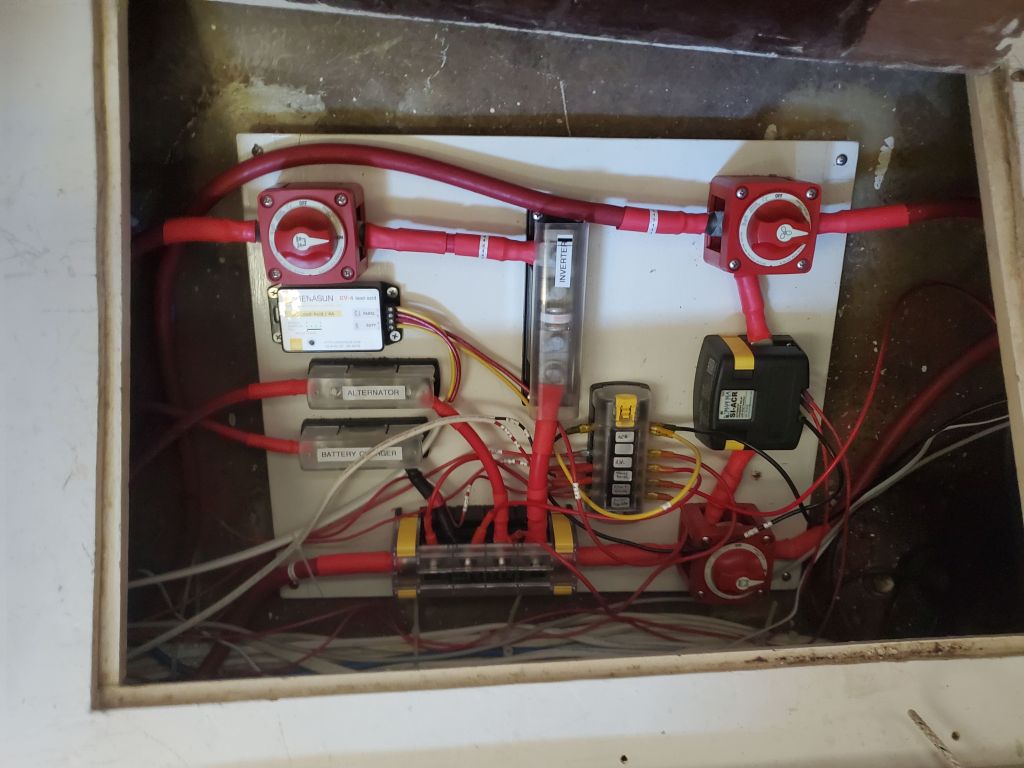
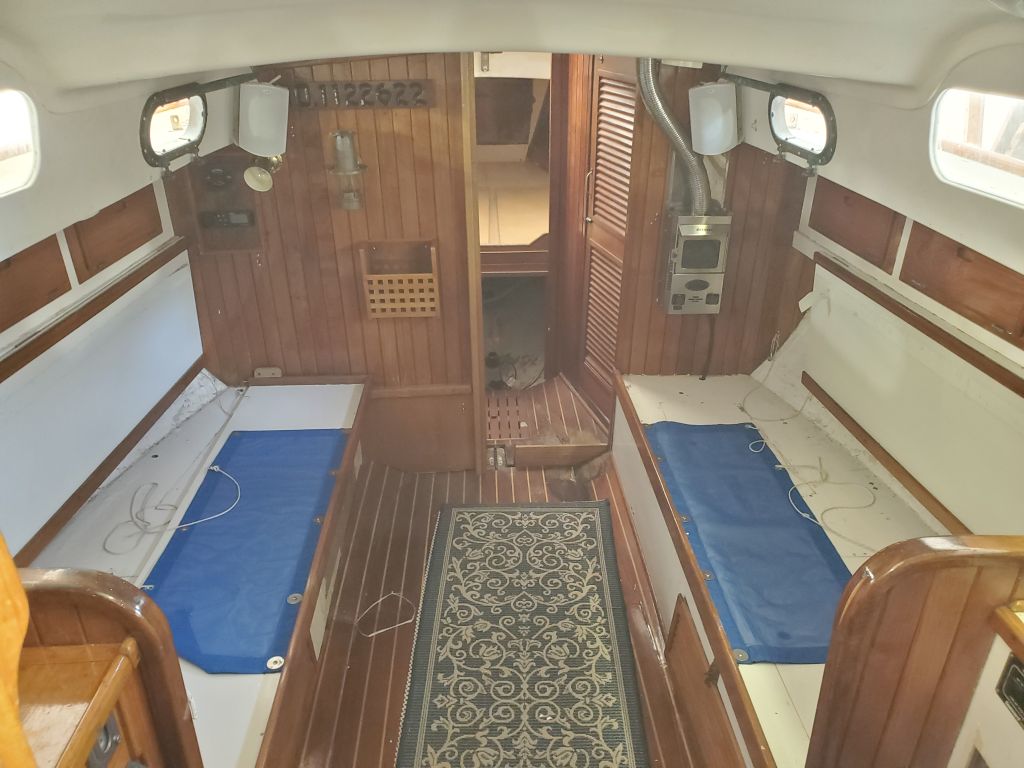
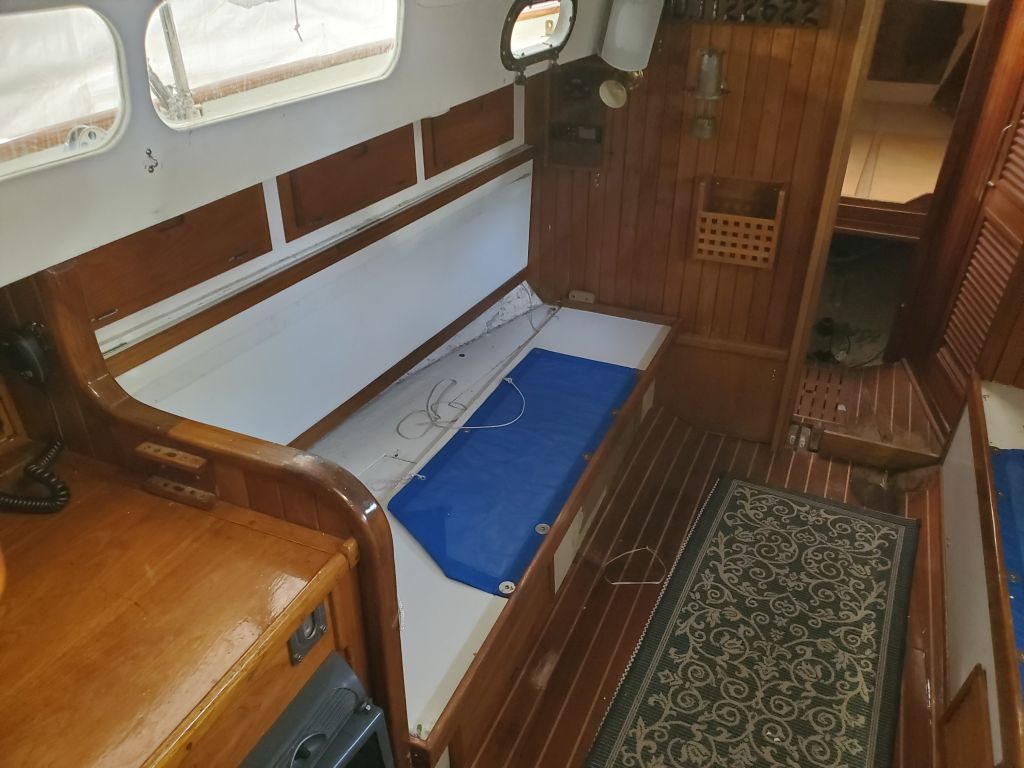
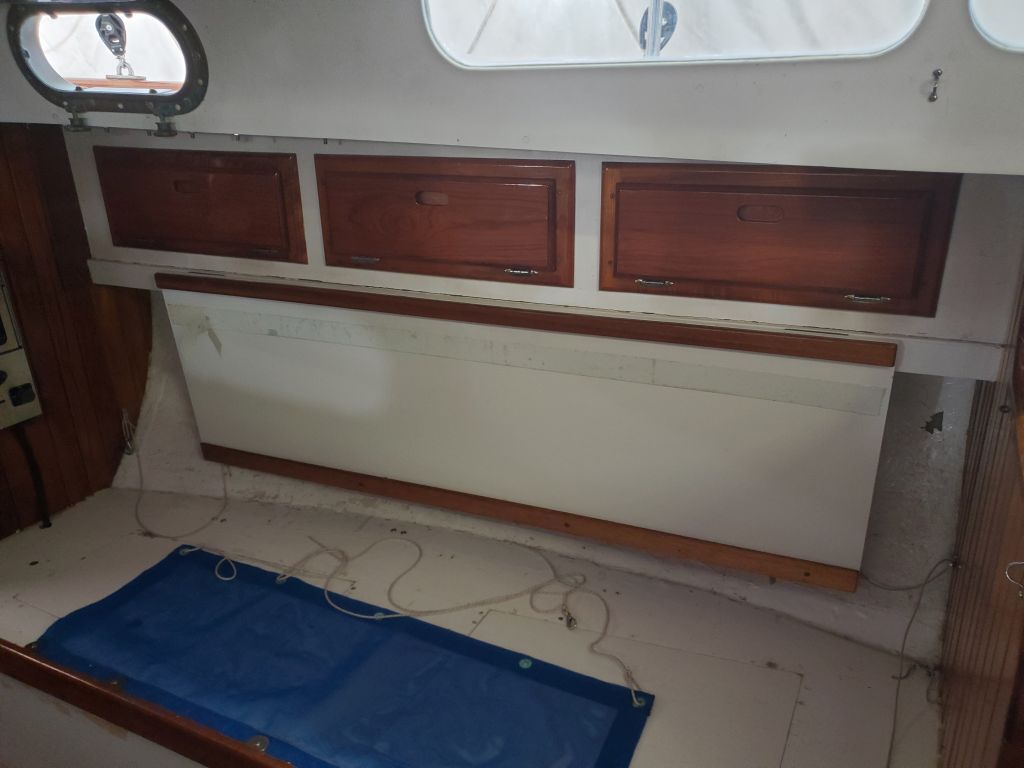
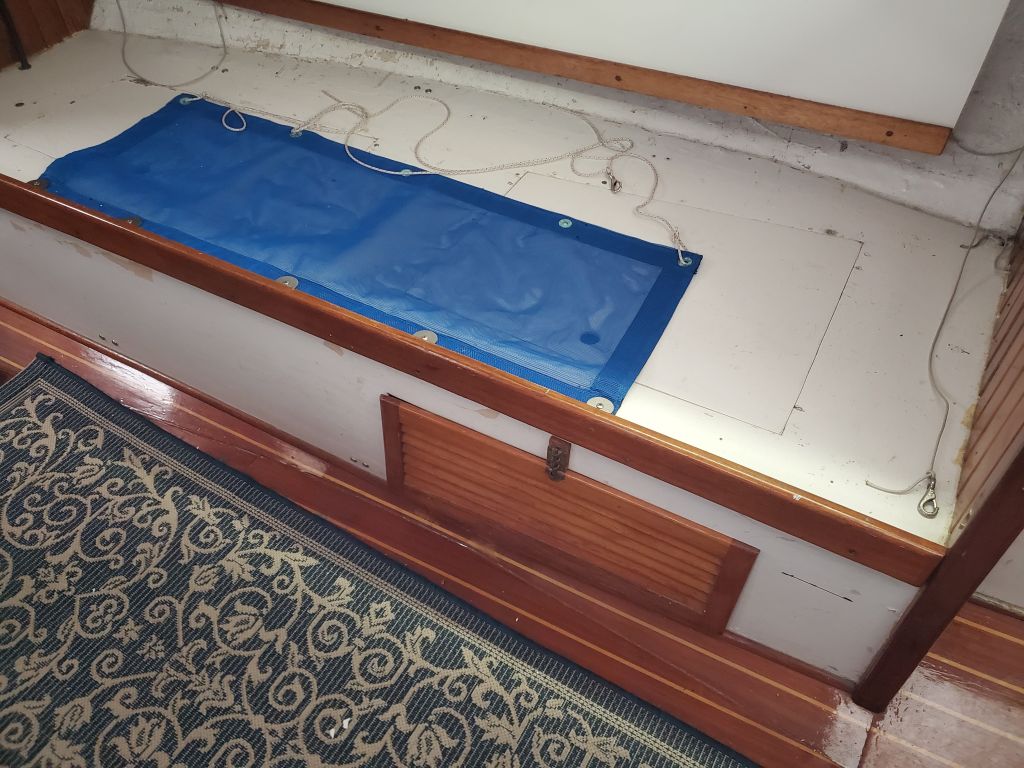
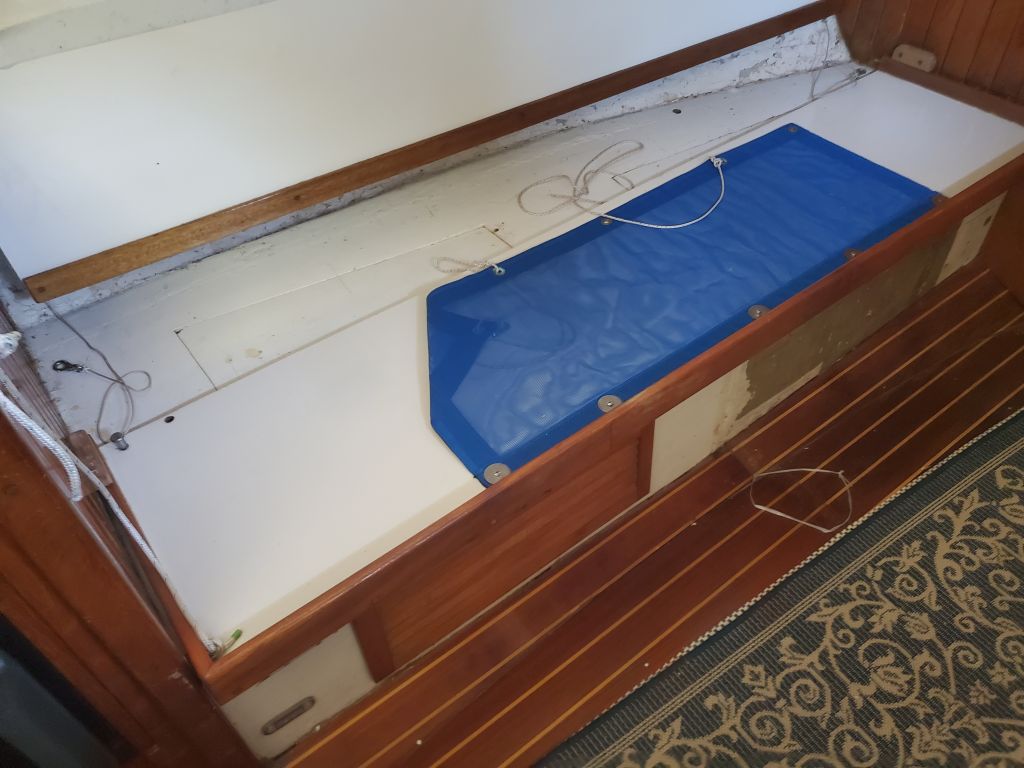
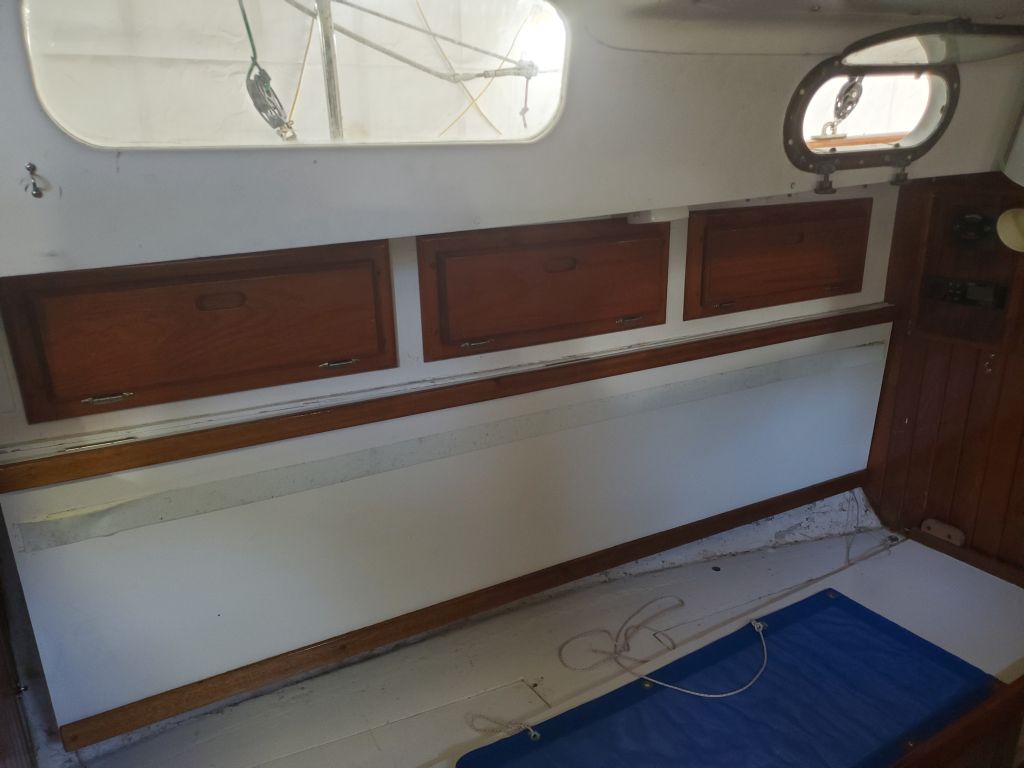
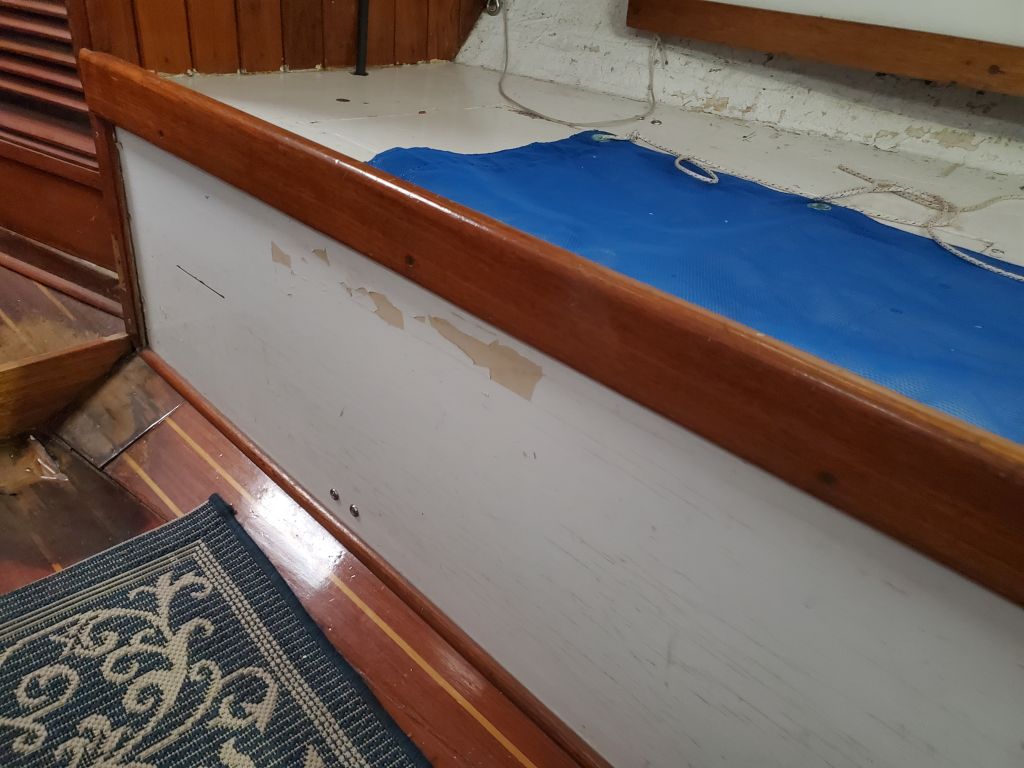
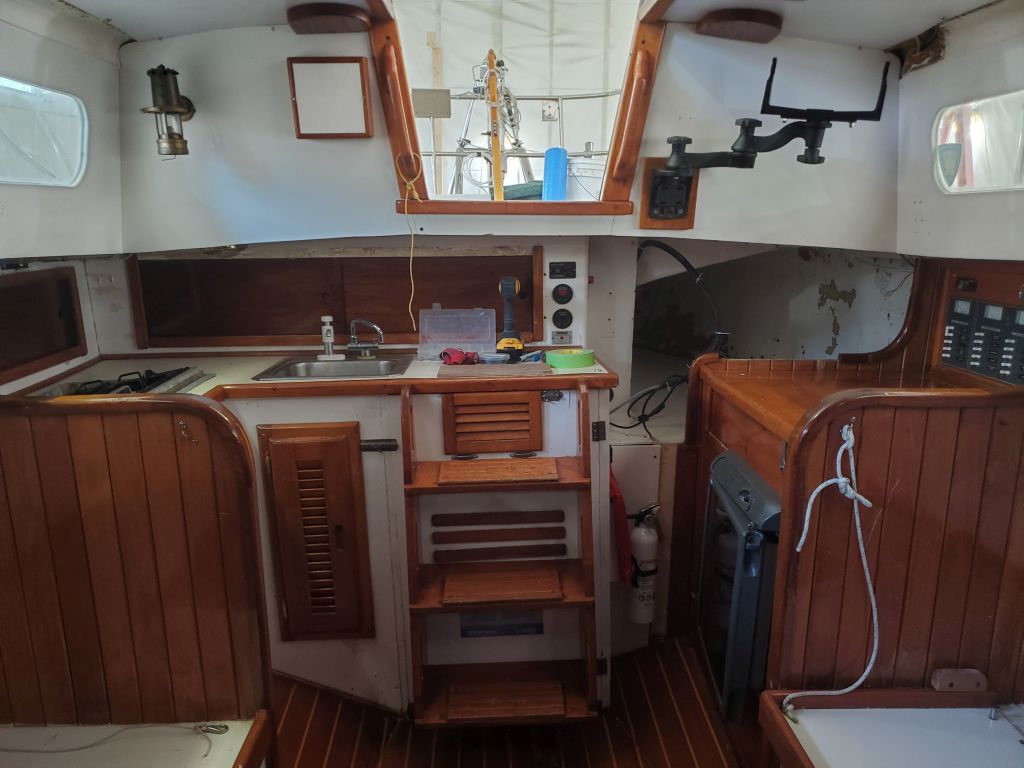
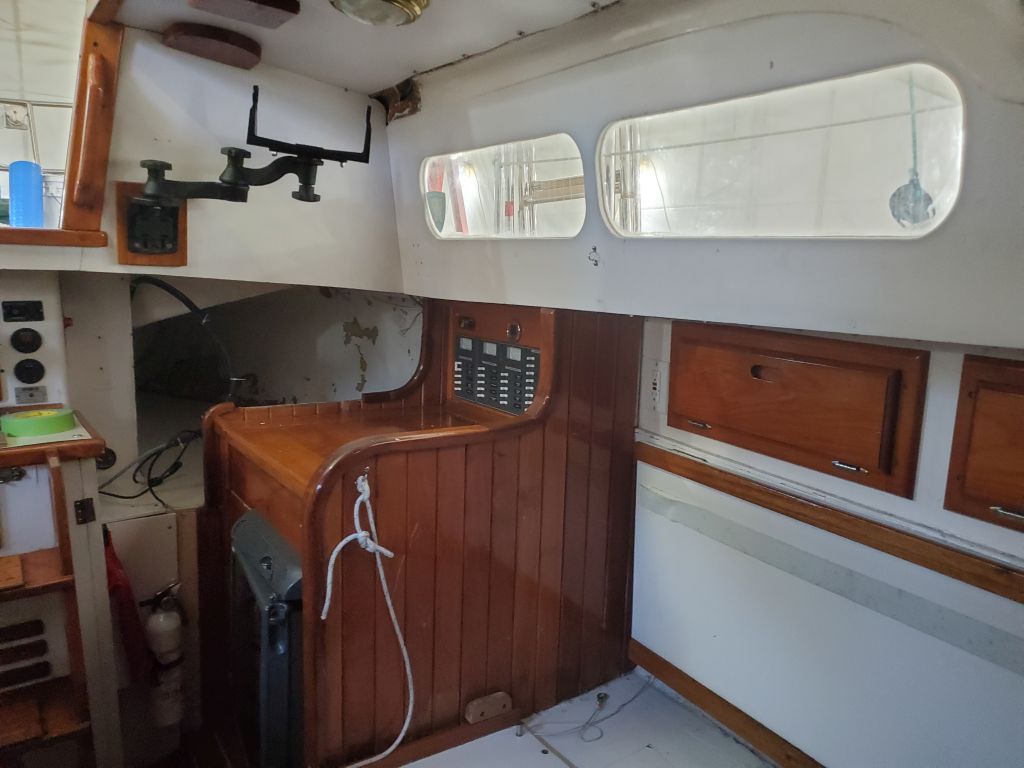
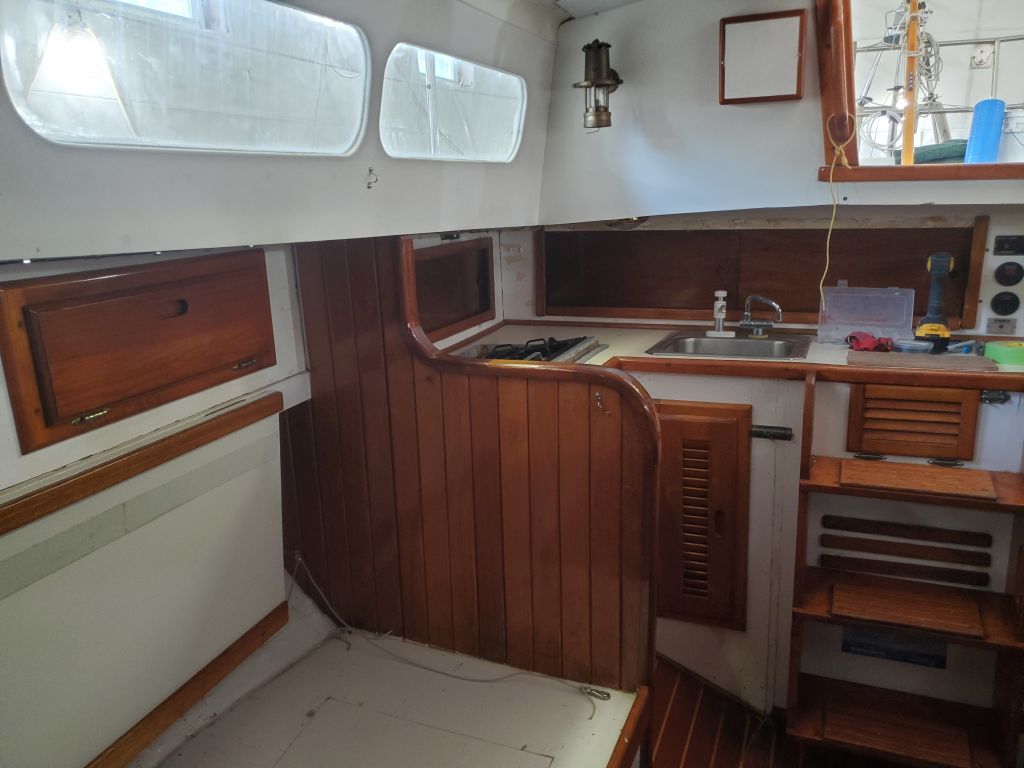
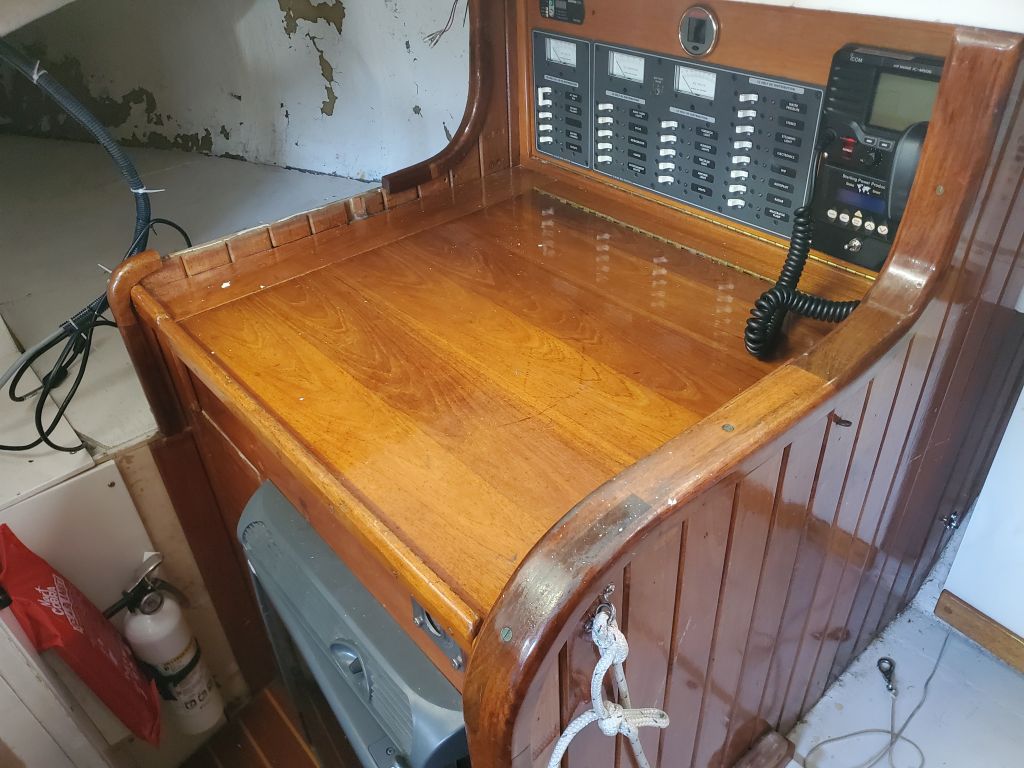
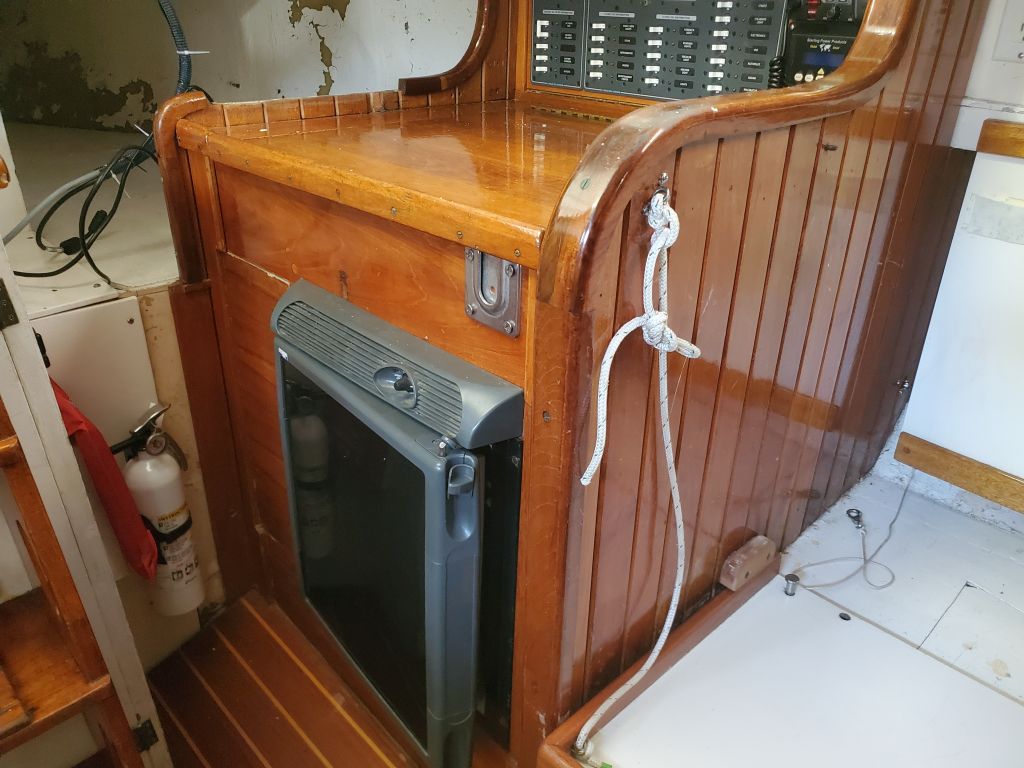
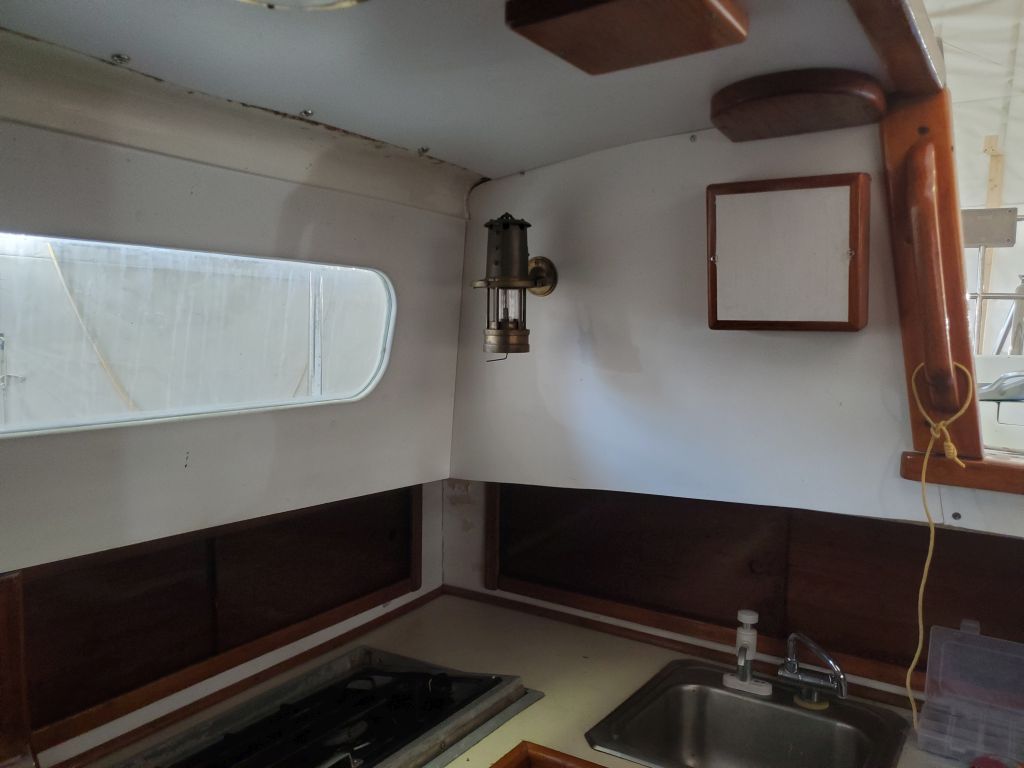
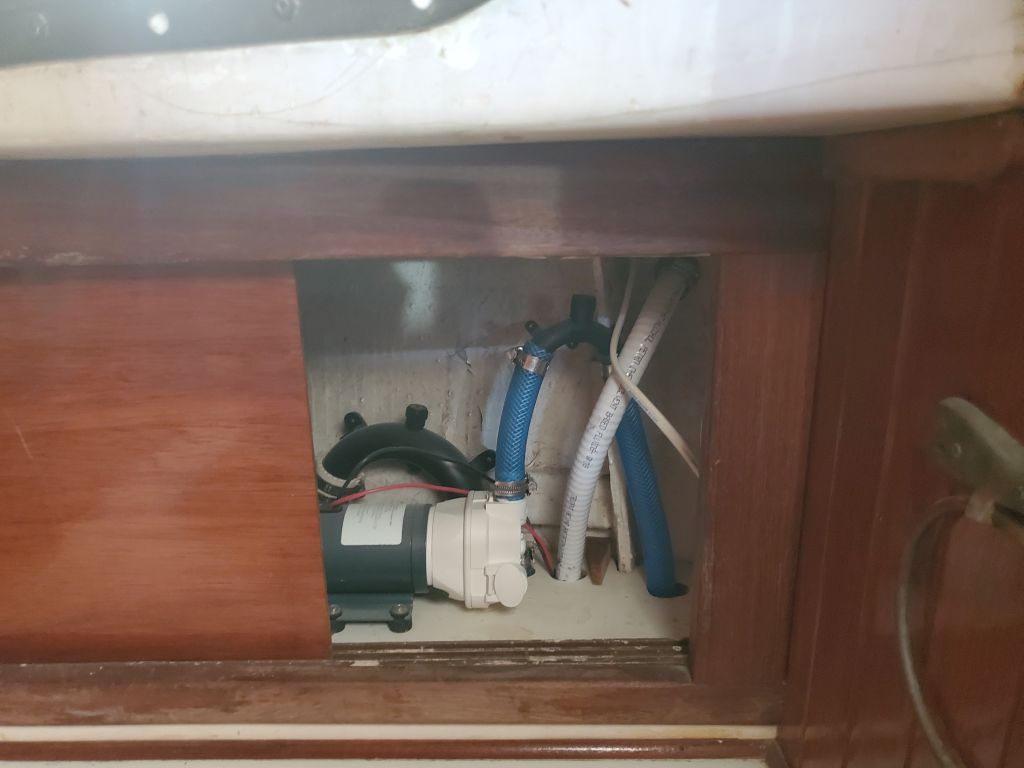
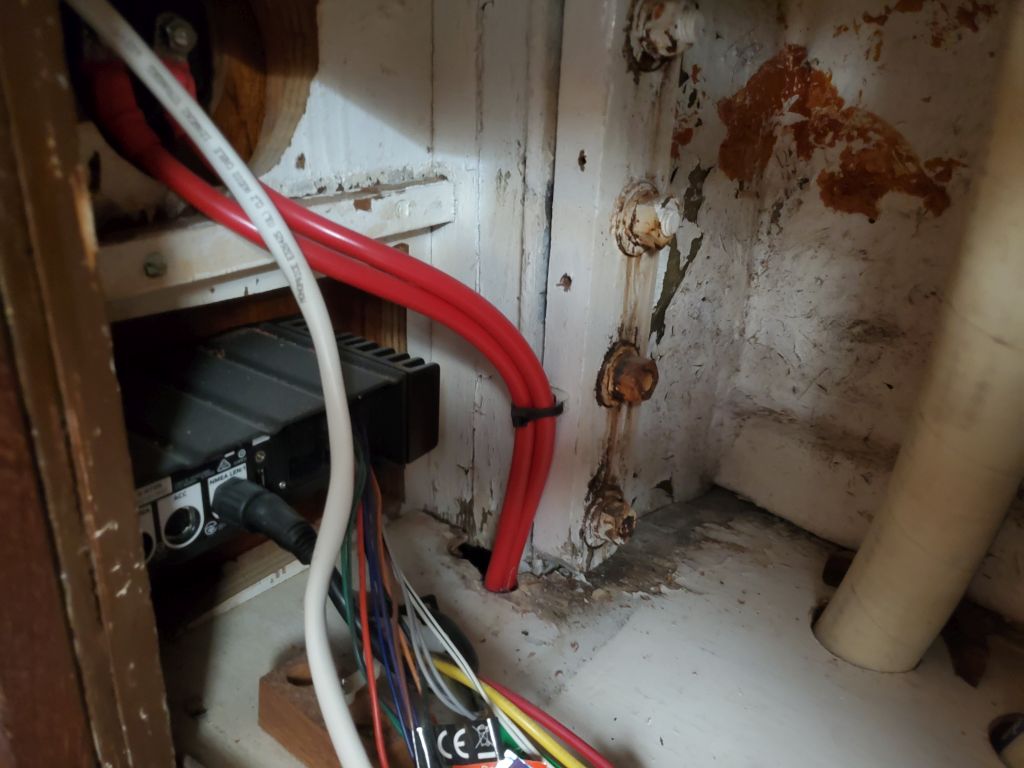
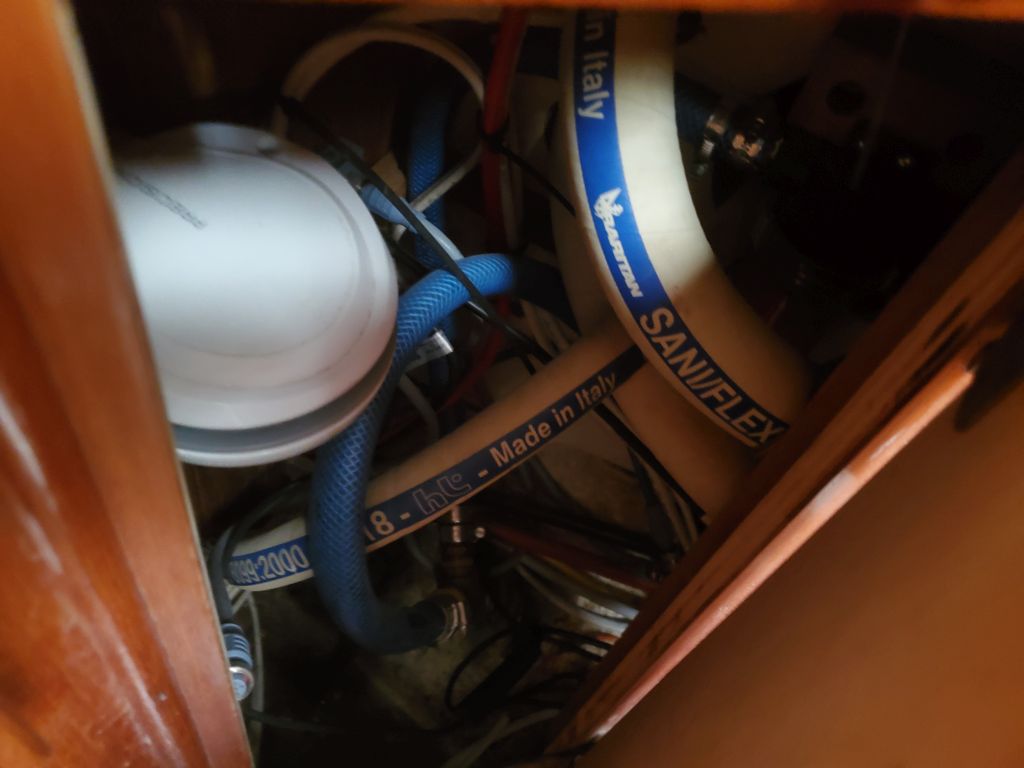
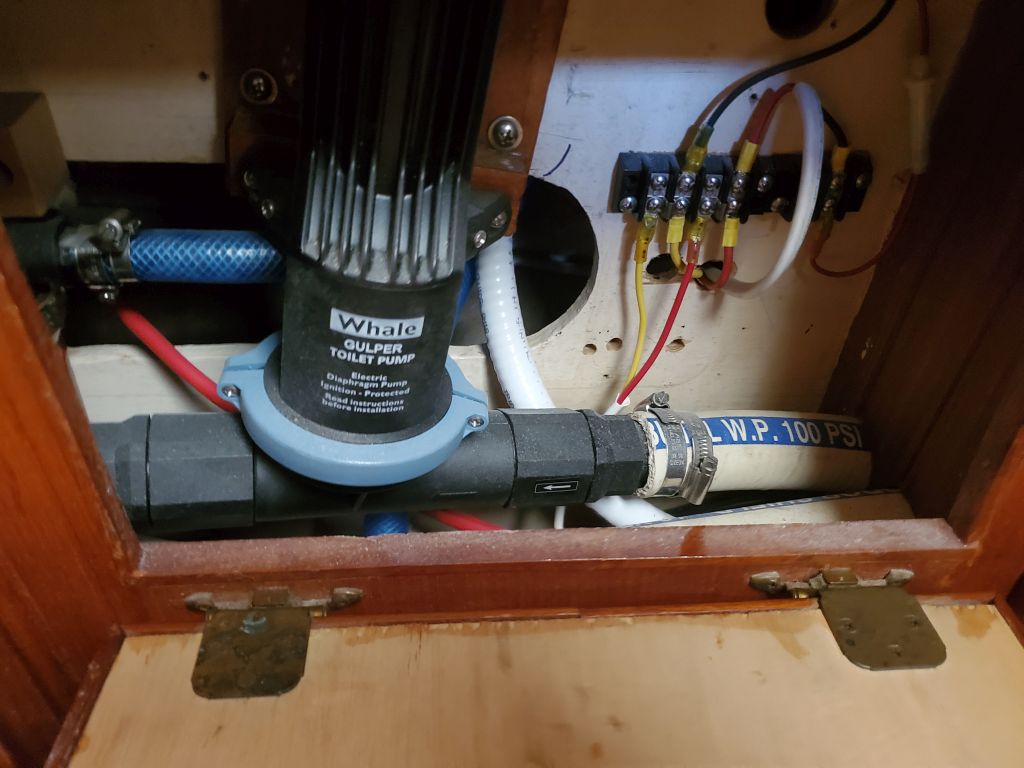
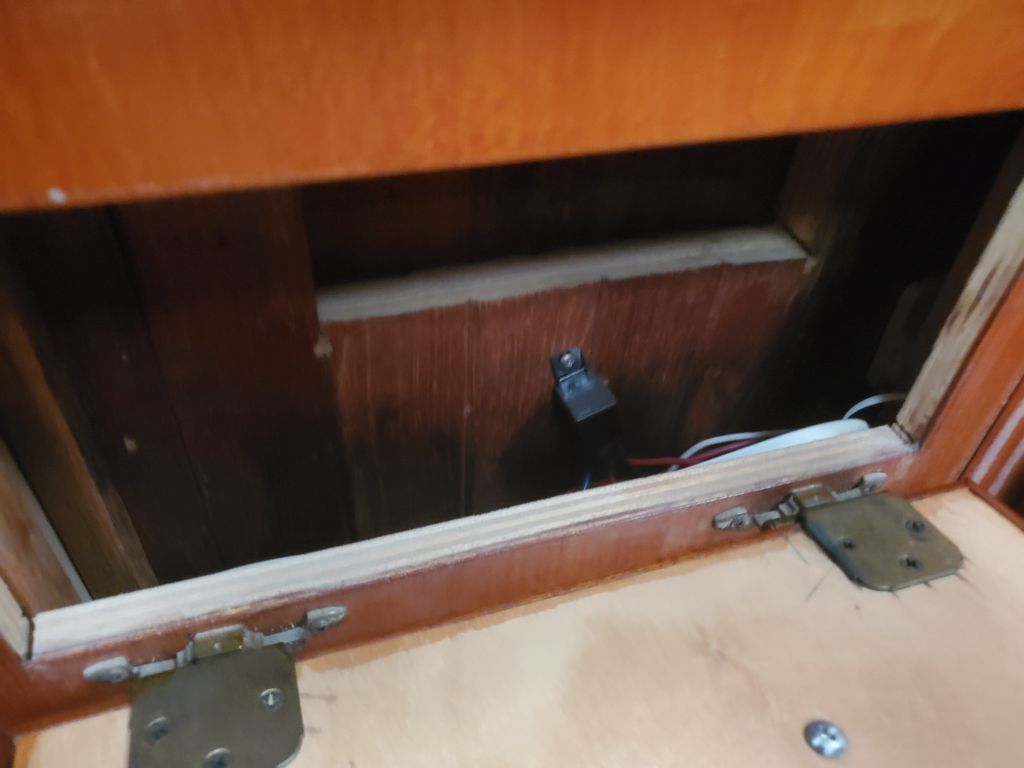
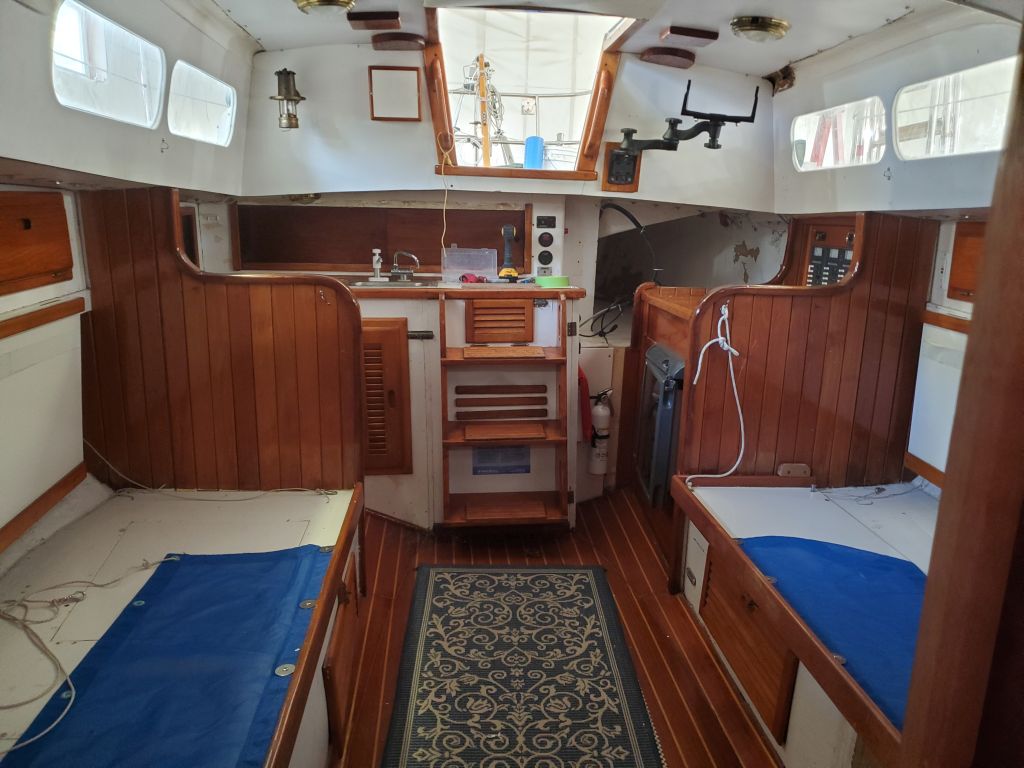
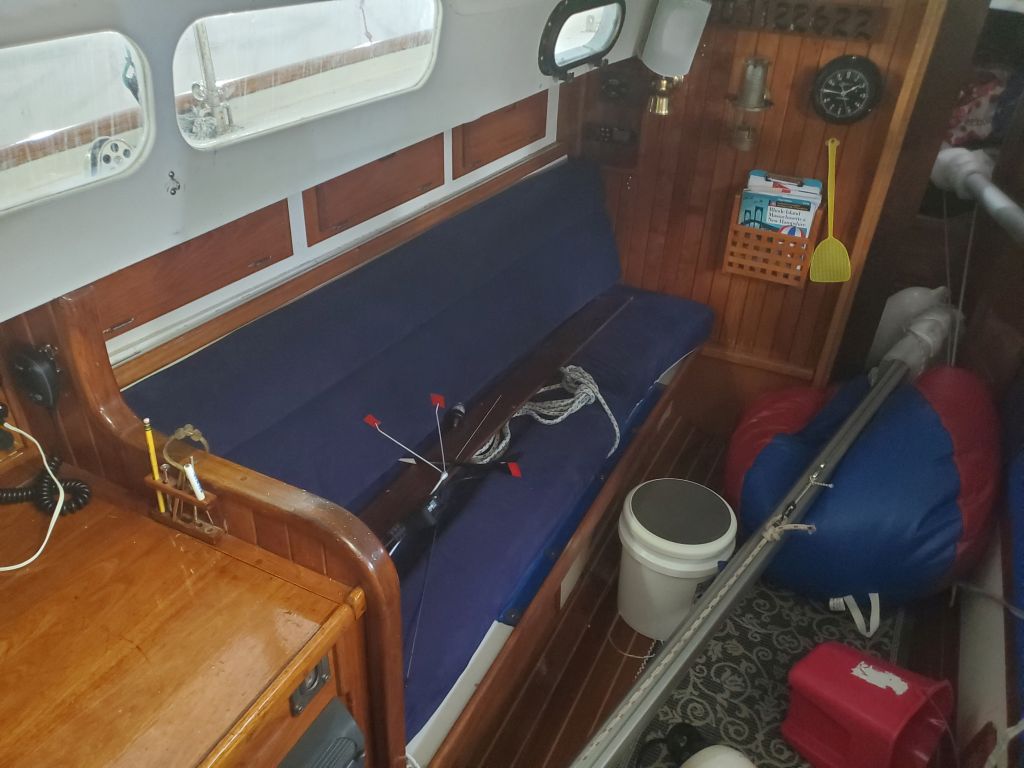
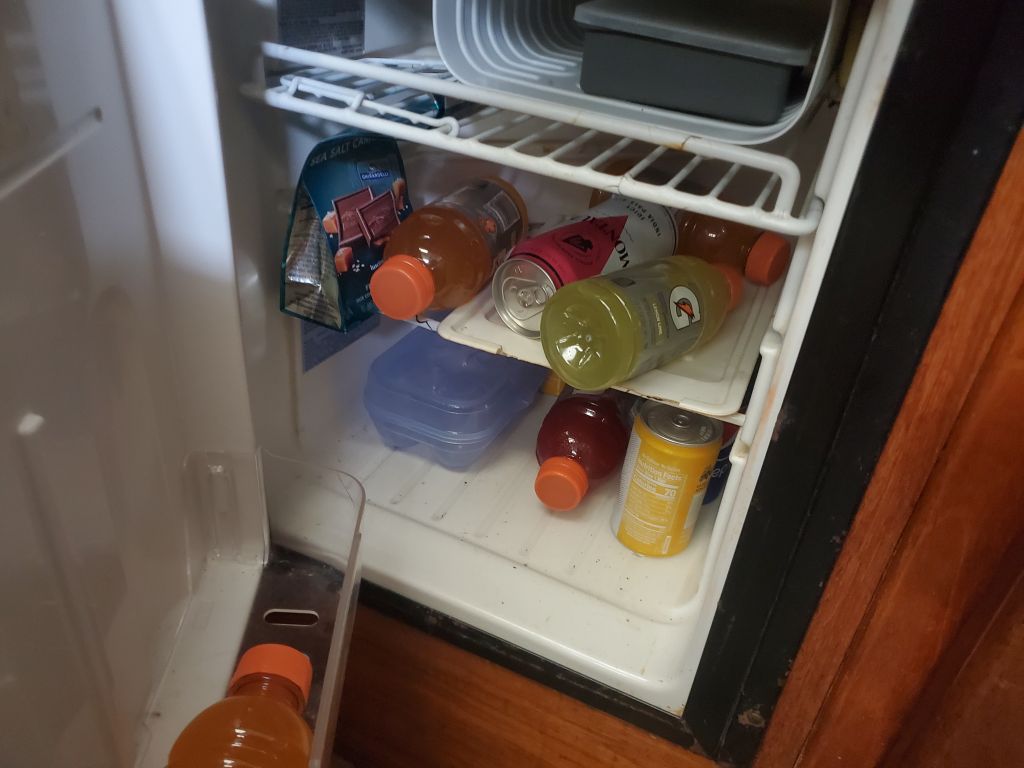
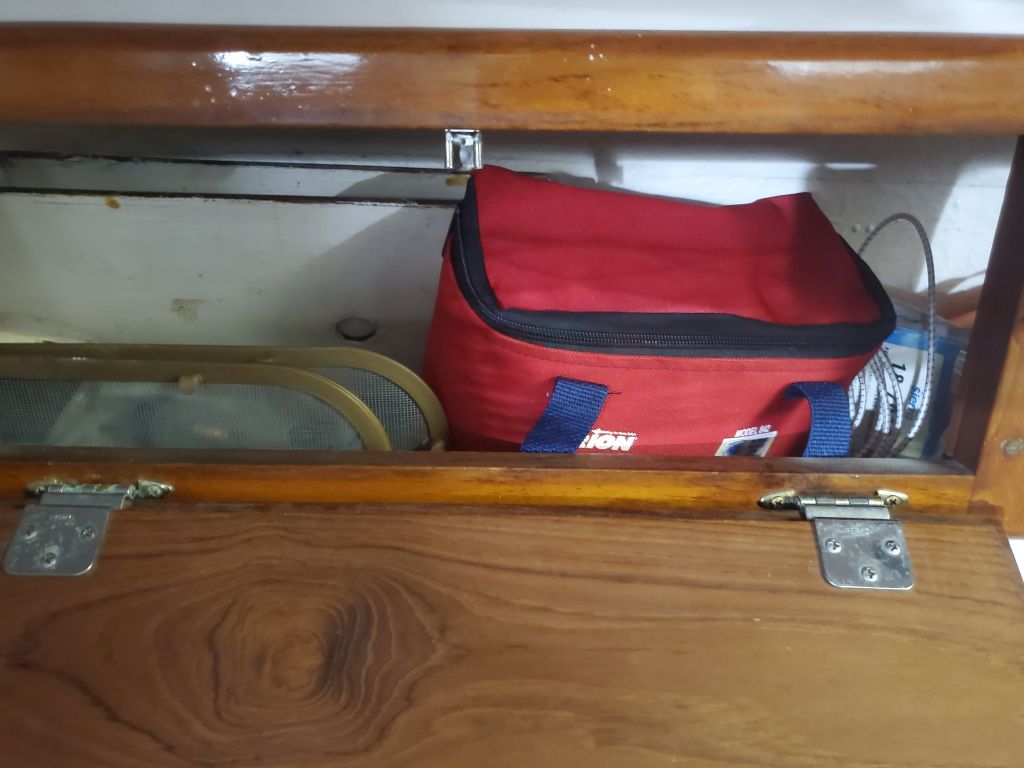
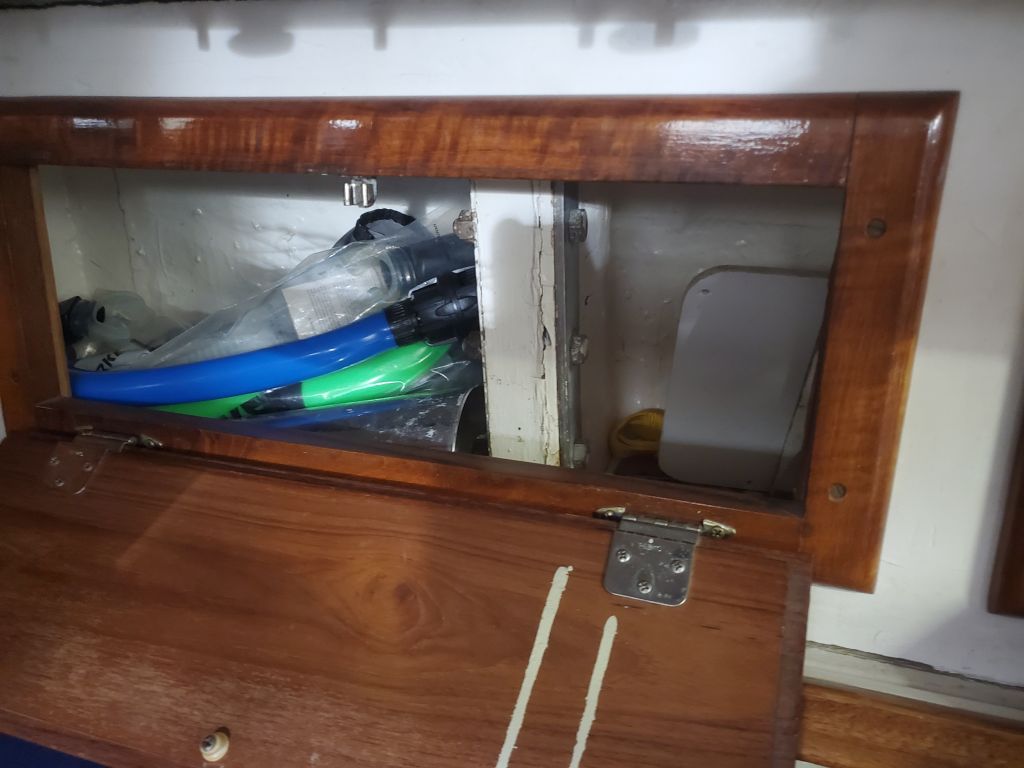
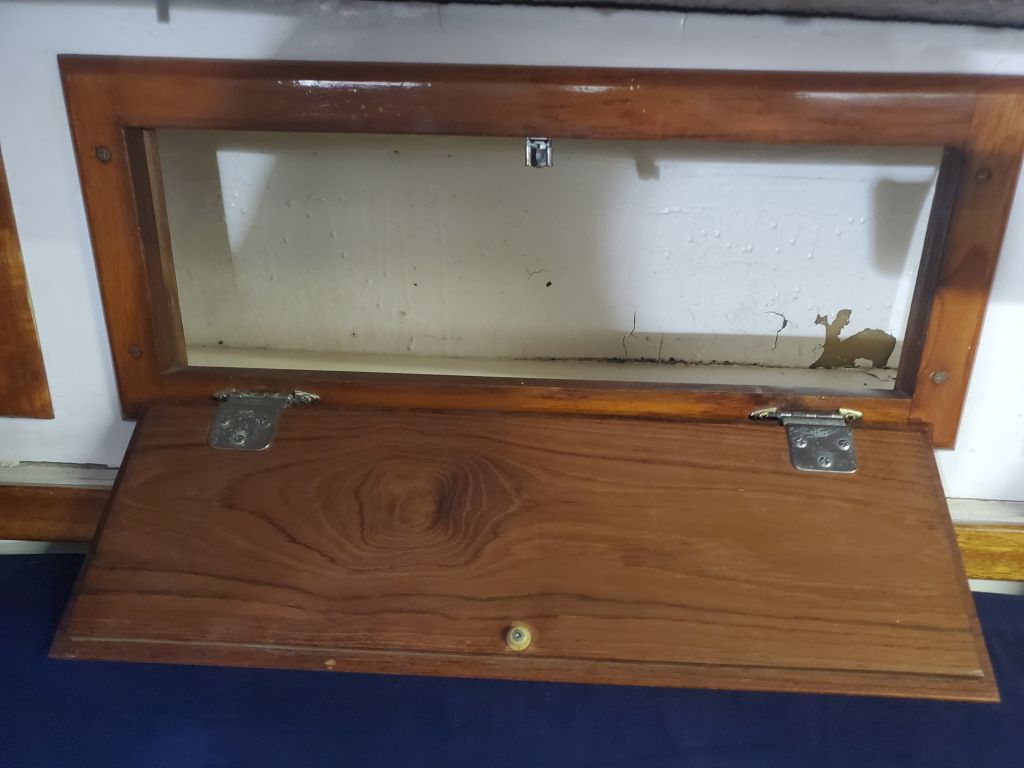
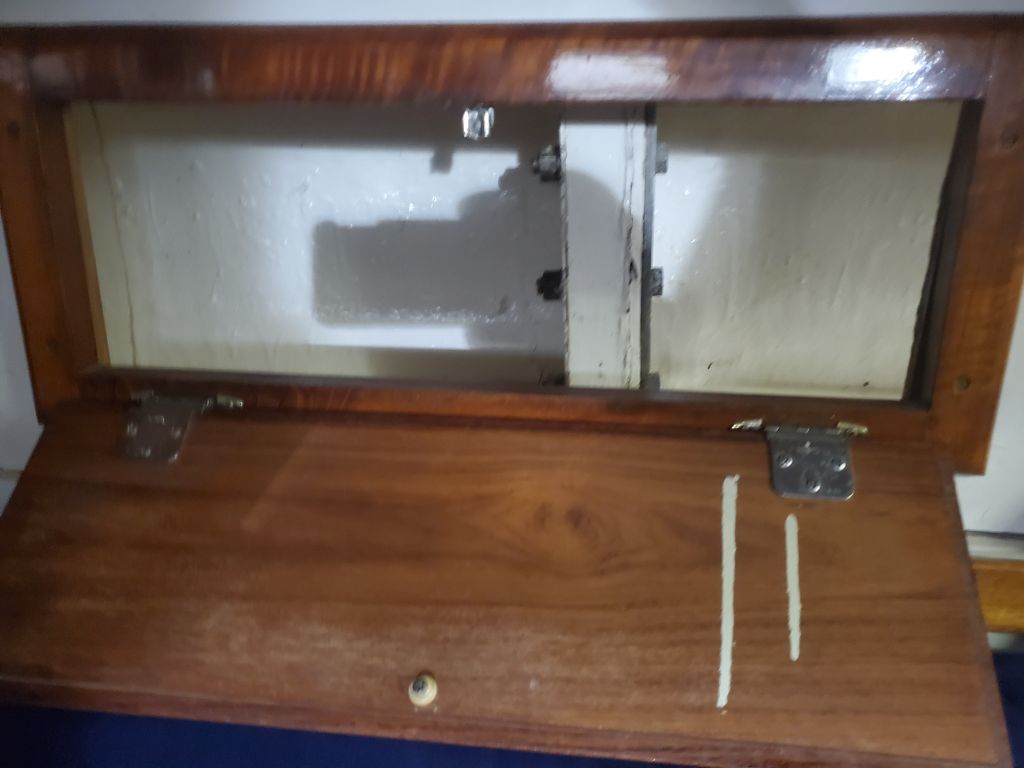
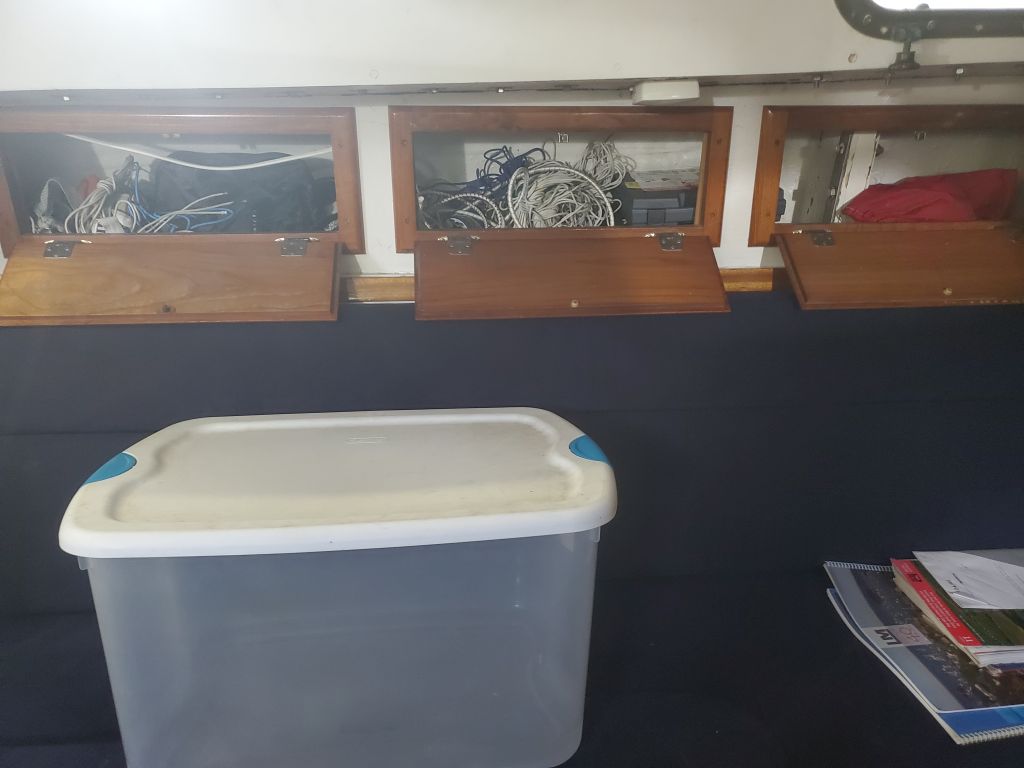
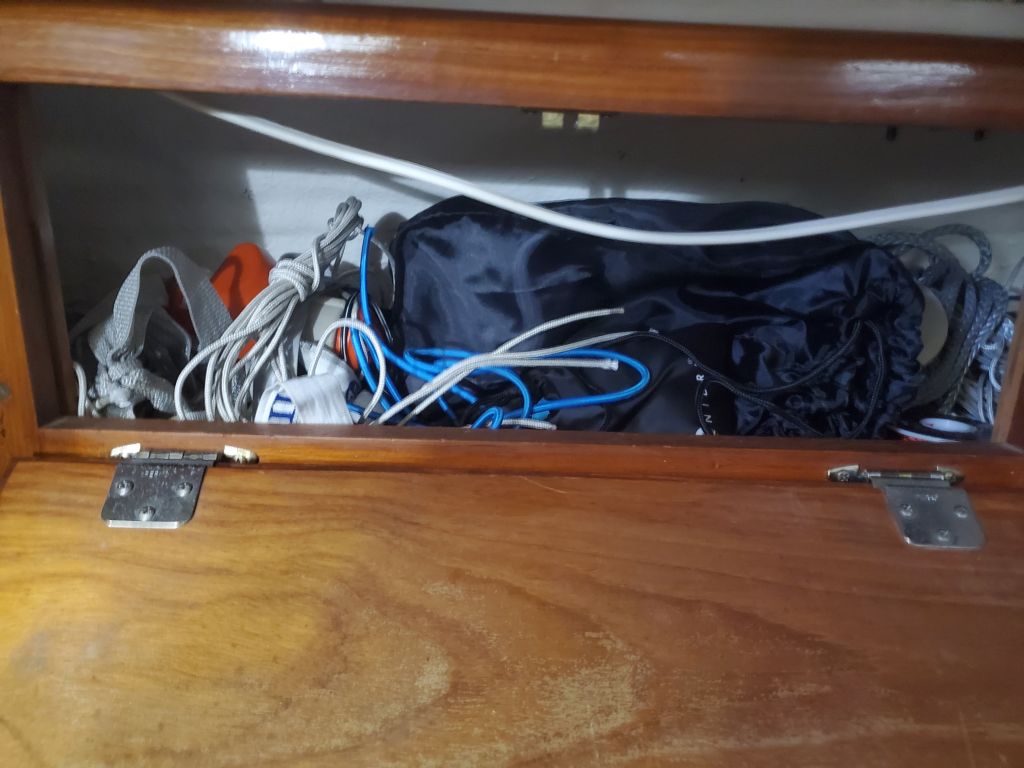
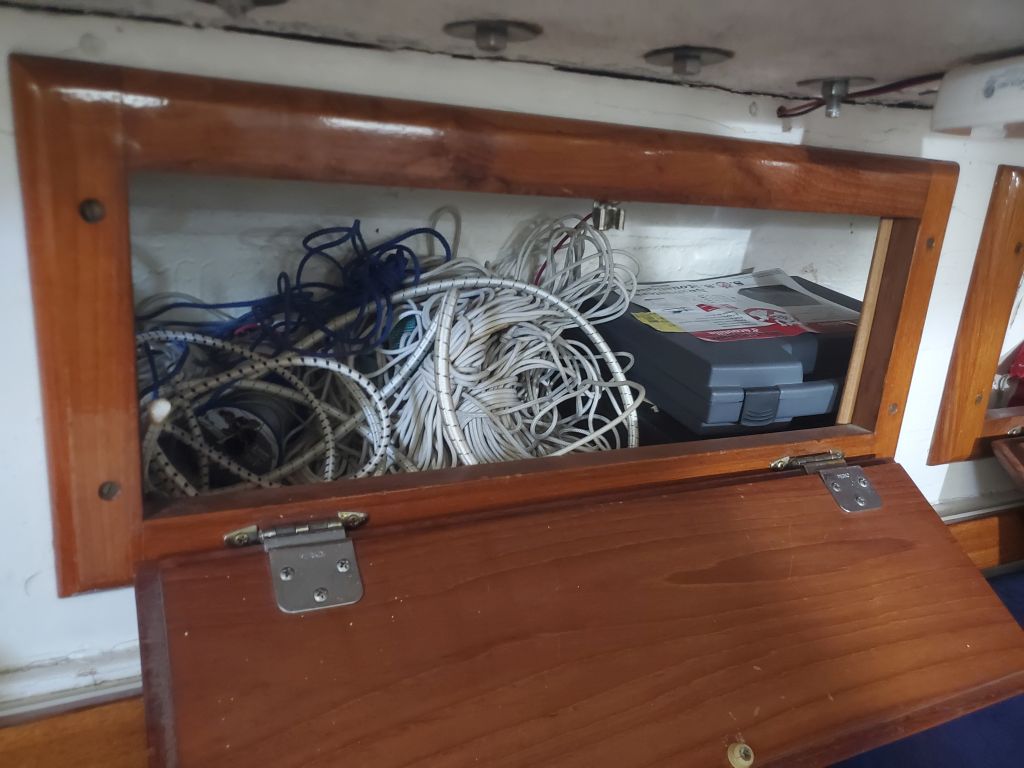
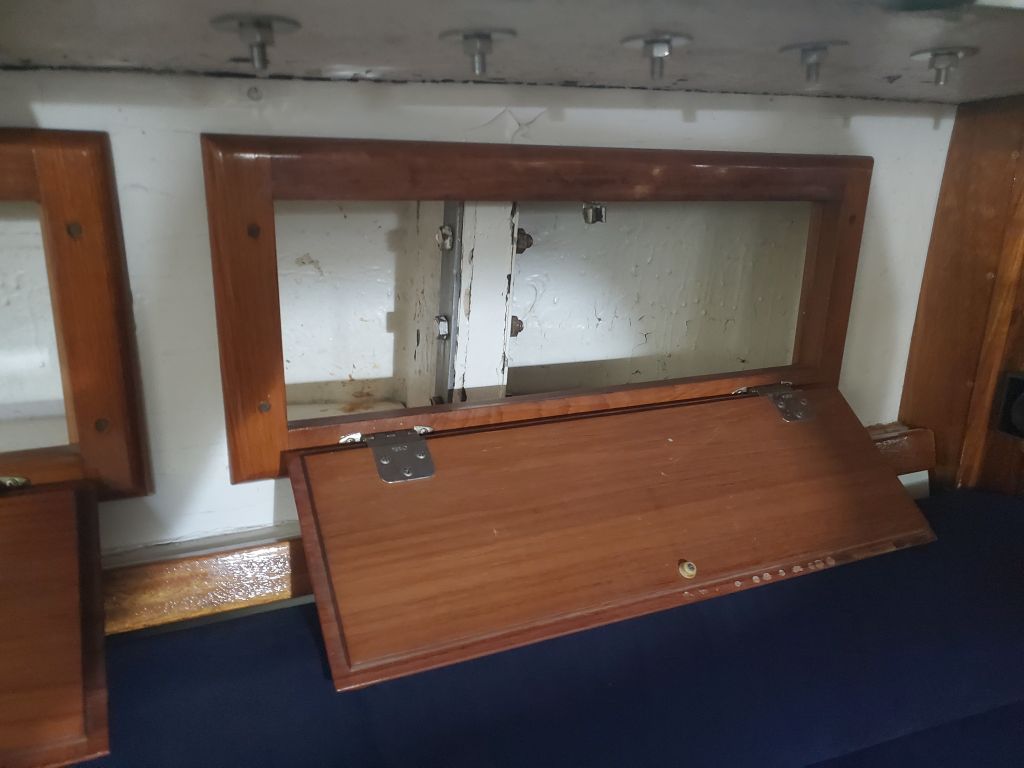
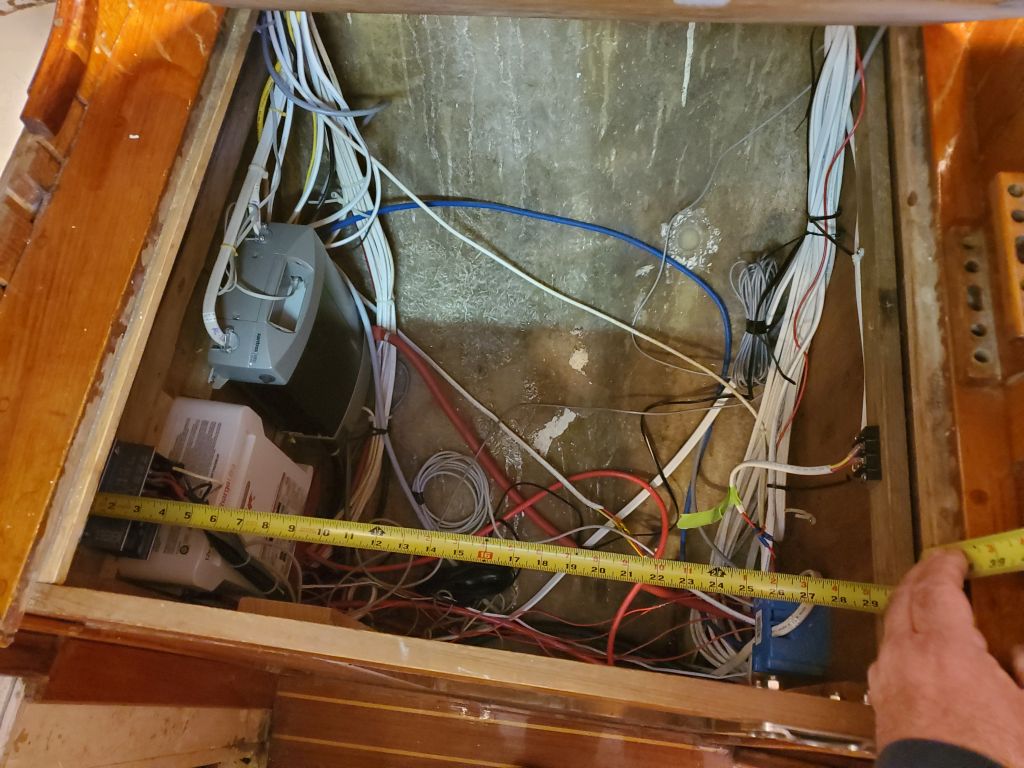
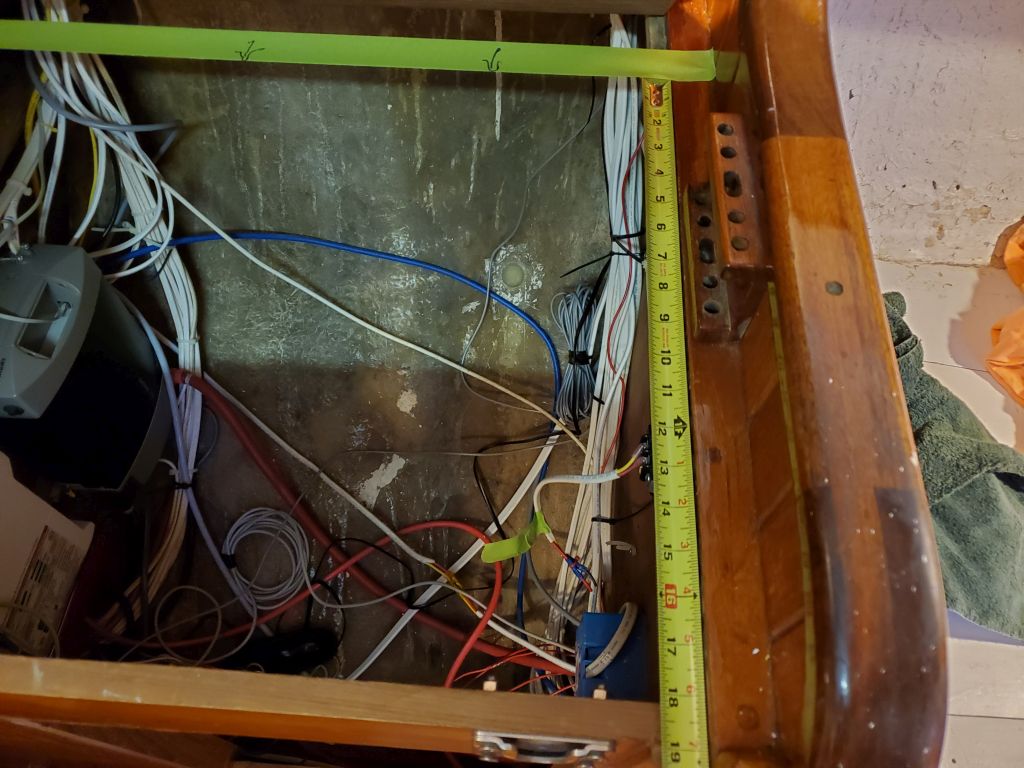
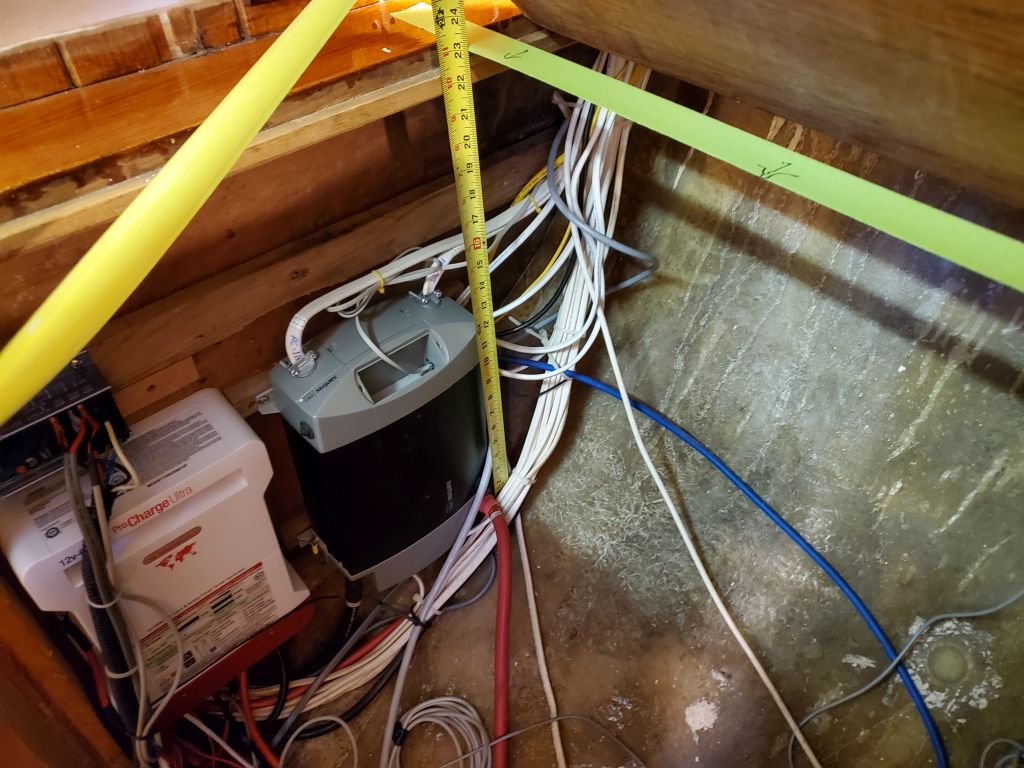
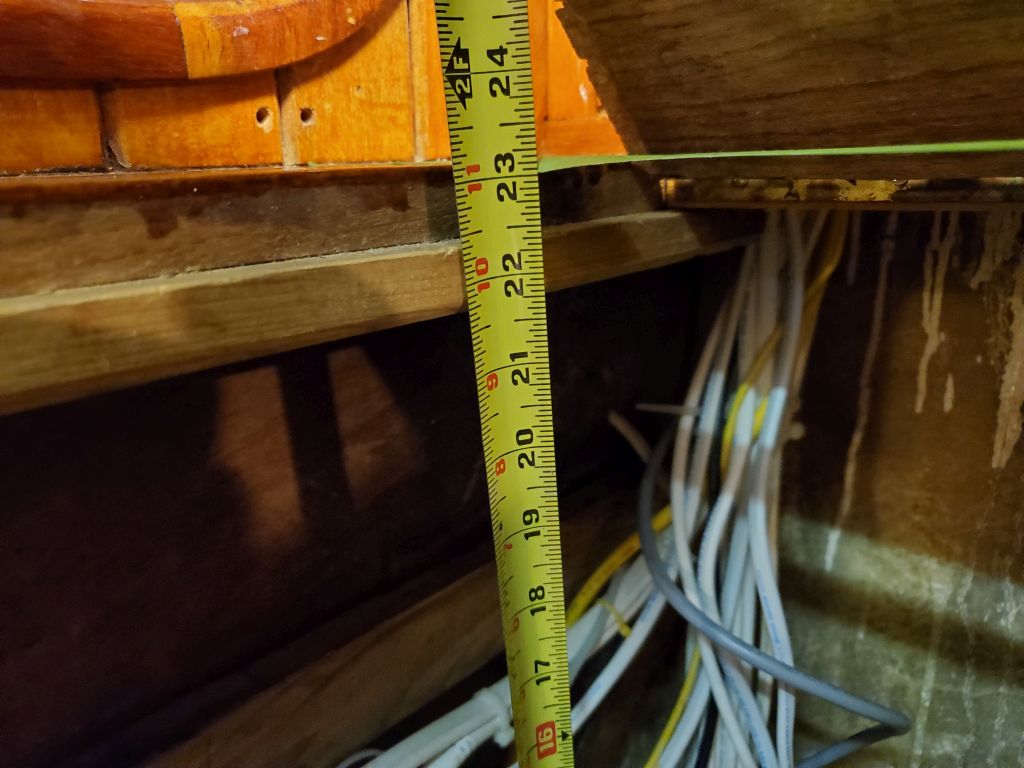
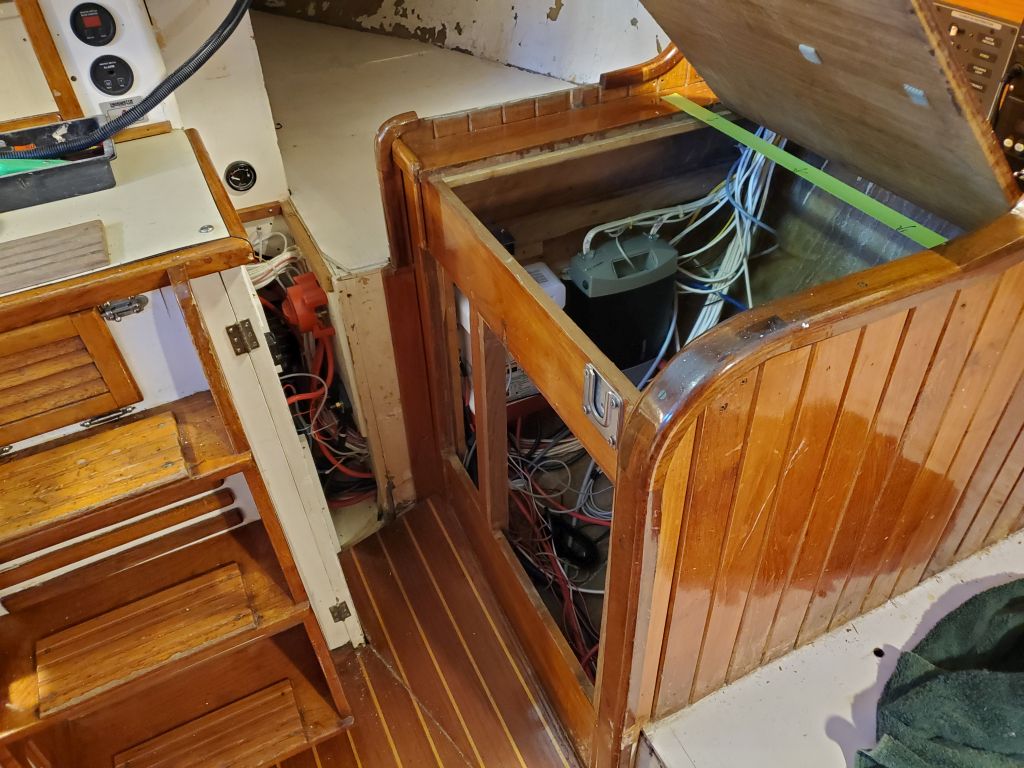
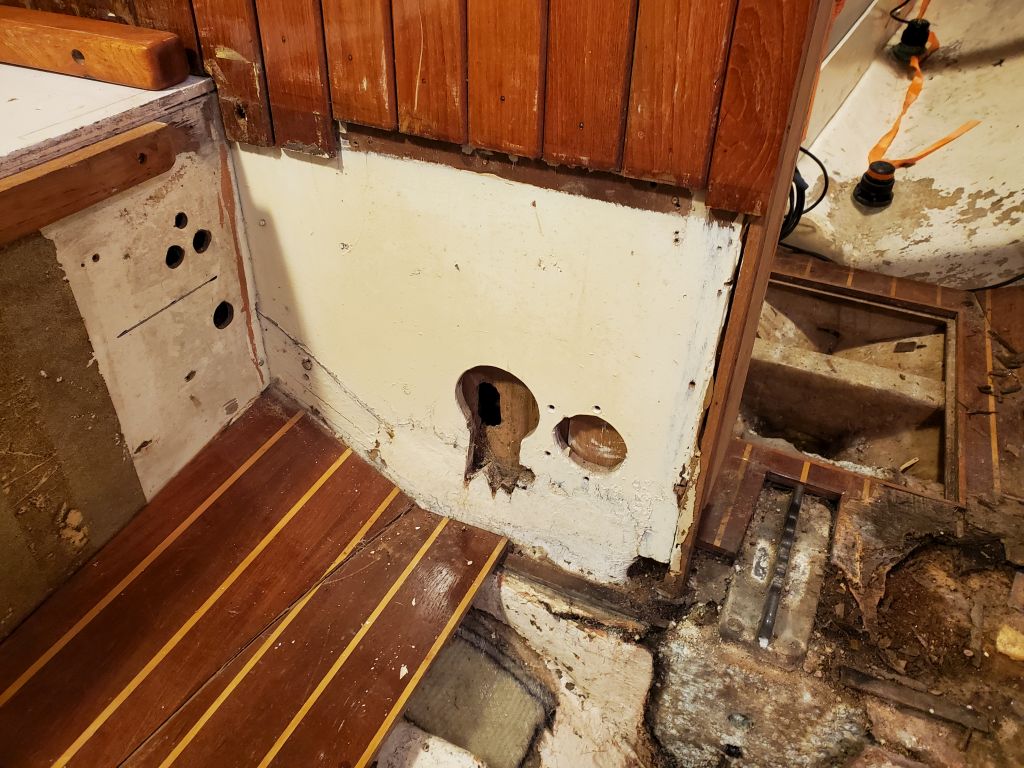
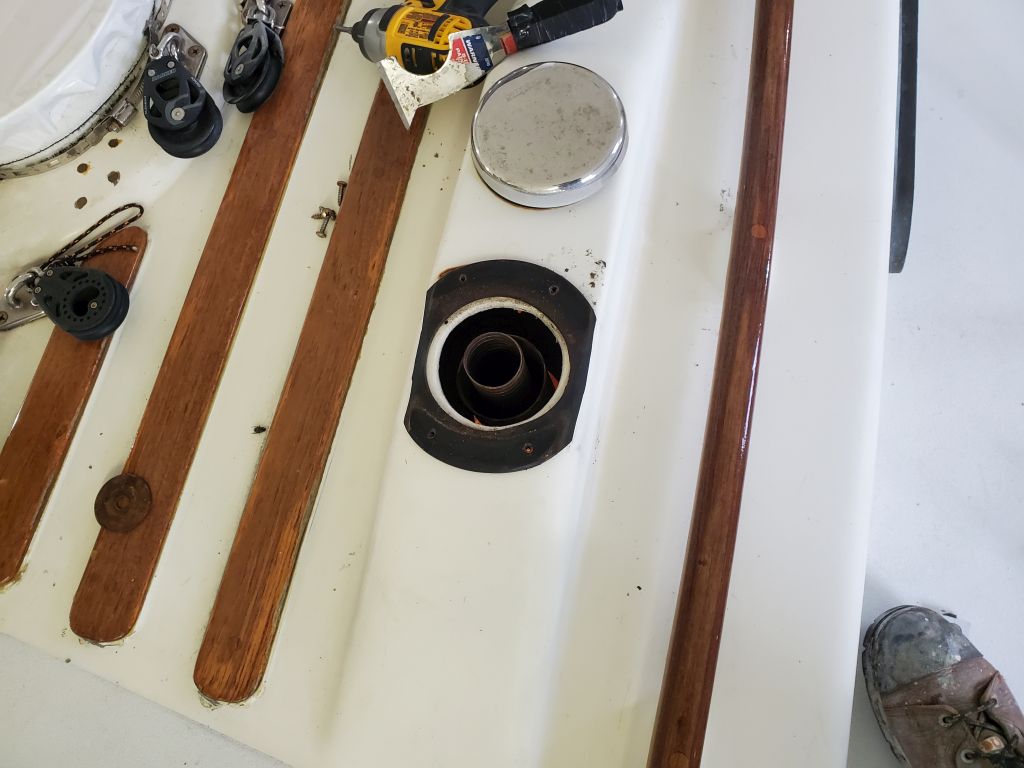
Next, the owner sent me some specifications on an electric portable refrigerator he hoped to use in the refurbished galley, with the idea of placing it under what was currently the nav station desk.  To that end, I measured the space to confirm that the dimensions would work:  they would, with some relatively minor relocation of some of the electrical components currently installed in the space.

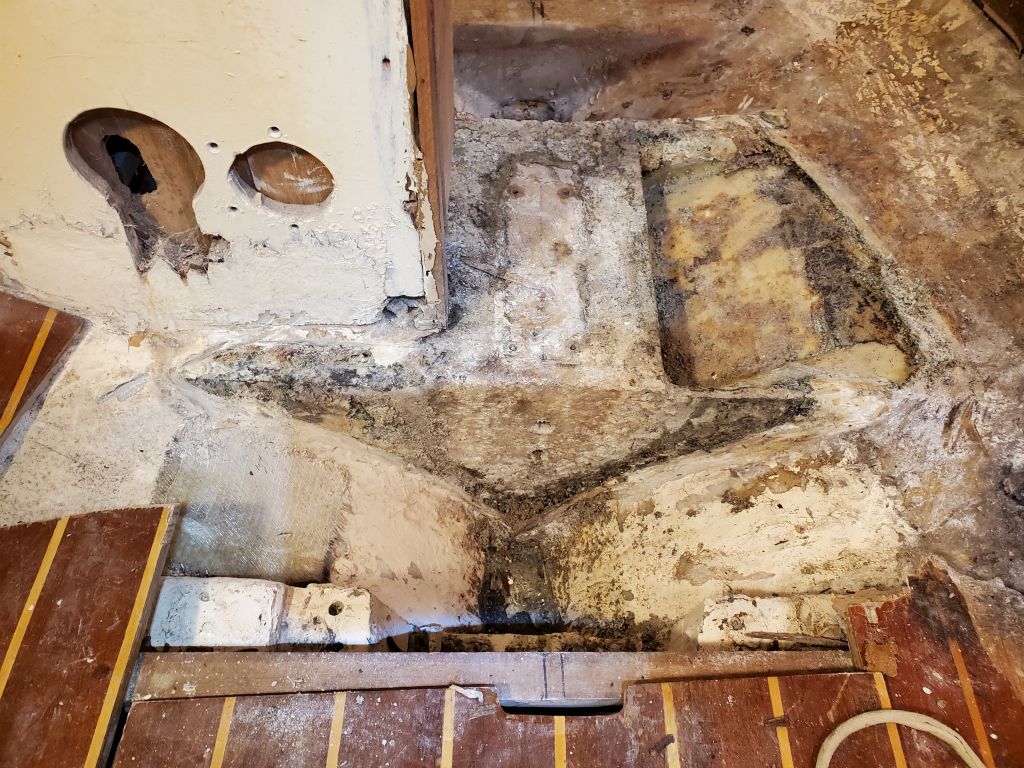
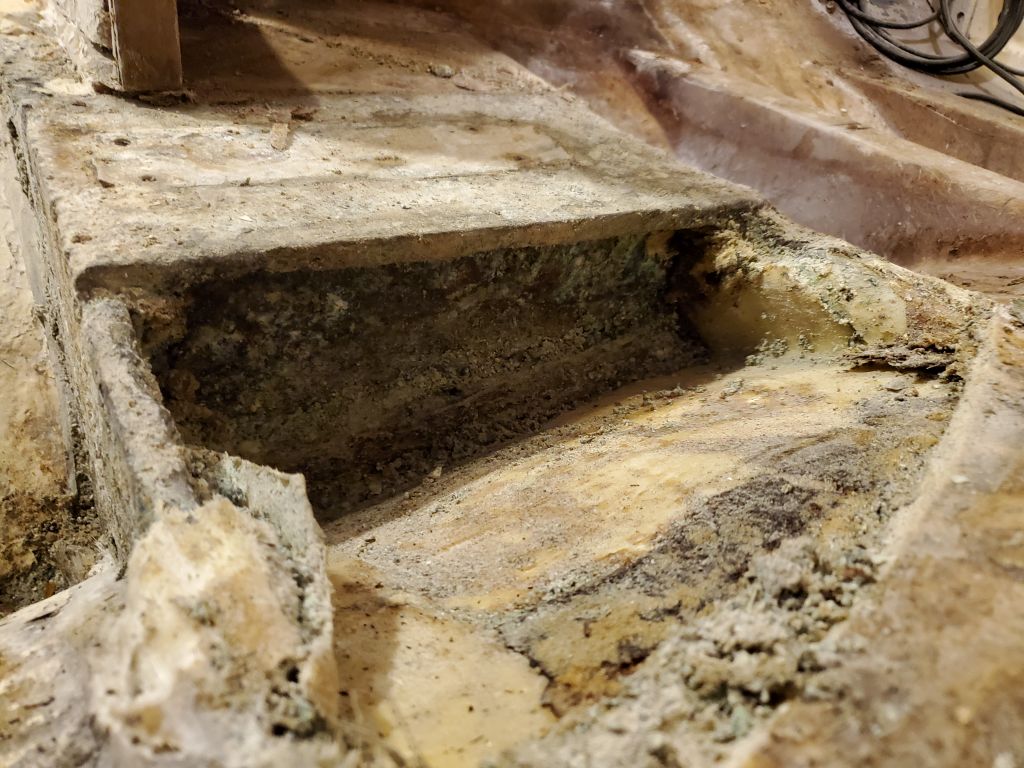
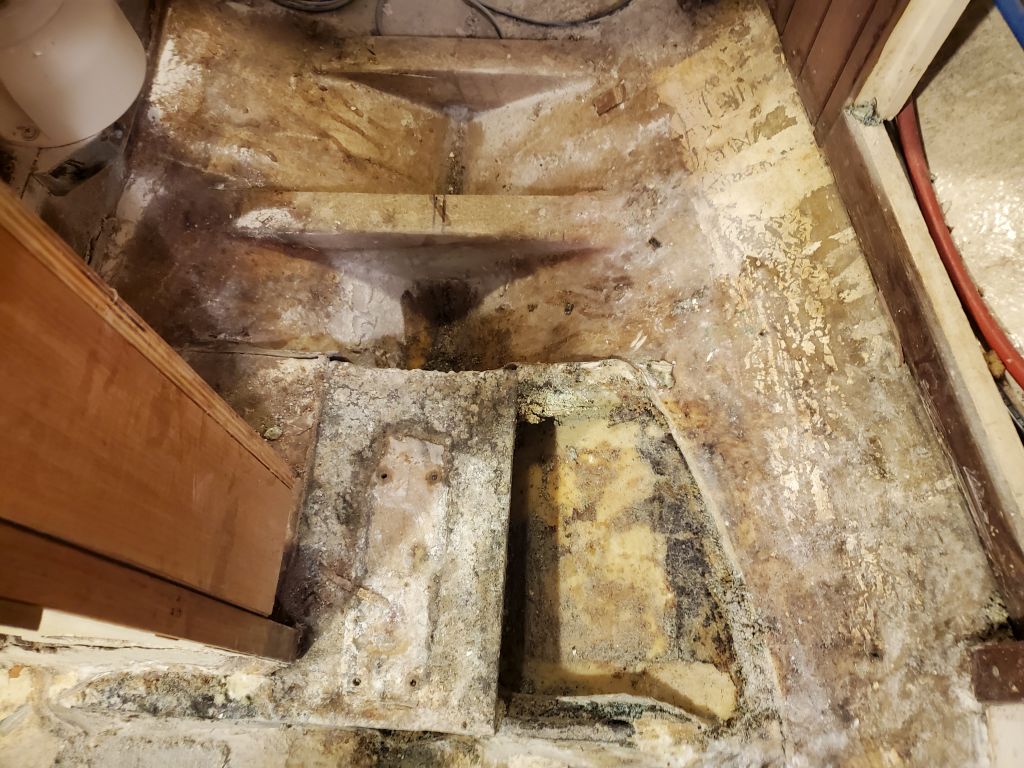
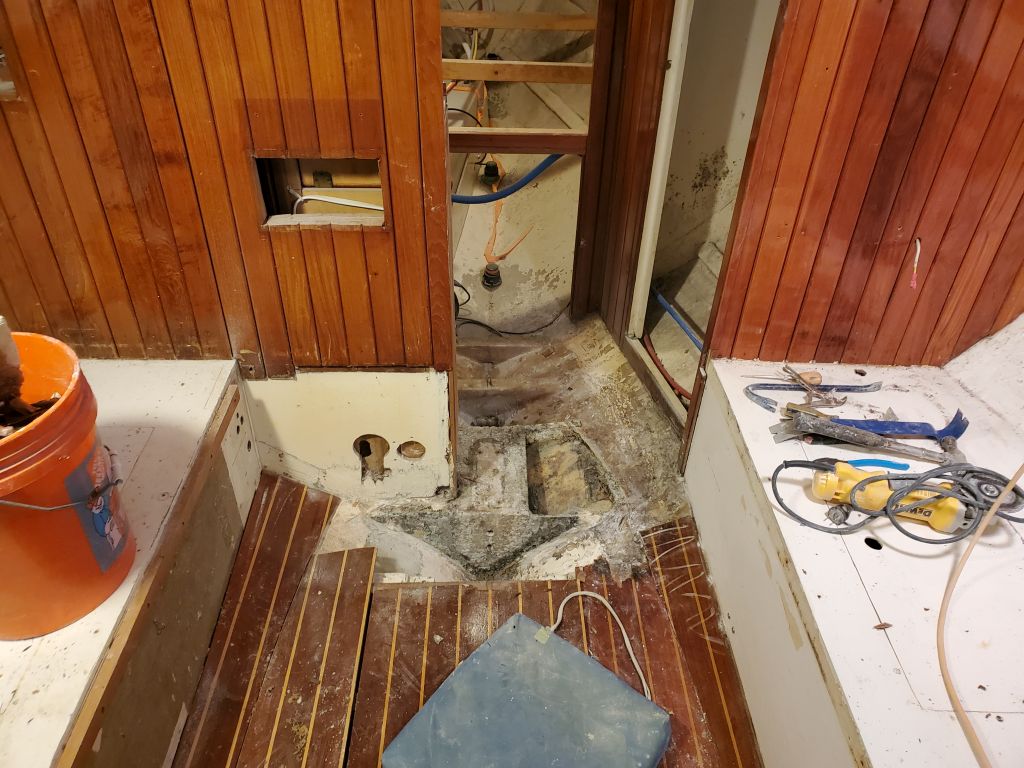
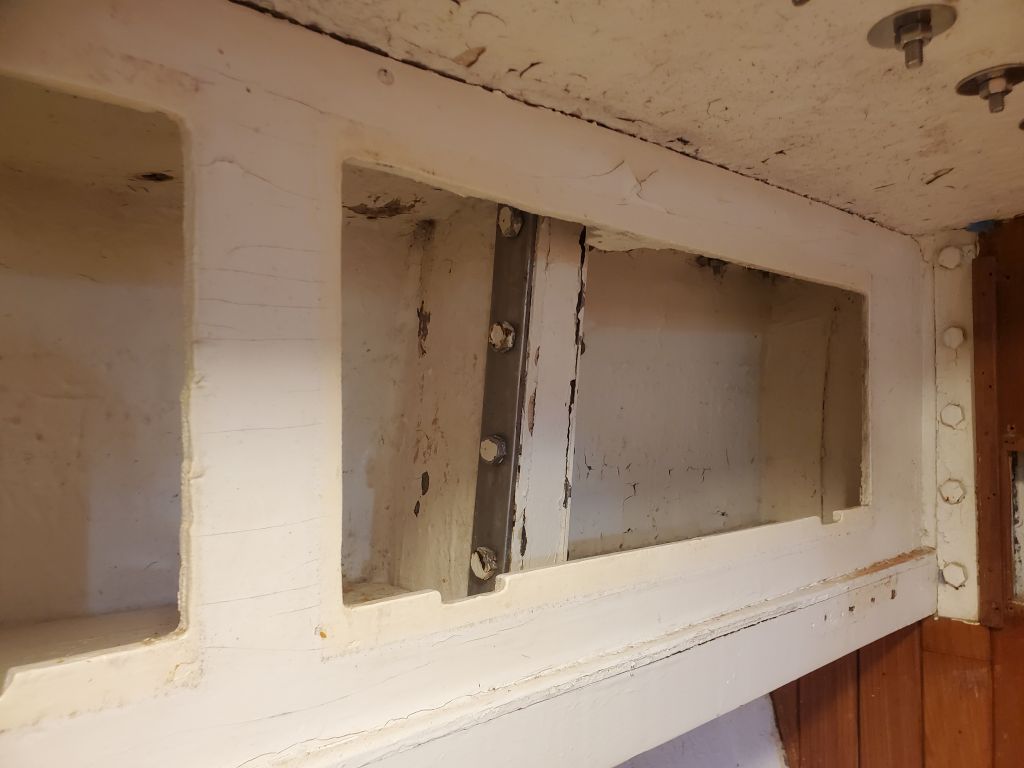
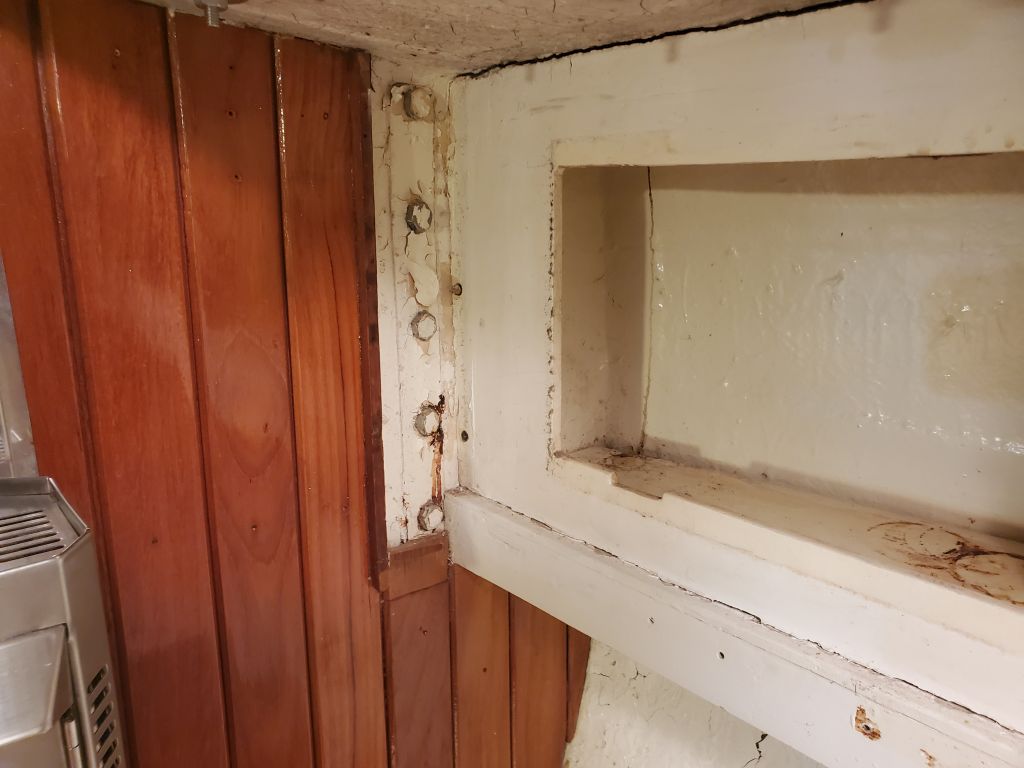
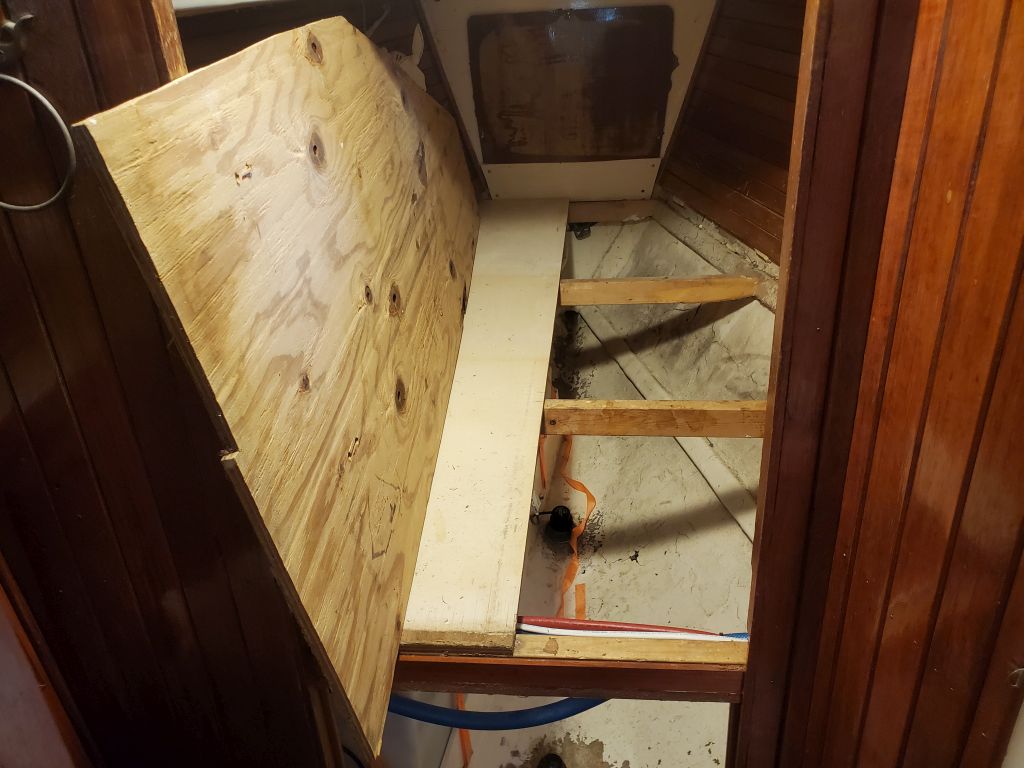
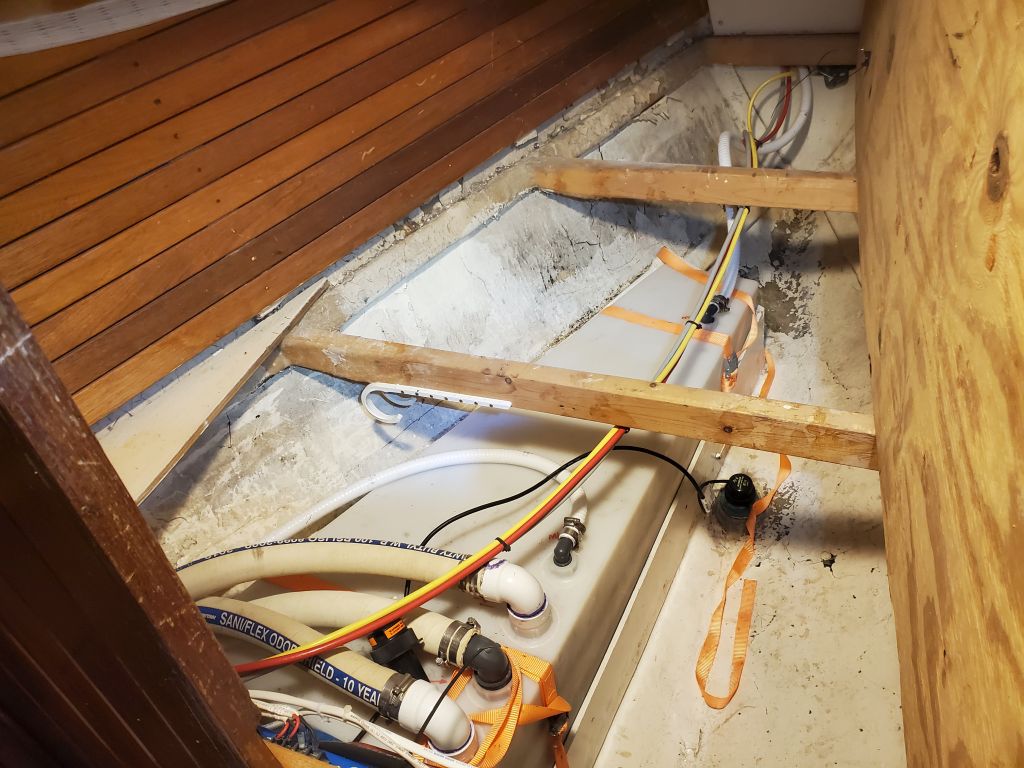
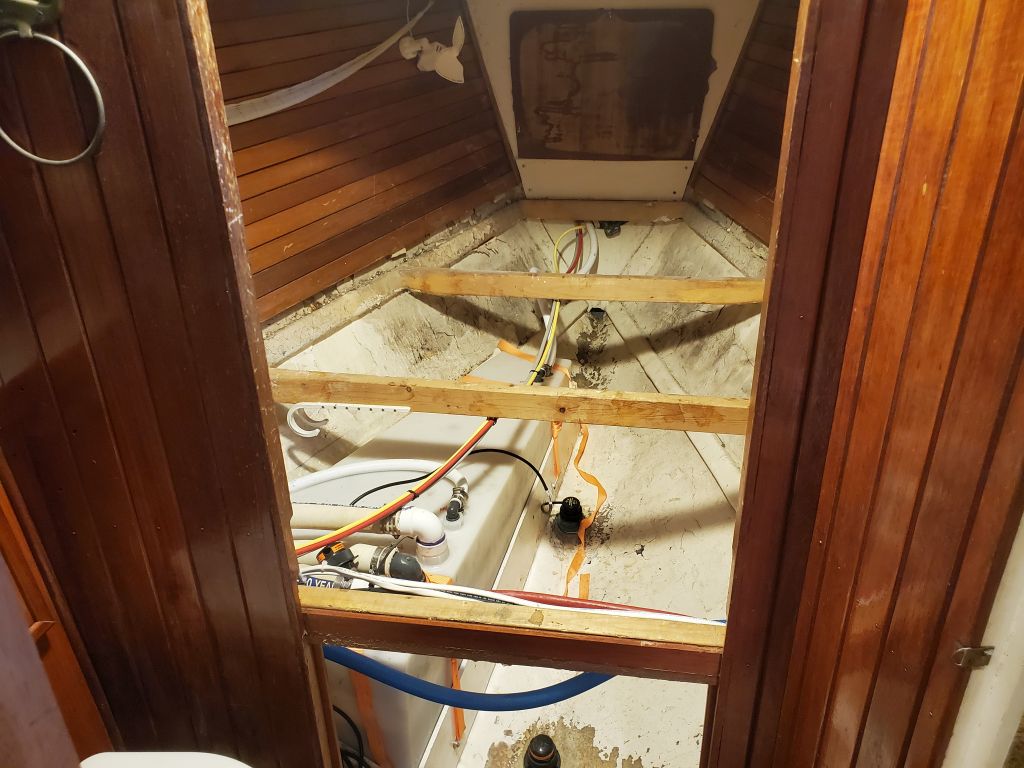
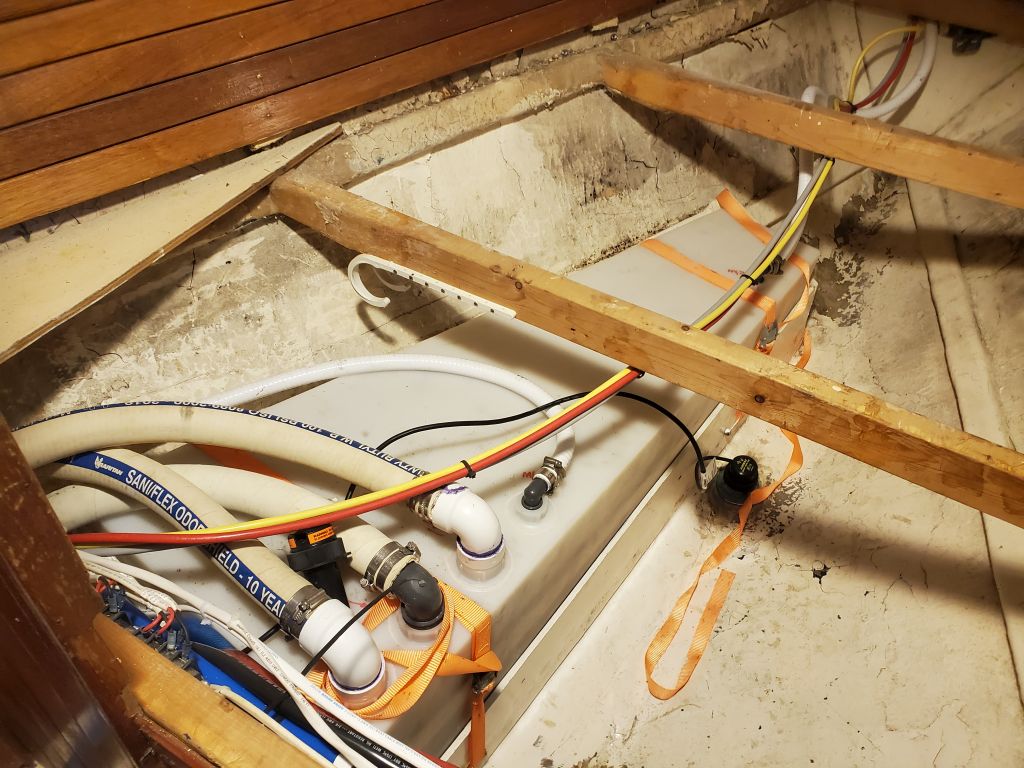
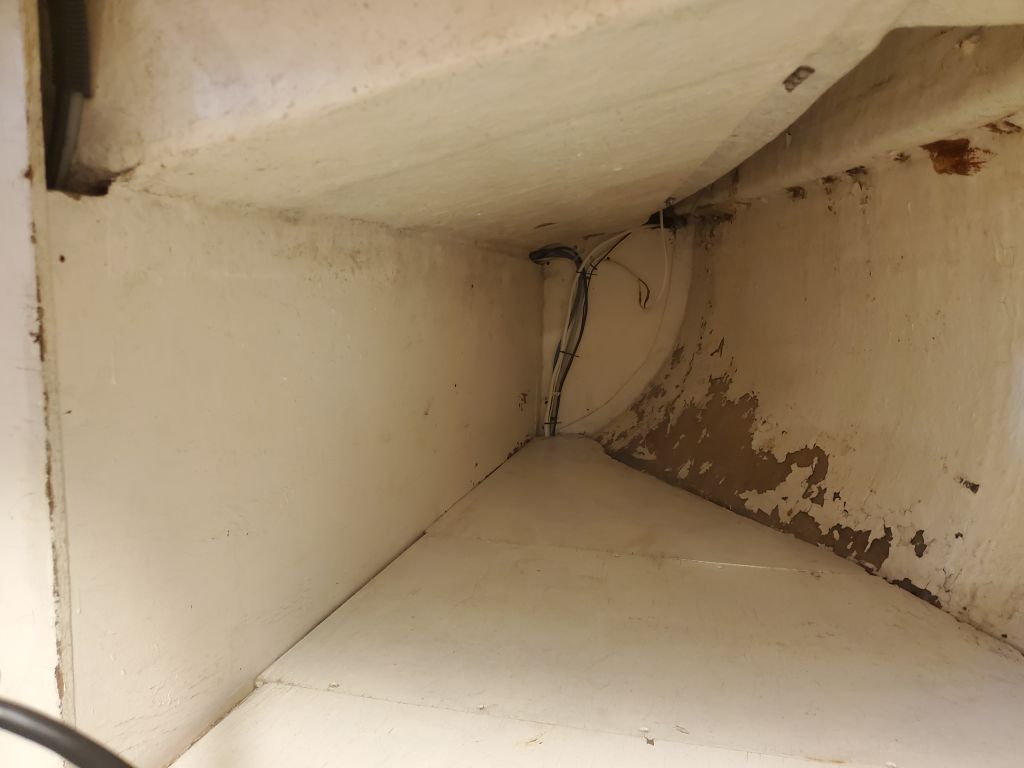
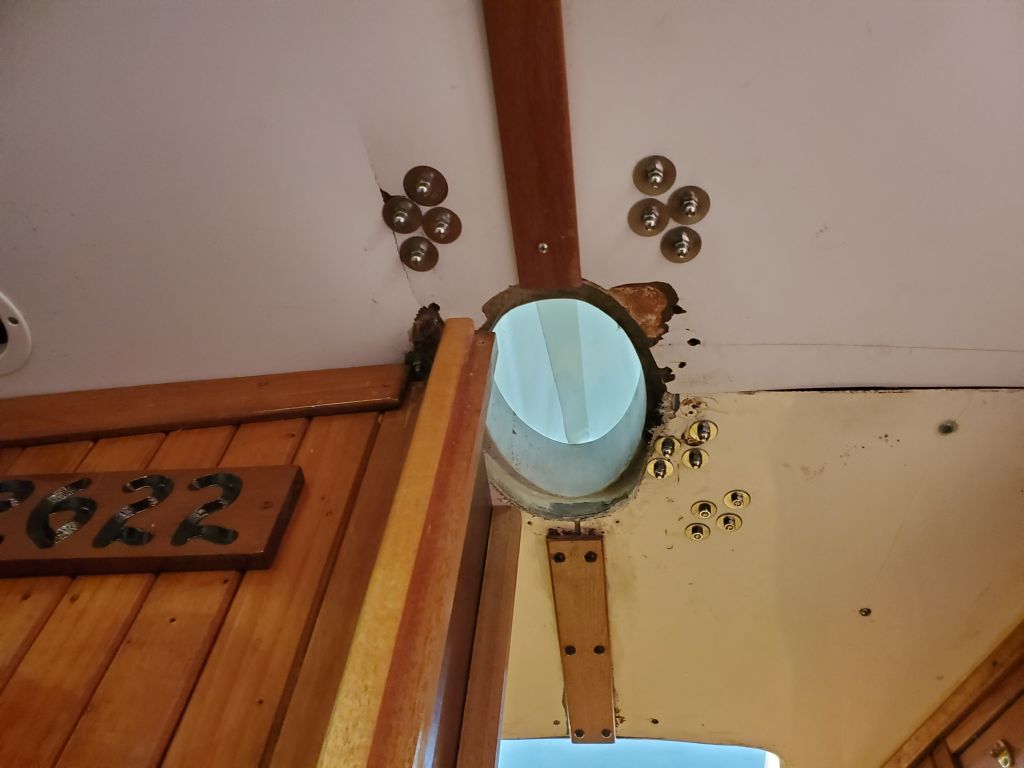
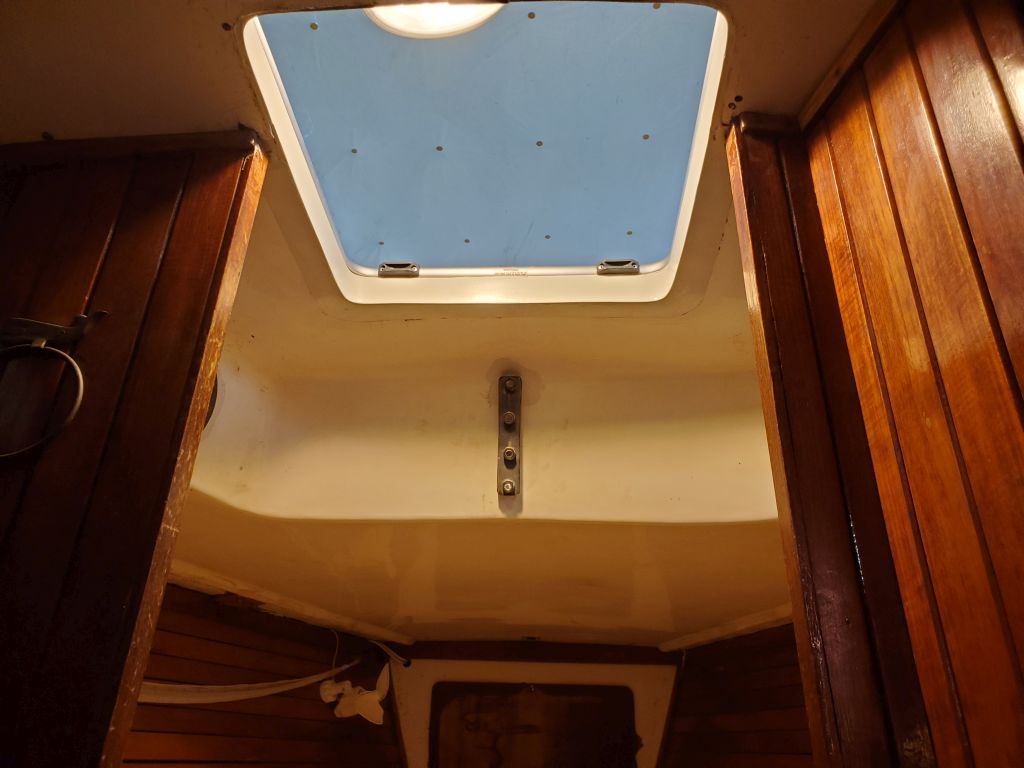
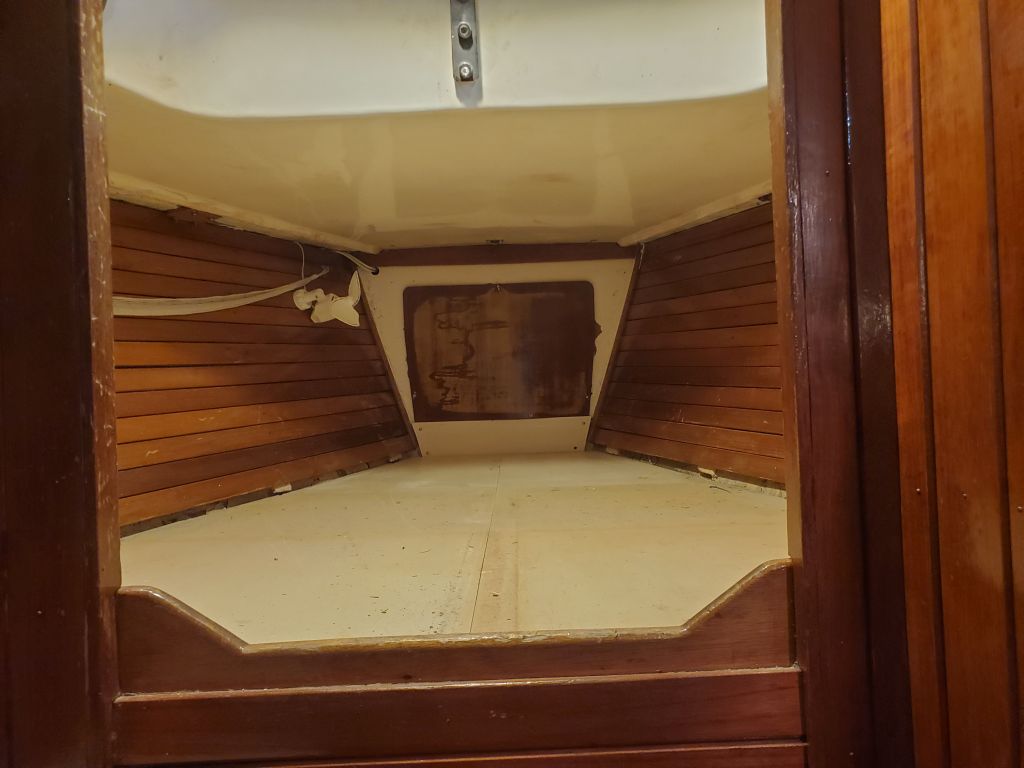
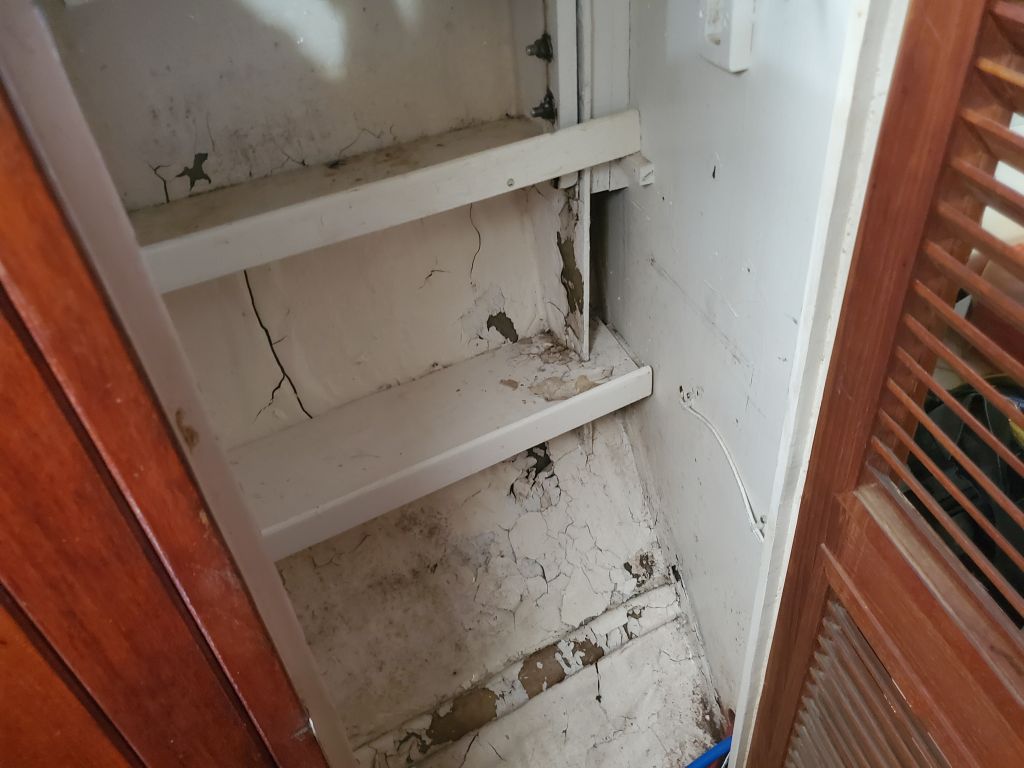
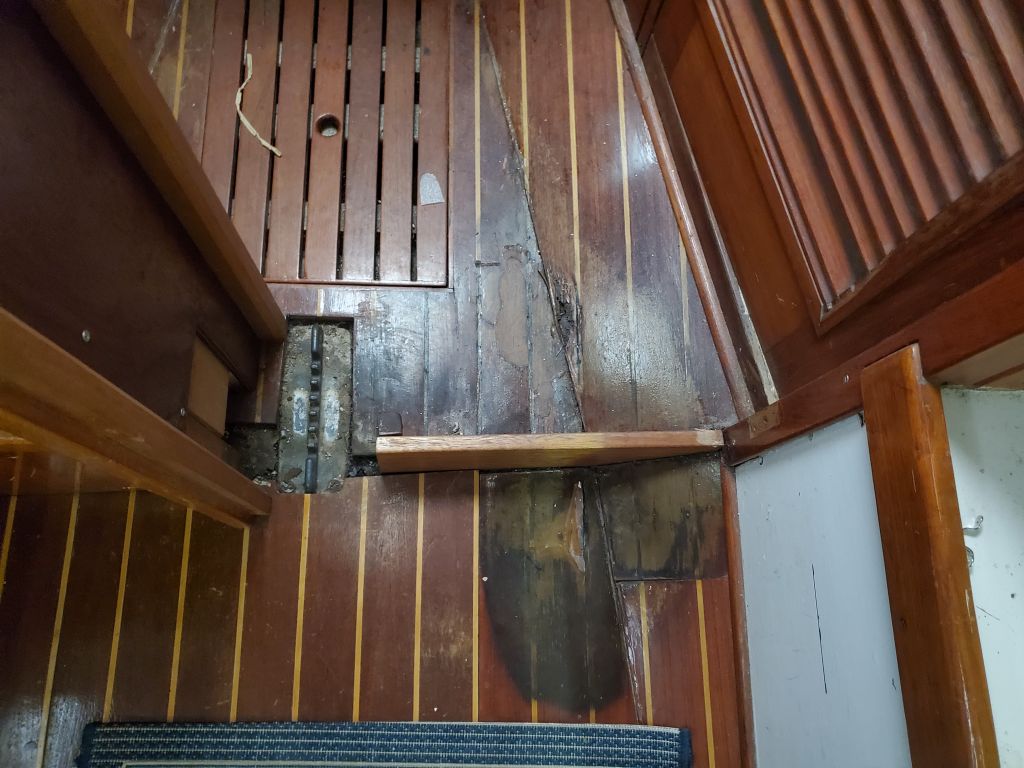
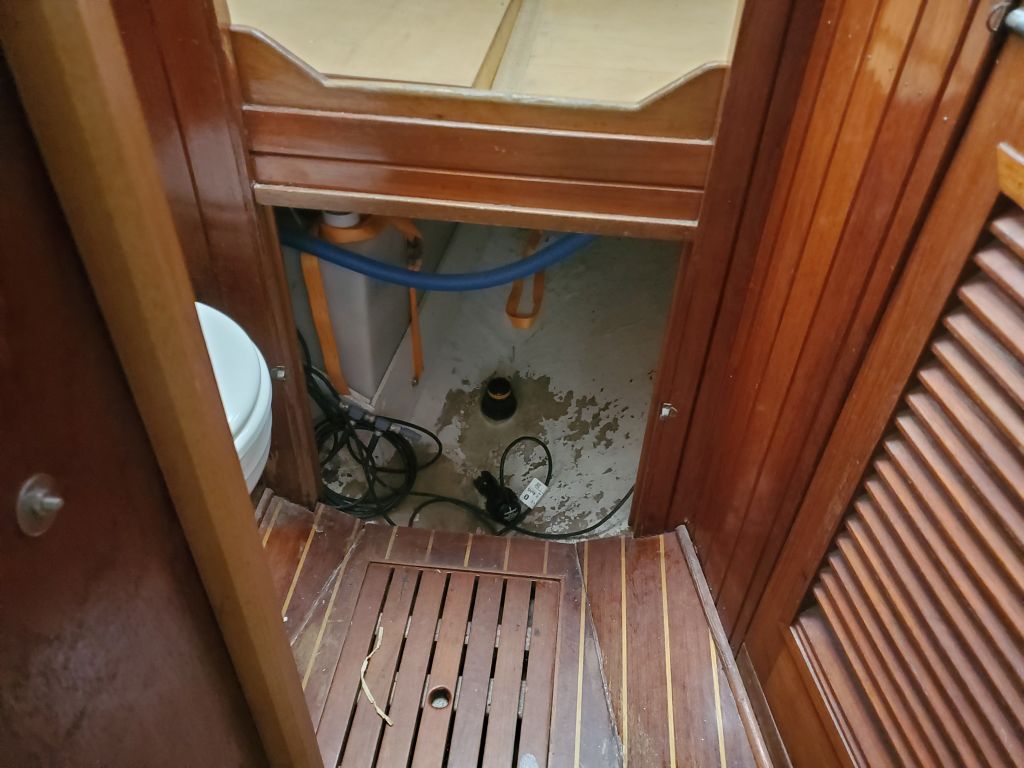
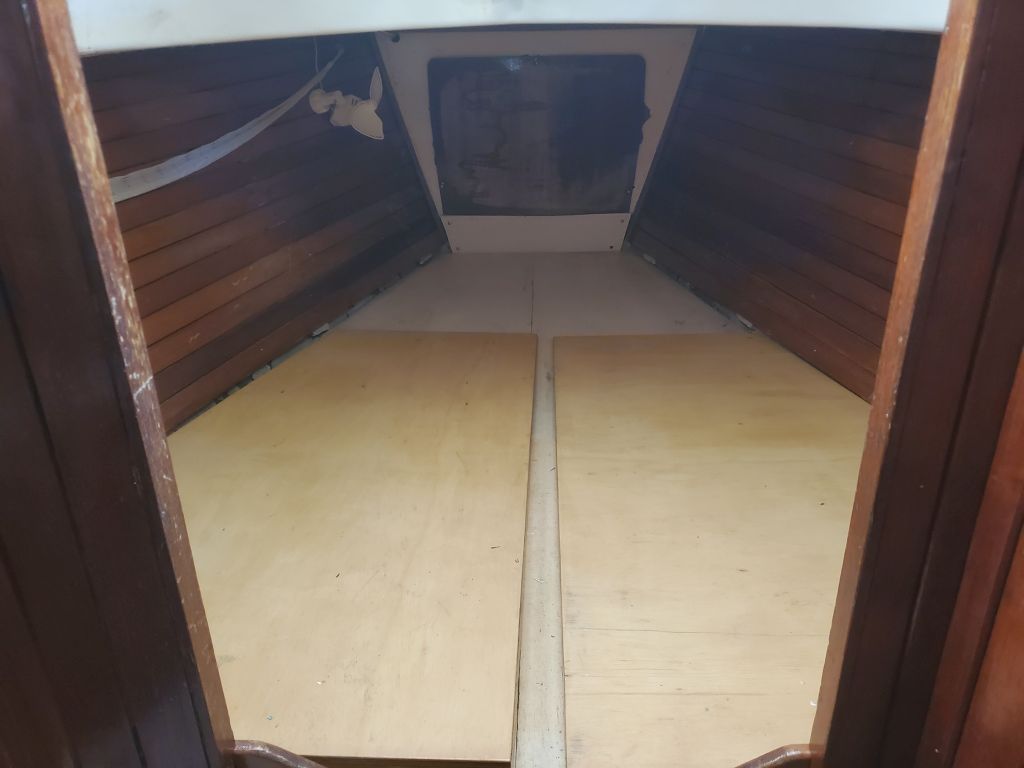
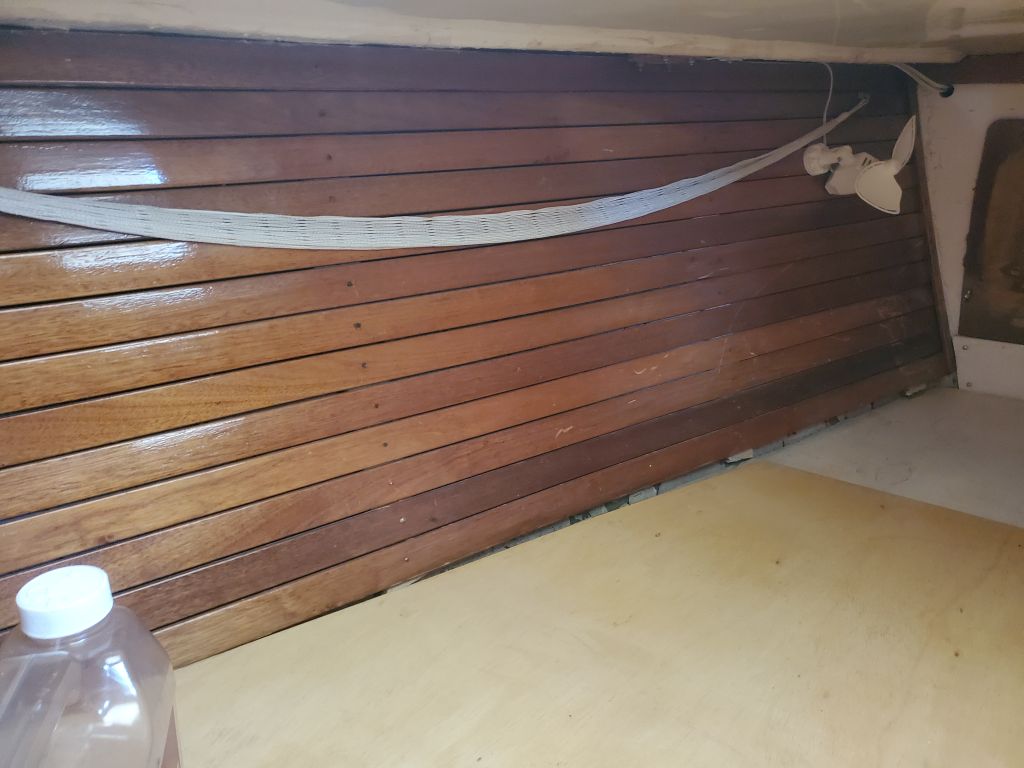
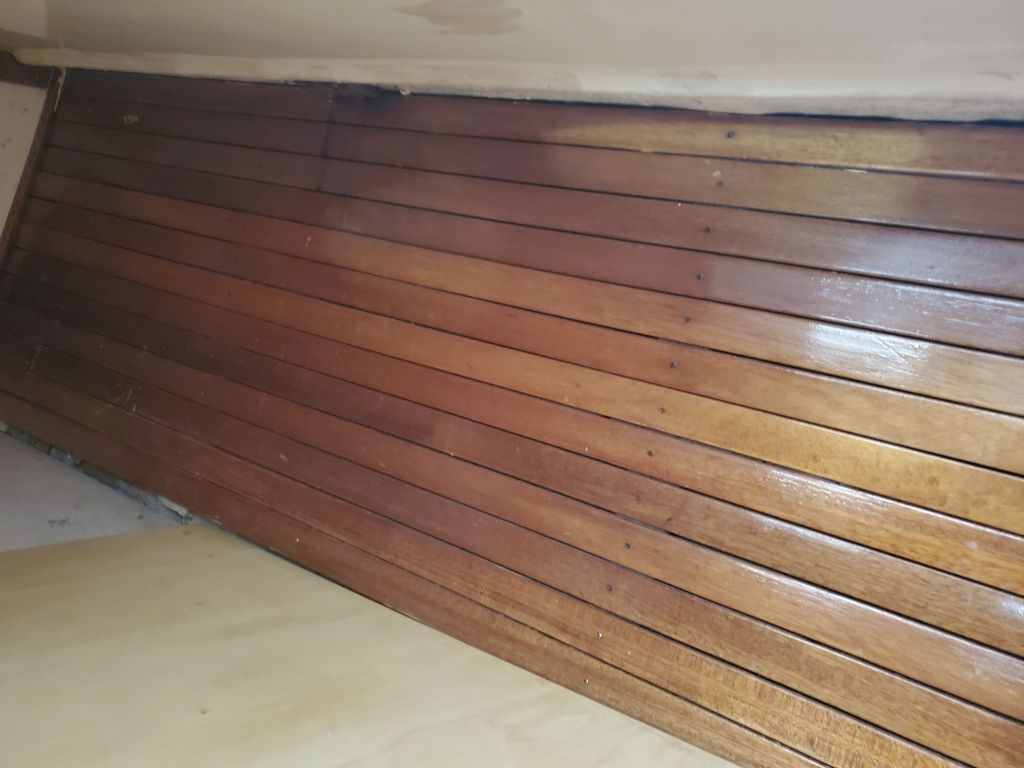
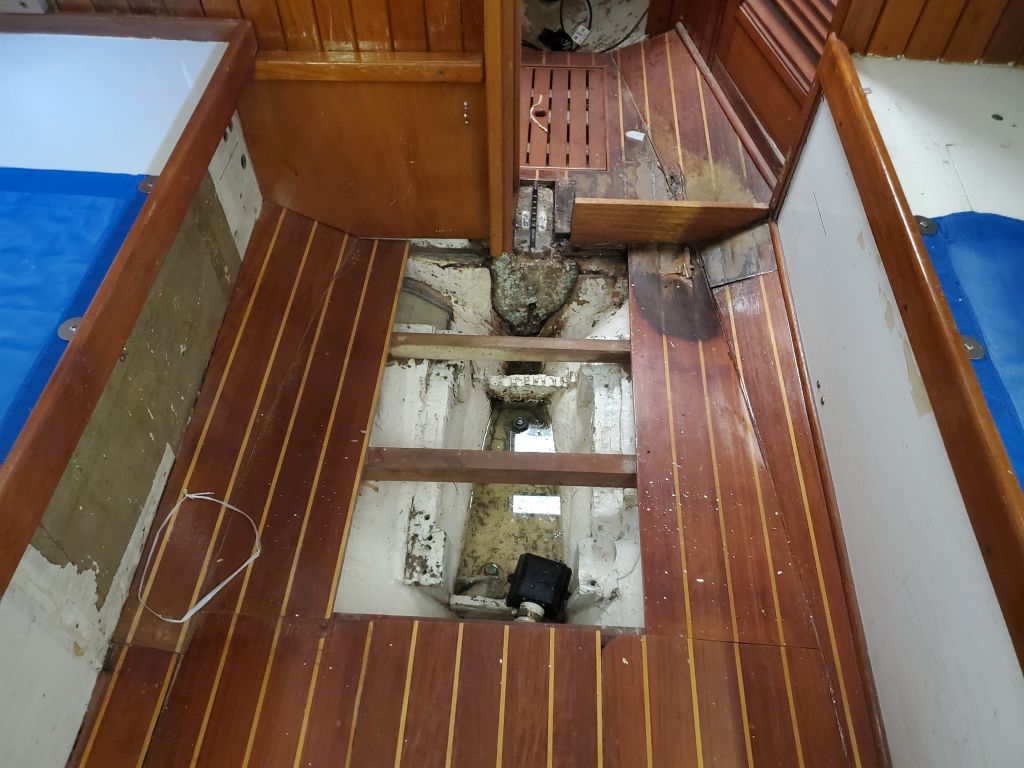
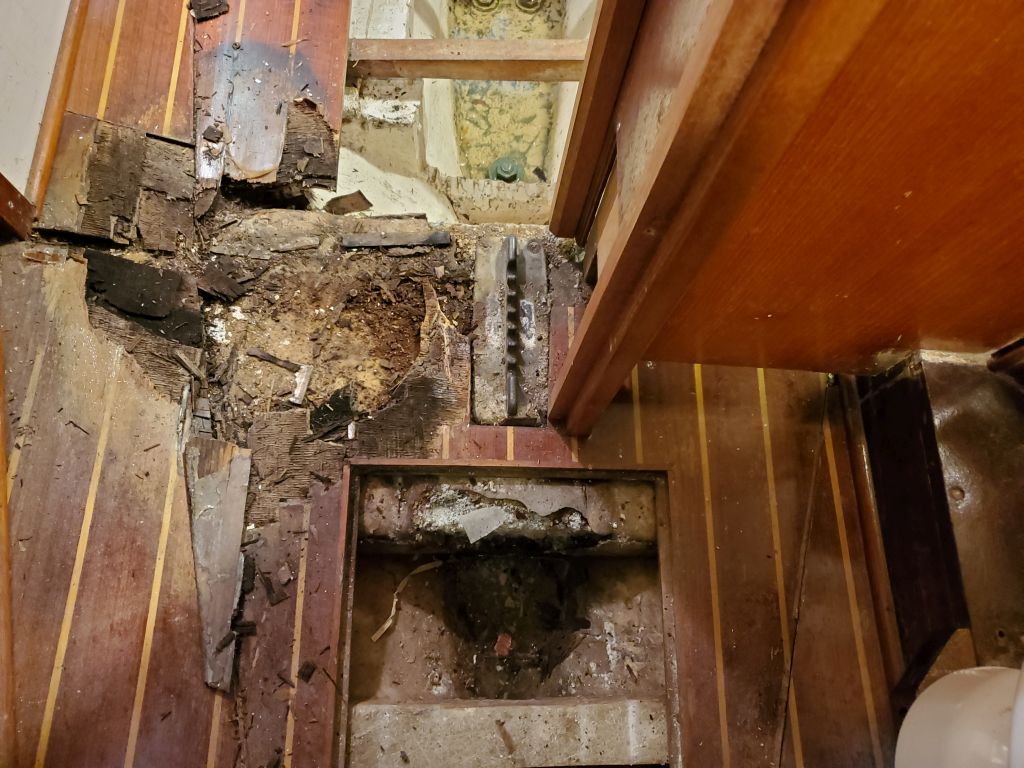
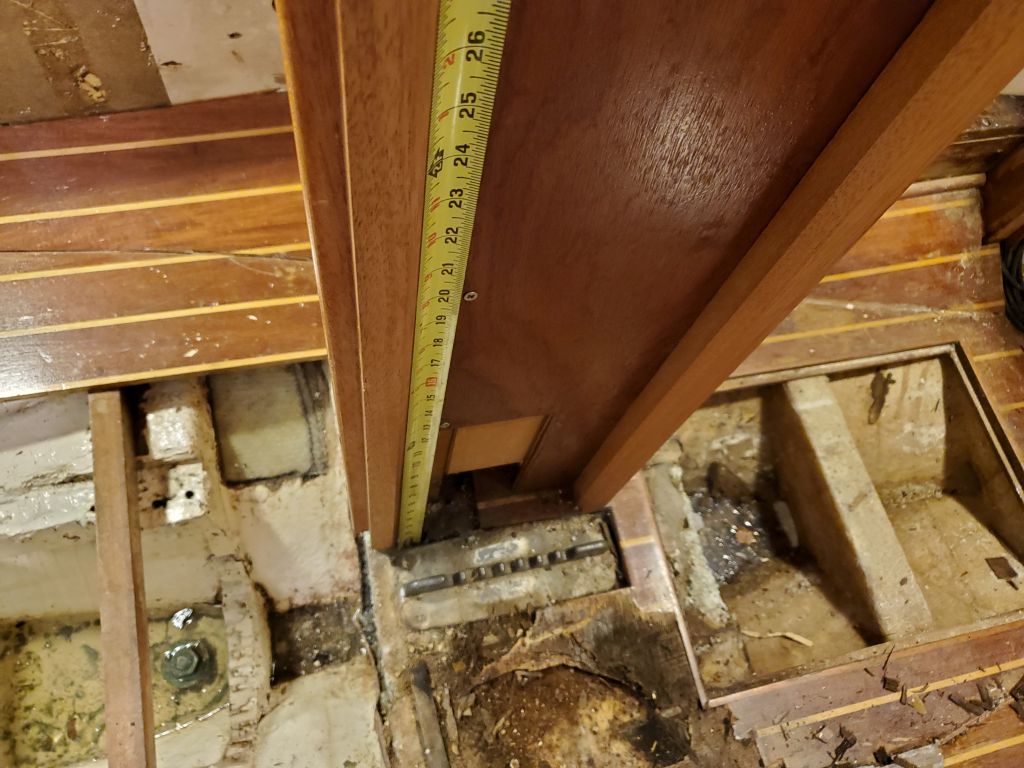
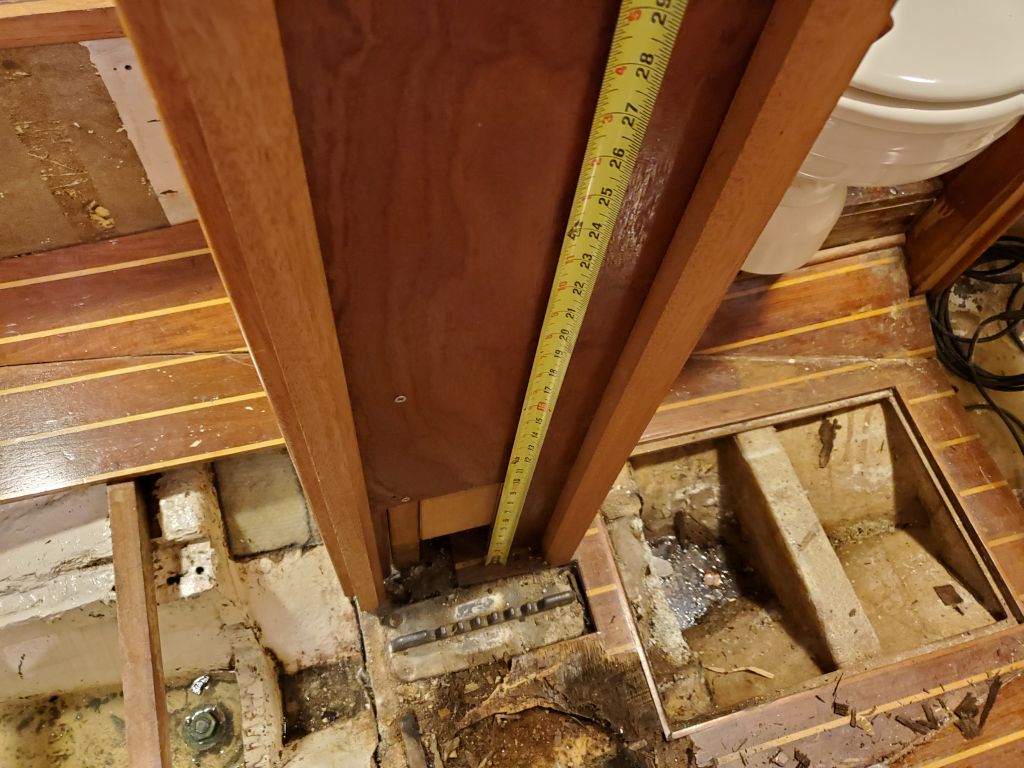
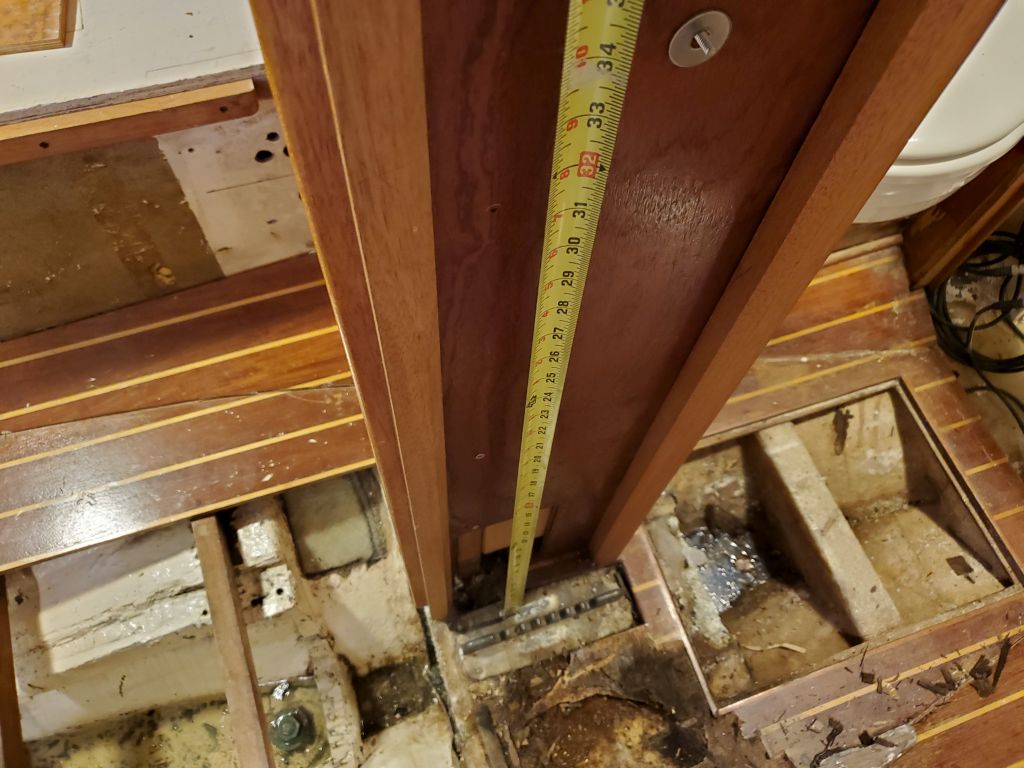
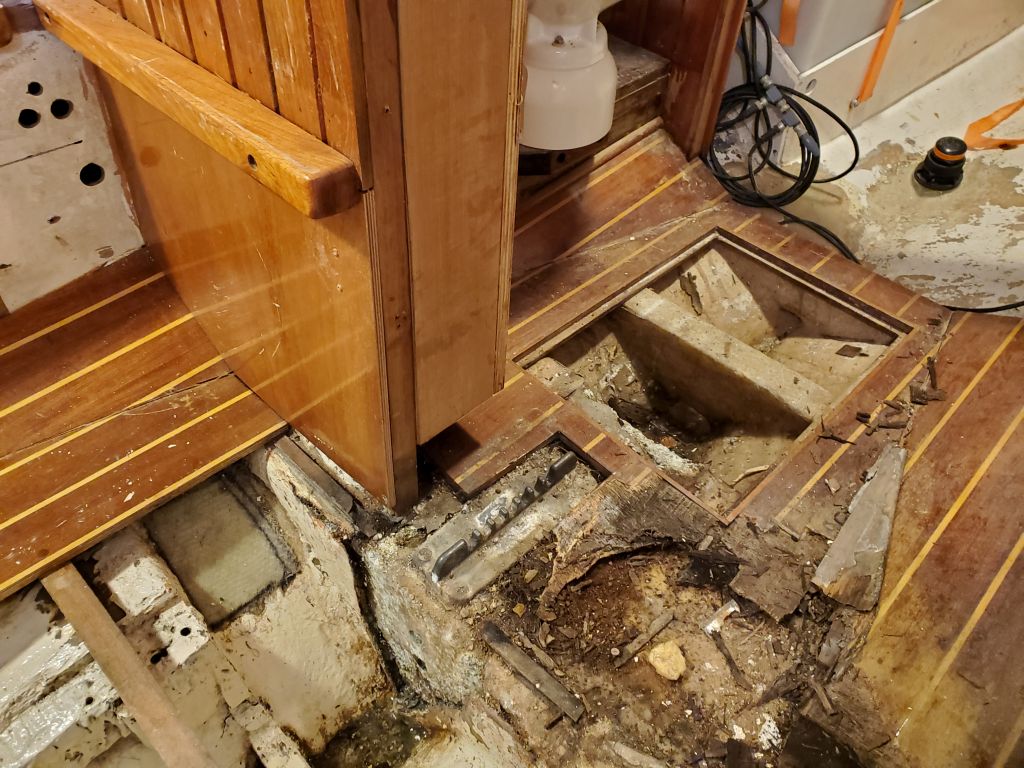
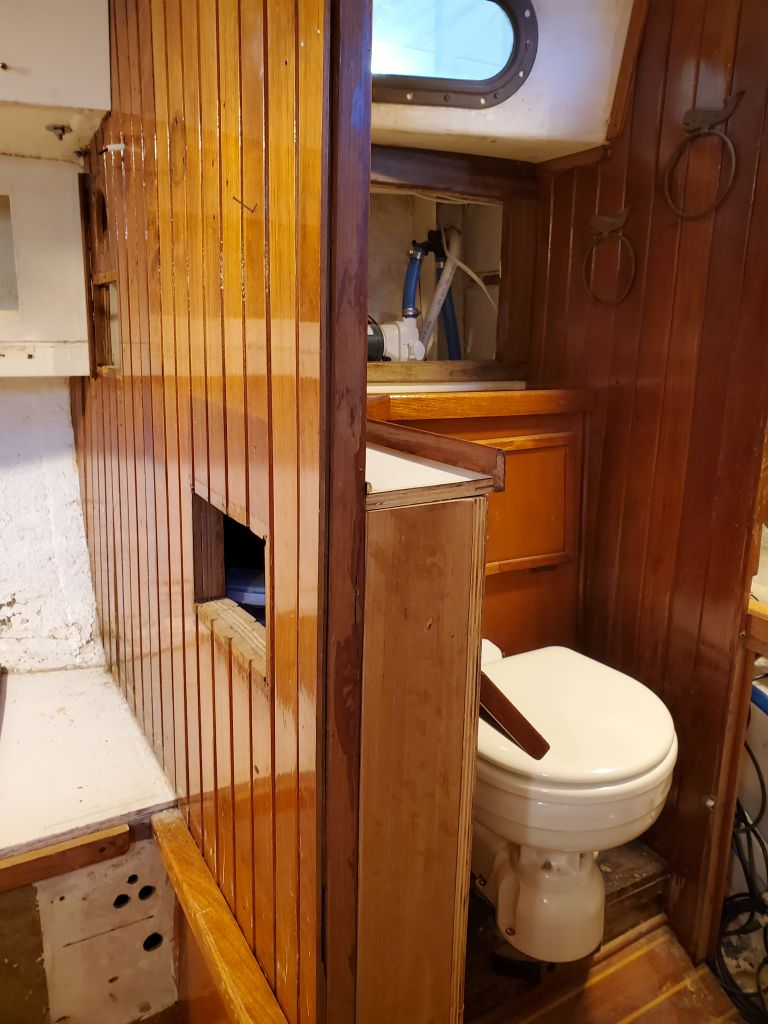
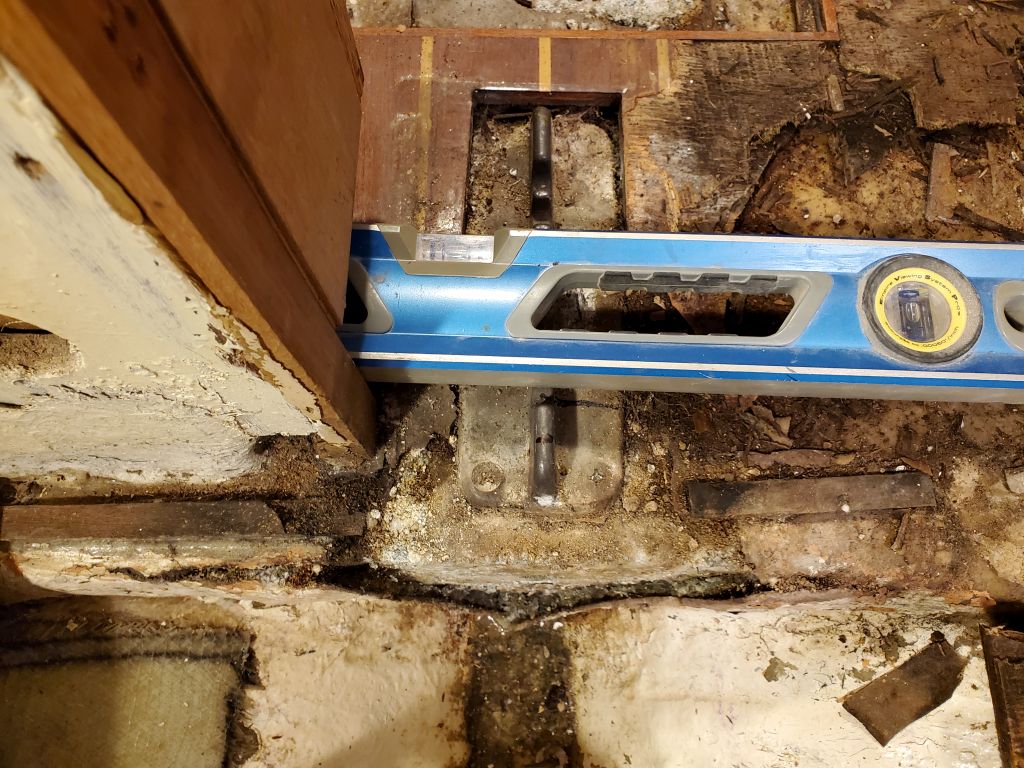
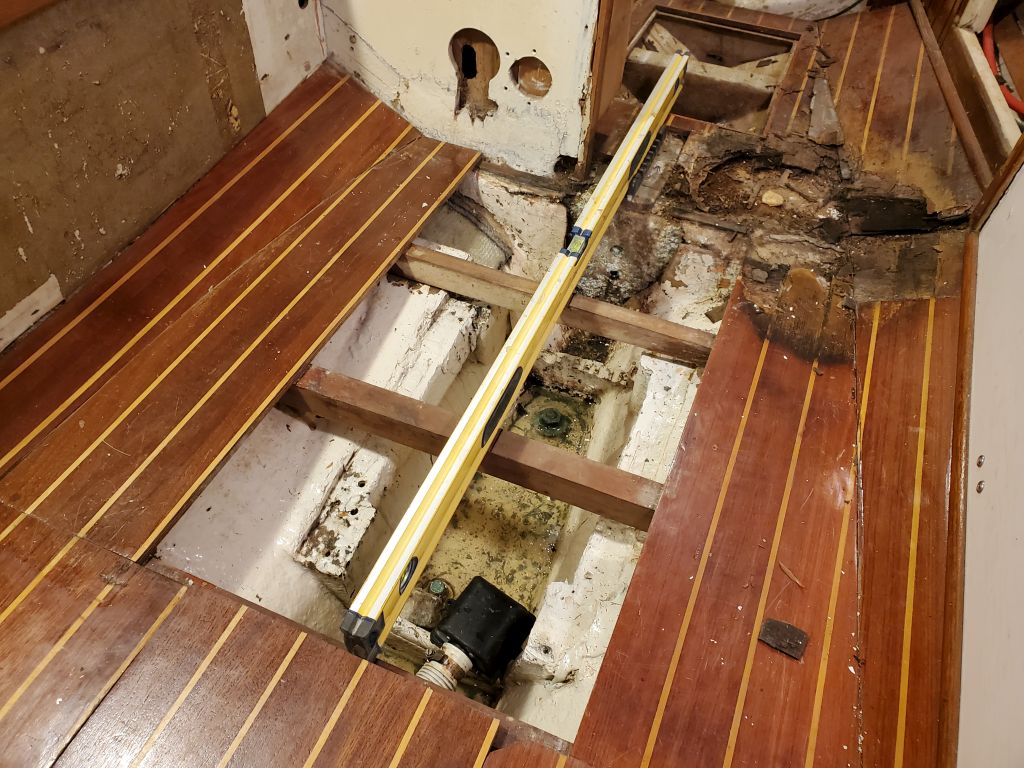
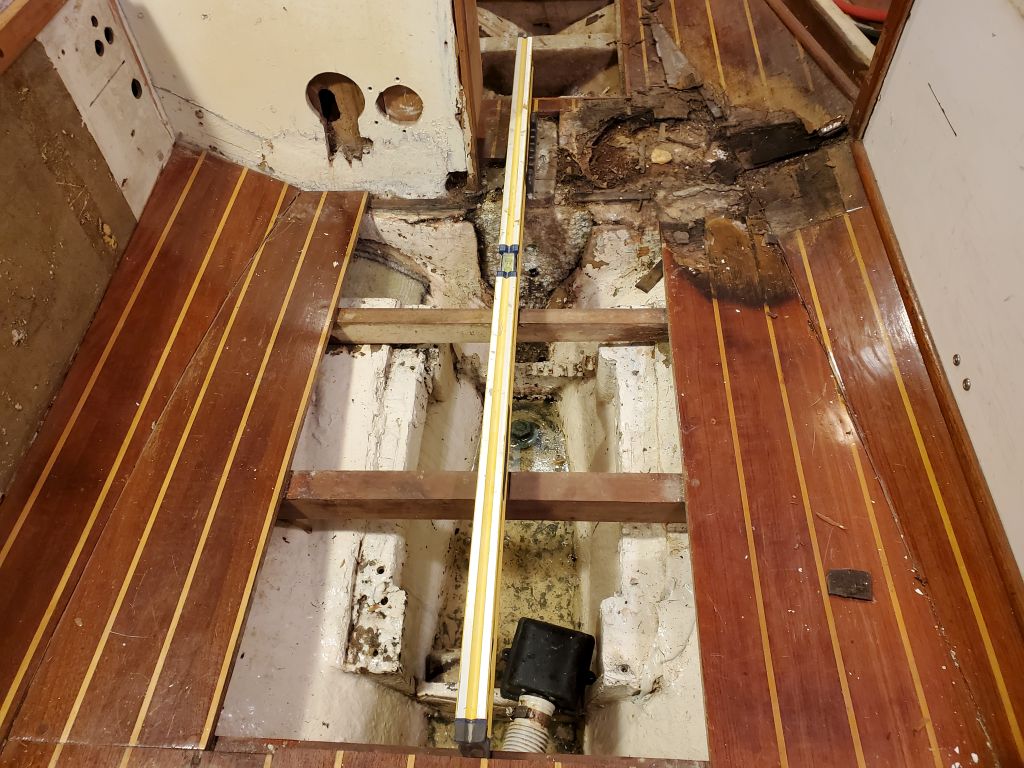
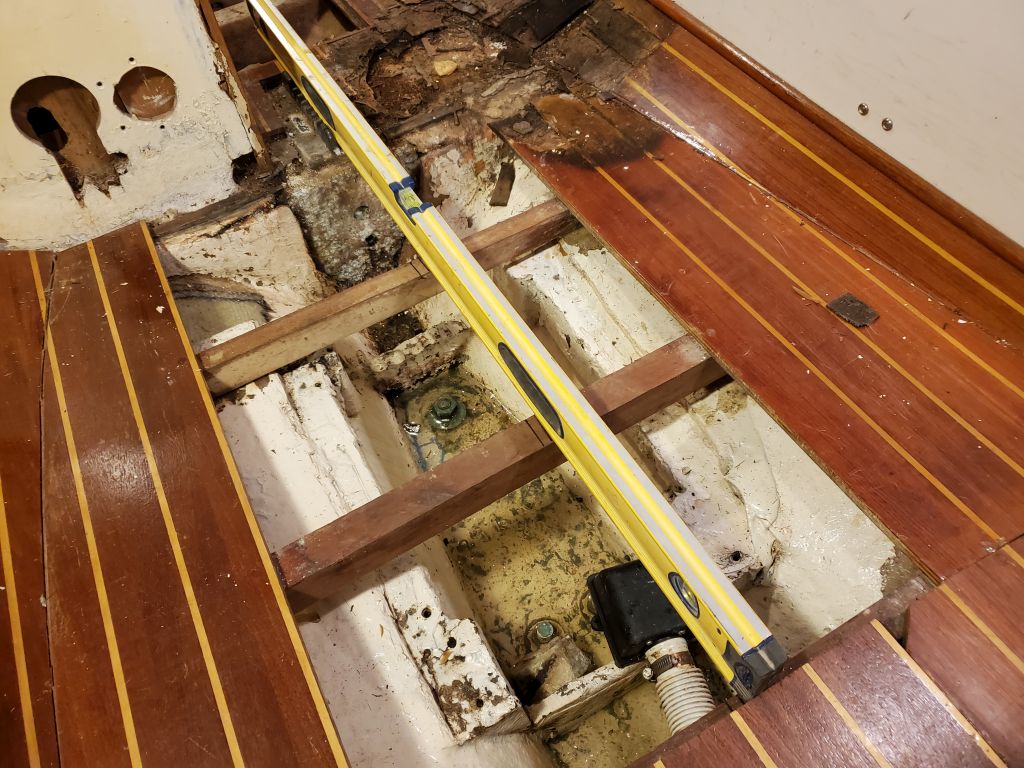
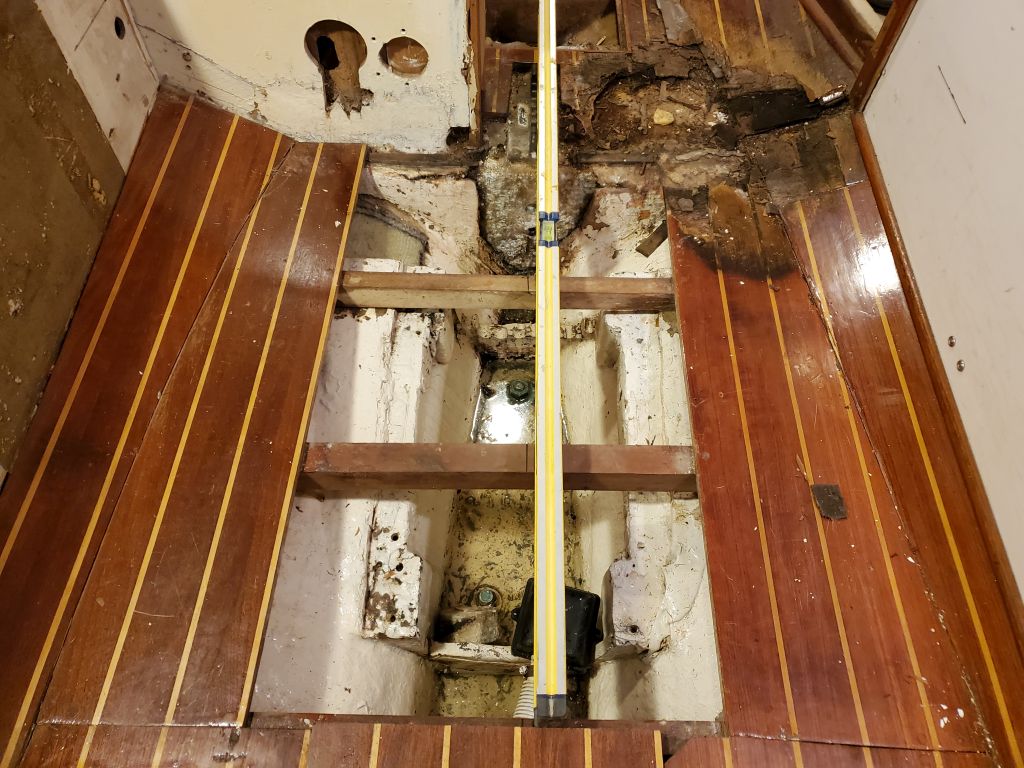
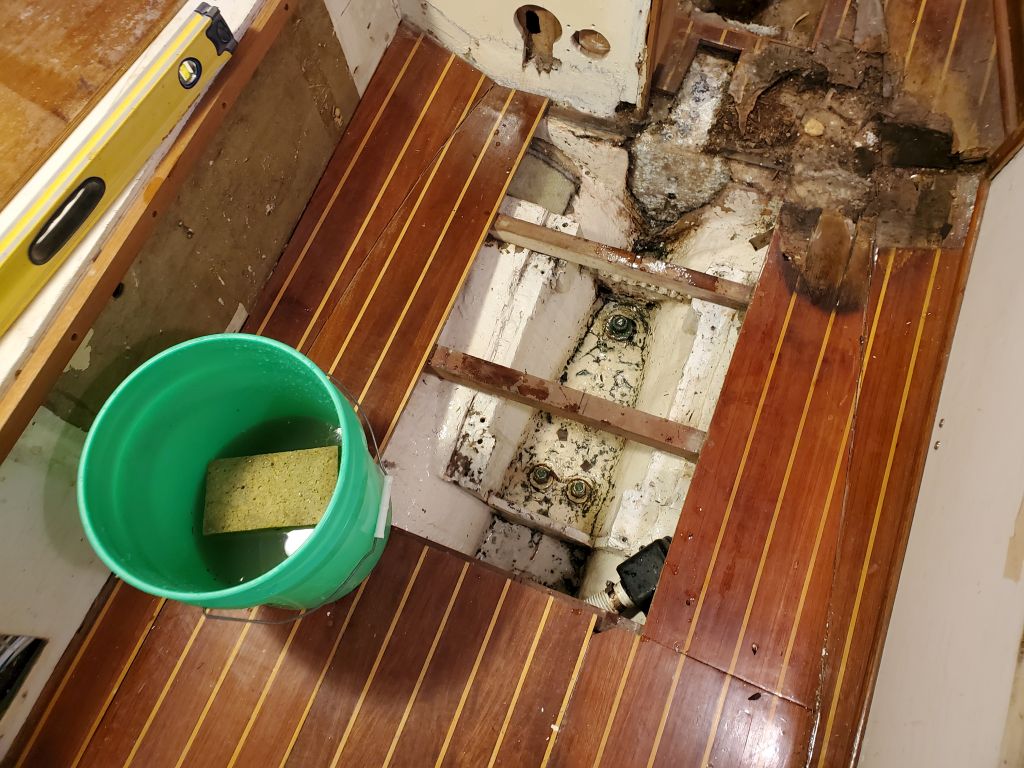
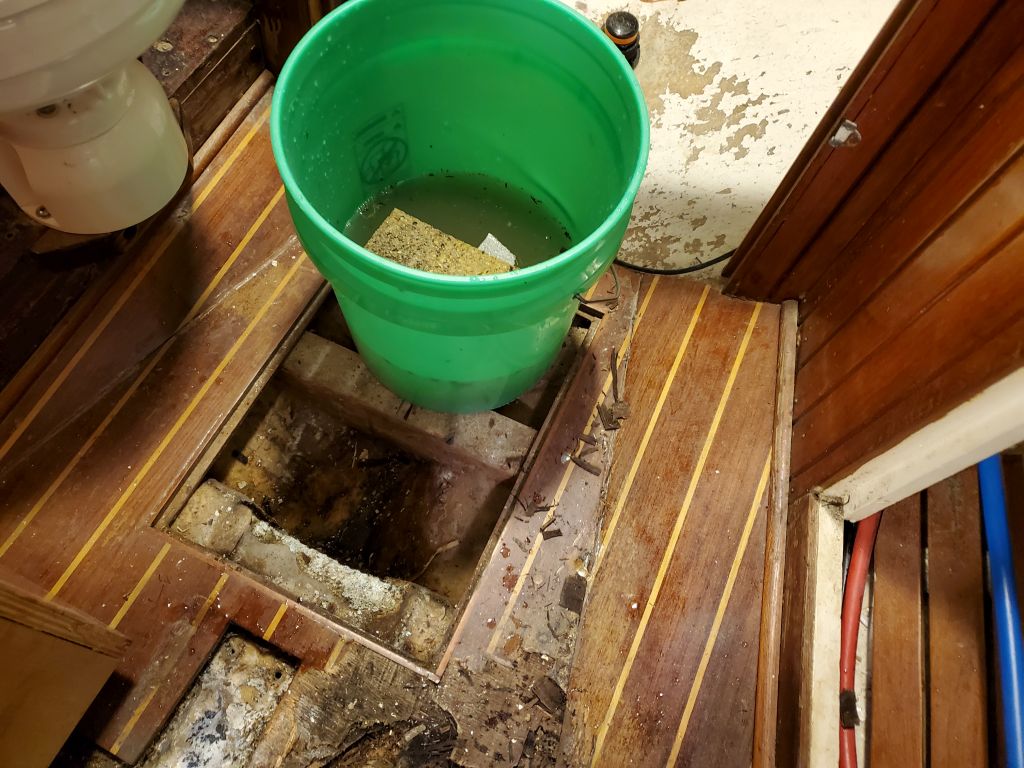
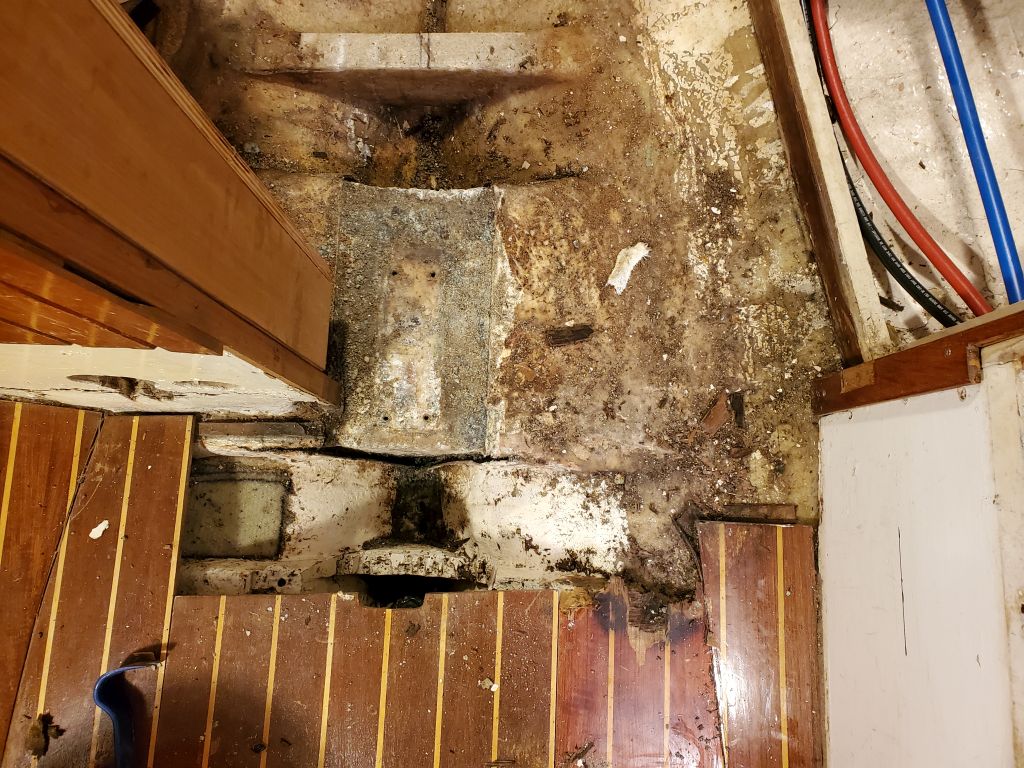
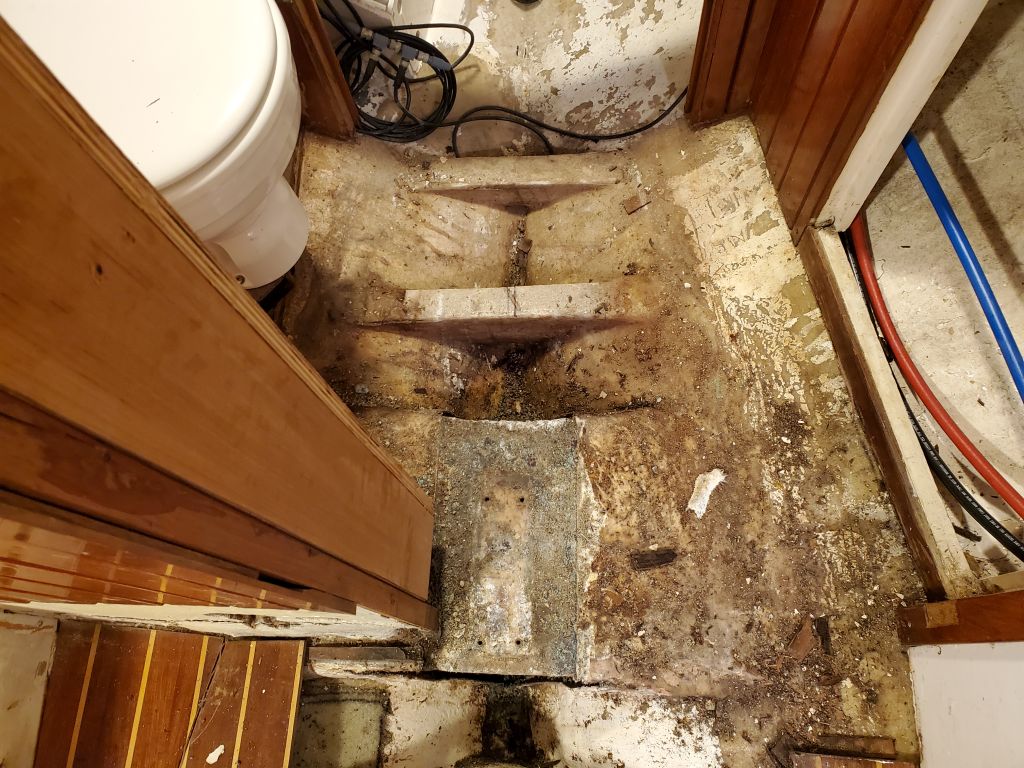
The owner had concerns about the existing mast step for the keel-stepped spar.  This was some sort of aluminum fabrication, the details of which were unknown, but portions were visible on either end of the space, and the aluminum showed signs of ongoing corrosion and deterioration.  At first glance, the step appeared to be a solid and massive mass of aluminum, which seemed unlikely, but in any event the owner was keen to rebuilt the structure.  The nearby cabin sole was well-rotted and I pulled away some large sections by hand to provide better access to the step area for these photos (later I removed the rest of the sole from the head to expose all of the area in question).  I documented the existing condition of the step and its installation before beginning any demolition or investigative work.

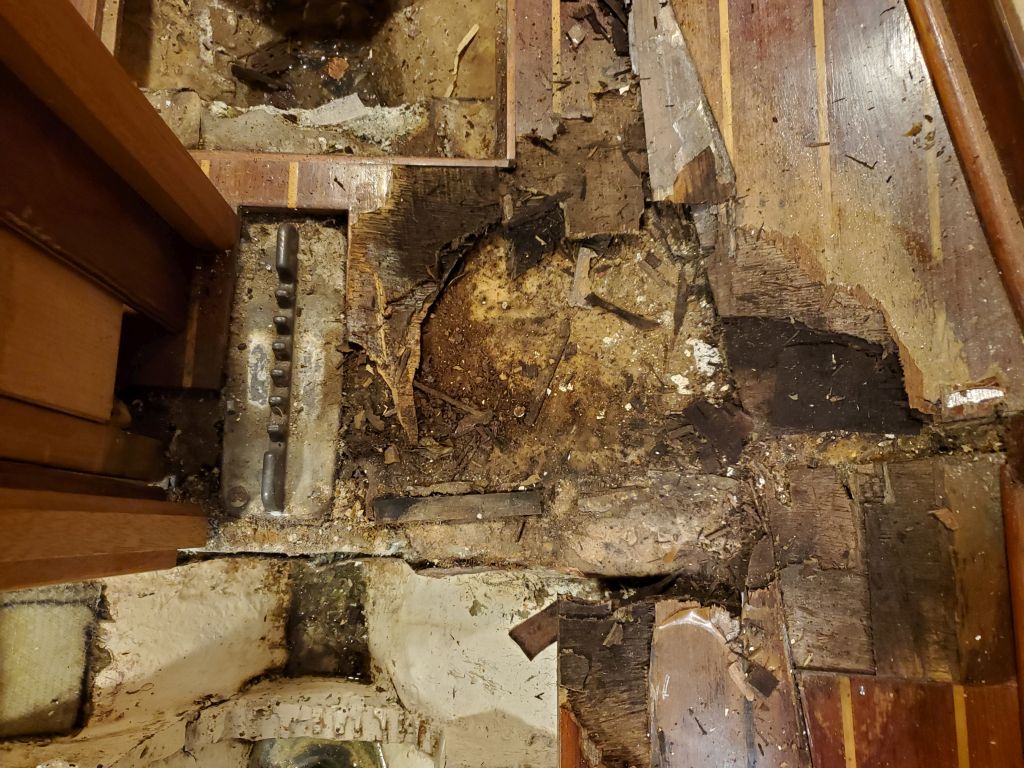
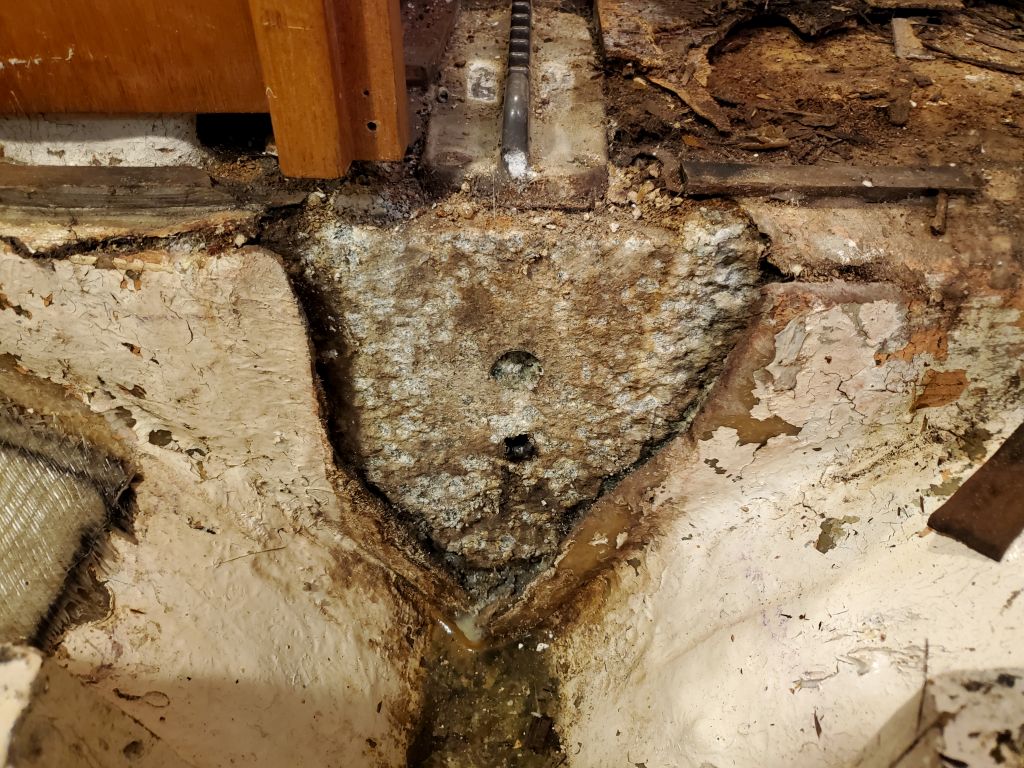
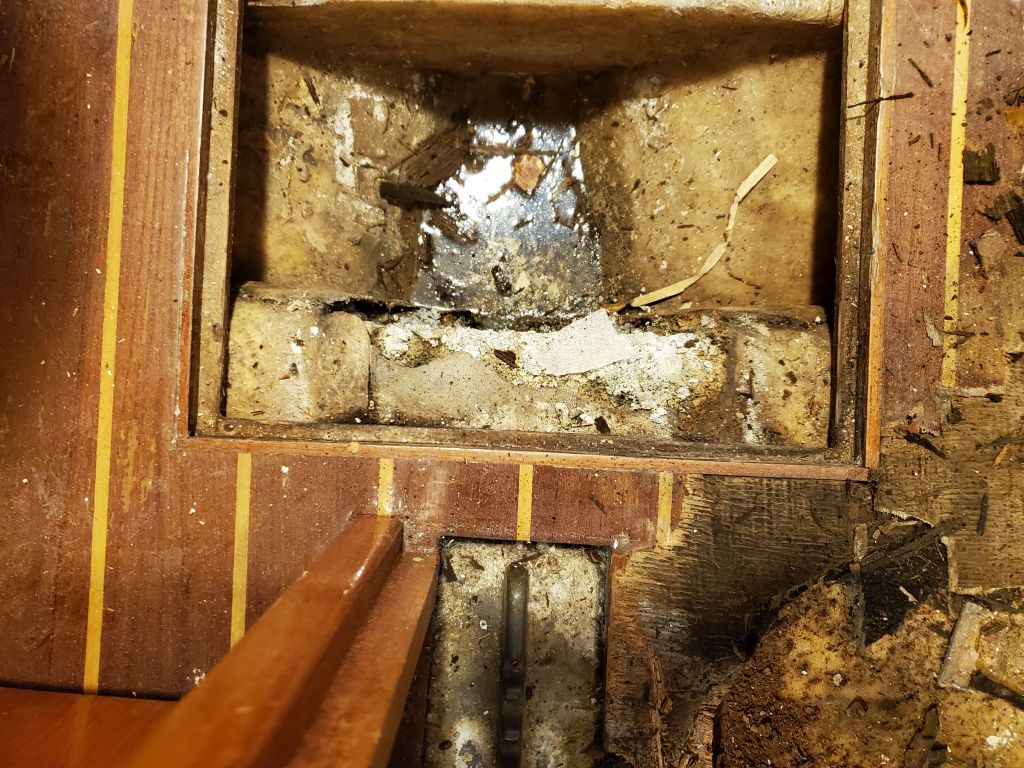
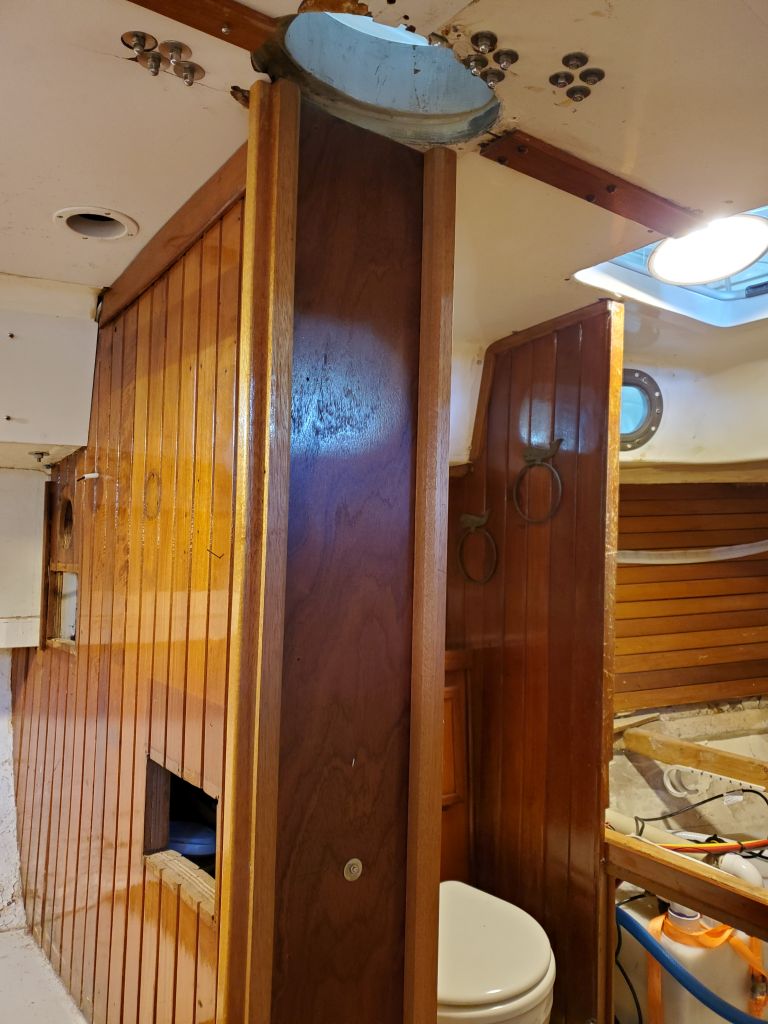
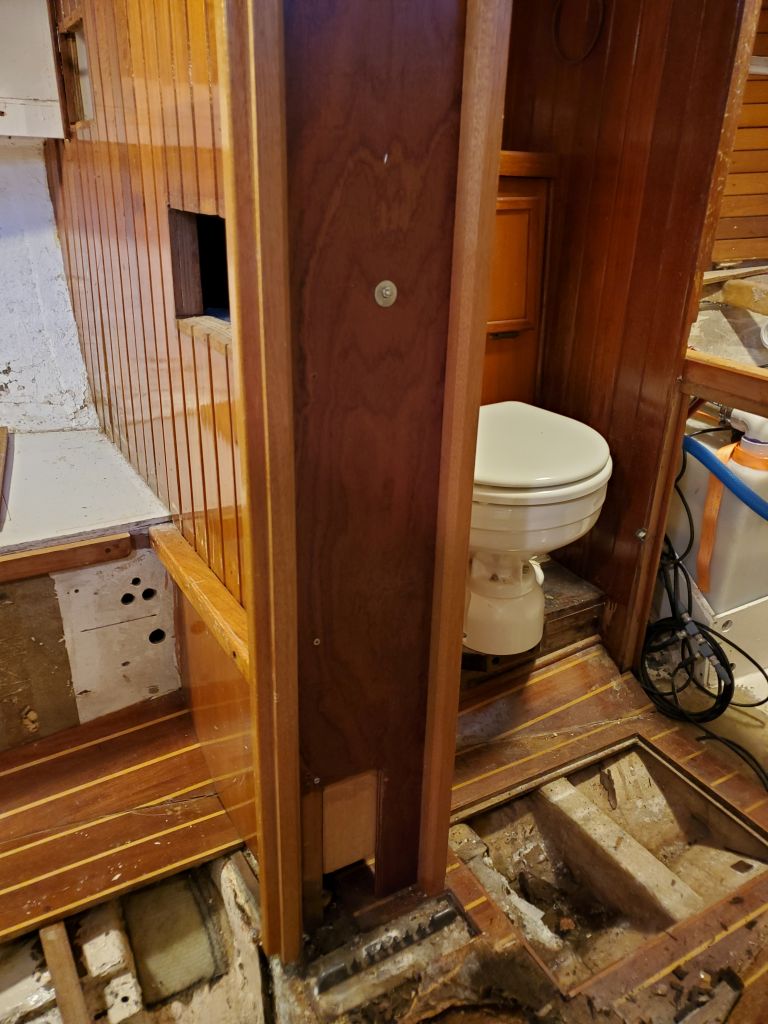
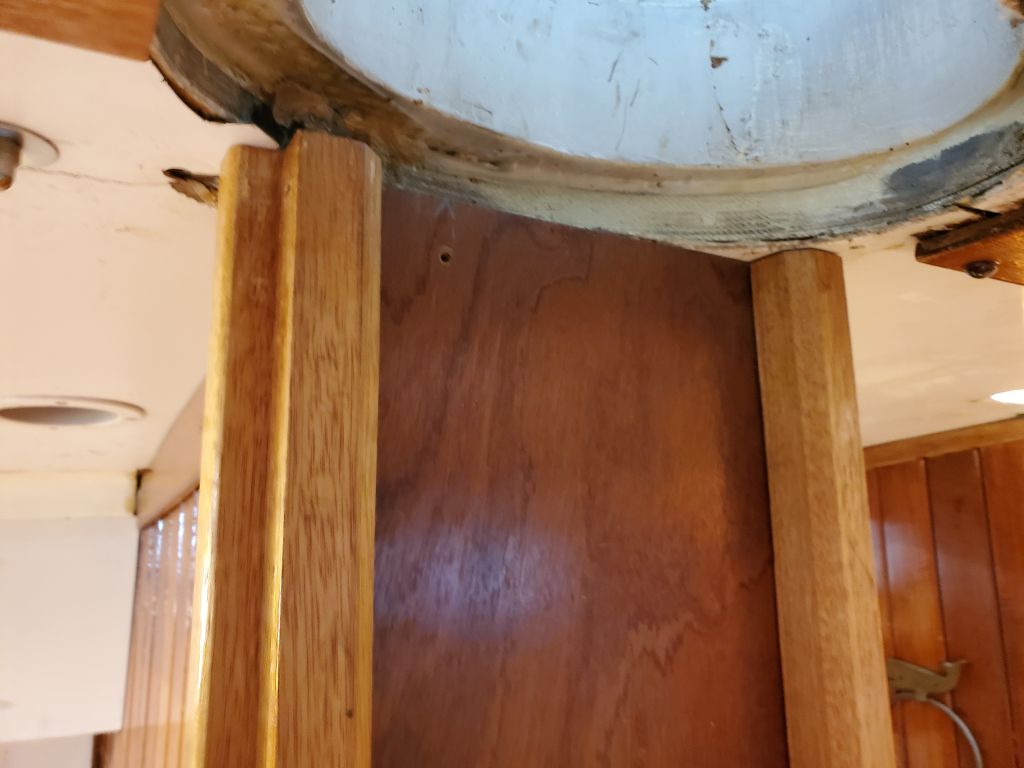
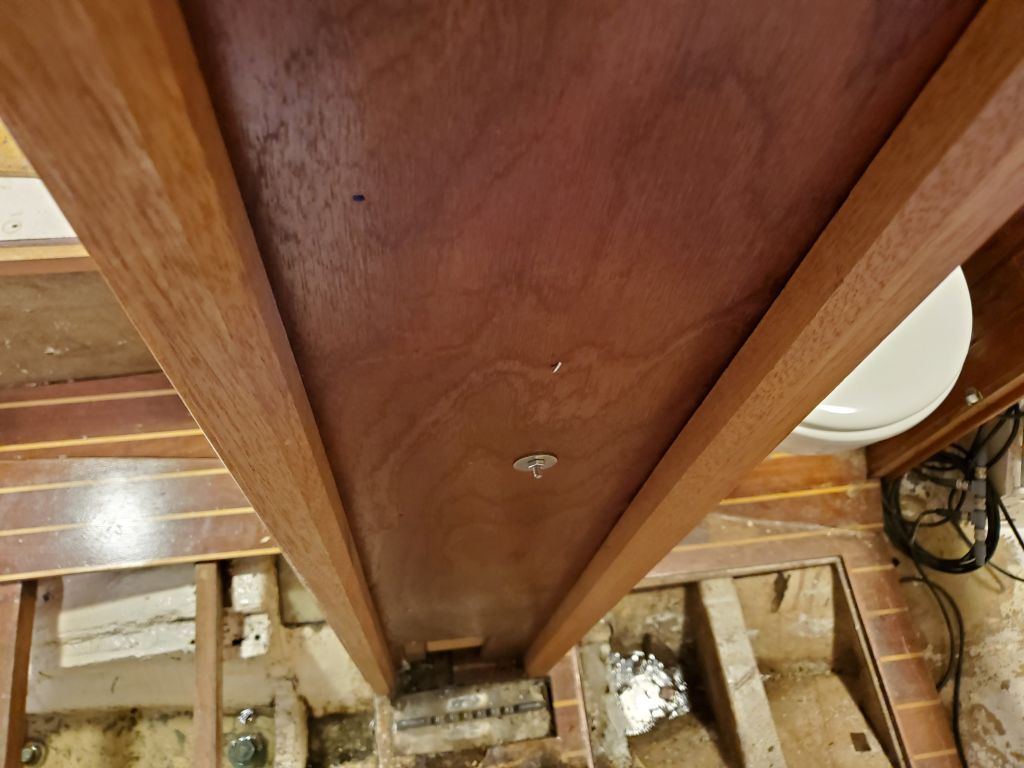
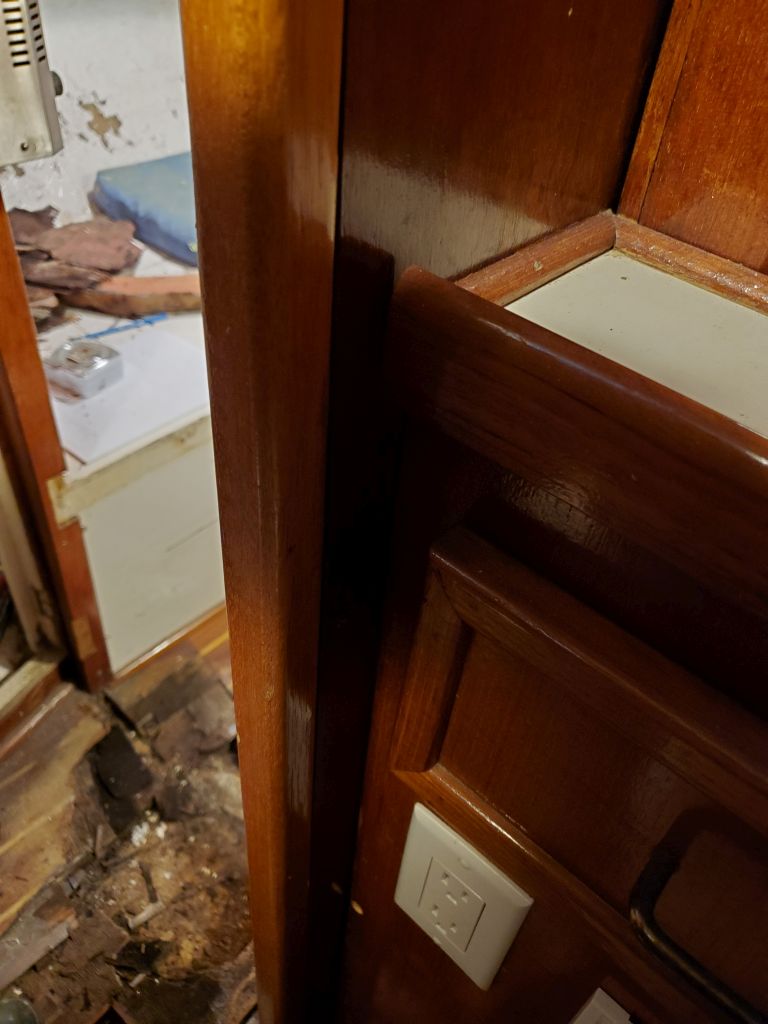
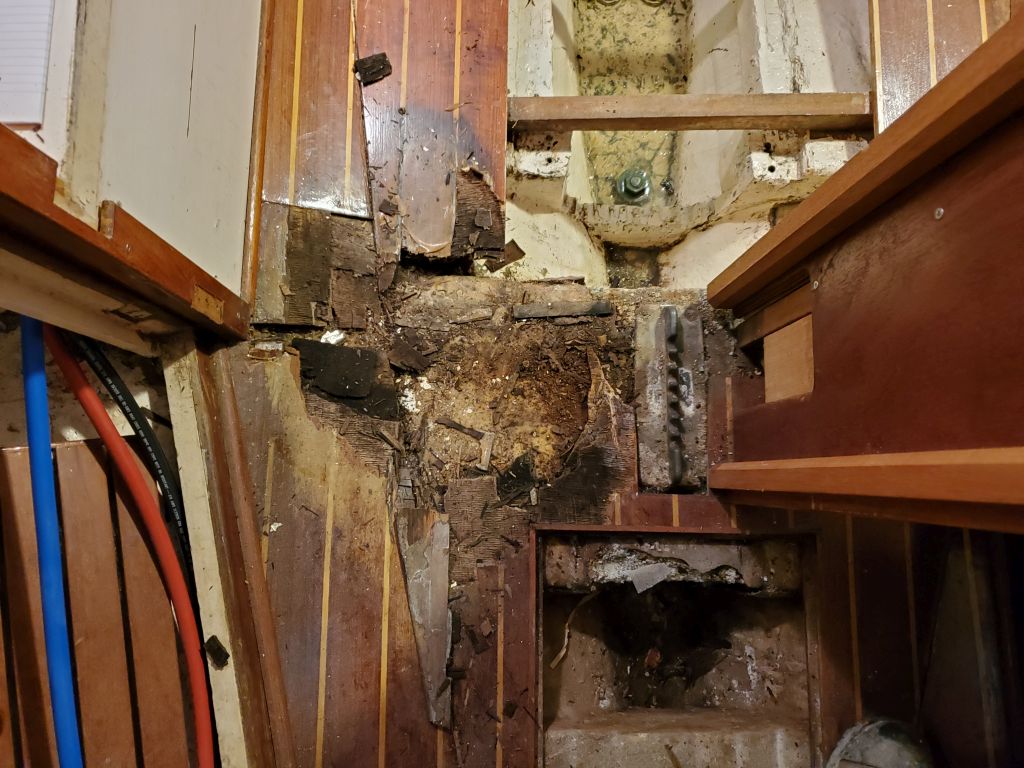
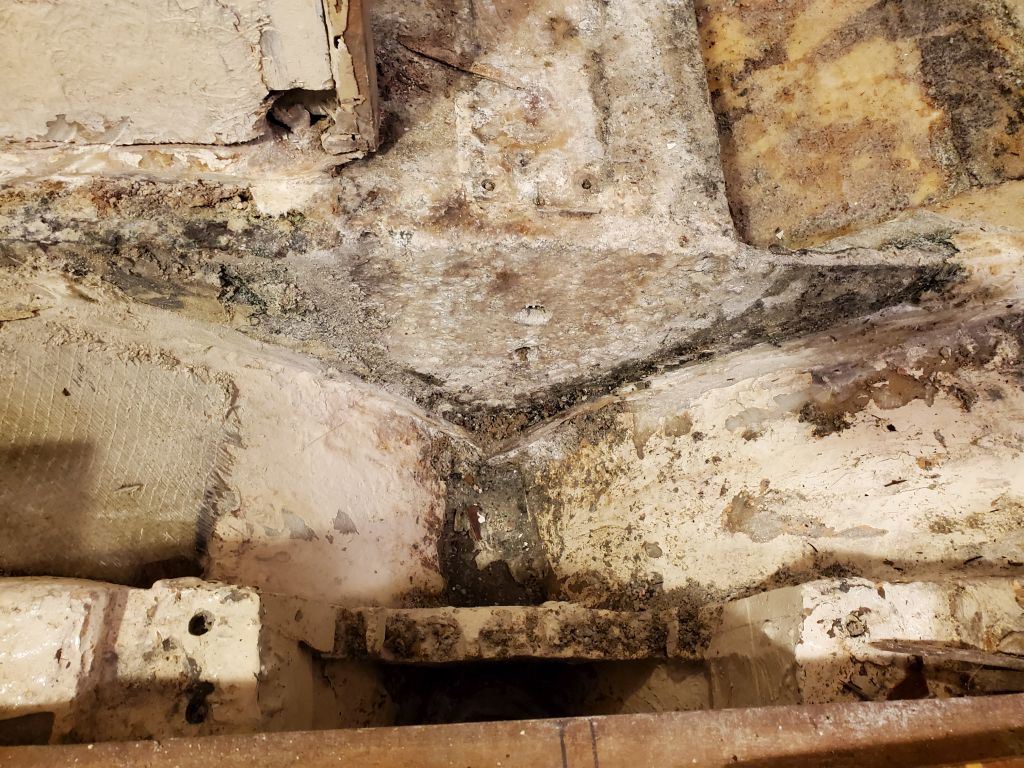
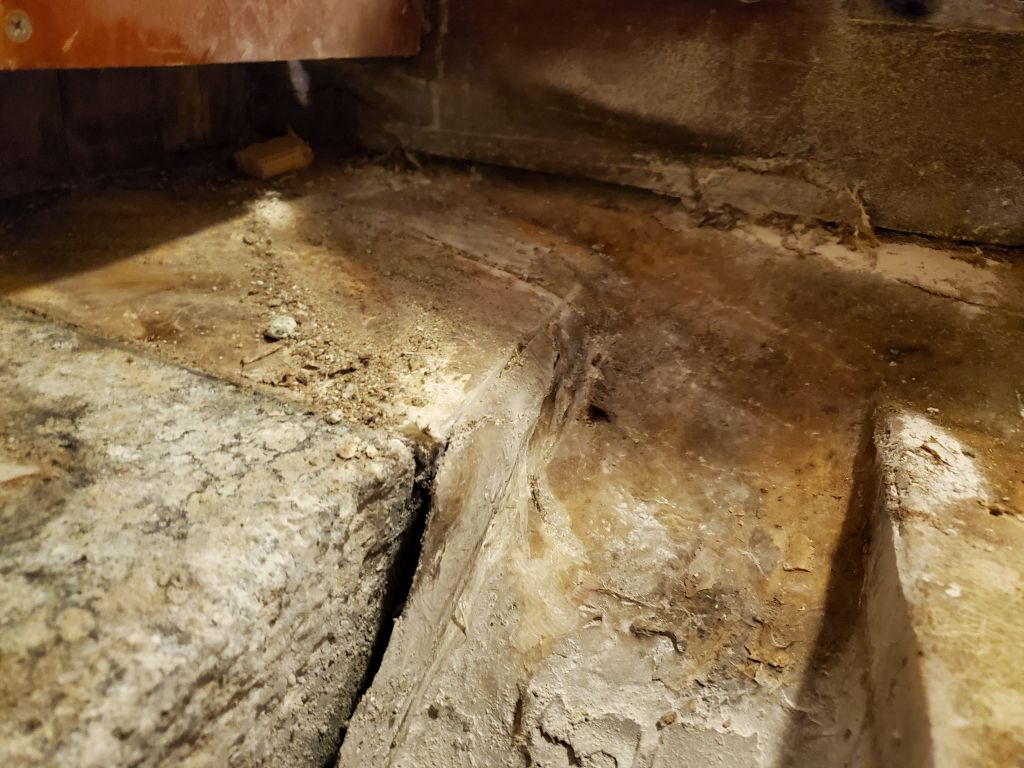
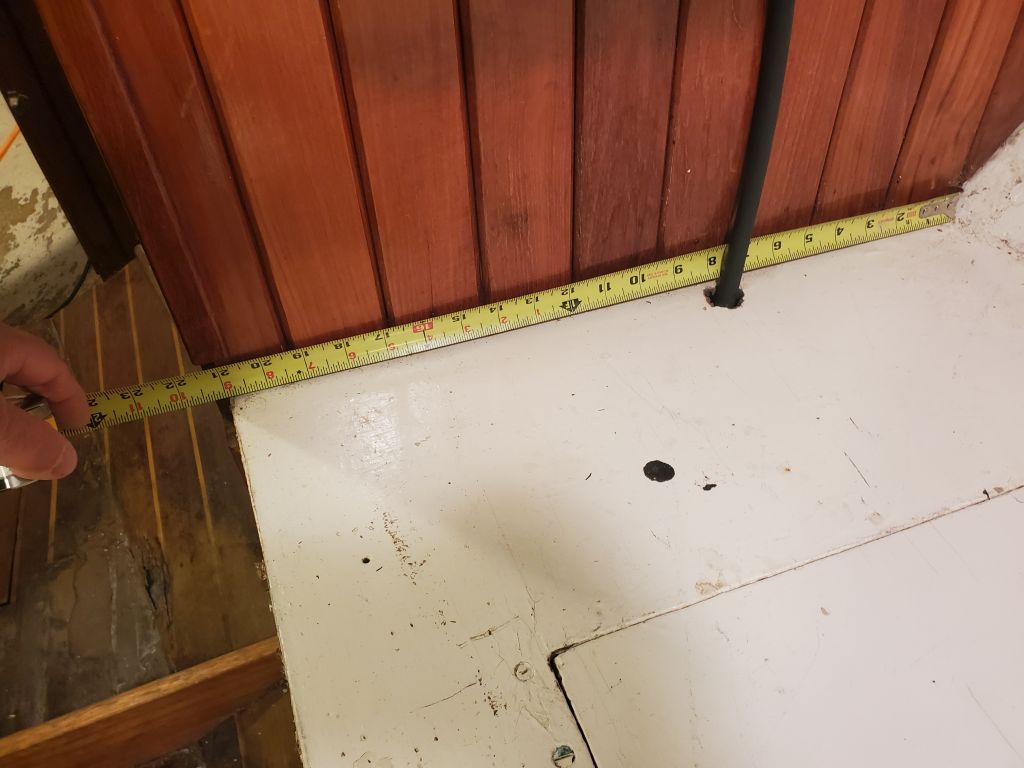
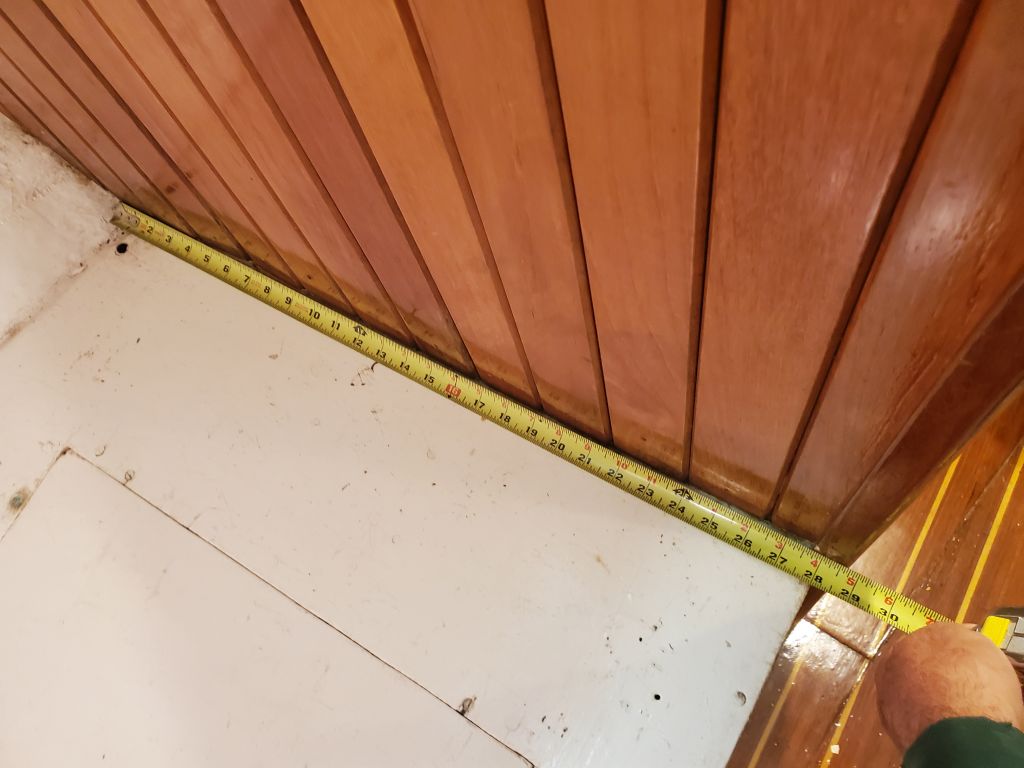
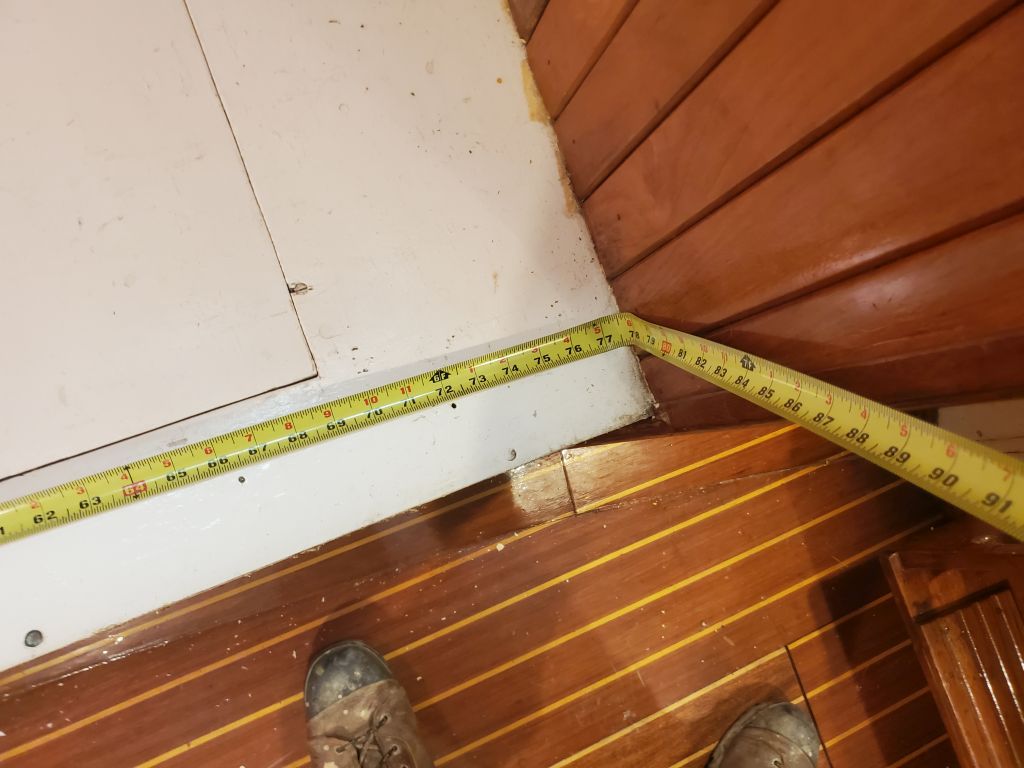
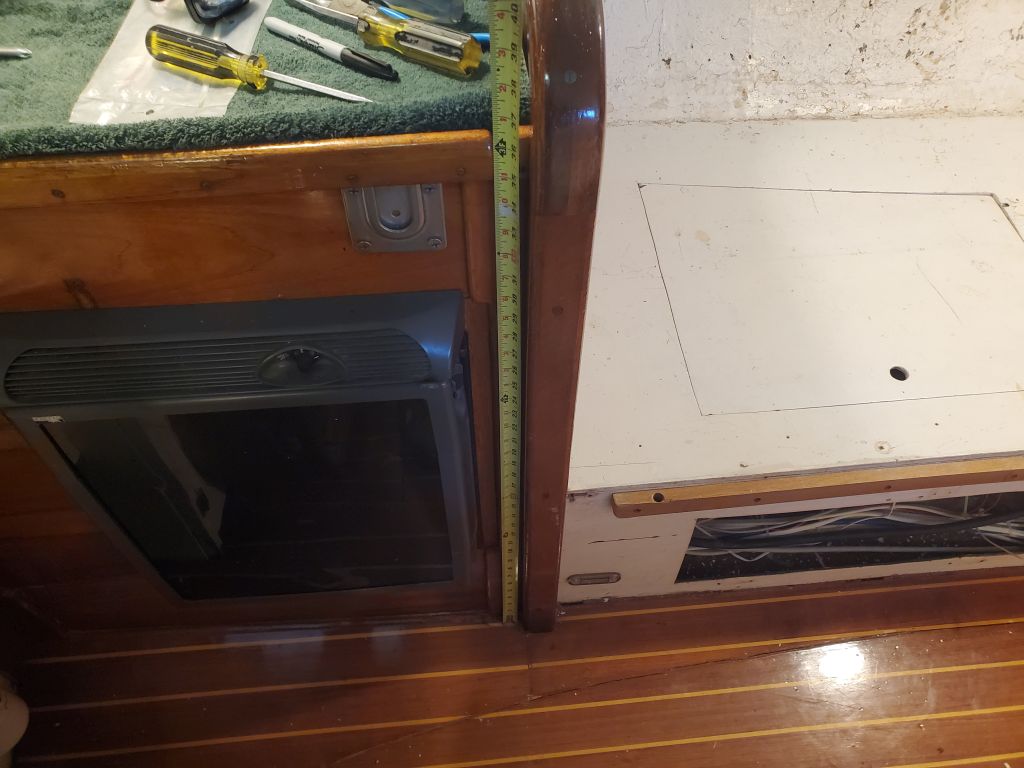
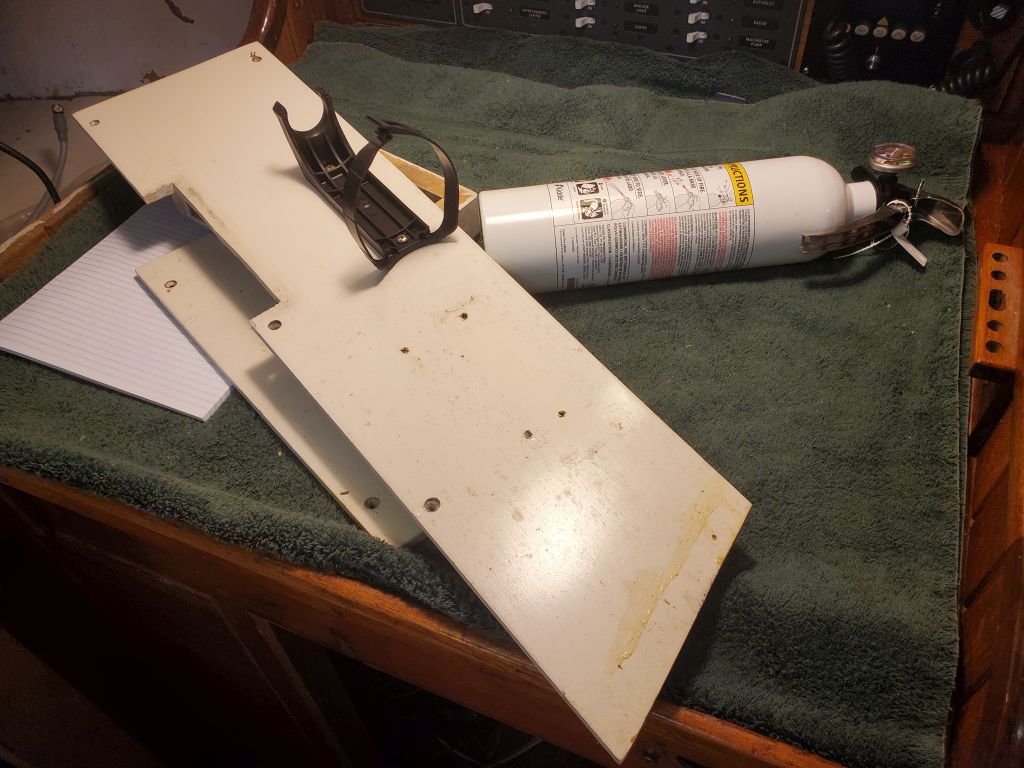
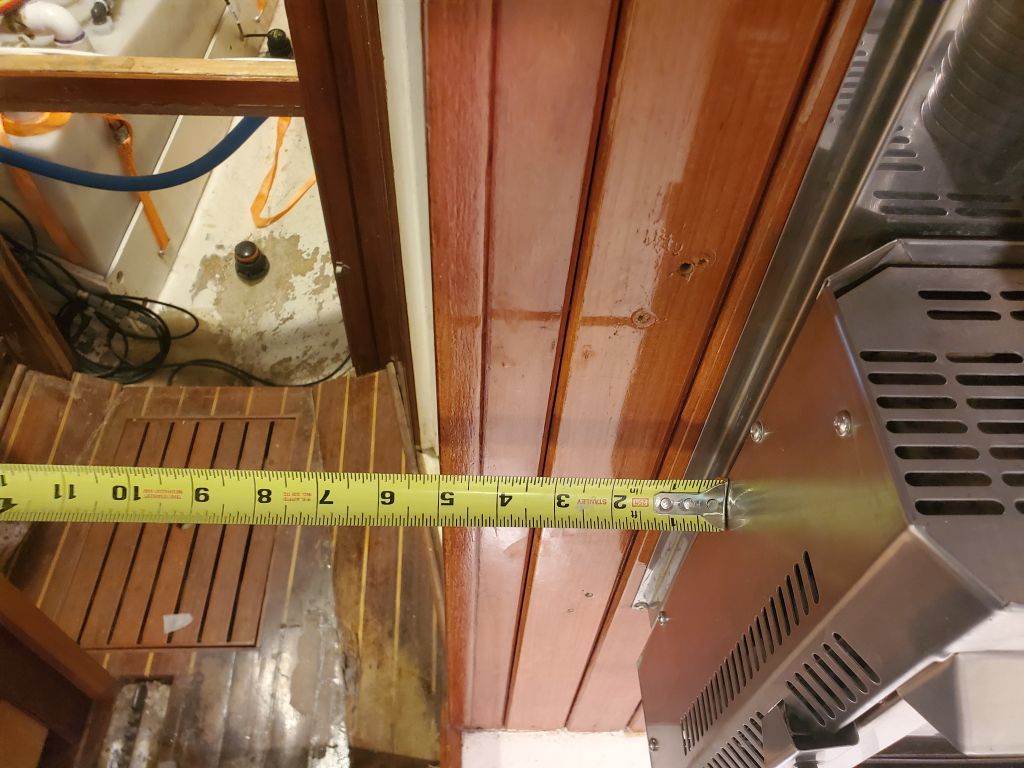
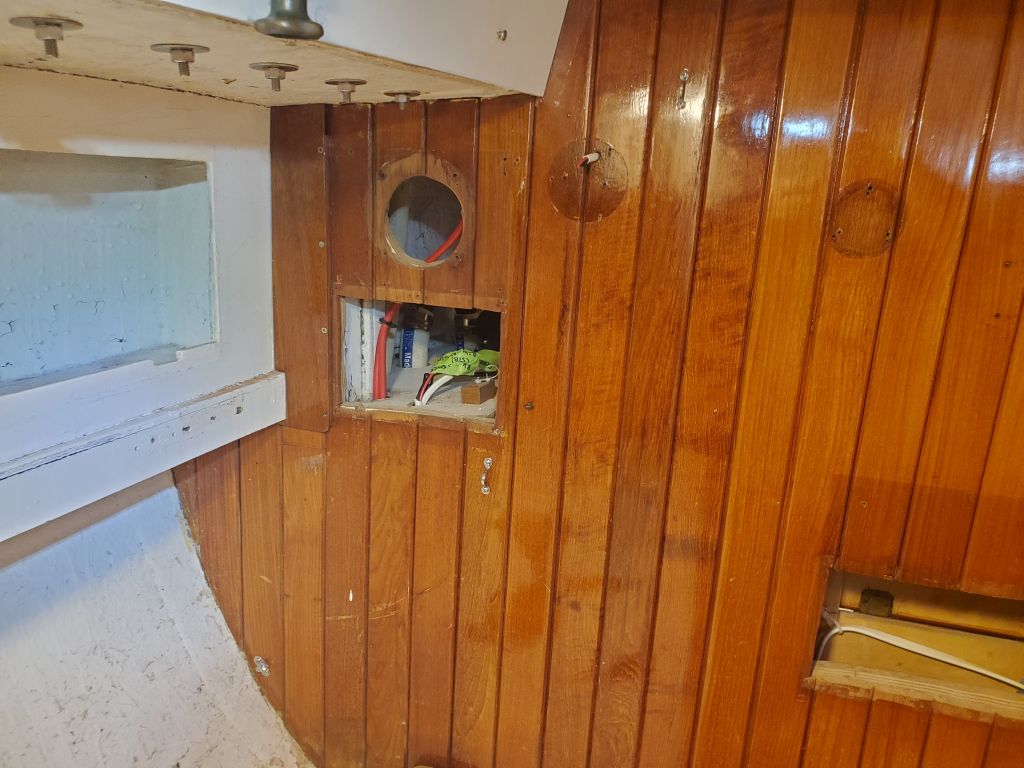
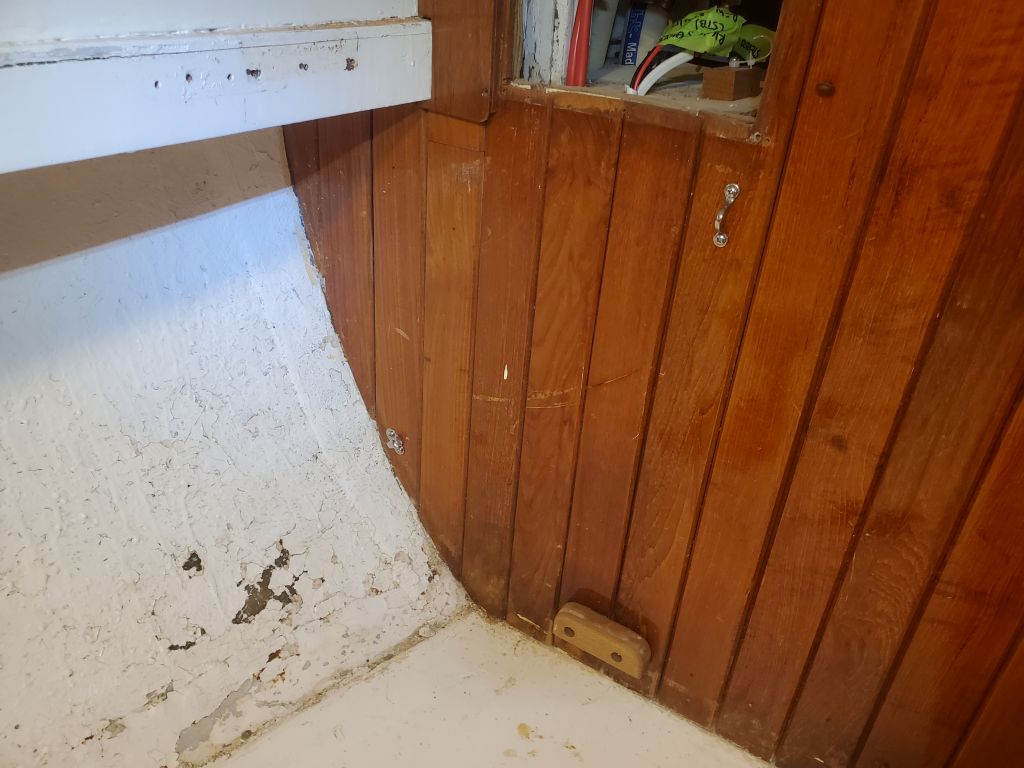
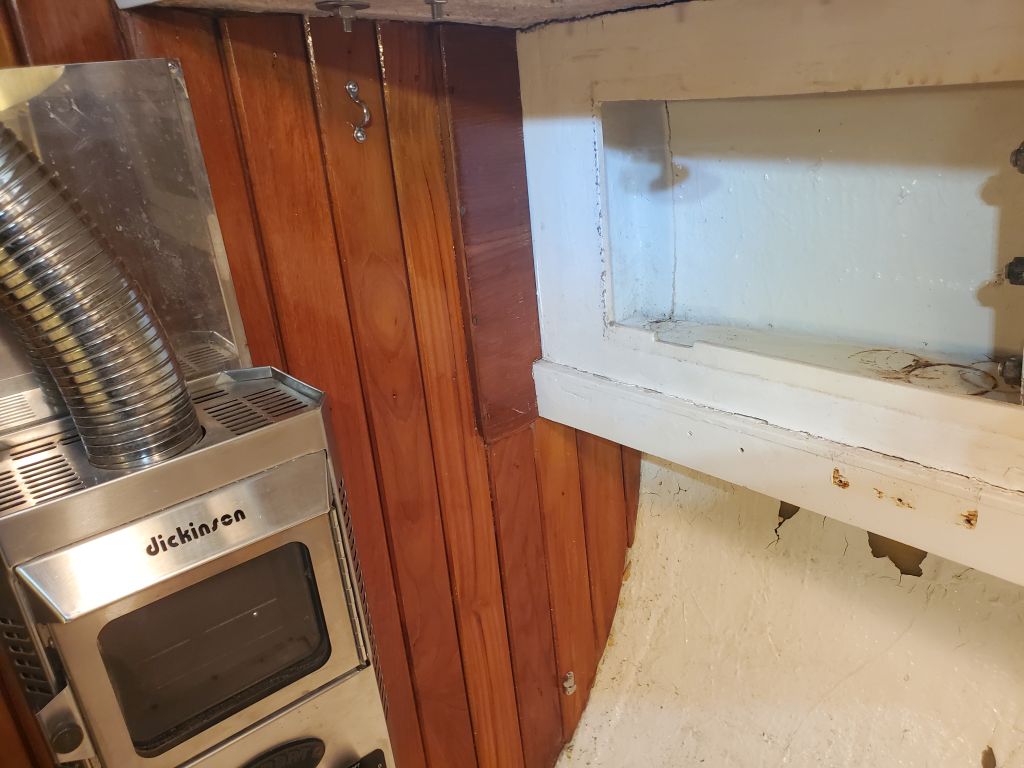
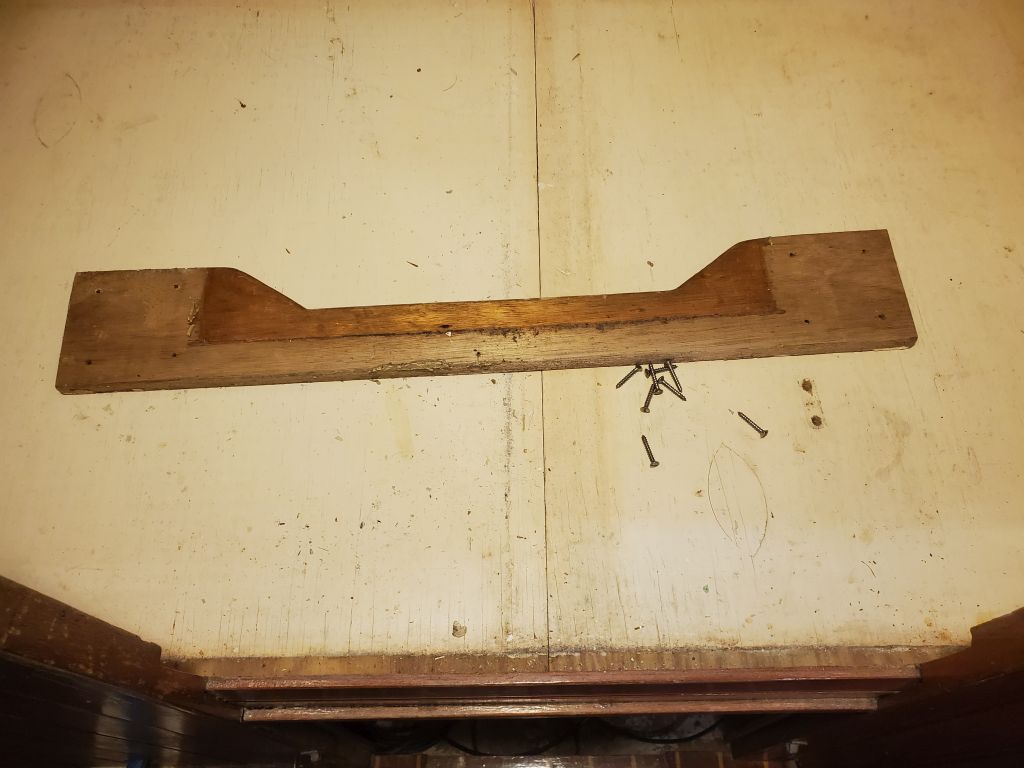
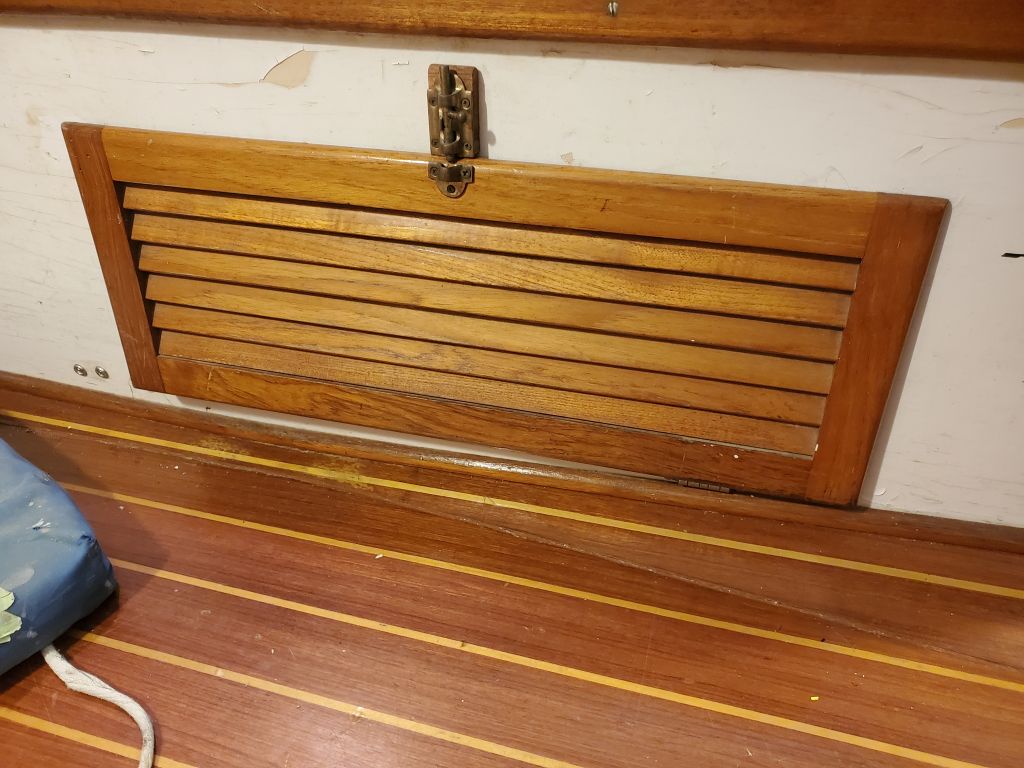
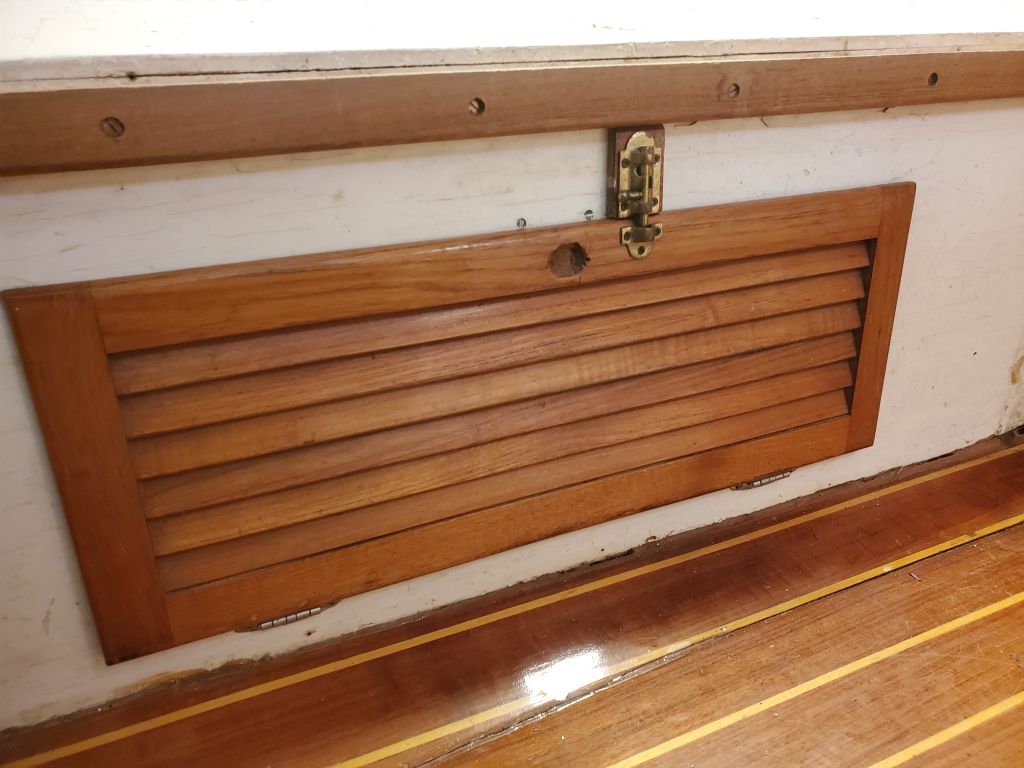
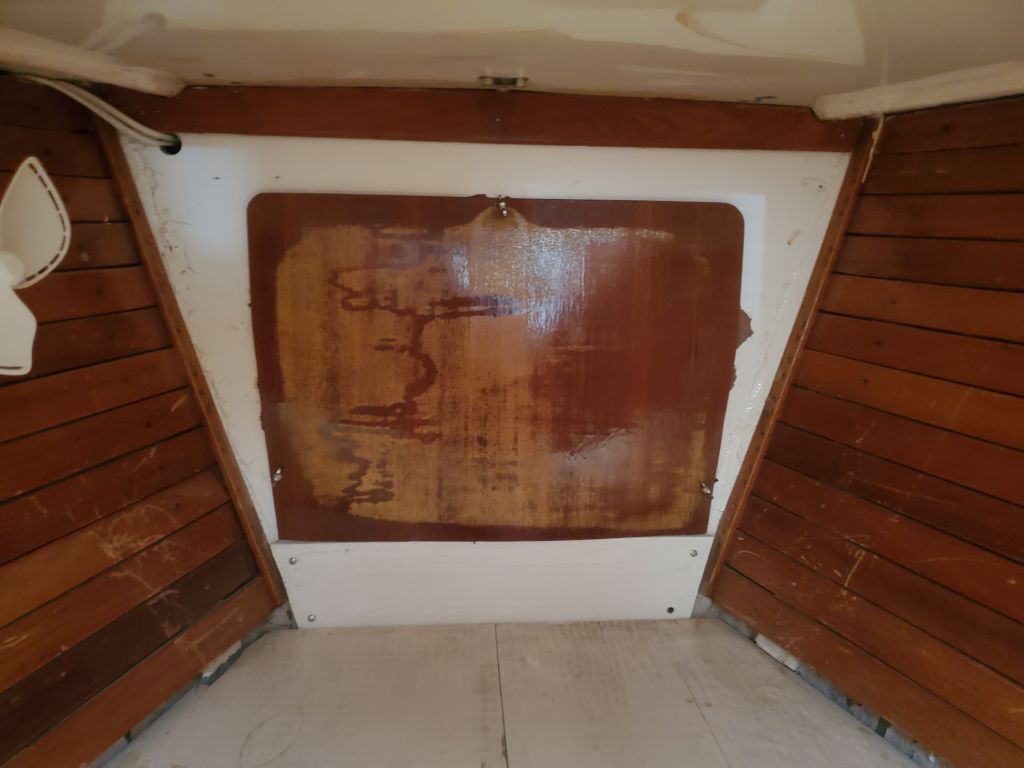
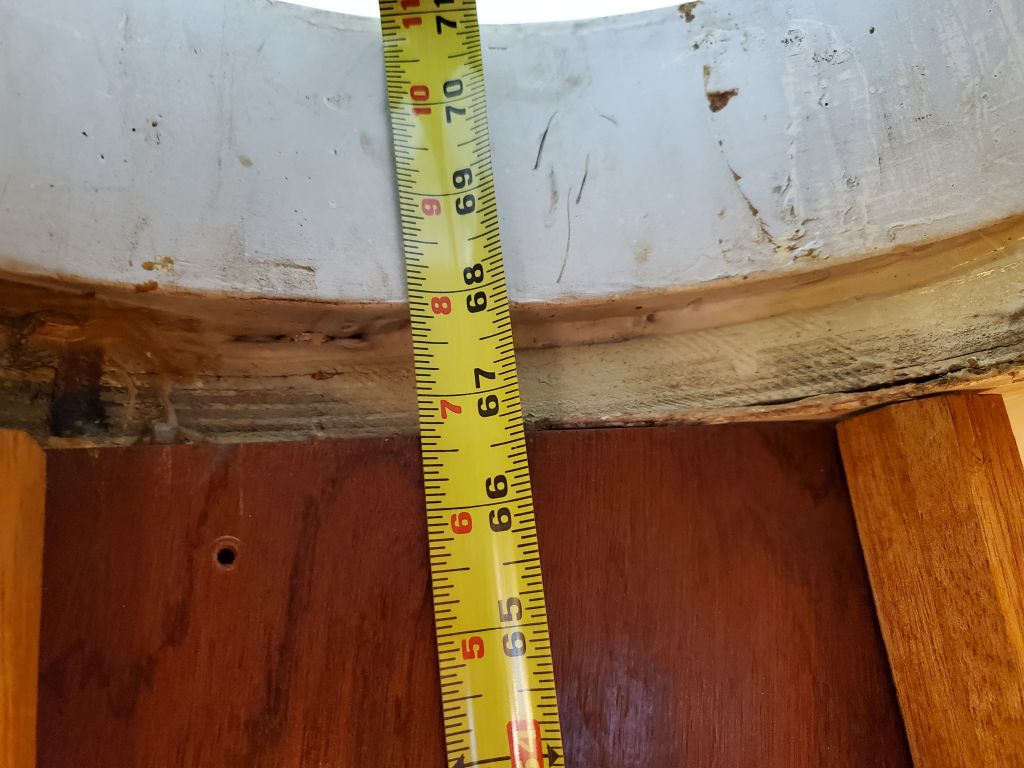
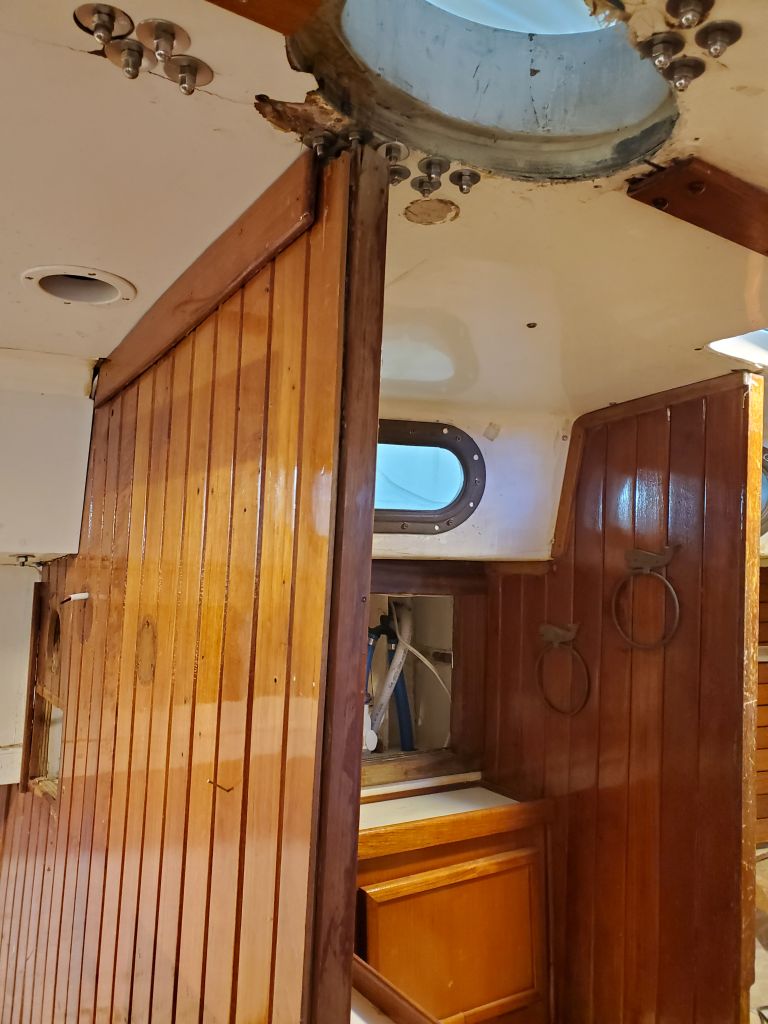
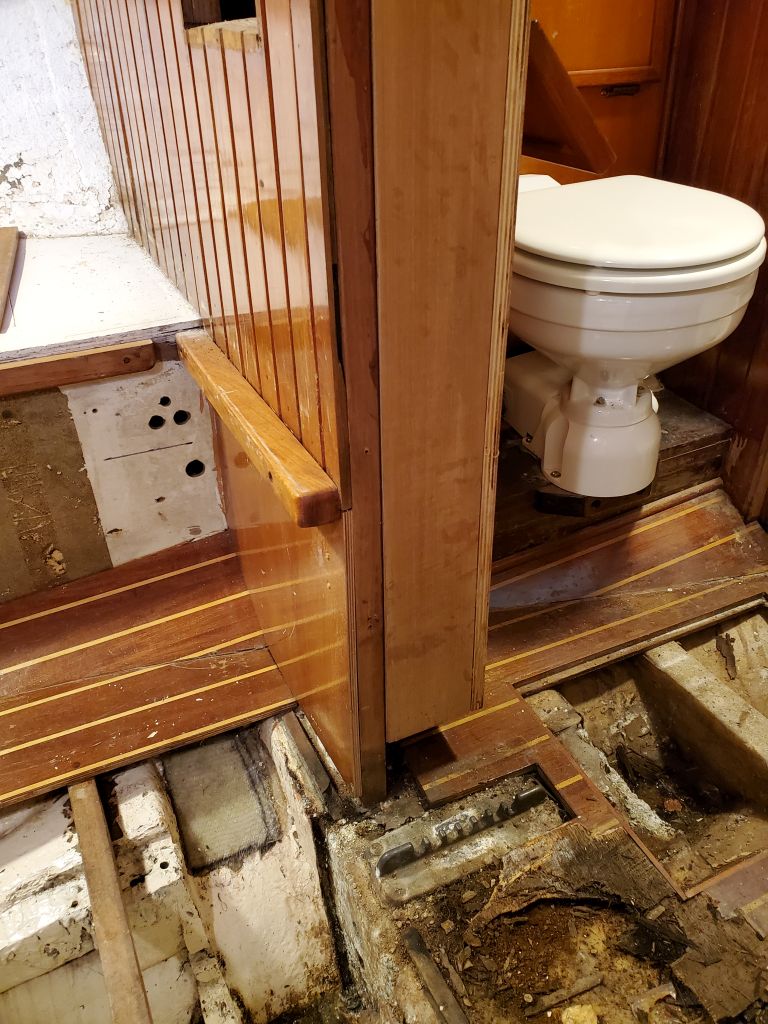
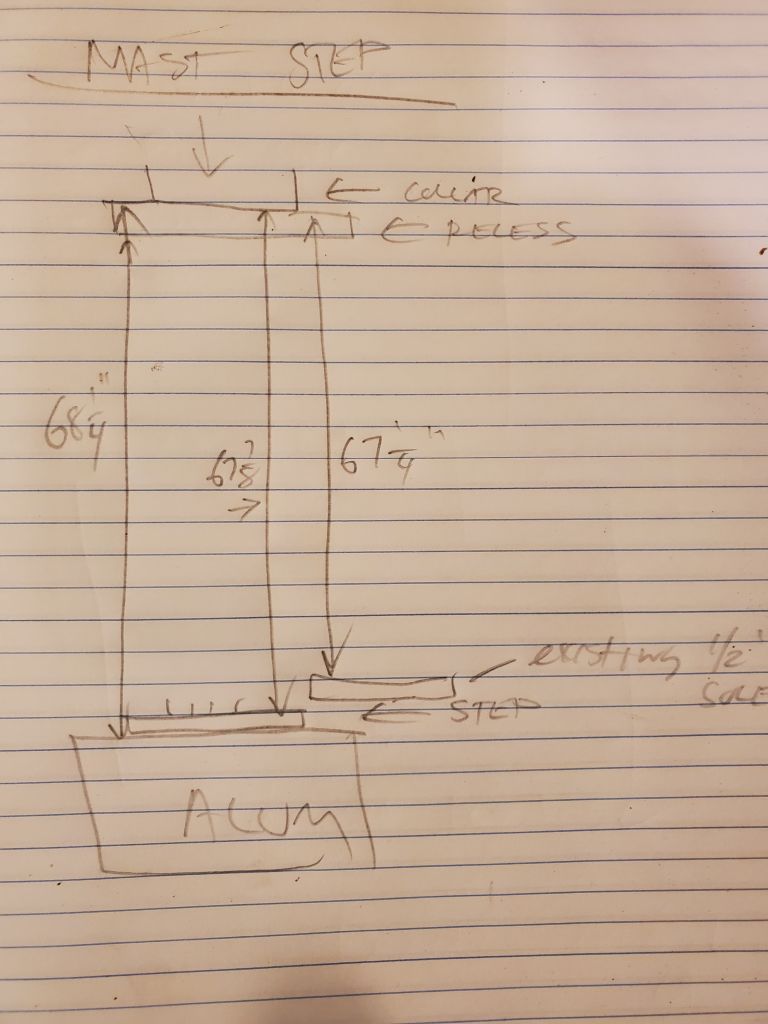
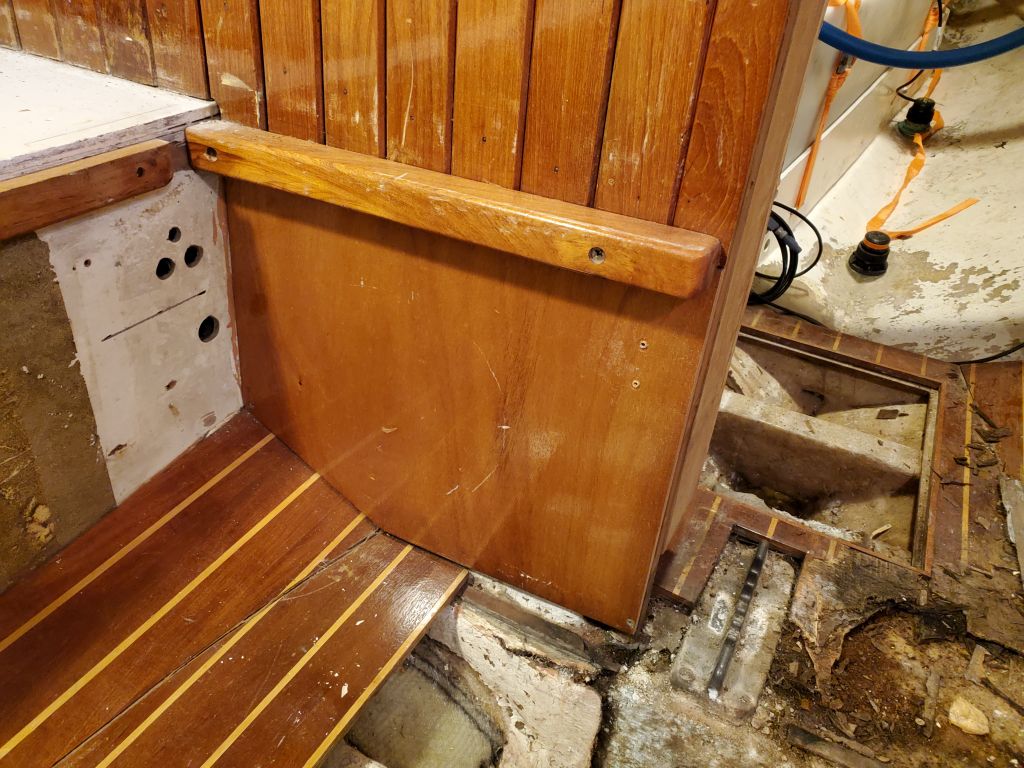
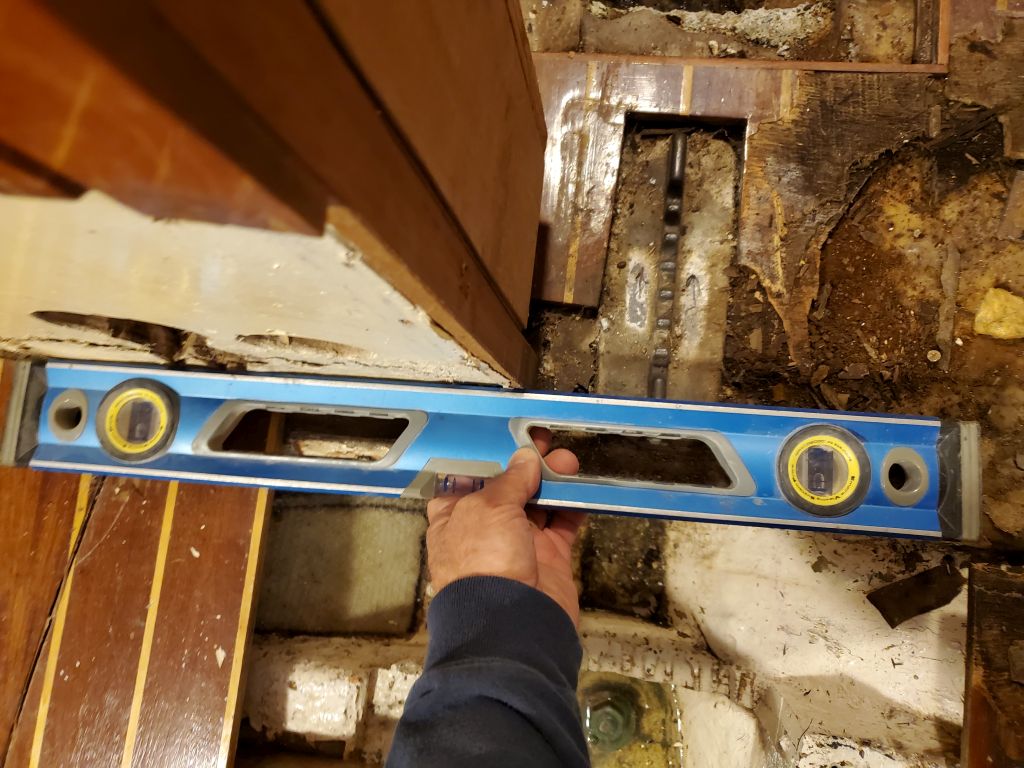
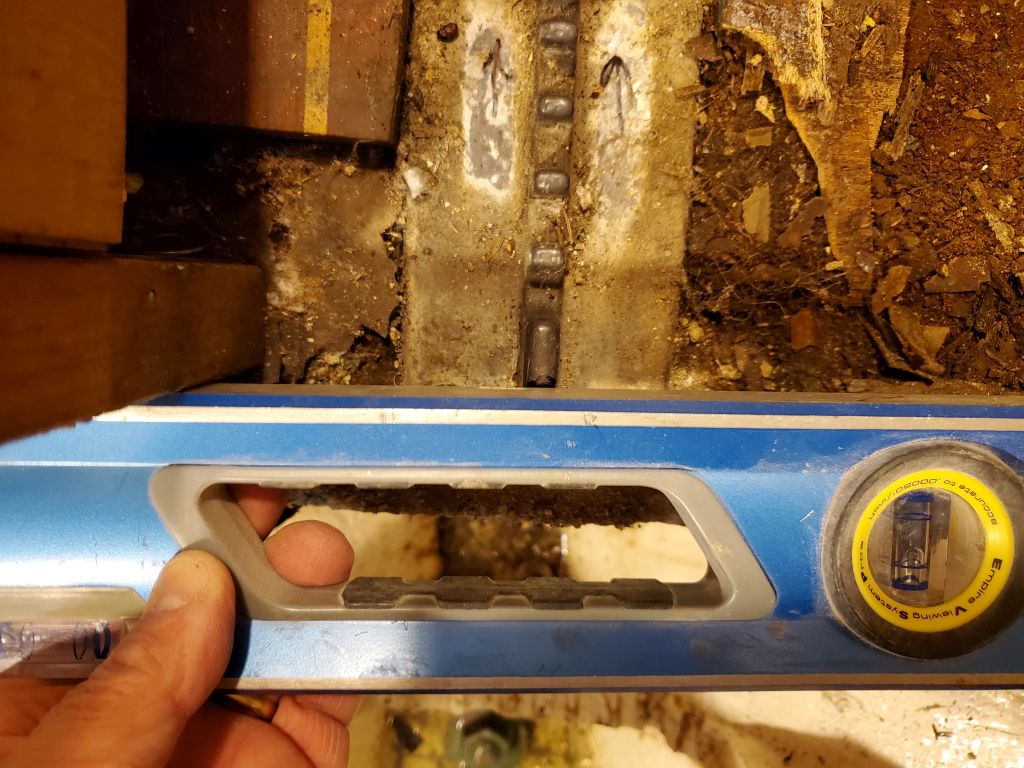
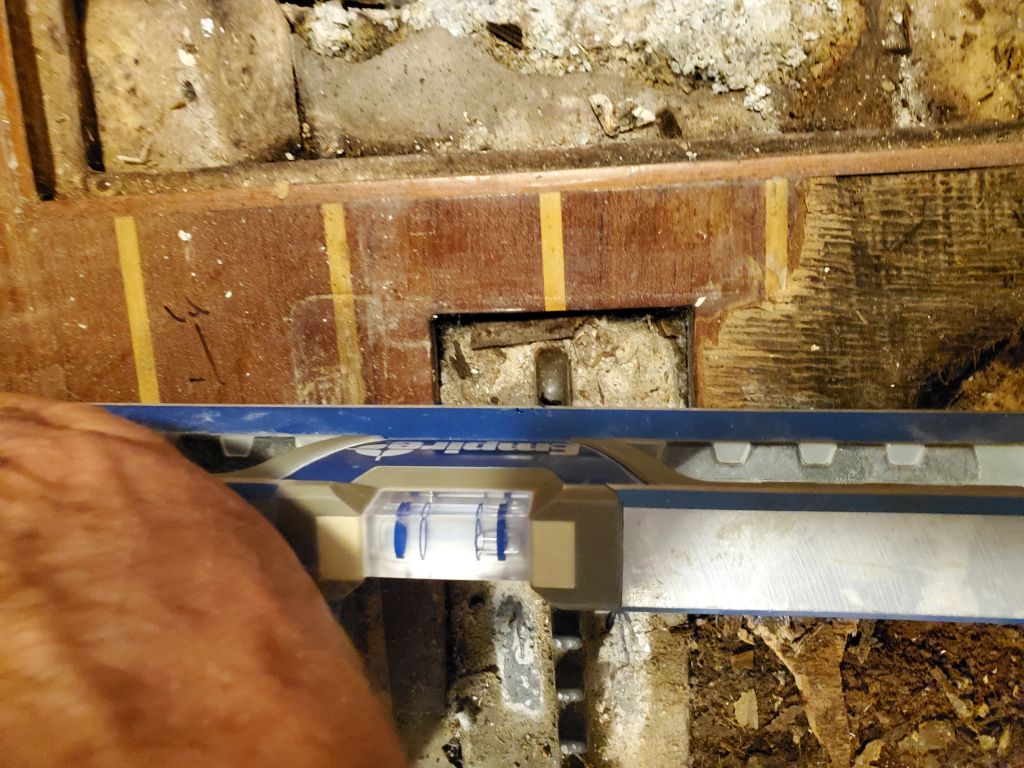
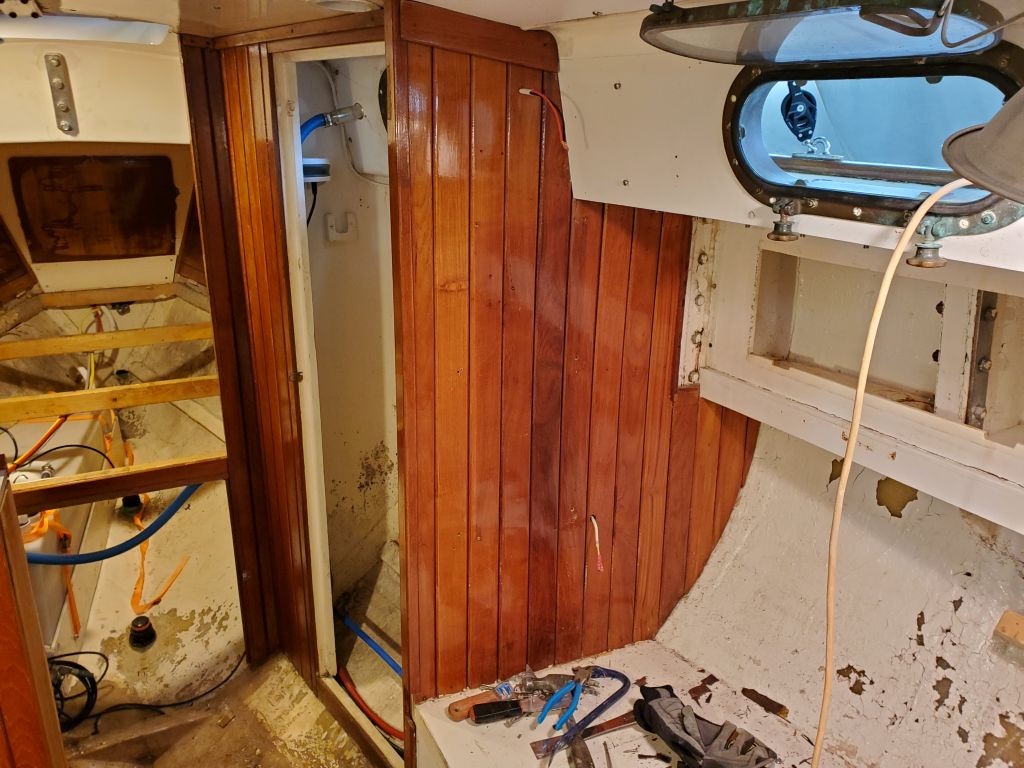
Next, I measured and documented the position of the step in various ways, including its height (measured from a known criterion at the mast collar) and longitudinal and transverse positions.  The distance from the deck to the top of the step structure, as well as the mast base fitting itself, were critical for proper reconstruction later.    I used a straightedge to transfer some of the measurements to nearby structural members for later reference and easier re-creation.  Then, I dismantled some of the nearby woodwork–specifically the outboard side of a wooden mast enclosure and a replacement panel on the aft edge of the bulkhead–to clear the way for some of the work ahead.  Sometime later, I’d make a template of the area, specifically to help relocate the mast base hardware.

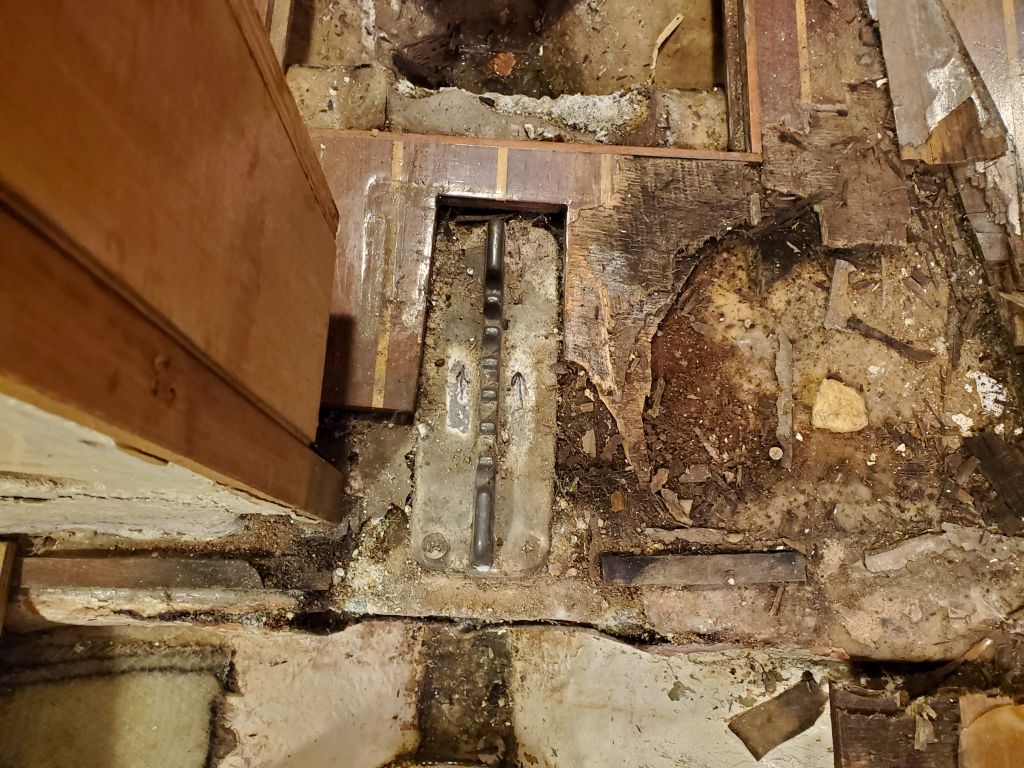
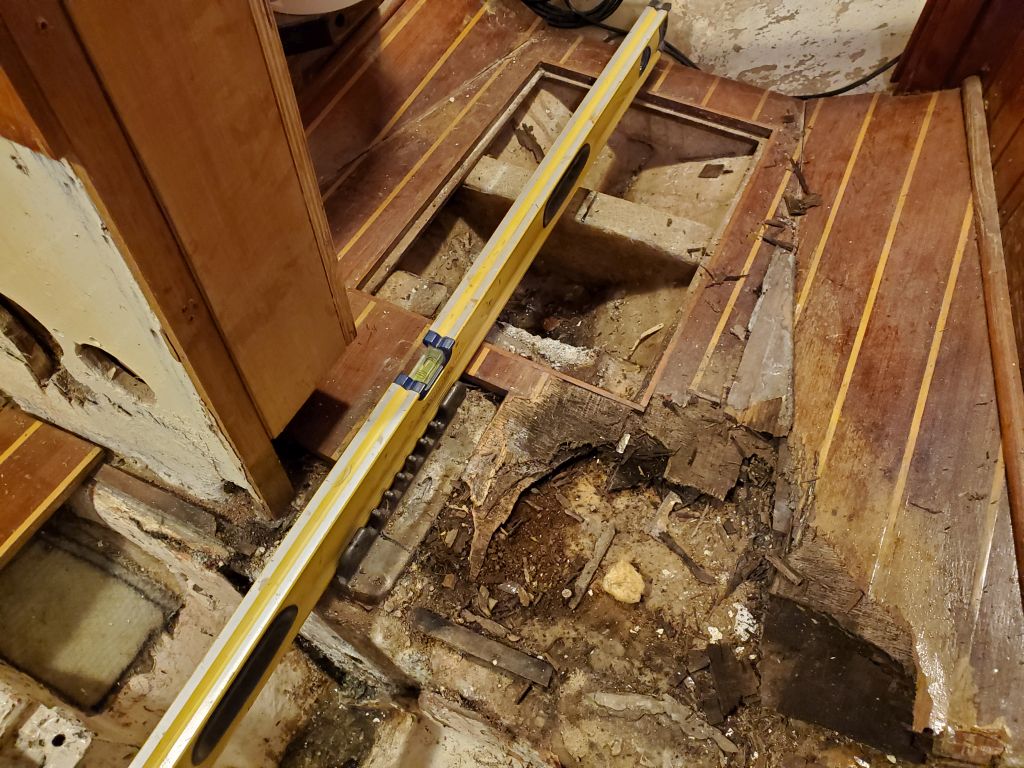
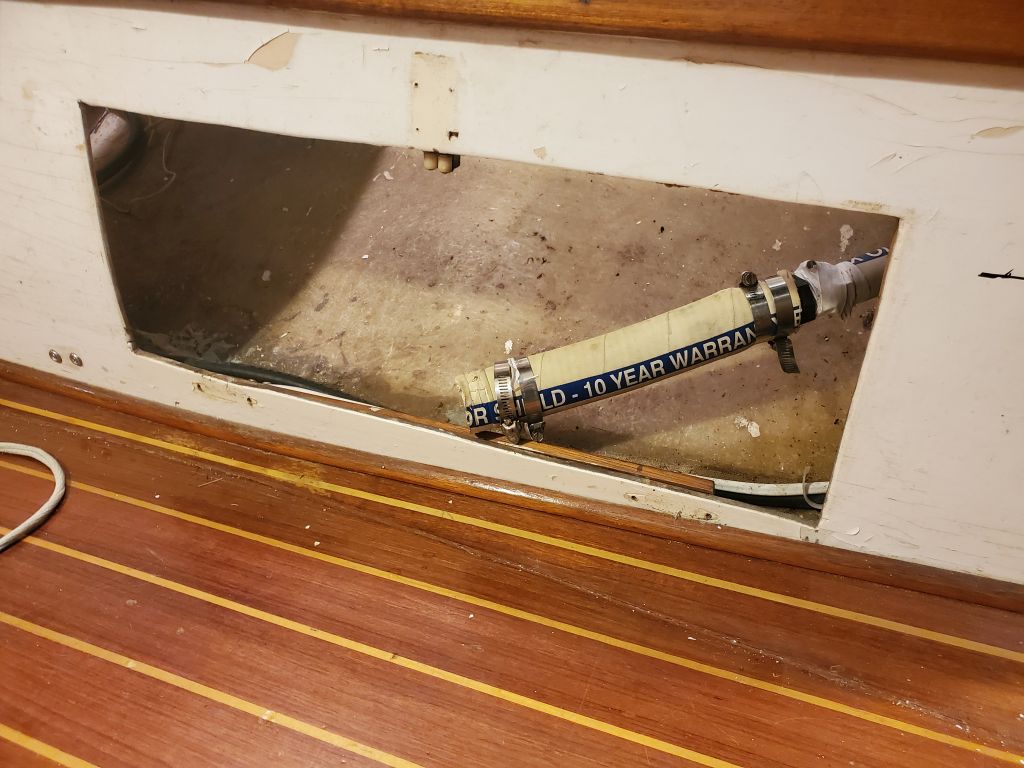
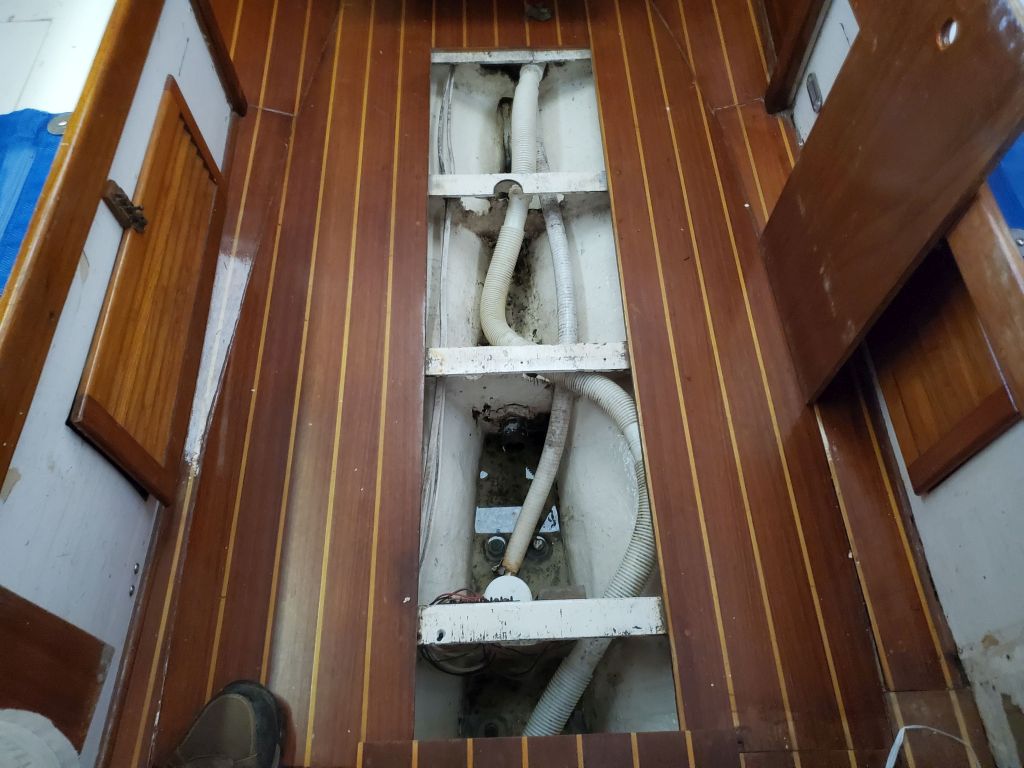
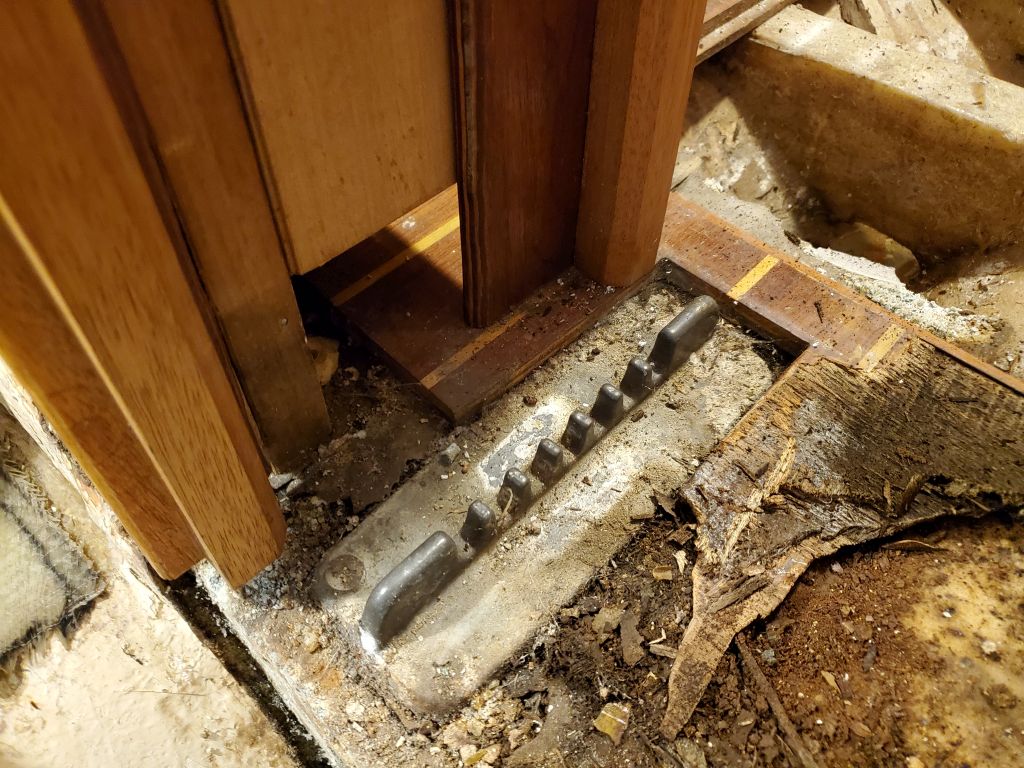
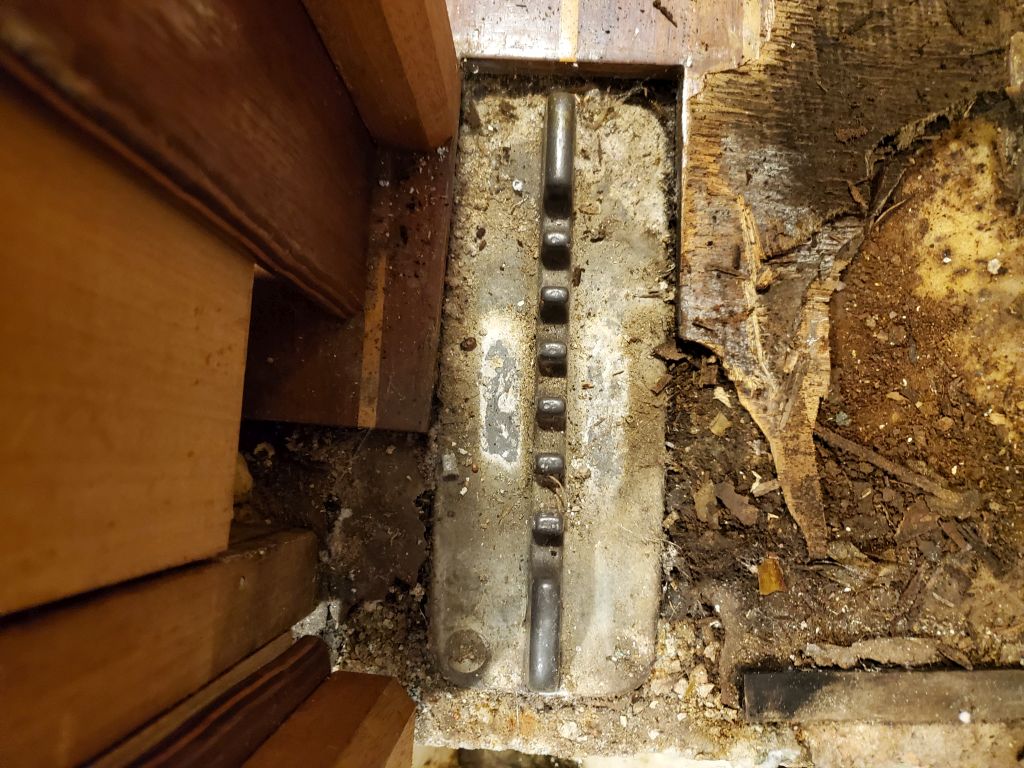
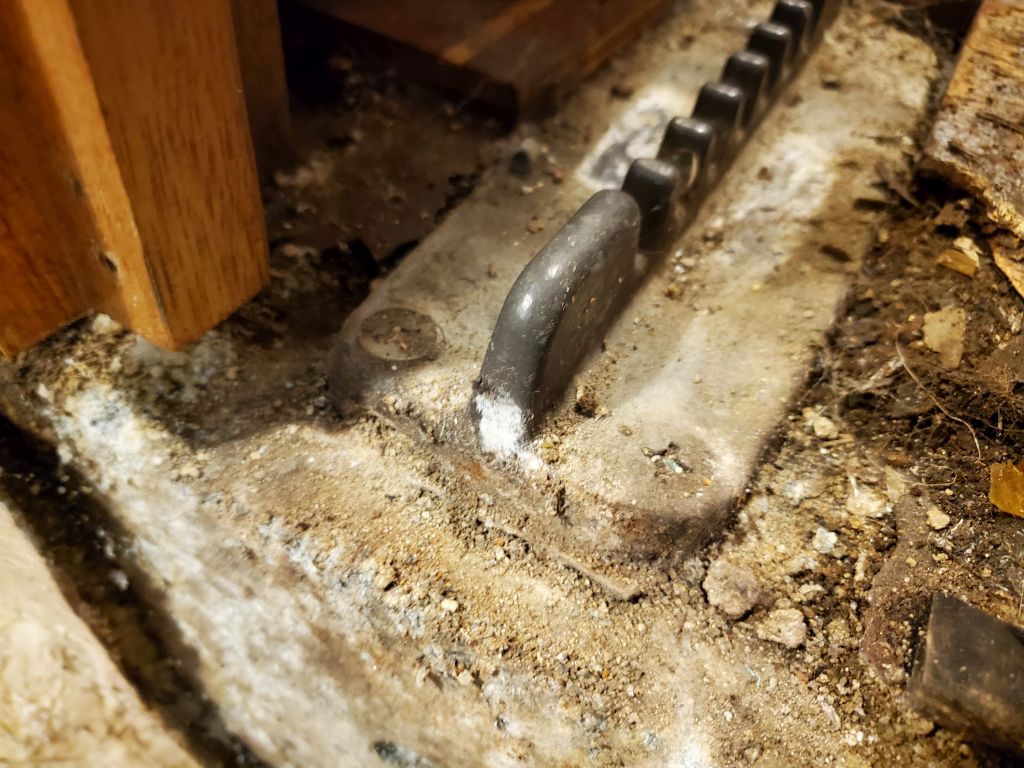
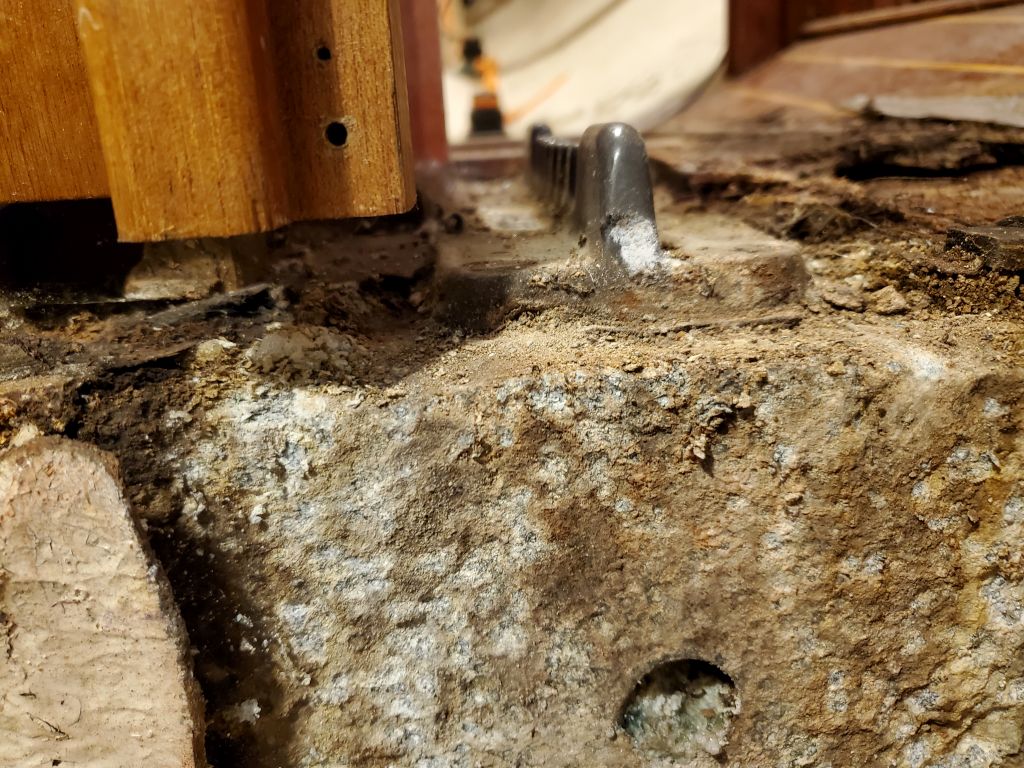
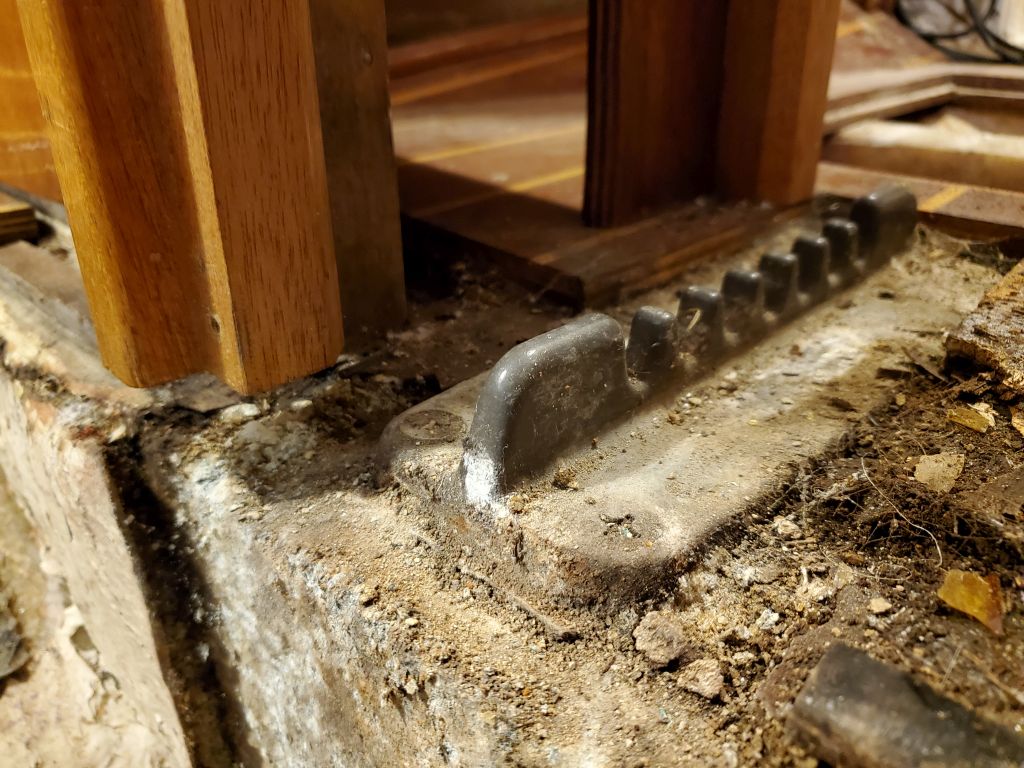
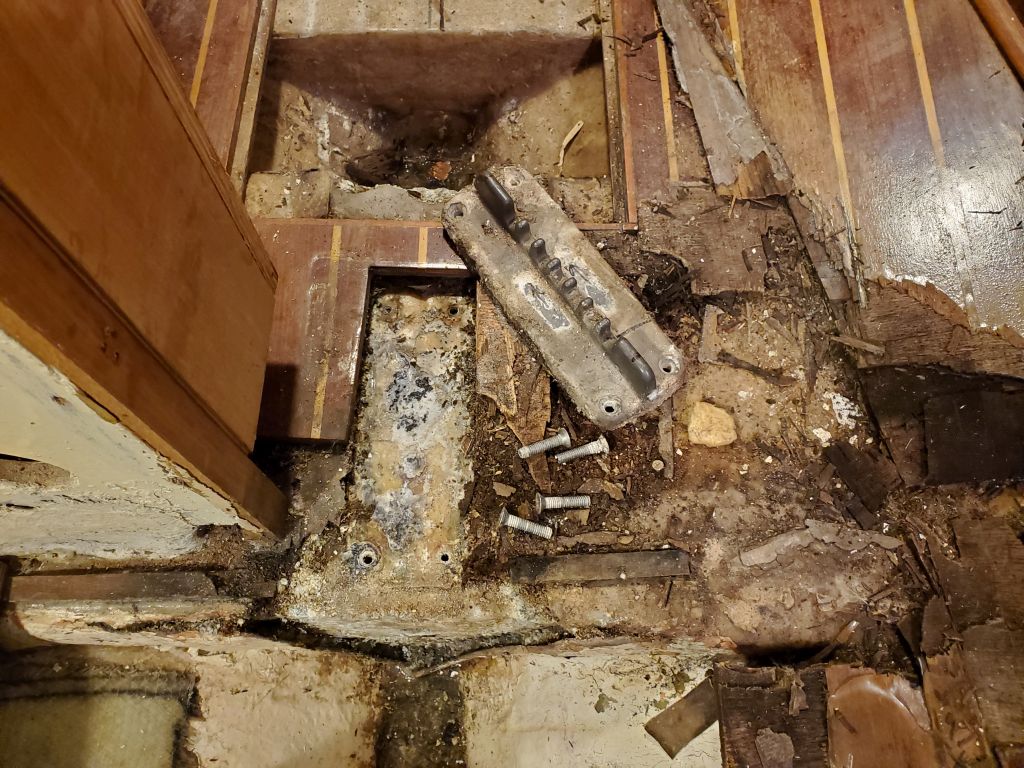
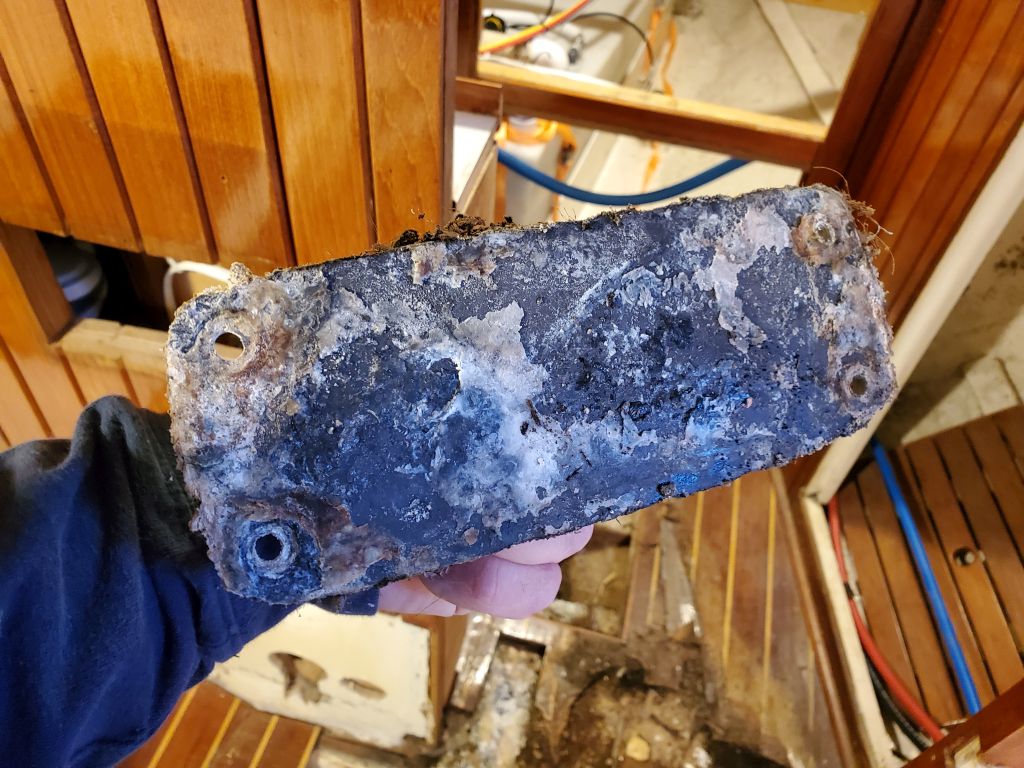
The slotted hardware that accepted the base of the mast, when stepped, was secured to the aluminum step structure with four machine screws that I removed without any trouble.

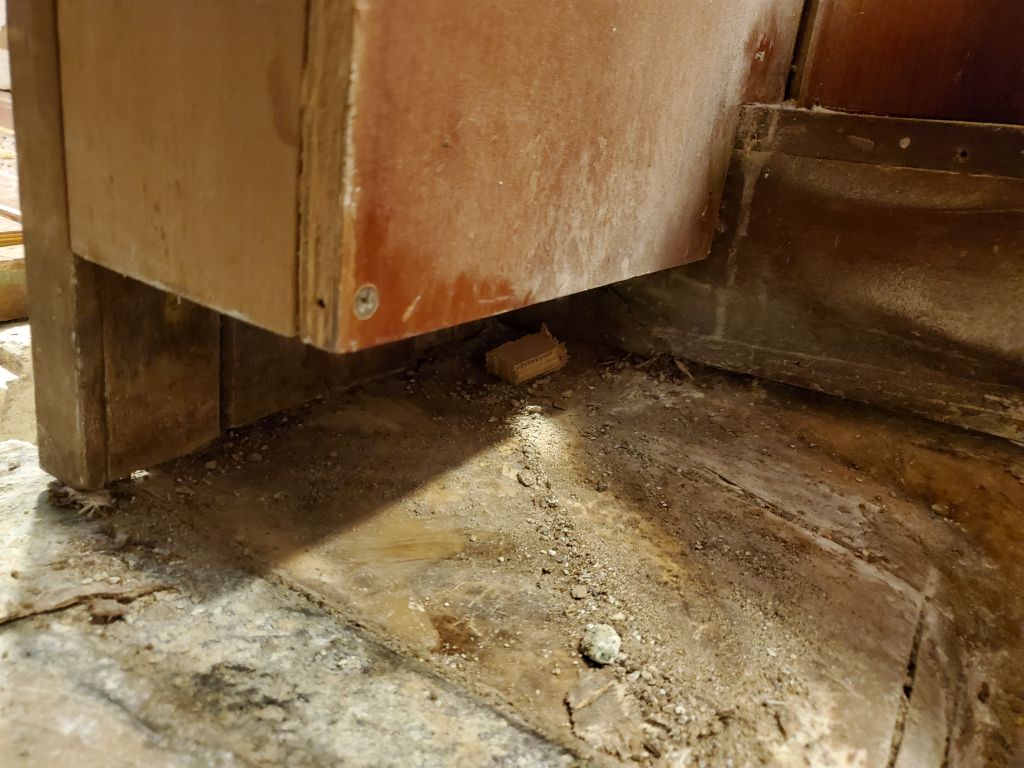
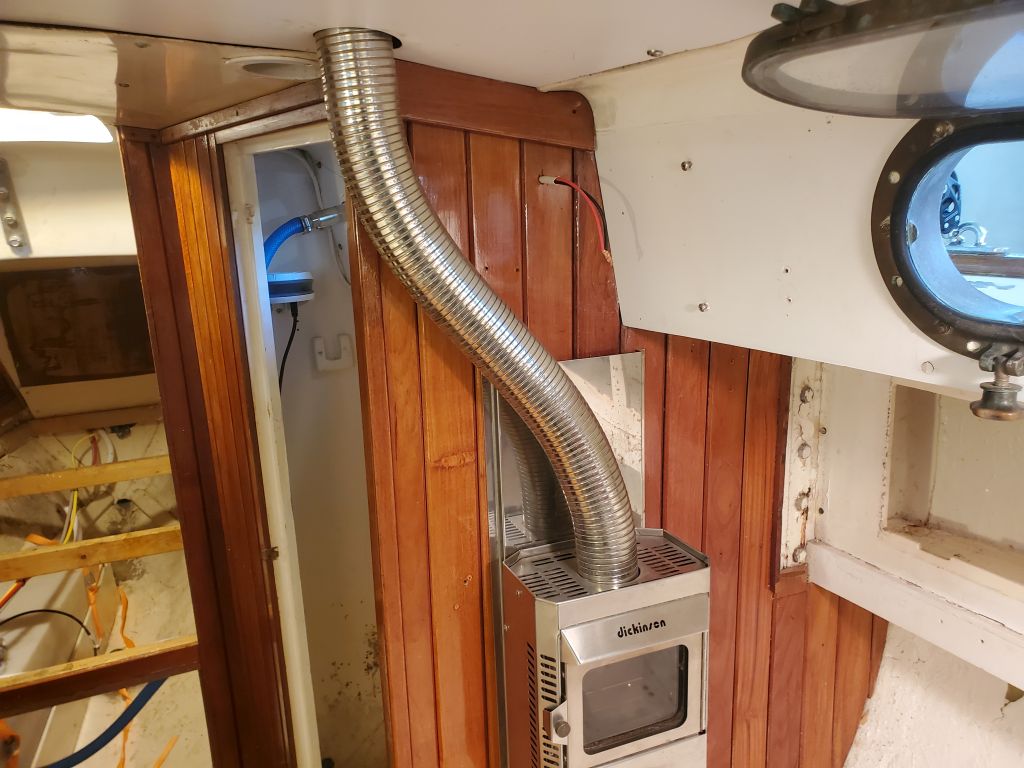
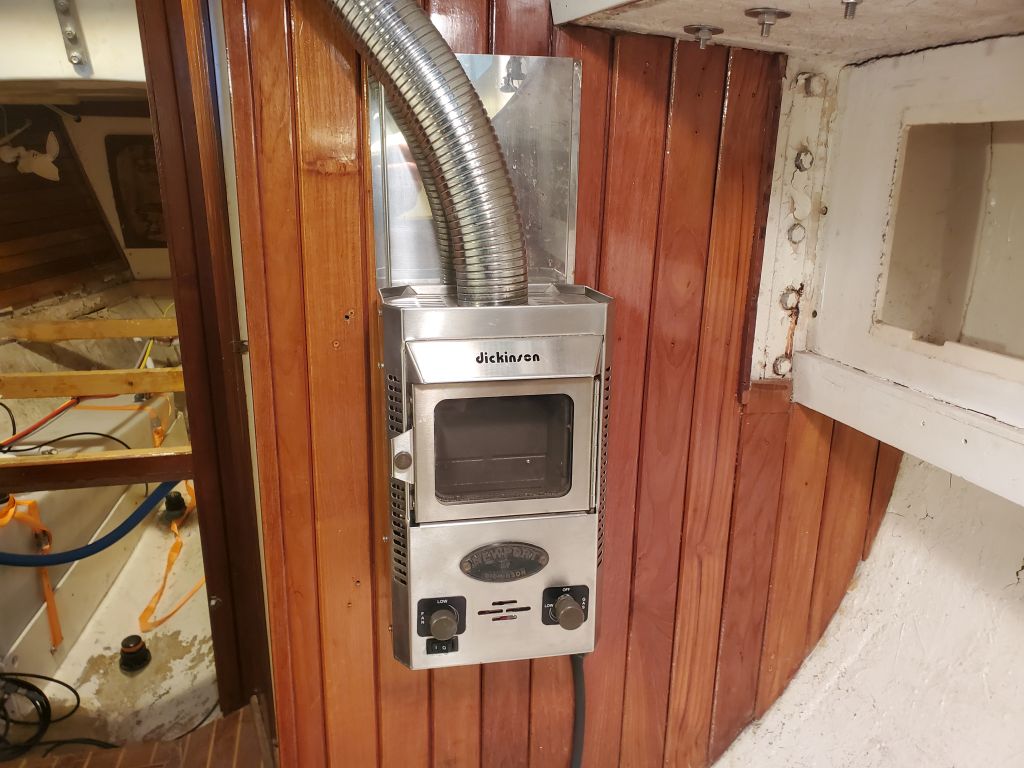
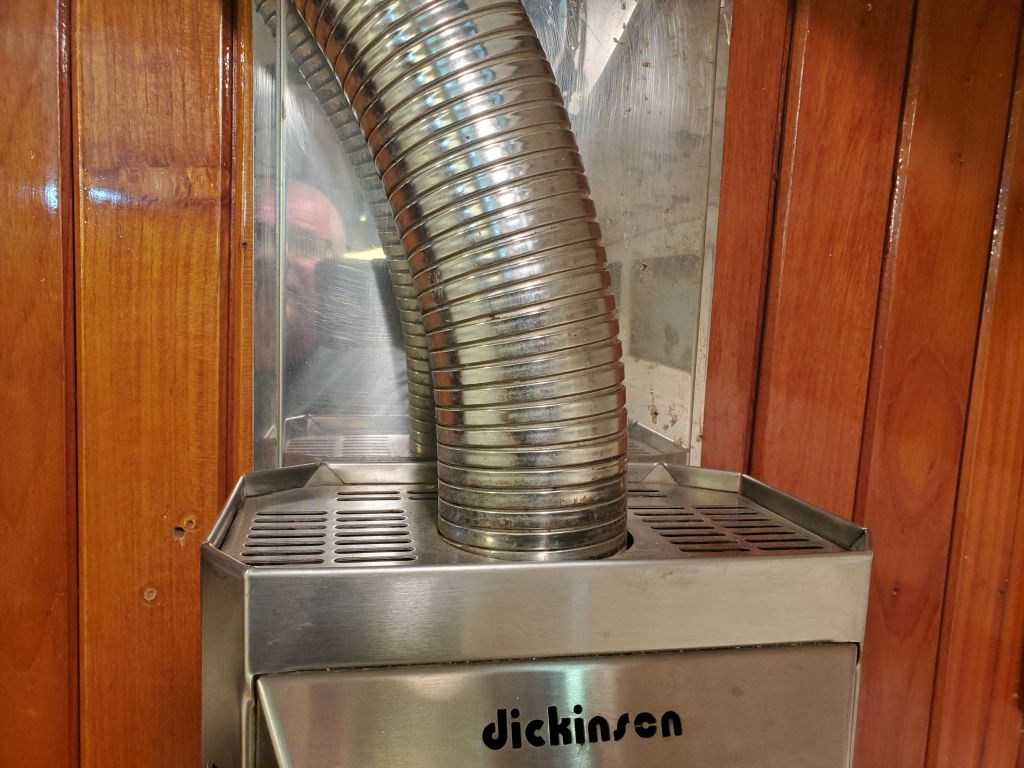
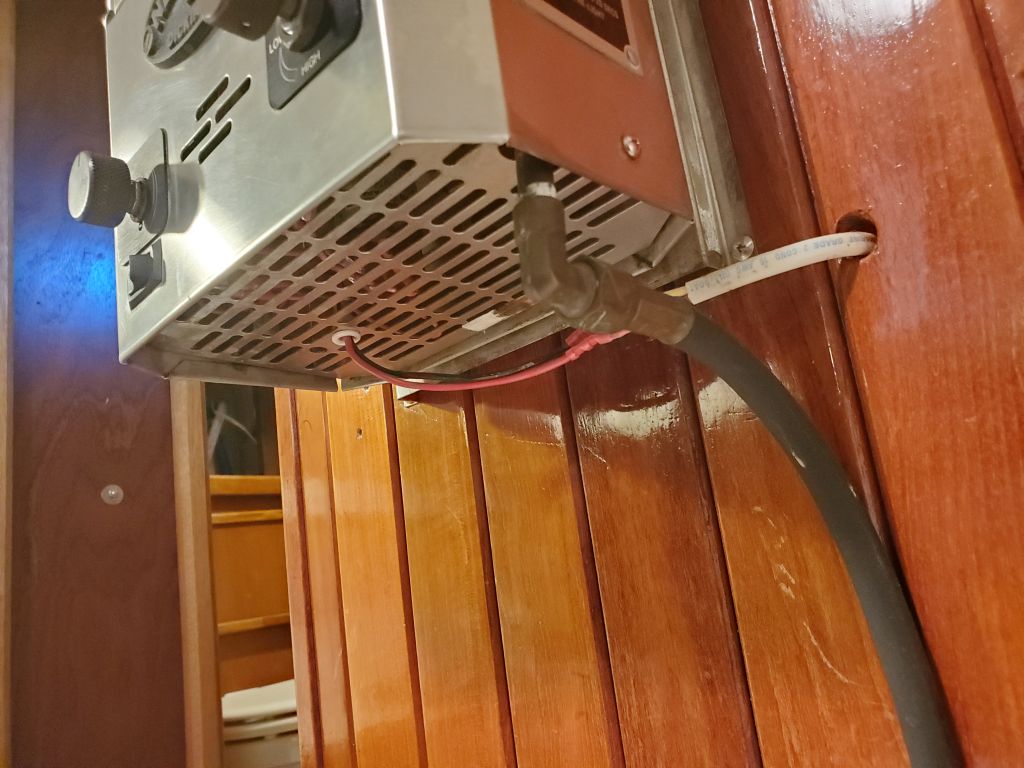
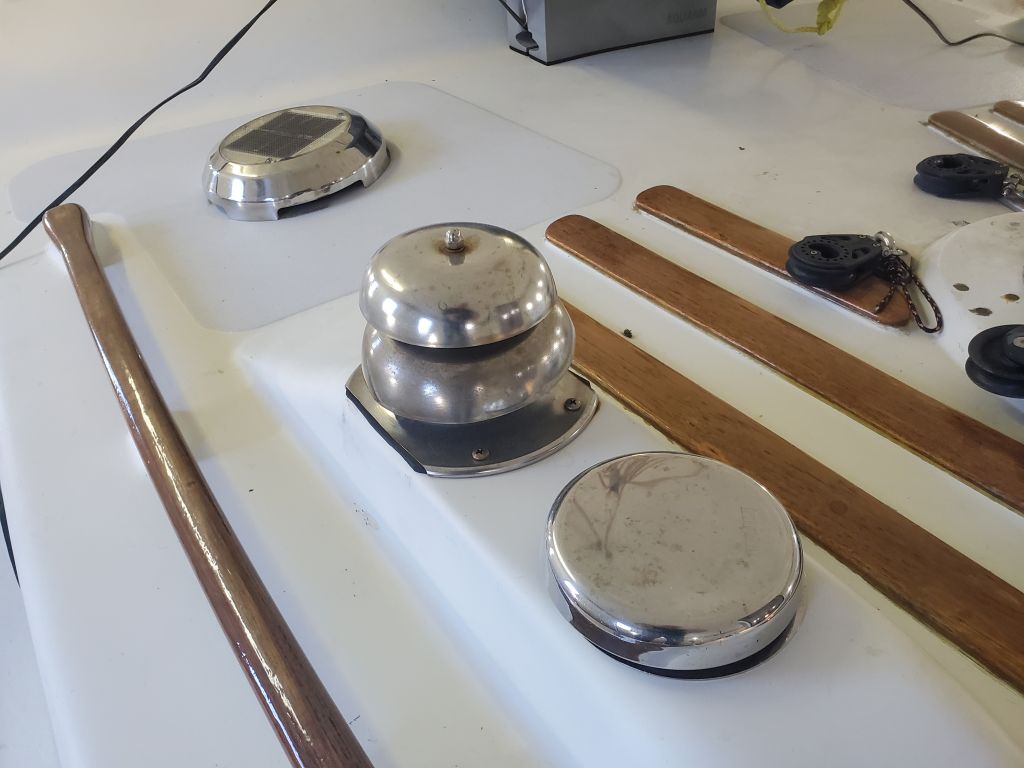
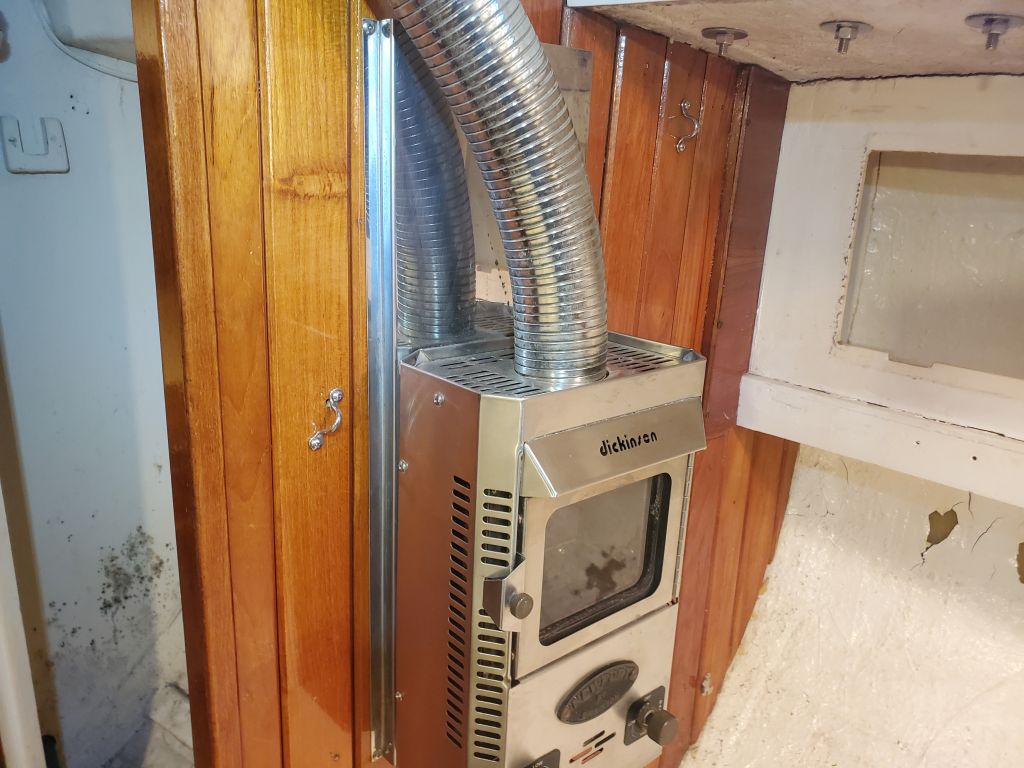
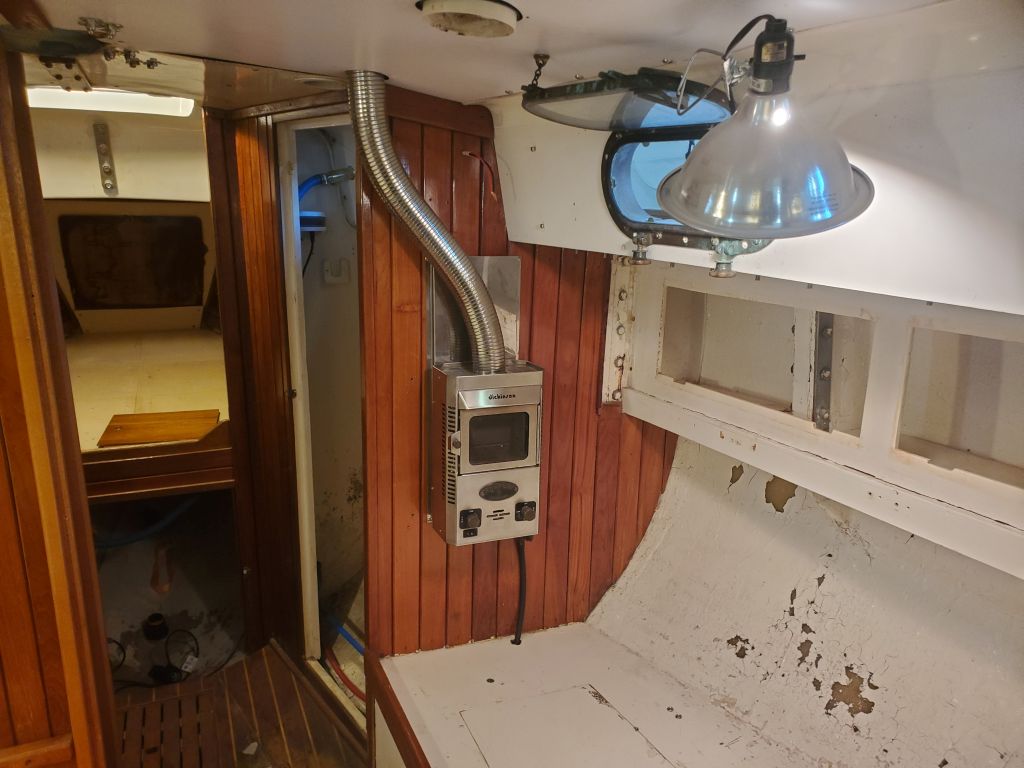
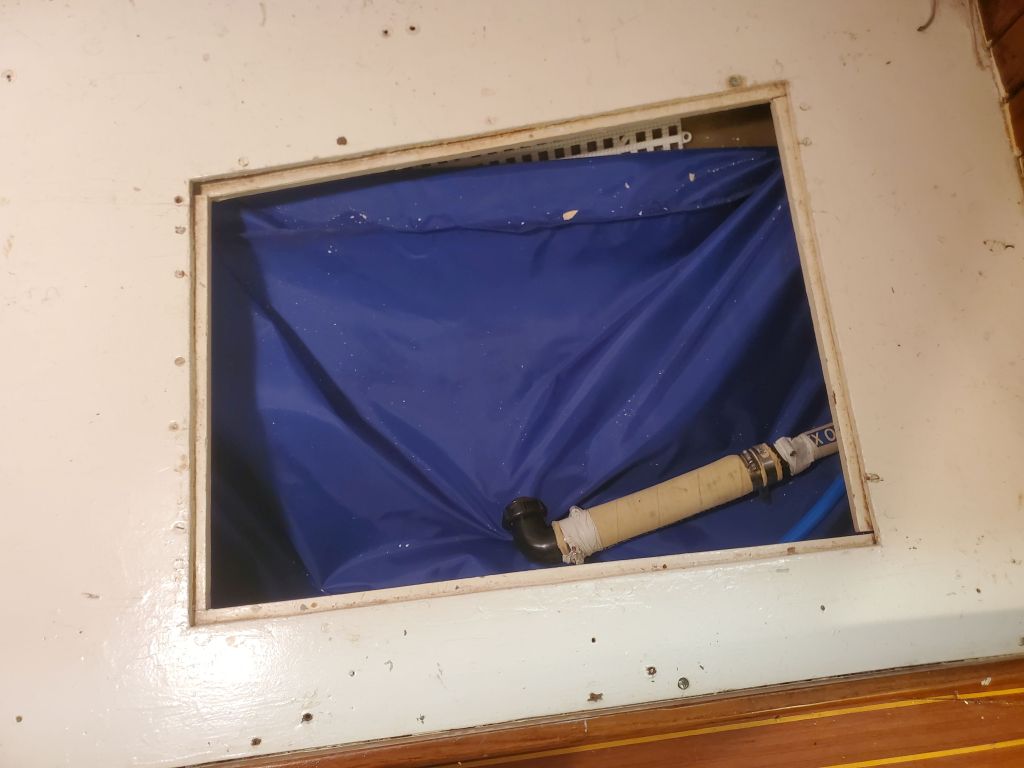
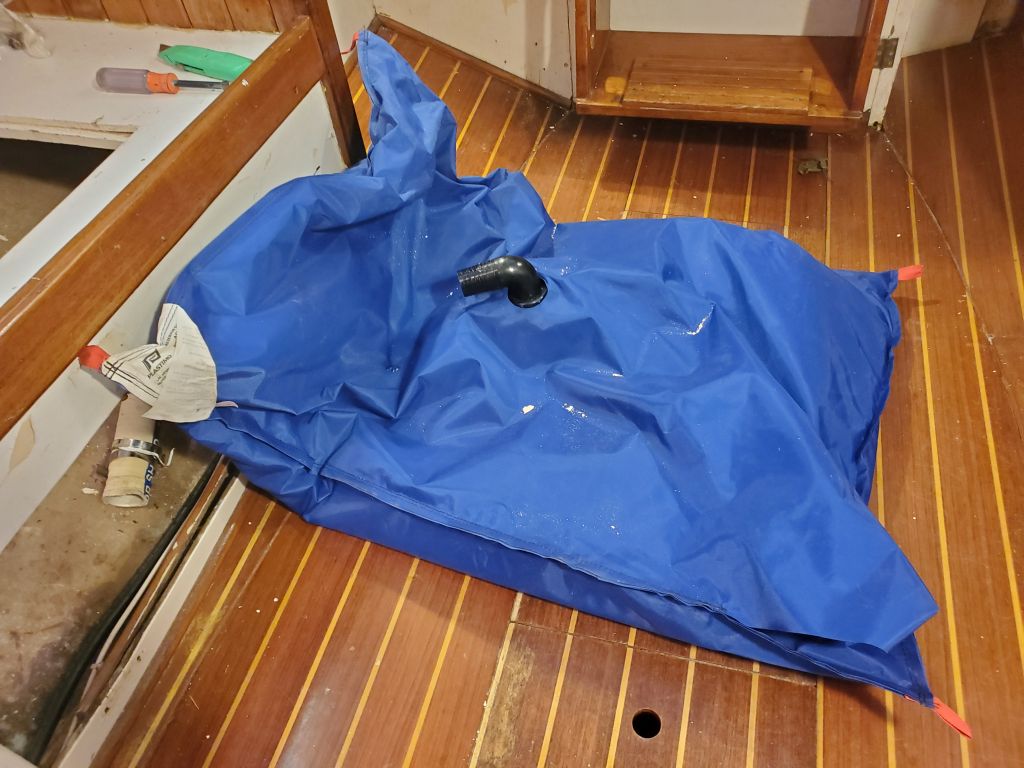
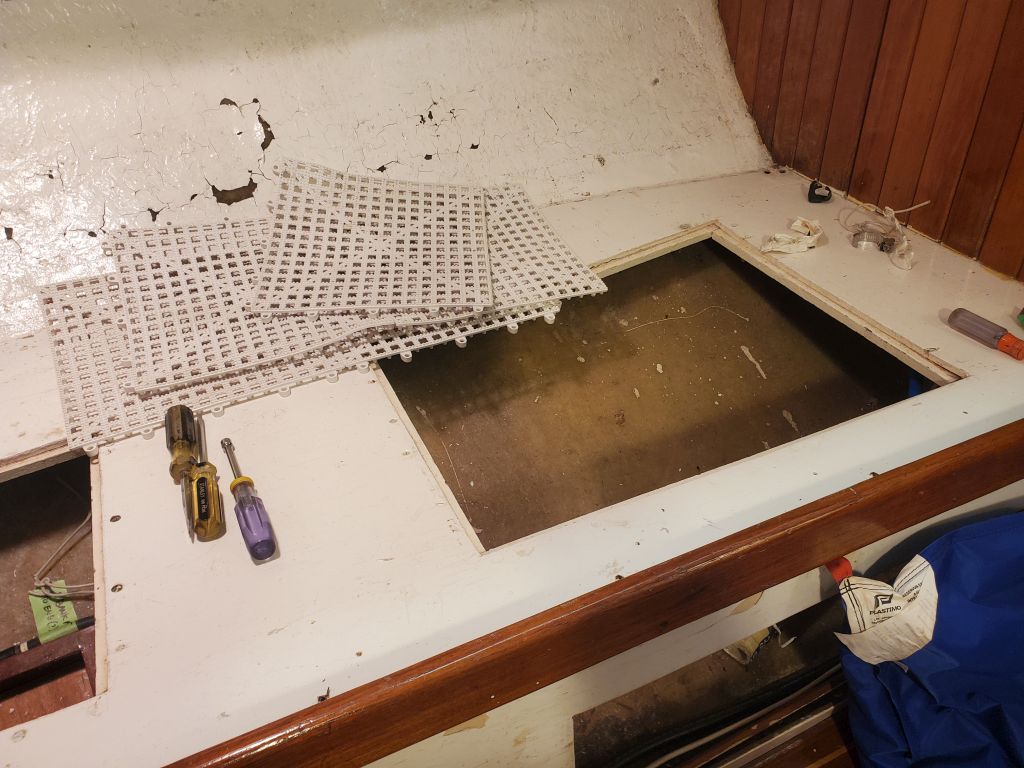
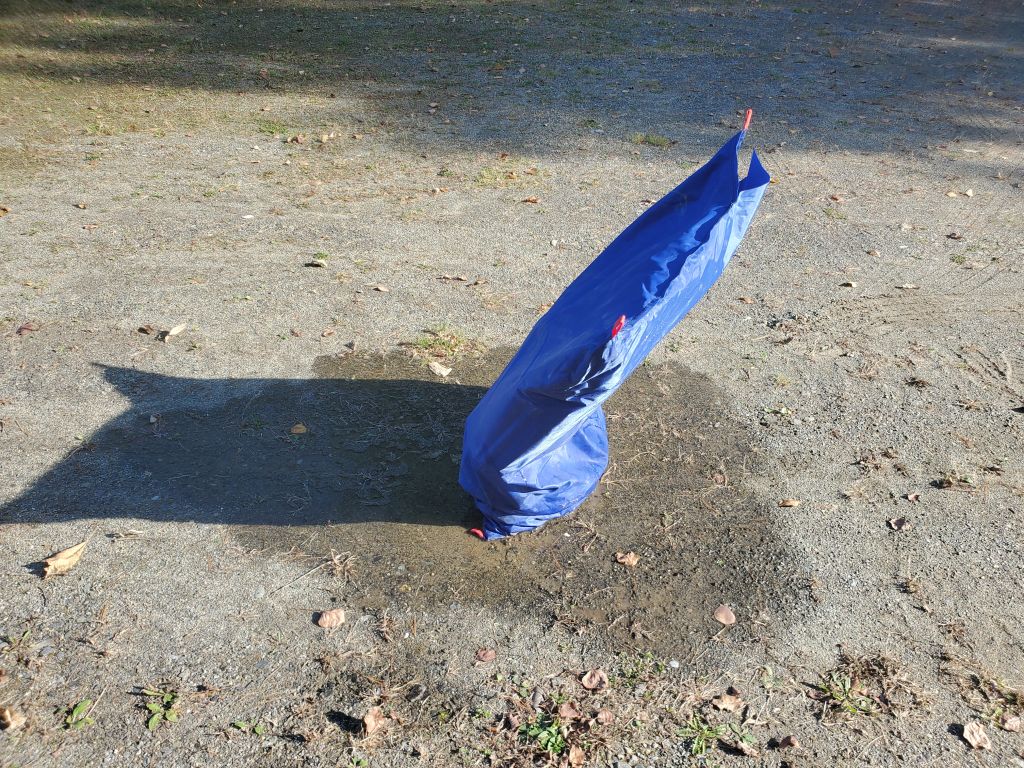
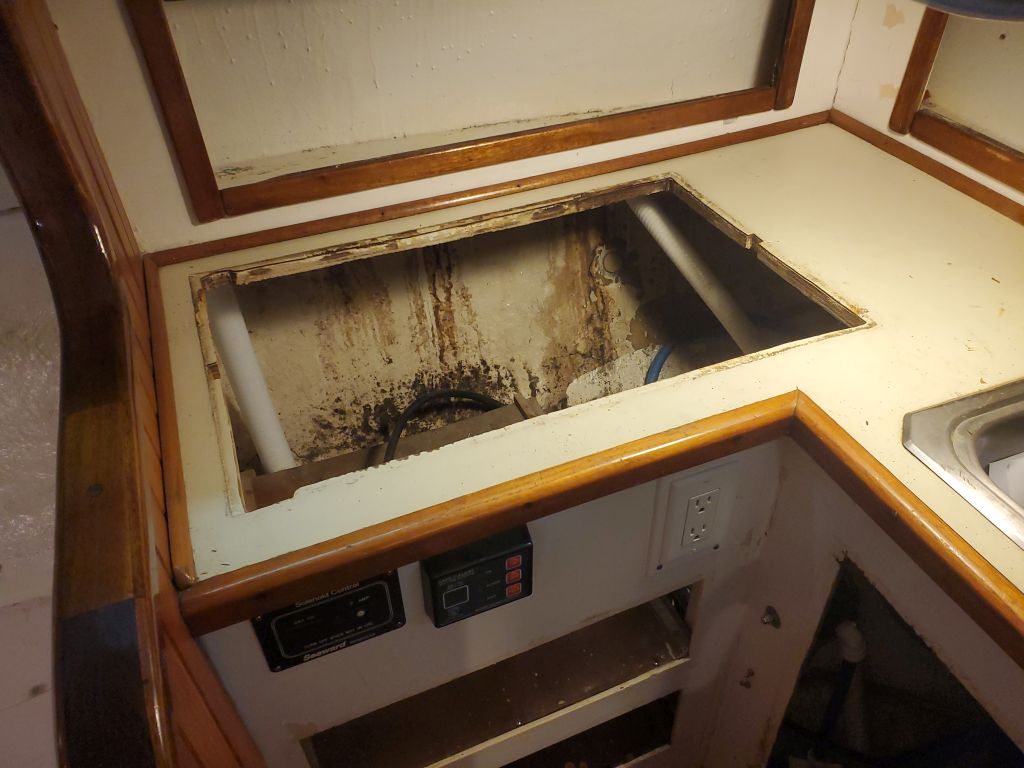
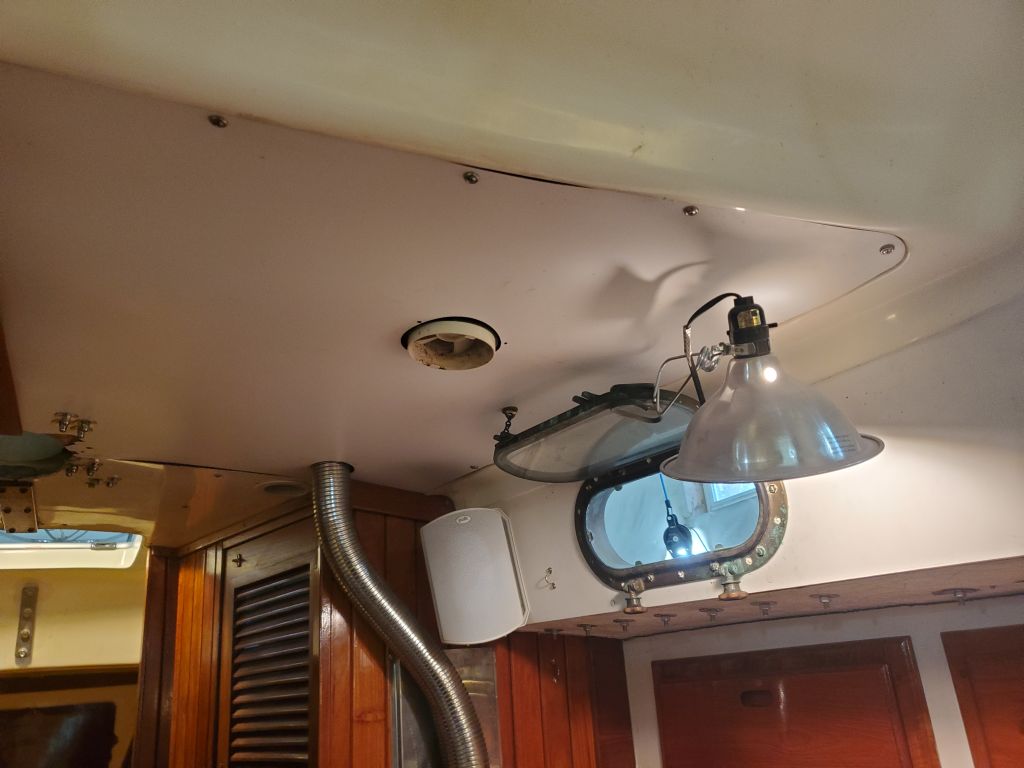
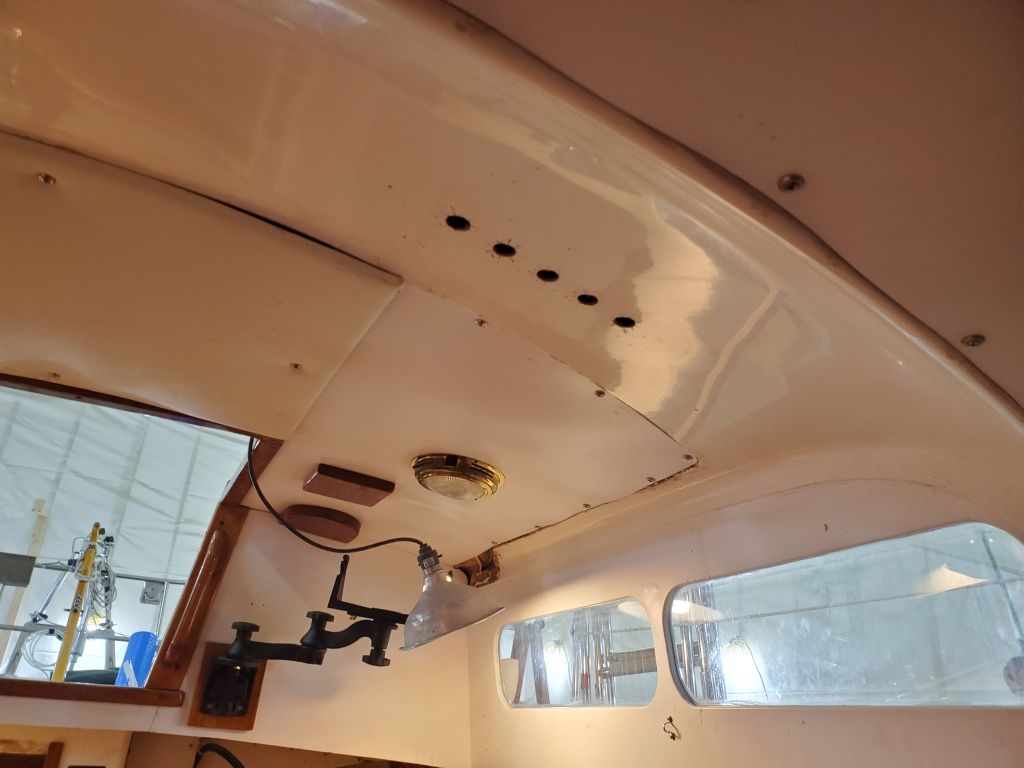
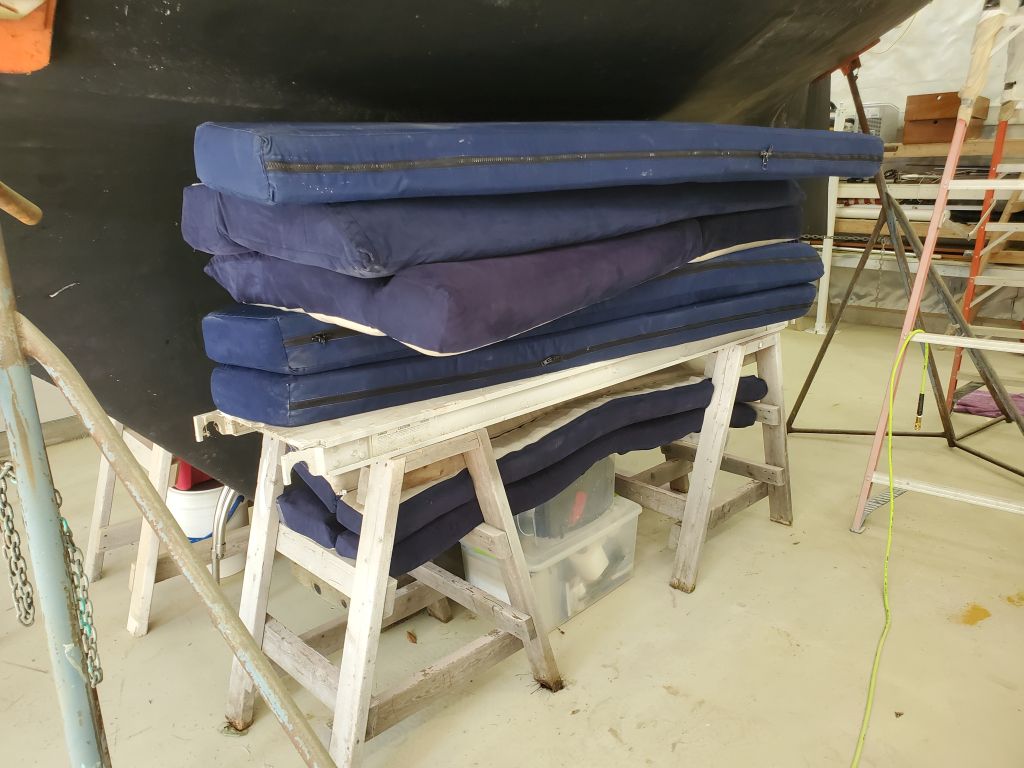
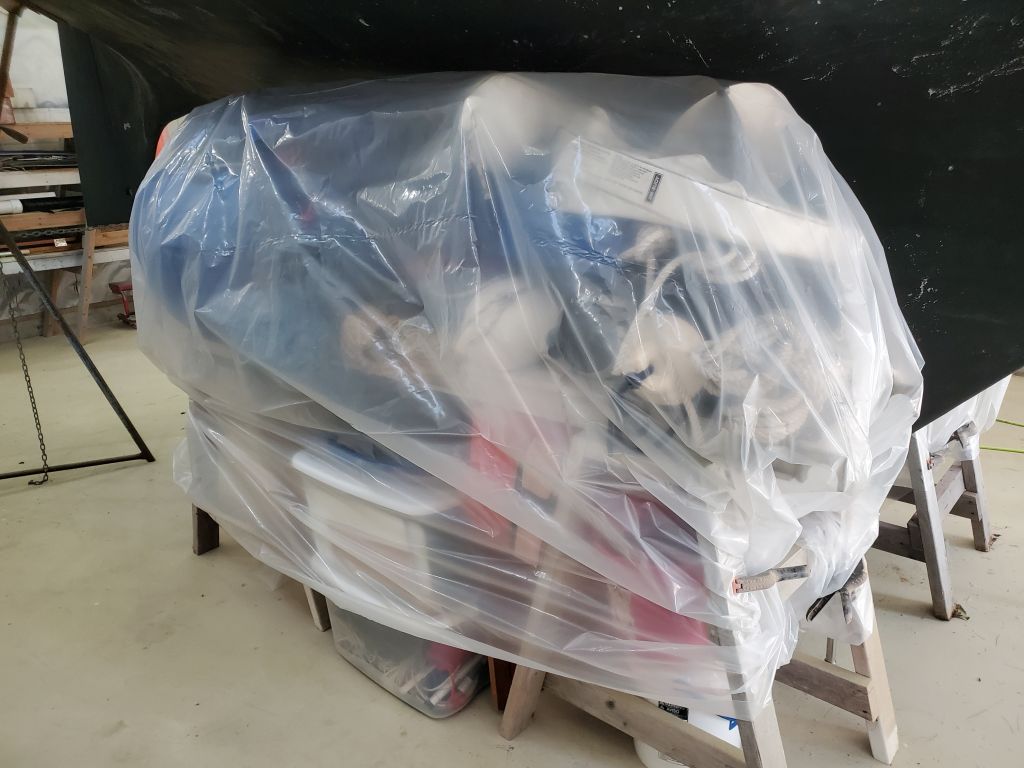
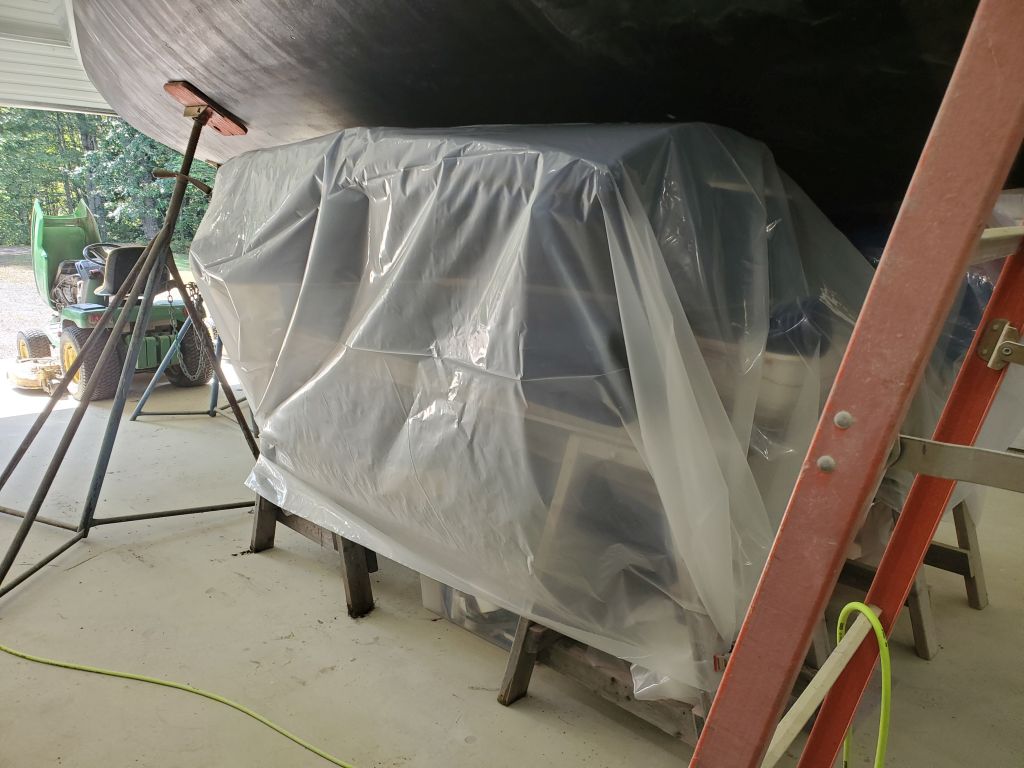
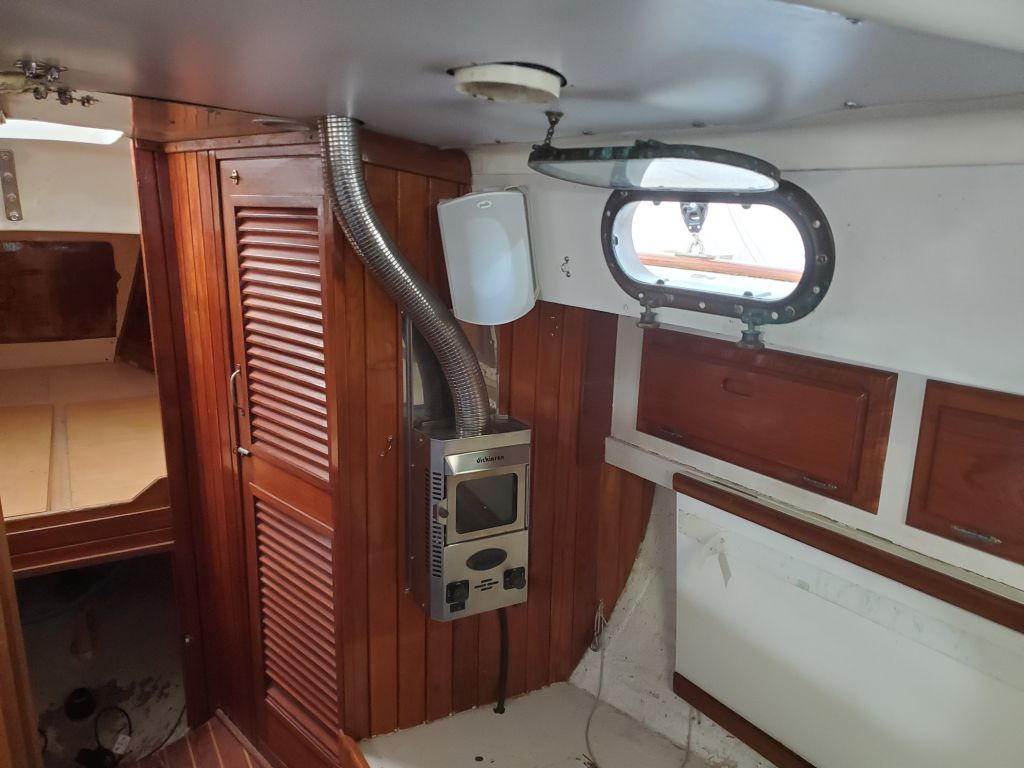
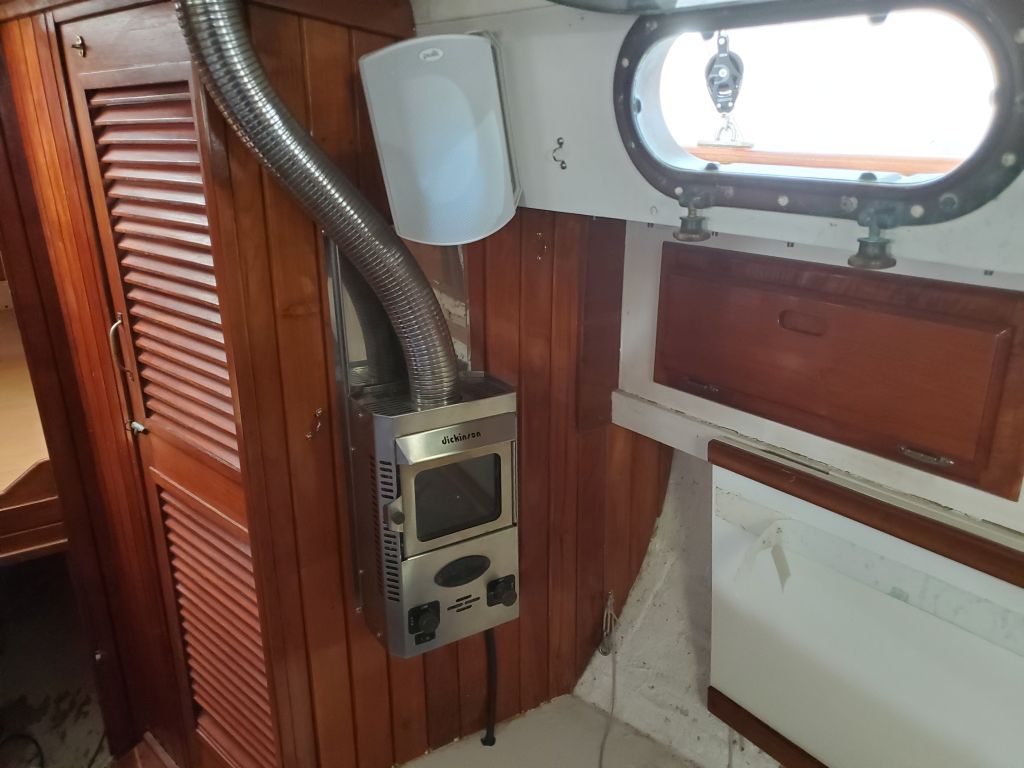
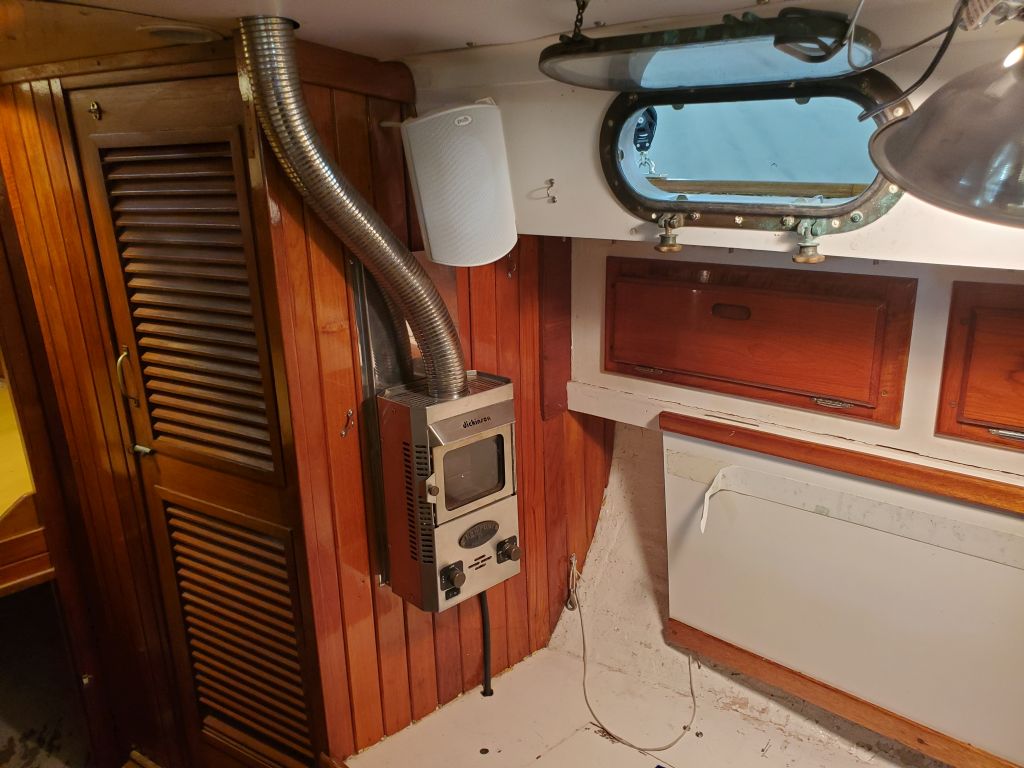
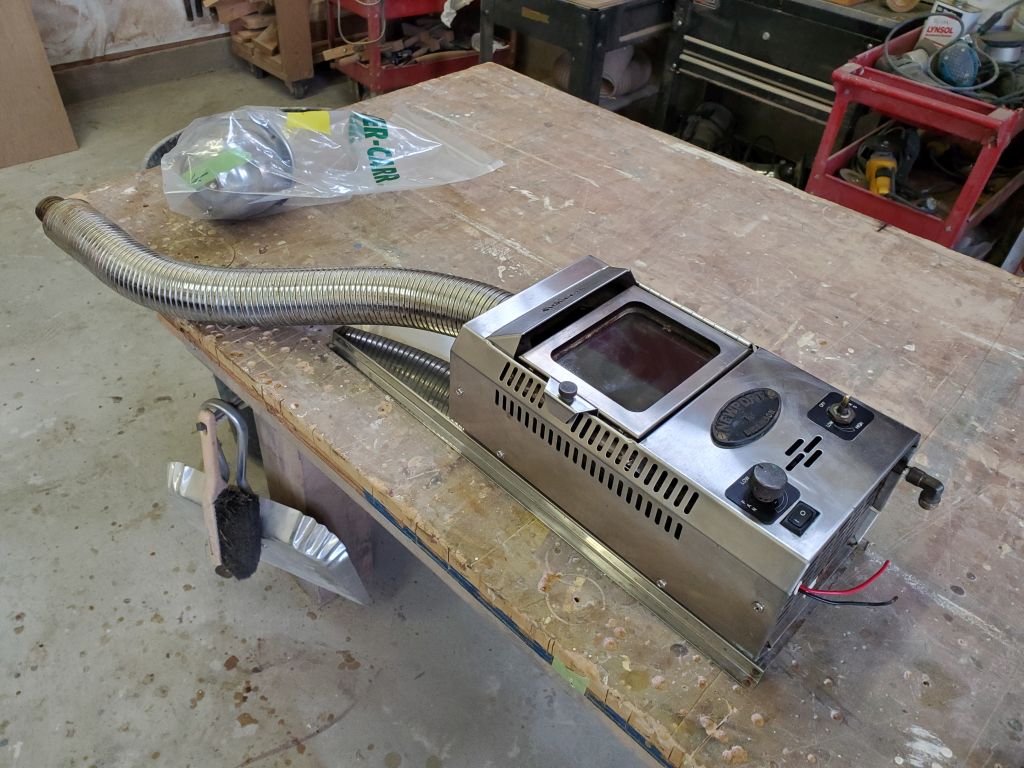
Before going much further, I paused to bail out some water that remained in the bilge on either side of the step, and also to remove the cabin heater for safekeeping and to remove it from what would soon become a dusty environment.

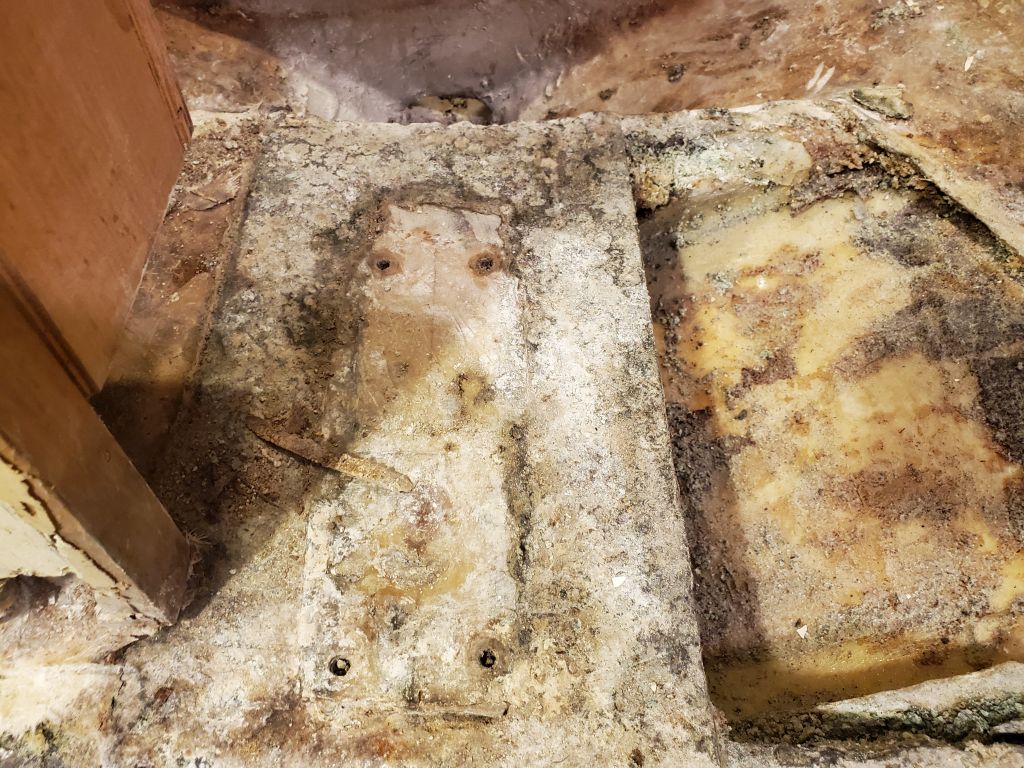
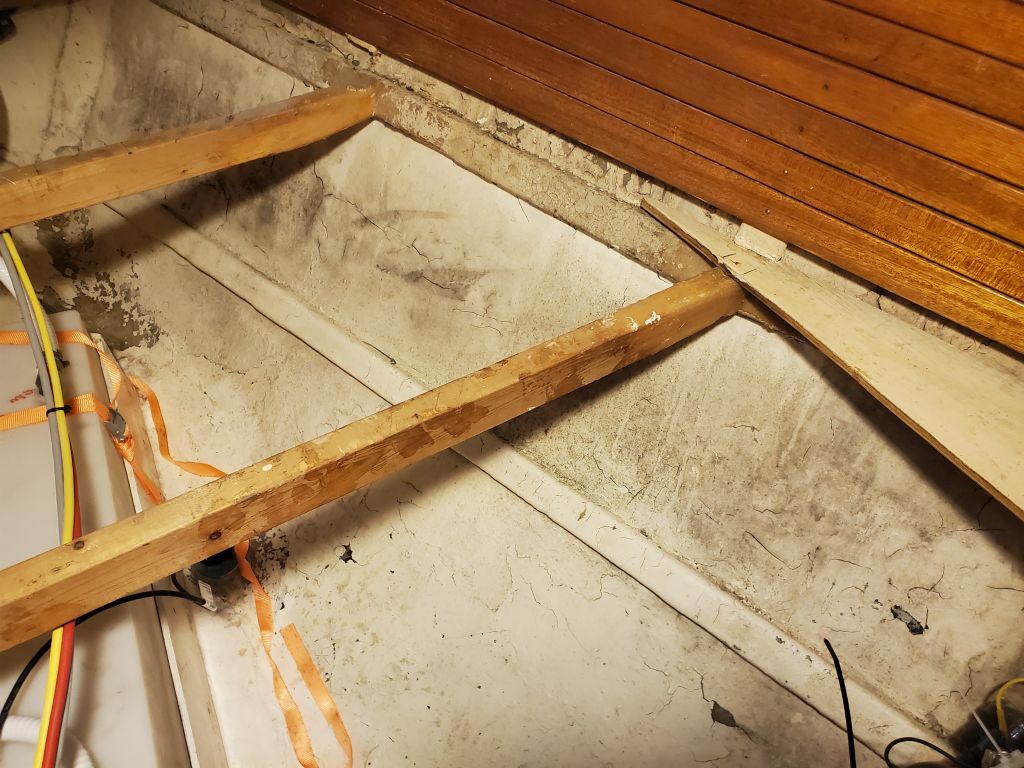
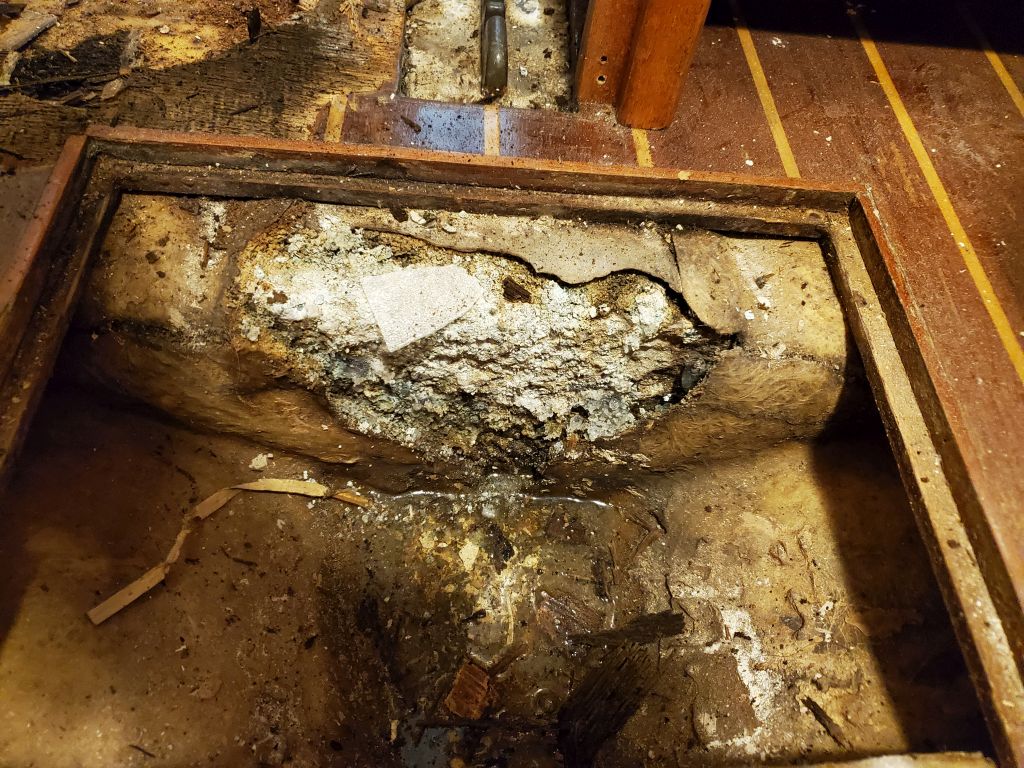
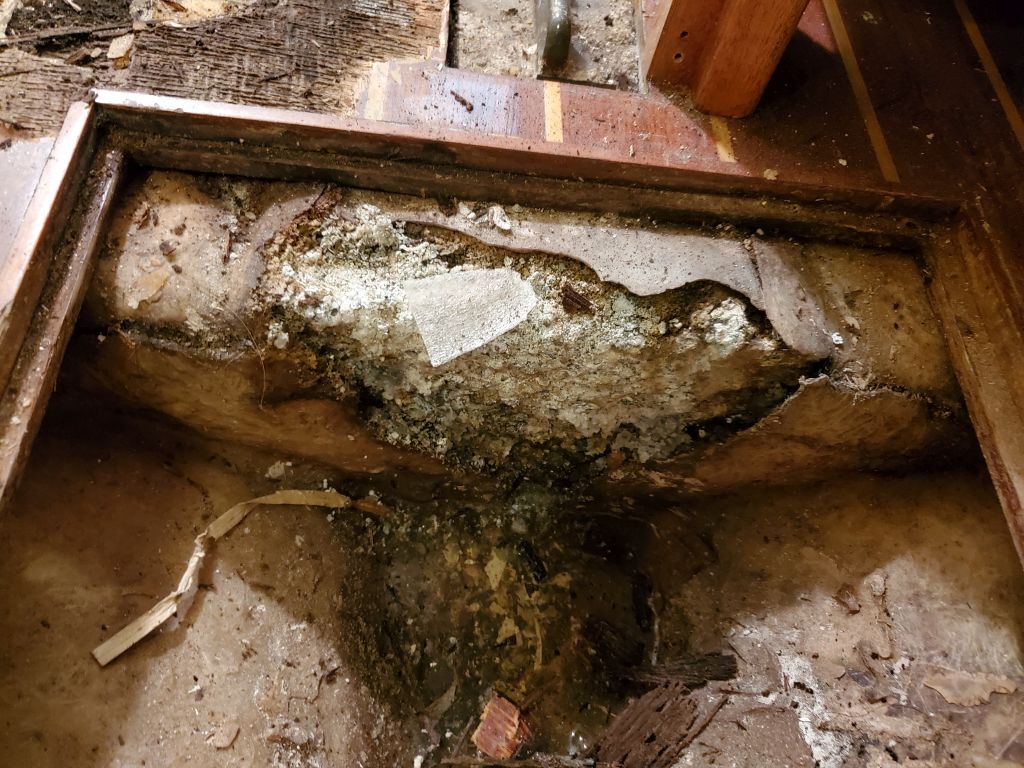
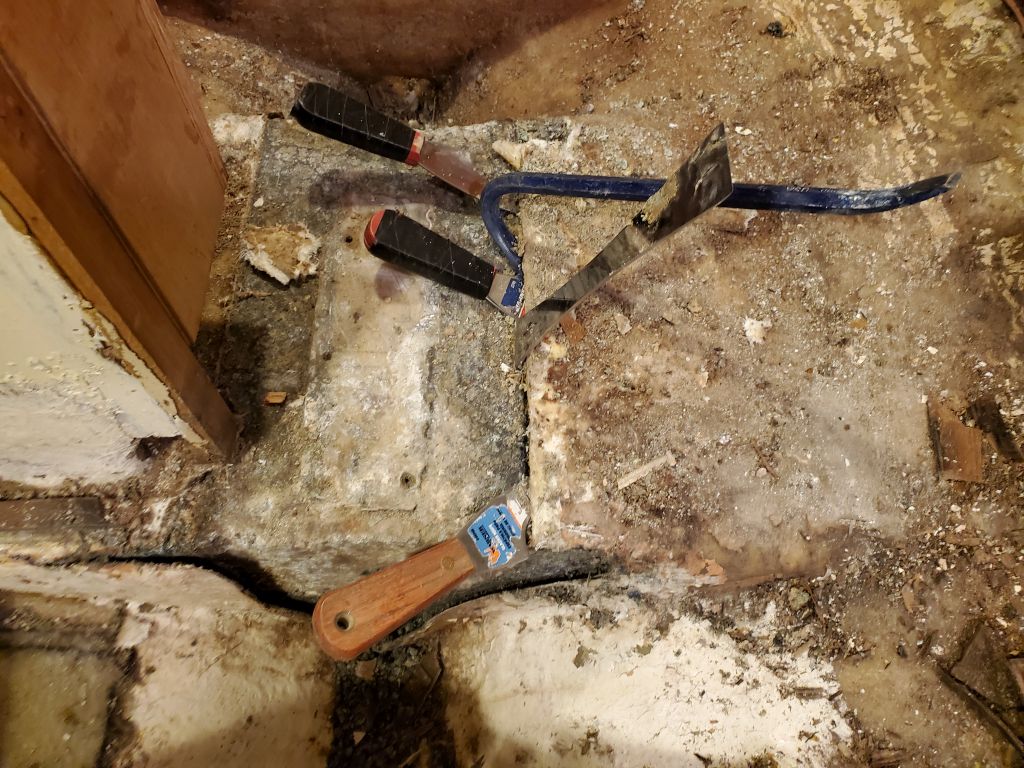
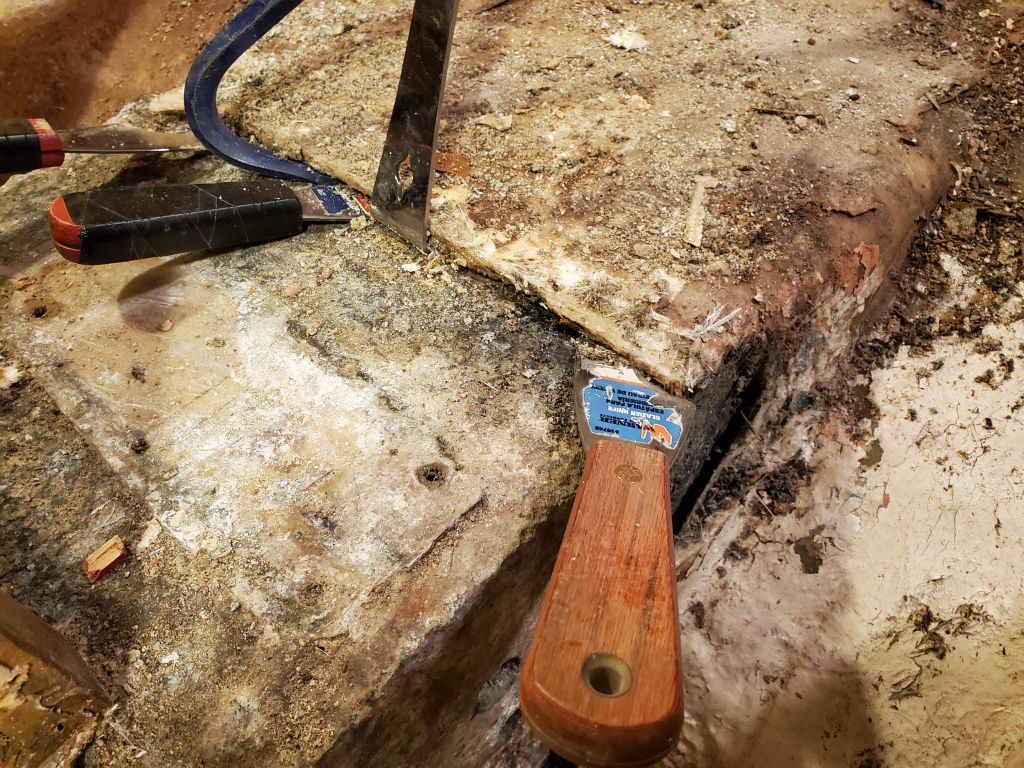
I didn’t know what I was going to find next, but I started working around the exposed part of the aluminum step to probe the nearby fiberglass and see if I could figure out the edges and limits of what, at this point, still appeared to be one huge solid block on the centerline.  Since most of the step was exposed towards the starboard side, I started there and soon defined a clear, straight edge, from which I could pry up the nearby fiberglass (to starboard) with several prying-type tools.  By now, I’d managed to determine that beneath this tabbing, there was softer material, at least between the forward and after edges, and it was starting to look like the structure featured two vertical webs (spanning the width of the hull fore and aft) incorporating the center, main, part of the step.  The tabbing, despite being loose, was too thick for me to pry up by hand, so I got myself set up with breathing supply, tools, and other protective gear and cut away the fiberglass with an angle grinder and cutoff wheel.  This exposed the starboard side of the structure and revealed expanding foam filling the void between the transverse webs of the step.  The foam was intact, but wet.

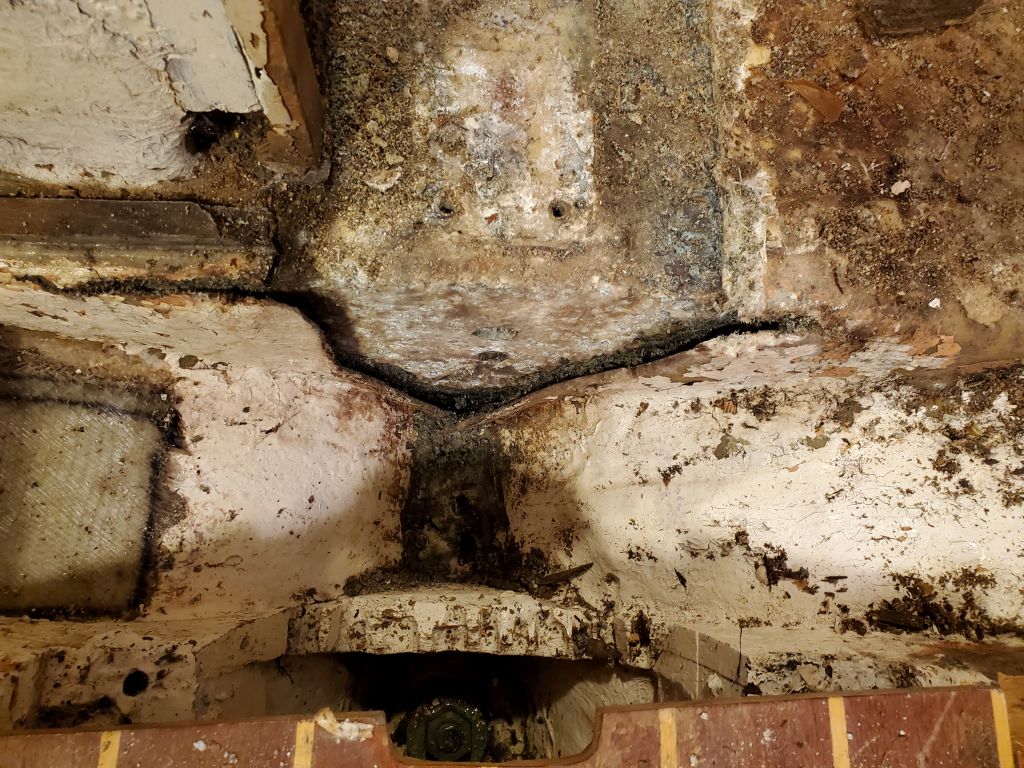
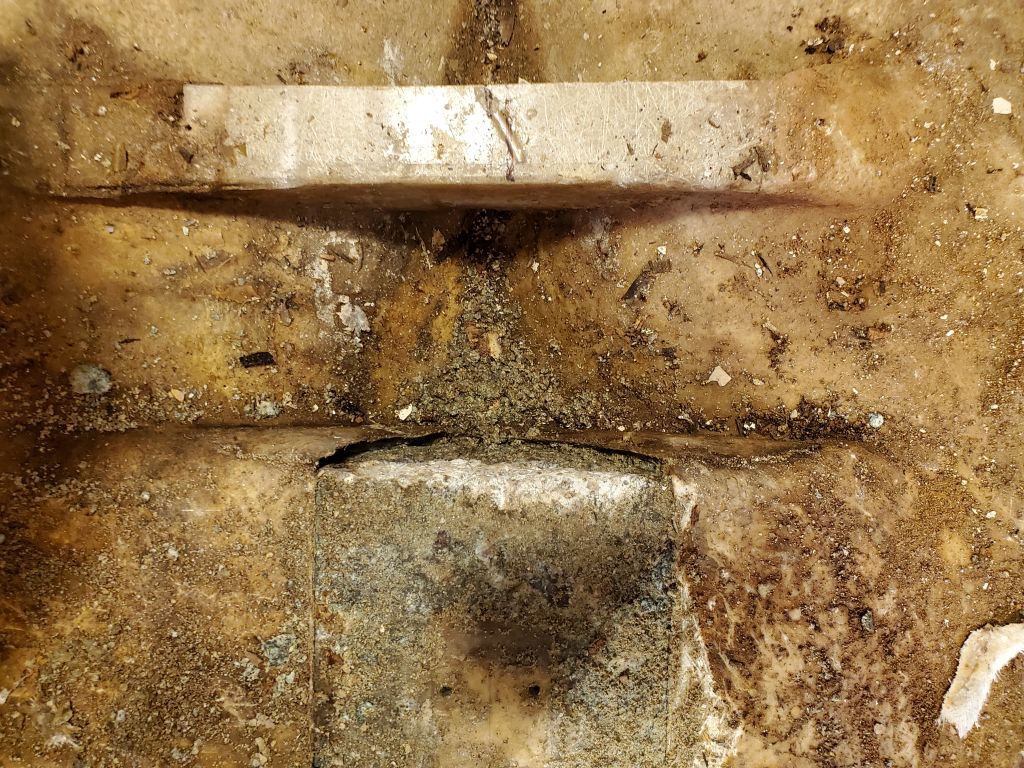
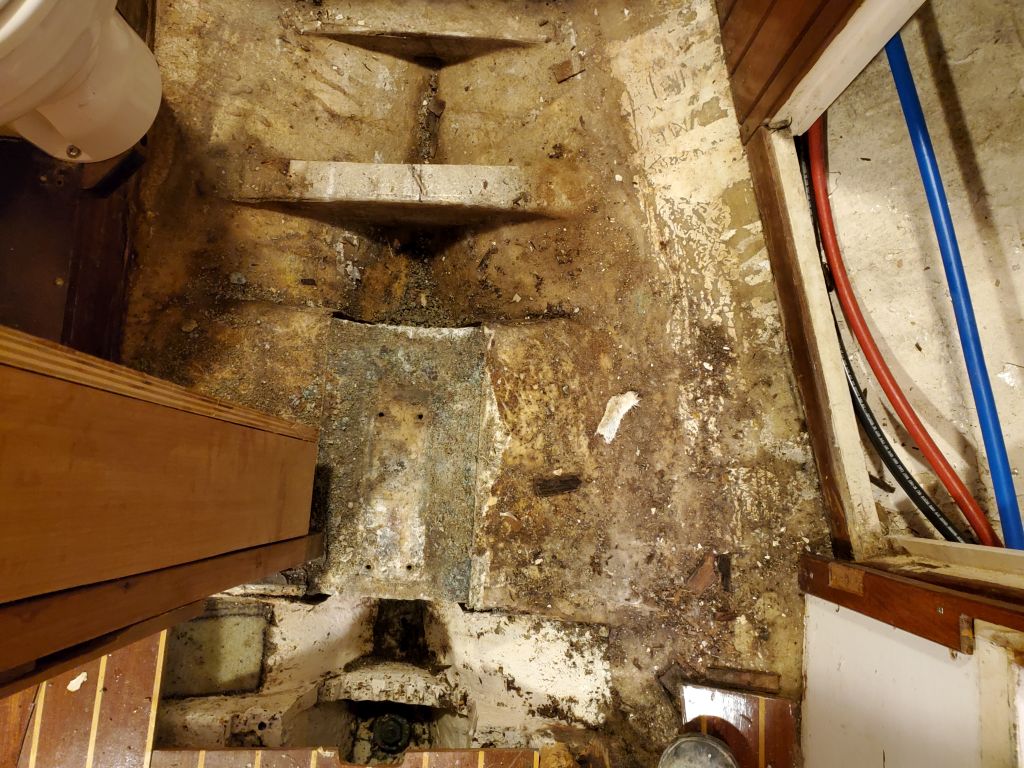
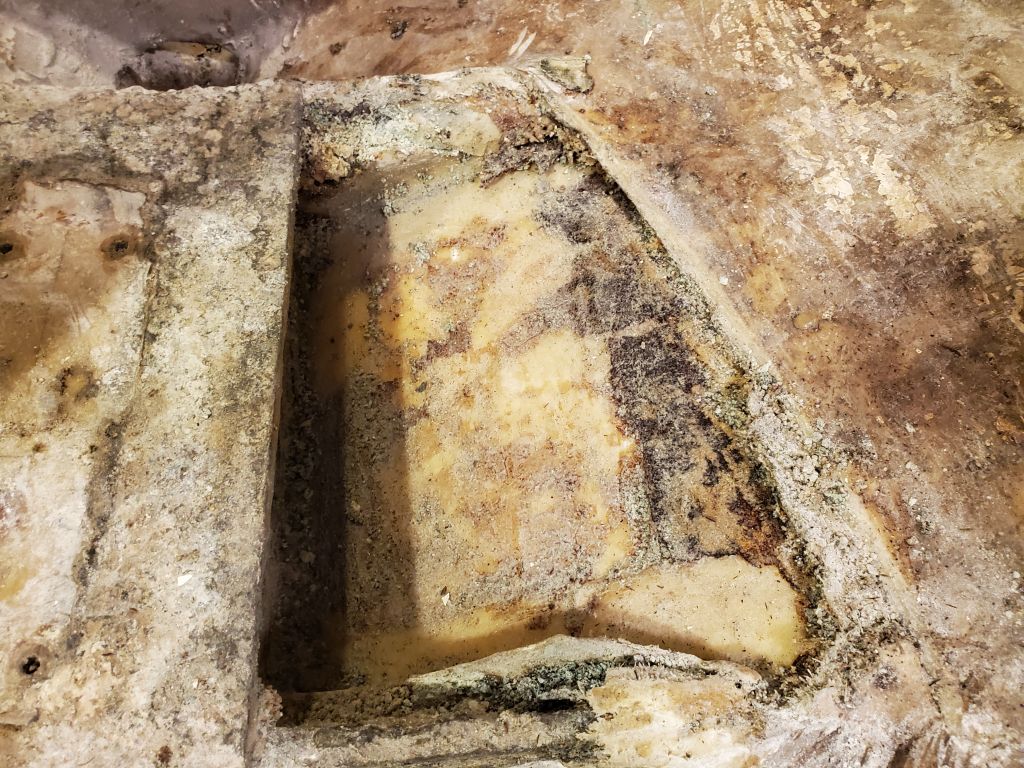
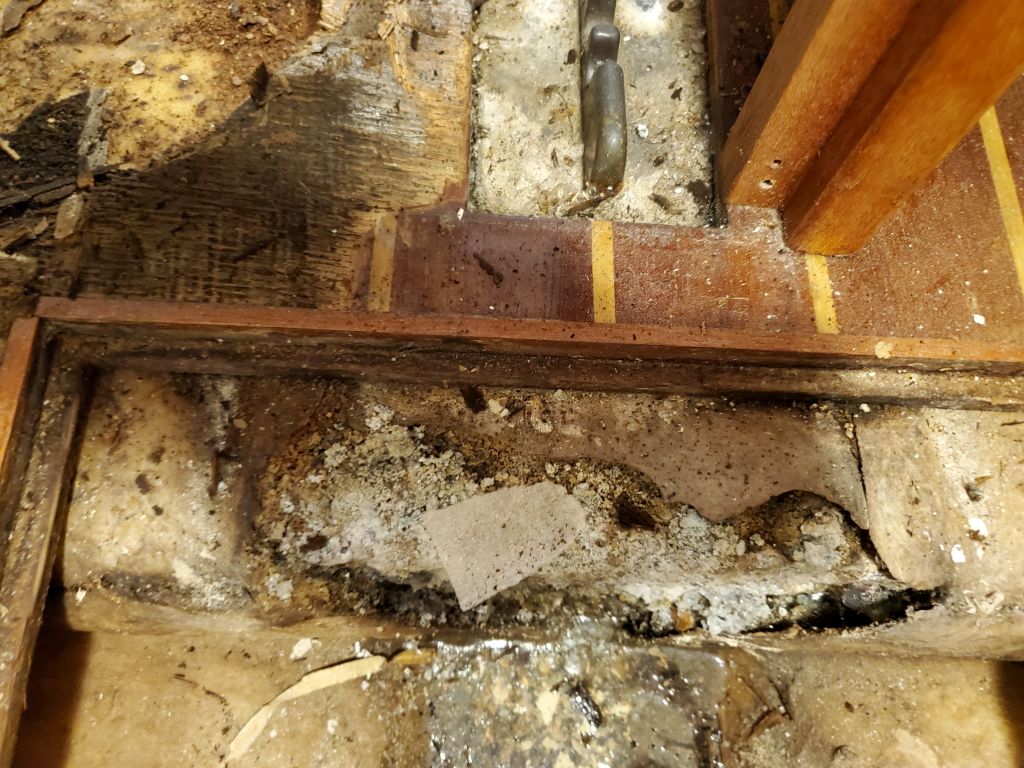
Now I spent the remainder of the day digging out the foam and making some additional cuts in the tabbing here and there, now that the nature of the structure was more clear.  With the foam removed, the “solid” center mass of the step became a 1/2″ or 3/4″ horizontal top plate with a vertical web beneath, running to the hull along the centerline, all interconnected with the hull-shaped transverse webs on either end, roughly 12″ apart.  The aluminum, despite its appearance and some obvious deterioration, was sound to the extent possible to determine.  By the end of the day, I’d cleaned up the starboard side pretty well, including cutting some of the tabbing on each end that once secured the web, and had made some cuts on the port side (where the structure passed beneath the main bulkhead and into the head), but dismantling that portion would wait till next time.


Calliope Girl 6

Continuing my interior documentation process, I measured, diagrammed, and photographed in detail various interior components so as to have a baseline for back reference and use during new construction as needed.  Even though I didn’t expect the new installations to replicate the existing, having this information available would come in handy throughout the process.  I noted all the measurement details in some drawings, but these documents are not fit for eyes beyond my own.

I began with the settees and storage lockers above:

Next, I measured and photo-documented the galley, engine area, and nav station, a section of the boat slated for the most significant changes.  I also took this opportunity to remove the existing refrigerator, which was slated for replacement in the new plan and straightforward enough to remove with only four screws holding it in place.

During this process I discovered that the inside of the nav station was easily removed, so I took that apart not only for better early access, but because it would all end up being removed soon anyway.  I also removed some adjacent panels from the engine room.

I measured the existing waste tank beneath the forward berth (unlikely to change, but possibly helpful in determining a size for a new water tank on the opposite side), and also made some rough measurements on the starboard side for the same purpose.  I noted all these measurements for later use.

Finally, I noted some details of the propane cabin heater, which I’d likely remove temporarily for the construction to come.  For now, I left it in place, other than removing the propane hose, which would be in the way of settee removal later.

Calliope Girl 5

I spent the day picking away at removing whatever I could and preparing for the more significant work ahead.  In the main cabin, I removed stereo and speakers, light fixtures, documentation plaque, and magazine rack, along with numerous small eye straps and related hardware attached to the various bulkheads.

I removed the water tank–a flexible bladder under the starboard settee–and took it outside to drain the few gallons of water still inside.  I left the plumbing for now pending final decisions on the galley and elsewhere.

For better access and to allow the modifications required, I removed the v-berth platform, which was secured only with some trim pieces at the aft end, pinching two large panels in place and preventing removal.  Once I removed the trim and a couple support clamps for some of the wiring and plumbing beneath the platform, I could remove both sections of the berth, exposing the support structure, hull, and systems installations beneath.

Calliope Girl 4

Using a level, I transferred the general position of the through-hull propane locker vent on the starboard side to the inside of the cockpit locker opening, where I could get a measurement that I could easily transfer to the port side for planning purposes.  The vent was 13.5″ down from the edge of the locker, so I transferred that mark across the cockpit to the port side and made a note for later reference.  While the vent could technically be located closer to the waterline, for practical purposes it’s about as low as one would want, so this would drive the potential new locker design and tank availability.  There was ample space in the quarterberth below the port cockpit molding (no locker opening in this side).

Given the ideal depth constraints, a horizontal propane tank seemed to be the choice that would fit.  The specifications for a 20# horizontal tank showed it to be 13″ tall, which would fit in a potential locker on the port side given the drain position constraints.  To show the overall dimensions of the tank (21″ length and 12″width), I made a mark with tape on the top of the port side; the inside edge of the tape represents the overall opening size required for the tank to fit in from straight above.  So in theory, a locker designed with propane in mind would work in the space.  I briefly looked at the possibility of using an aluminum hatch to create the opening and streamline construction, but the dimensions didn’t work, either too small for the tank to fit through, or too large to fit the available space.  There were other possibilities and as the owner and I finalized the ideas the plan would come together in the near future.

I took the opportunity to remove the existing galley stove, which was not secured to the countertop at all and therefore easy to remove once I’d unscrewed the flexible propane hose.  I documented the wiring for the propane solenoid switch and alarm behind the galley panel while access was good.

The existing wiring and various panels had recently been redone by the owner, and the plan was to keep as much of this intact as possible, whatever the course of the interior project ended up being.  To this end, I removed some cover panels from the forward end of the cockpit and nearby, and opened up the electrical locker outboard of the navigation station.  I had from the owner a wiring list and schematic, and for now documented as much of the wiring as possible for future use should any minor reconfiguration be necessary.

For now, though, I decided to remove the batteries from their current locations under the port and starboard settees, as they’d have to come out at some point.   The batteries were installed in two parallel banks. I labeled all the relevant wires as I disconnected the batteries.

The owner hoped to reposition the batteries in a new locker just aft of the main bulkhead and mast step.  There were a couple interior panels that hid the mast when it was installed, so in theory the new cabinet could extend out as far as the mast step.  For now, while the batteries were here, I arranged them roughly in a few different possible configurations to get a sense of the space they would require.


Calliope Girl 3

After spending some undocumented time going over project plans and the general approach ahead, I got started by checking the boat for level in both directions.  The owner had made a longitudinal level mark when he had the boat at anchor, using a laser level to make some marks on one of the settees in the main cabin.  I used this to check the fore and aft position of the boat now, and found that the boat as blocked was level in this direction.

The owner had mentioned that the settees and the forward berth (especially the forward berth) were not properly positioned, with the head (aft) end of the v-berth lower than the forward end.  I confirmed this with the level and checked the settees as well.  The forward berth was several inches too low at the aft end.

Next, I used a long beam across the cockpit coamings to check the athwartship position of the boat–slightly off level–and adjusted the stands till the position was correct.

I documented the “as is” condition of the interior before going further.

The owner and I had a meeting scheduled at the boat coming up in a few days, during which we’d work out the final project scope and details, but for now I focused on dismantling what I could, and doing some advance planning and thinking on some of the items on the list.  One of these was the galley stove and propane system, and to start I first located the existing propane locker, which was a prefab plastic box installed in the the starboard cockpit locker.  As installed, this satisfied applicable requirements, but the owner wanted to consider building a dedicated locker on the port side (above the existing quarterberth), to hold a larger tank and perhaps be more convenient.  For now, I documented the existing installation and would investigate the possibilities on the port side more going forward.  The main constraint on the new locker construction would be the depth of the locker required, and keeping it high enough so the locker vent (which exits the bottom of a propane locker) would end up in a practicable location above the waterline, i.e. essentially no lower than the existing vent on the starboard side.  More on this to come as things develop.

Meanwhile, I removed what I safely could in the main cabin, including a sliding portion of the port berth, hinged backrests on each side, canvas lee cloths, and the various prefab locker doors above the settees and in the galley, which were secured from the surface with screws and removable as is in complete units.

Calliope Girl 2

I continued the work to empty out the boat, beginning now with the interior cushions from all areas, which I stored beneath the port side of the boat for now.

Meanwhile, I emptied out the galley lockers and drawers, storing the items temporarily in bins, and worked my way through the rest of the boat, including the navigation station, quarter berth (which was chock full of gear), hanging locker, and head areas.  I loaded everything into bins, where applicable, or stored things loosely in the large pile beneath the starboard side of the boat, or on some additional shelves behind the boat.

Storing the large amount of gear from the boat in the shop itself would work this time around since all the projects were inside the cabin, but even so, dust would be a problem, so for protection I wrapped both storage piles with plastic.

With all storage areas emptied out, I documented the existing condition of the interior and lockers before diving into the project.


Calliope Girl 1

The first order of business with any new project is to document the “as-arrived” condition, so, as one is wont to do, I did this first.  This project would focus entirely on the interior, but nevertheless I documented the hull and deck areas for posterity.

By previous agreement, the owner had left most of the gear on board, and one of my first tasks would be to empty out the boat.  To prepare for the numerous trips in and out and up and down, I covered the cockpit seats, bridgedeck, and sole, as well as the side of the hull in way of the ladder, with protective plastic that would stay on for the duration.

As much for my own purposes as any other, I documented the interior as-arrived with all the gear still in place.

To make room to work, I removed the spinnaker pole and boom, securing them across the bow pulpit out of the way.

From there, I began to work my way through the interior to clean things out, beginning with the larger items like sails, lines, fenders, pieces of the keel-stepped mast surround that had been removed, and whatever else was in the main and forward cabins.

Continuing, I transferred the contents of the starboard upper cabinets in the saloon, then the port side, to a pair of plastic bins for storage during the project, bringing me to the end of the time I had available at the moment.


Newer posts