(page 1 of 2)

August West 13

Friday

A quick second coat of nonskid on the new sea hood wrapped up the work there, and was also the final item on my list for the project.

Total time billed on this job today:  .5 hours 

0600 Weather Observation:  32°, clear. Forecast for the day:  Sunny, 53°


August West 12

Thursday

Now that the paint on the sea hood had had sufficient cure time since the final coat, I prepared for the final installation.  With the hood mocked up on deck, I drilled and tapped the decks at each fastener location to accept #10 machine screws, which would secure the assembly in place.  During an earlier stage of the project, I’d already drilled out the core from any of these locations and replaced it with a solid epoxy mixture.

I chose butyl tape sealant for the sea hood to allow for relatively easy removal.  After applying the sealant to the deck in way of the mounting flange, I secured the sea hood in place with machine screws and washers.  I chose not to through-bolt it since I didn’t feel it was necessary in this application, and also did not want to have to drill through and cosmetically deal with the fiberglass interior liner.  I still needed to apply the nonskid paint to the field area of the new sea hood, but I’d held off on that till after installation in the interests of efficiency; I planned to apply that later in the day.

After a follow-up conference with the owner, he decided to go ahead with both the new cove stripe and the vinyl eyebrow trim.  So with those decisions made, I got started on the installations.  With the ghost of the original cove stripe still visible, it was a straightforward matter to install the new striping in the same location with only minor changes to the ends of the striping from original.  While I often suggested classic gold leaf for cove stripes, something about this boat and the overall appearance seemed to demand black striping to match the new boottop.

For the eyebrow, I began by lightly tracing a pencil line at the bottom edge of the masking tape mockup before removing the tape, leaving the line behind as a reference.  Then I could install the new vinyl–also black–along this line.  The light green mockup stripe had been difficult to see clearly, and I was pleased with how the final version came out with the bold striping.  While a “real” eyebrow made from wood would have been the best choice, the curved shape of this cabin trunk would have made that installation challenging at best, and maybe impossible around the forward curves, so the striping ultimately had the same overall effect on the boat’s appearance, and could easily flow right around the curved forward part of the cabin trunk.

A little later, I pulled the boat outside again for some better and more distant views of the finished striping.

The owner asked me to service the two seacocks on board, for the cockpit scuppers.  When I went to inspect them, however, I discovered that they were newer than original (originals on this boat would have been tapered-plug types, which  types can and are designed to be disassembled and serviced), and were in fact bronze ball valves.  These particular valves featured bronze housings with PTFE balls within, and they were outwardly in good condition; both operated normally when tested, though cycling the valves a few times a season would help keep them from getting too stiff from inaction.  Similarly, the hoses and clamps (quality solid-banded type) were in good condition and needed no attention at this time.  The hoses were manufactured in 2011, which would be the absolute earliest they could have been installed in the boat, though it’s routine to find new hose direct from the chandler with manufacture dates up to a couple years earlier.  In any event, the overall appearance and substance of the installations matched the available dating data.

Meanwhile, I took care of the unpainted bottom patches beneath the center set of jackstands, which I lowered for access after retightening the other four that I’d released during the initial painting earlier.

Finally, I masked off the sea hood as needed for the nonskid, and applied a coat of white nonskid paint to match the rest of the coachroof.

Total time billed on this job today:  6 hours 

0600 Weather Observation:  22°, clear. Forecast for the day:  Mostly sunny, 44°

August West 11

Wednesday

After solvent-washing the bottom to remove any dust and prepare the surface, I masked off the bottom edge of the boottop with some light-tack tape, then applied one coat of green ablative antifouling paint.

After the first coat had had a chance to cure long enough, I applied a second coat, more for overall coverage over the old black paint than for any true need in terms of performance.

To give the owner an overall sense of the boat’s new appearance, as well as to eyeball the proposed eyebrow and determine whether to reinstall a cove stripe, I moved the boat outside during the afternoon, giving me a chance to take a series of photos from more of a distance.  (Note:  these photo files are not resampled and are a bit larger to allow more detail.)

Total time billed on this job today:  3.25 hours 

0600 Weather Observation:  22°, clear.  Forecast for the day:  Mostly sunny, 44°

August West 10

Tuesday

Satisfied with the boottop, I removed the masking tape.  The new striping wouldn’t look right till I could repaint the bottom in its contrasting color, but it was too soon to overmask the fresh paint on the bootop, so that would have to wait a day or so.

I wasn’t, however, happy with the sea hood, and decided it required another sanding and a 4th coat of the white paint.  Sometimes the smallest things are the fussiest.

This left me with few things to do for the moment, as I was awaiting getting the boat outdoors in her new colors before we could make final decisions on the cove stripe (whether or not to install one) and the eyebrow.  In the meantime, I spent a couple minutes fine-tuning the mockup eyebrow where it curved around the forward part of the cabin trunk, cleaning up some burbles in the first go-round.

The old sealant filling the gap between the motor mount and the trim beneath was in poor condition, and while I was stripping the wood earlier I’d removed much of the failed material.  Now, I reamed out the seam from inside and out (up inside the motor well), and applied a new bead of sealant to both sides.

Later in the day, I received some new supplies, including the shorter screws for the boom vang brackets on mast and boom, so I could complete those installations.

The new self-tailing add-ons arrived, and I installed those on the original winches.

Total time billed on this job today: 2.25 hours 

0600 Weather Observation:  32° , cloudy, 8″ new snow down overnight. Forecast for the day:  Becoming sunny, 51°

August West 9

Monday

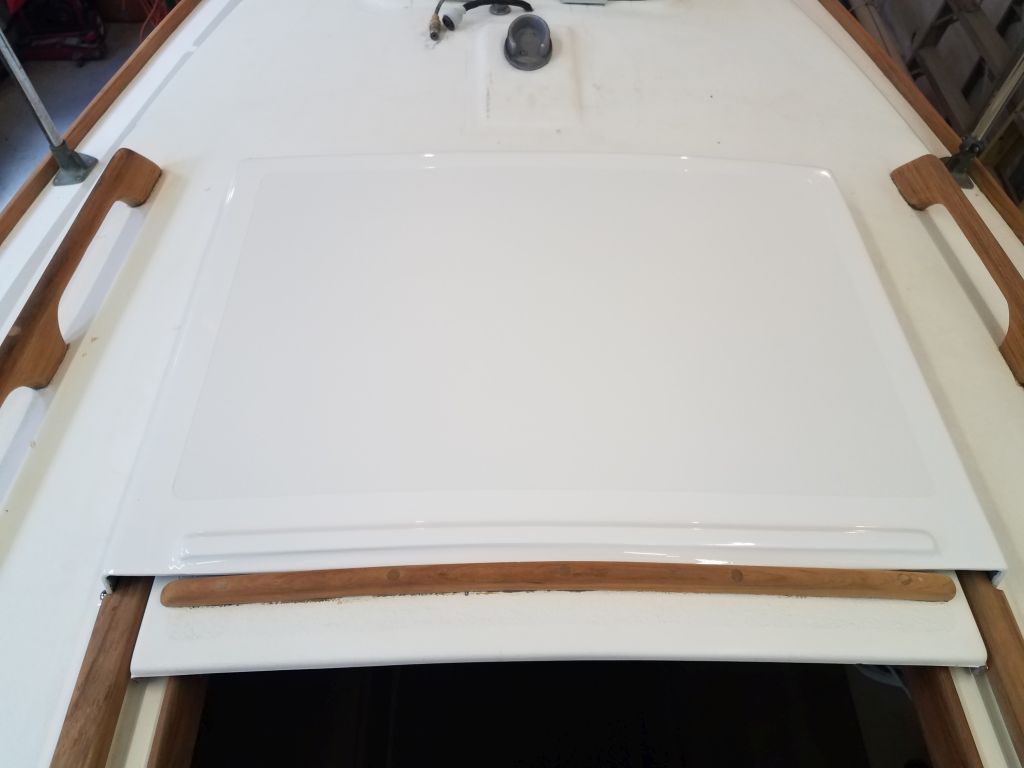
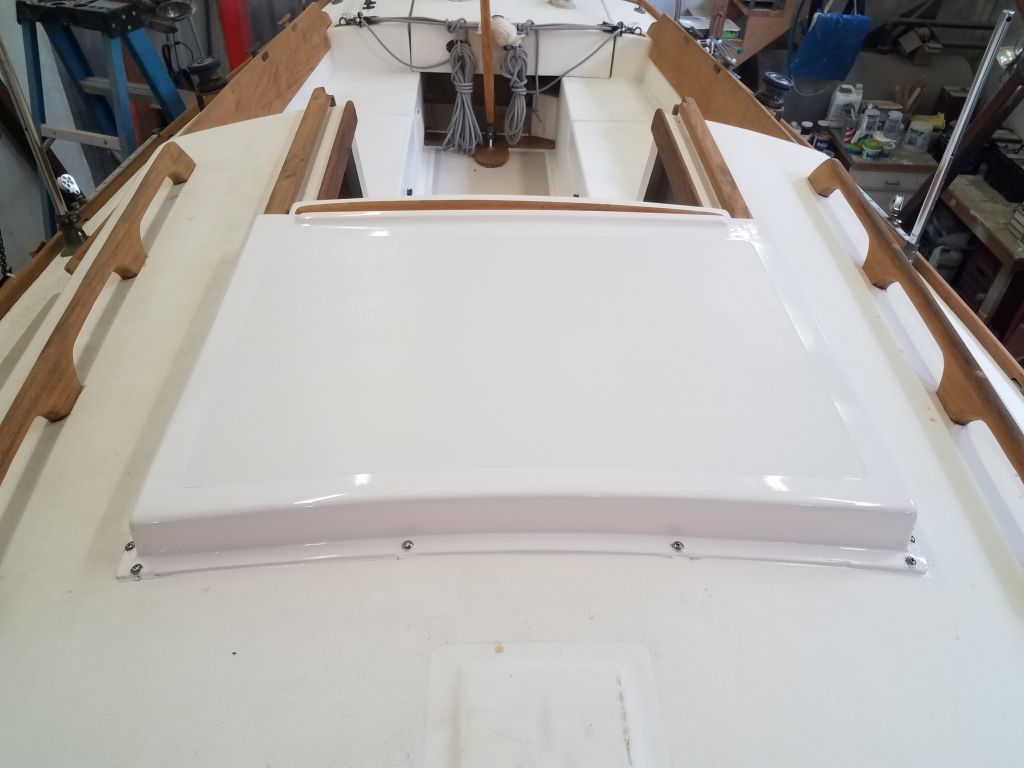
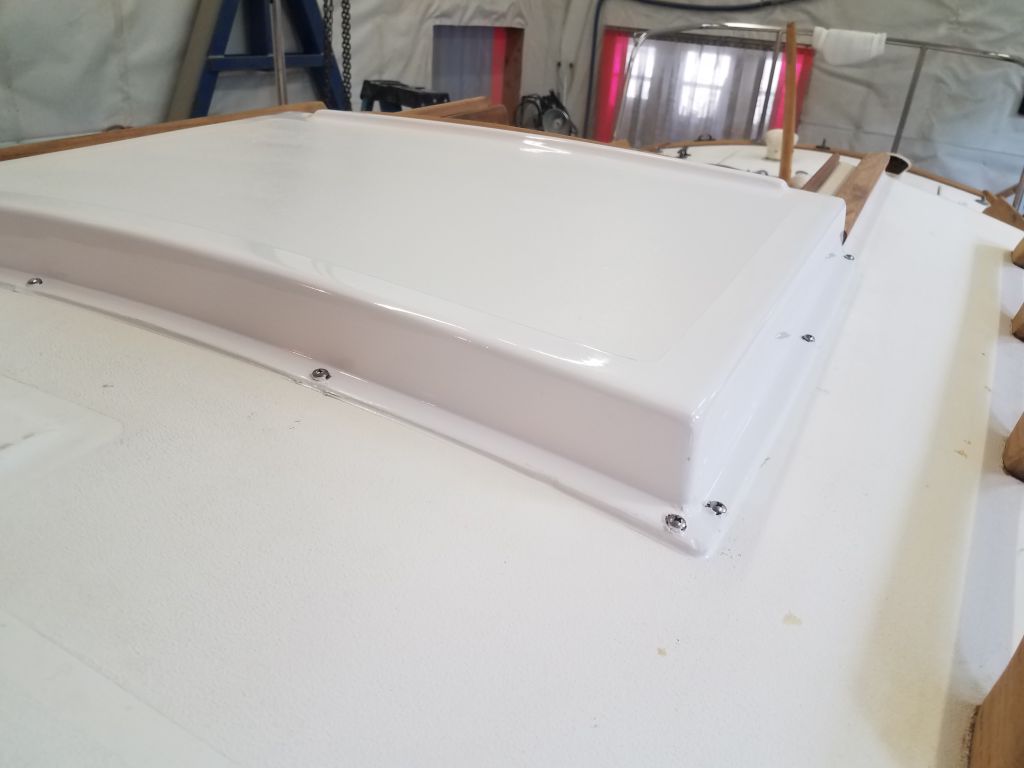
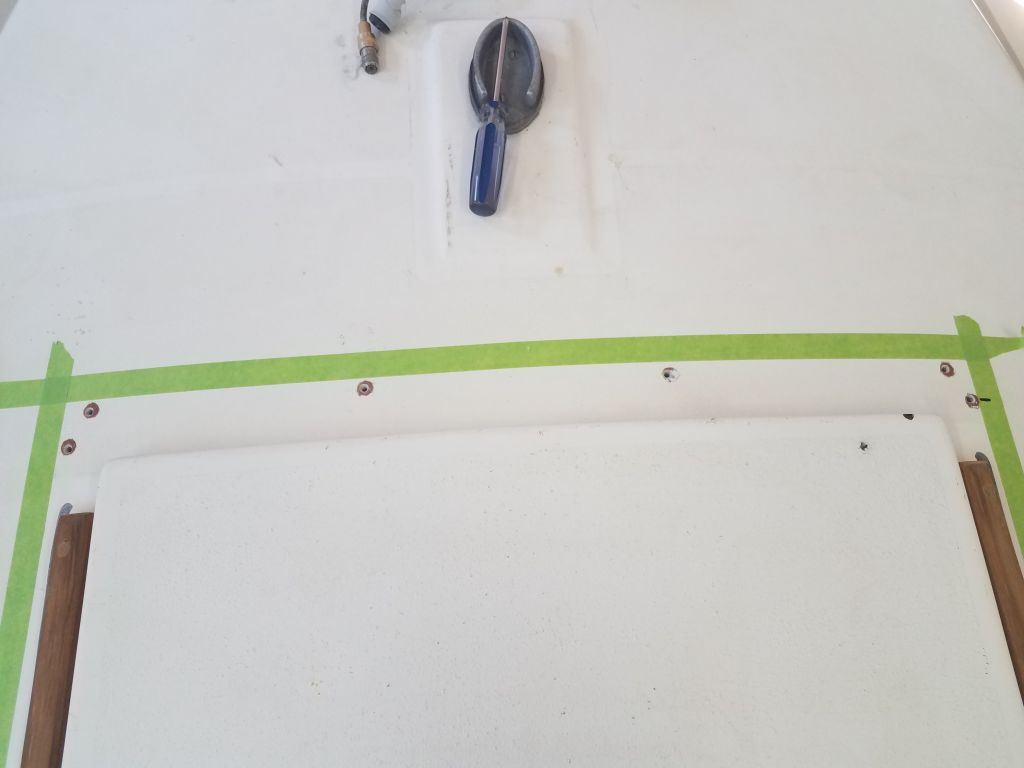
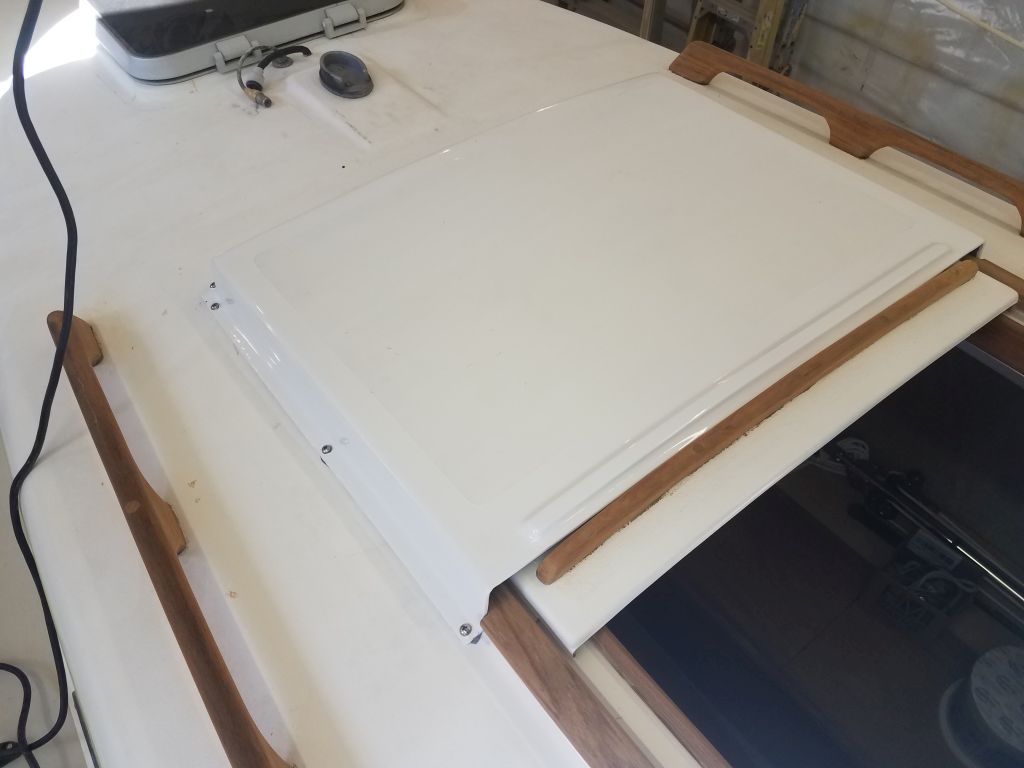
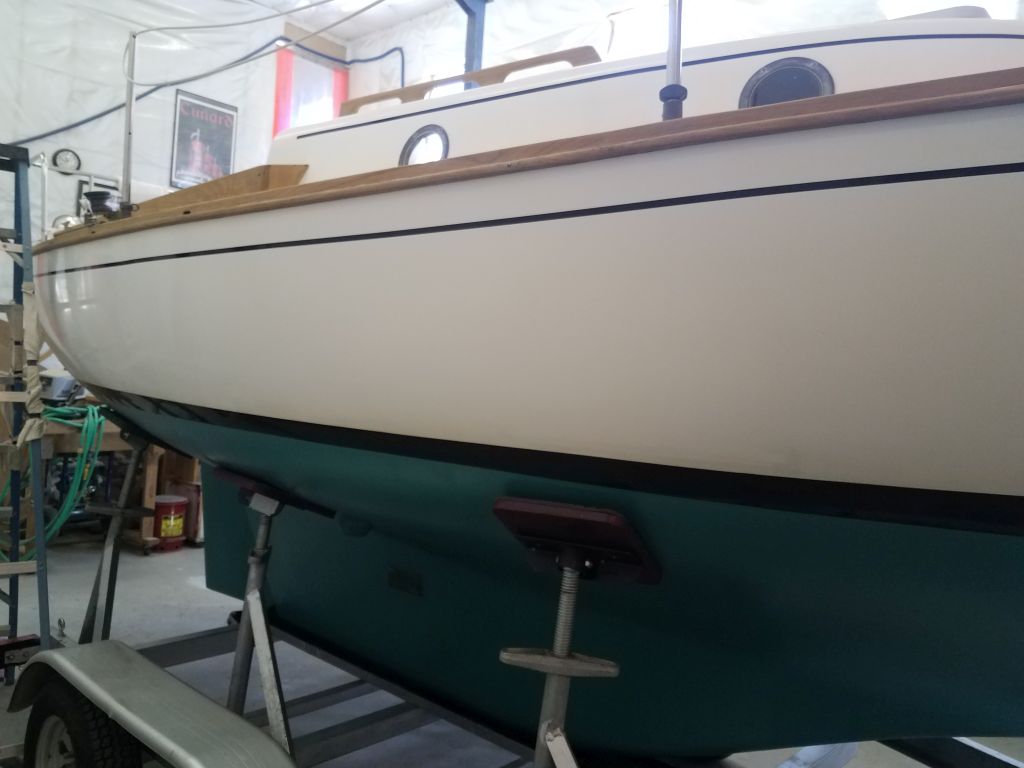
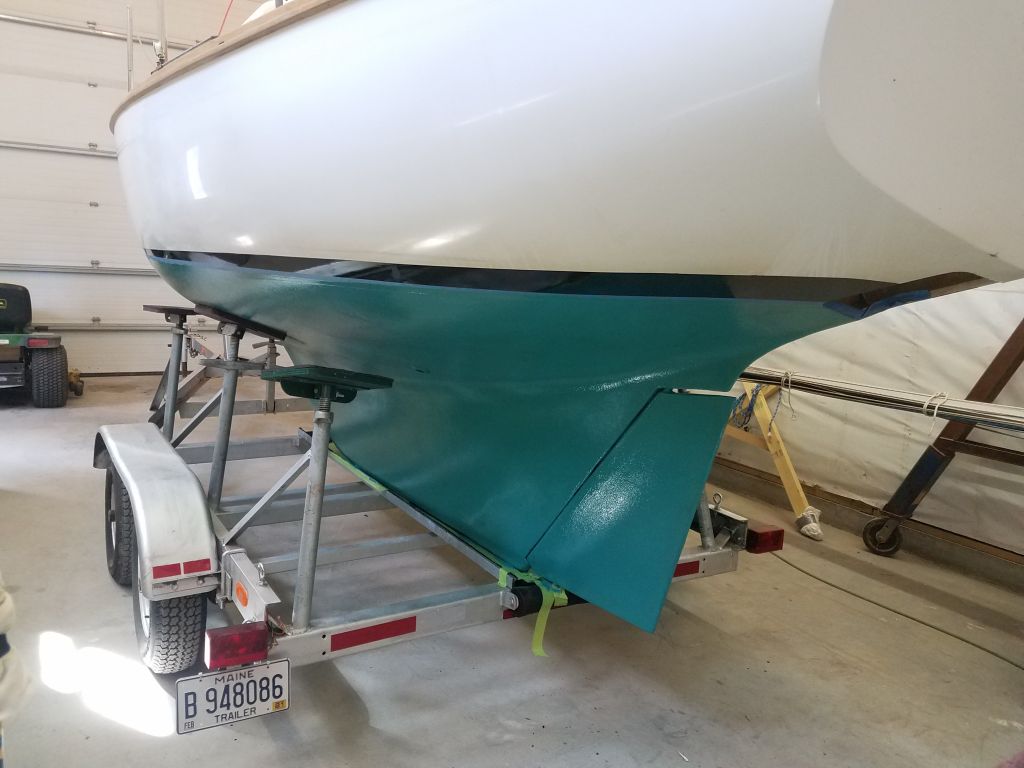
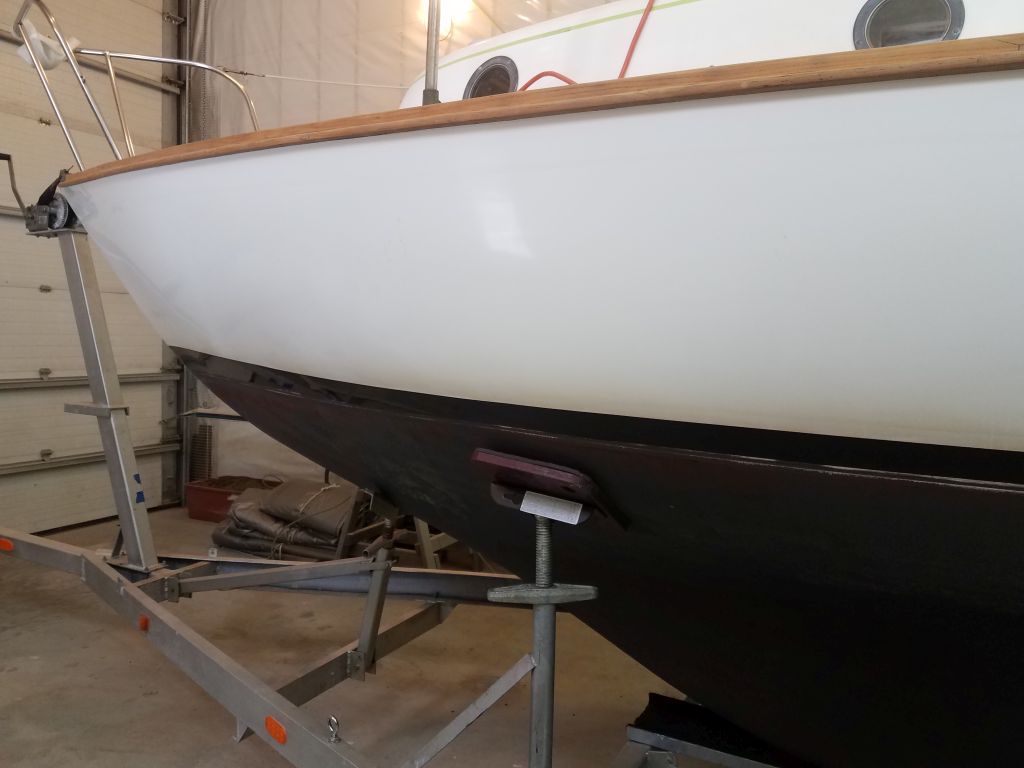
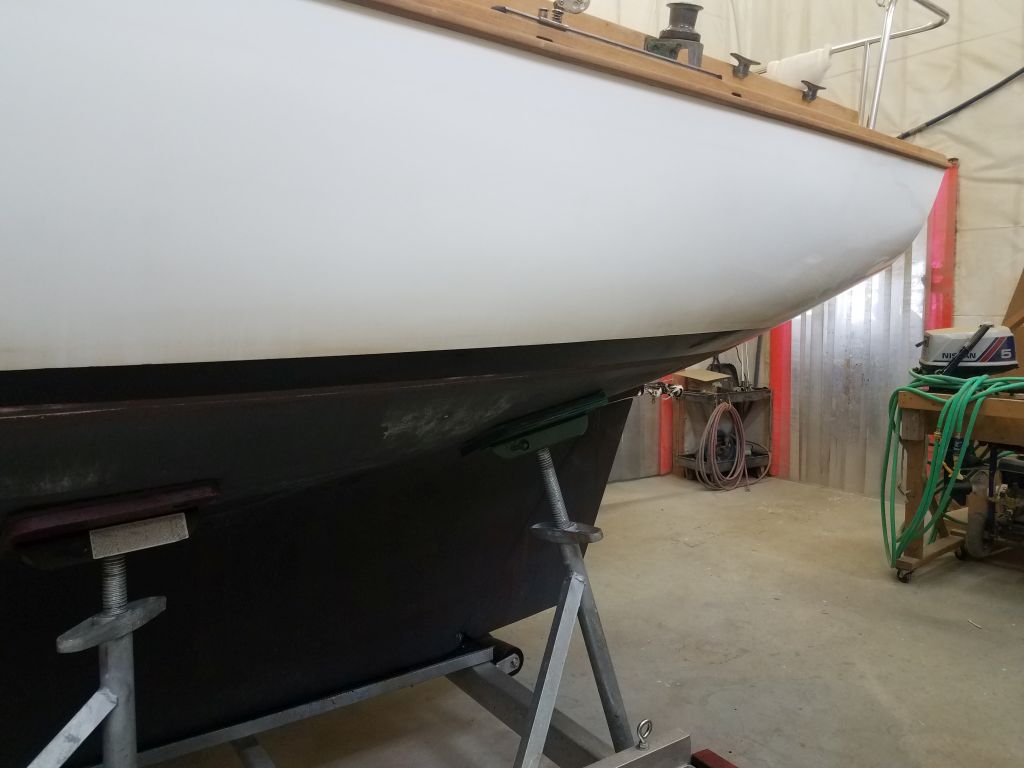
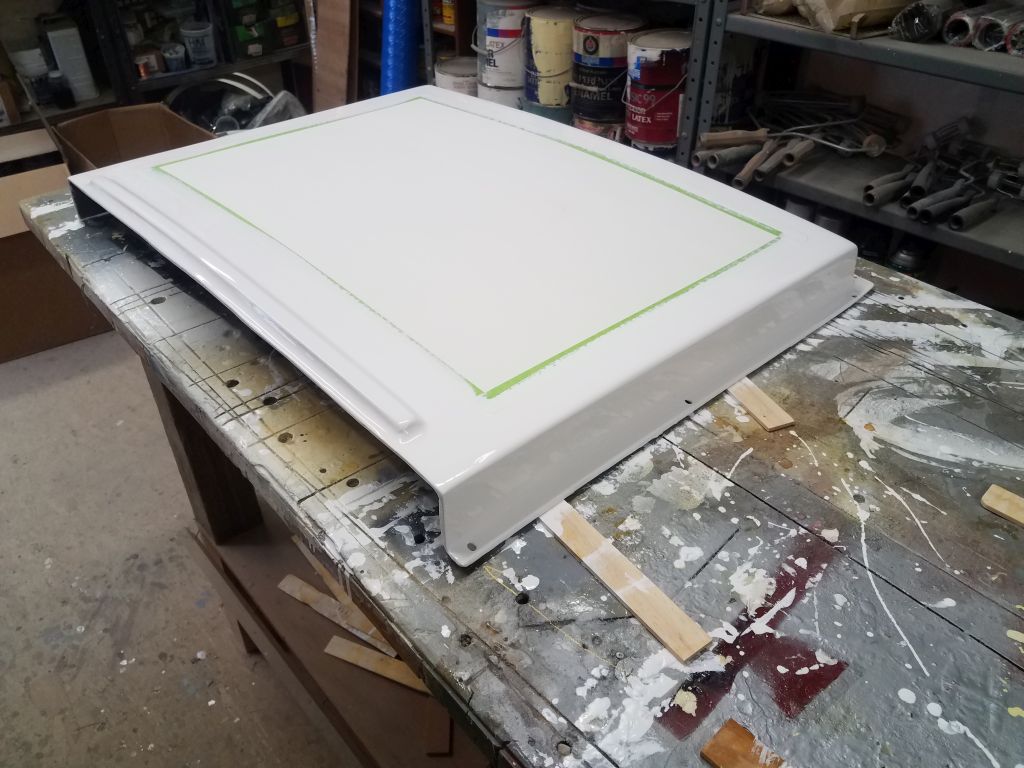
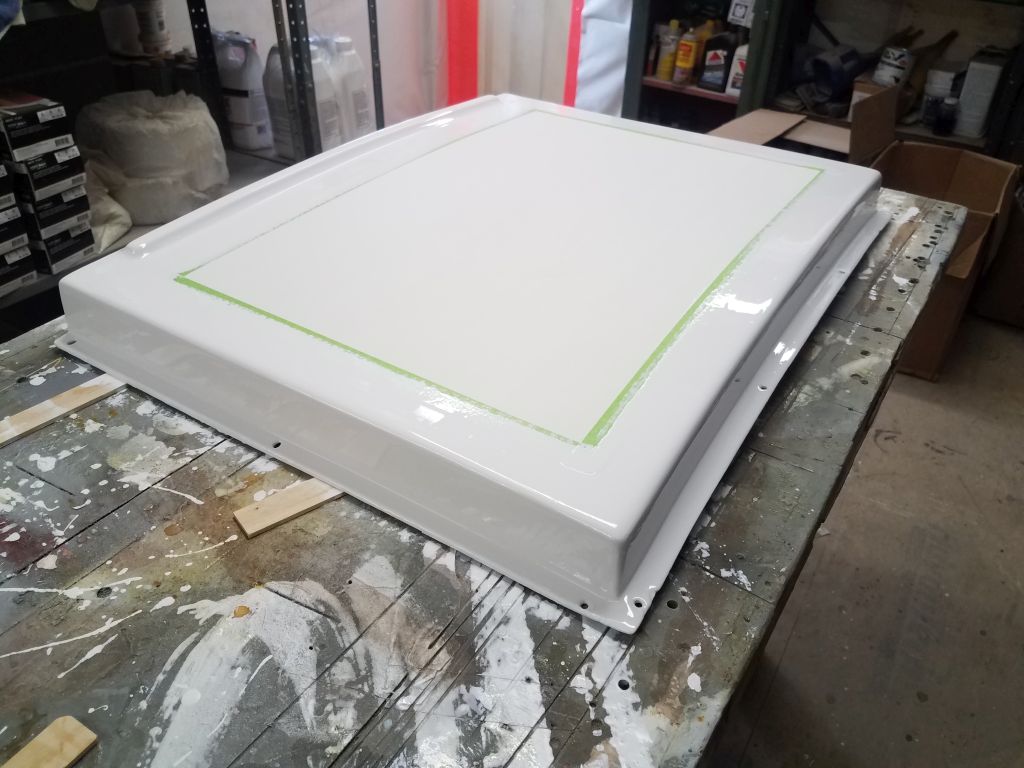
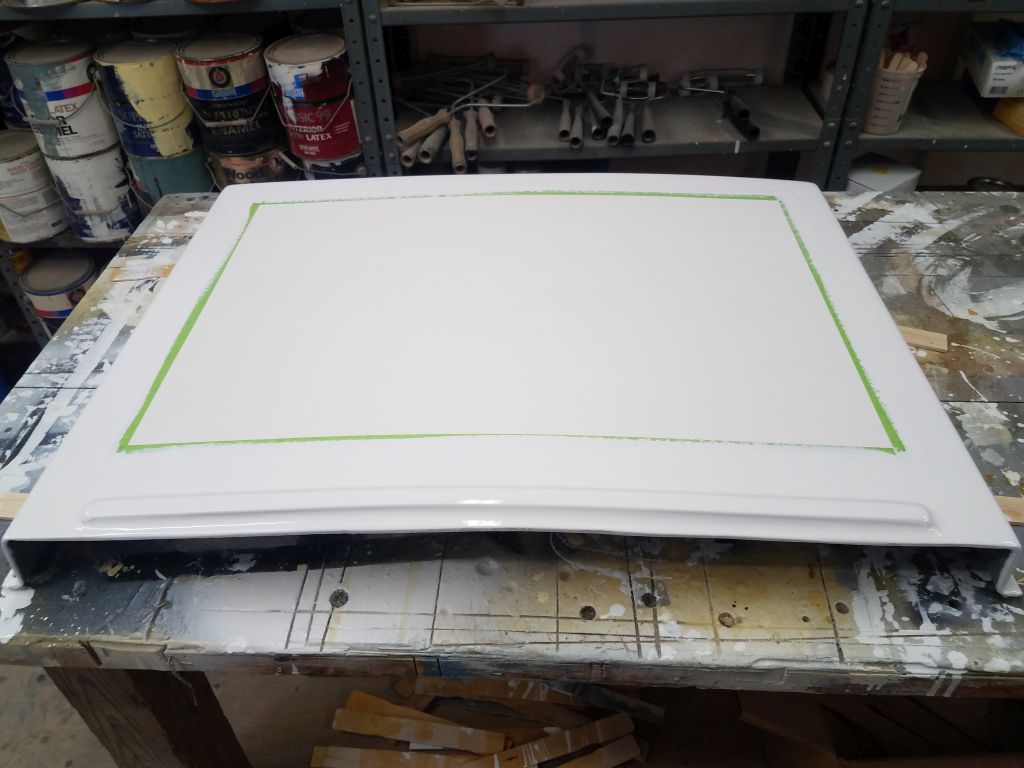
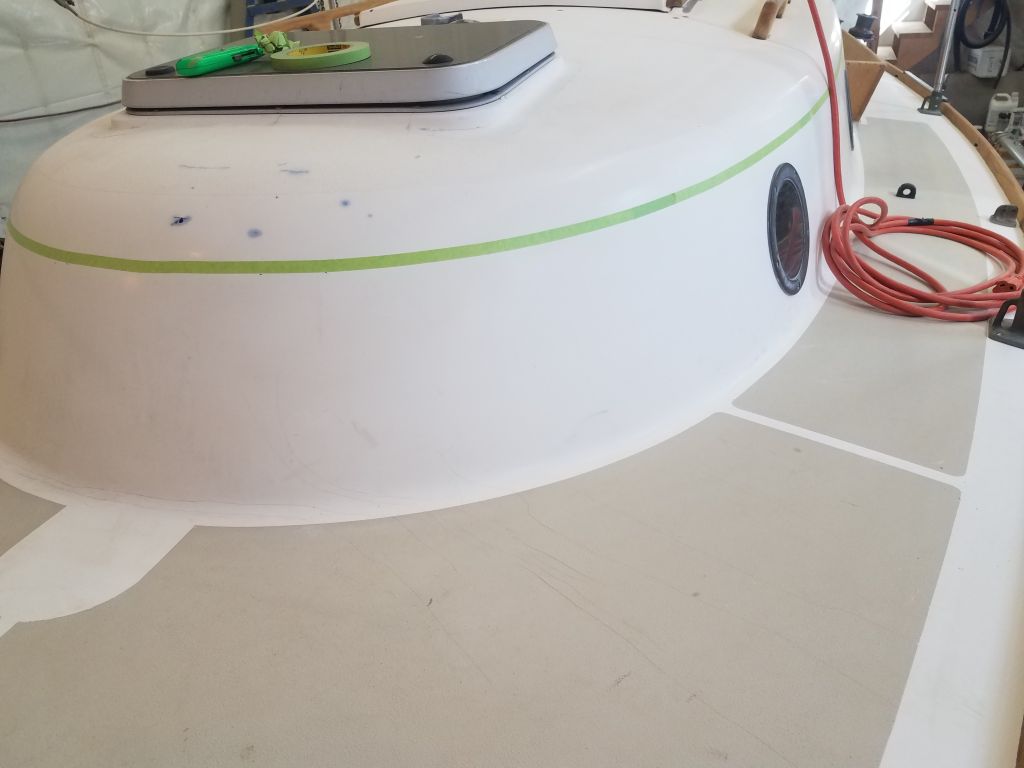
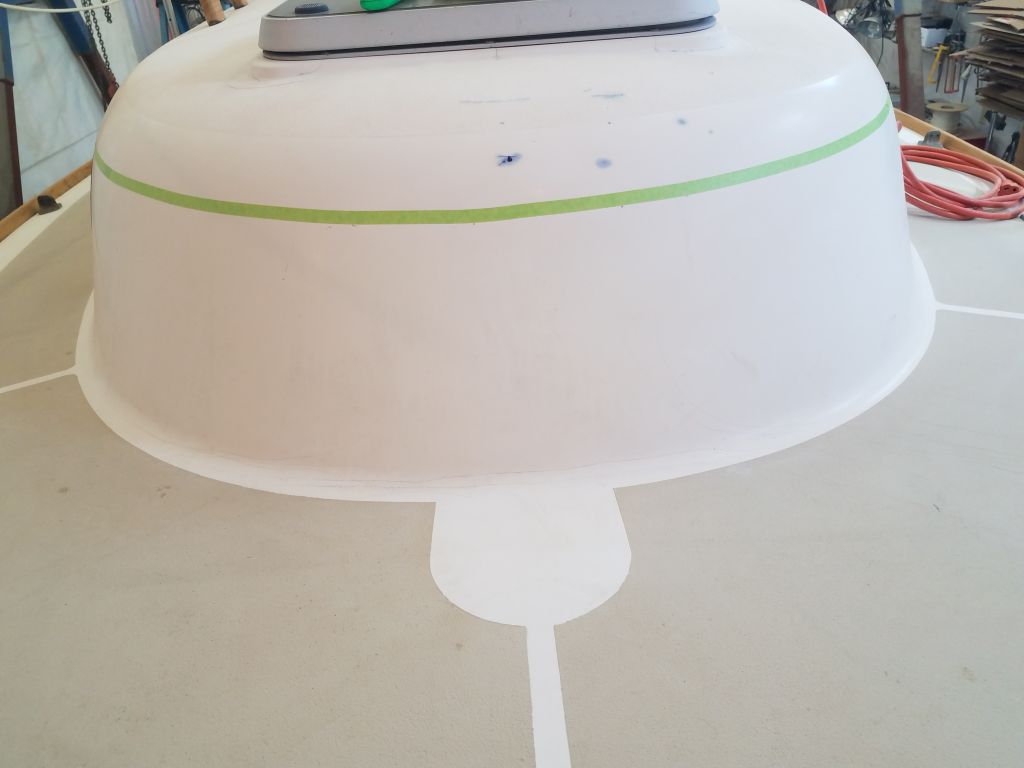
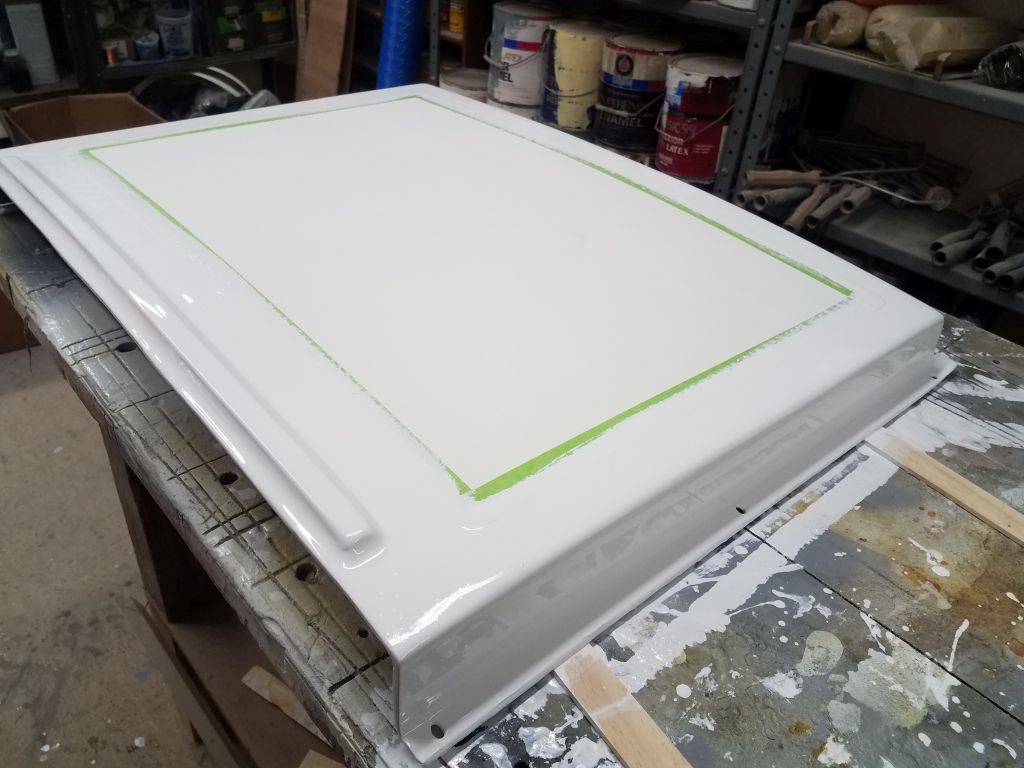
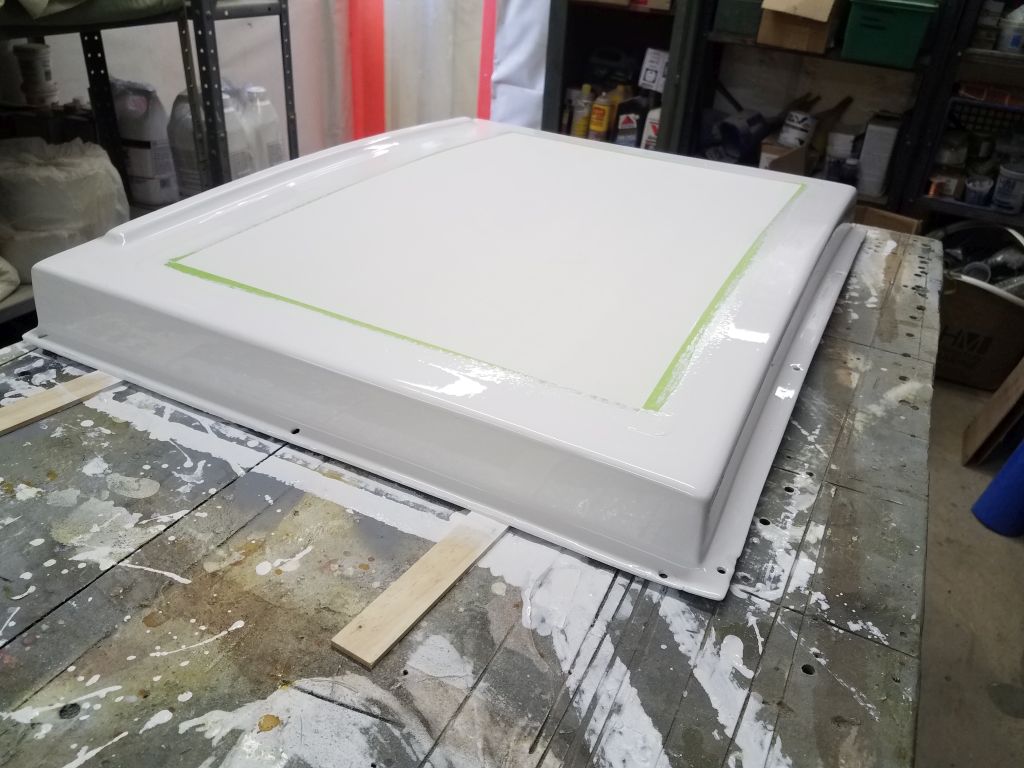
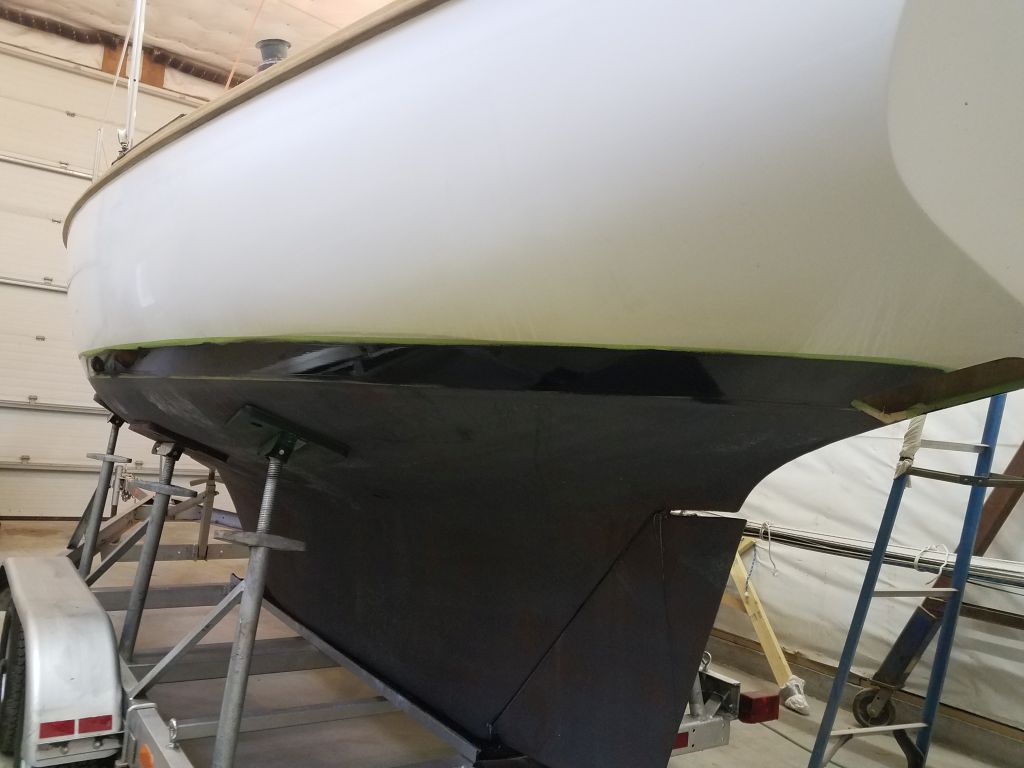
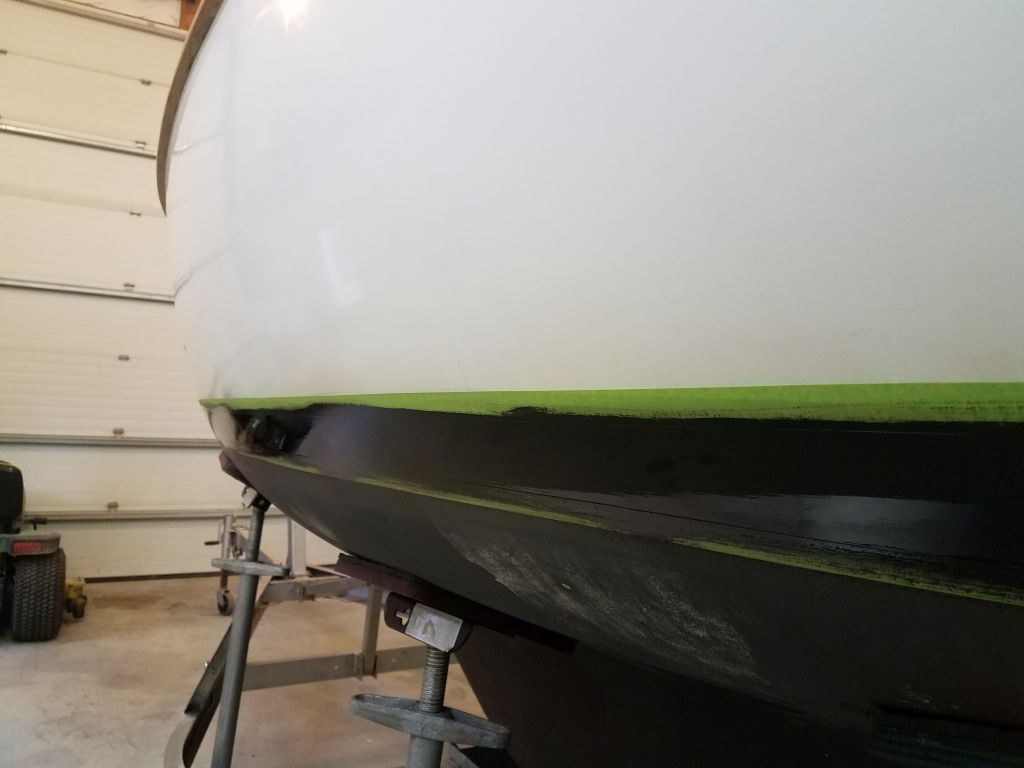
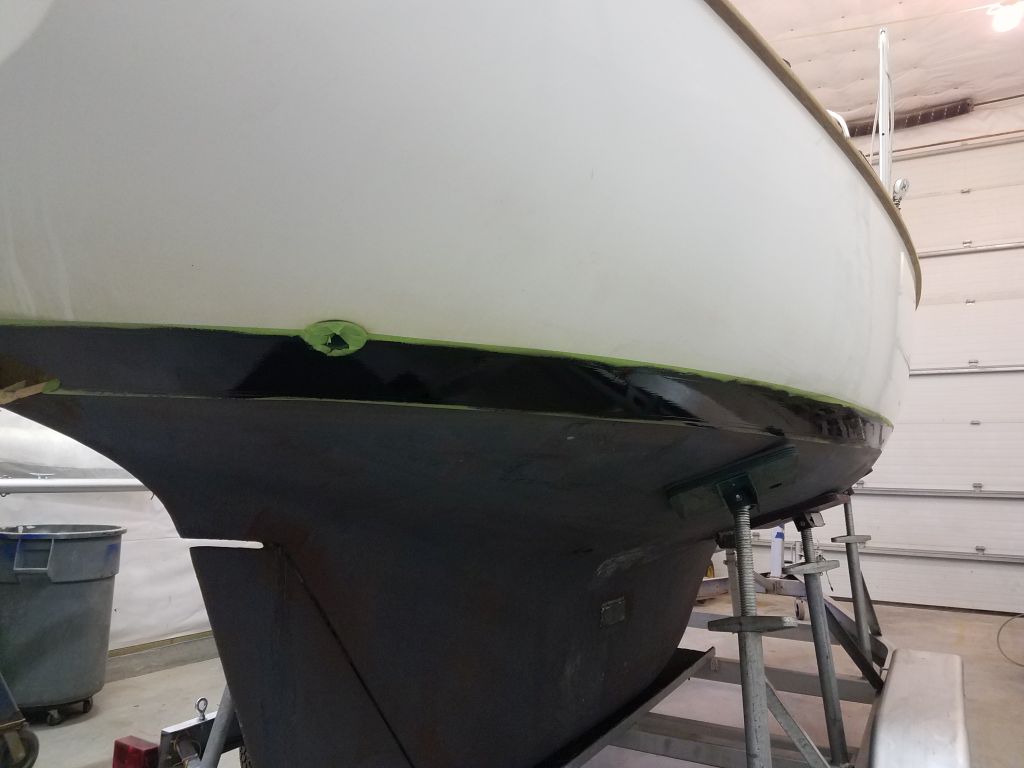
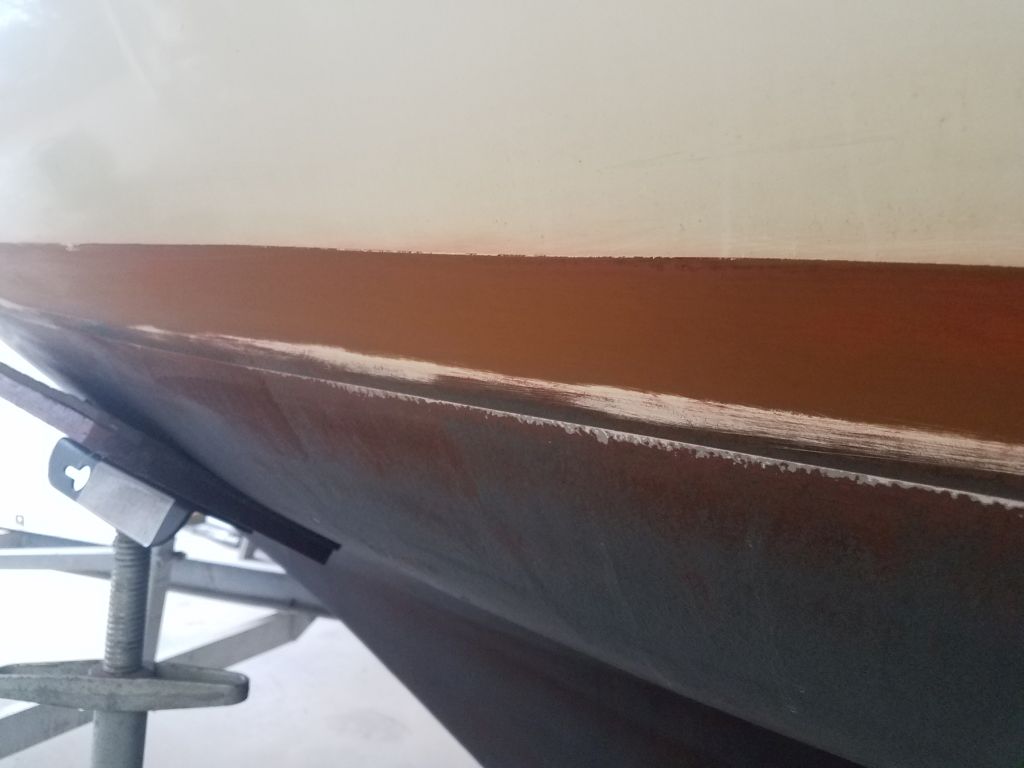
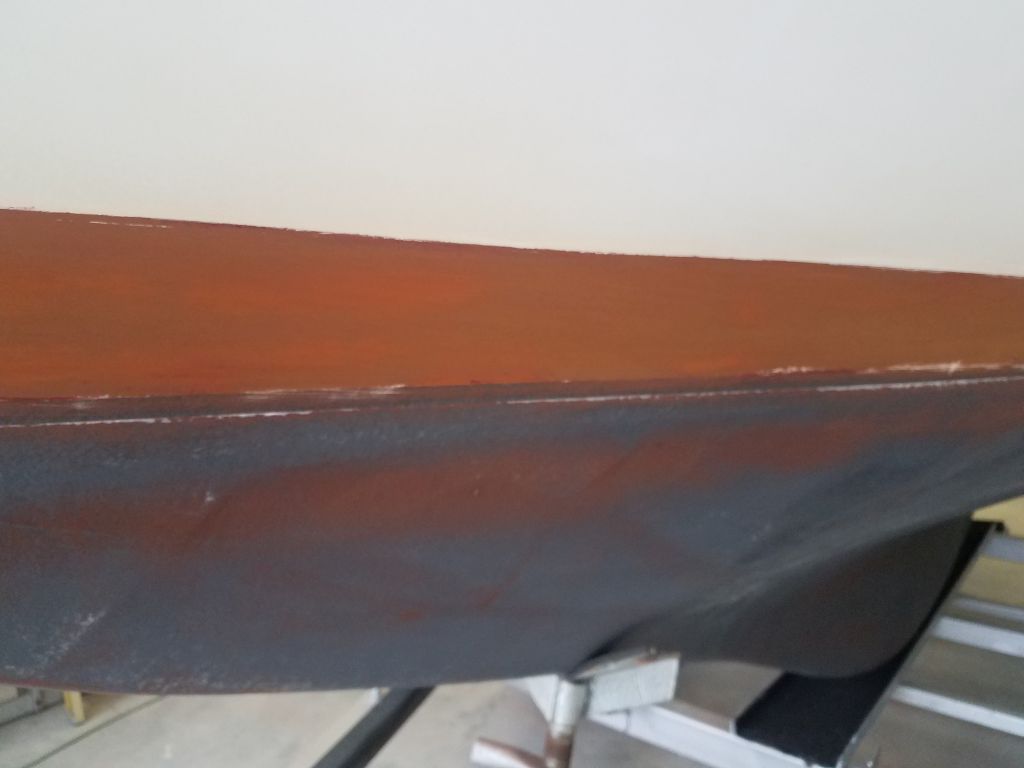
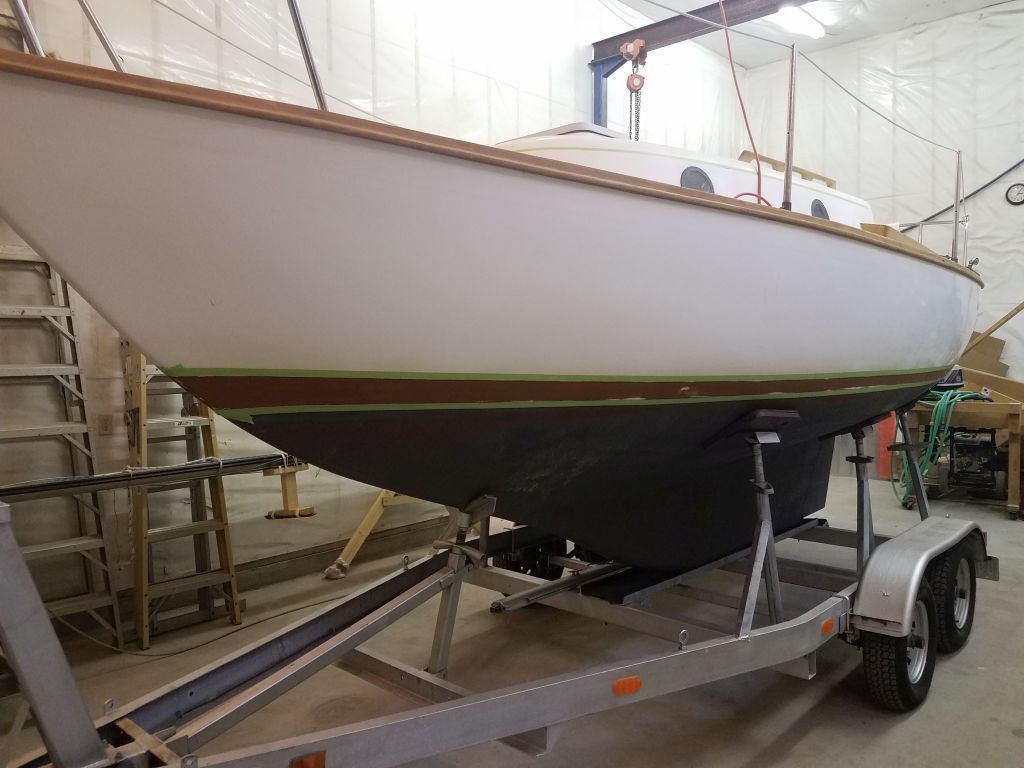
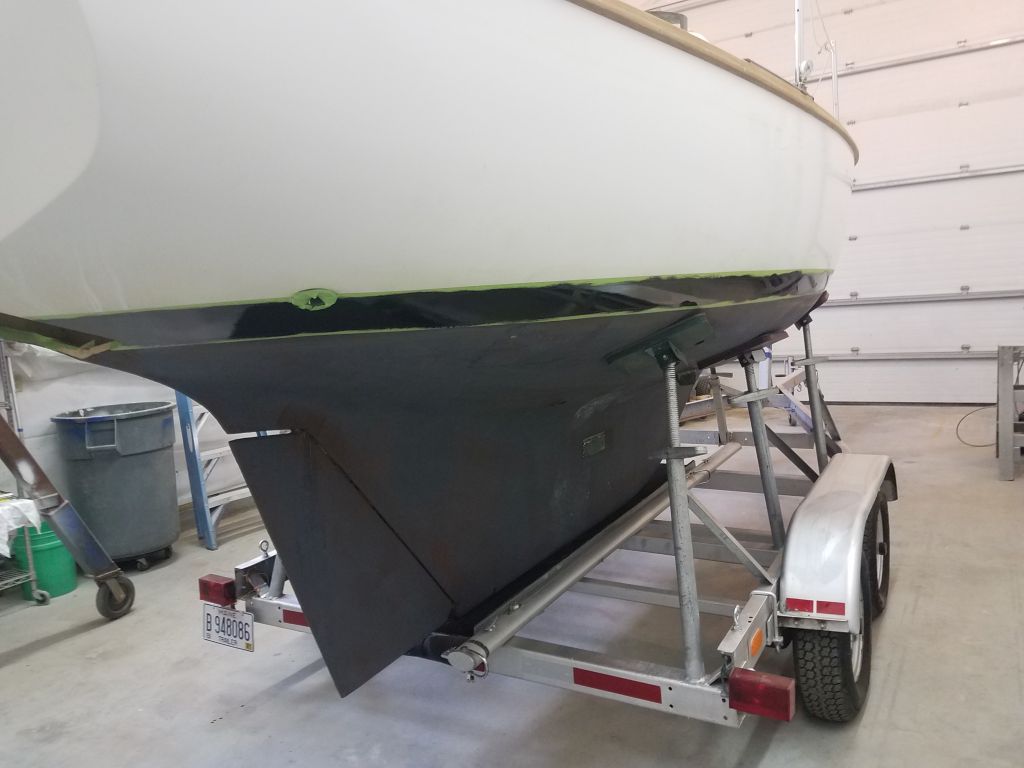
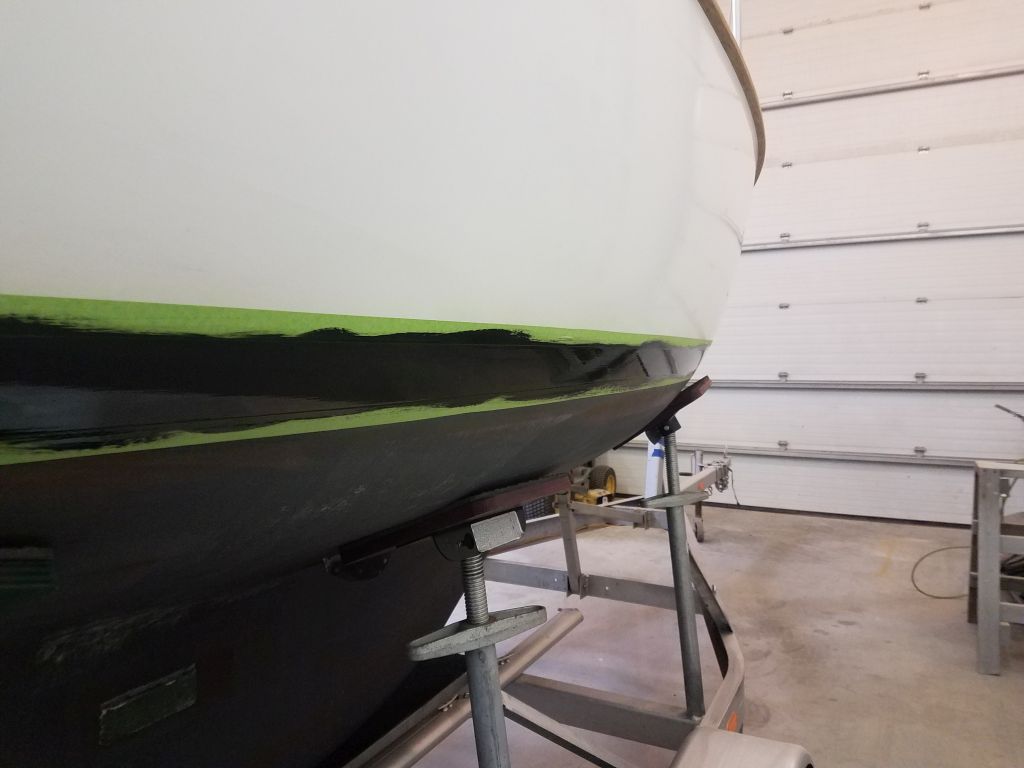
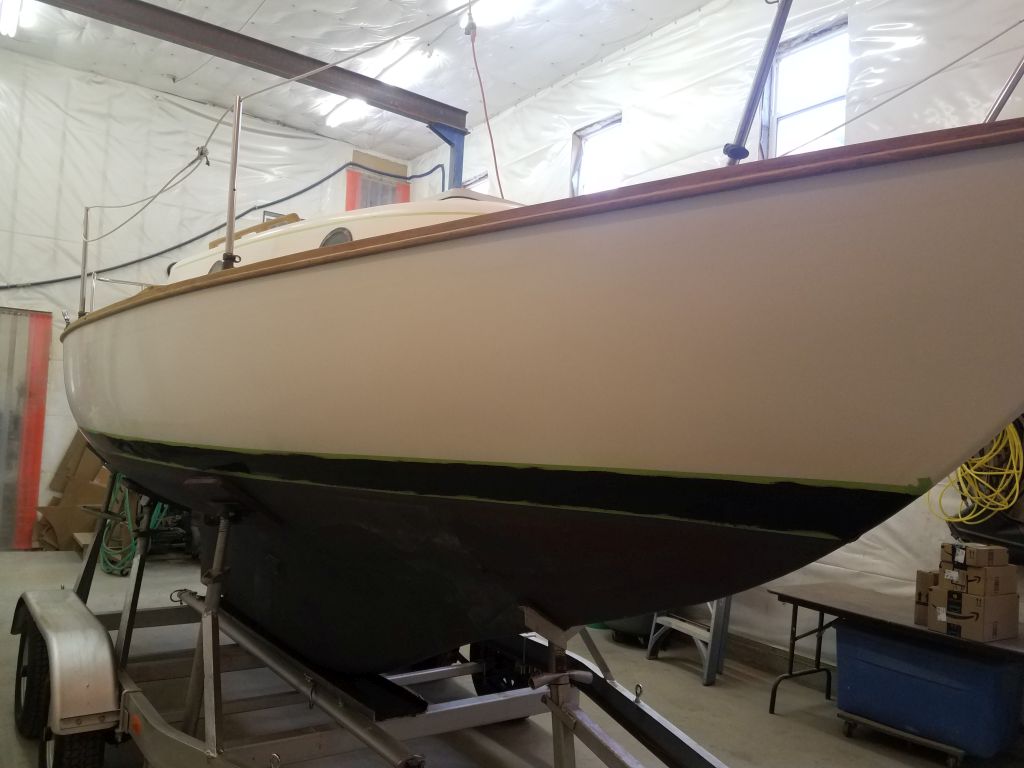
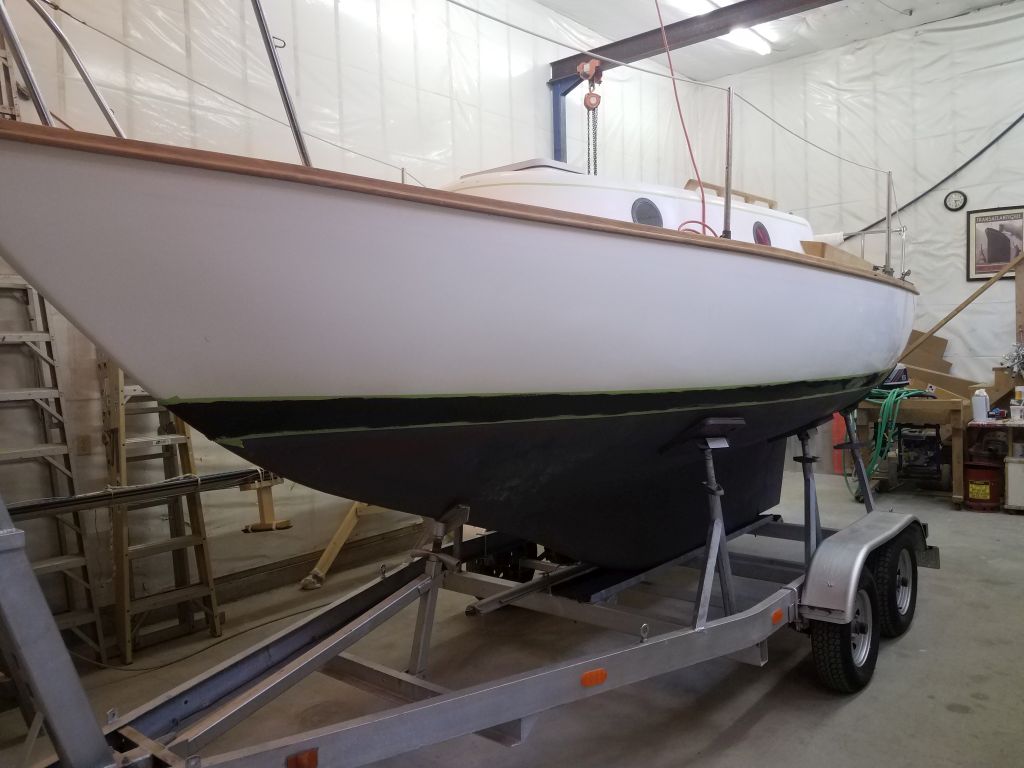
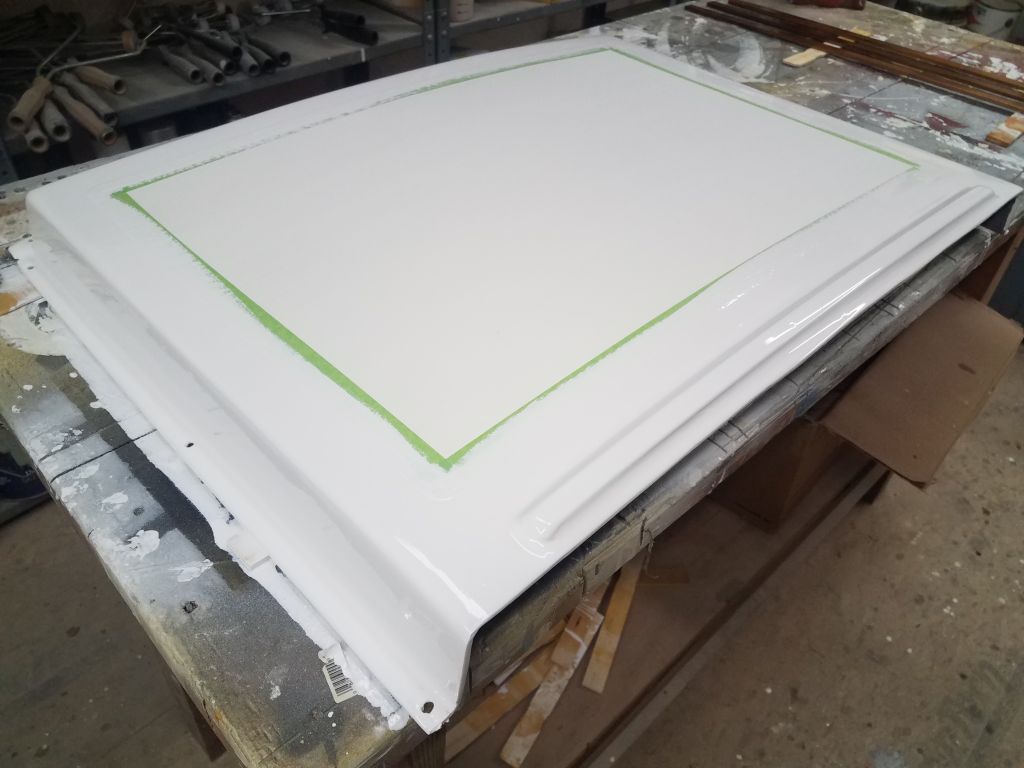
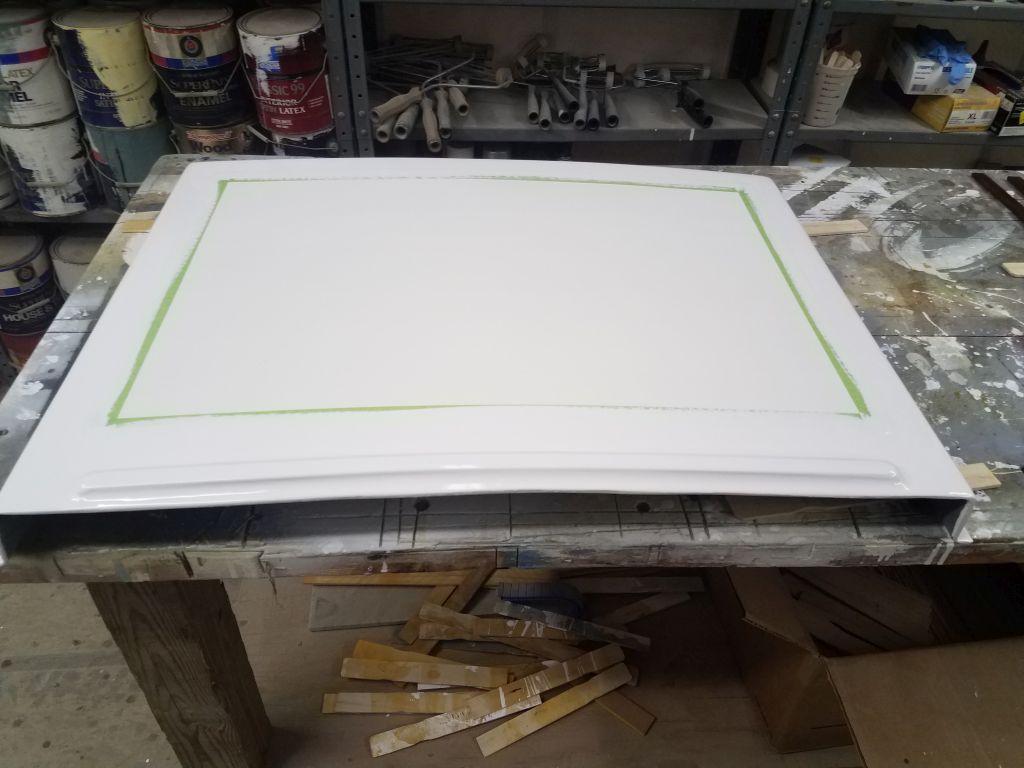
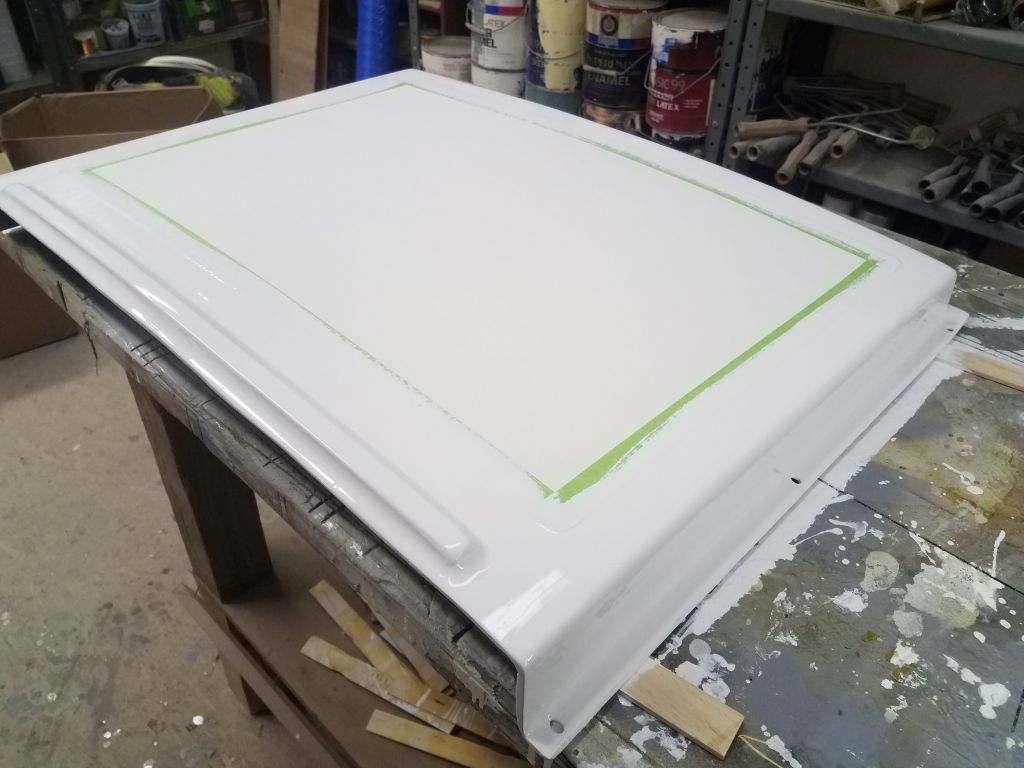
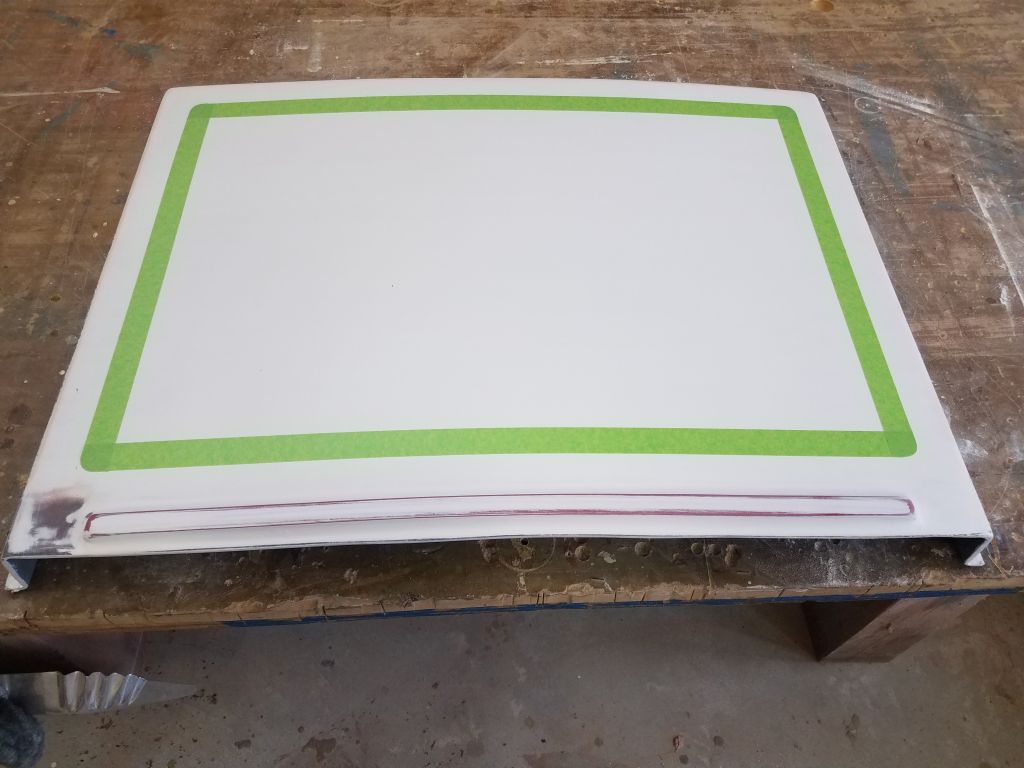
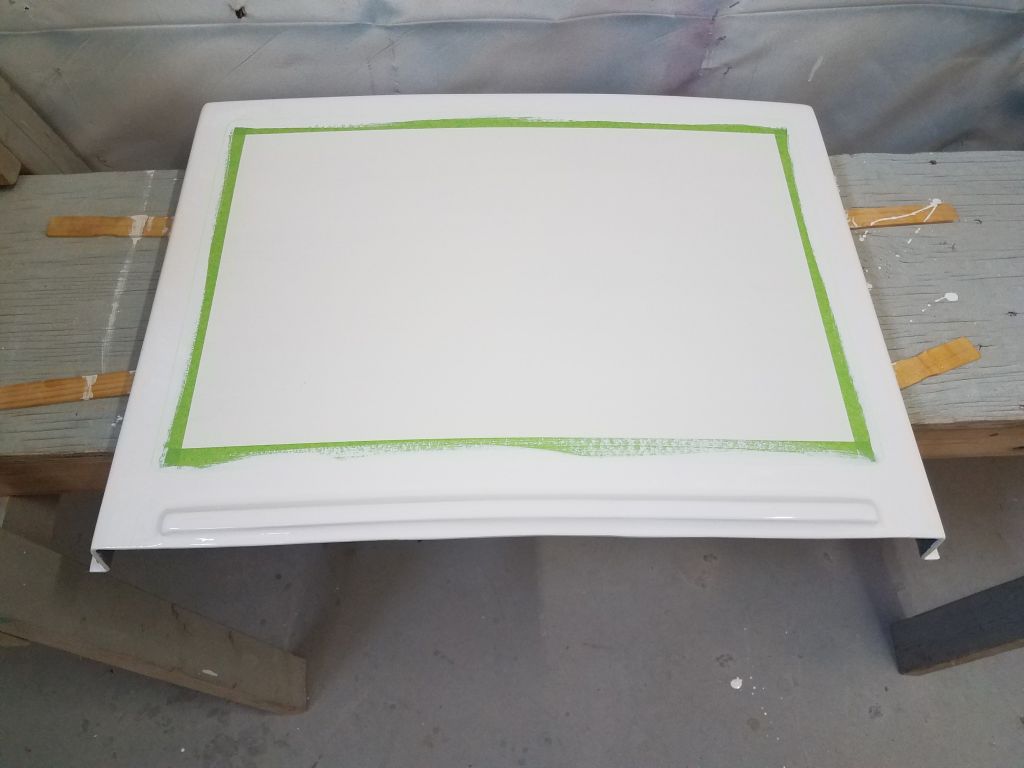
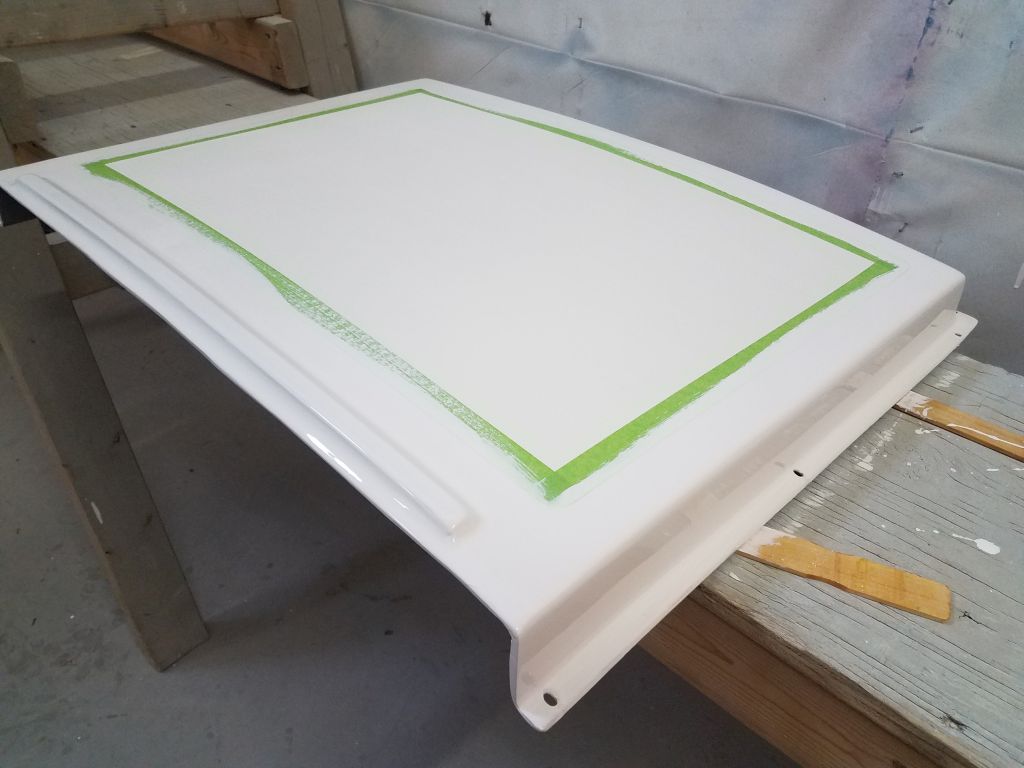
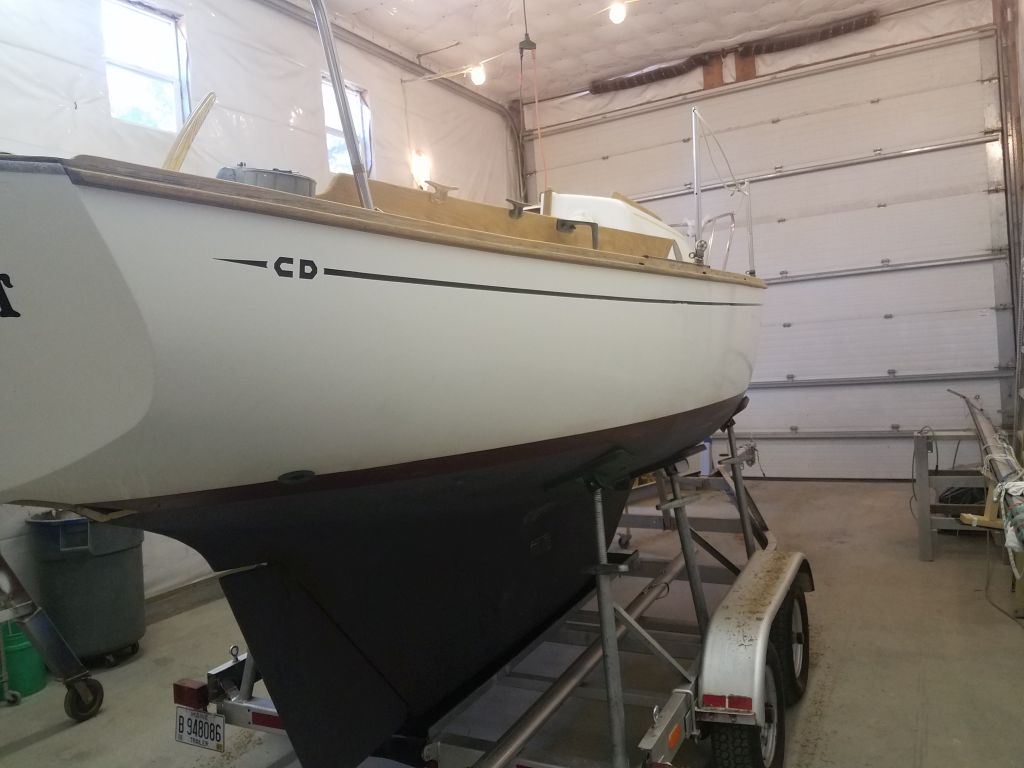
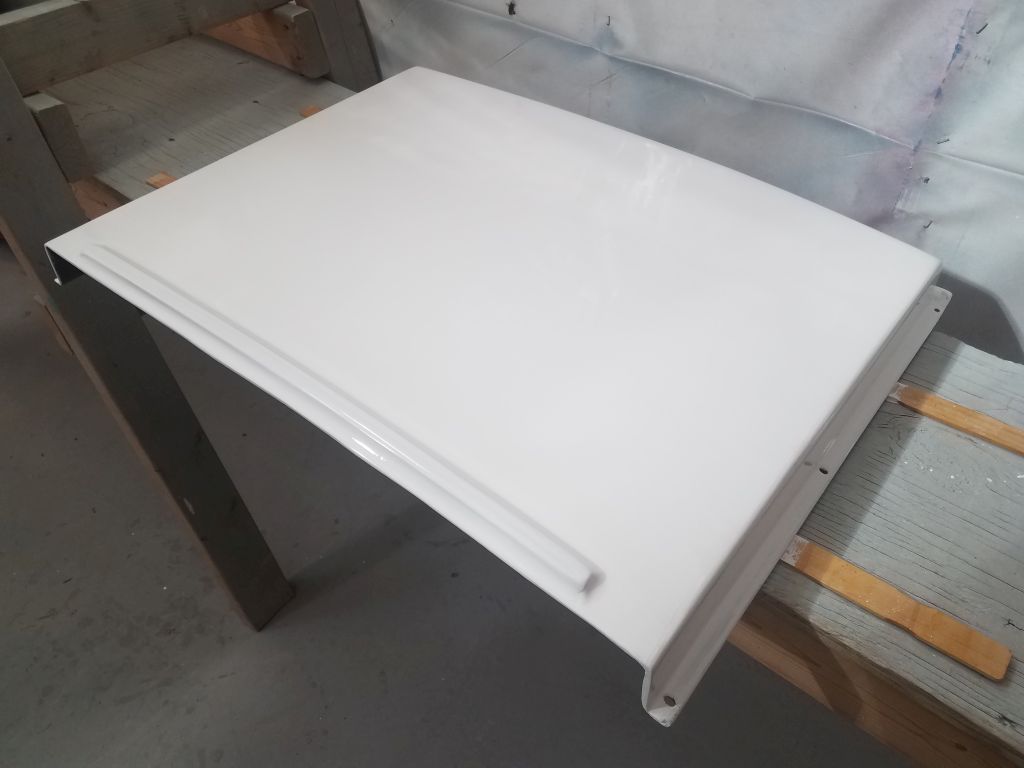
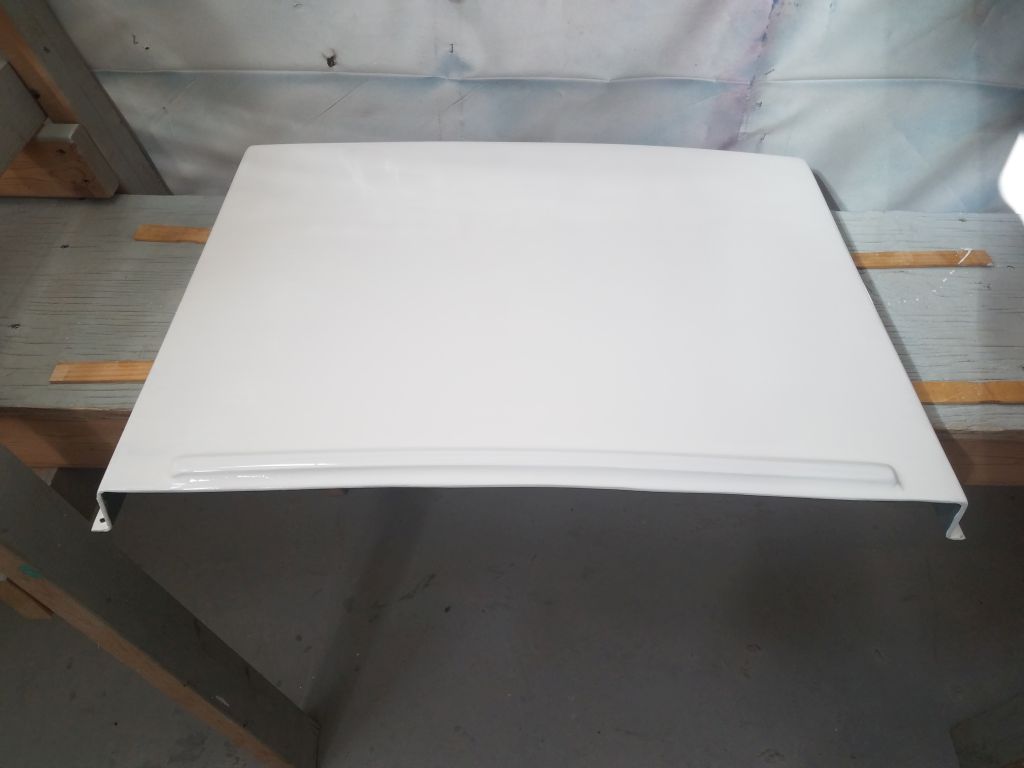
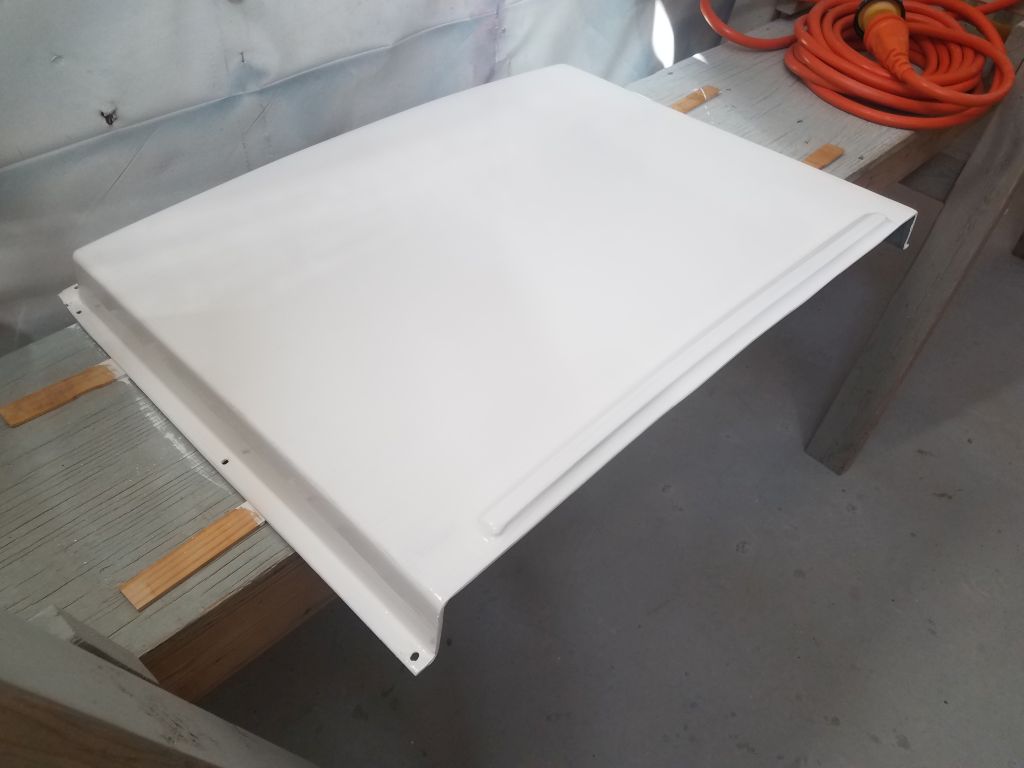
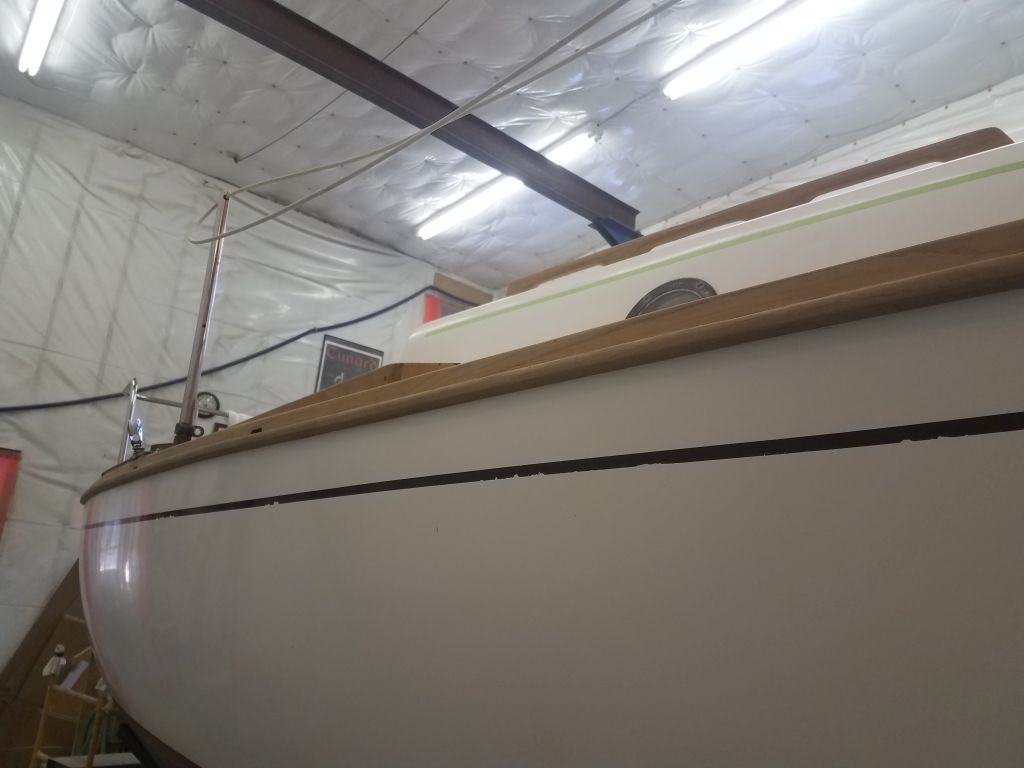
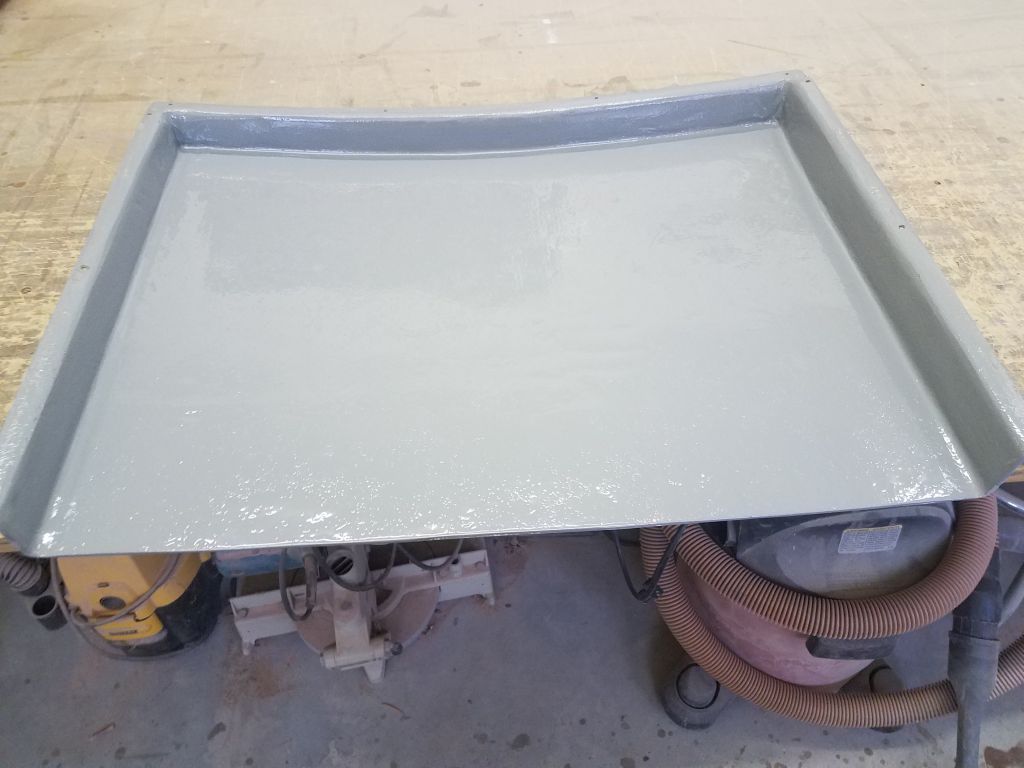
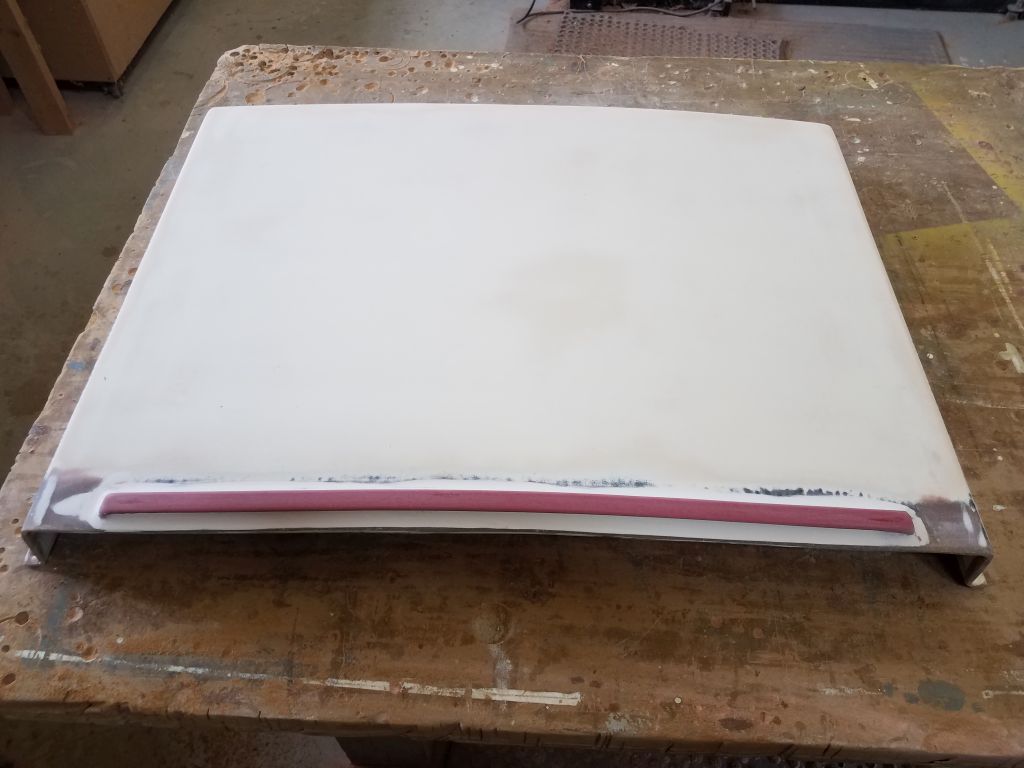
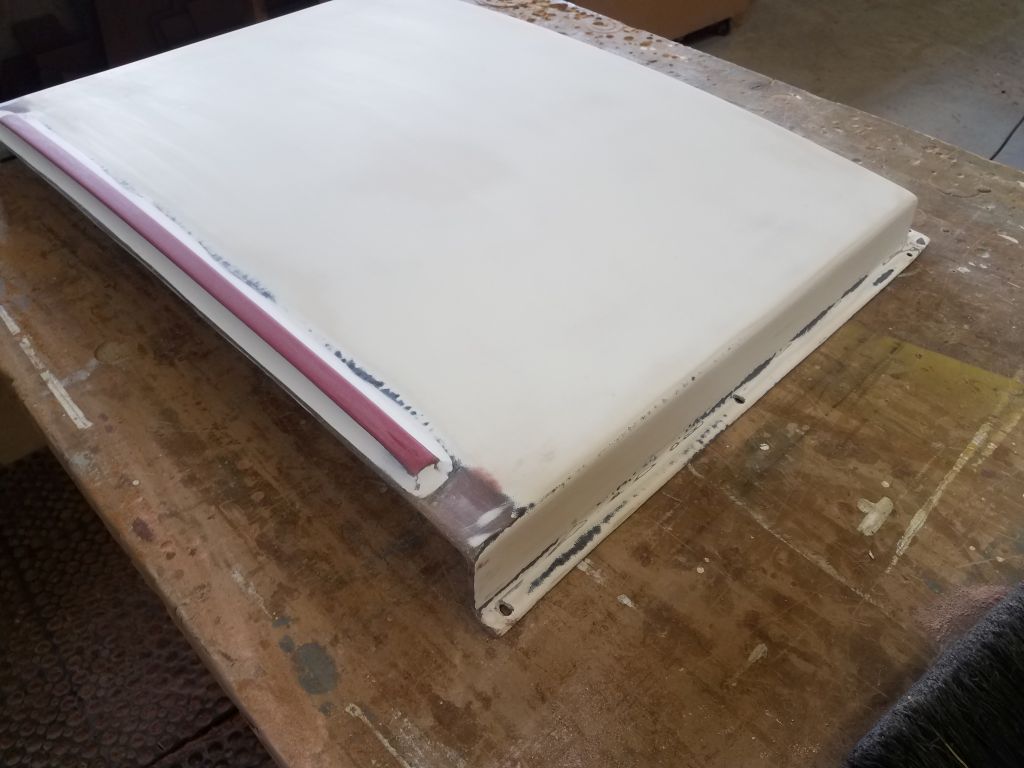
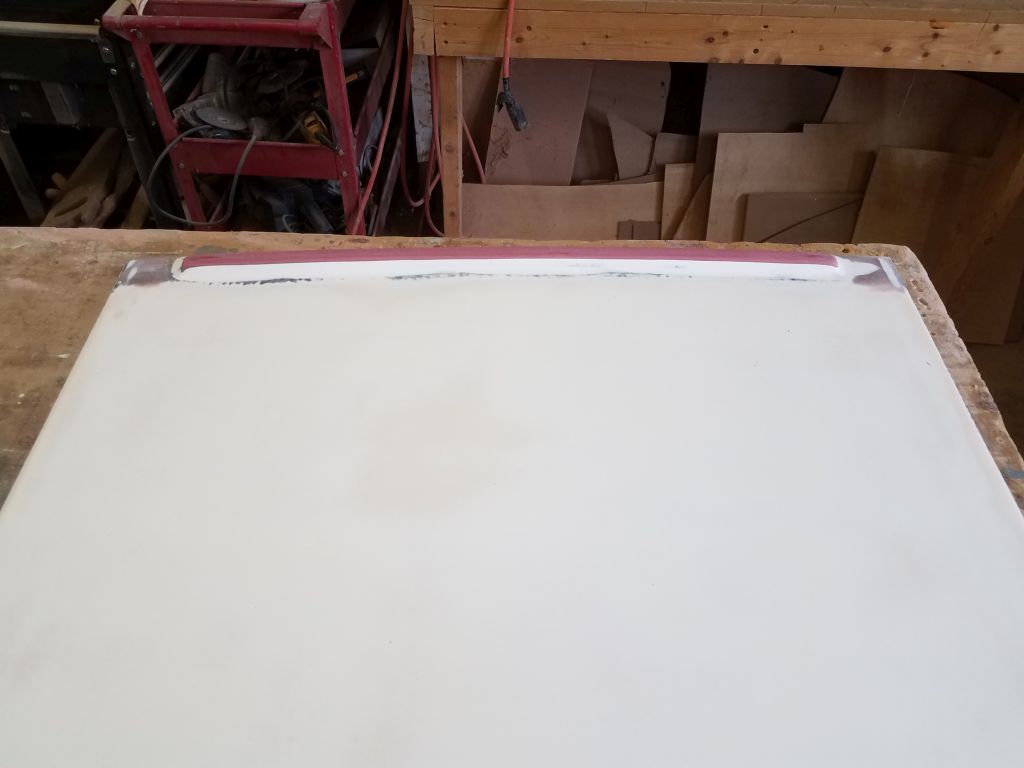
To begin the day, I lightly sanded the new paint on the boottop, preparing it for another coat later in the day.  At the same time, I lightly sanded the sea hood as well, as I felt it needed a third coat of white paint.

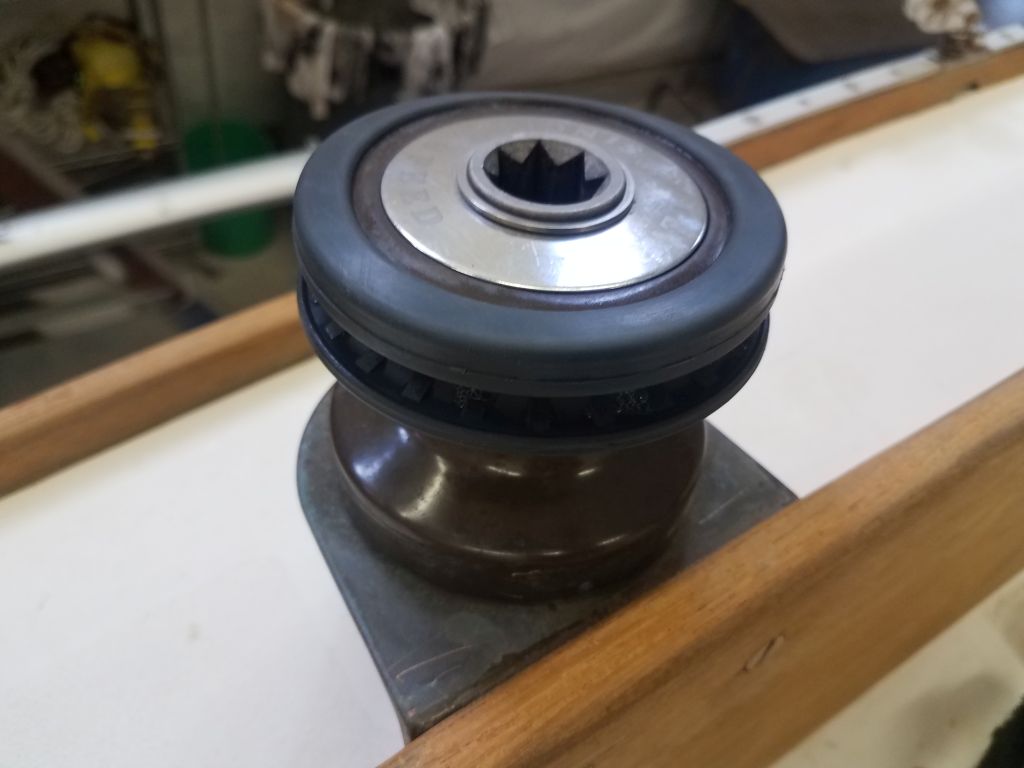
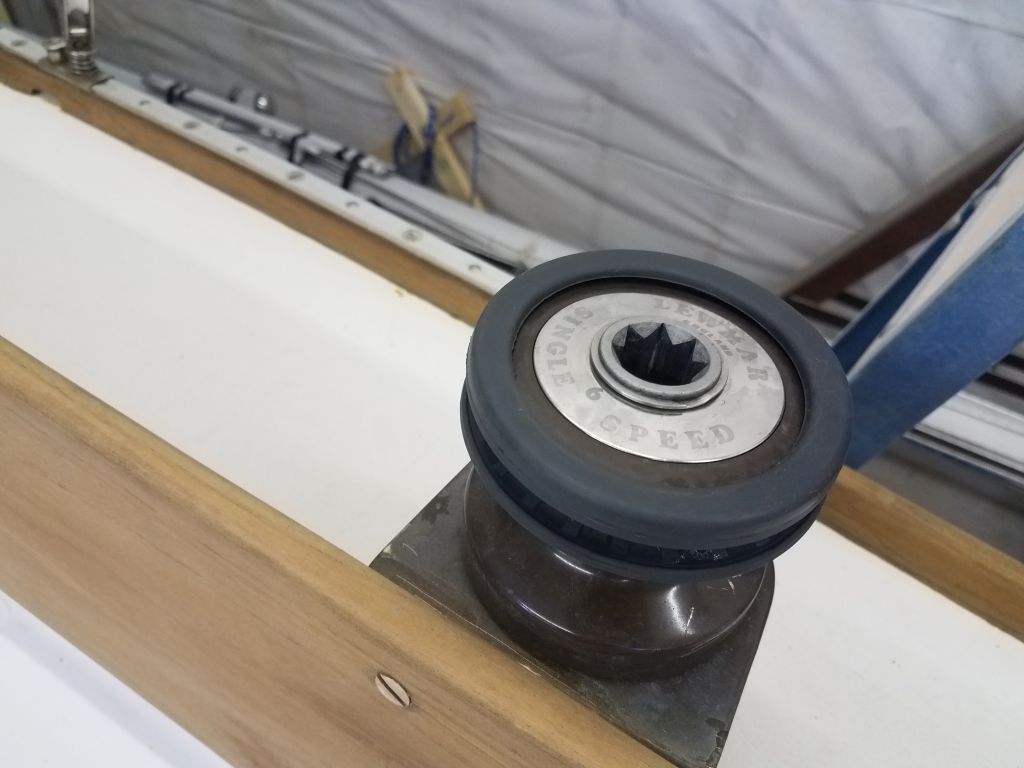
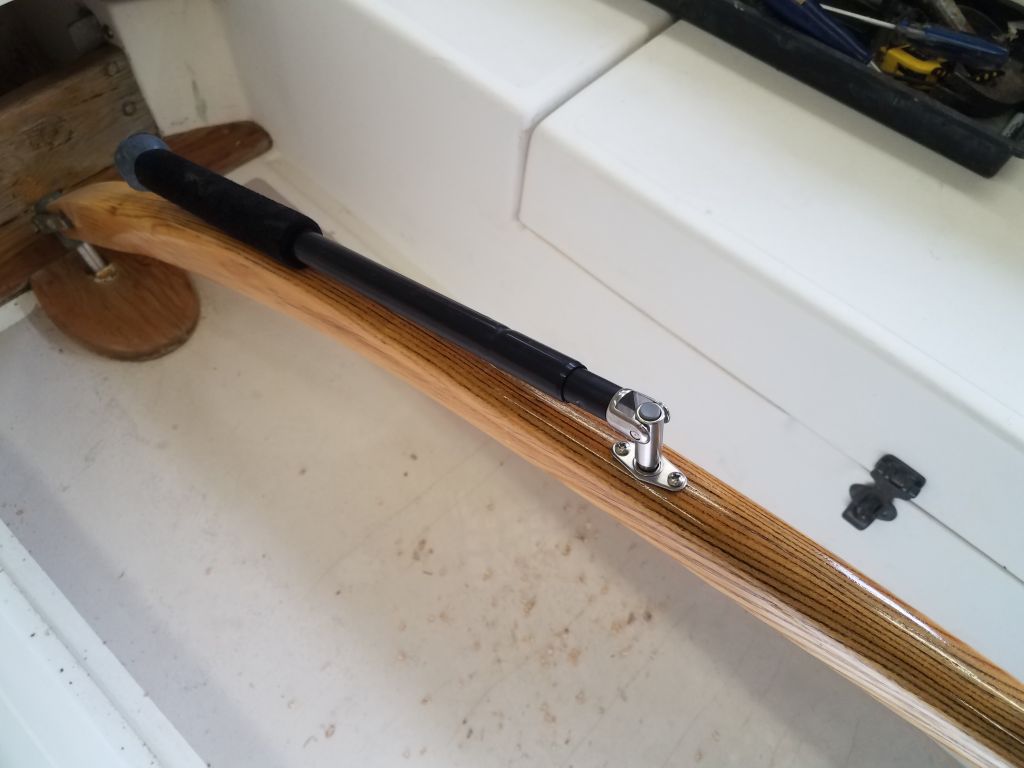
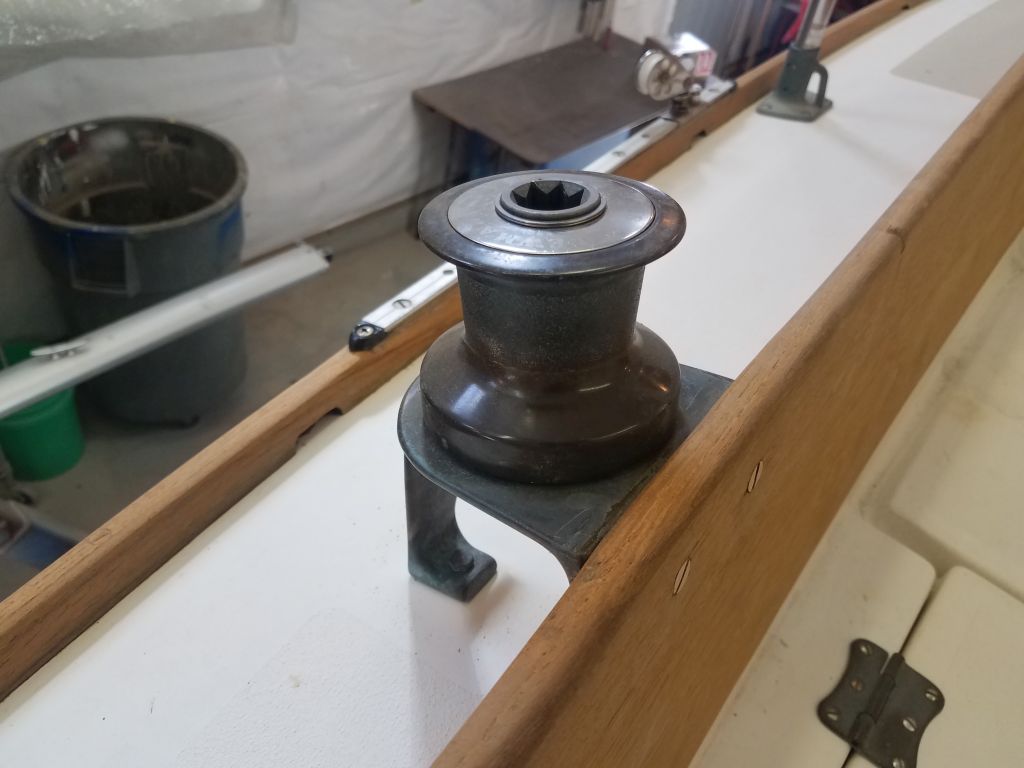
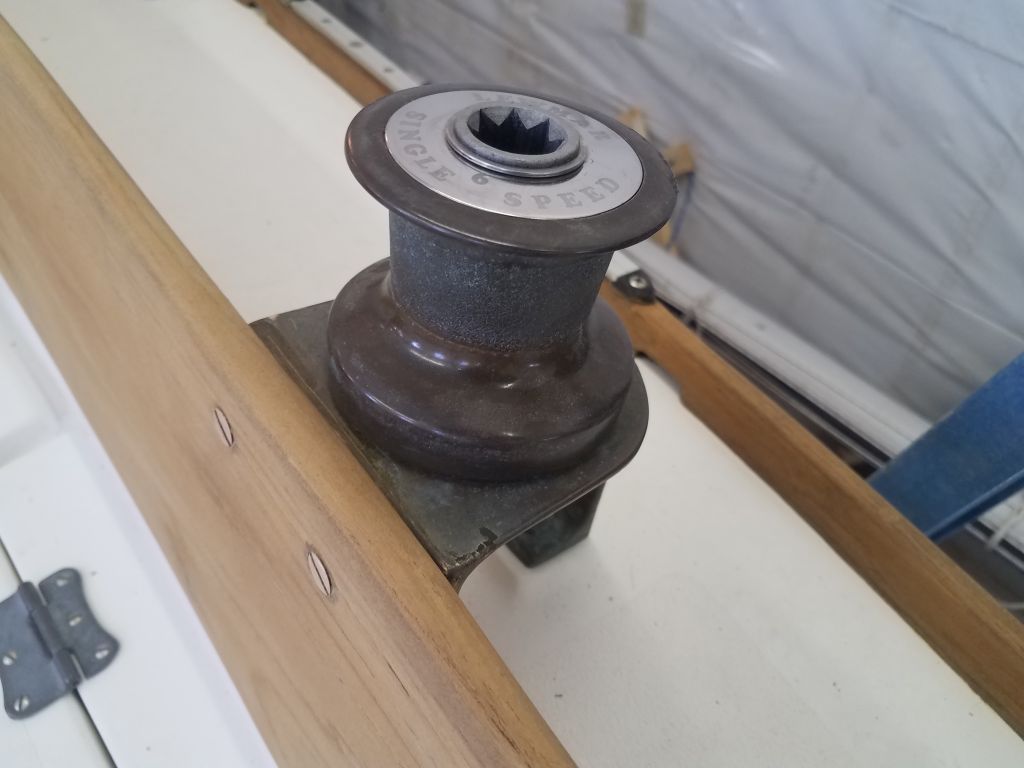
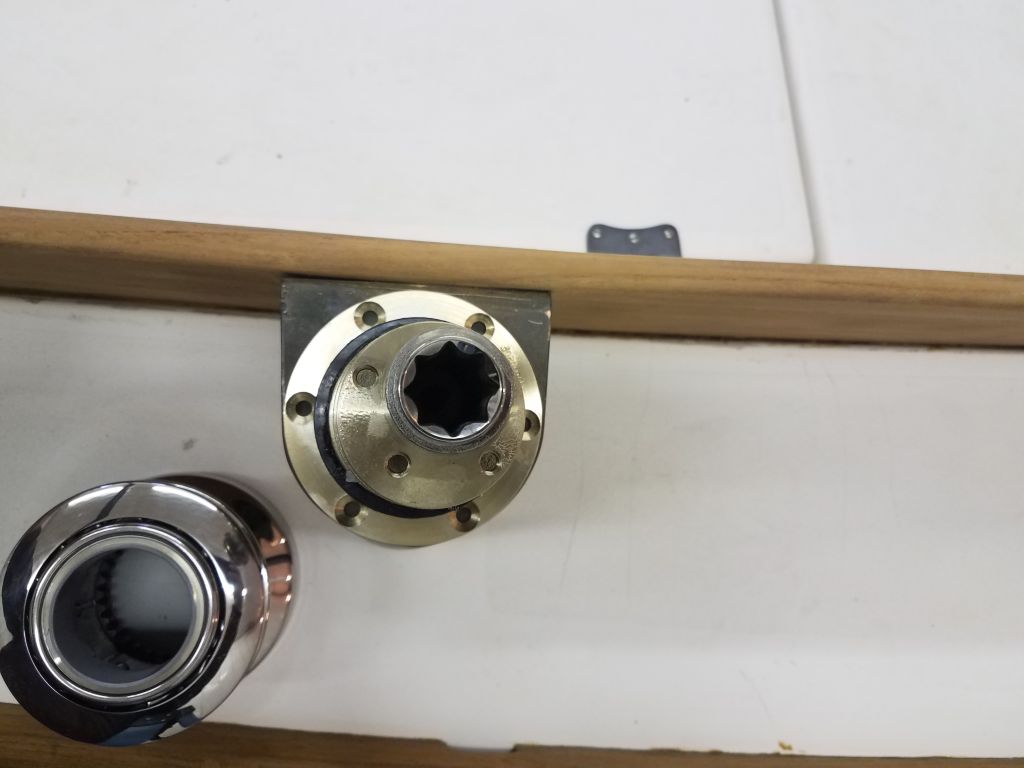
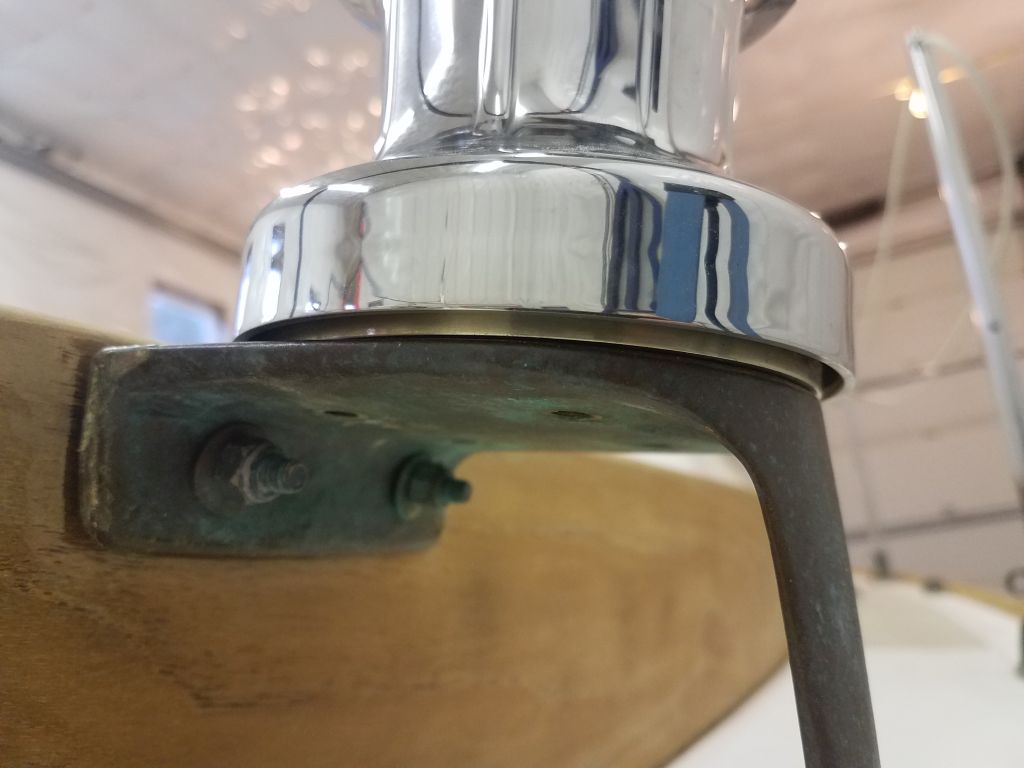
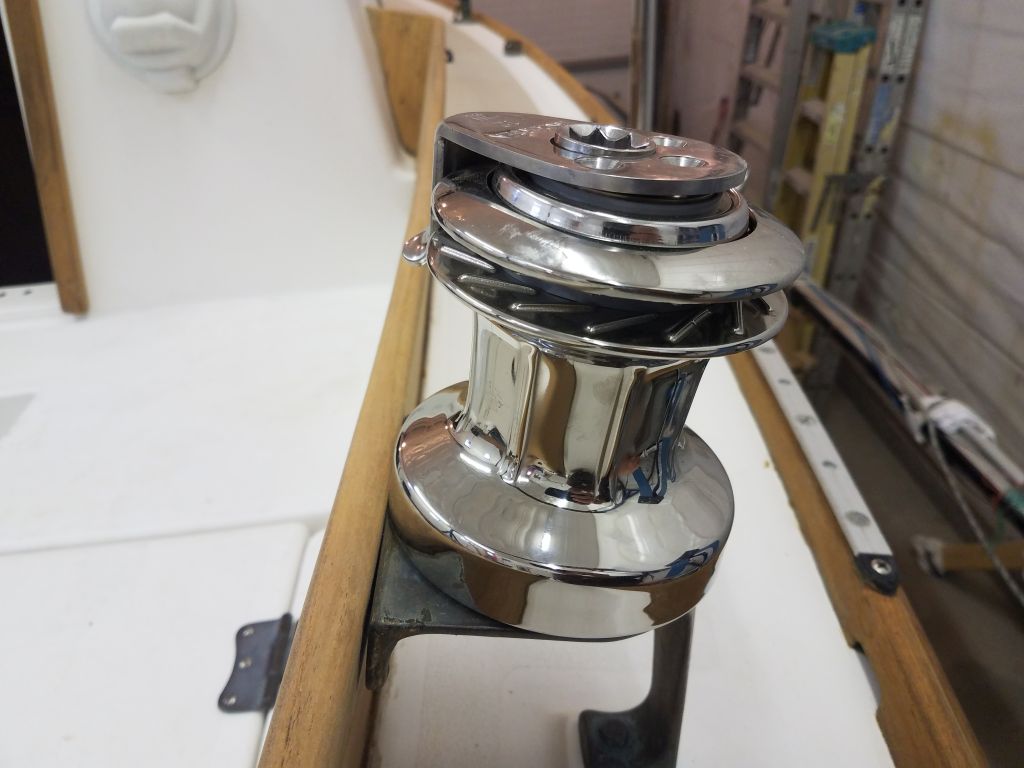
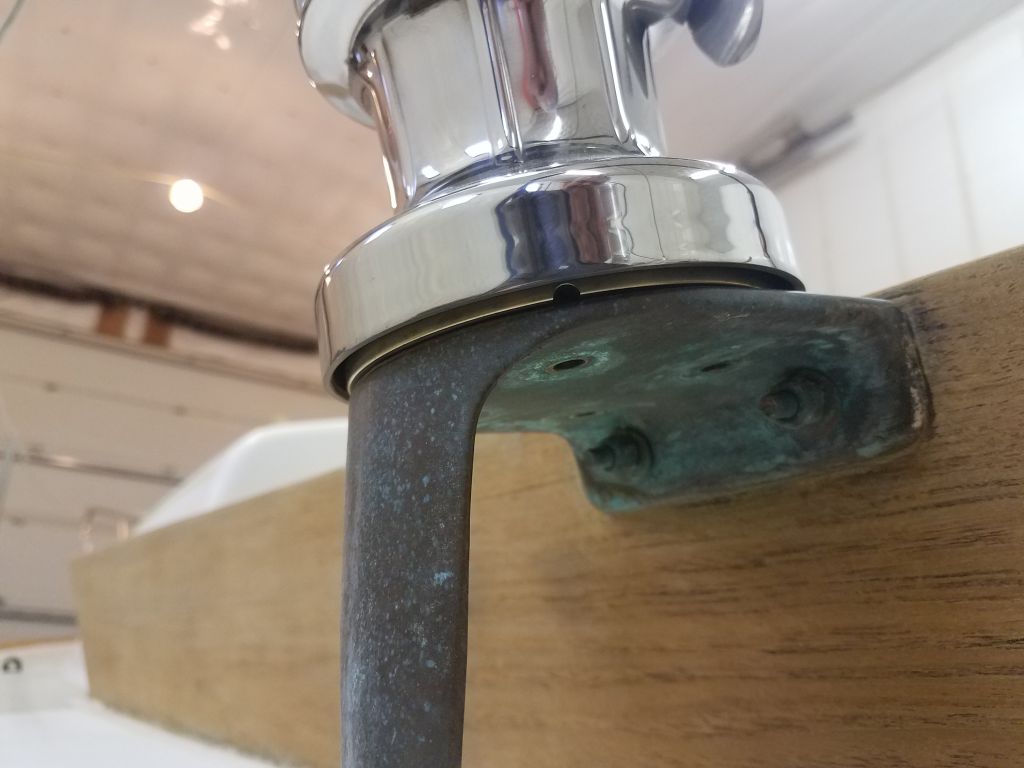
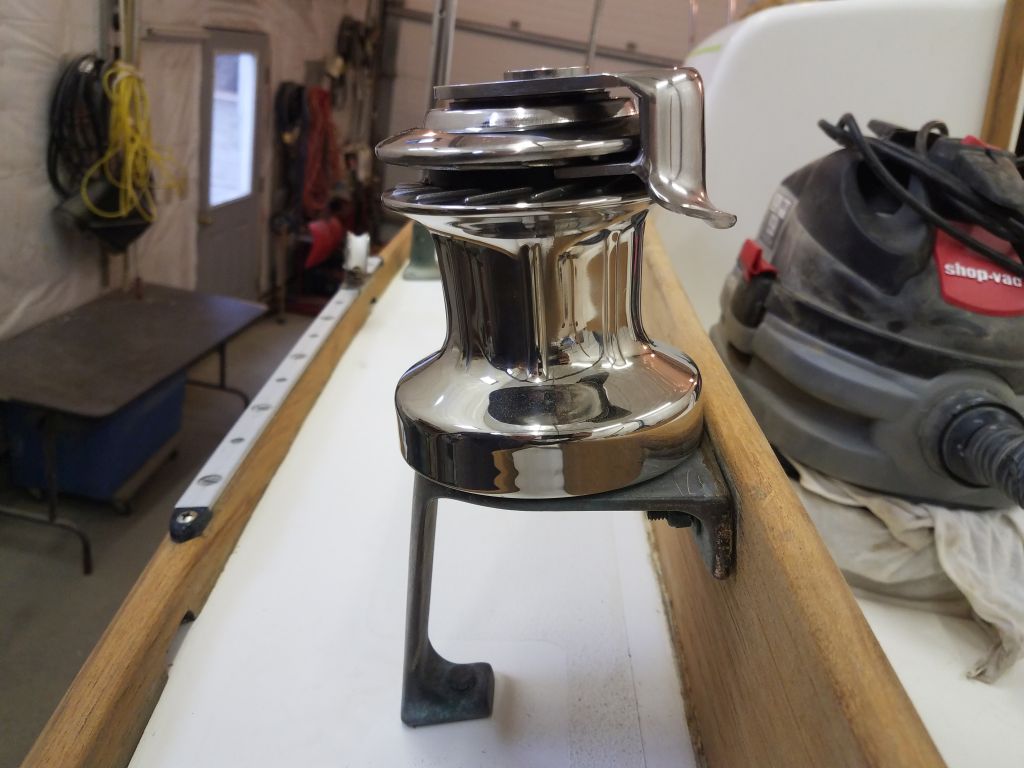
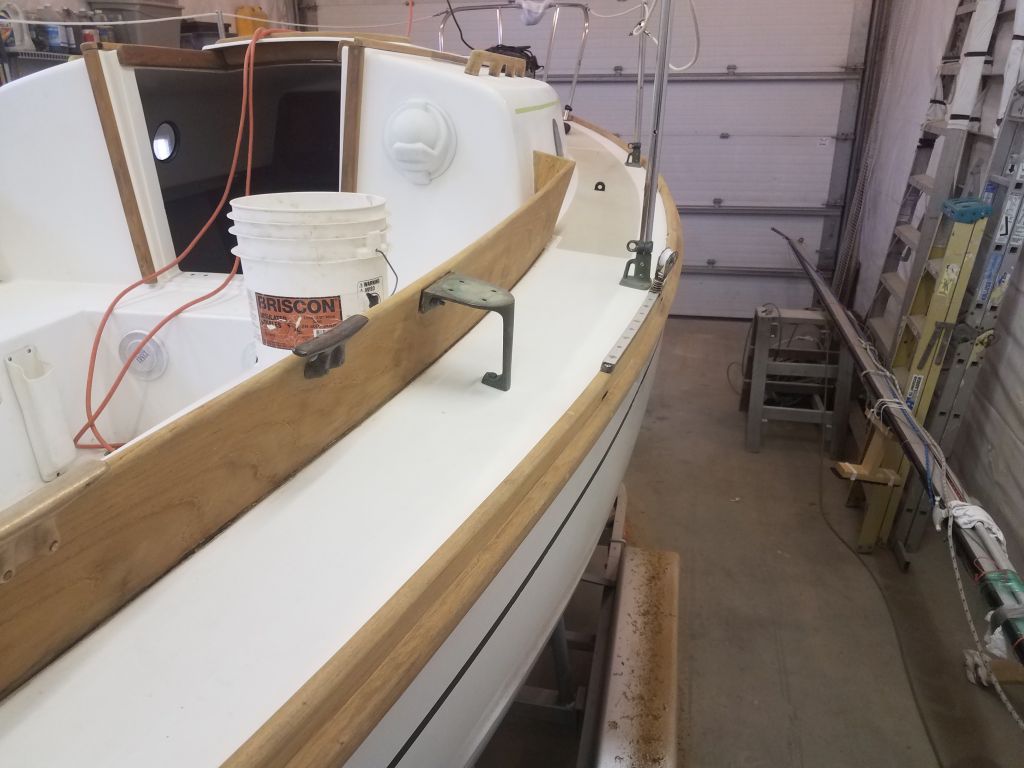
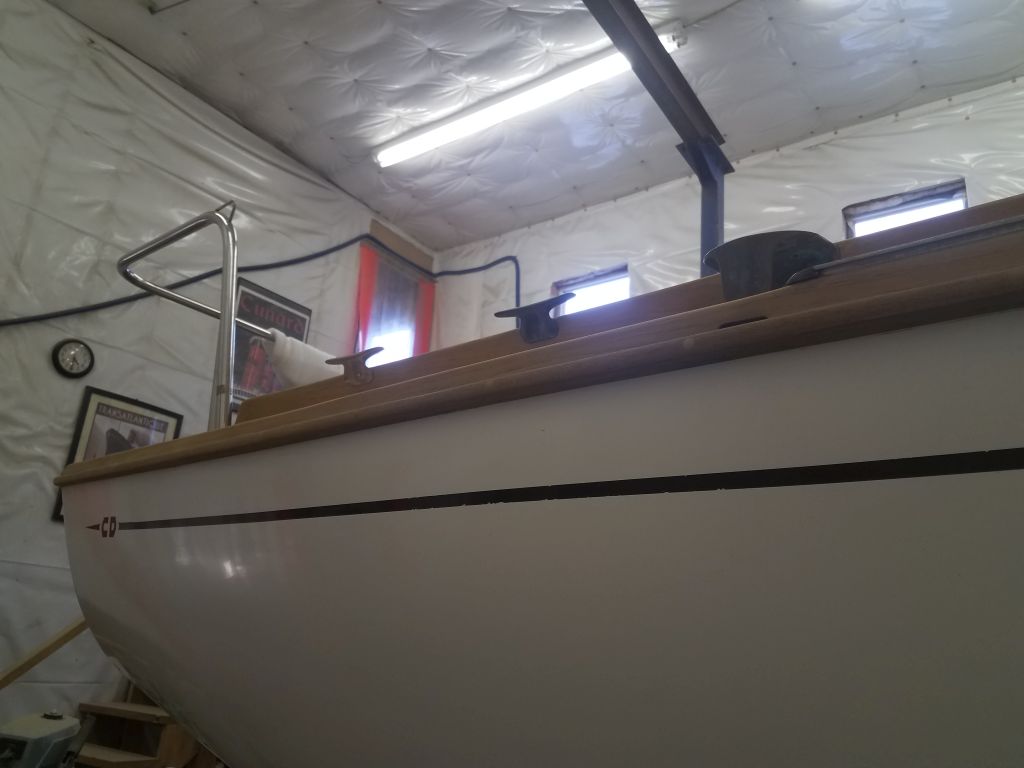
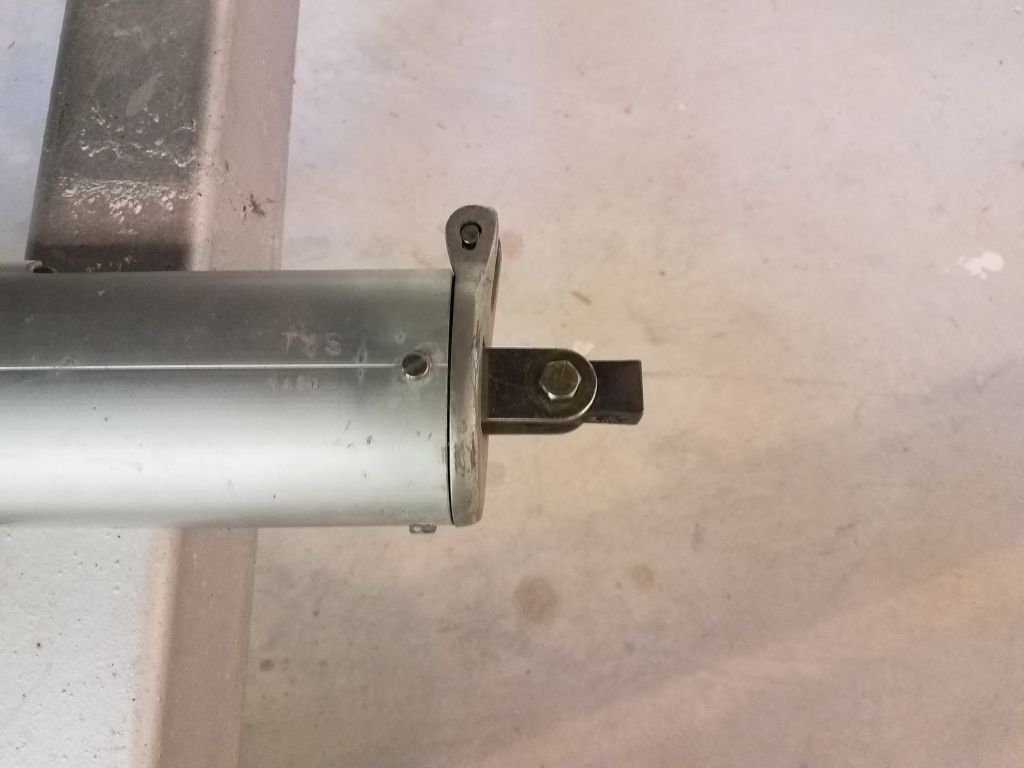
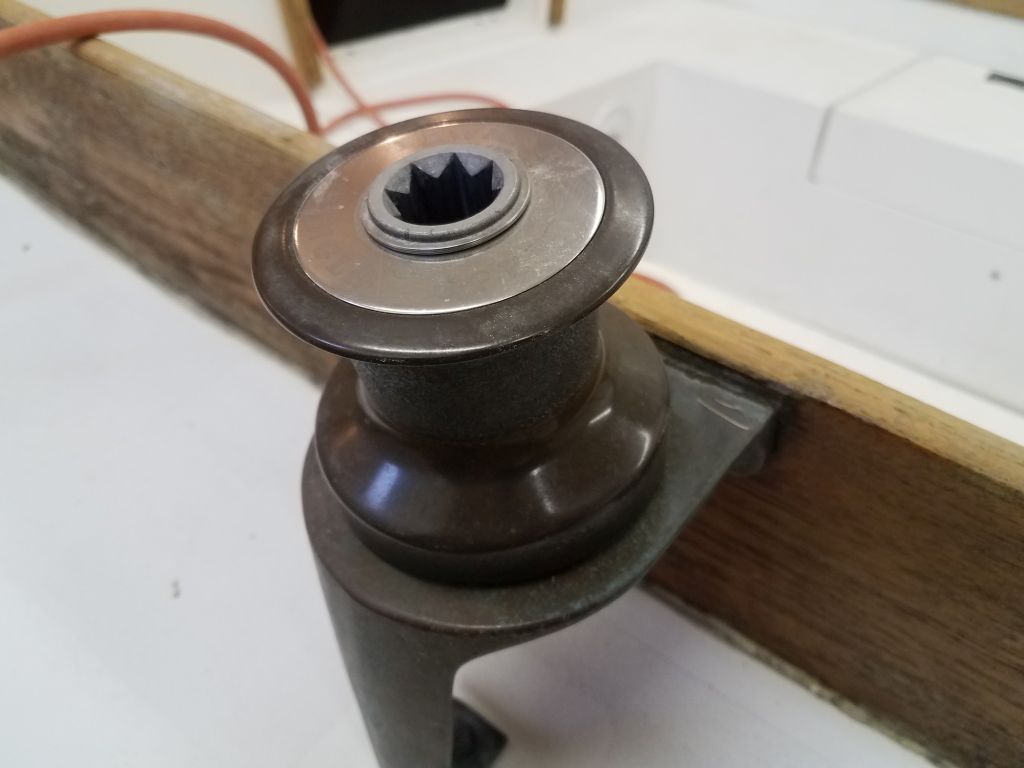
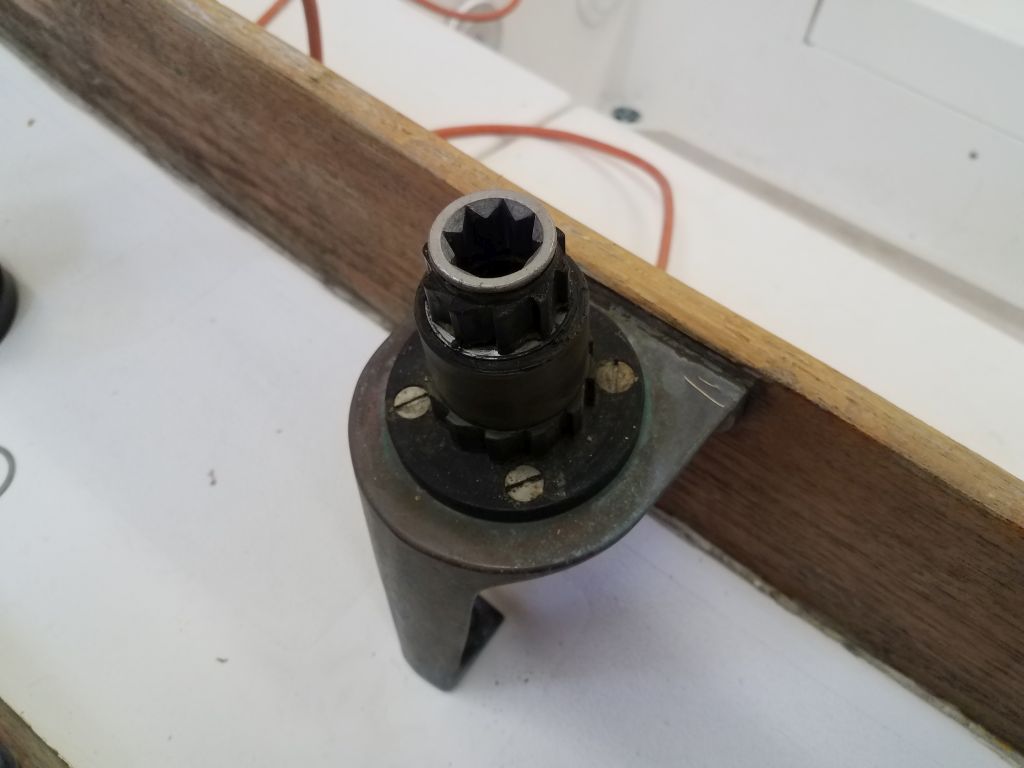
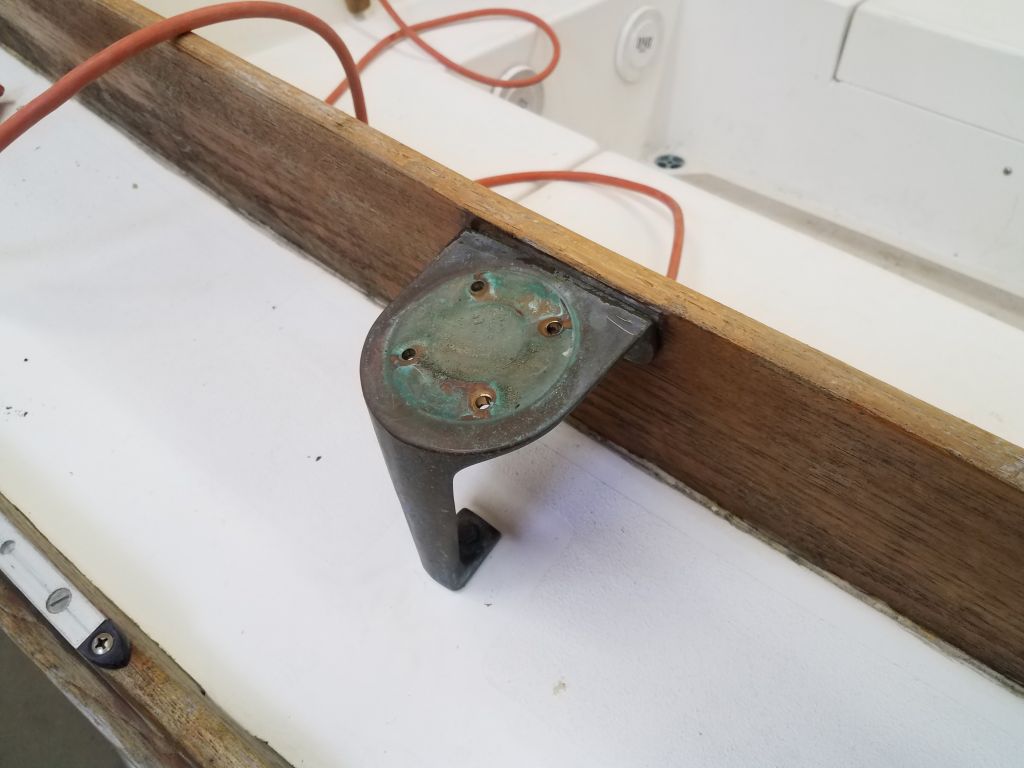
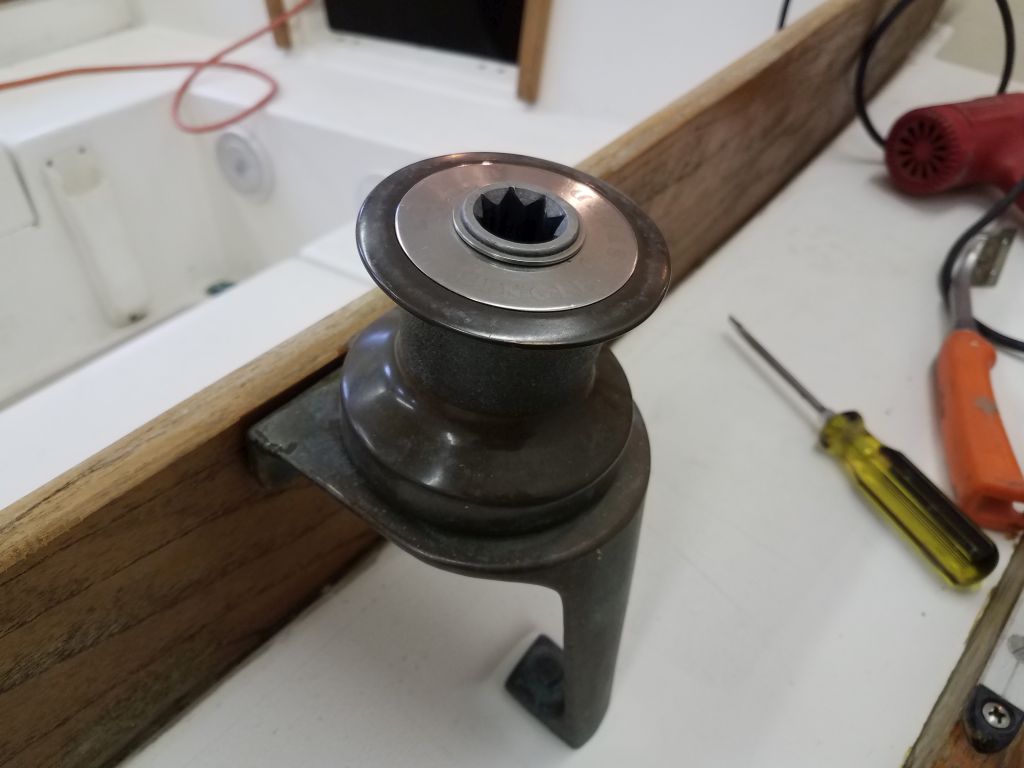
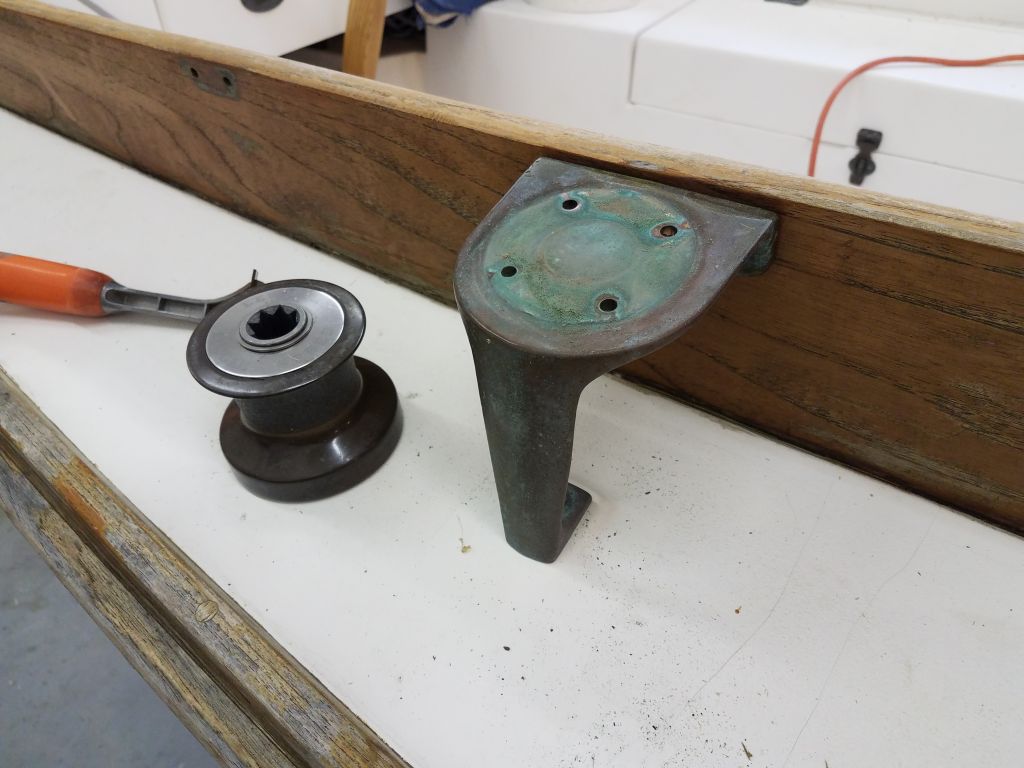
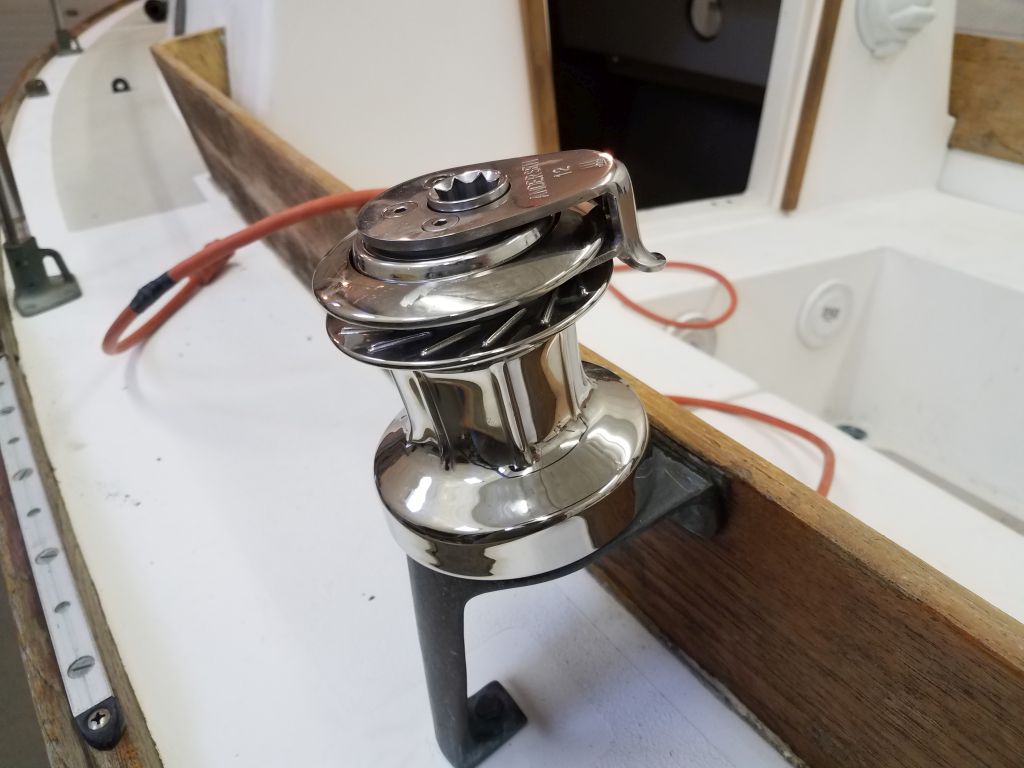
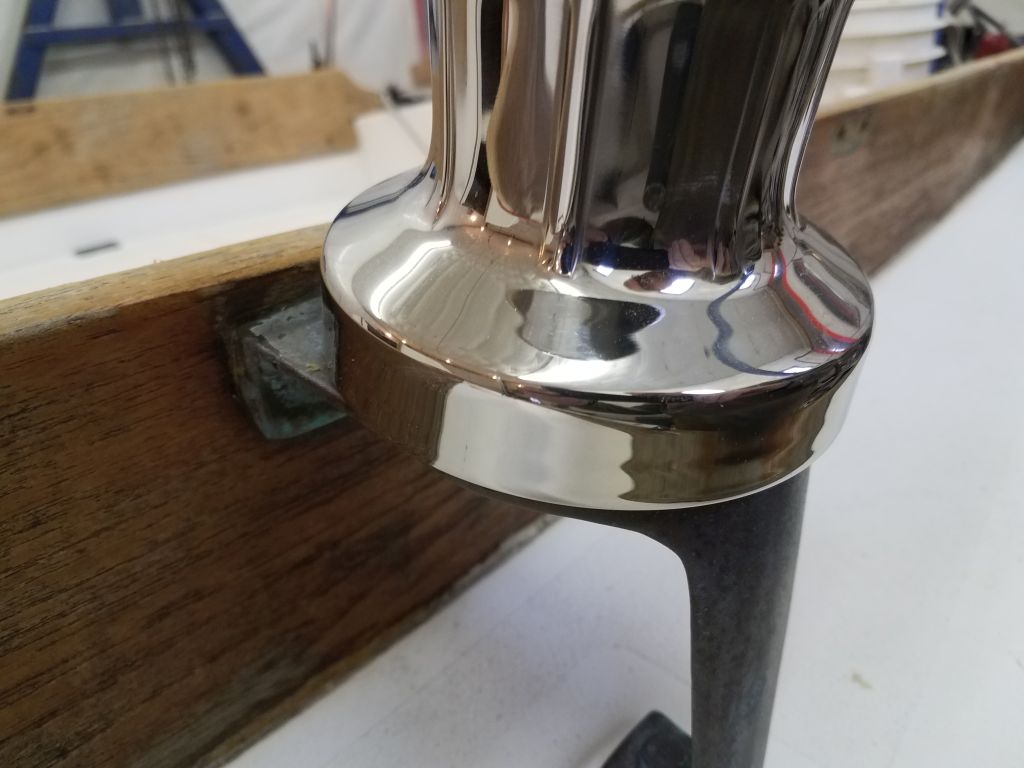
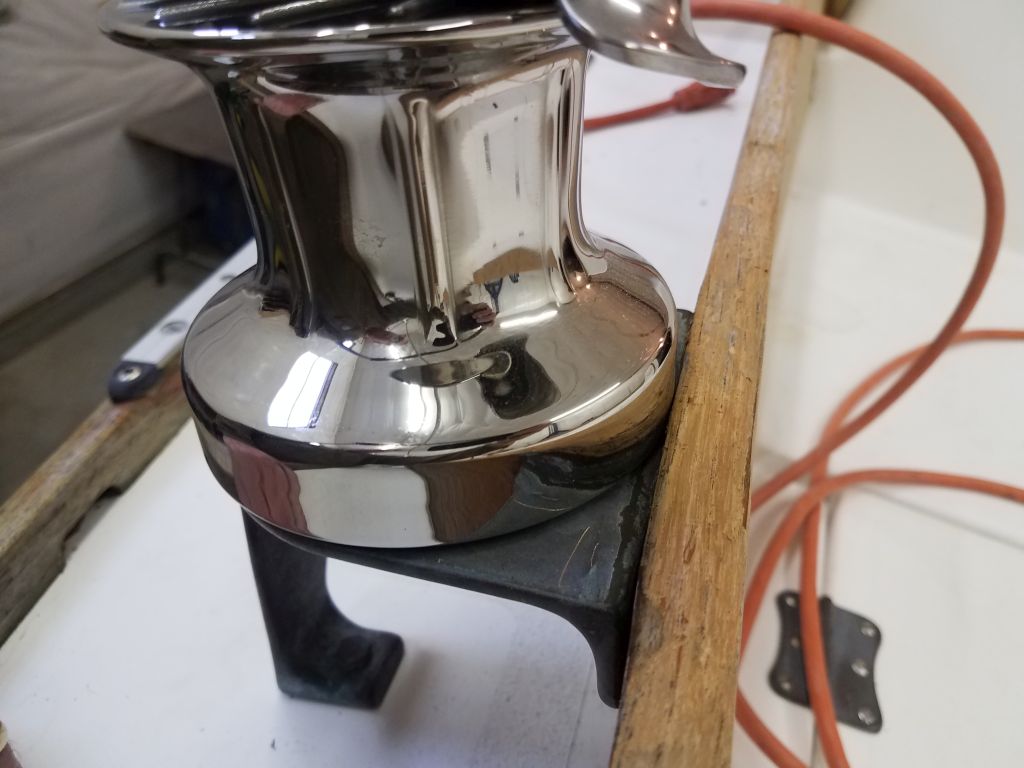
Up on deck, I installed a new tiller extension that the owner requested, and also reinstalled the original sheet winches, as the owner had decided not to proceed with the new self-tailers after all, since they didn’t really fit that well on the winch stands, and he thought they seemed out of proportion with the boat.   Instead, we decided to try those rubber add-on self-tailing attachments, a simple and inexpensive alternative (and they come in gray now, not that horrible blue that used to be standard).  I ordered a set and would do the installation once they arrived.

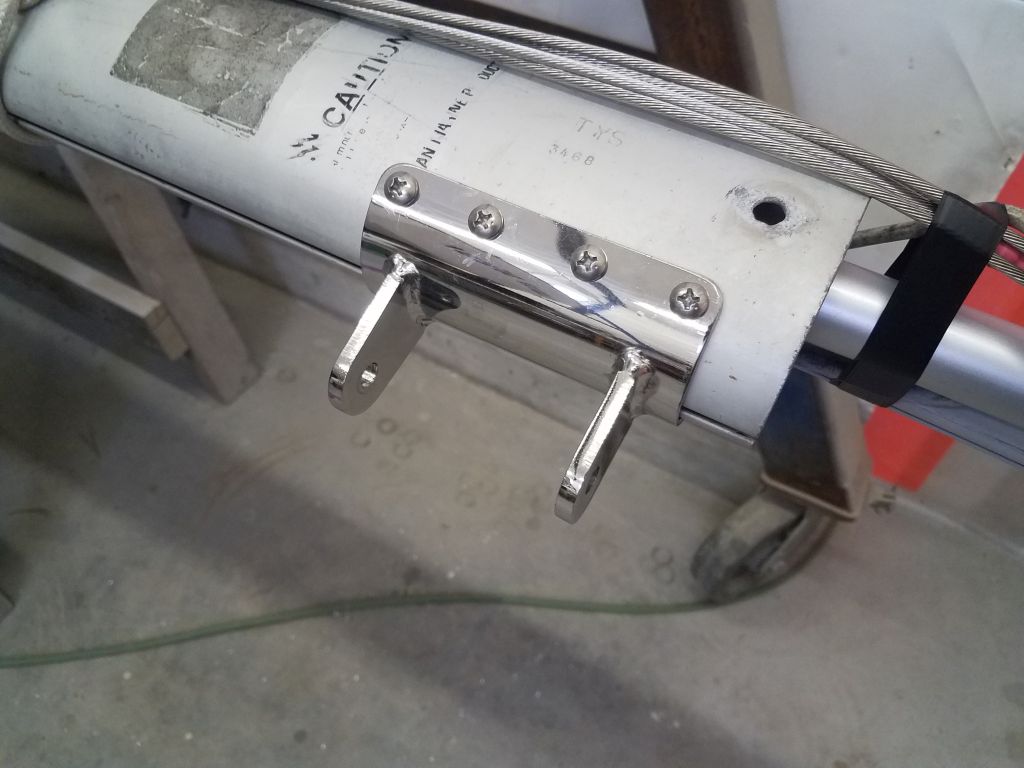
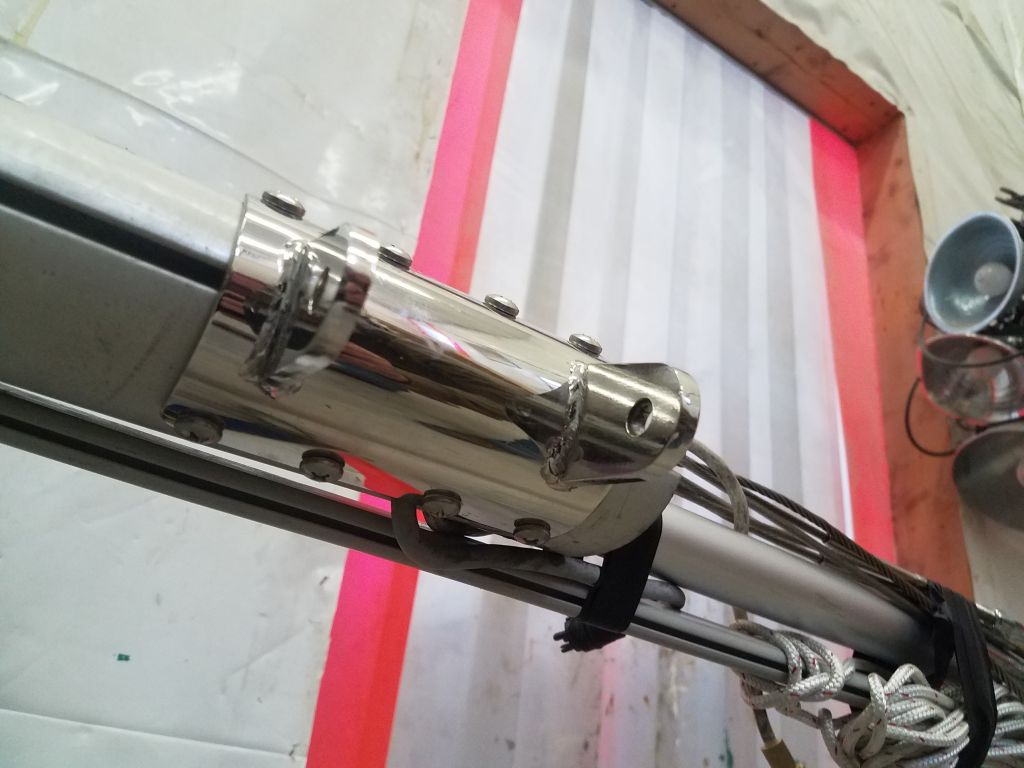
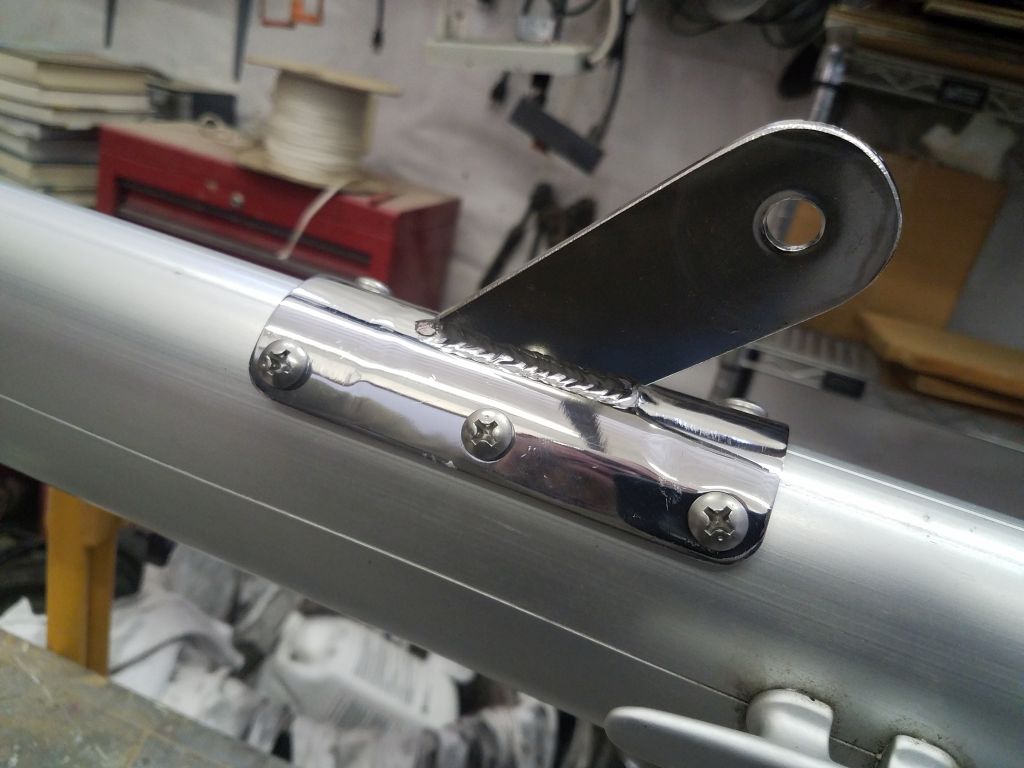
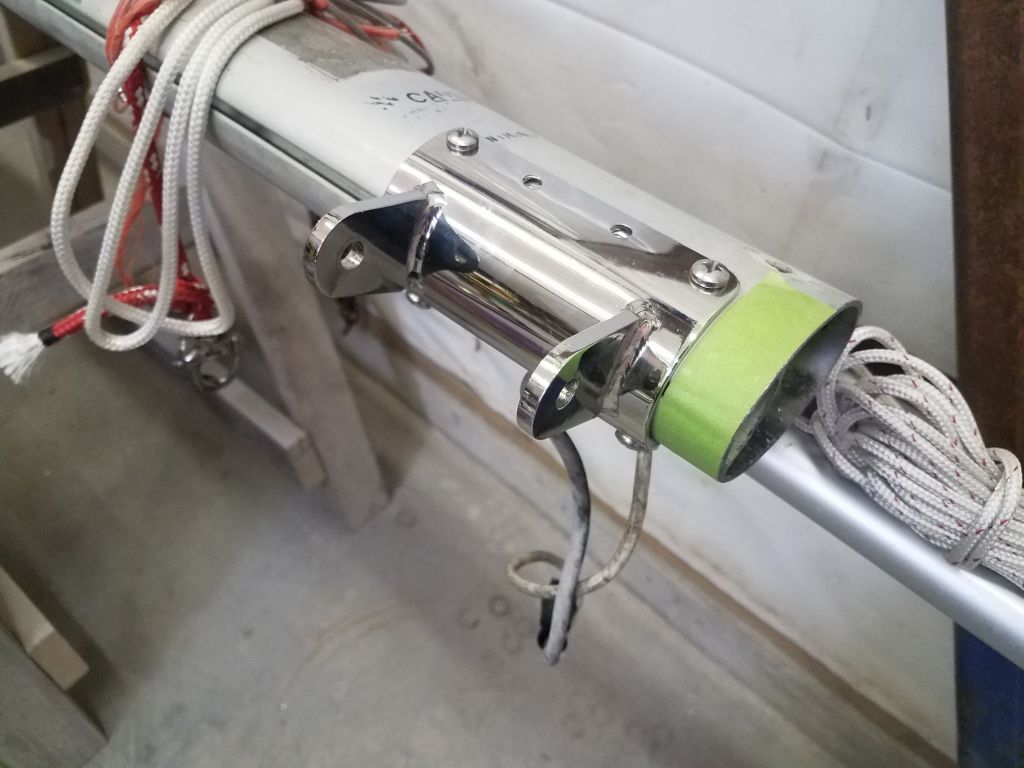
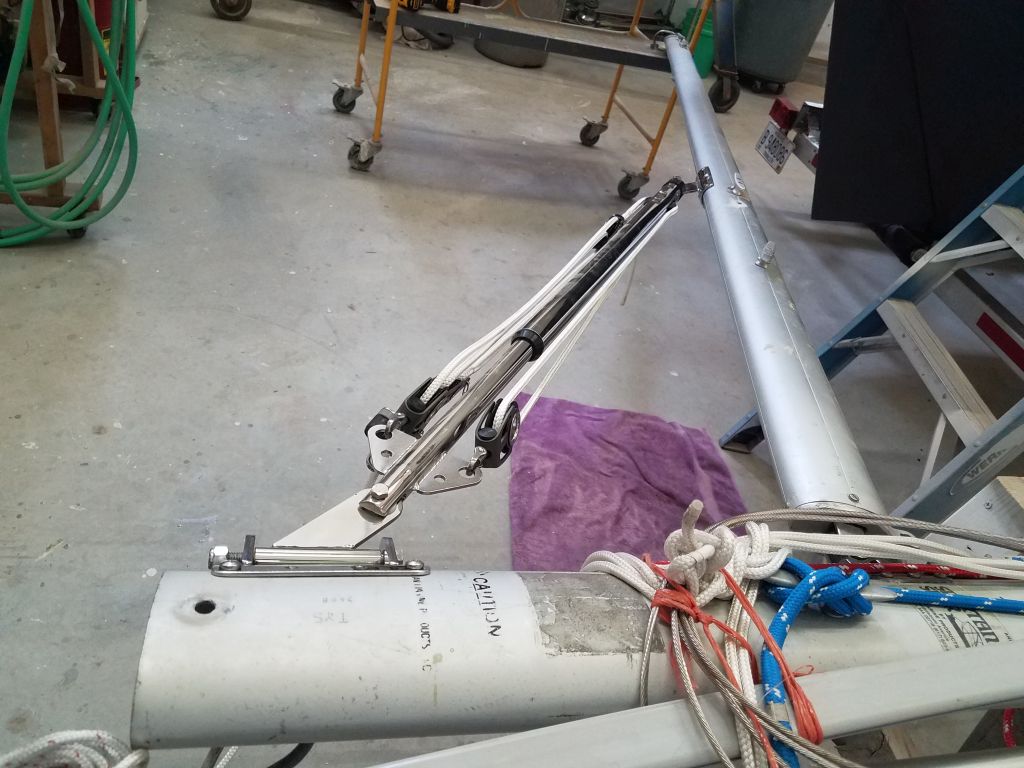
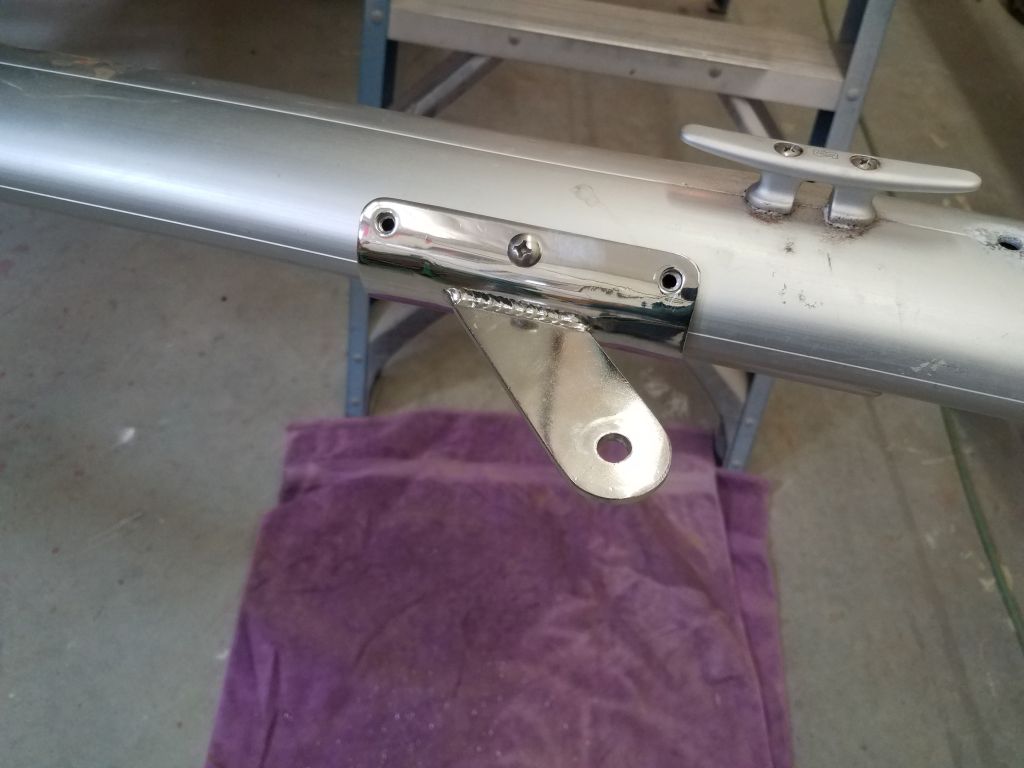
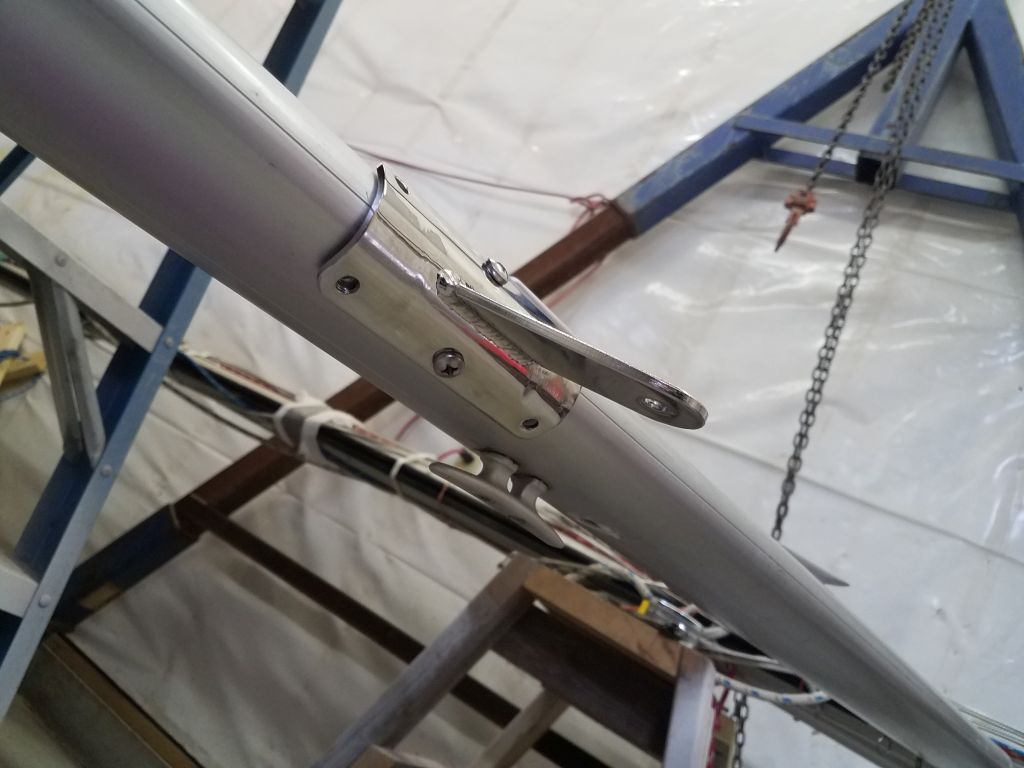
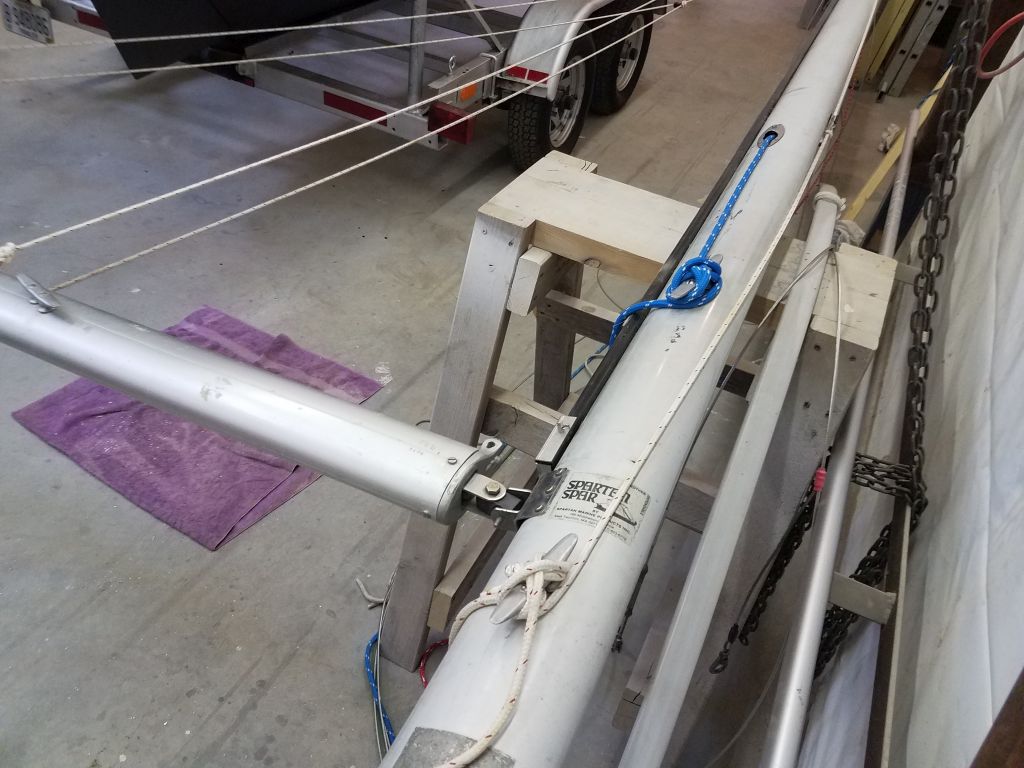
I had a couple small jobs to complete on the spars, starting with installing a new rigid boom vang.  To begin, I had to first remove two old bails–one each on the mast and boom–left over from the old vang.  Afterwards, I installed the mast bracket, keeping it about an inch above the base of the mast to ensure clearance within for the screws and the cast mast step on deck.  I had only over-length screws on hand, so for the moment I temporarily installed the bracket with a few of these, but I’d replace them and complete the installation with shorter screws once they arrived.

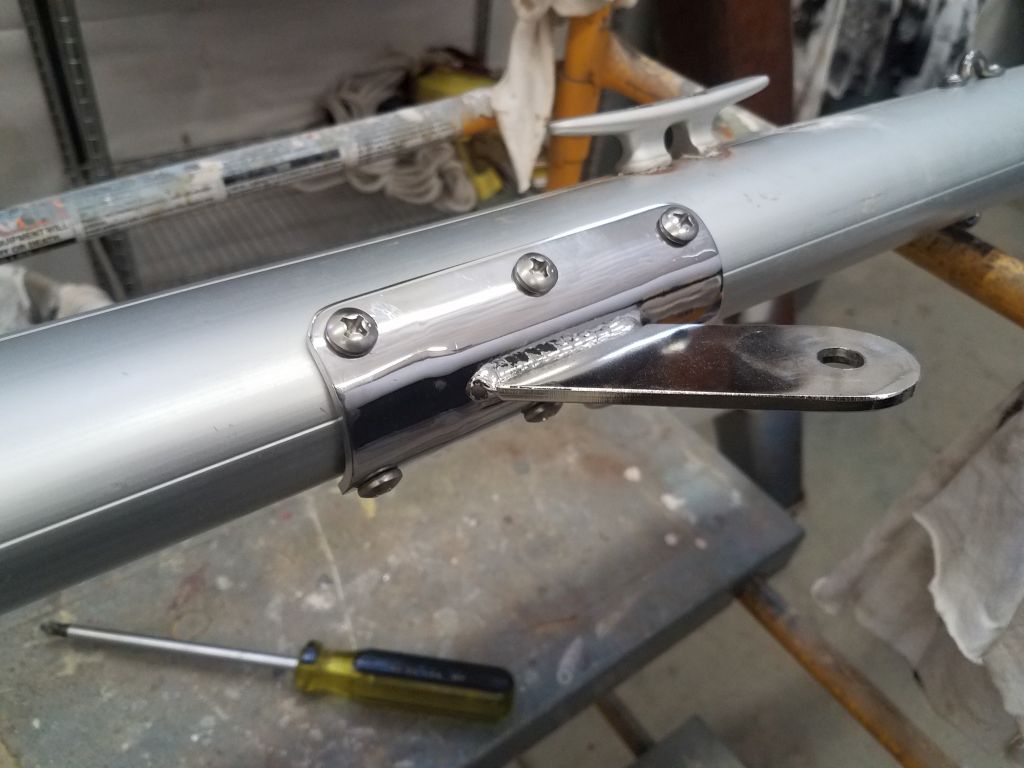
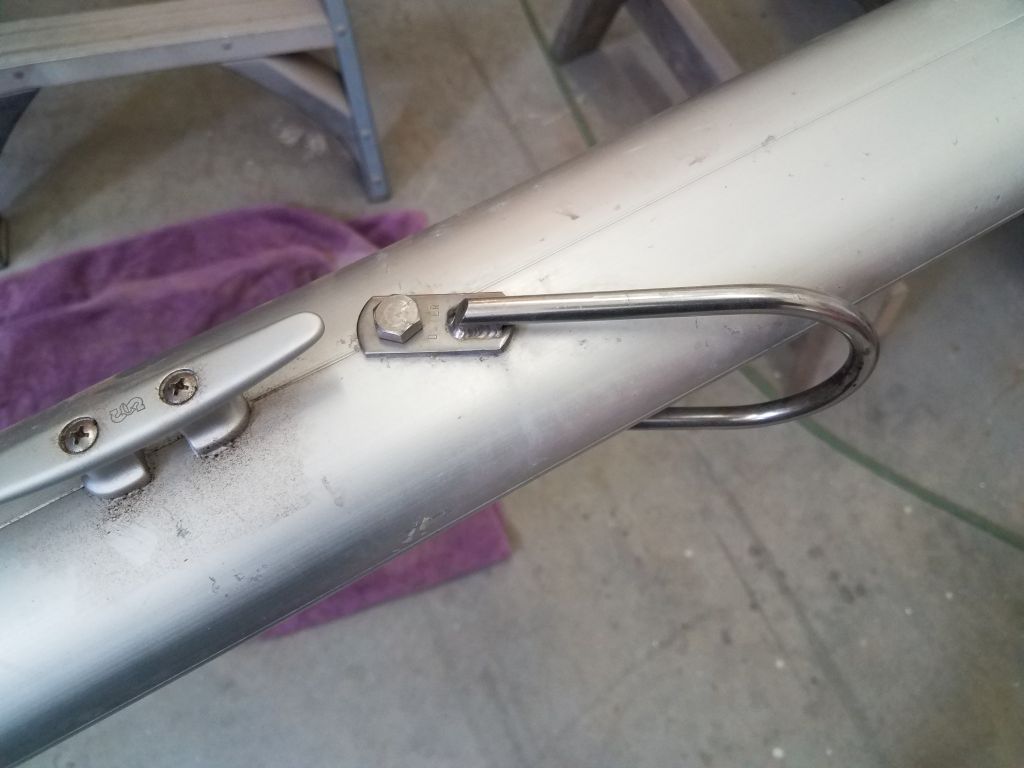
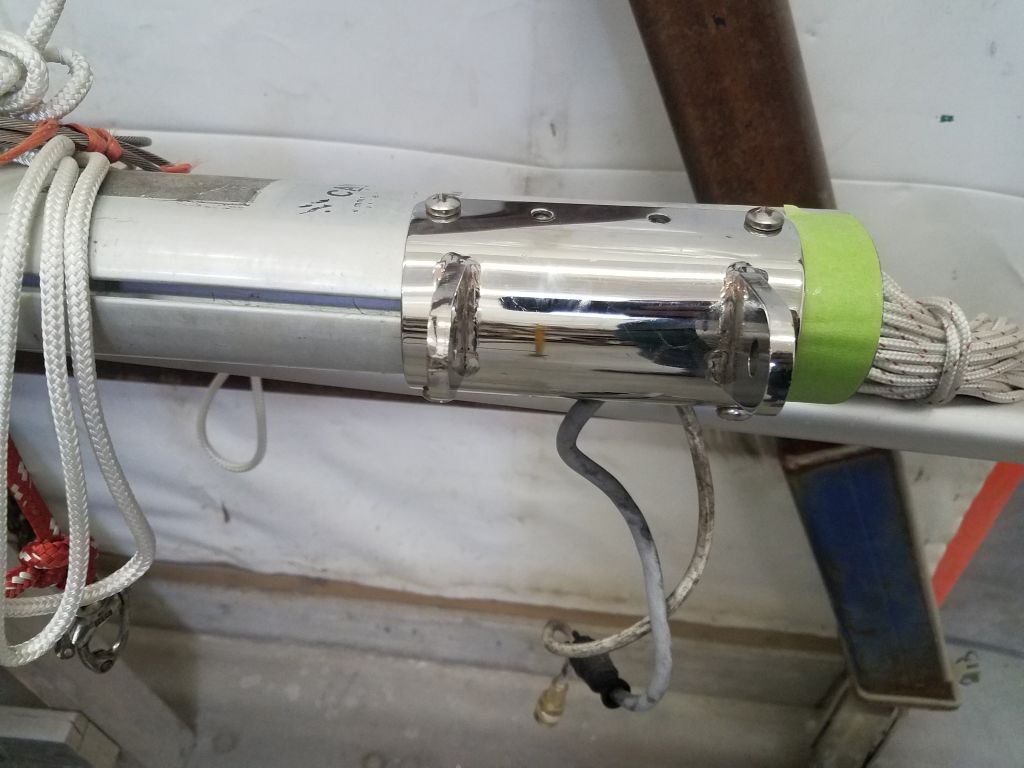
With the mast bracket in place, and all holes prepared for the correct screws later, I temporarily installed the boom so I could install the boom bracket for the other end of the vang.  I set the boom just below horizontal, and with the vang installed in the mast bracket, tightened the vang to compress it as far as possible; I couldn’t quite two-block the tackle, but this was as far as I could compress the spring.  Then, I let the boom end fall where it may on the boom, and installed the bracket with the two middle screws for now.

To double-check the placement of the bracket before drilling the remaining holes, I released the tackle on the vang, allowing it to push the boom up as far as possible.  I was looking to ensure that there was ample lift in the spring in order to properly lift the boom; there was.  Thus, I could finish drilling and tapping the fastener holes for the boom bracket, though final installation would await shorter screws a little later.

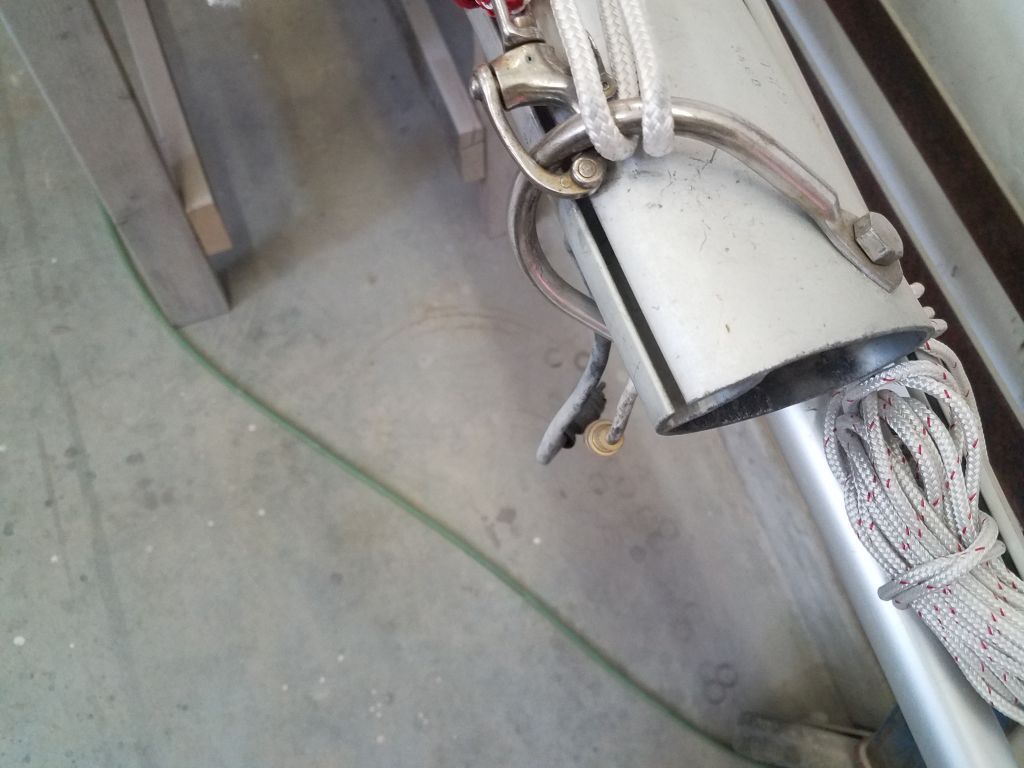
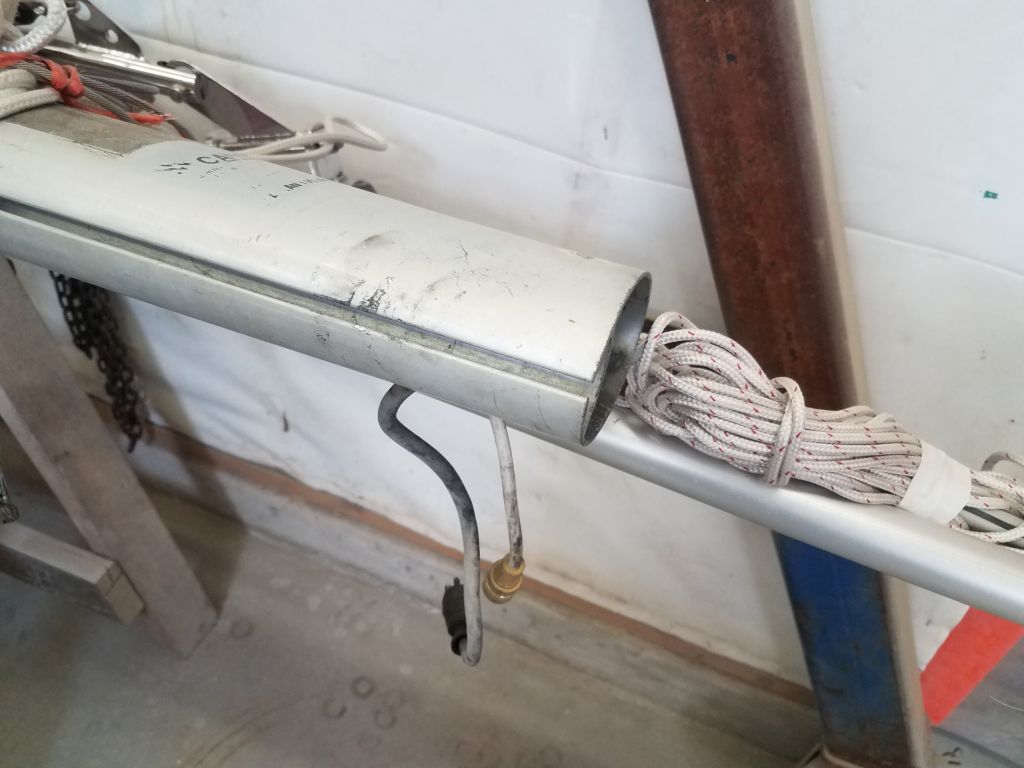
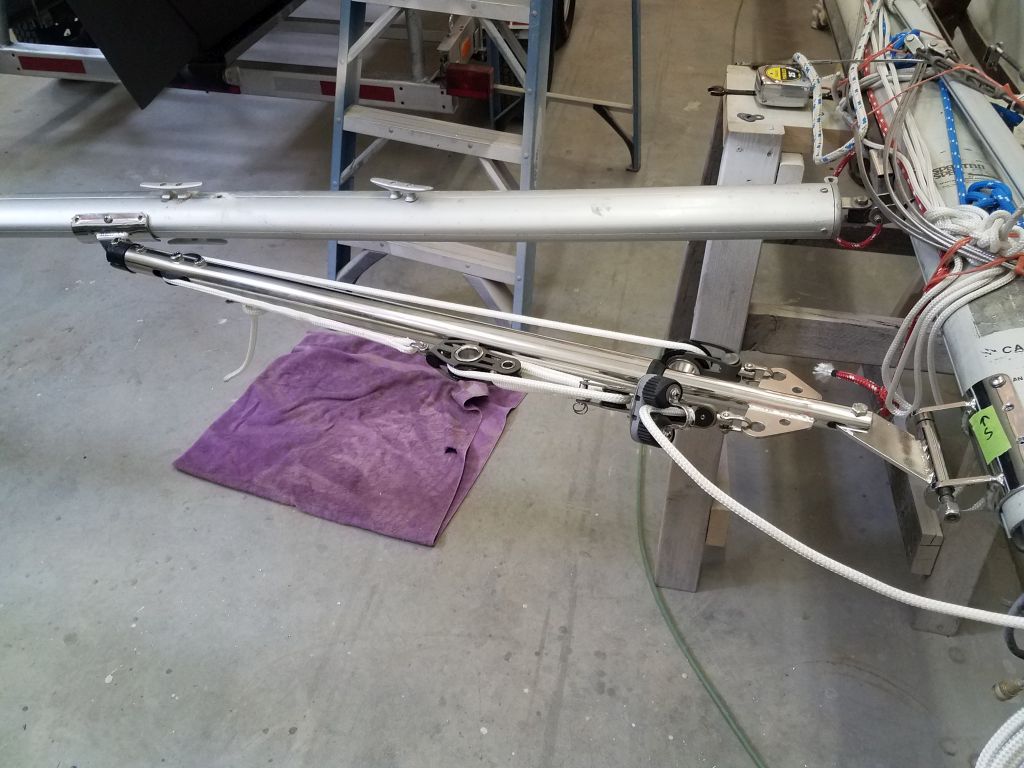
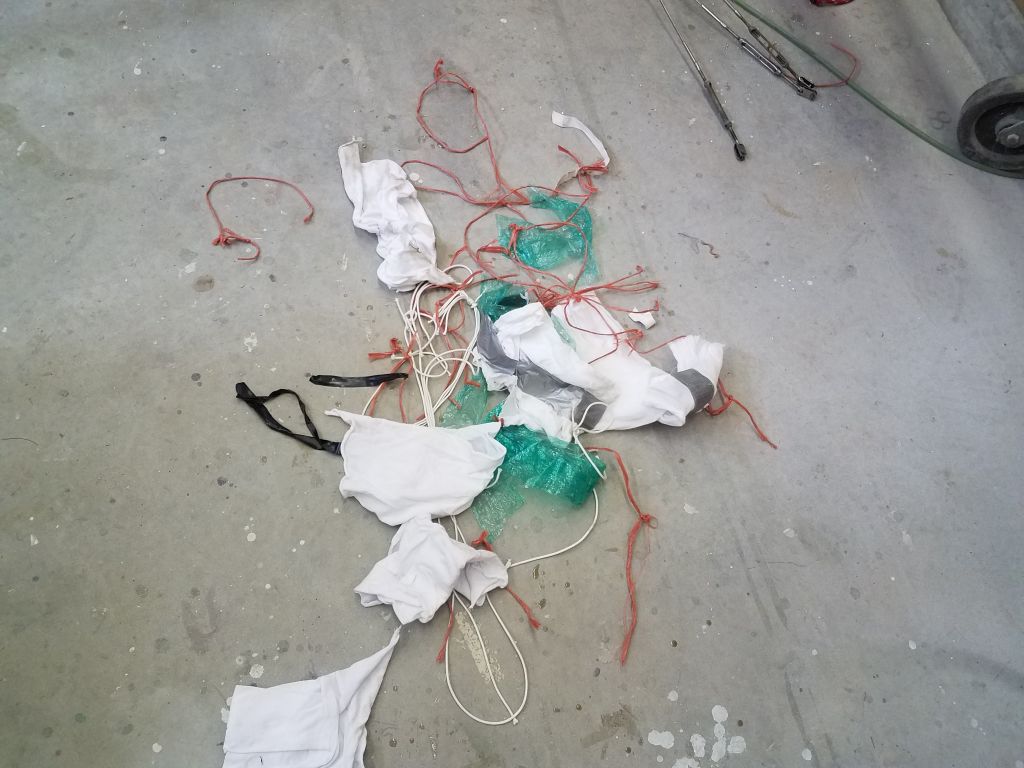
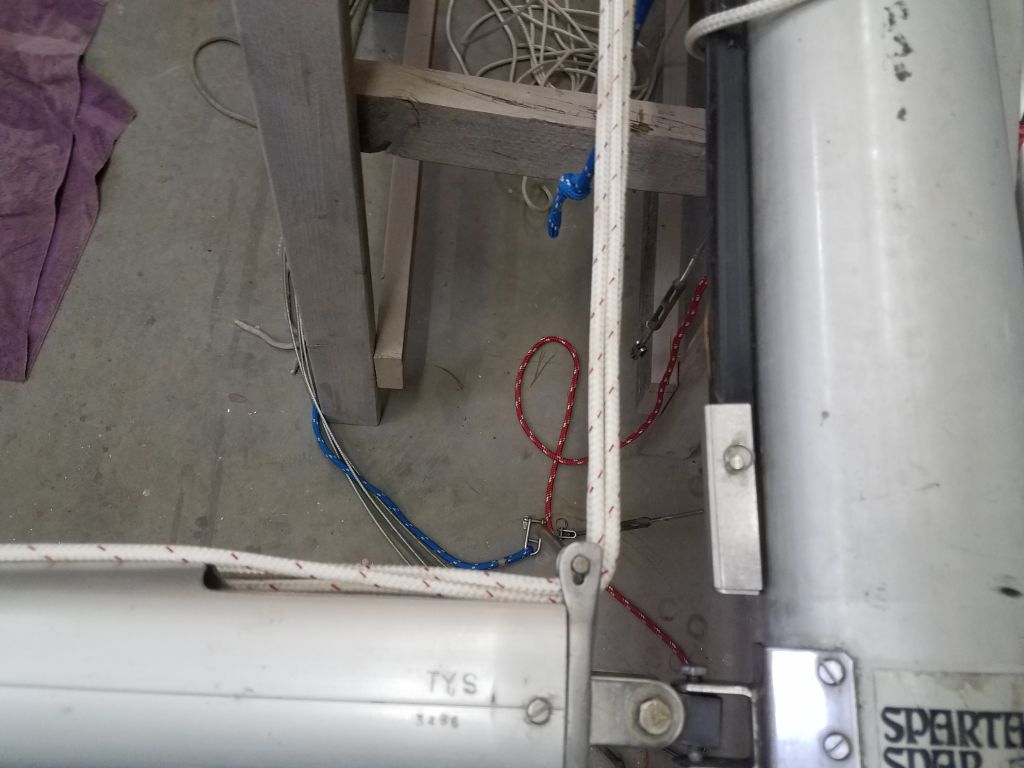
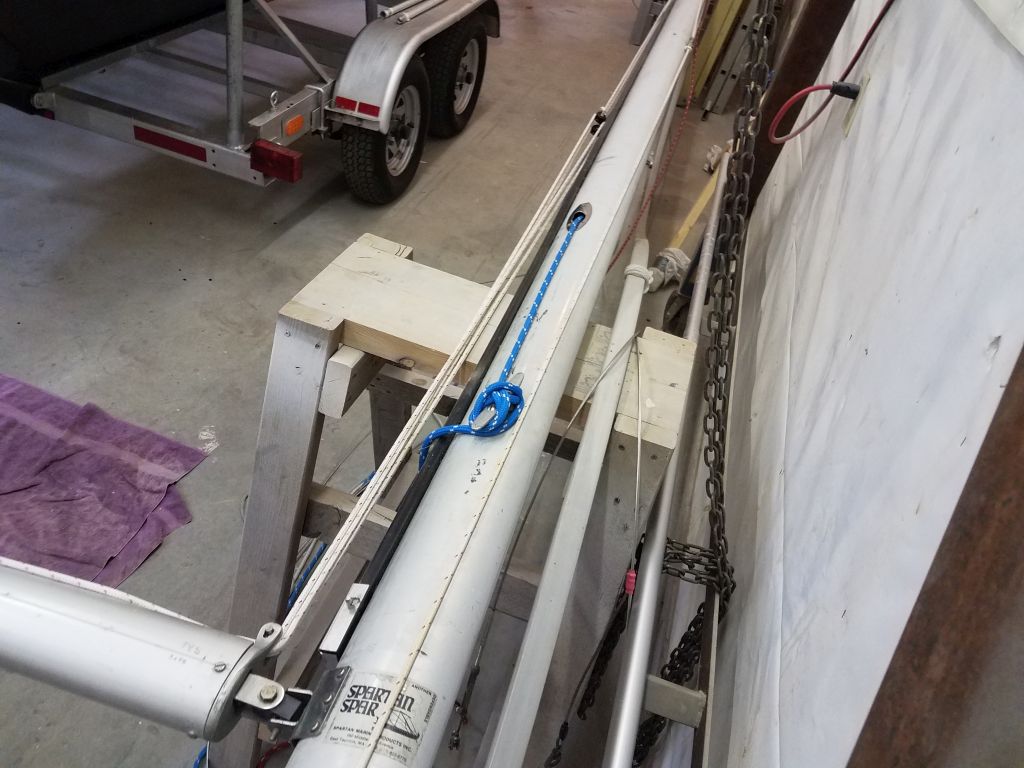
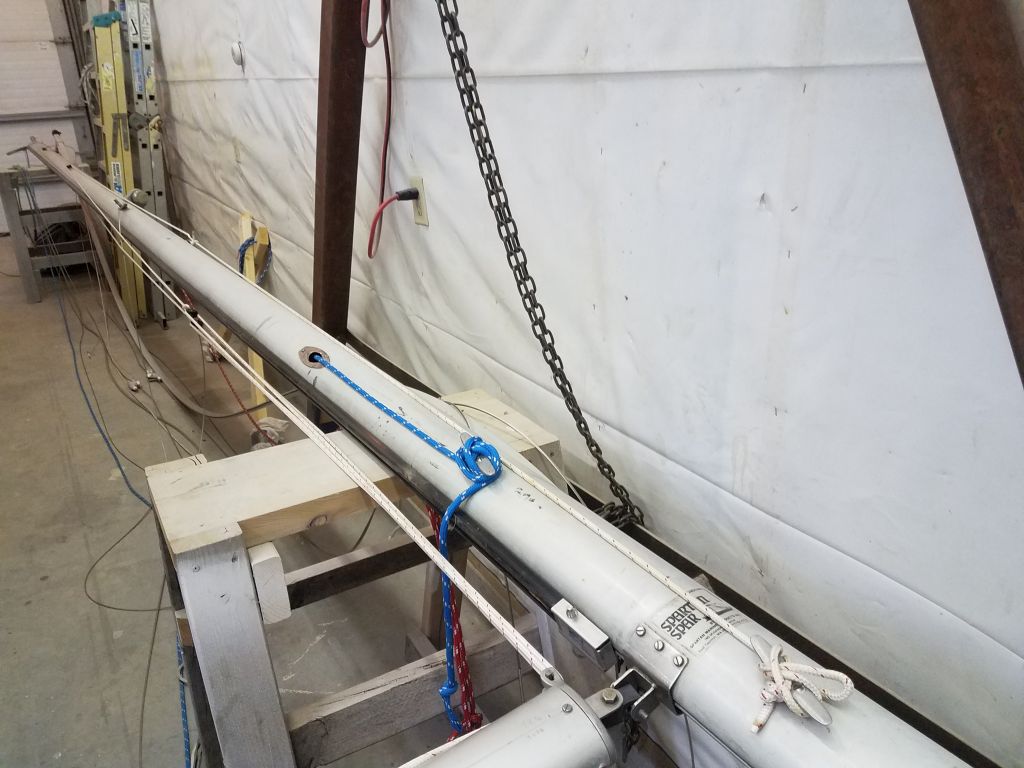
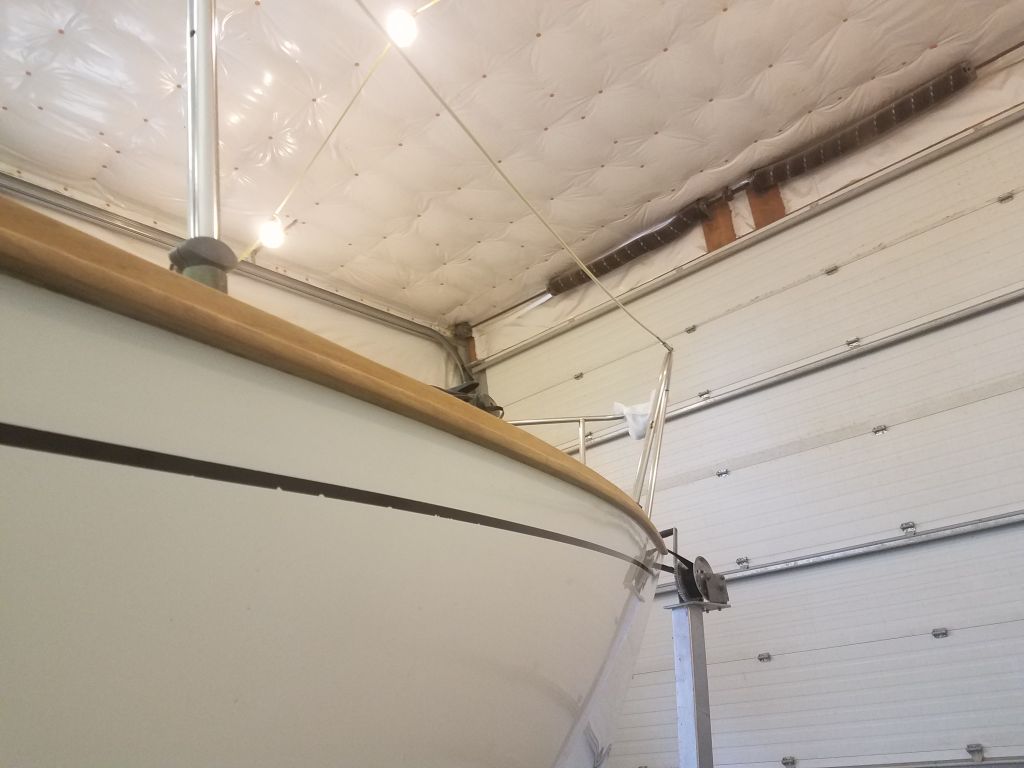
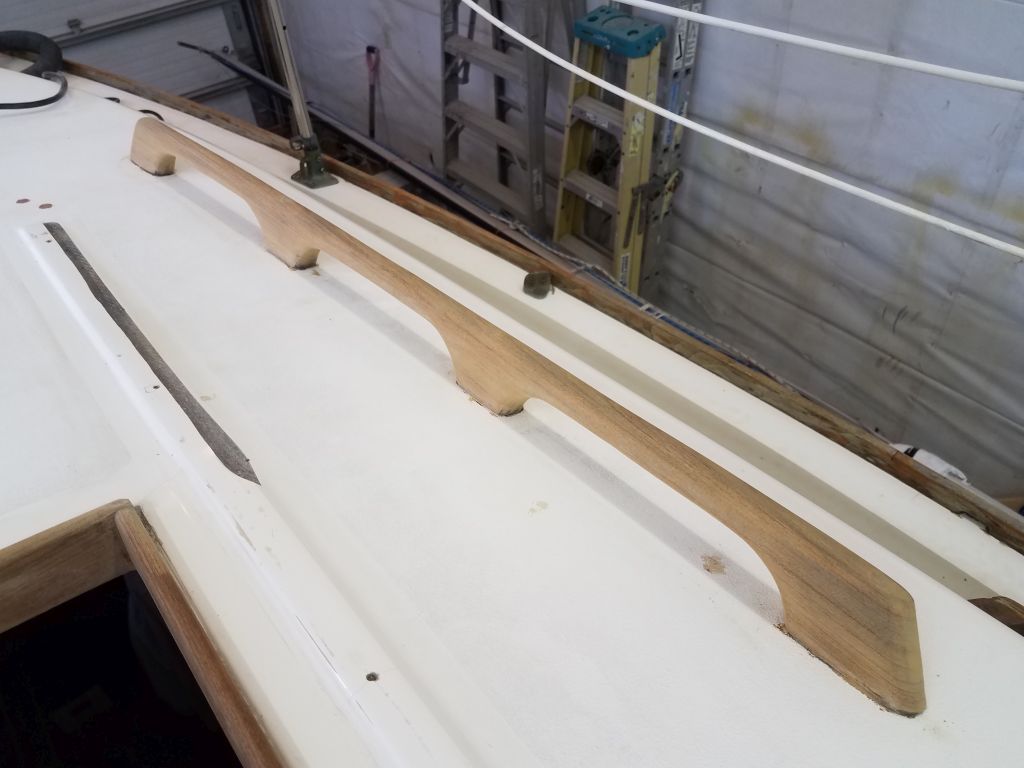
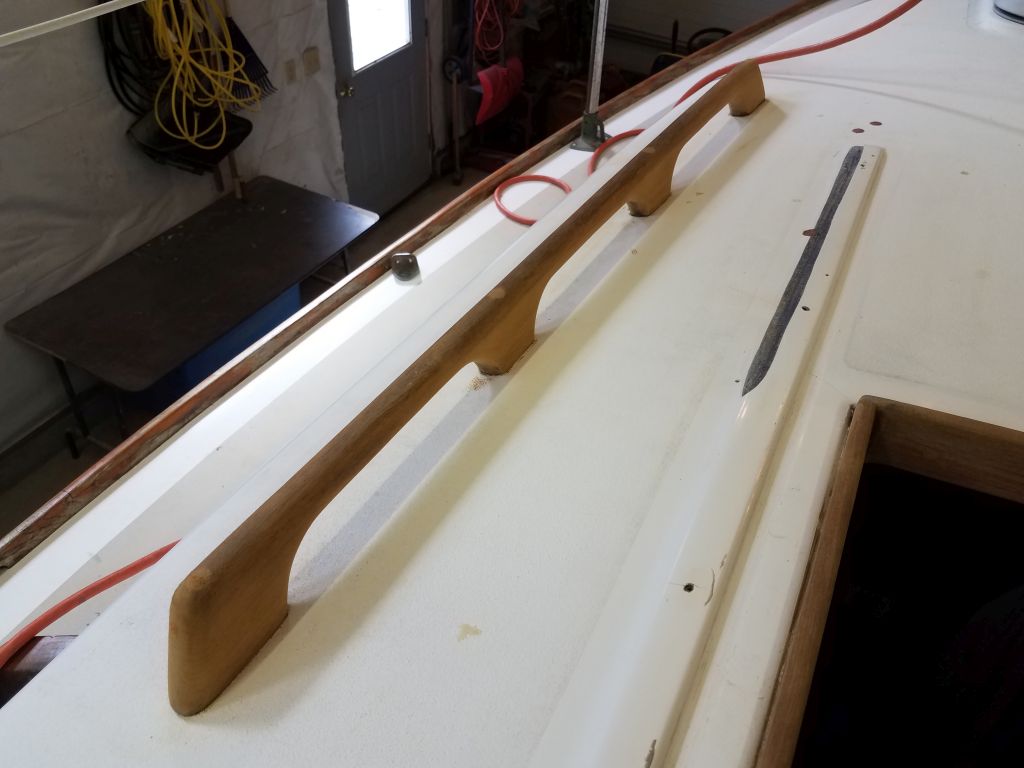
There was a set of basic, permanent lazy jacks in place on the mast, but the owner asked me to replace them with the adjustable/retractable jacks that I often installed.  To begin, I first had to untie everything from the mast, as it looked like someone had intentionally made as much of a mess of the stays, halyards, and other lines as humanly possible, and I needed access to the spar in order to properly install the new lazy jacks.

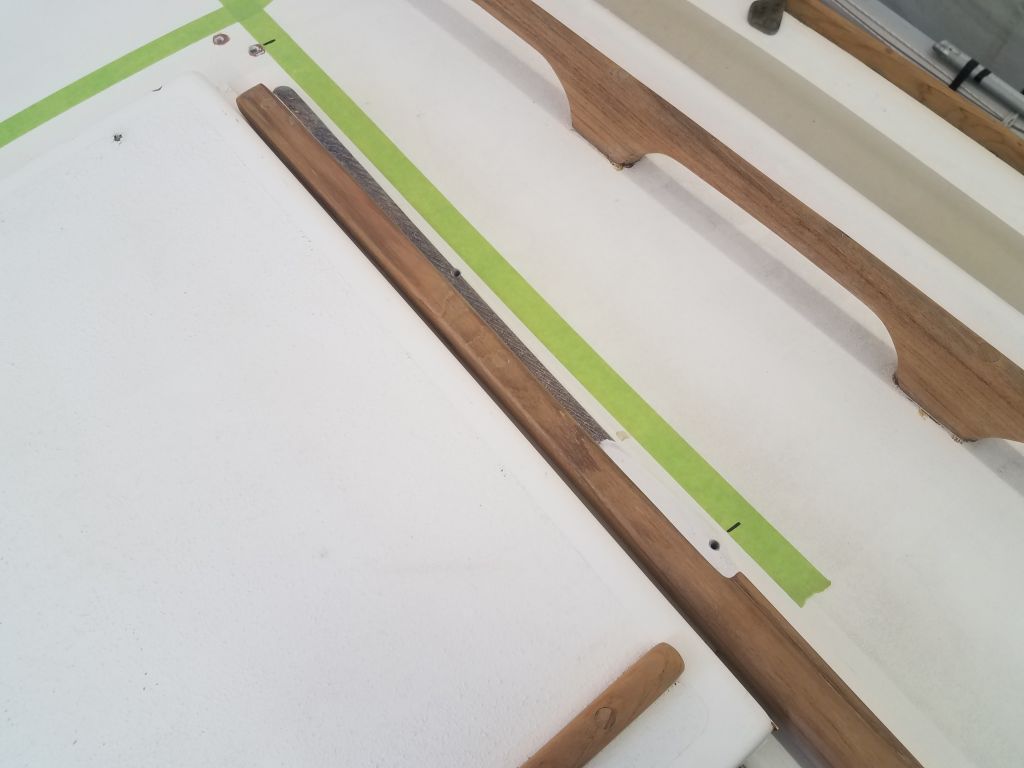
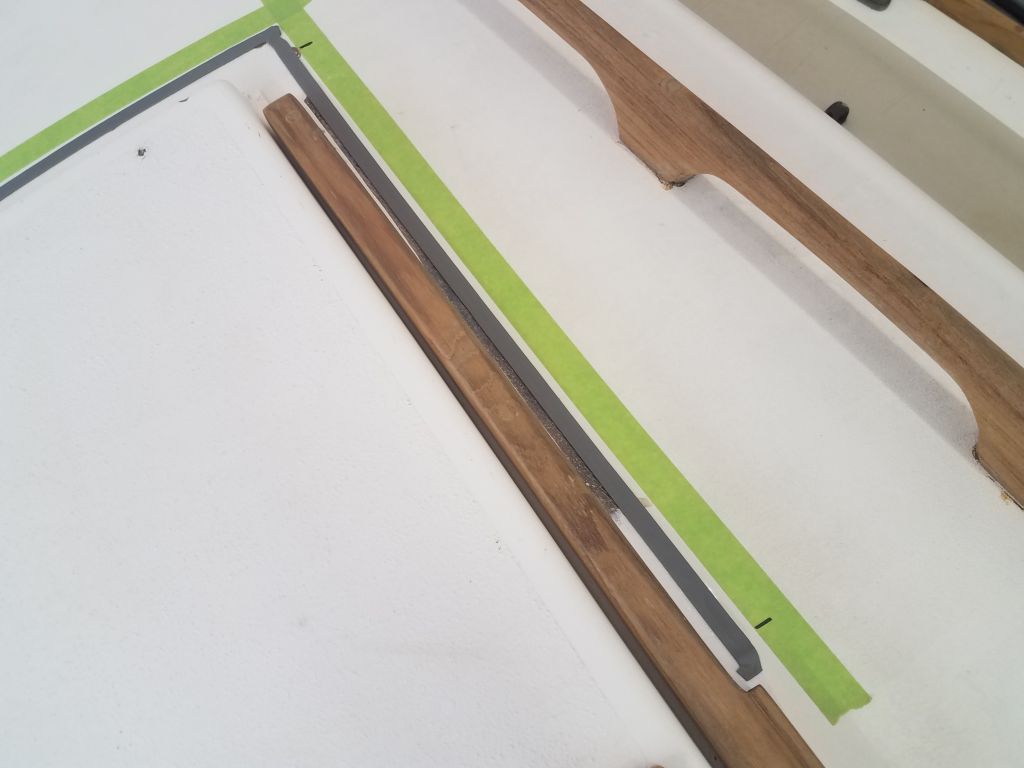
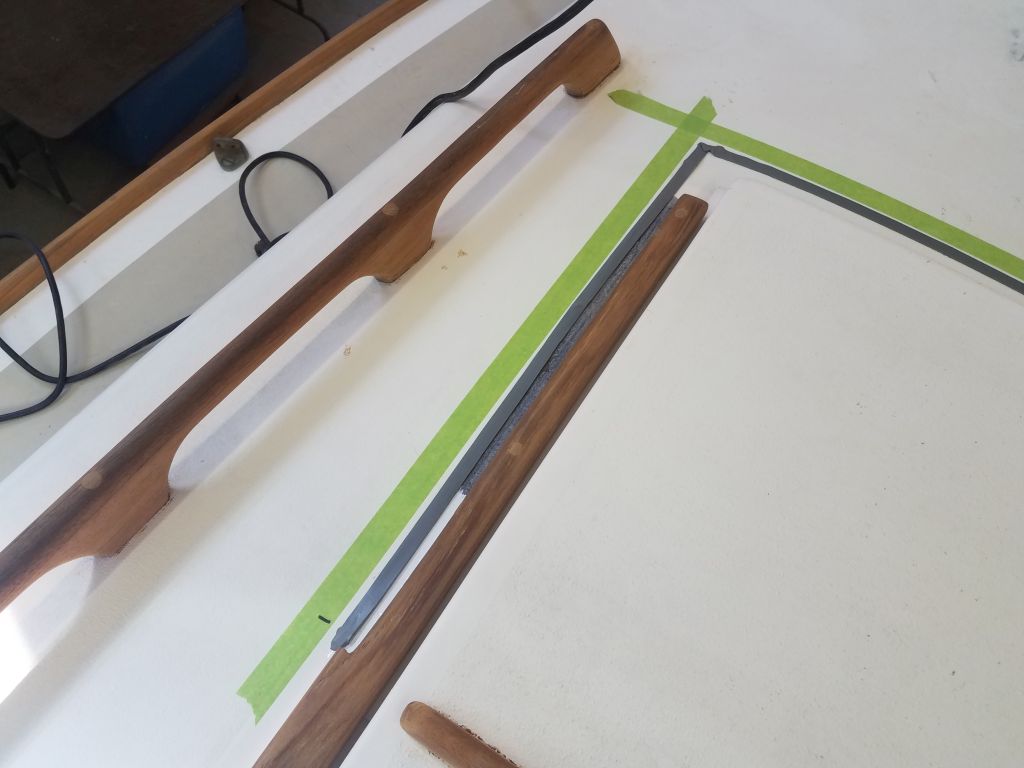
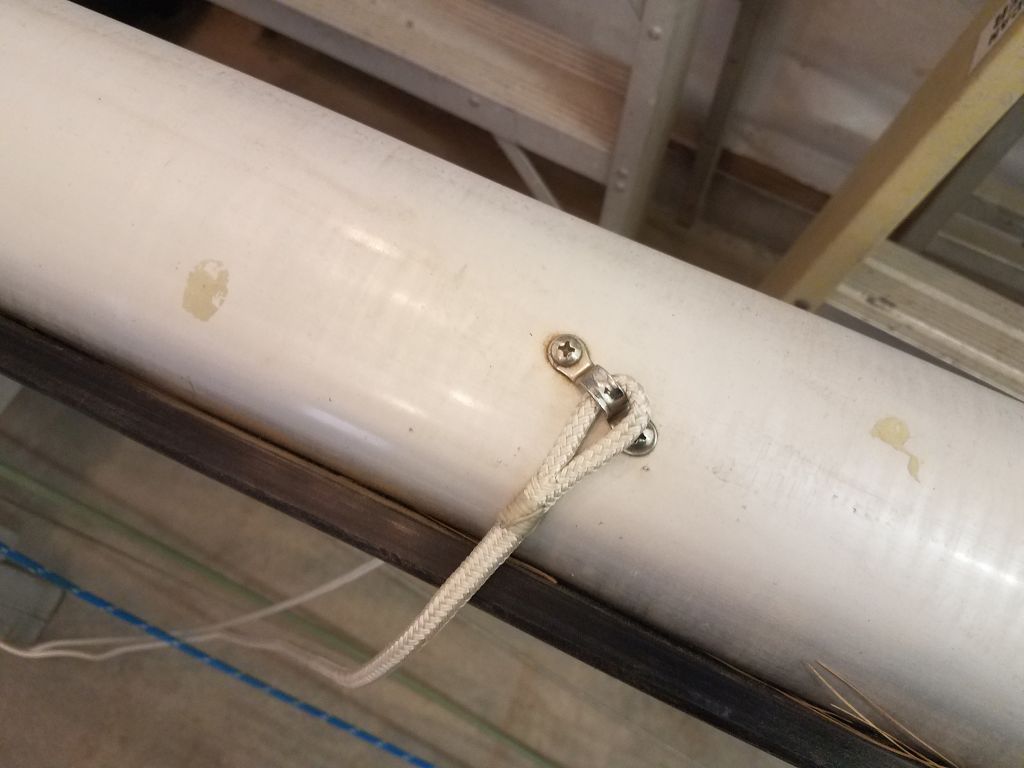
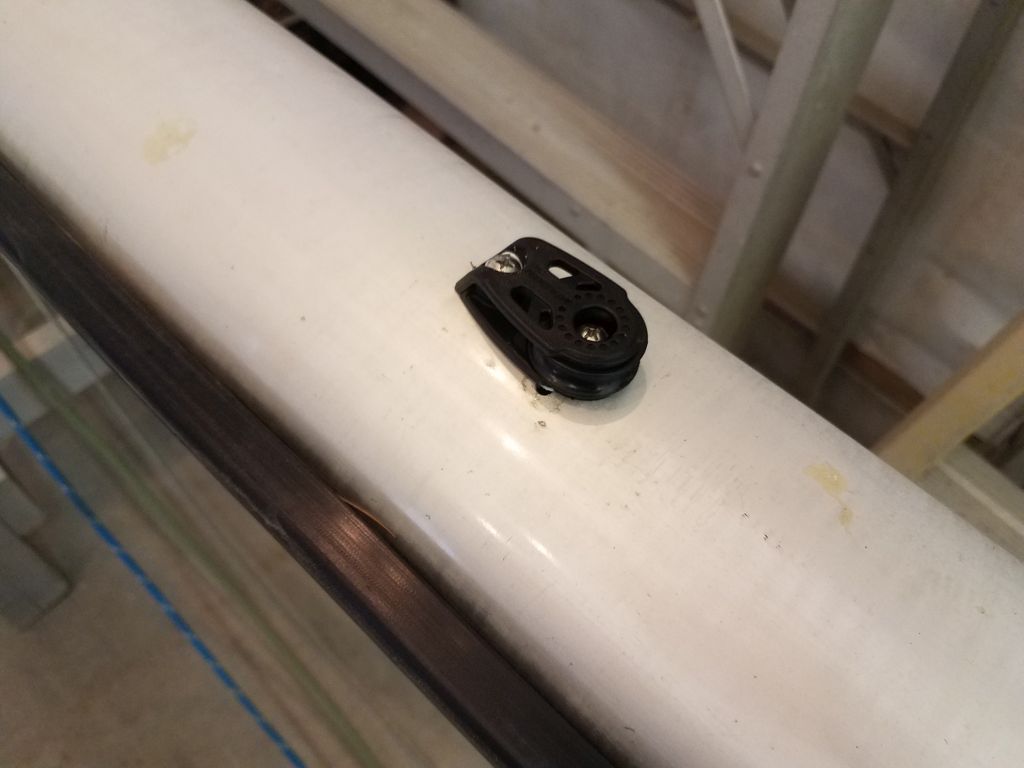
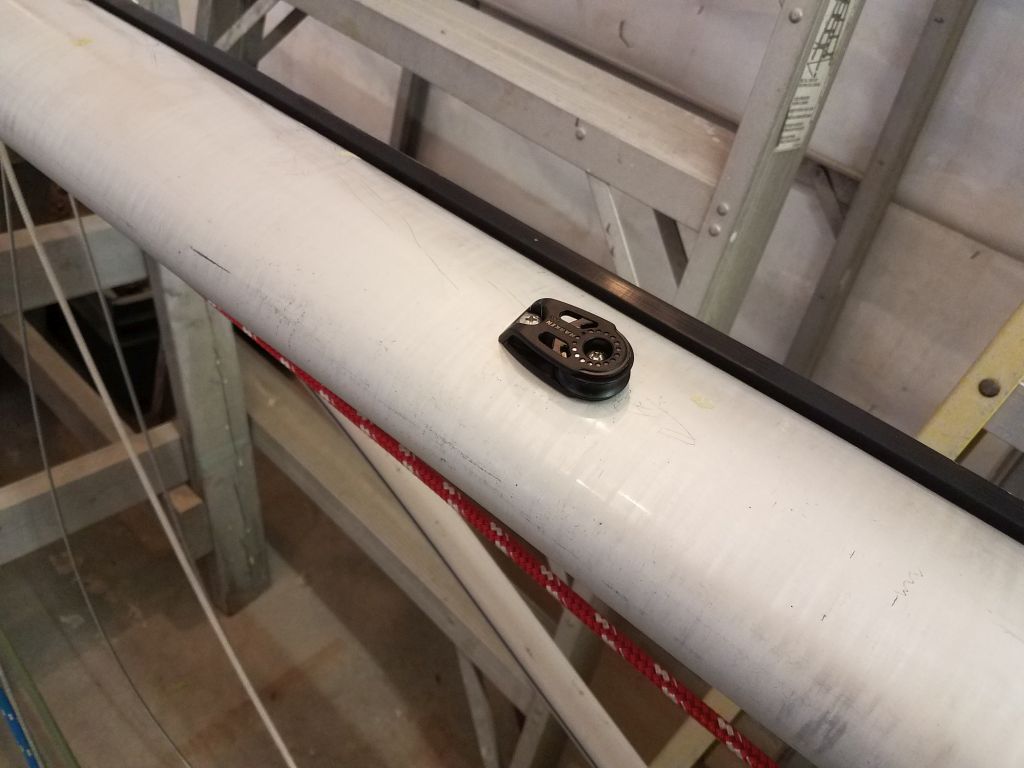
Above the spreaders, I removed the basic padeyes that held the top end of the old lazy jacks, and replaced the eyes with a pair of small cheek blocks.  I was able to re-use one of the old screw holes for each block.

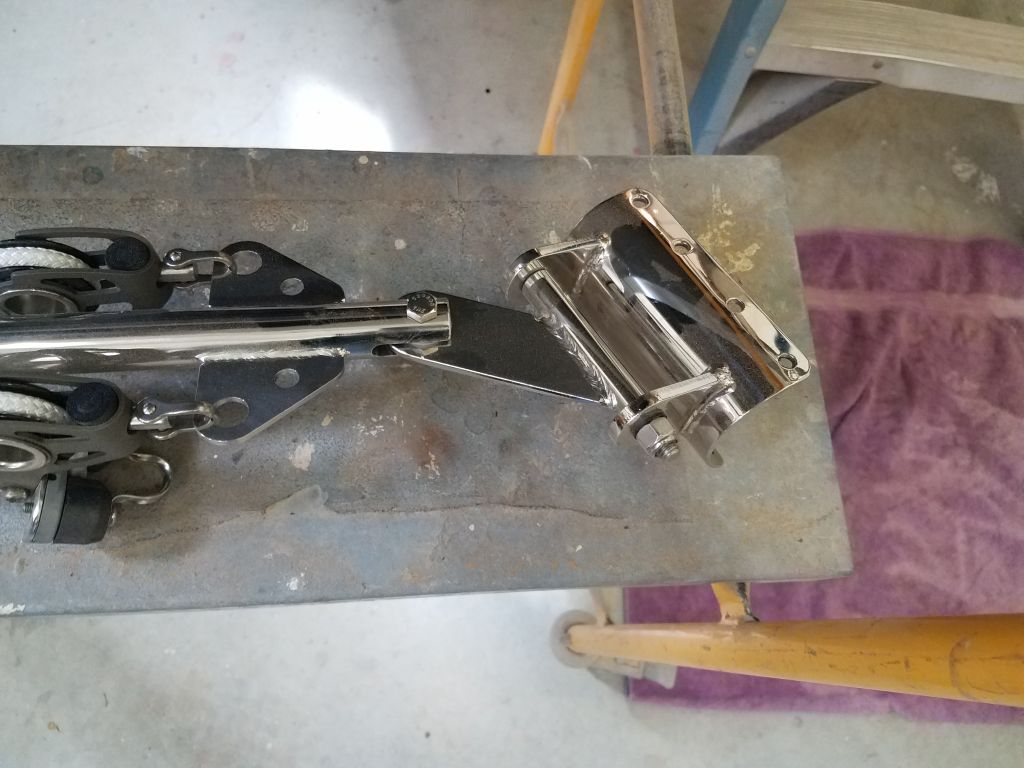
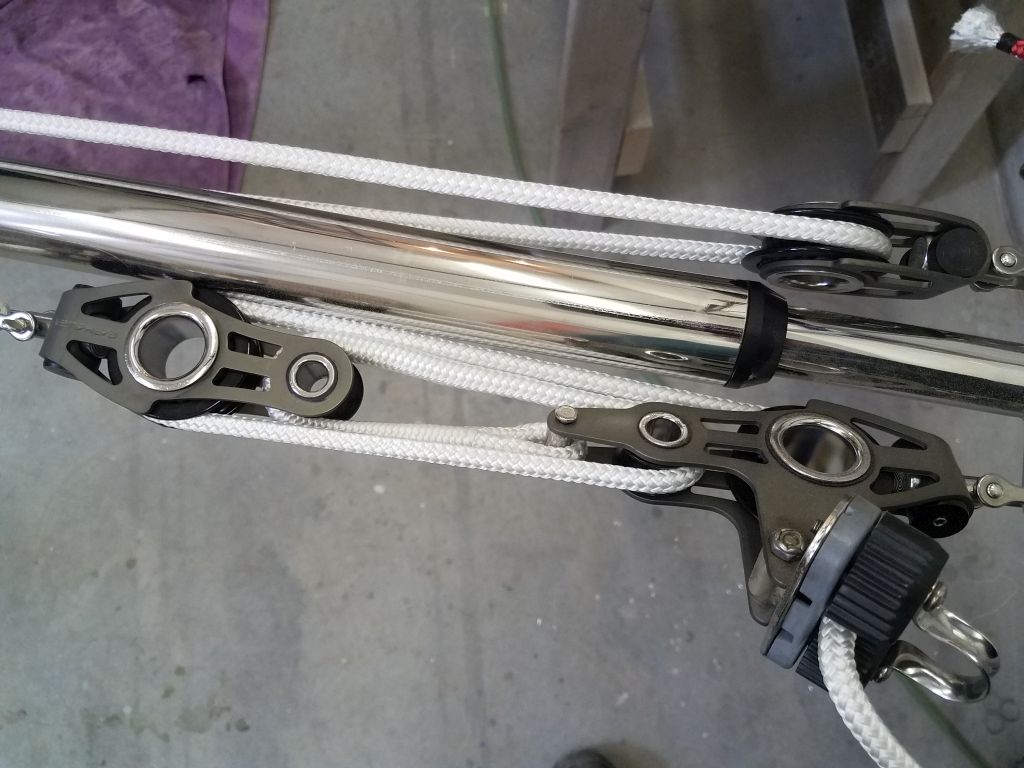
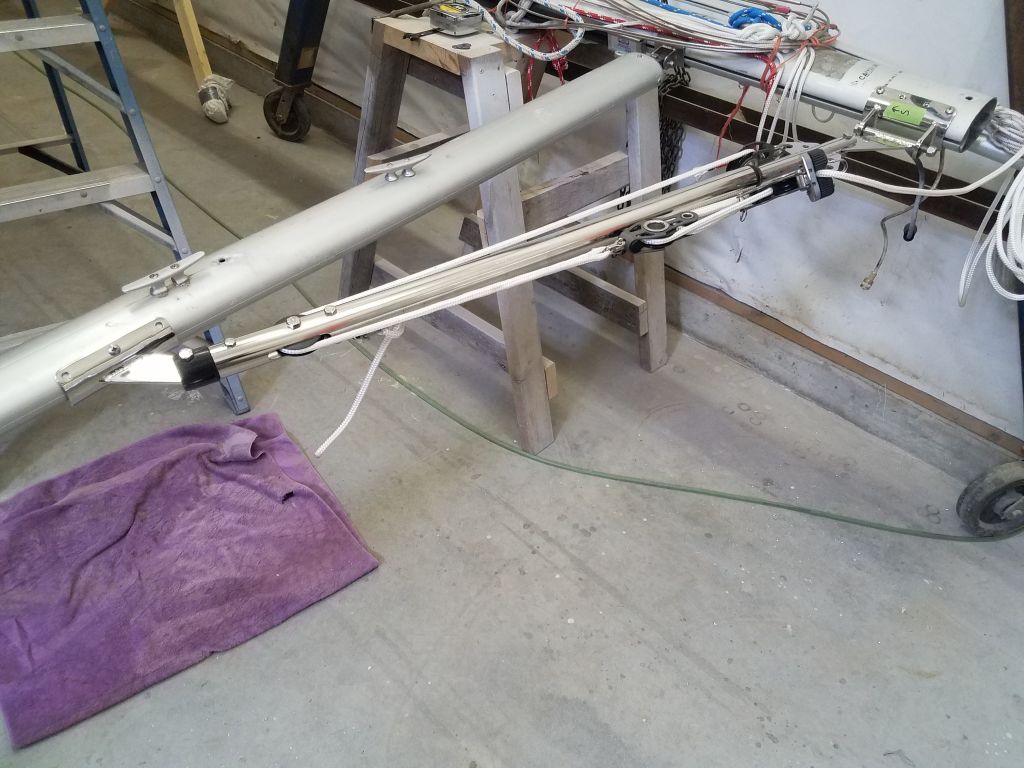
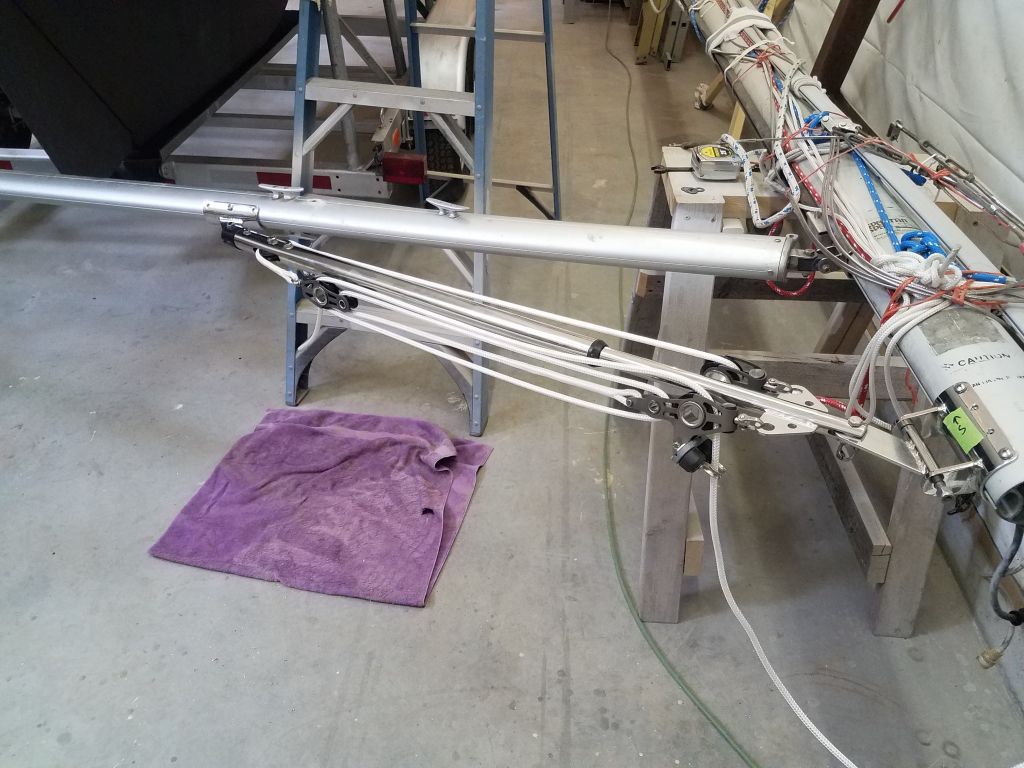
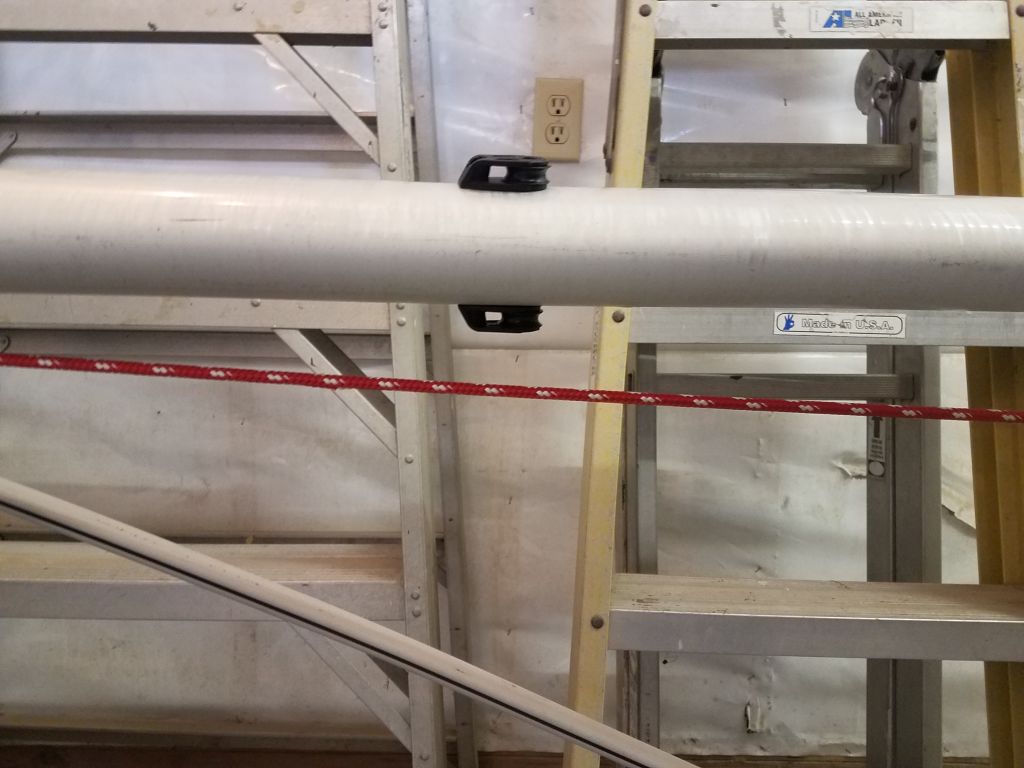
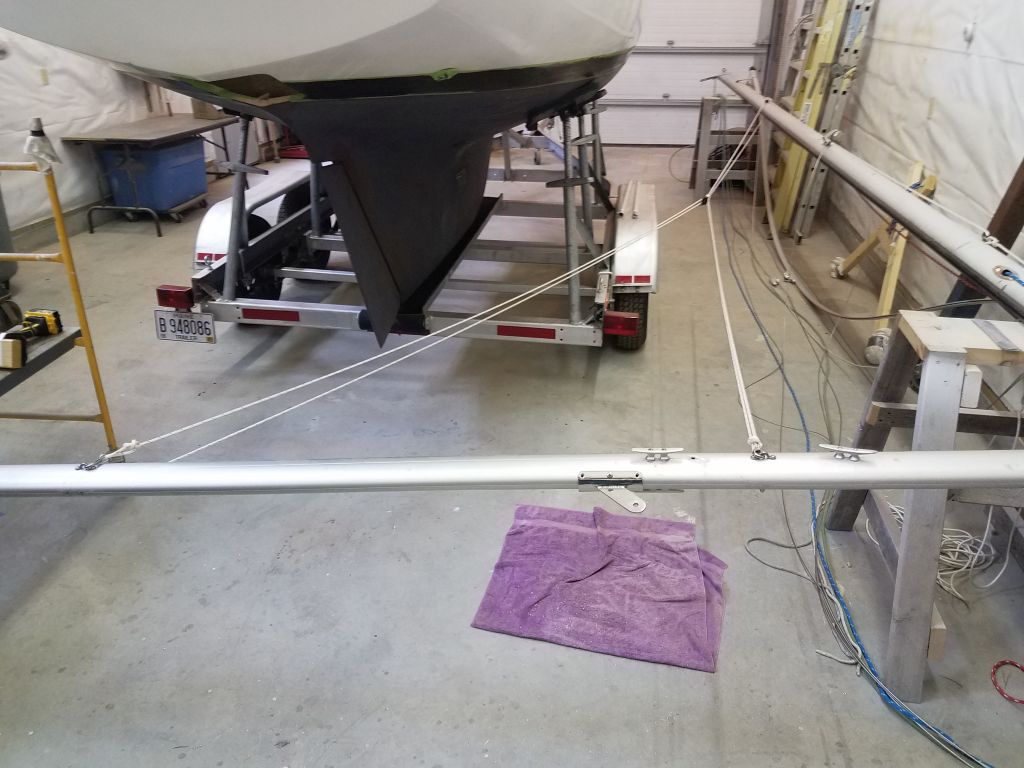
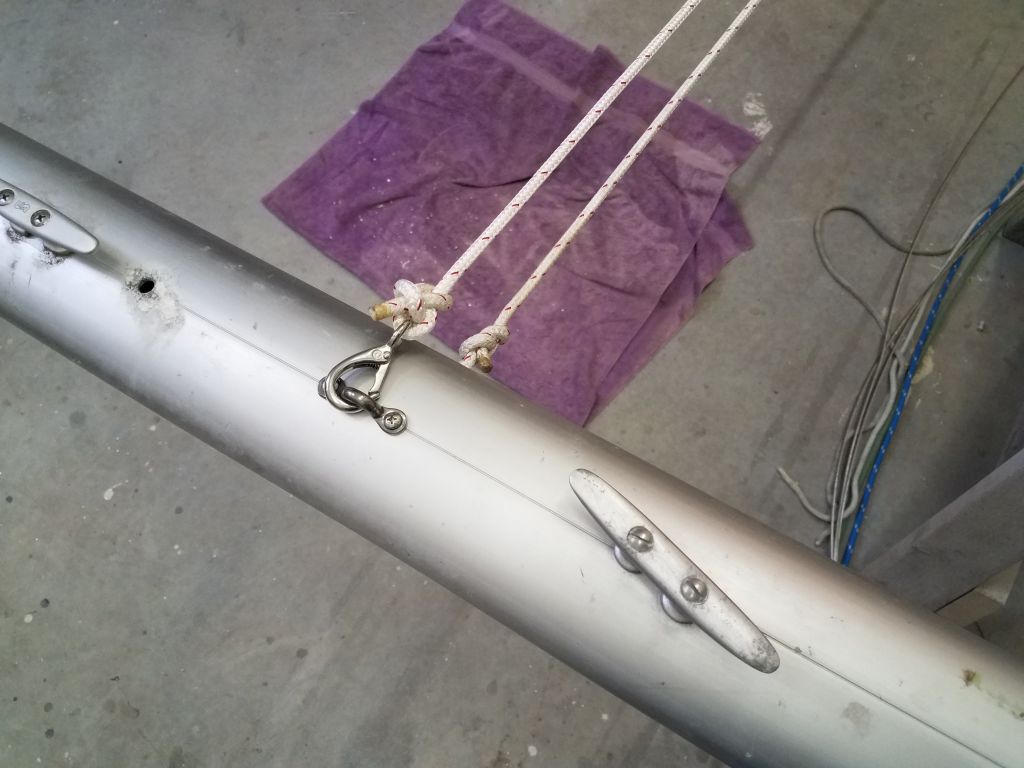
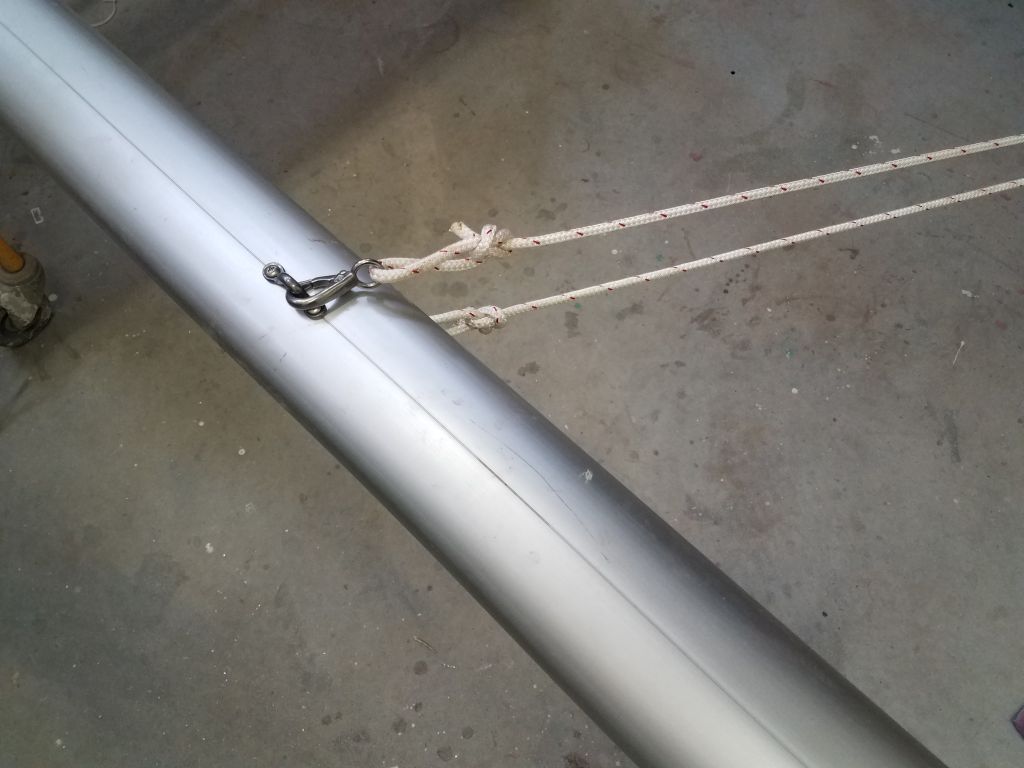
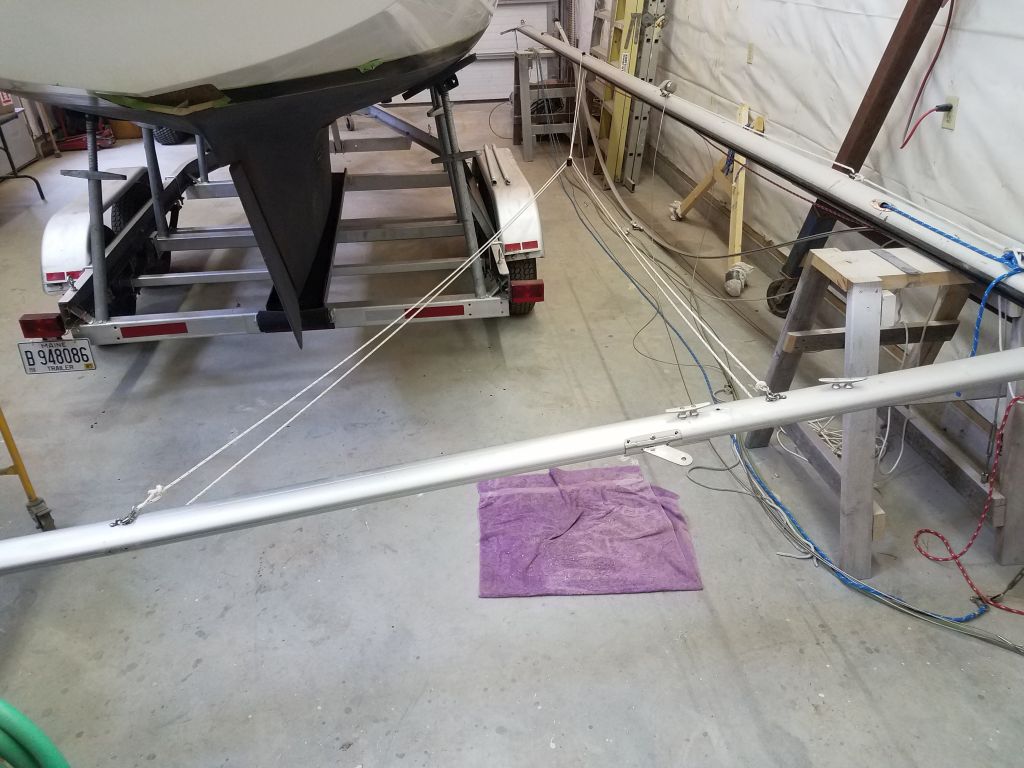
These blocks formed the basis for the adjustable/retractable feature of the lazy jacks.  These are quite simple to install and use, but challenging to describe in writing, so suffice it to say I began by installing the lift/control lines through the cheek blocks, around an adjustable block on the front of the mast (with a control line leading down the mast to a cleat for adjustment), and to a pair of small blocks, one per side, which ultimately allowed me to lead two legs on each side (sufficient for a small sail like this) to new padeyes on the boom, to which I affixed the legs with snap hooks.

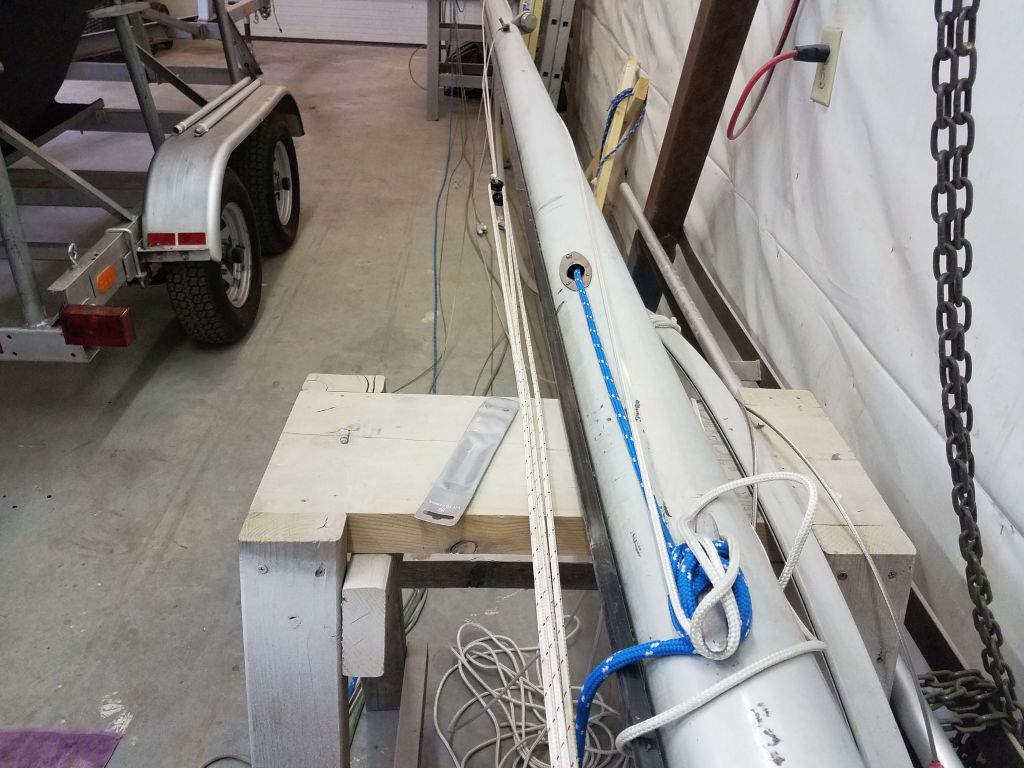
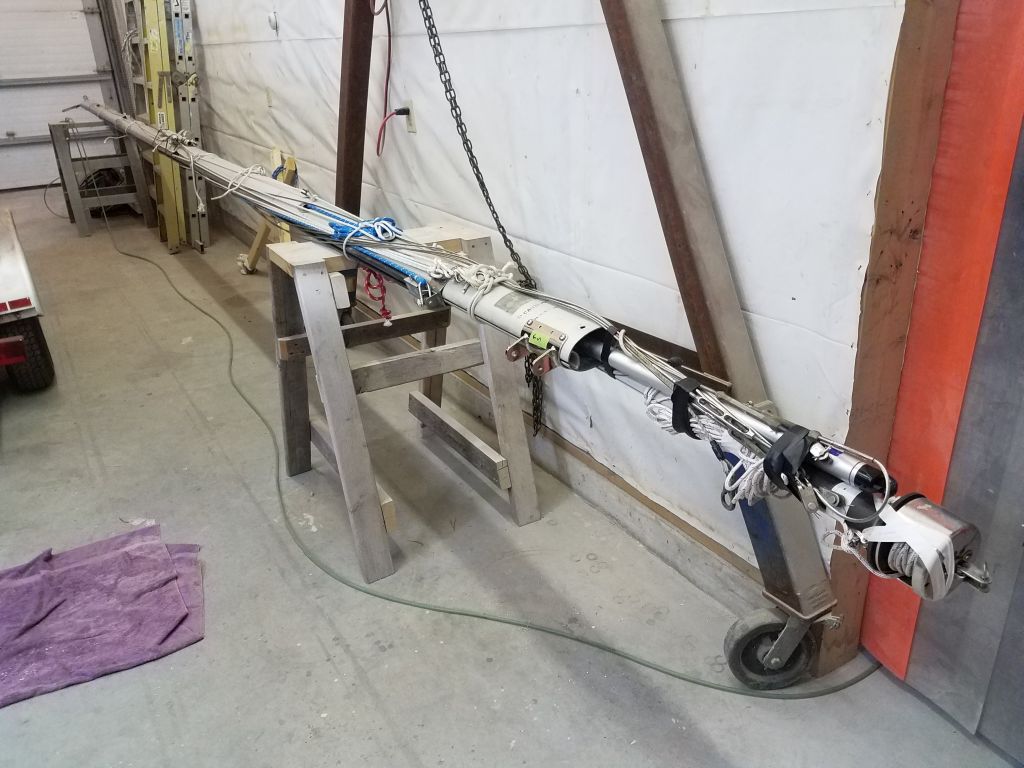
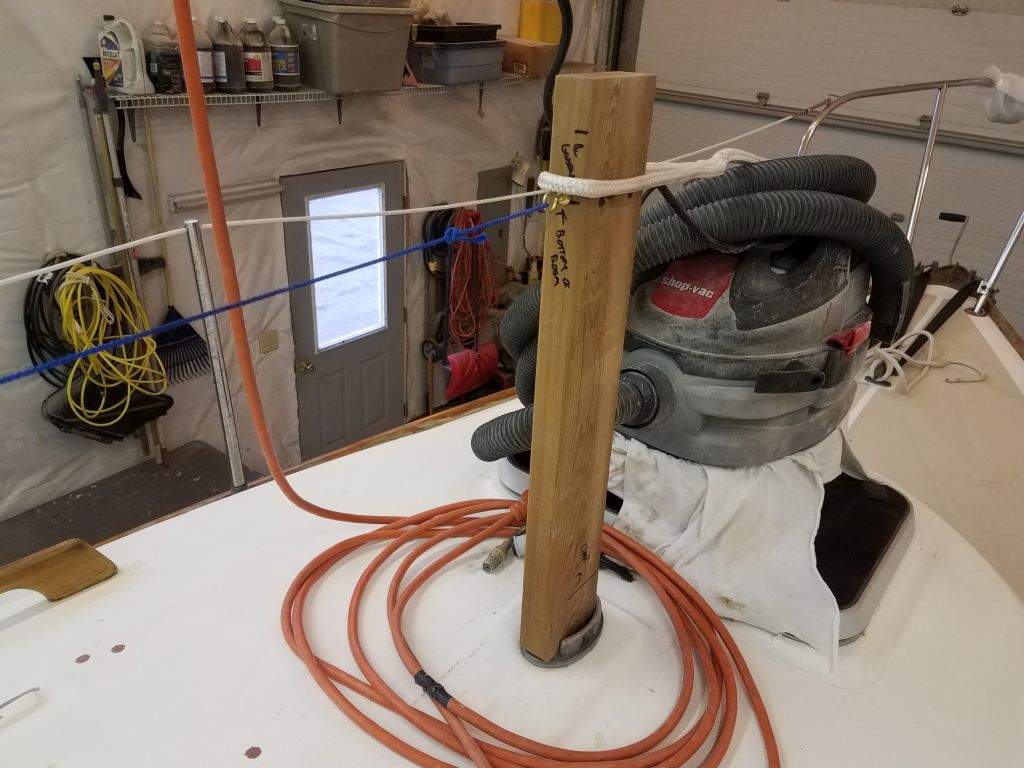
To determine the final length of the forward mast control line, I retracted the jacks, securing them through the gooseneck for now, which brought the forward control block to its highest point, therefore allowing me to finalize the length of the line.  For now, I used a spare cleat on the side of the mast since I didn’t have a dedicated cleat on hand that I could use; I’d order one and install it later.

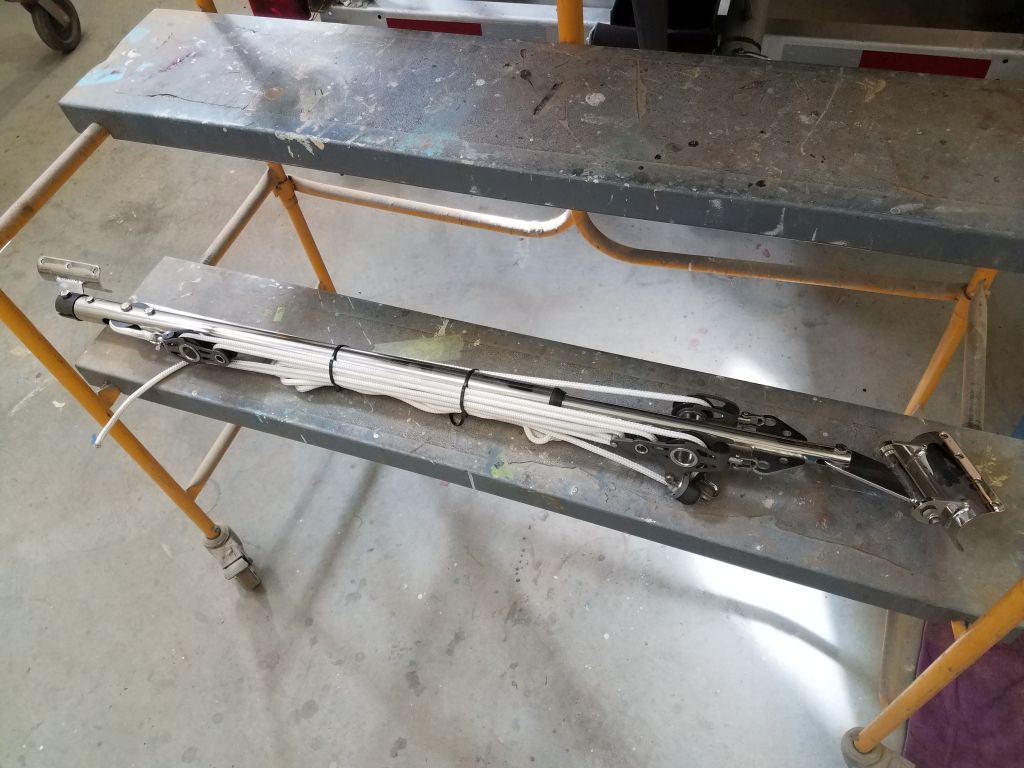
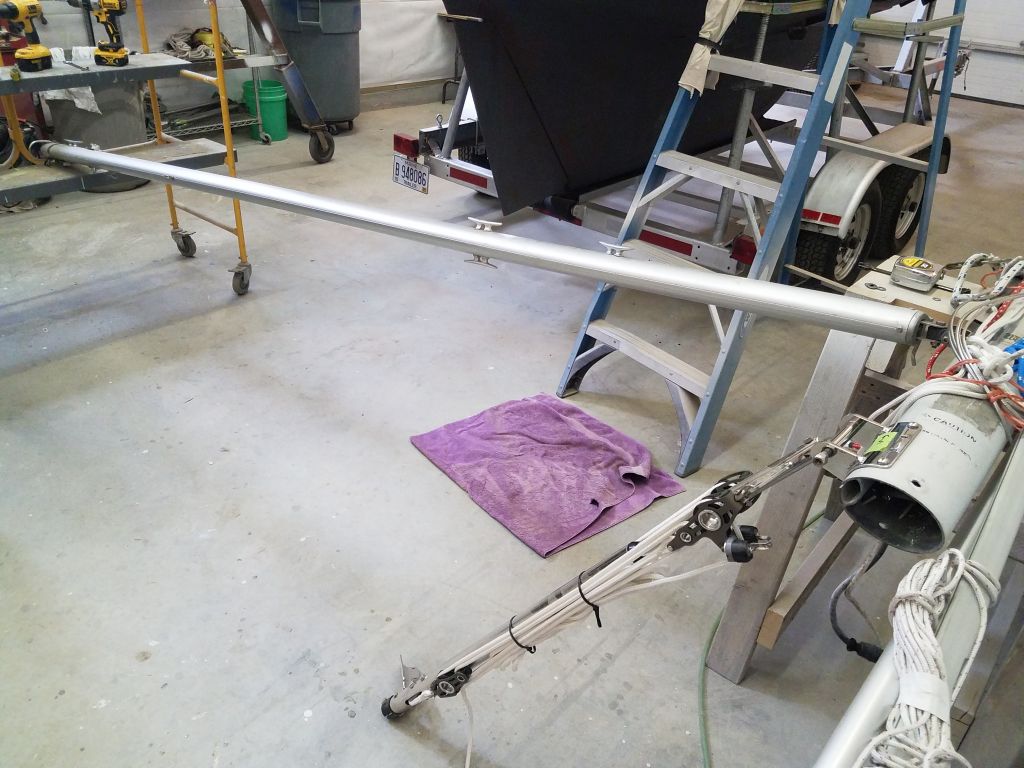
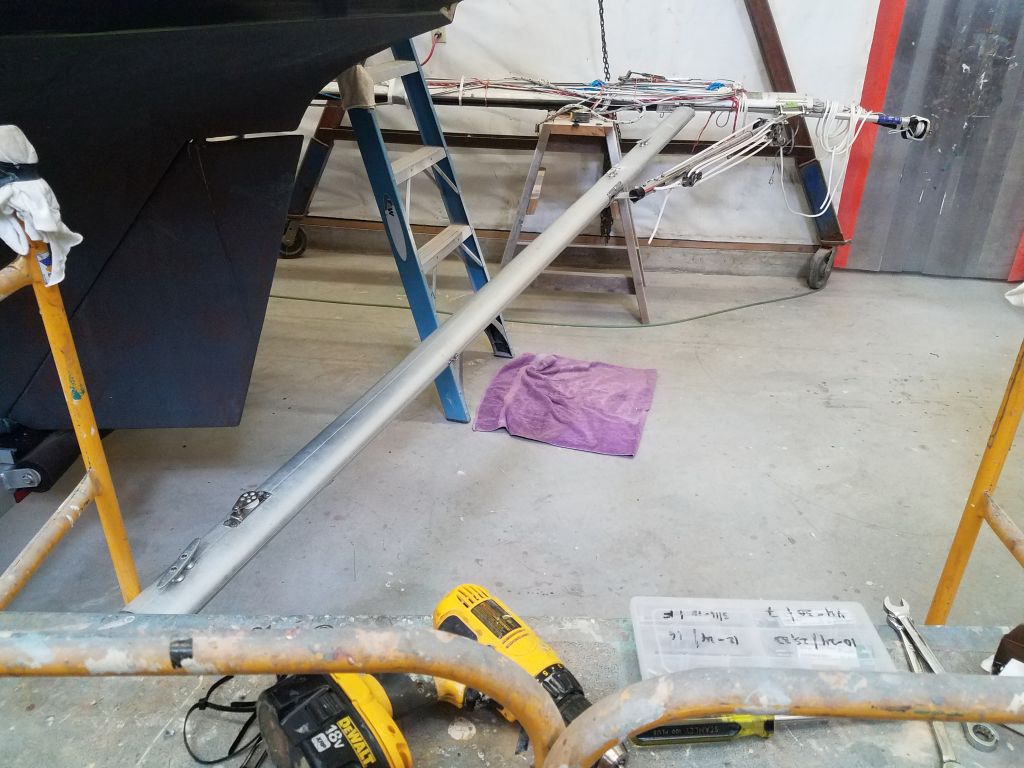
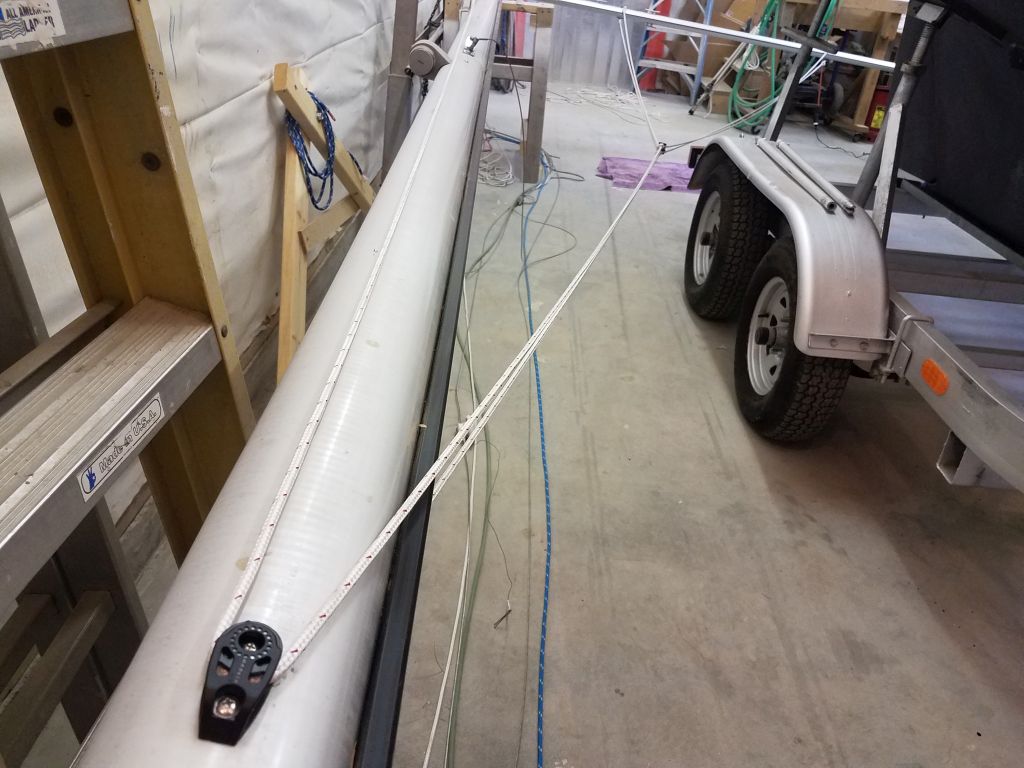
With the rigging work complete, I straightened out and re-secured the rigging to the spar for storage and transport.

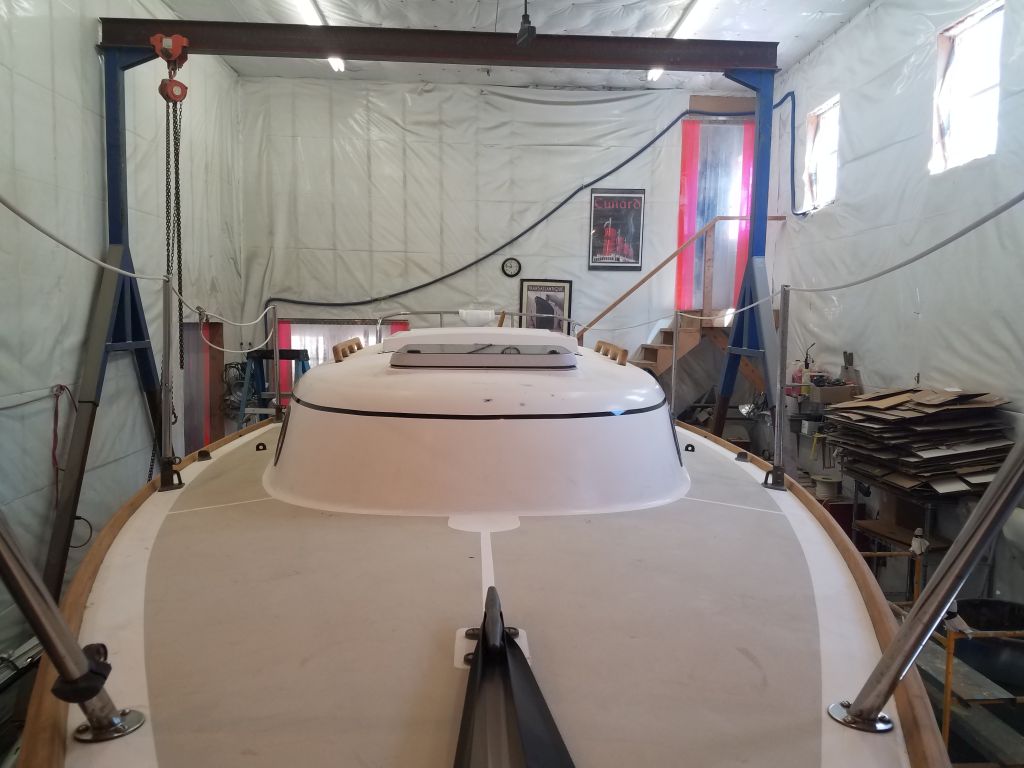
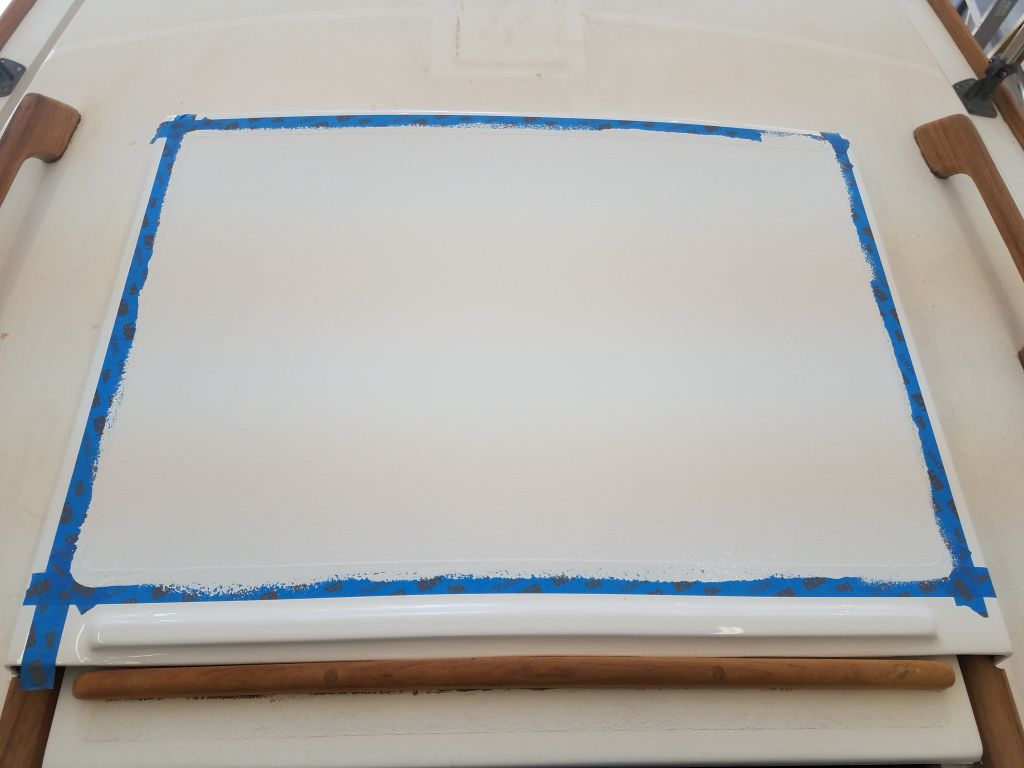
By now, it was late enough in the day for me to get to work on the day’s painting projects, starting with the sea hood.

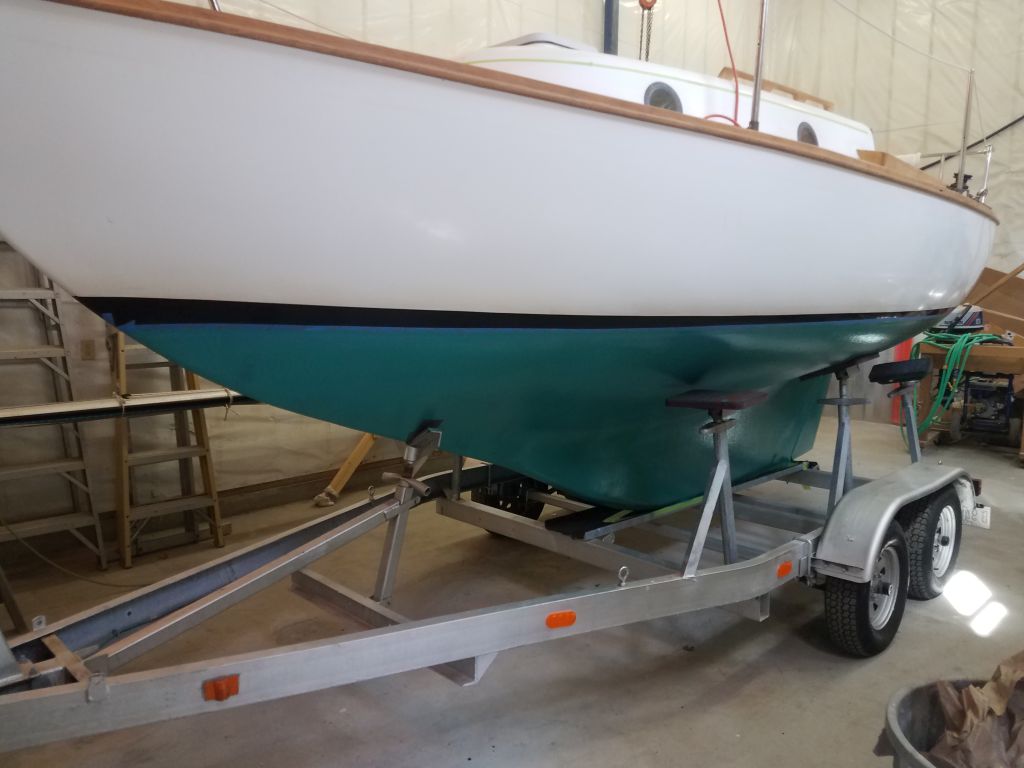
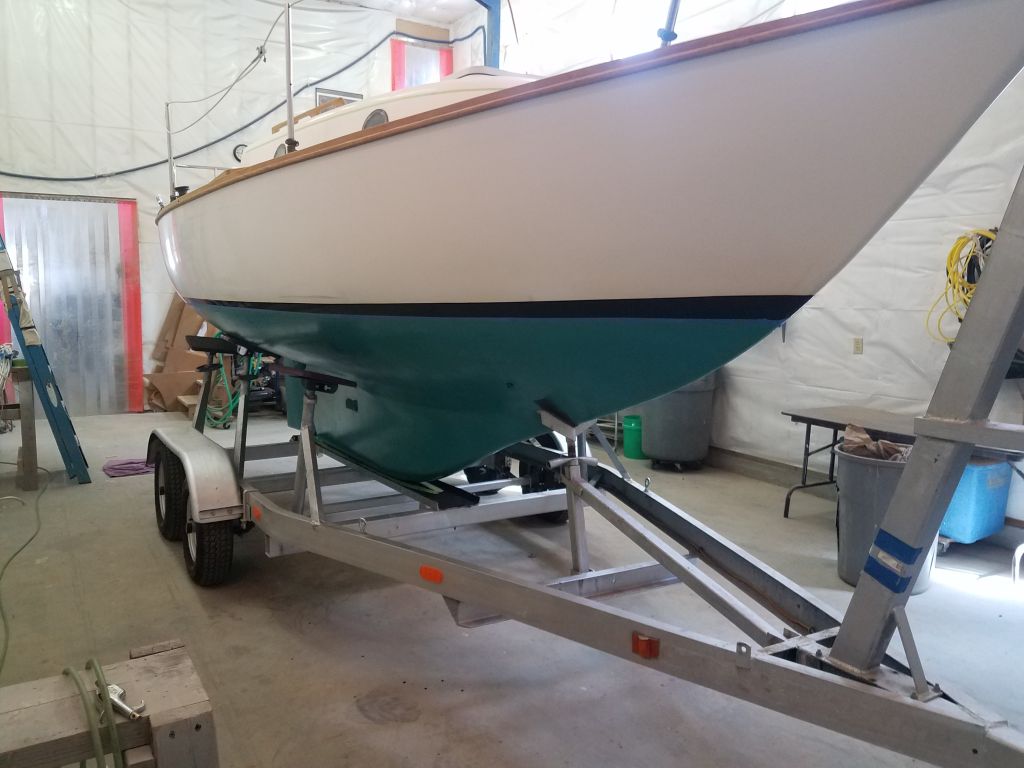
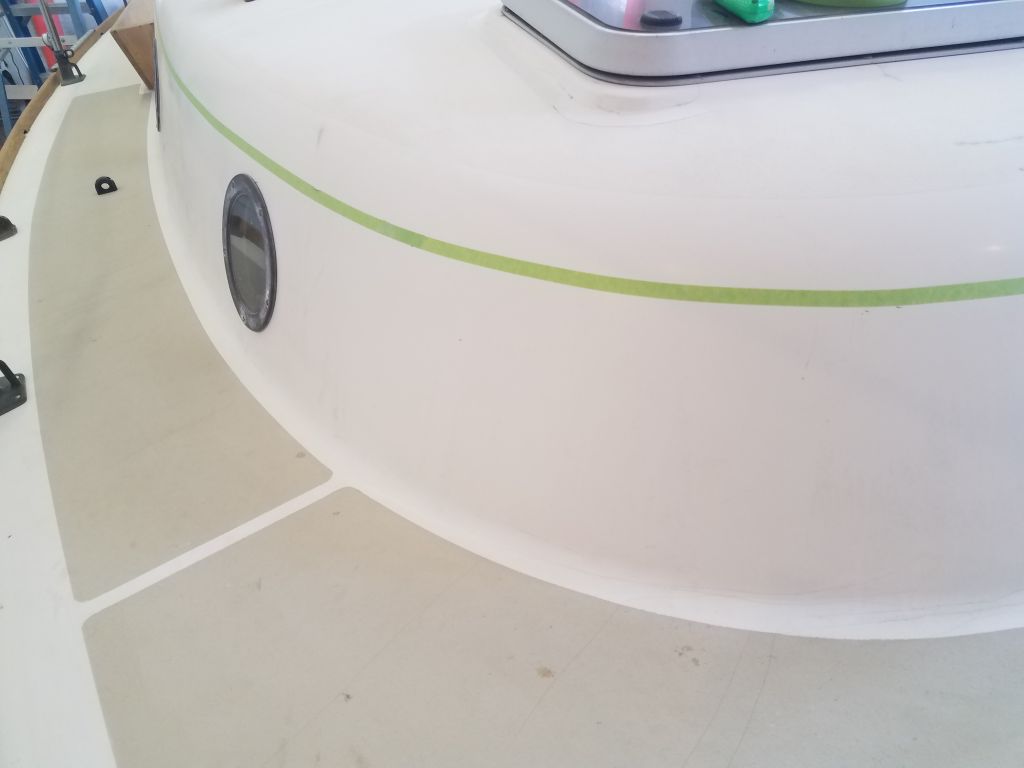
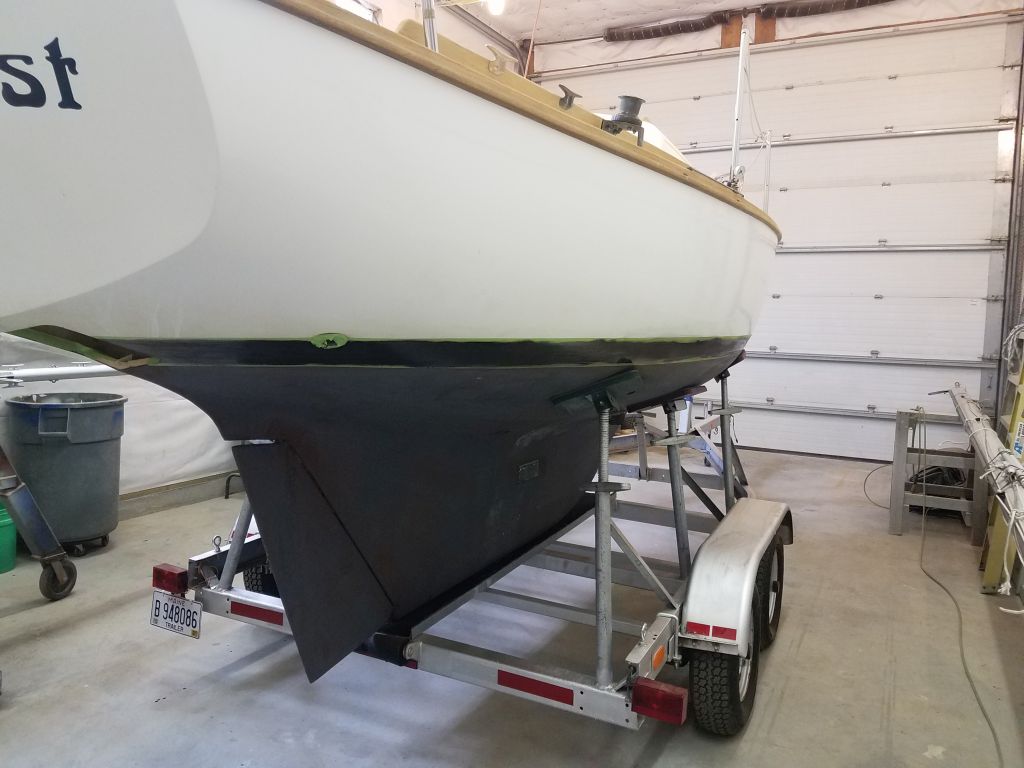
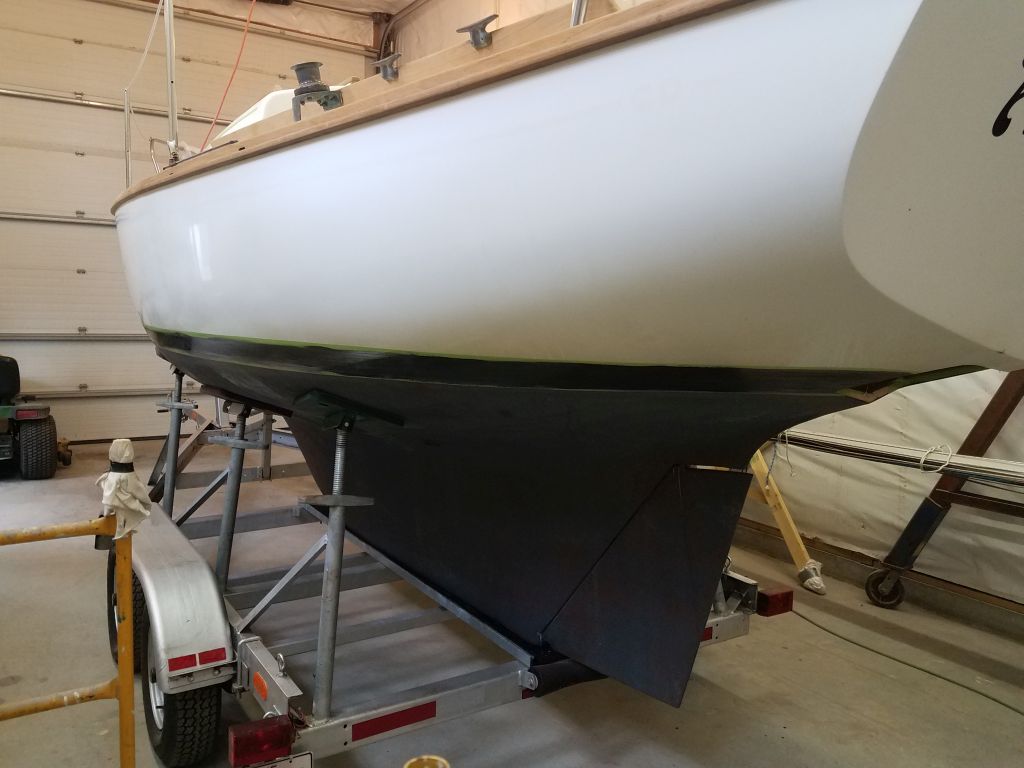
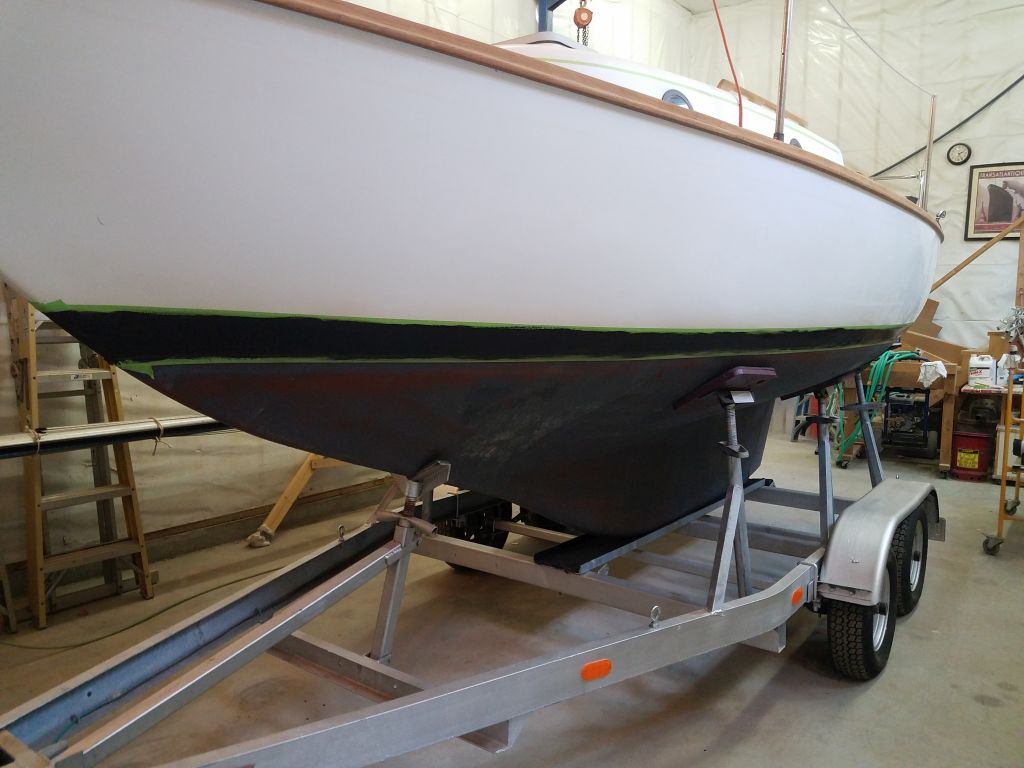
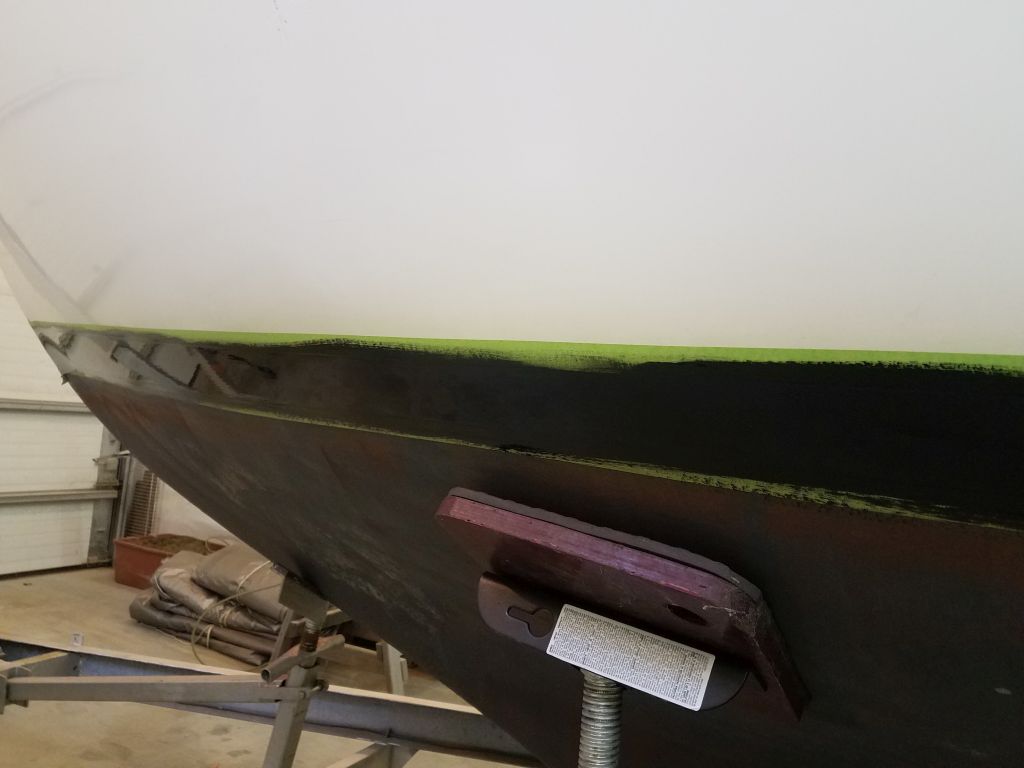
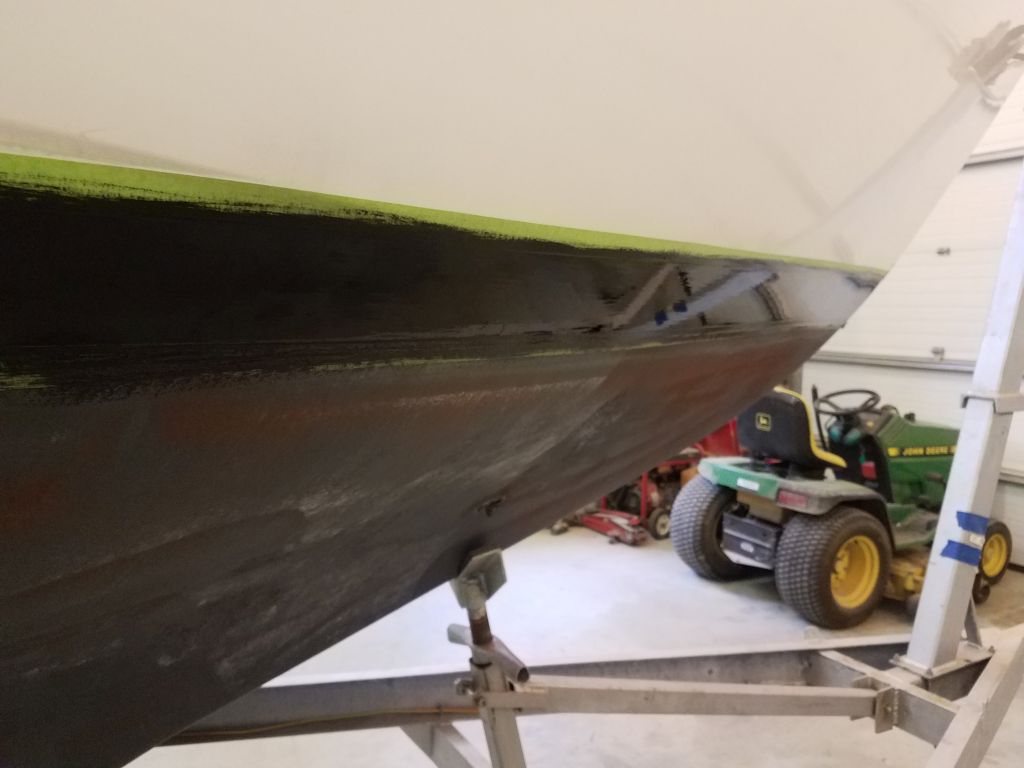
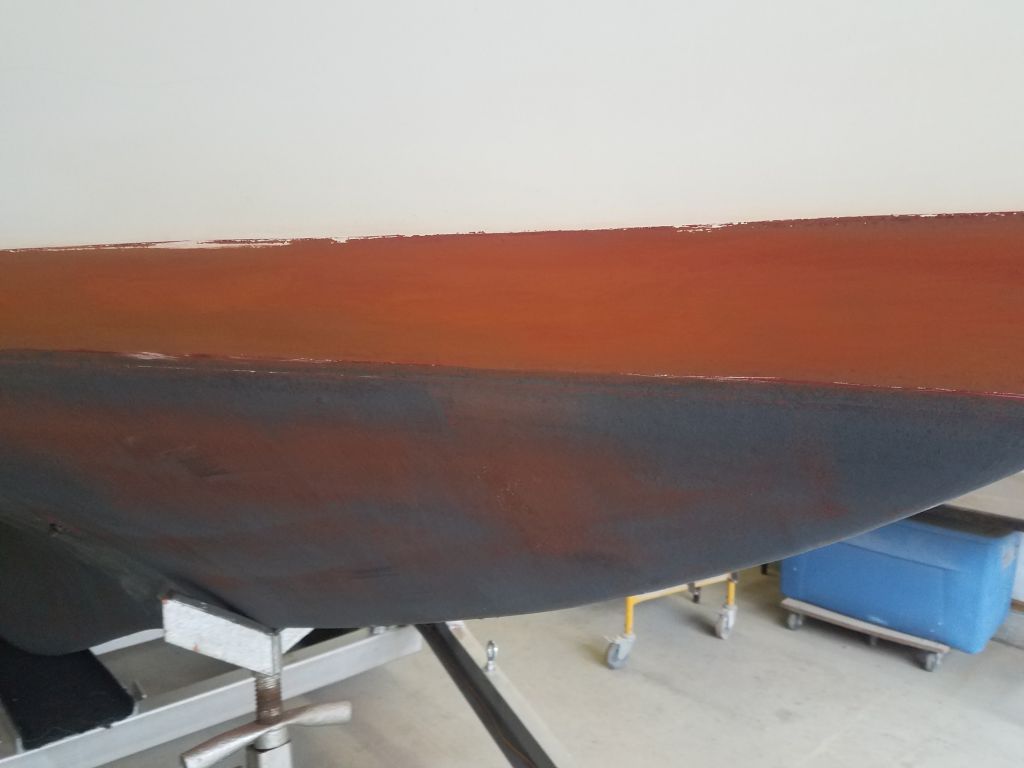
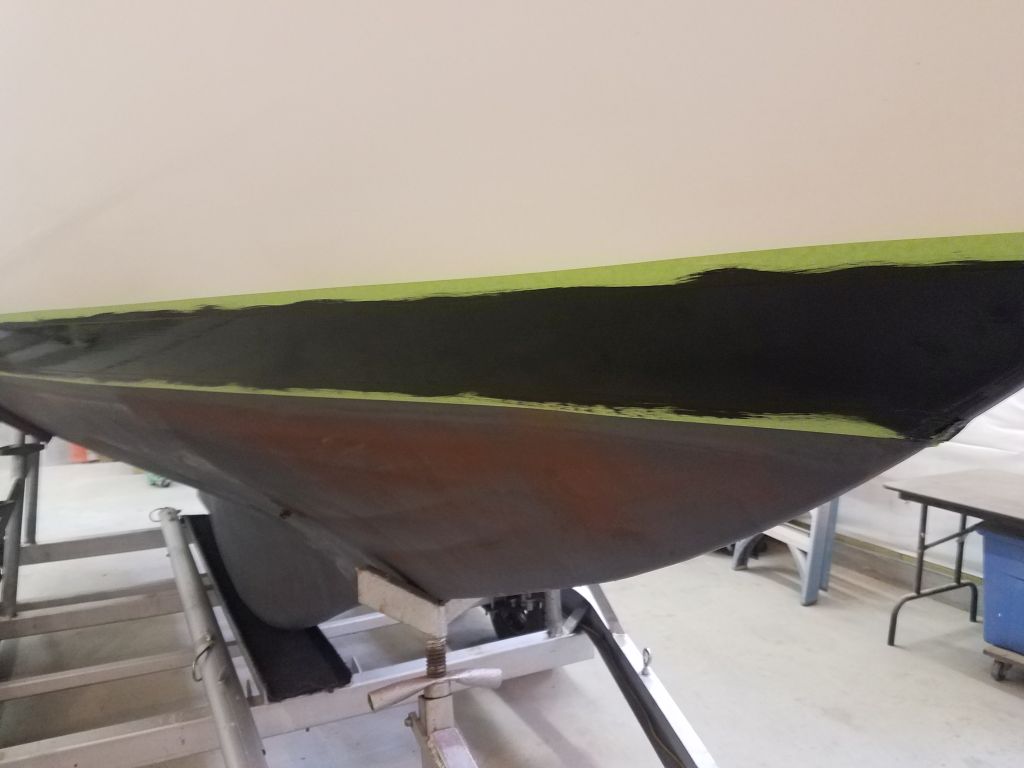
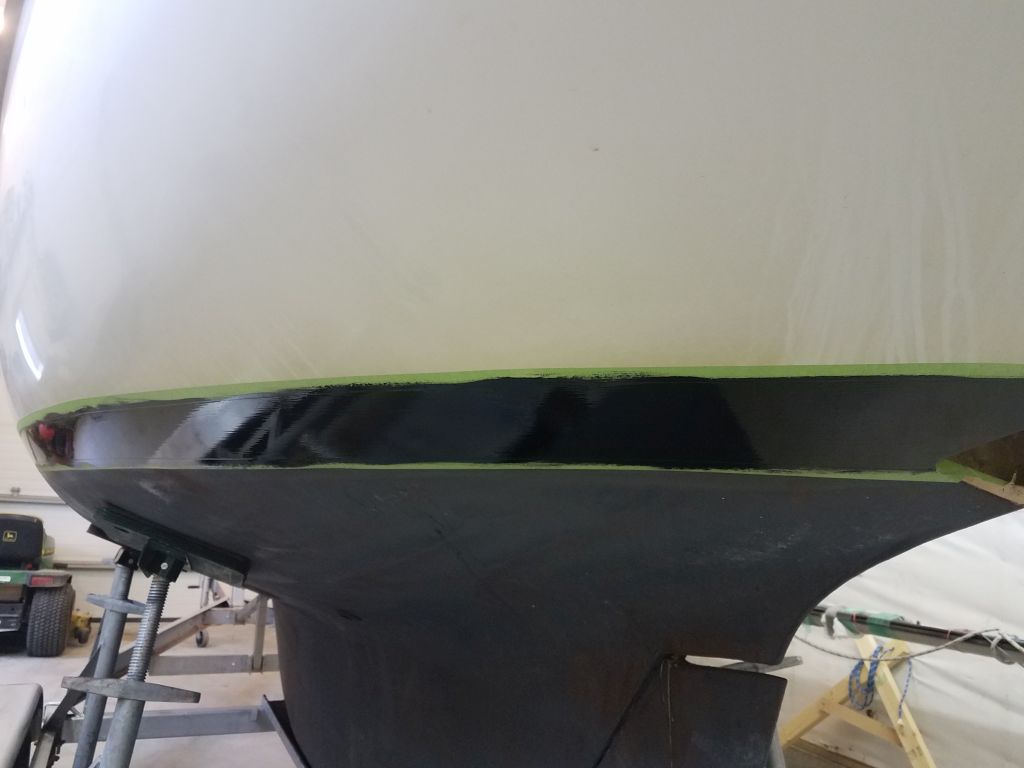
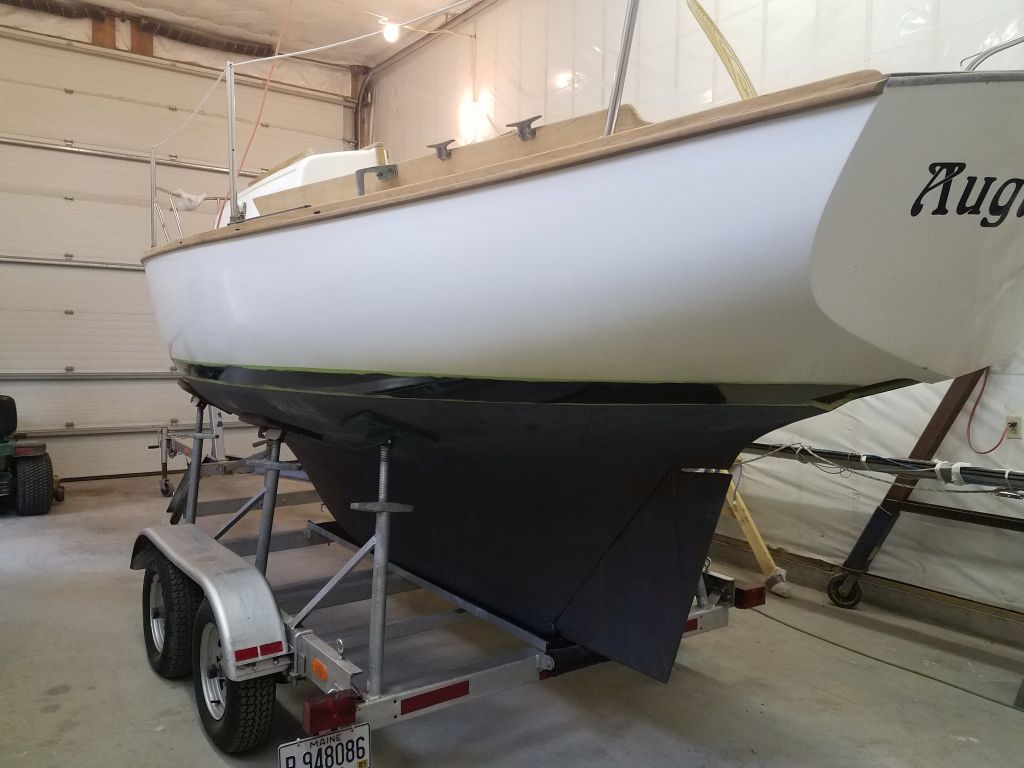
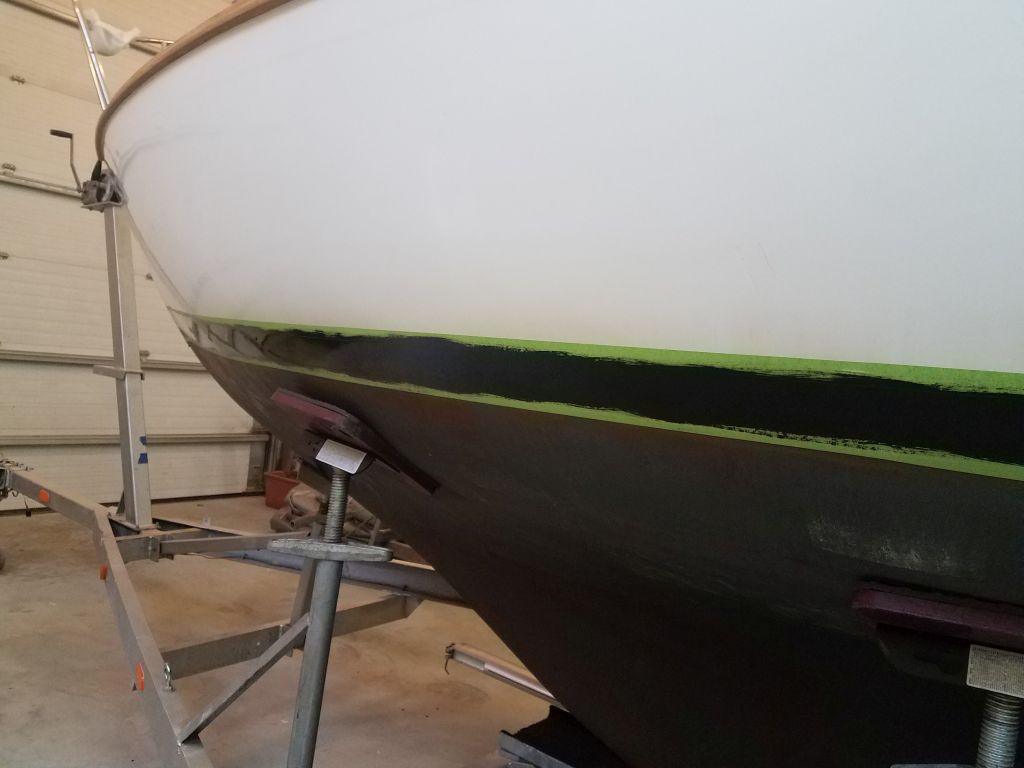
After final preparations, I applied a second coat of black paint to the boottop.

Total time billed on this job today:  7 hours 

0600 Weather Observation:  15° , clear.  Forecast for the day:  Becoming cloudy, snow overnight, 40°

August West 8

Friday

To begin, I finished off the work on the companionway rails, chiseling and sanding the new bungs smooth.

The owner and I were in discussions about whether to replace the cove stripe, or simply remove it; he was conflicted, so since the old vinyl needed to be removed anyway, we agreed to remove the old striping and let the altered appearance settle in for a while before making the final decision on whether to replace it.

During the morning, I removed the old striping with a heat gun, and cleaned up any remnants of adhesive thereafter.  Up close, there was a slight ghost of the old striping still visible, as the gelcoat beneath the stripe had not faded like the rest of hte hull, but this disappeared from only a foot or so away, and is not visible in the photos either.

The cove stripe (or not) was perhaps an important feature in the overall appearance of the boat, but far more important in this case was a change in color scheme from the drab black bottom and drabber brown/rust-colored boottop to a new, bolder, and crisper scheme of black boottop and green bottom paint.  These changes would have an instant and dramatic effect on the boat’s appearance, and, given this, would be important in terms of evaluating the cove stripe and, come to that, the potential eyebrow accent we were considering.

The existing boottop was generally sound, but worn and a little lumpy, so to prepare I sanded it thorough a couple grits to remove any loose paint (which meant most of the top layer of reddish-rust-colored paint) and get down to a decent substrate.  I chose to sand by hand with a small sanding block since the area was relatively small, and this would minimize dust in the air that I didn’t really want all over the deck and bare teak.  Sanding away the top layer of paint revealed the more original lighter brown color beneath, which was sound and in good condition, so I saw no reason to sand further.

After vacuuming and solvent-washing, and a drying period, I masked off the boot above and below.

Then, after final preparations, I applied the first of a couple coats of gloss black paint to the boottop.  This looked better instantly, though until the new color went on the bottom the boat wouldn’t look quite right.

To finish up for the day, I lightly sanded the new paint on the sea hood, then applied a second coat.

Total time billed on this job today:  5.5 hours 

0600 Weather Observation:  33°, cloudy, fog. Forecast for the day:  Cloudy, showers, fog, 53°

August West 7

Thursday

Picking up where I left off, I continued sanding the taffrail and port toerail, working my way along the boat with 80 and 120 grits till I’d cleaned up and smoothed all the wood.

With the work on the toerails complete, the only woodwork remaining was the companionway swashboards, which were coated with some awful dark brown product (vestiges of which I’d seen on some of the other woodwork, so the boat must have had this terrible coating all over at one point (shudder).  I stripped the old finish from all sides of the boards, then sanded them as clean and smooth as possible through 120 grit; the outer surfaces were quite heavily weathered and the wood would never be totally smooth, but it was OK to leave natural; had these been slated for new varnish, I might have suggested simply replacing them with new, but that was neither here nor there.

Moving on, I continued work on the sea hood.  After sanding the primer from last time, and cleaning the surfaces, I masked off the field area on top of the hood for eventual nonskid, then applied the first of two or three coats of white paint to the sides and edges.

Back on deck, I prepared for the final installation of the sliding companionway hatch and guide rails, eventually installing them permanently with butyl sealant and screws, then filling the screw holes with new bungs.

Finally, I mocked up the new winches once more, this time paying attention to the base size and configuration and ensuring that the bolt pattern would work on the bronze winch stands.  The winch base was nearly the perfect size to just fit on the stands, and I thought I could get the bolts properly secured while leaving just enough room (perhaps with a slight coaming modification) for the winch drum to turn freely when installed.  Otherwise, the new winches looked good in place.  I took photos from various angles to showcase the appearance so we could decide whether to proceed with the installation or not.

Total time billed on this job today:  6.75 hours 

0600 Weather Observation:  33°, cloudy.  Forecast for the day:  Rain and snow to rain, 41°


August West 6

Wednesday

Next on the agenda were the toerails, which required stripping and sanding to match the other woodwork on deck.  As elsewhere, the toerails featured a largely-failed coating of old varnish or other semi-clear product, interspersed with bare and weathered areas.

Starting at the bow, I worked down the starboard side, and, eventually, around the transom and back up the port side, removing the old finish from the myriad surfaces comprising the toerail and rubrail assembly.

Taking a short break from the toerails, I made final preparations to the sea hood, then applied a coat of white primer to the outside surfaces.

Through the remains of the day, I hand-sanded the starboard toerail, working through 80-120 grits from bow to stern, which cleaned up and smoothed the wood.  I’d continue the sanding with the taffrail and port side next time.

Total time billed on this job today:  6.25 hours 

0600 Weather Observation:  30°, clear. Forecast for the day:  Sunny, 44°

August West 5

Tuesday

Late last week, we had a meeting at the boat to look at and discuss details of the dodger installation.  To prepare for that meeting, I set up a quick analog for the boom height, which was the critical factor in determining the dodger height.  After measuring to the gooseneck location on the mast, and allowing for the depth of the boom below its attachment point, I mocked up the setup with a 2×4 acting as the mast, and a string (which I led to the closest wall and leveled it) to represent the bottom of the boom in a horizontal position.

The net outcome of the meeting was that the owner decided against building the dodger.  The boom height was lower than any of us thought, and the dodger would have been quite small and confining.  This would have been workable if need be, but the owner had his own doubts about the project from the getgo:  while the dodger would be nice to have sometimes, the way he used the boat didn’t demand having one, and usually didn’t need it at all.  With all this, the deciding factor in abandoning the dodger project was the new rigid boom vang the owner had ordered and that we planned to install at the shop.  The new vang would extend far enough aft that it could have its own effect on the dodger design, and this ended up being the straw that broke the camel’s back.

With that behind us, and after a day finishing up some details on another project at the shop, I got back to things with the cockpit coamings.  I’d already stripped (but not sanded) the old coating from the insides of the coamings, and now I worked on the outside faces.  First, though, I decided to remove the old sheet winches, which were slated for replacement with new self-tailing ones during this project, and with the winches out of the way I’d have slightly better access for stripping and sanding the wood.  These were easy to remove, and I took a moment to test-fit one of the new winches, which were slightly larger in overall diameter but still just within the footprint of the existing bronze winch bases, though the drums slightly overhung the edges.   I’d discuss this with the owner before proceeding, but the new winches seemed workable without major changes.

With that, I got to work removing the old coating from the outside of the coamings on both sides.  As before, this took some time because of the thinness of the coating and the character/texture of the wood beneath, which was somewhat weathered with much of the wood’s softer grain being long gone with the passage of time, leaving behind the slightly uneven and hard surface we associate with aged, weathered teak.

Afterwards, I sanded the coamings clean and smooth in all areas, working through 80-120 grits to bring them to their final appearance.  These would be left bare to weather naturally from here on out, along with all the other woodwork on deck.  The nature of the existing woodgrain meant that some texture remained in the coamings, as they had long ago weathered past the point of glassiness, but the clean appearance would soon weather evenly to match the texture.

With the coamings stripped and sanded, I could reinstall the various bronze coaming cleats I’d removed at the onset of the job.  On the port side, there had been two of these cleats all along, though the after one had been installed without the little bronze backing plate like its brethren.  Now, I reinstalled this cleat with a new backing plate to match its counterpart.  On the starboard side, there’d been only a single cleat, and the owner asked me to install a second one to match the port, which I did now.   The new cleat to starboard would give the owner a good place to secure the roller furling line, which meant that I could remove the lame hoseclamped-on plastic cleat from the nearby stern pulpit, which had been the previous setup.

I recommended a spirited sail on a choppy day to splash the new bronze–and the bare teak–with salt water to begin and accelerate the aging process and desired patina.

After final preparations, I painted the underside of the sea hood, the first step towards preparing it for its final installation.

Total time billed on this job today:  6 hours (including Friday)

0600 Weather Observation:  28°, cloudy.  Forecast for the day:  Snow and rain showers, 35°

August West 4

Thursday

The sea hood required some light sanding, and then touchup with quick-drying filler to finalize the shape and contours of the after reinforcement.  Now the hood was ready for primer and paint.

I spent most of the day working on the teak project, starting with the handrails on the cabin top.  After paring away the excess bungs, I stripped and sanded these rails clean, to 120 grit.  At the same time, I removed the excess bungs from the companionway trim and sliding hatch.

Next, I stripped and cleaned up as well as possible the teak trim at the aft end of the cockpit, around the rudderpost and forward of the outboard well; Cape Dory did not choose the best wood for these pieces, which I suppose is fair enough, and they’d soon weather to a fine gray color in any event.  The clamping bracket for the outboard had once been finished as well, but as this was simply a short length of 2×6, I didn’t make any great attempts to sand it fully bright.

The owner and I had discussed the possibility of installing a vinyl “eyebrow” on the cabin trunk.  We’d seen some anecdotal photographic evidence of another Typhoon Sr. with a too-short and not-that-well-done eyebrow that looked unfinished, but still gave a hint of how a real eyebrow might enhance the boat’s appearance.  I had the thought of using vinyl tape to create the accent without having to go through the rigorous routine of trying to bend wood around the forward curvature, which was substantial on this boat, so with the owner due to be at the shop the next day for a meeting about the dodger, I took a few minutes to attempt a mockup using 1/2″ masking tape to test the concept.

While the first attempt needed some fine-tuning, particularly around the forward part of the trunk, and wasn’t necessarily quite right yet, it started to give a sense of things. With  he upcoming meeting,  I didn’t want to spend more time on it till we’d had a chance to decide whether it was worth pursuing.

During the afternoon, I worked to strip the old finish from the insides of the cockpit coamings on both sides.  This was surprisingly slow going, but in fact because there was so little finish actually on the wood, it took longer to scrape it away; heavier layers of coatings seem easier to heat and remove.  IN any event, by the end of the day I’d stripped all the finish from the inside faces of the coamings, leaving them ready for sanding to complete the work later.

Total time billed on this job today:  6 hours

0600 Weather Observation:  26°, mostly clear. Forecast for the day:  Mostly sunny, 42°

Older posts