Tuesday
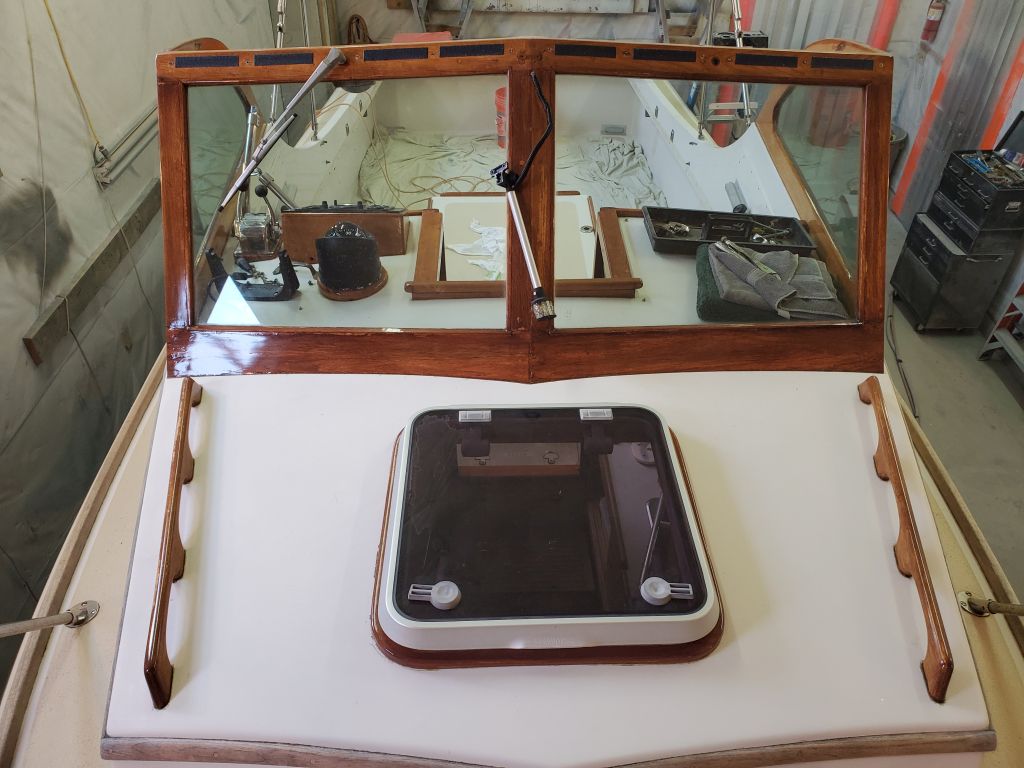
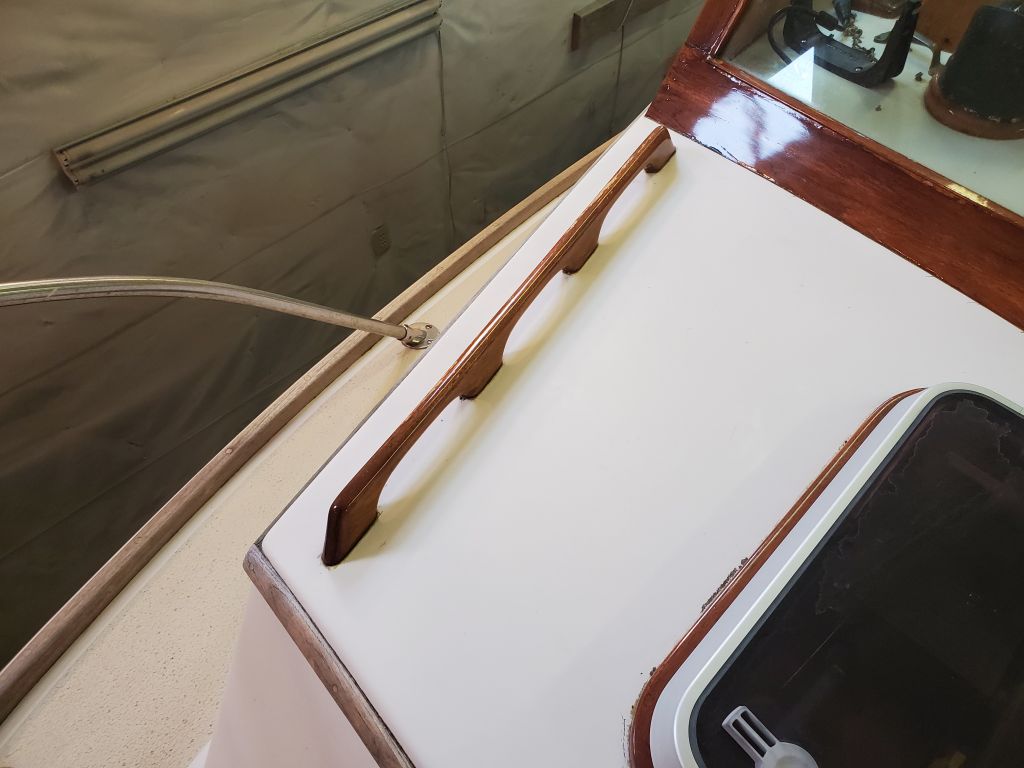
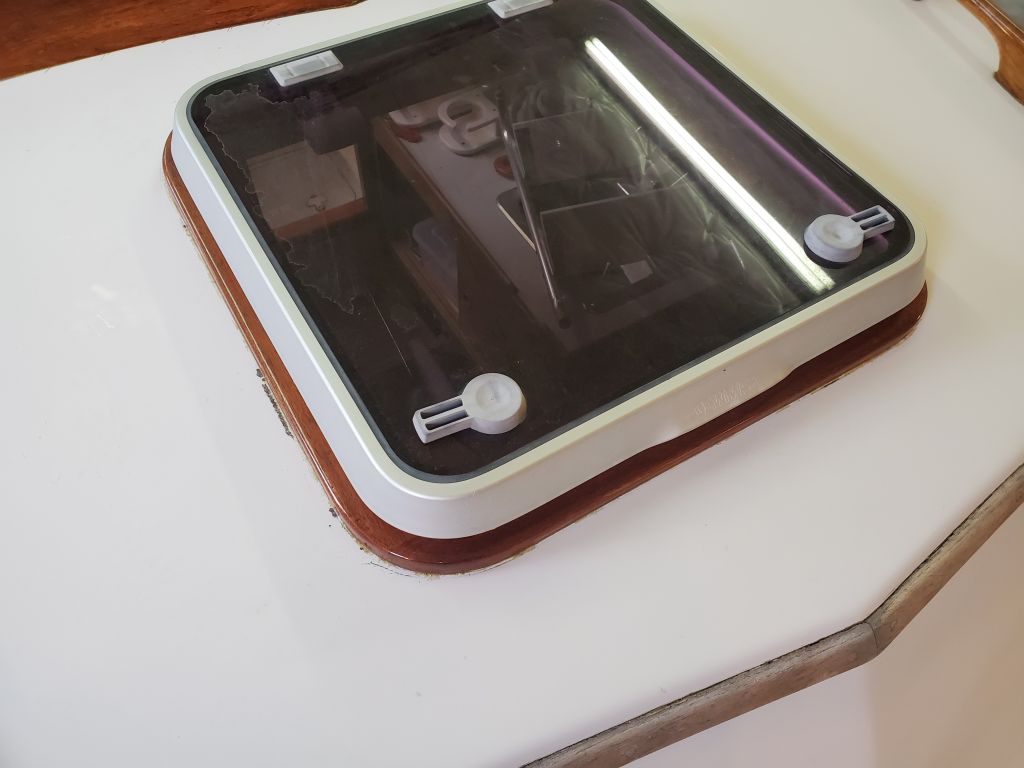
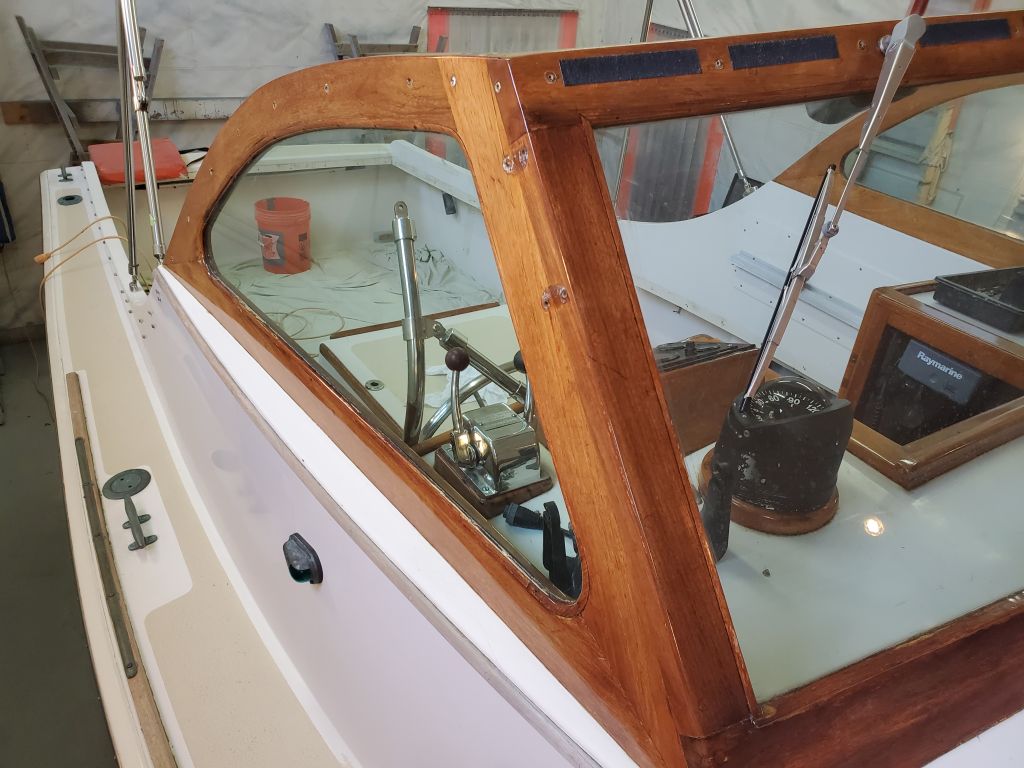
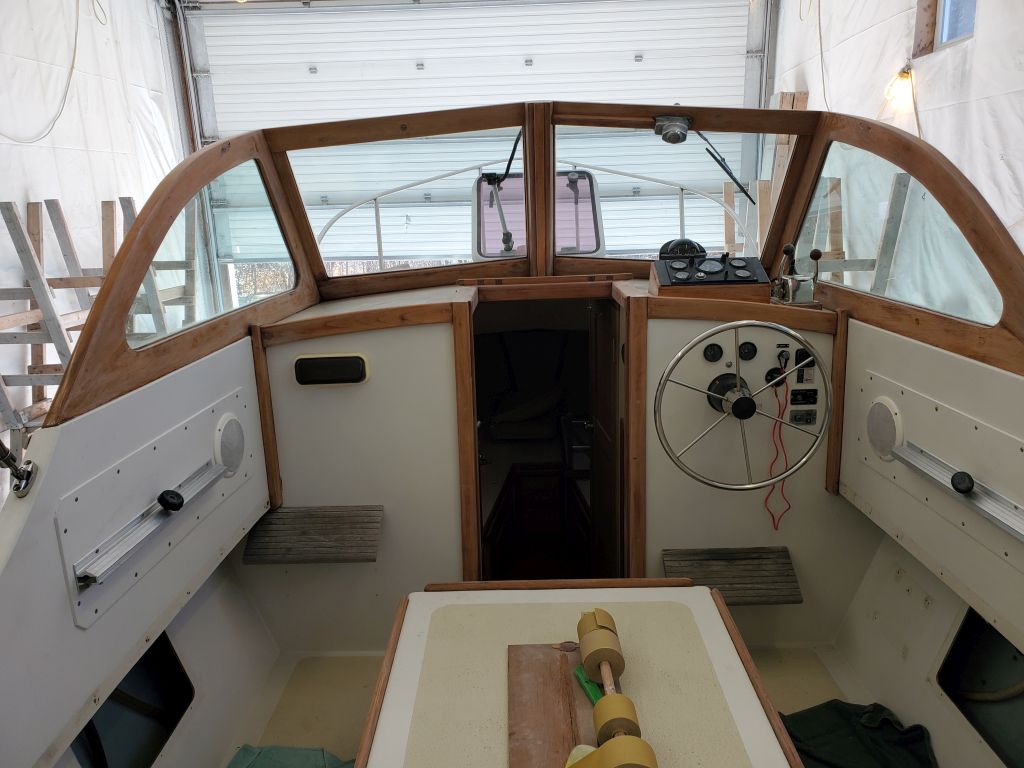
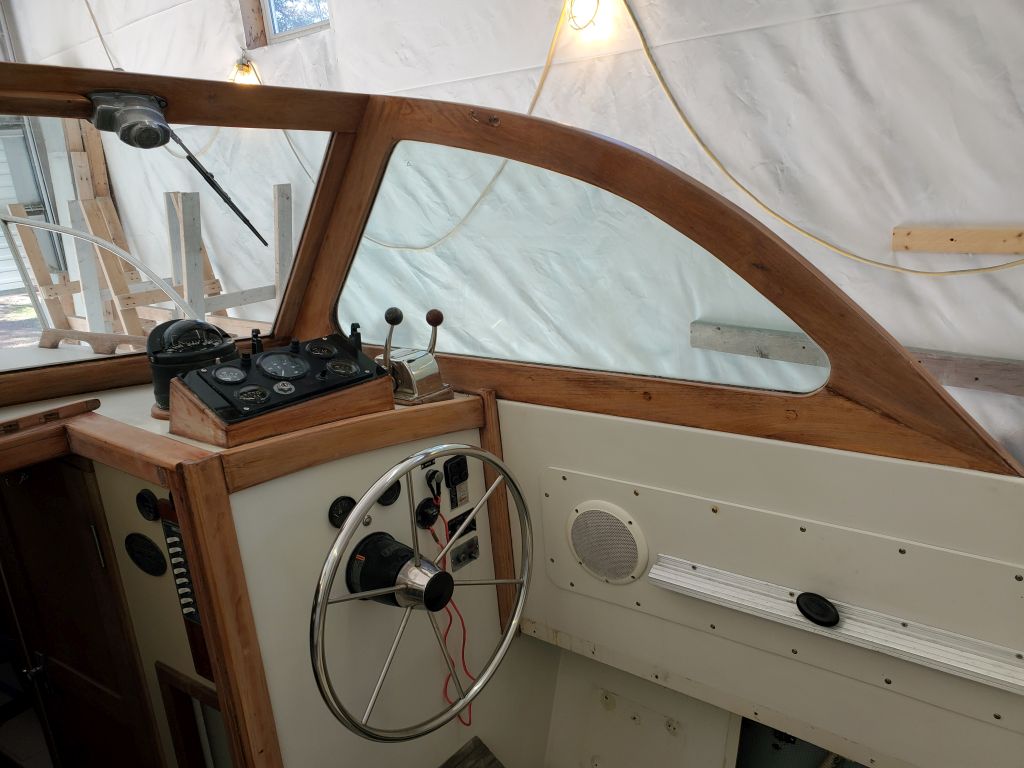
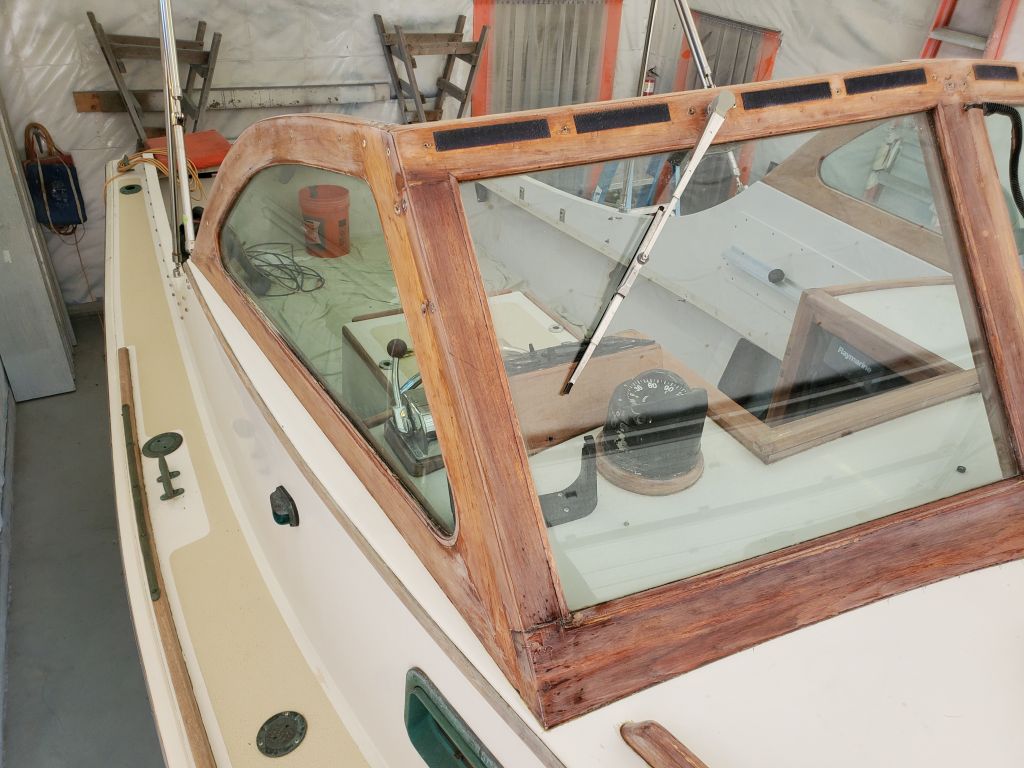
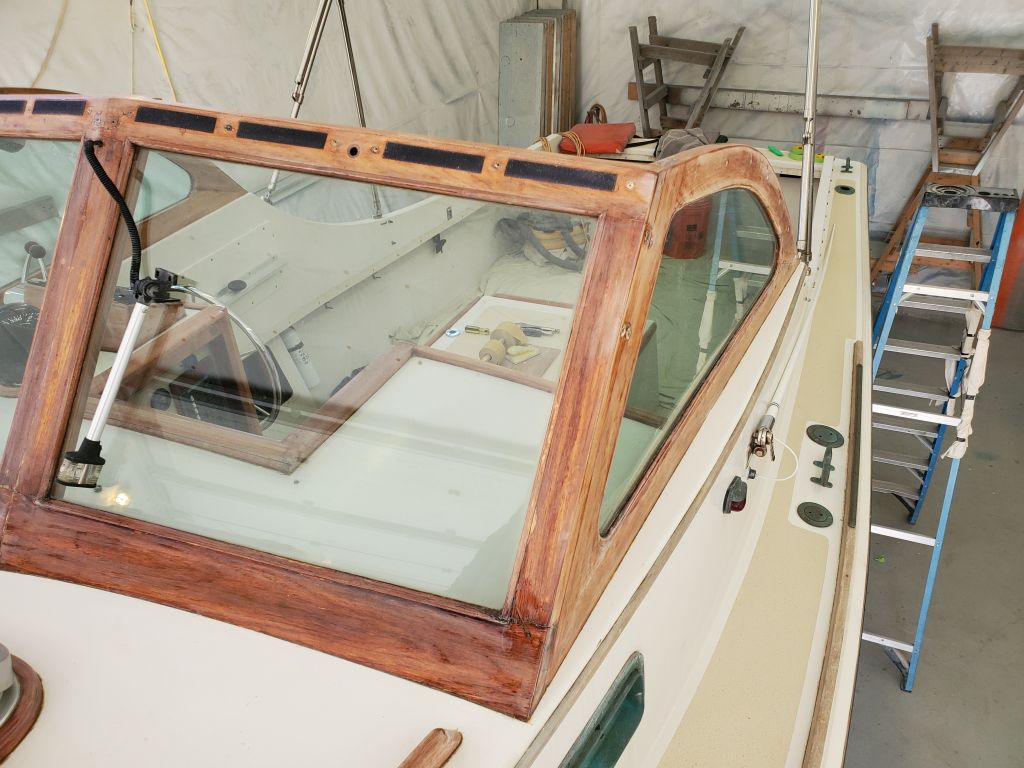
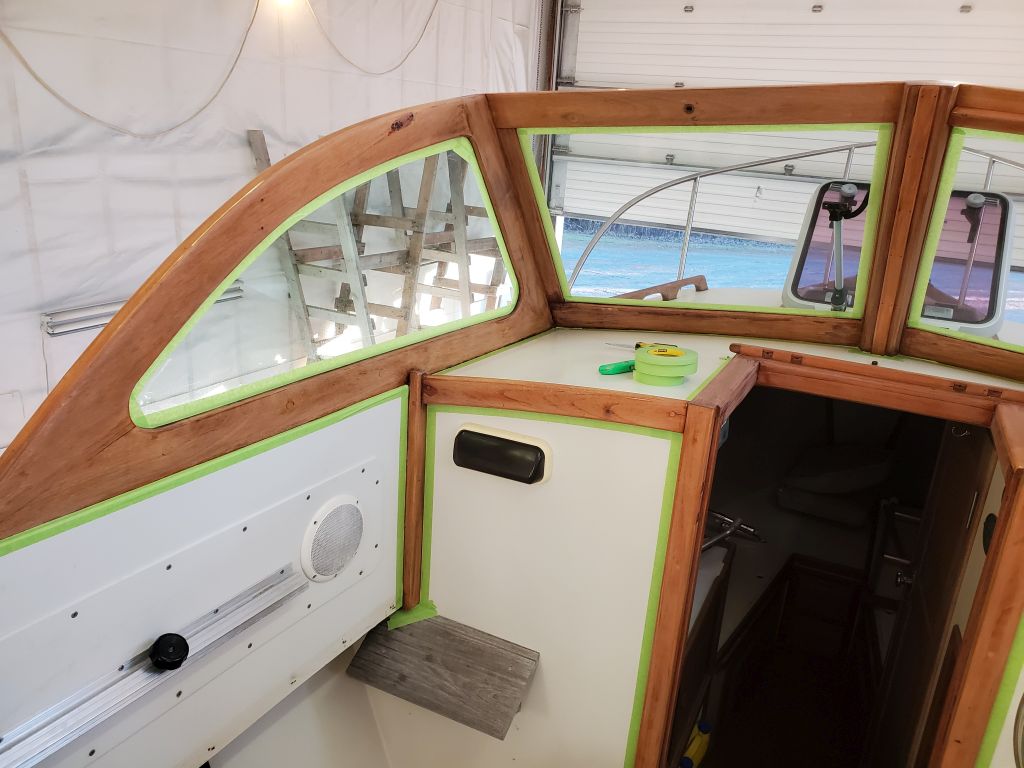
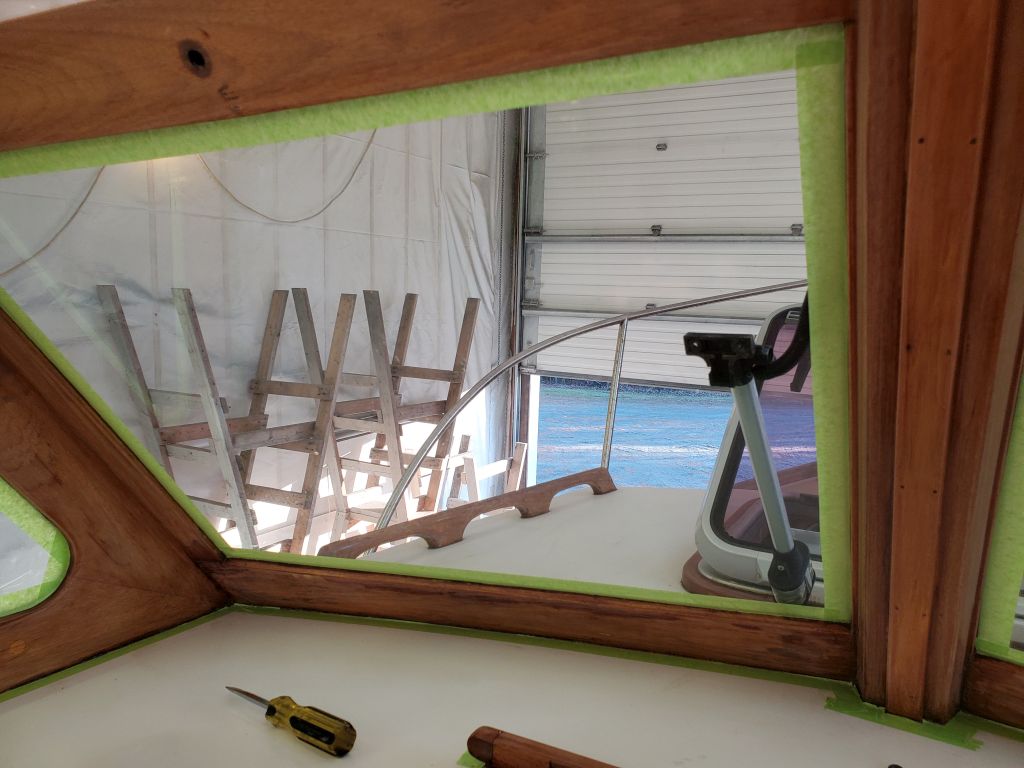
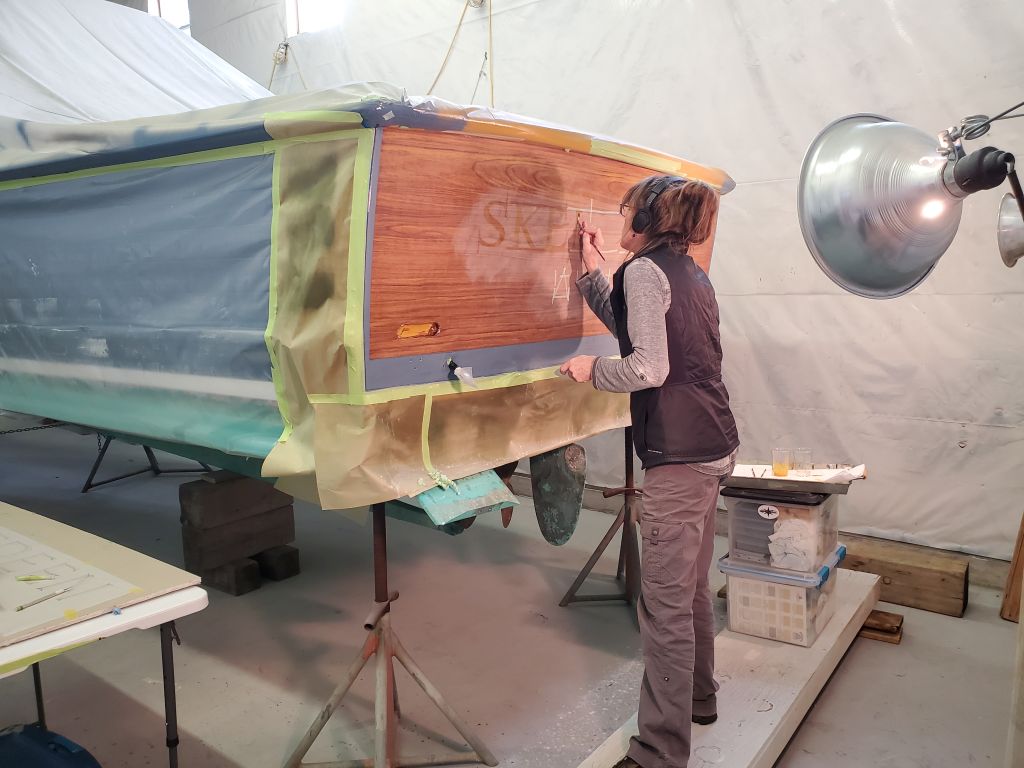
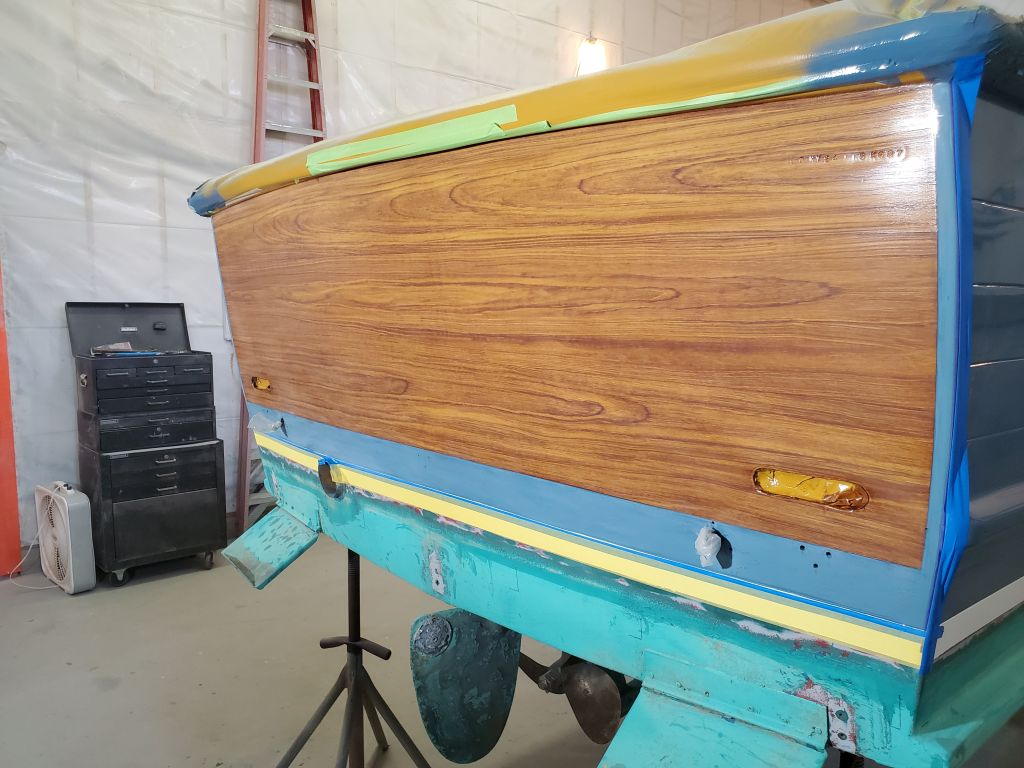
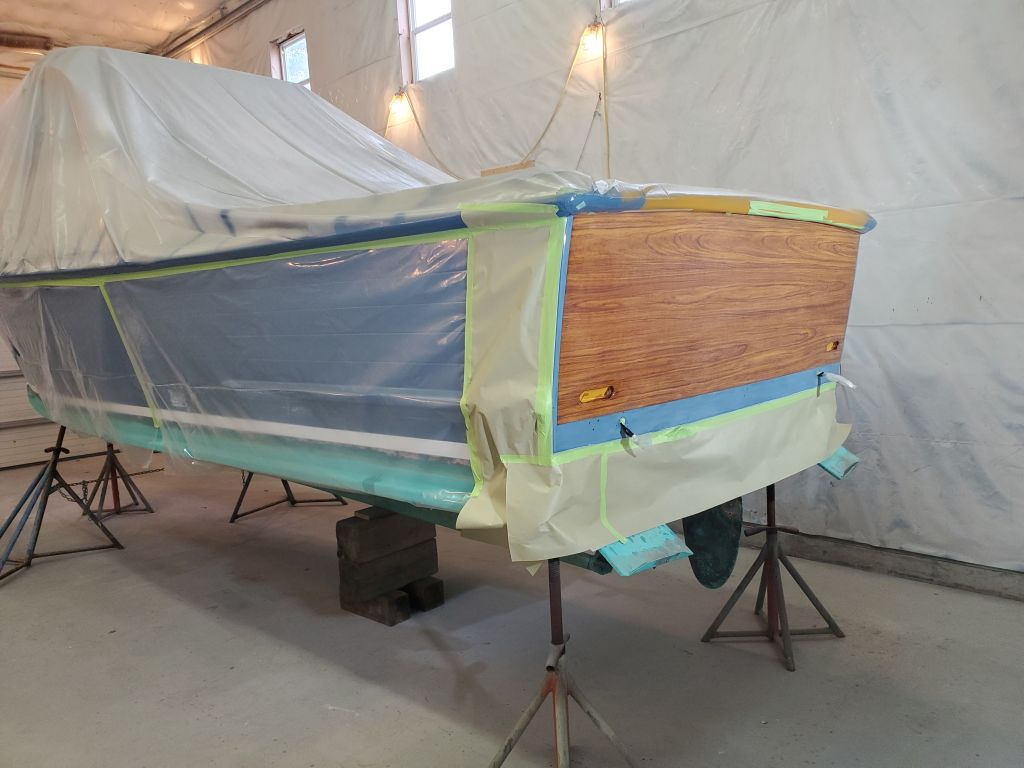
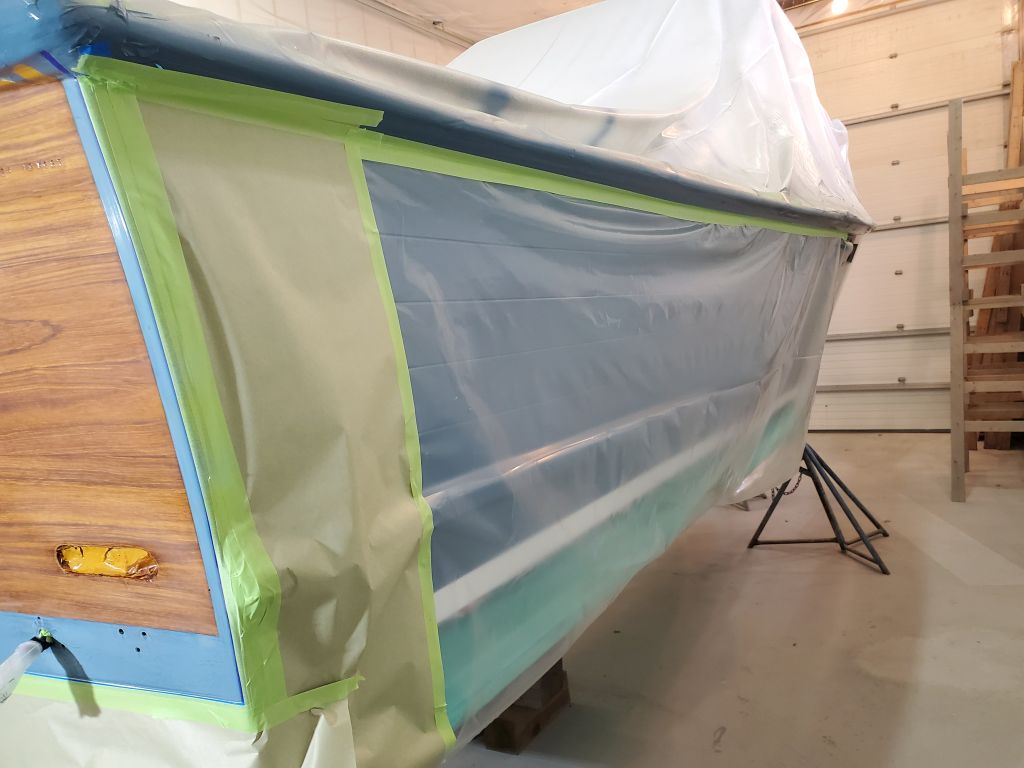
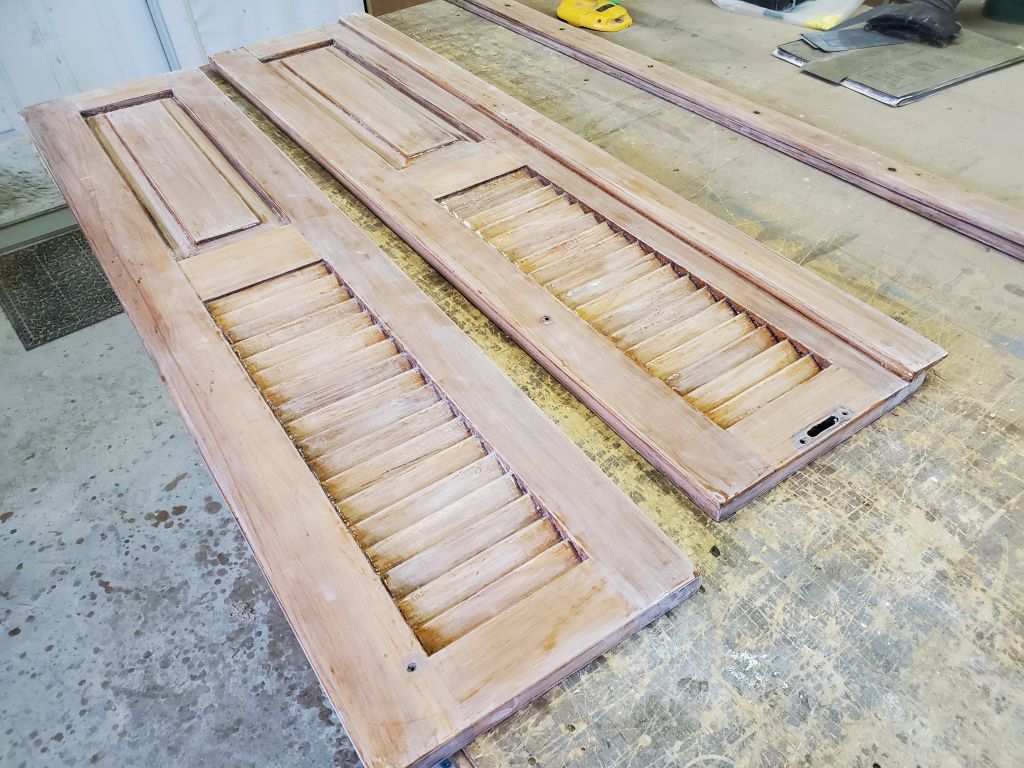
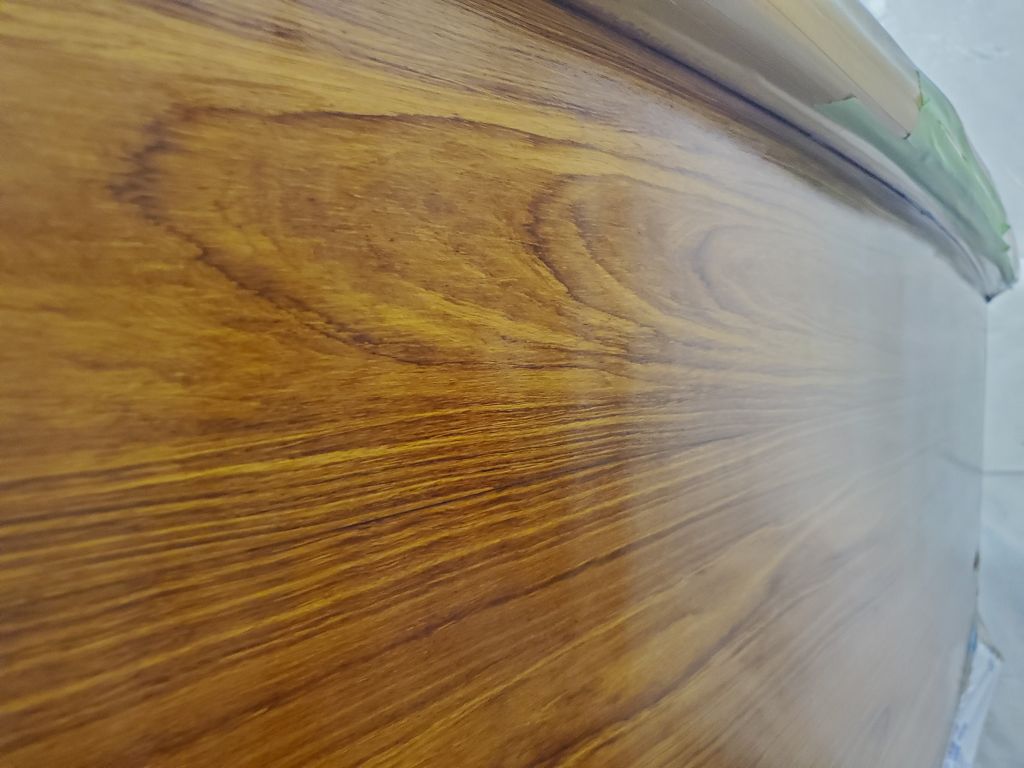
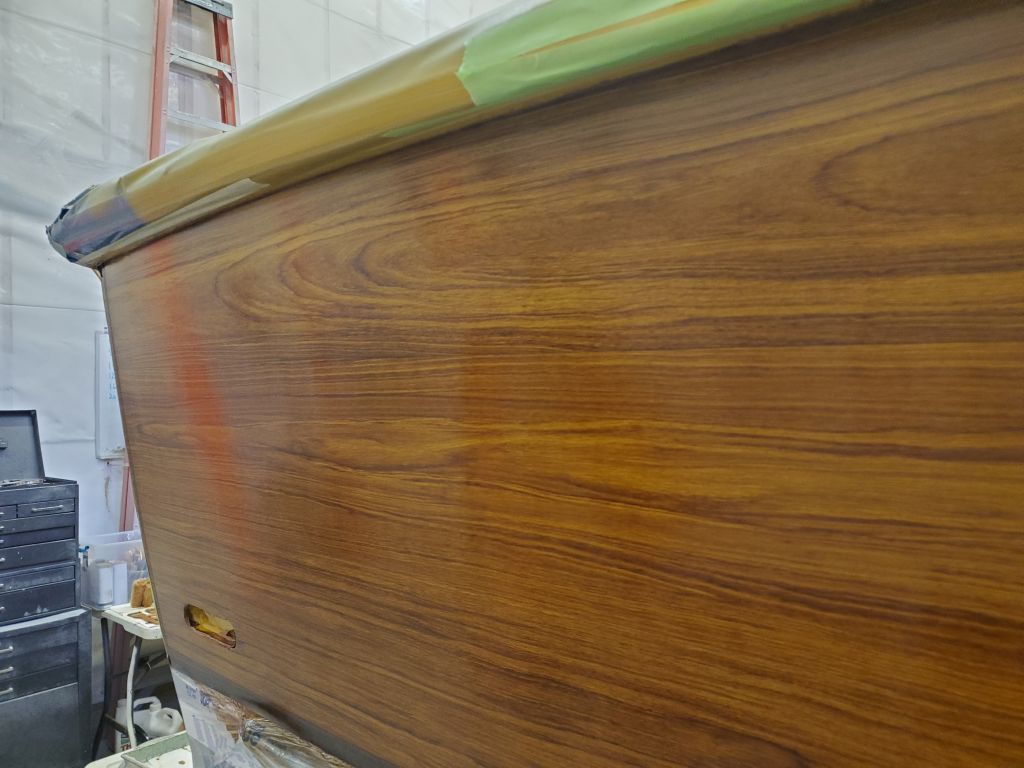
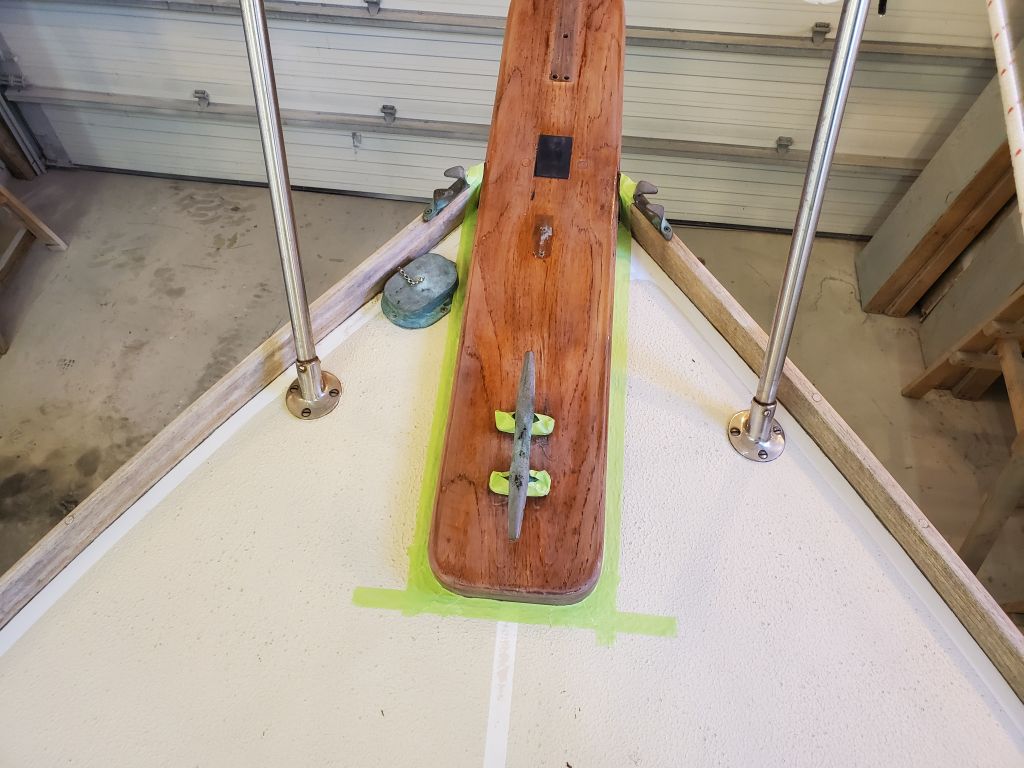
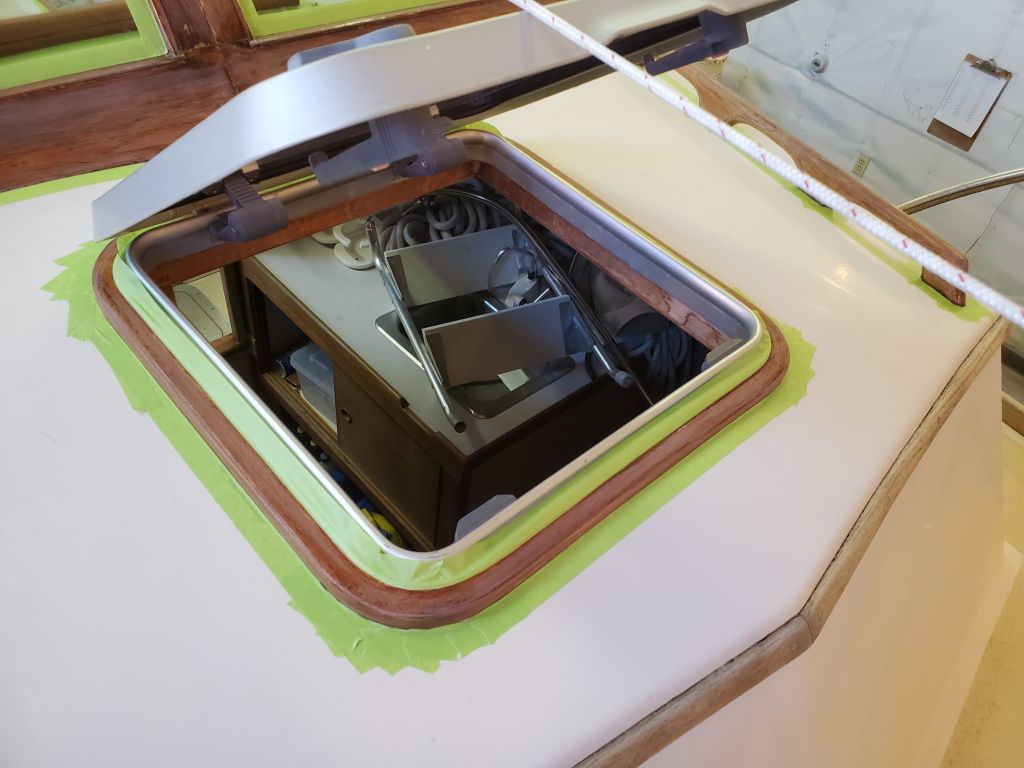
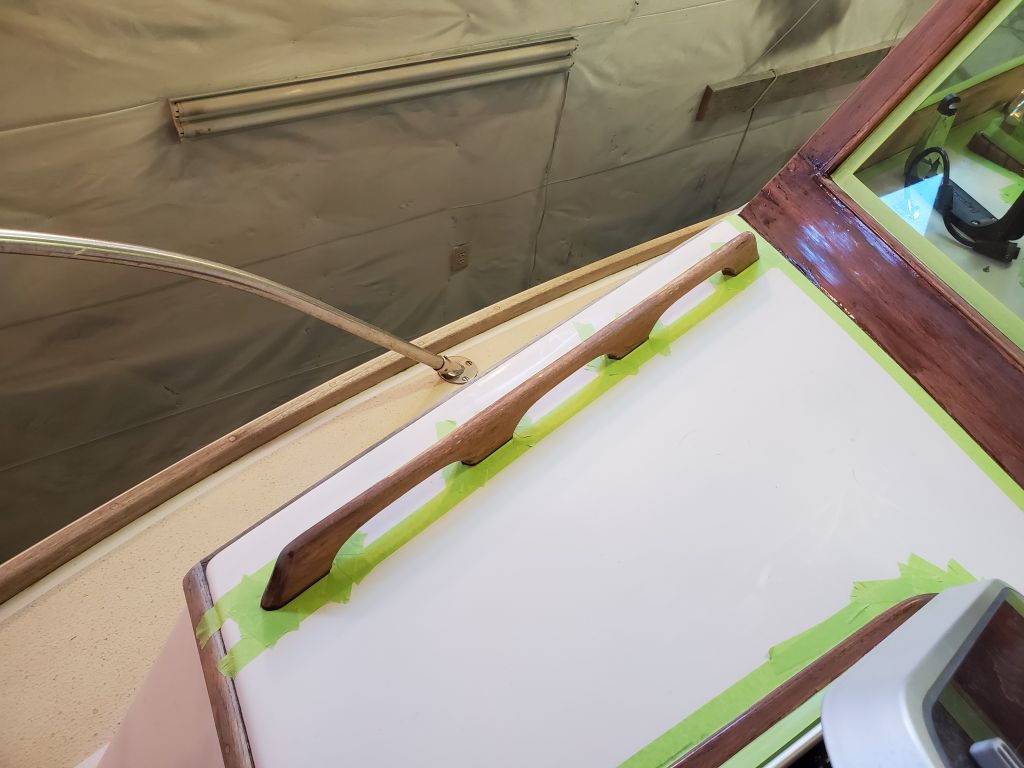
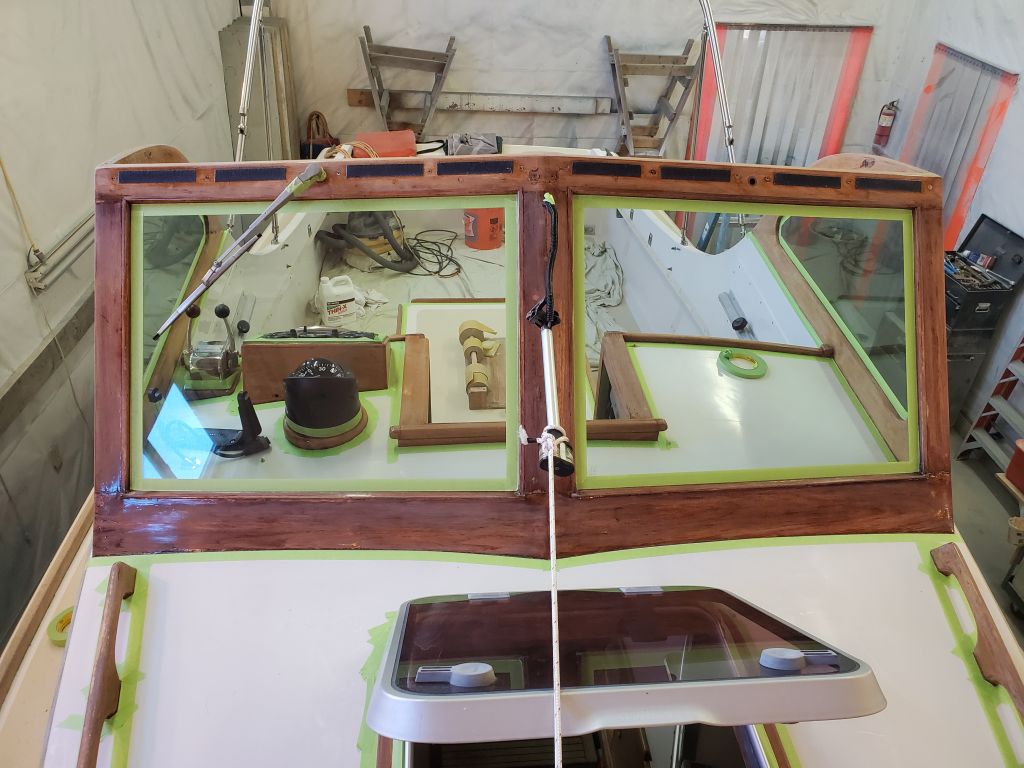
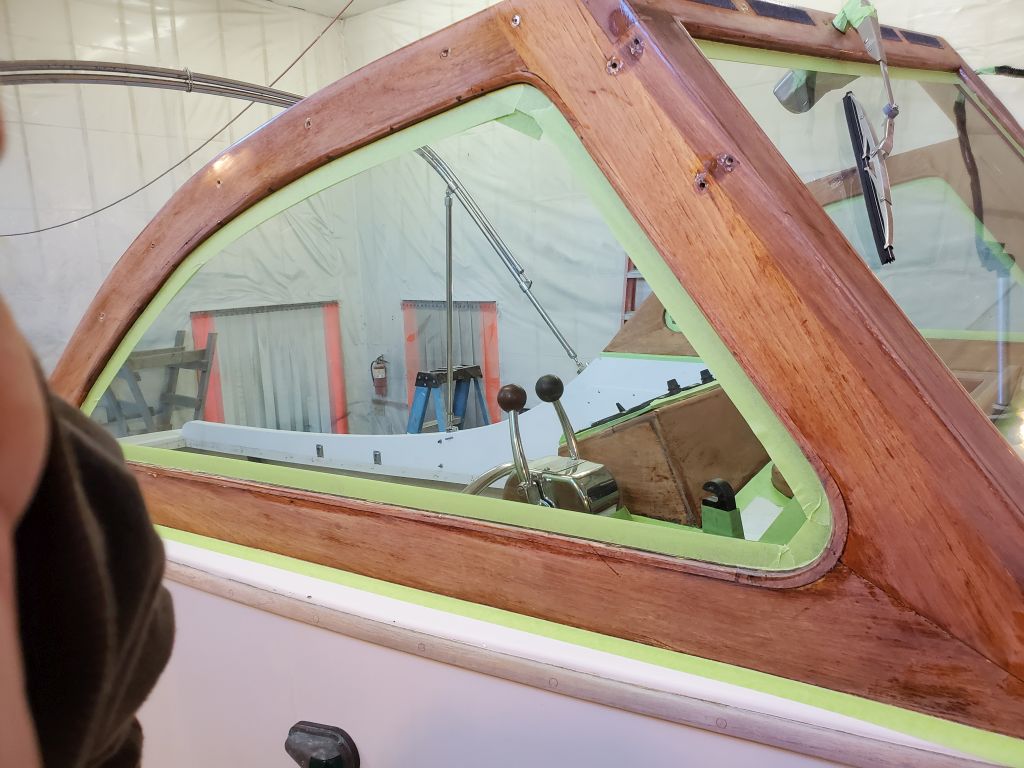
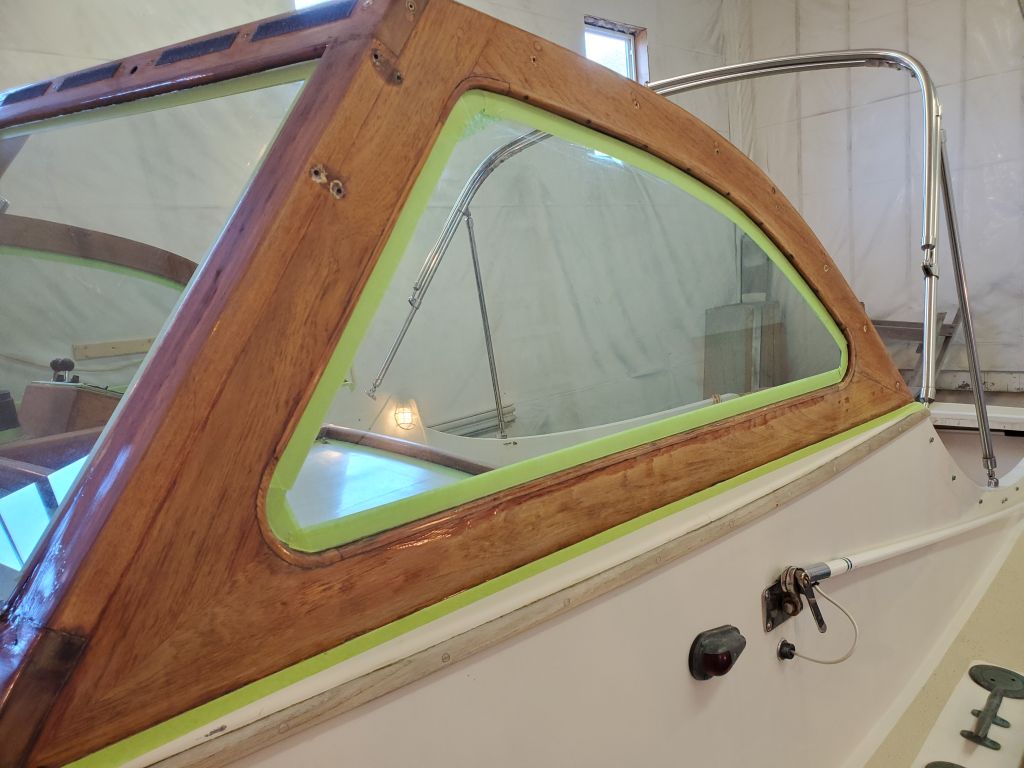
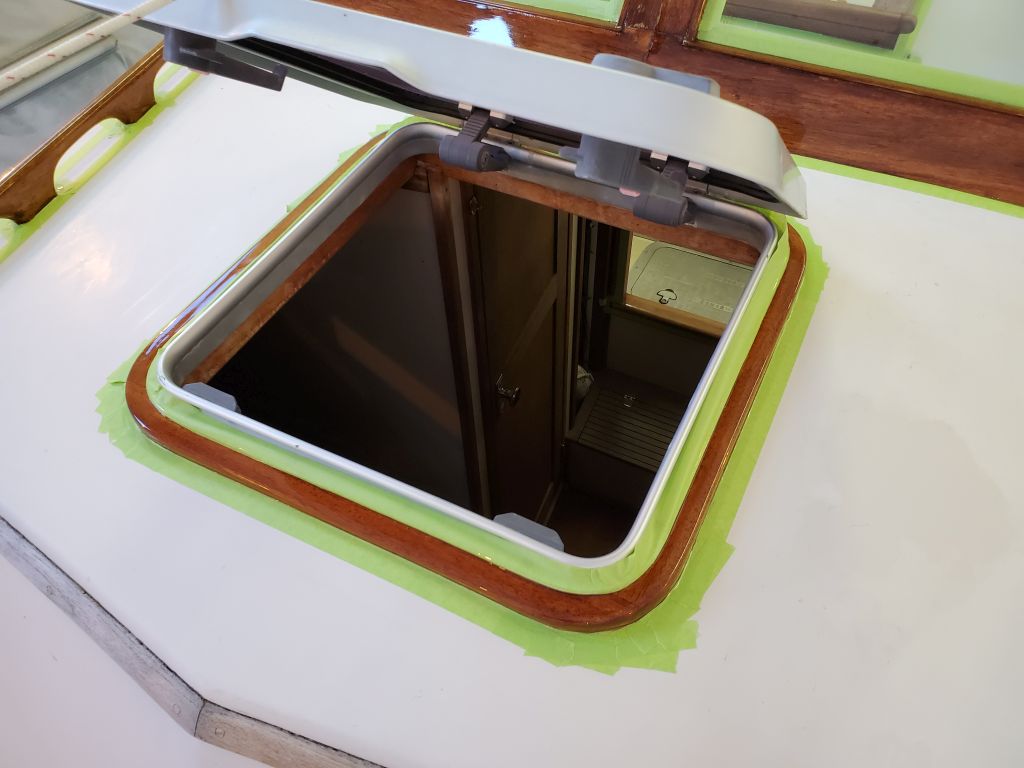
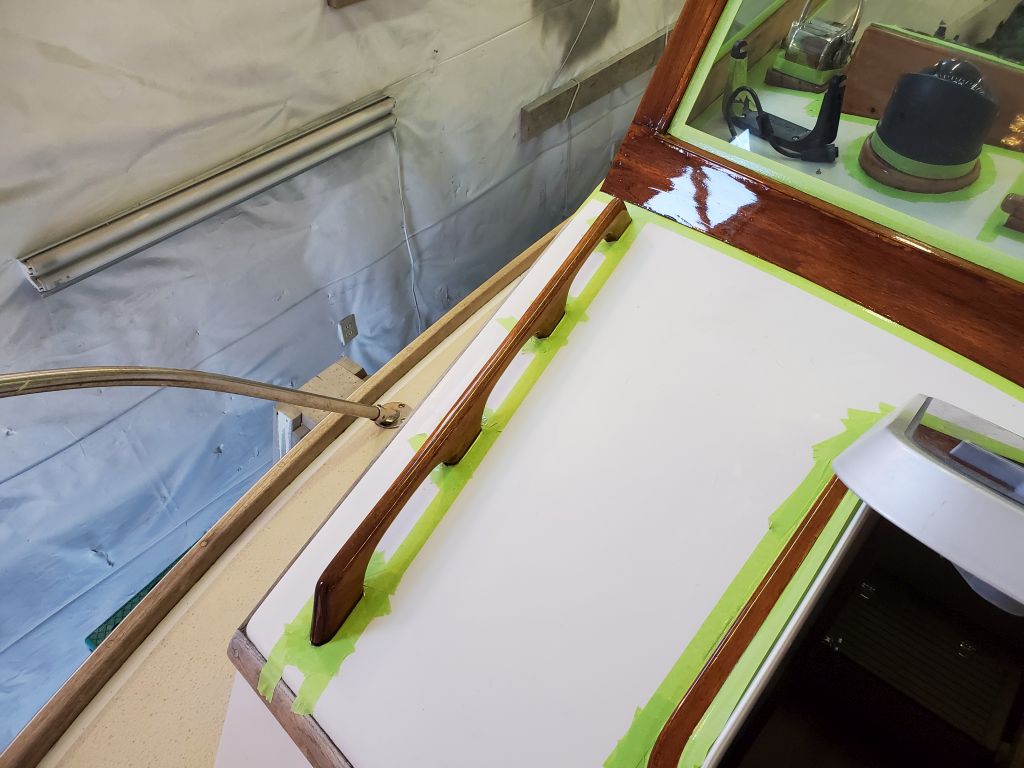
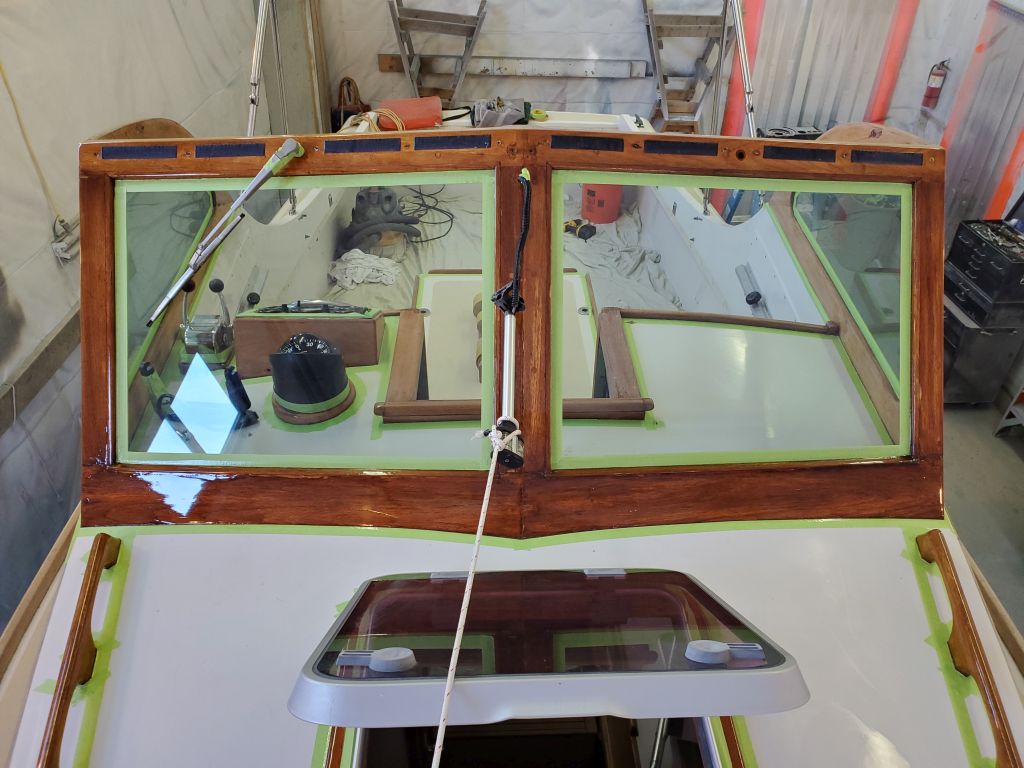
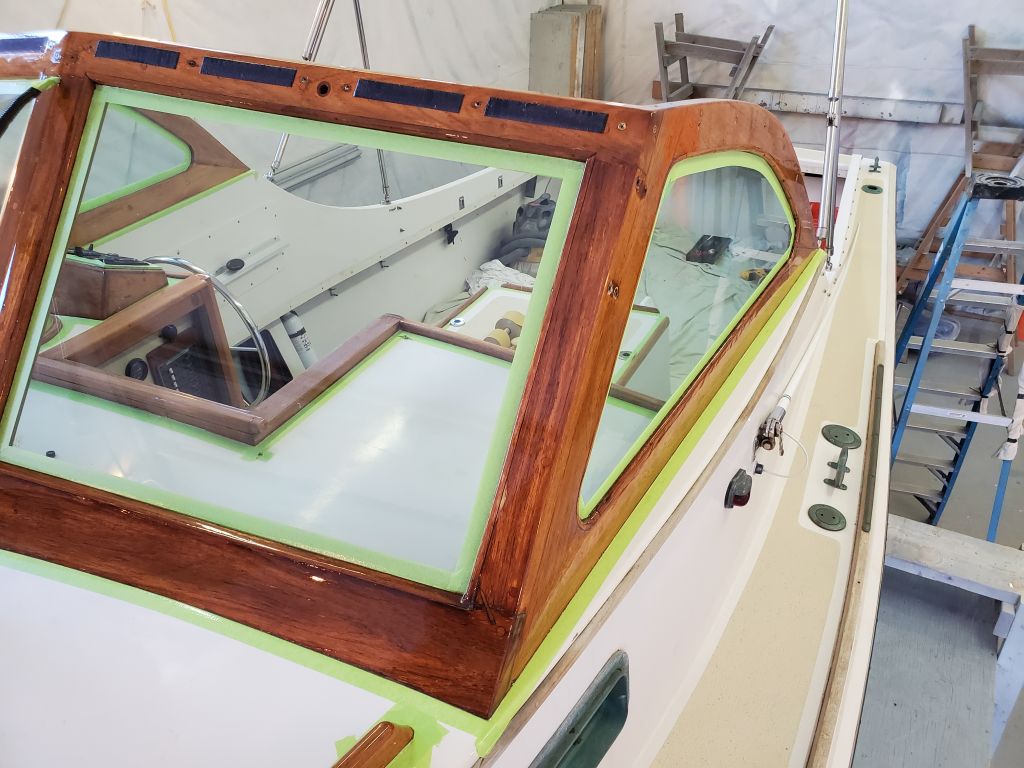
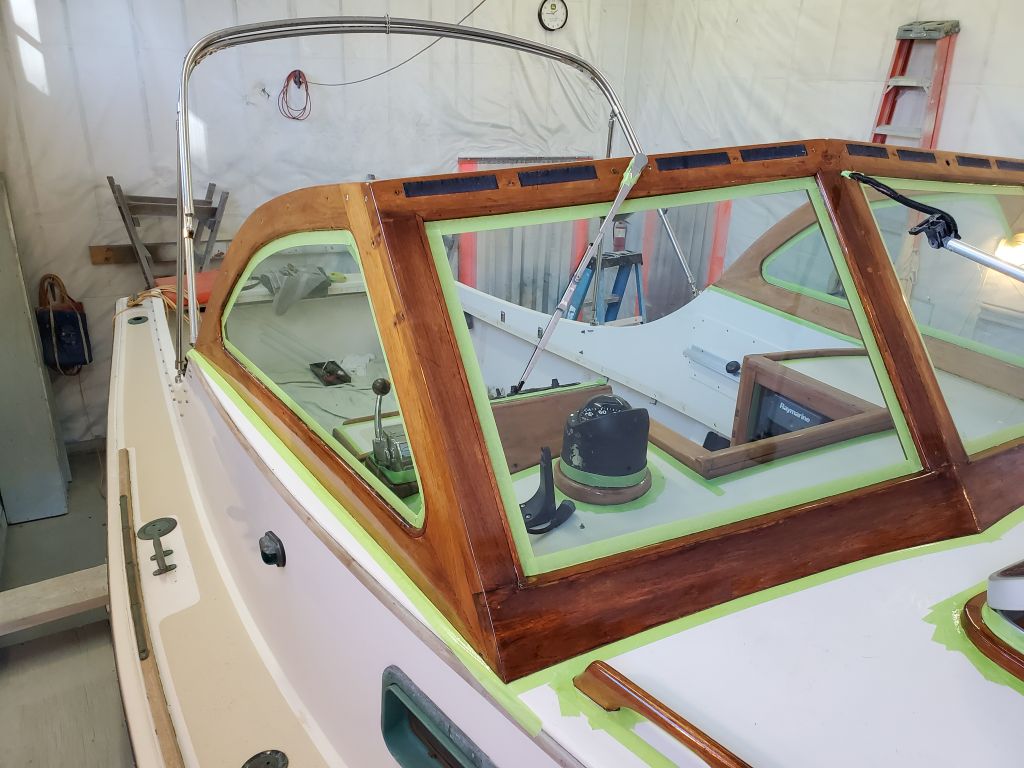
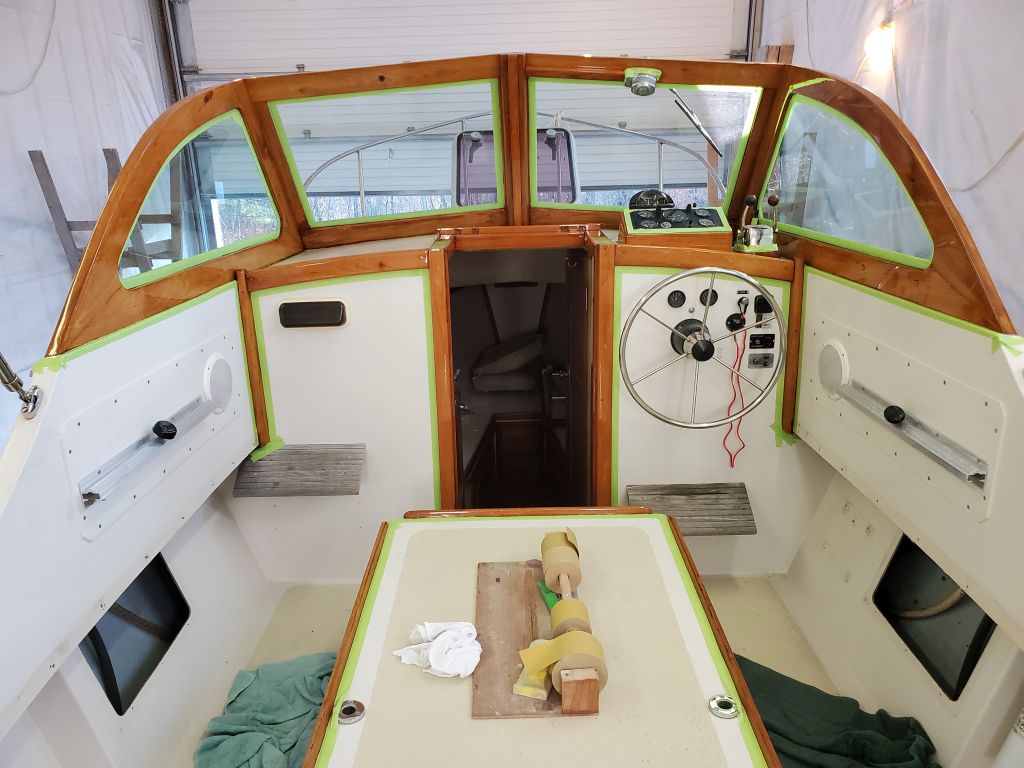
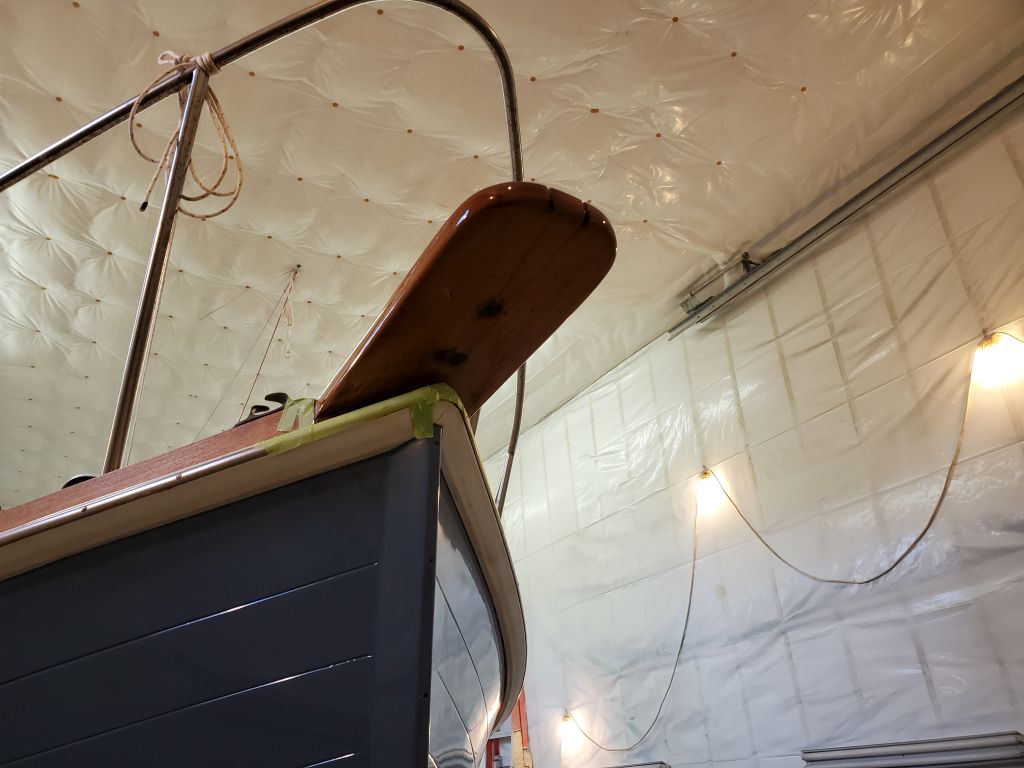
To begin the day, I finished up masking the brightwork along the exterior sides of the windshield, forward hatch, handrails, and bow platform.

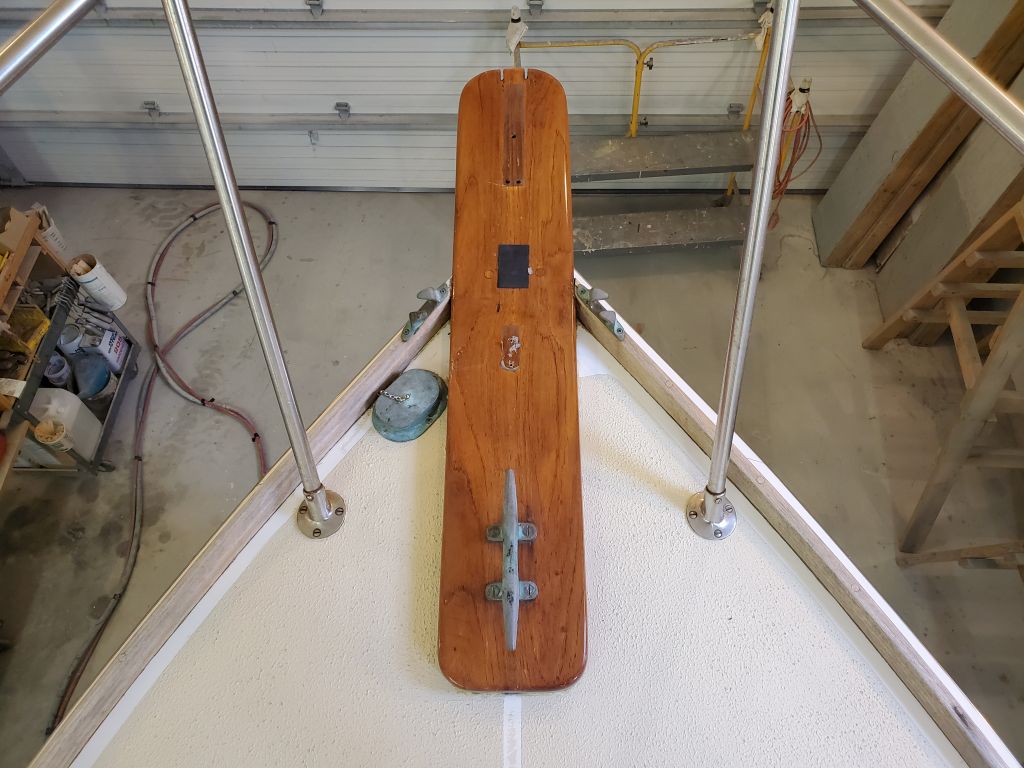
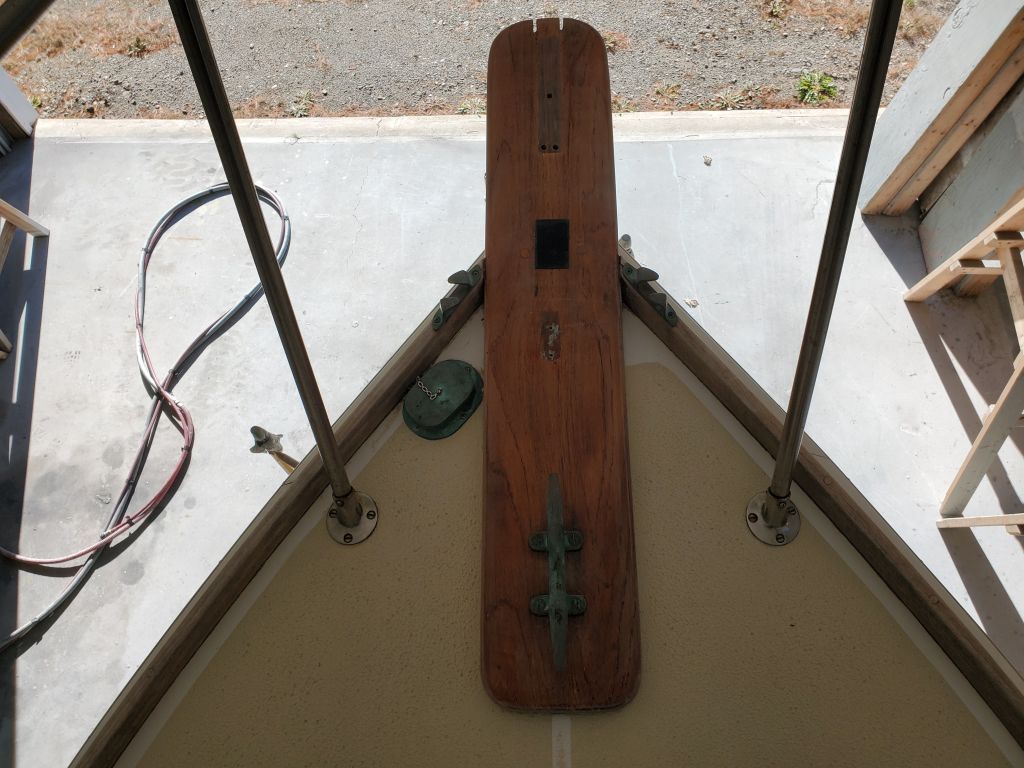
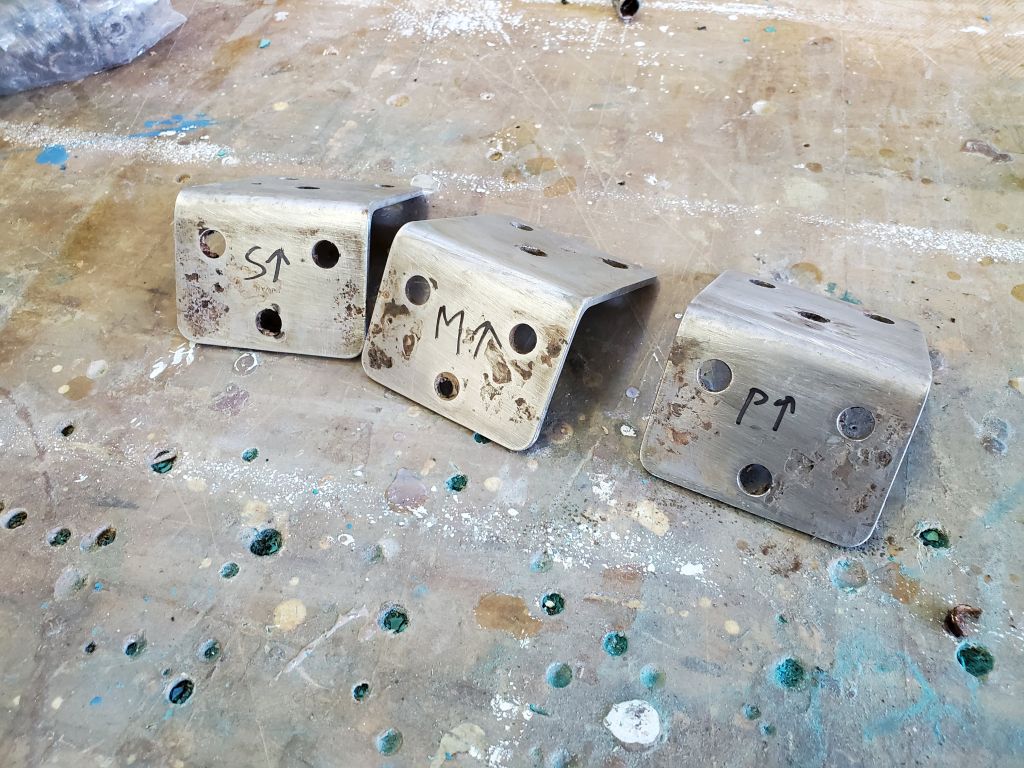
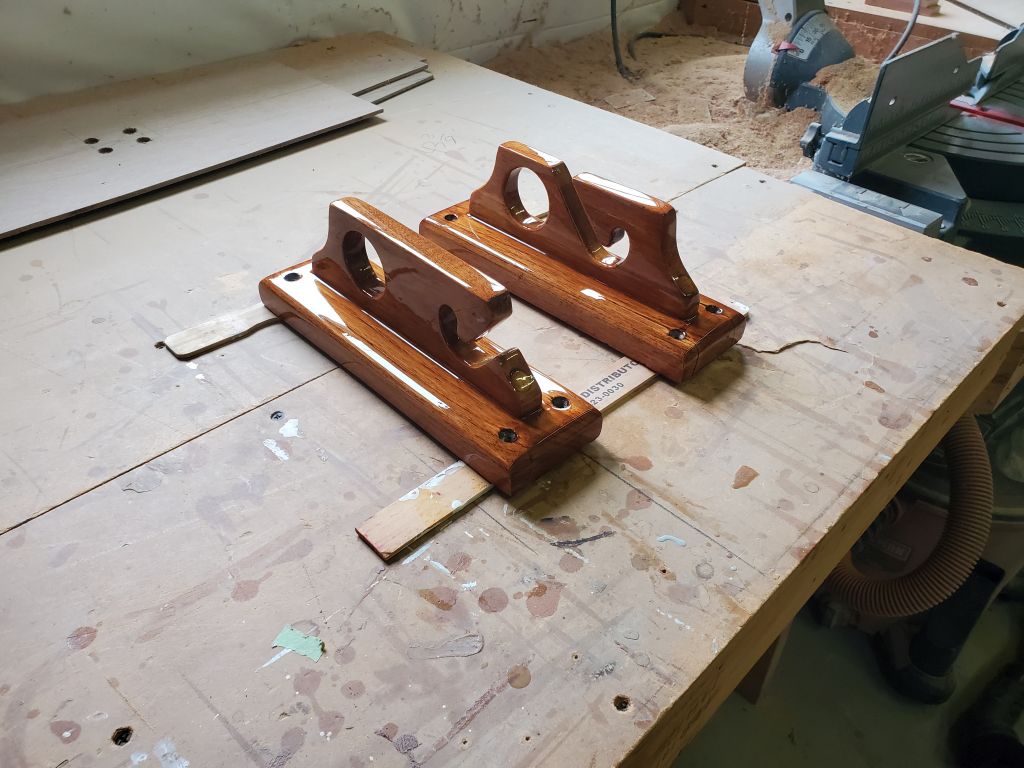
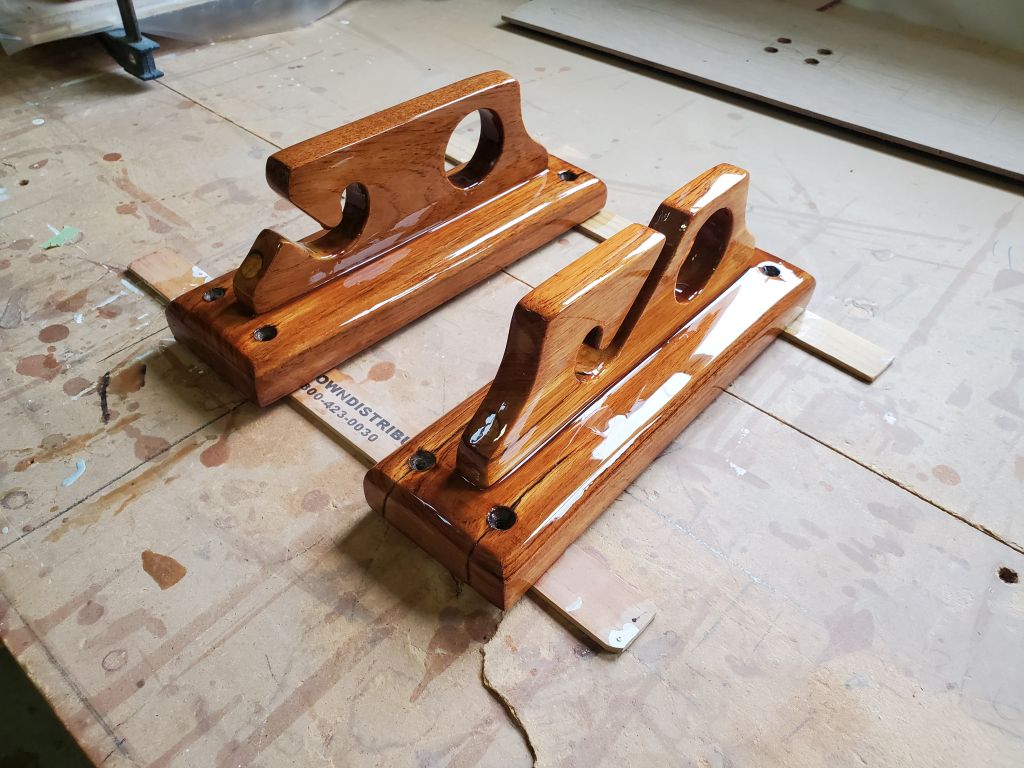
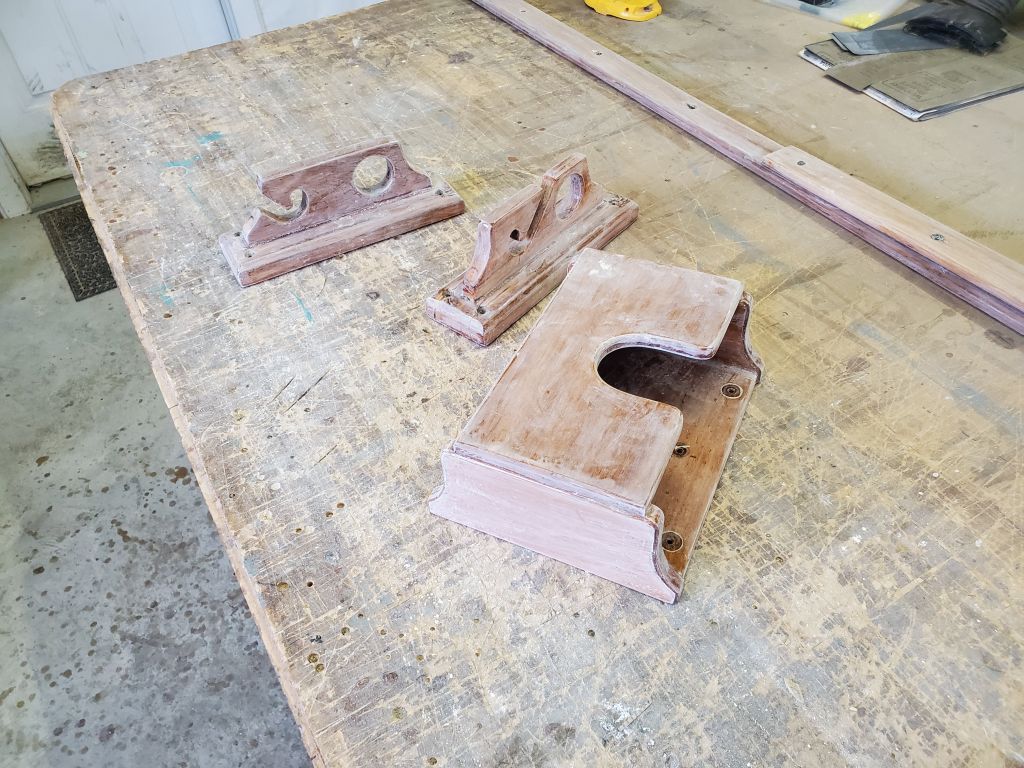
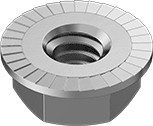
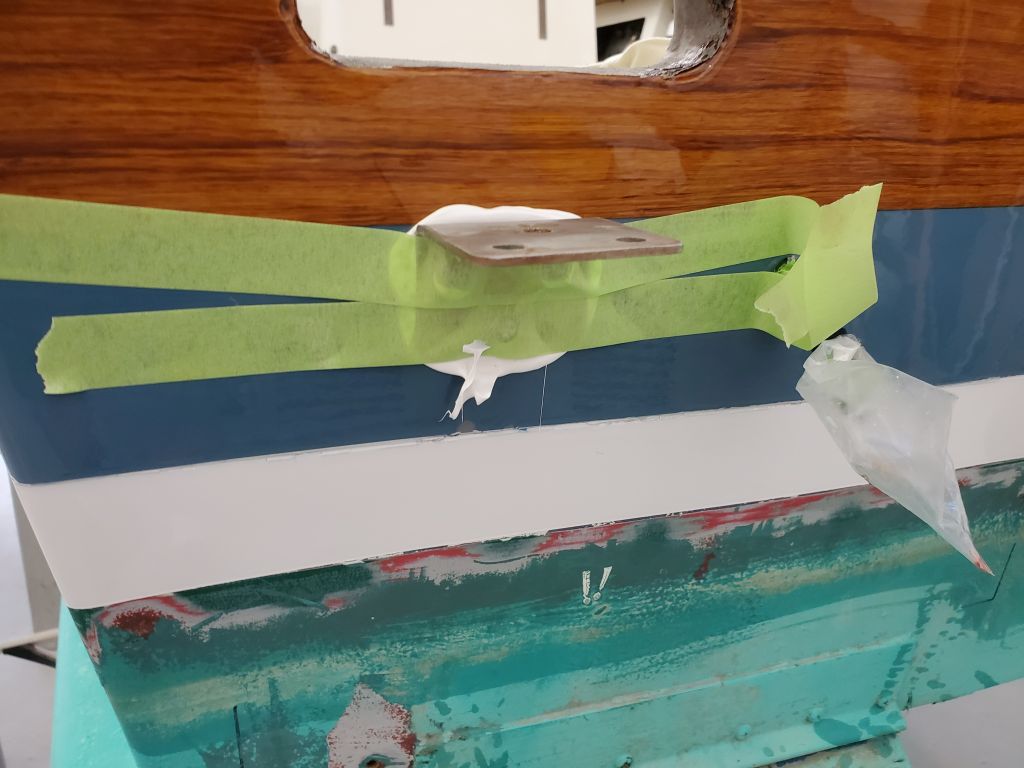
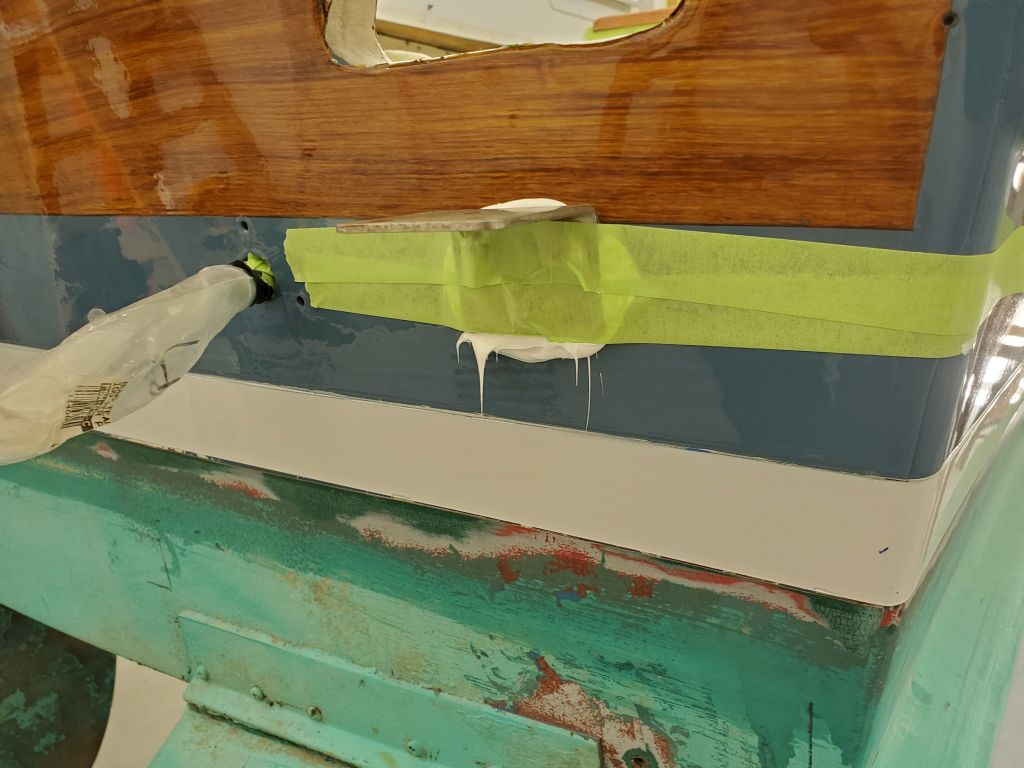
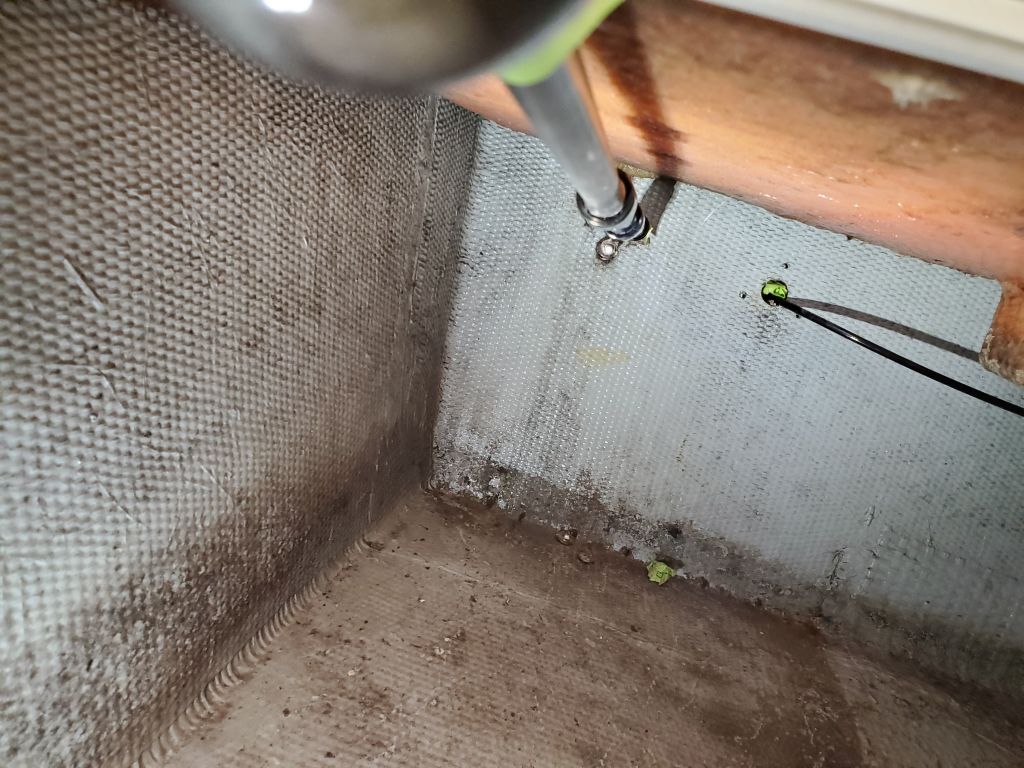
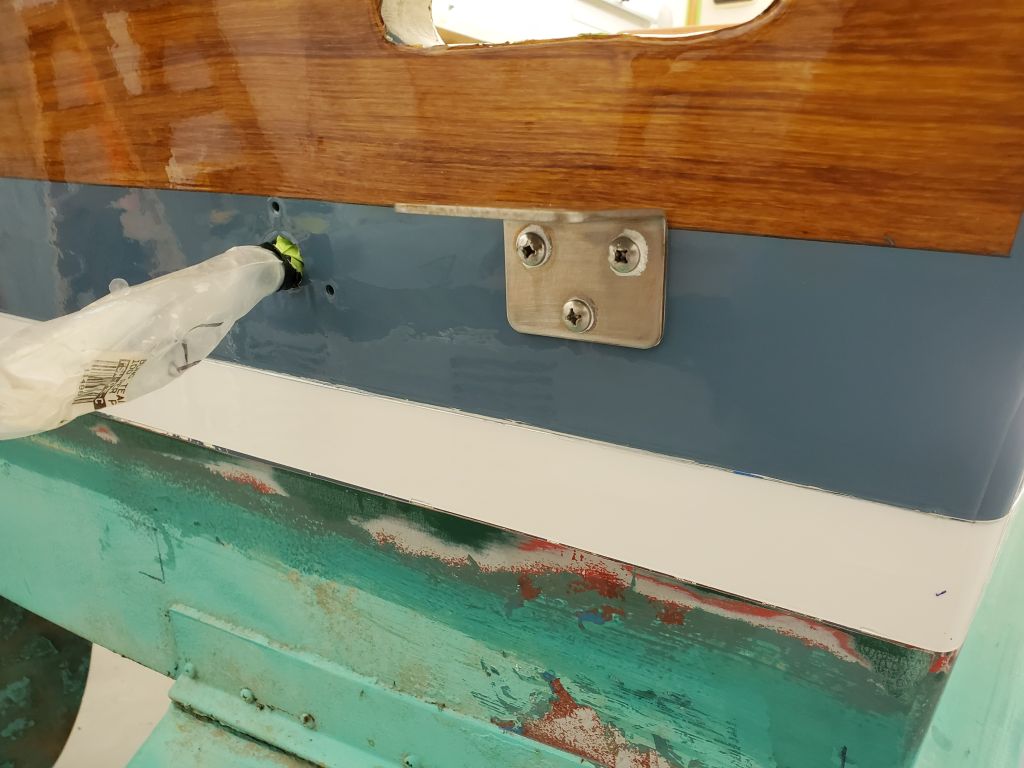
I didn’t have enough time to comfortably do the first coat of varnish before lunchtime, so instead I turned to the swim platform brackets. Knowing I couldn’t reach the inside of the hull from any of the existing access ports in the cockpit, I’d come up with a plan to install the fasteners remotely, in reverse of how I removed them. Because there was no way I could fiddle with separate washers and nuts to secure the bolts, I purchased flanged locknuts that would do the job on their own: These nuts had a base as wide as the original washers that had been in place, and also featured a serrated mounting surface that would help lock the nuts in place. This type of nut would also fit nicely in the end of the socket to make it easier for me to start the threads from three feet away.
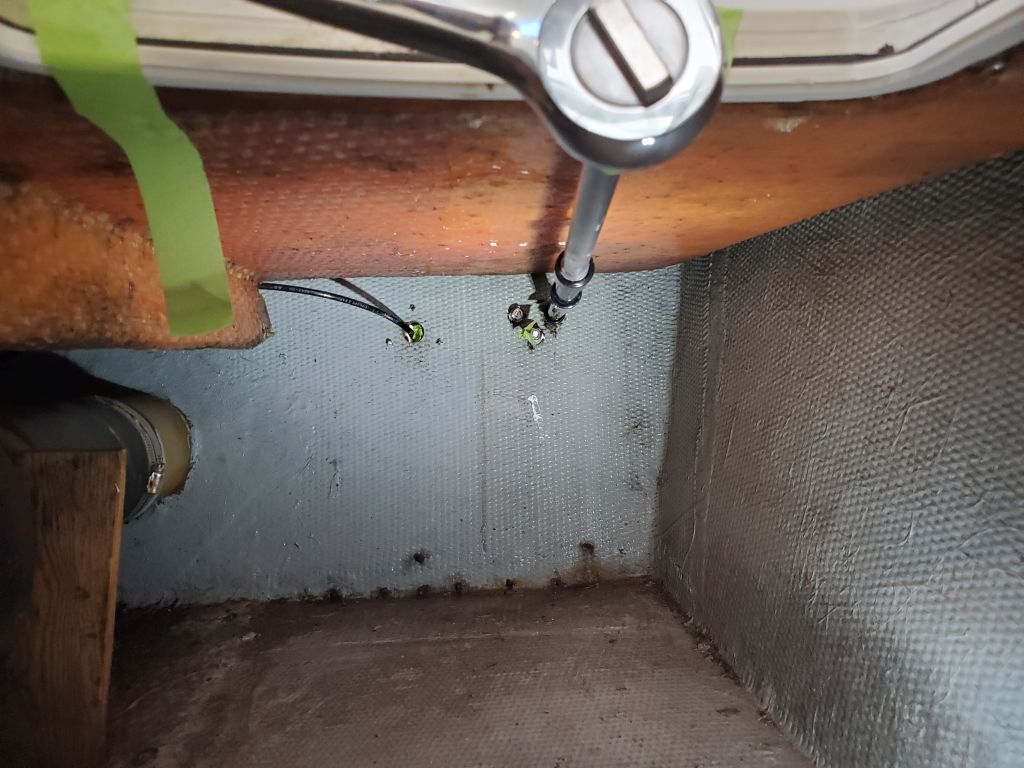
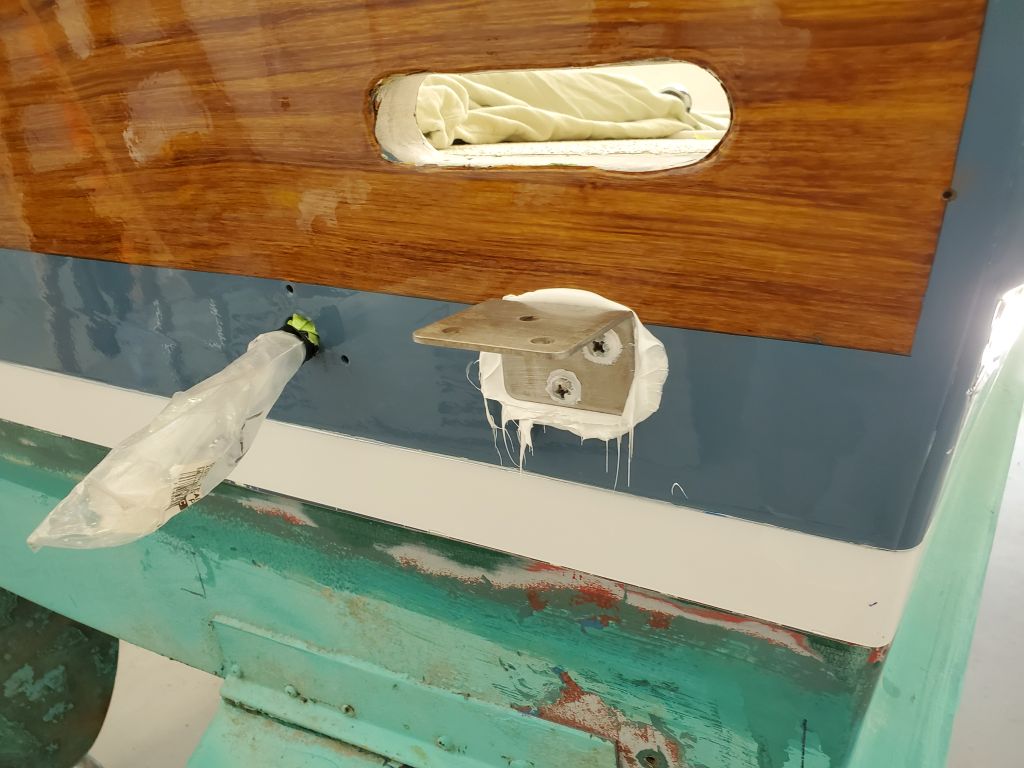
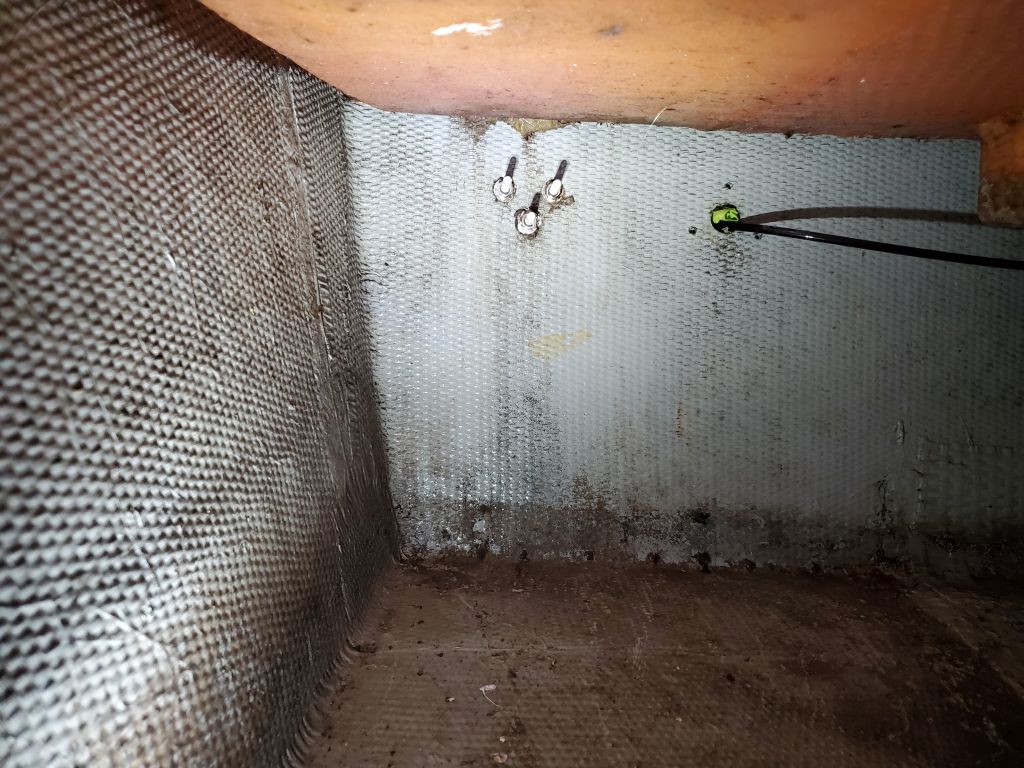
After testing and proving the concept on the port side with a dry fit, I gooped up the bracket heavily with sealant and, using tape to secure the bolts from outside, used a long set of ratchet extensions to thread on and eventually tighten the nuts from inside to the extent possible, then, with the ratchet and extensions taped in place, I finished tightening the bolts from outside with a screwdriver.
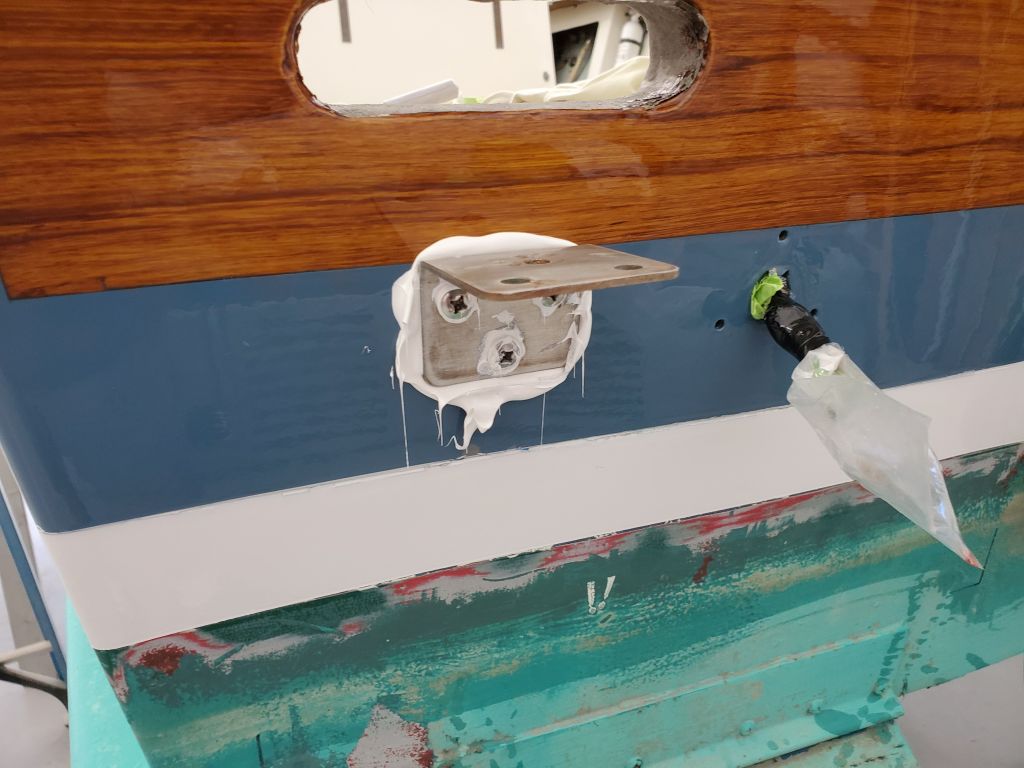

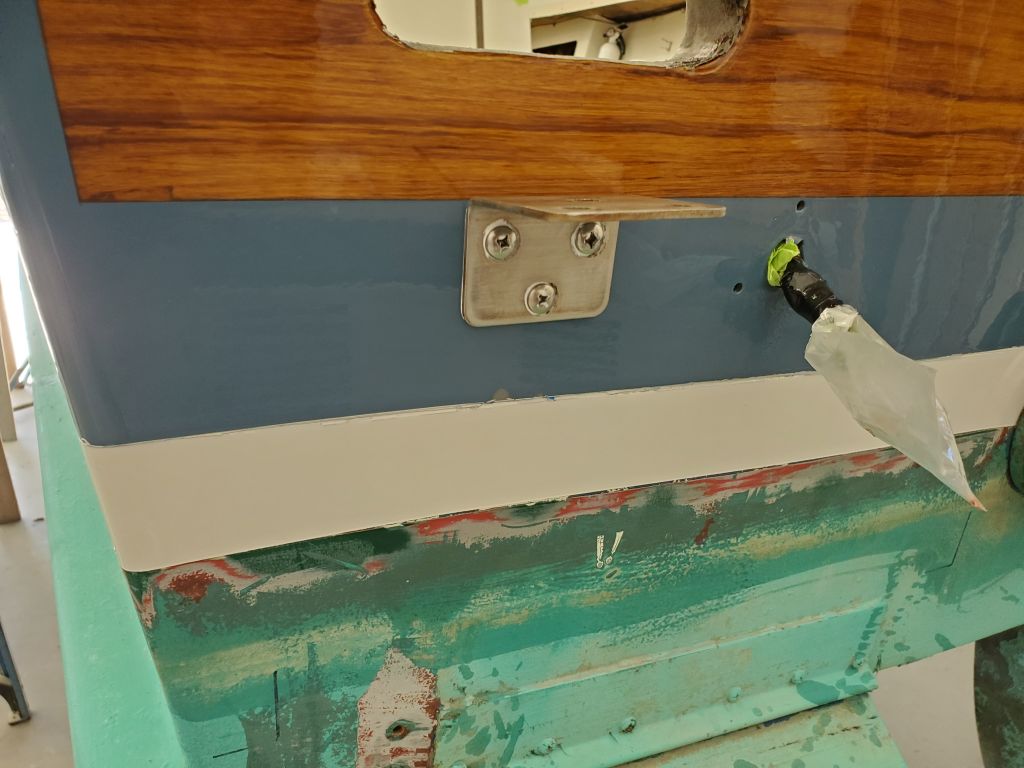
I repeated the process with the starboard bracket.
The center bracket was more straightforward since there was an access hatch located so I could actually reach these fasteners.


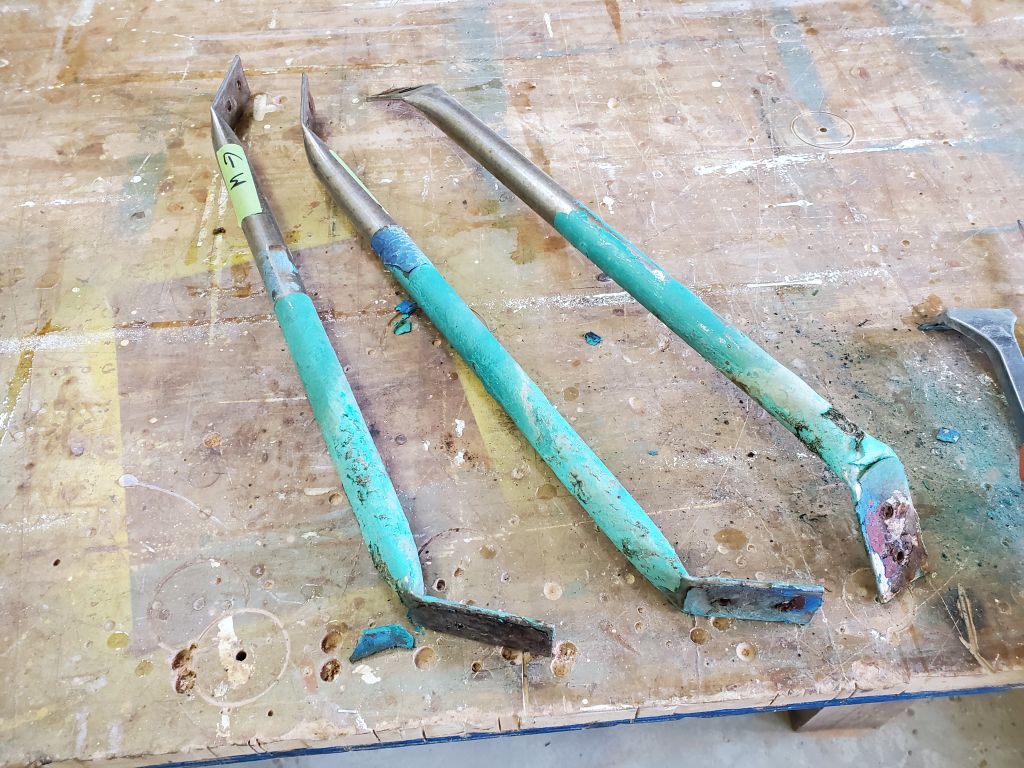
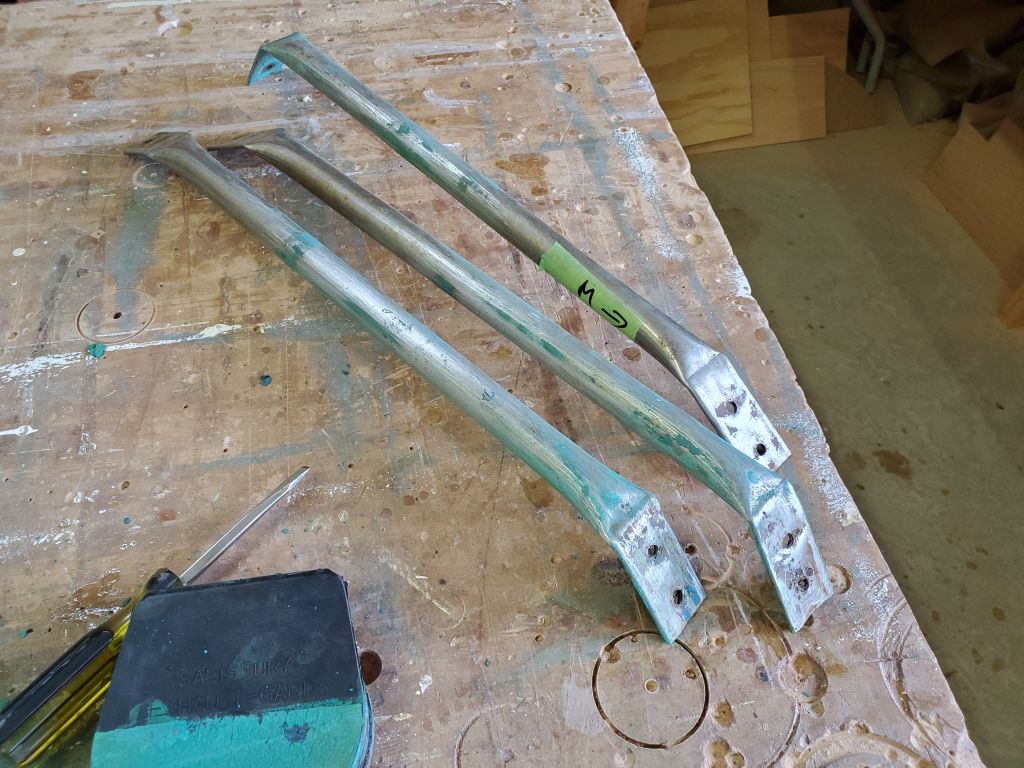
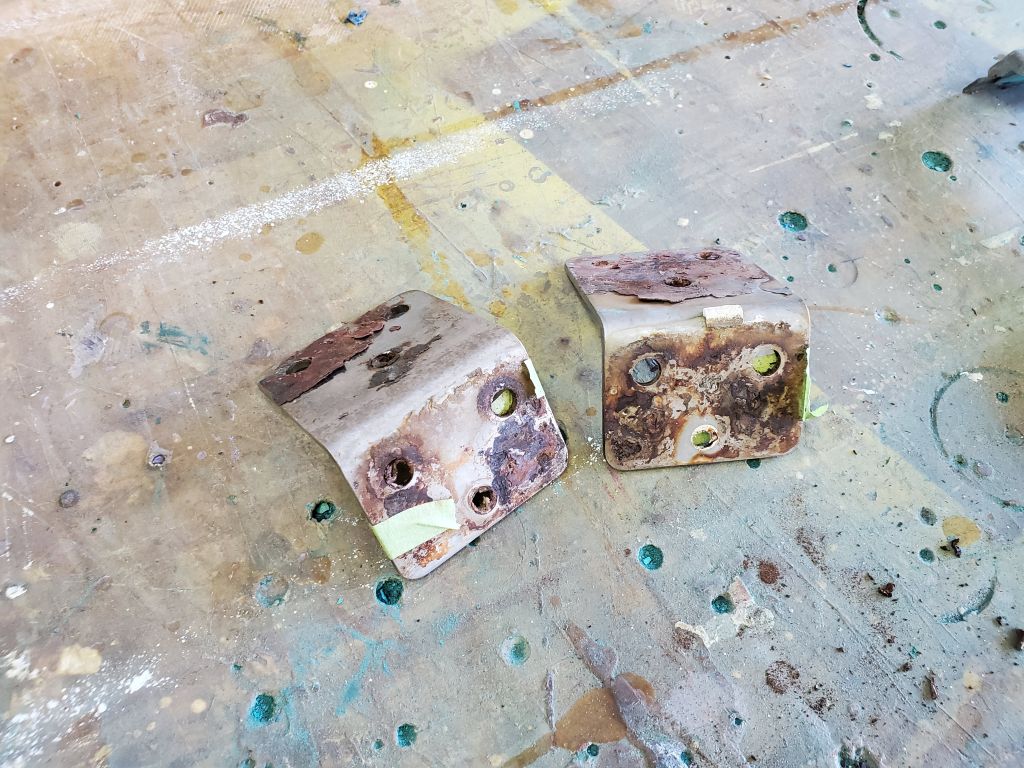
I would have liked to continue with the angled support brackets that supported the after end of the platform, but I found I didn’t have the right screws in stock to replace the originals, so I held off for now.
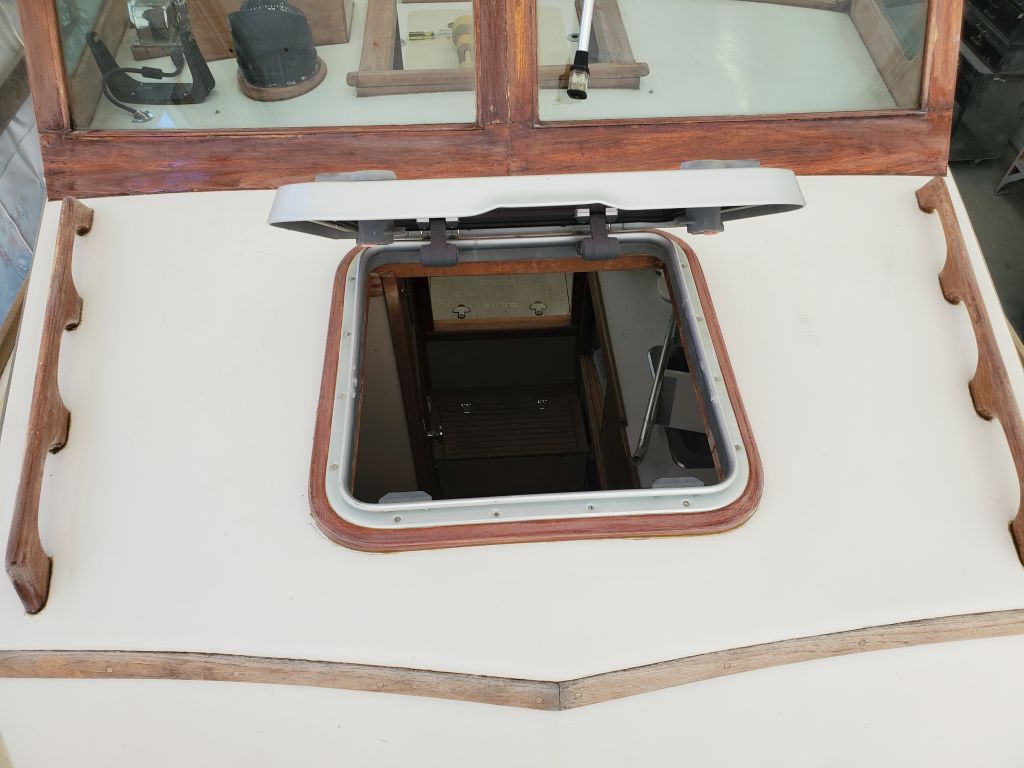
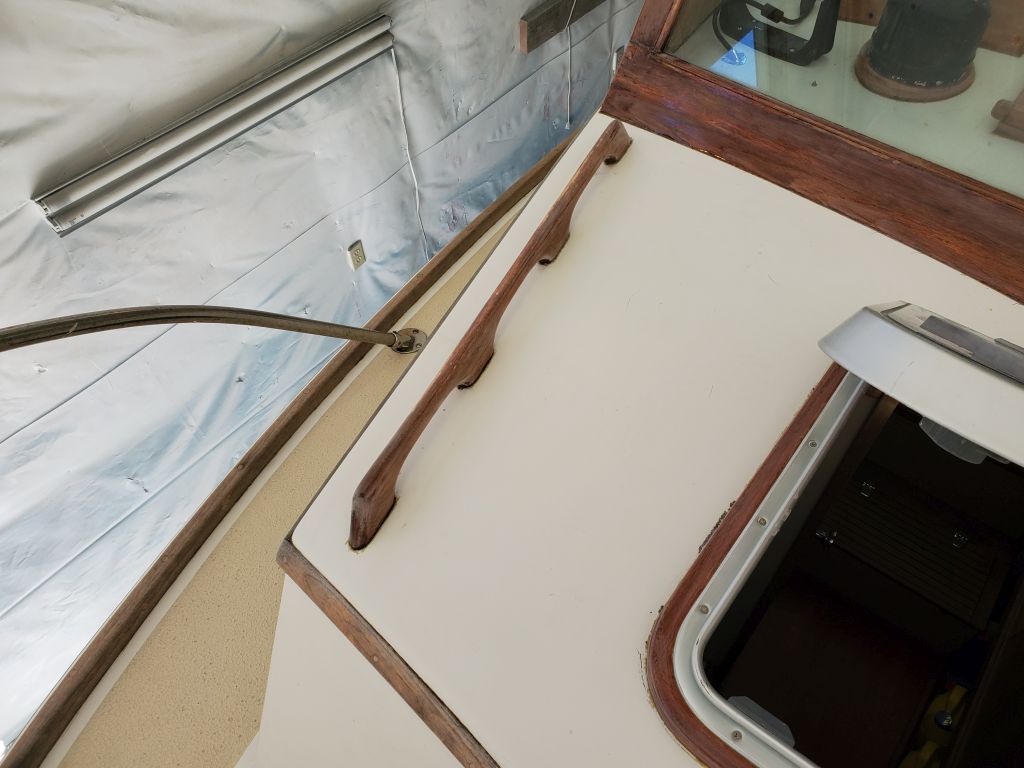
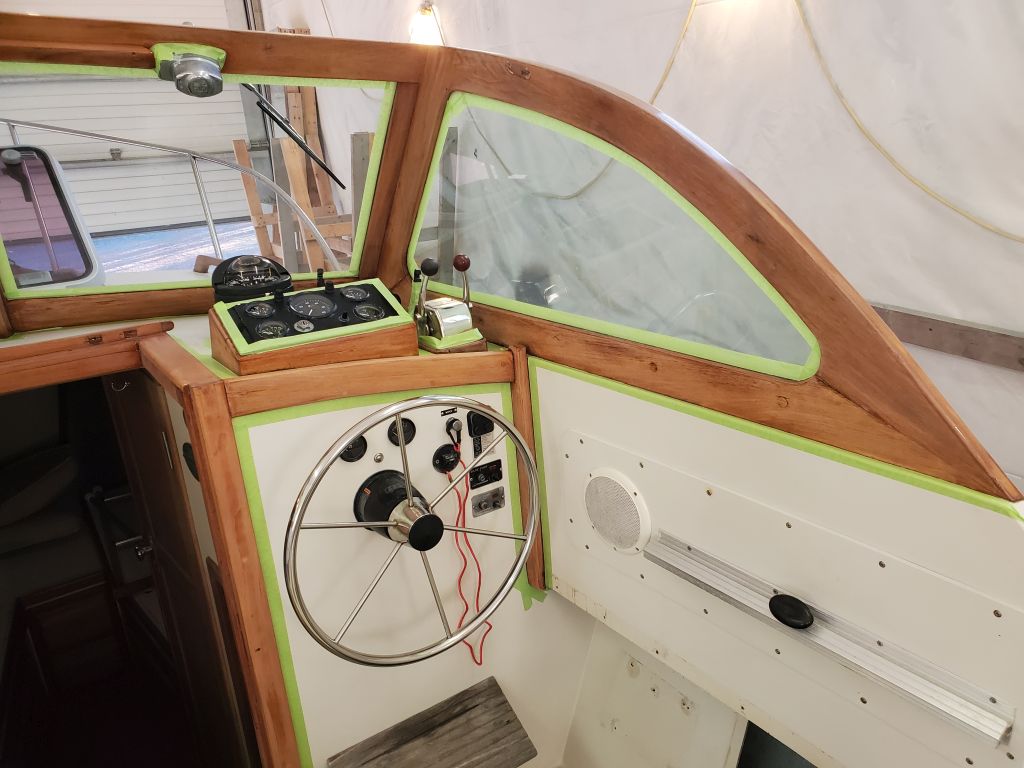
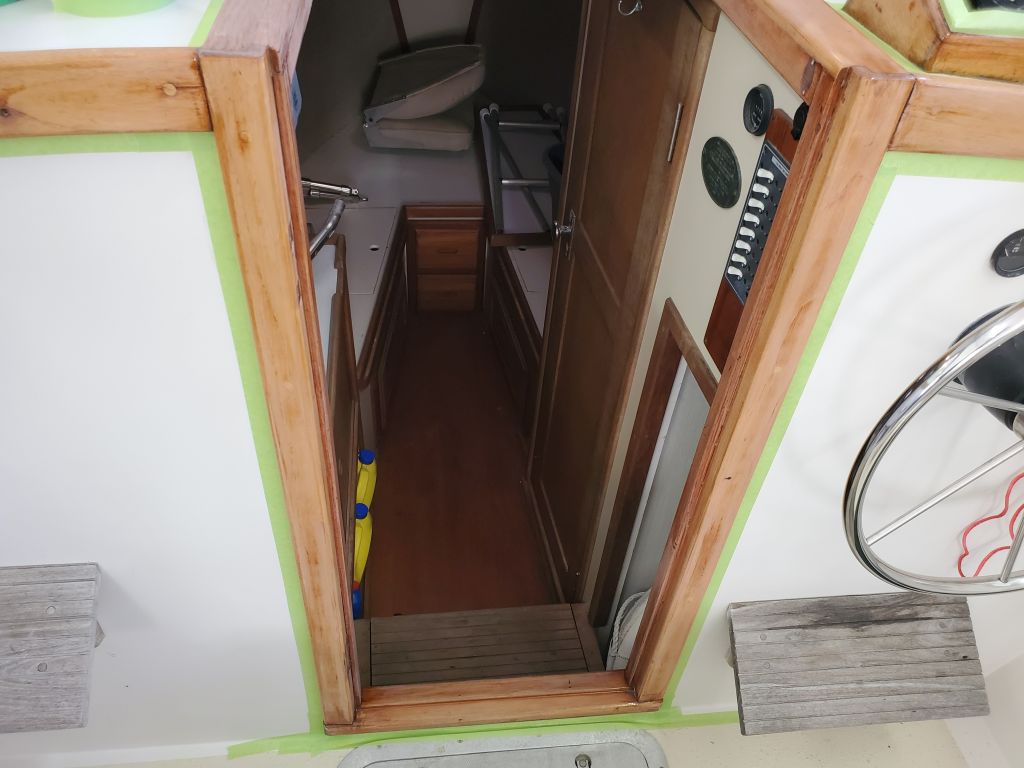
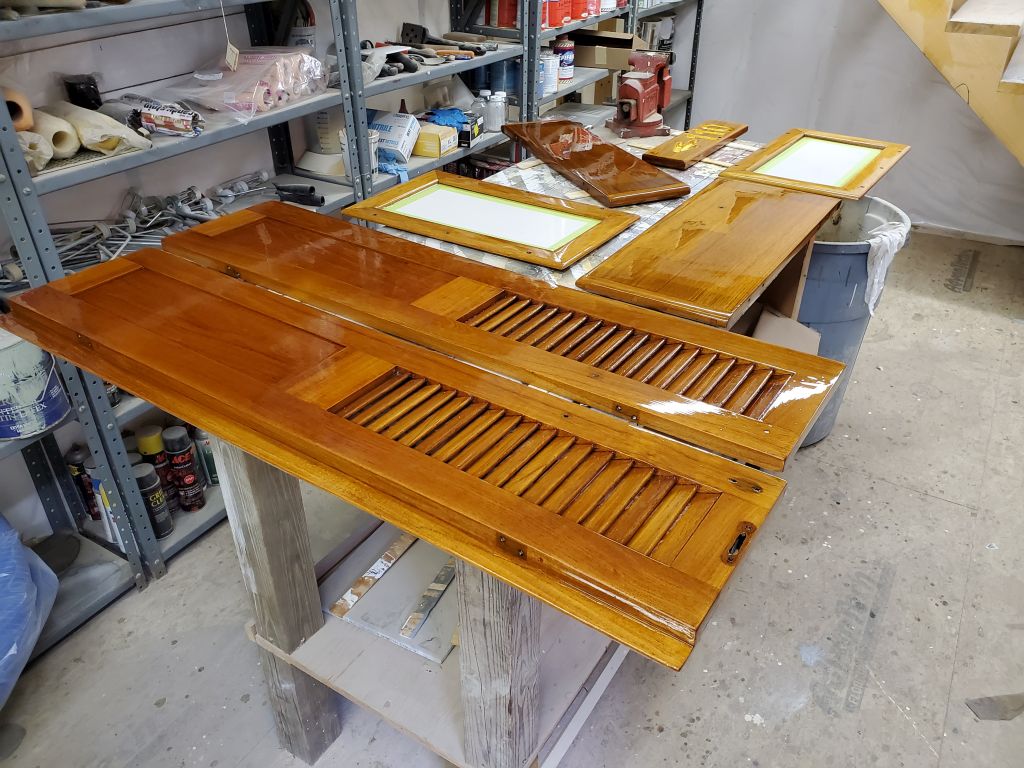
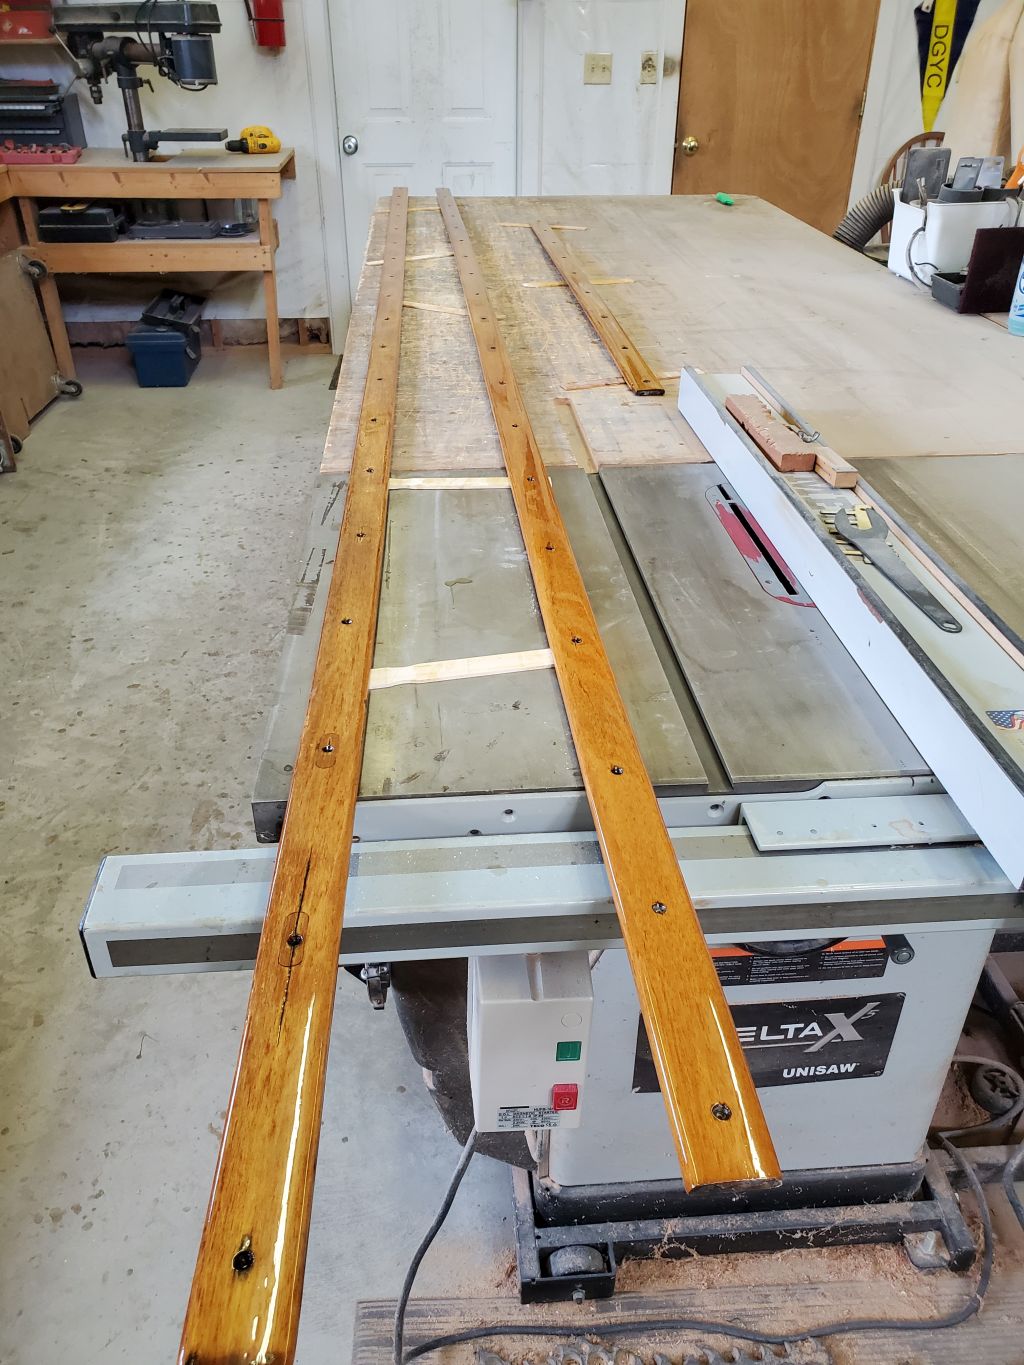
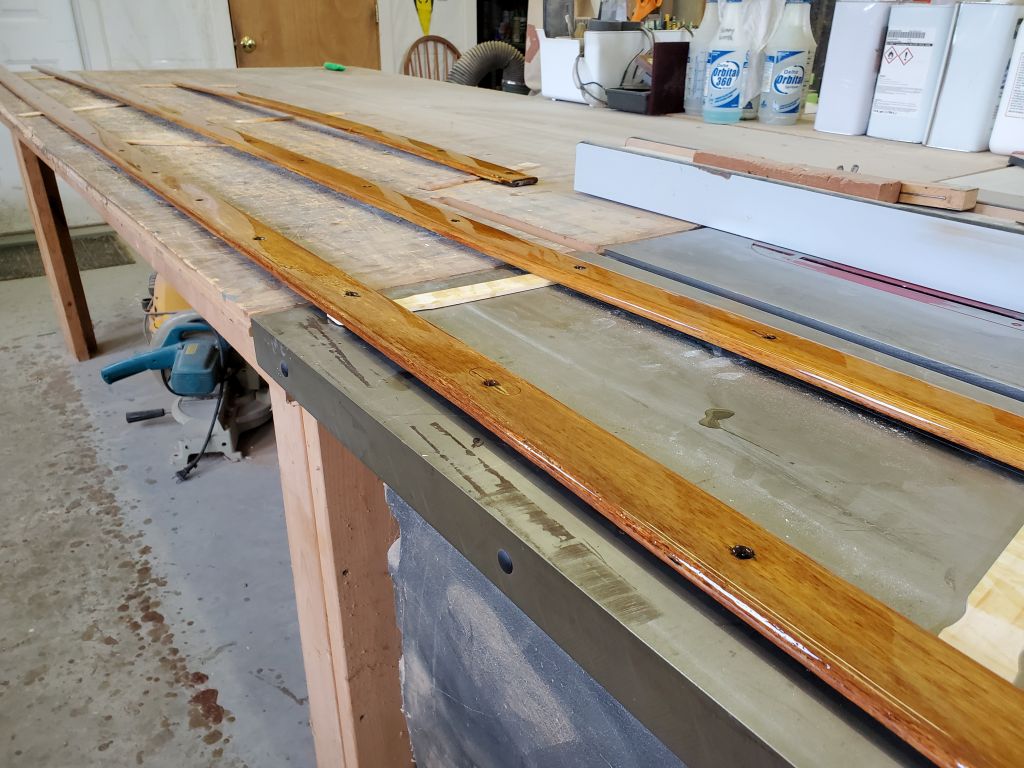
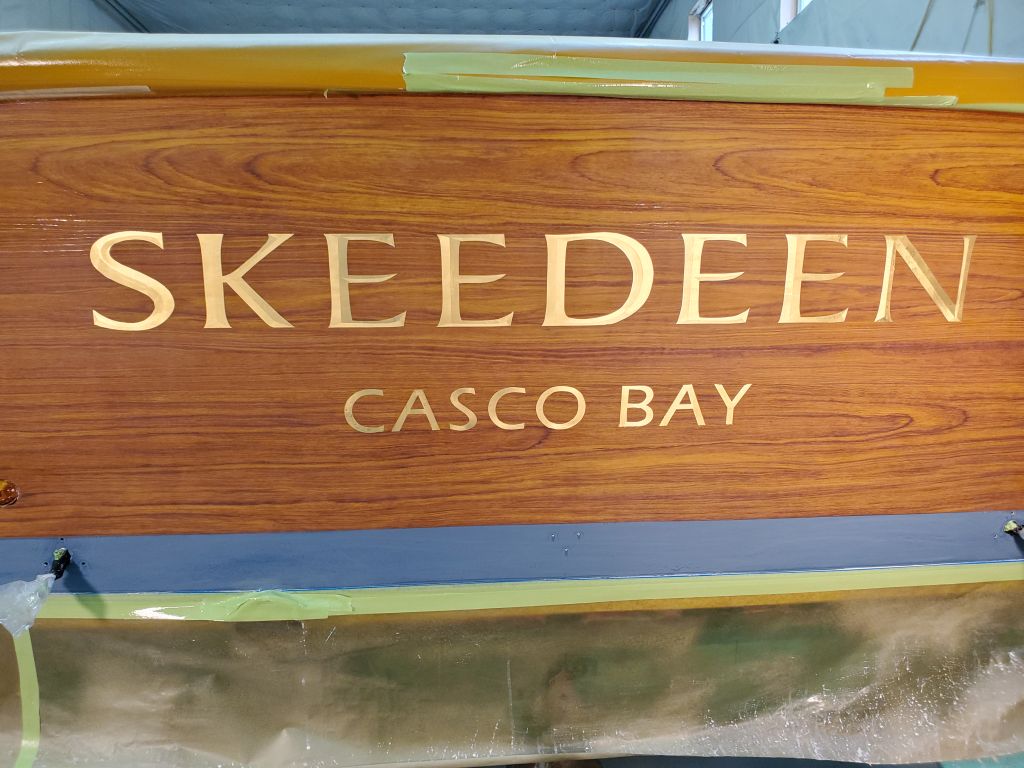
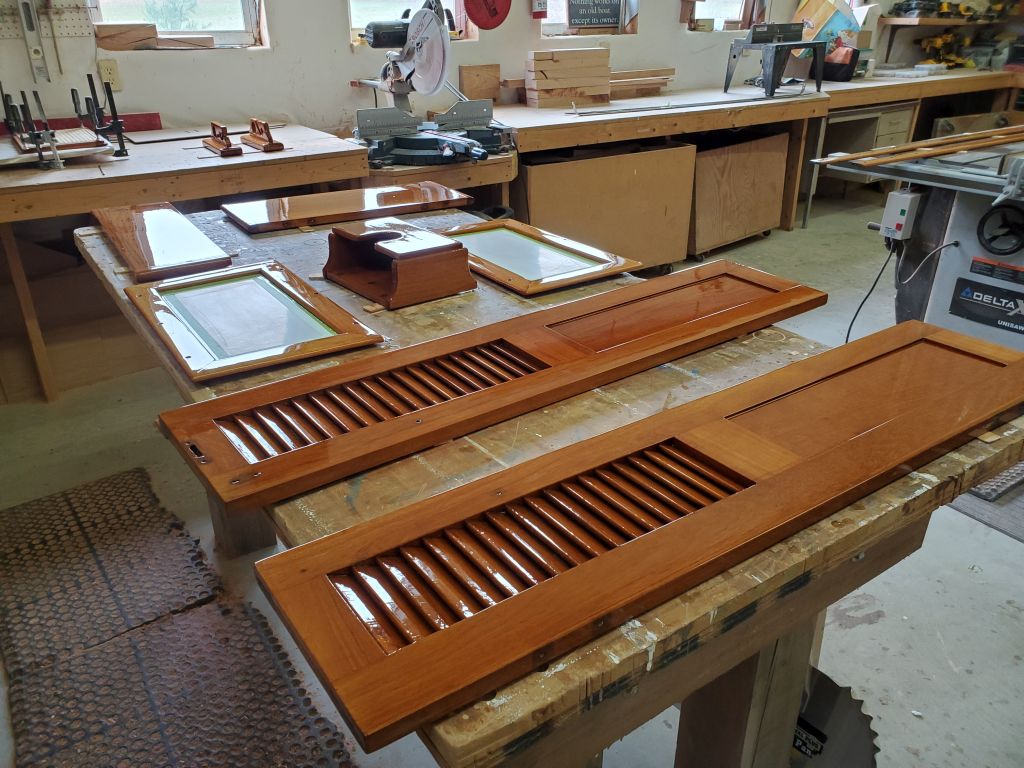
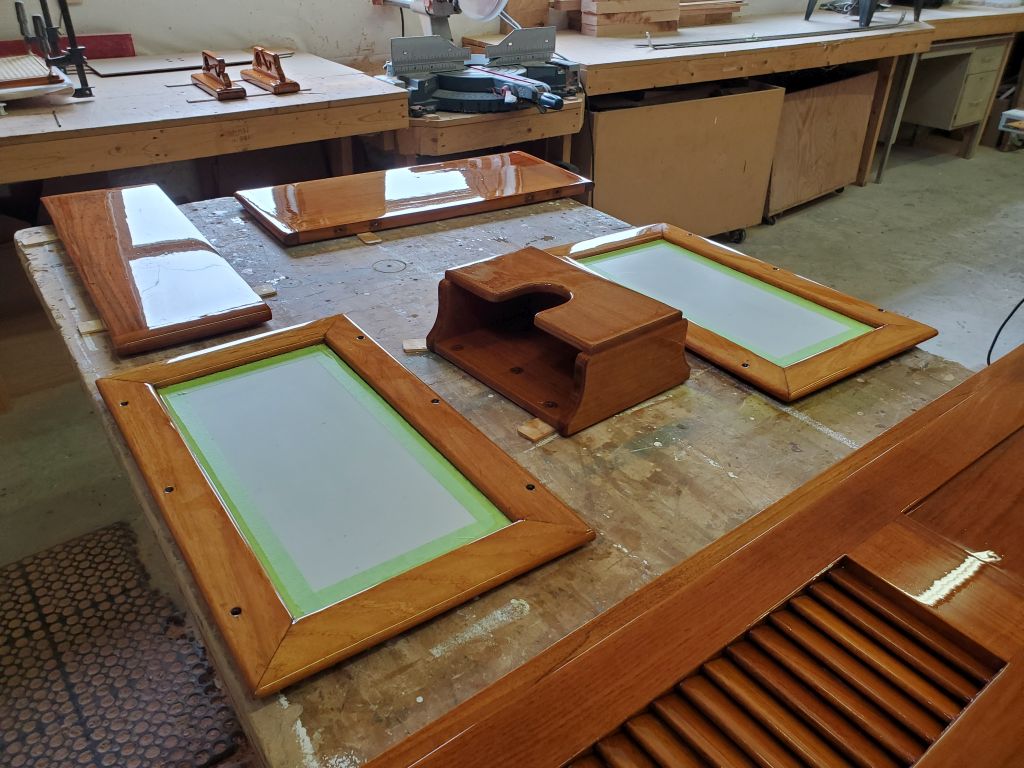
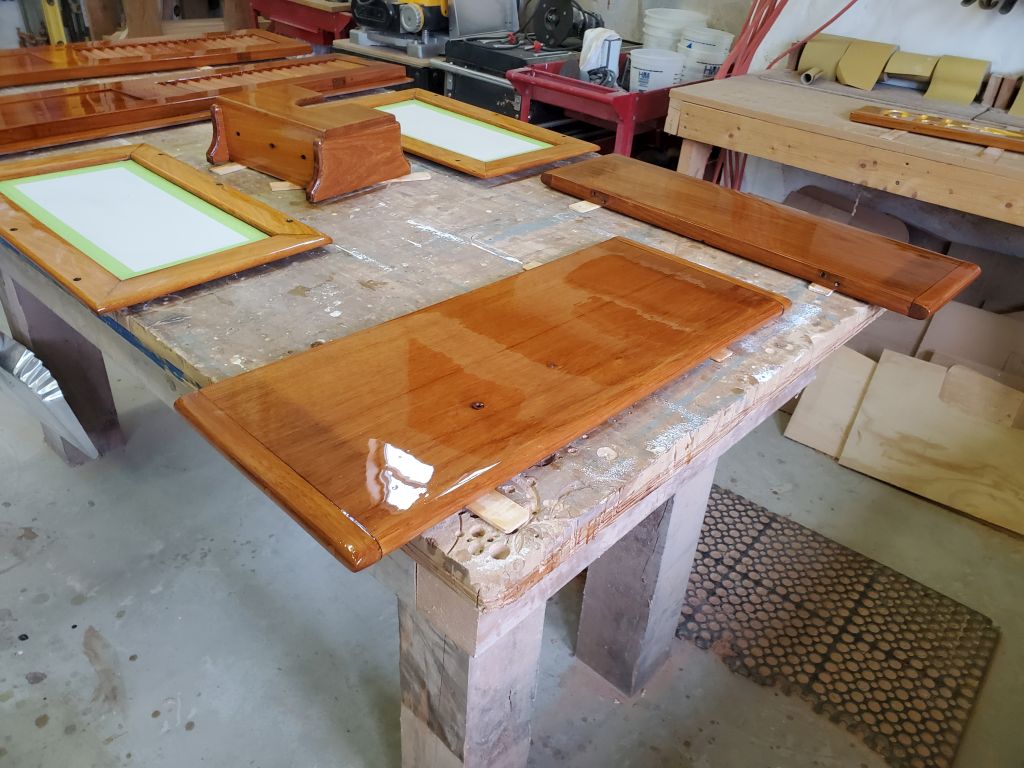
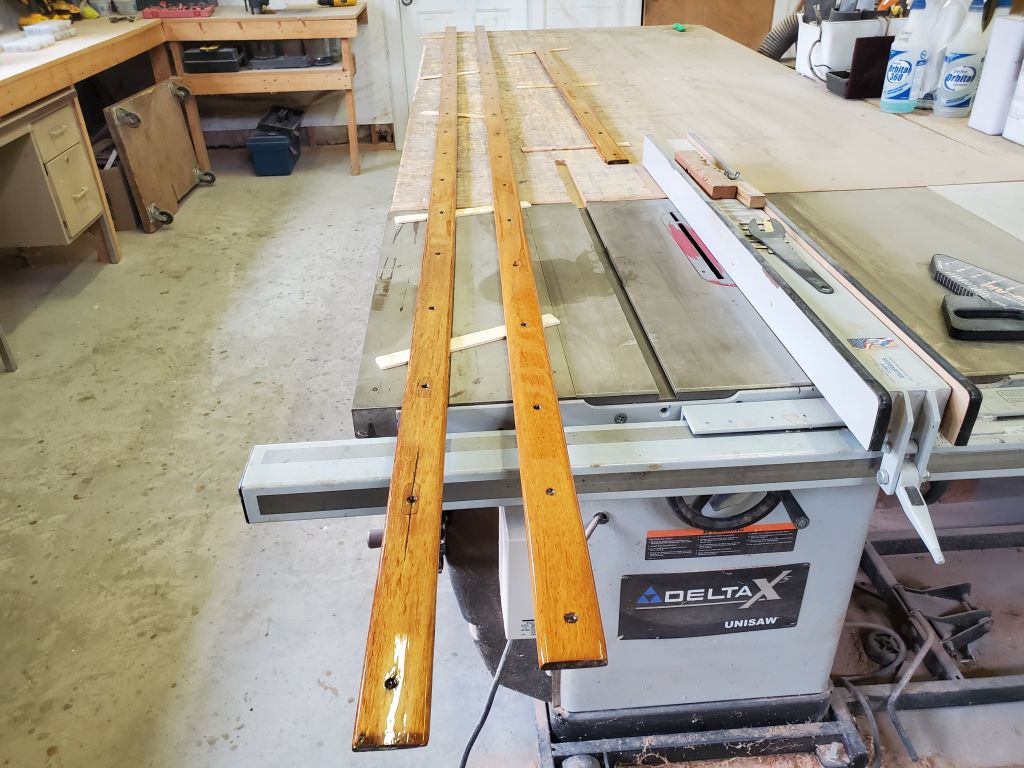
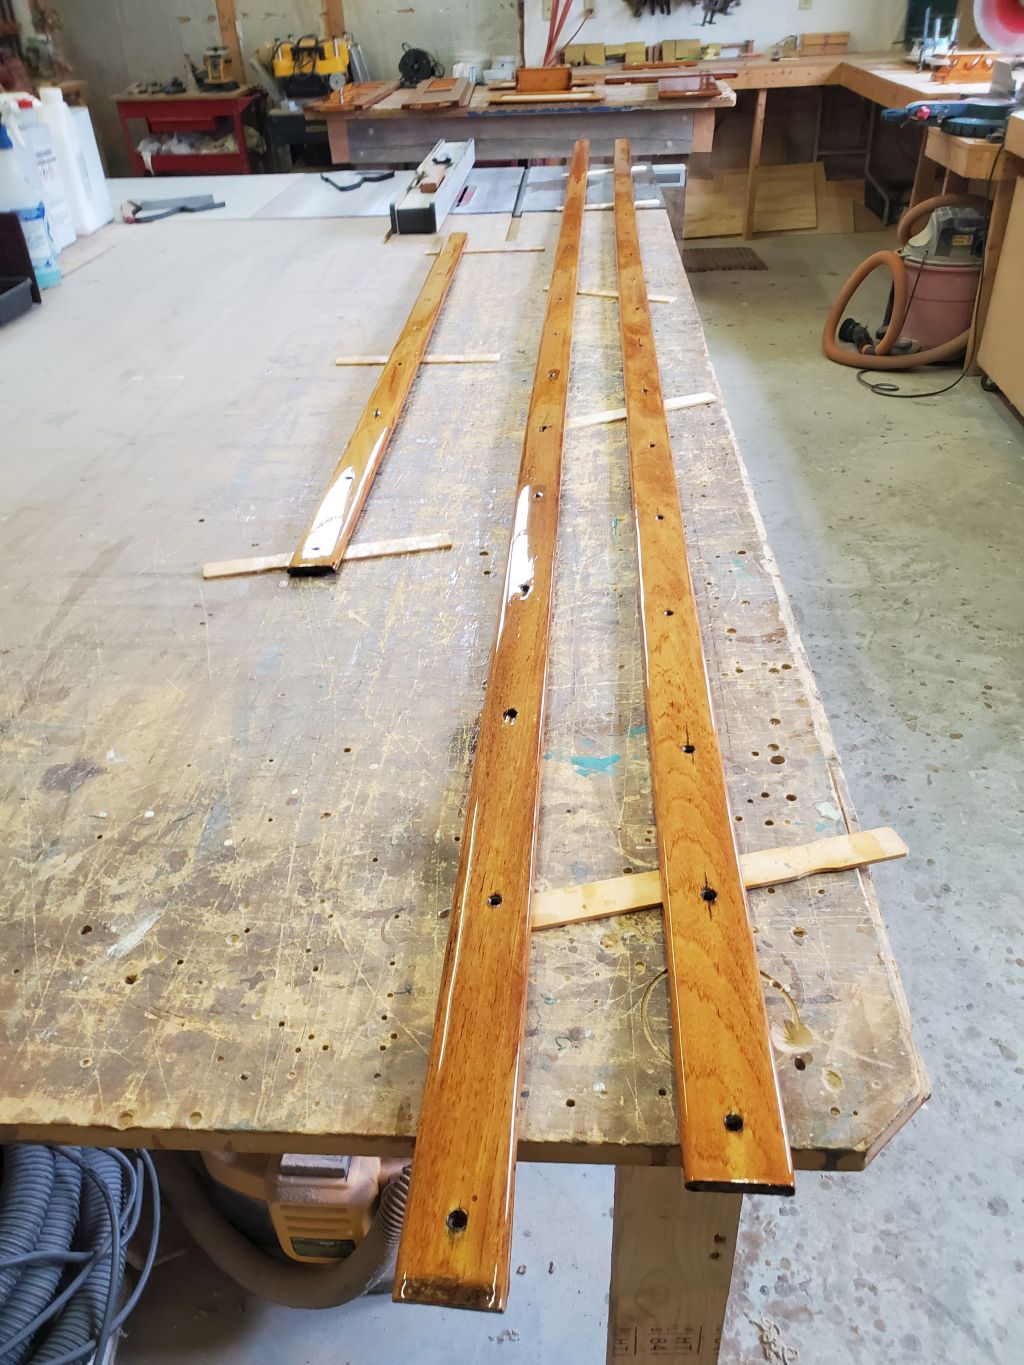
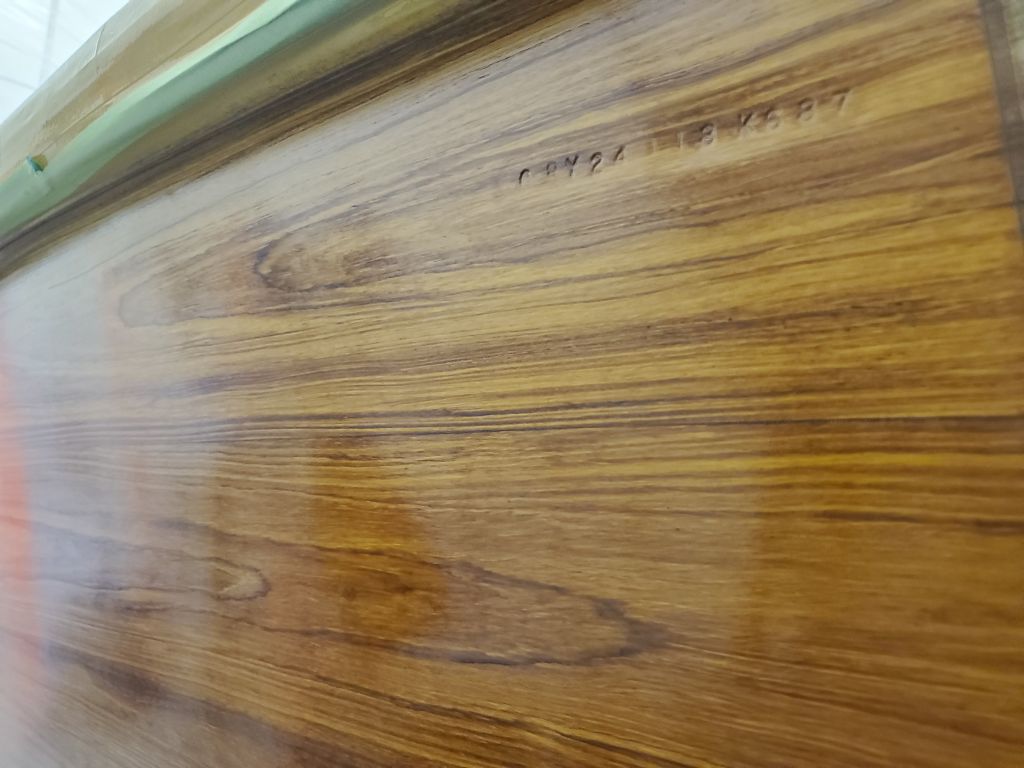
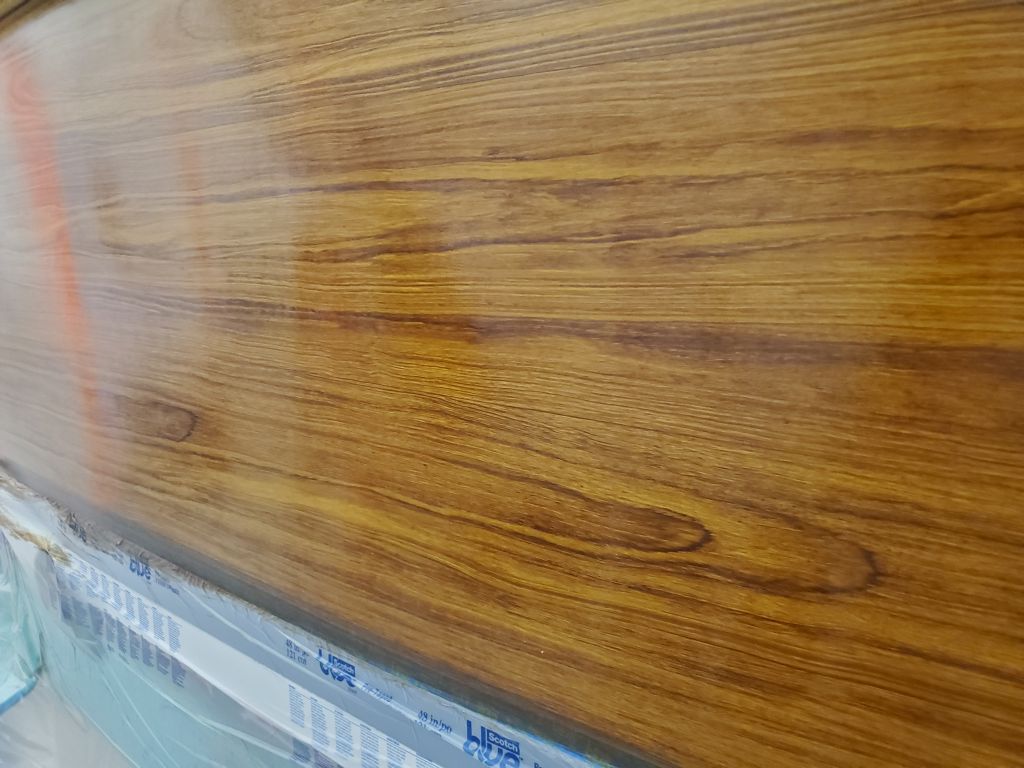
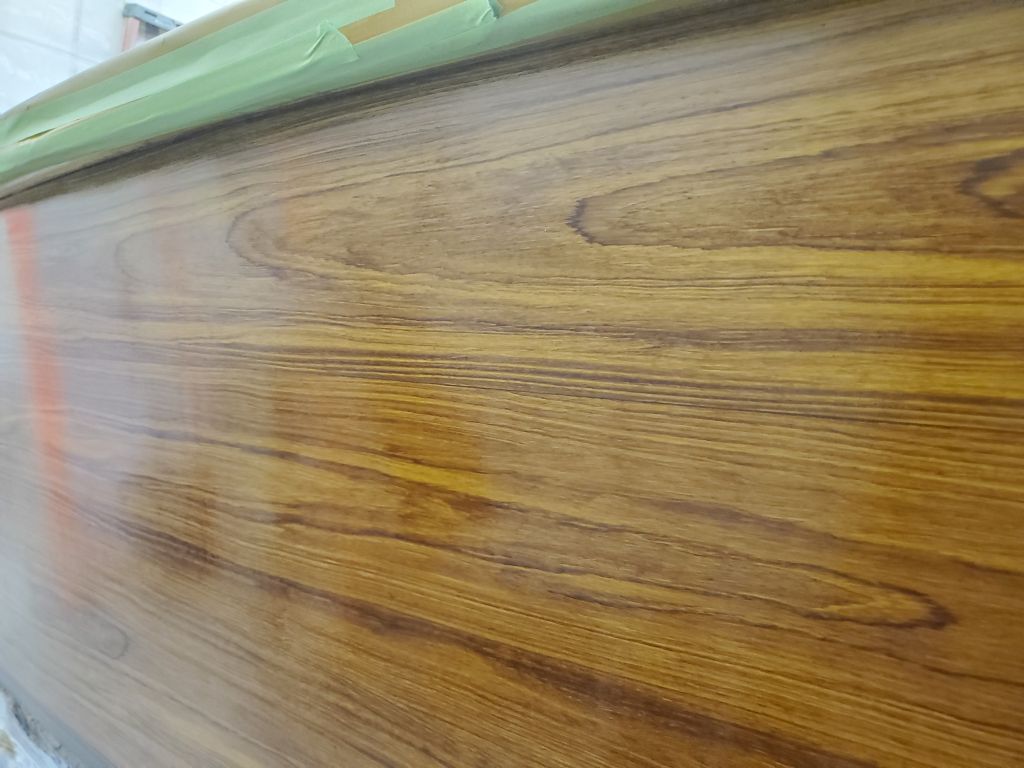
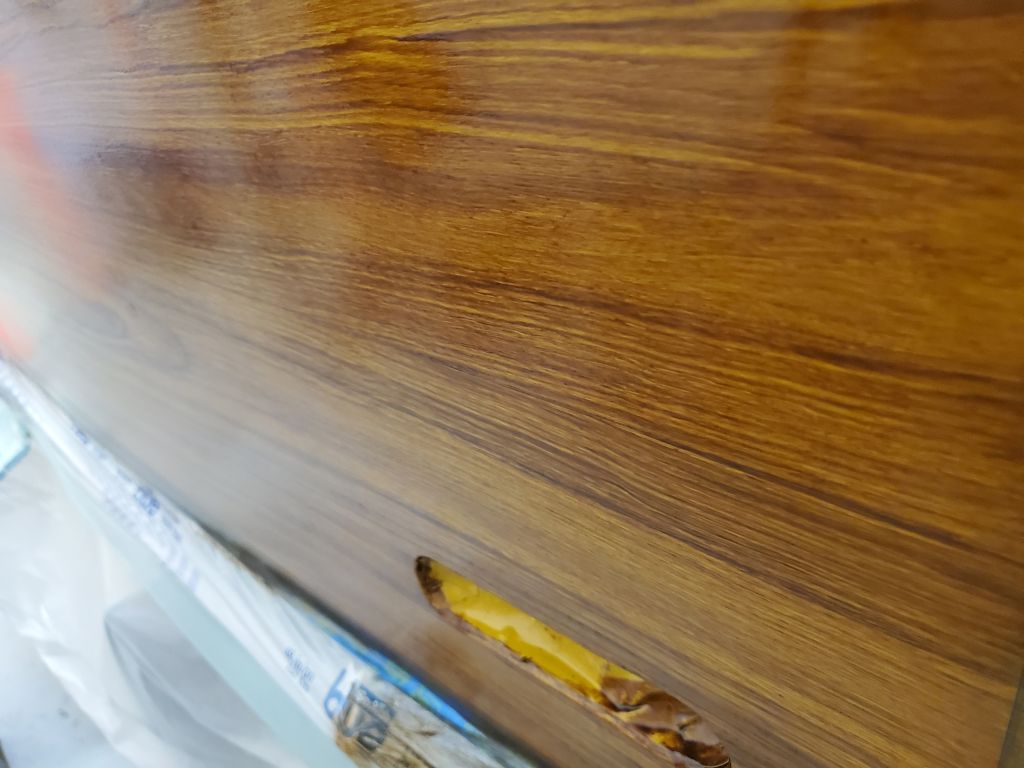
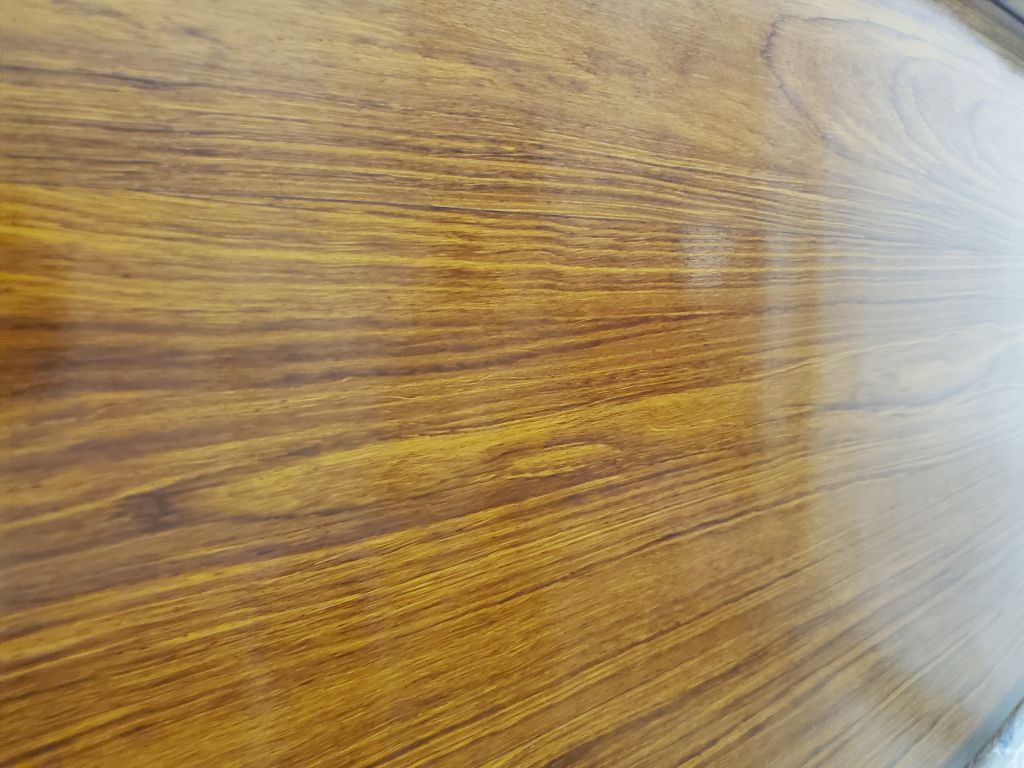
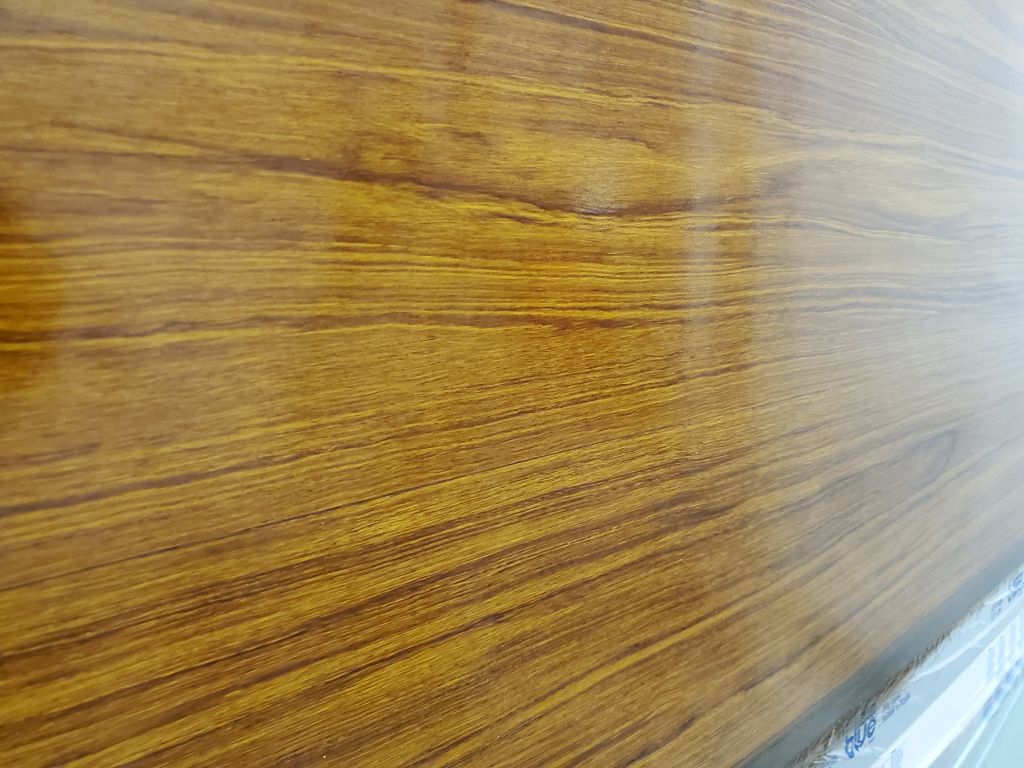
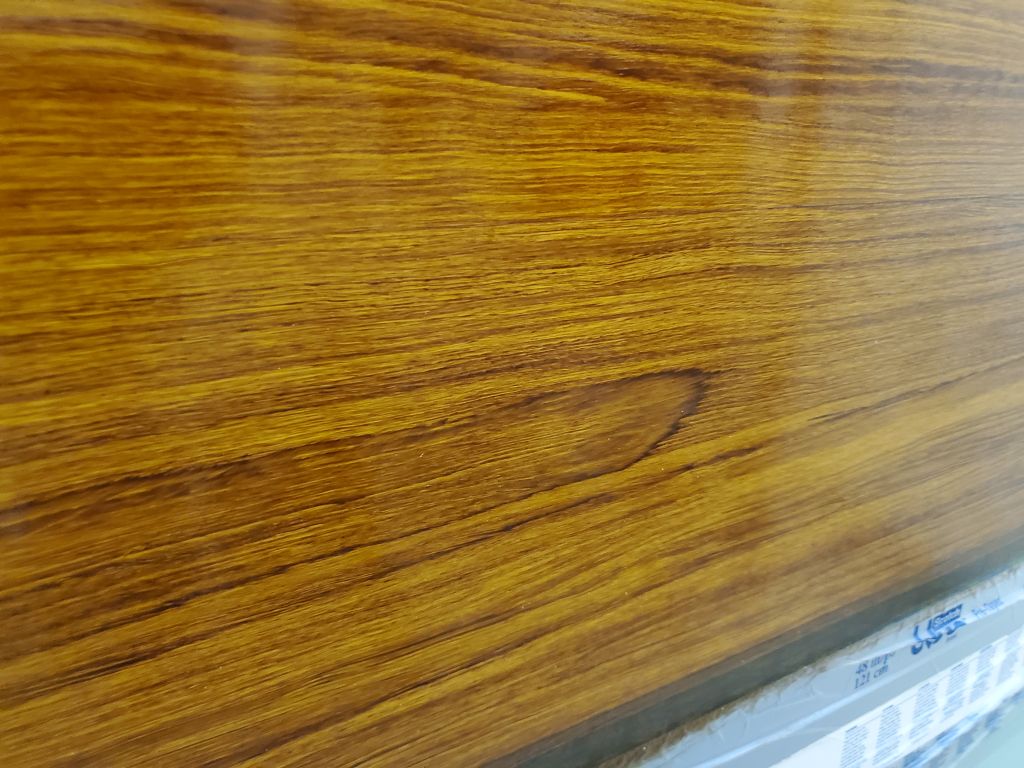
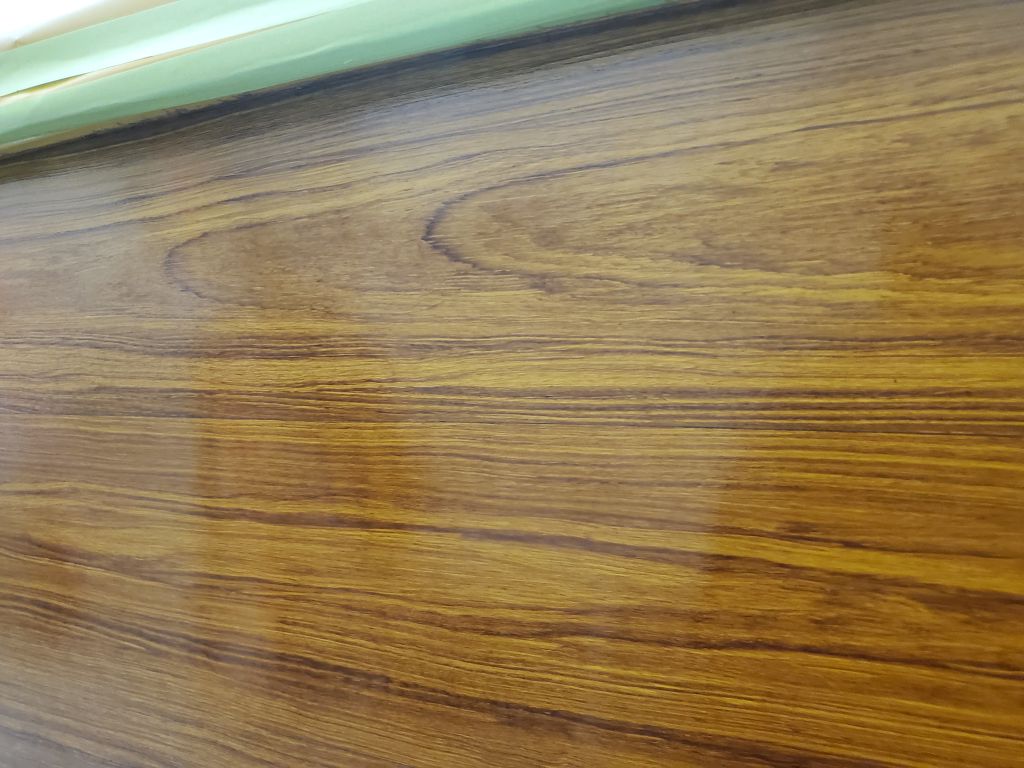
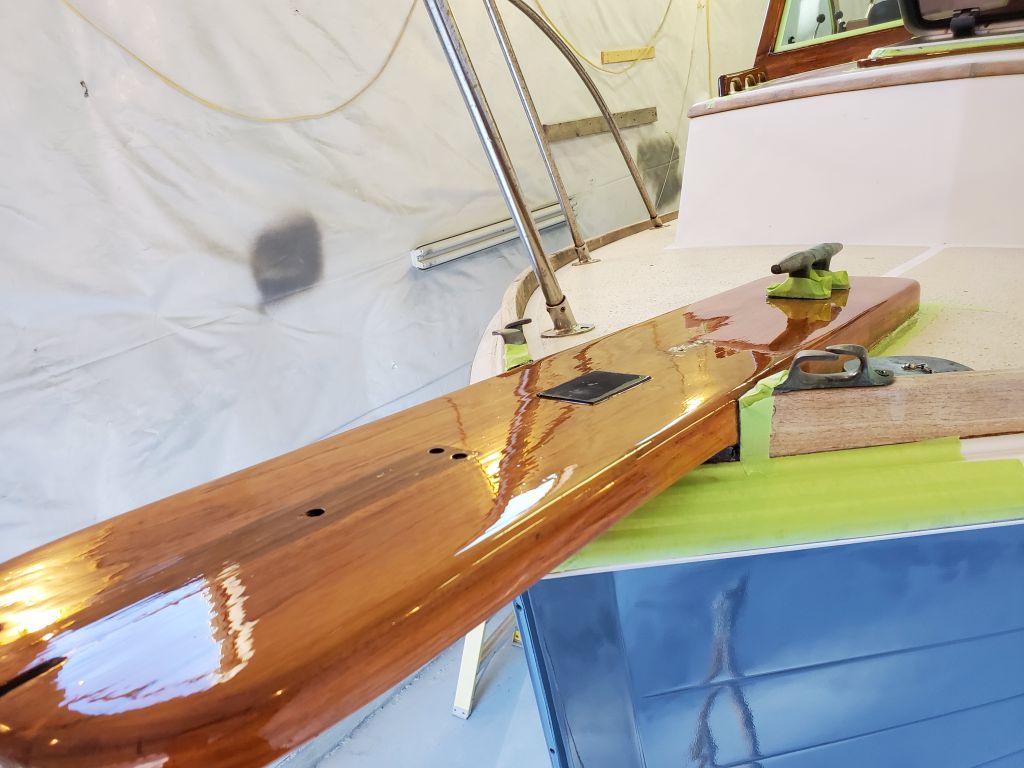
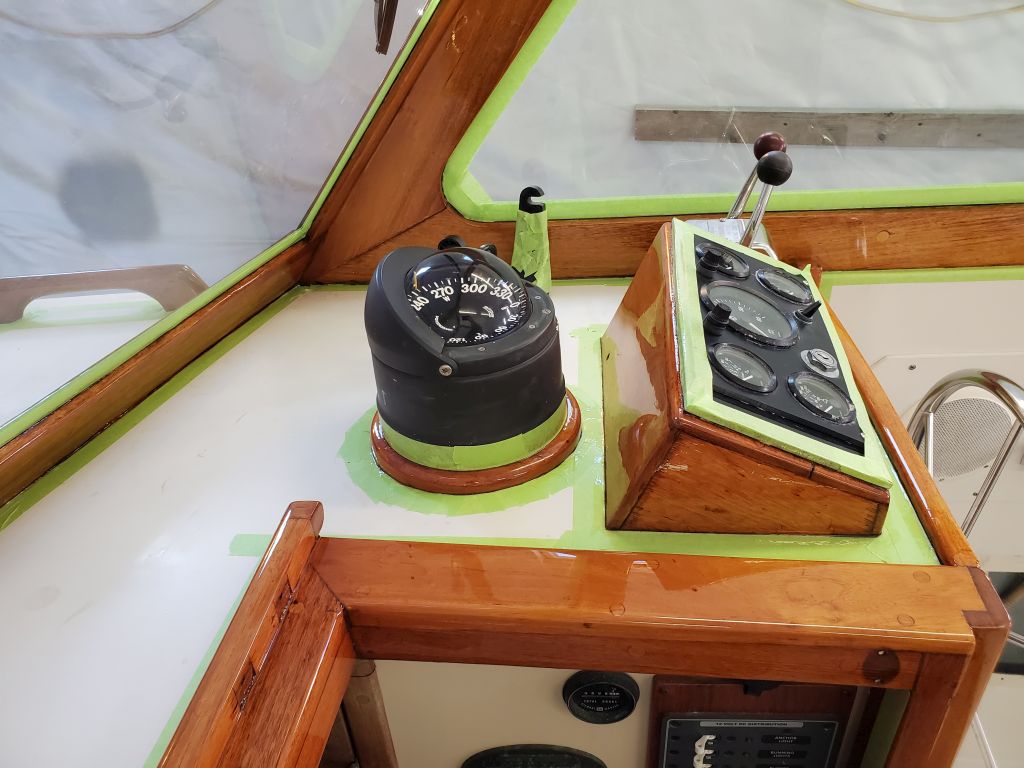
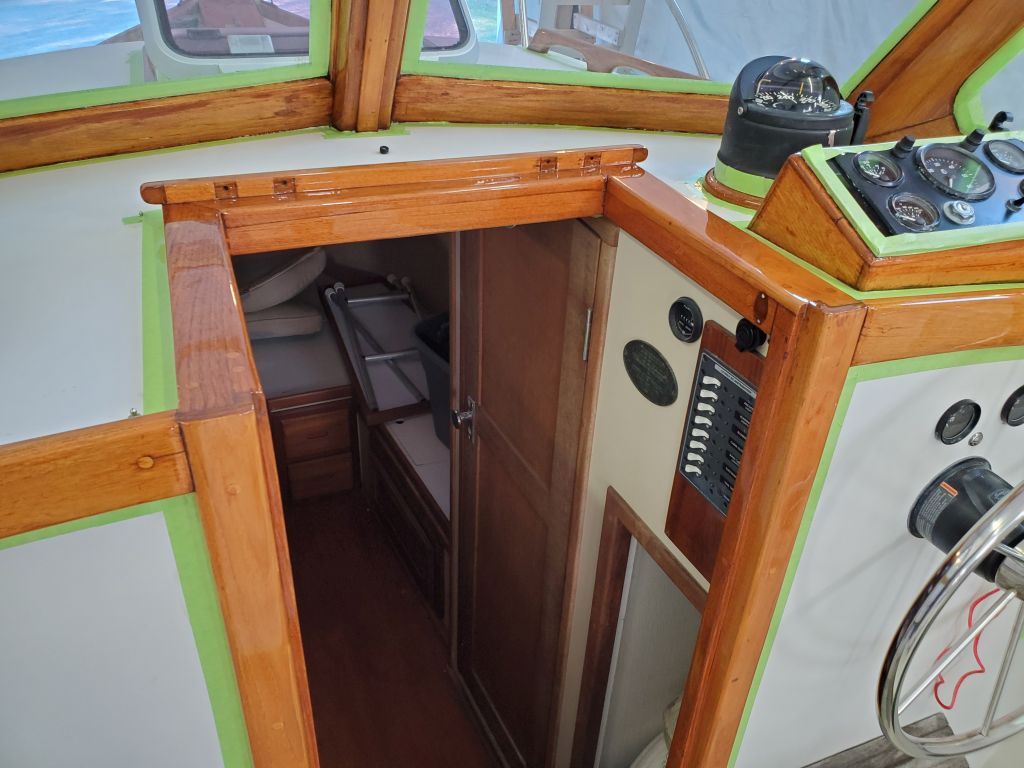
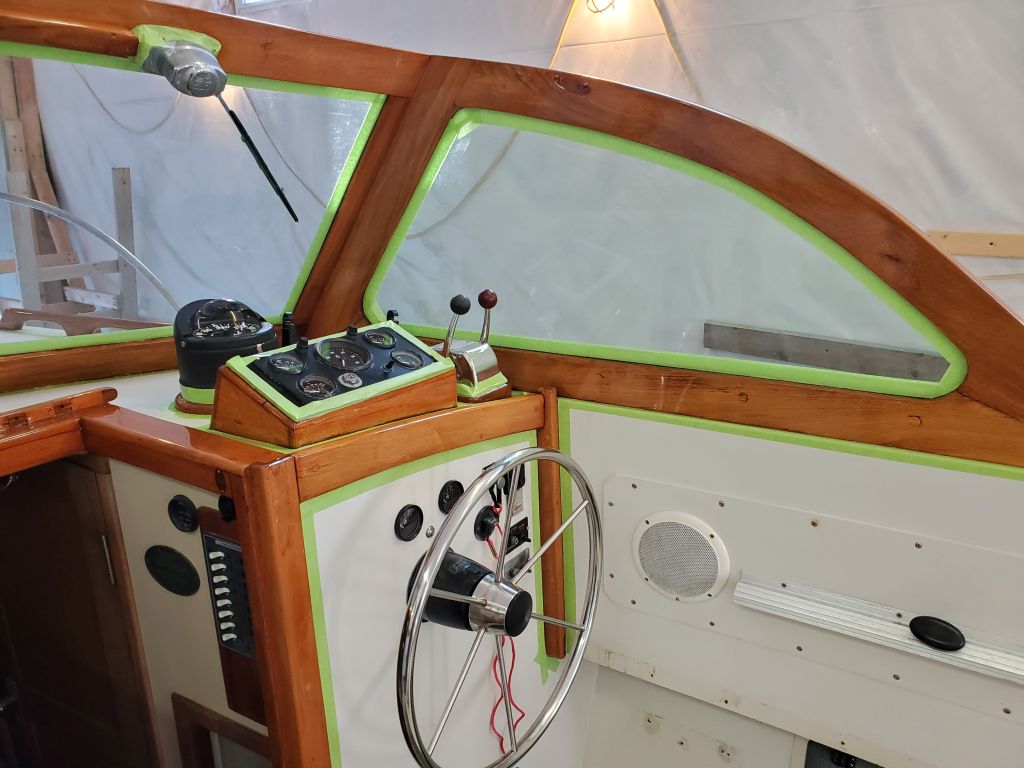
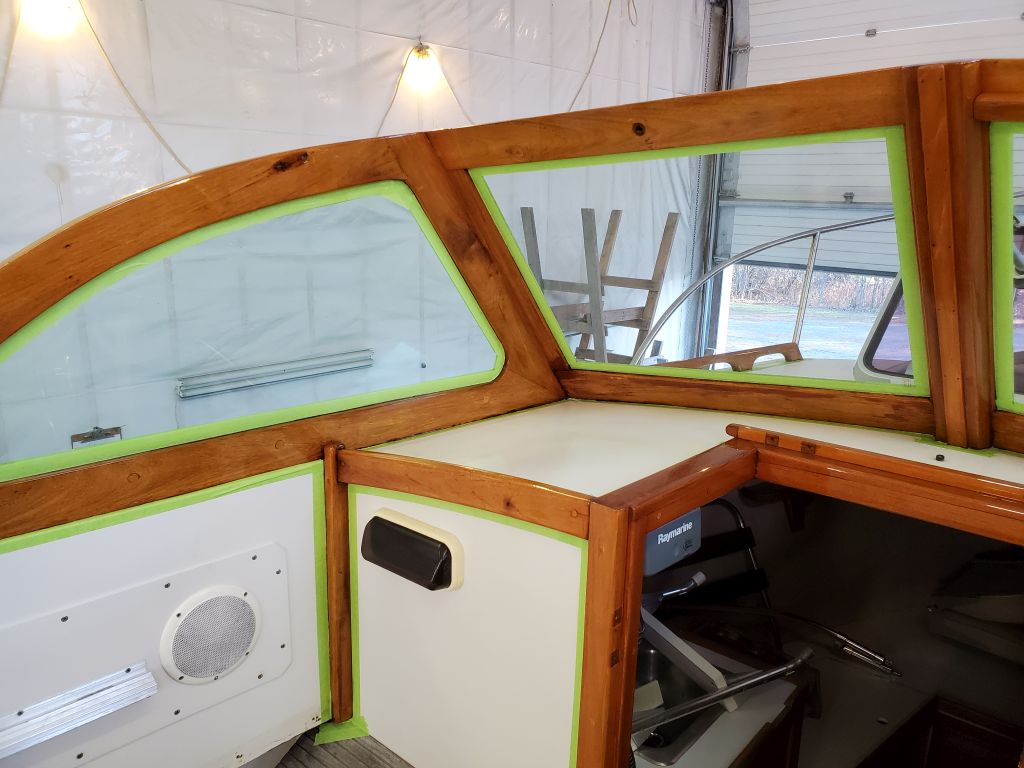
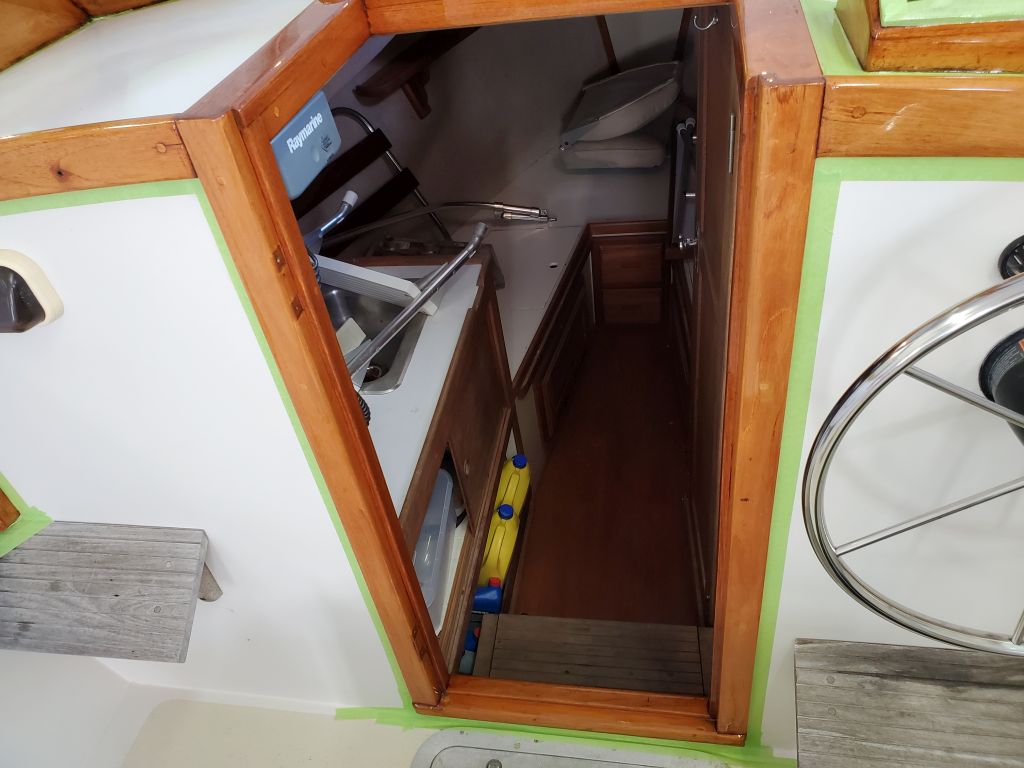
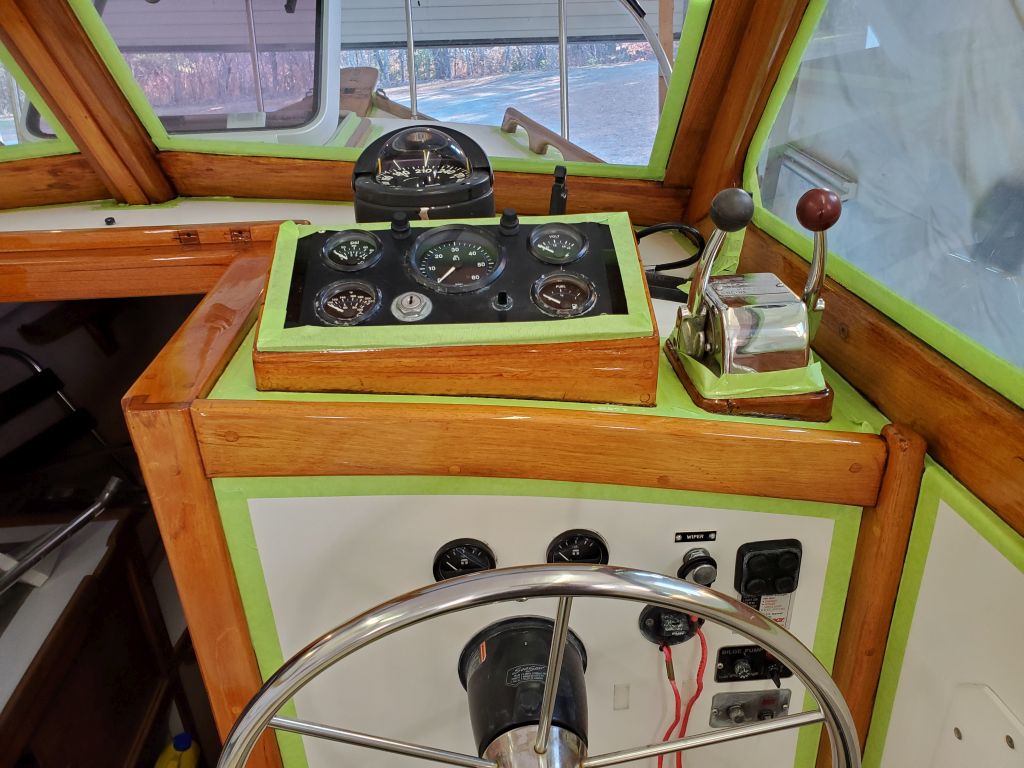
After lunch, I got to work on the first coat of maintenance varnish on the windshield, companionway, helm area, handrails, forward hatch, and anchor platform.


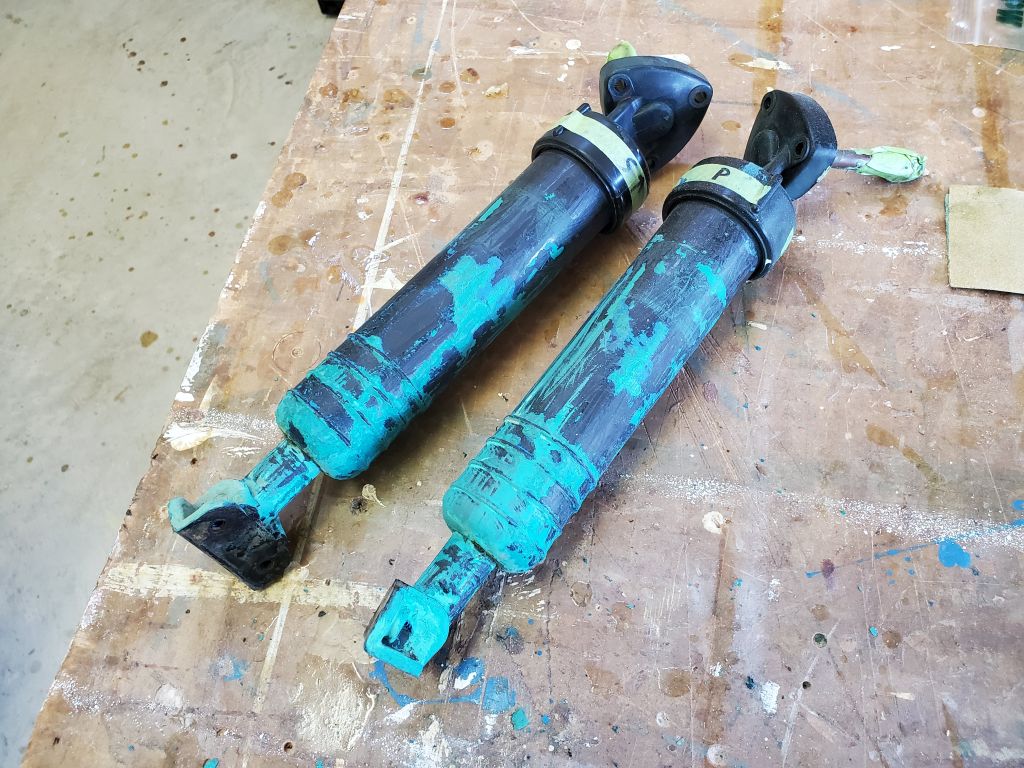
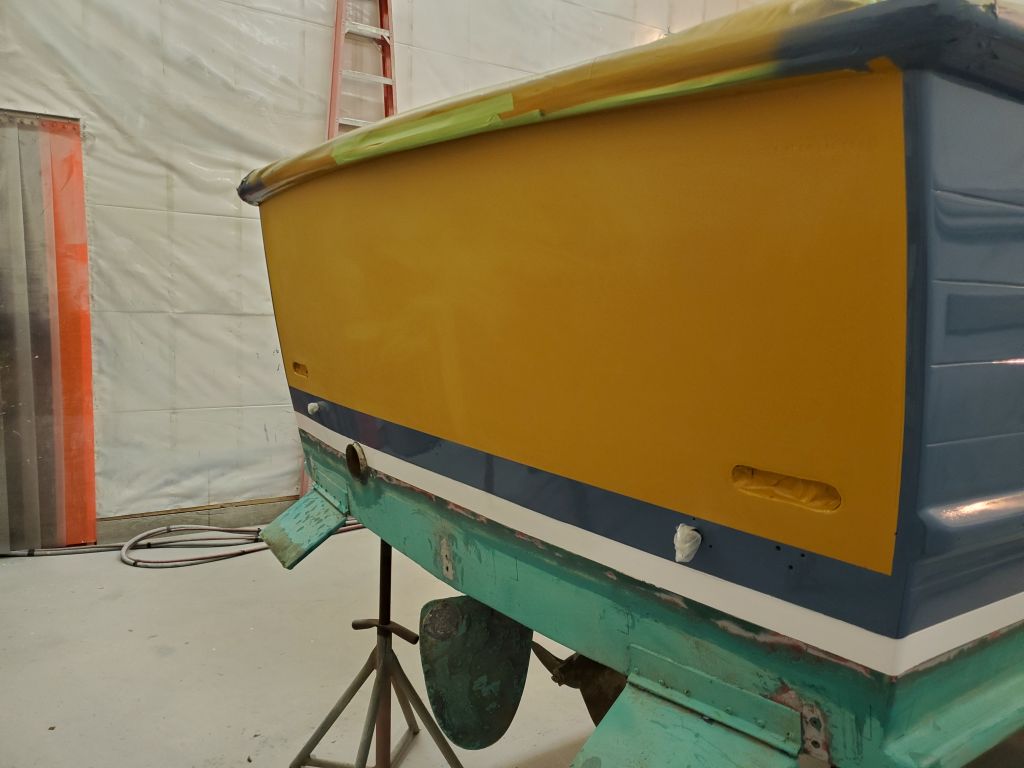
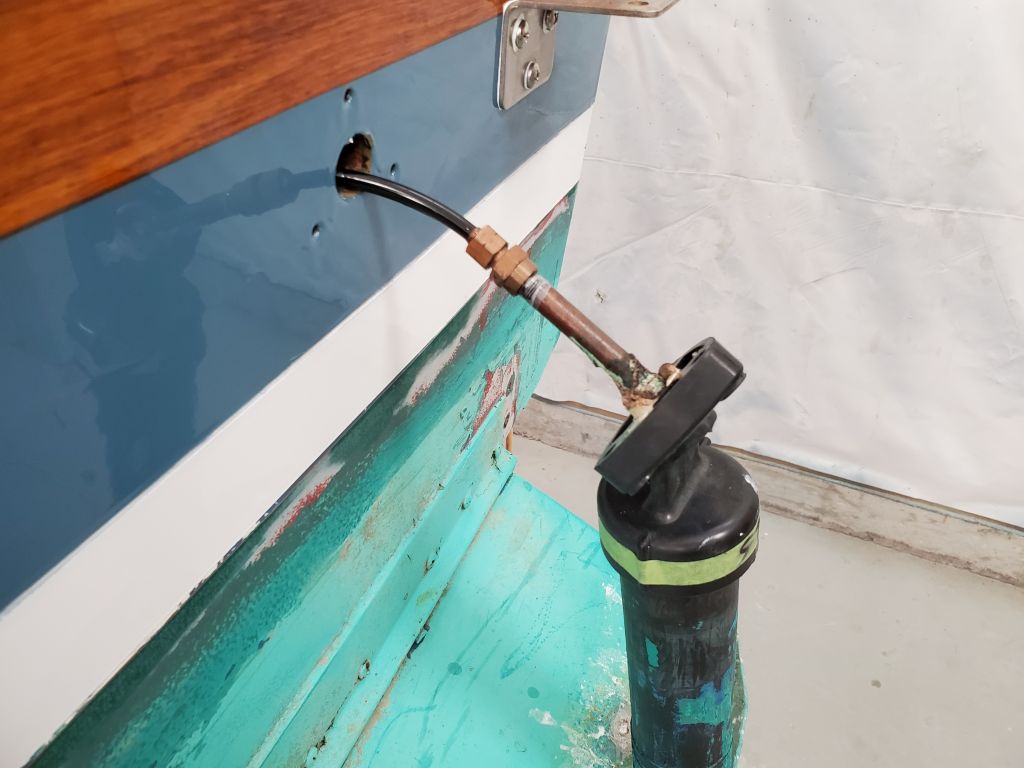
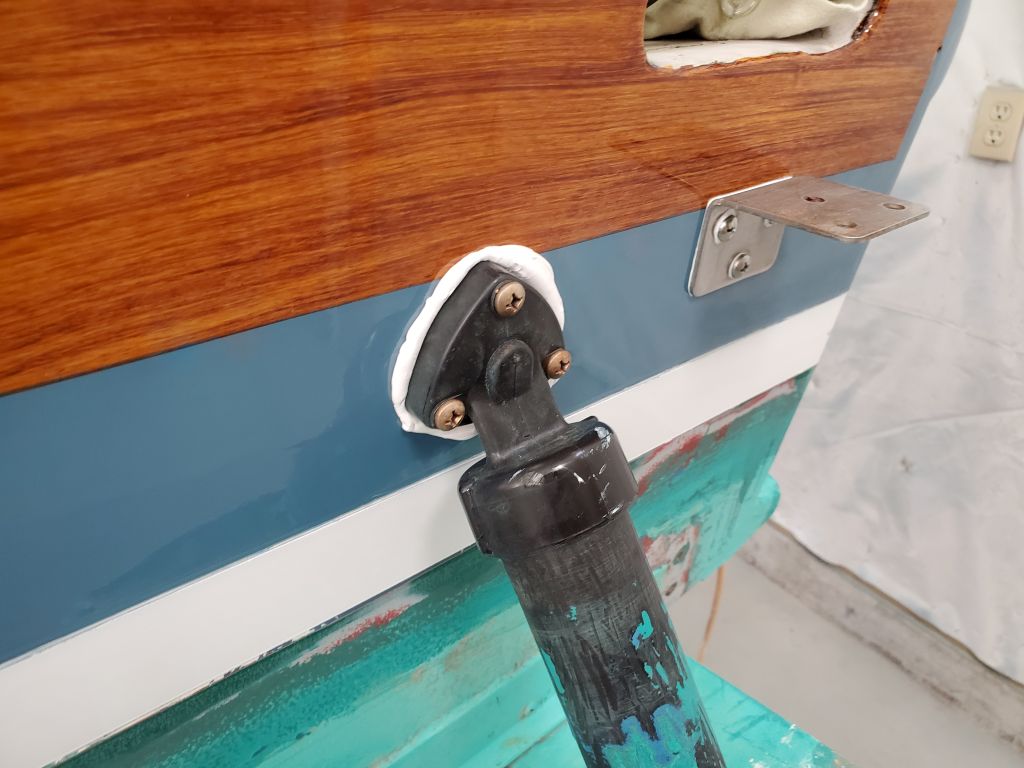
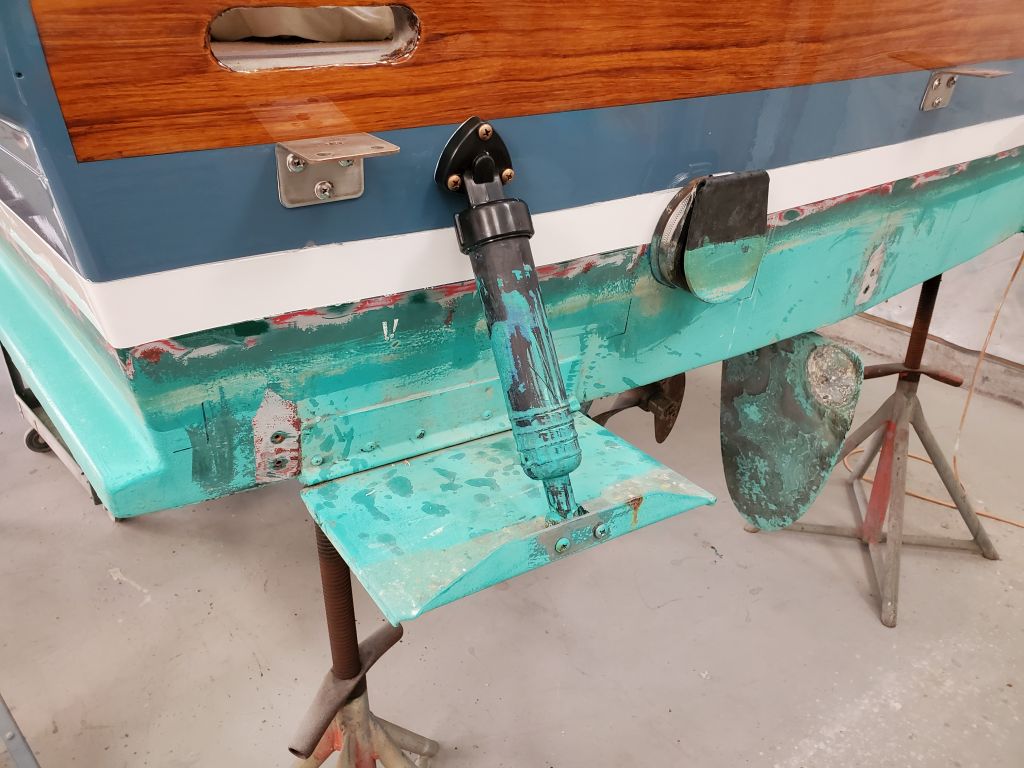
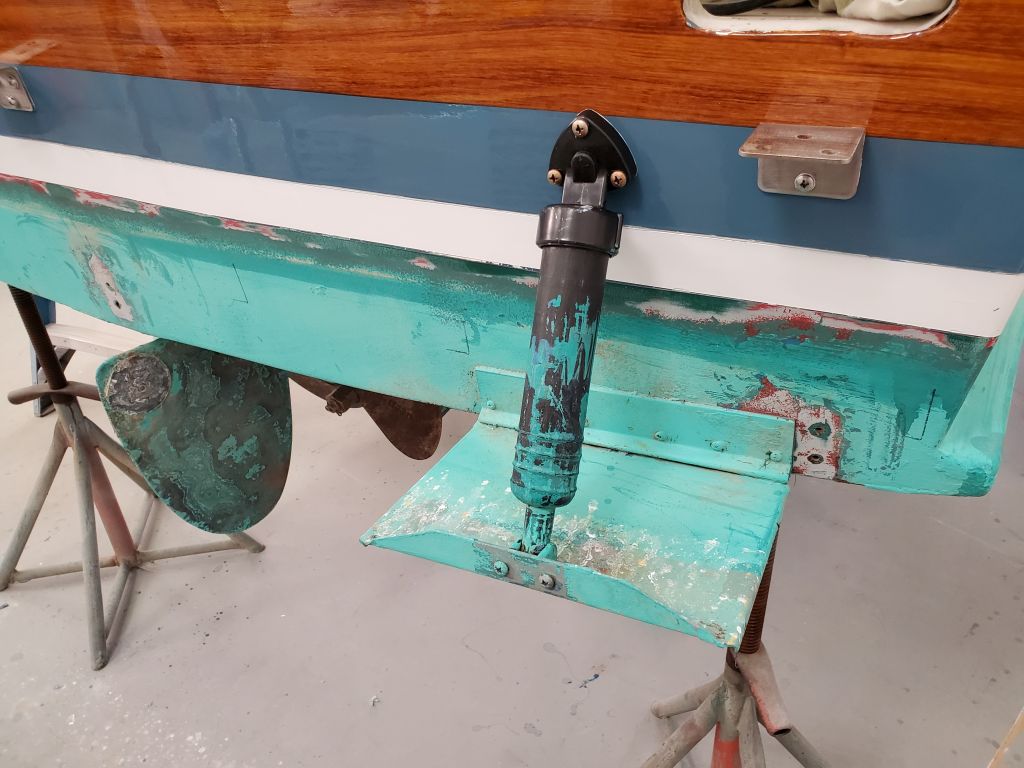
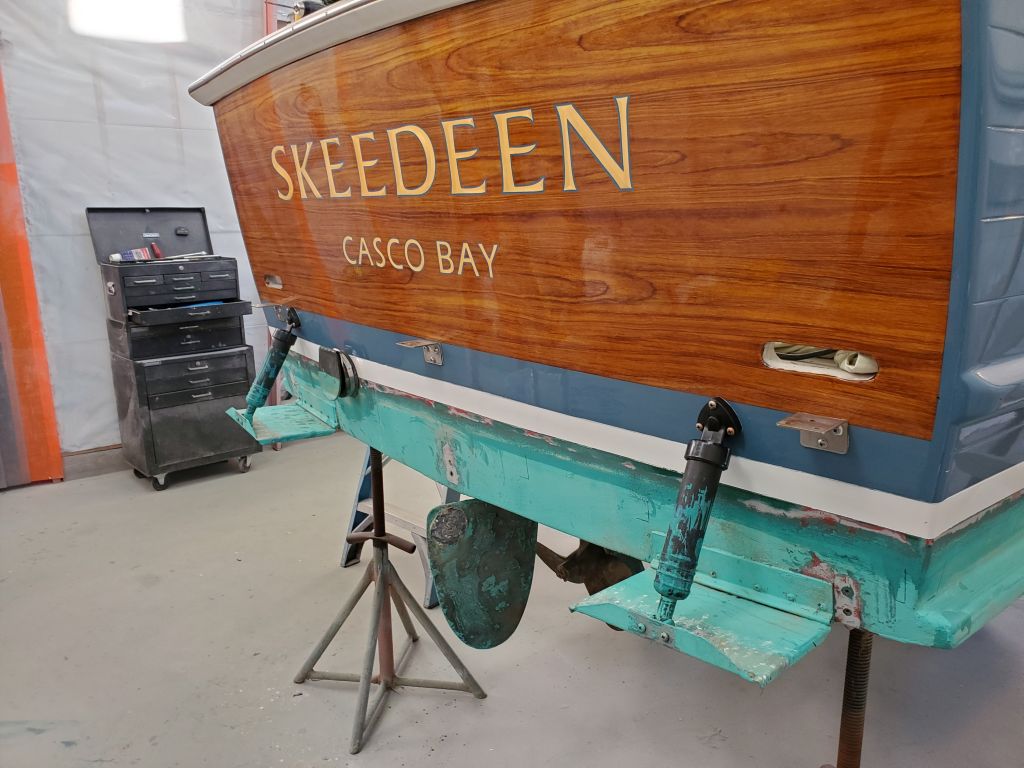
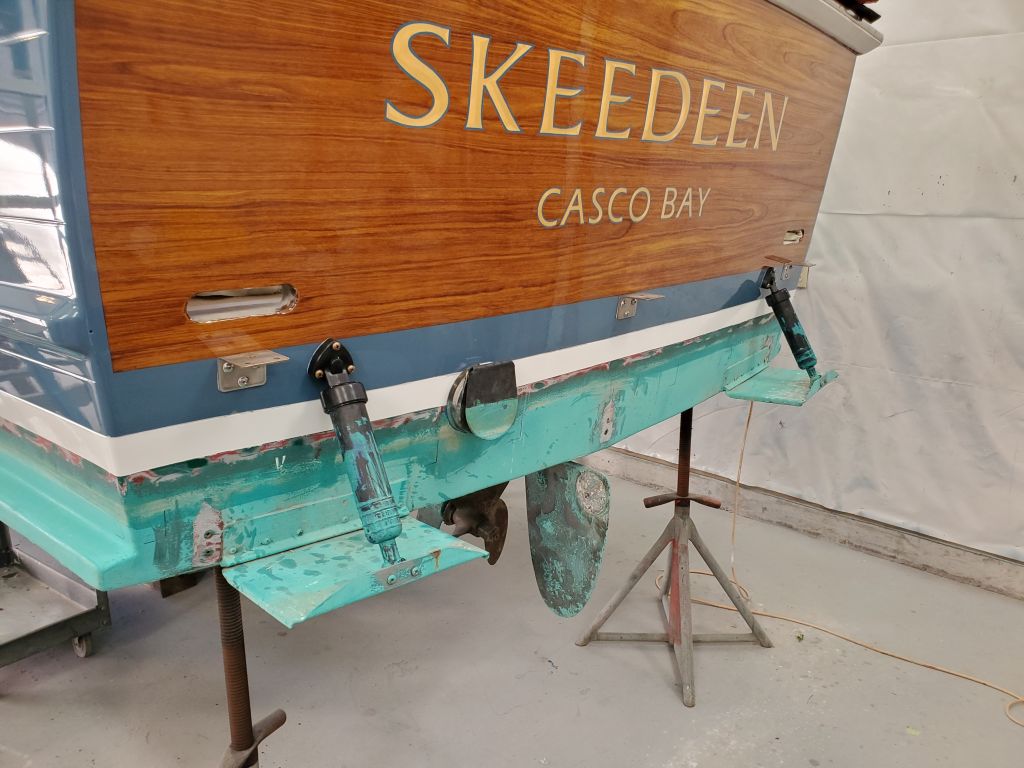
With a bit of time left in the day, I reinstalled the trim tab cylinders and resecured them to the boat and trim tabs as necessary.


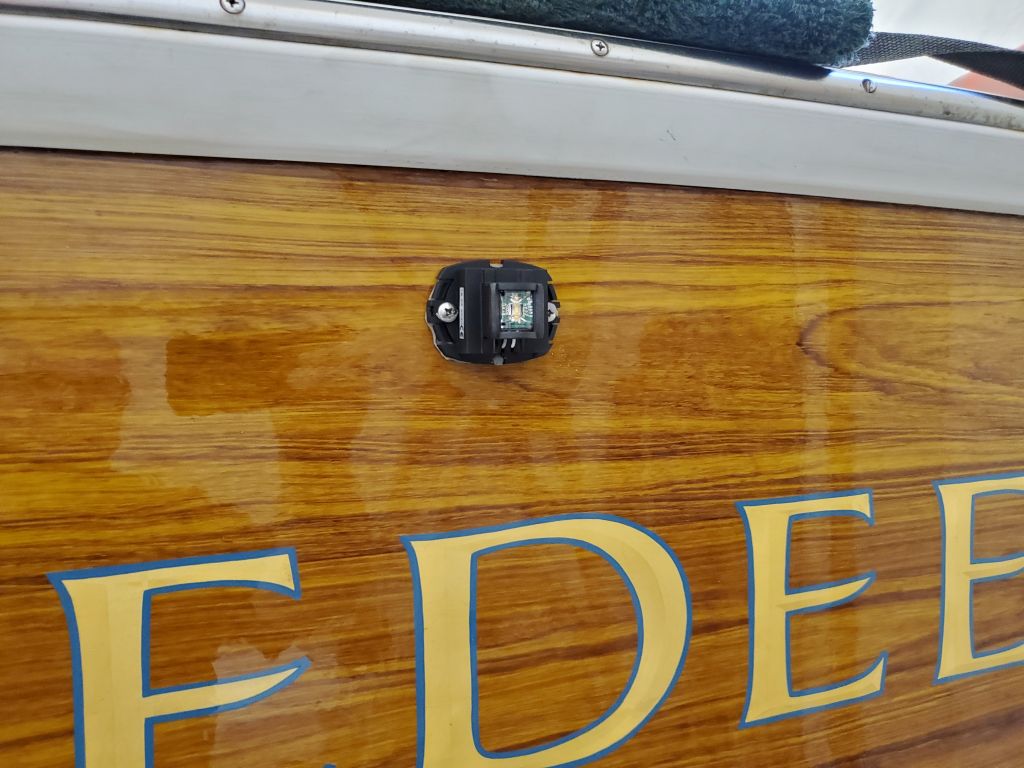
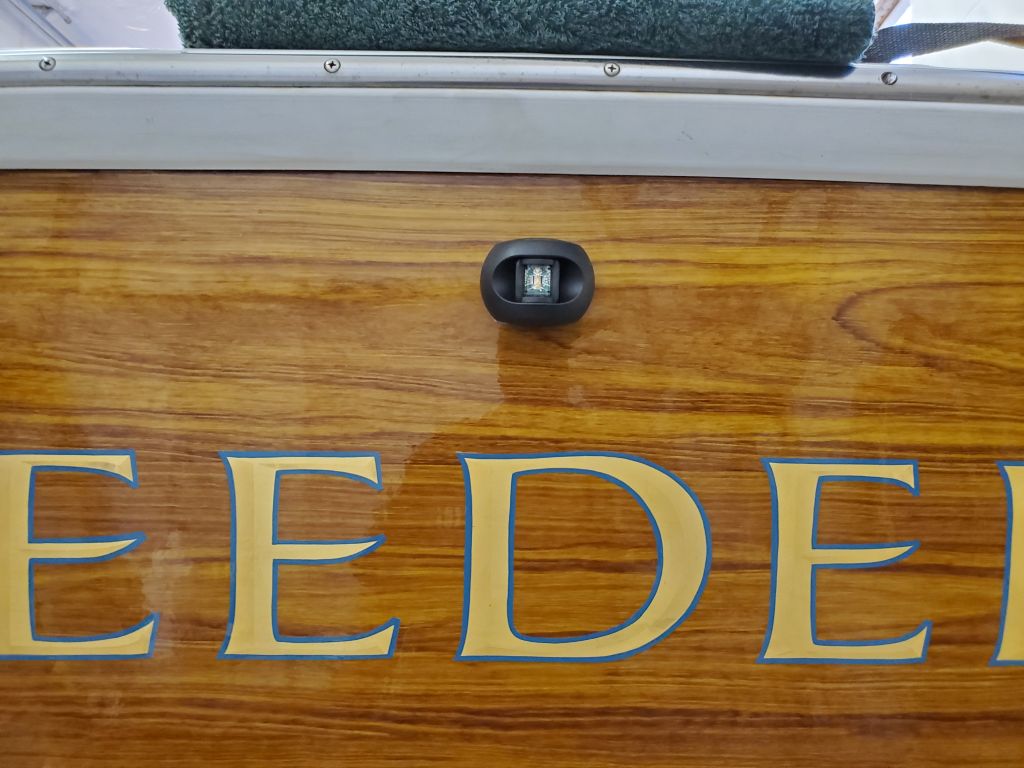
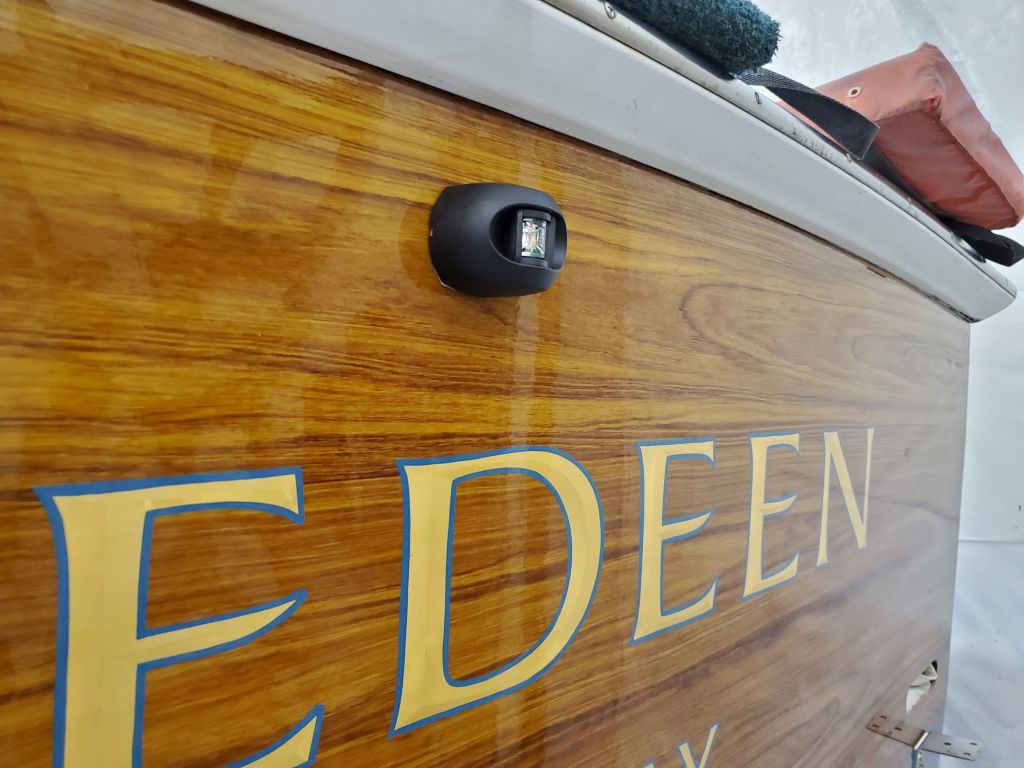
The original stern light, which I’d removed from the transom early in the project, was in poor condition, and I purchased a LED replacement, which I installed now. I bedded the fixture and wiring hole with butyl tape.
Total time billed on this job today: 6.75 hours
0600 Weather Observation: 40°, clear. Forecast for the day: Sunny, 71°