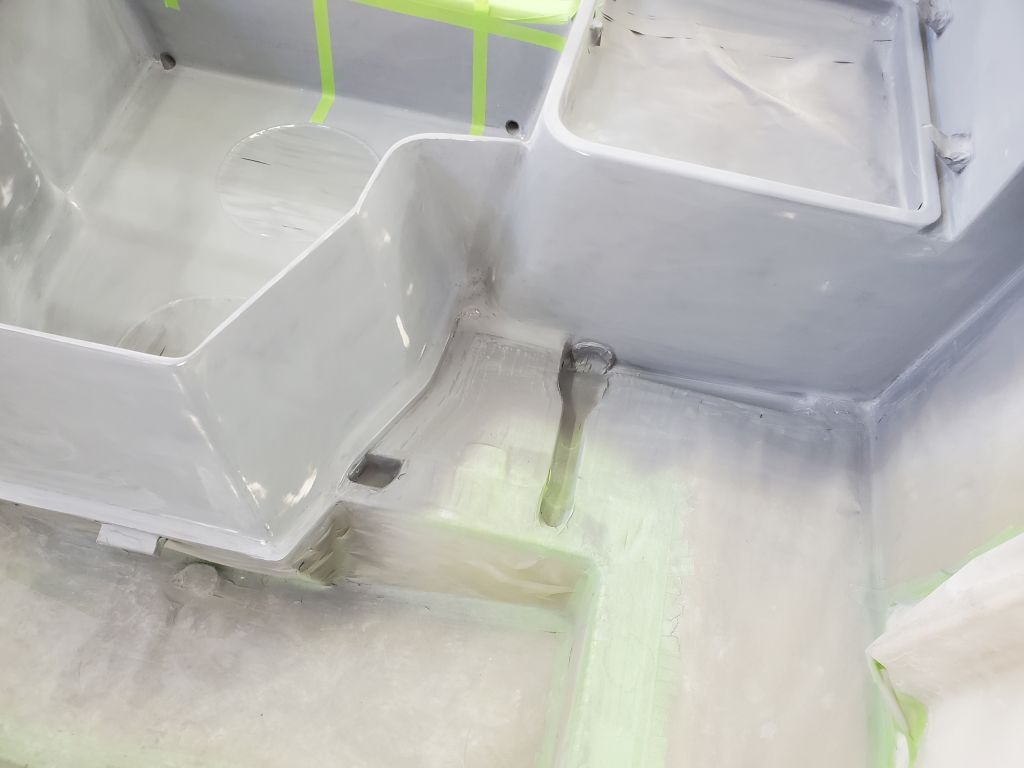
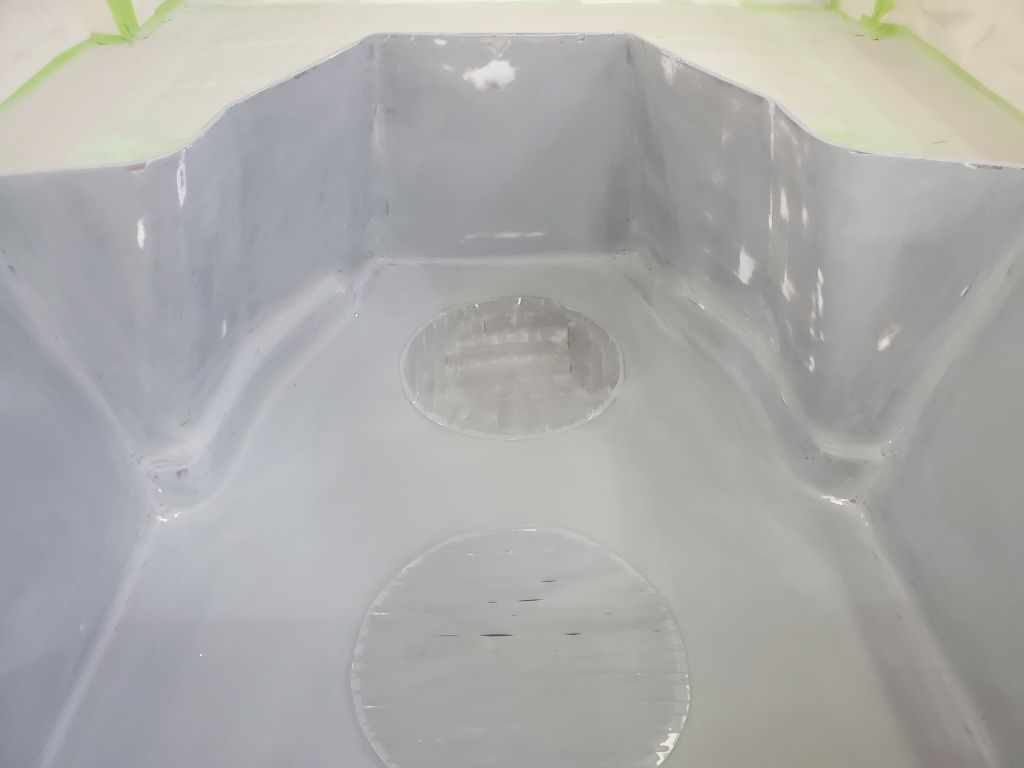
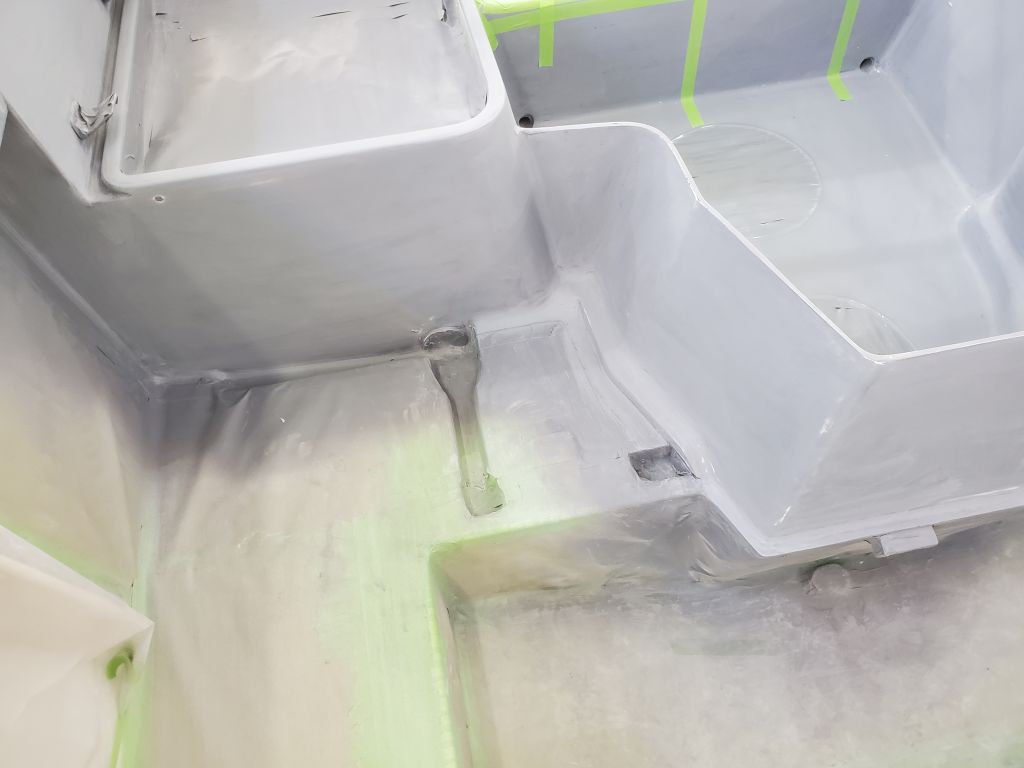
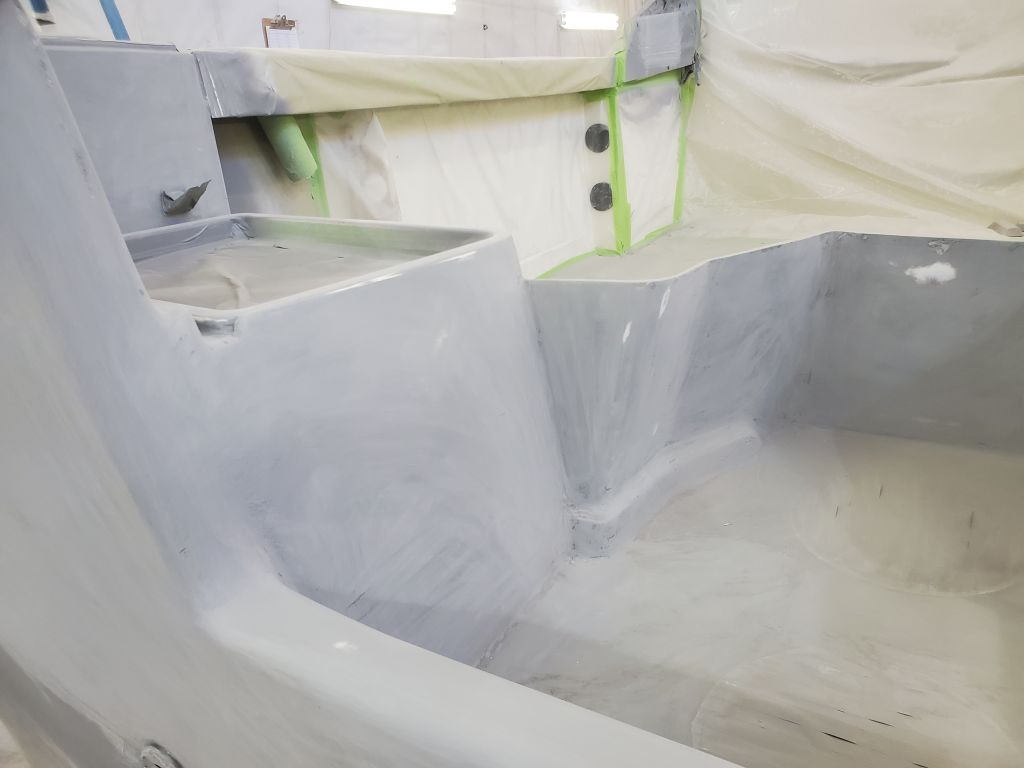
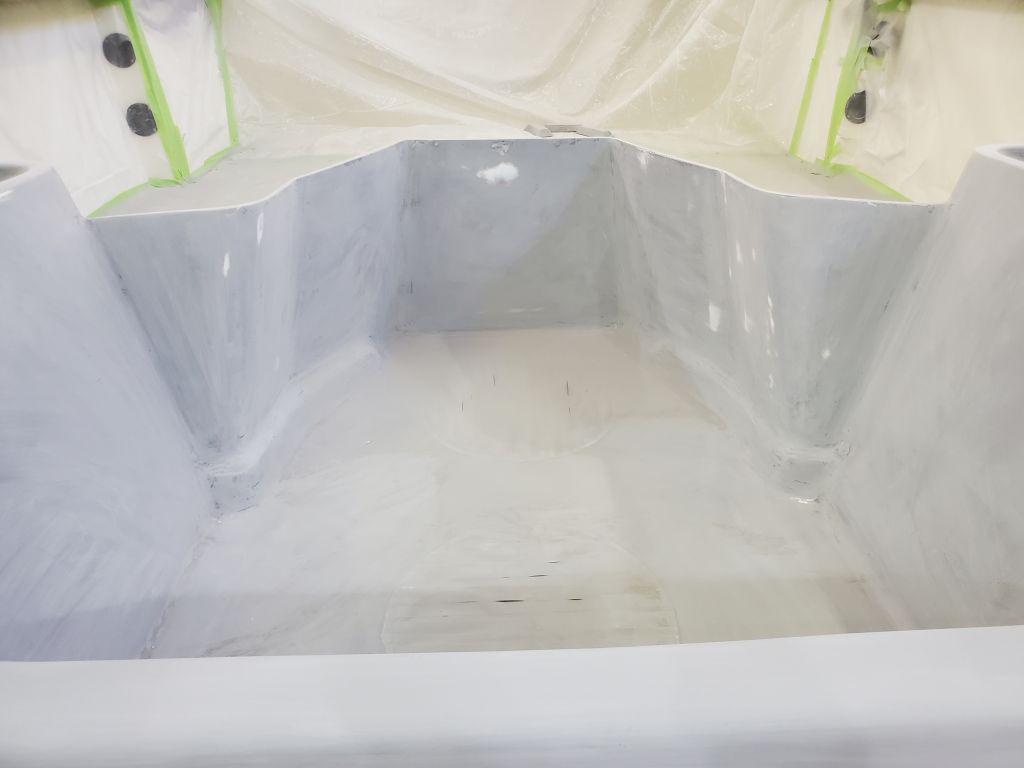
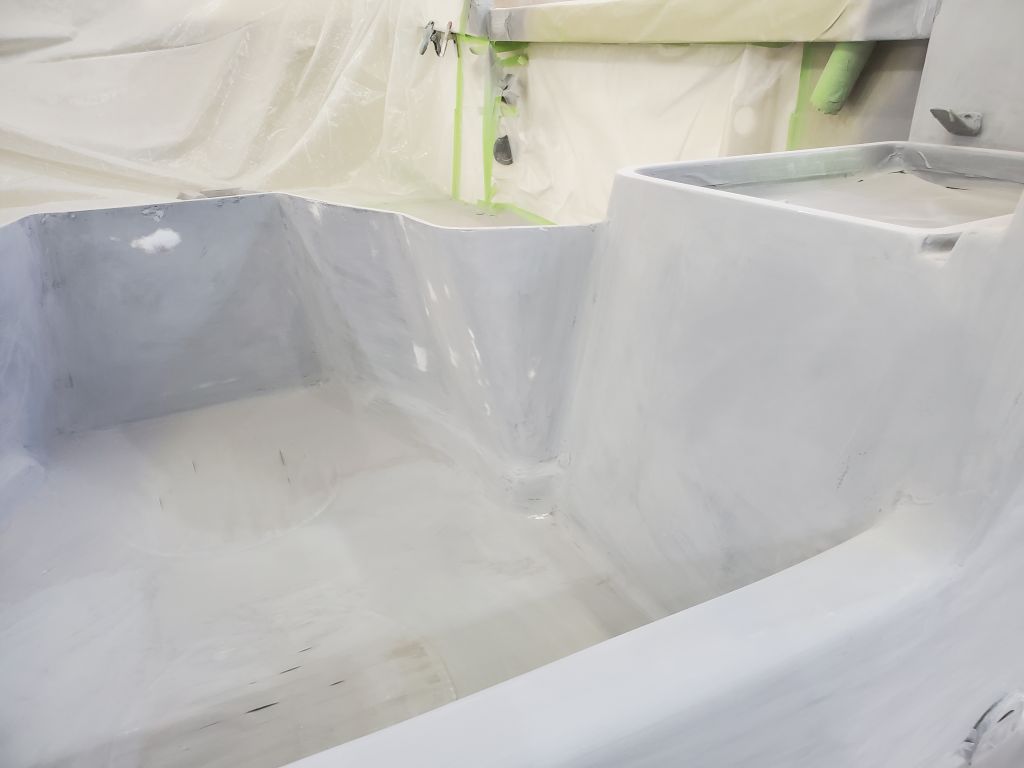
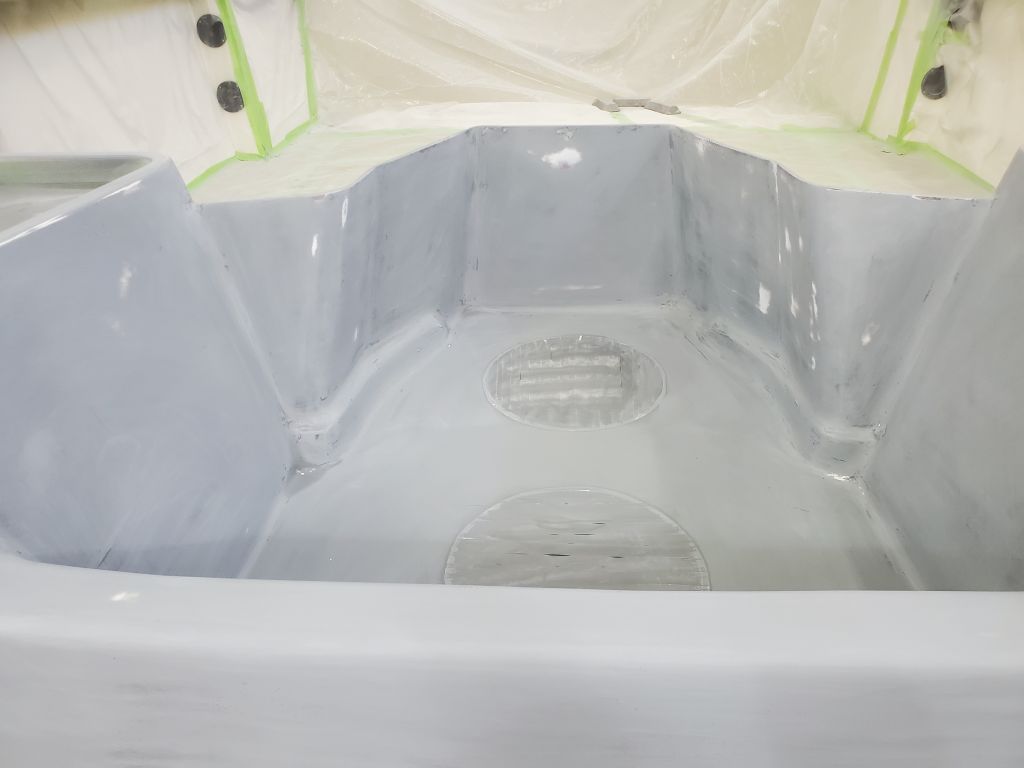
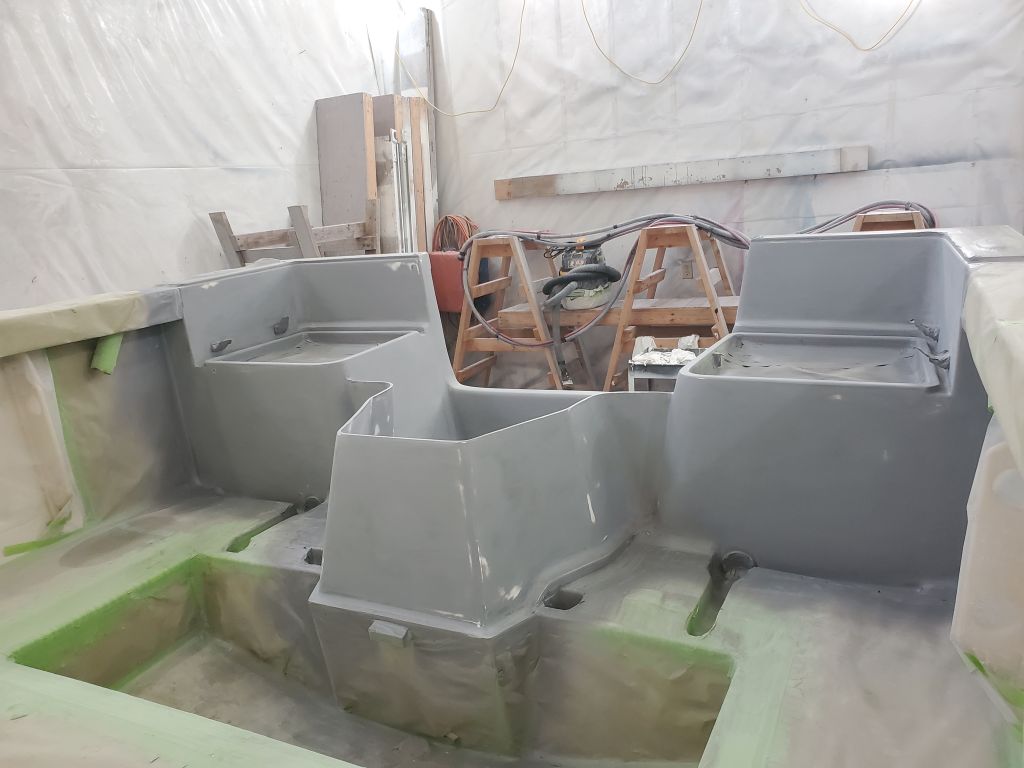
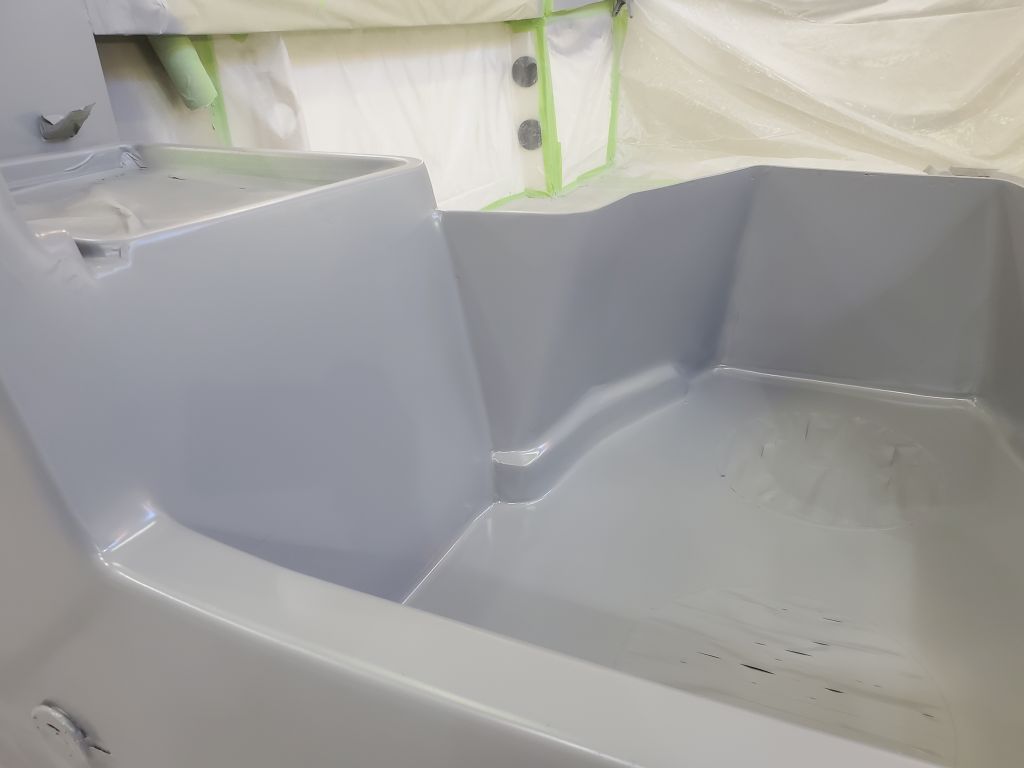
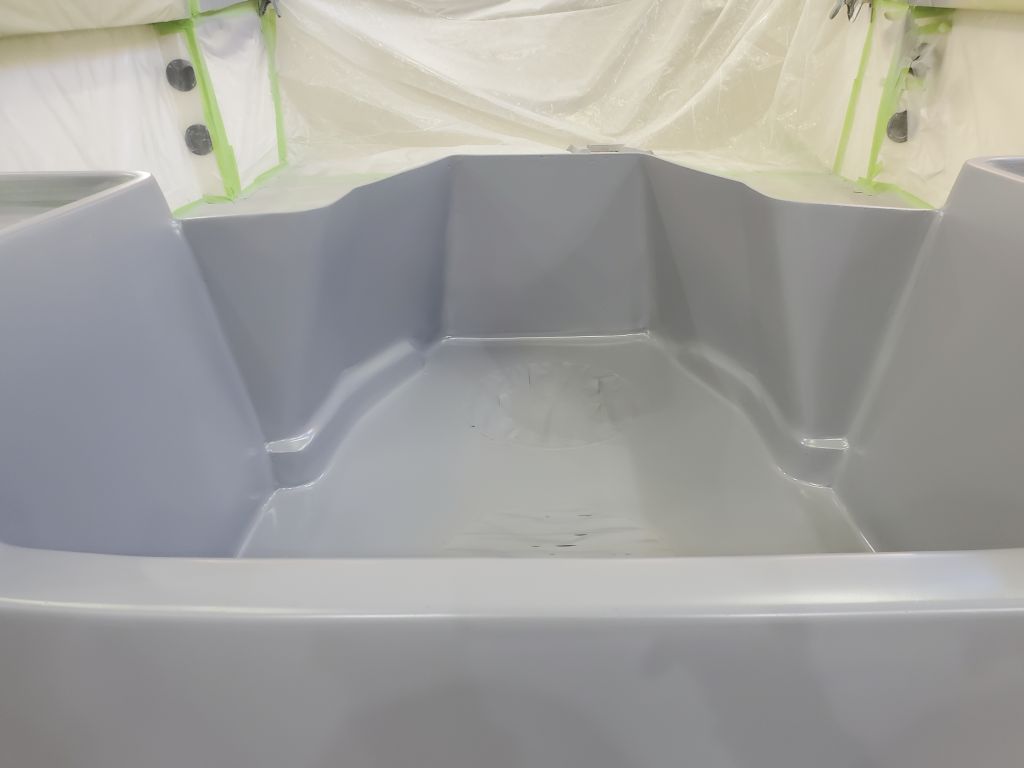
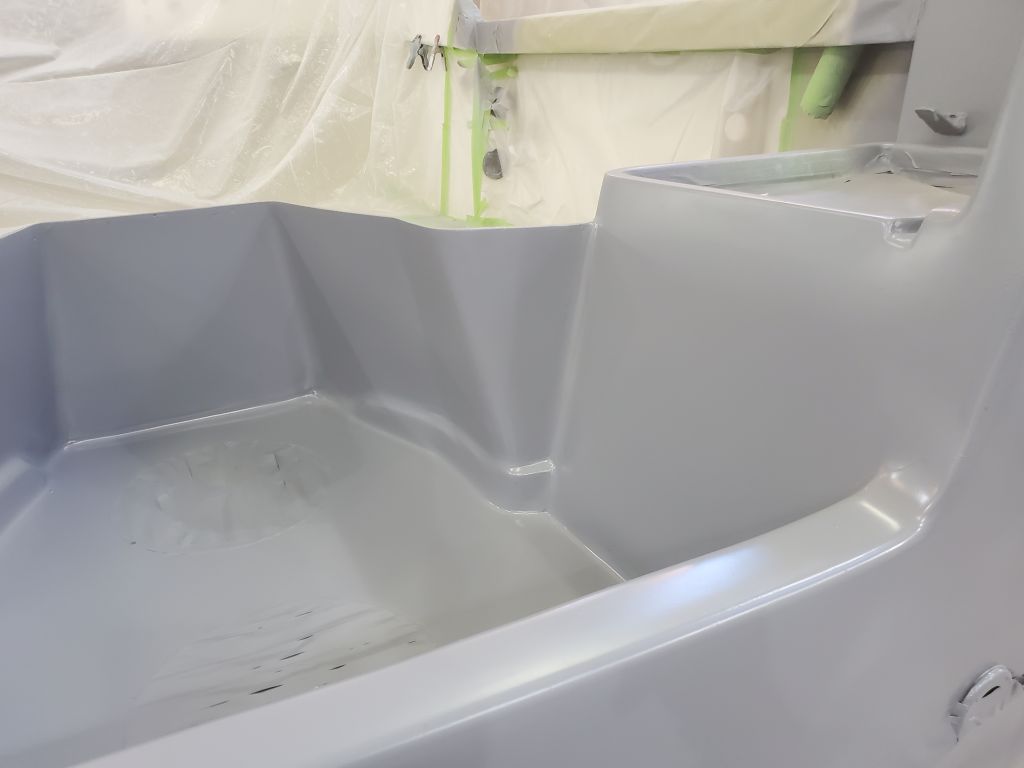
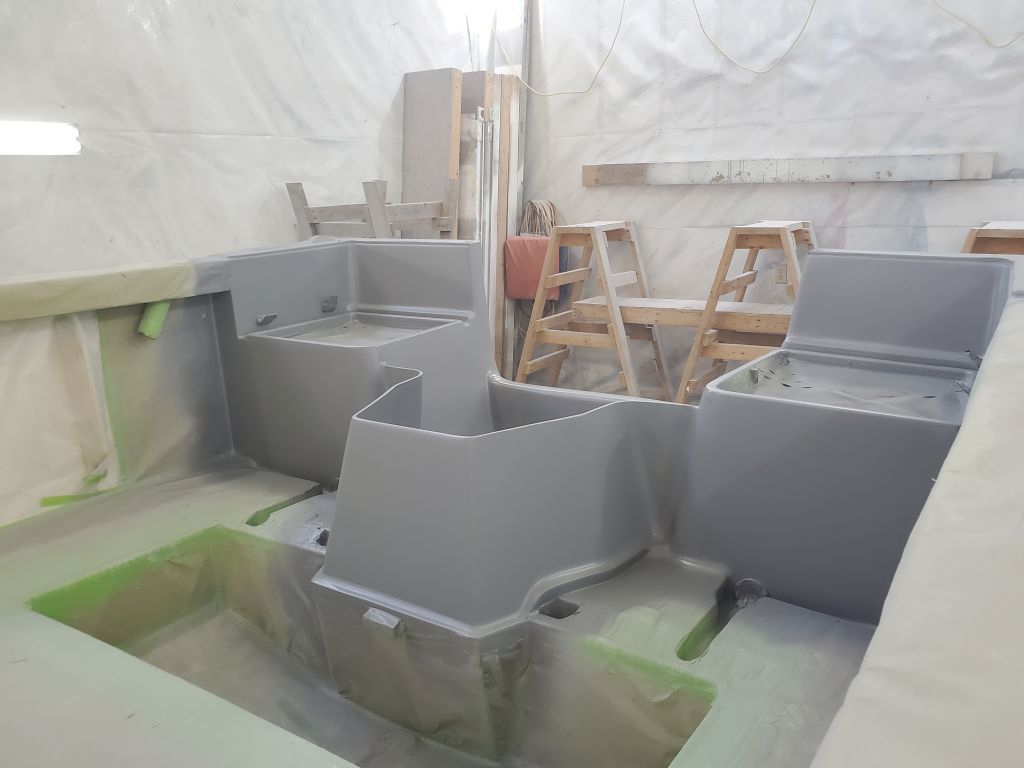
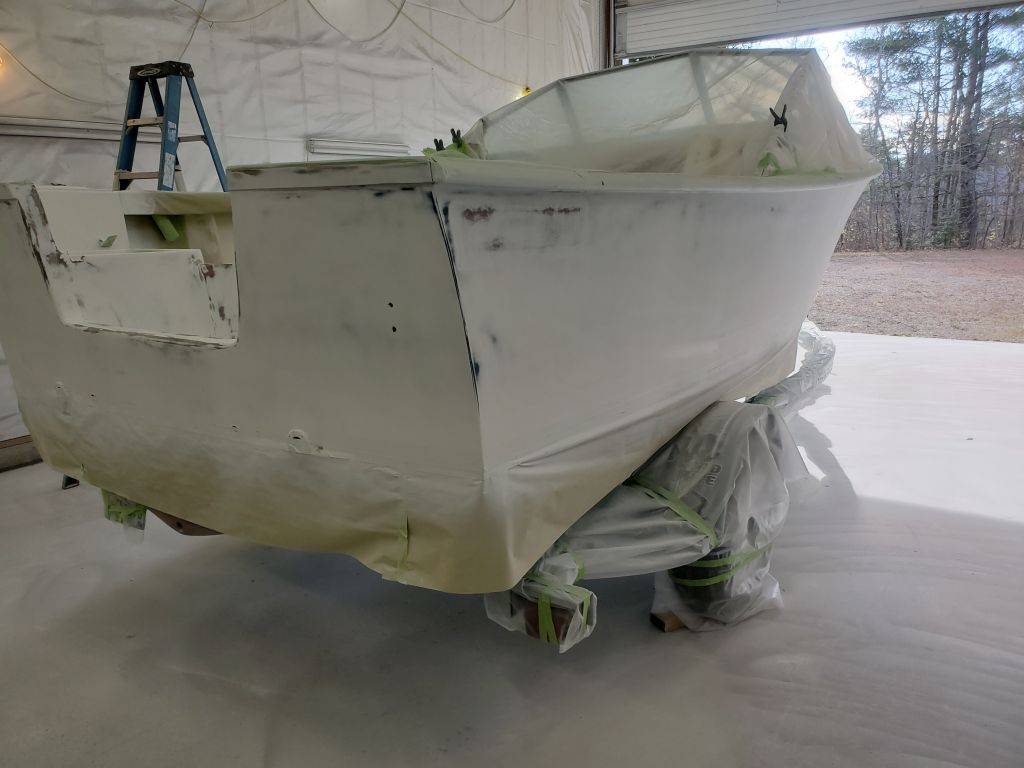
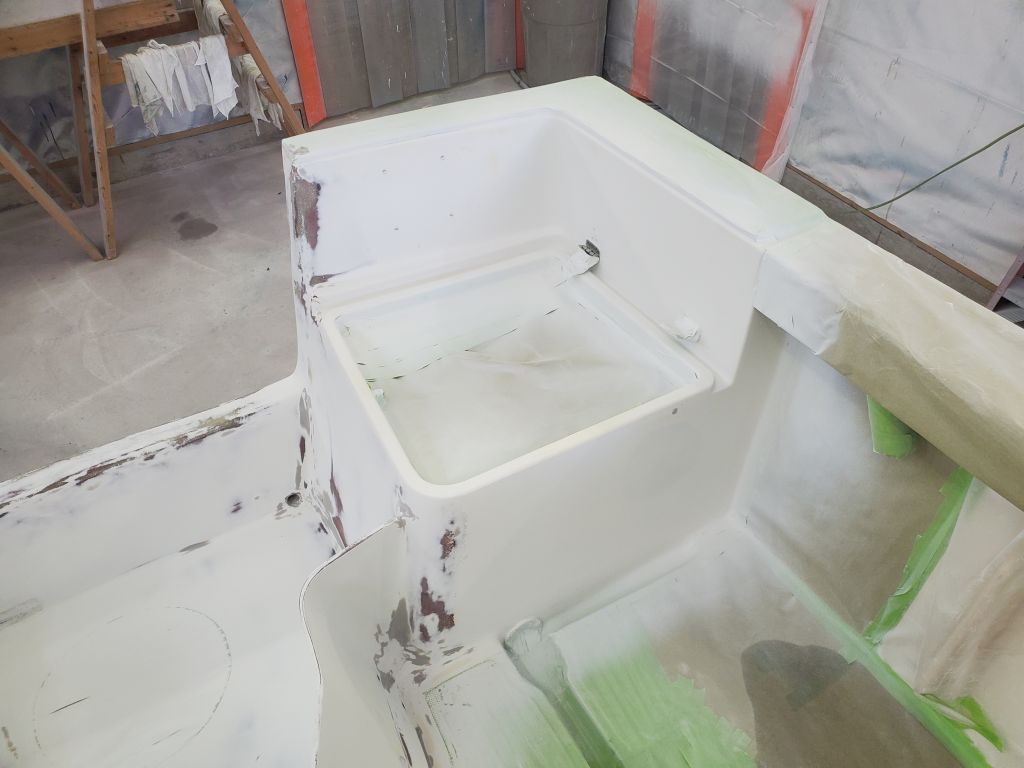
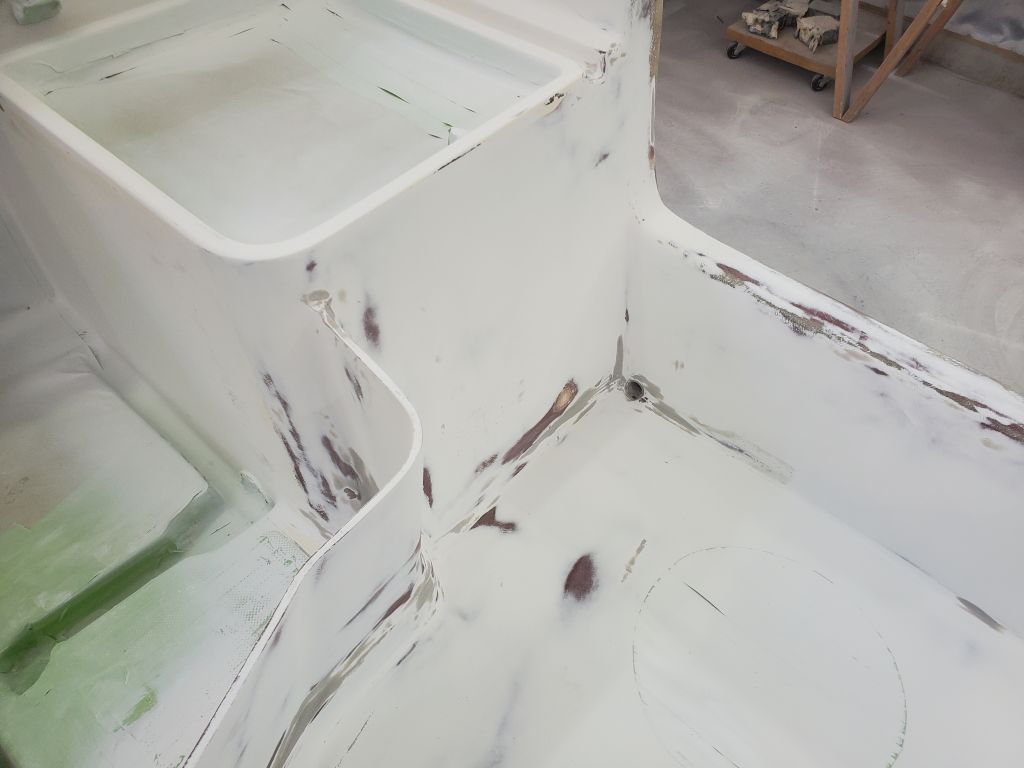
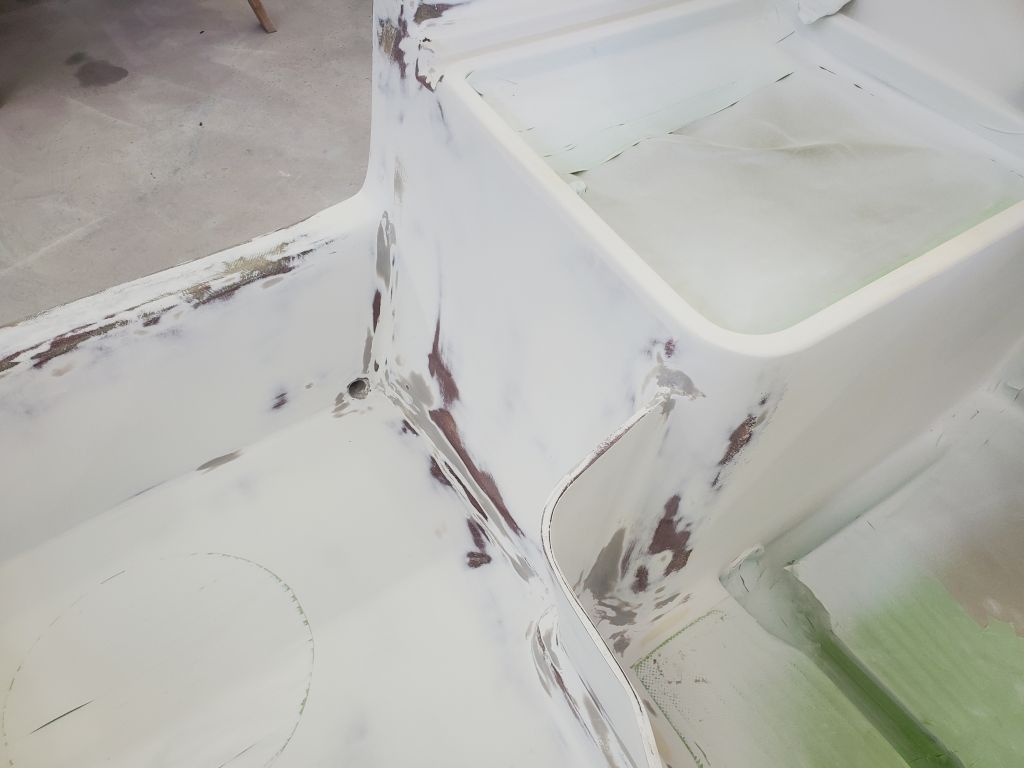
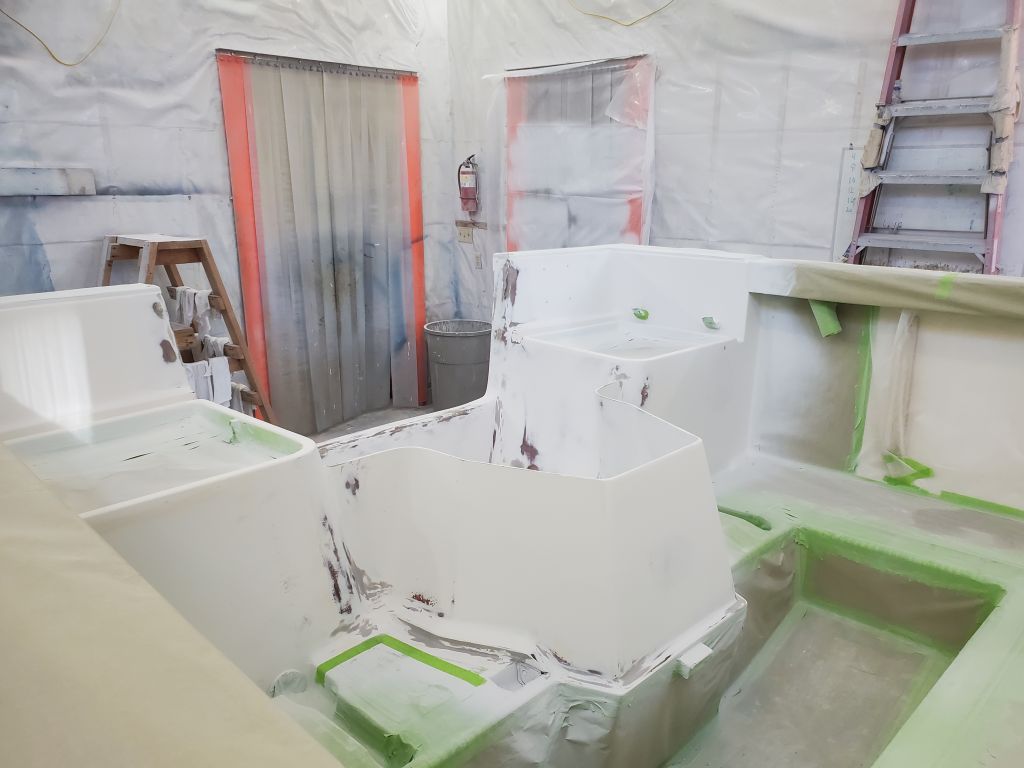
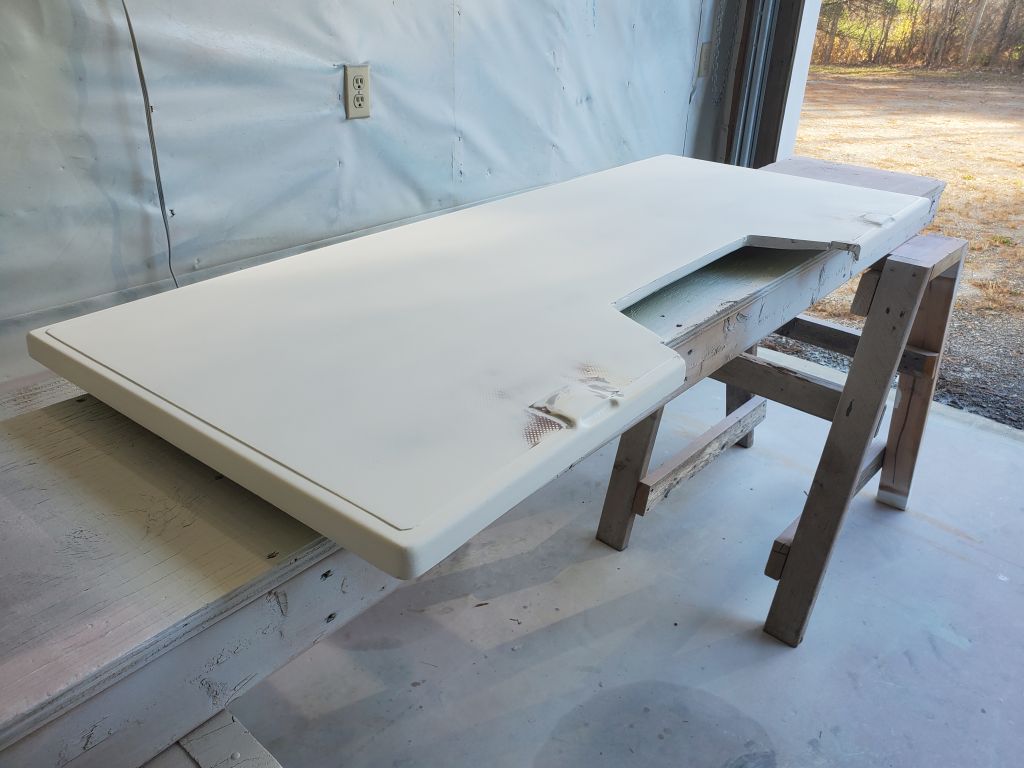
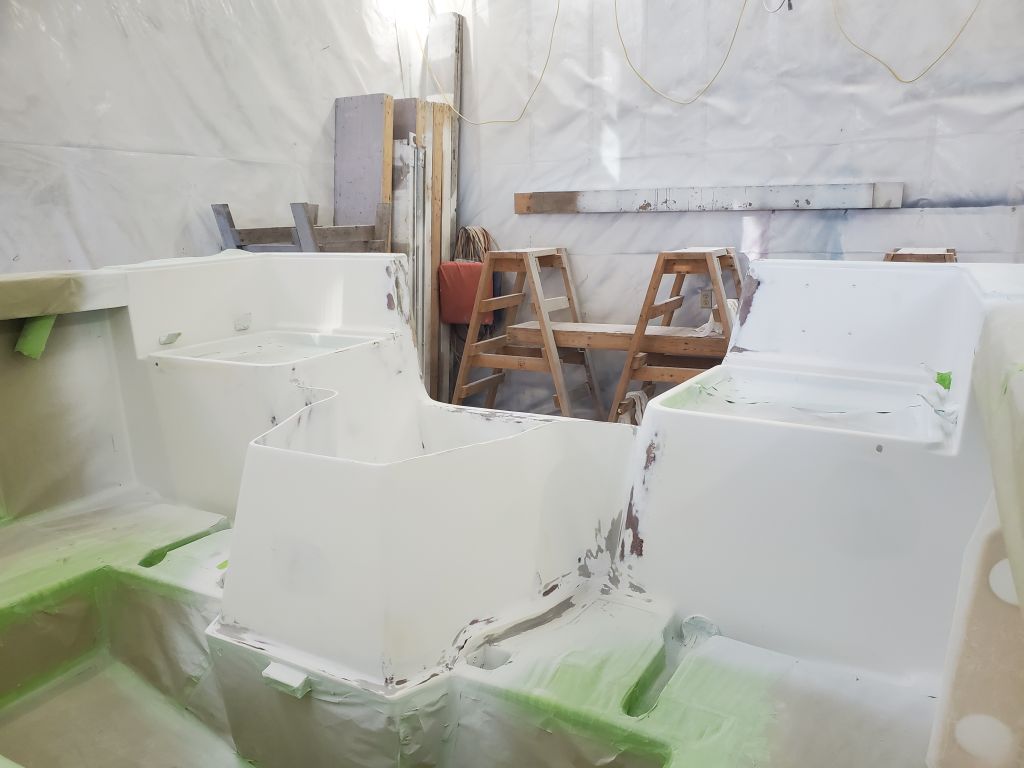
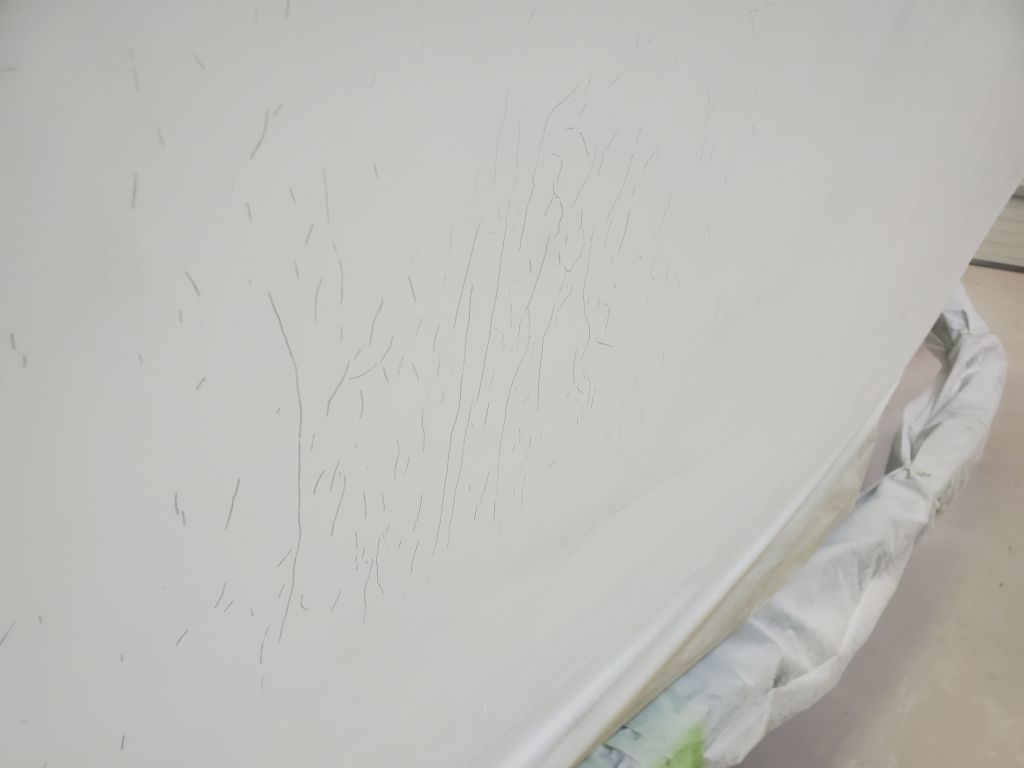
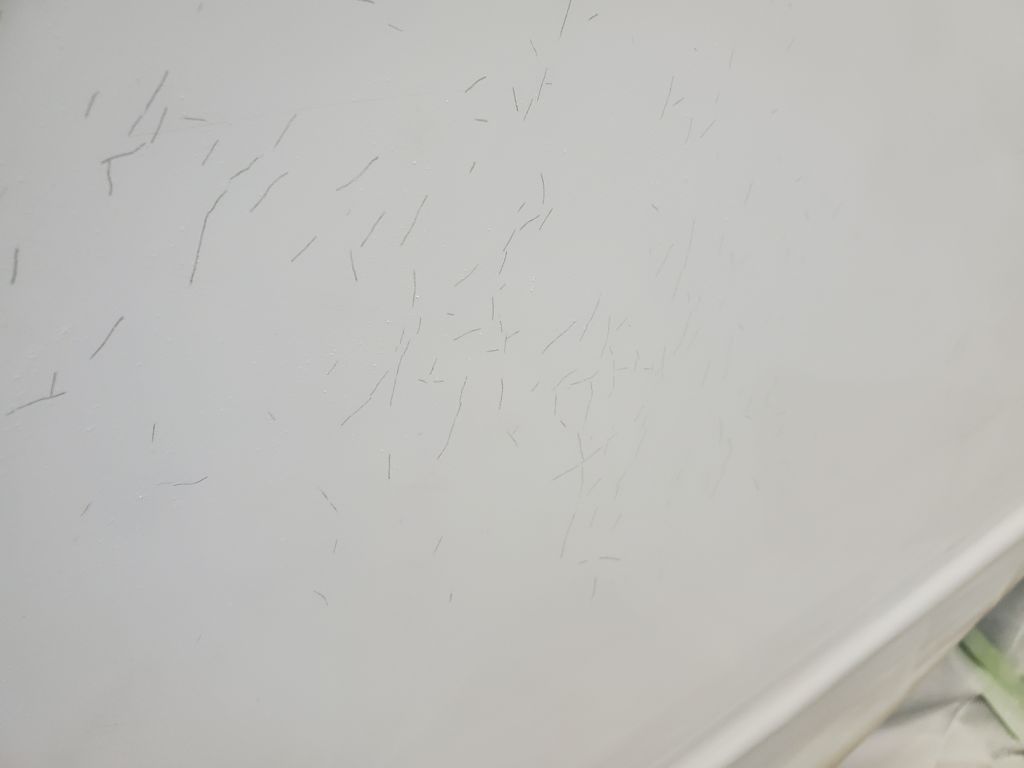
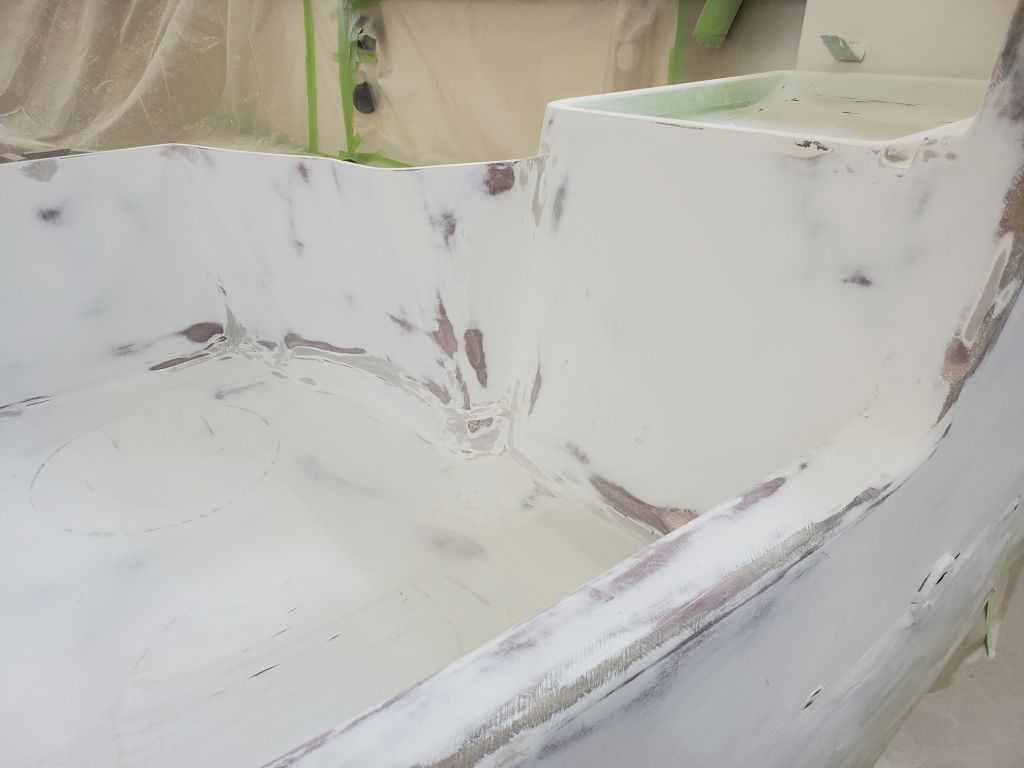
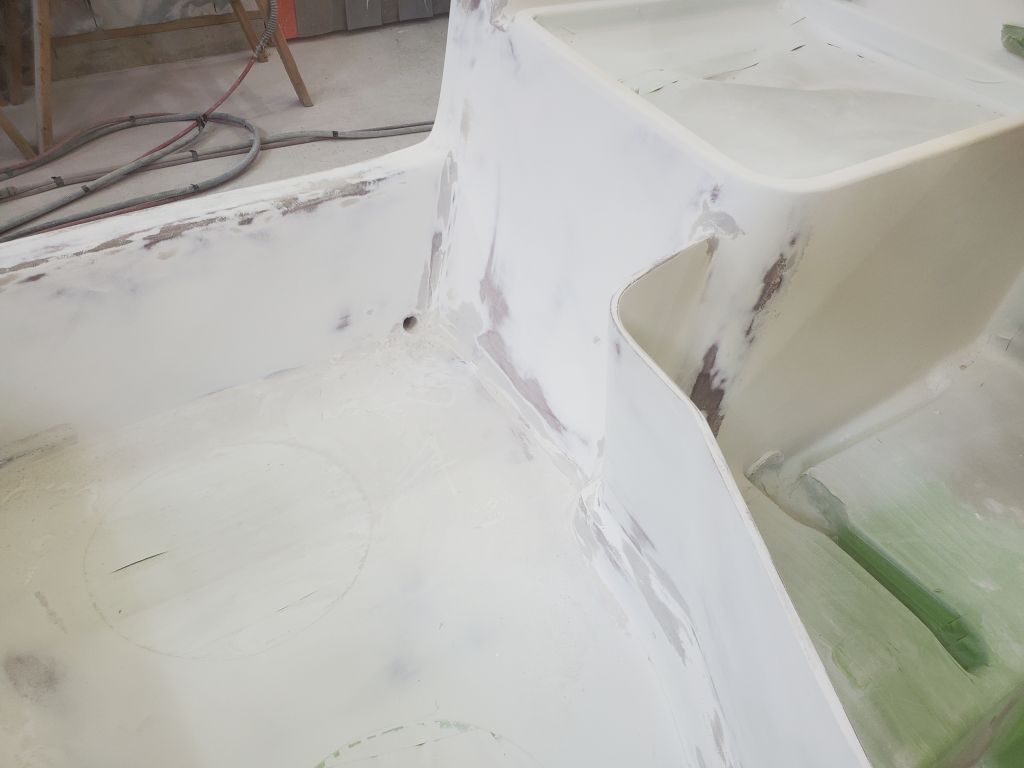
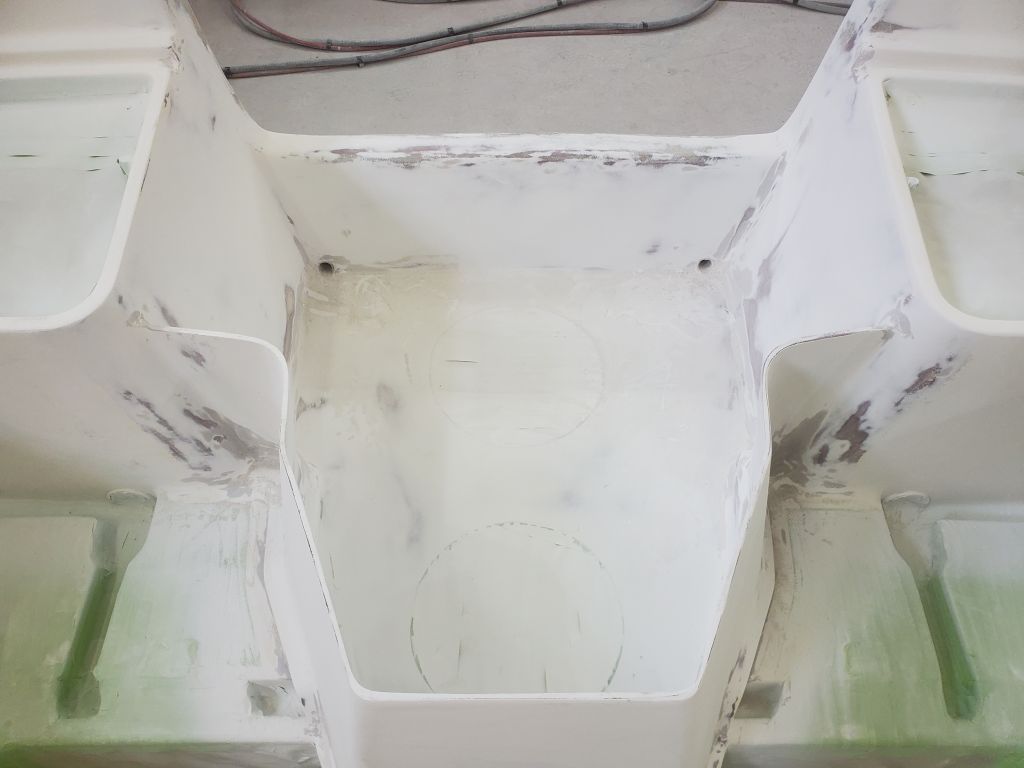
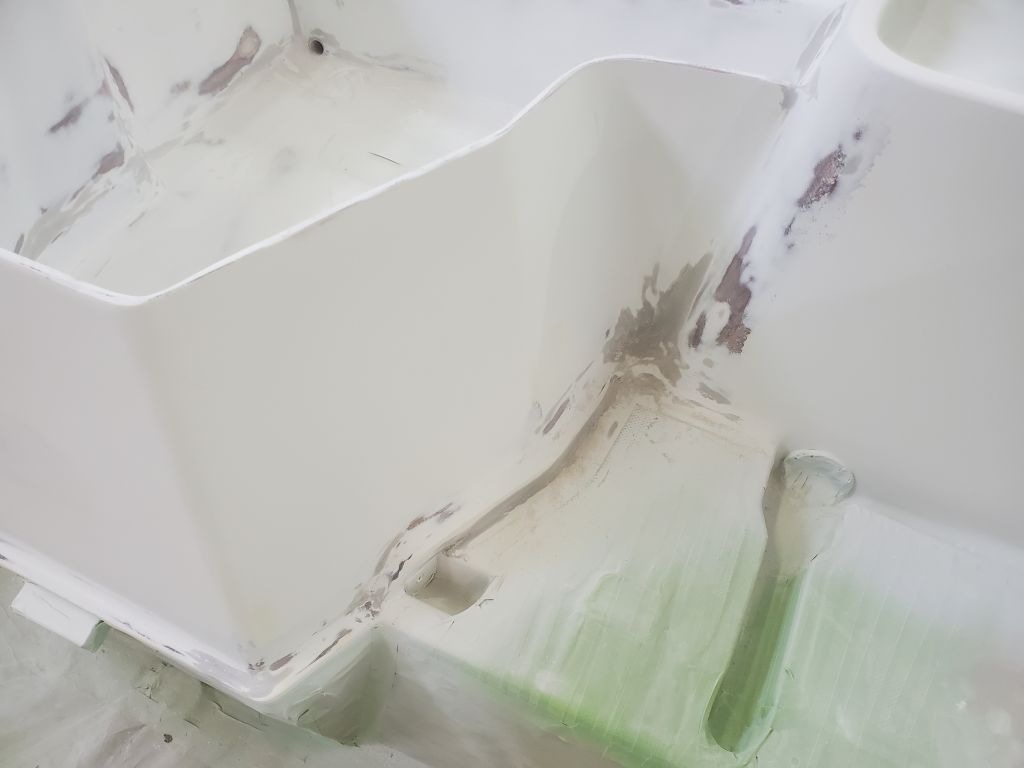
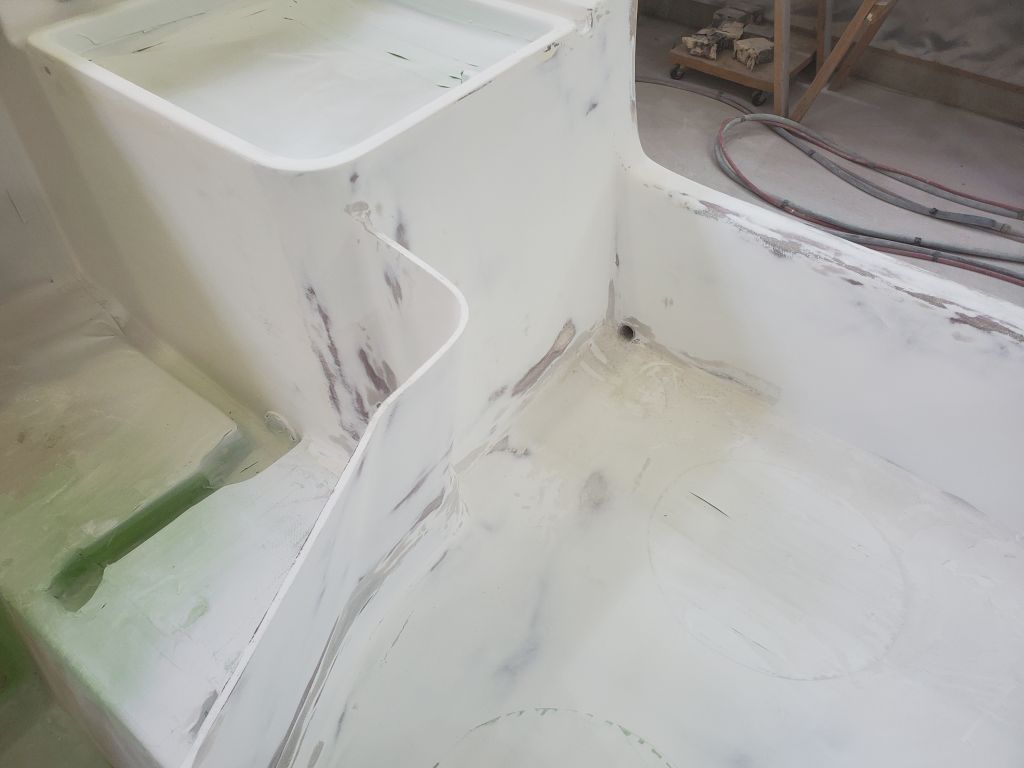
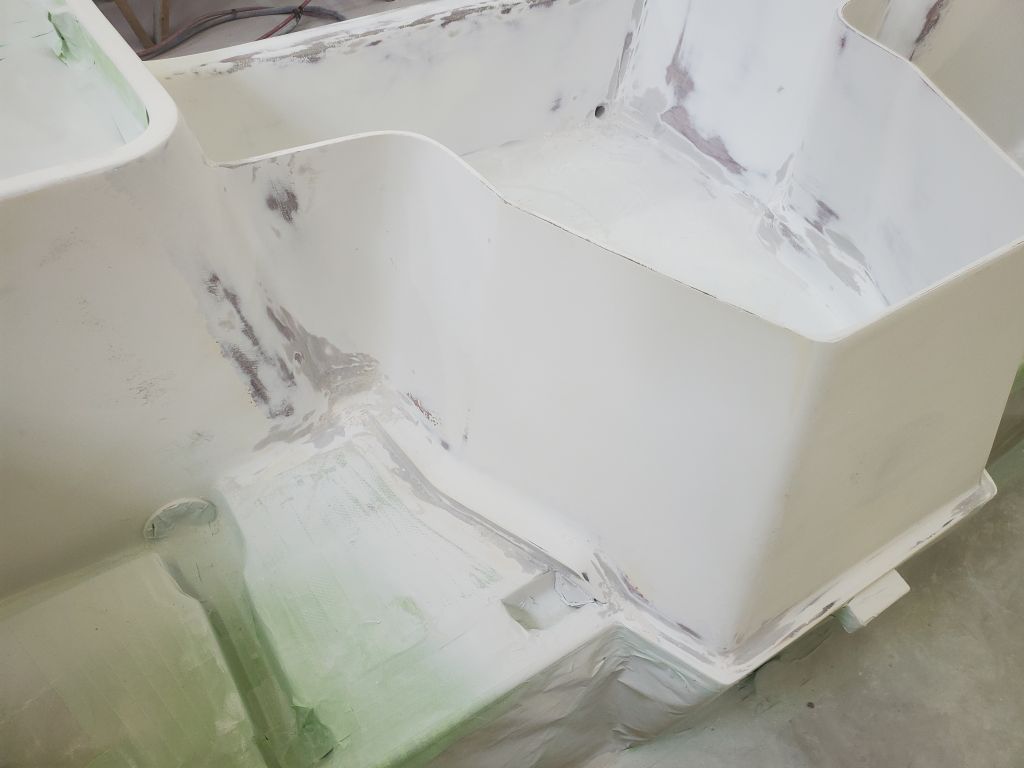
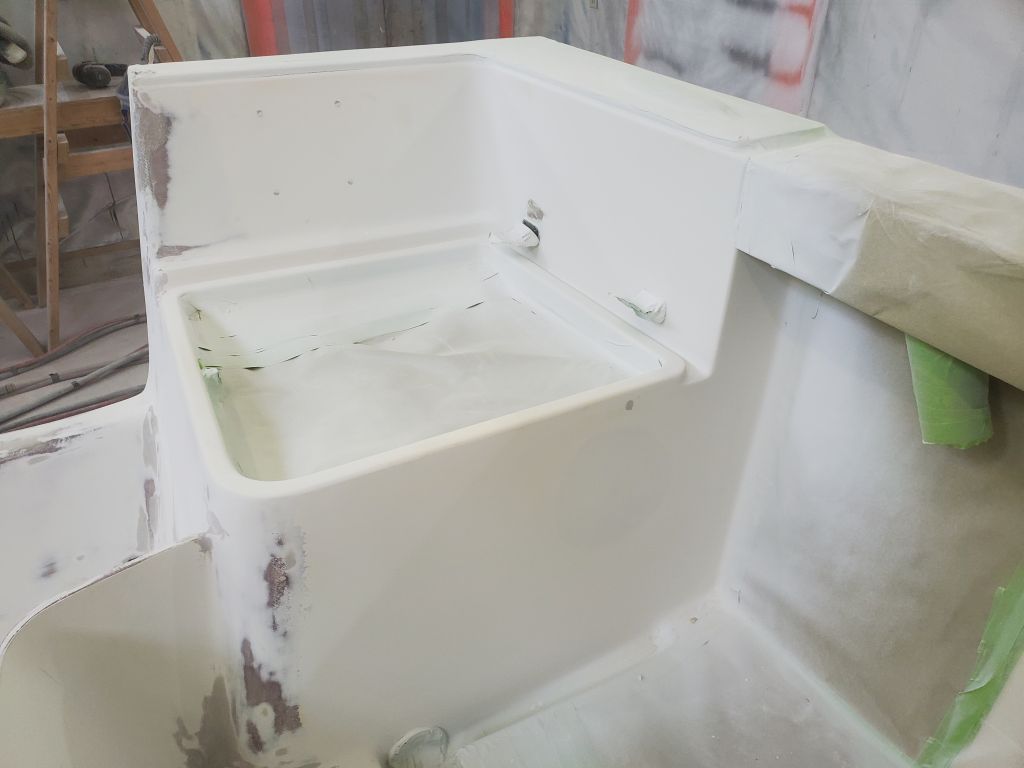
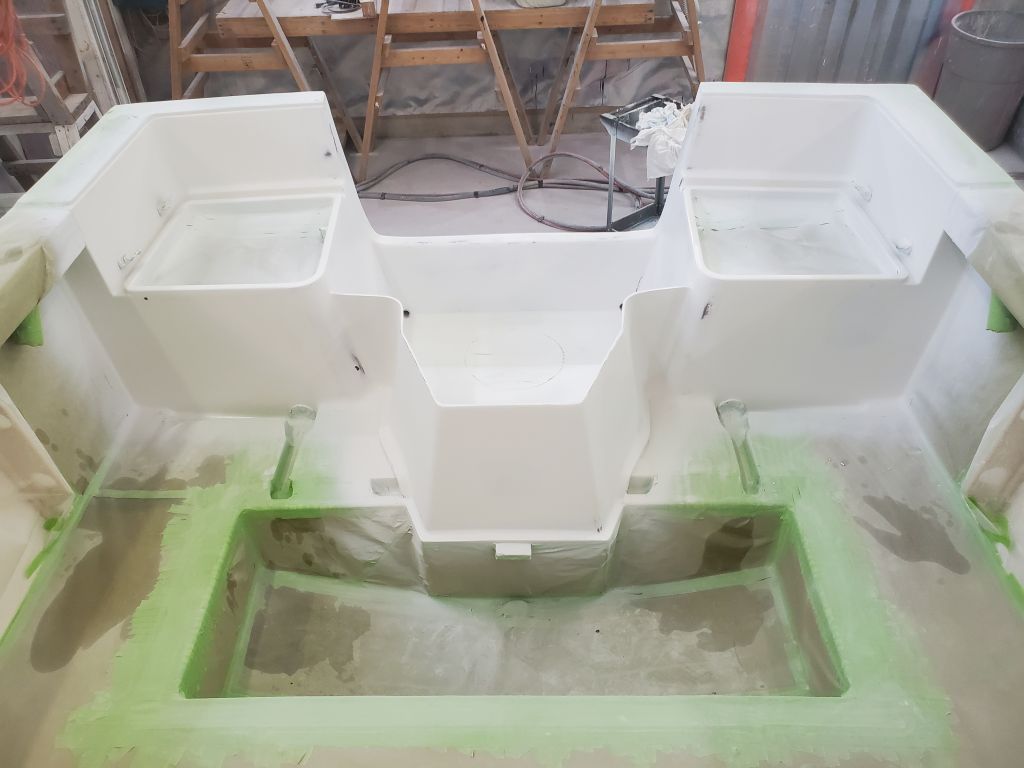
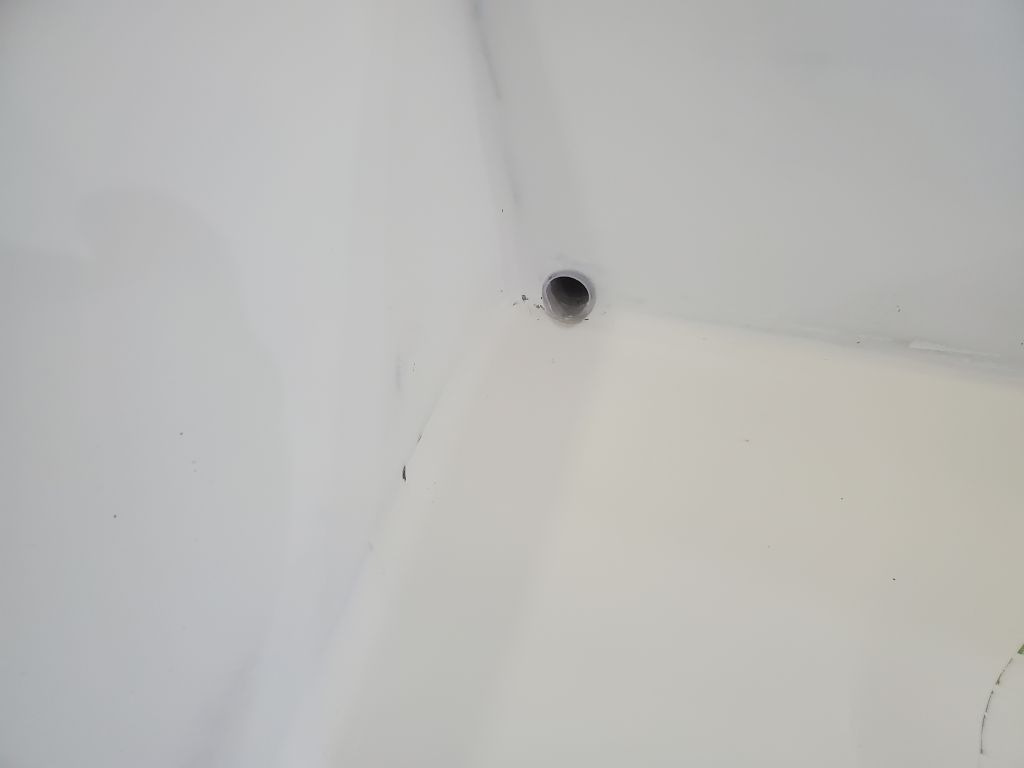
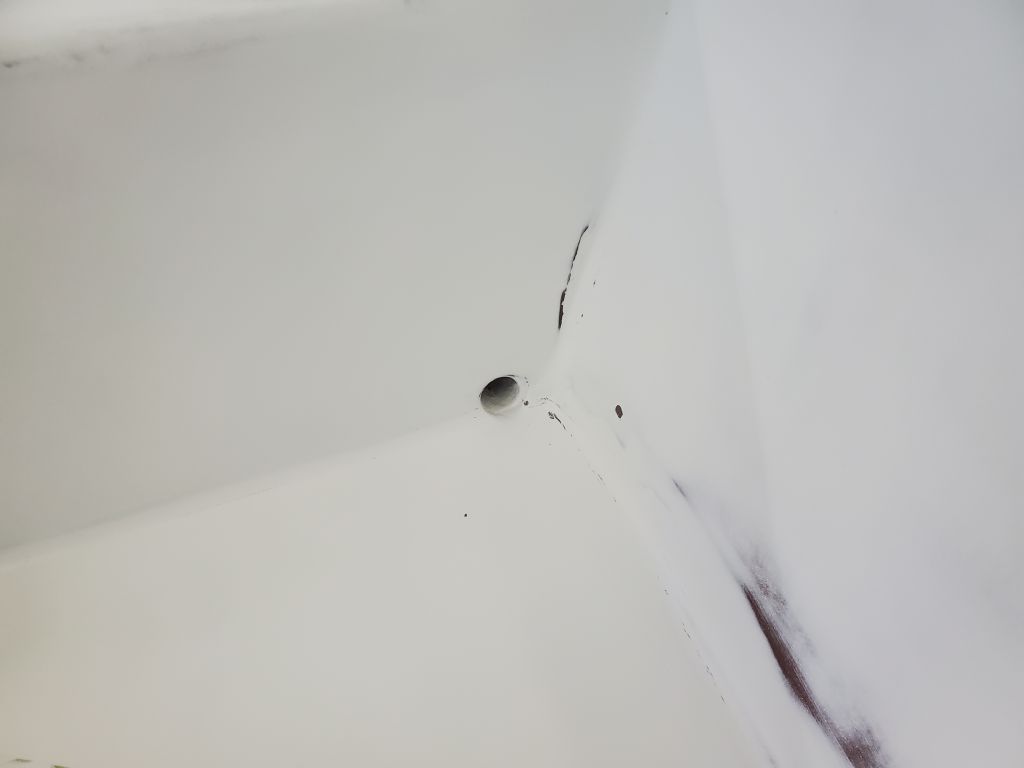
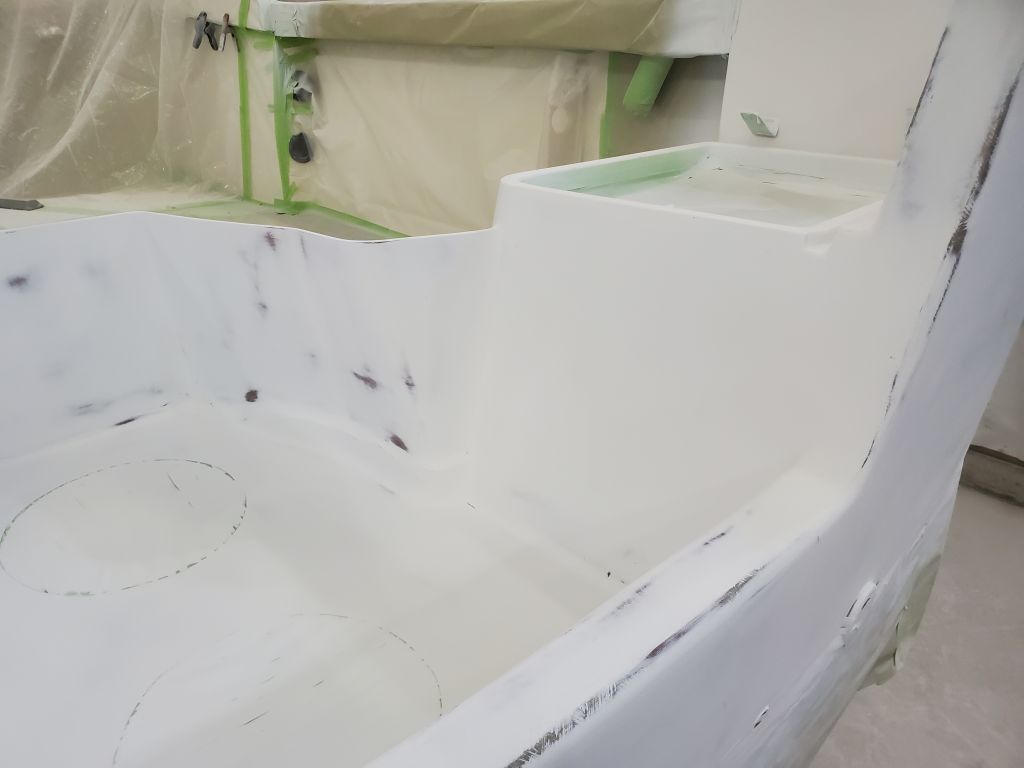
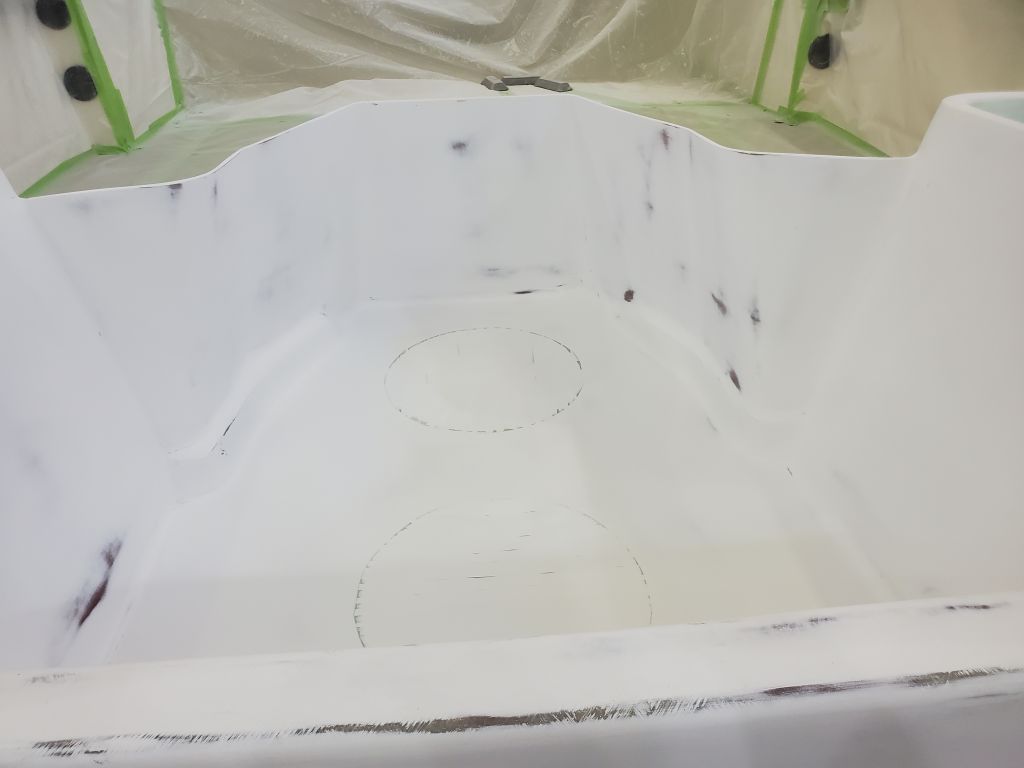
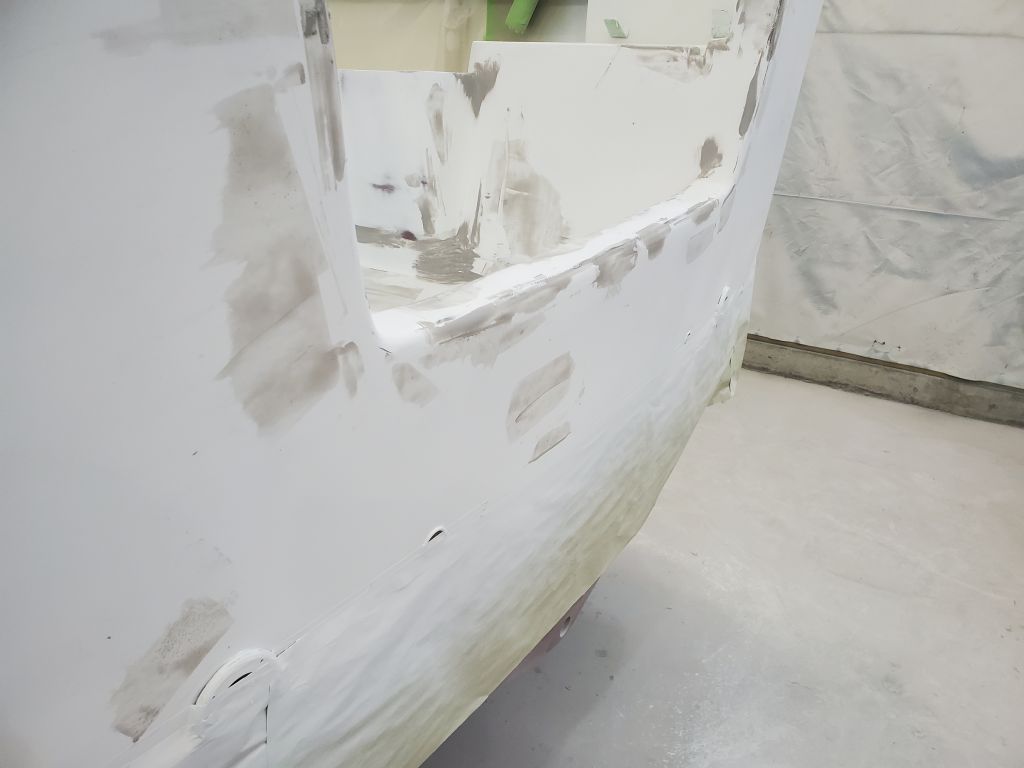
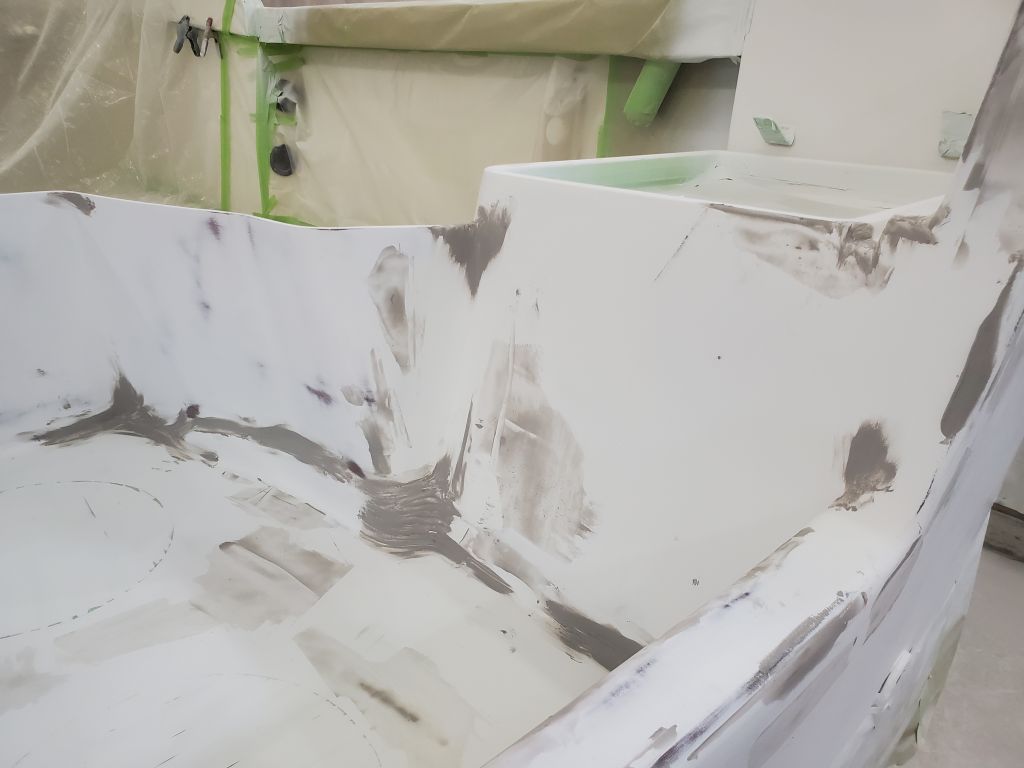
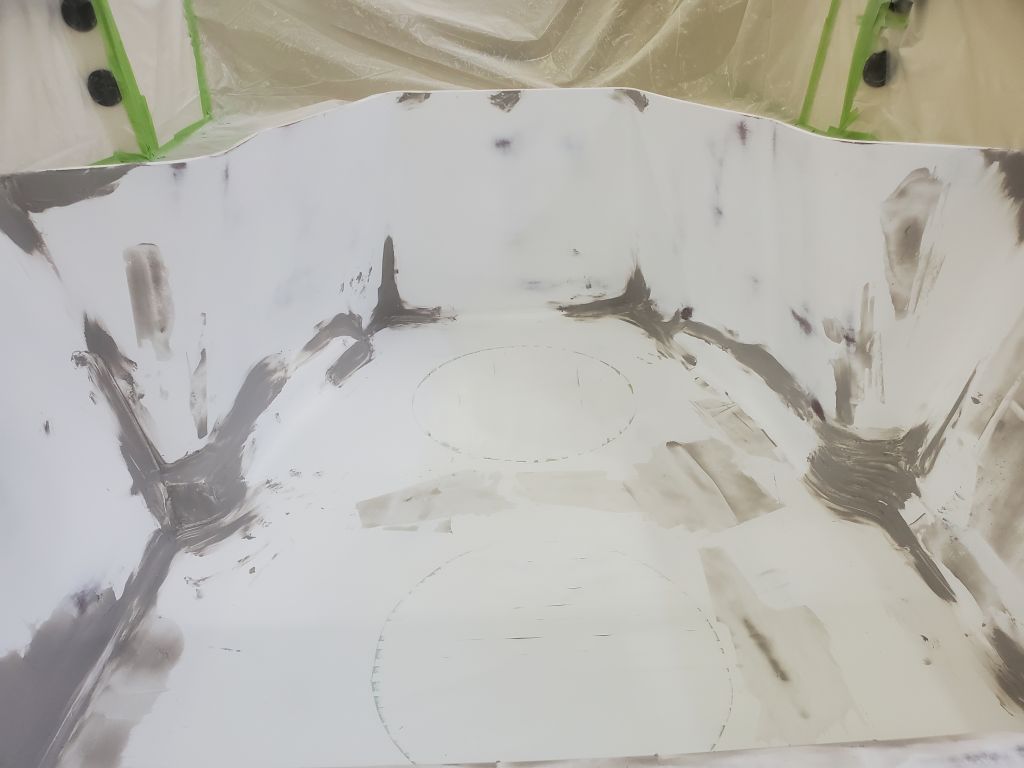
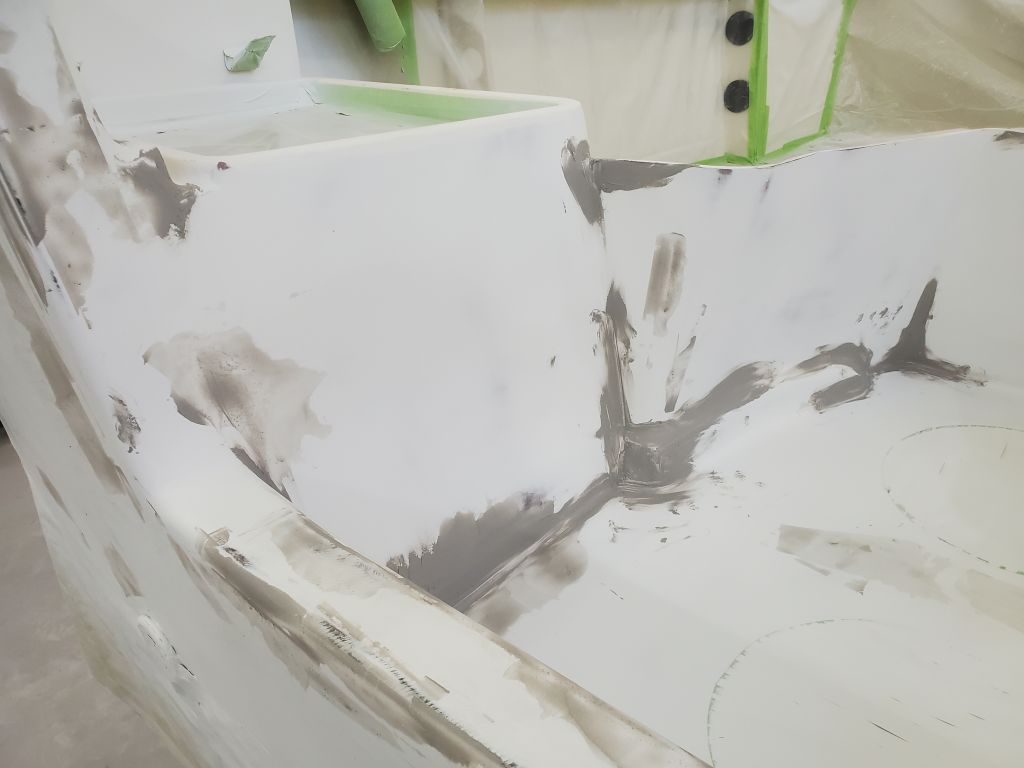
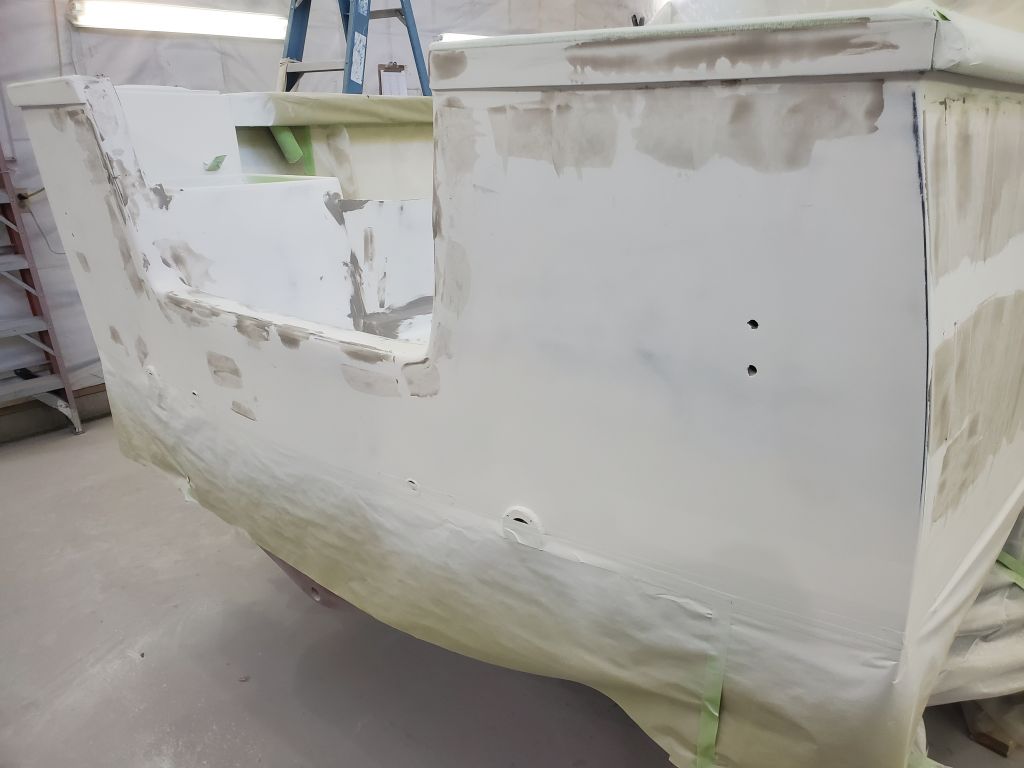
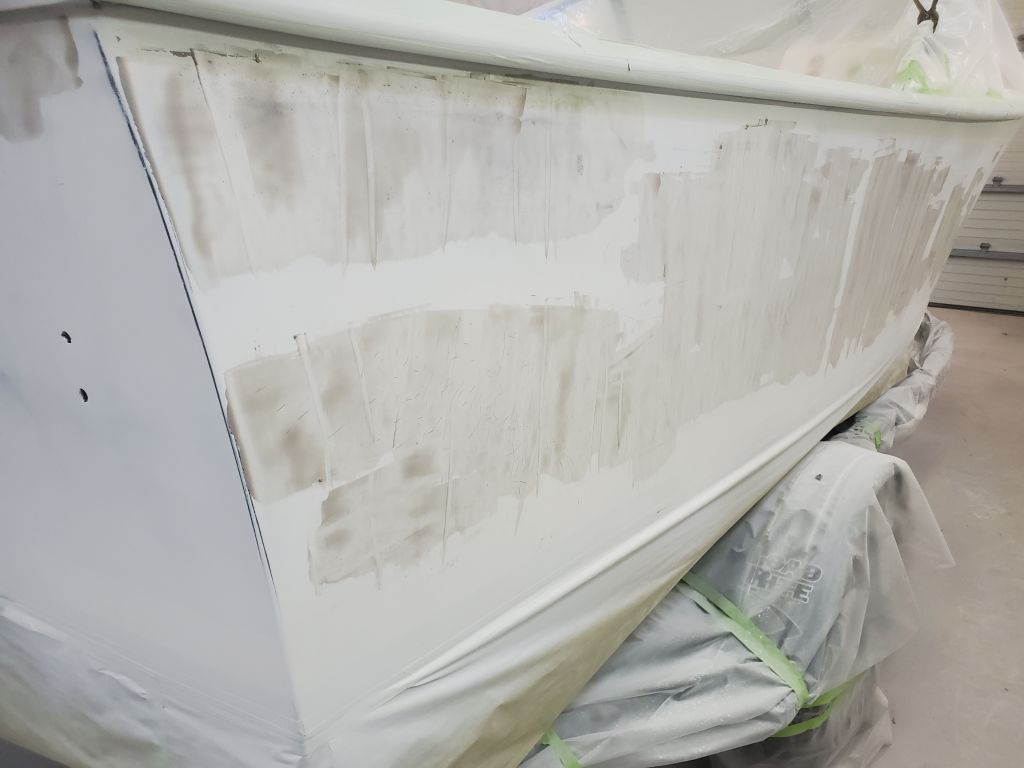
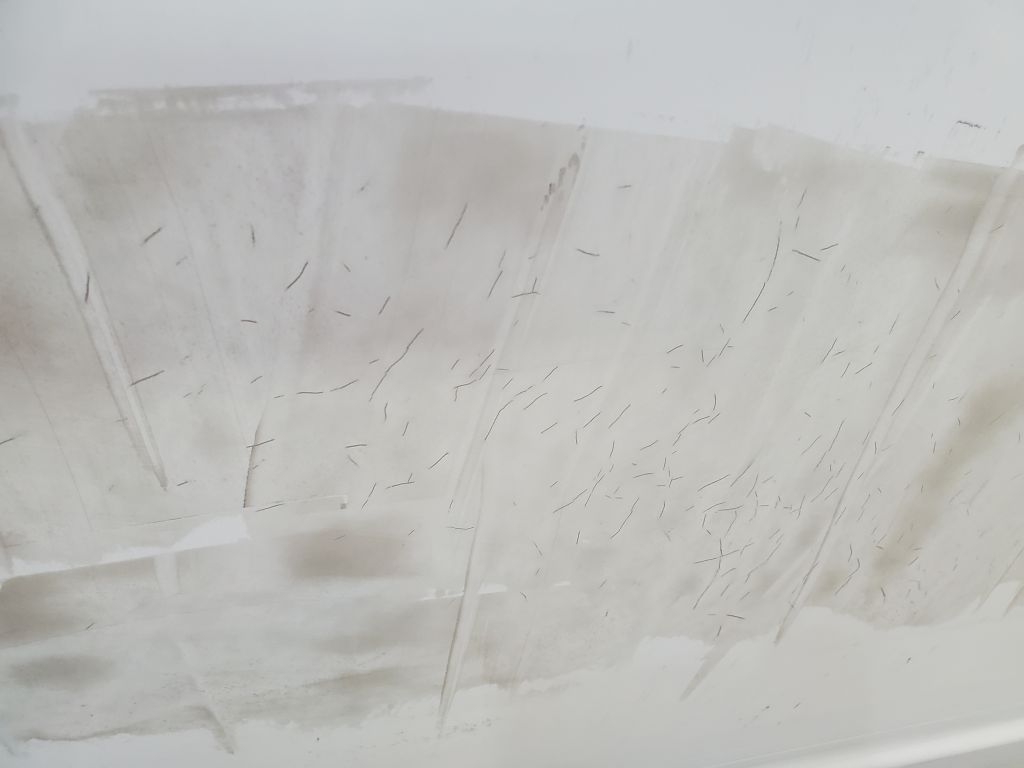
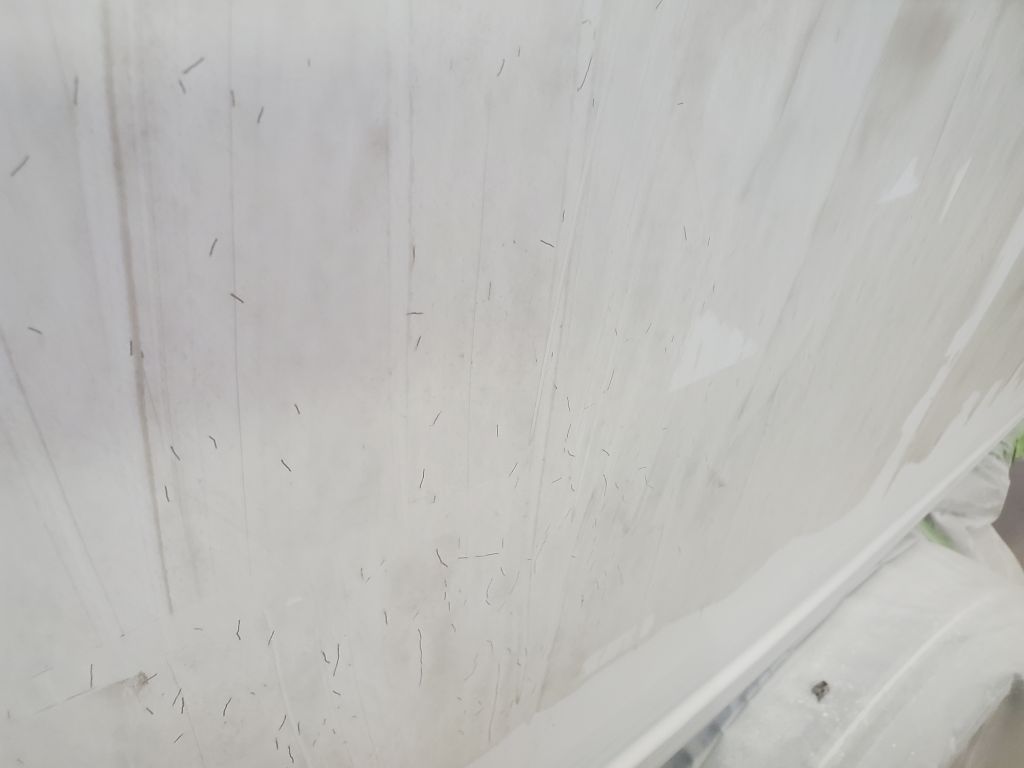
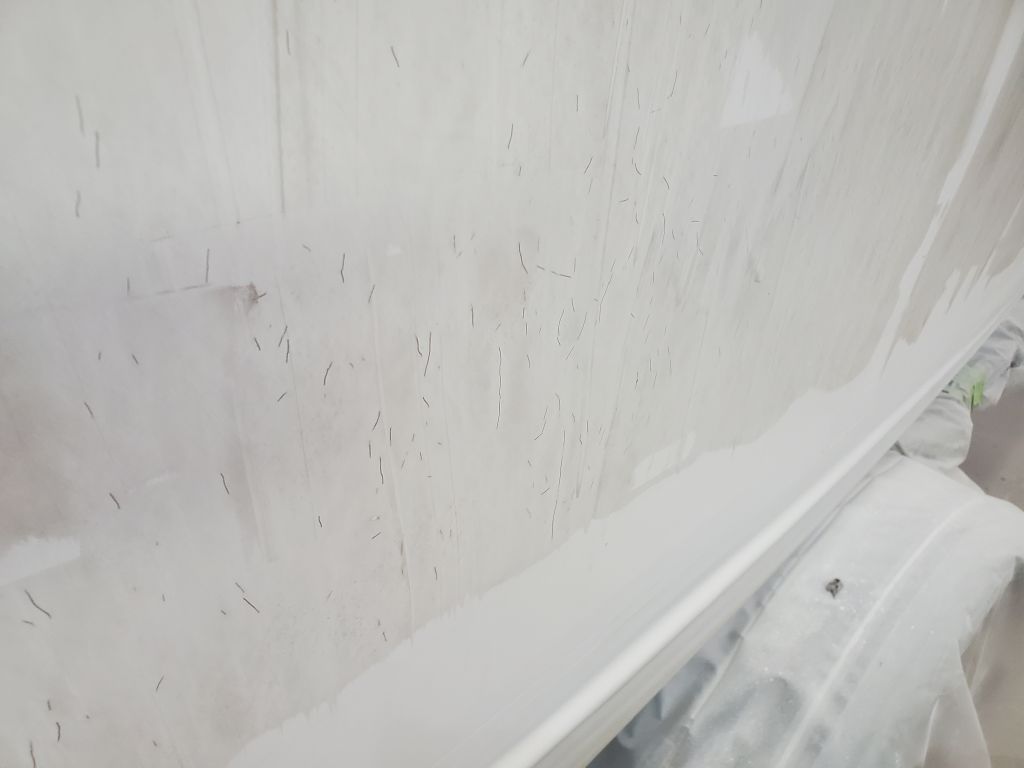
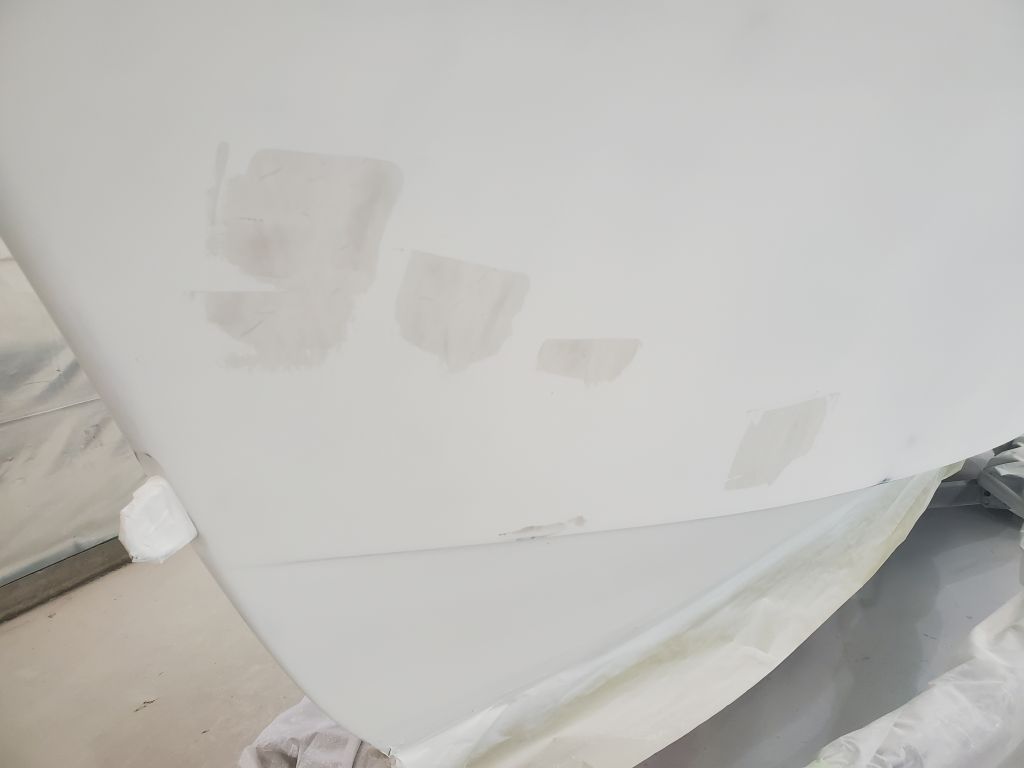
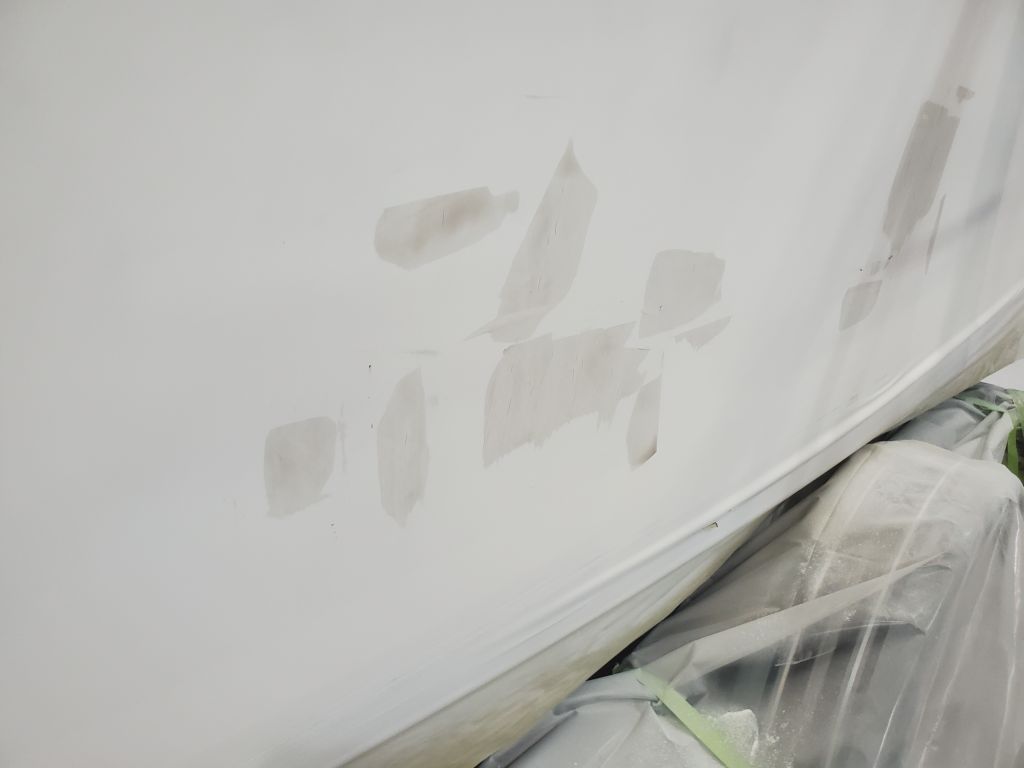
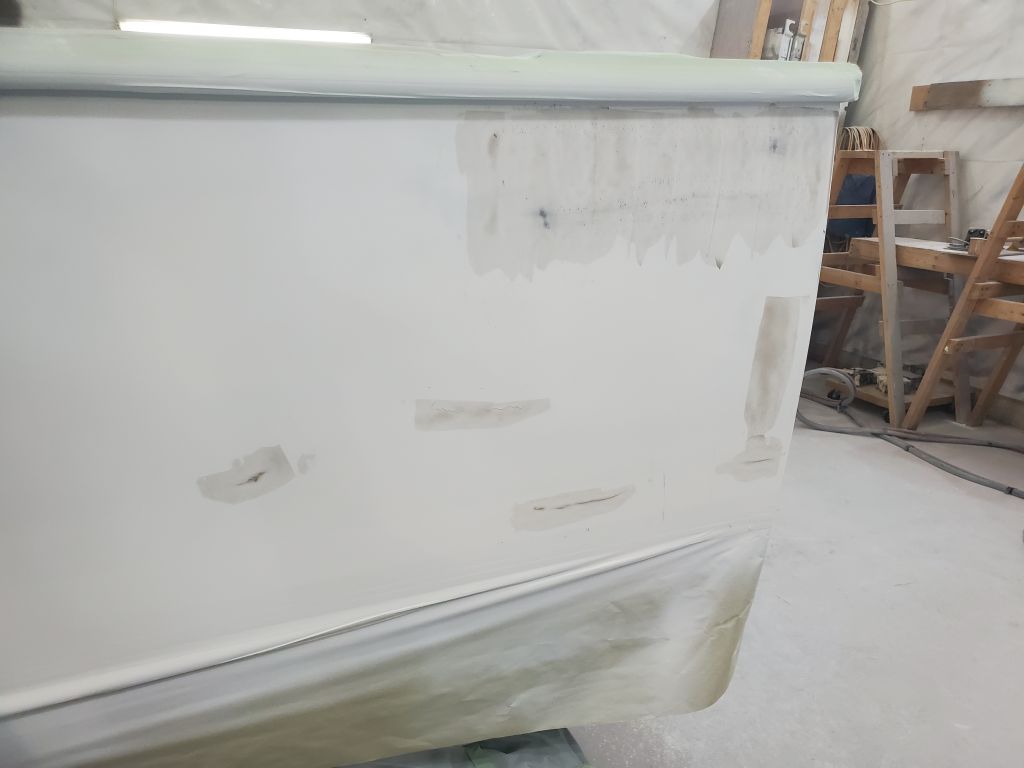
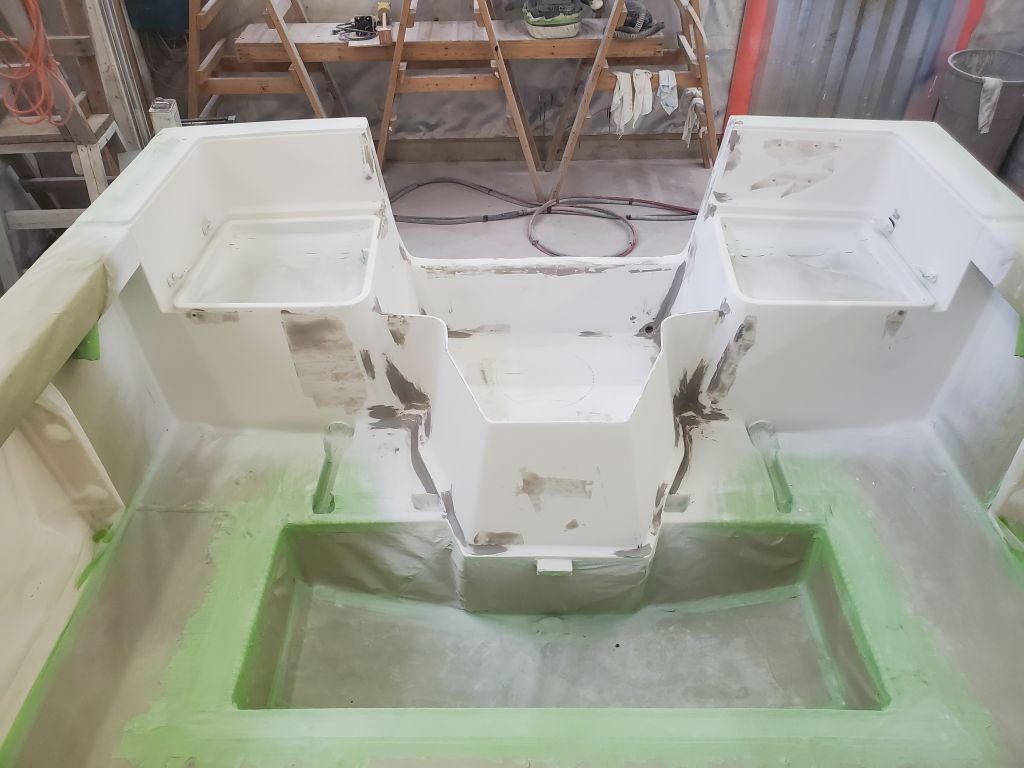
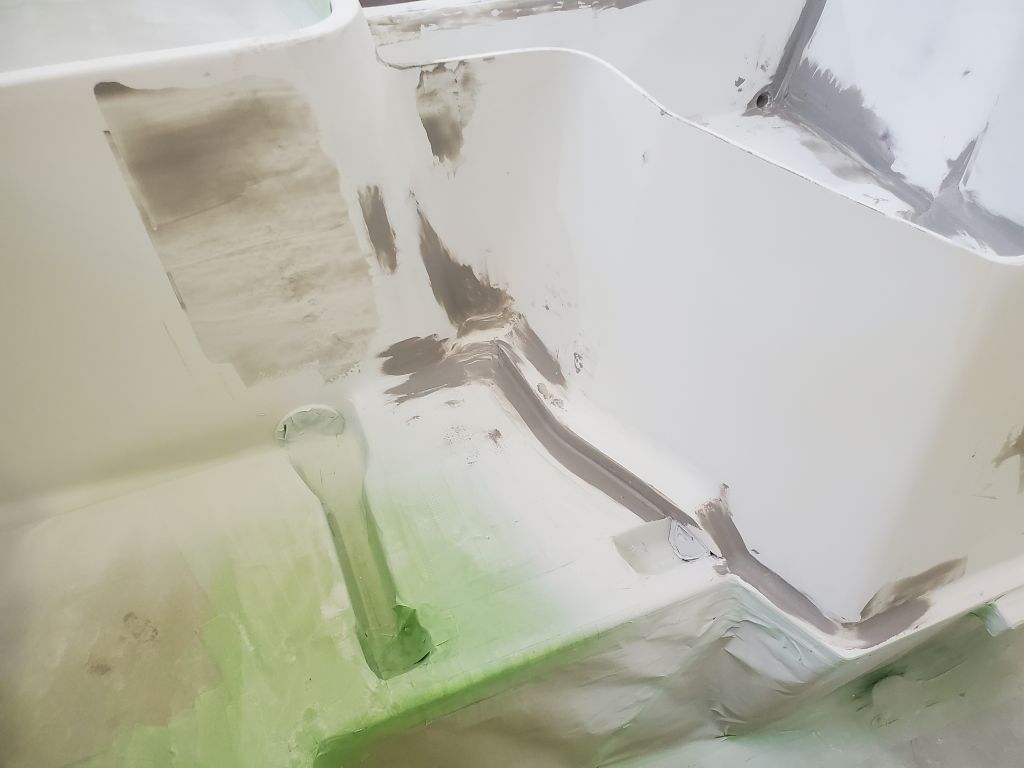
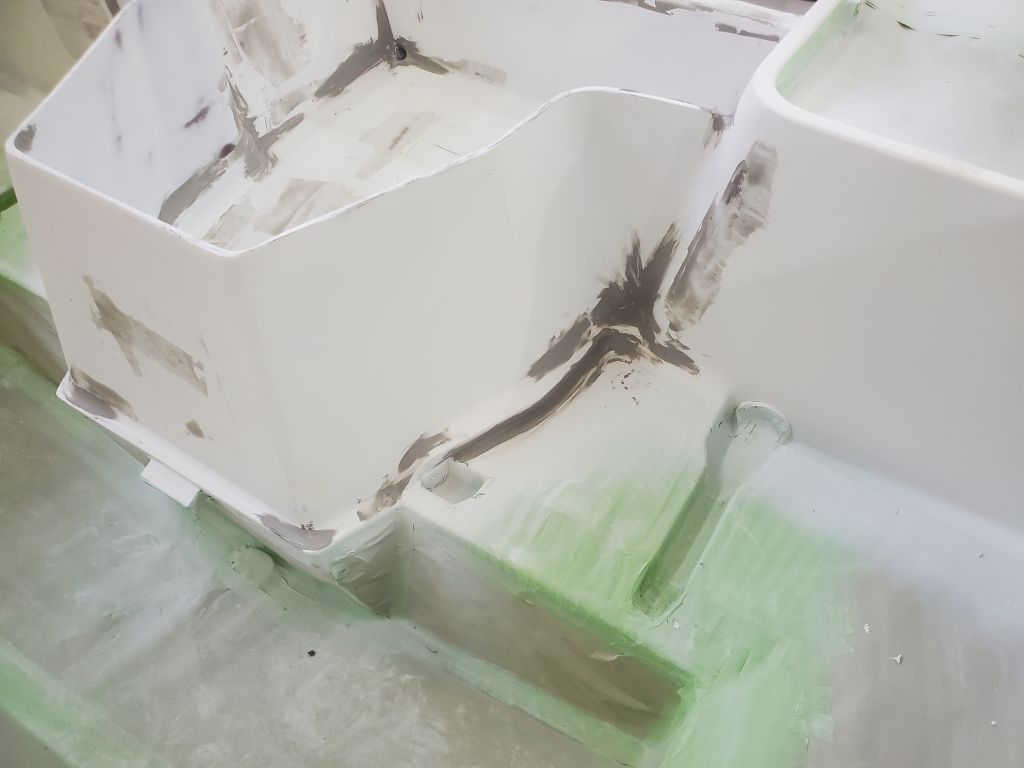
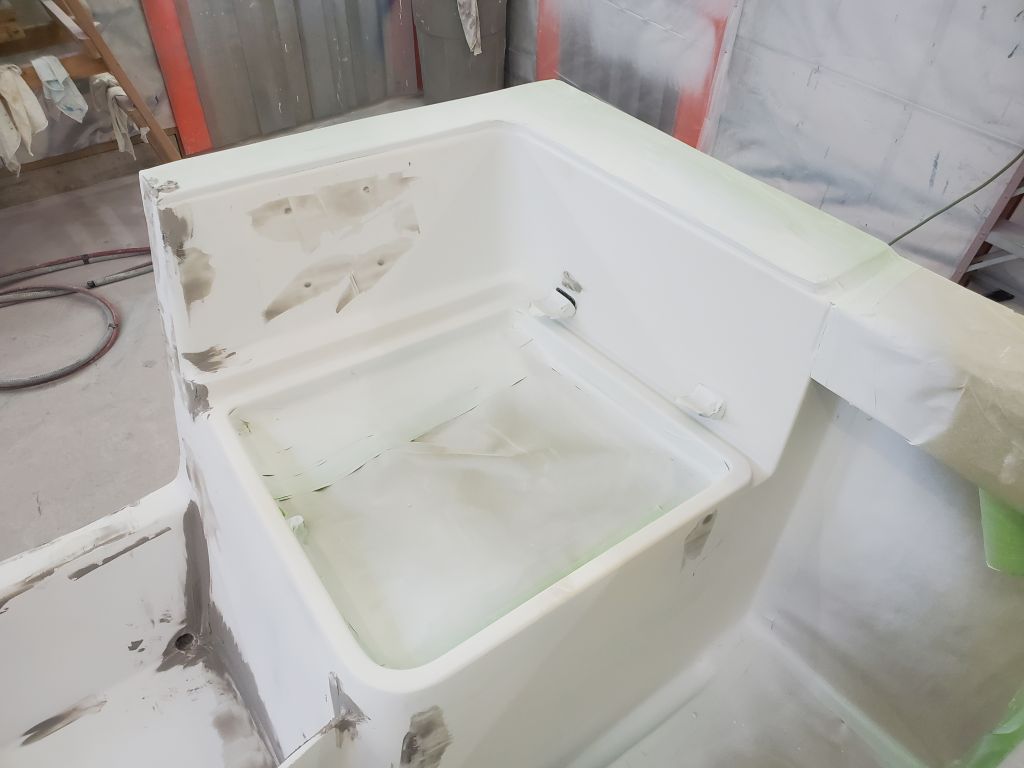
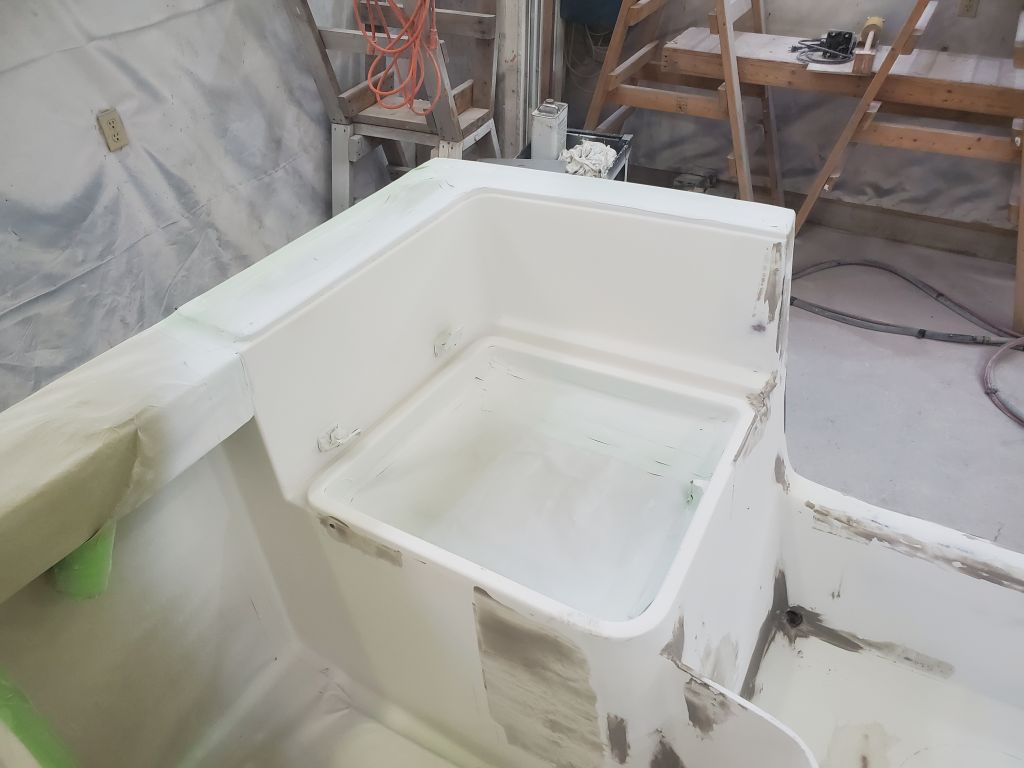
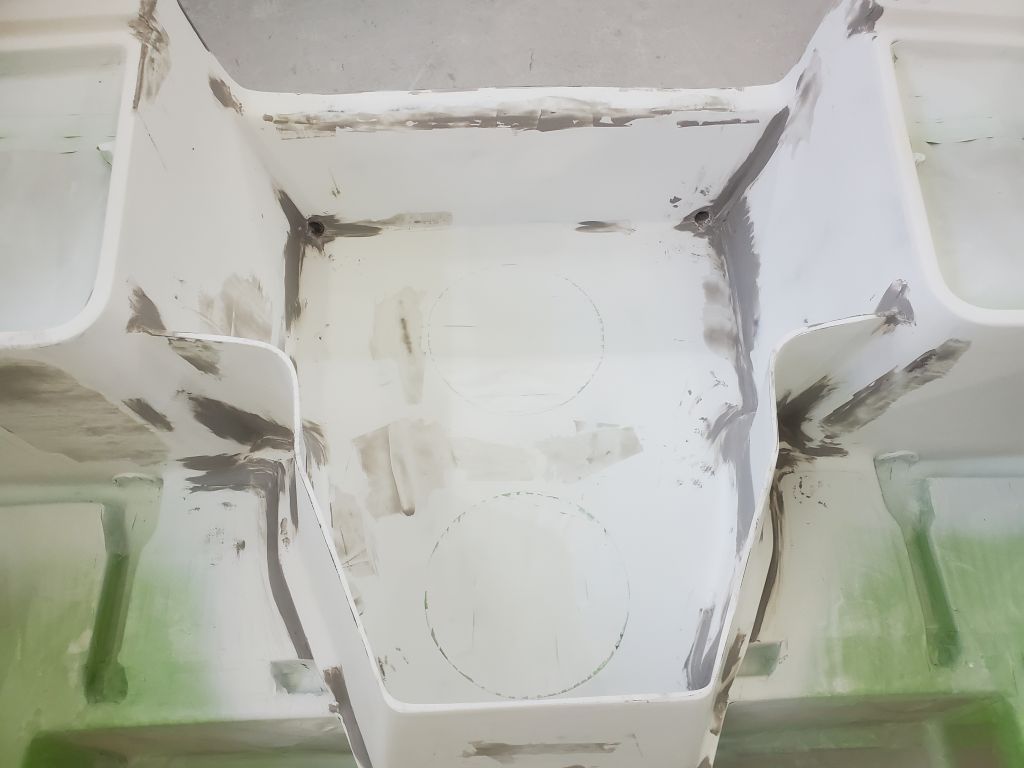
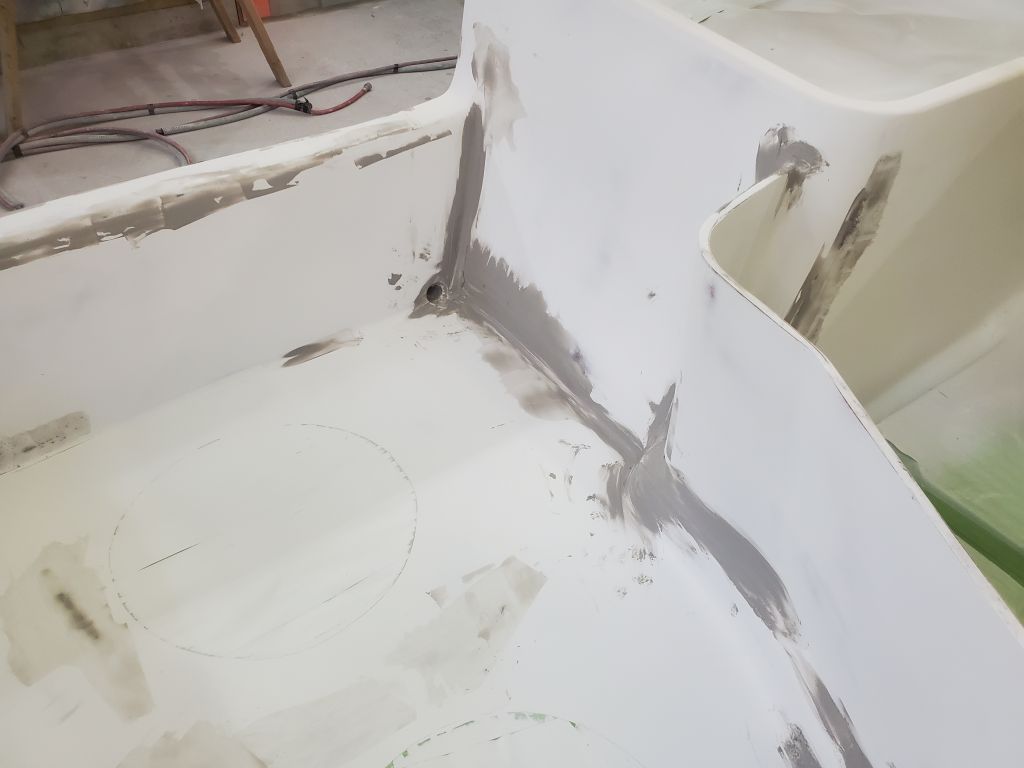
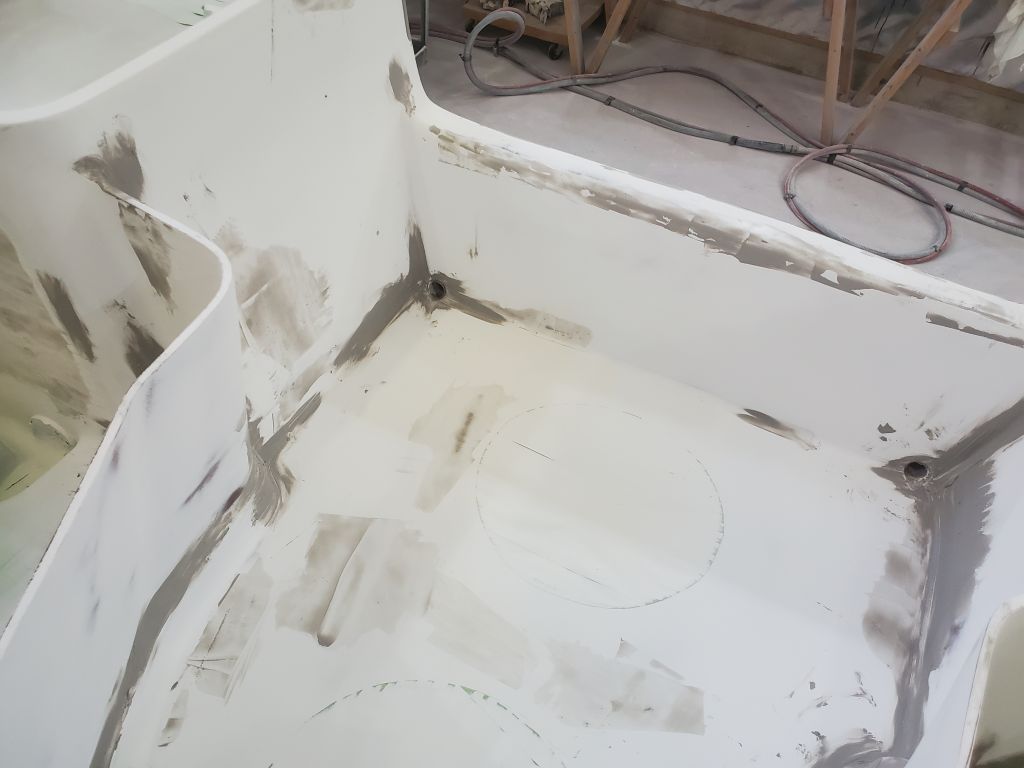
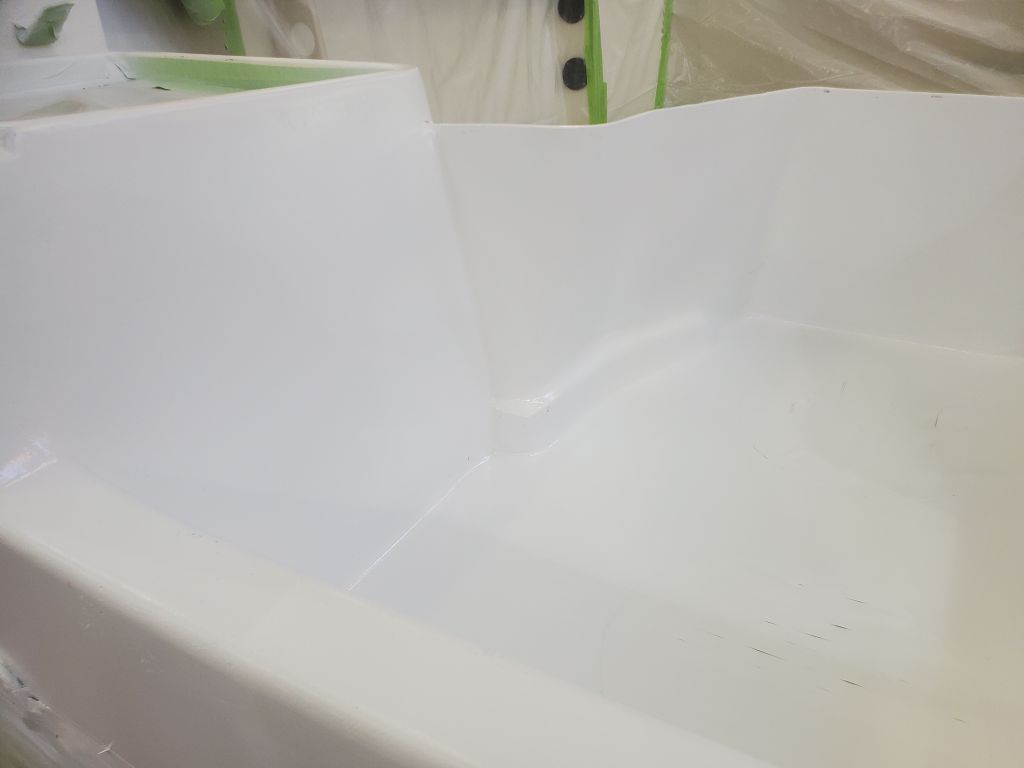
After a morning appointment, I had the afternoon ahead to make some progress on the job. There was a little detail sanding to take care of in the various inside corners and thereabouts the cockpit and outboard well, which I took care of first.
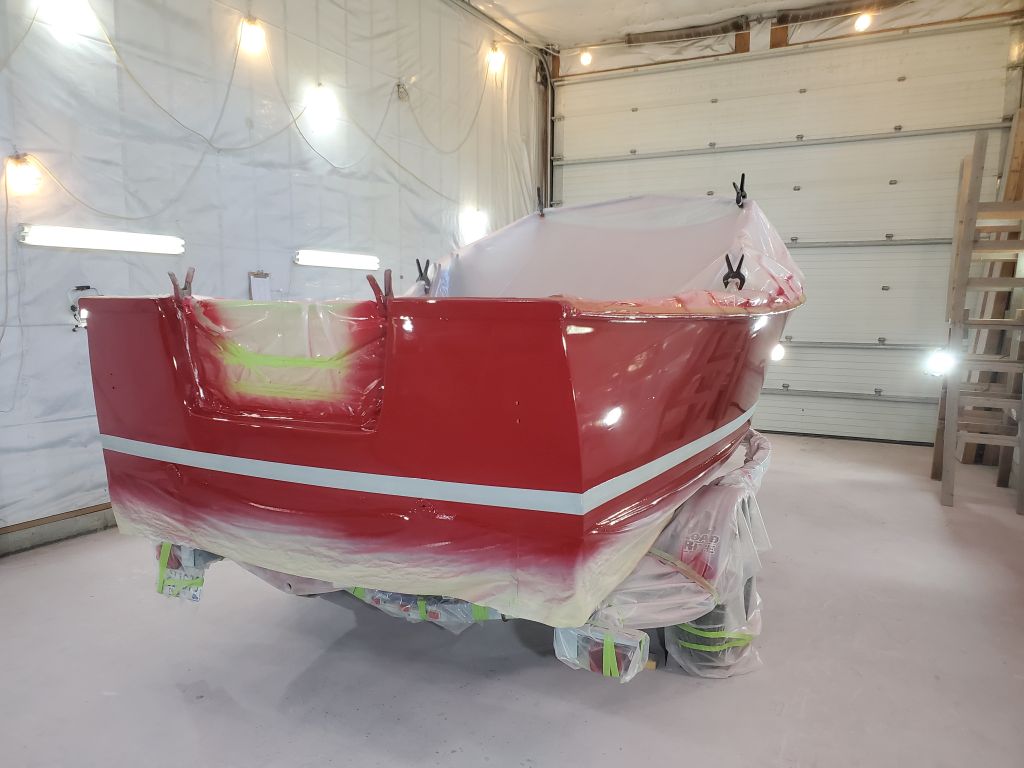
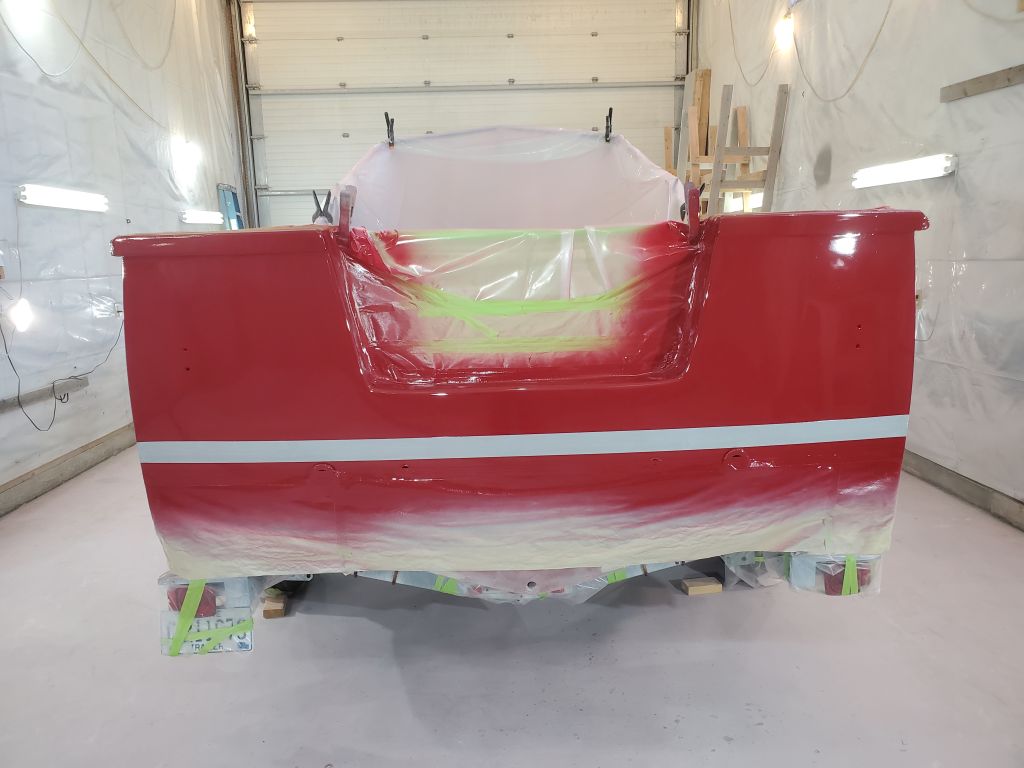
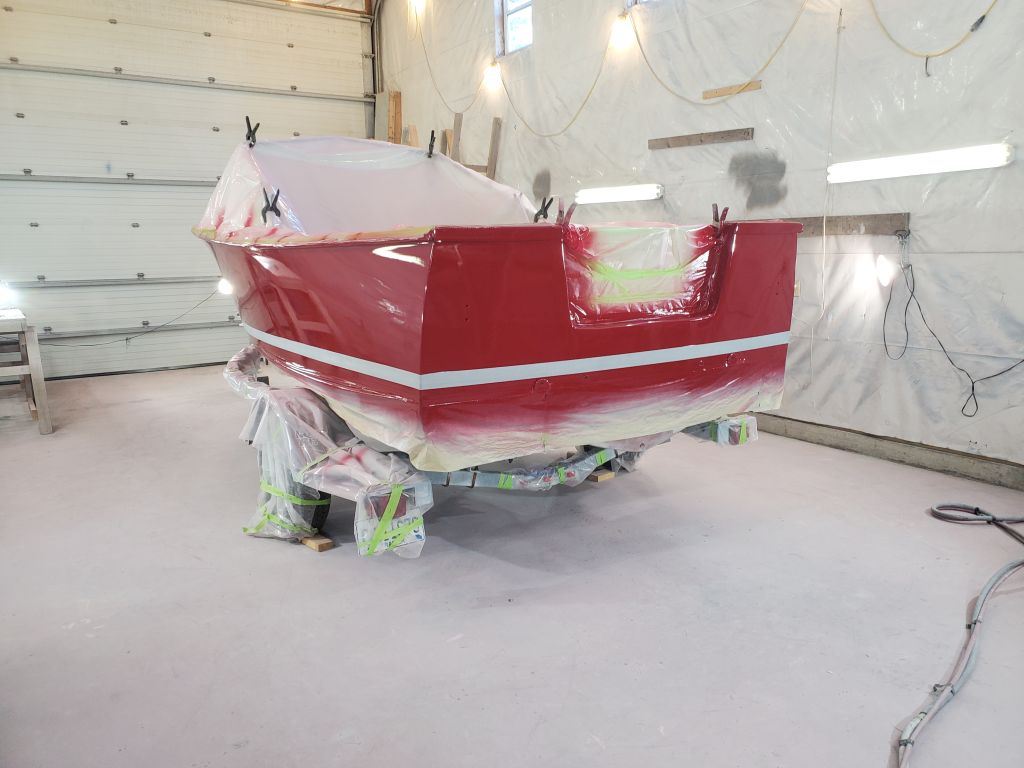
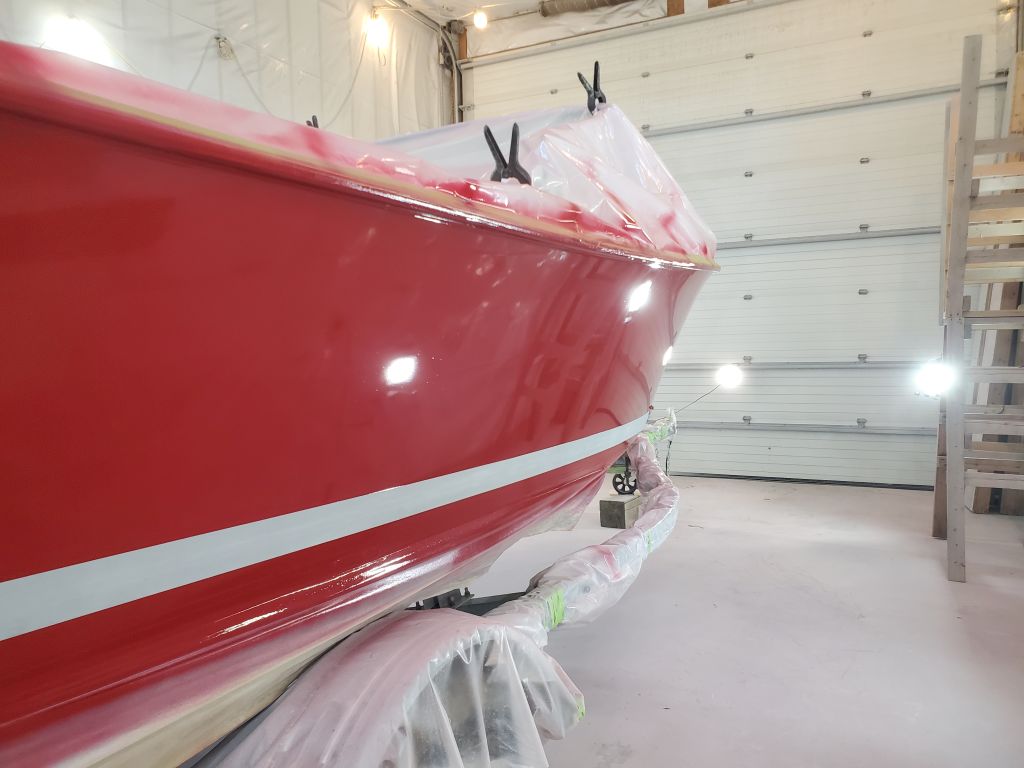
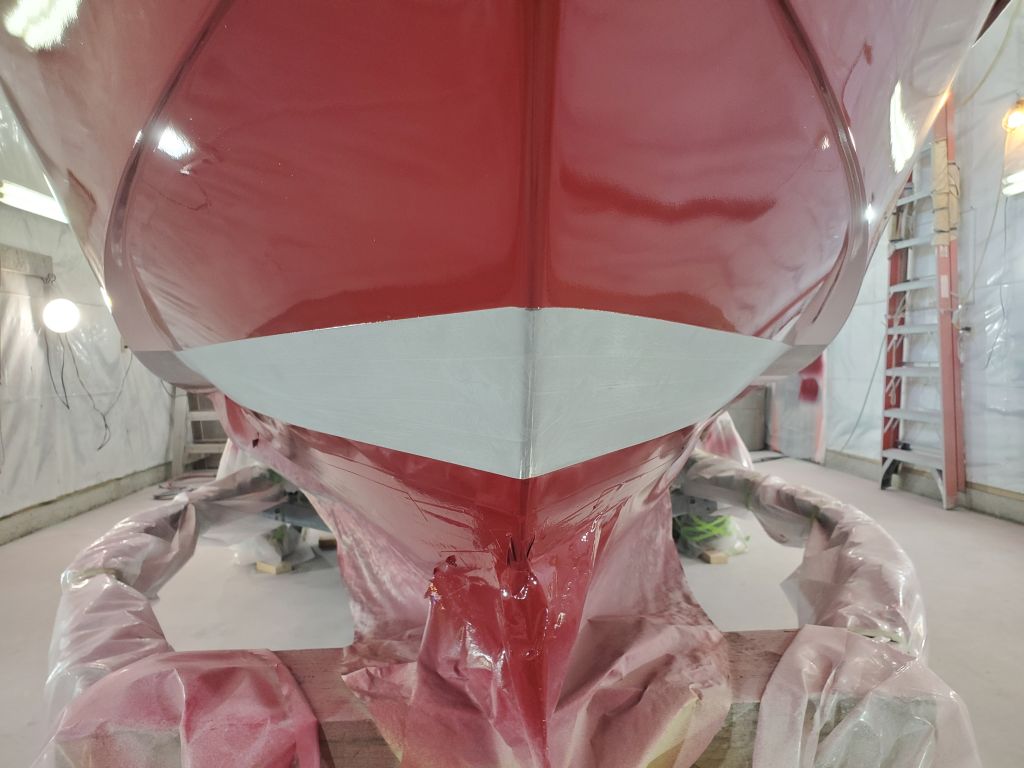
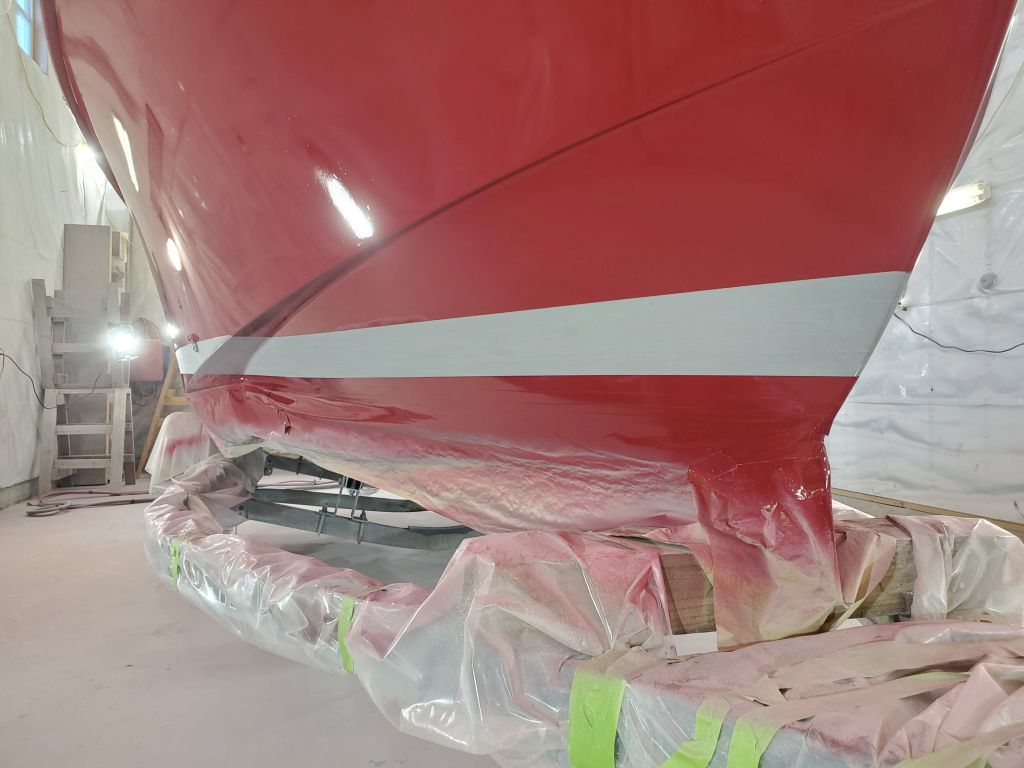
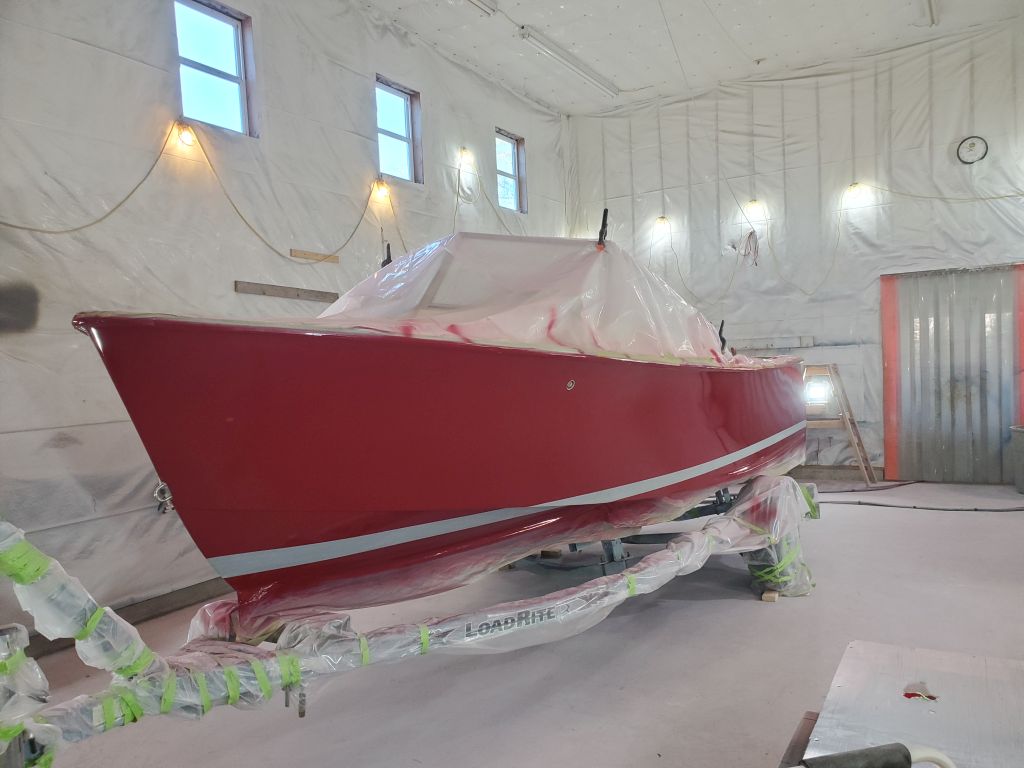
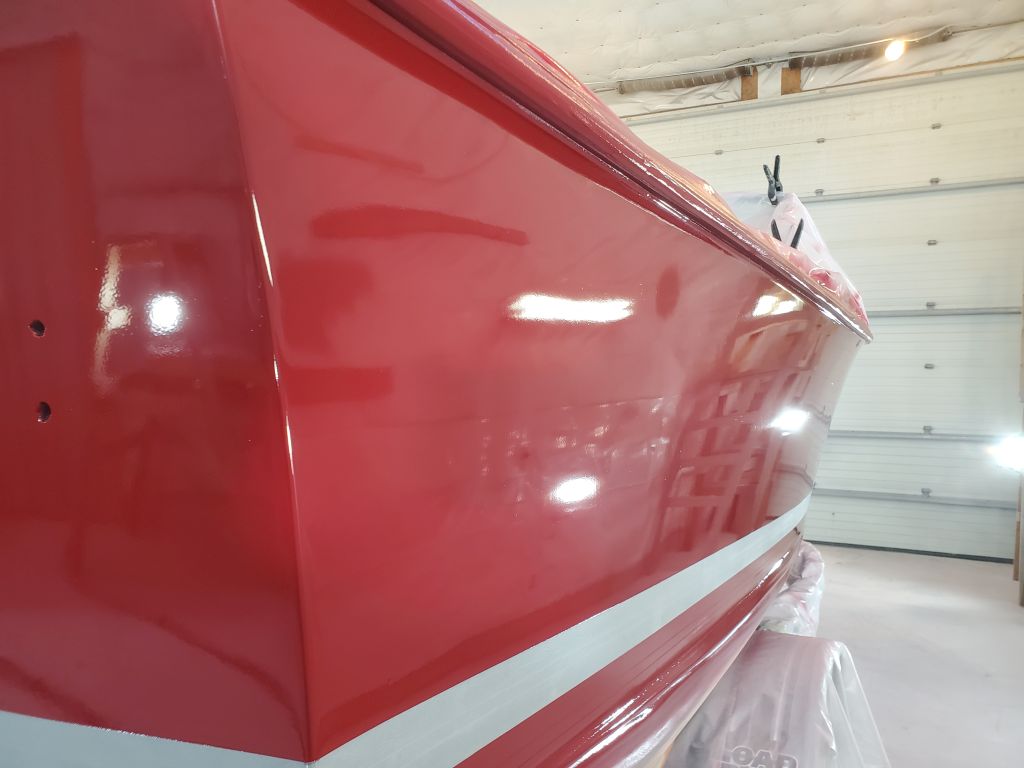
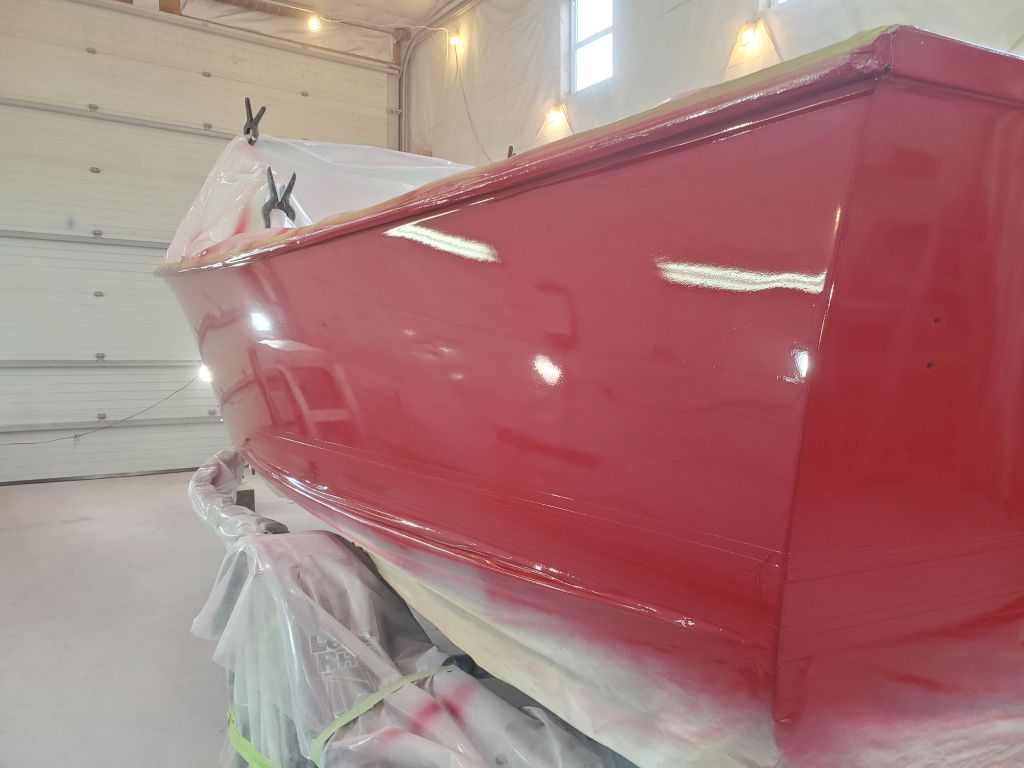
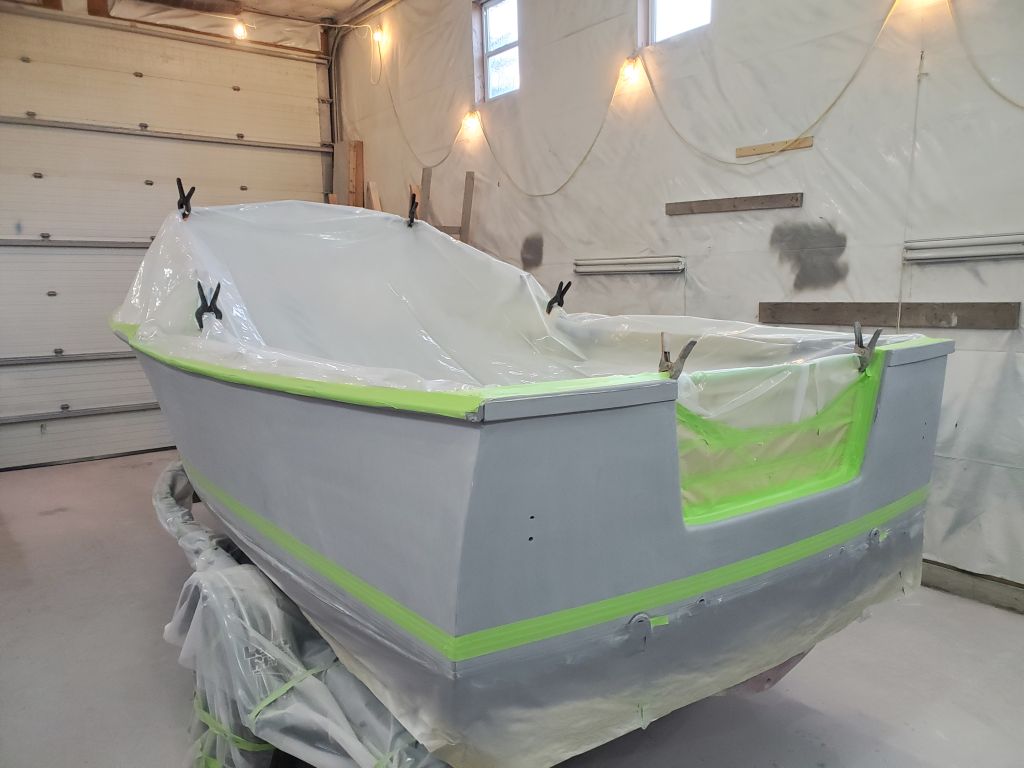
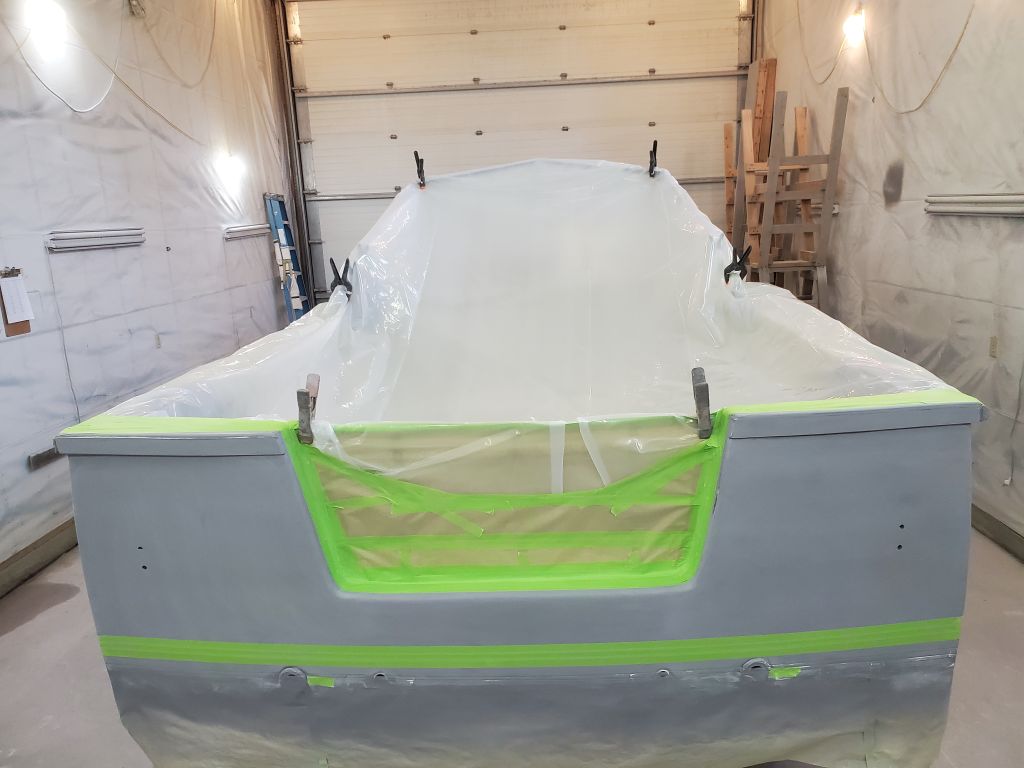
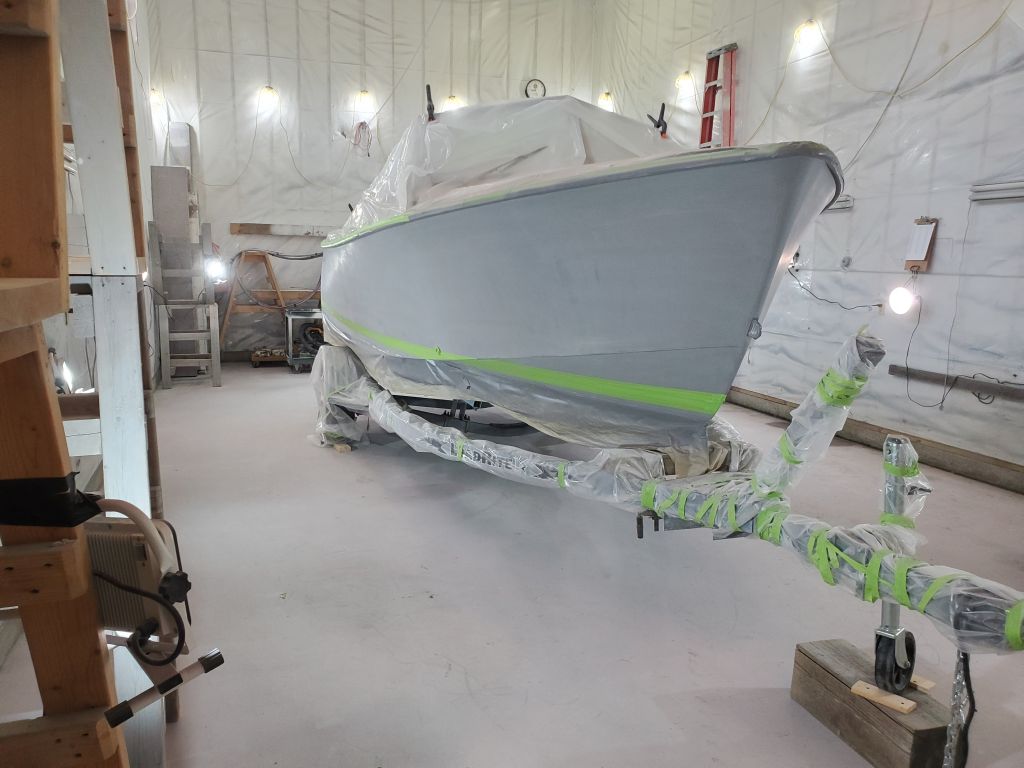
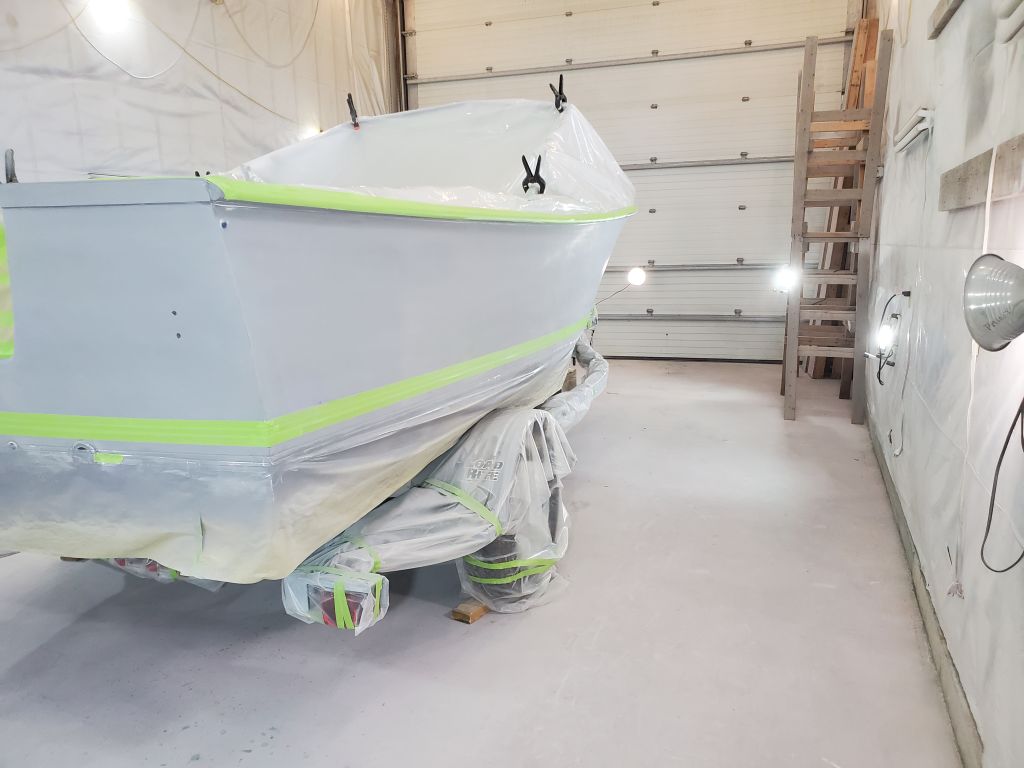
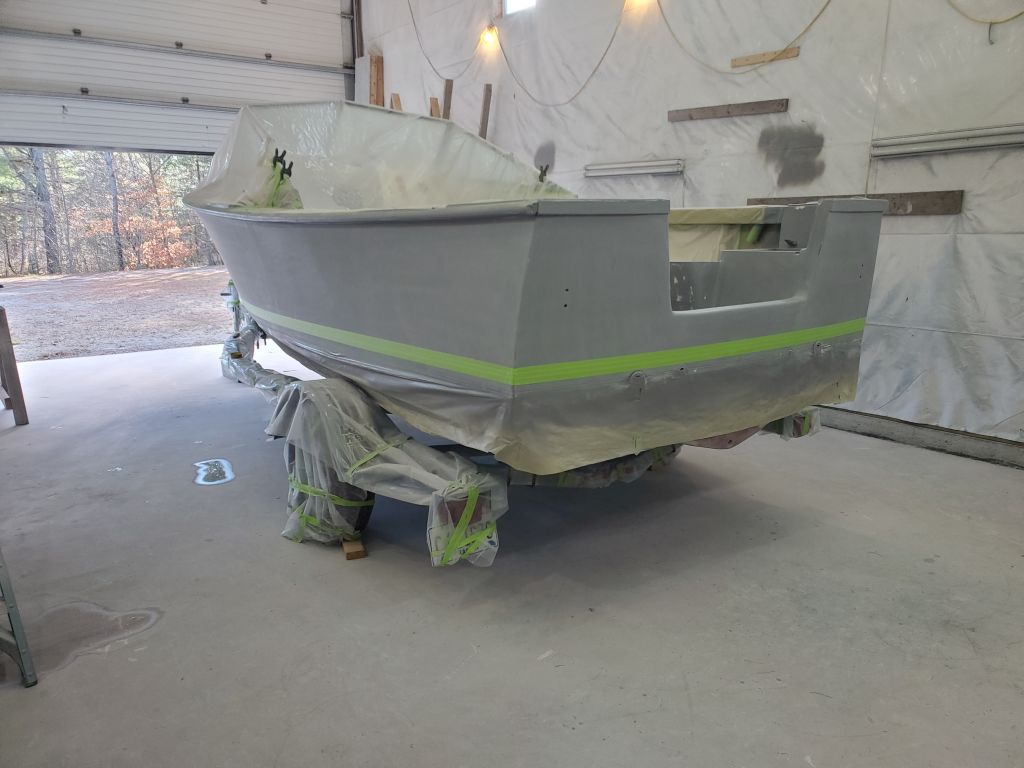
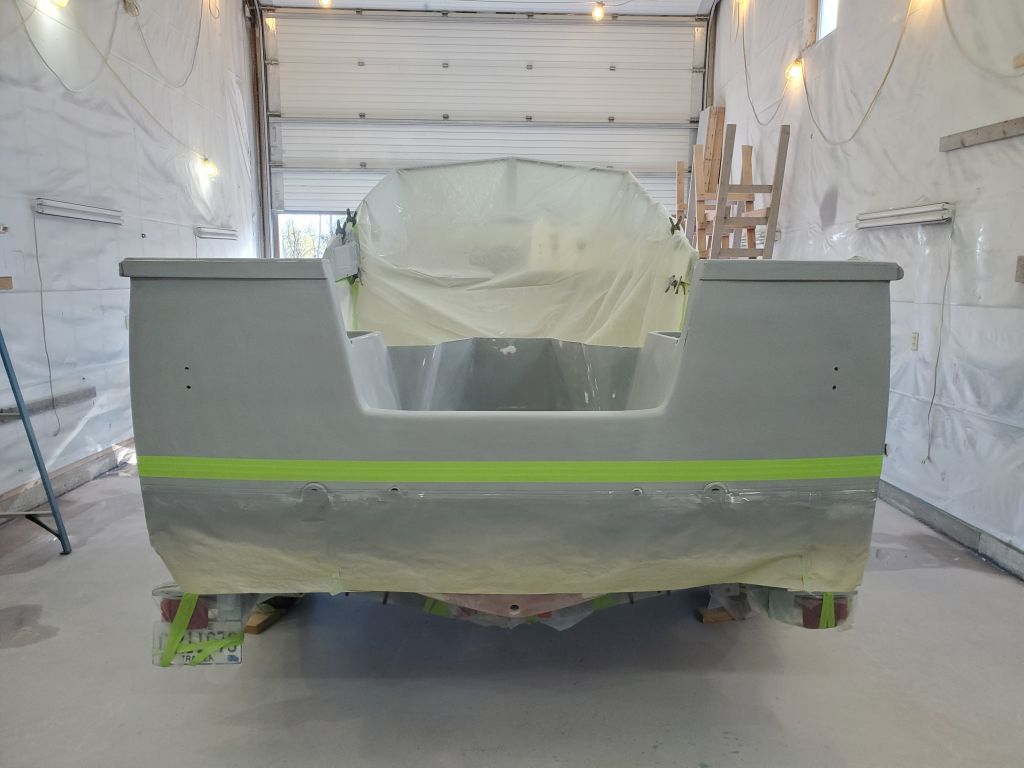
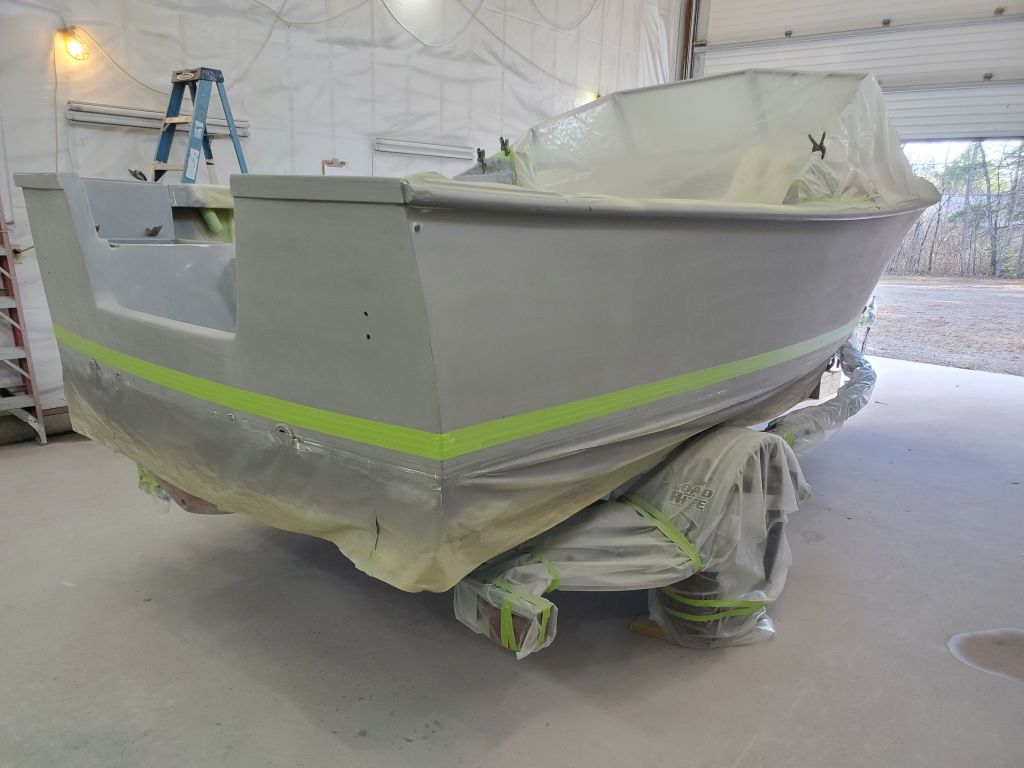
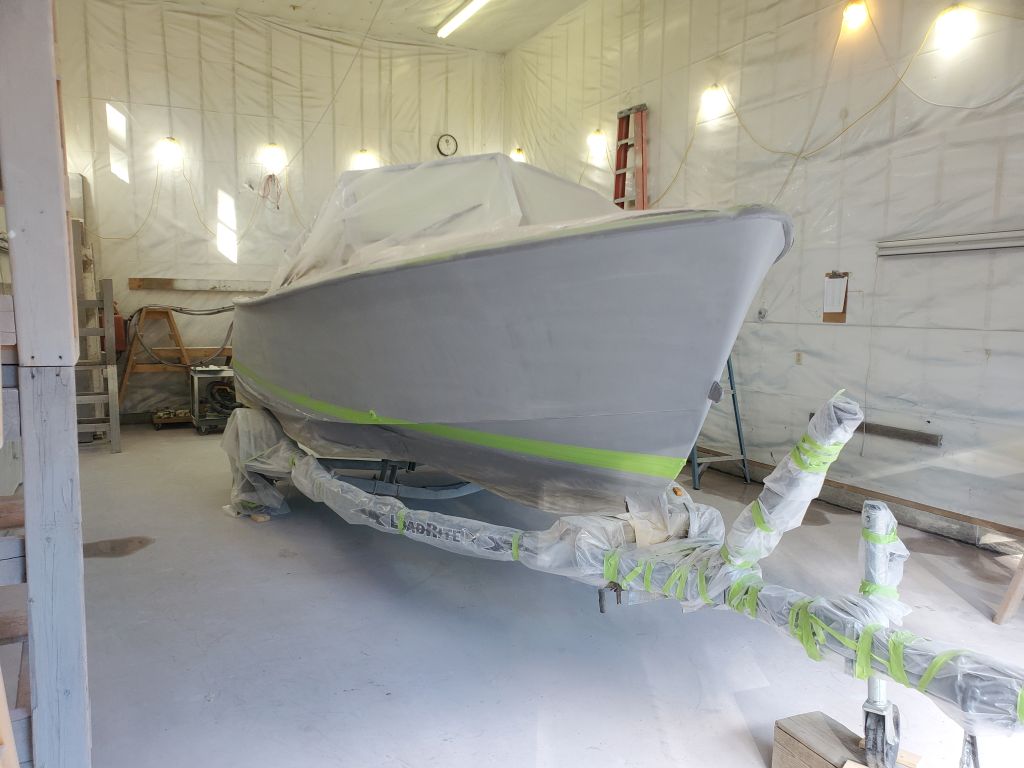
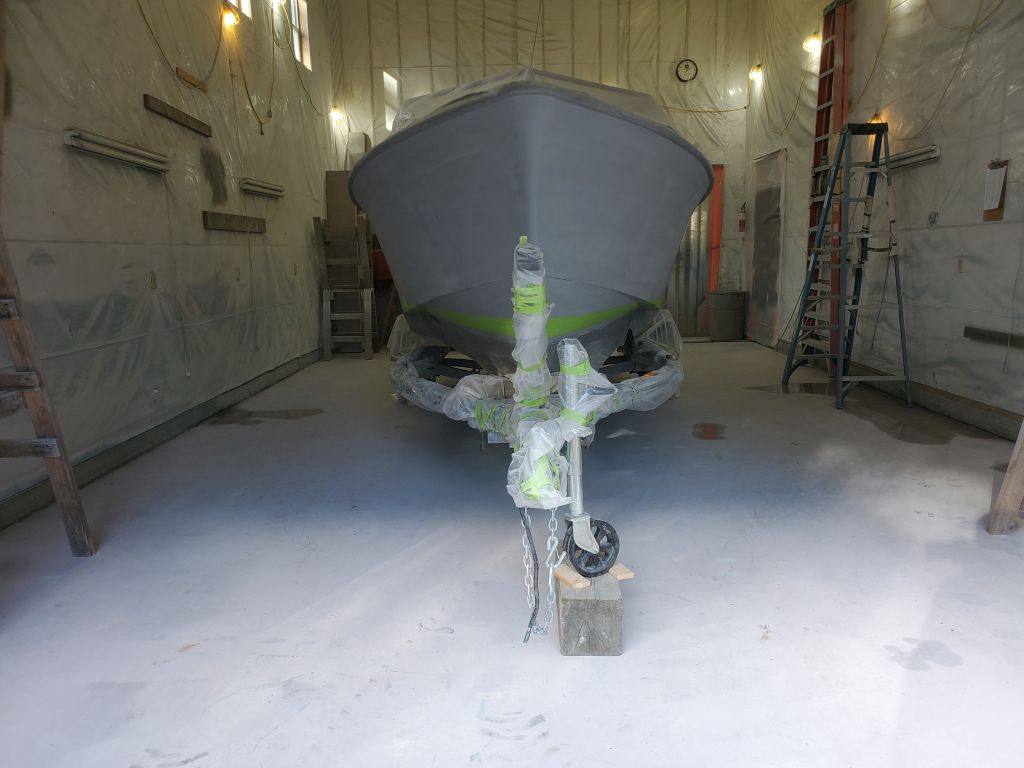
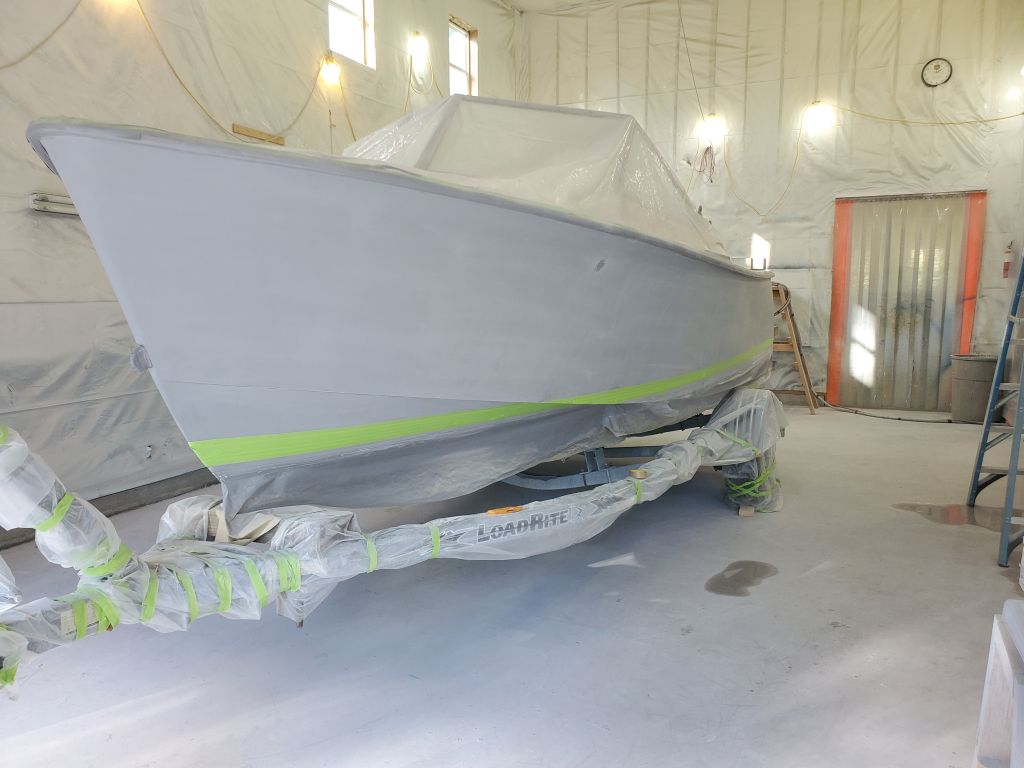
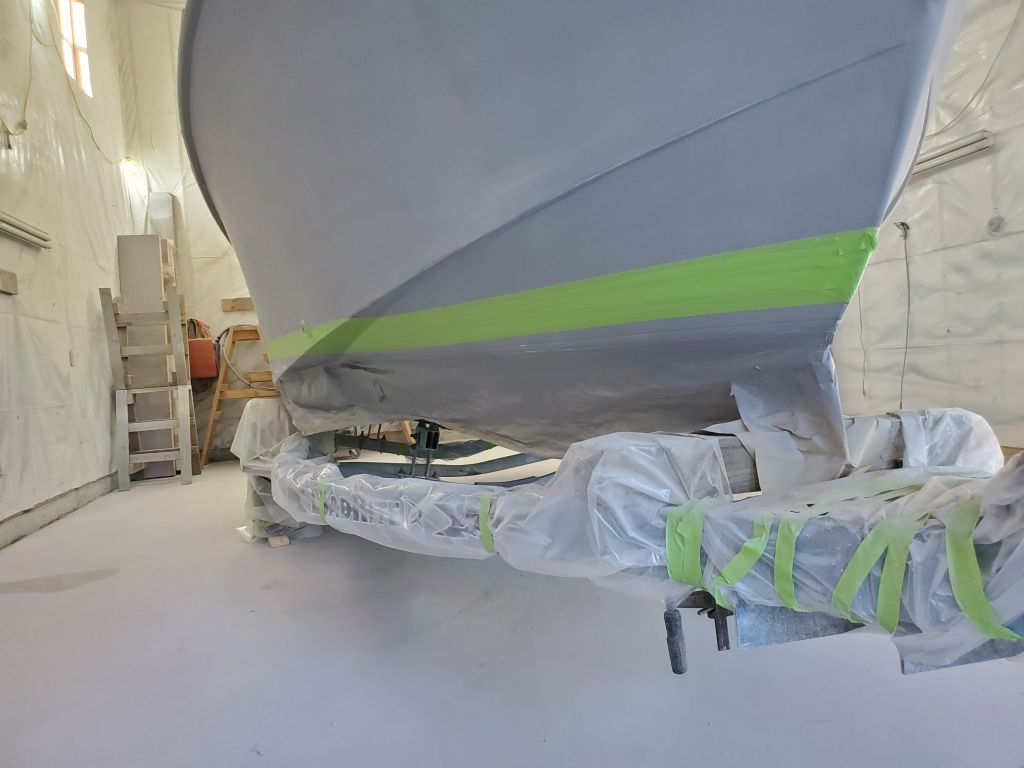
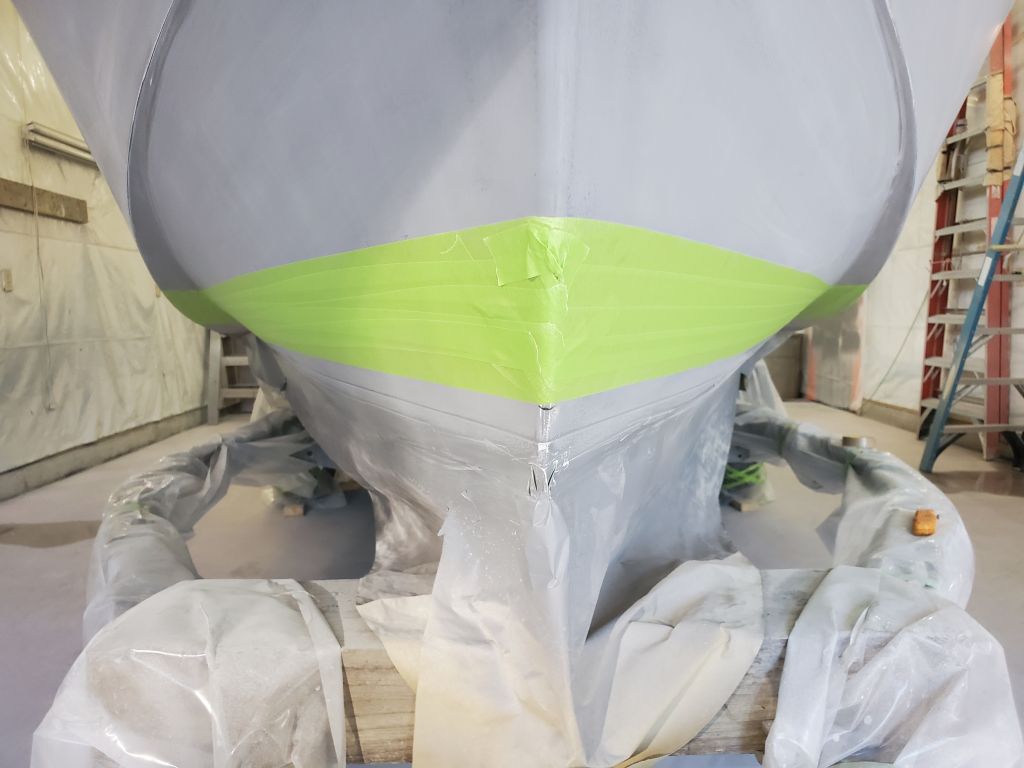
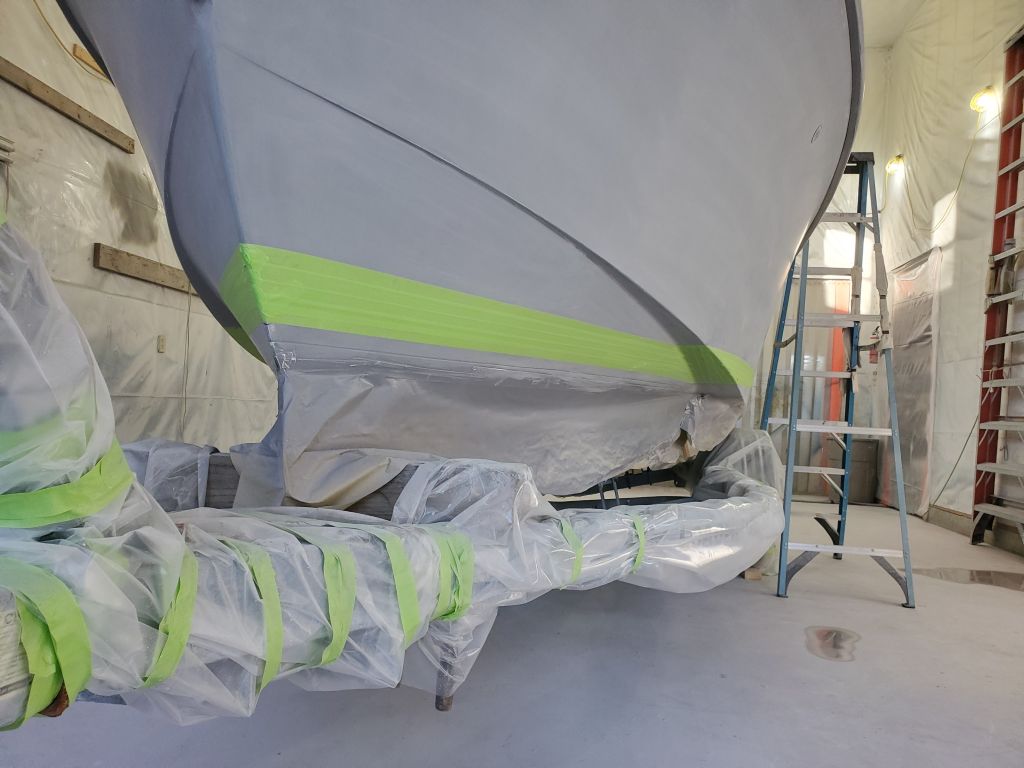
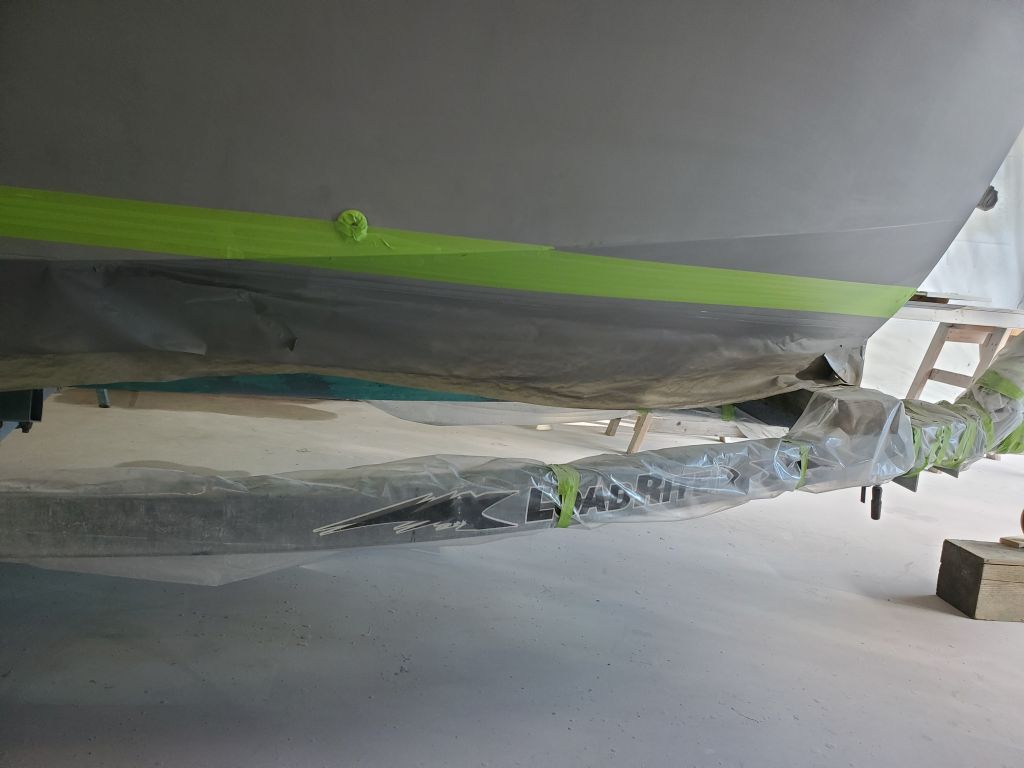
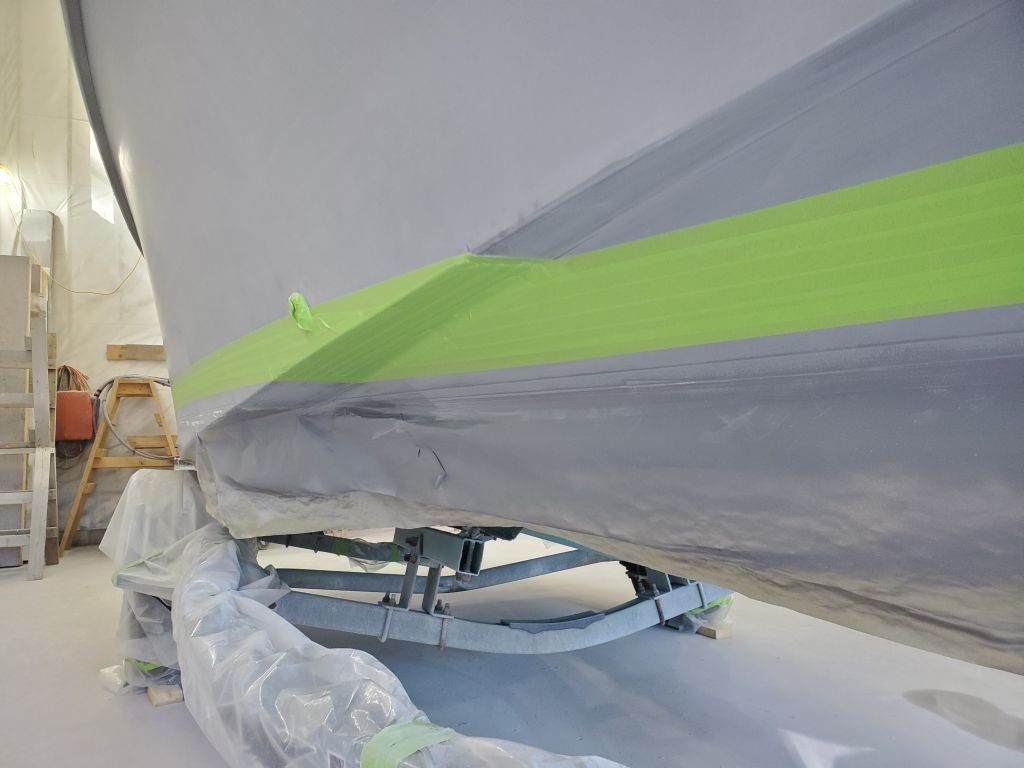
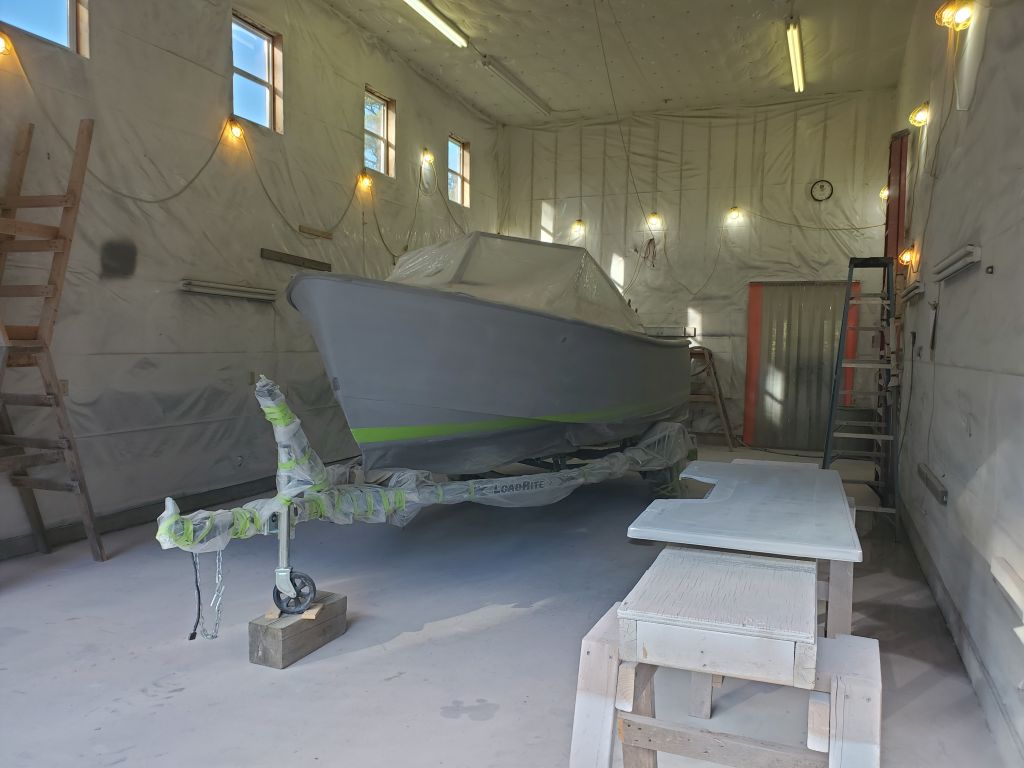
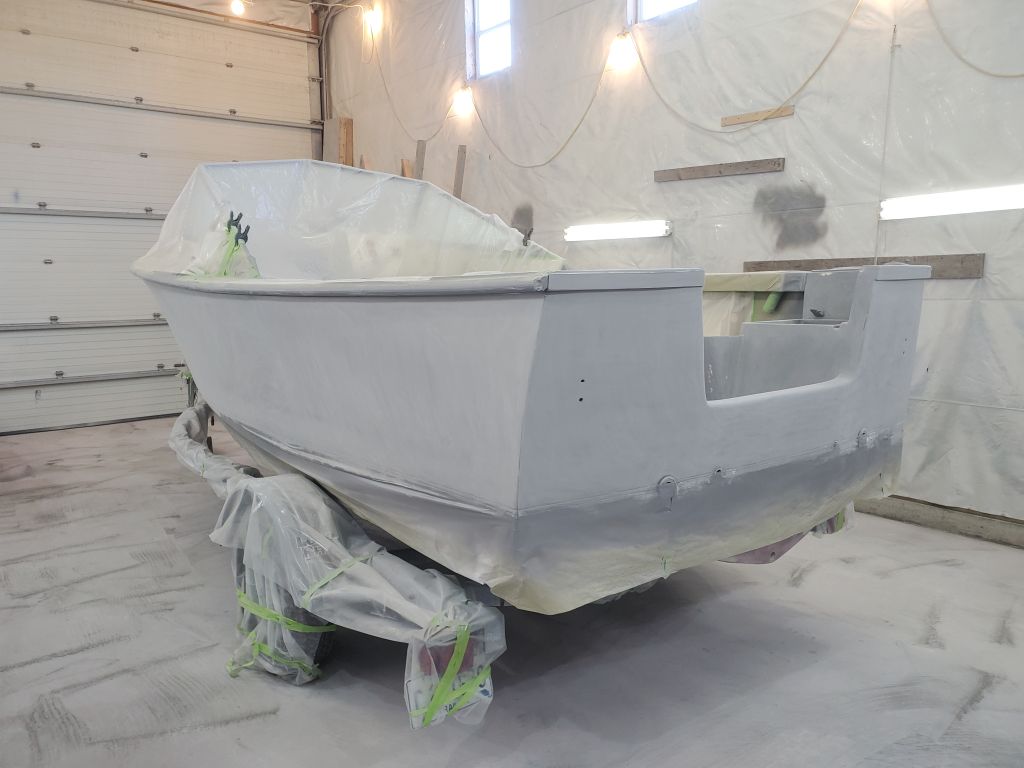
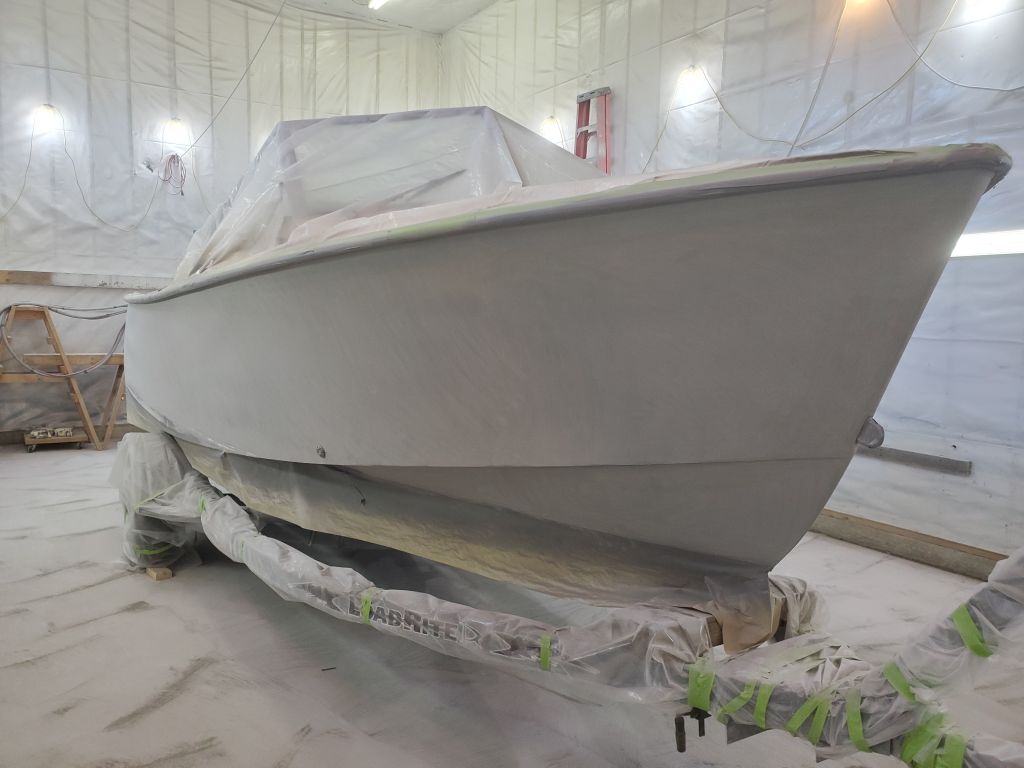
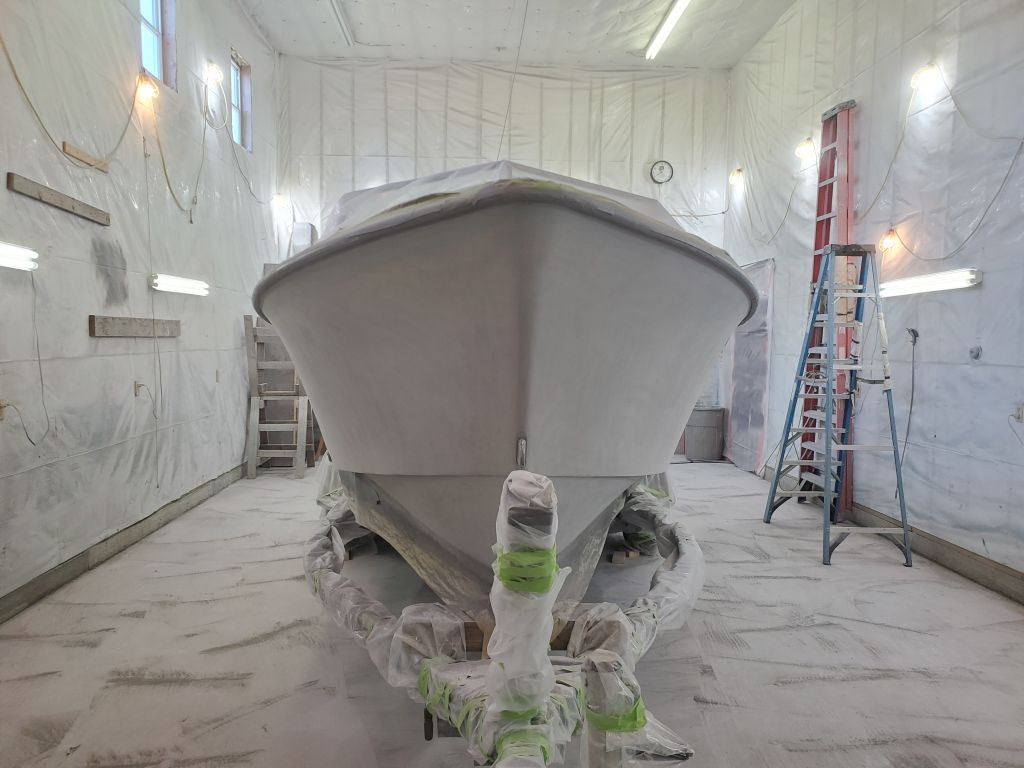
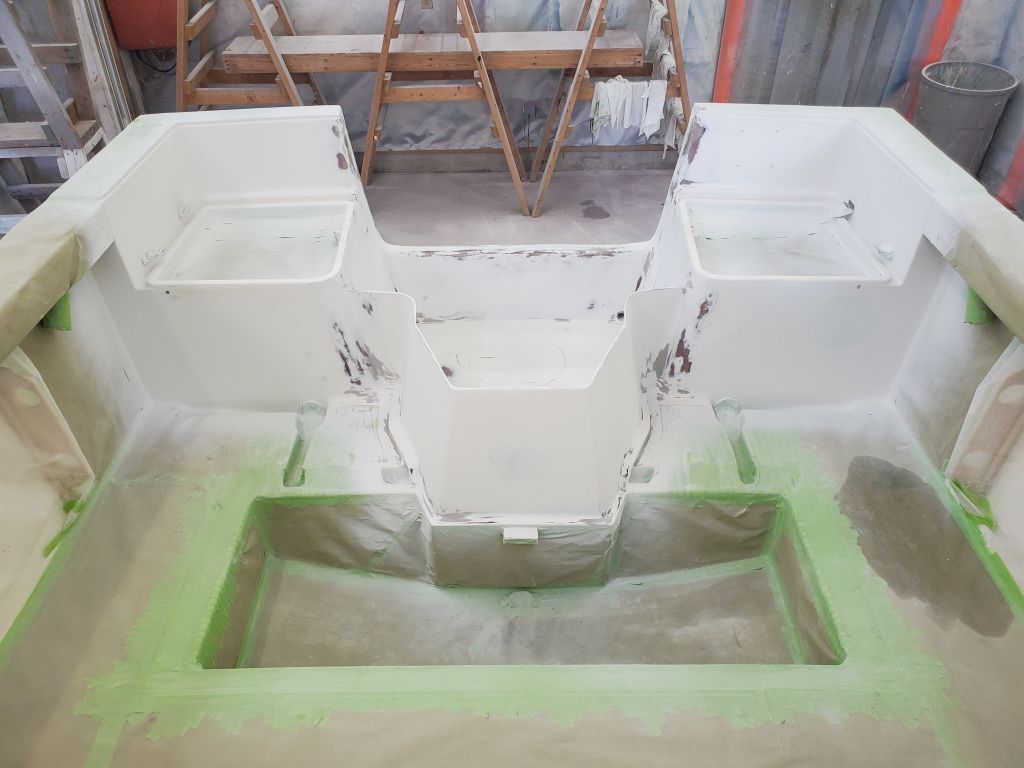
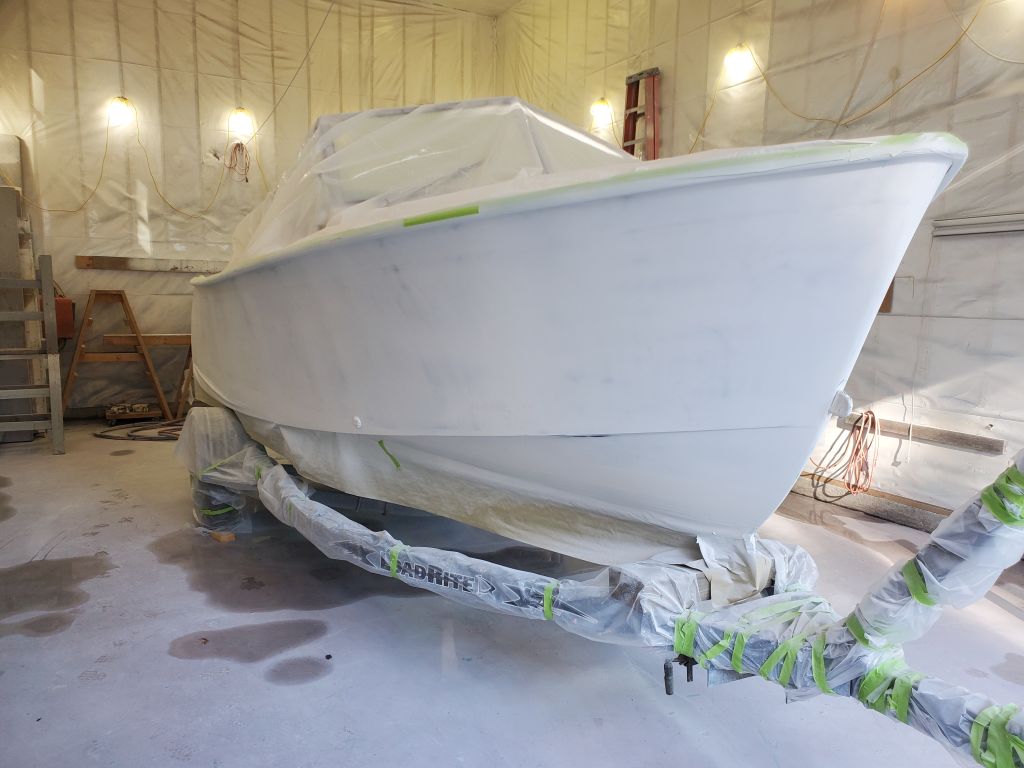
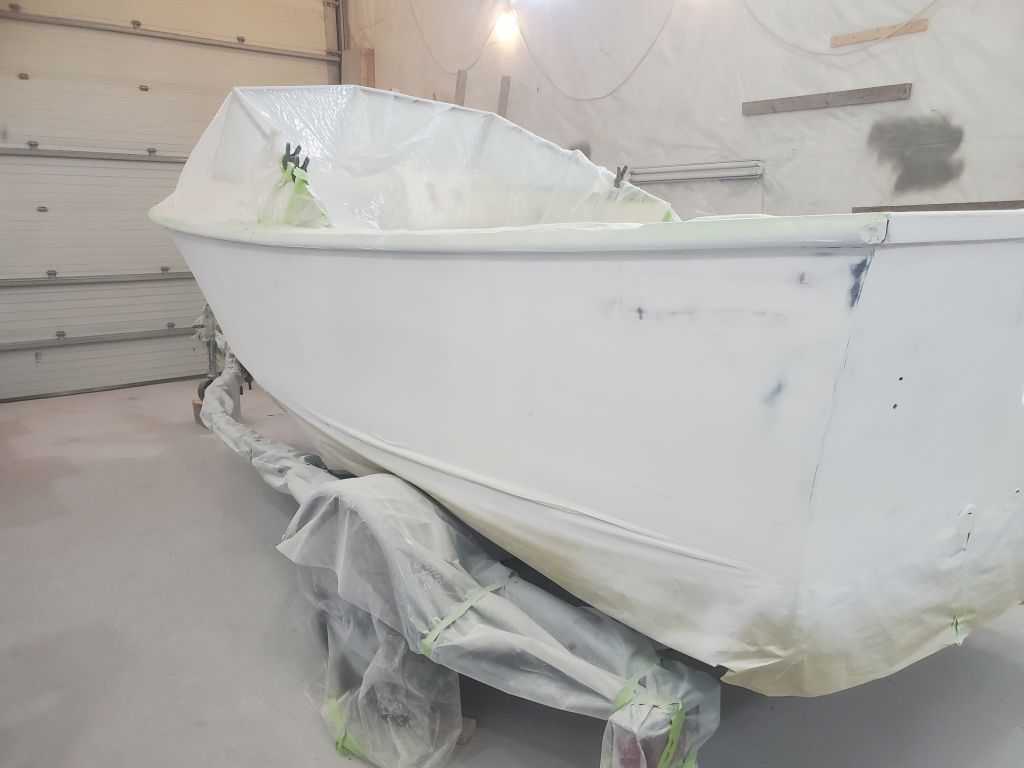
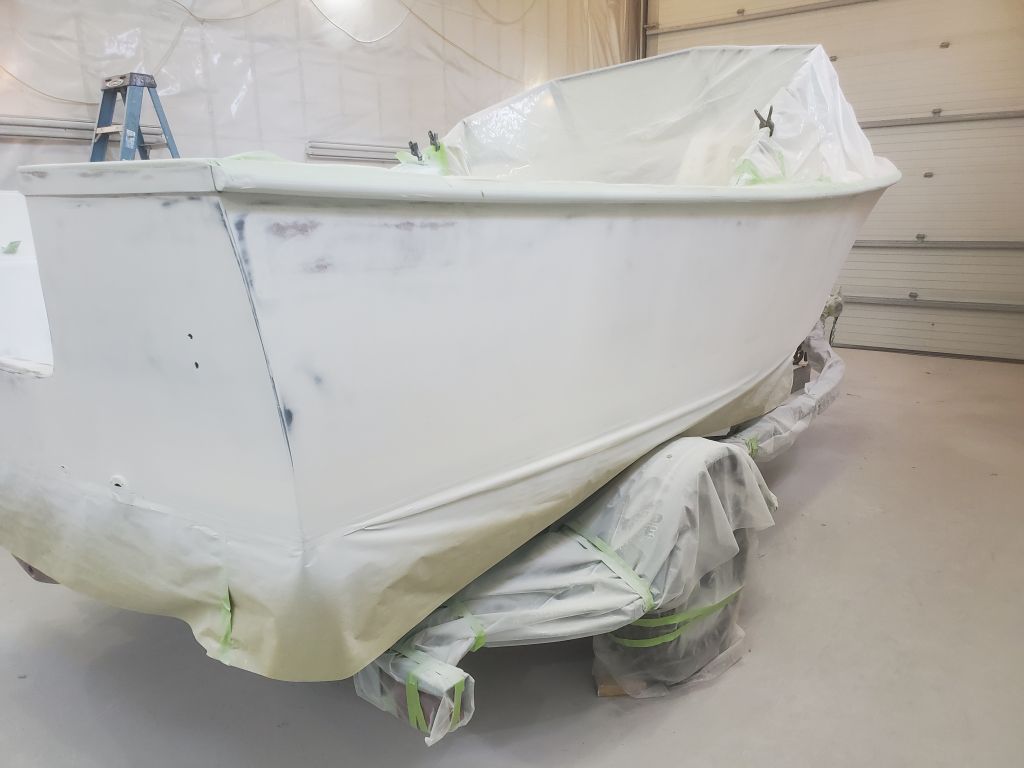
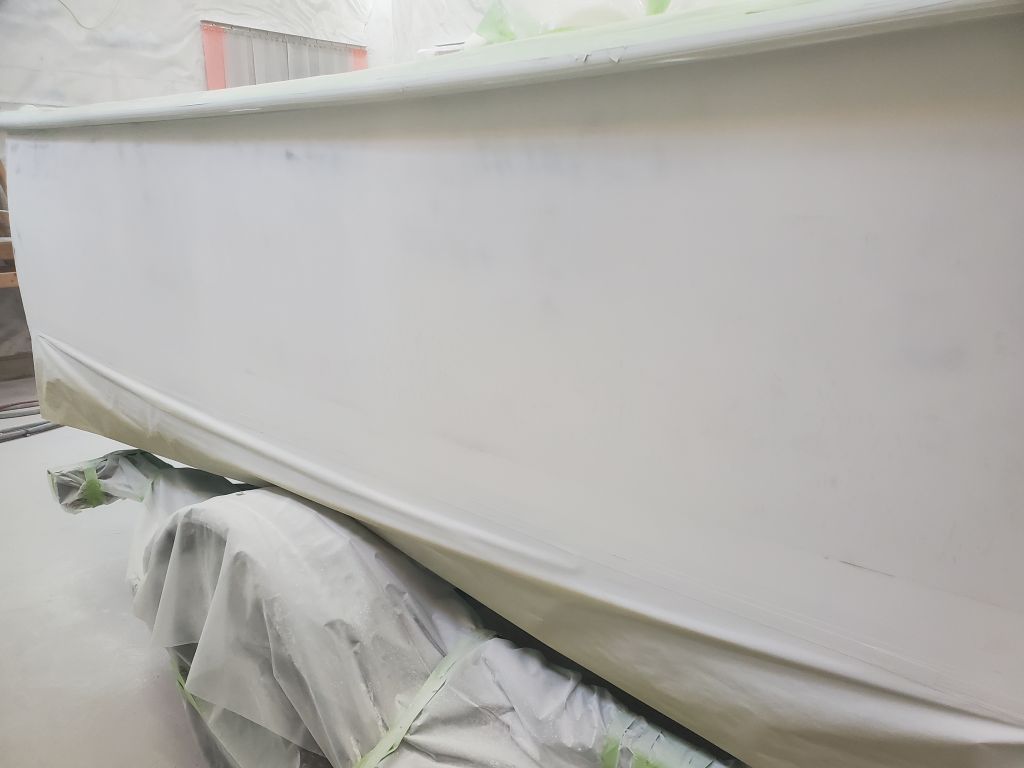
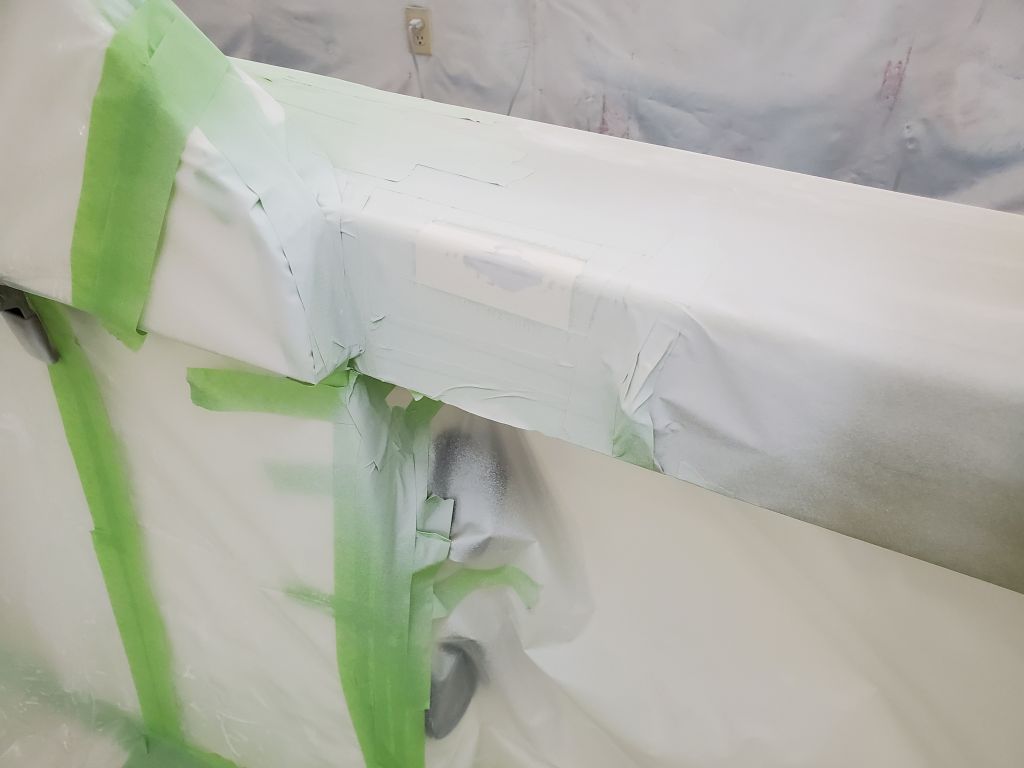
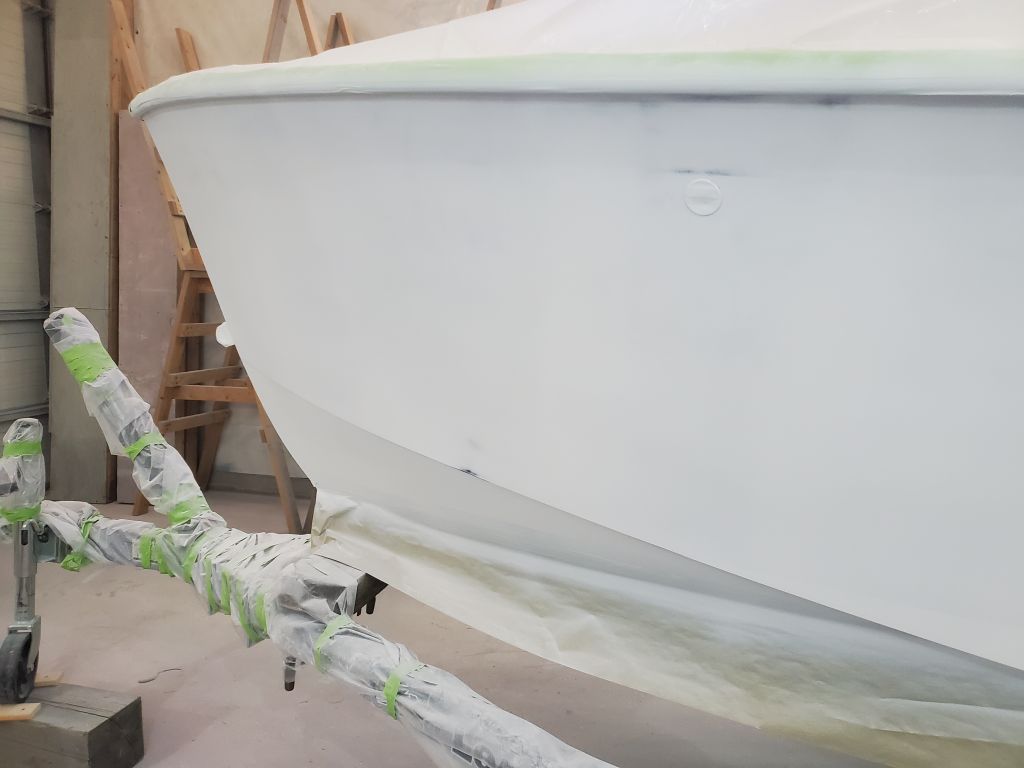
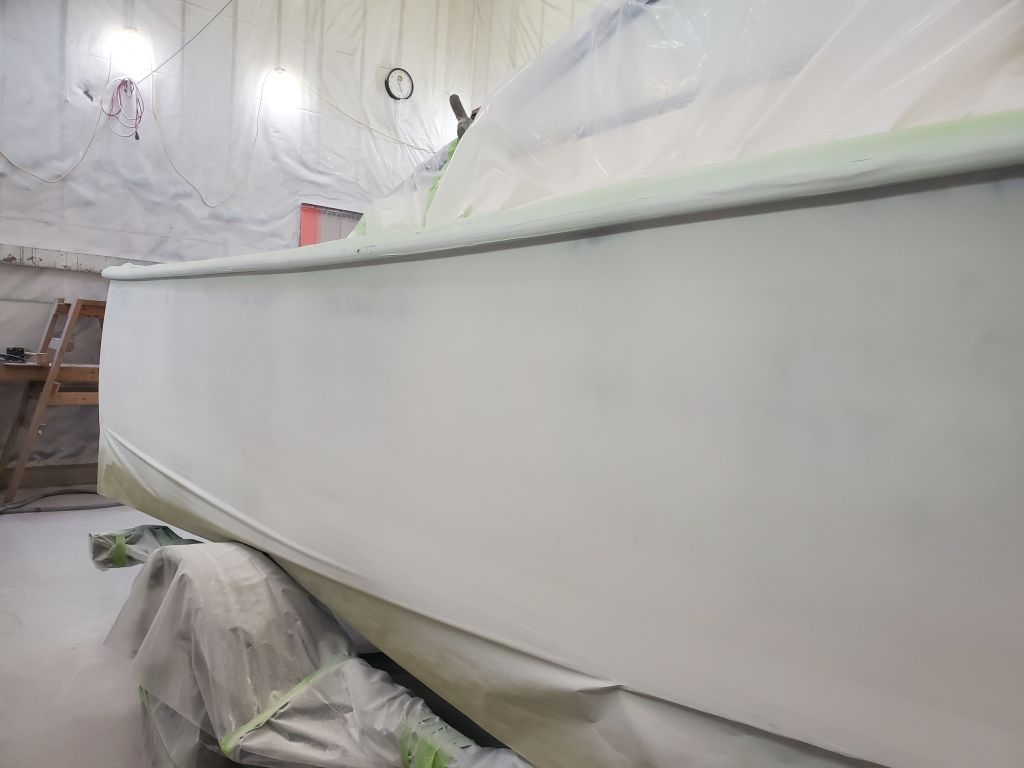
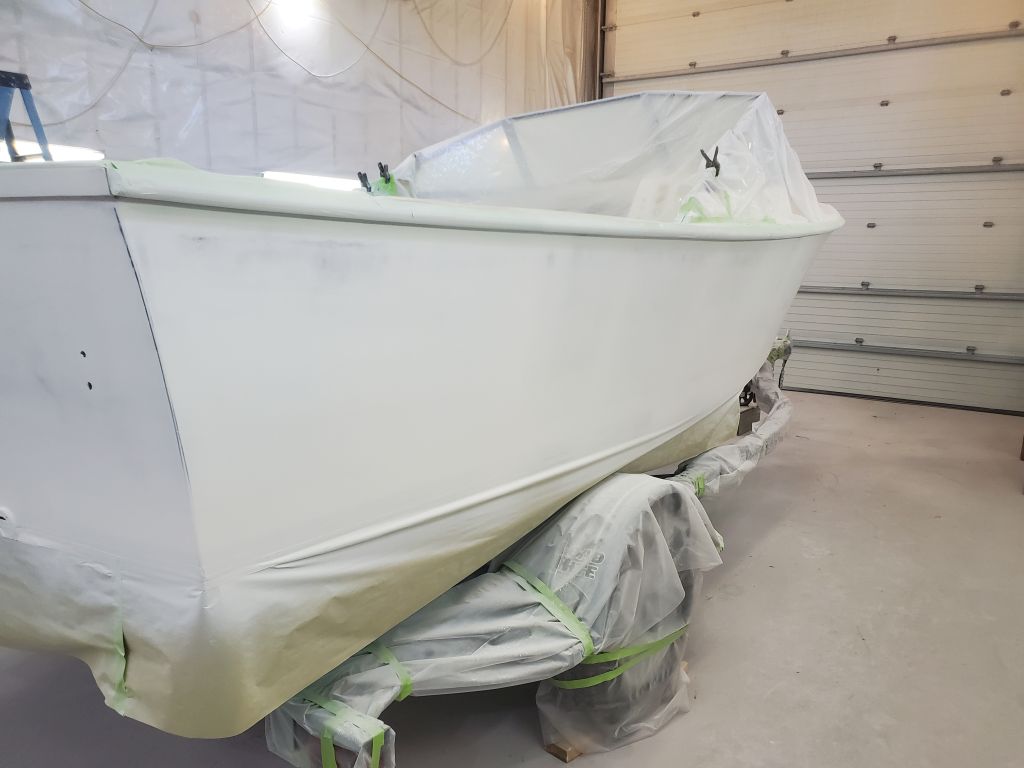
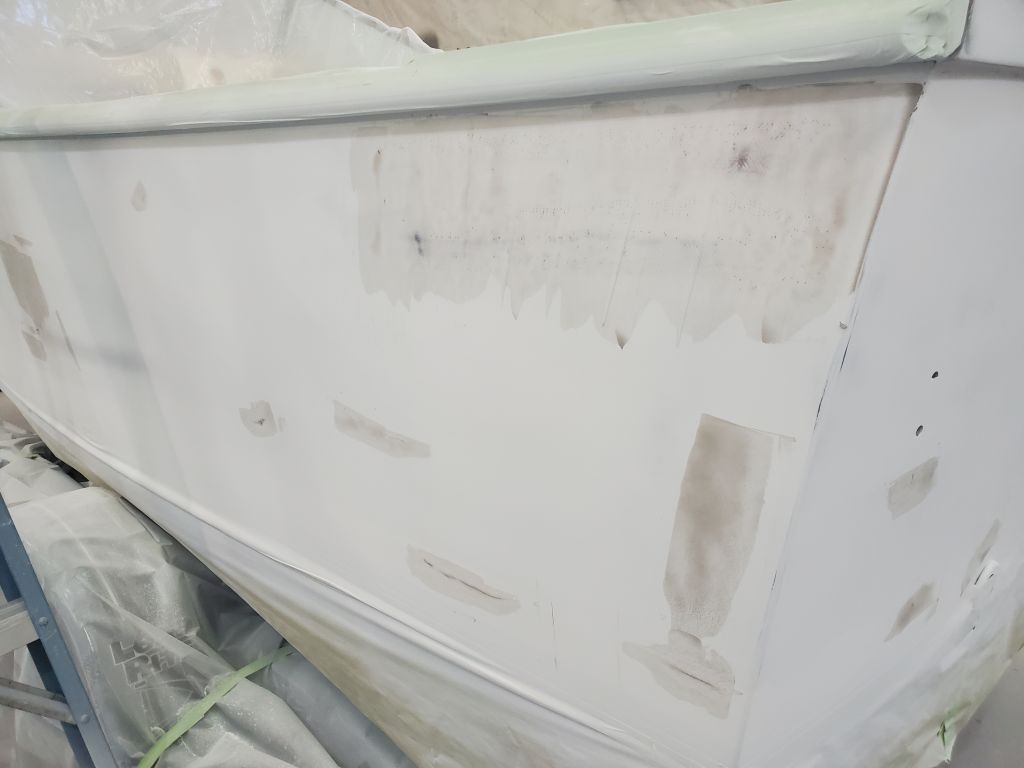
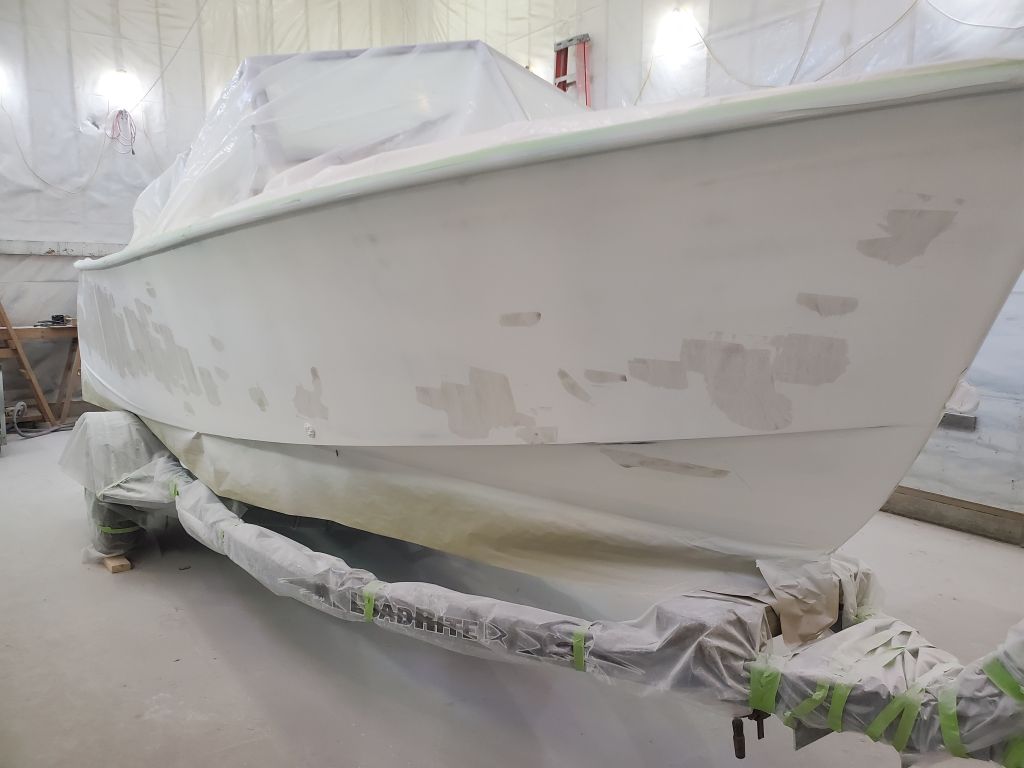
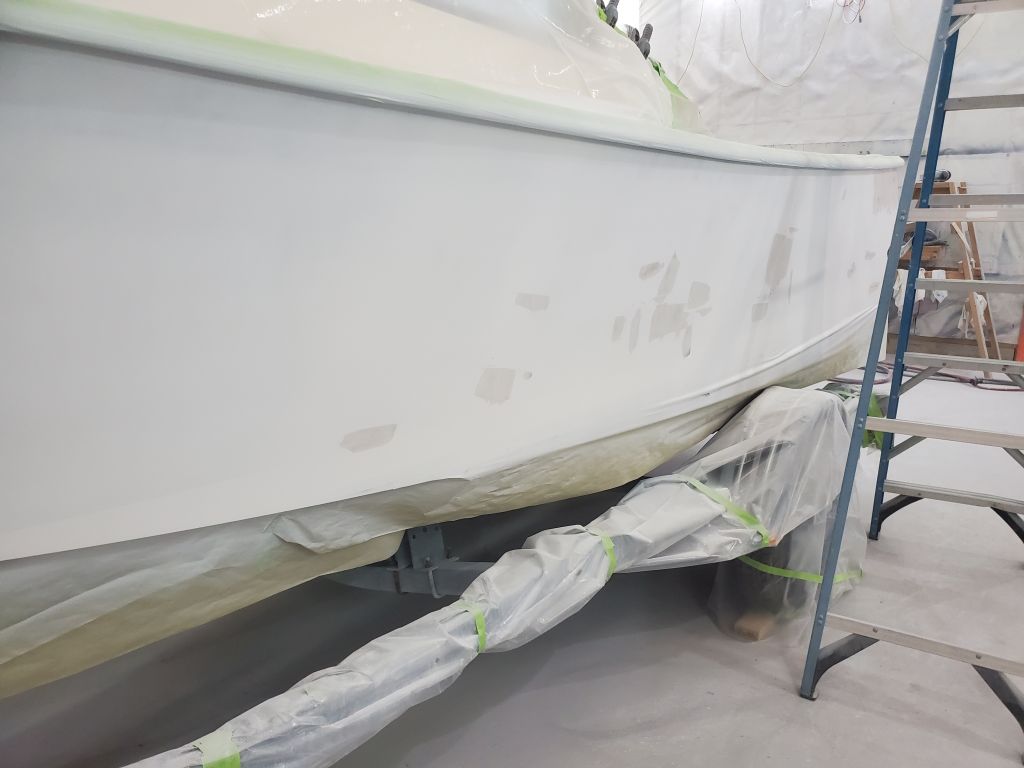
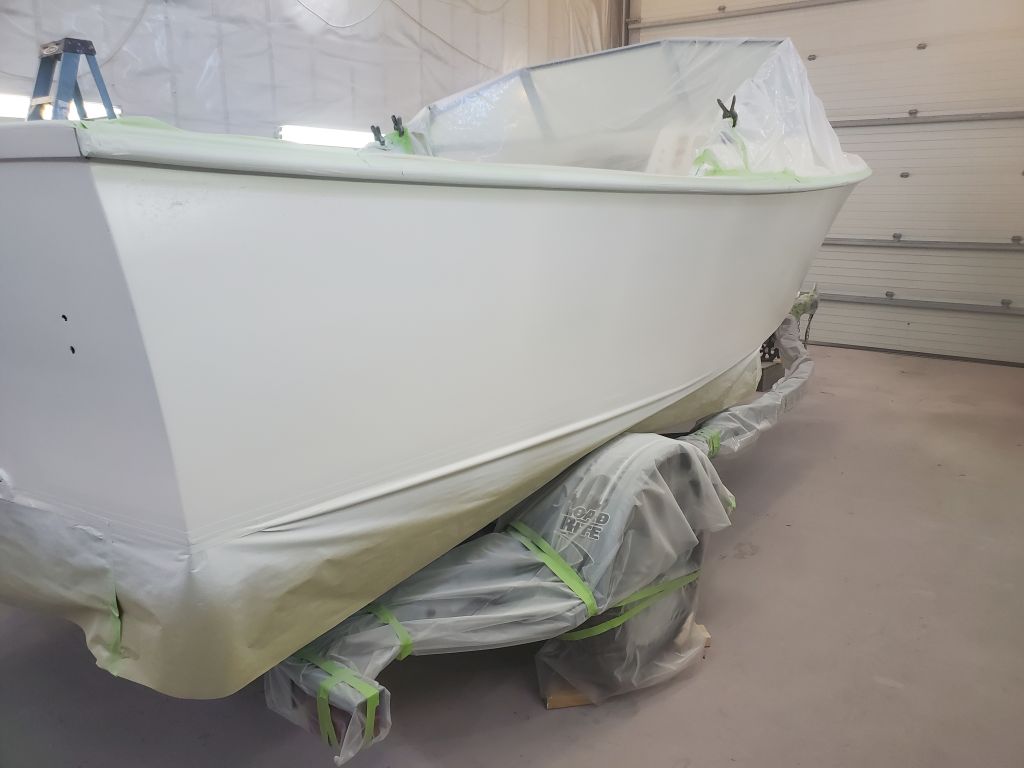
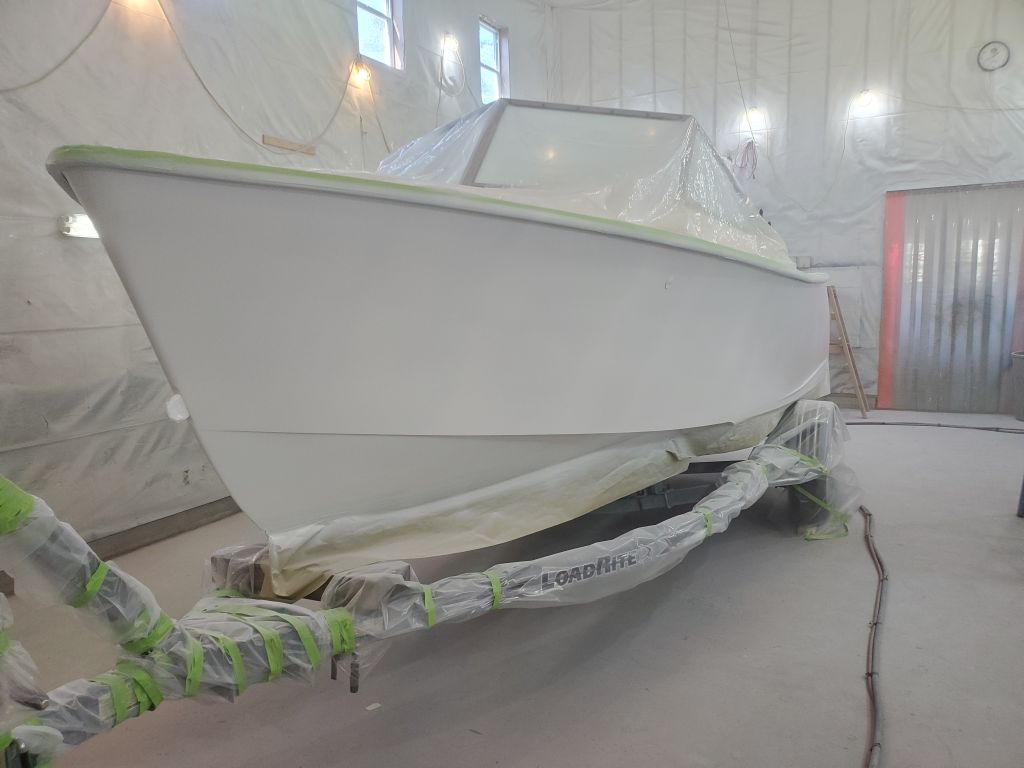
Afterwards, I laid out and masked off the boottop in preparation for painting the topcoat on the hull itself. I used the various measurements I’d taken and noted earlier to recreate the crucial points from the original striping, and masked off between them, covering the area and creating an analog for how the final stripe would look if one wanted a dull gray and lime green color scheme.
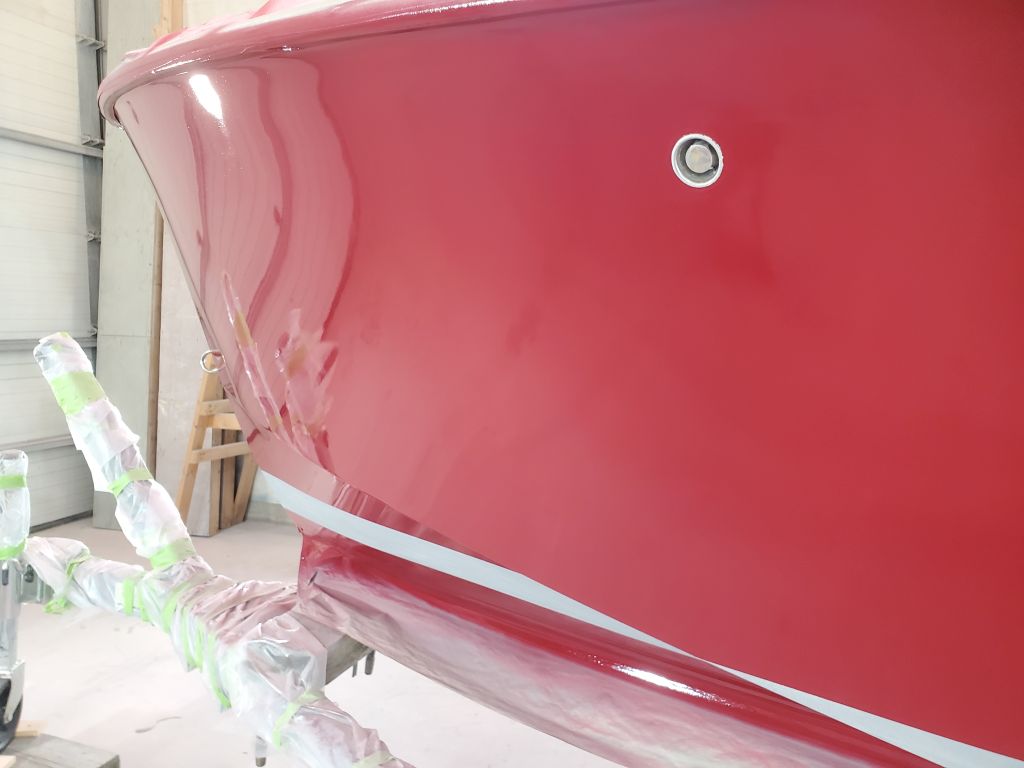
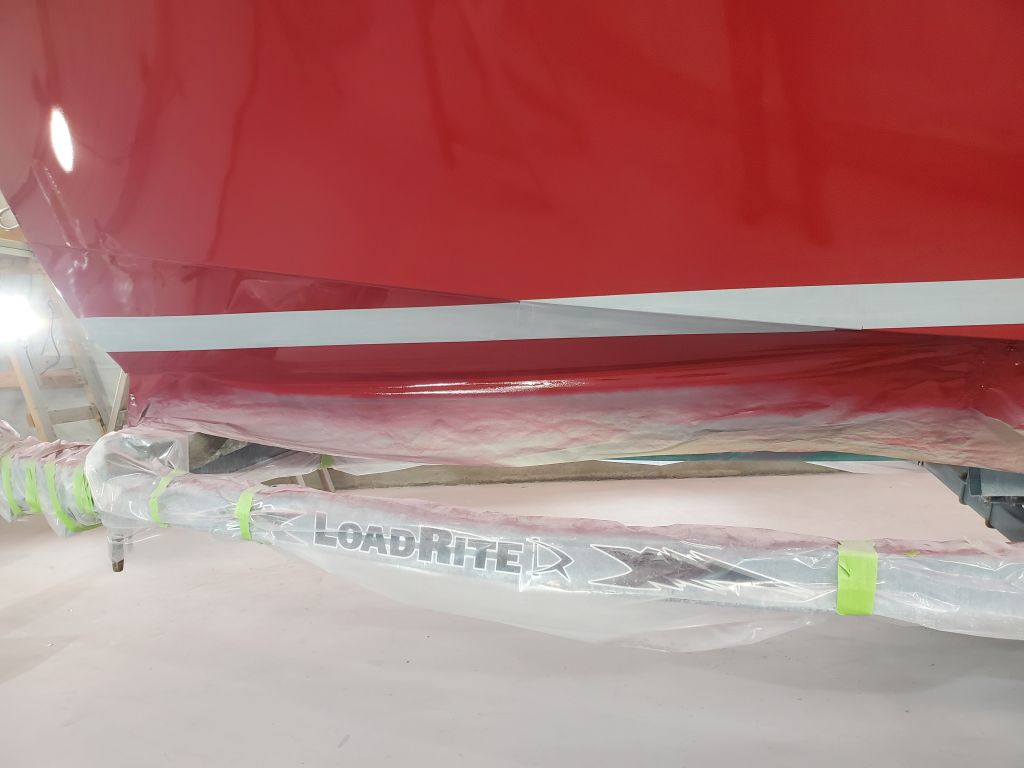
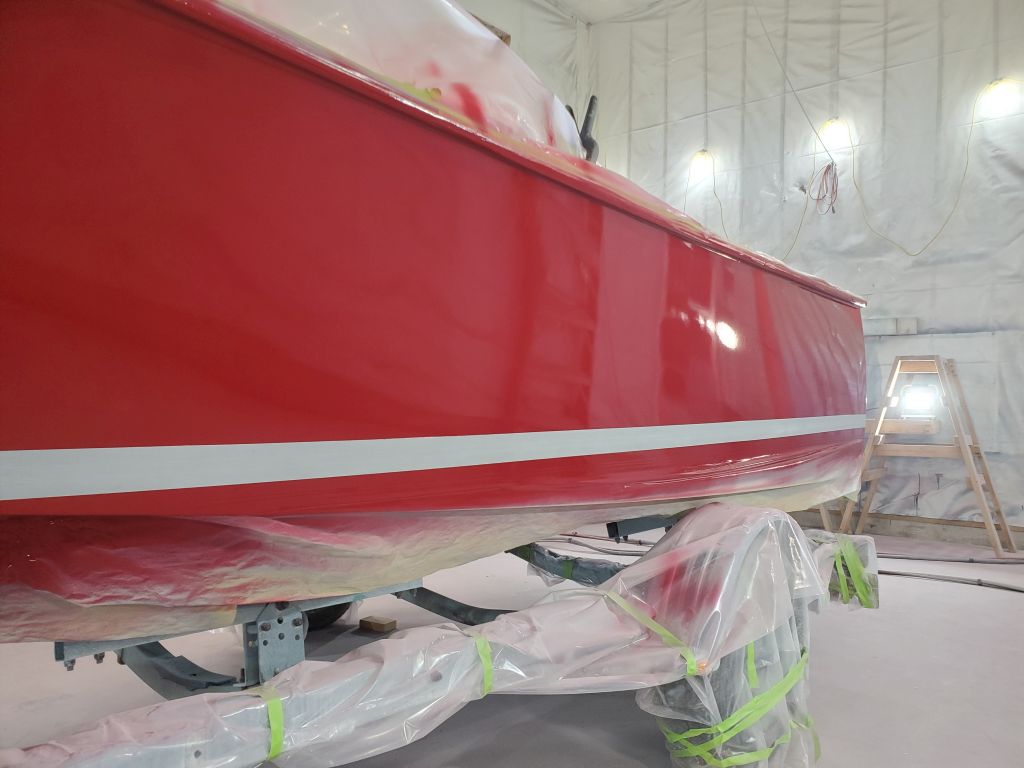
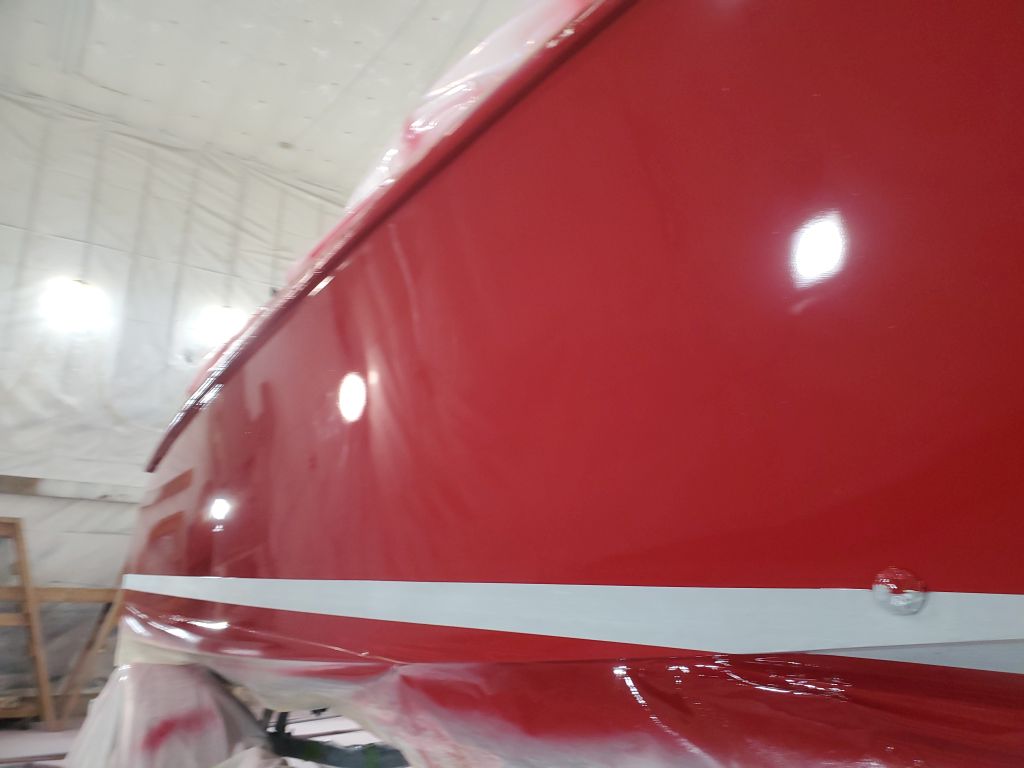
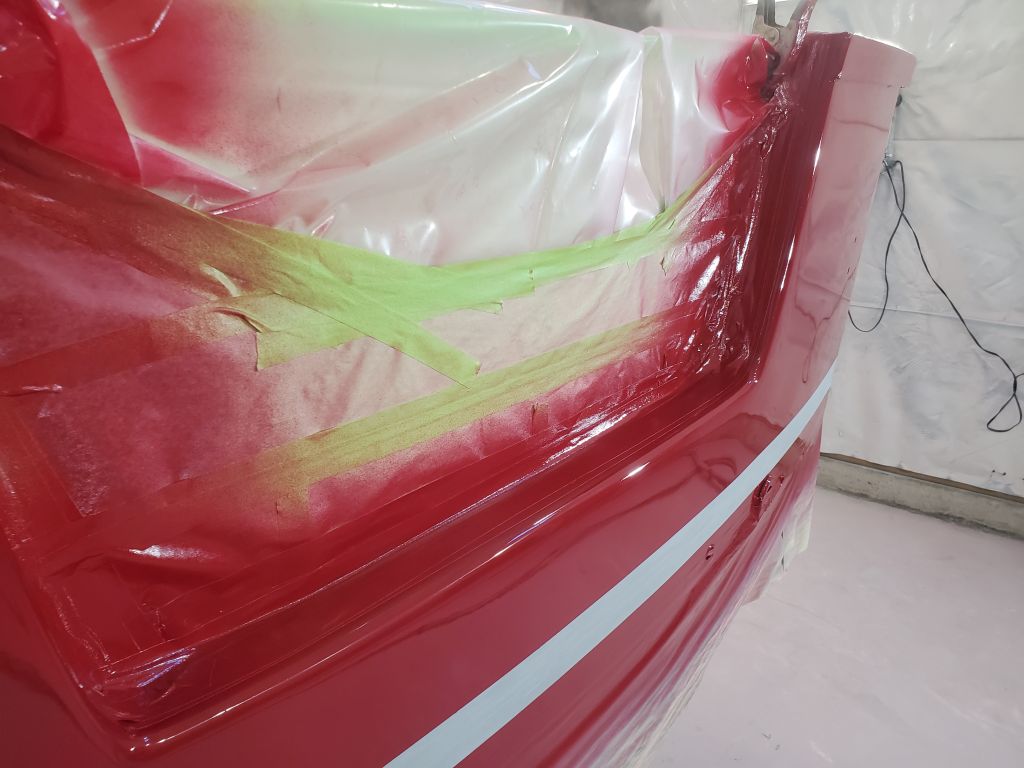
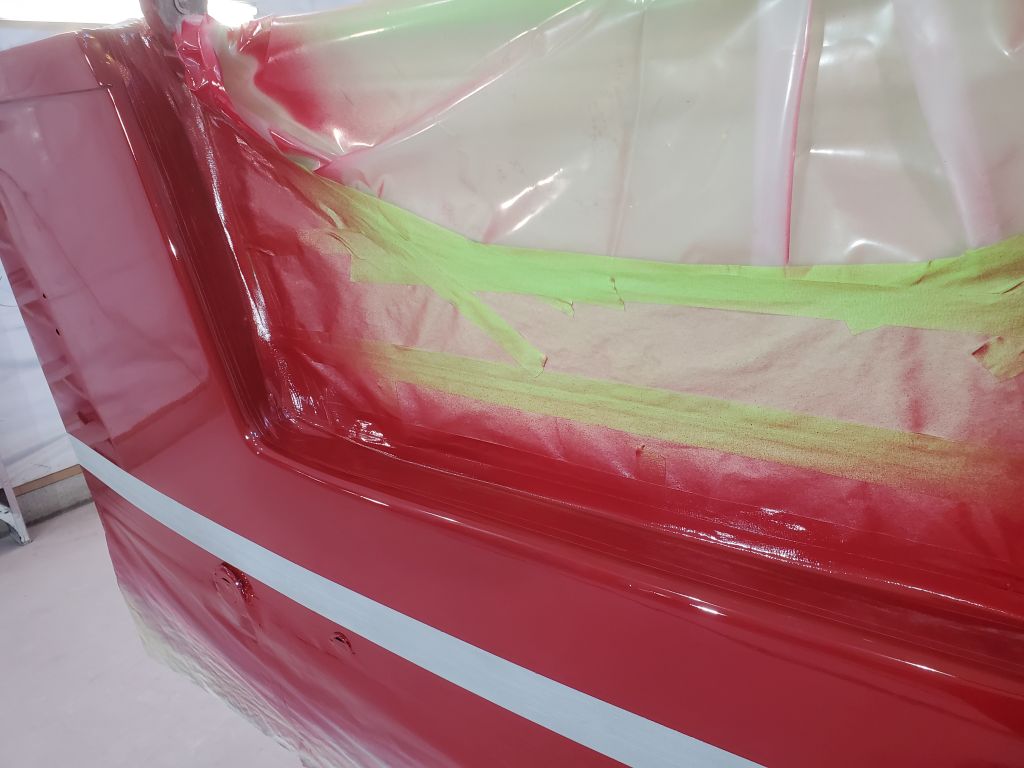
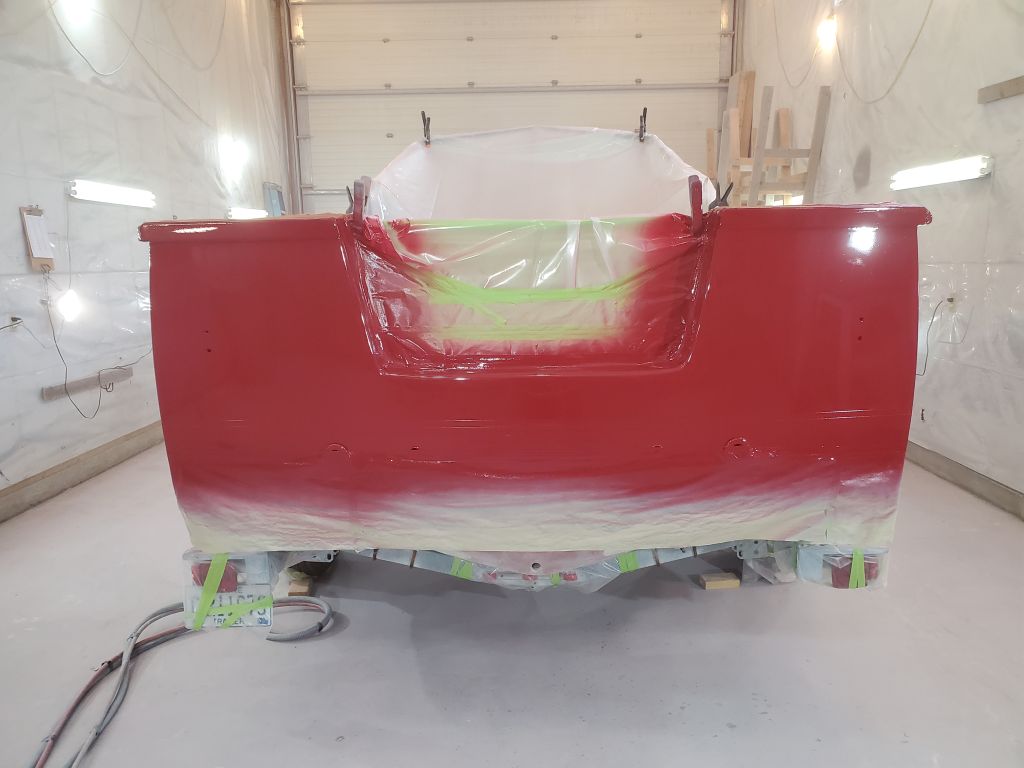
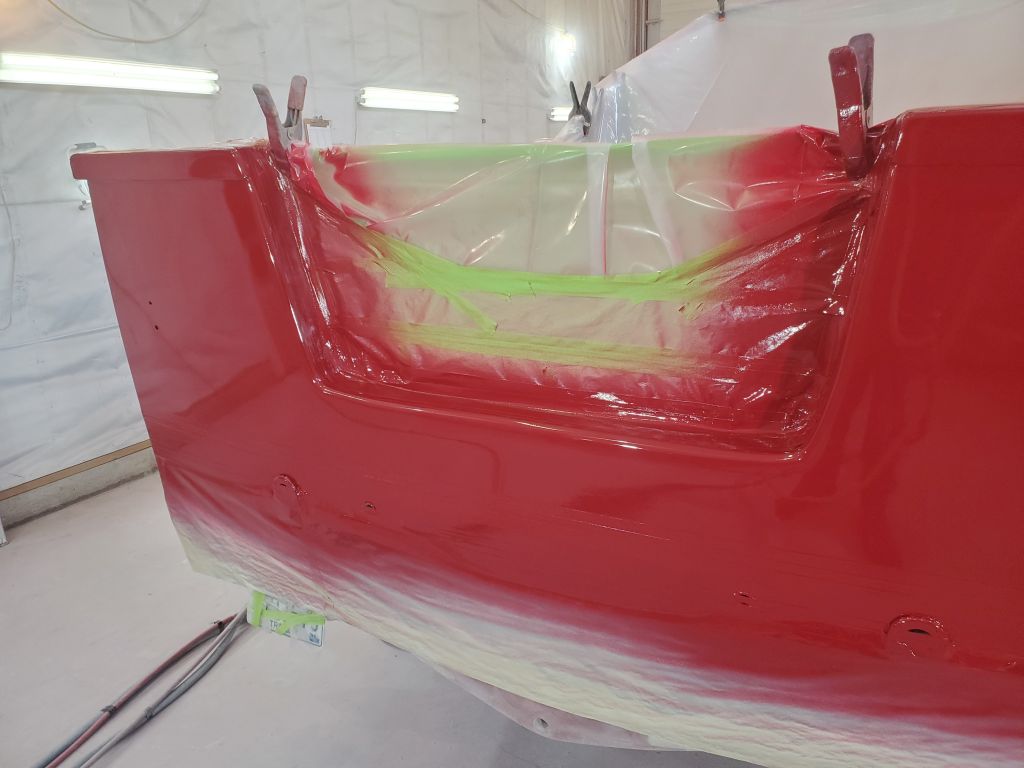
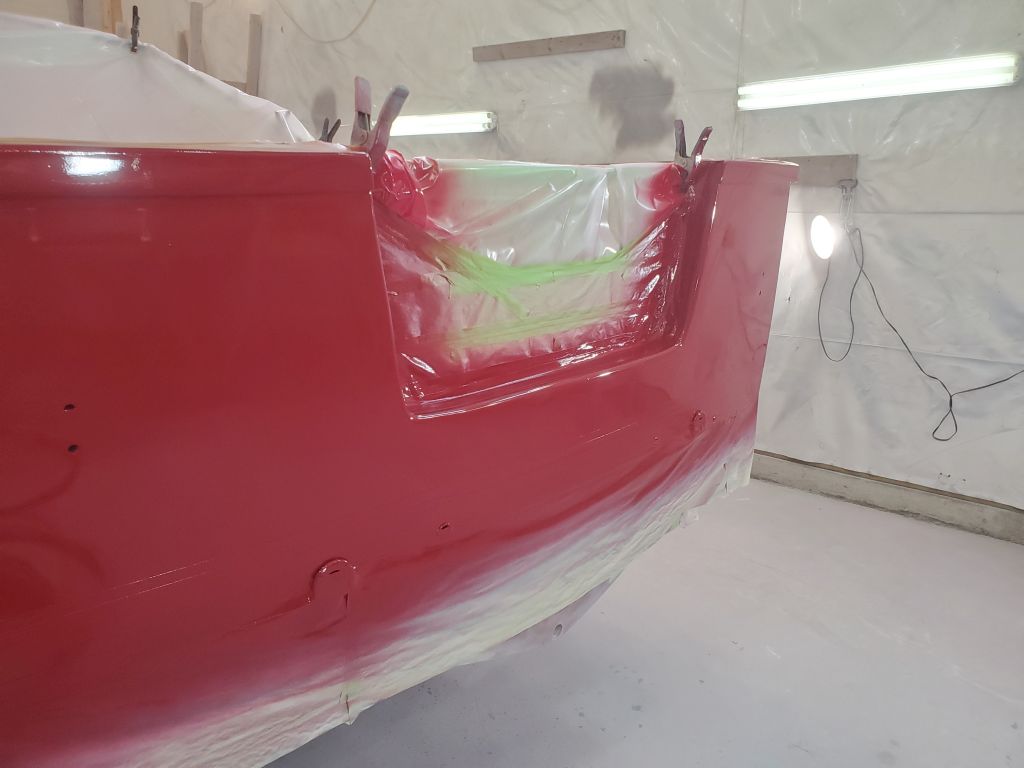
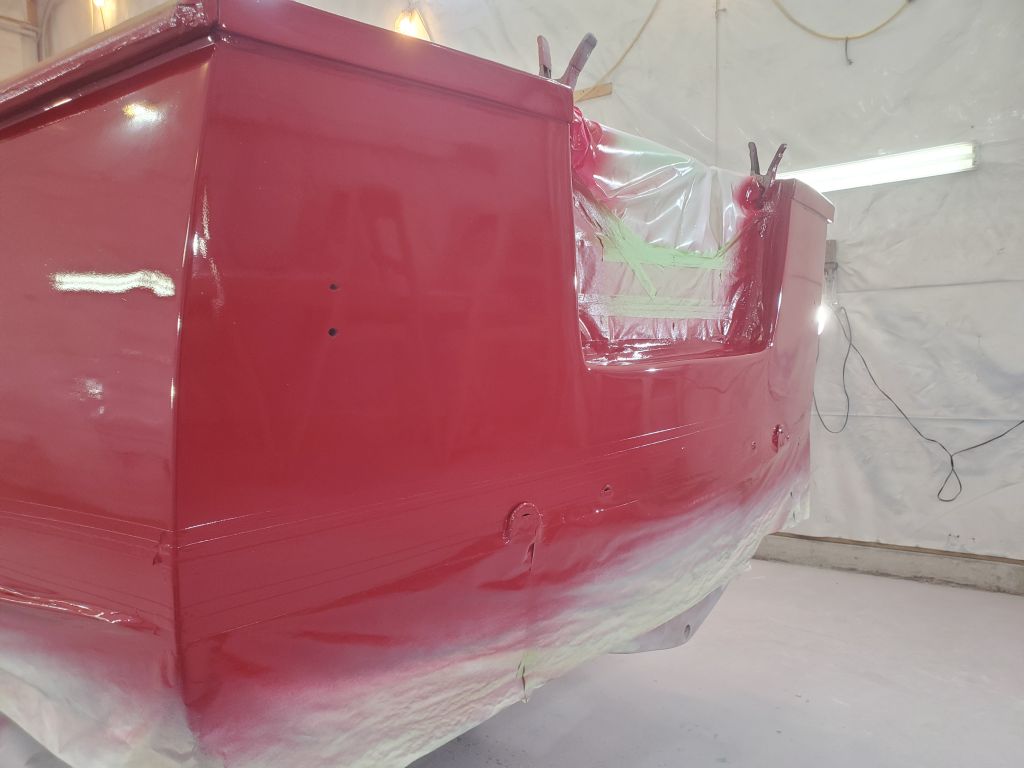
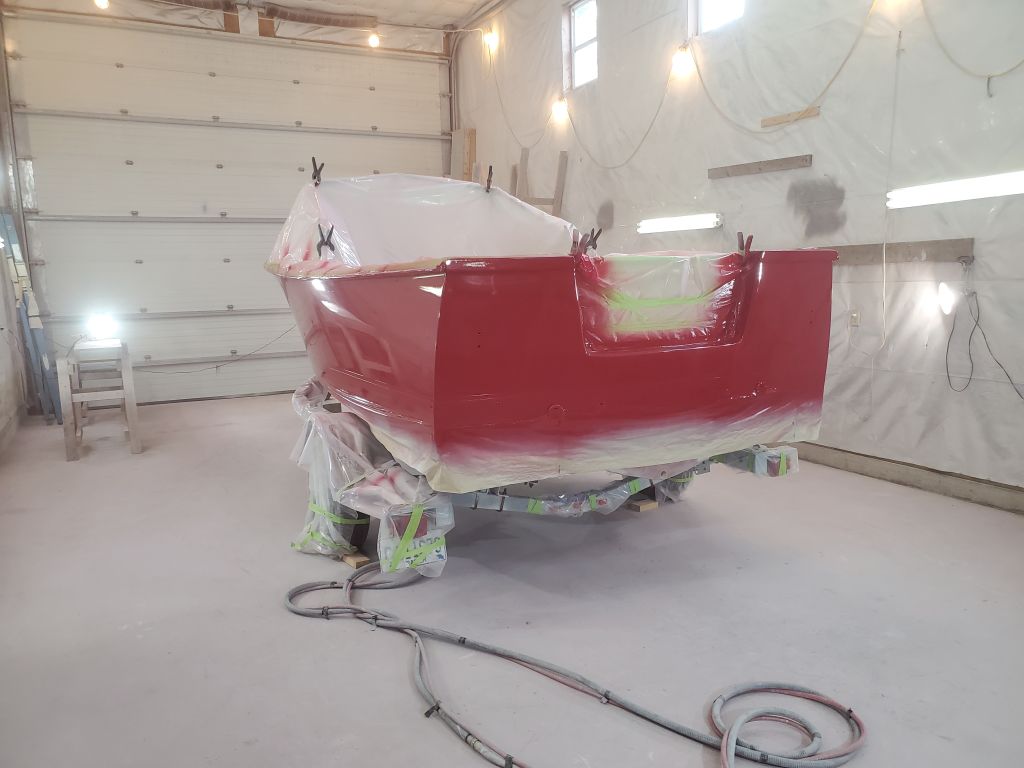
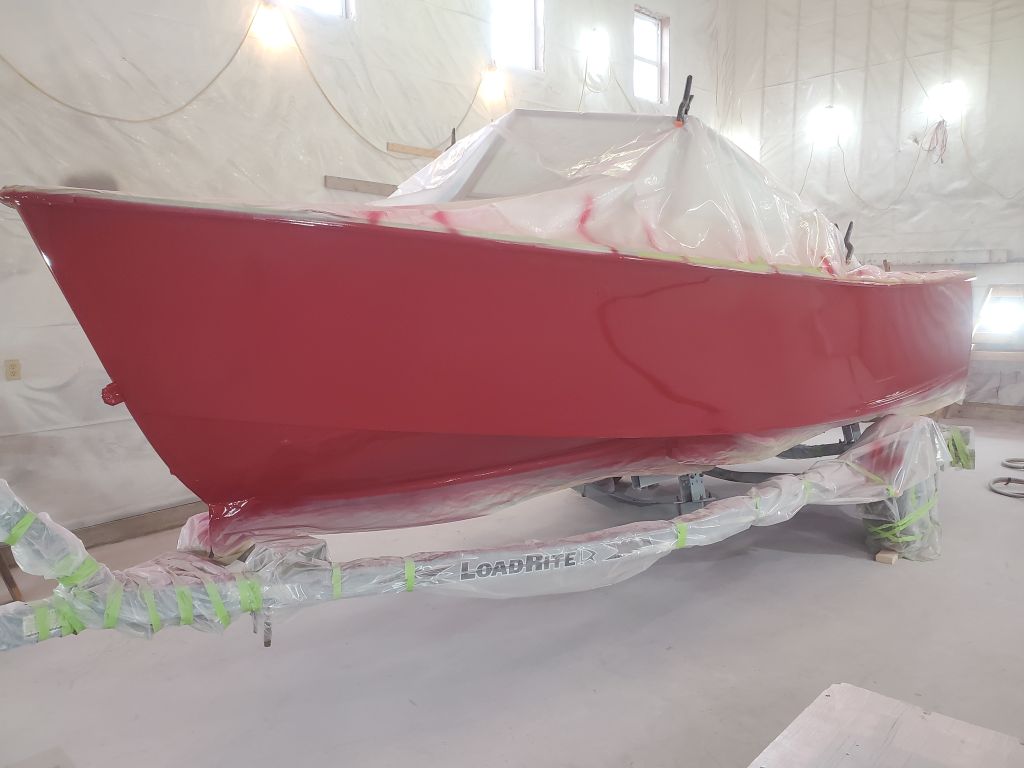
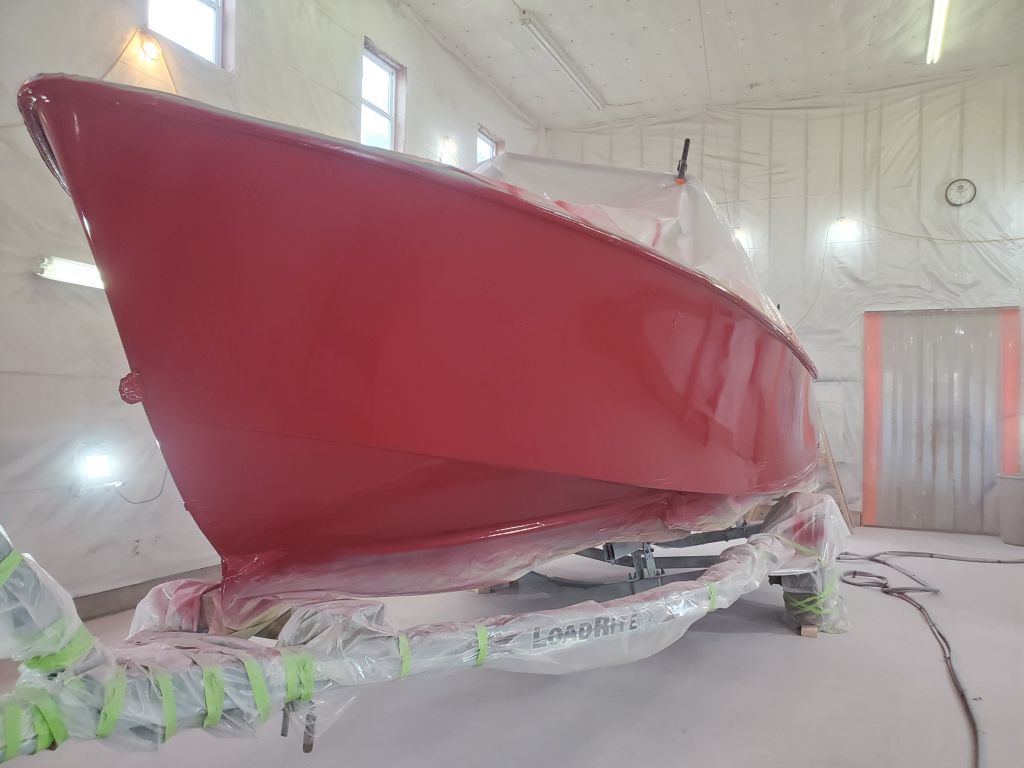
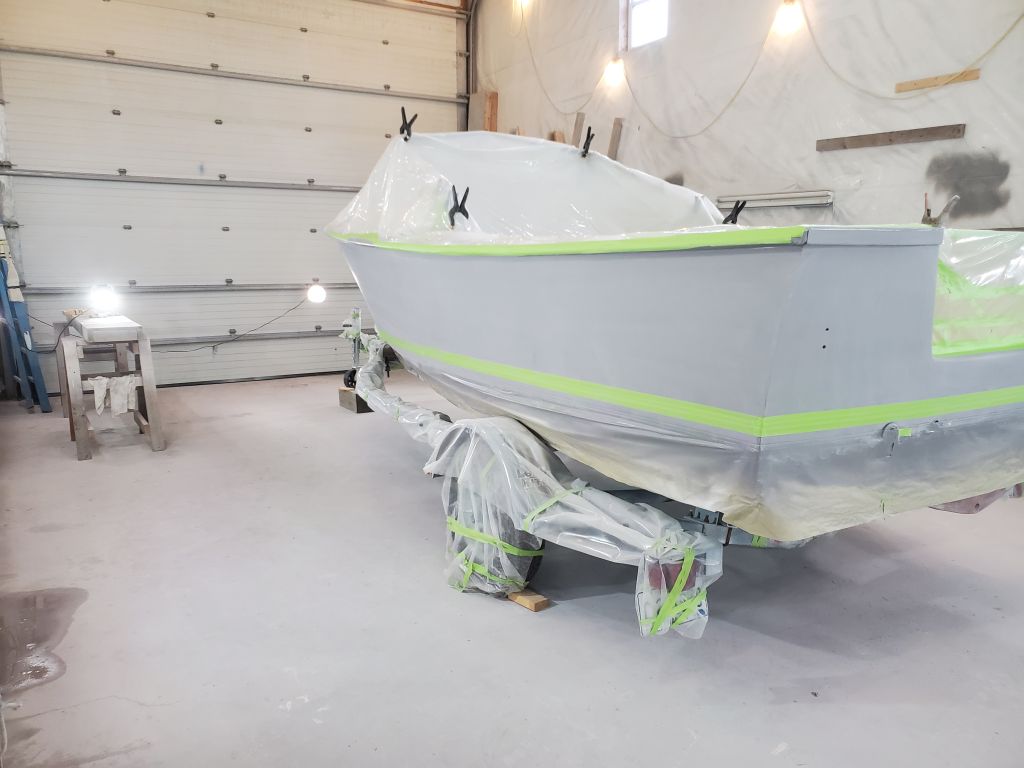
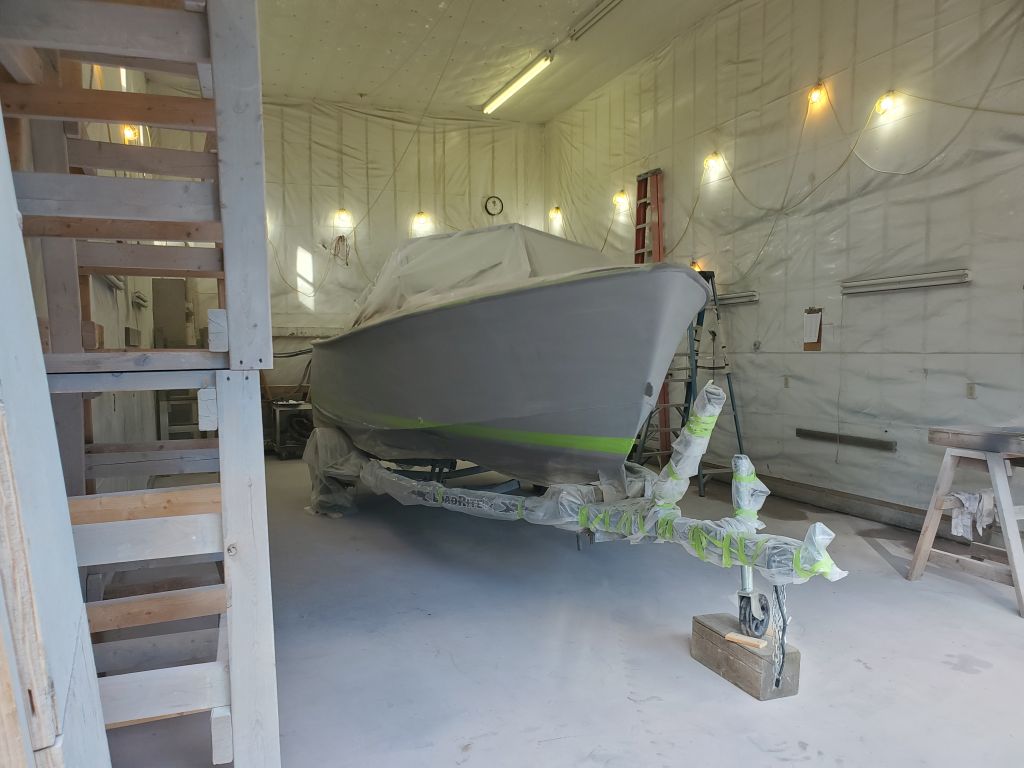
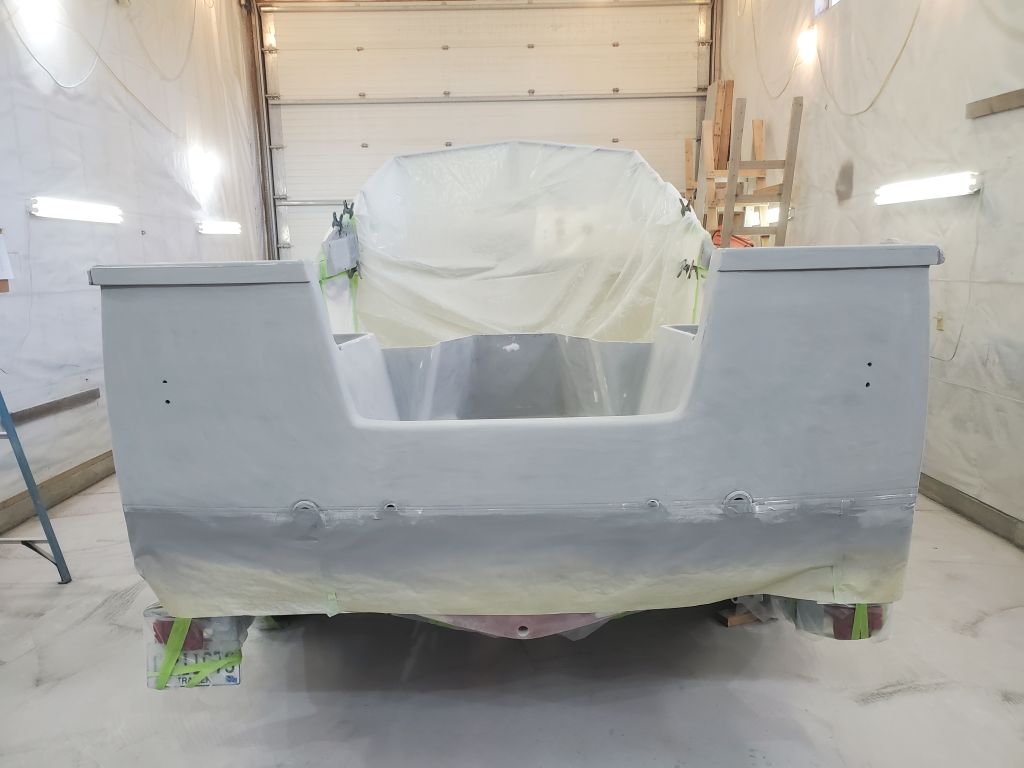
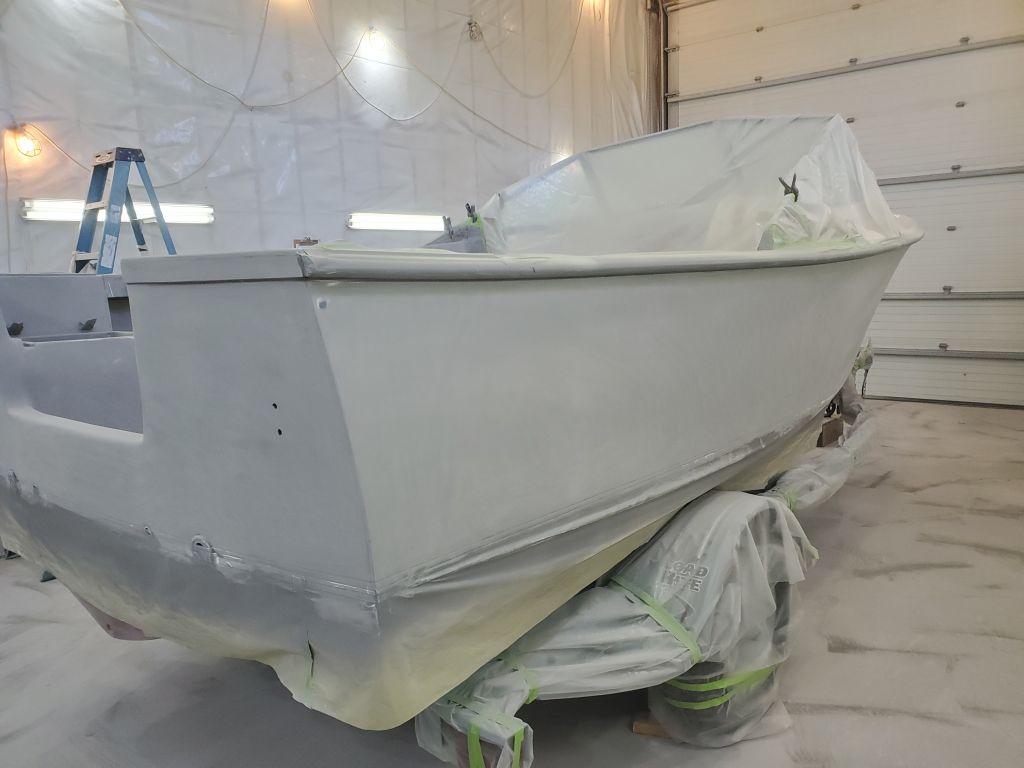
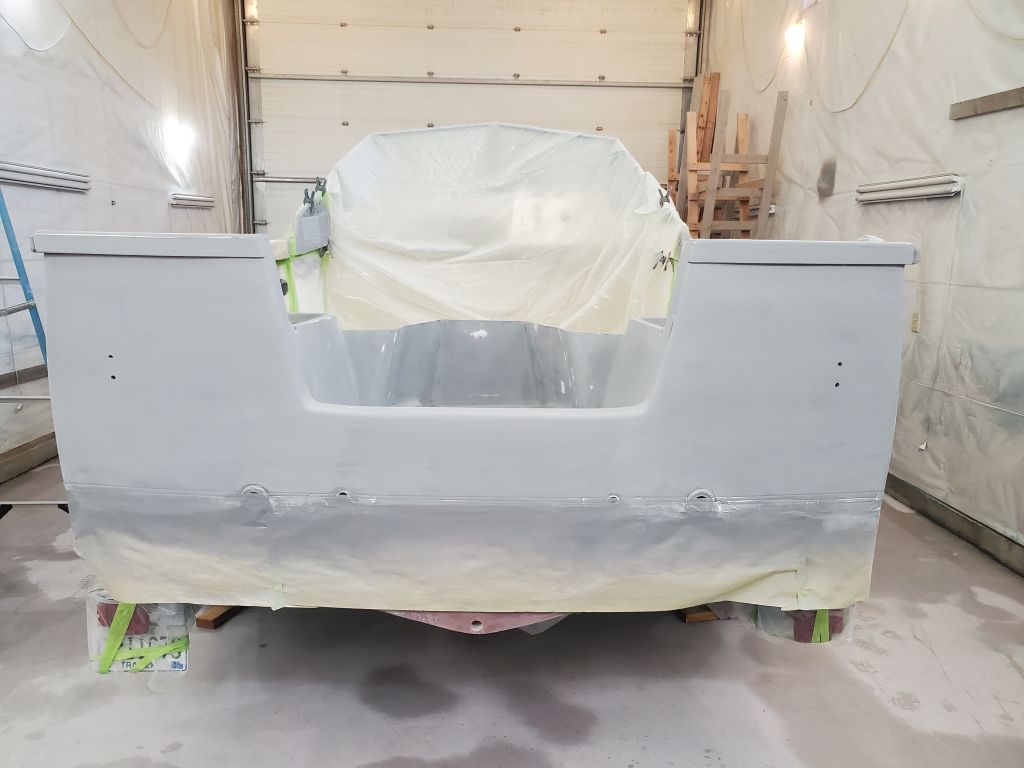
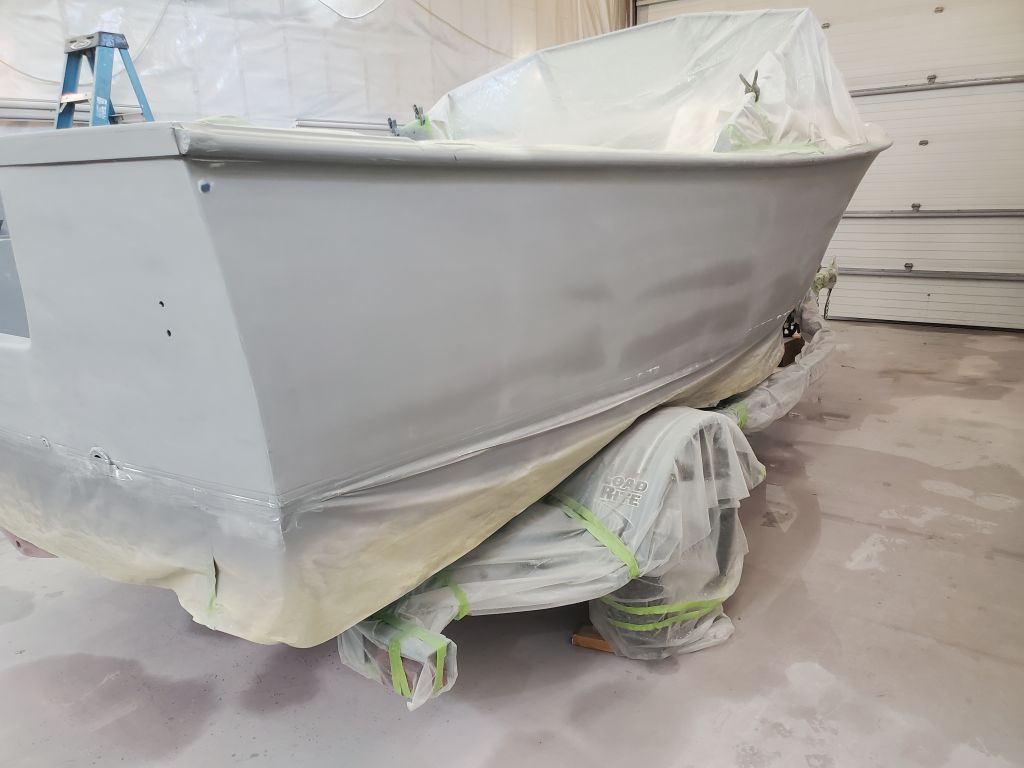
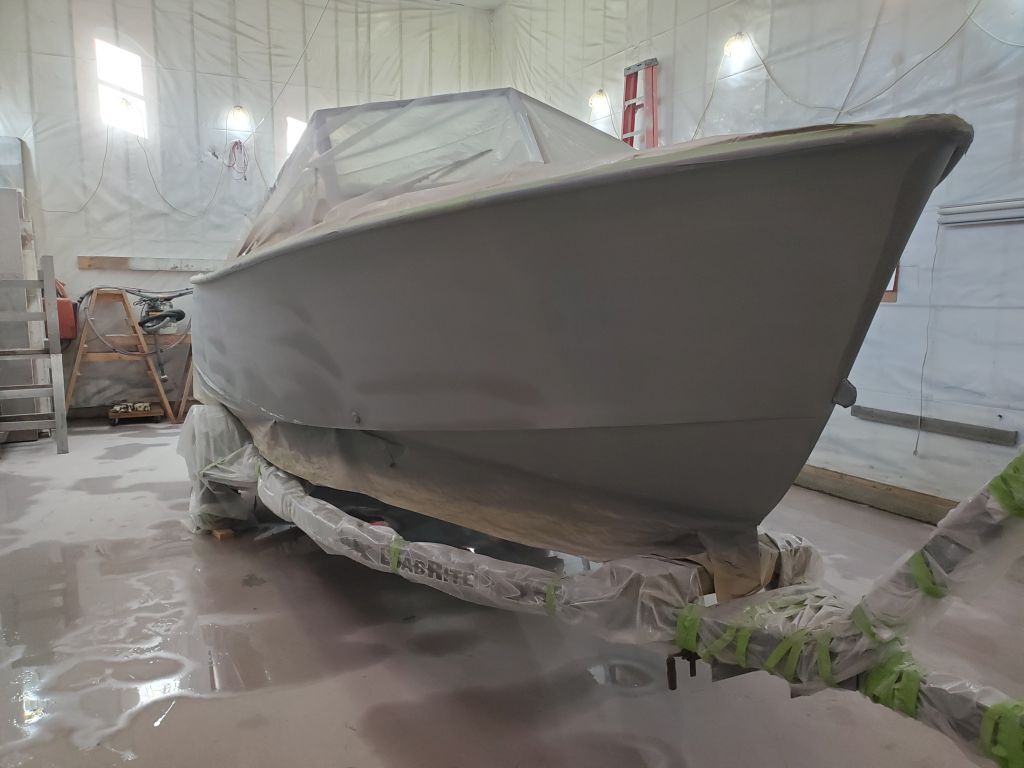
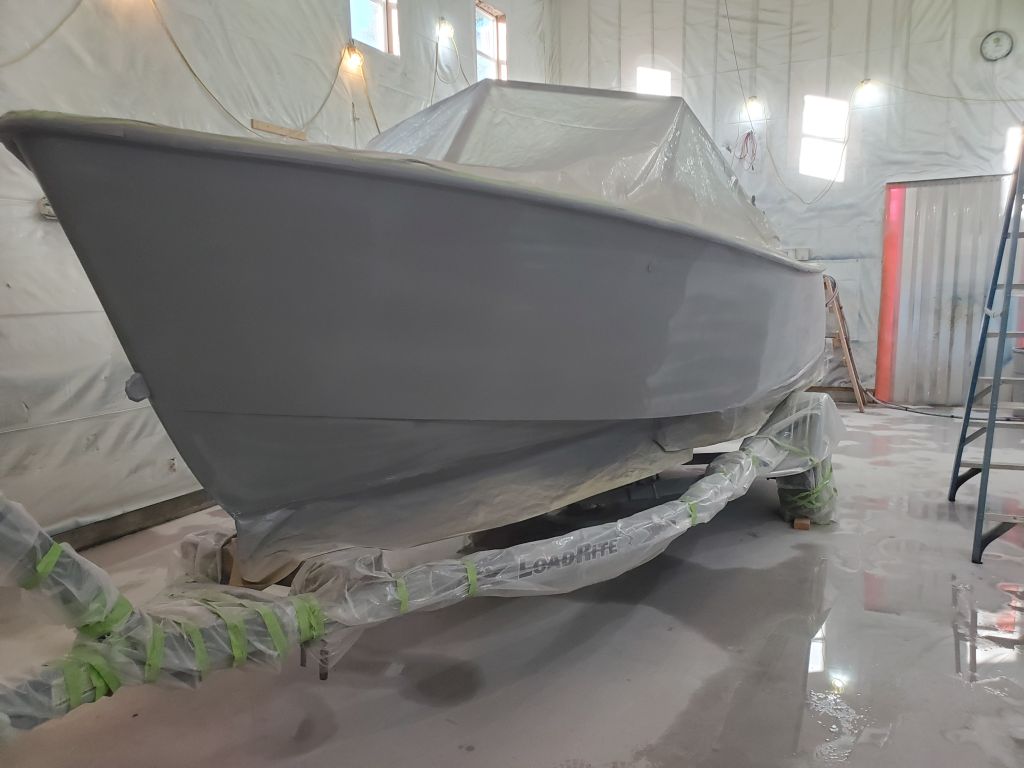
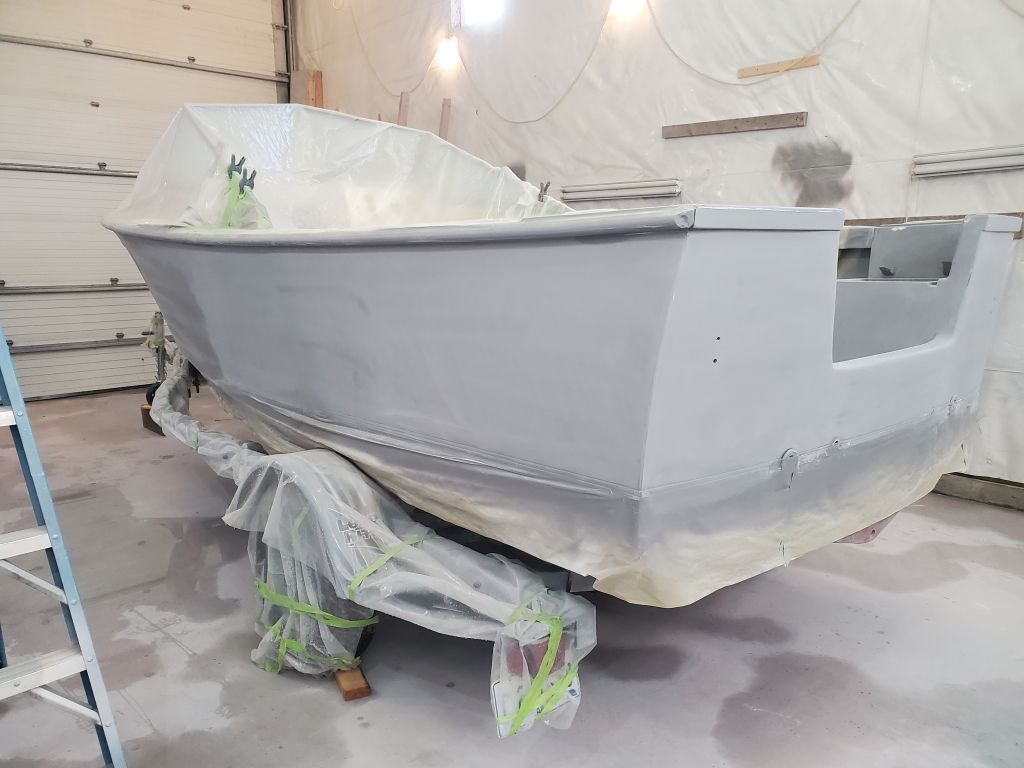
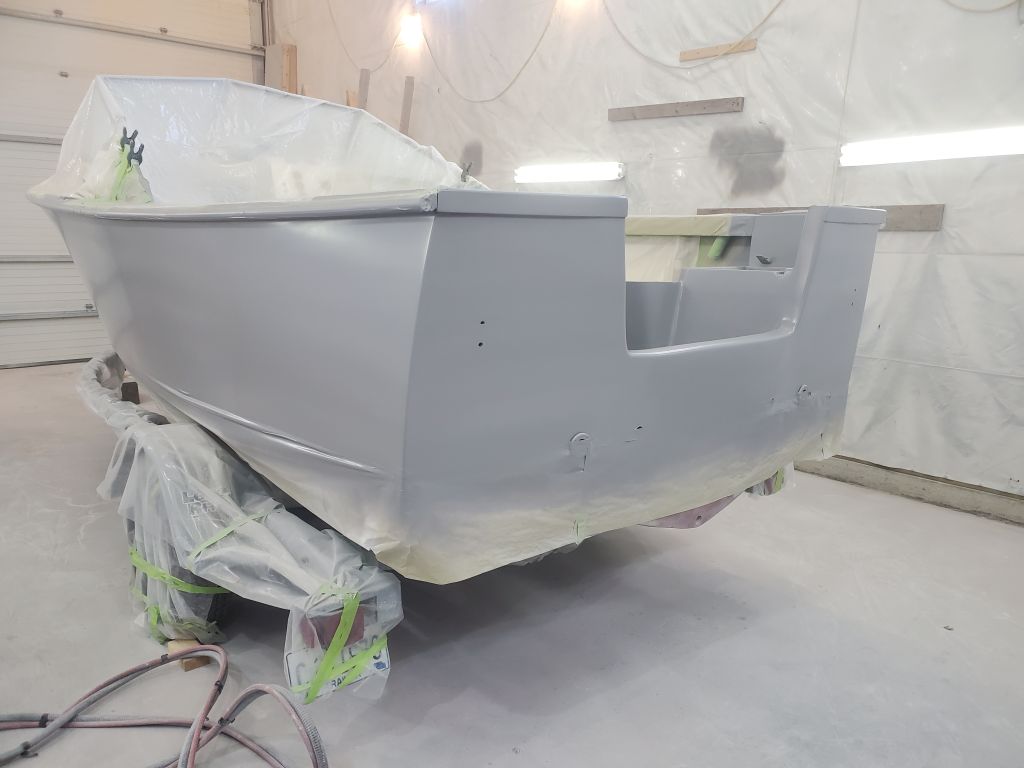
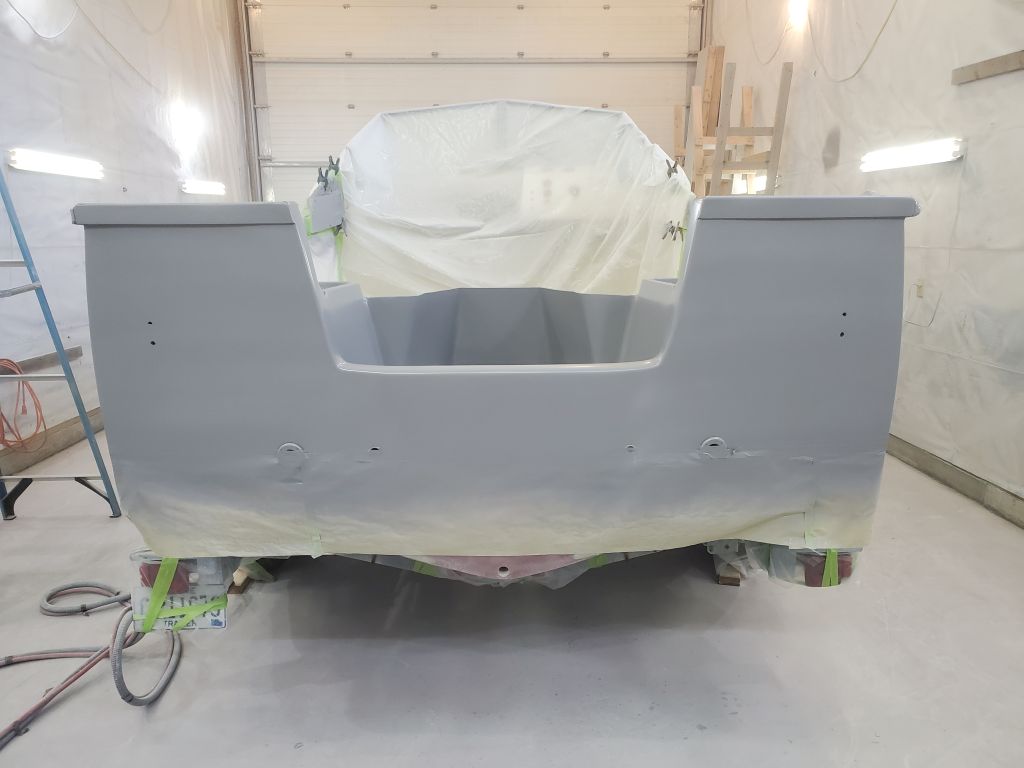
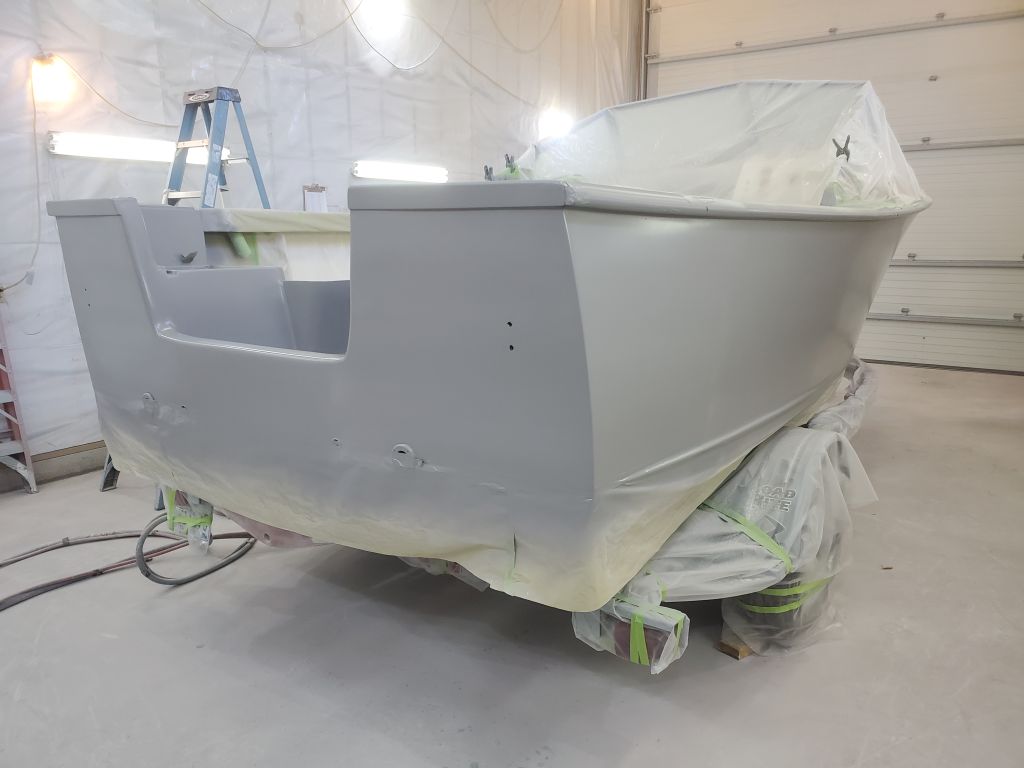
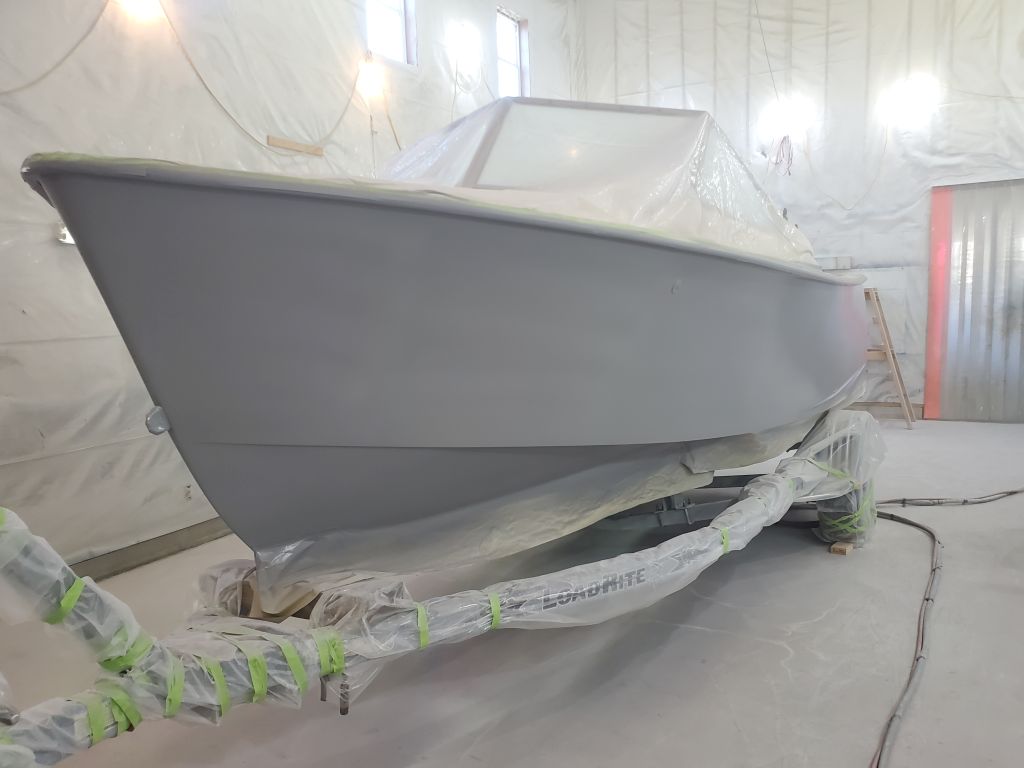
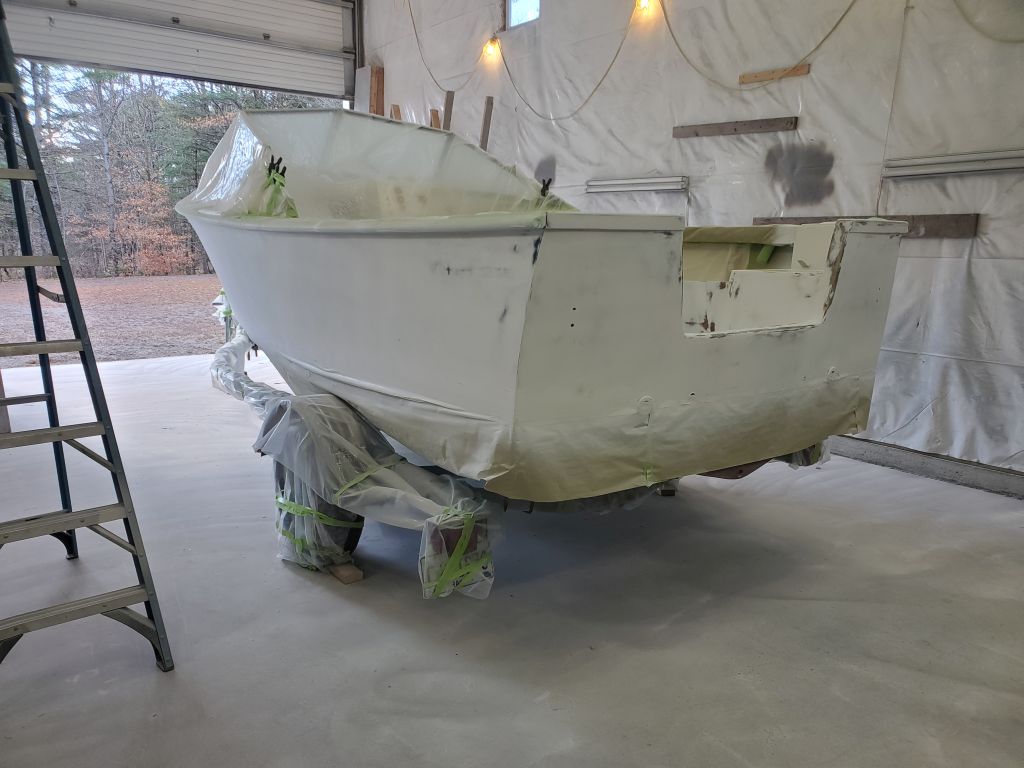
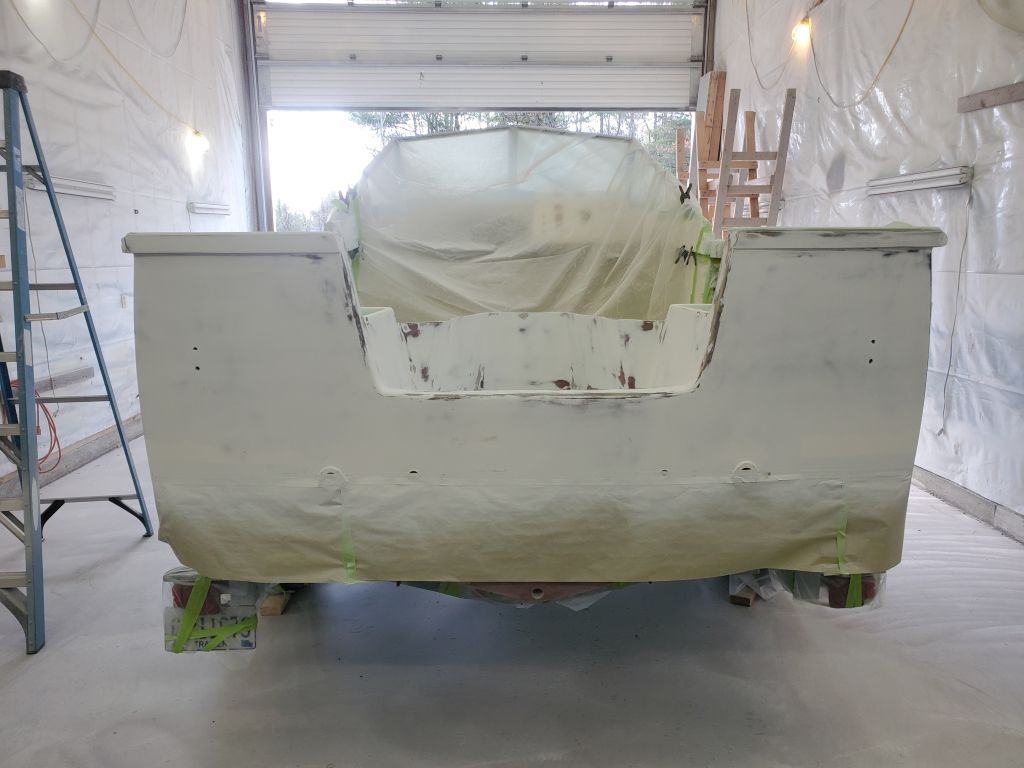
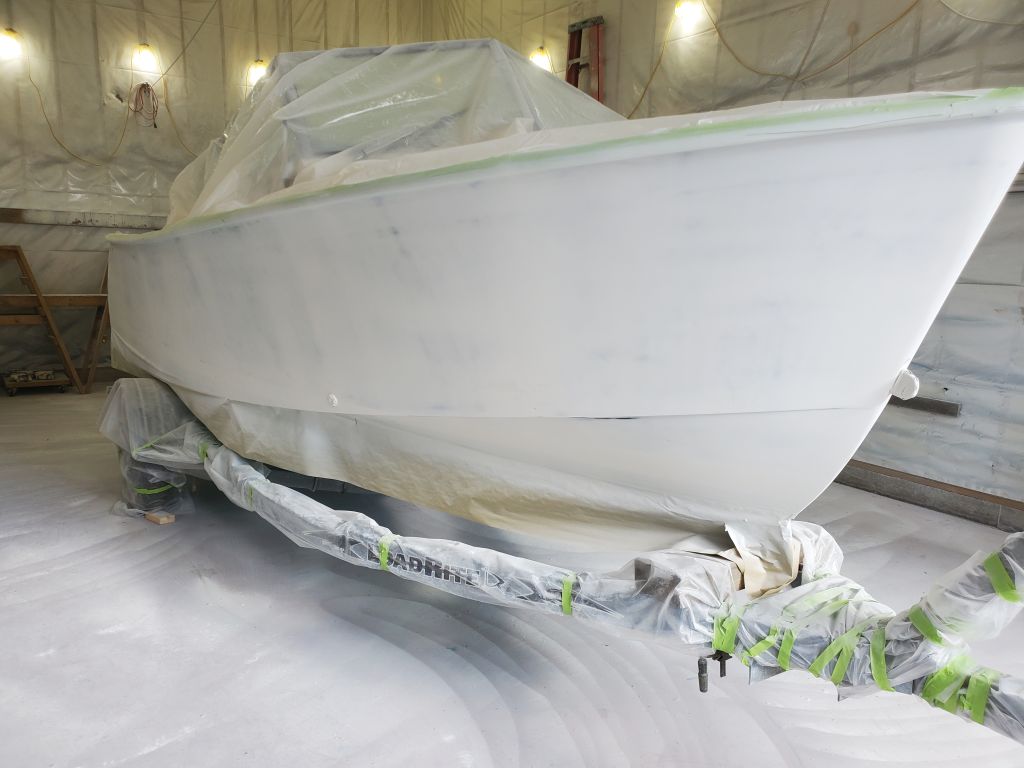
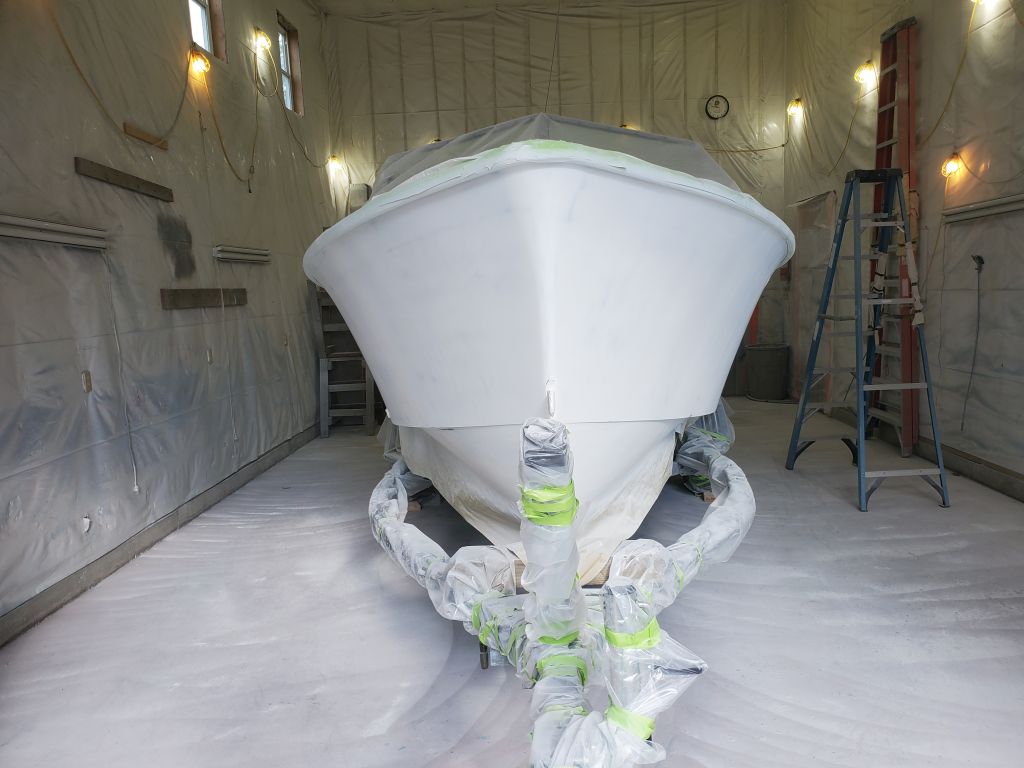
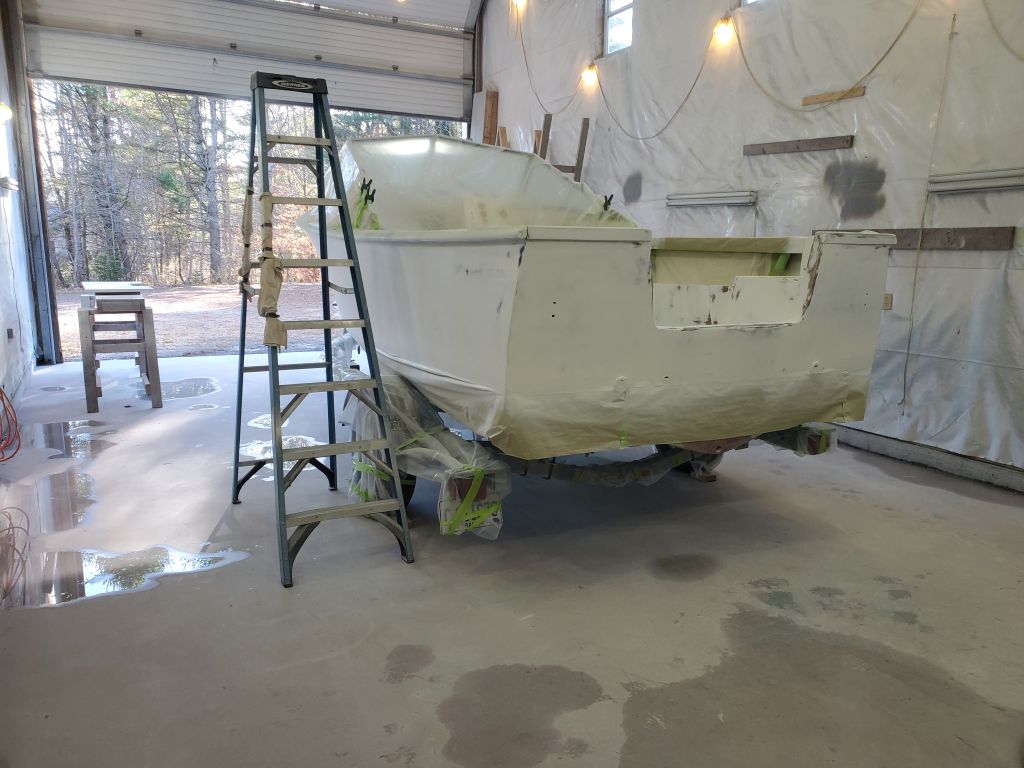
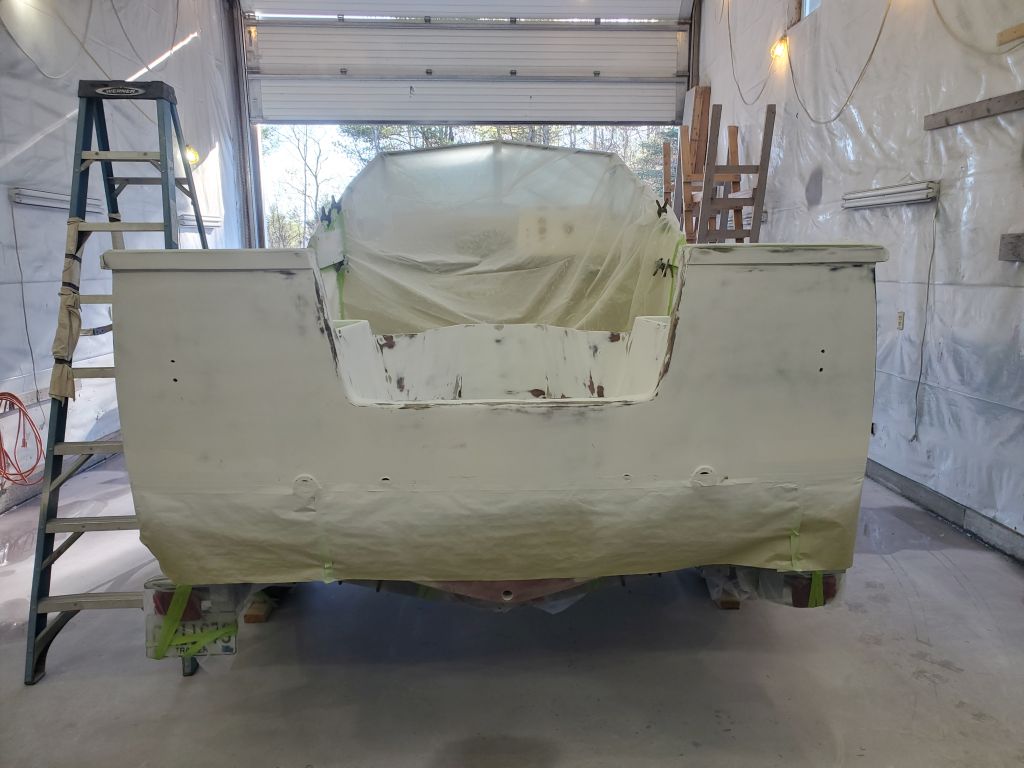
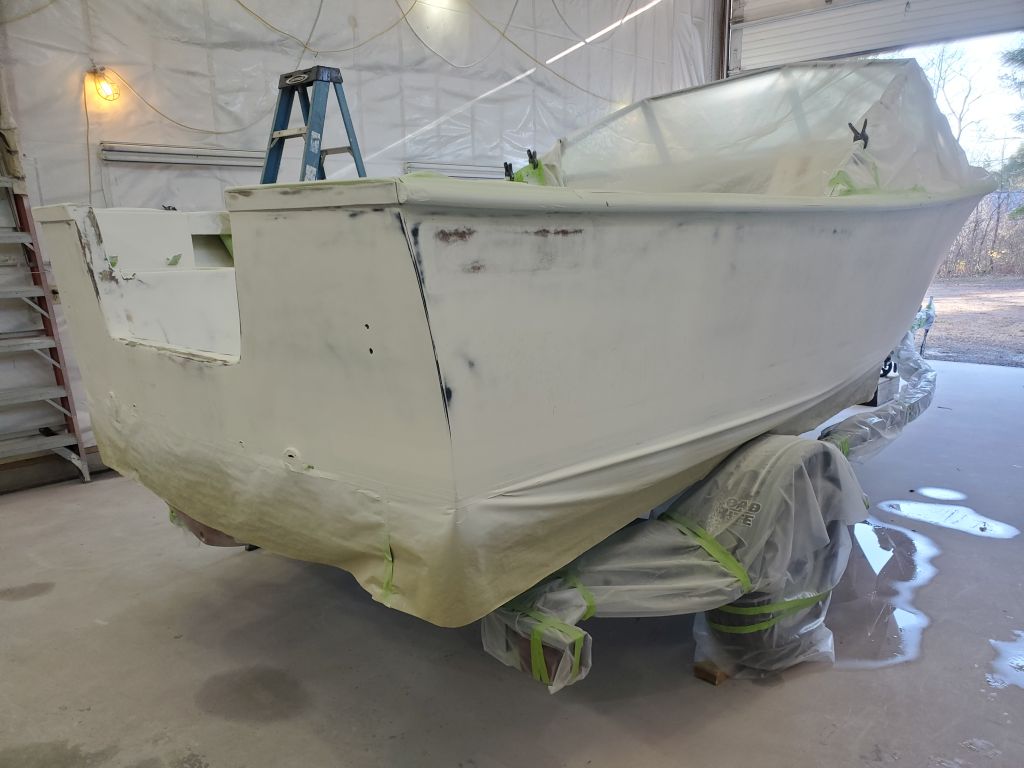
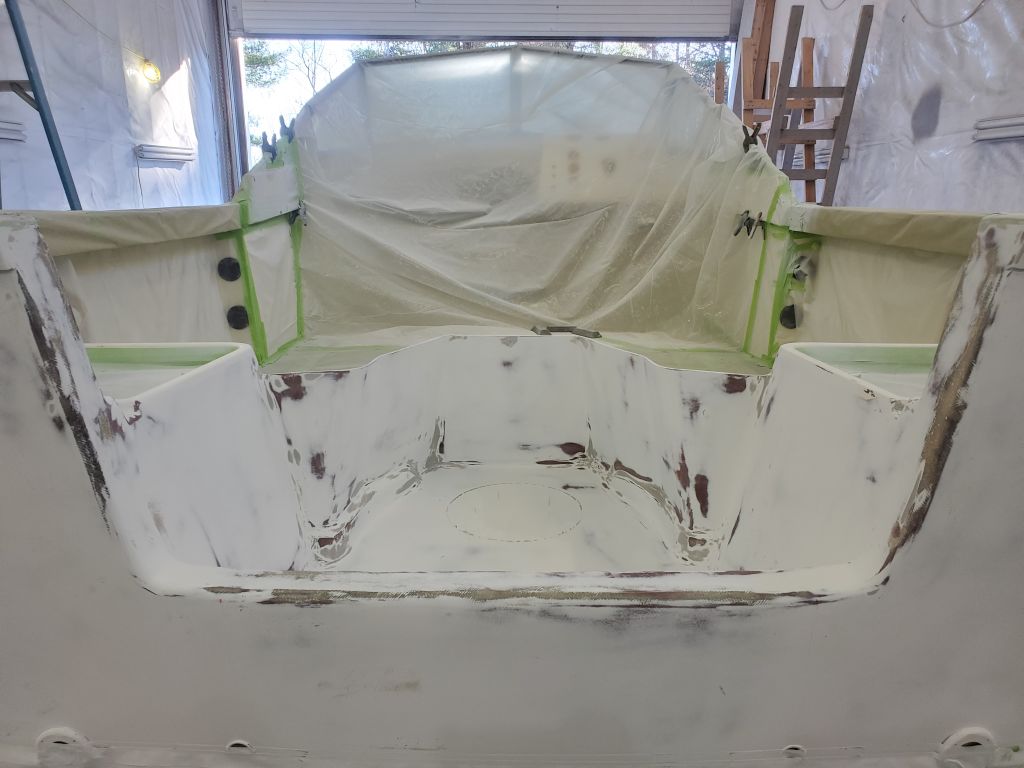
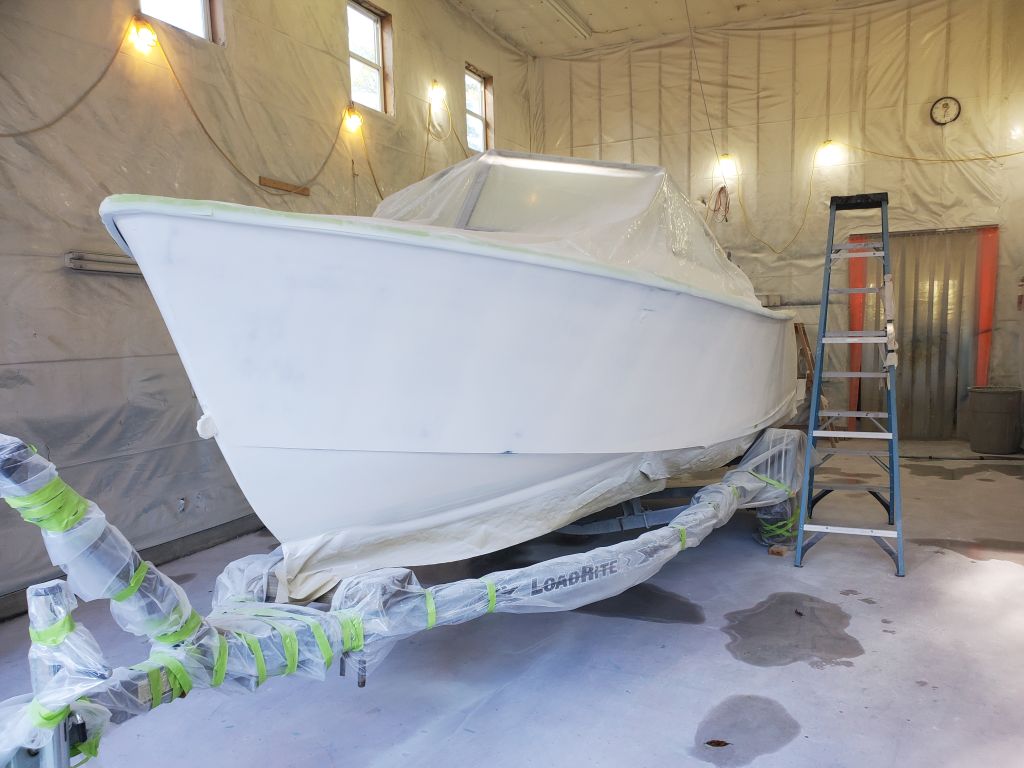
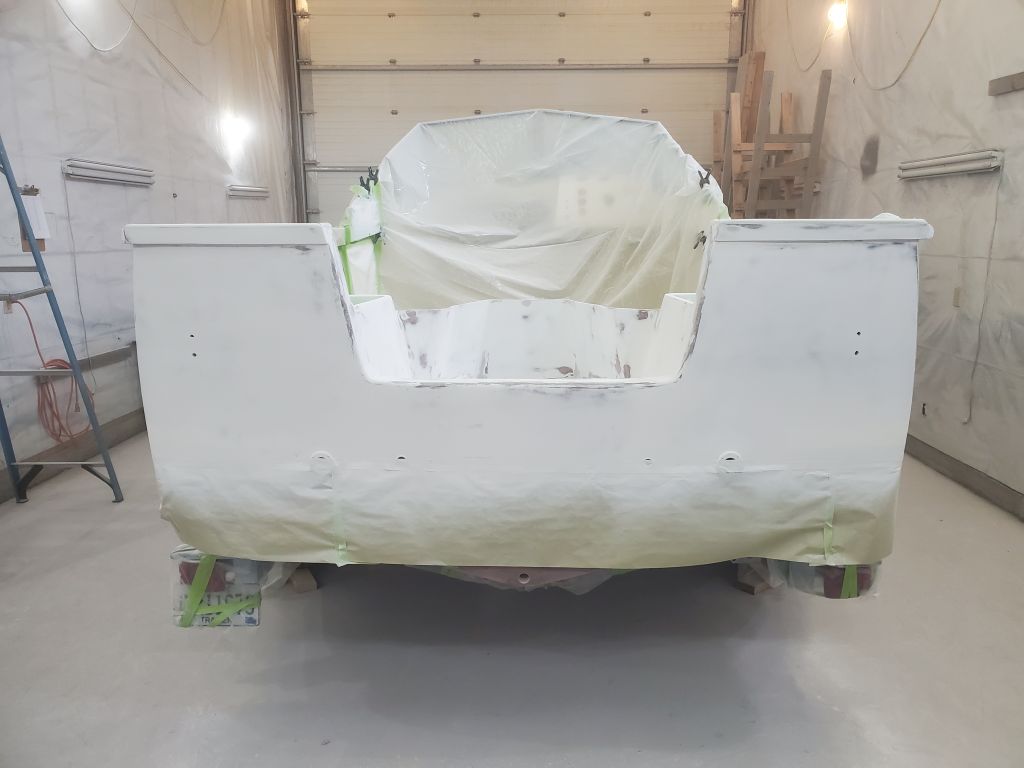
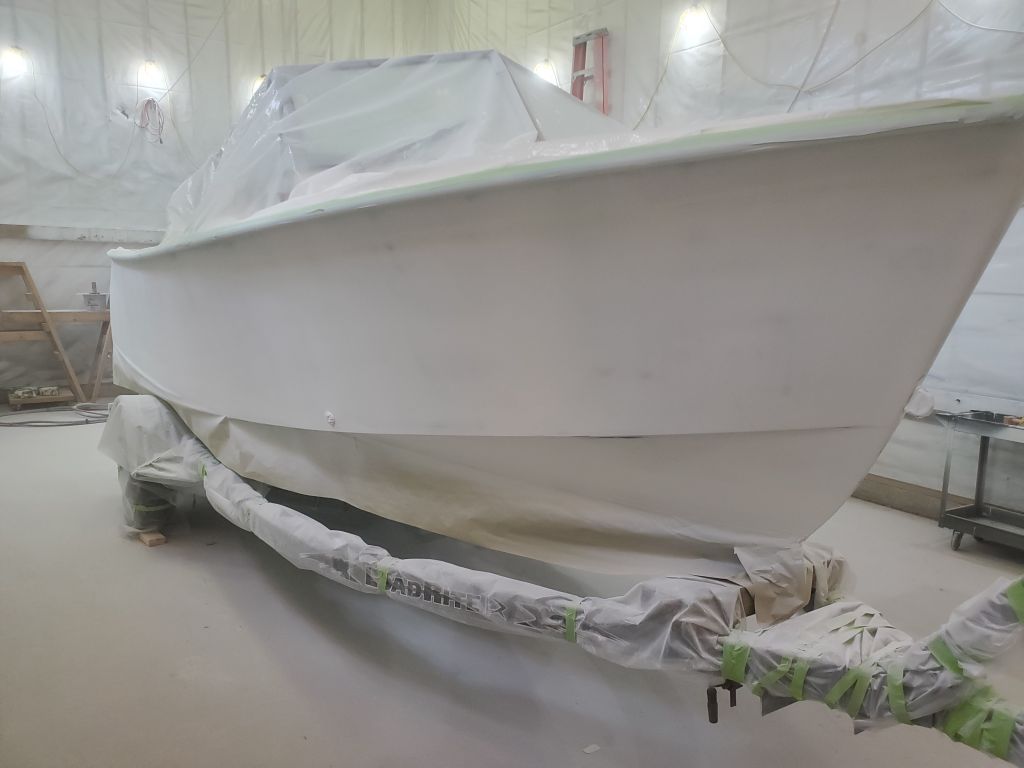
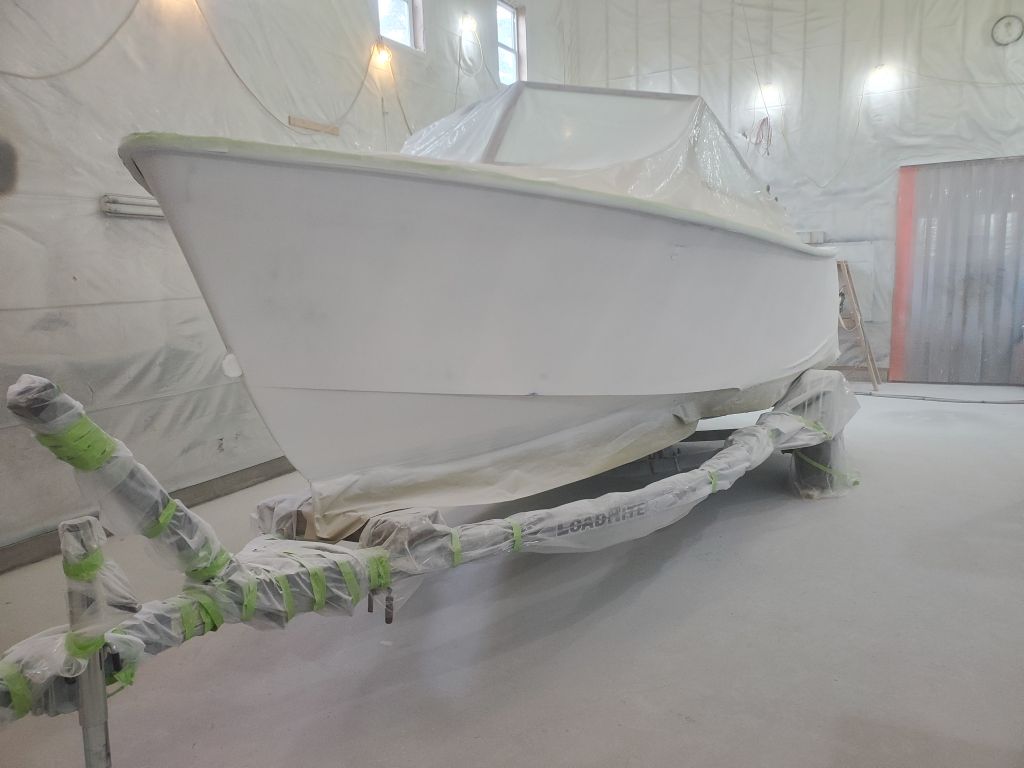
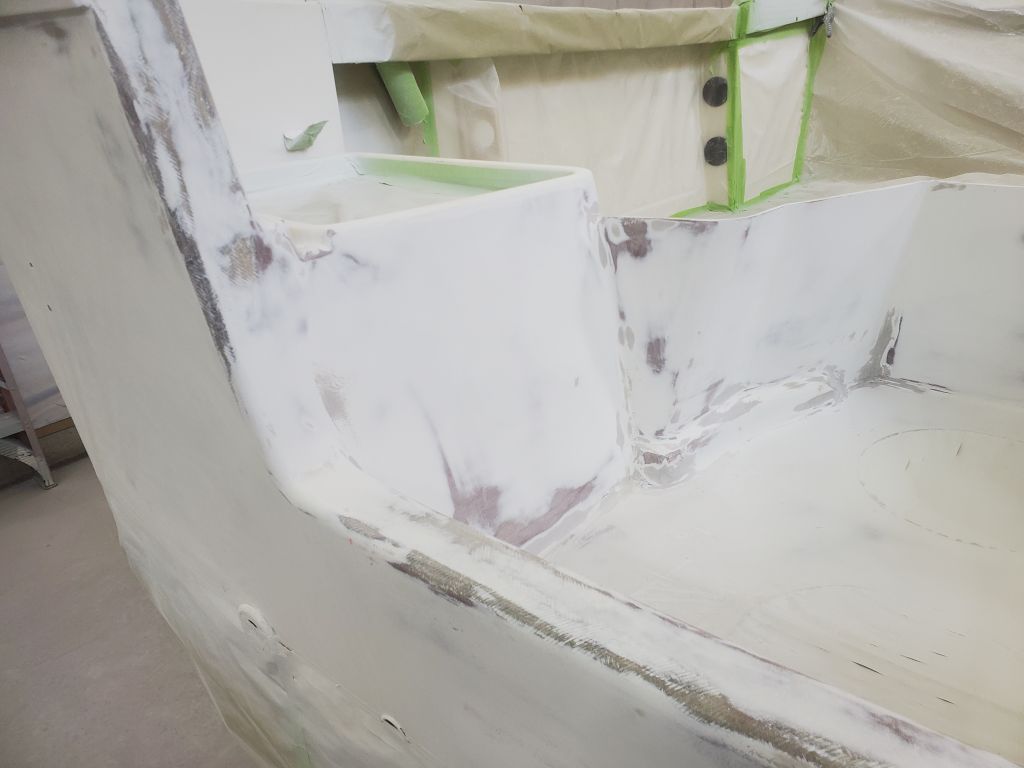
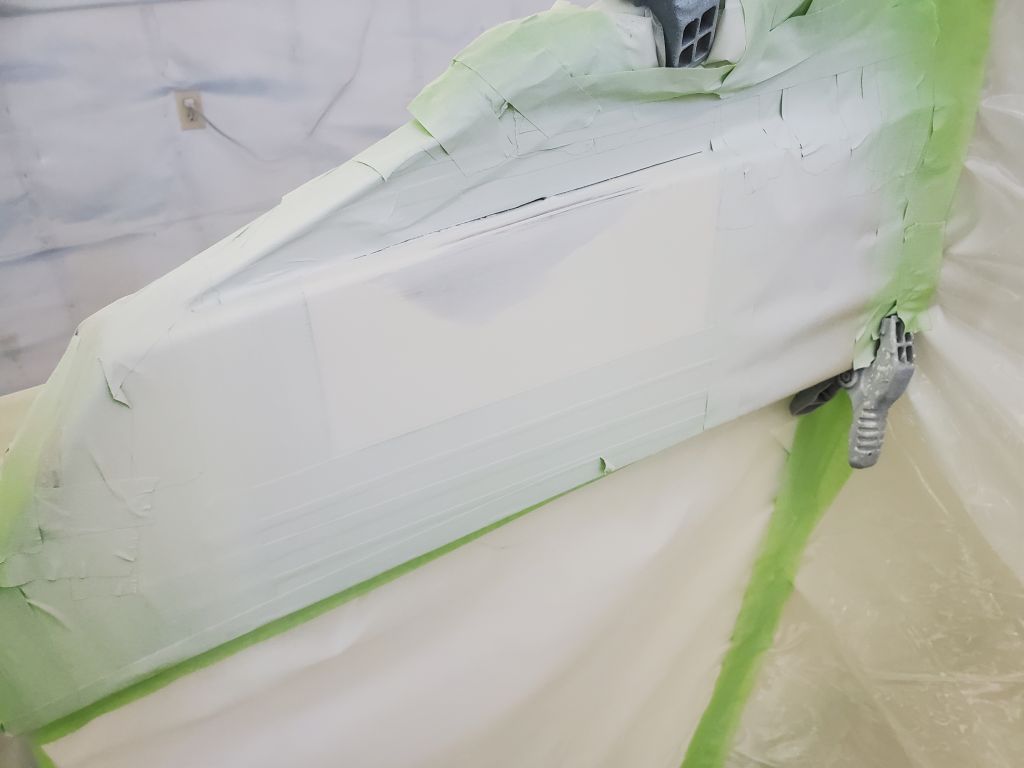
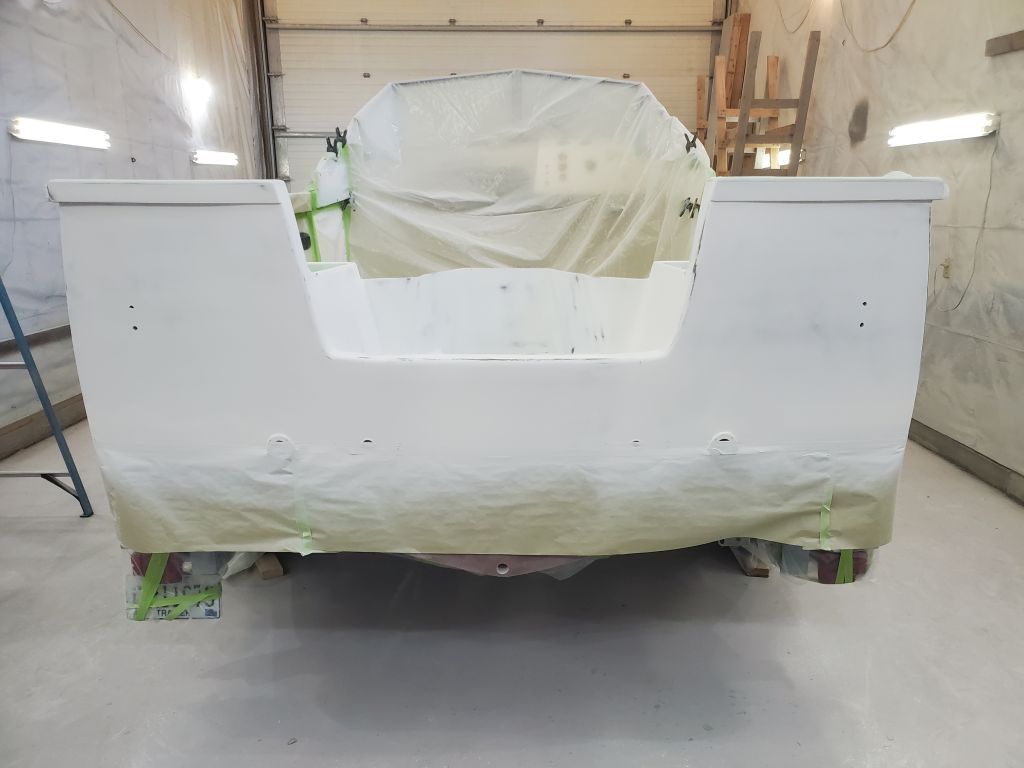
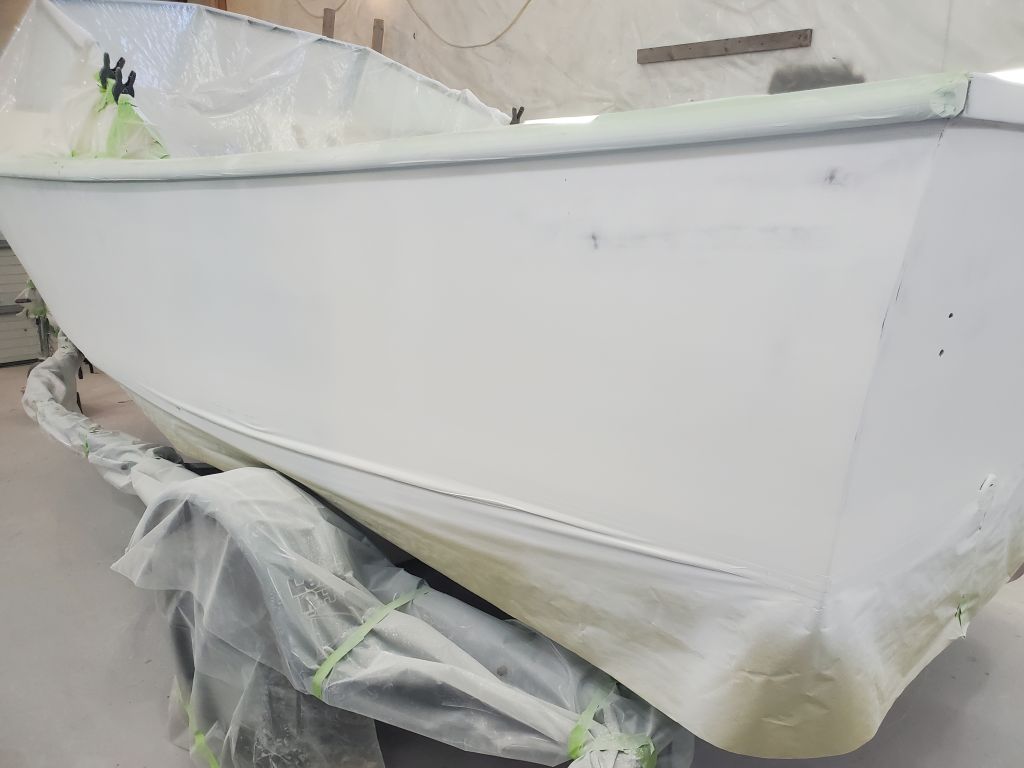
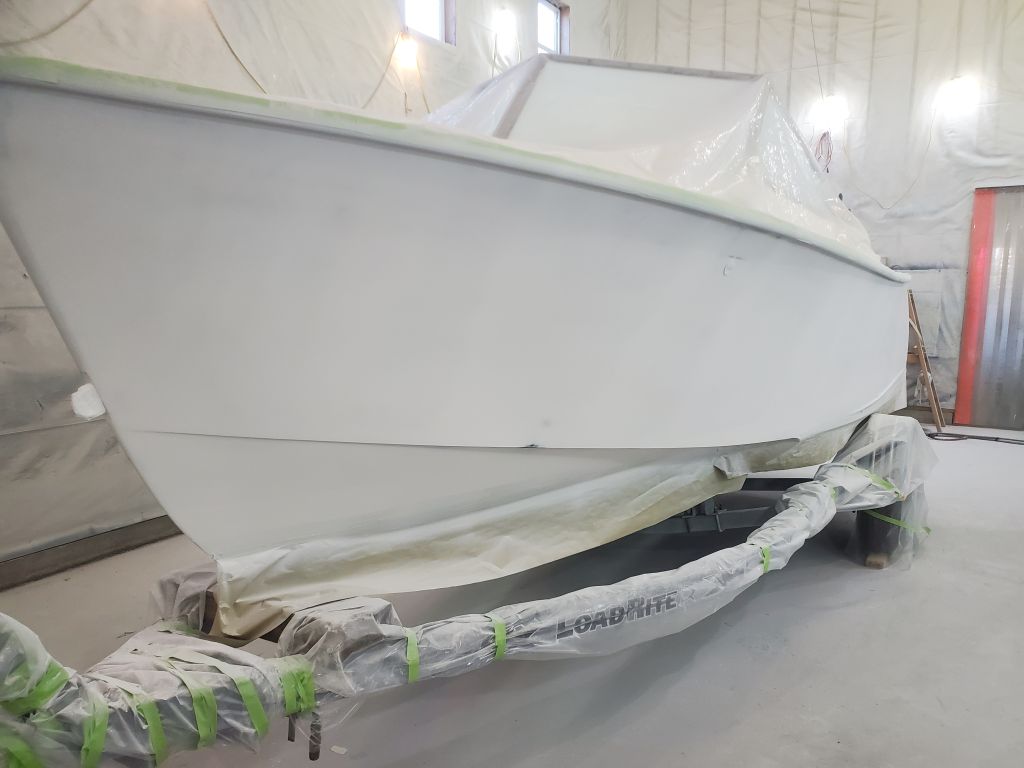
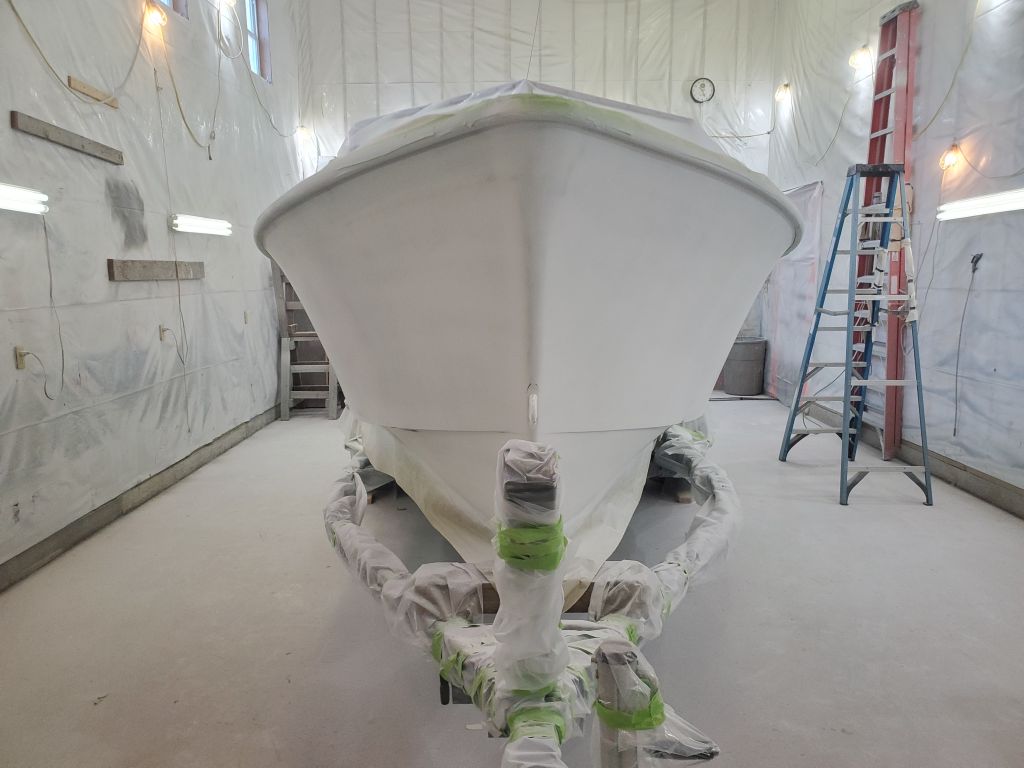
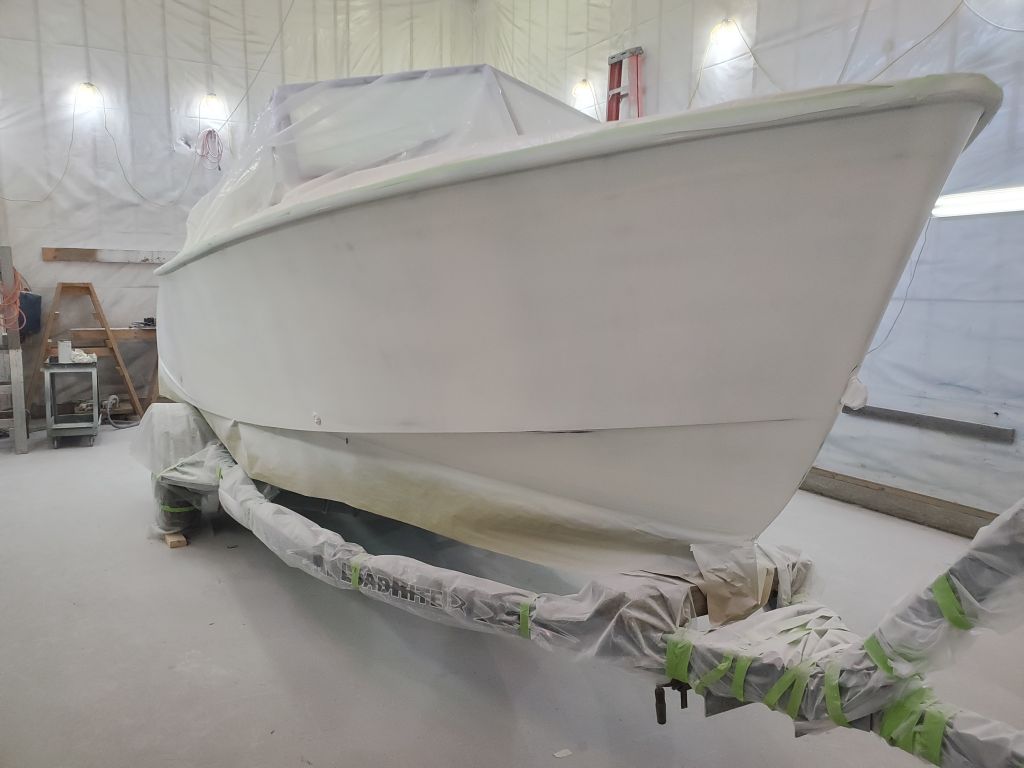
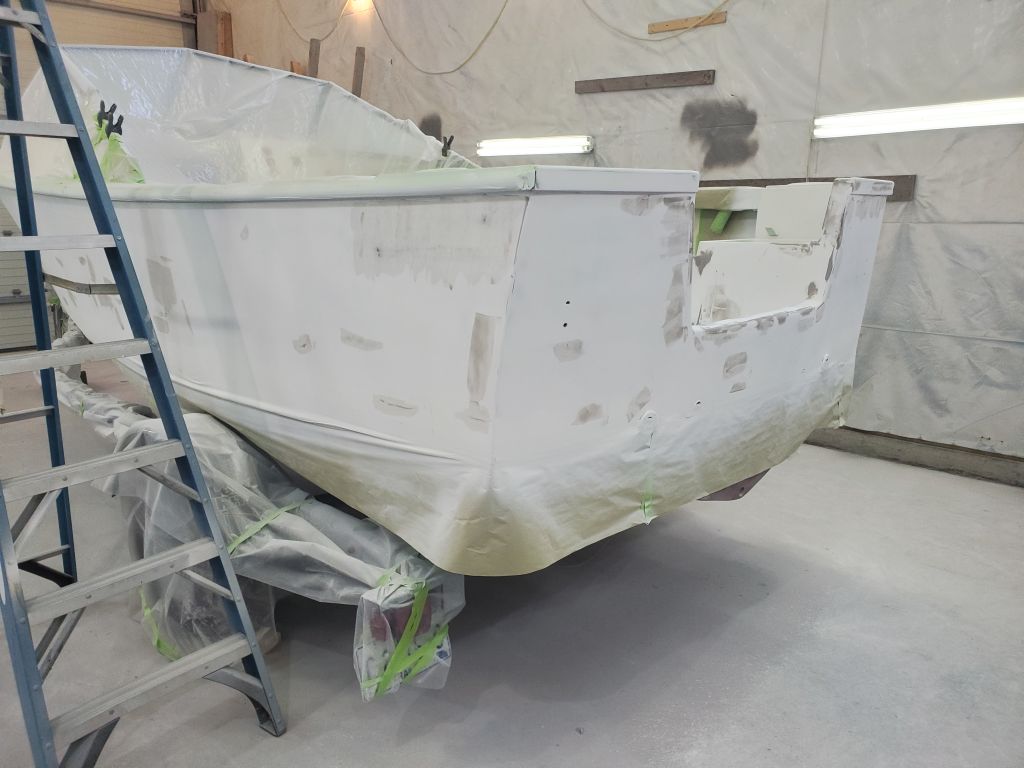
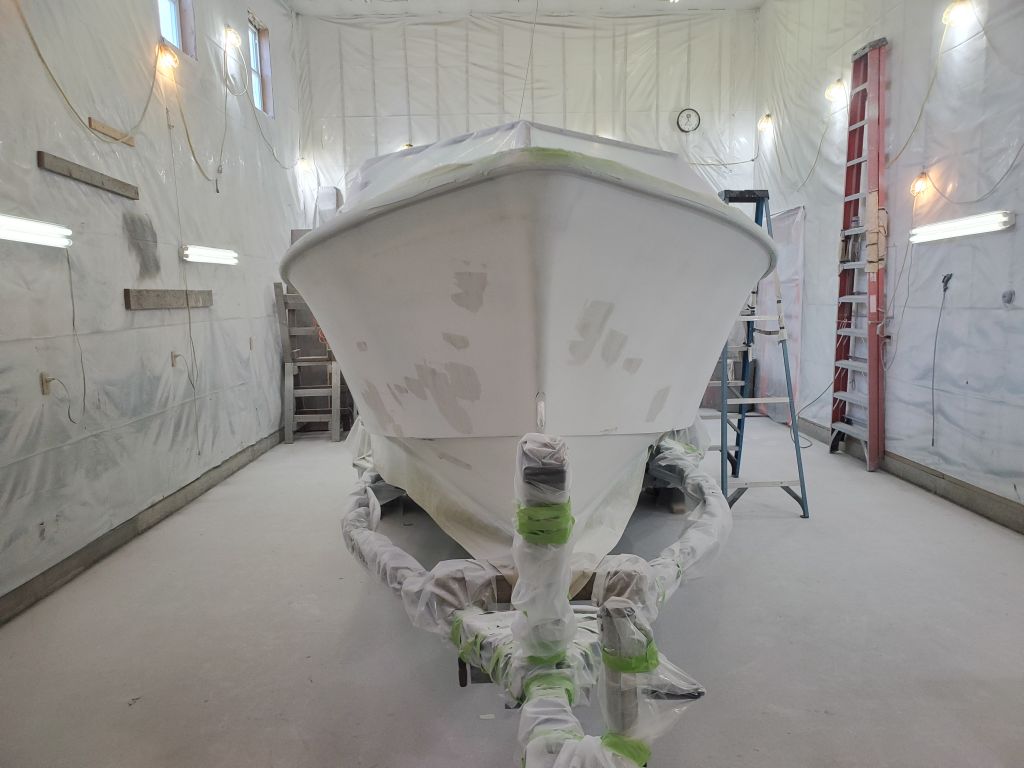
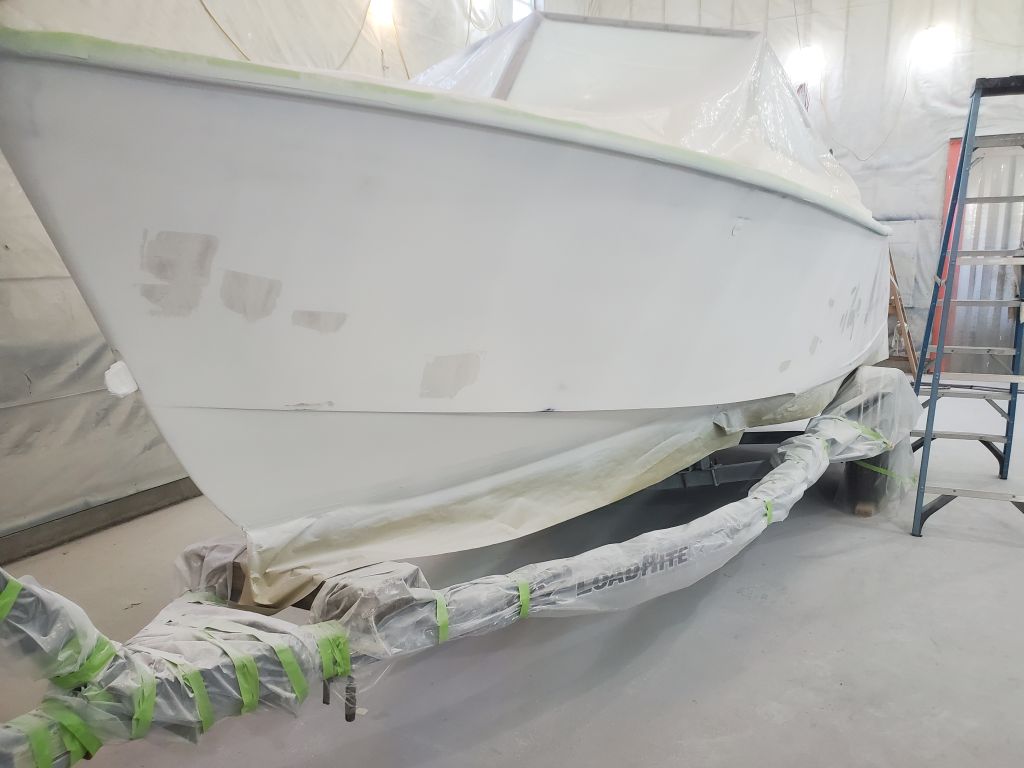
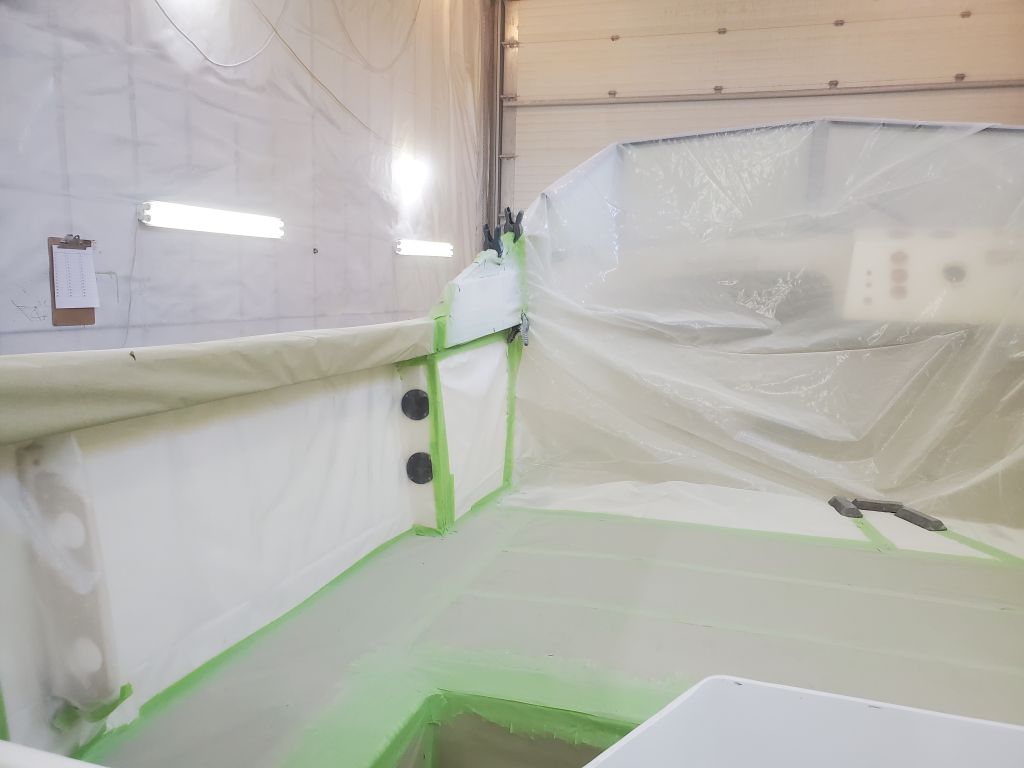
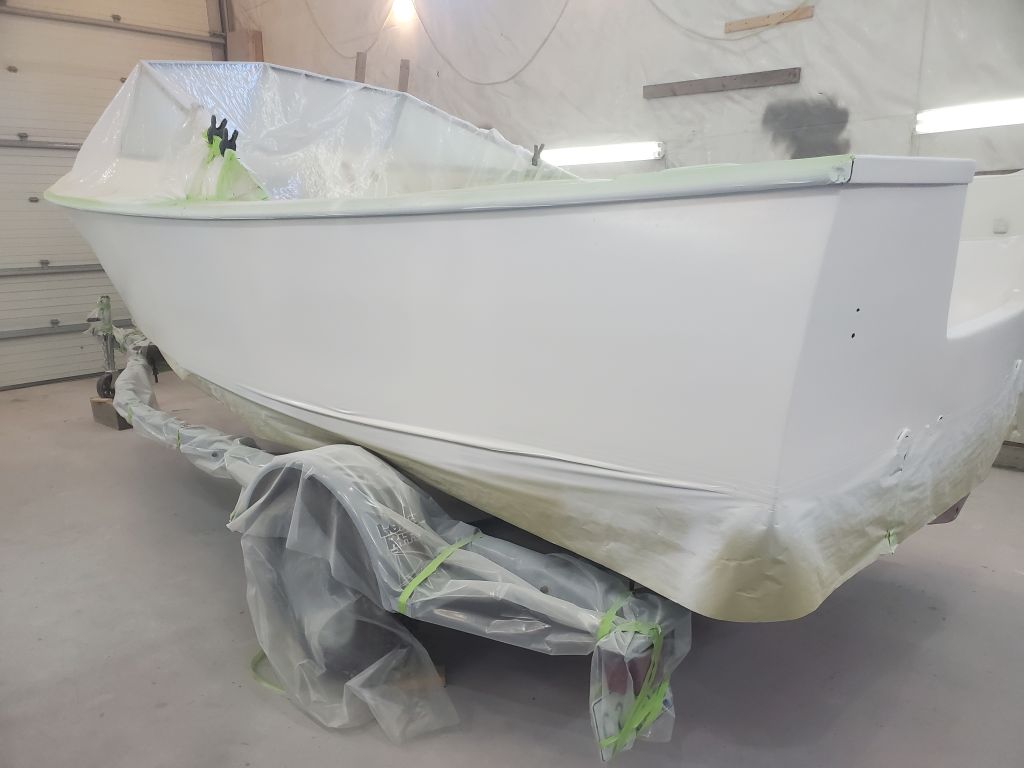
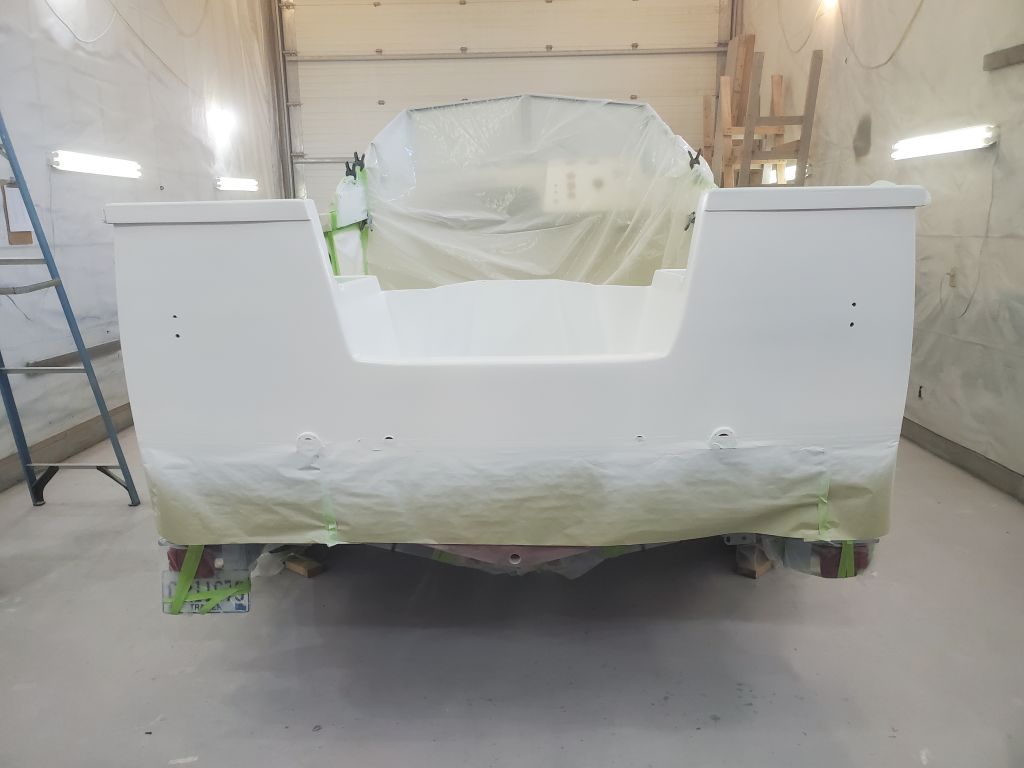
I’d considered, during the time sanding and other mindless chores, the order in which I should attack the final painting, taking convenience and logic into consideration as much as possible. At some length, I ultimately decided to paint the hull first, then the boottop, and finally the deck areas. I thought this would end up being the most efficient in terms of masking and other requirements, which masking would become increasingly critical as the final coatings were applied. So to begin closing off the cockpit against hull overspray, I closed off the new transom opening, masking a clean line about 1/2″ in from the transom to represent the seam between hull and deck paint, and covering the remainder of the opening with masking paper.
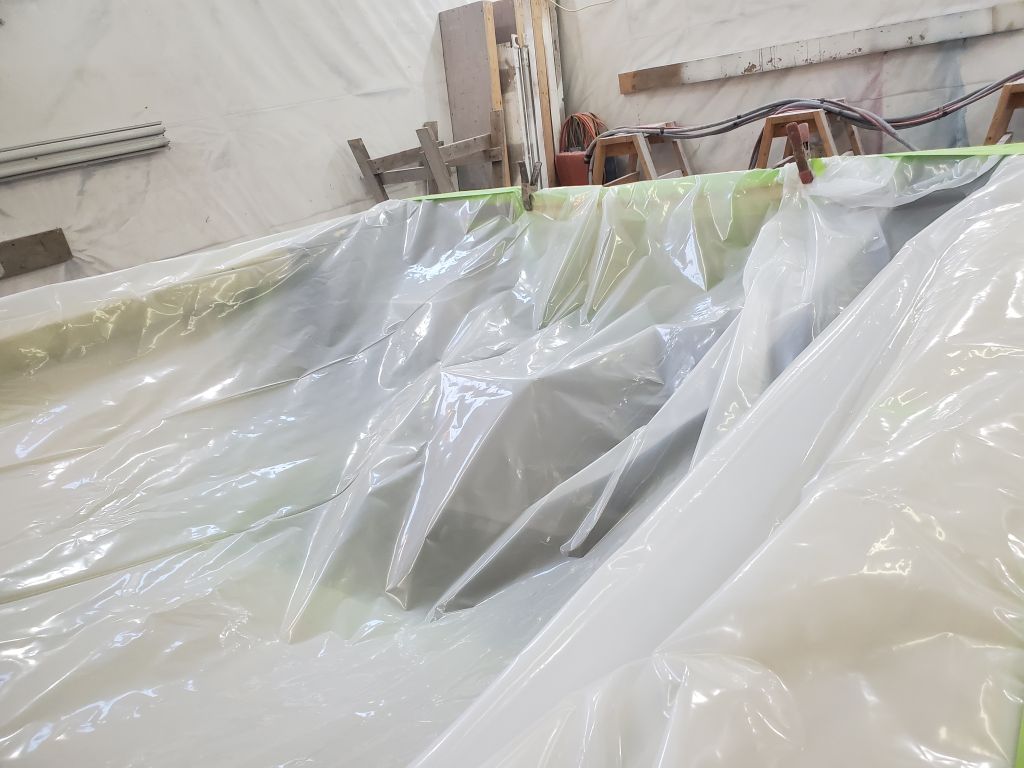
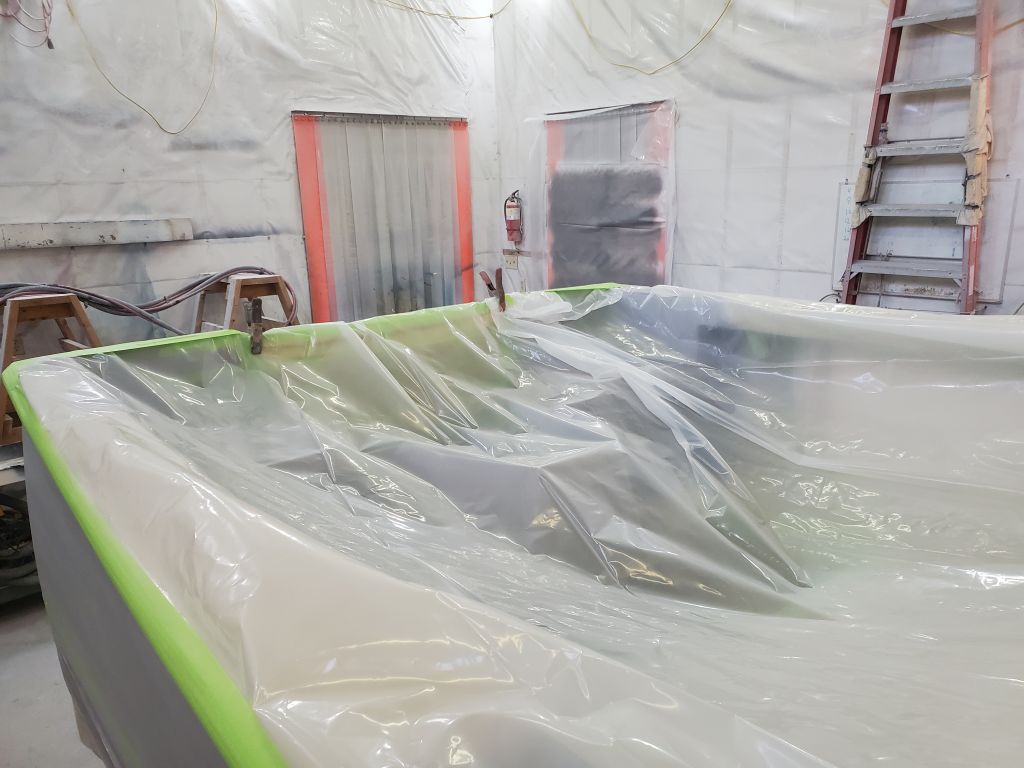
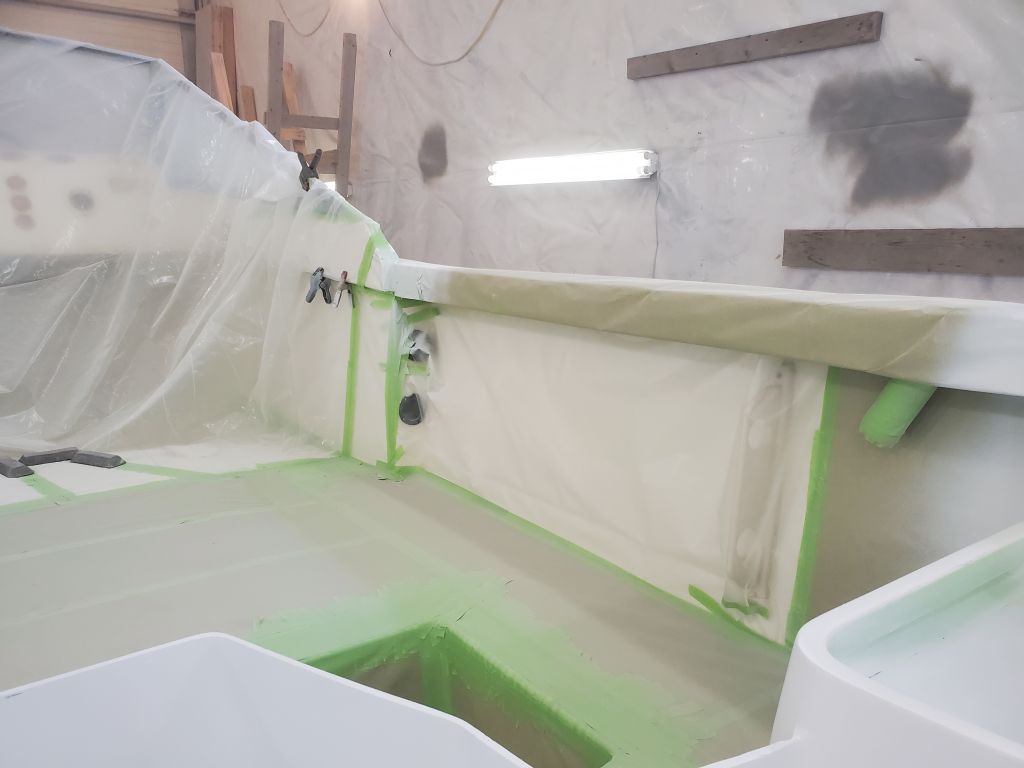
This brought me to the end of the day, but next time I’d finish up with plastic sheeting over the rest of the cockpit and other prep. I had to be away from the shop for several days coming up, so topcoat wouldn’t happen till my return, which gave me the luxury of a slow lead-up, spread over a couple leisurely days, to the final event.