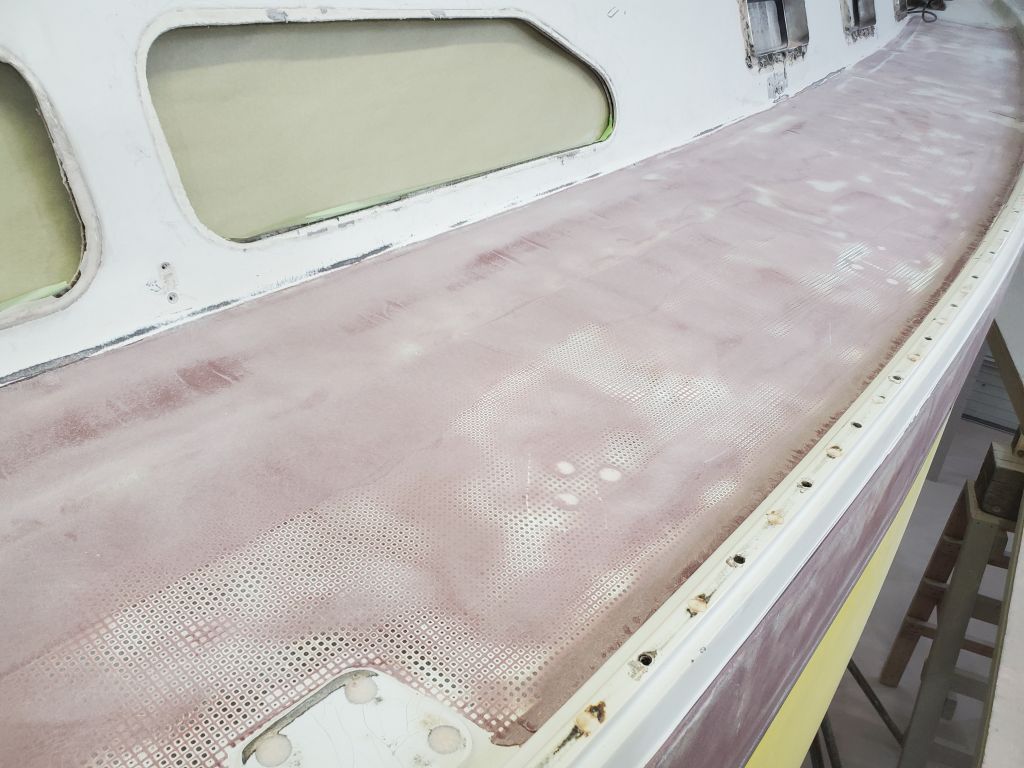
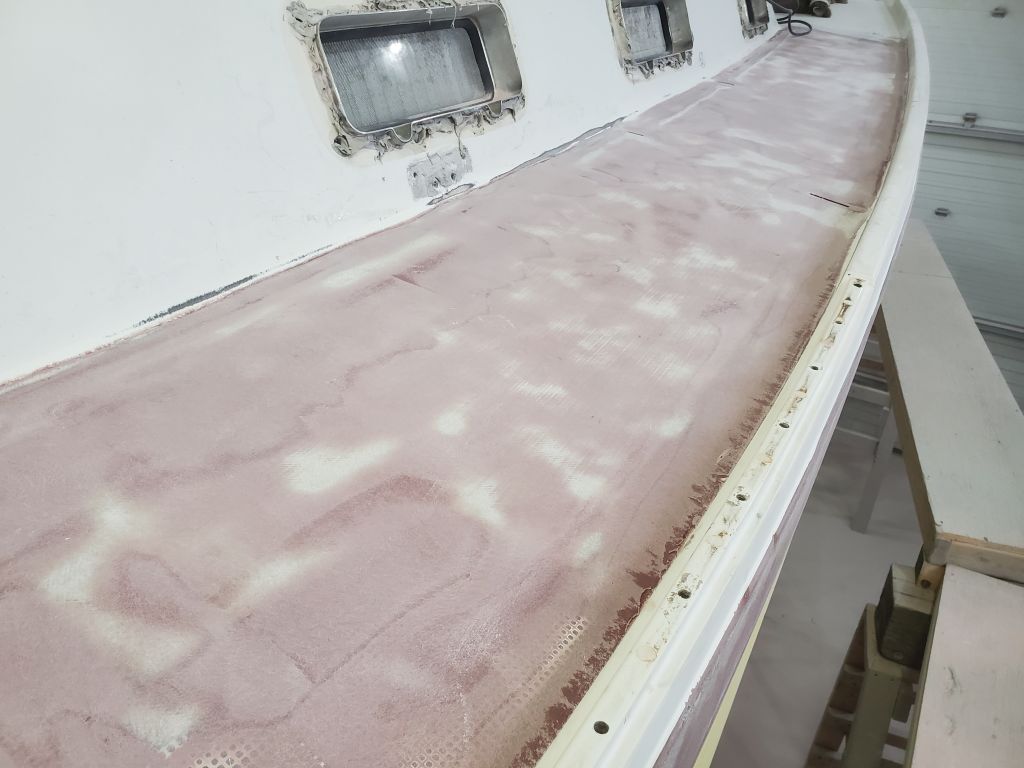
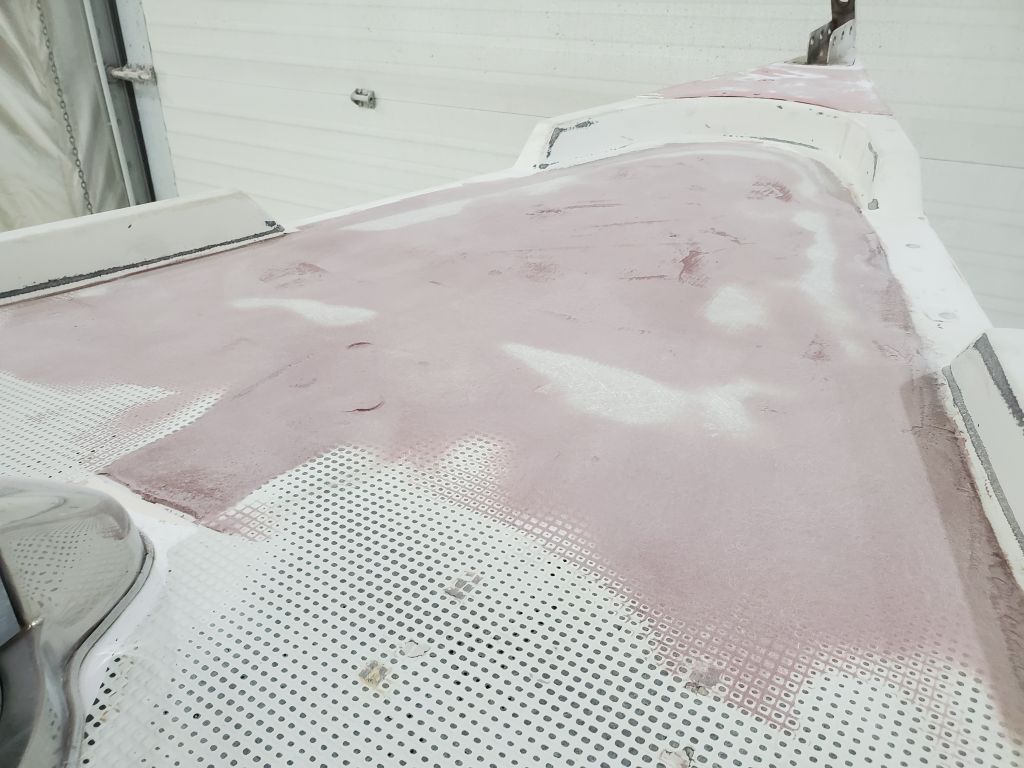
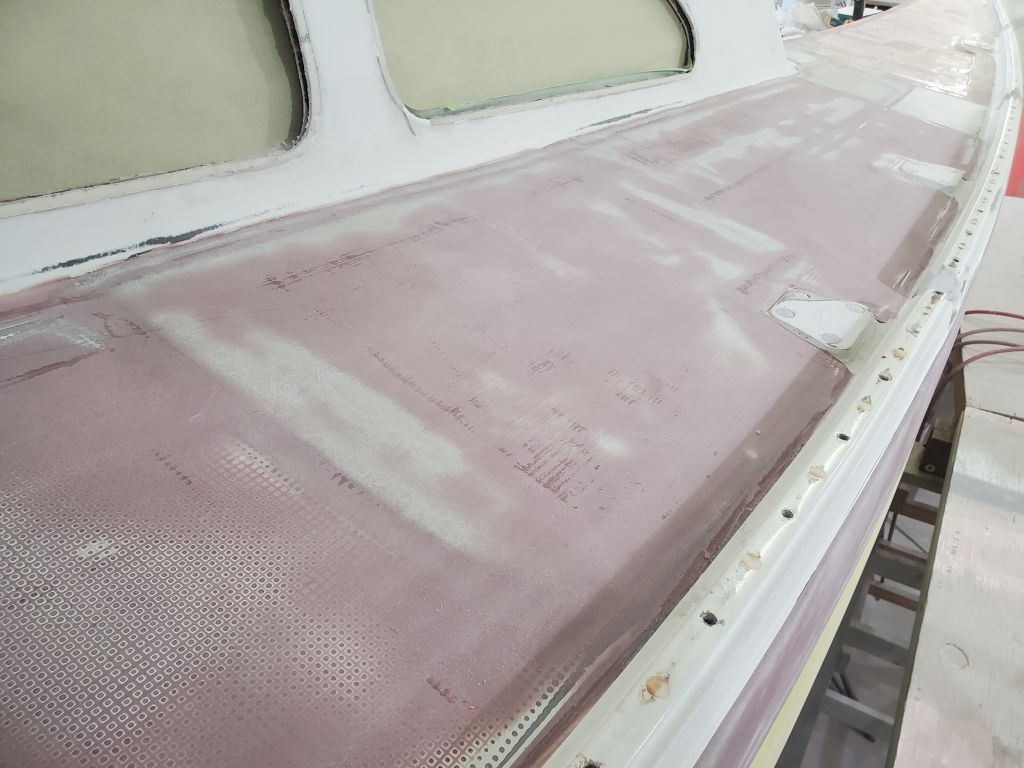
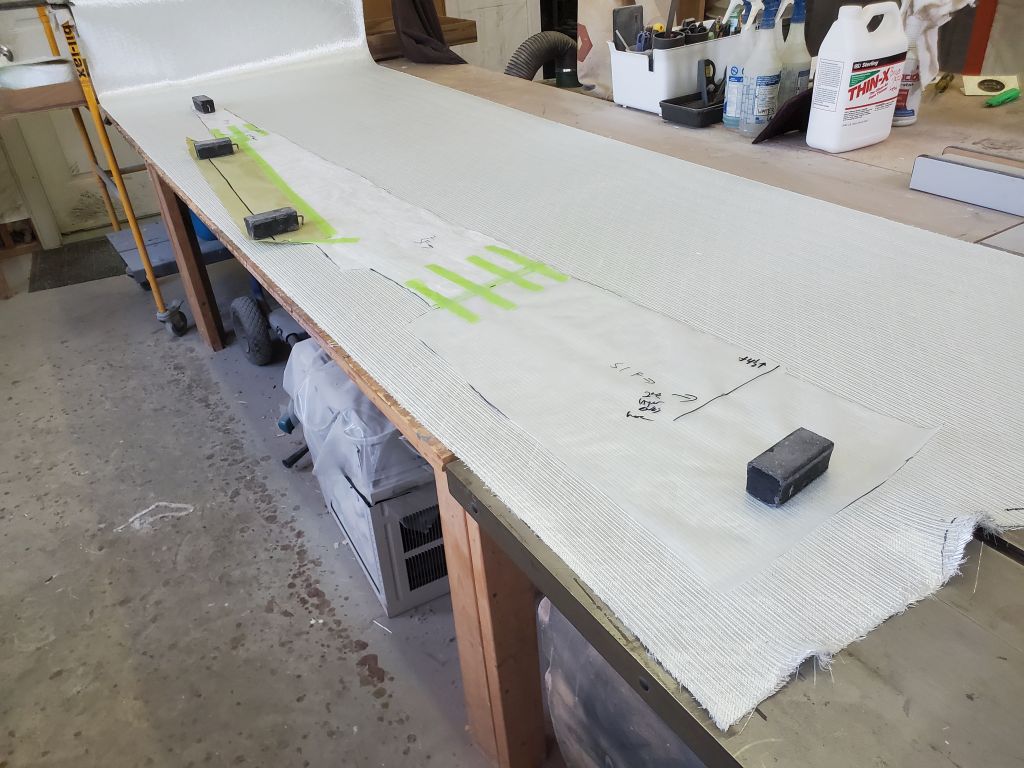
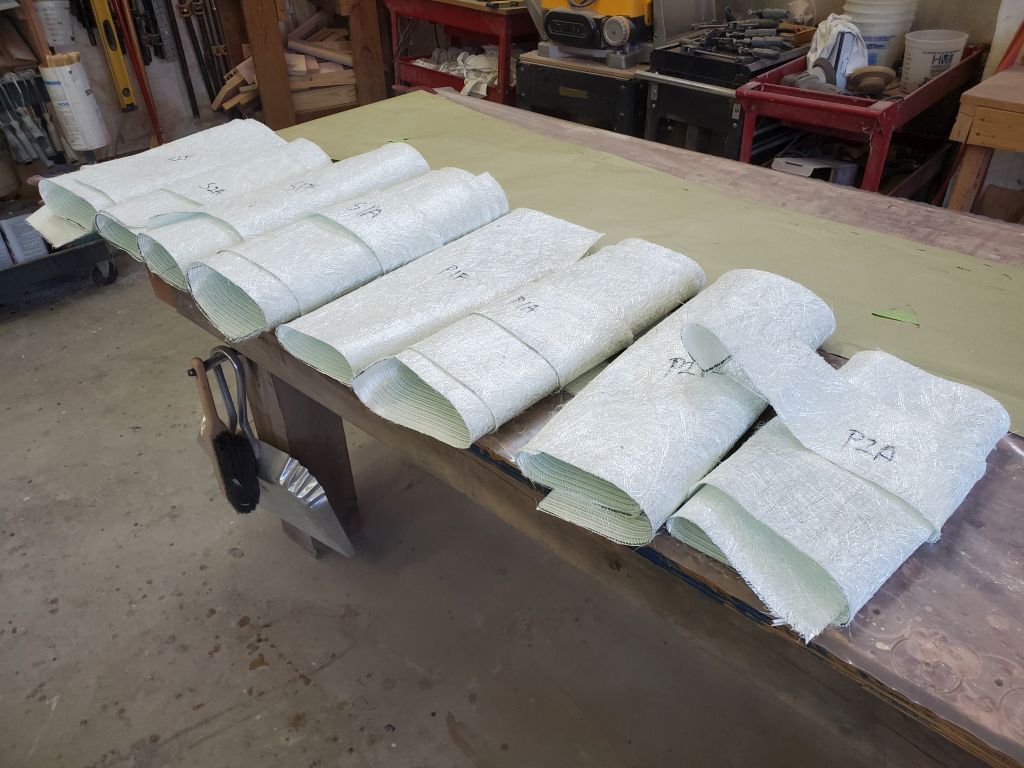
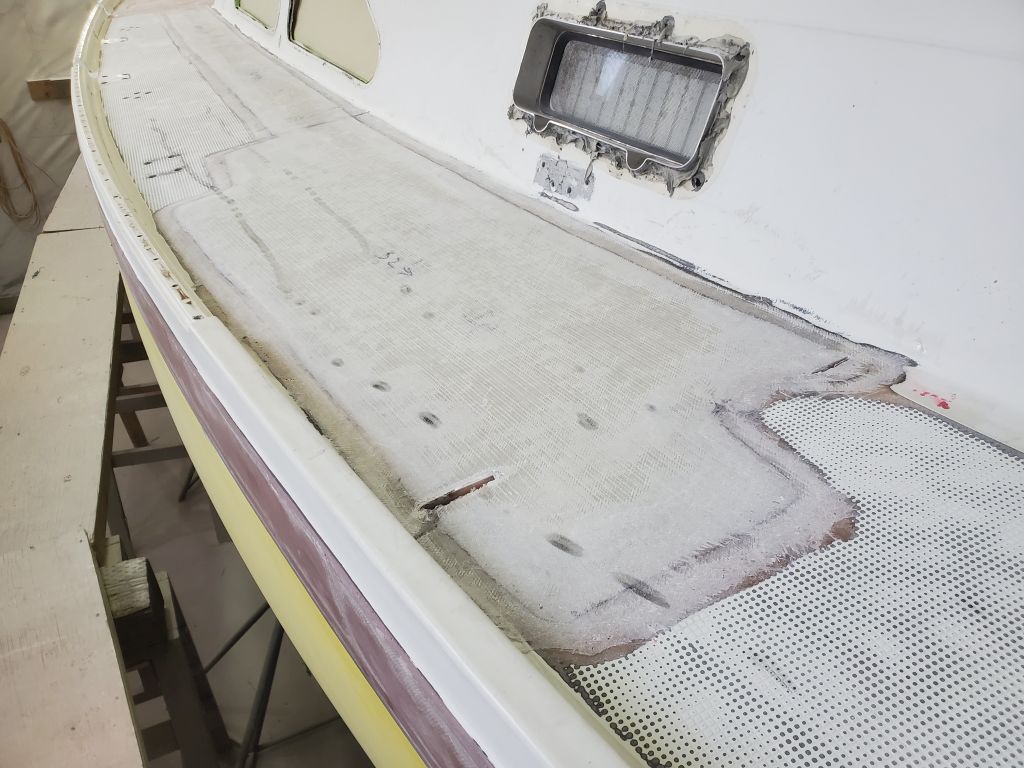
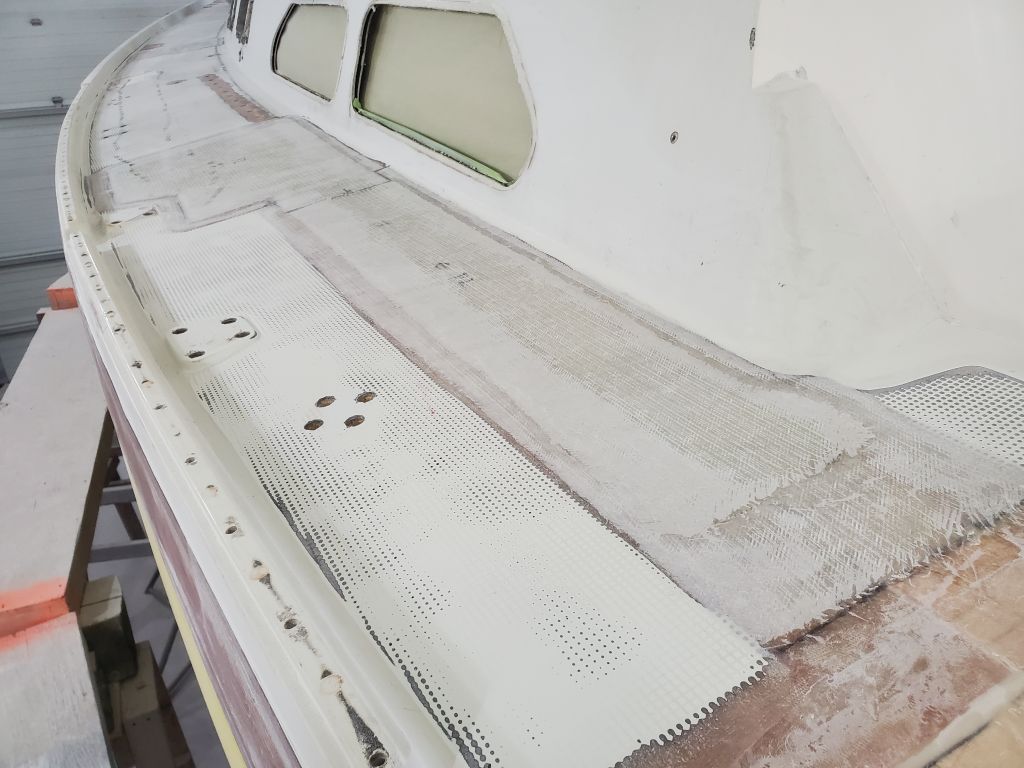
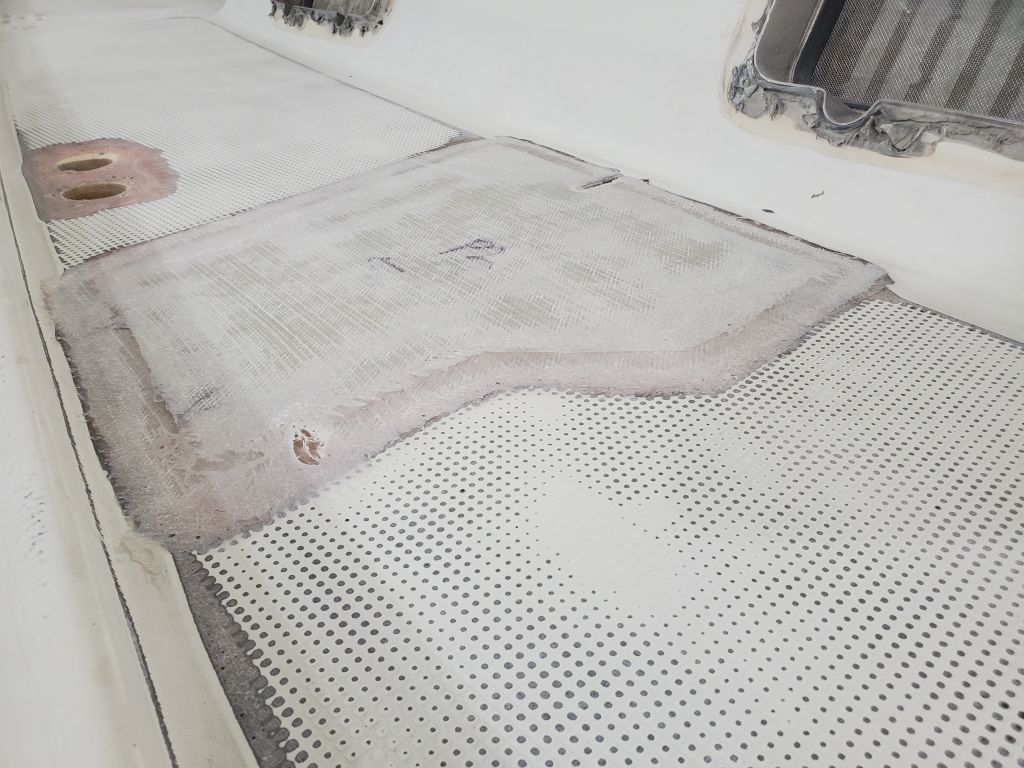
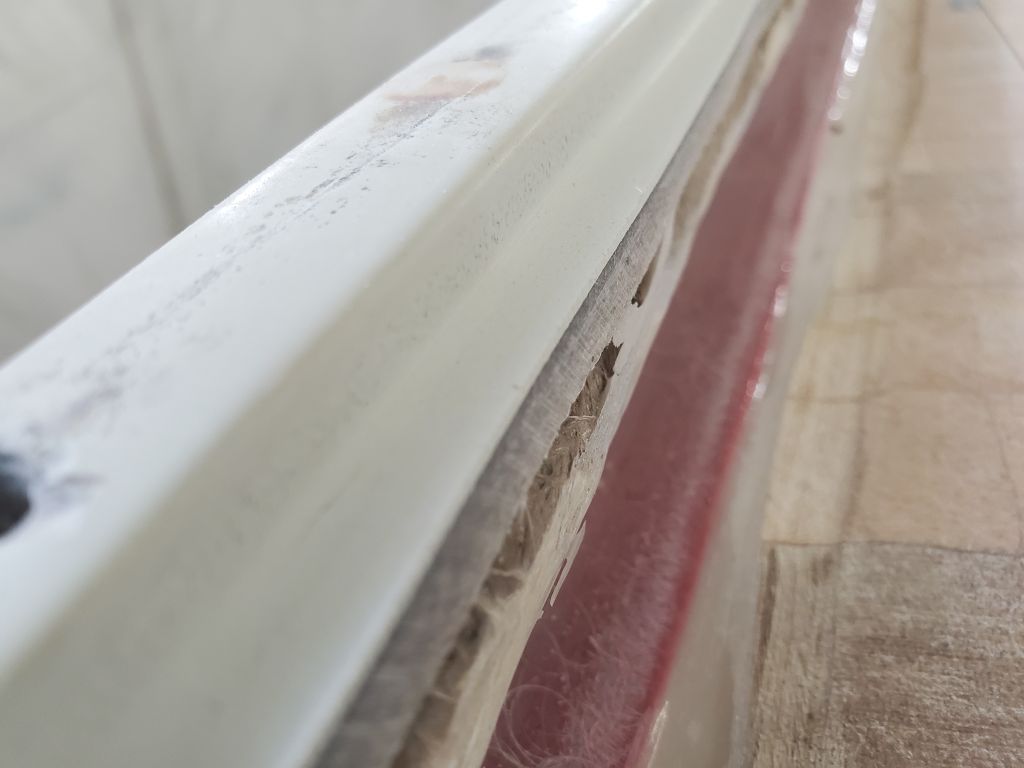
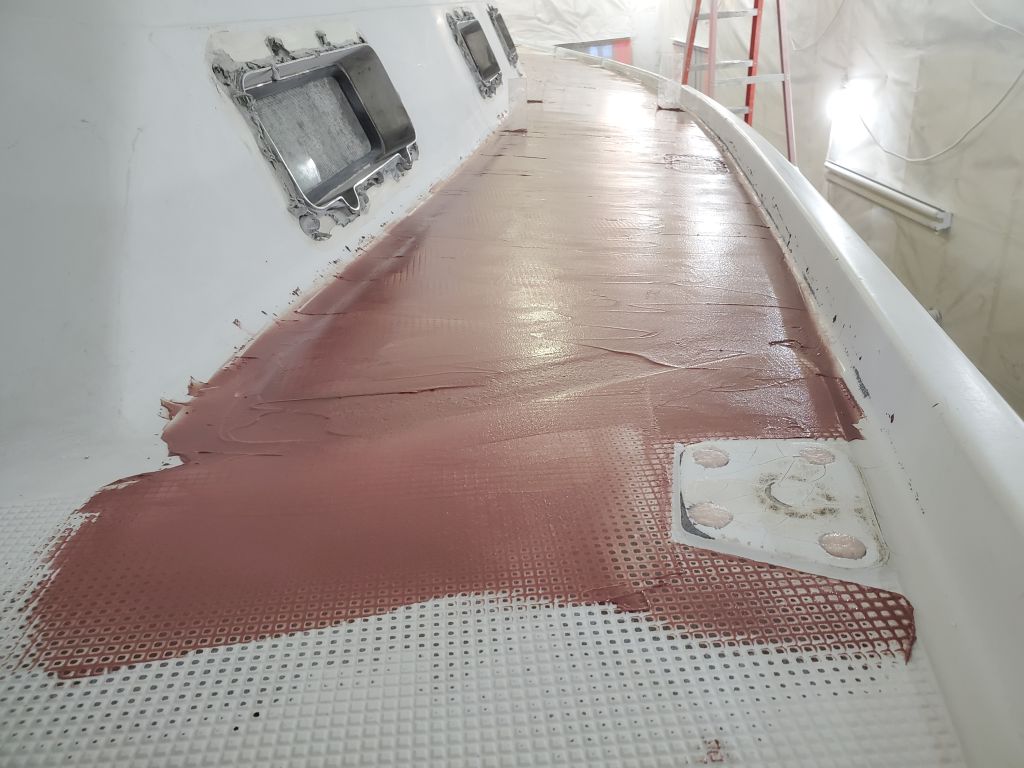
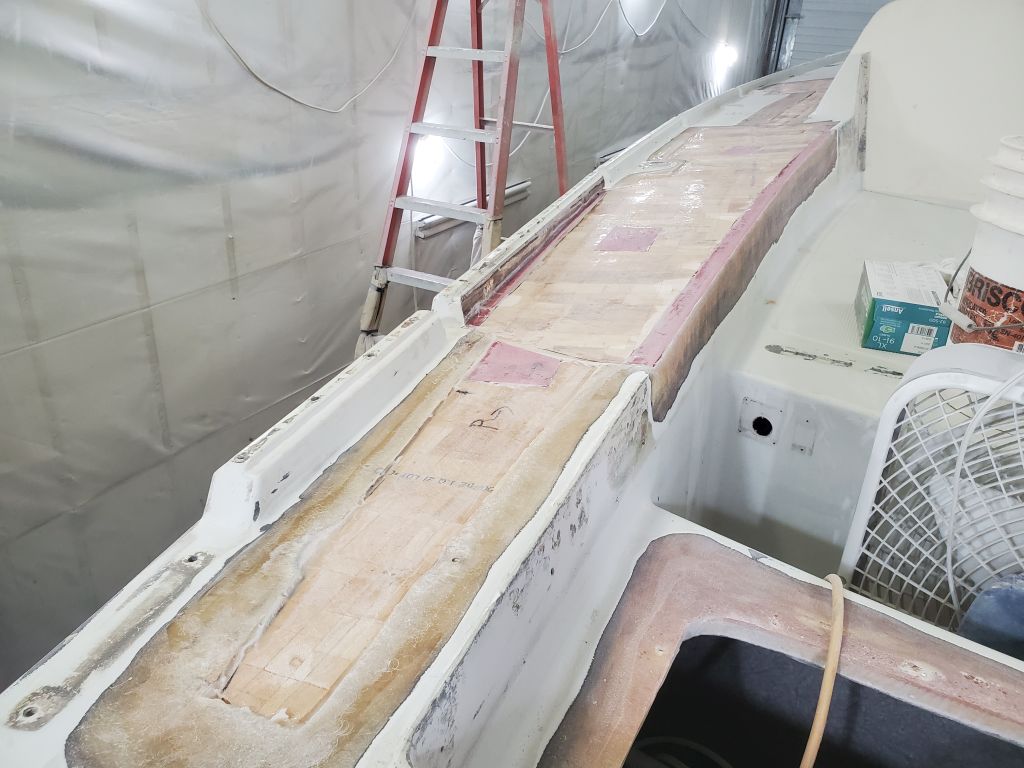
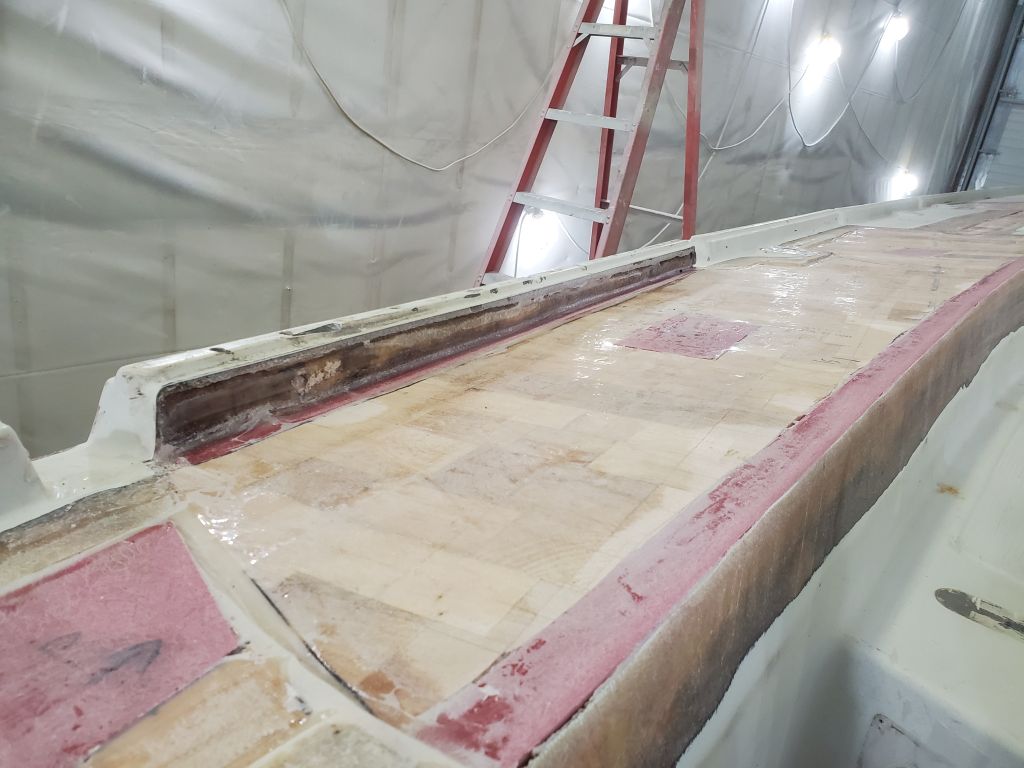
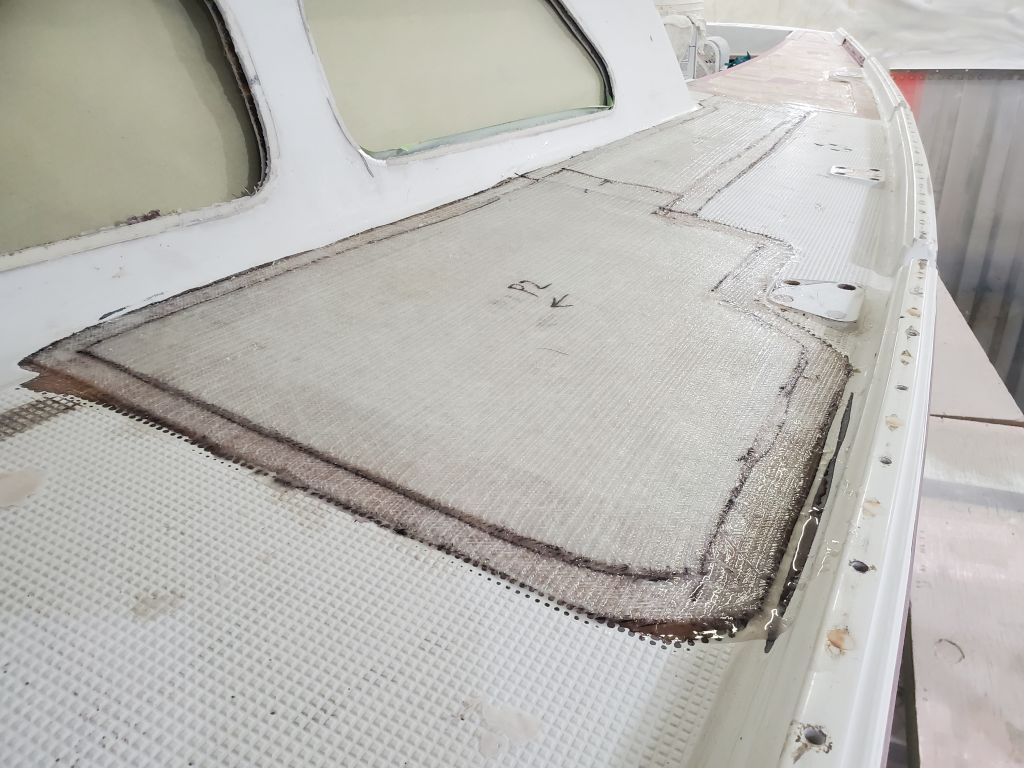
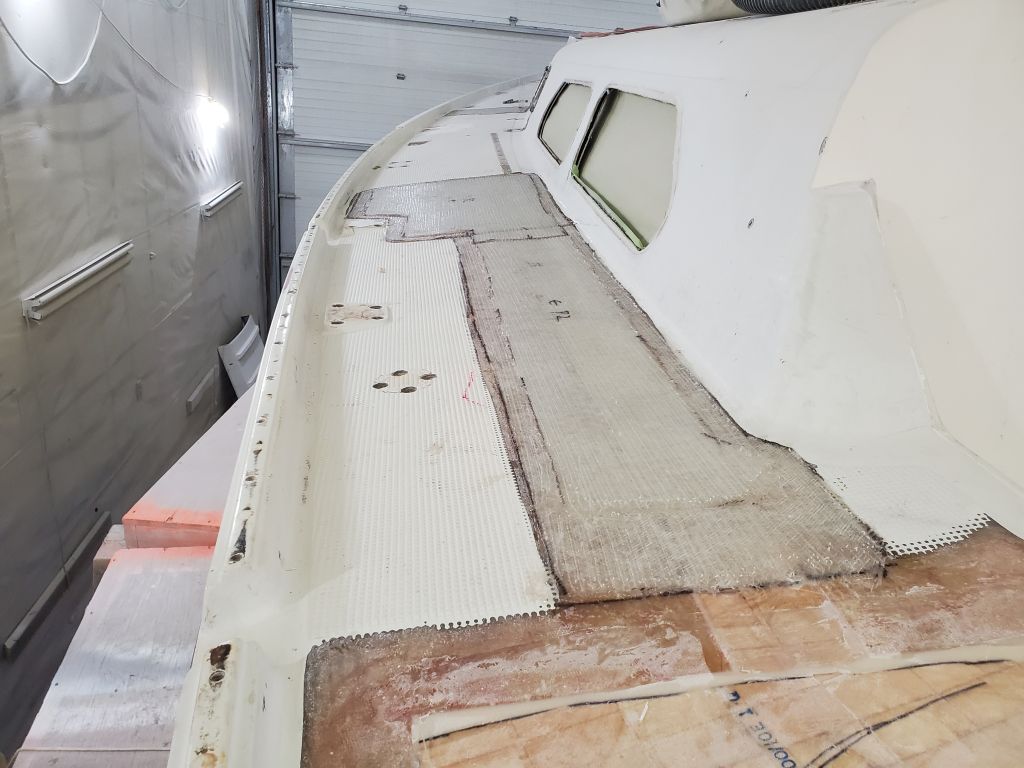
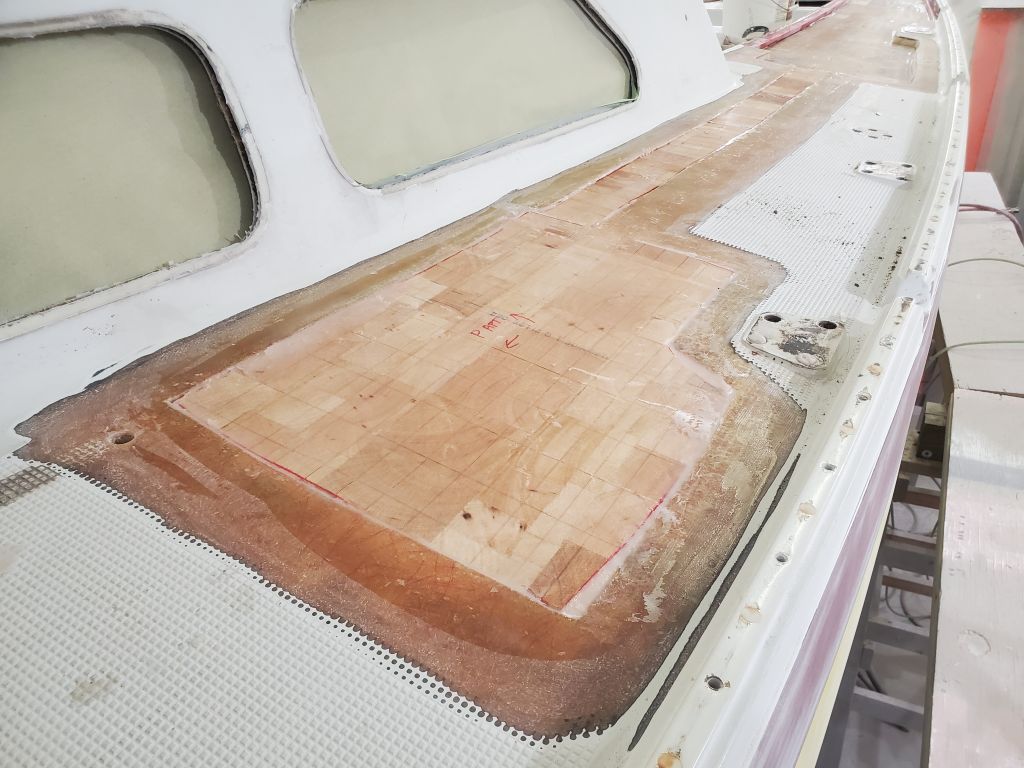
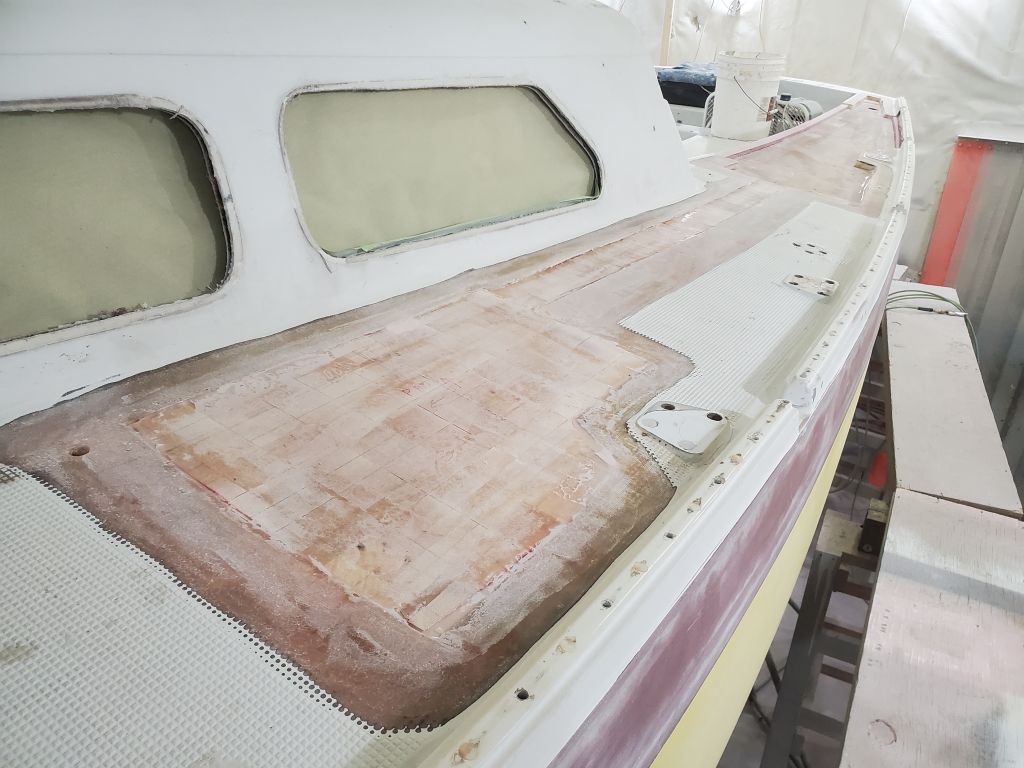
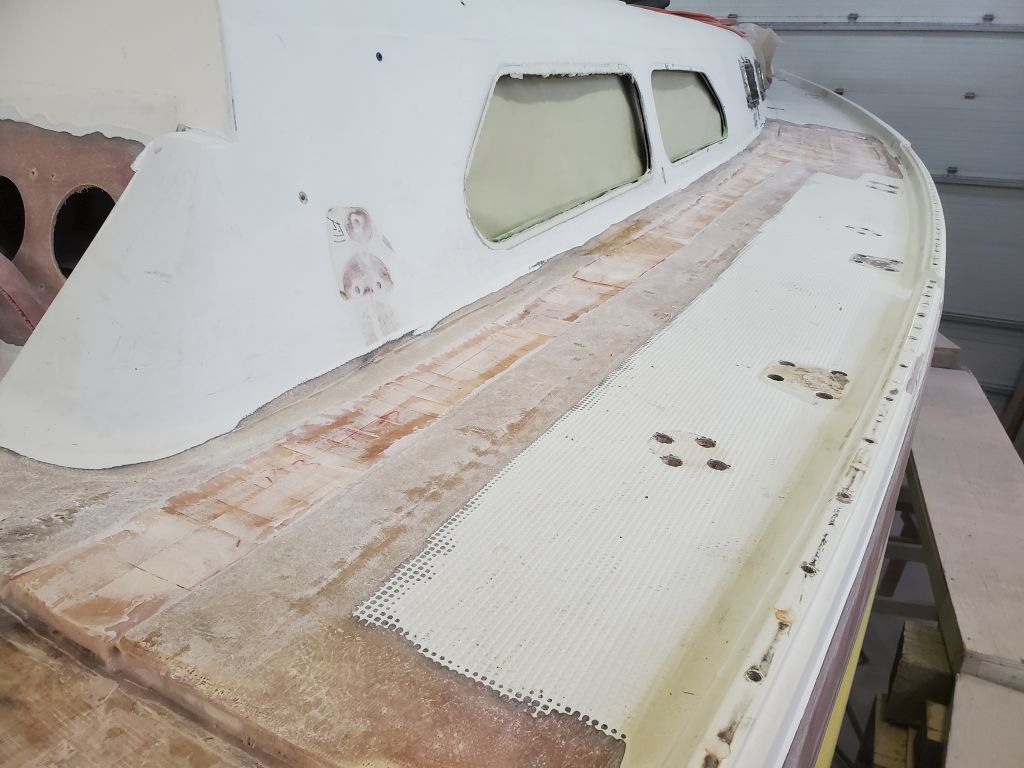
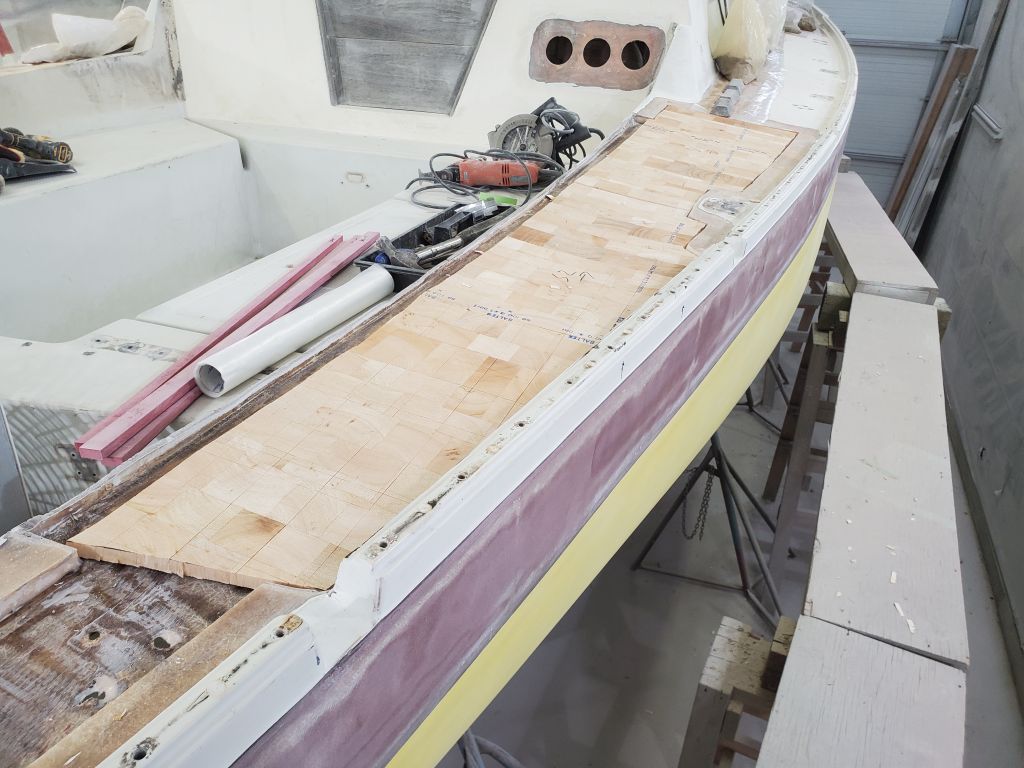
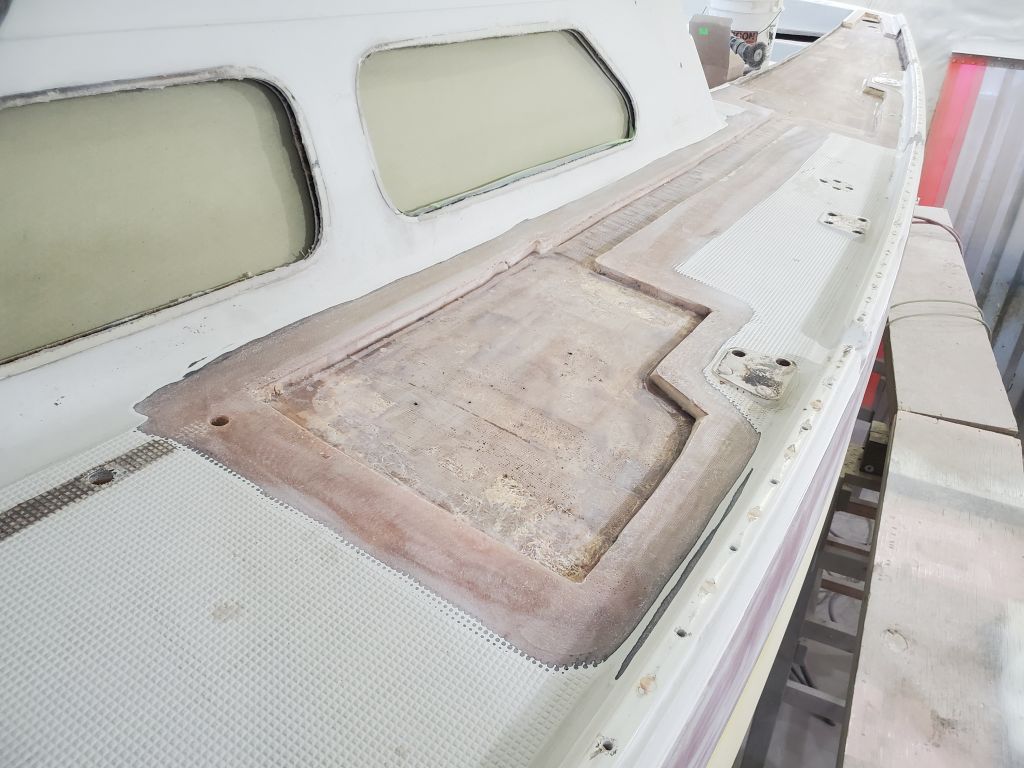
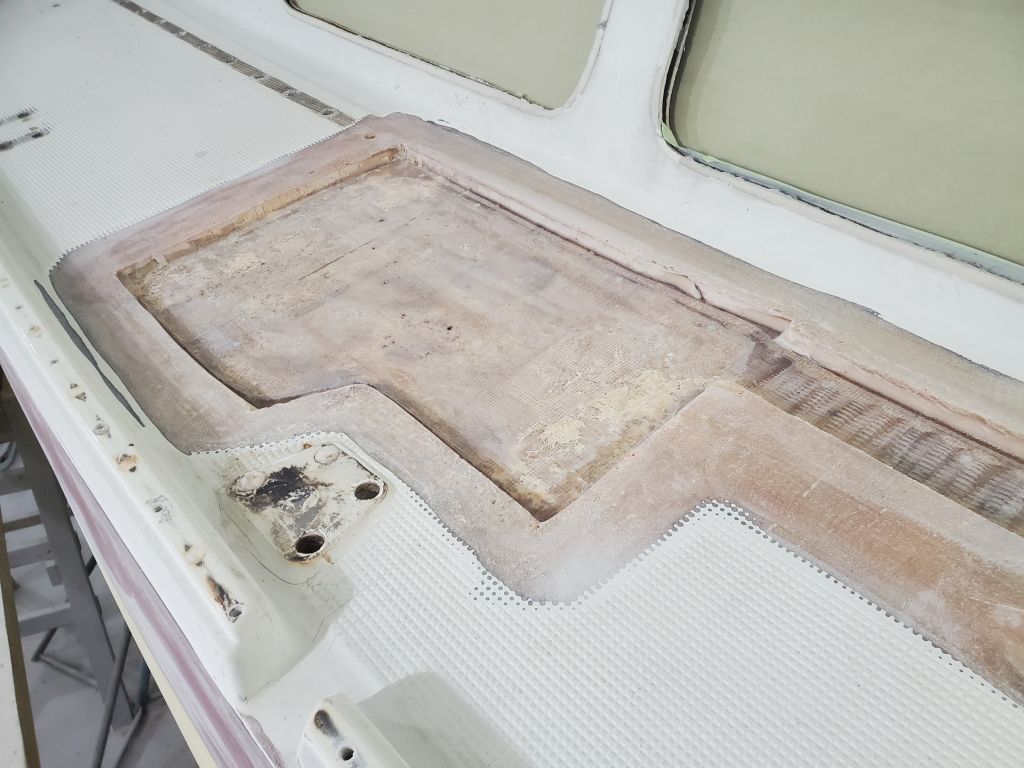
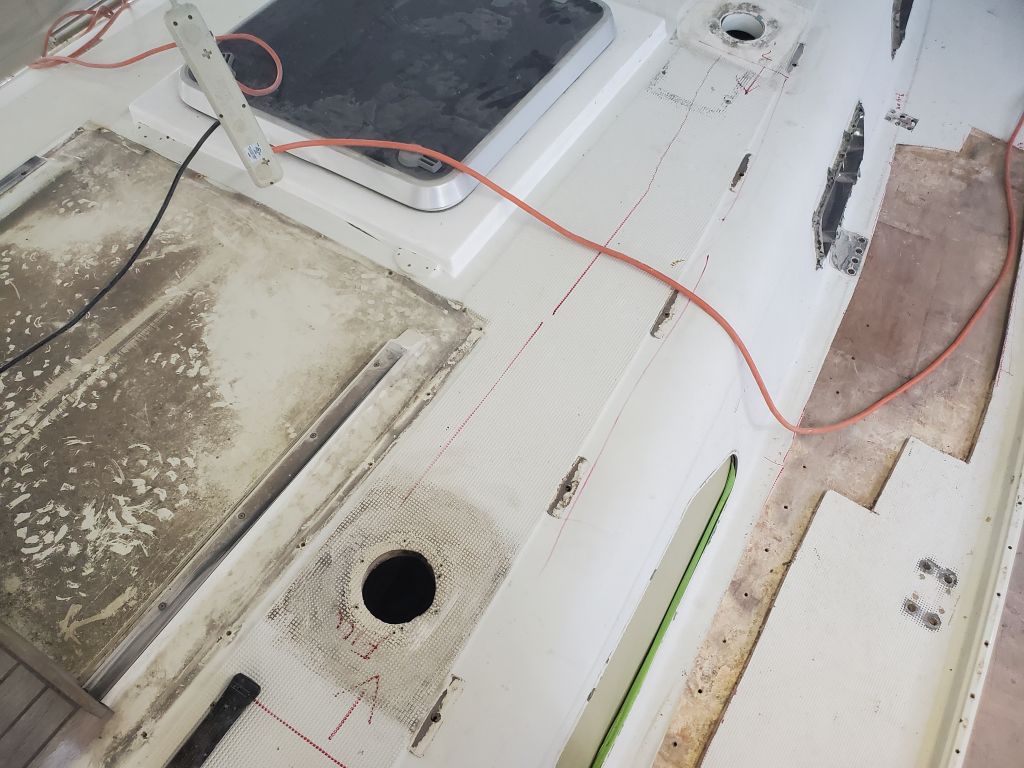
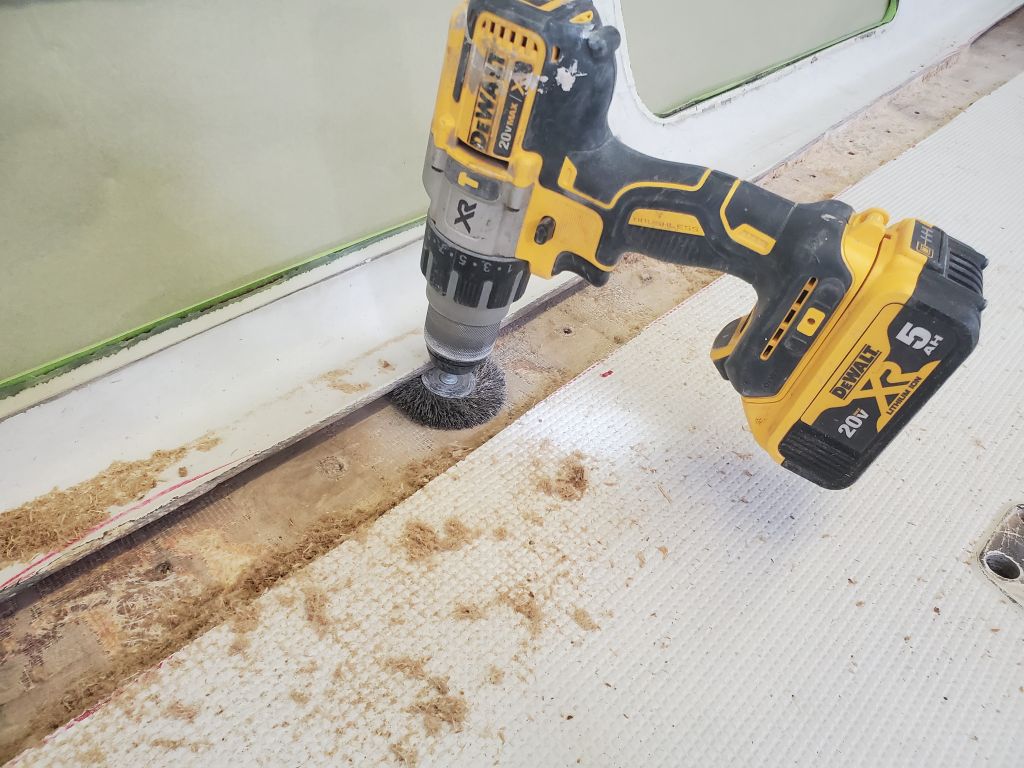
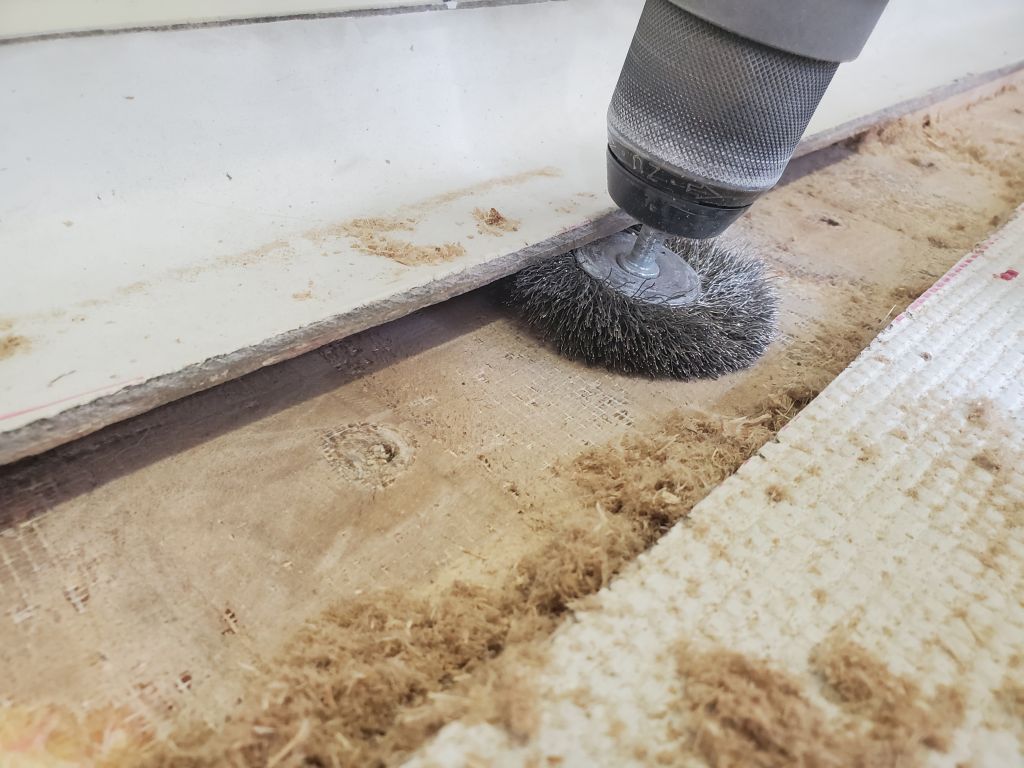
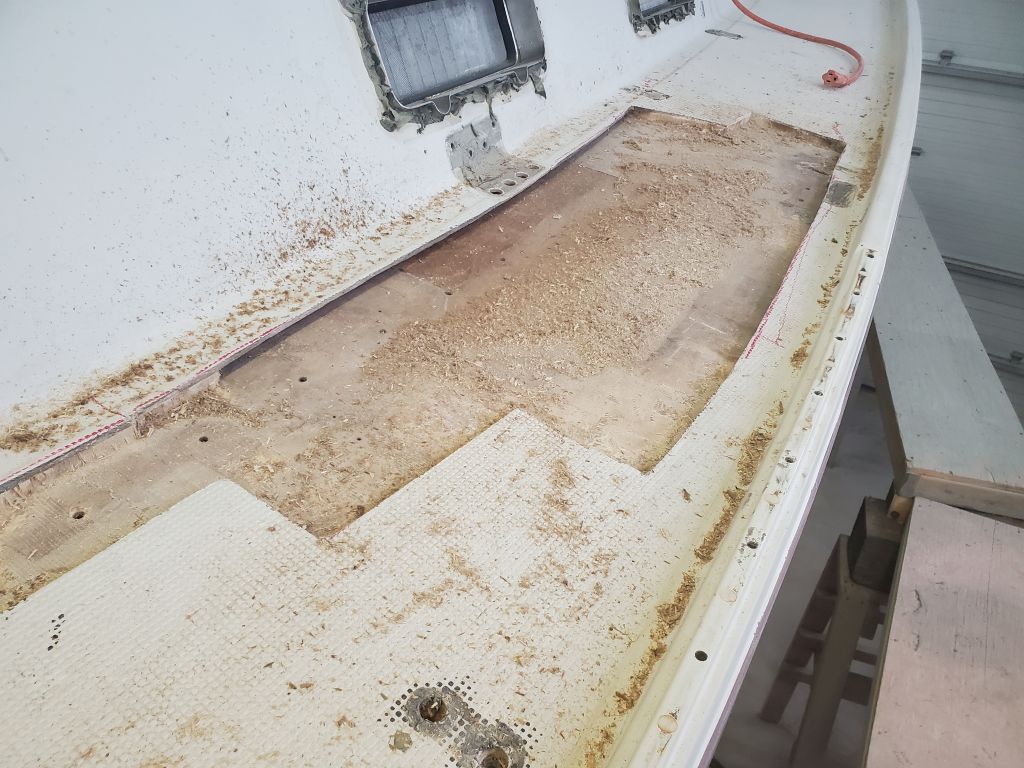
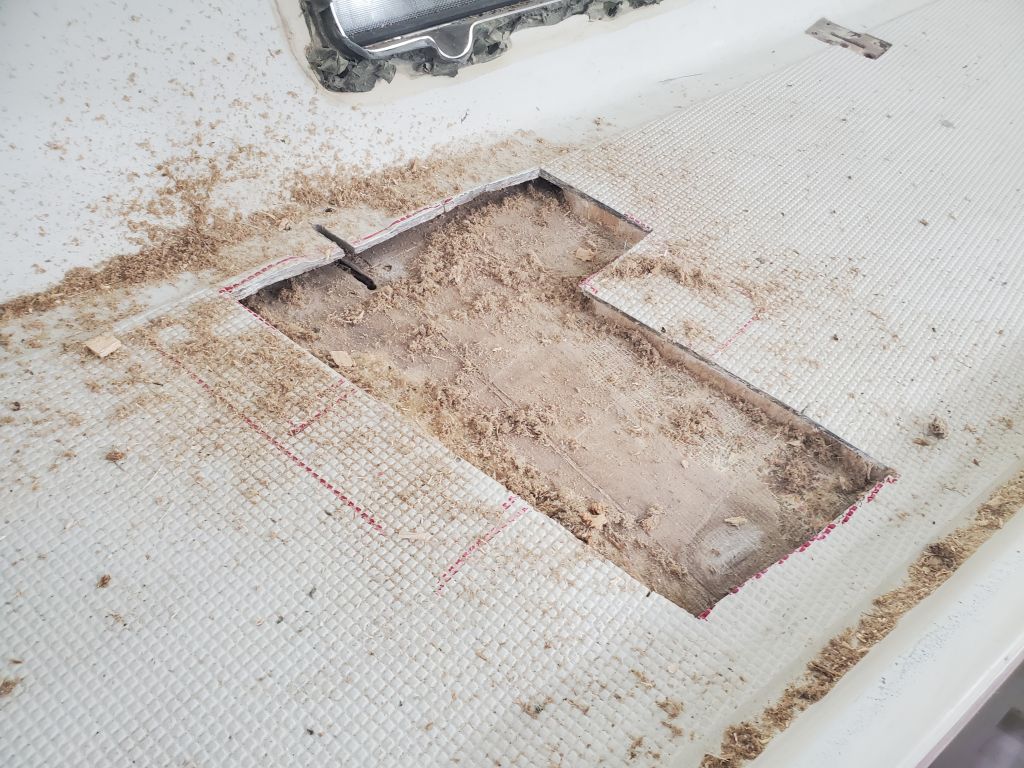
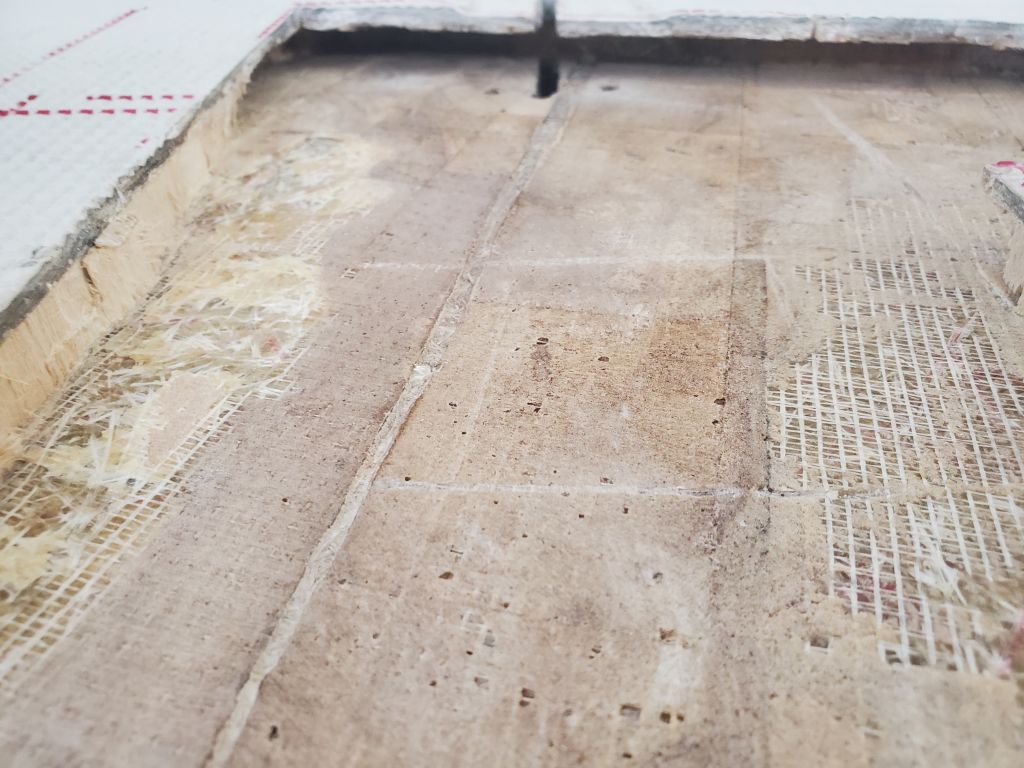
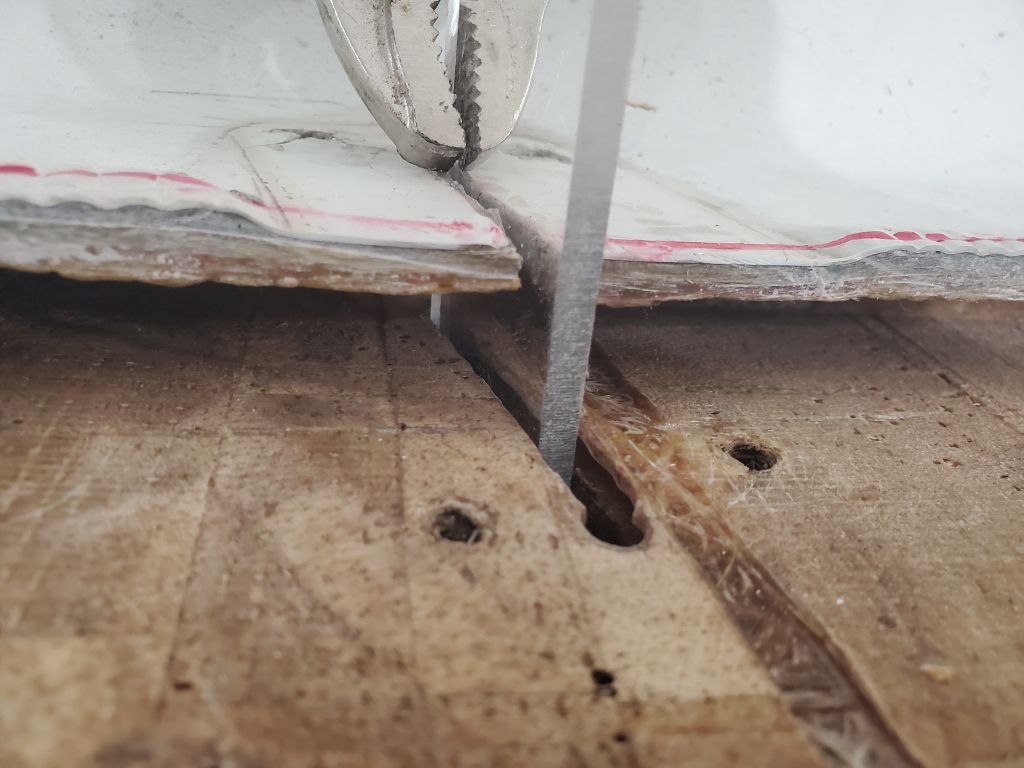
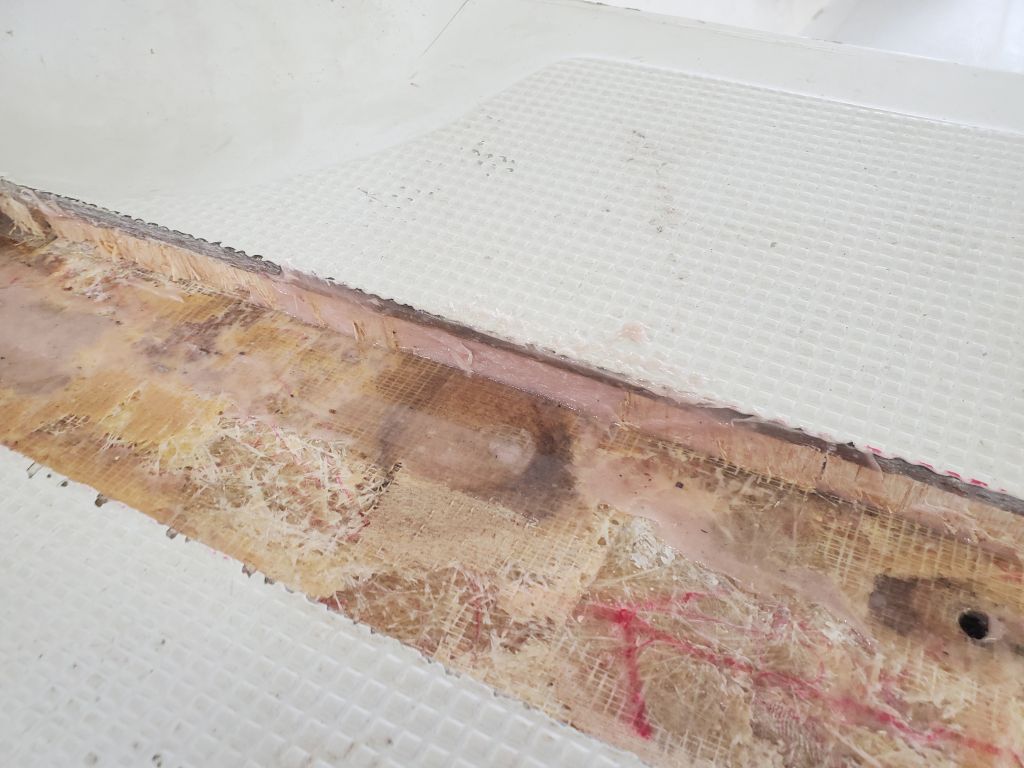
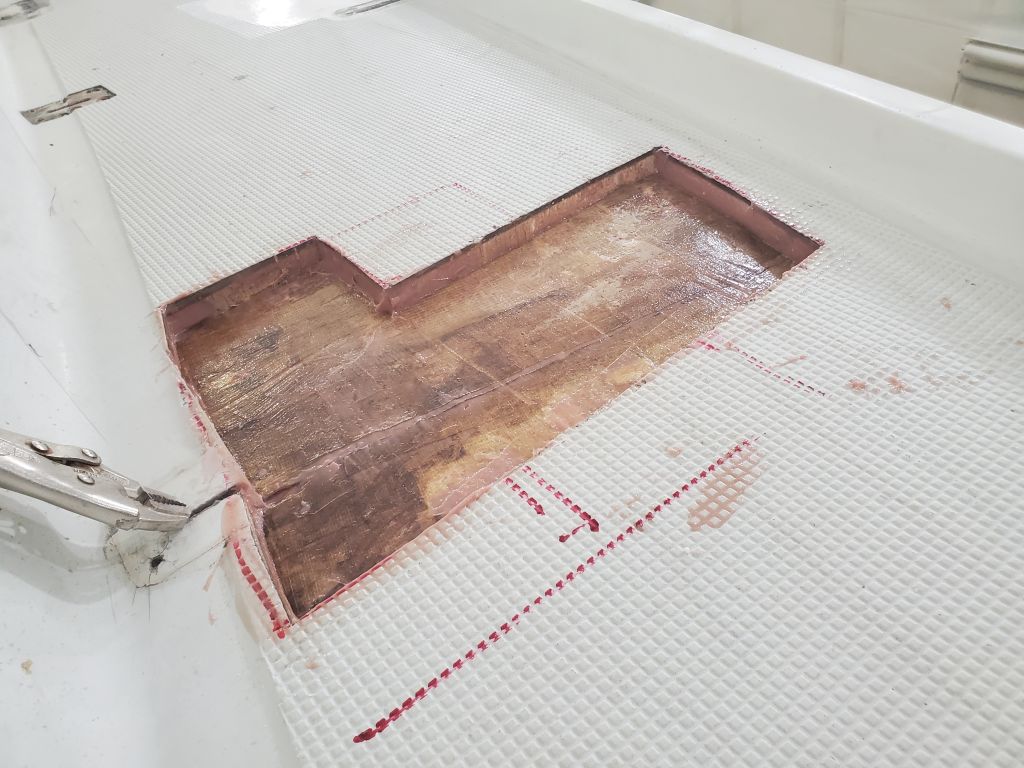
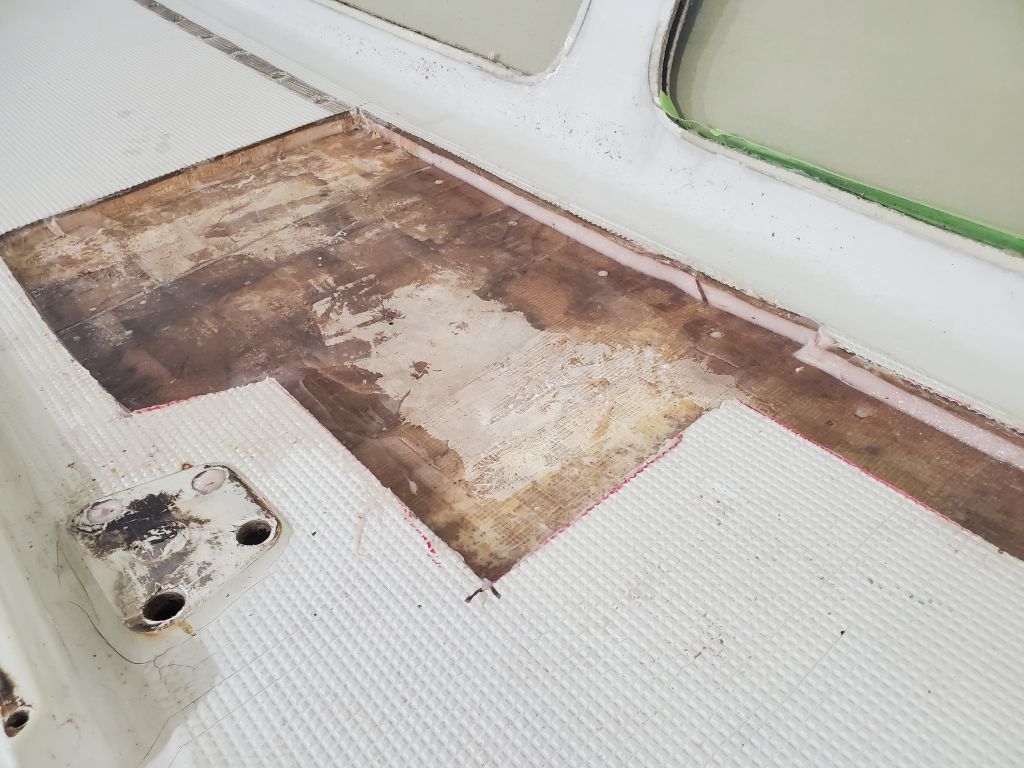
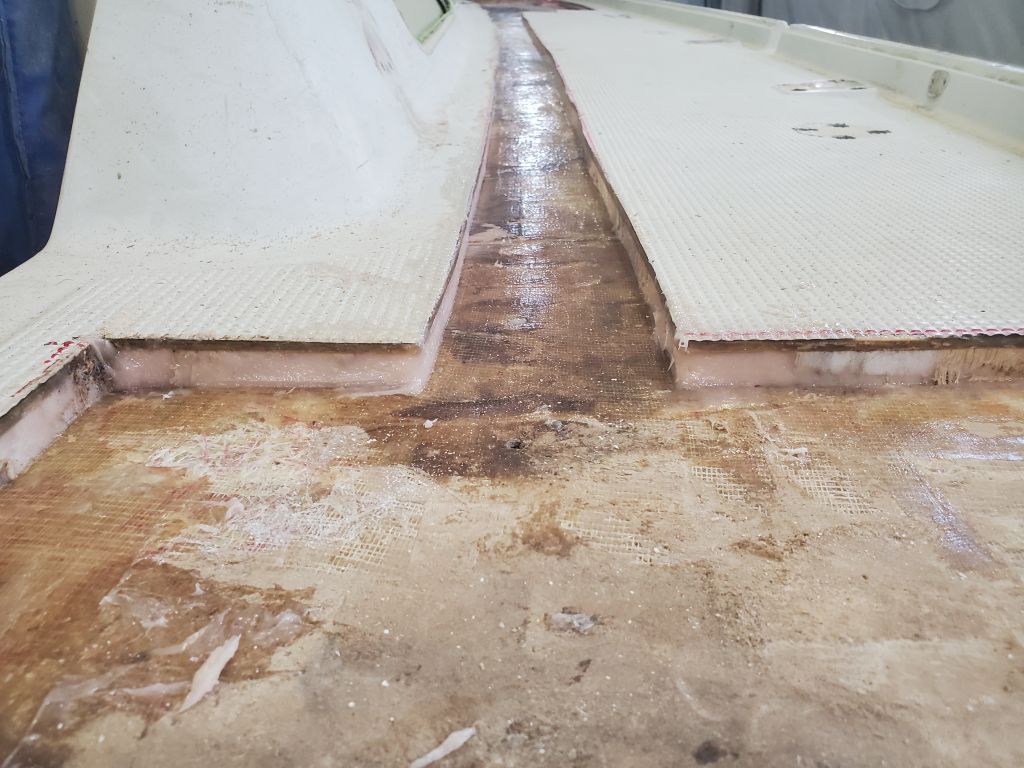
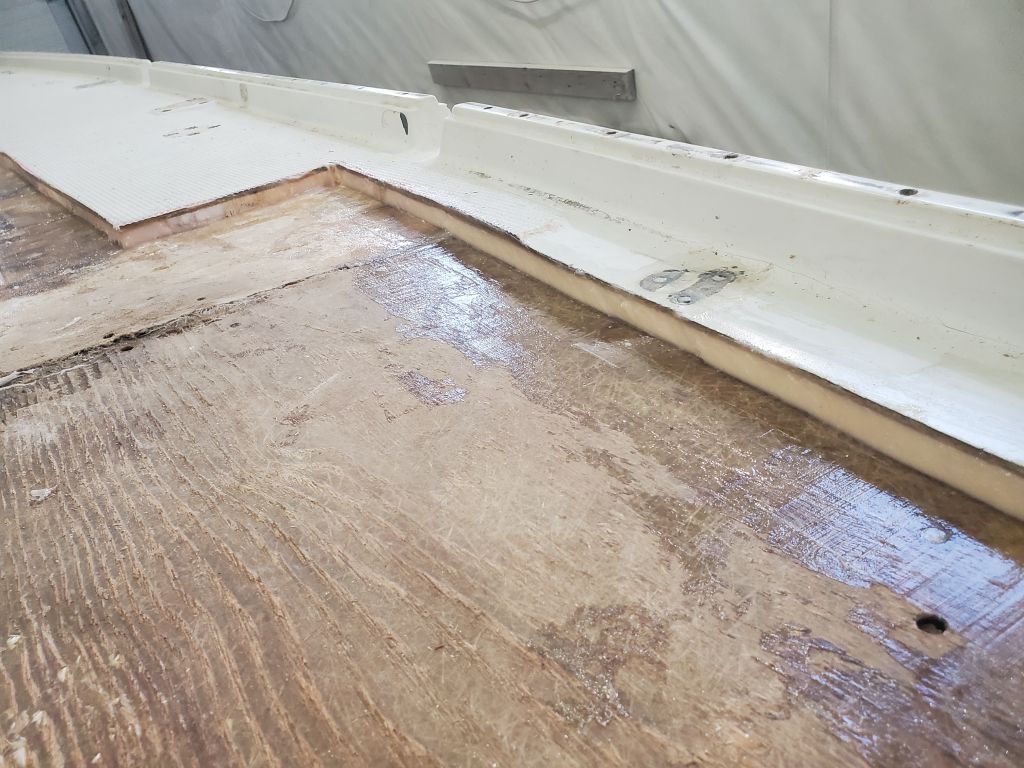
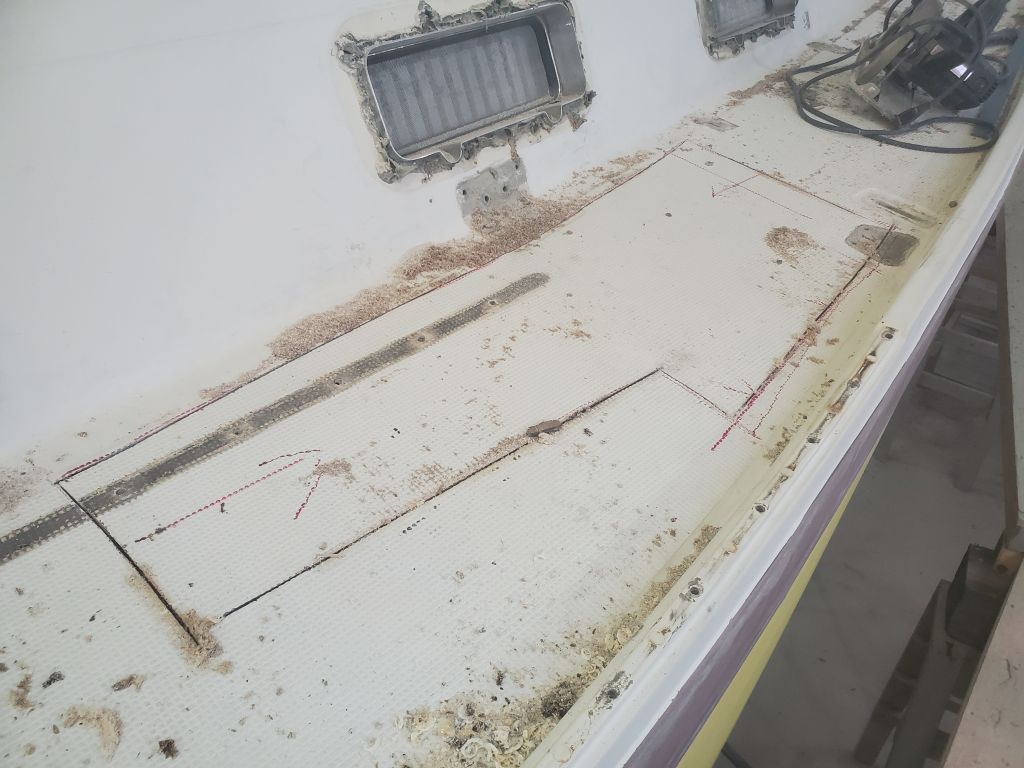
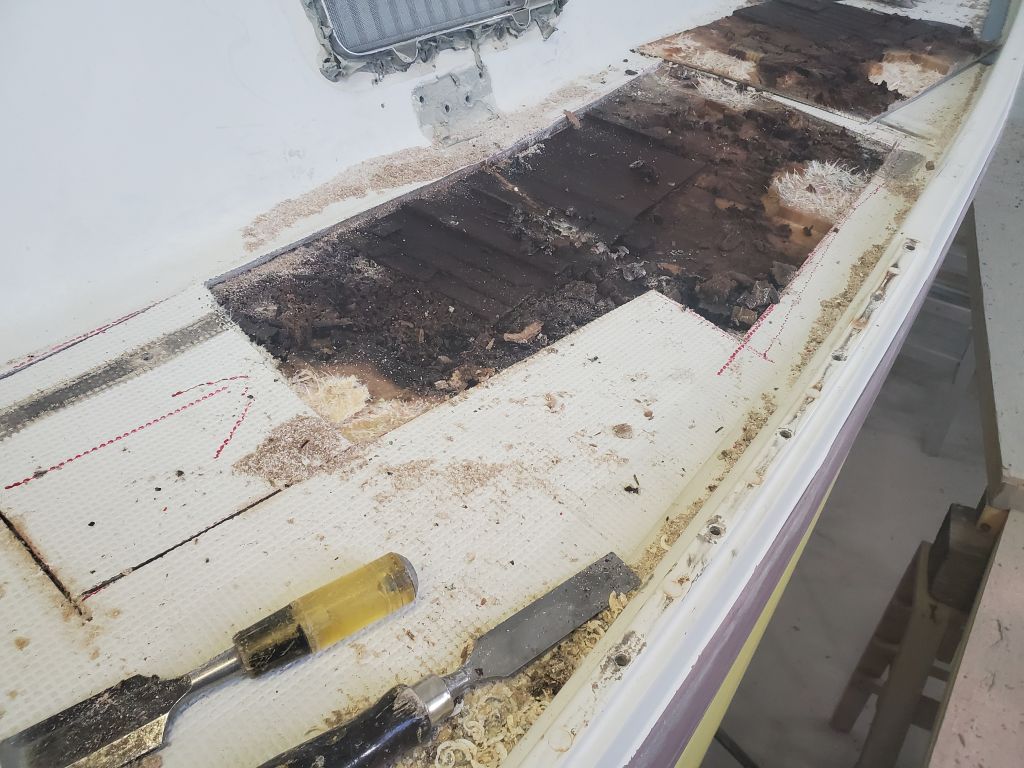
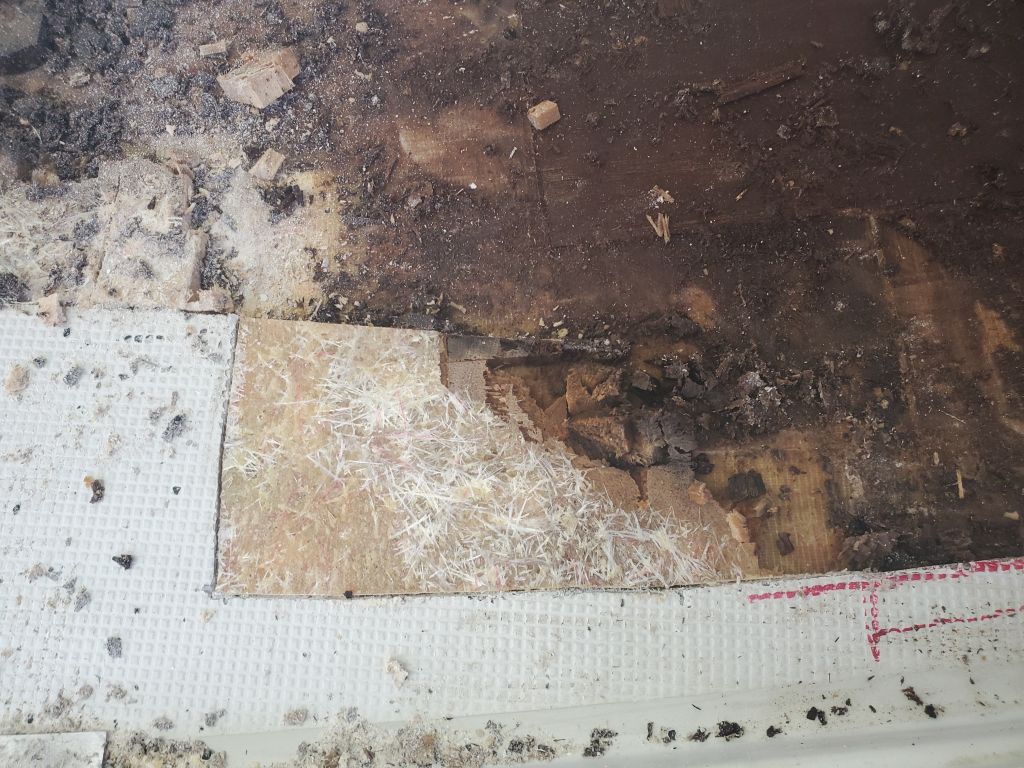
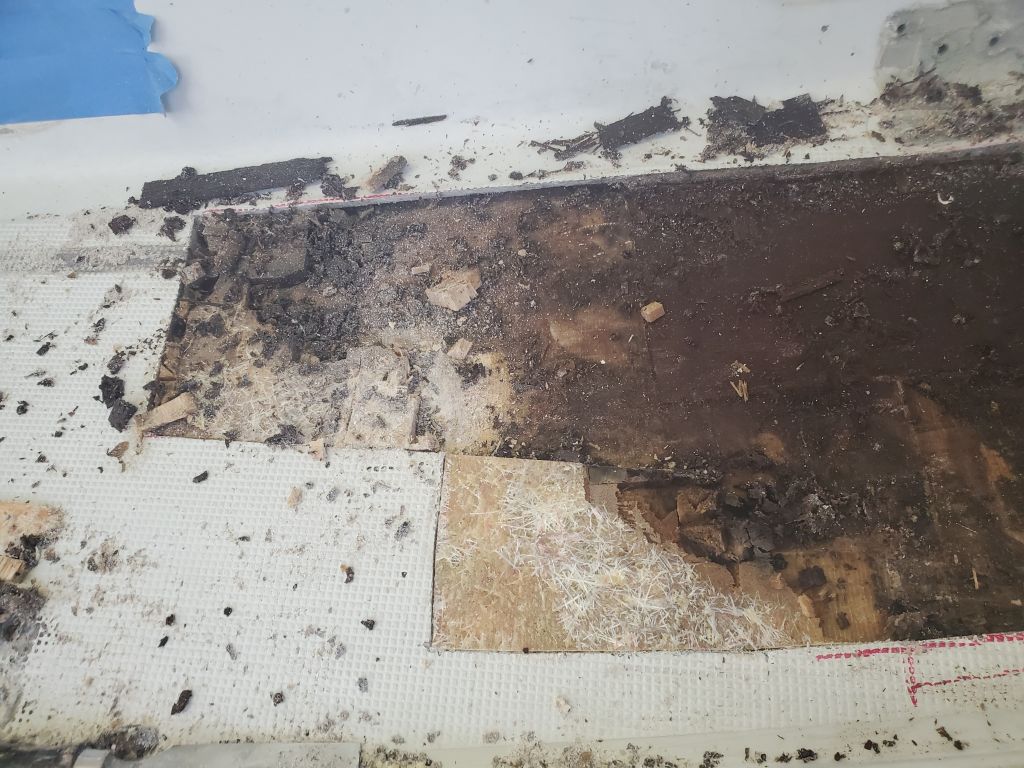
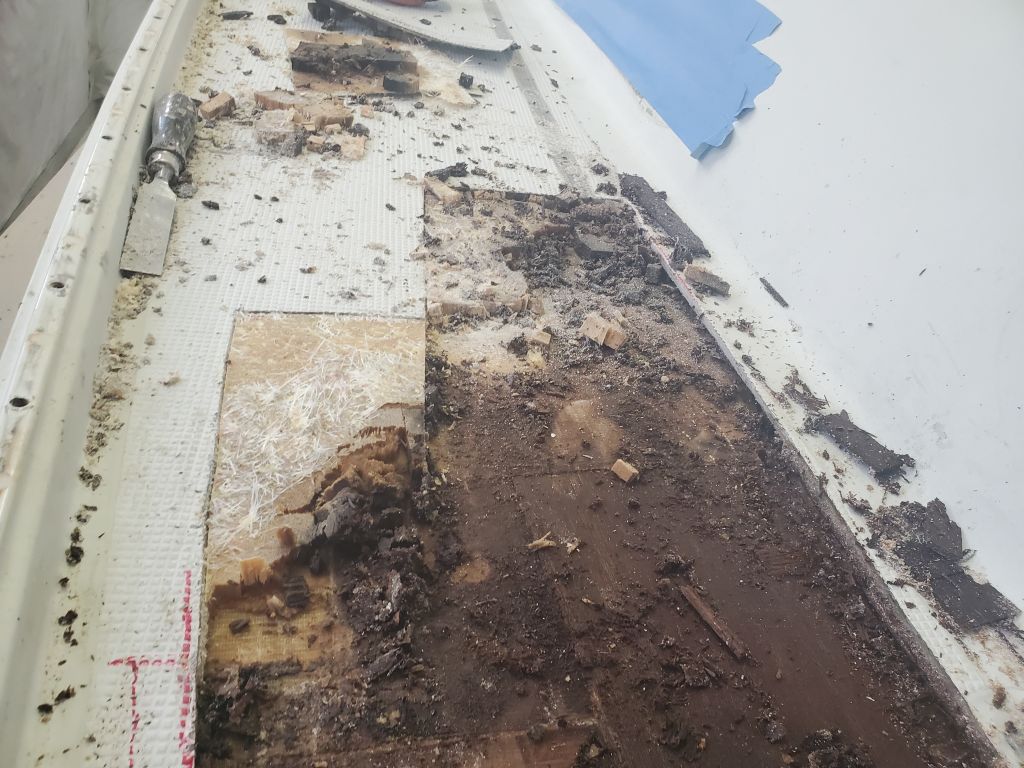
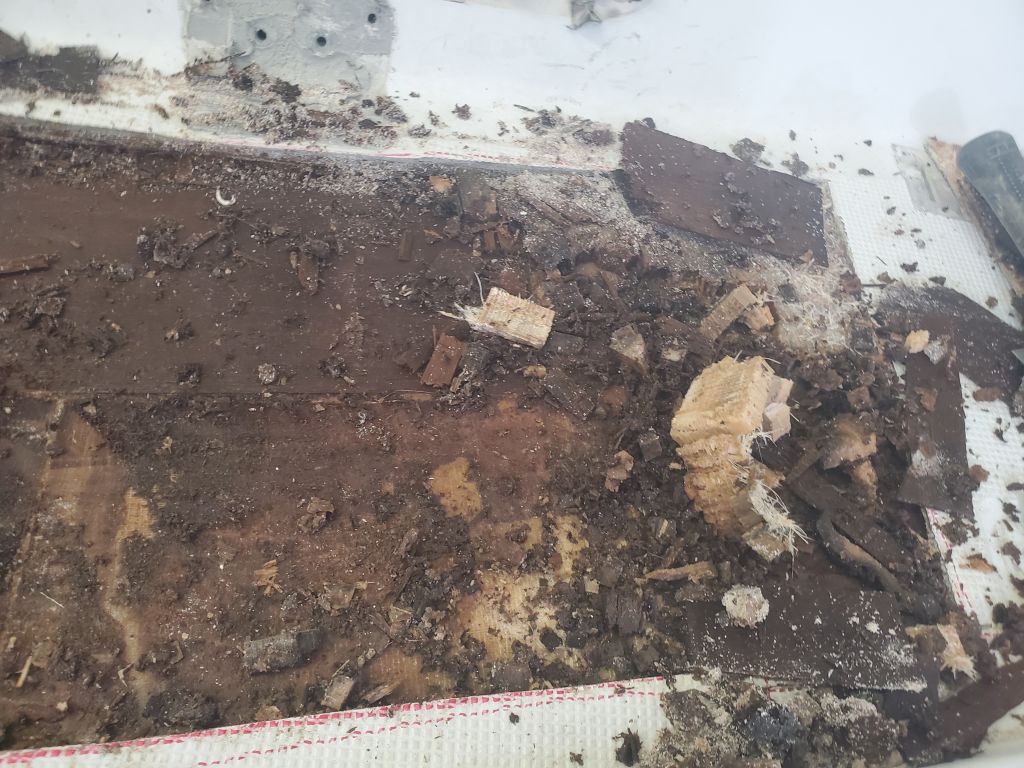
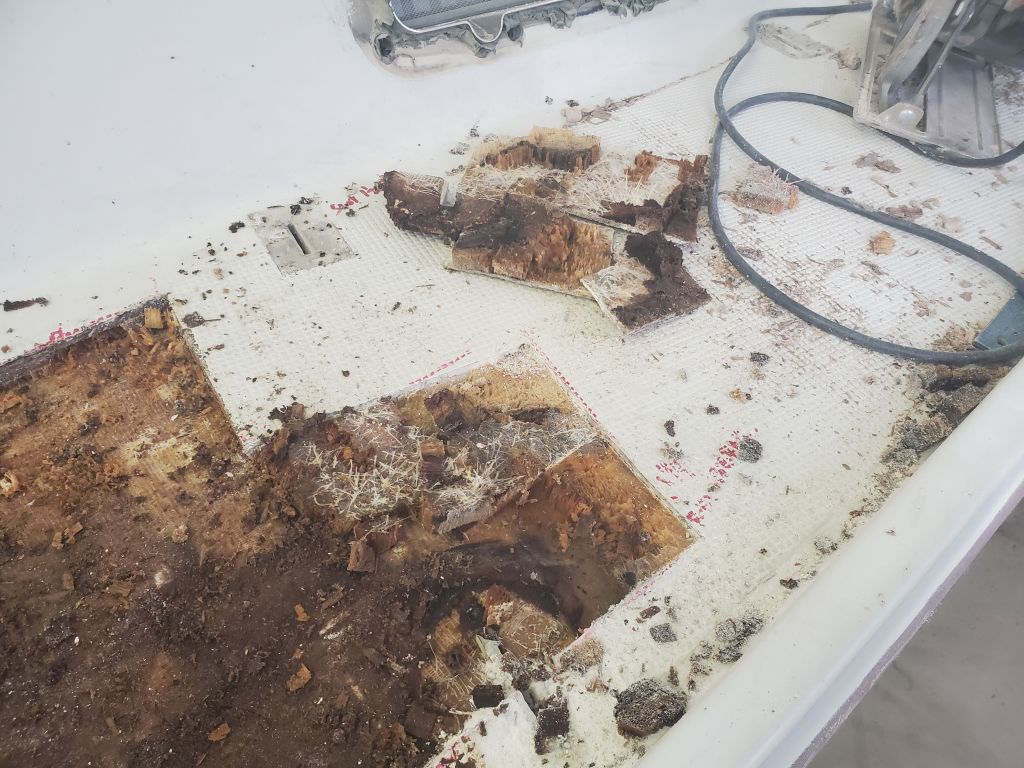
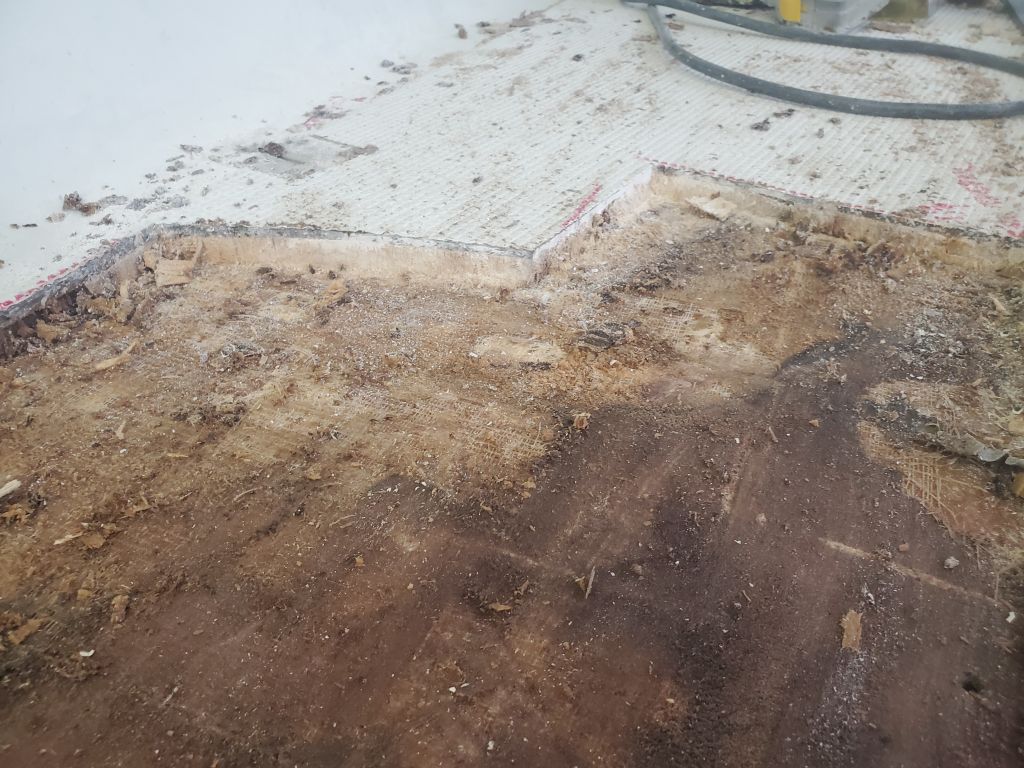
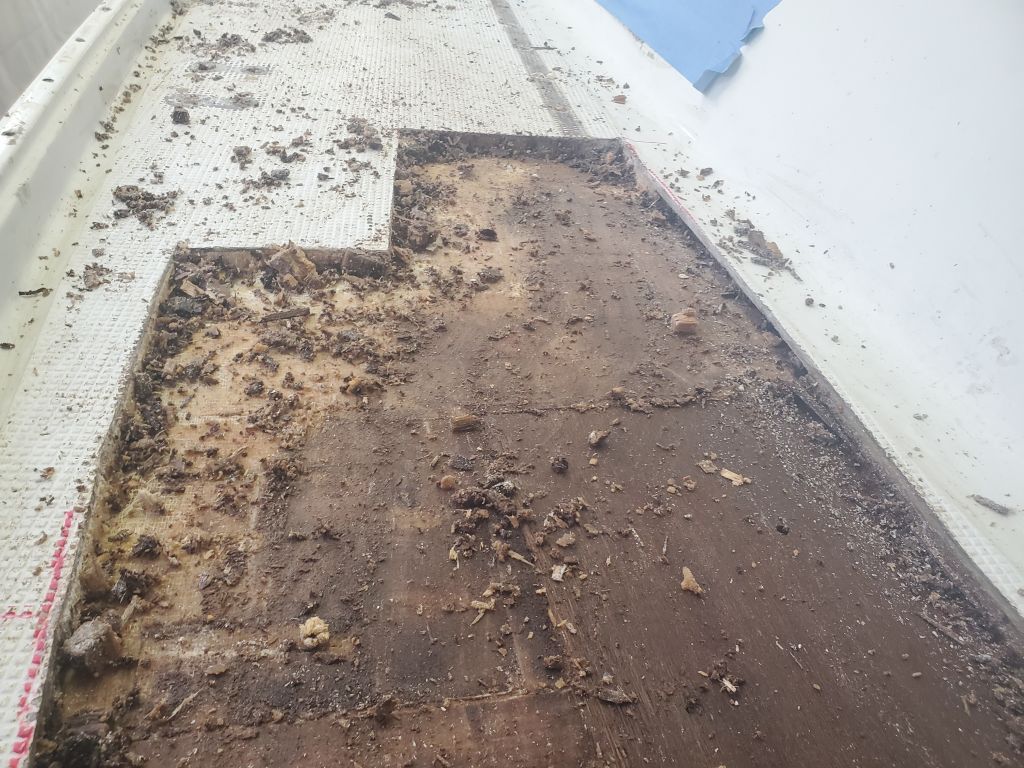
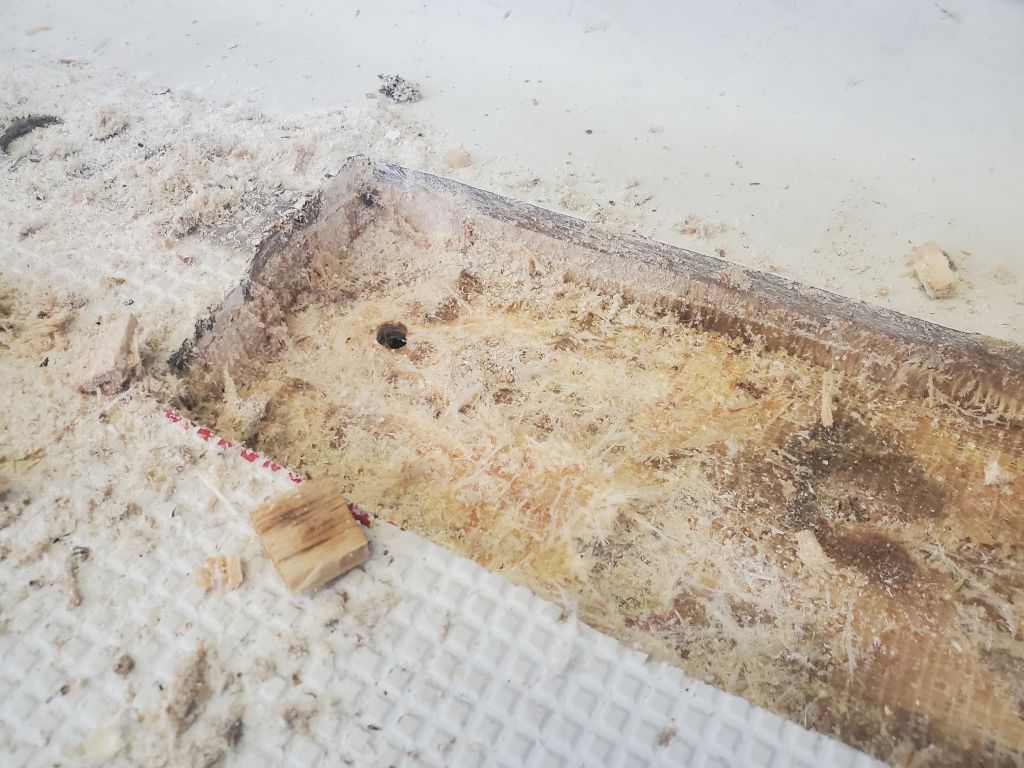
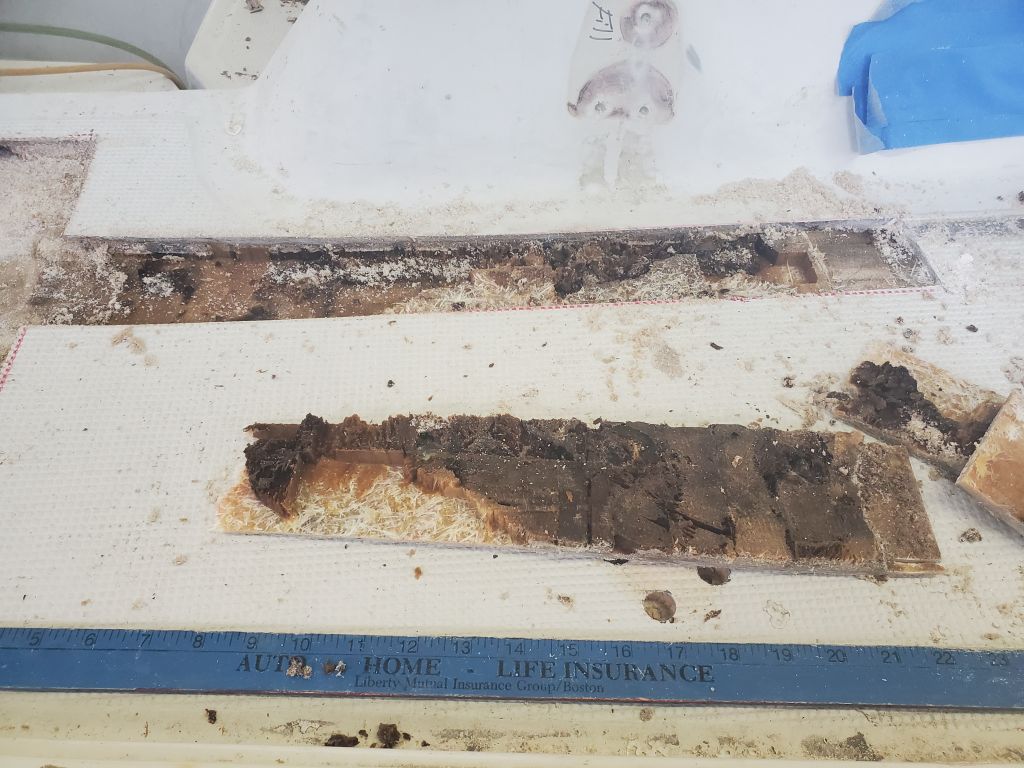
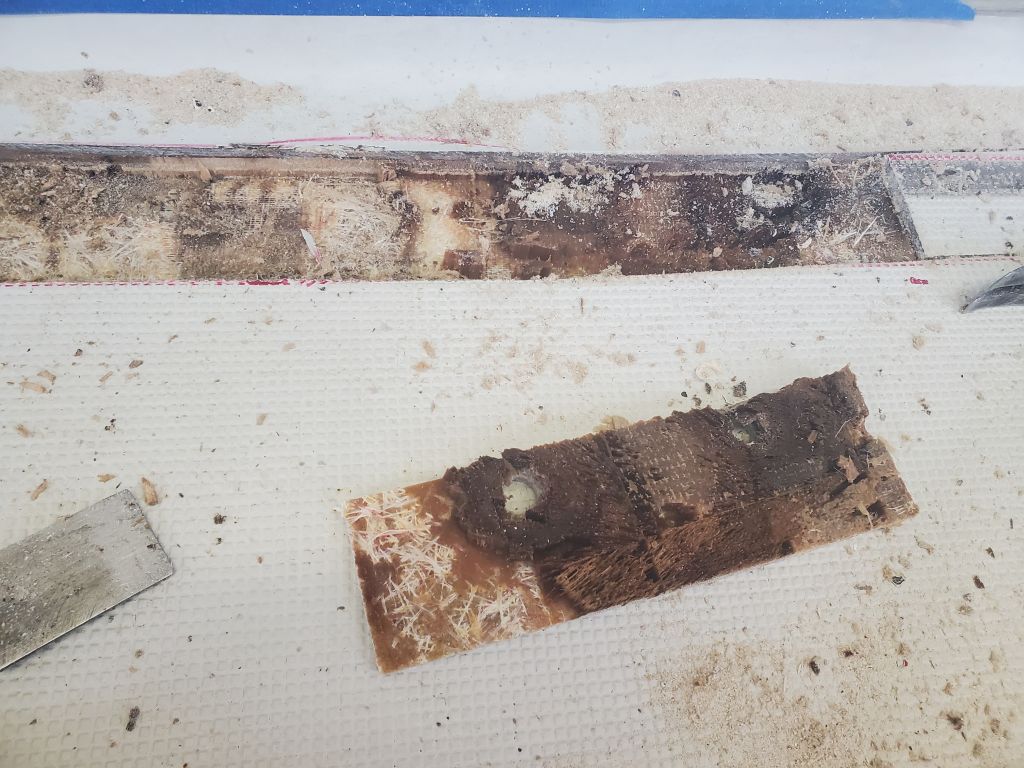
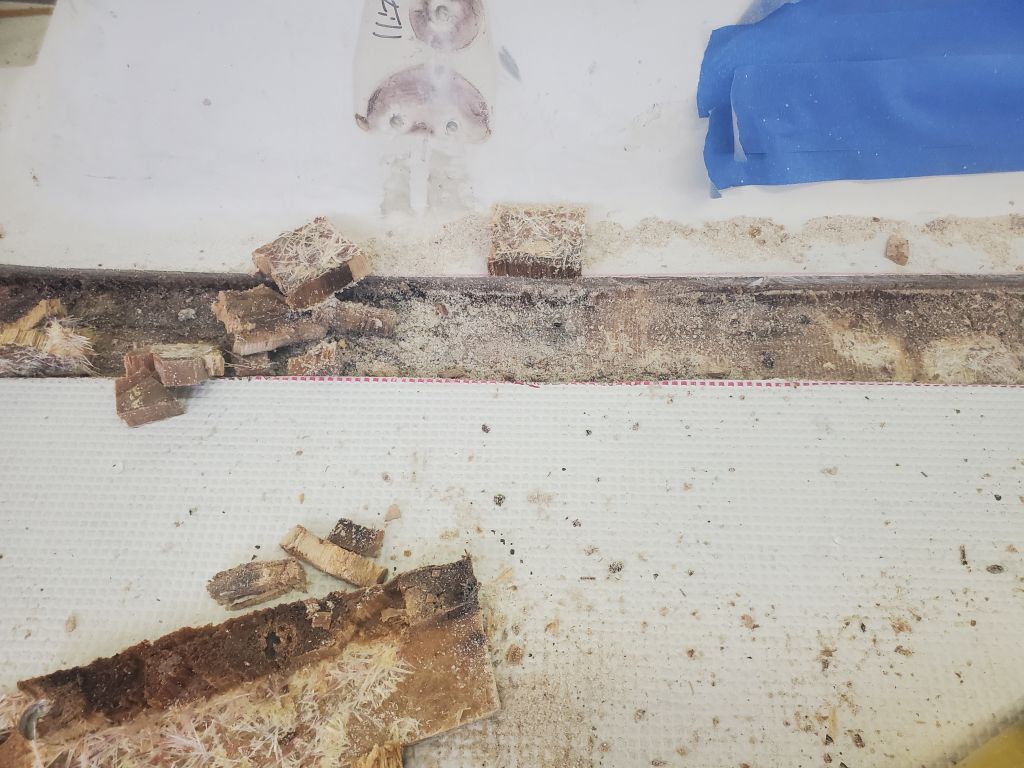
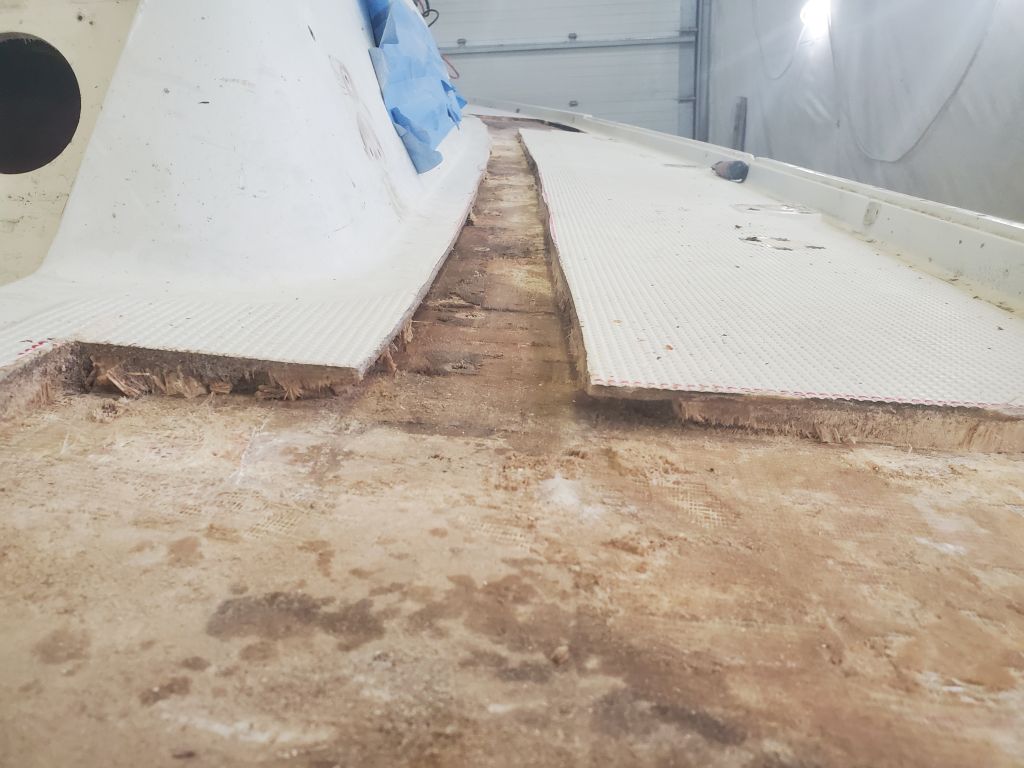
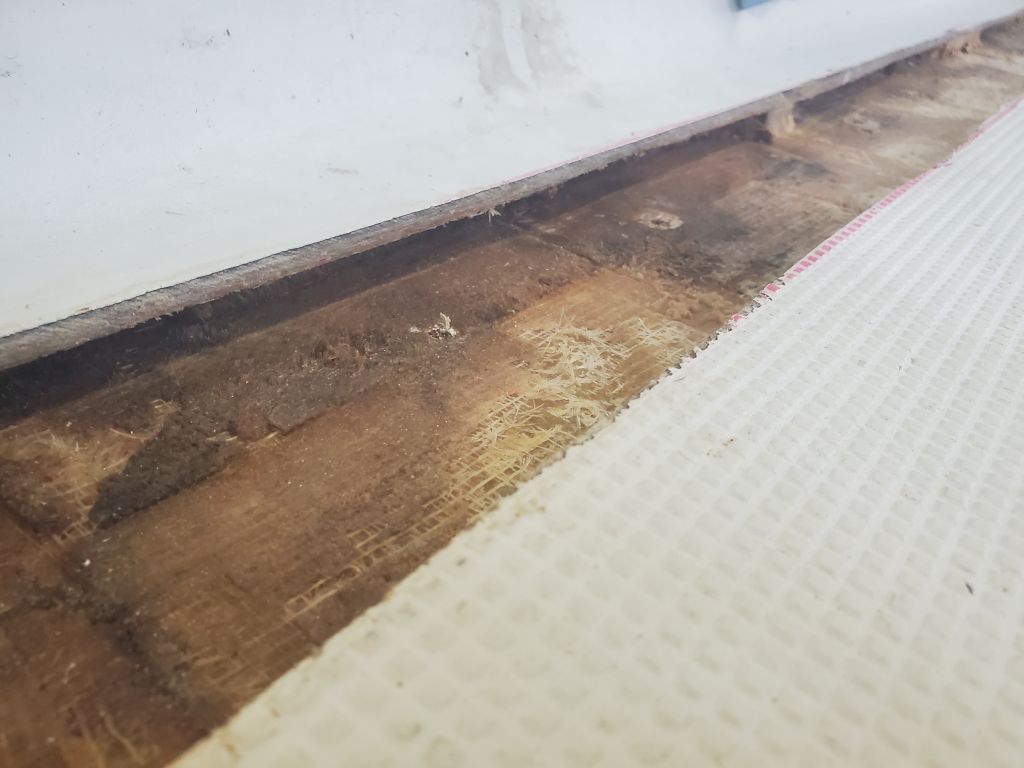
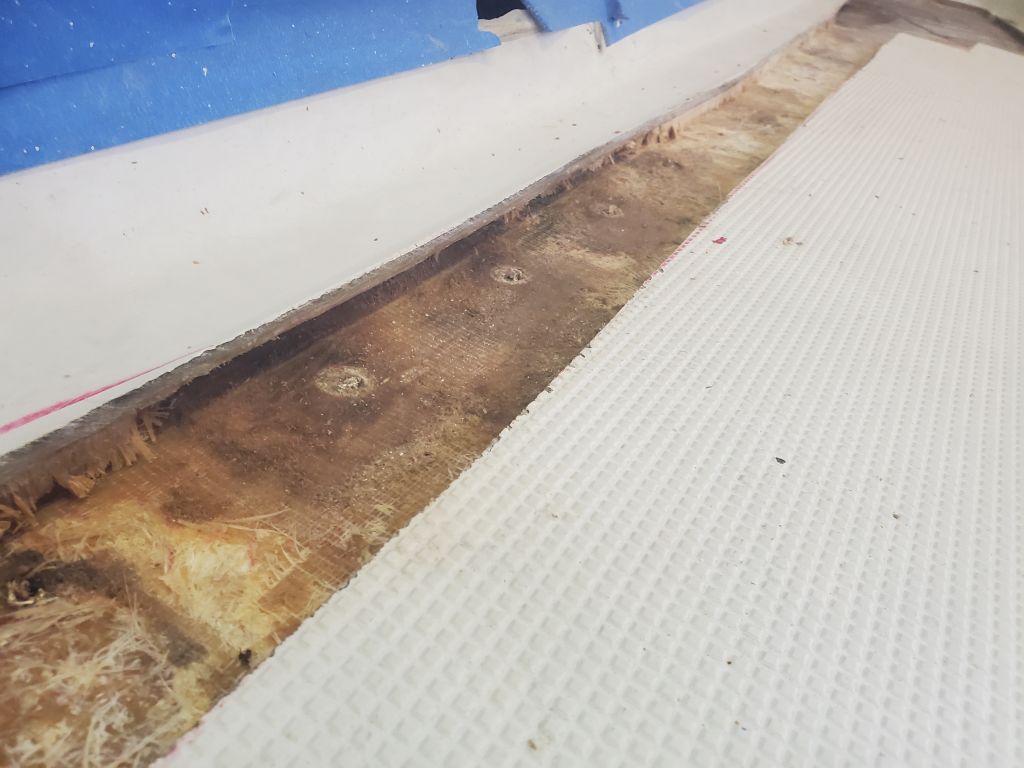
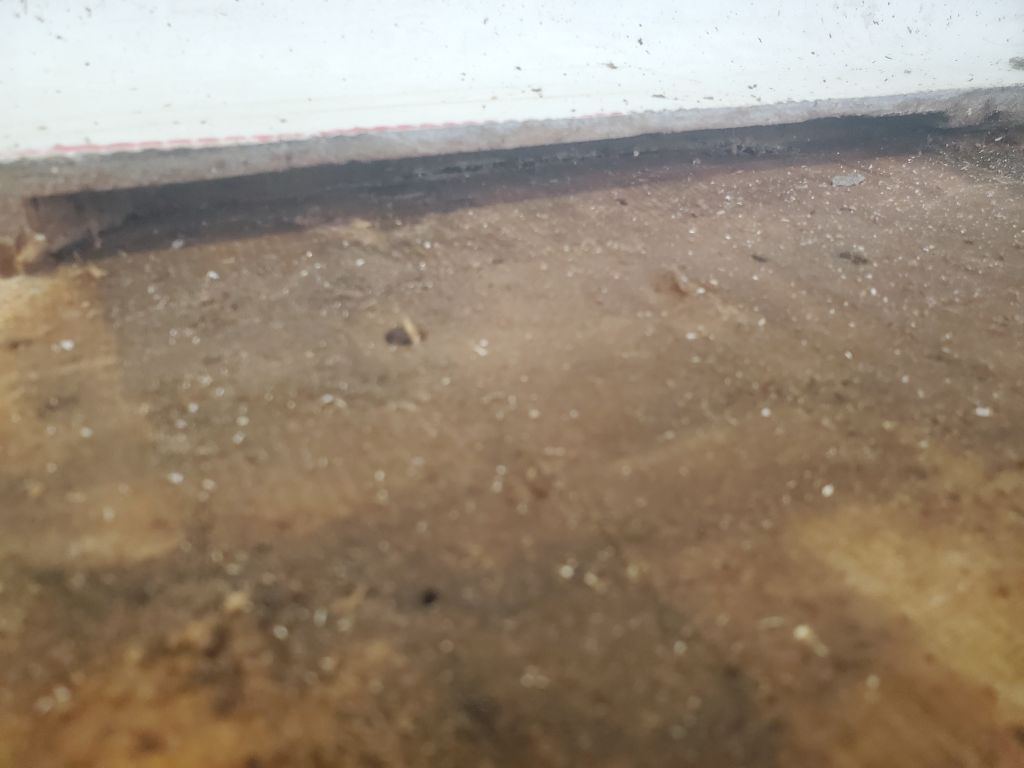
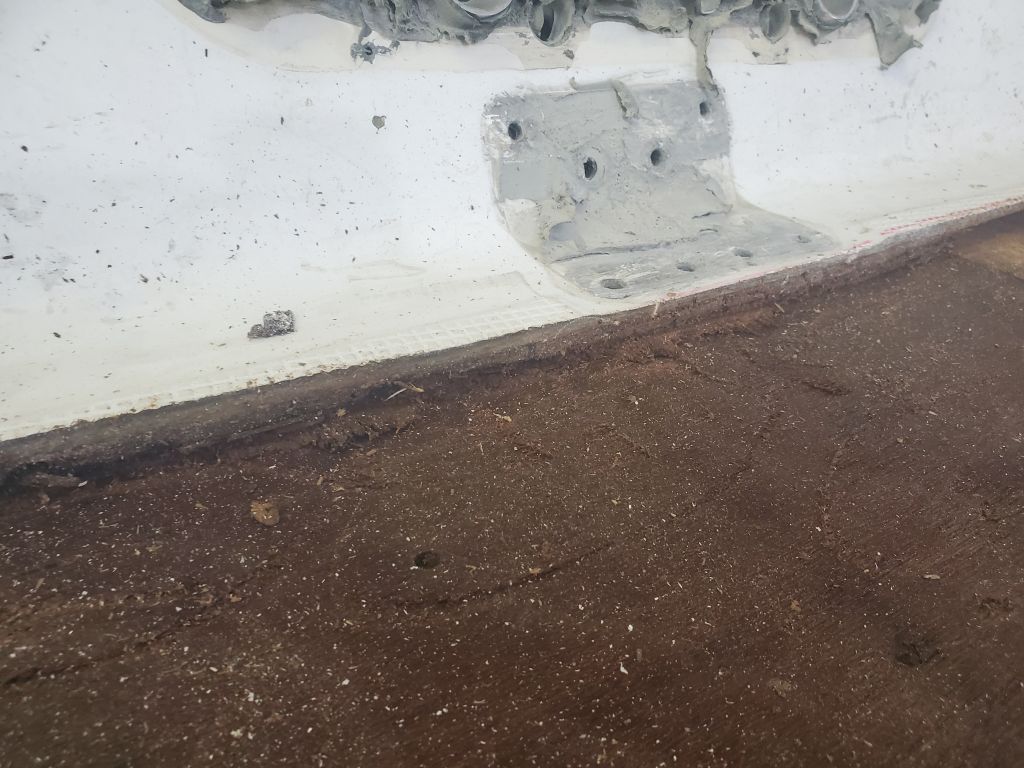
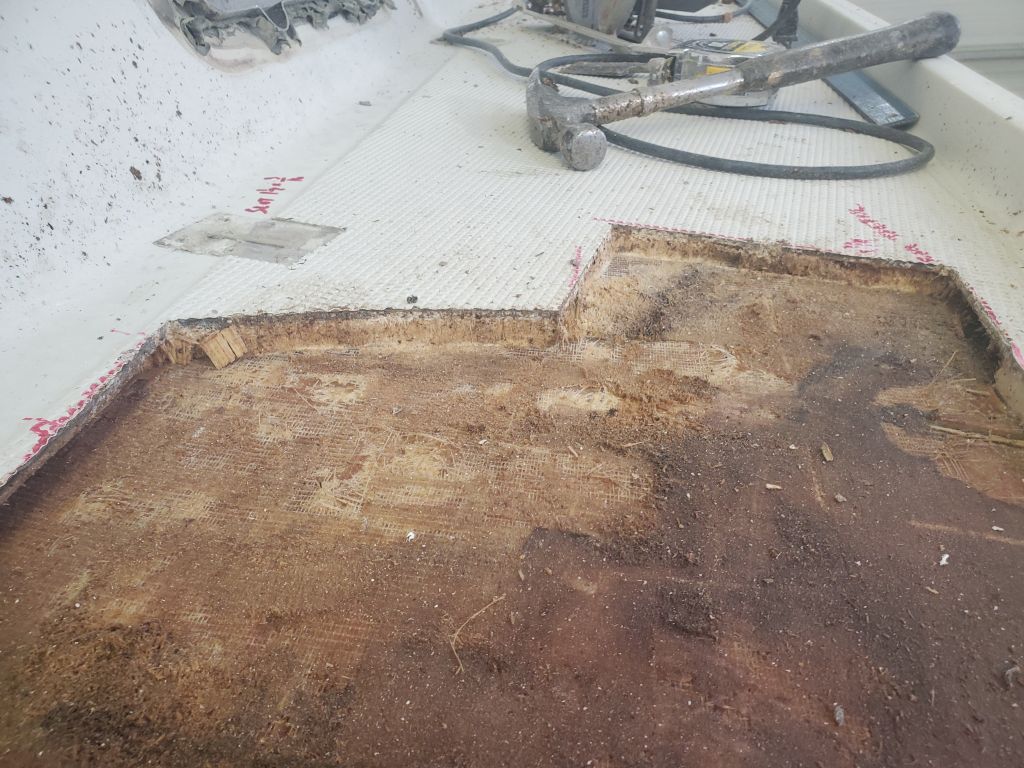
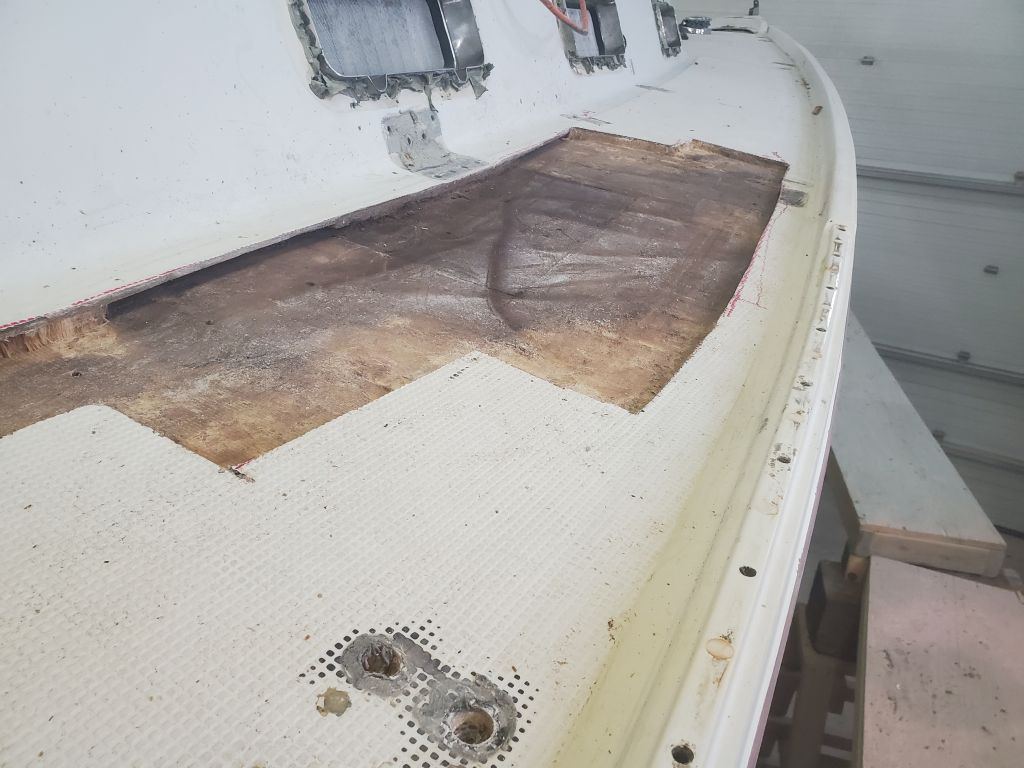
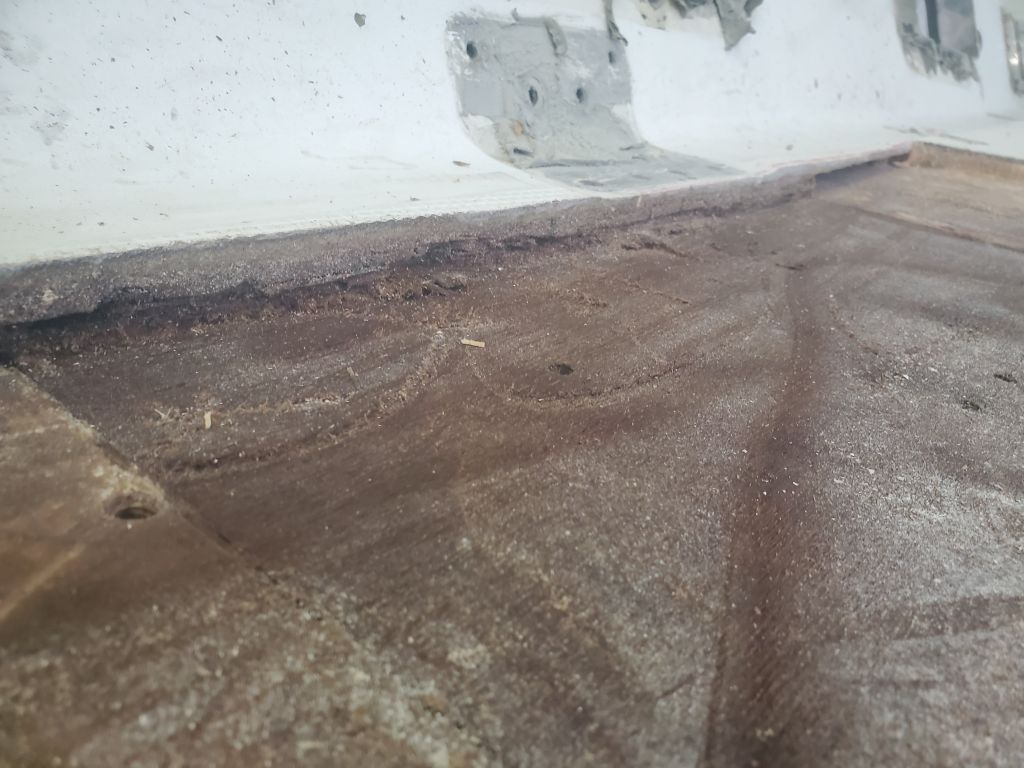
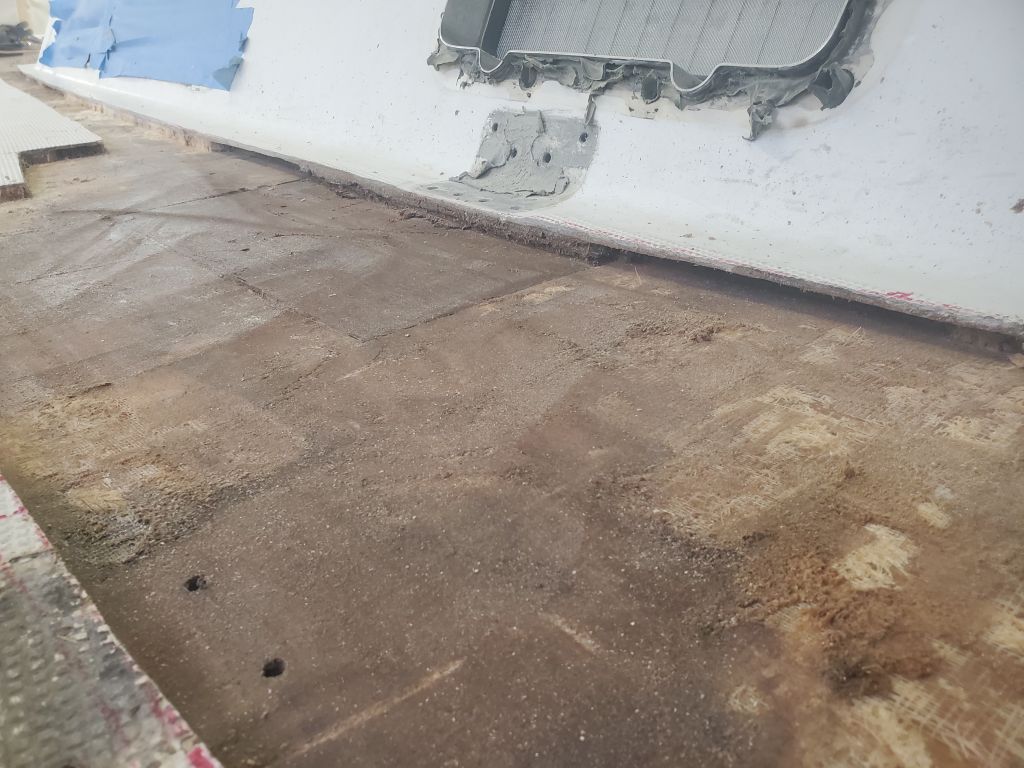
I got started by cutting the core for the starboard sidedeck.
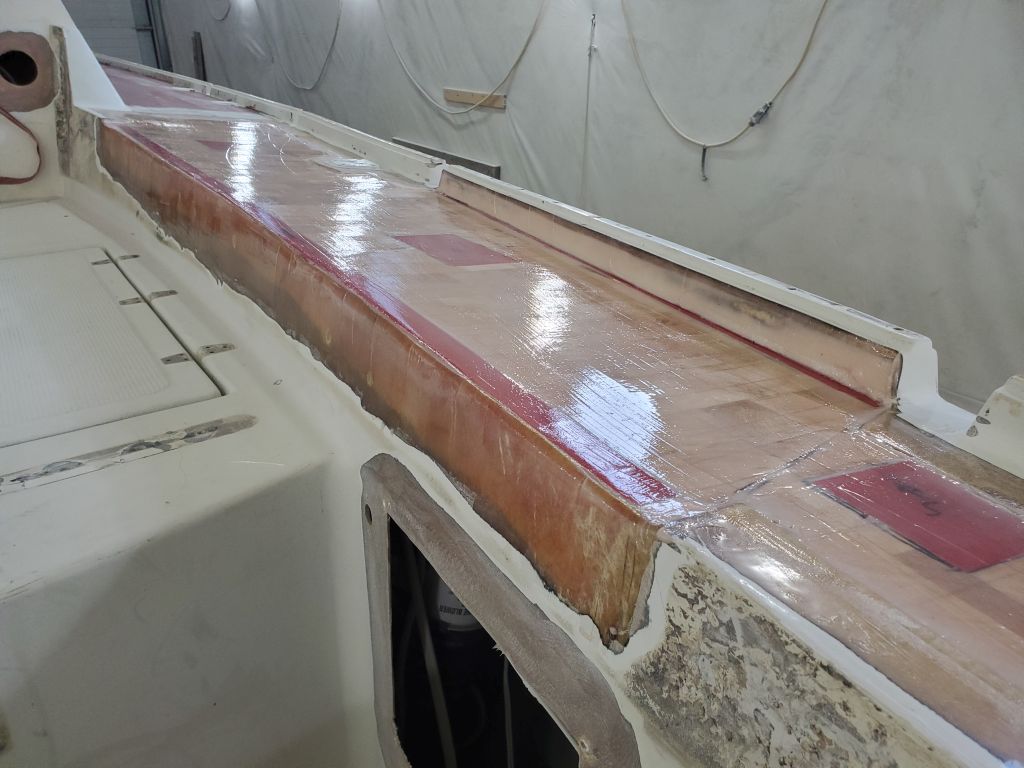
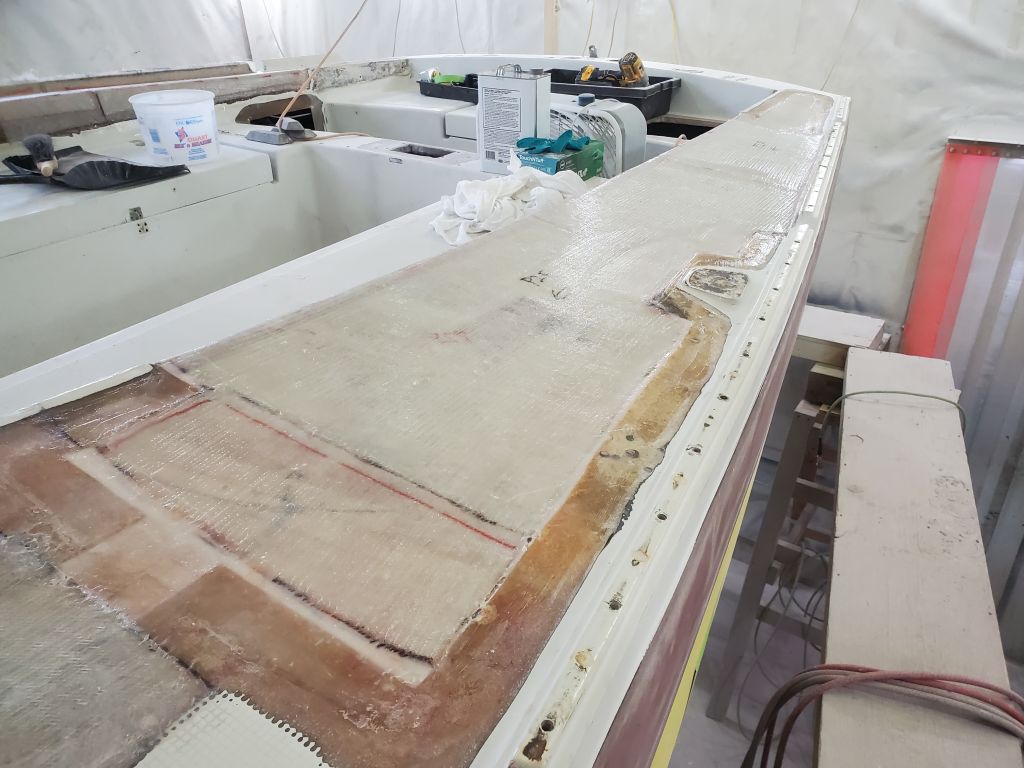
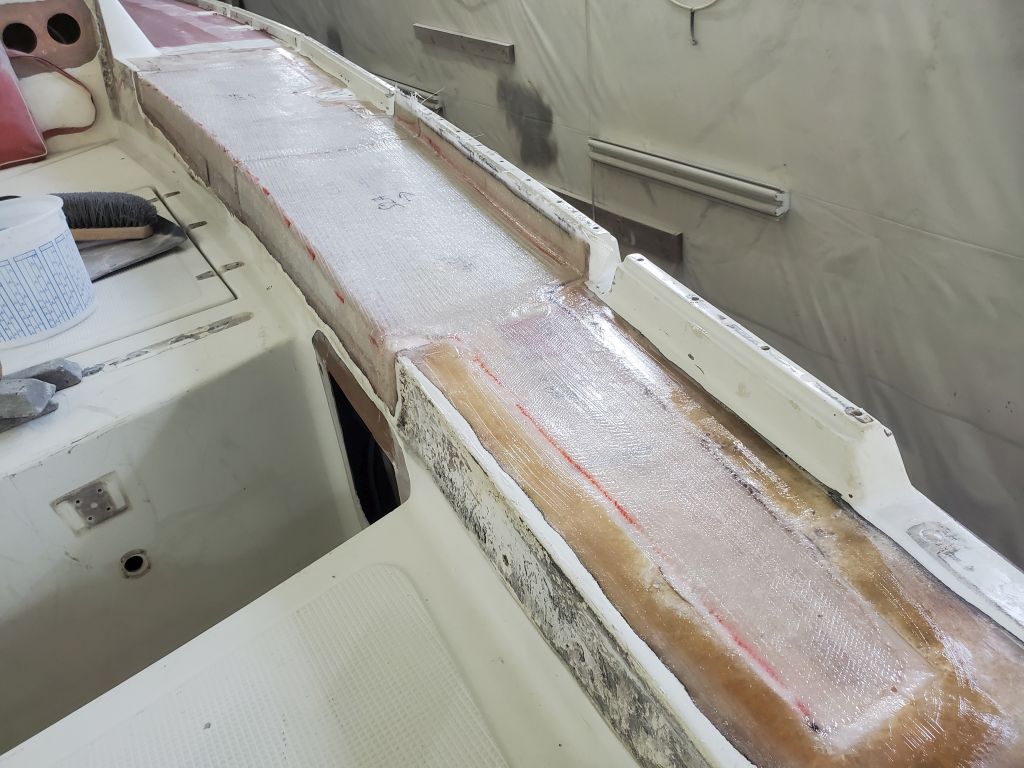
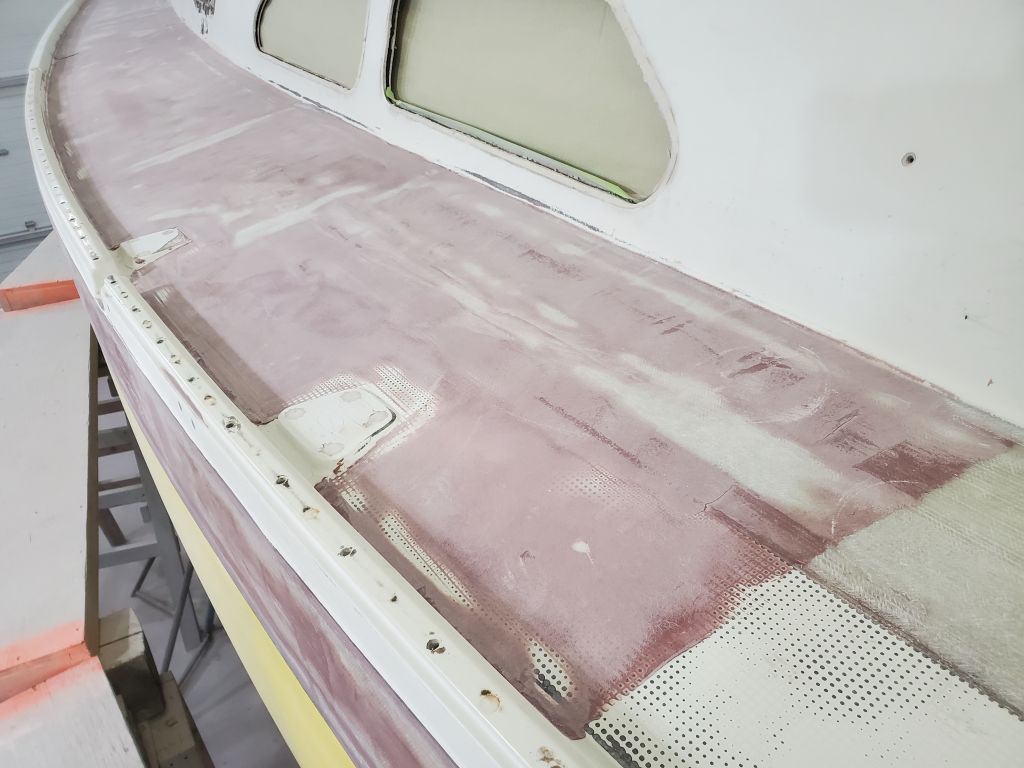
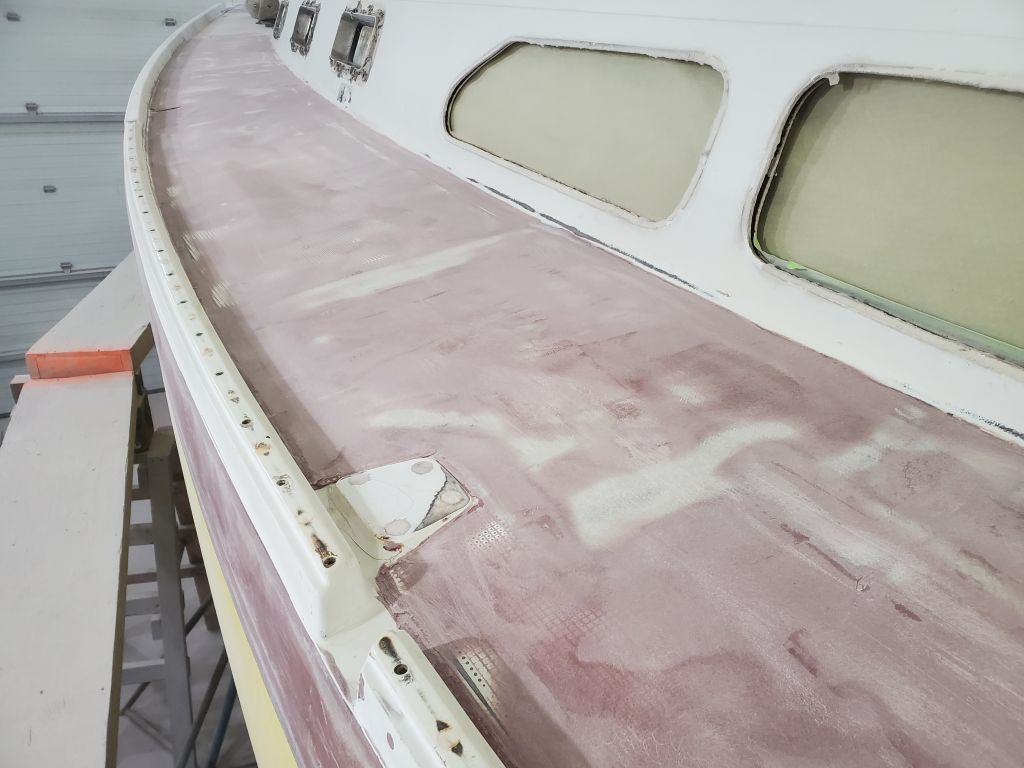
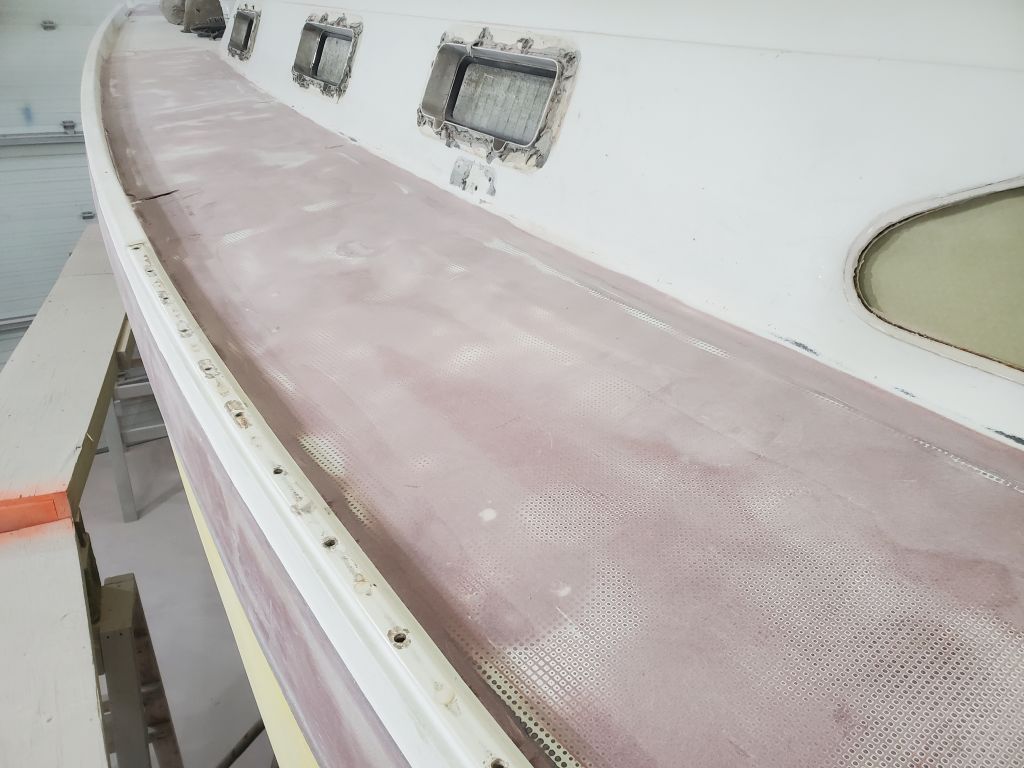
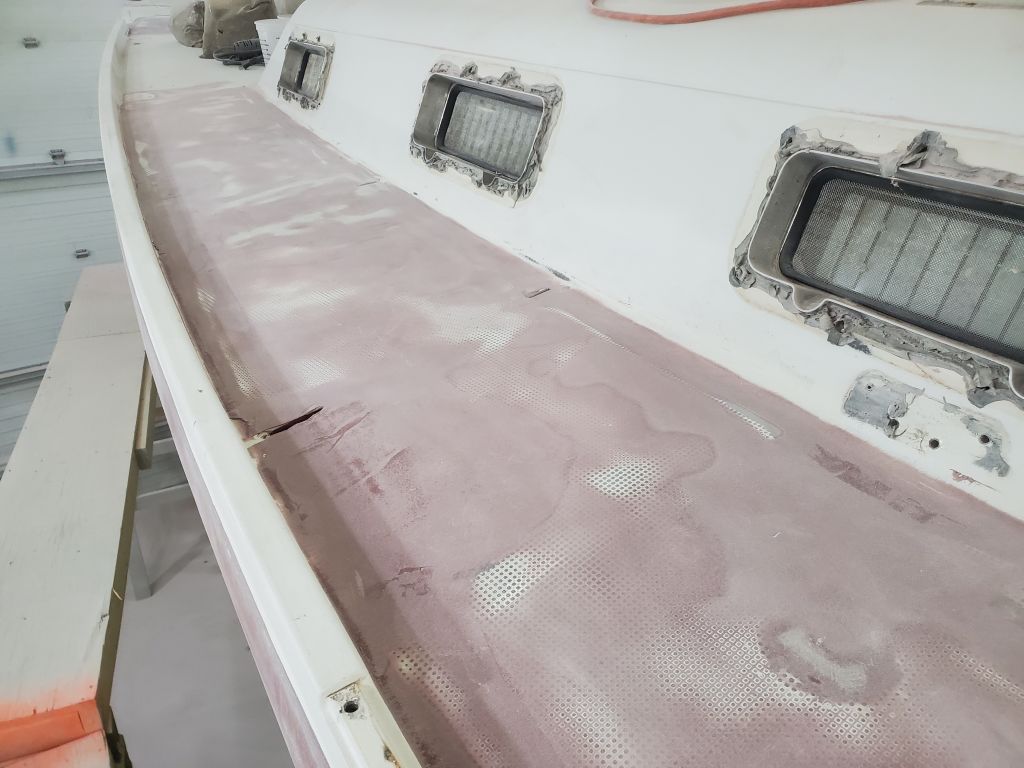
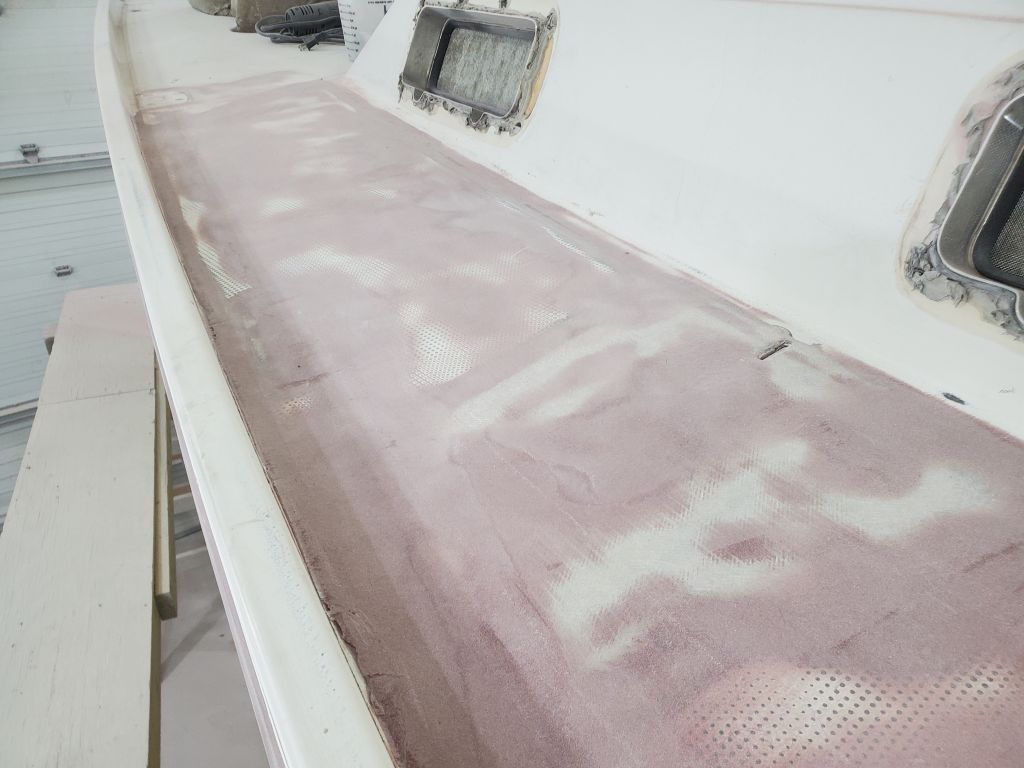
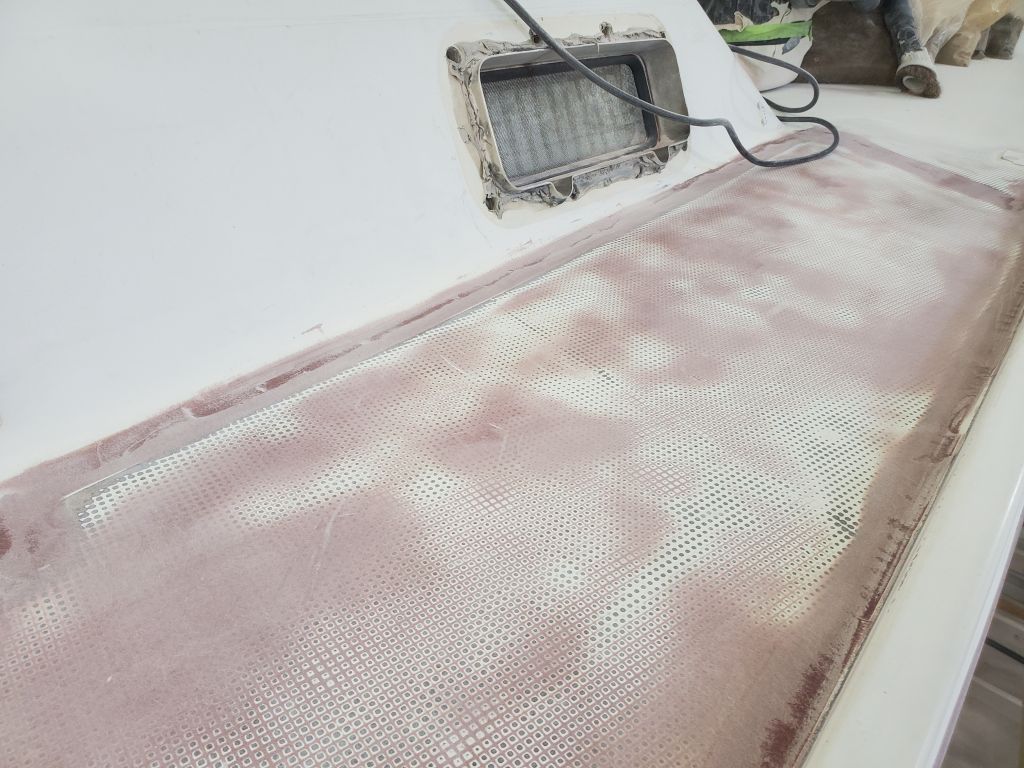
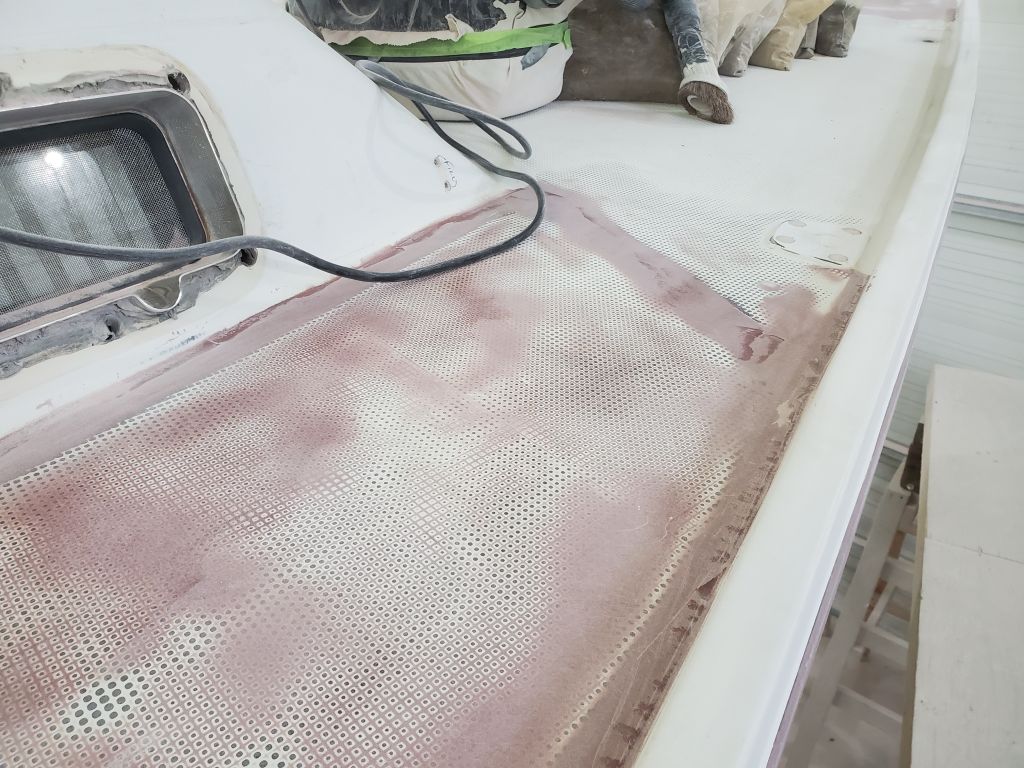
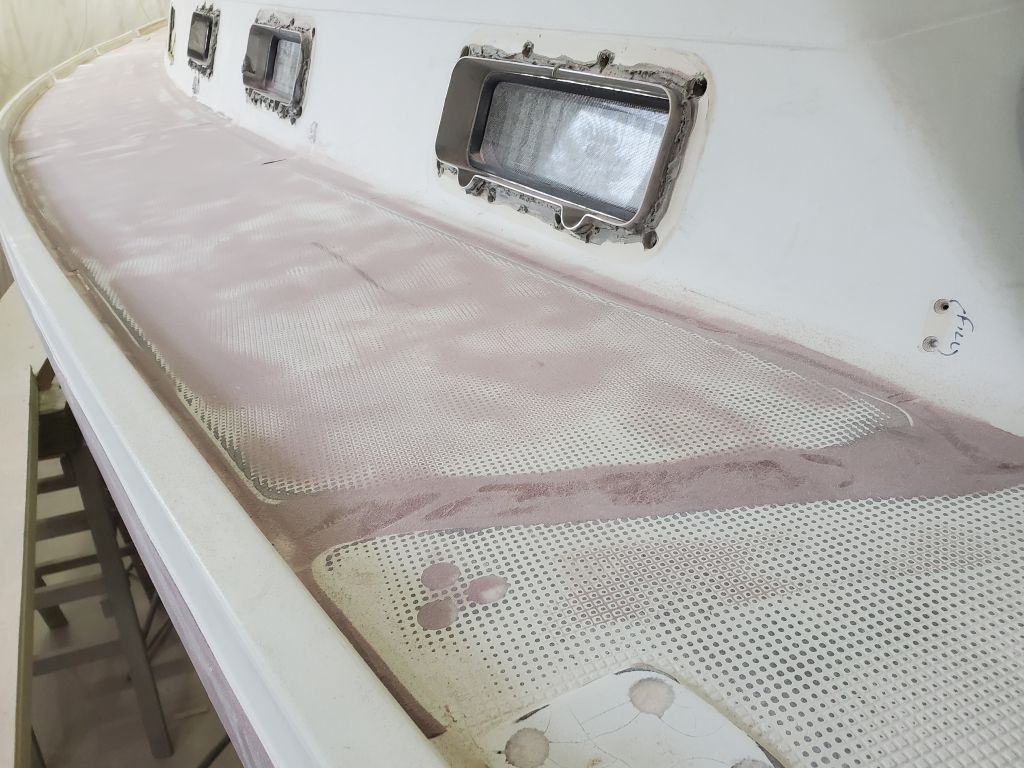
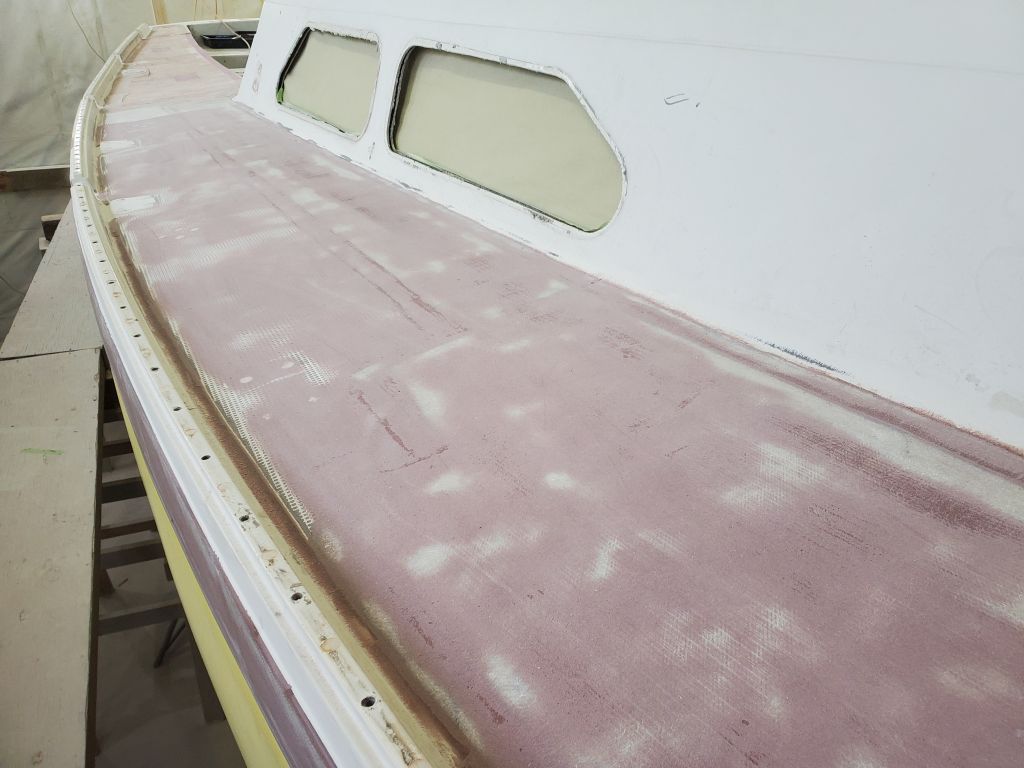
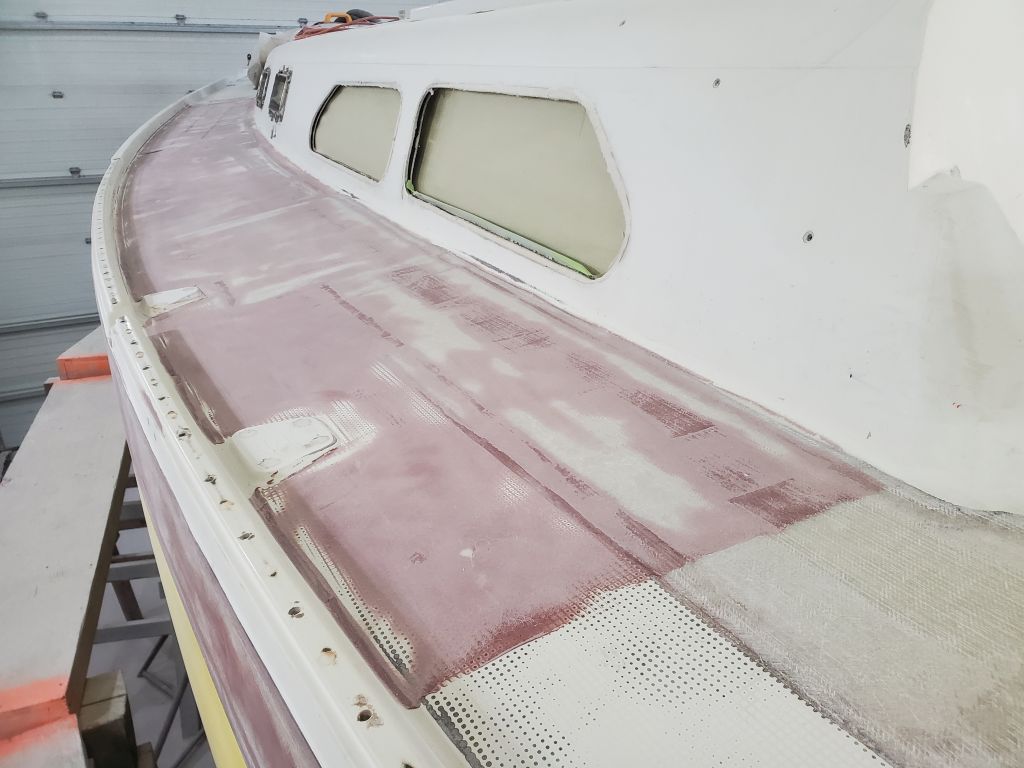
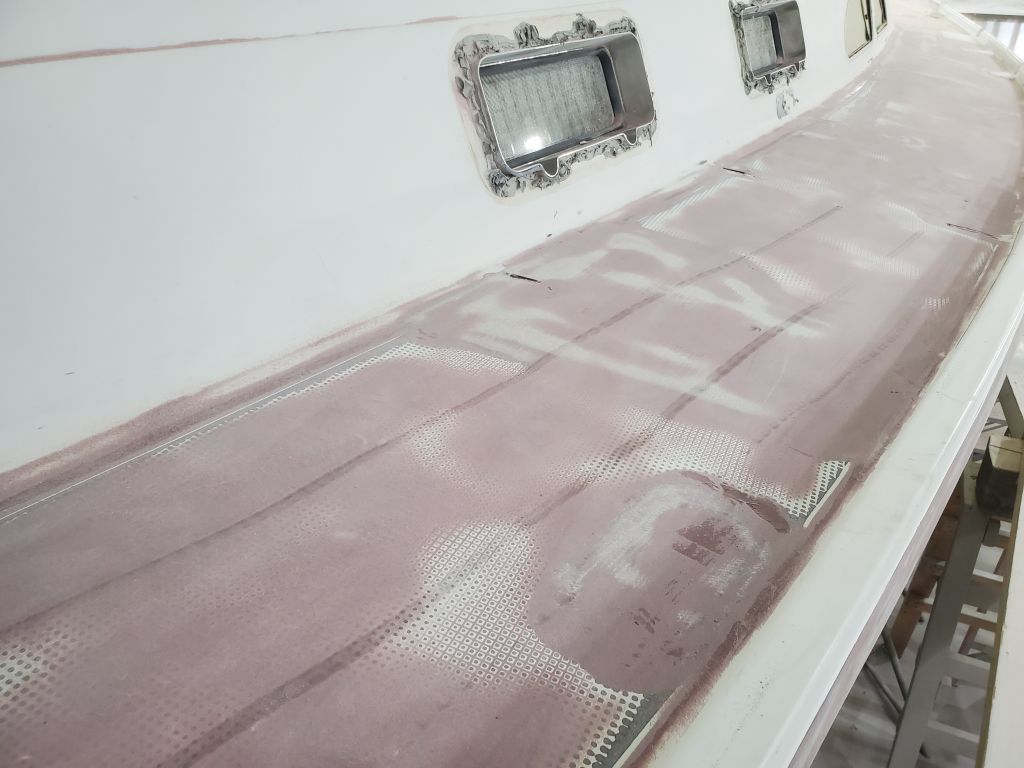
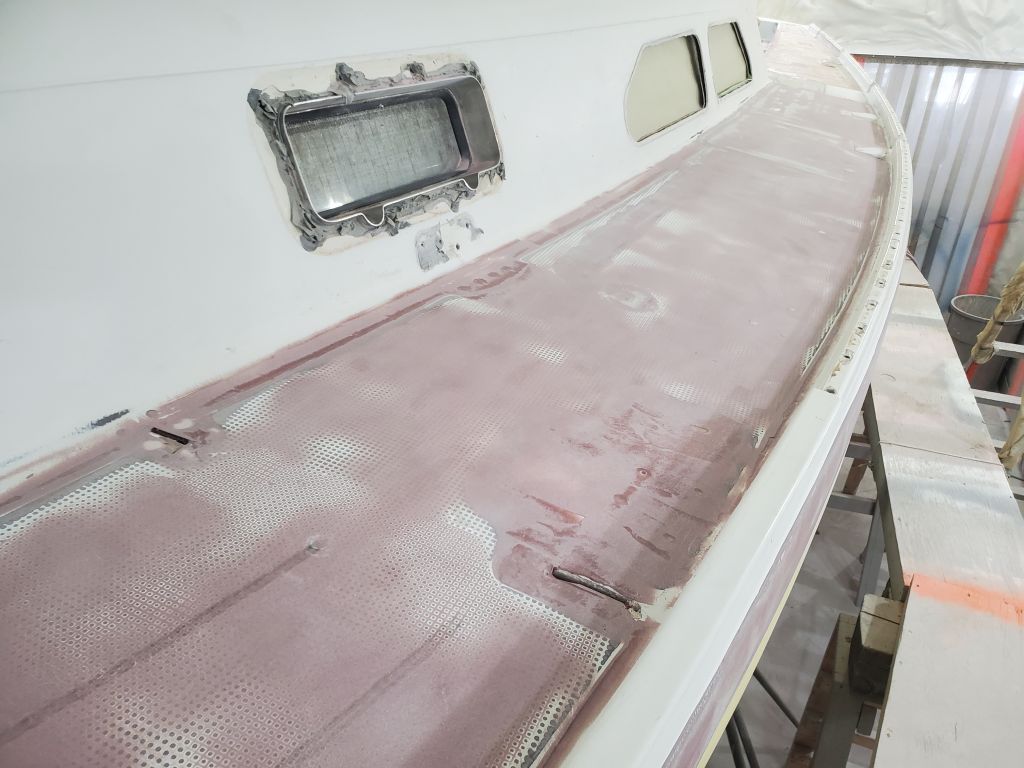
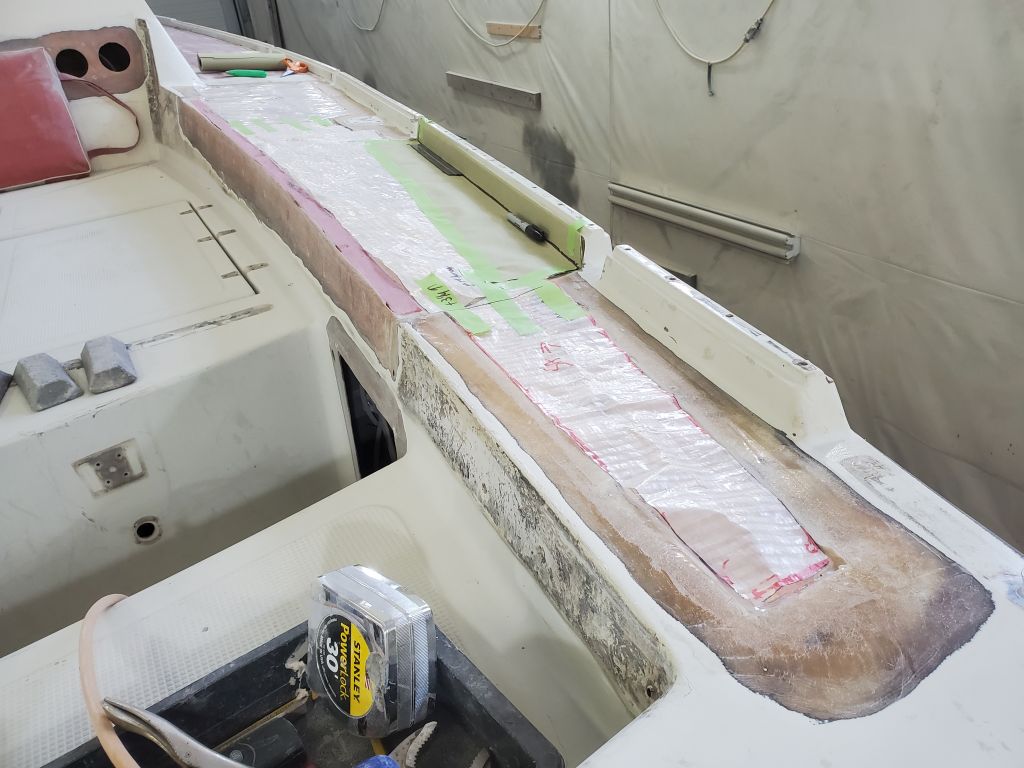
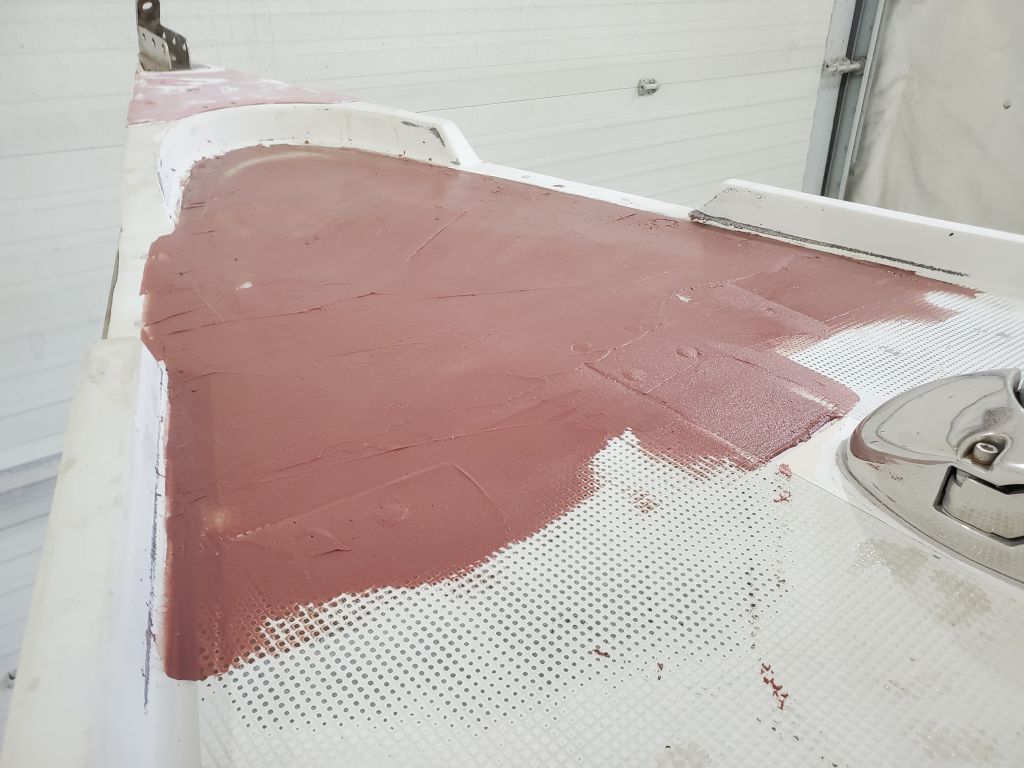
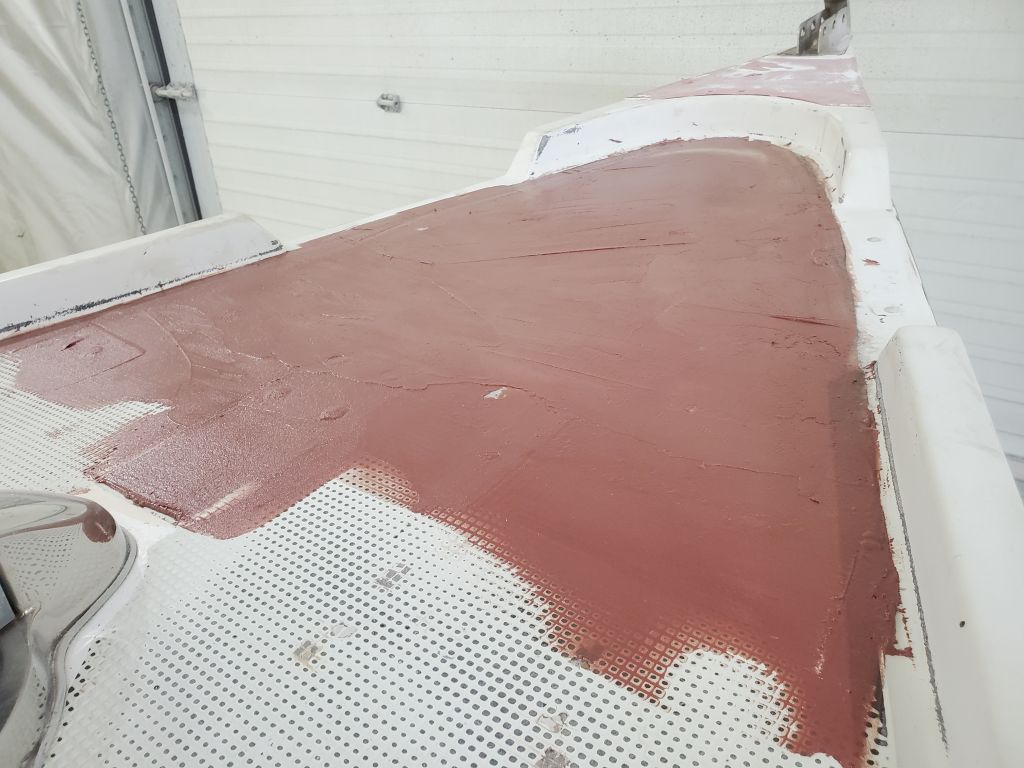
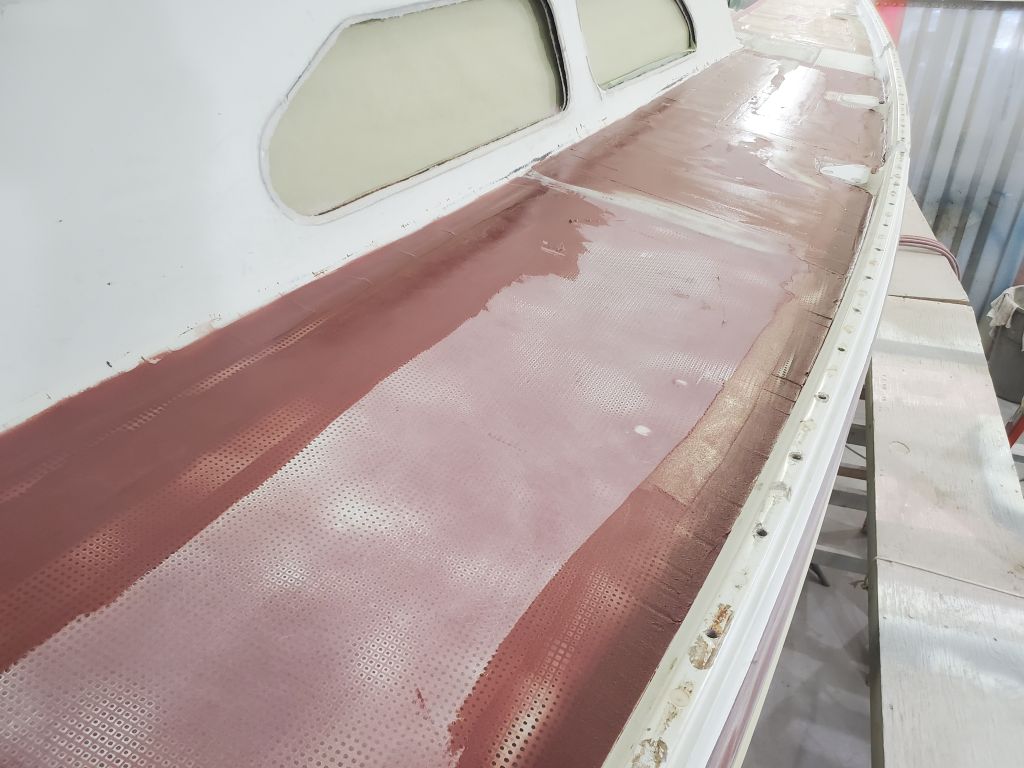
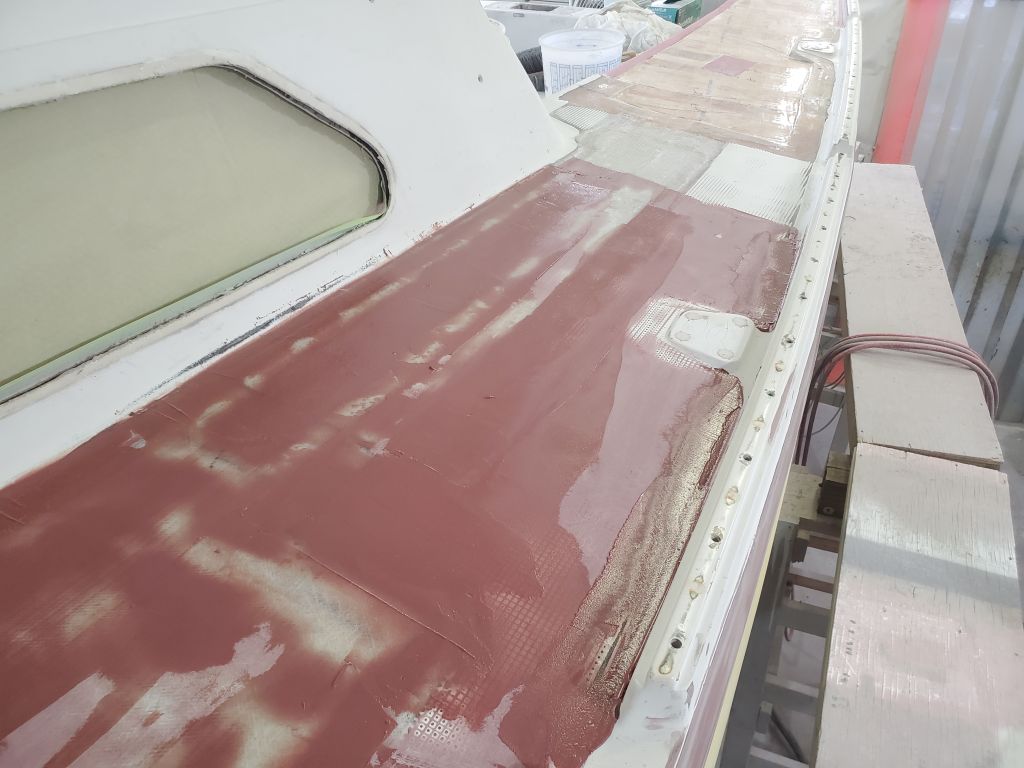
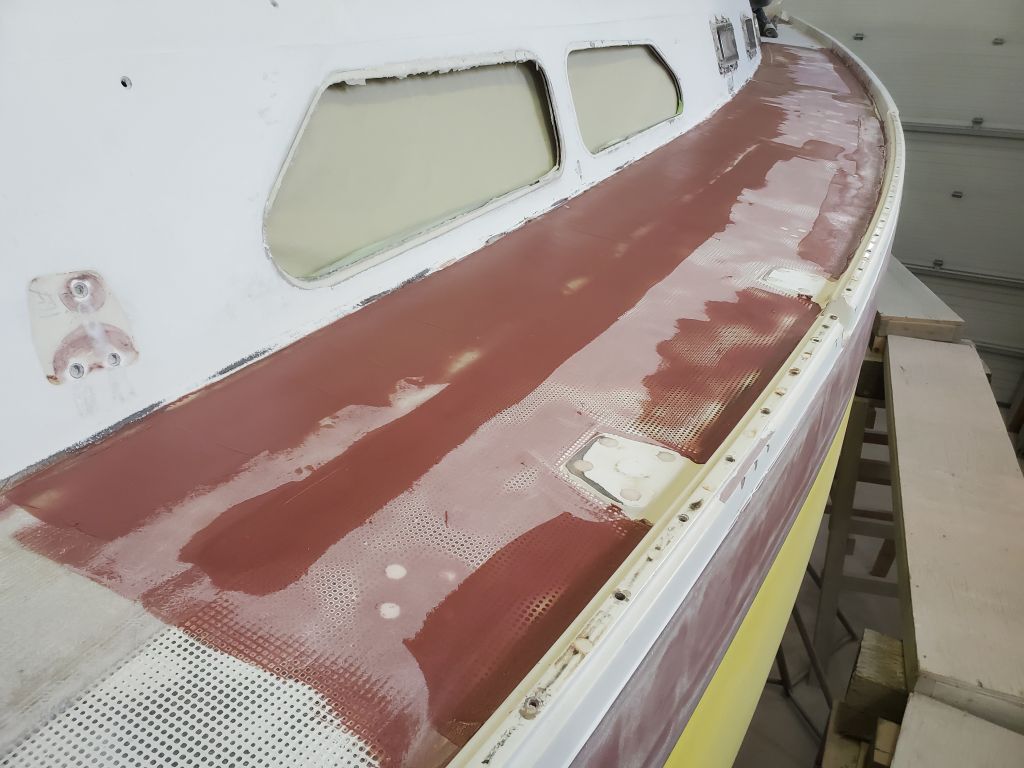
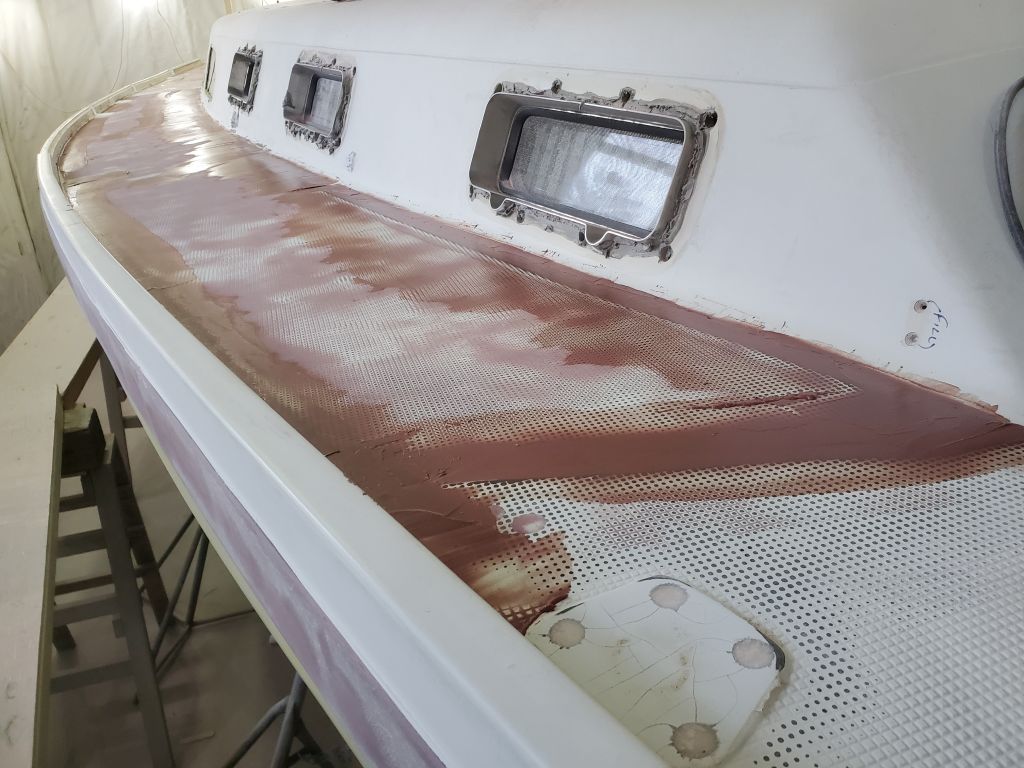
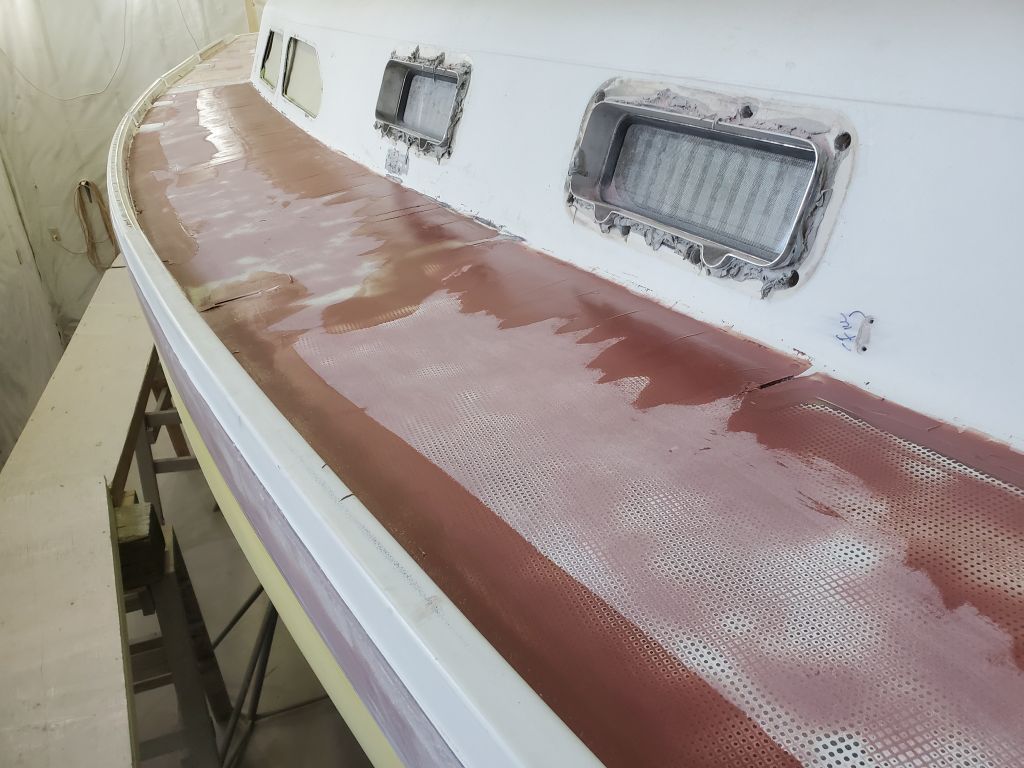
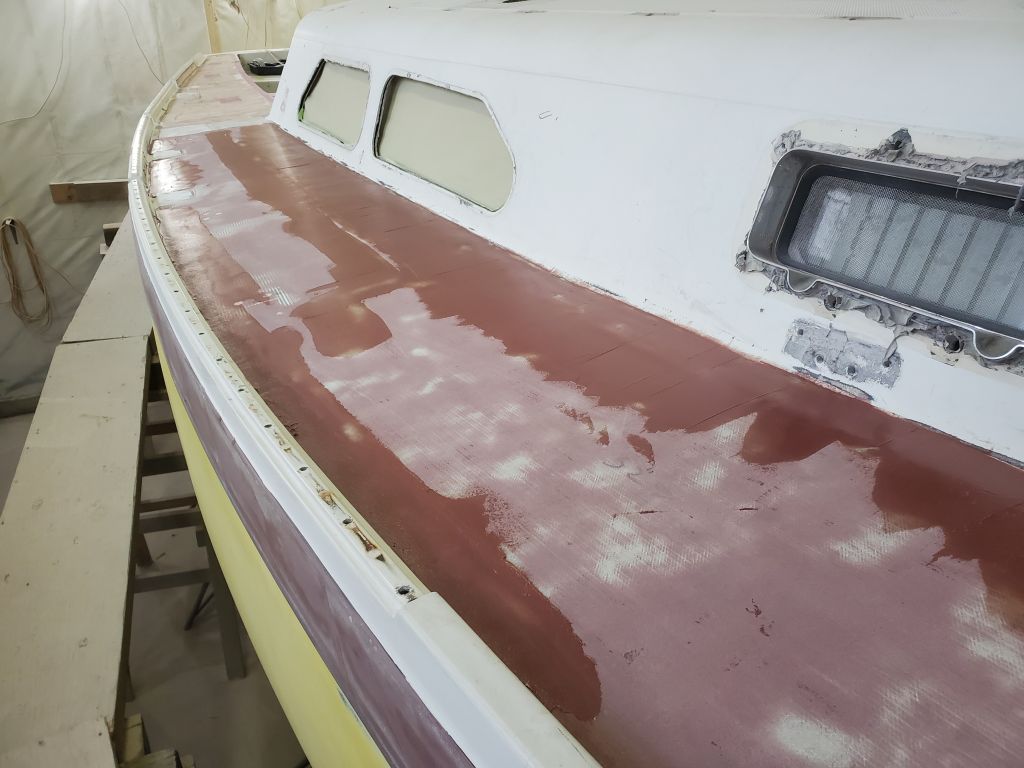
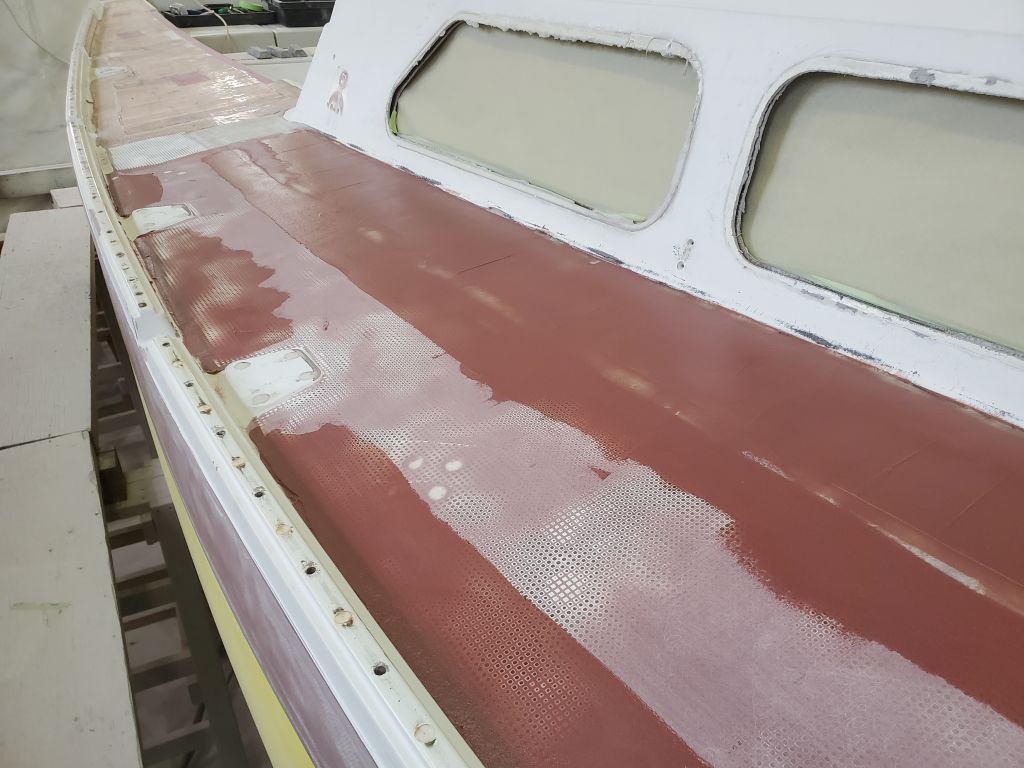
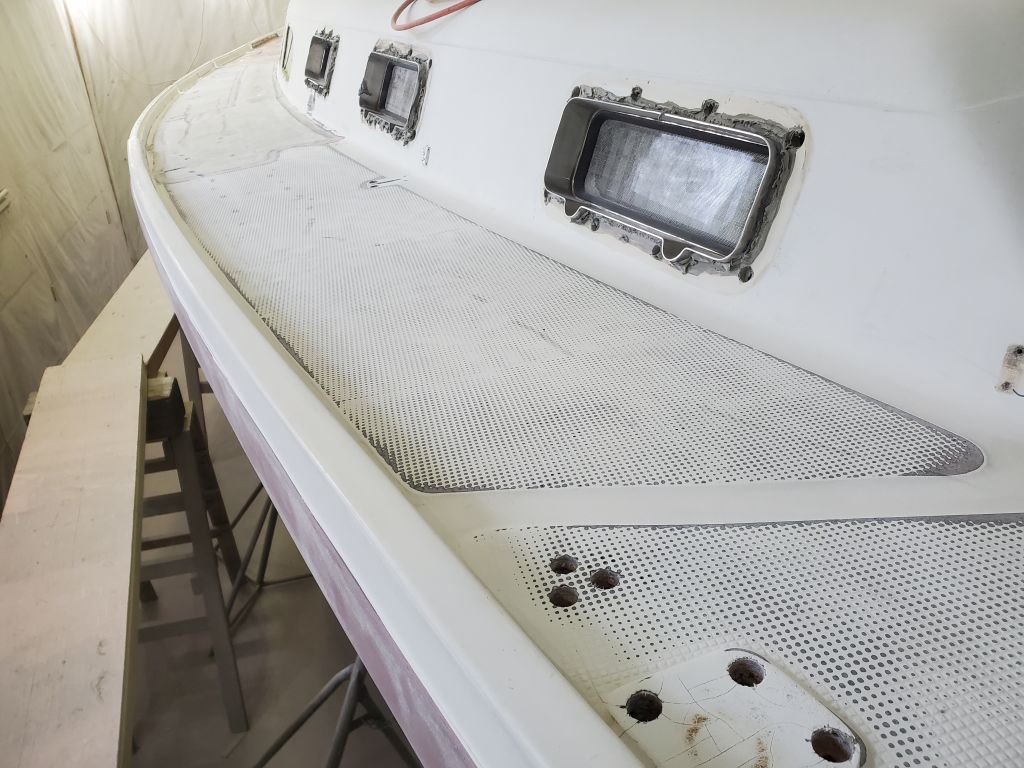
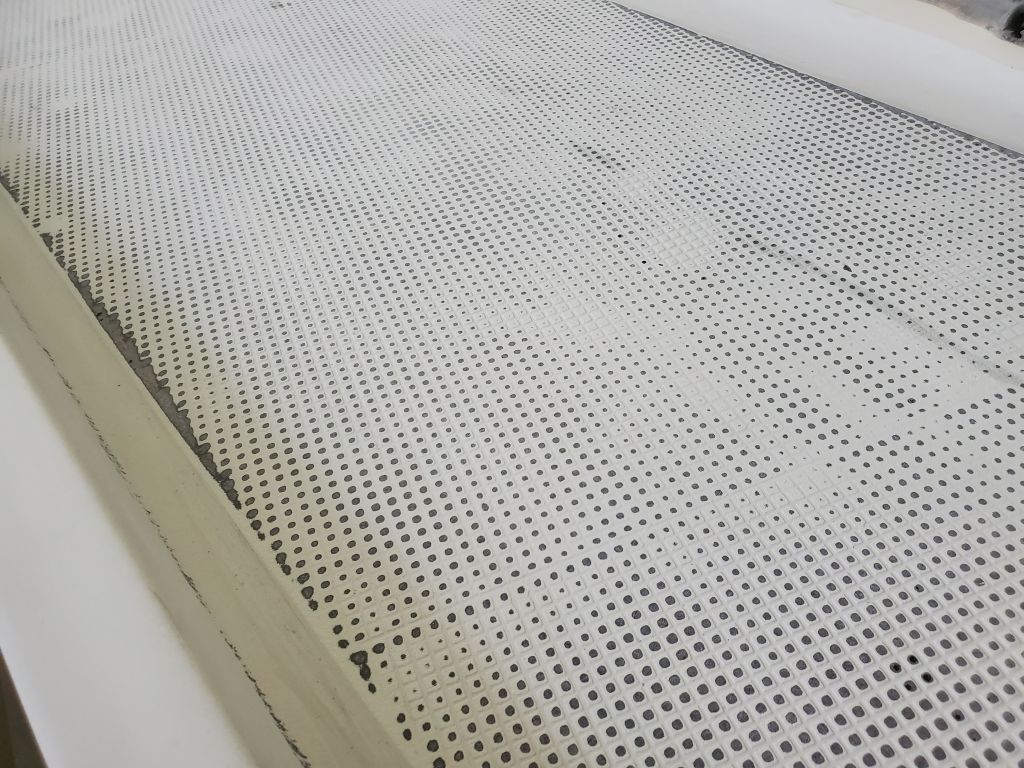
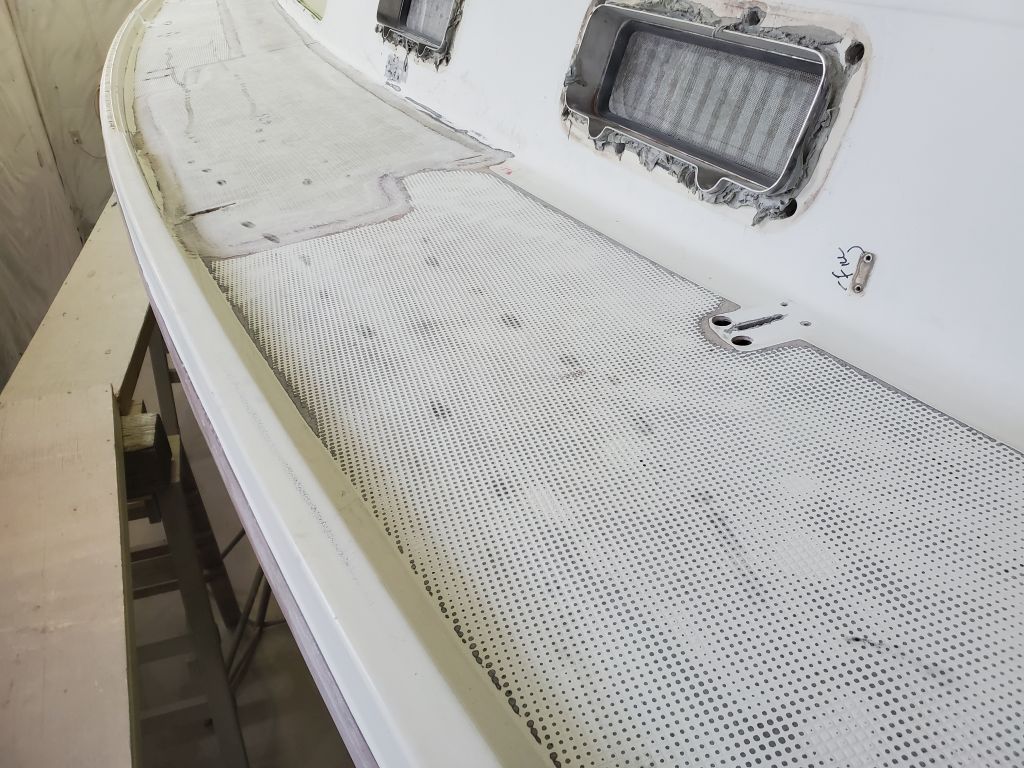
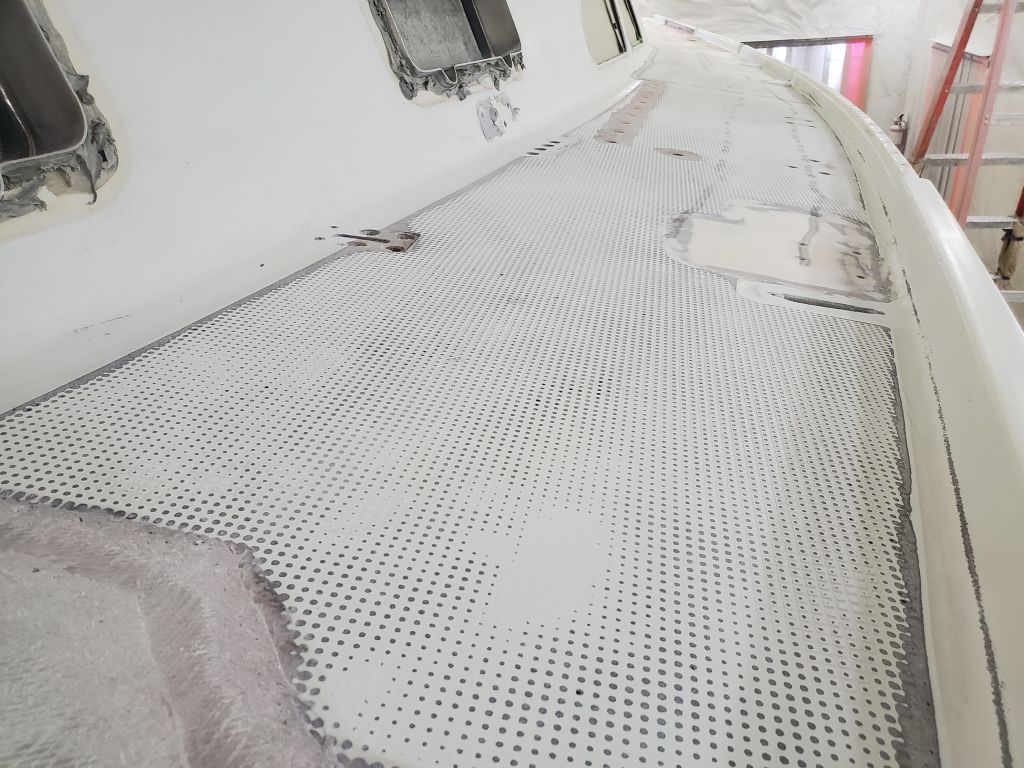
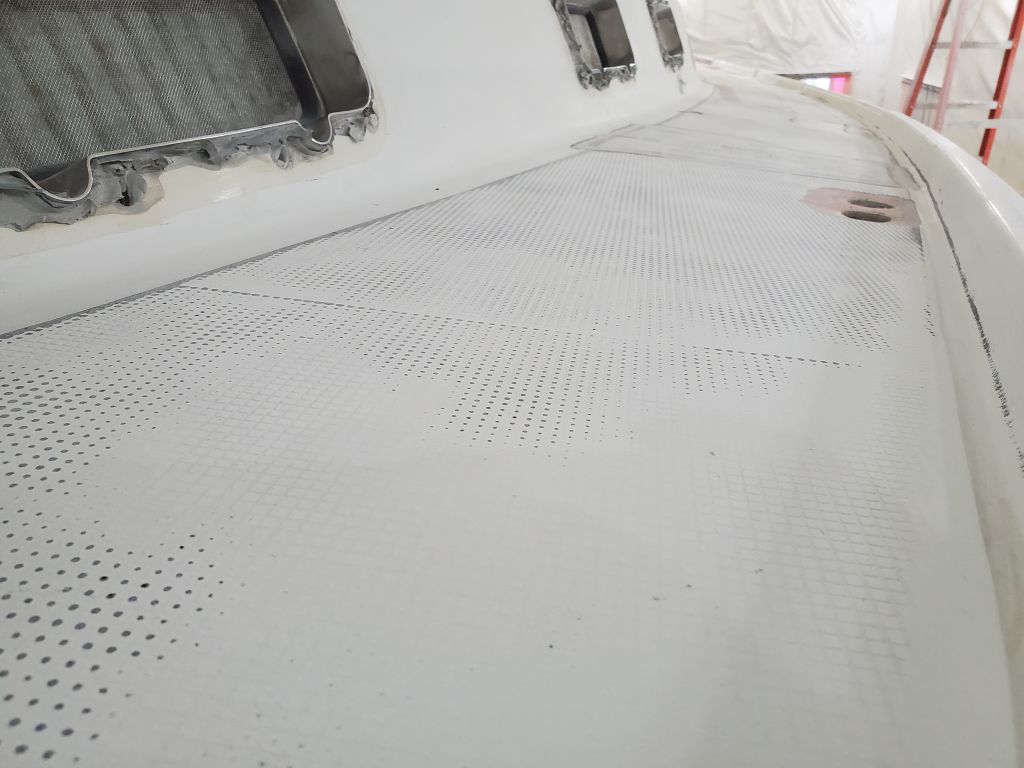
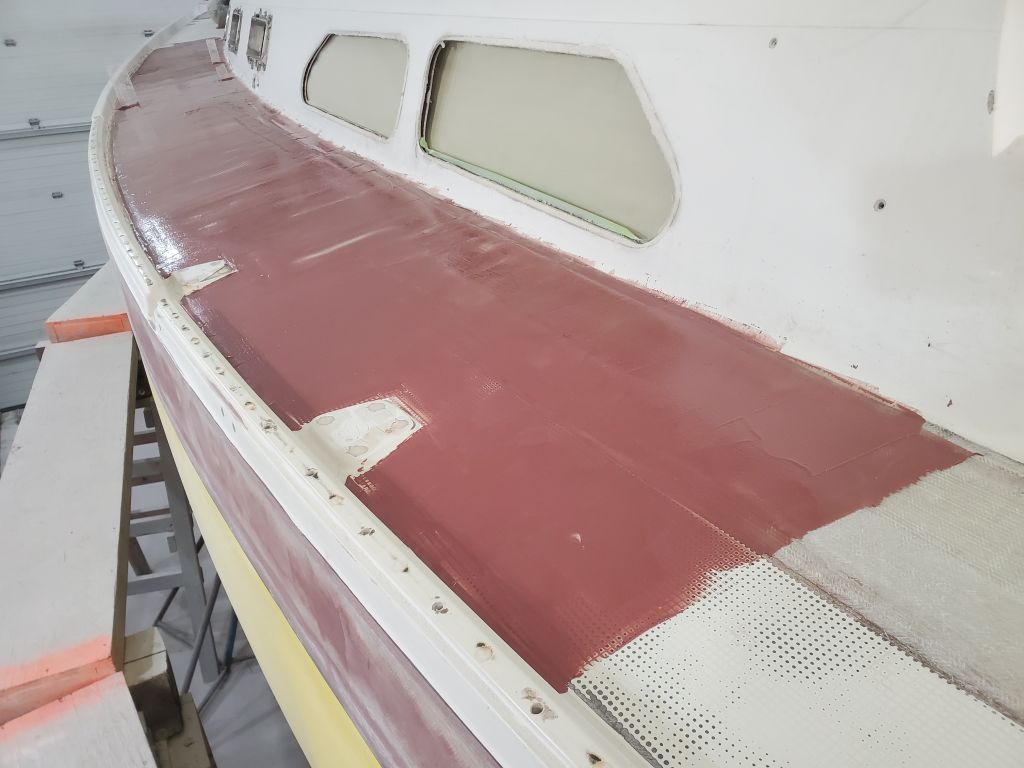
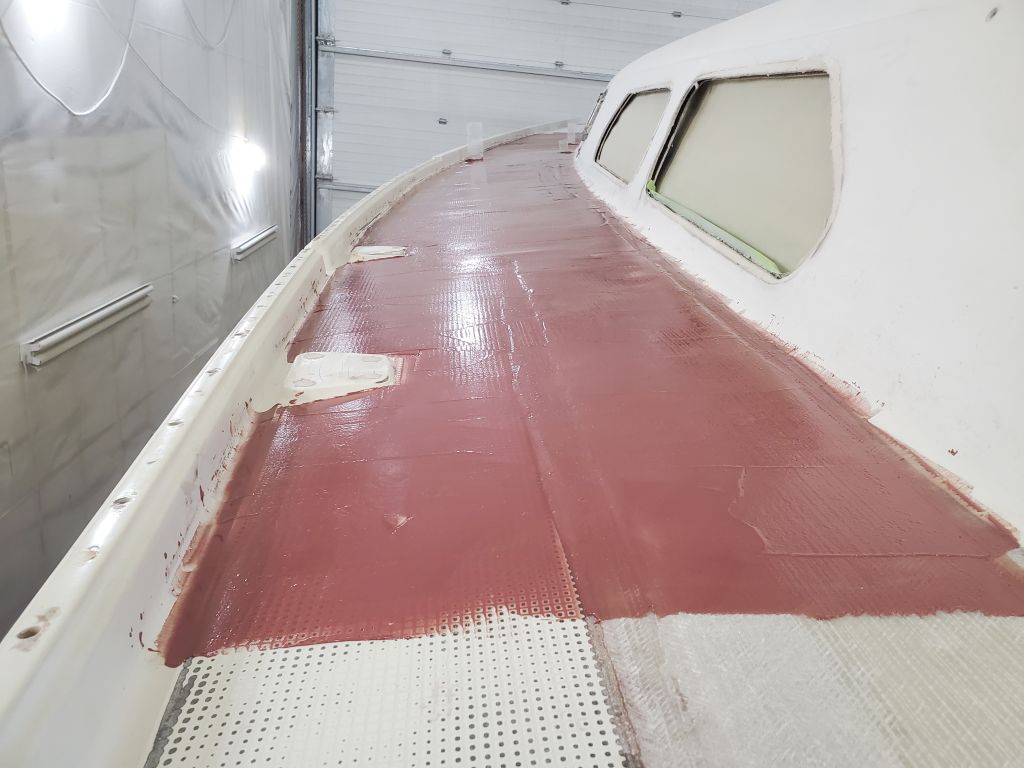
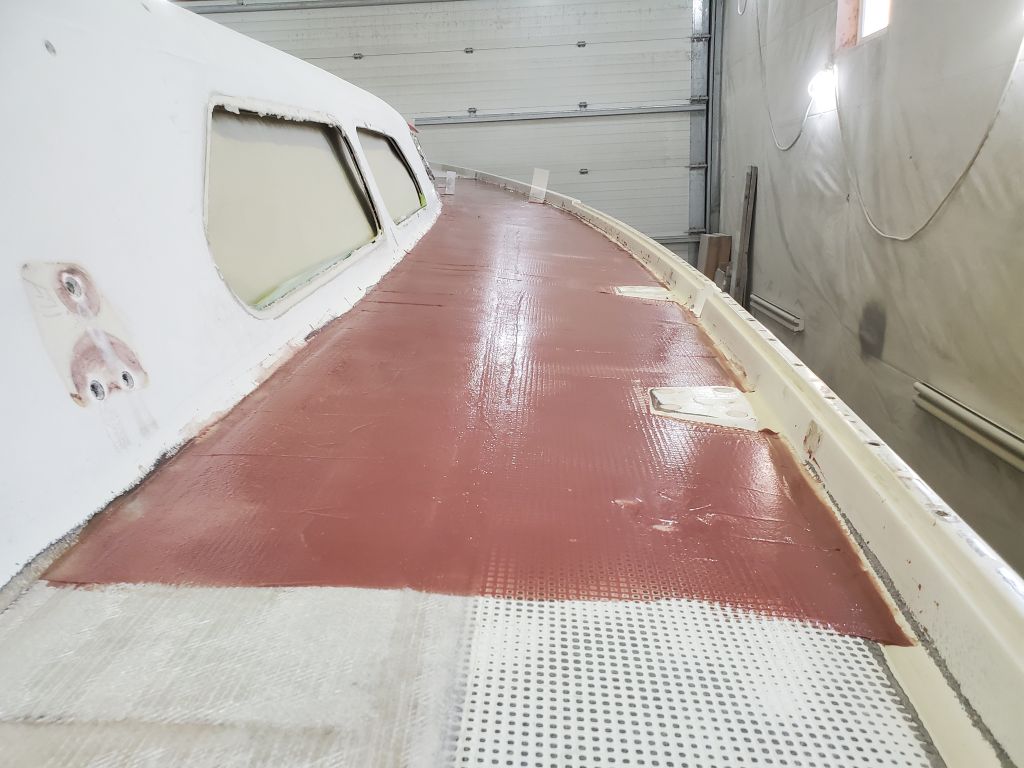
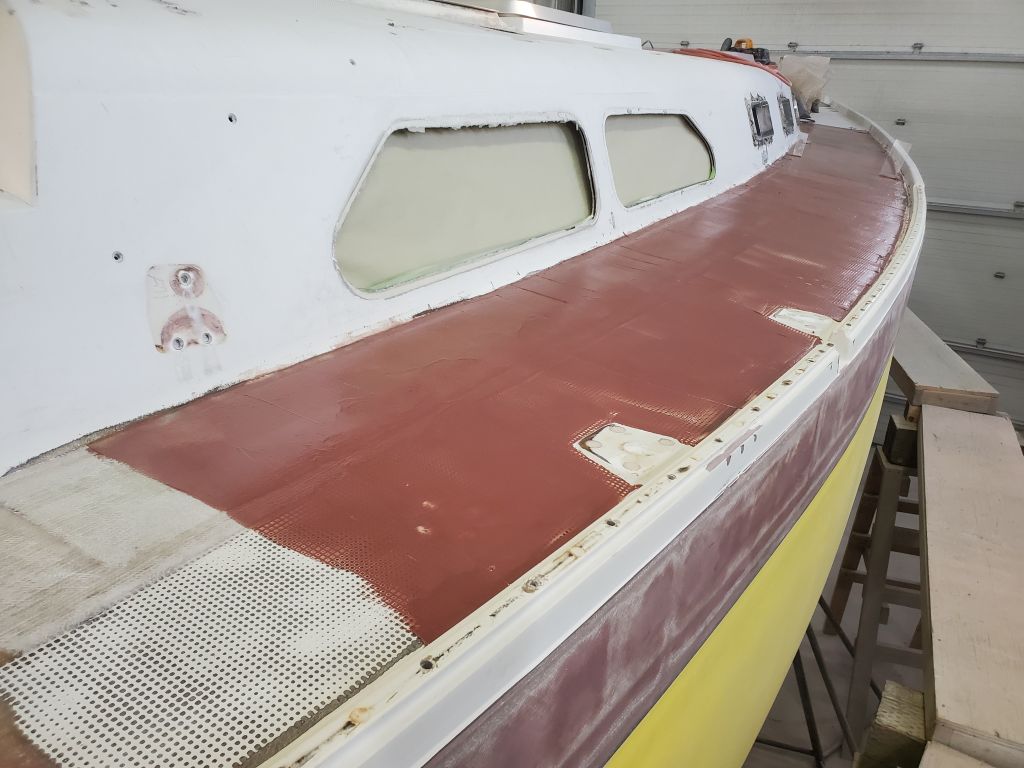
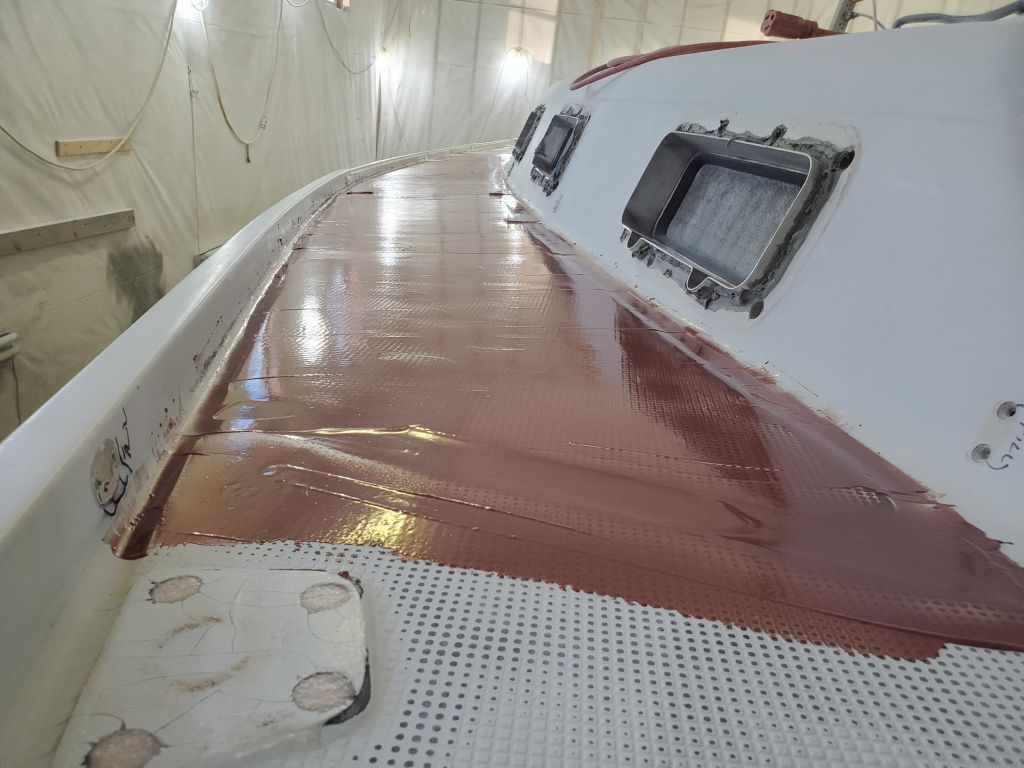
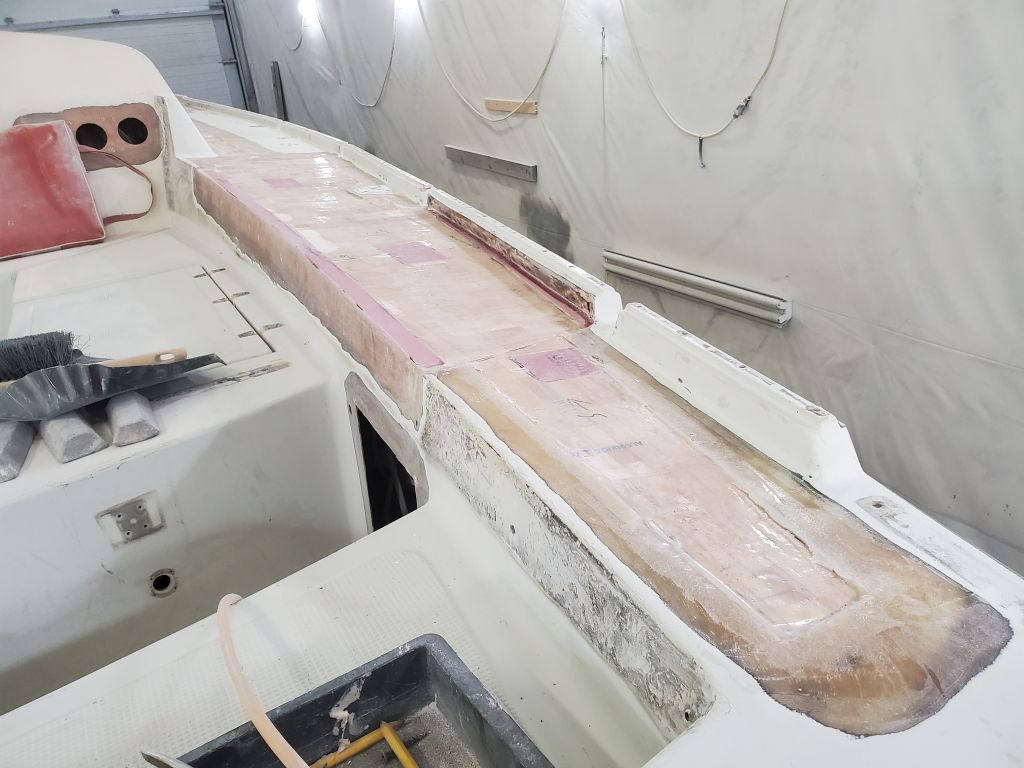
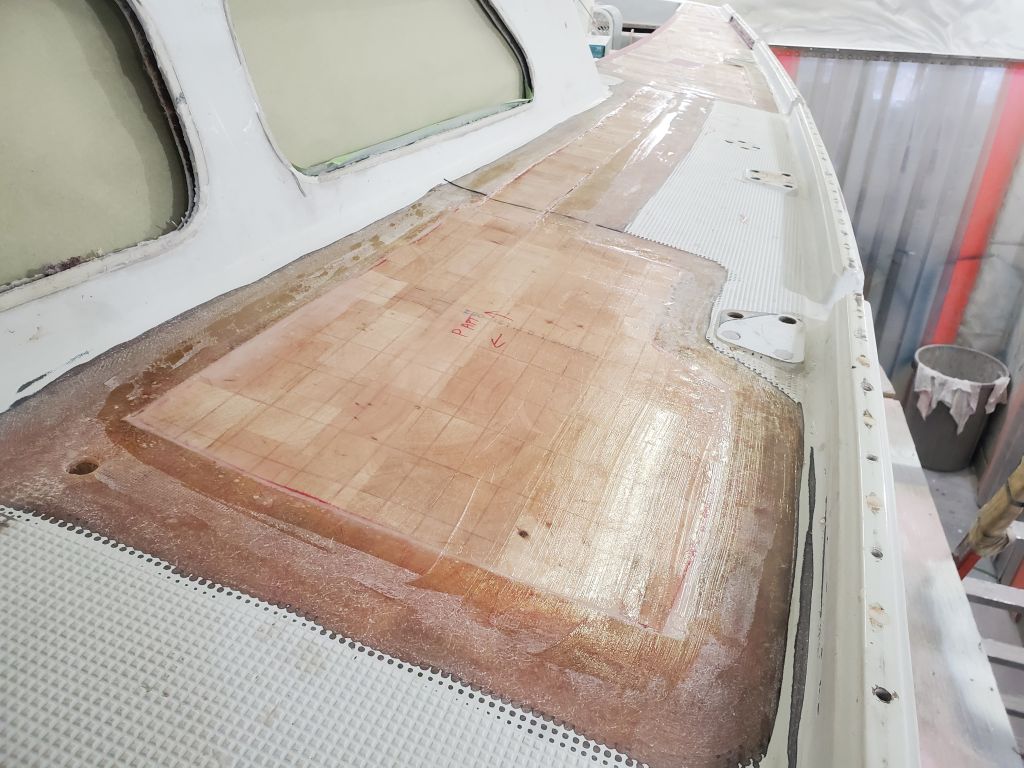
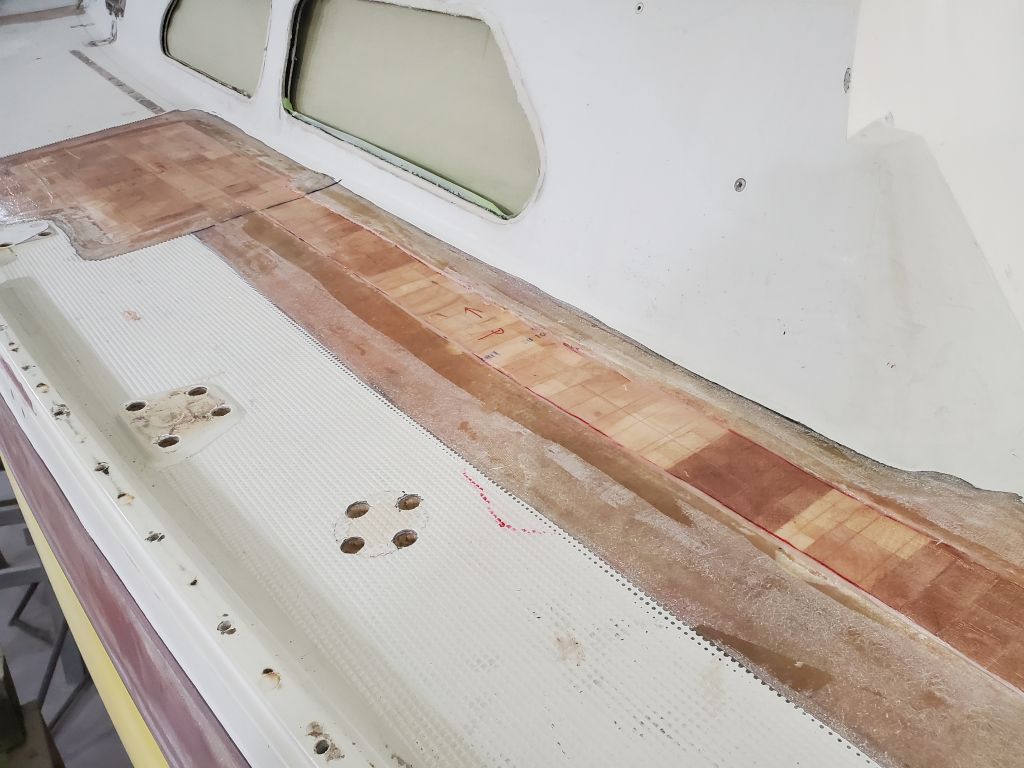
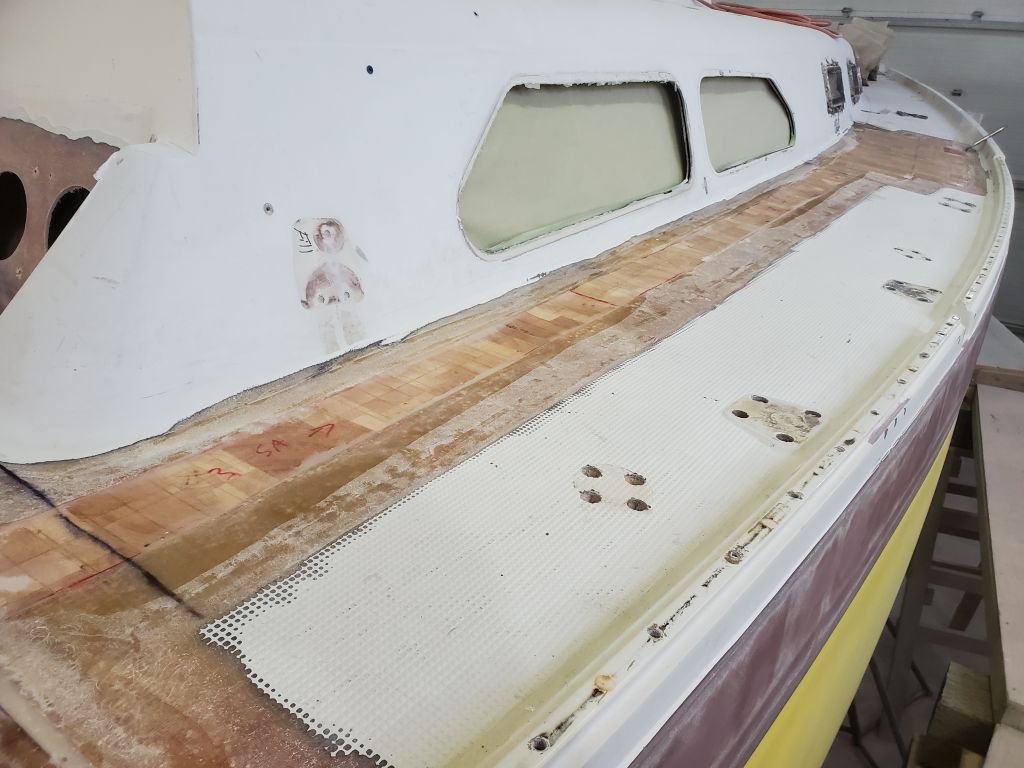
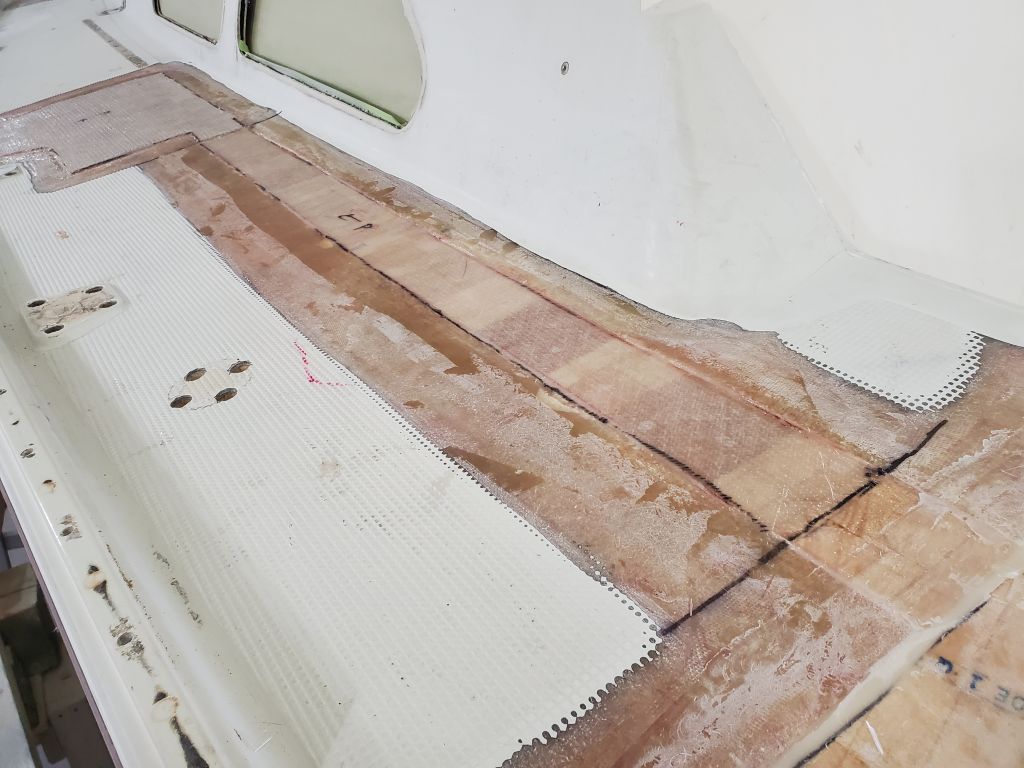
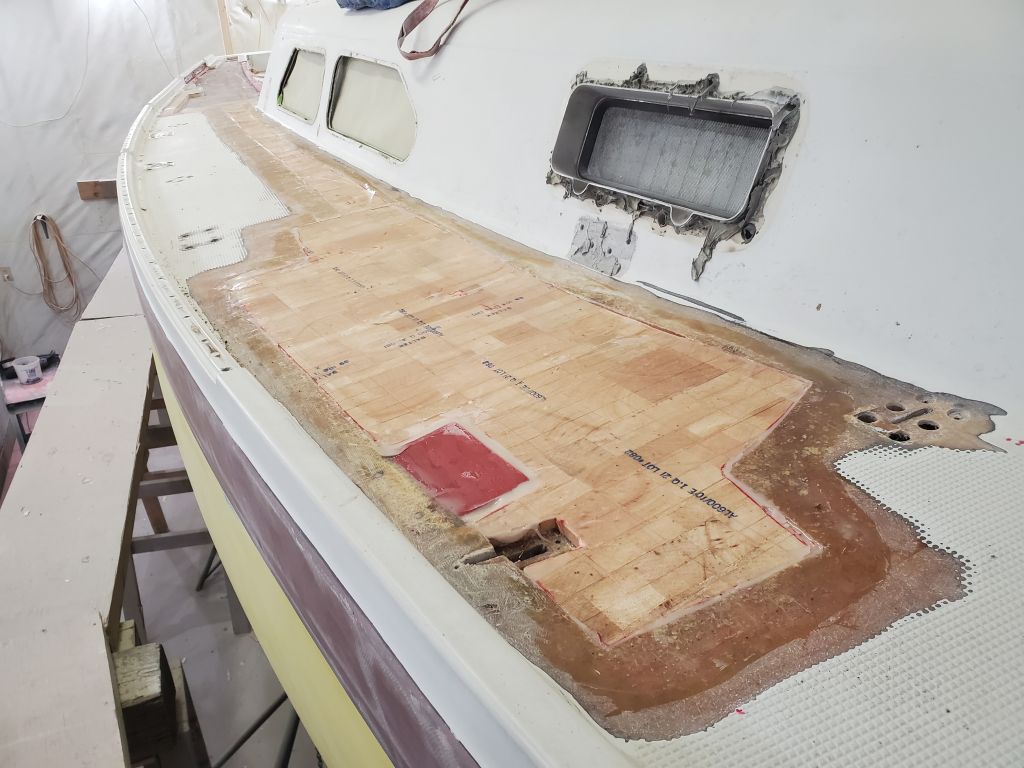
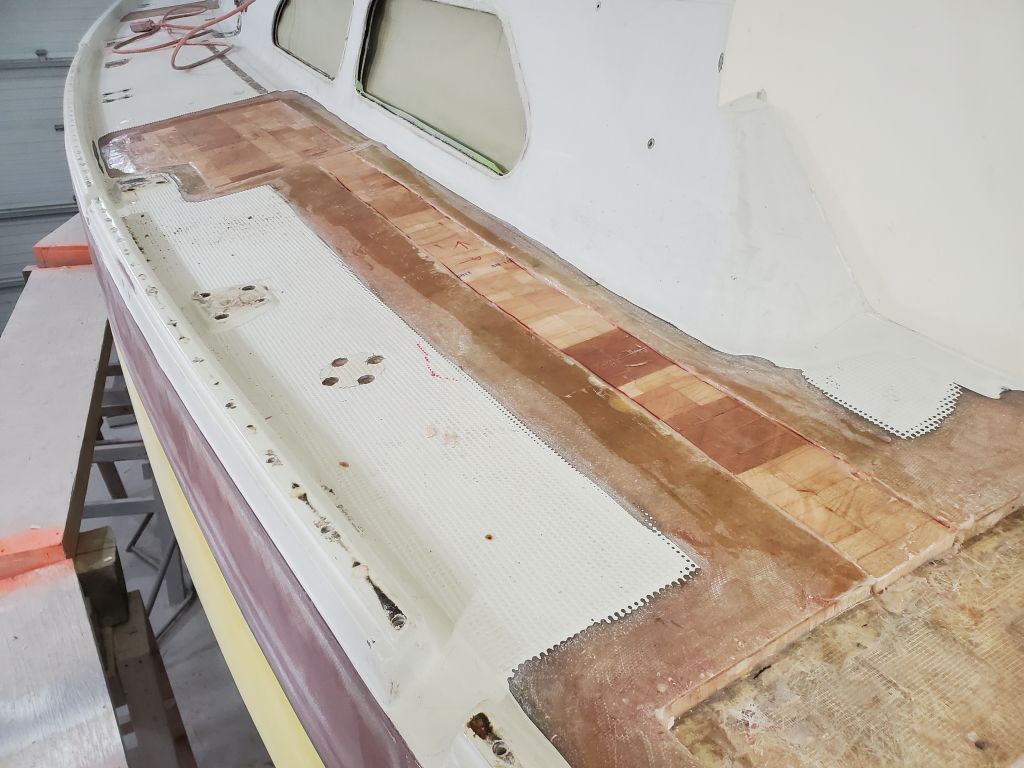
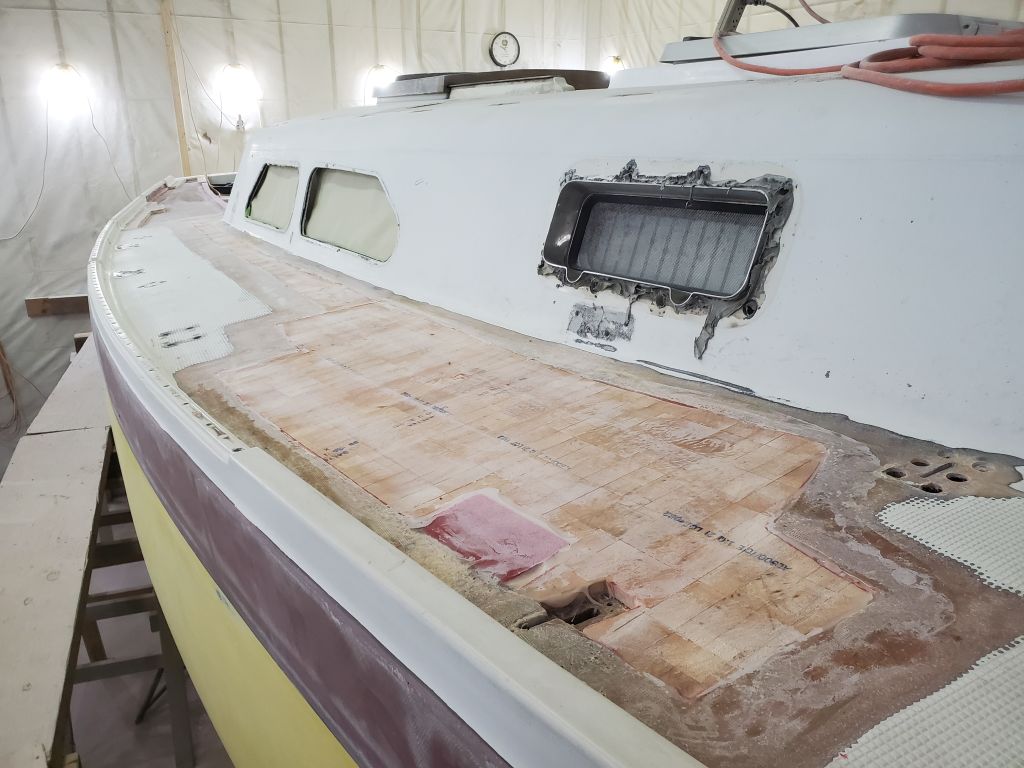
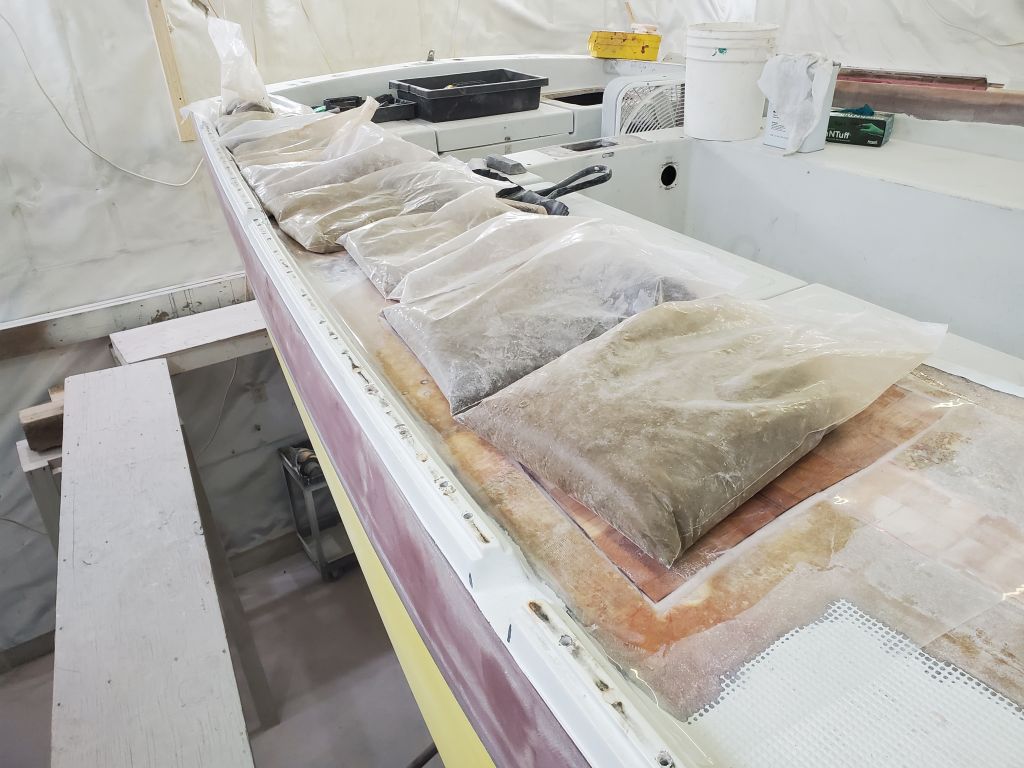
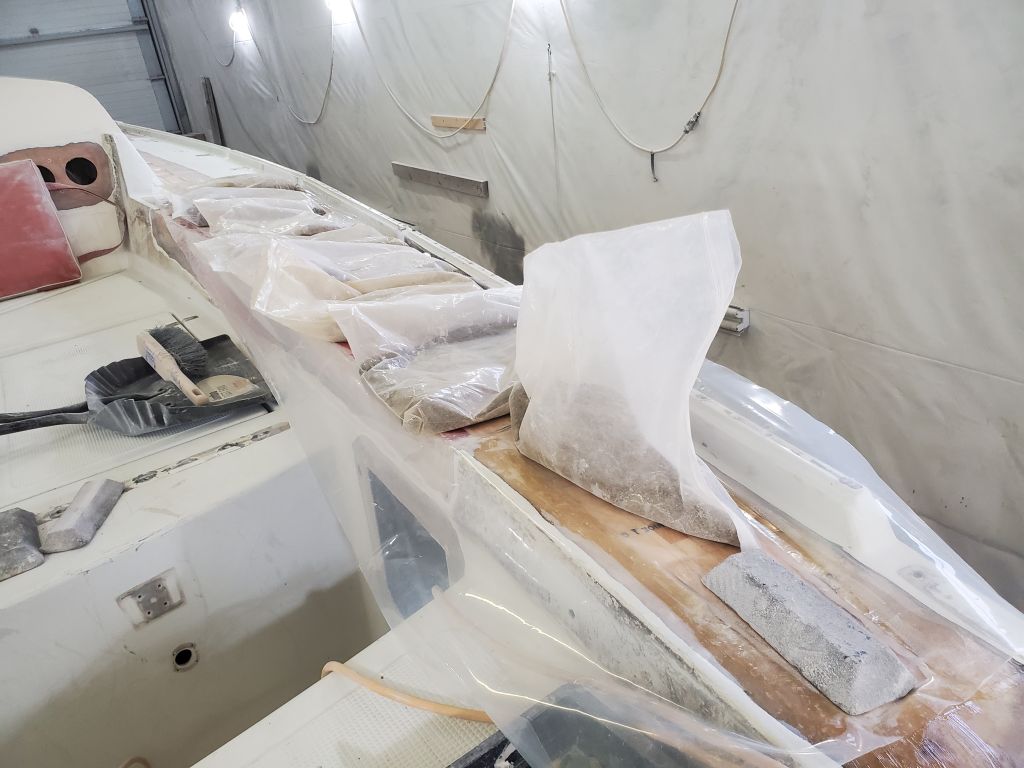
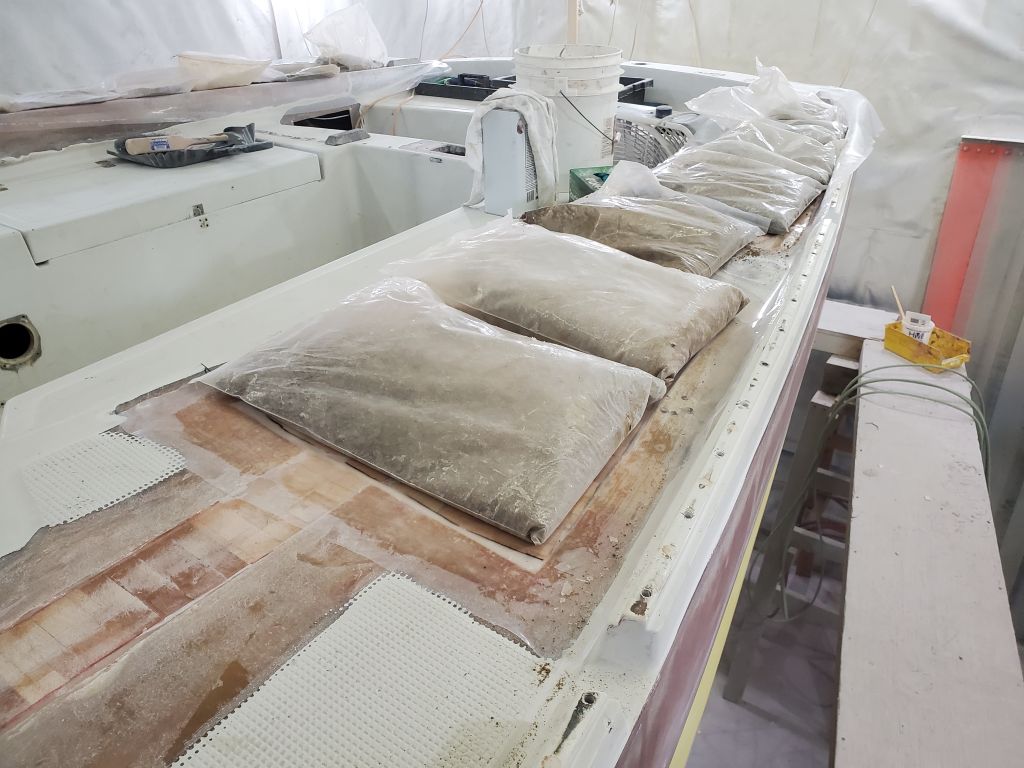
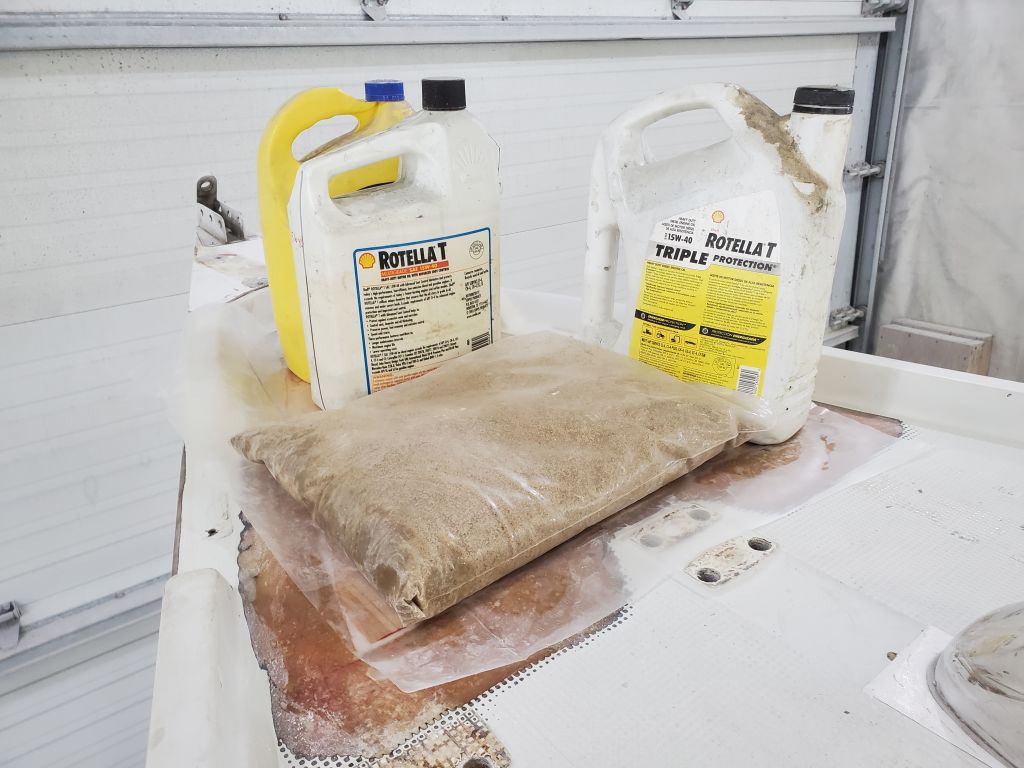
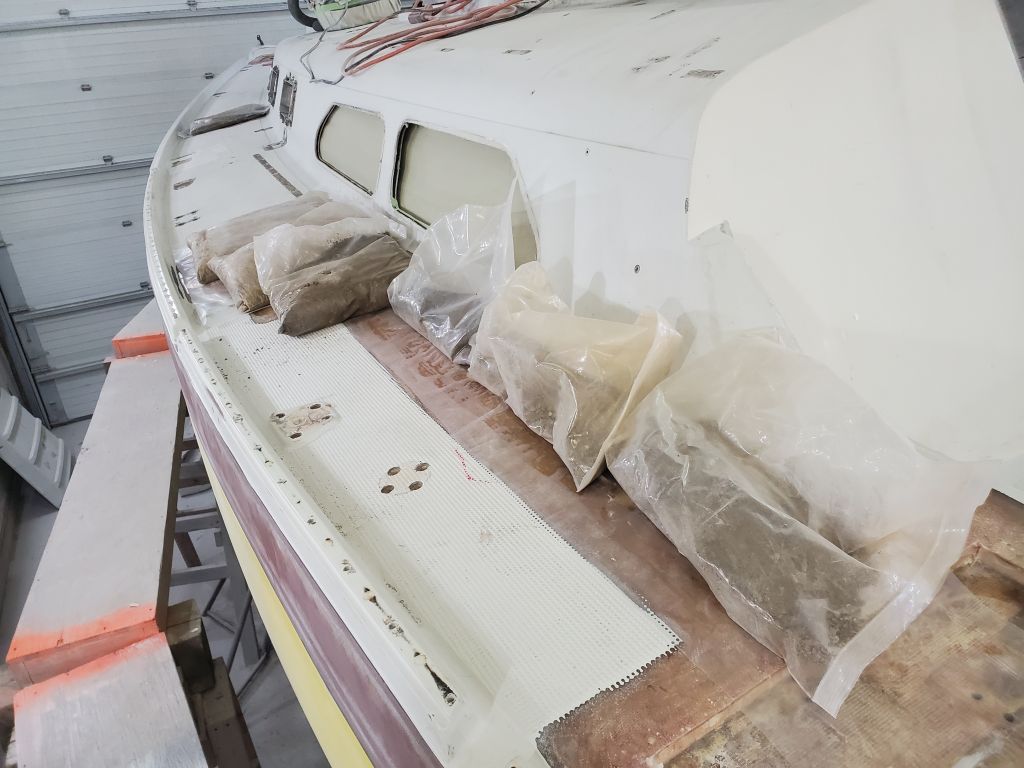
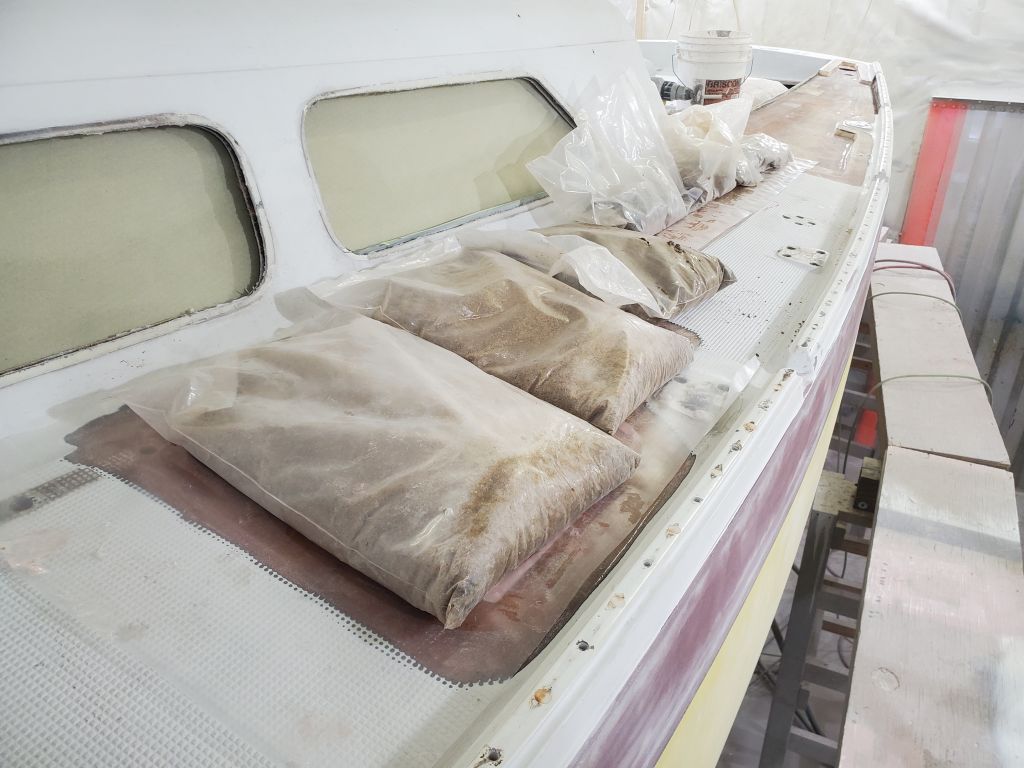
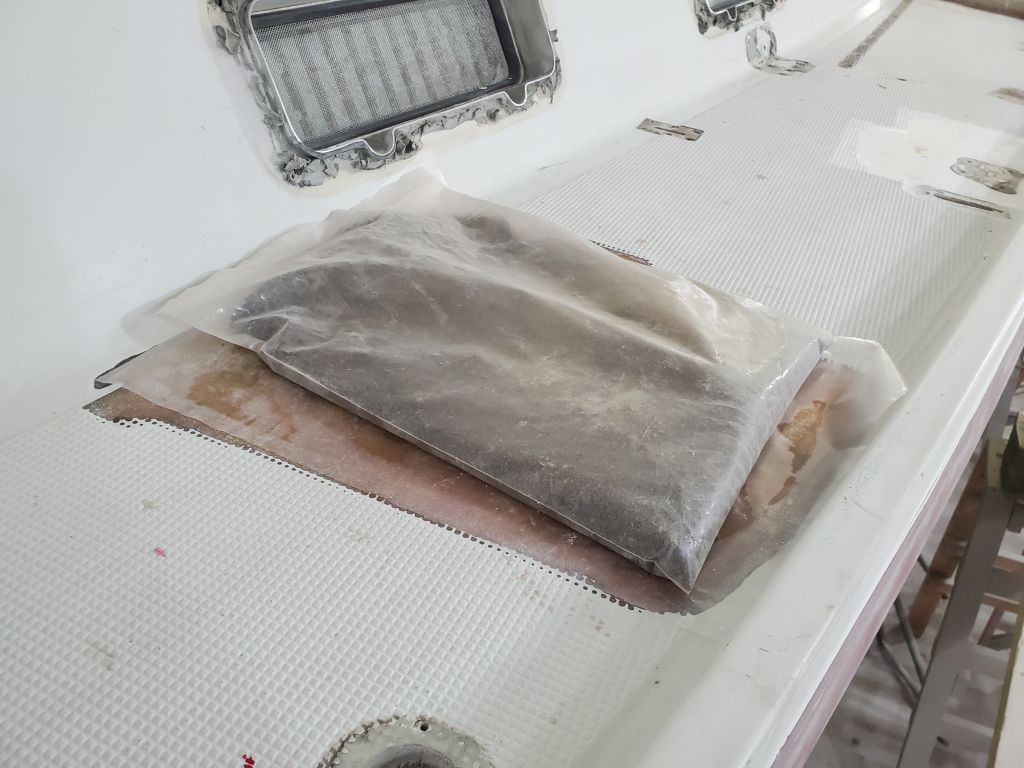
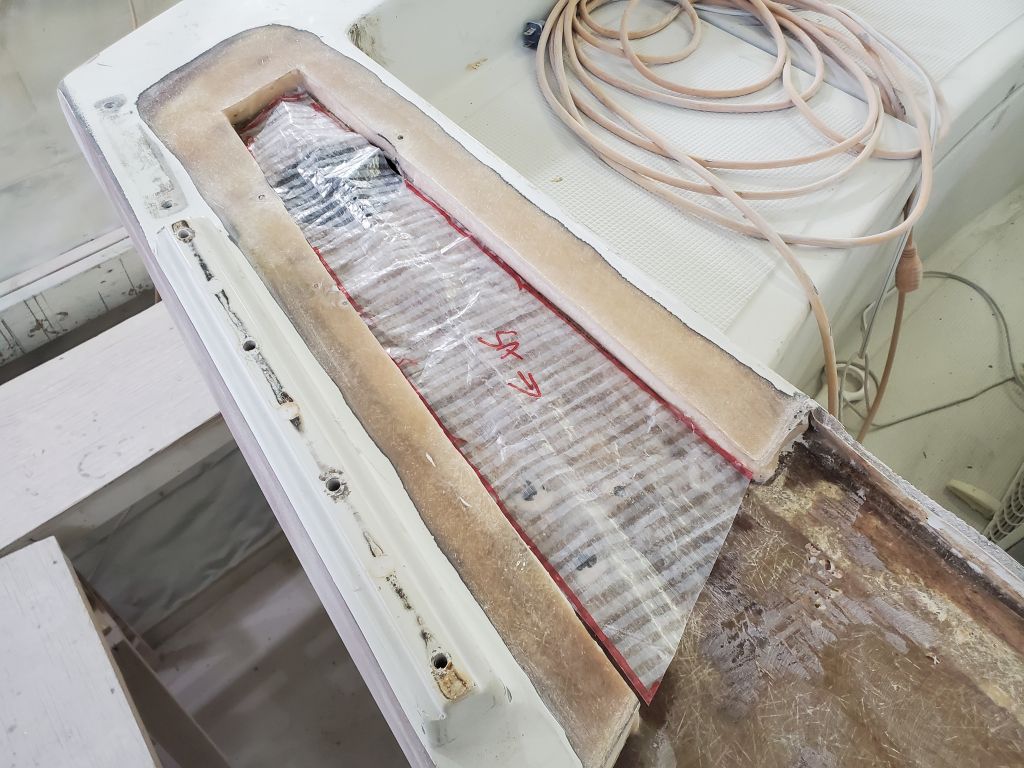
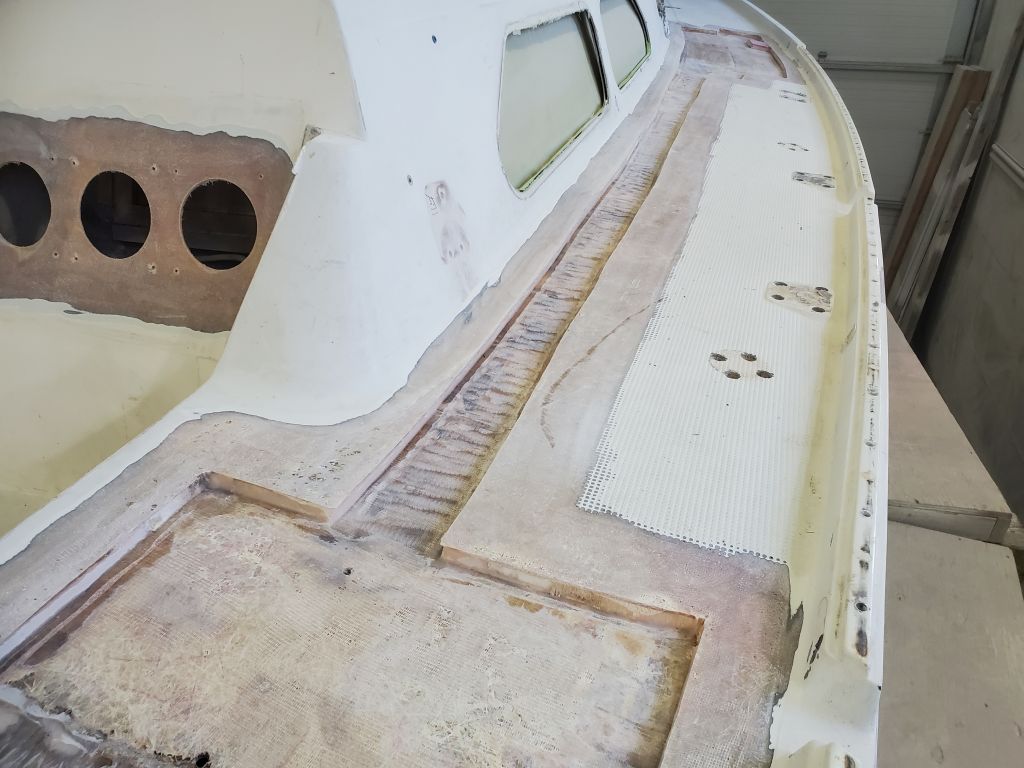
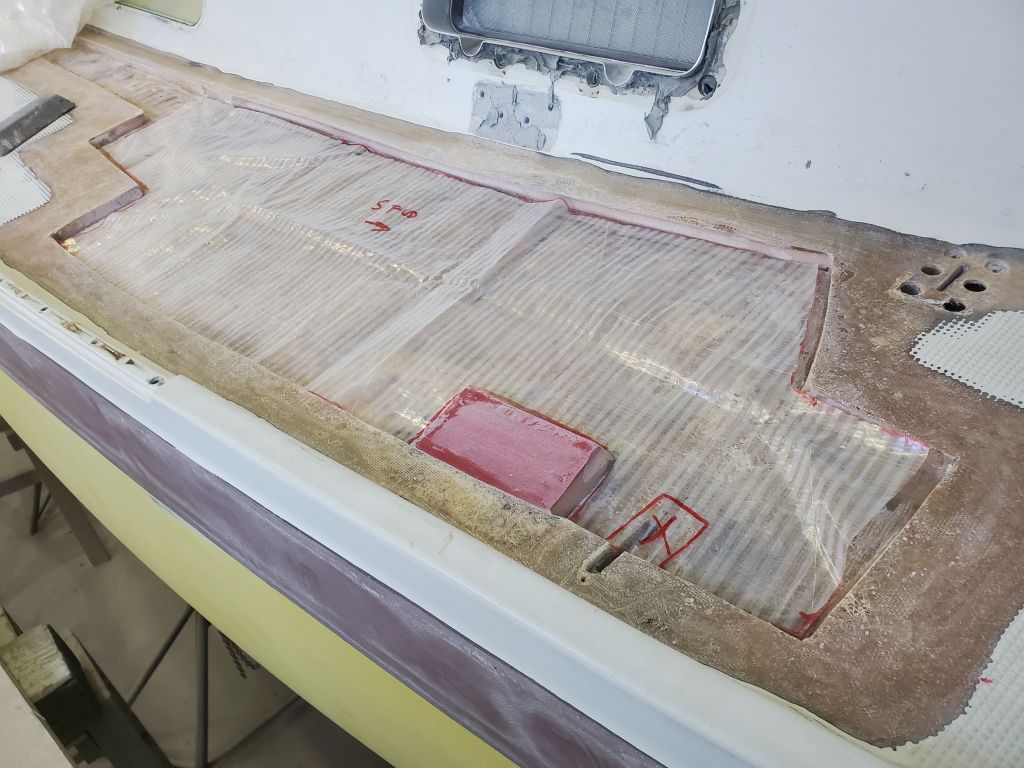
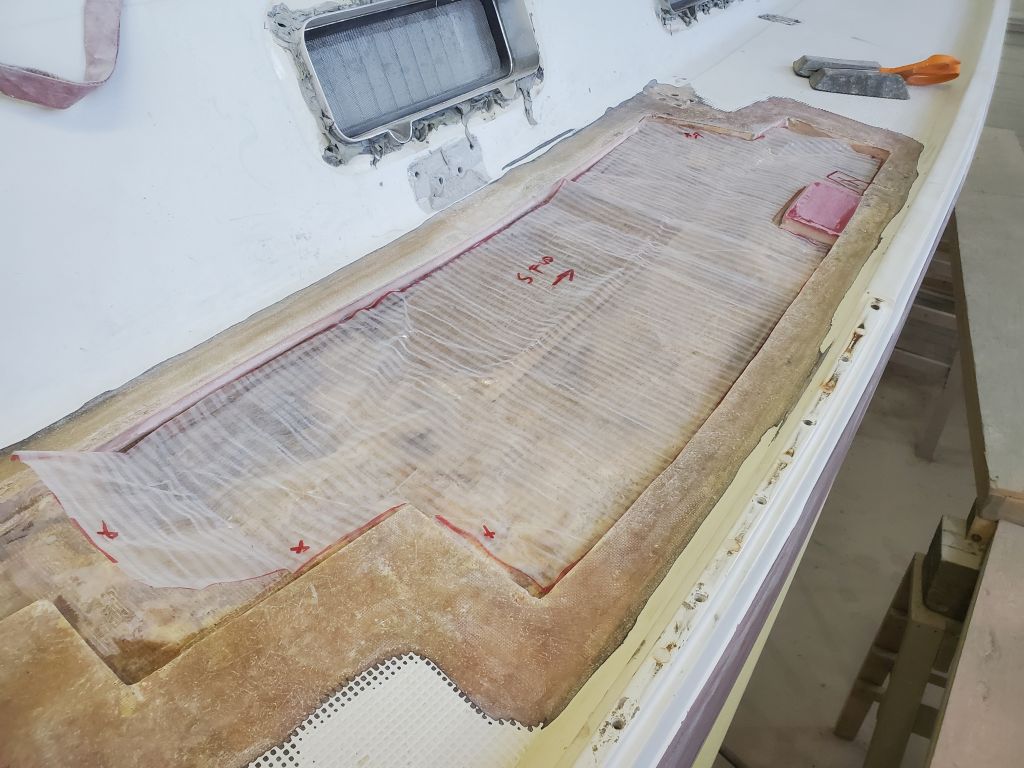
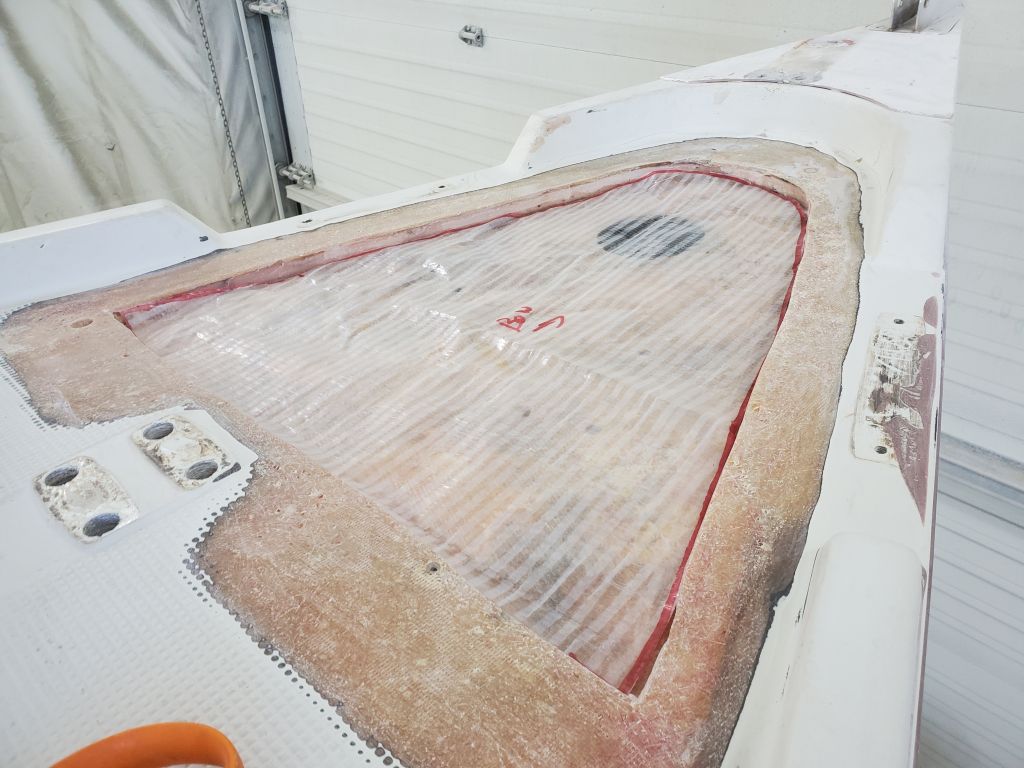
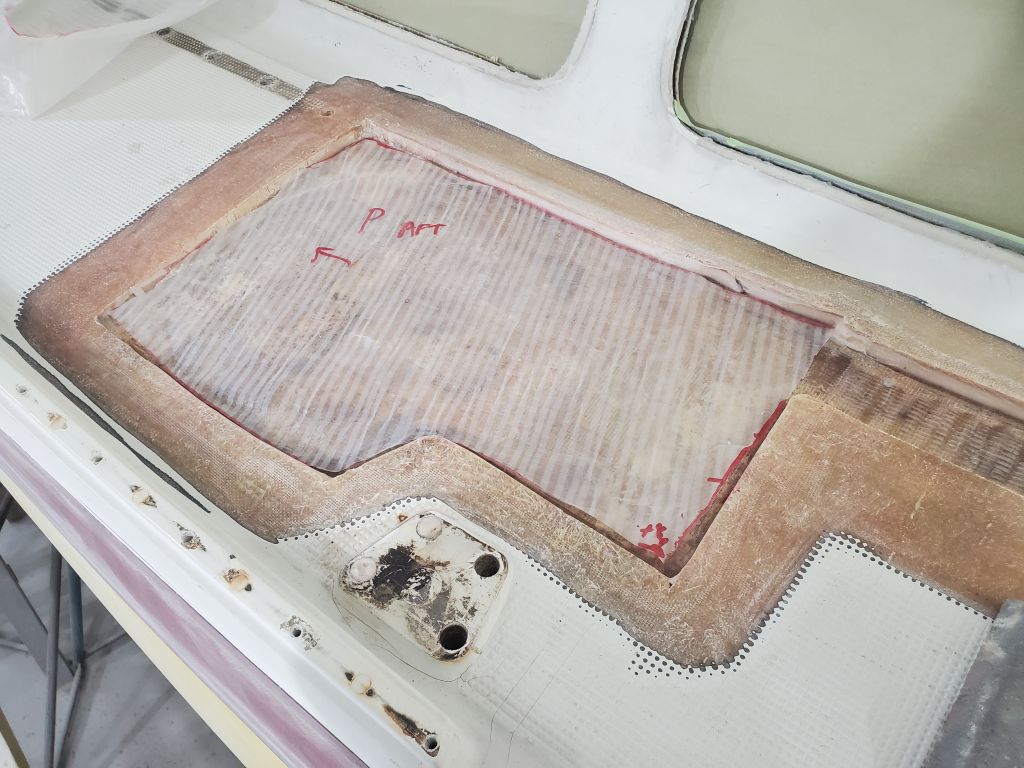
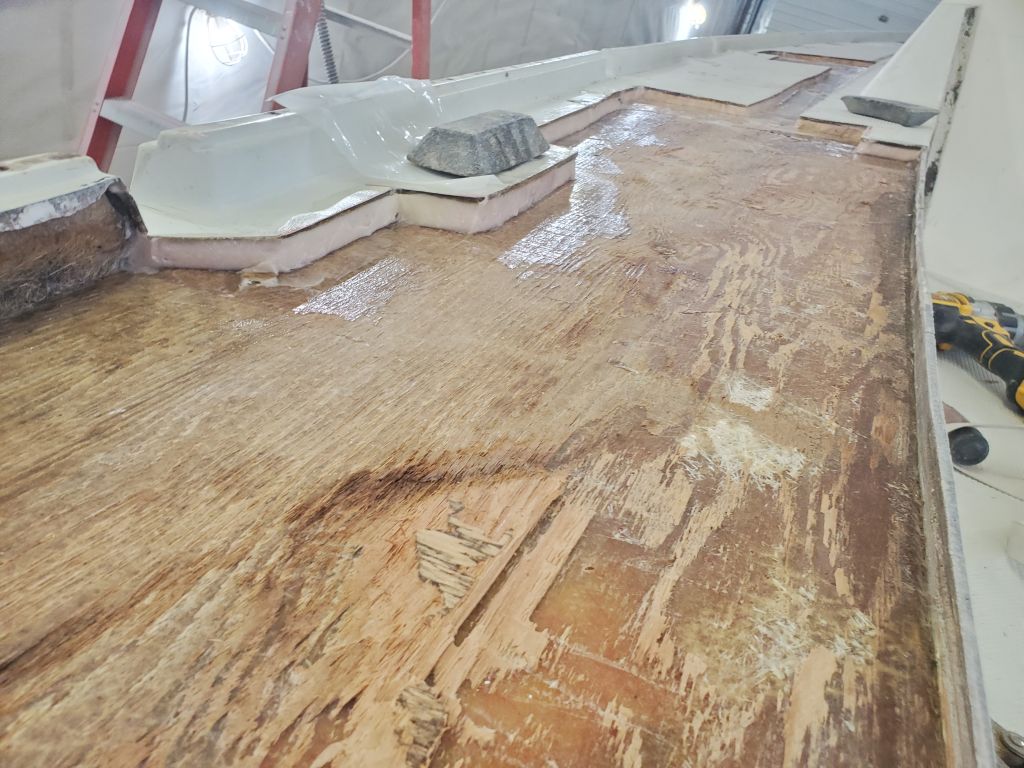
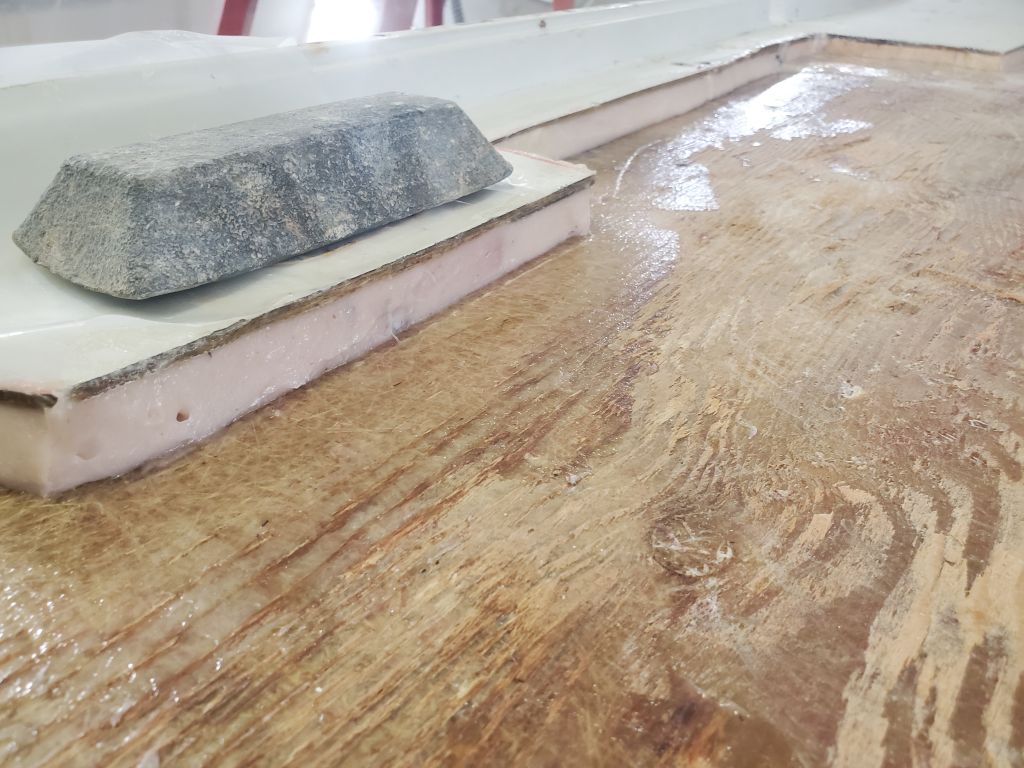
Afterwards, I made final preparations to both sidedecks, then installed the new core in the sidedeck repairs and inboard genoa track areas. One section at a time, I wet out both sides of the core with epoxy first, then the decks themselves, then applied epoxy adhesive to accept the core, weighting it down to hold in place while the epoxy cured.
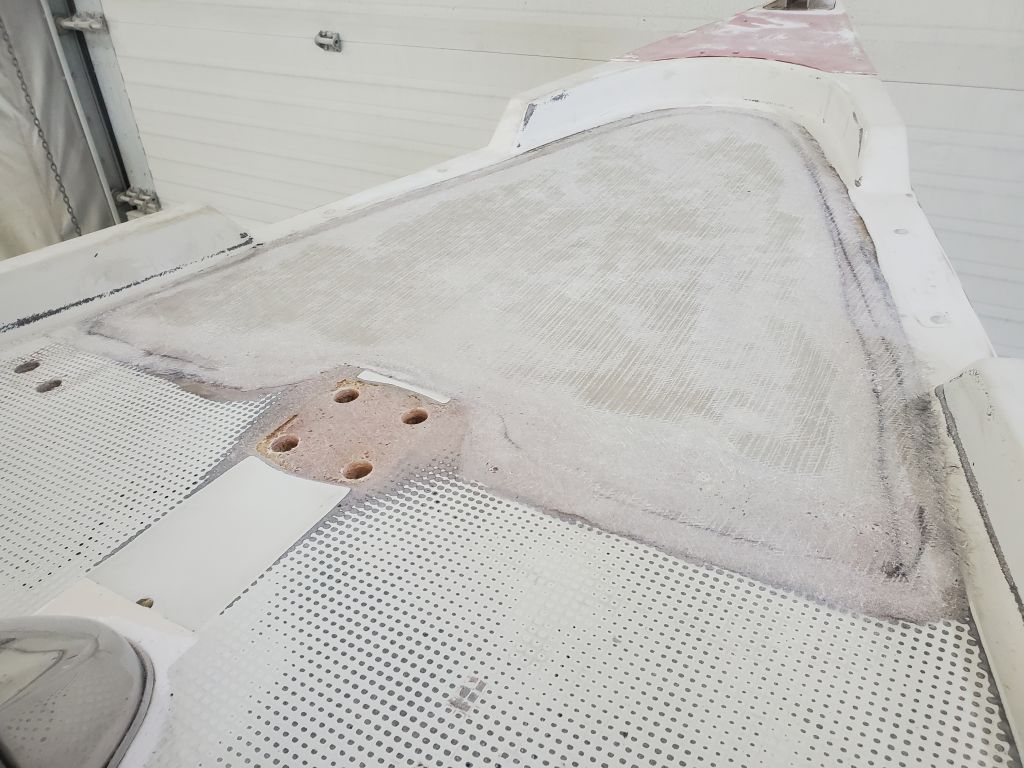
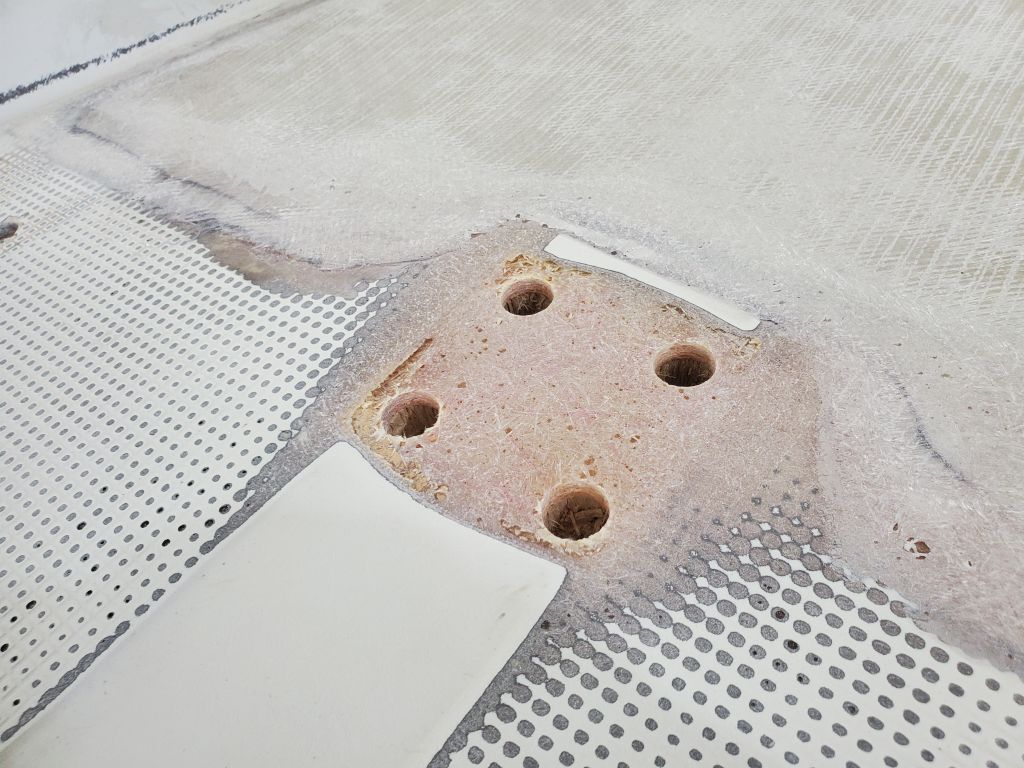
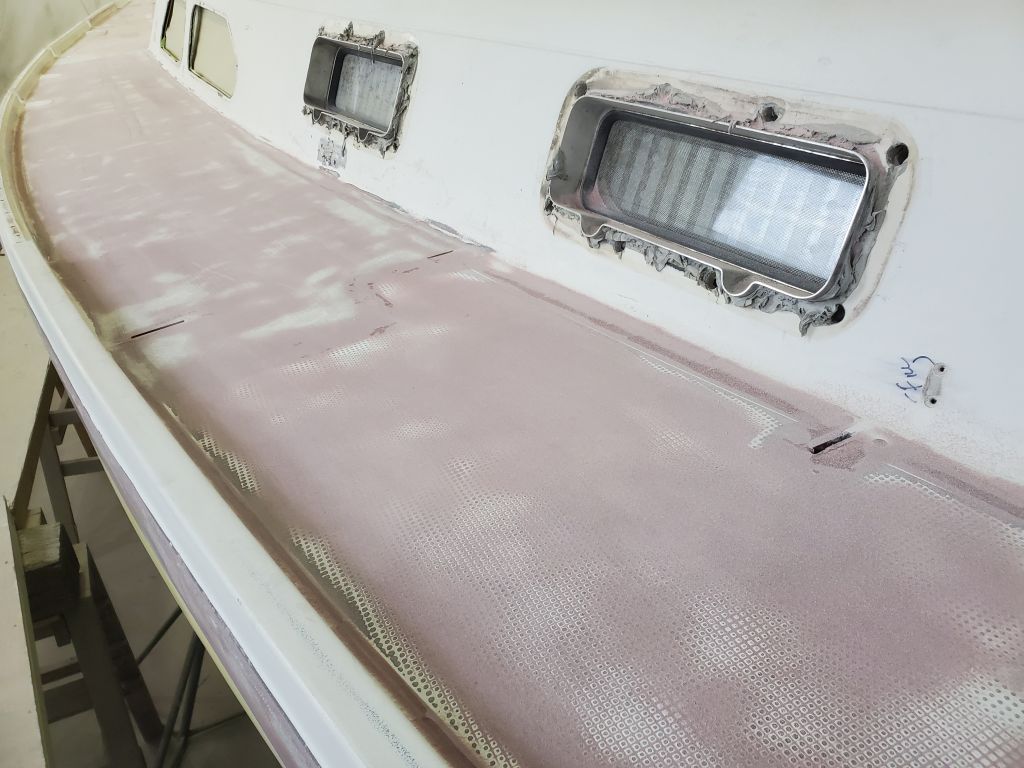
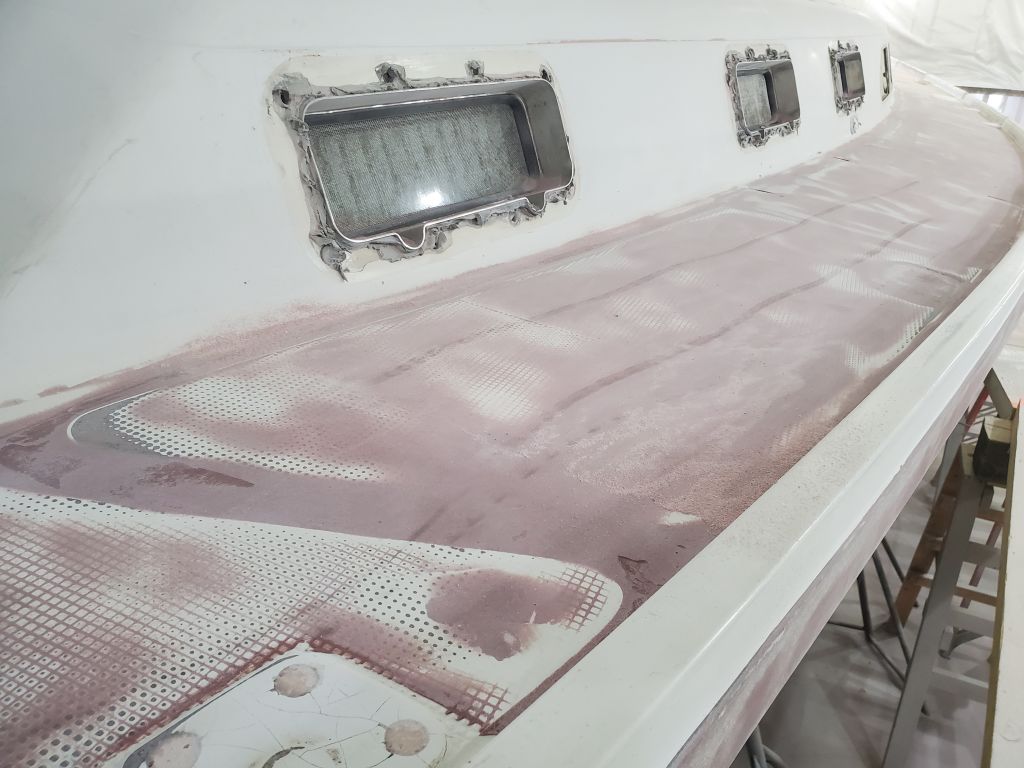
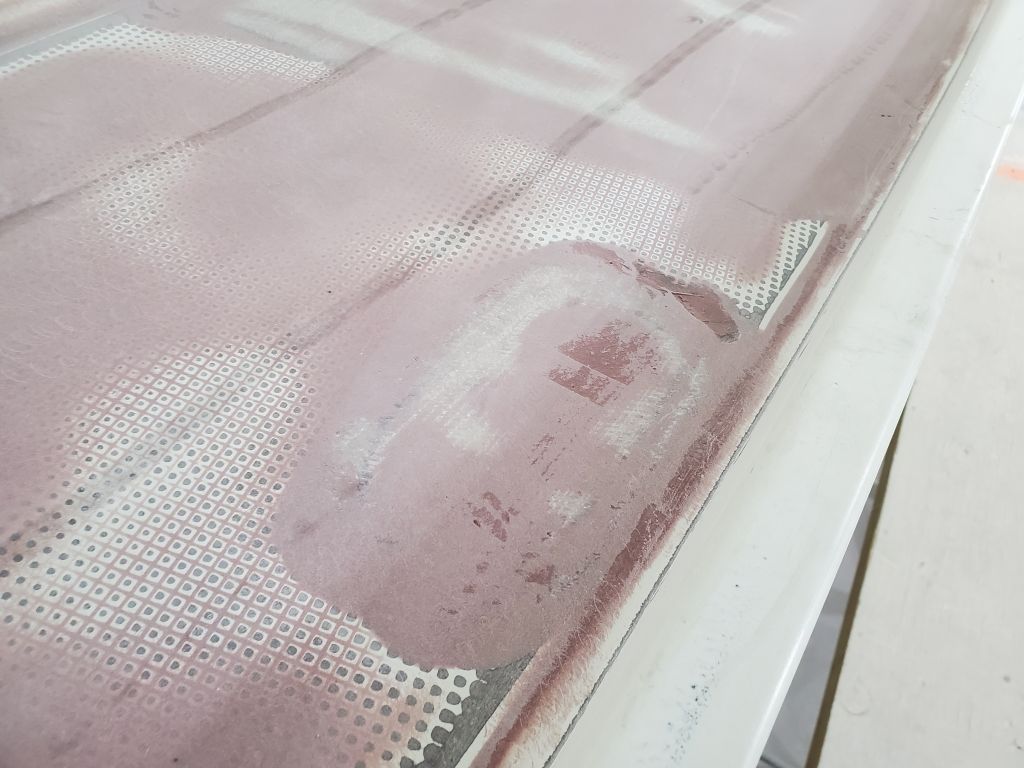
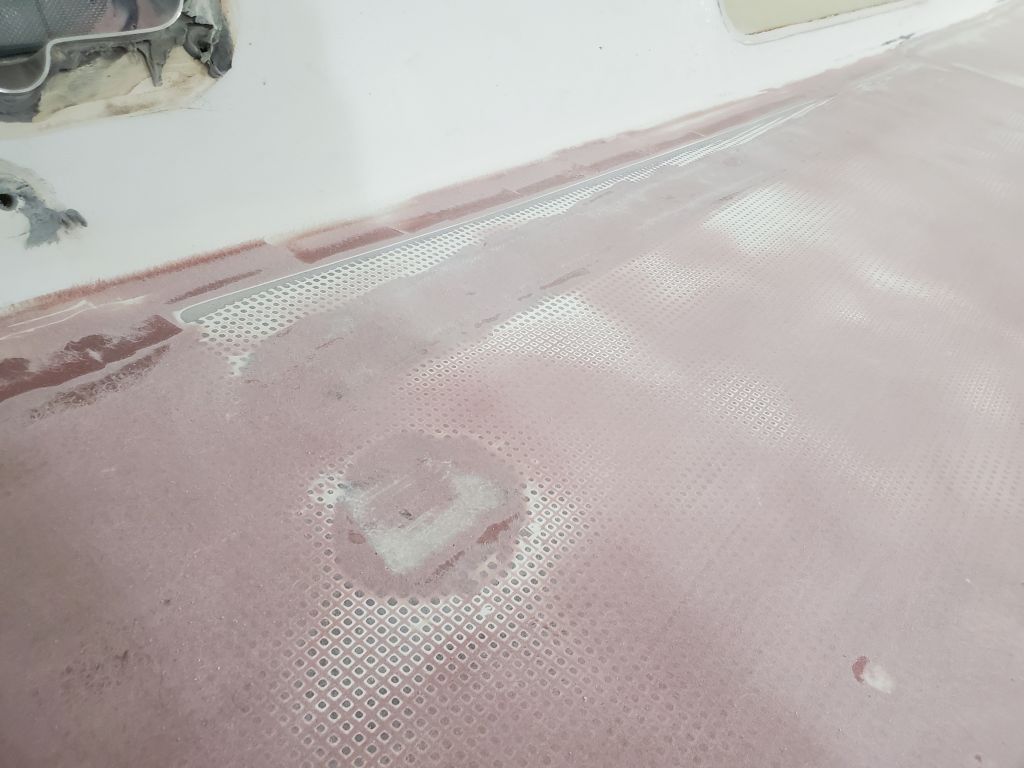
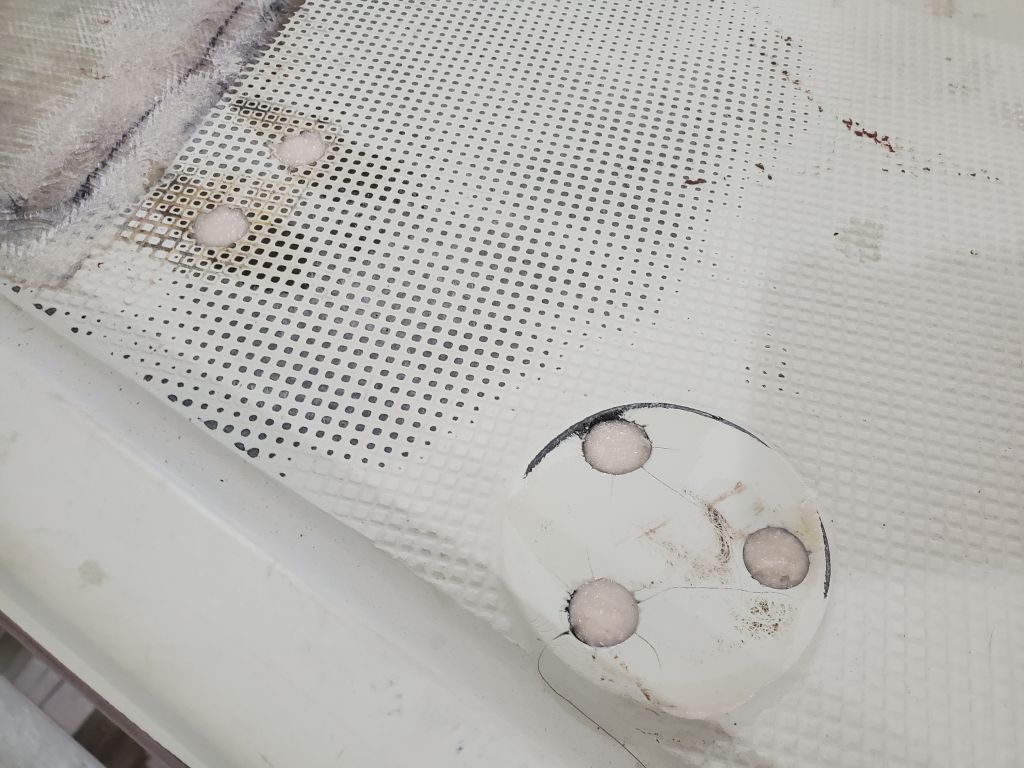
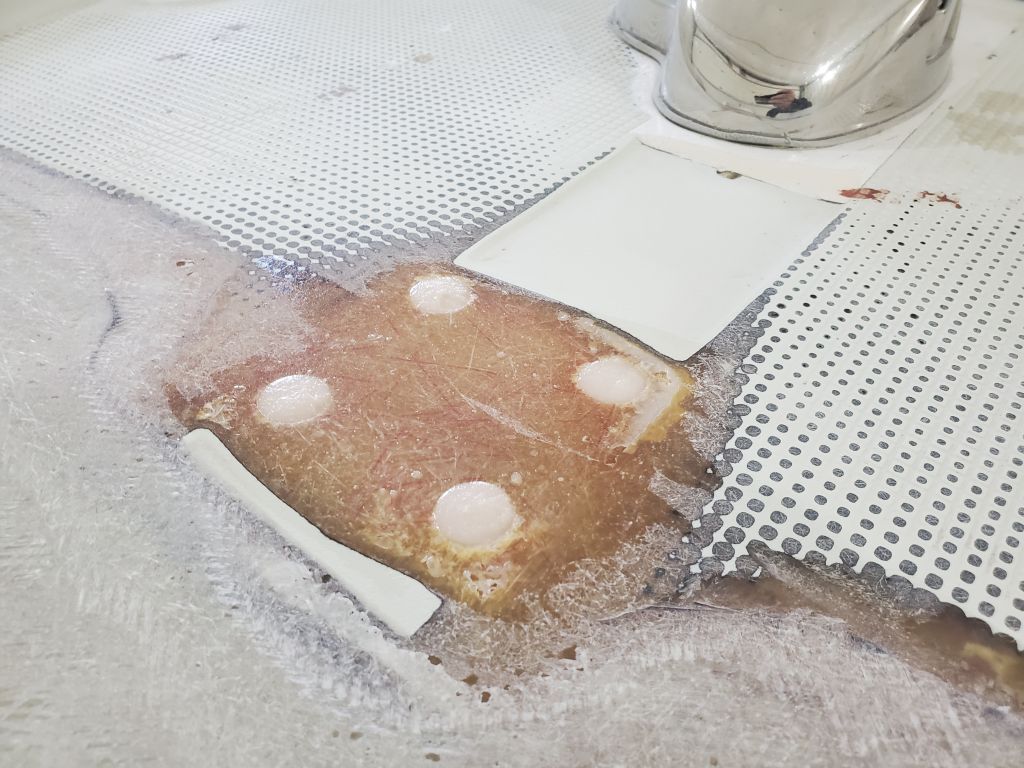
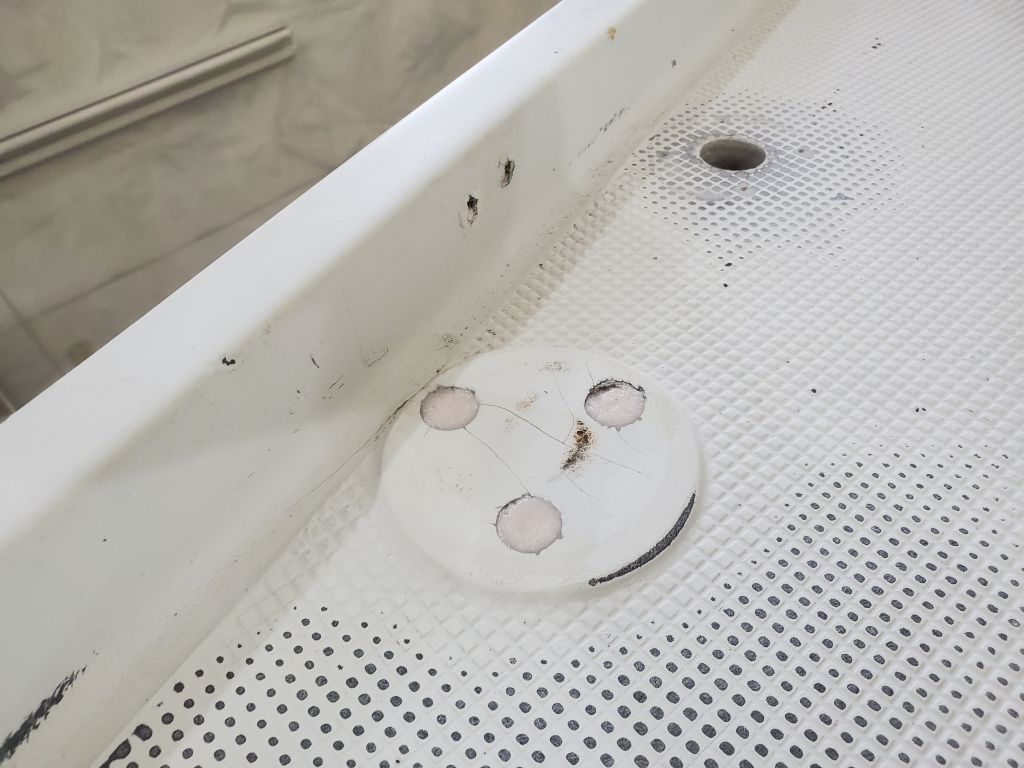
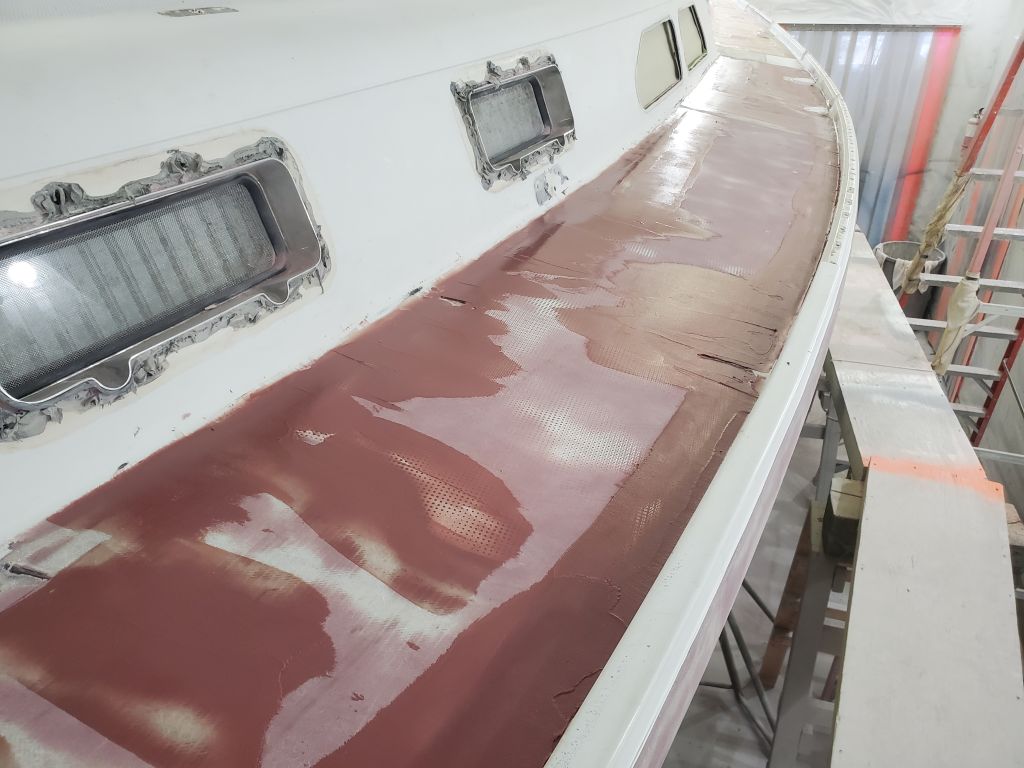
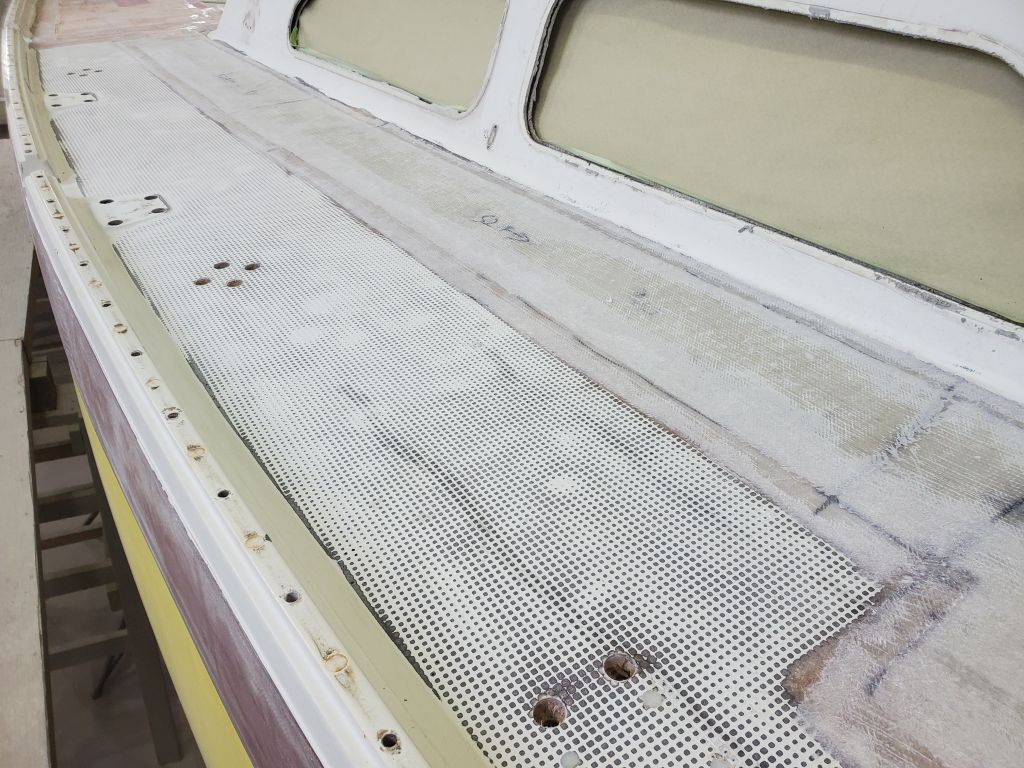
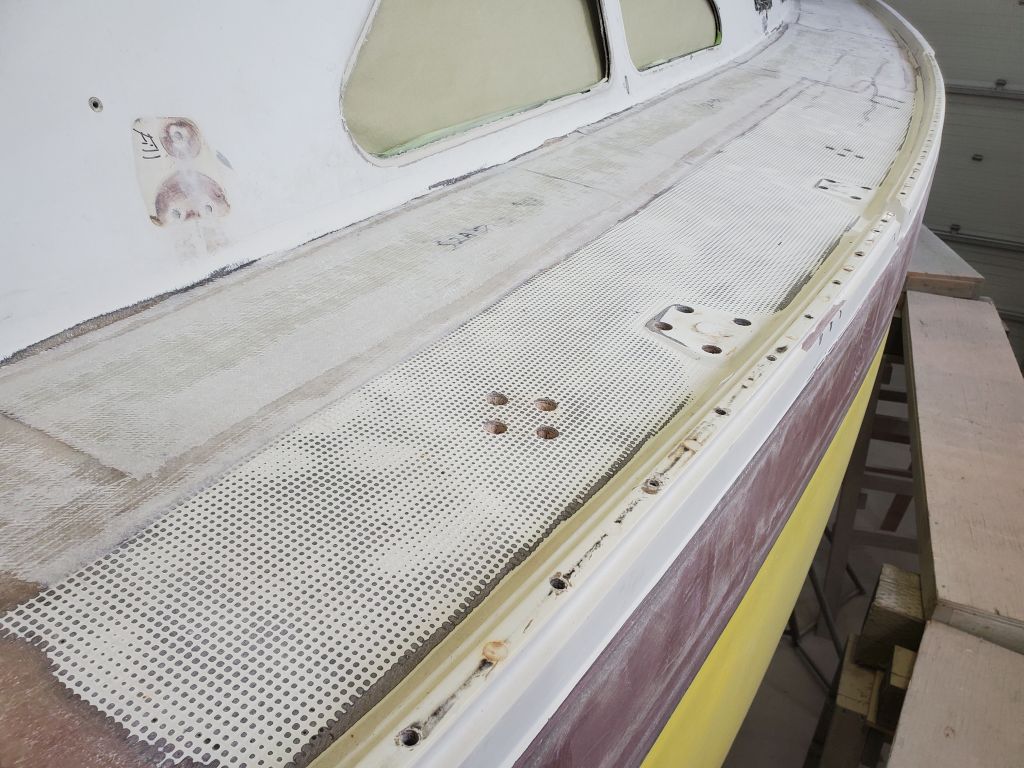
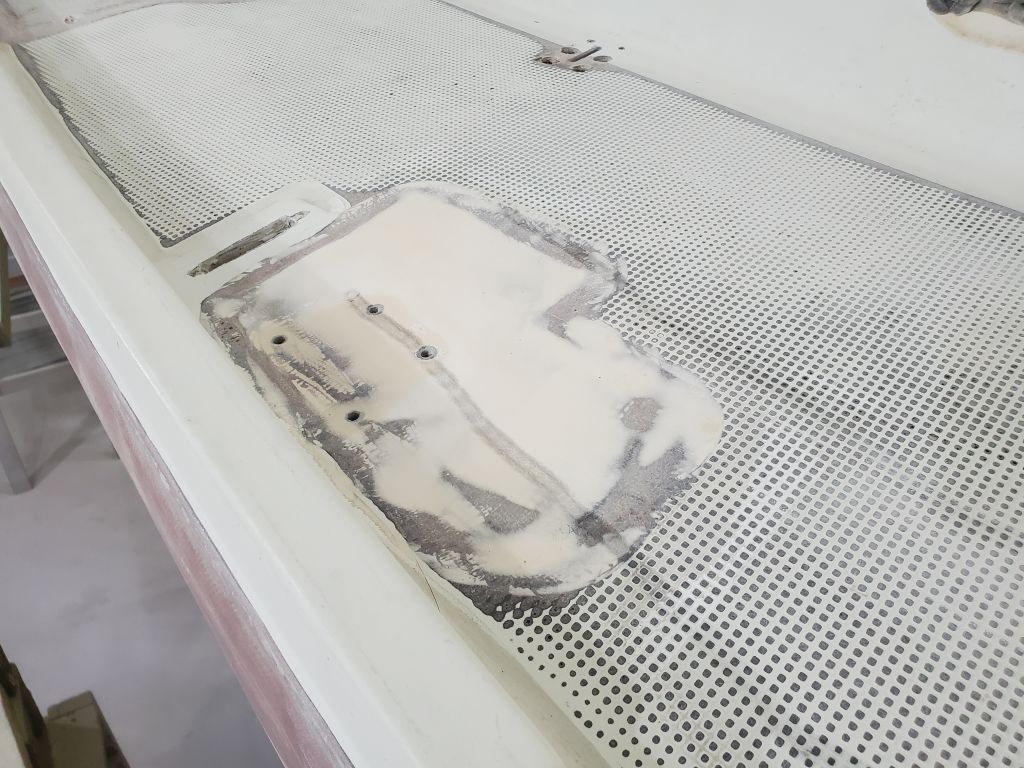
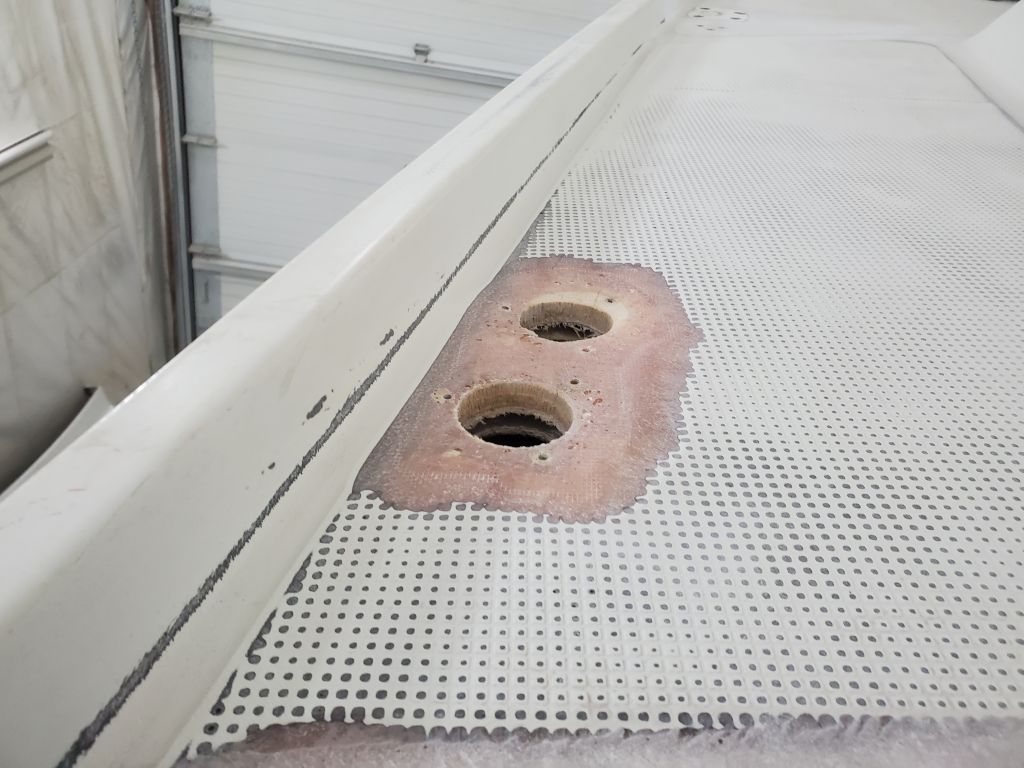
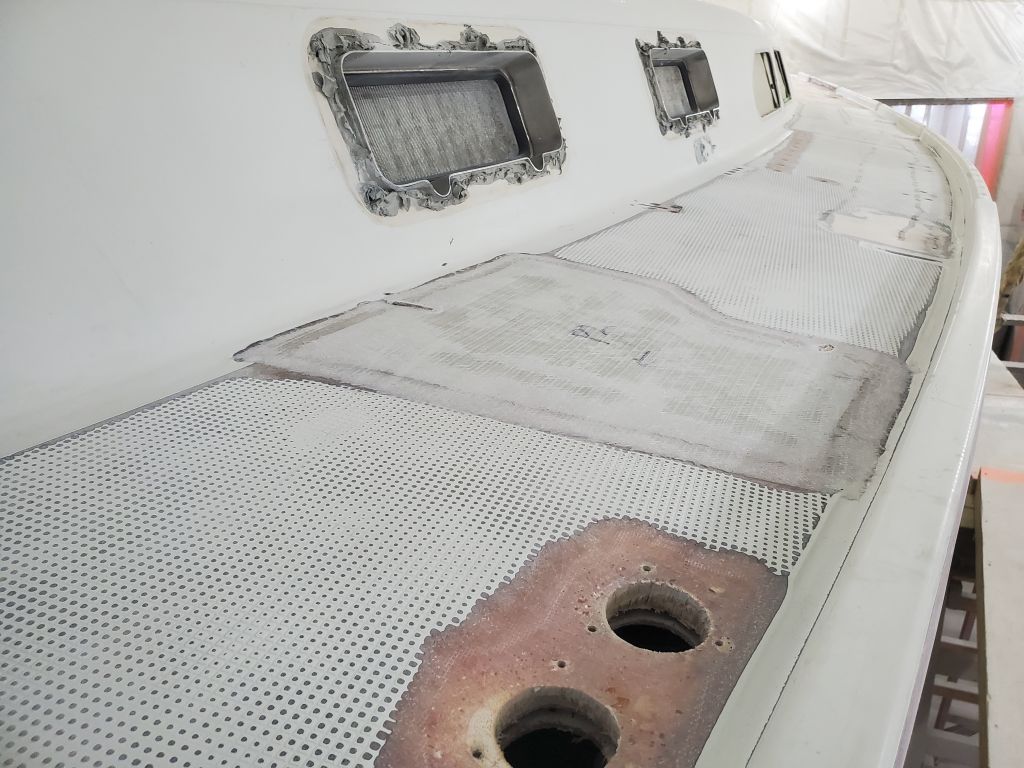
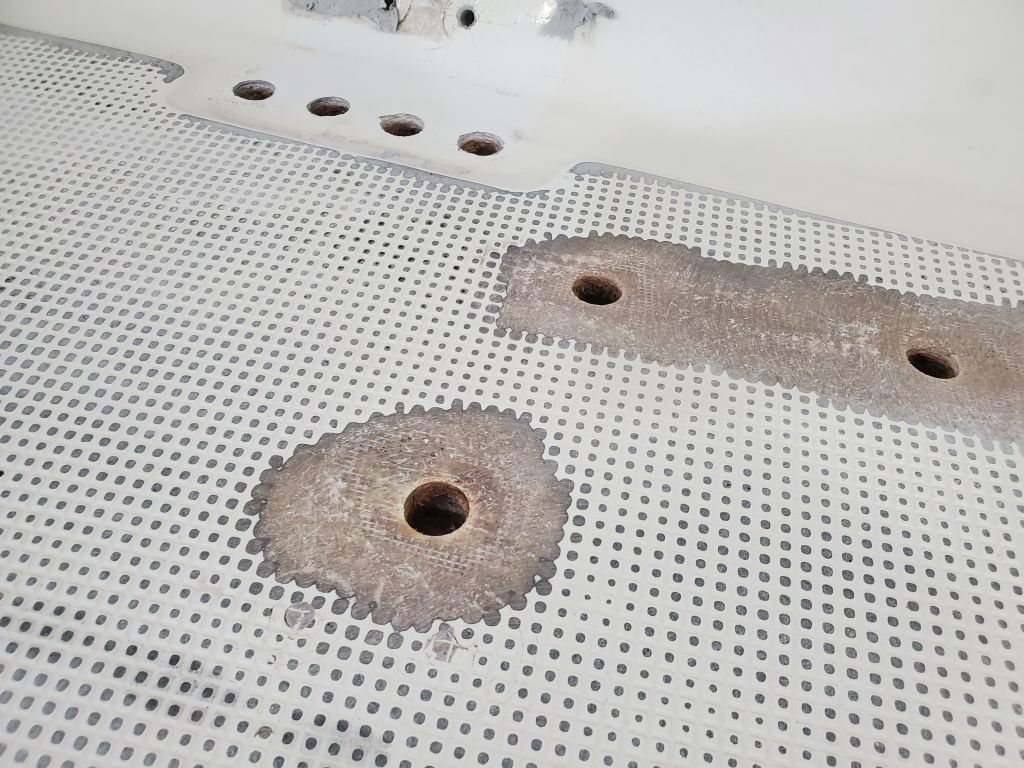
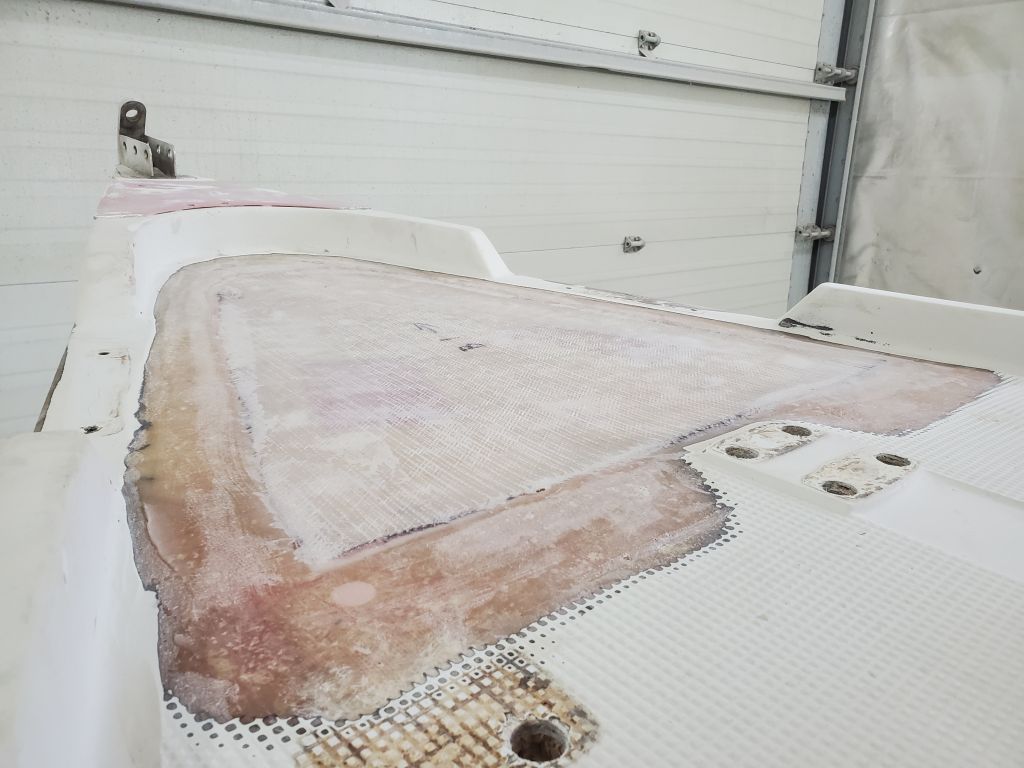
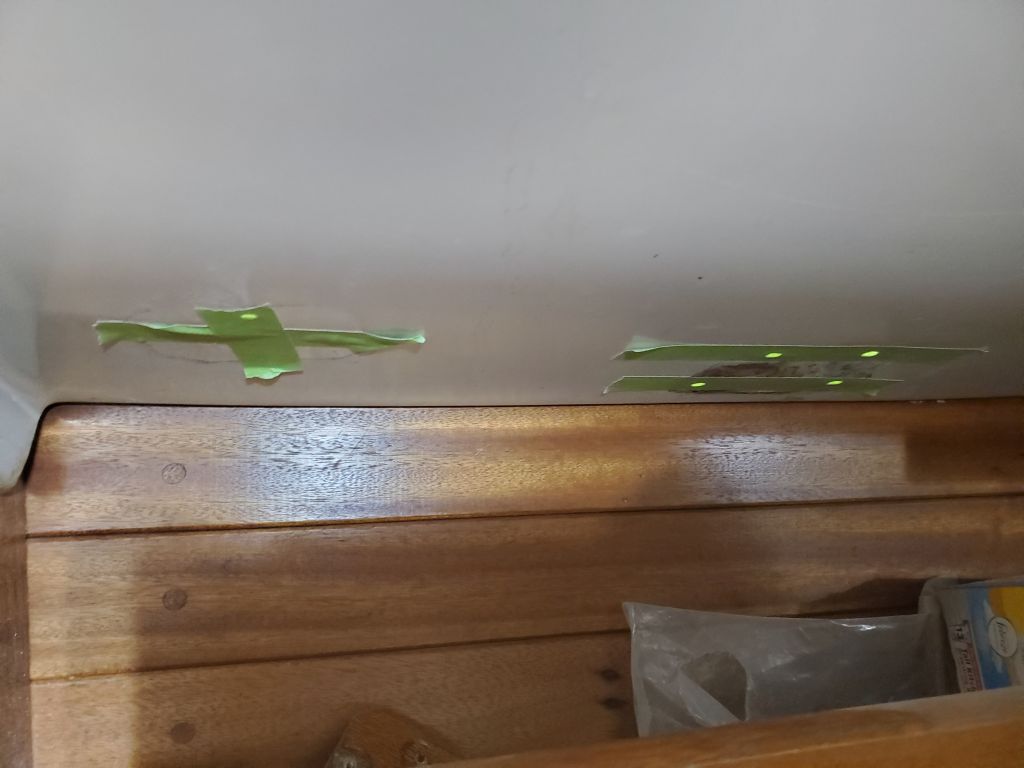
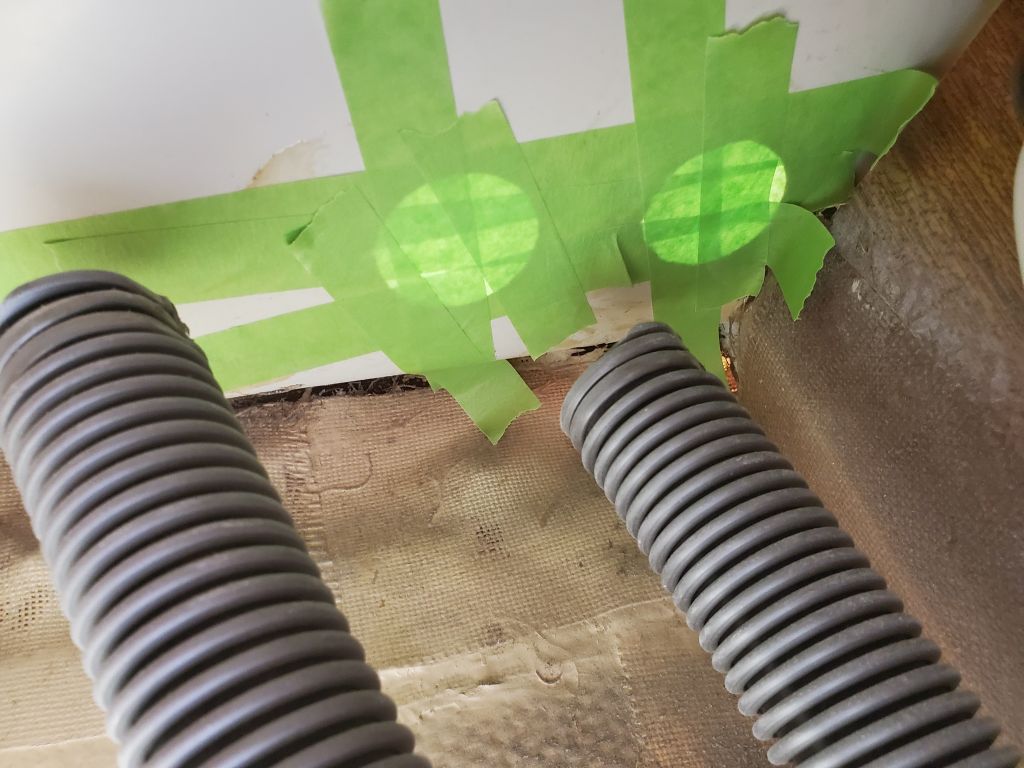
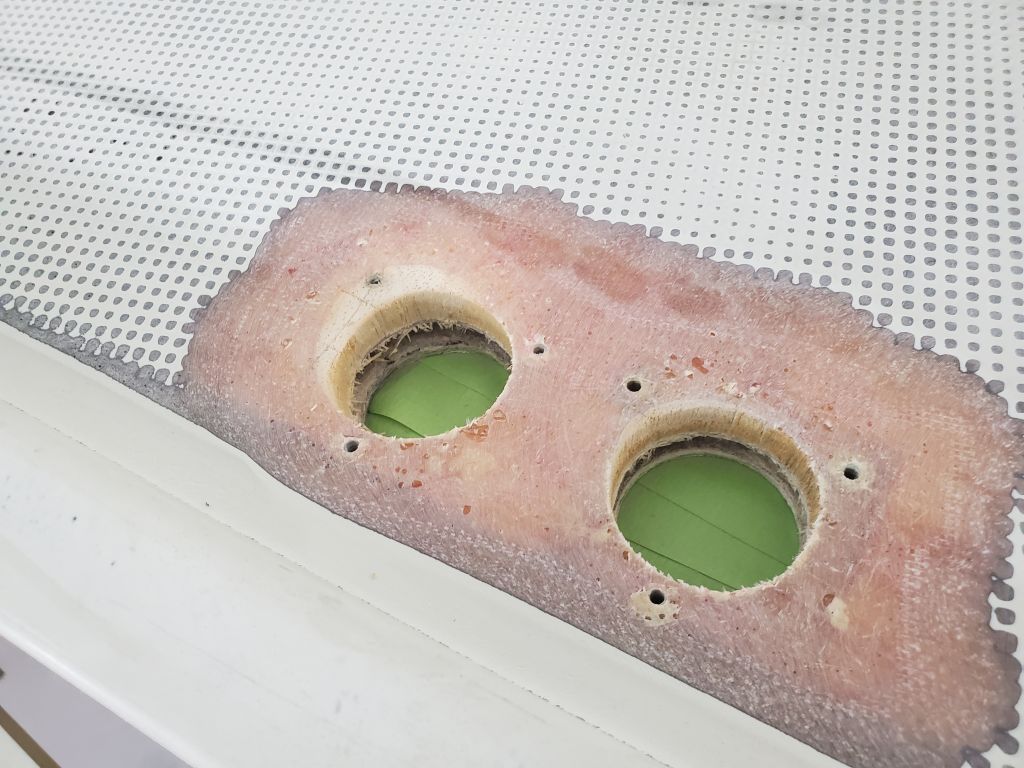
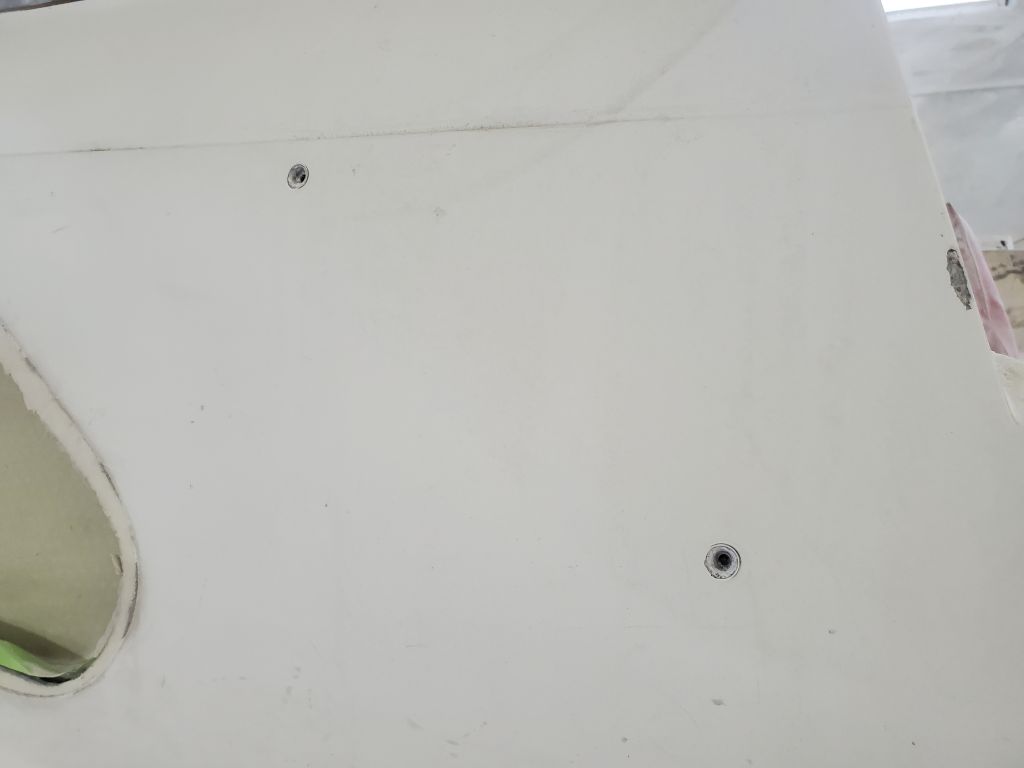
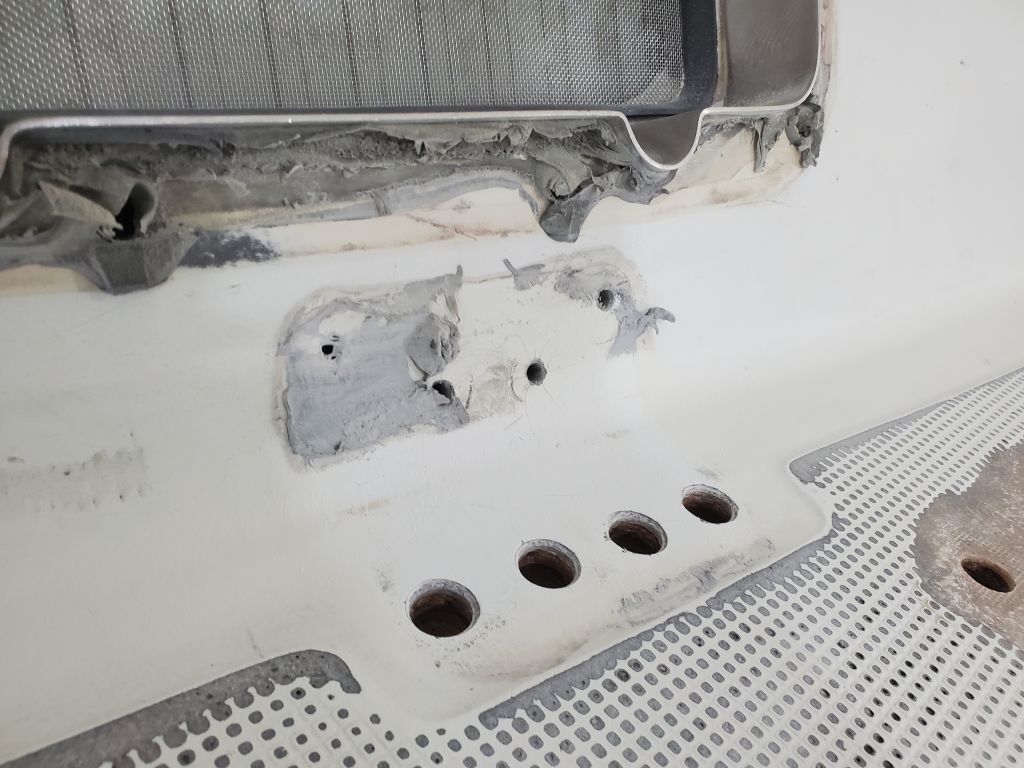
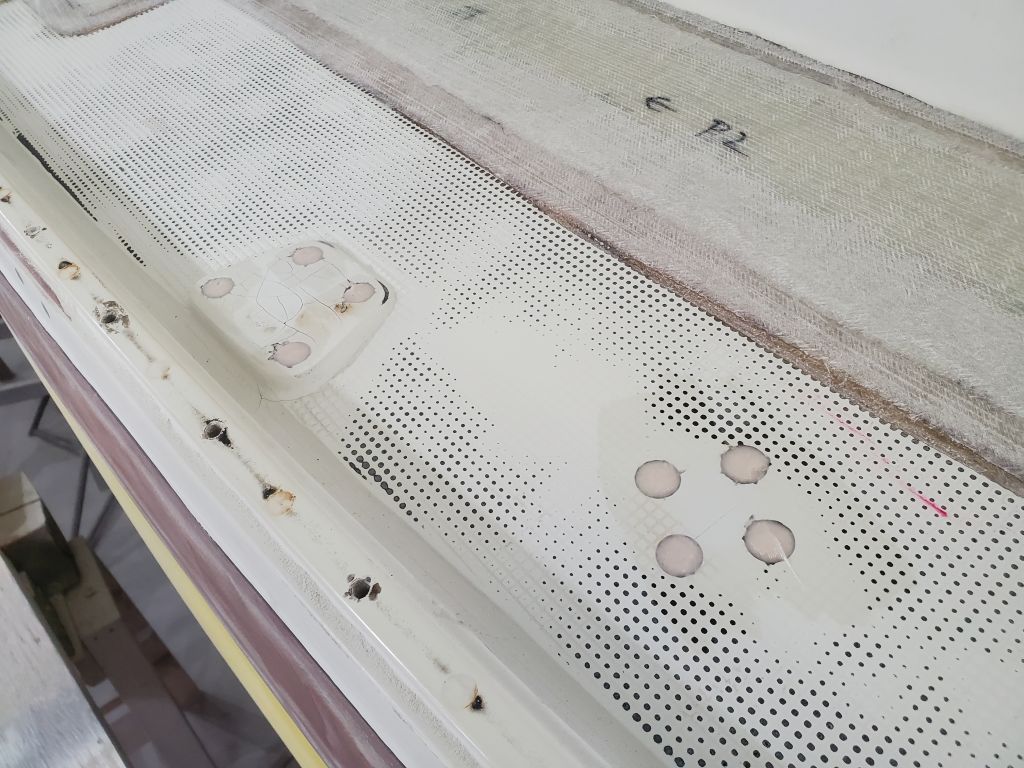
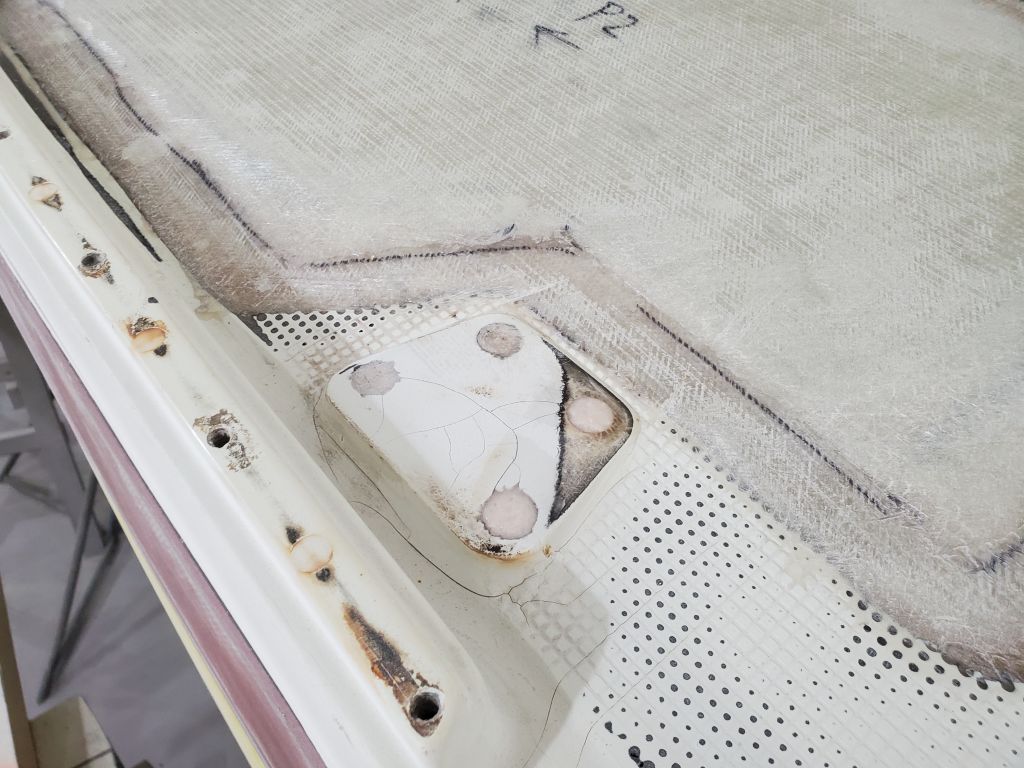
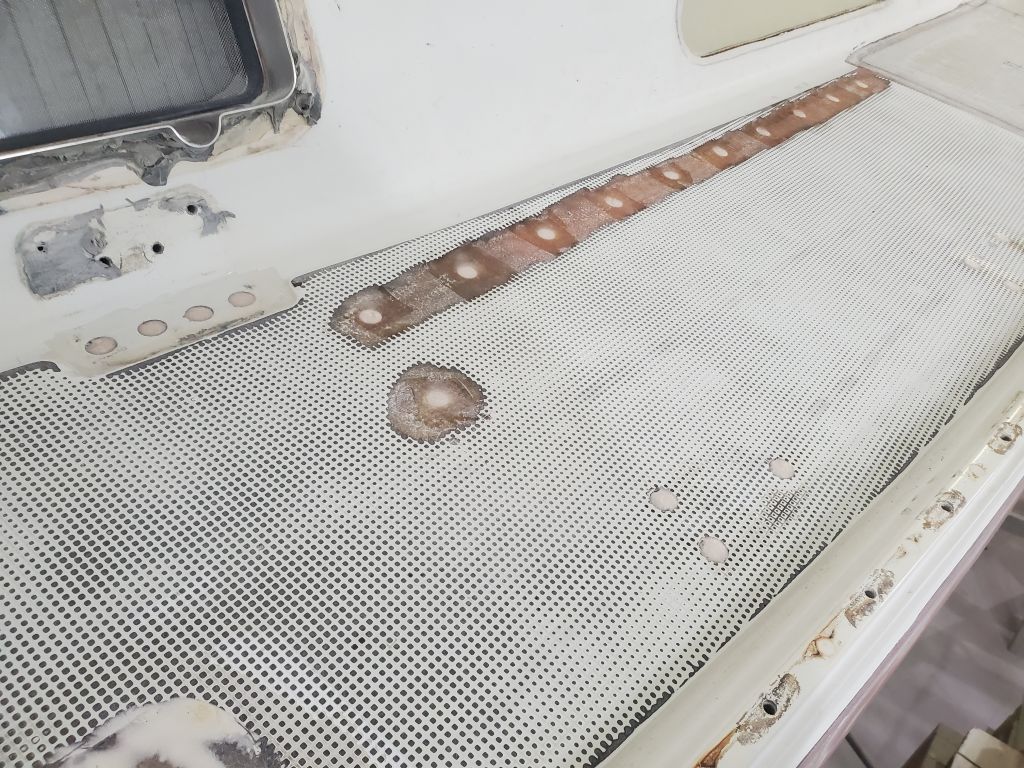
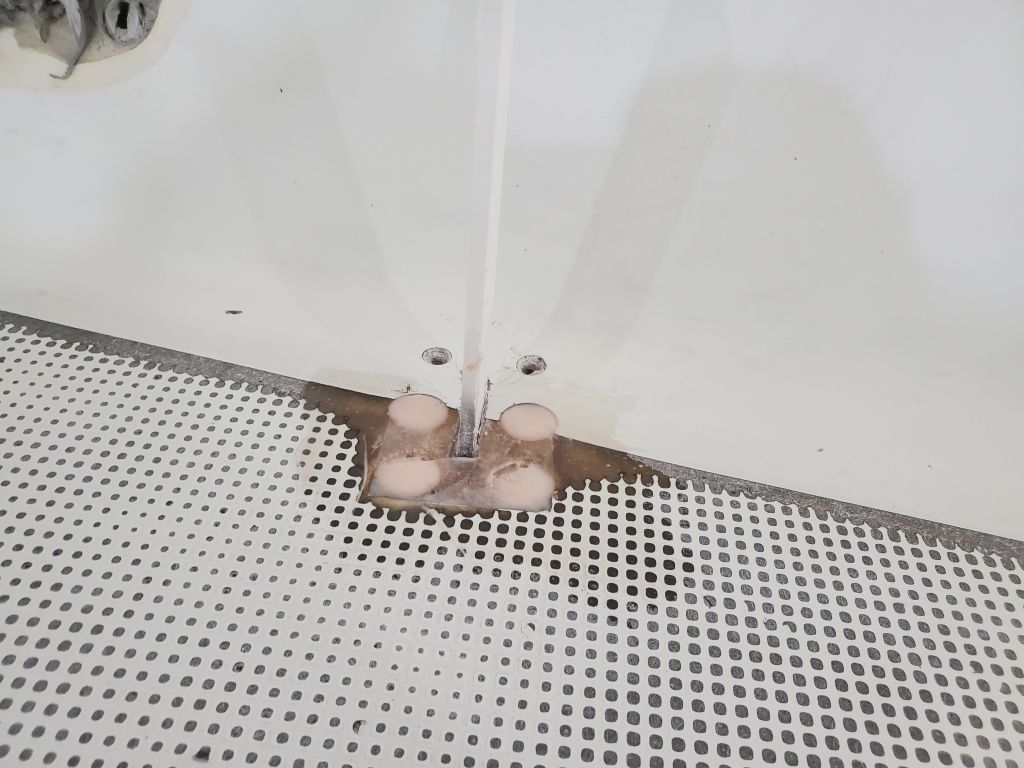
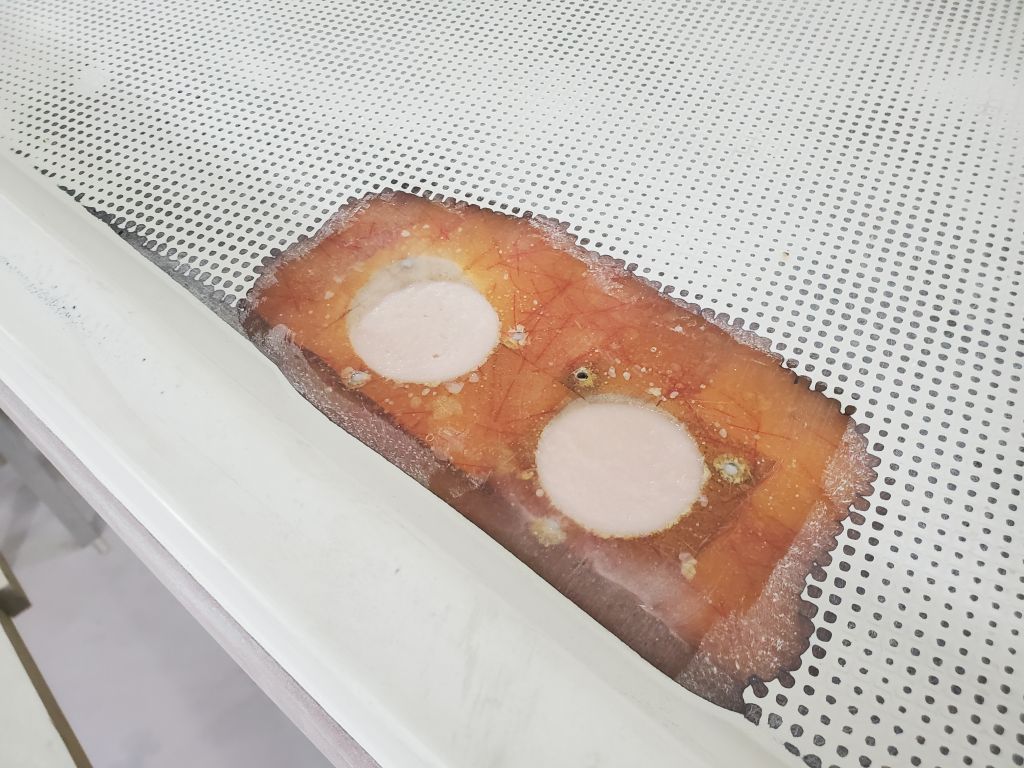
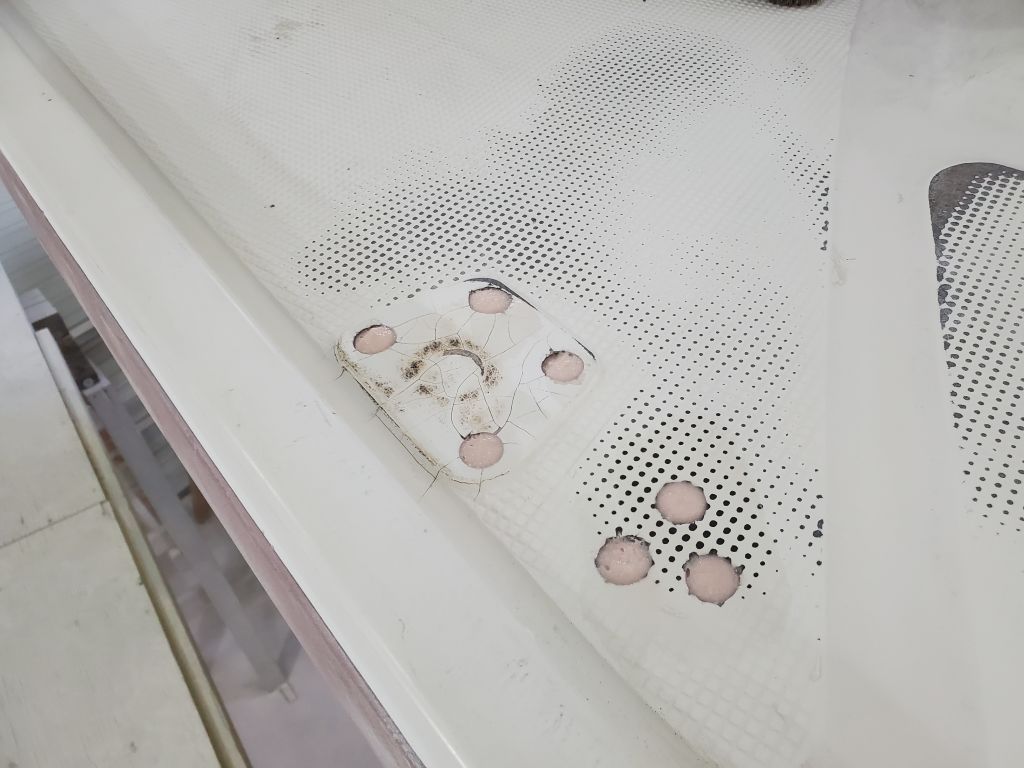
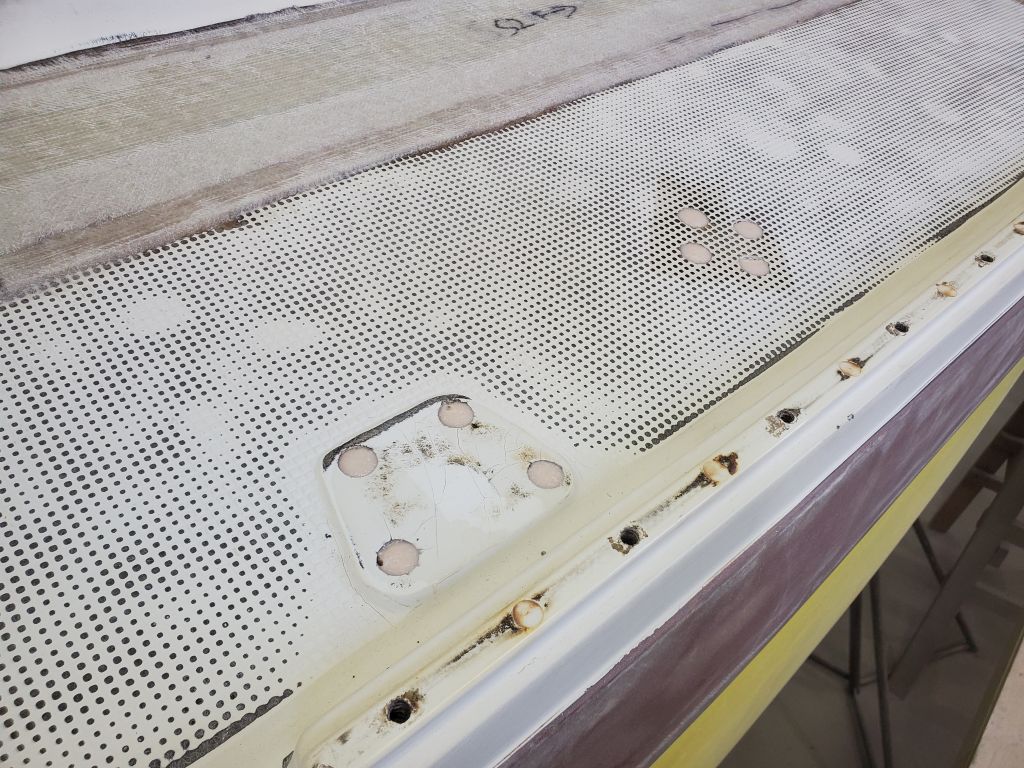
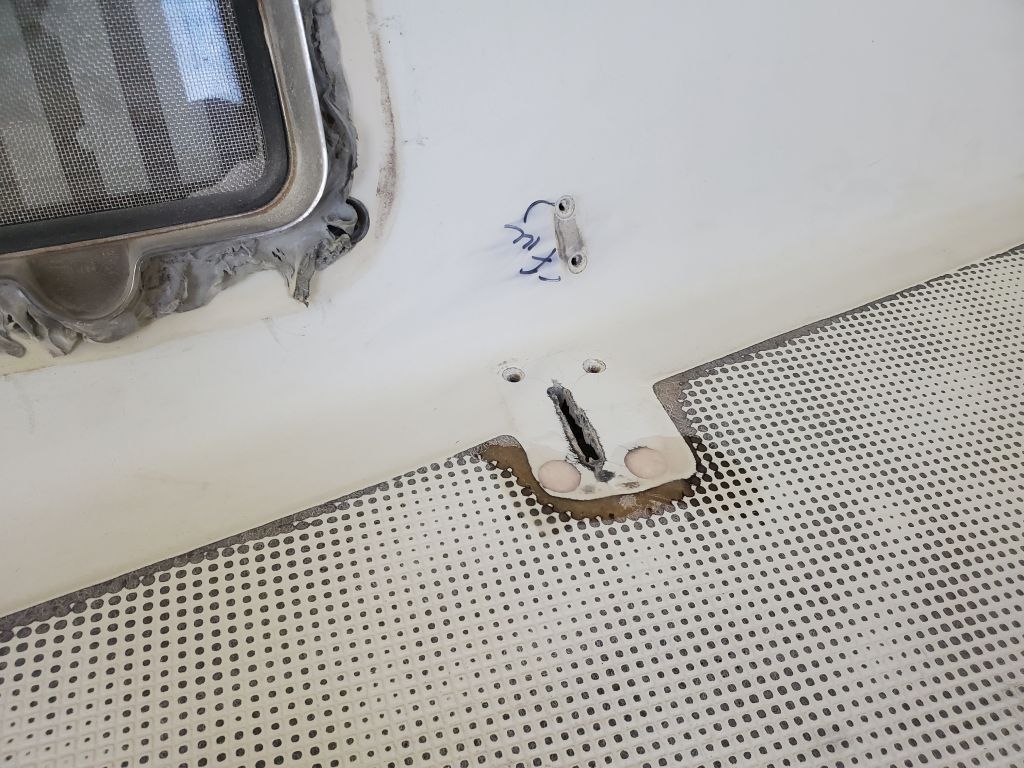
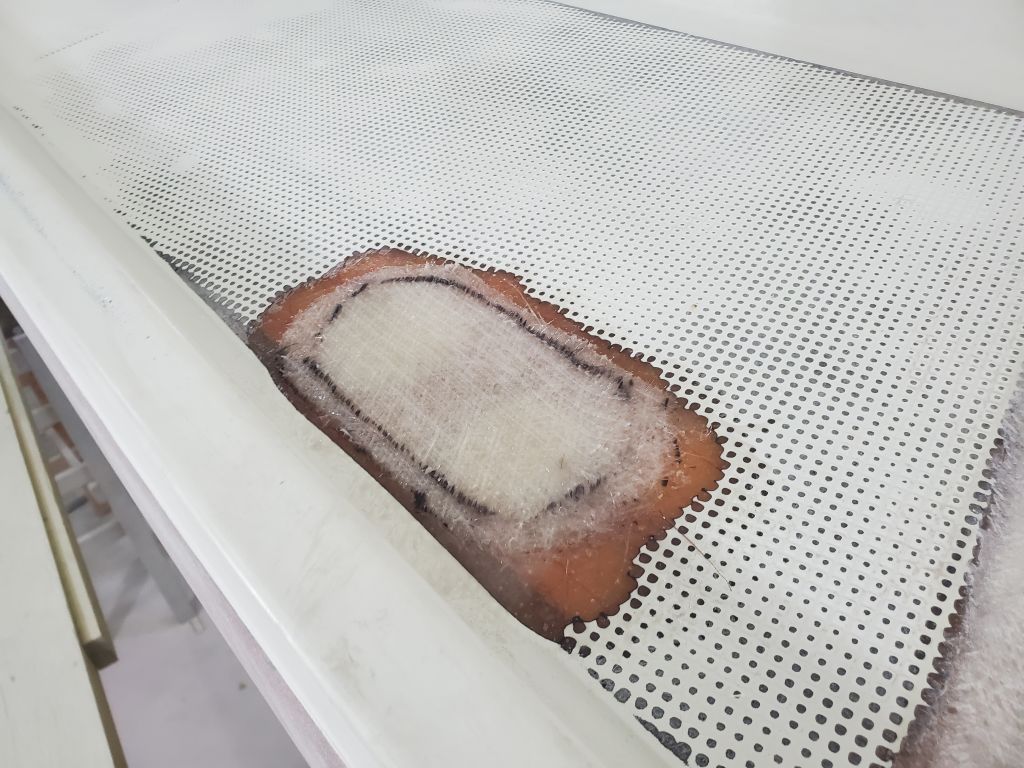
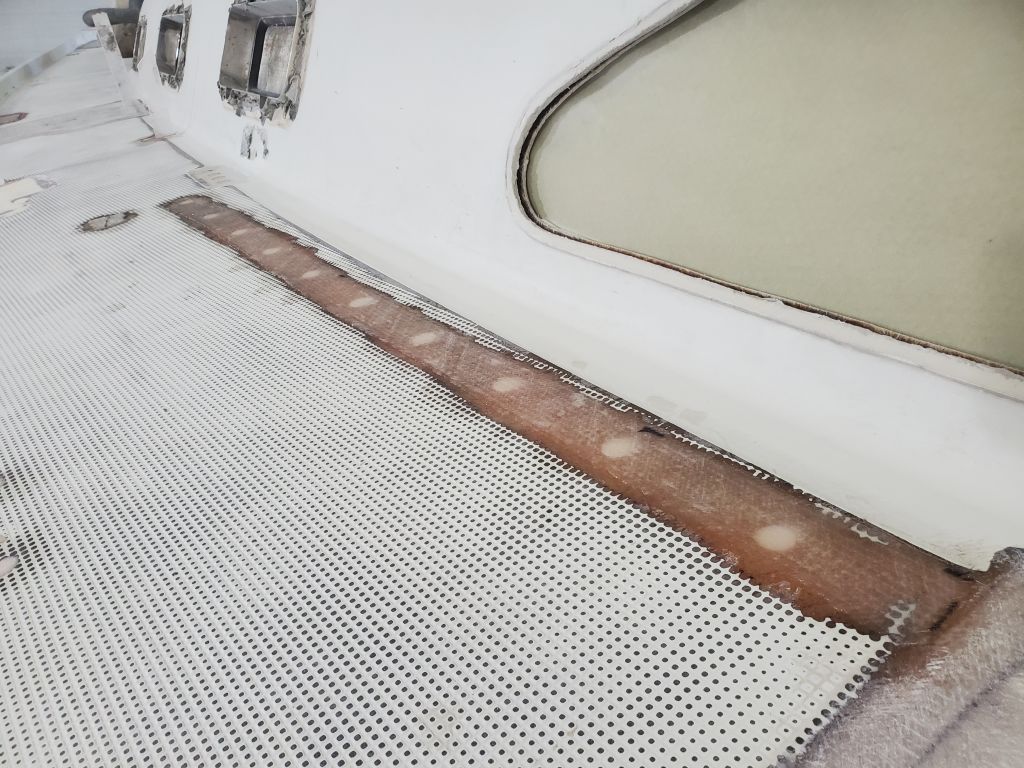
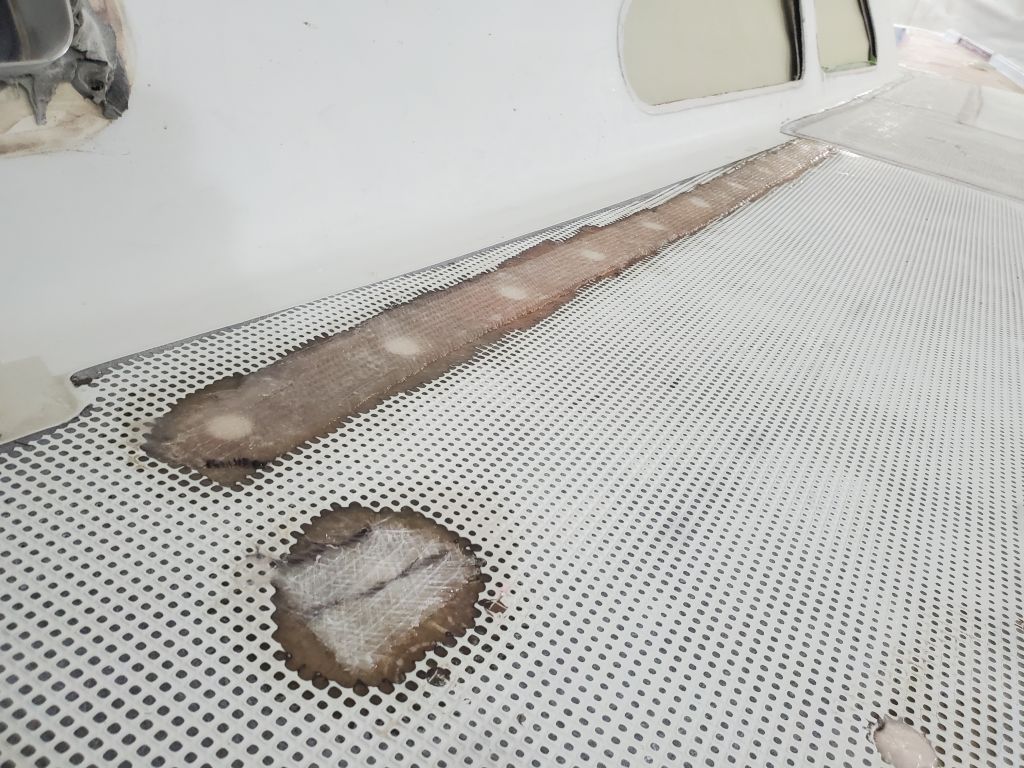
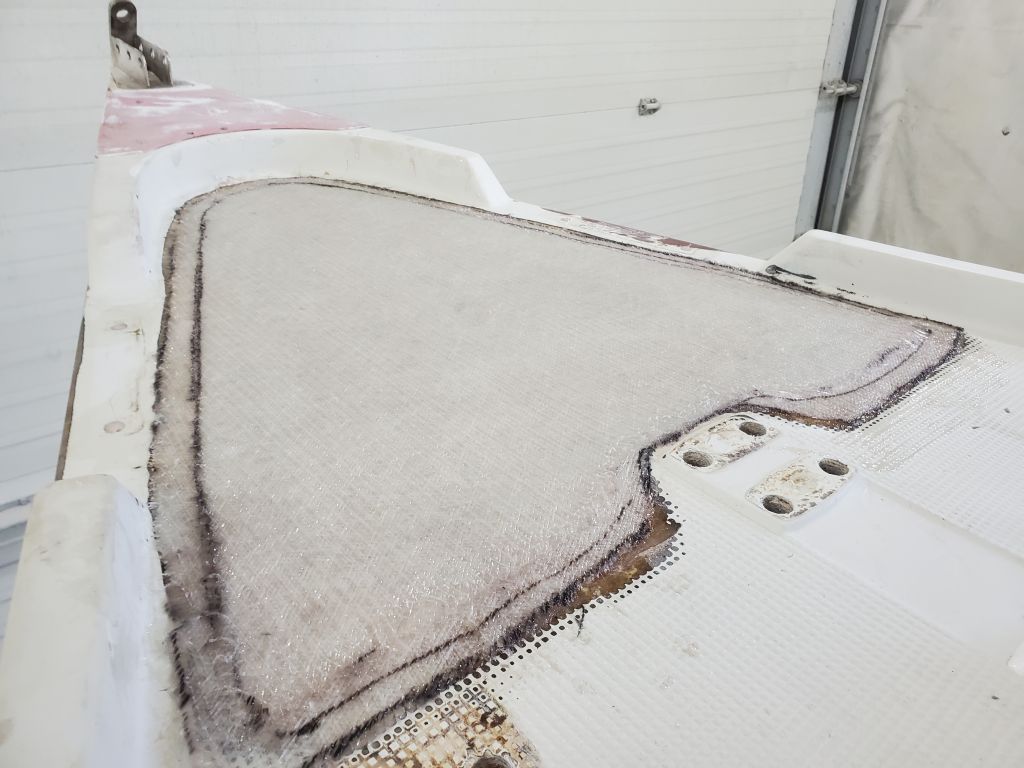
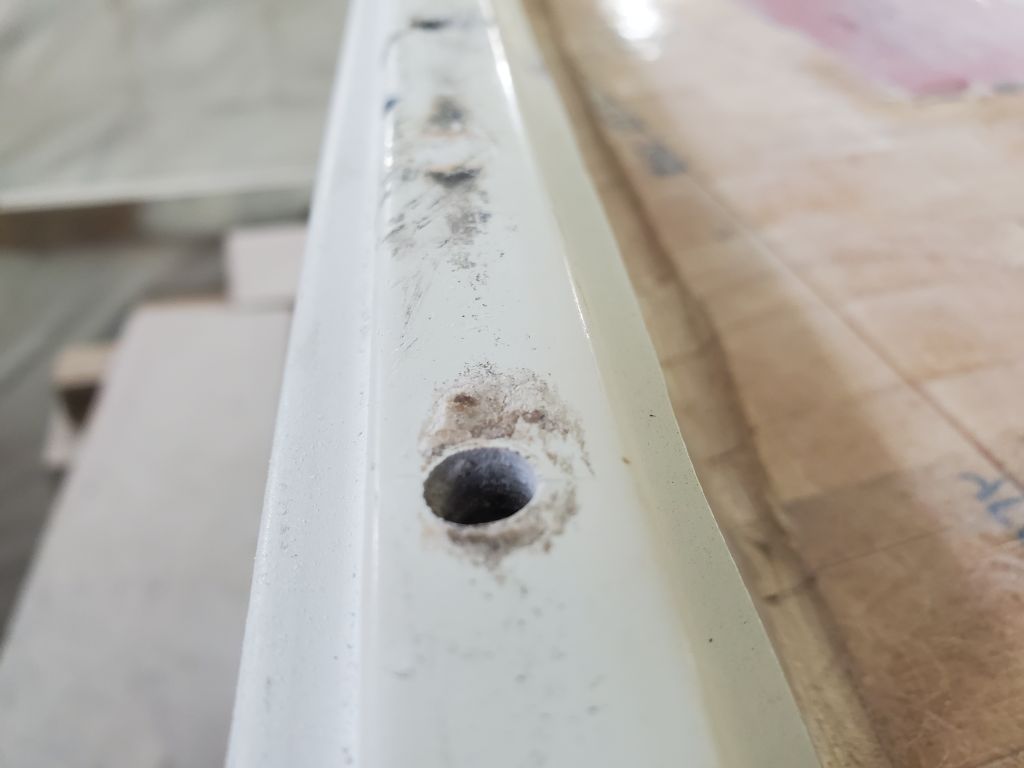
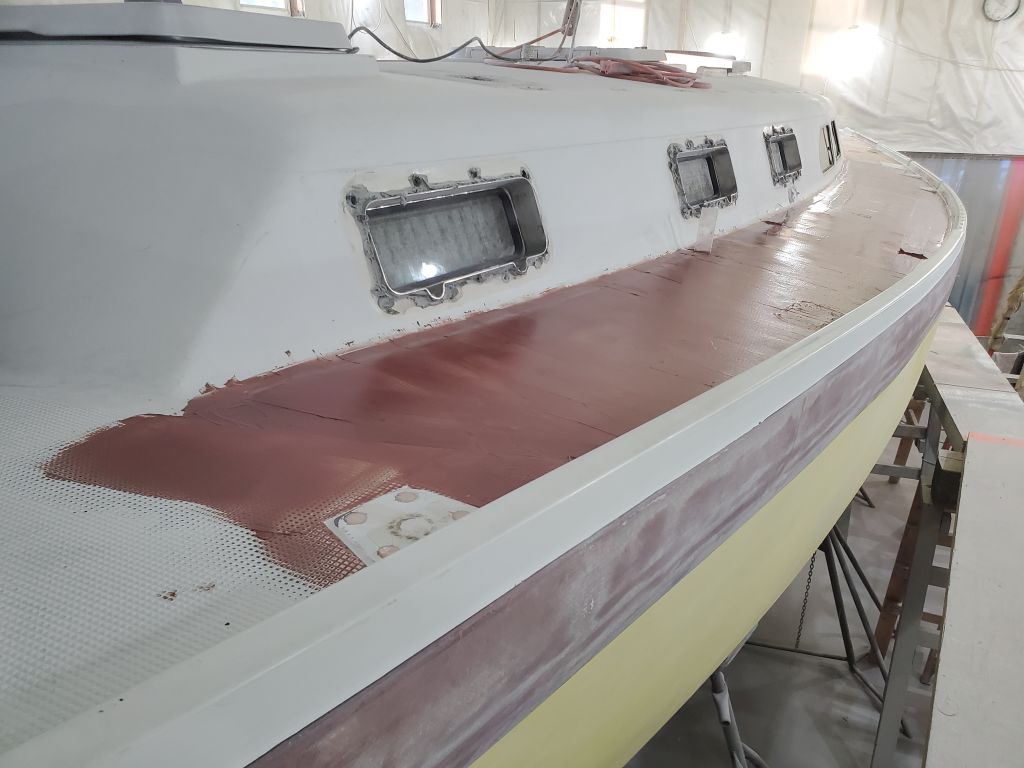
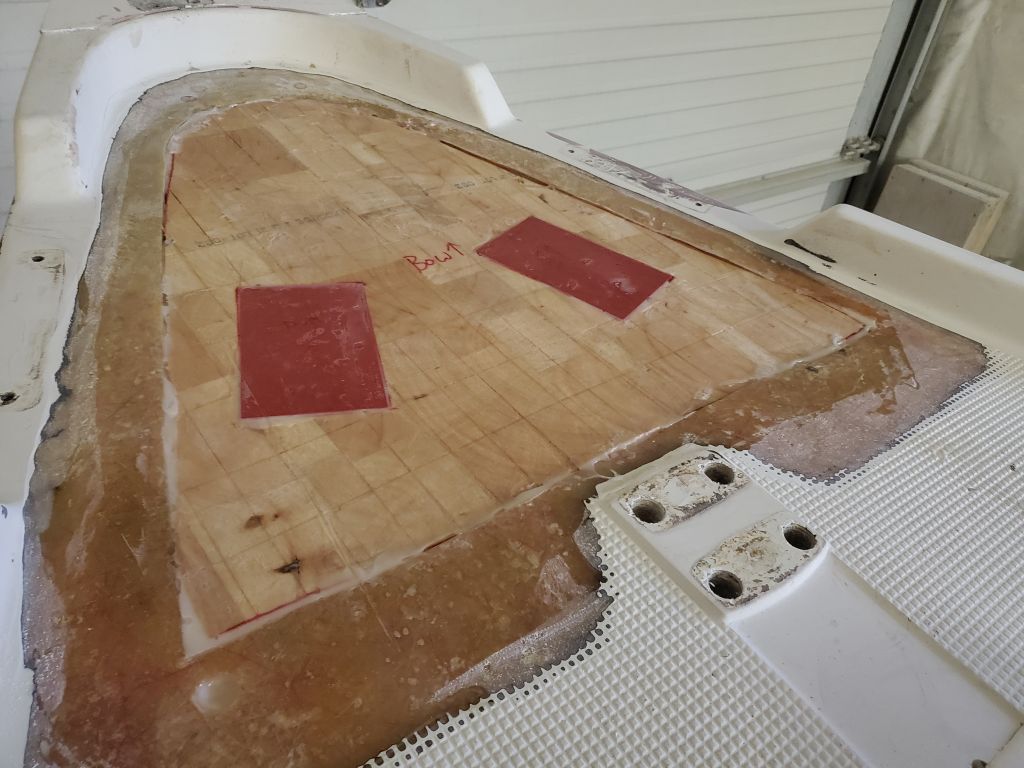
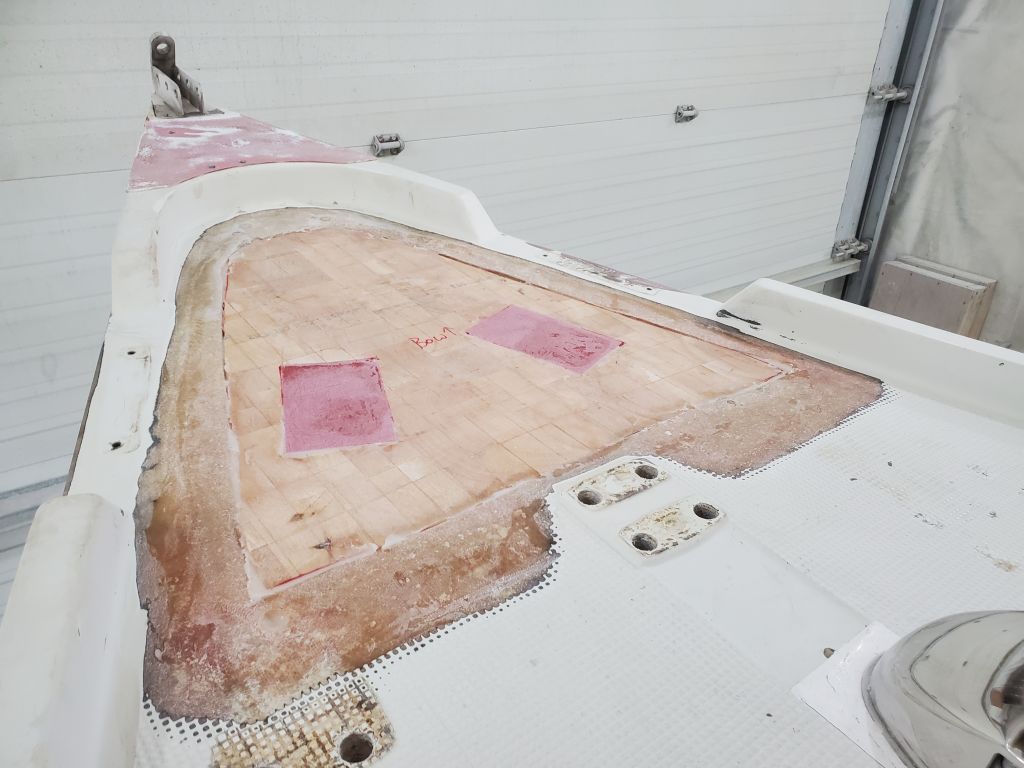
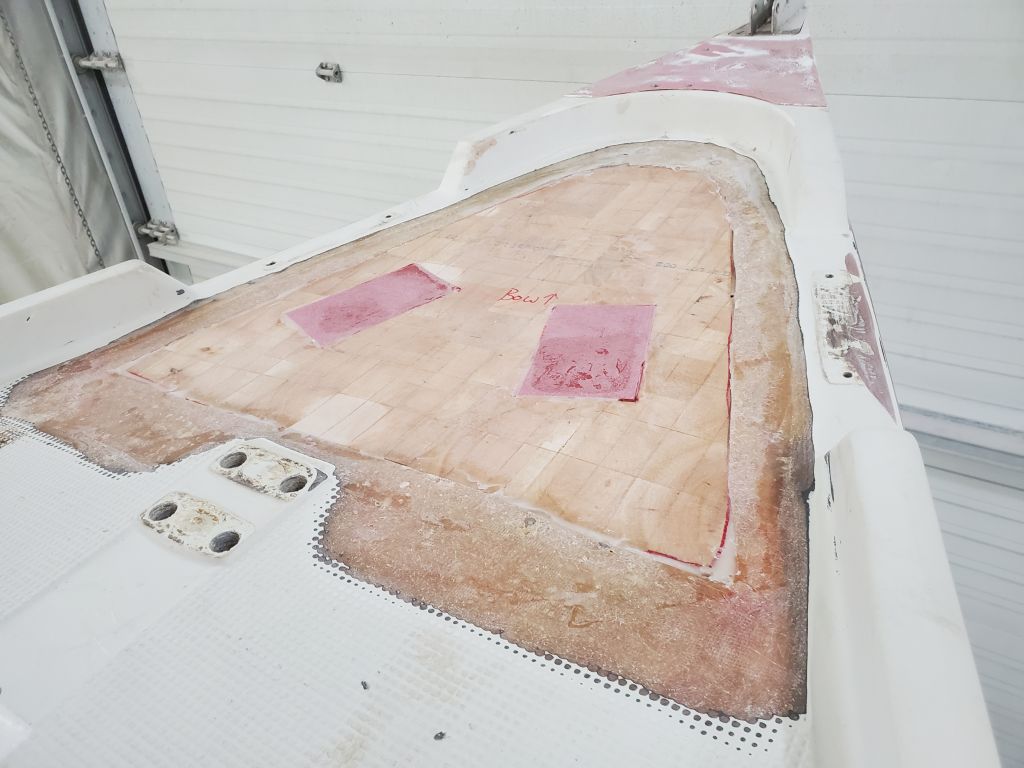
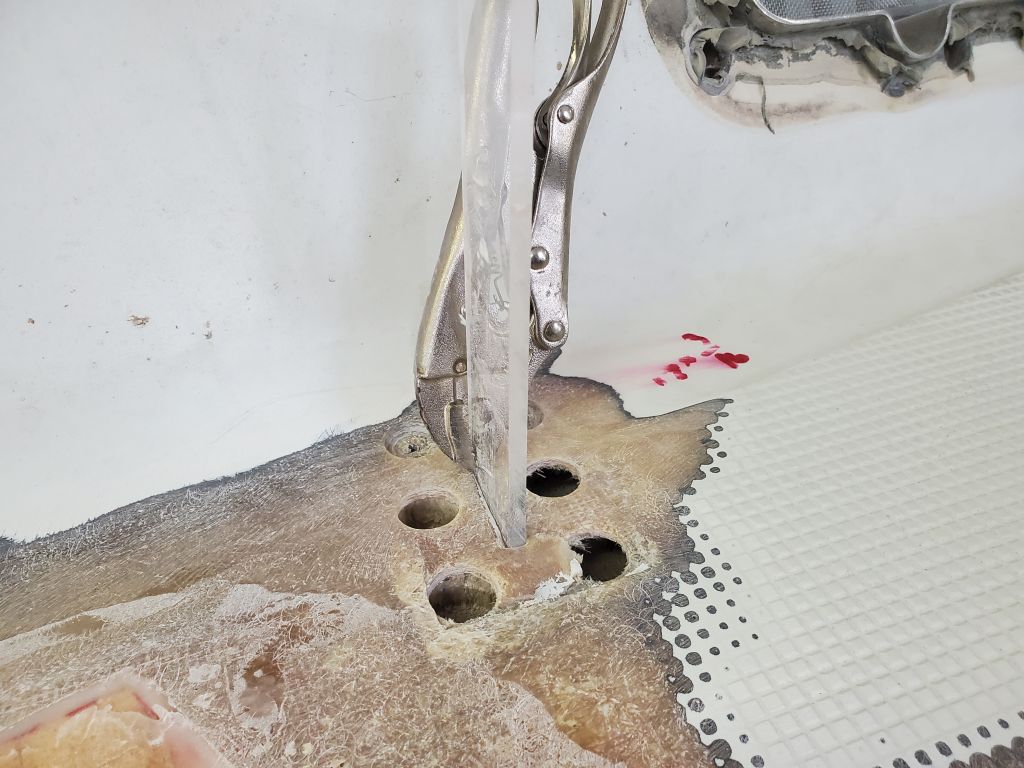
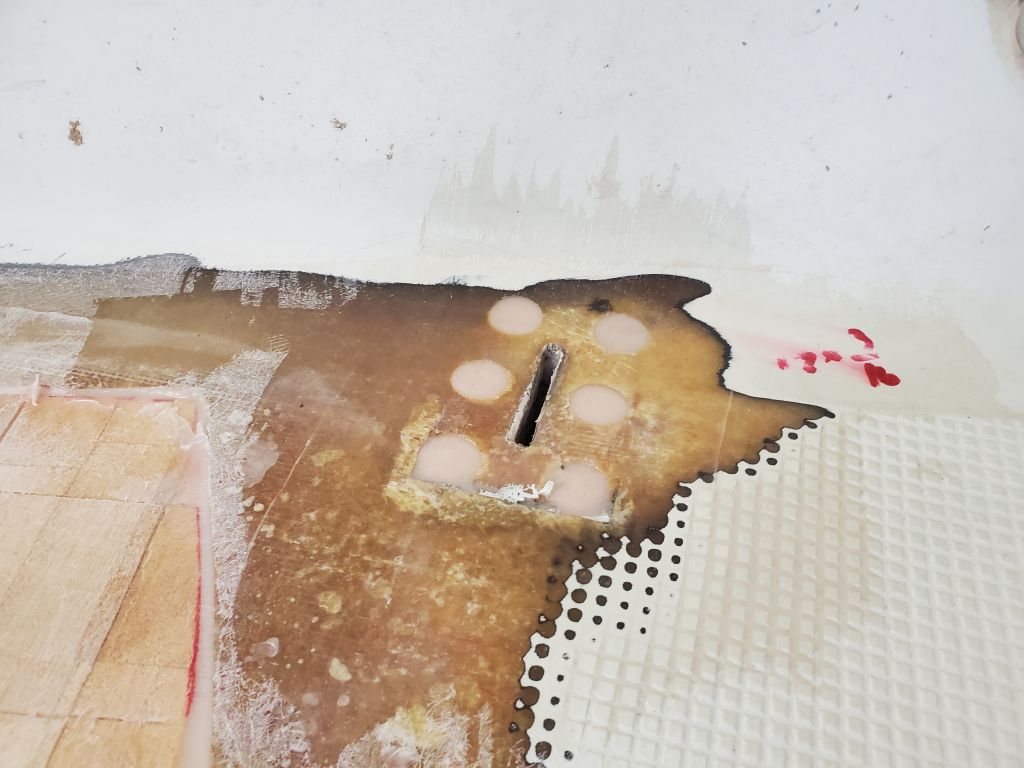
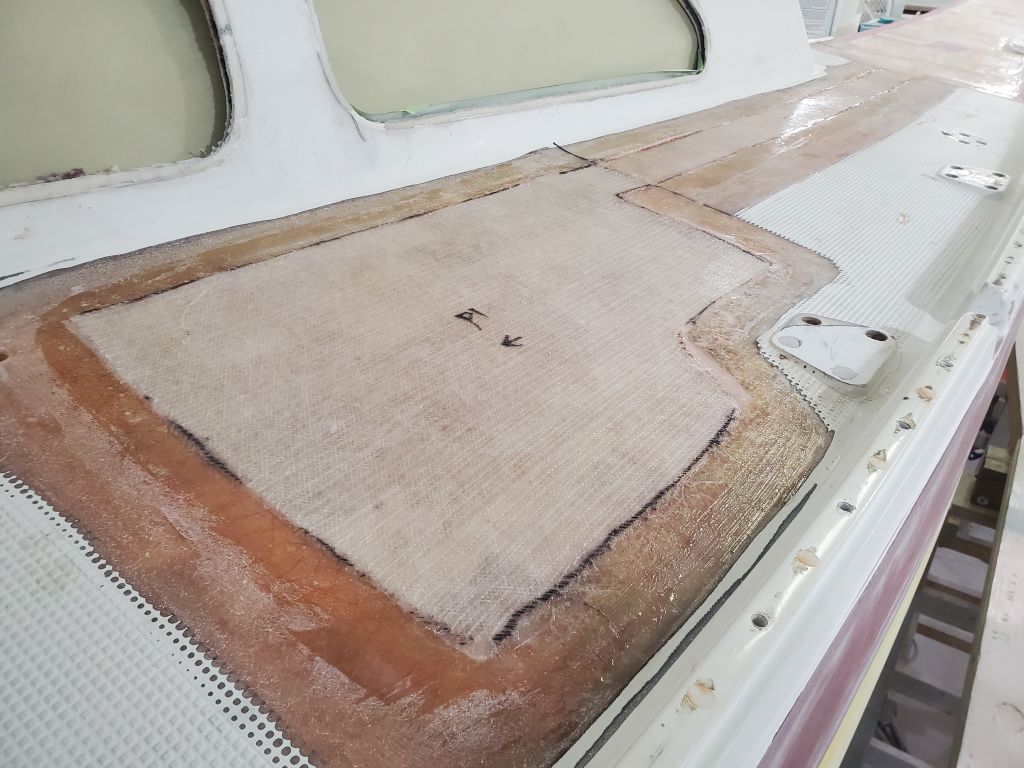
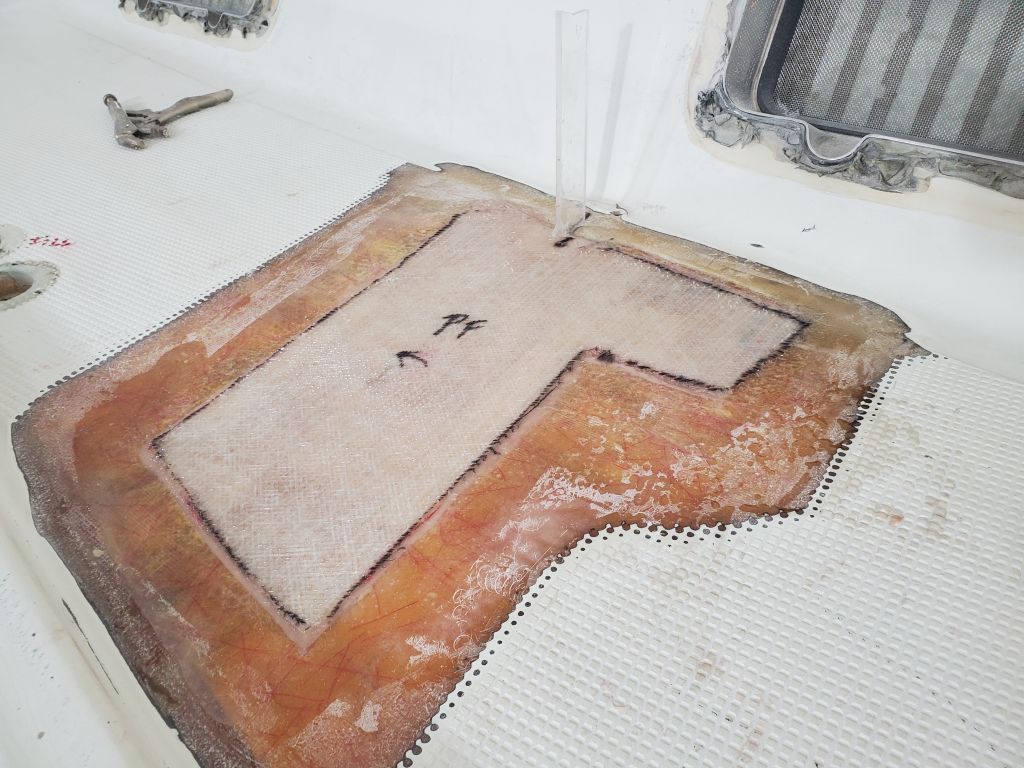
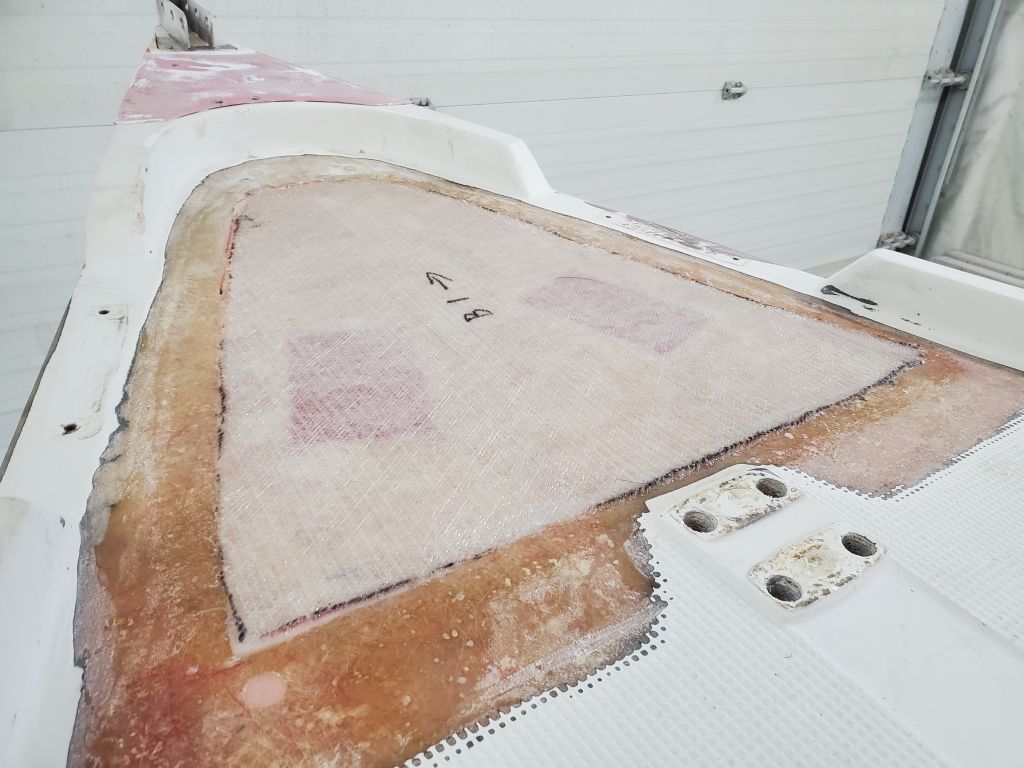
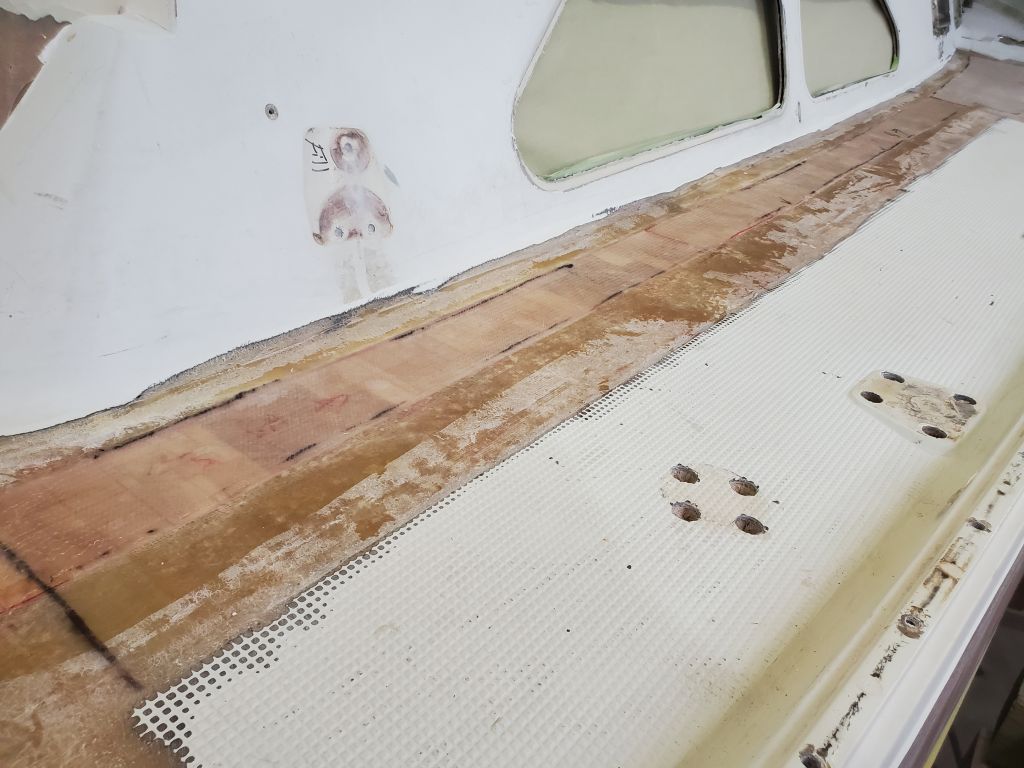
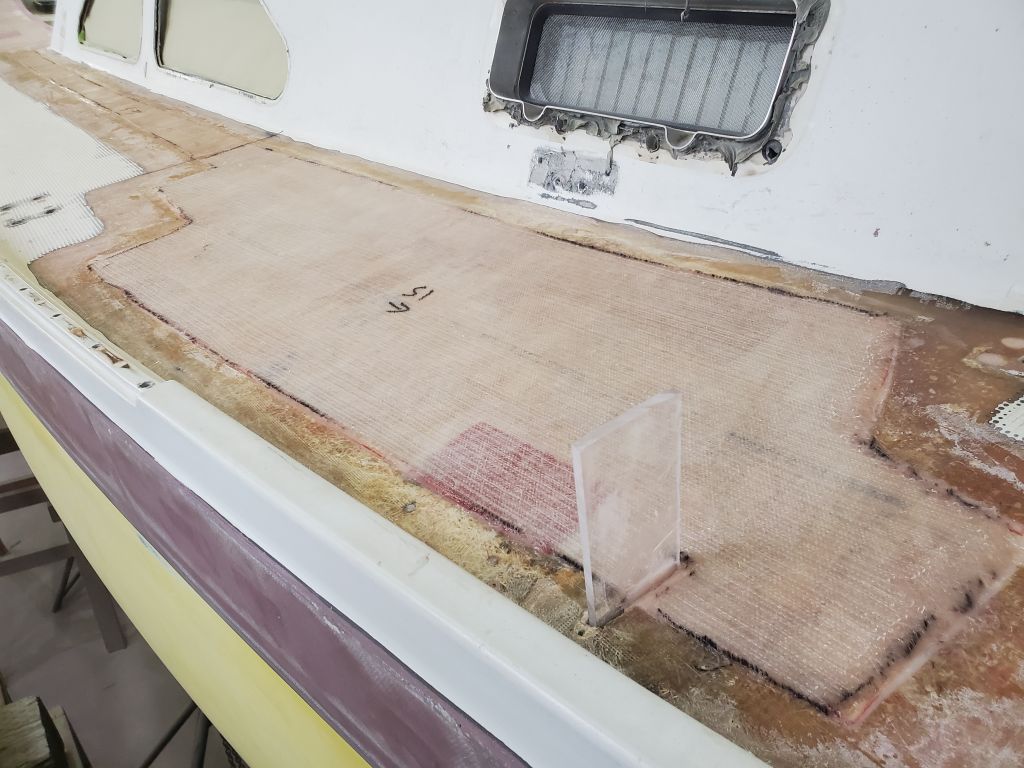
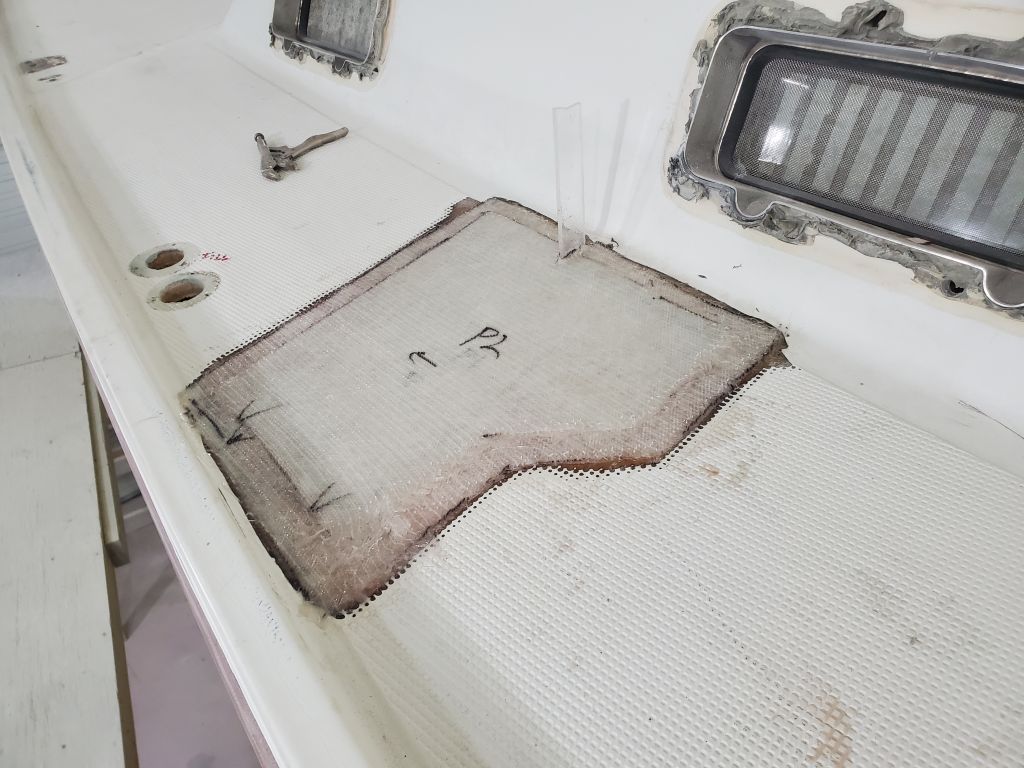
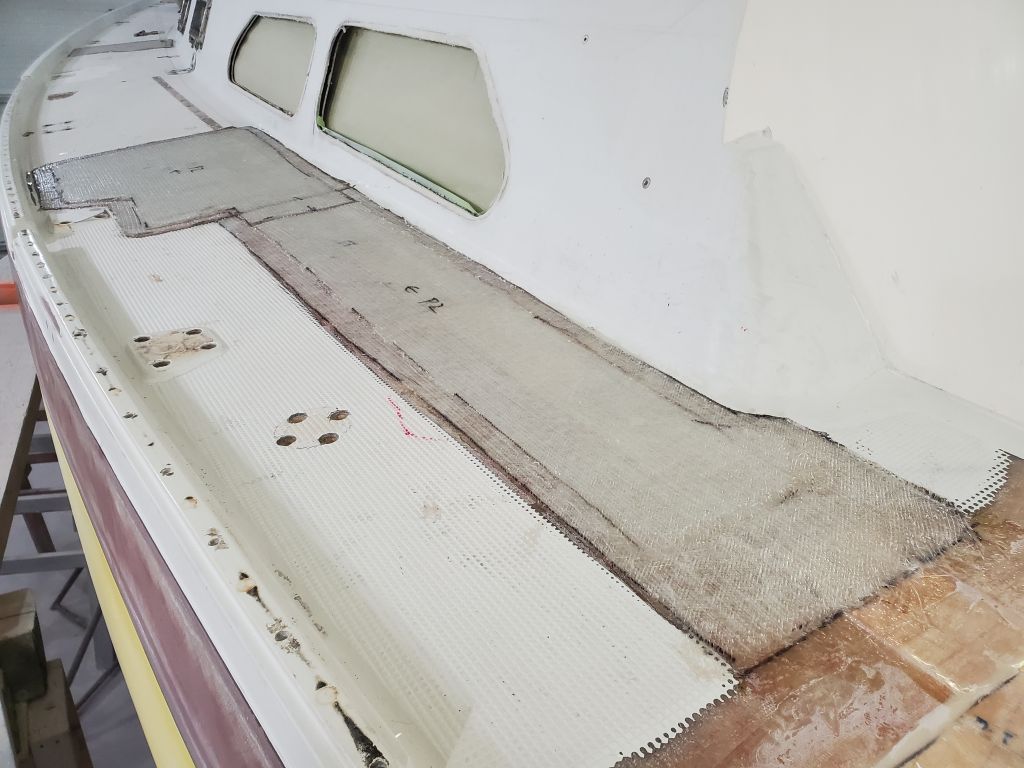
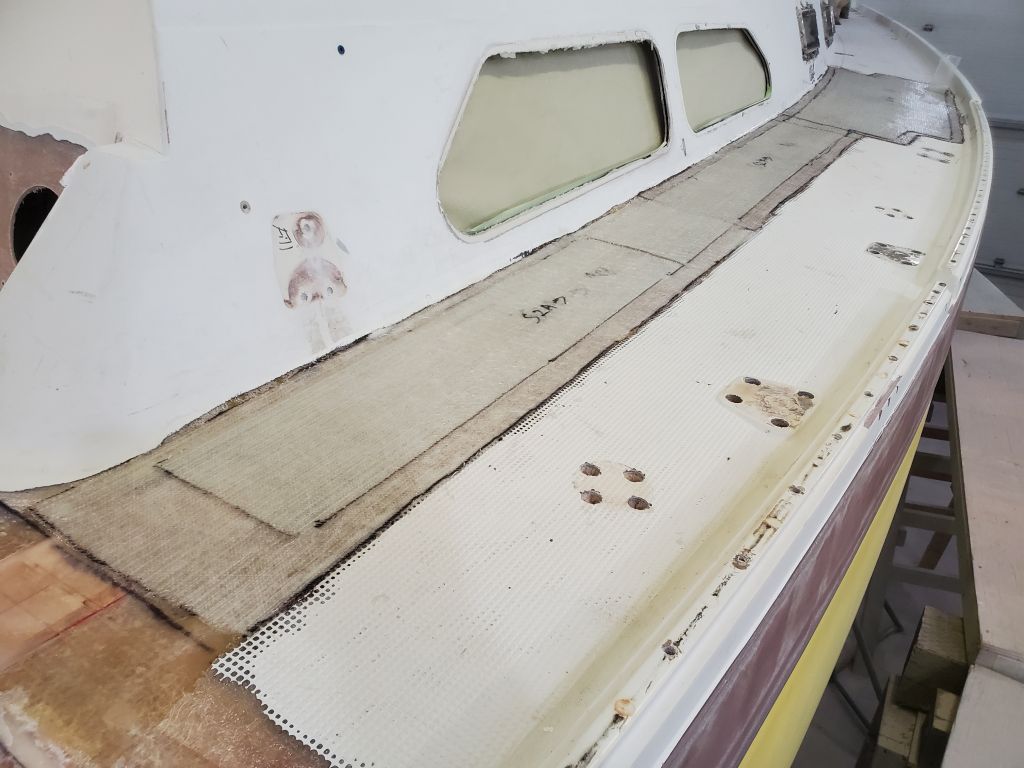
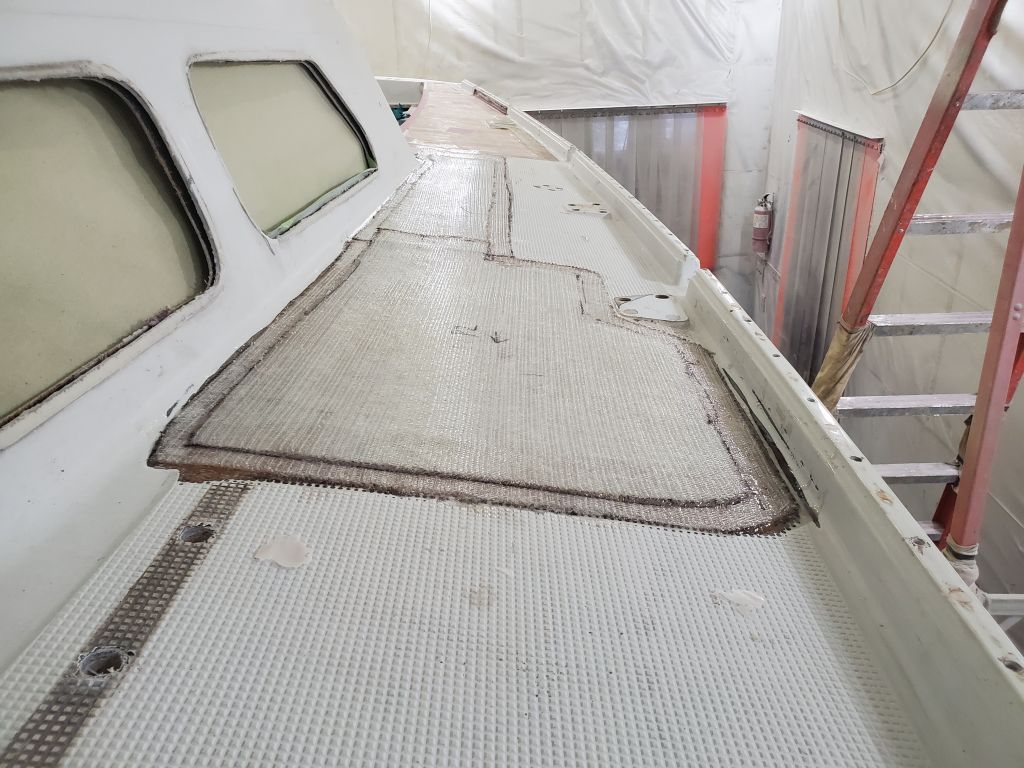
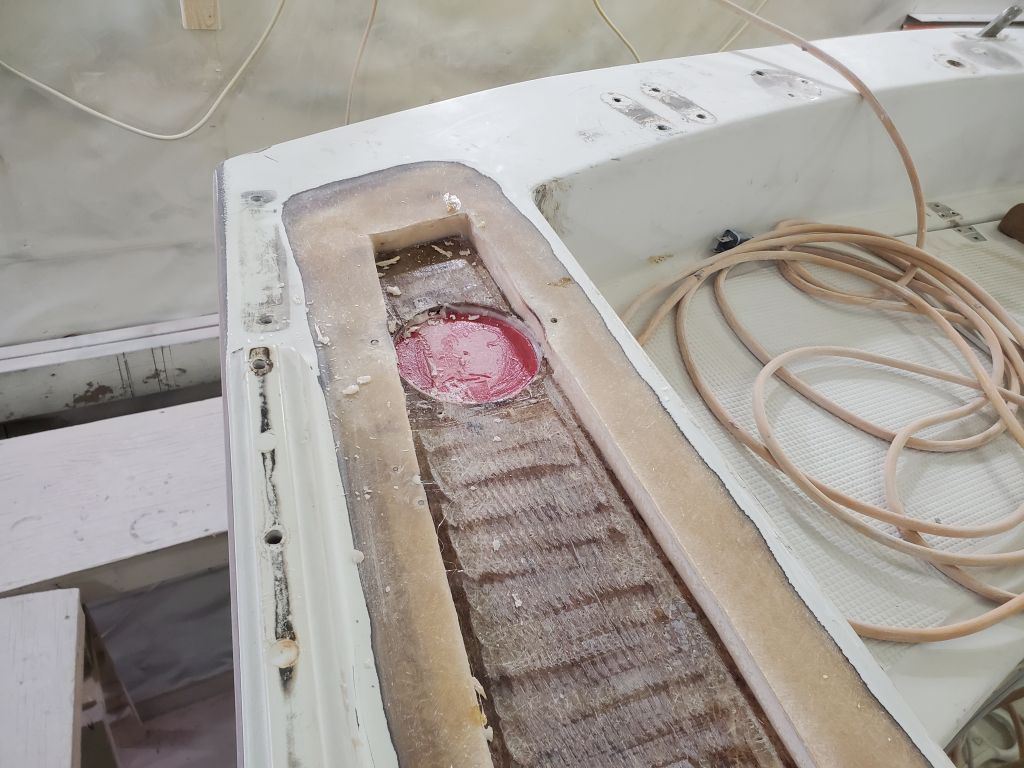
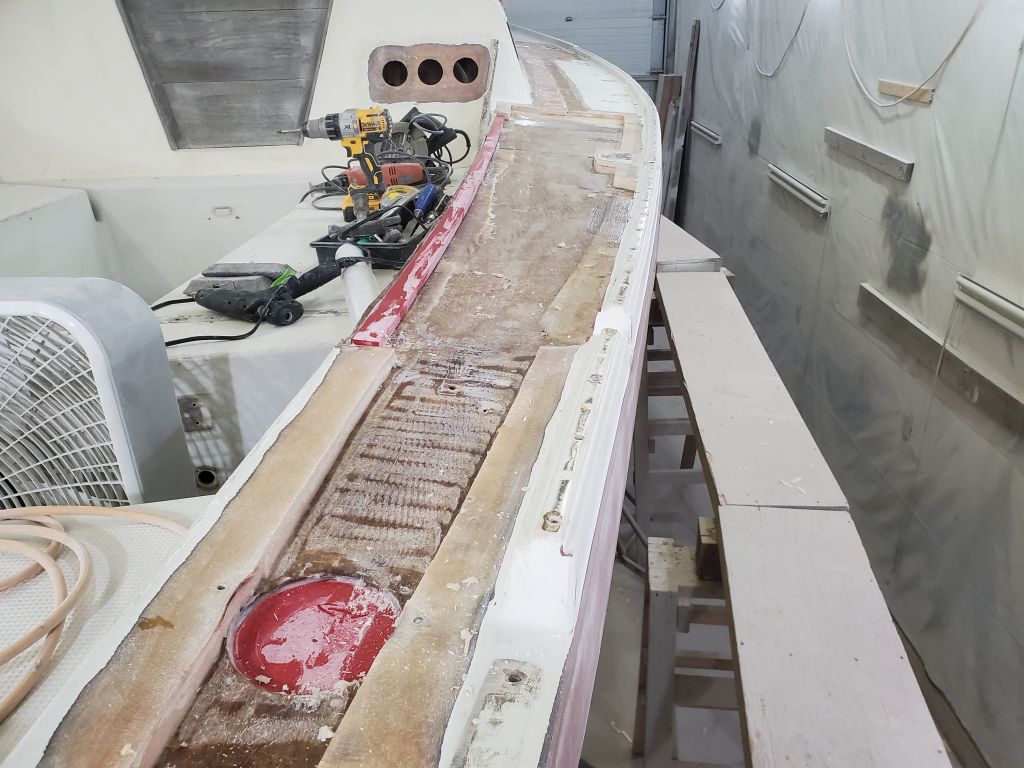
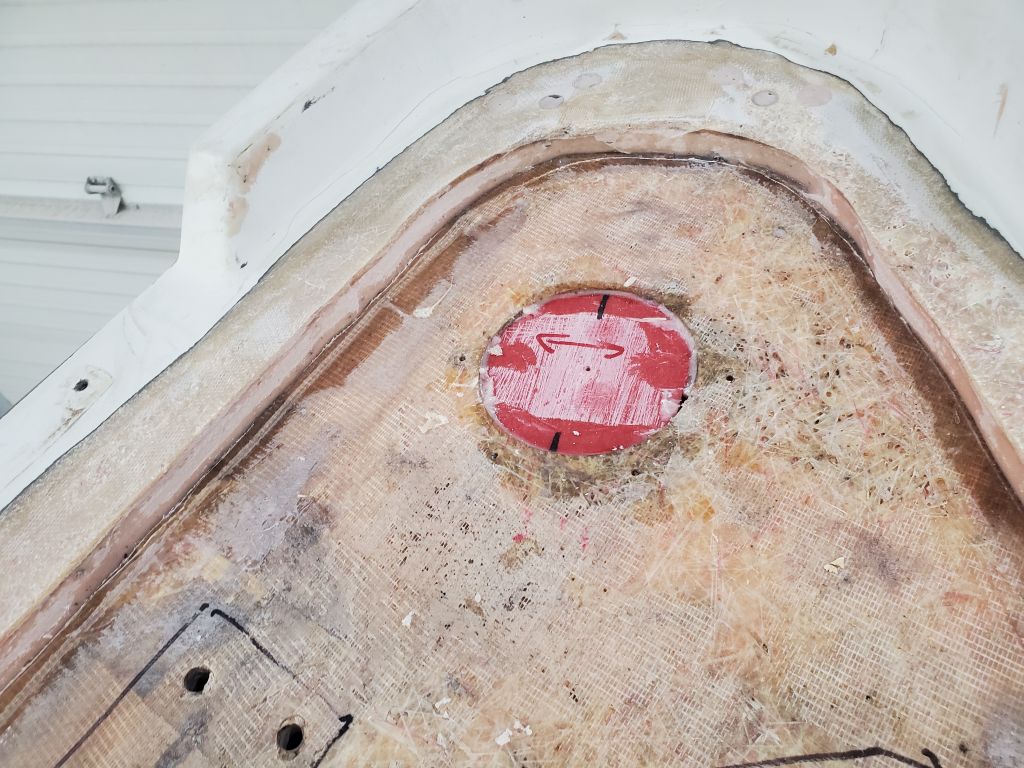
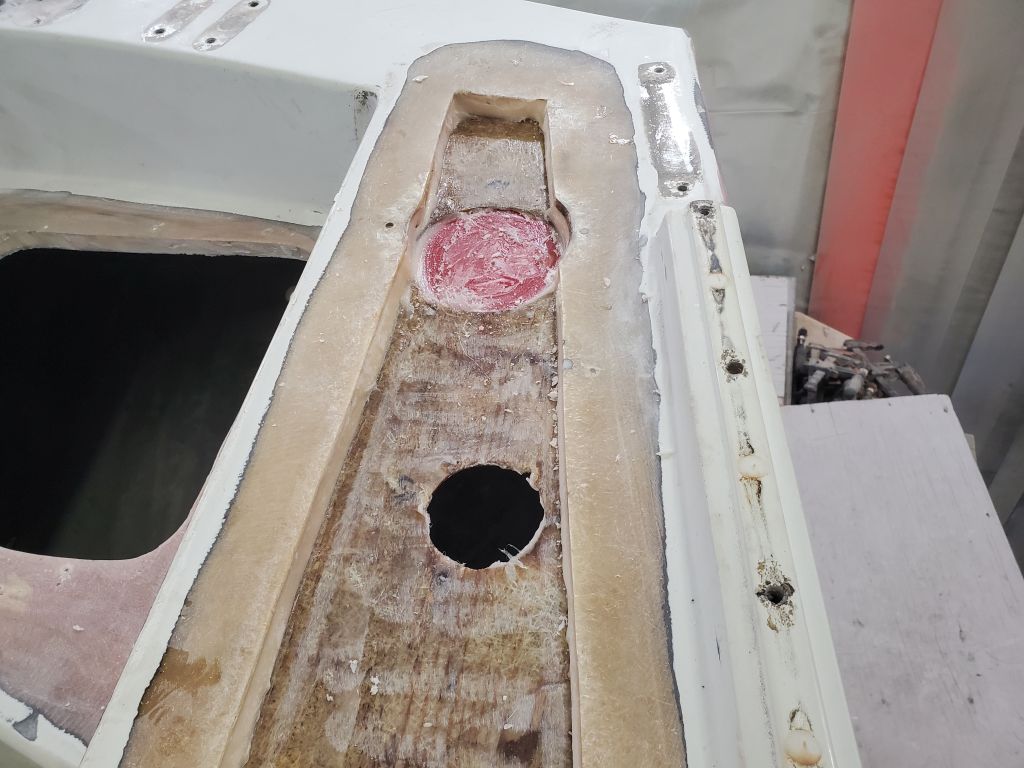
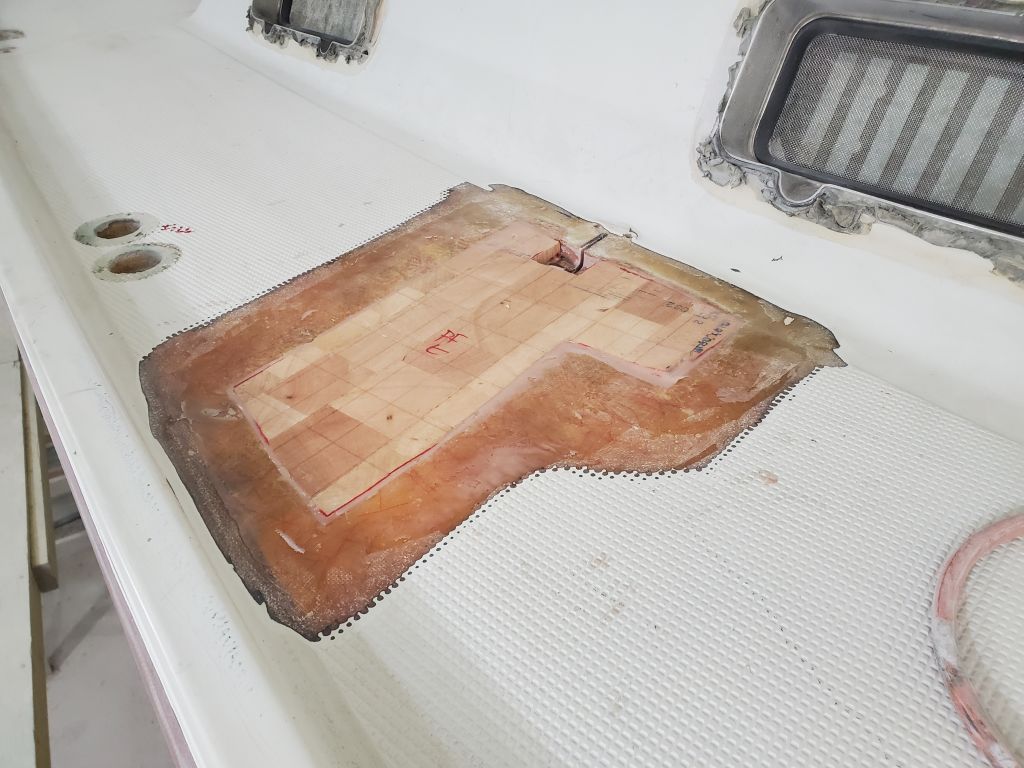
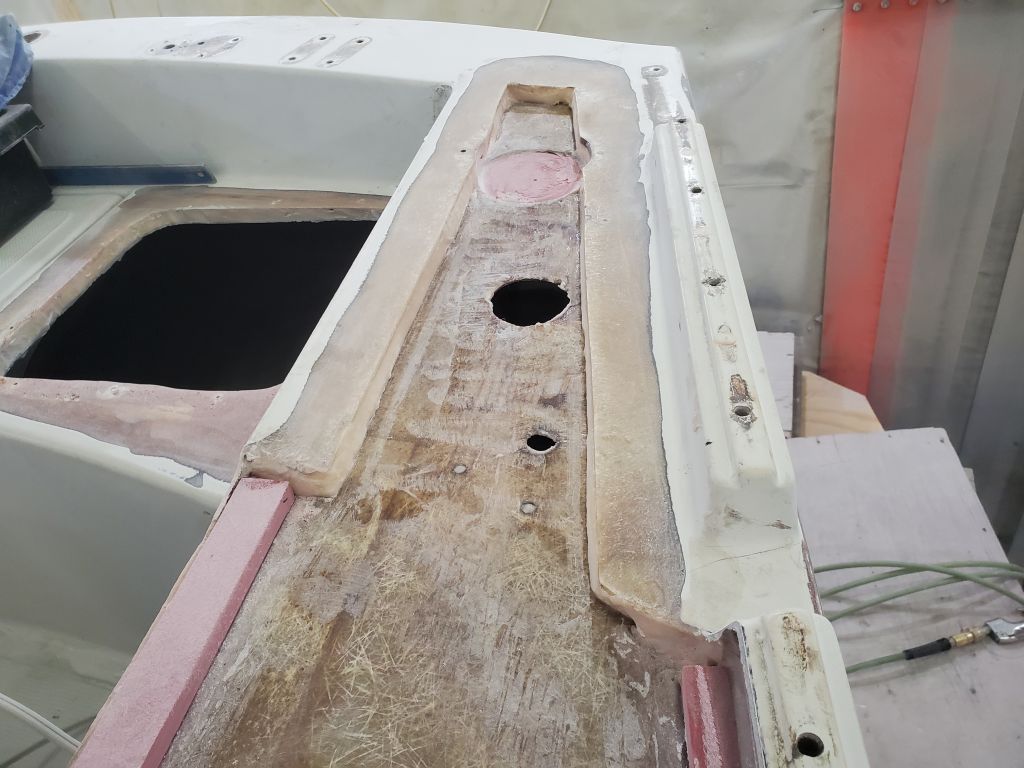
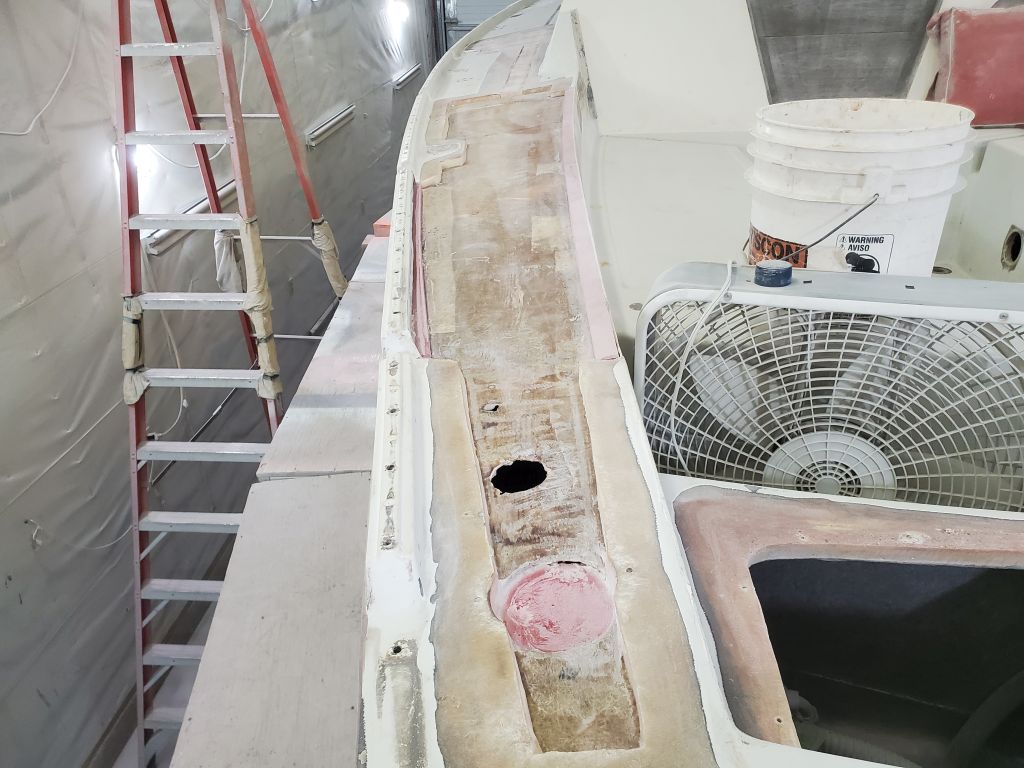
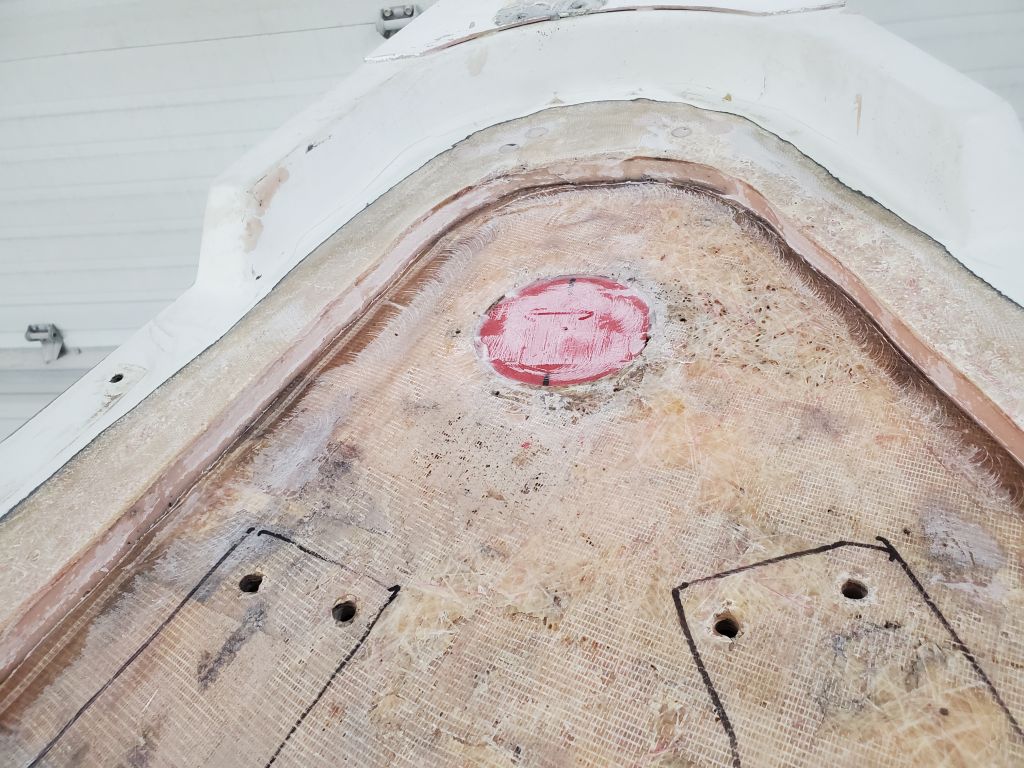
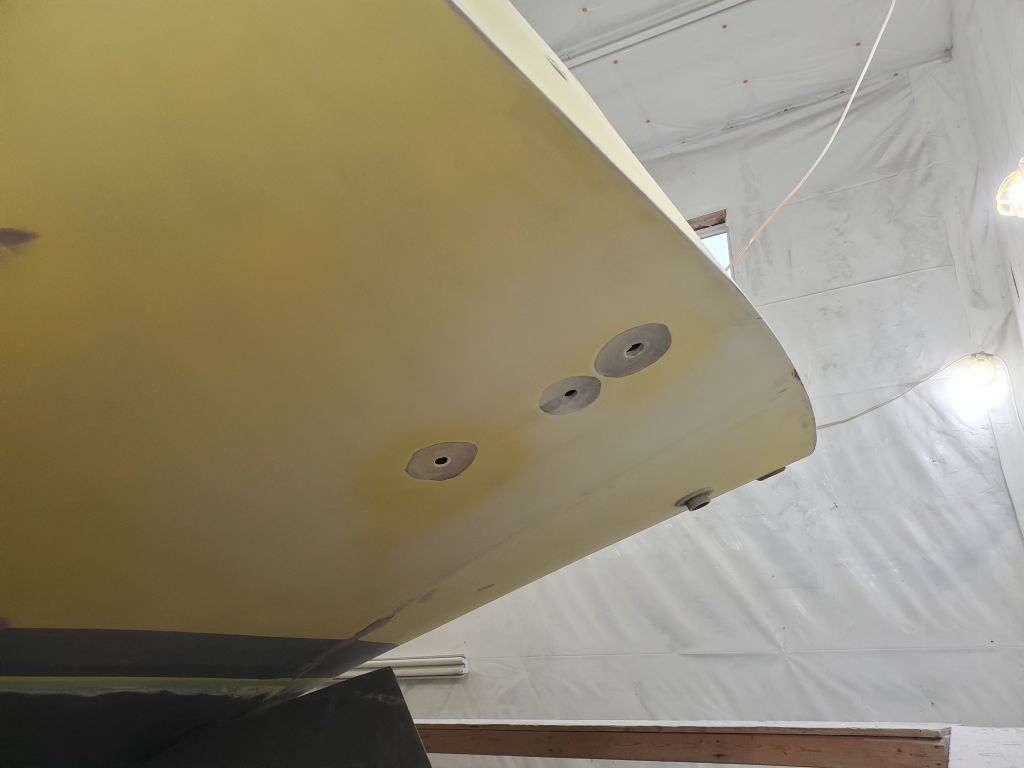
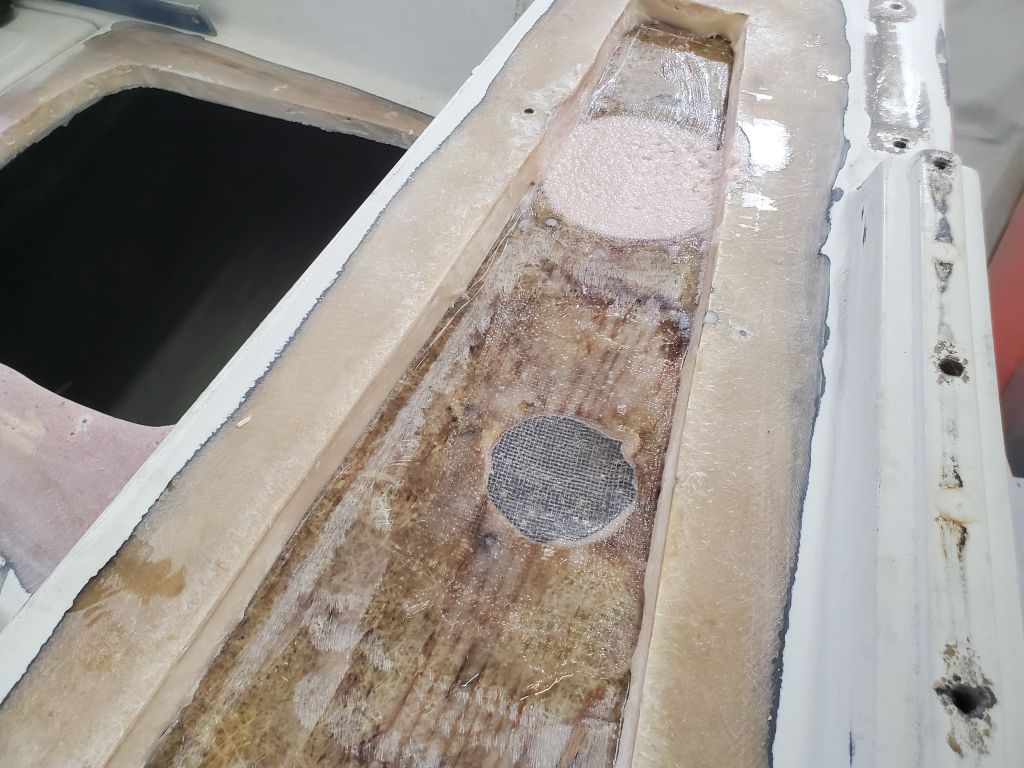
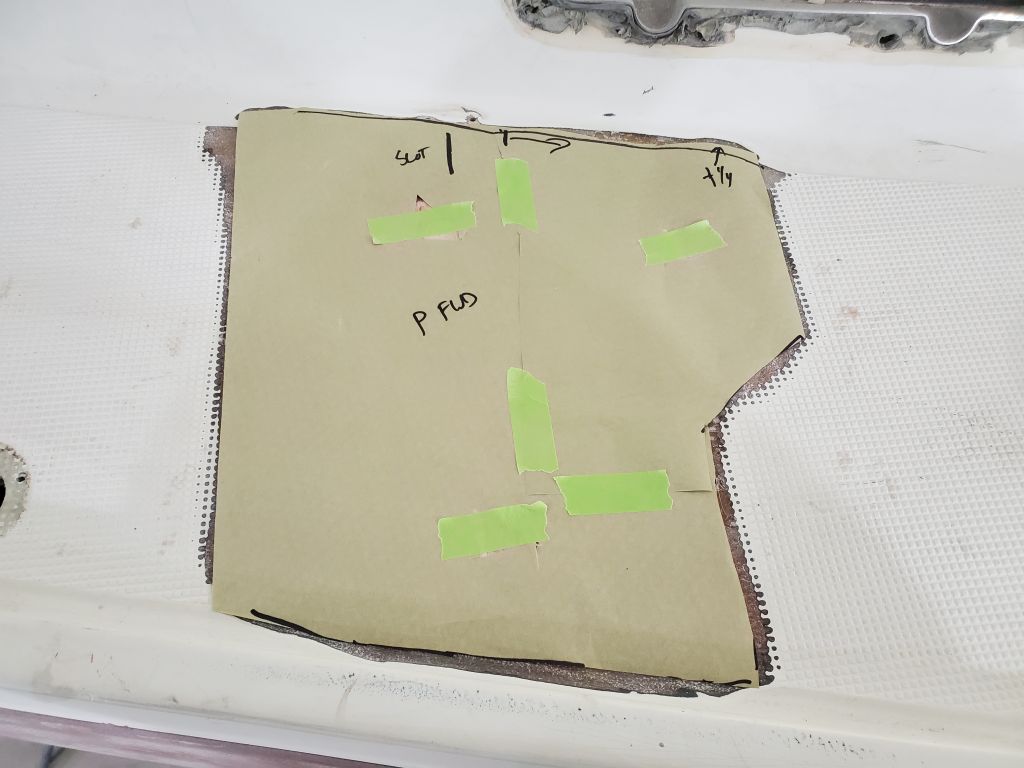
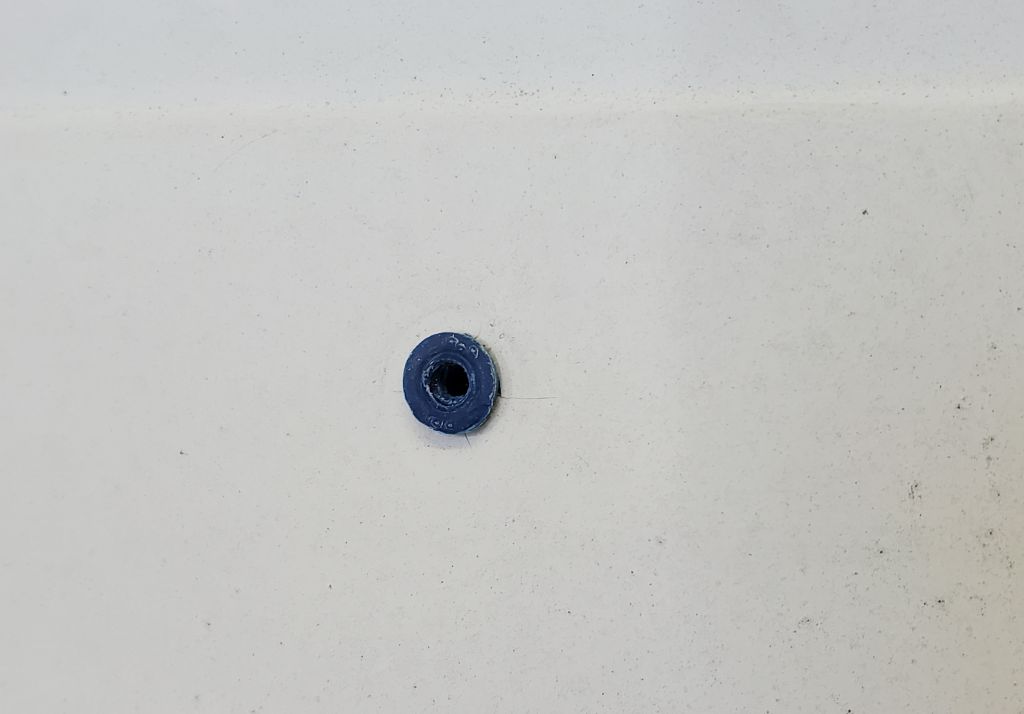
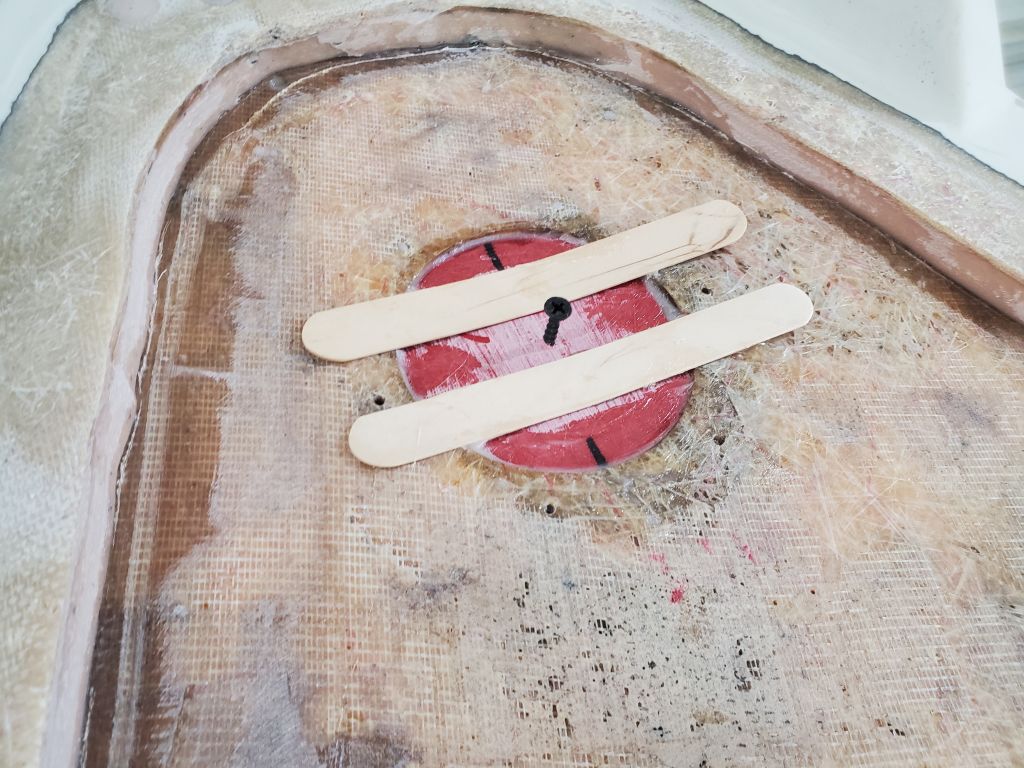
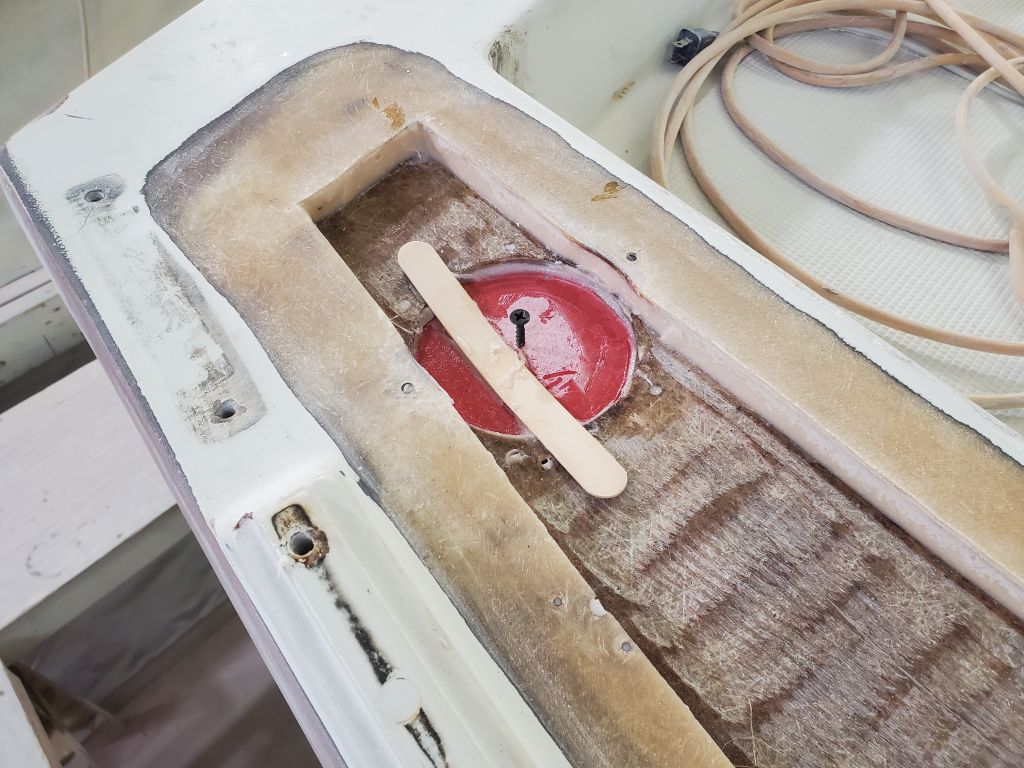
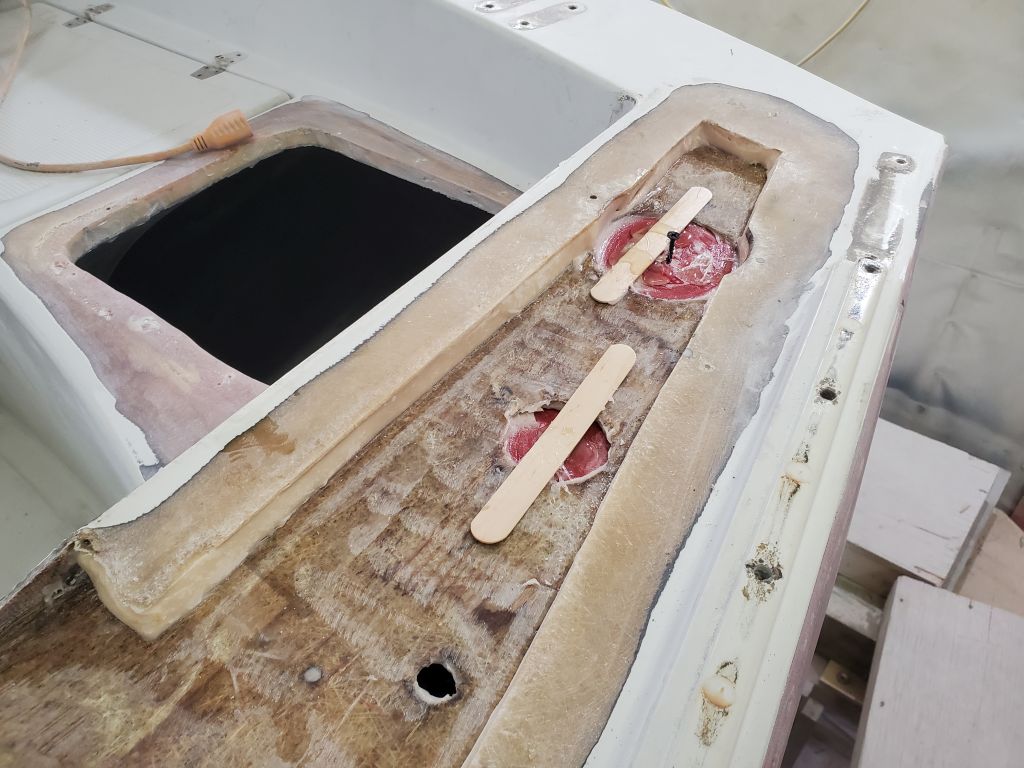
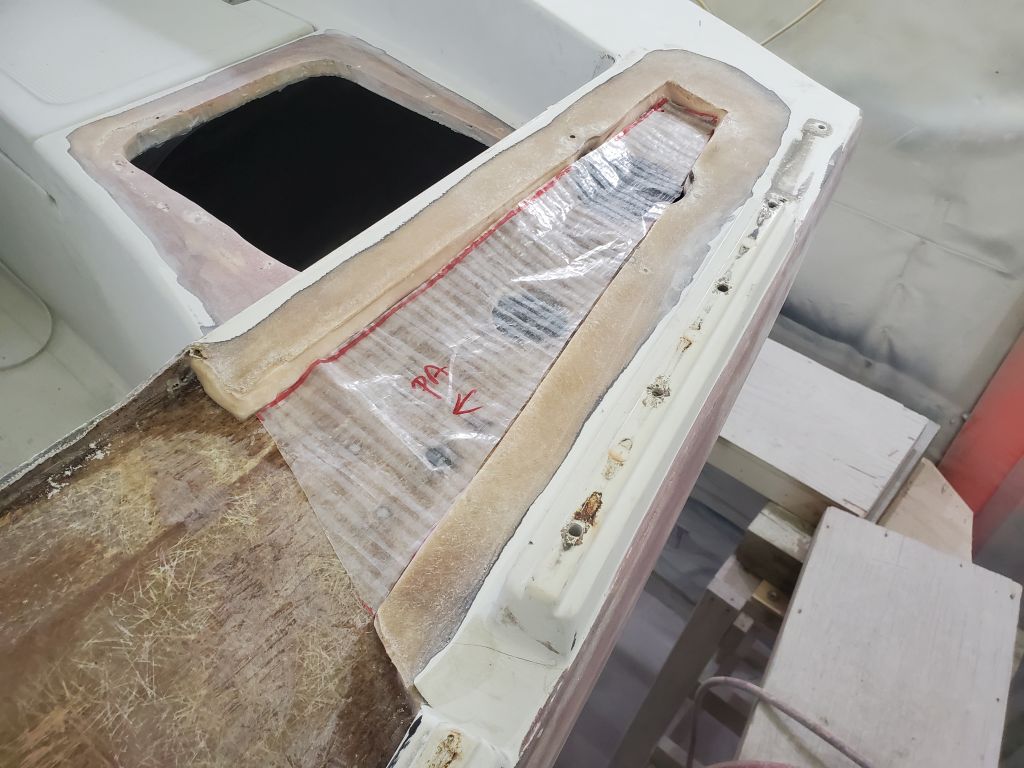
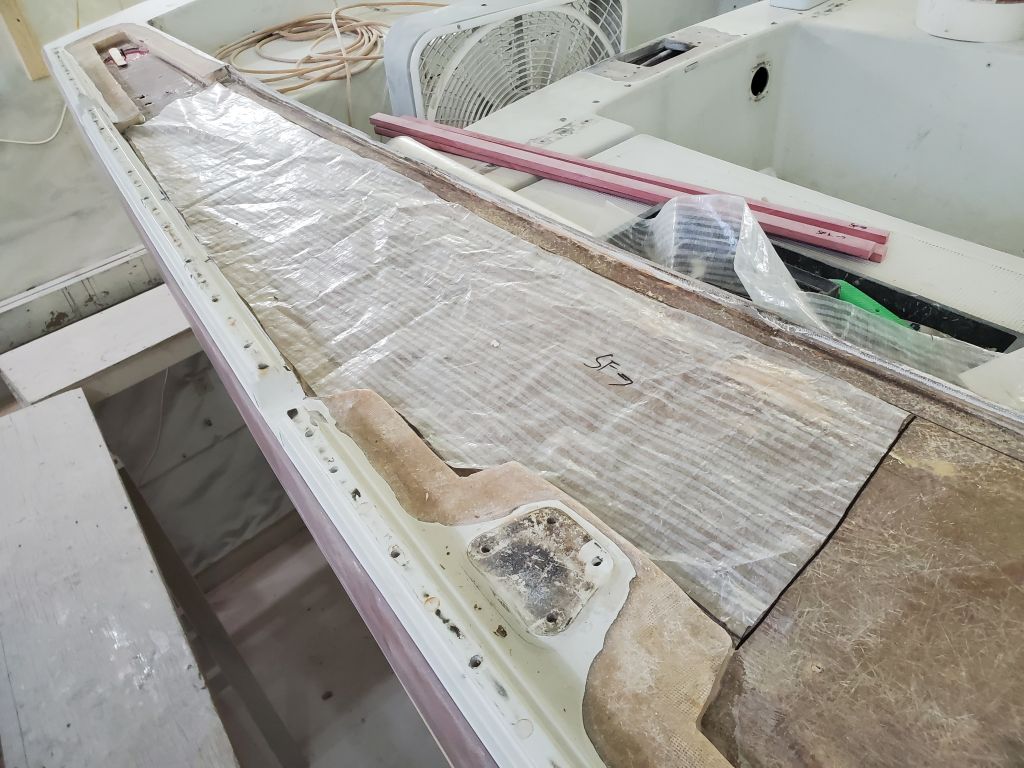
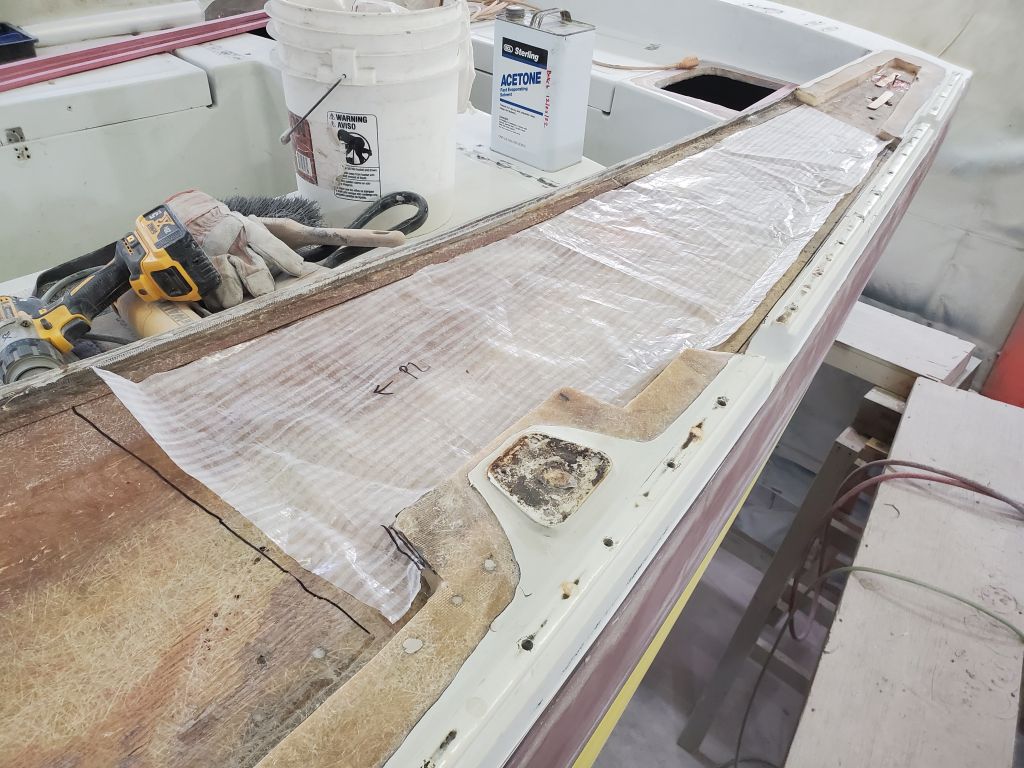
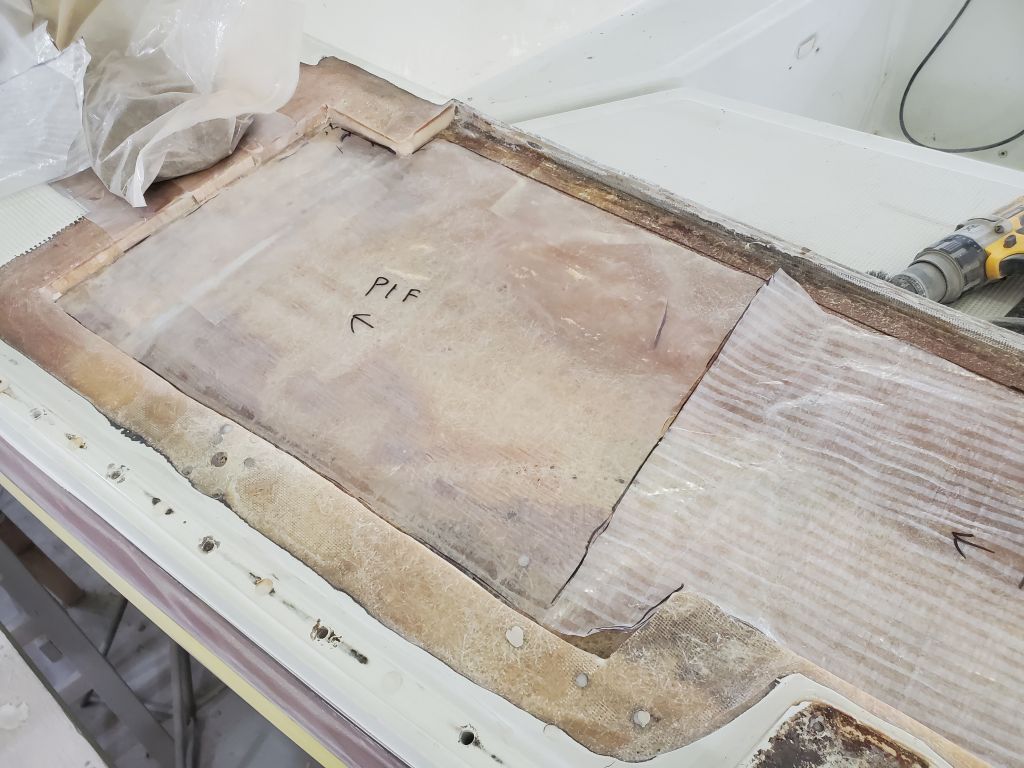
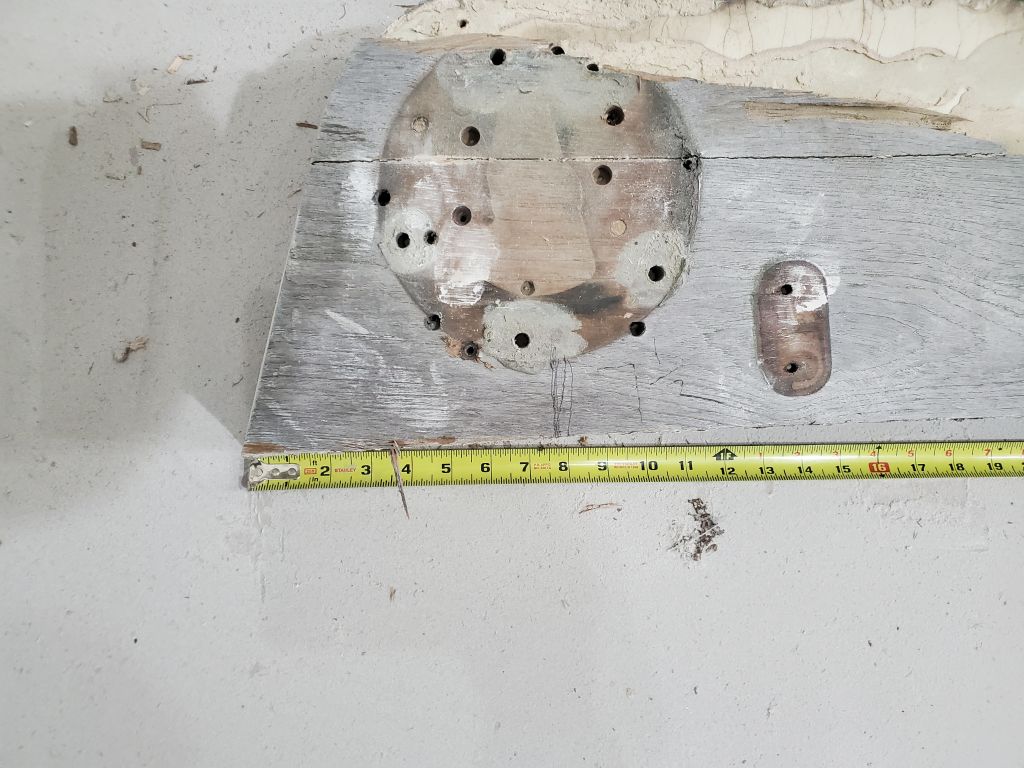
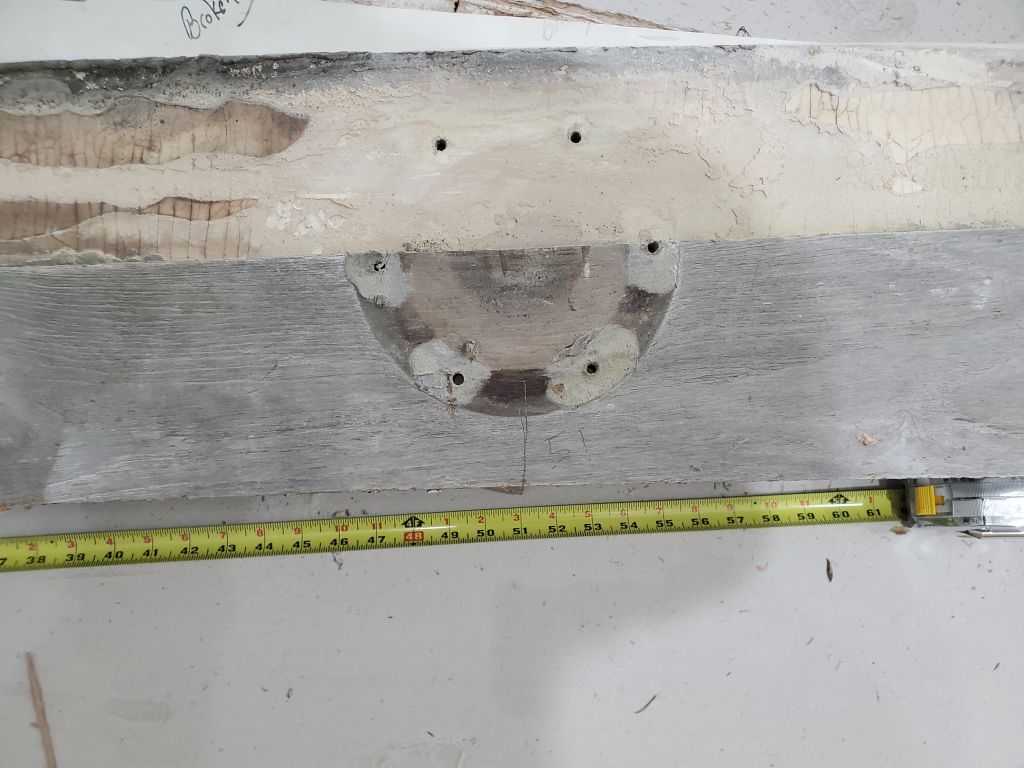
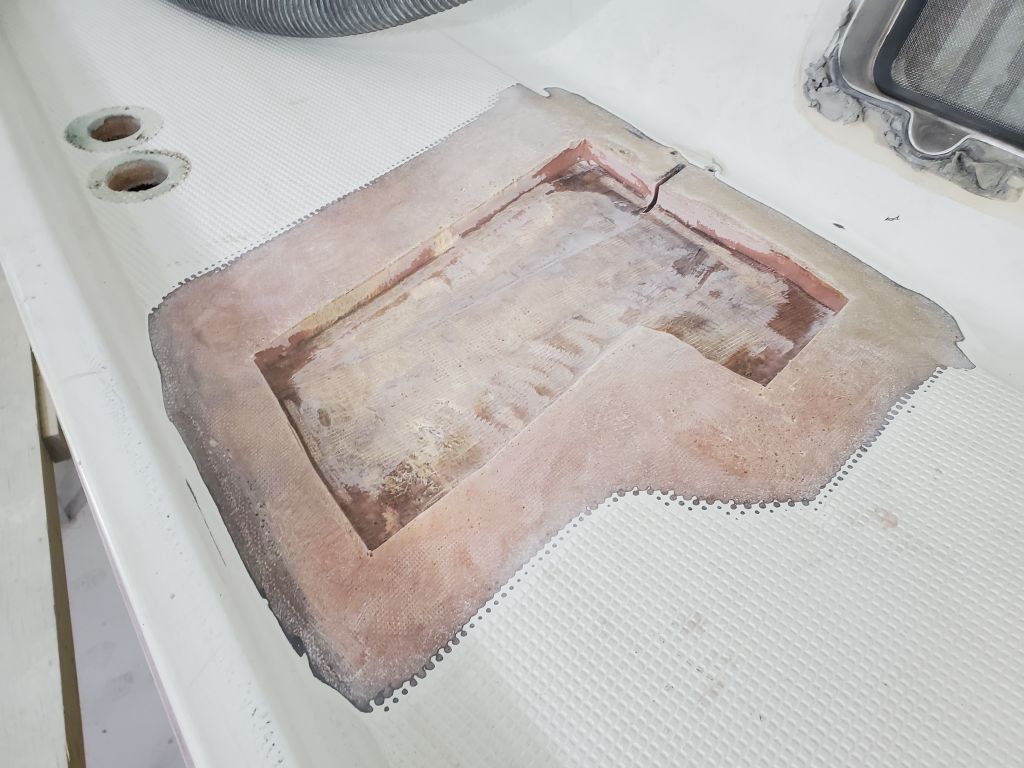
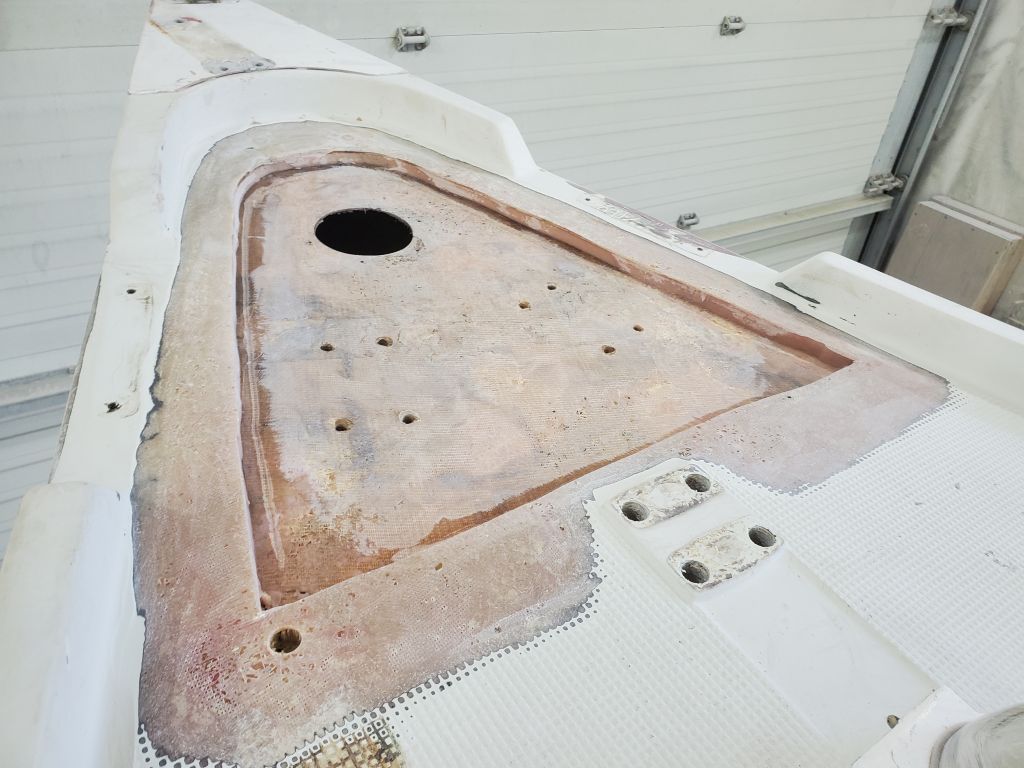
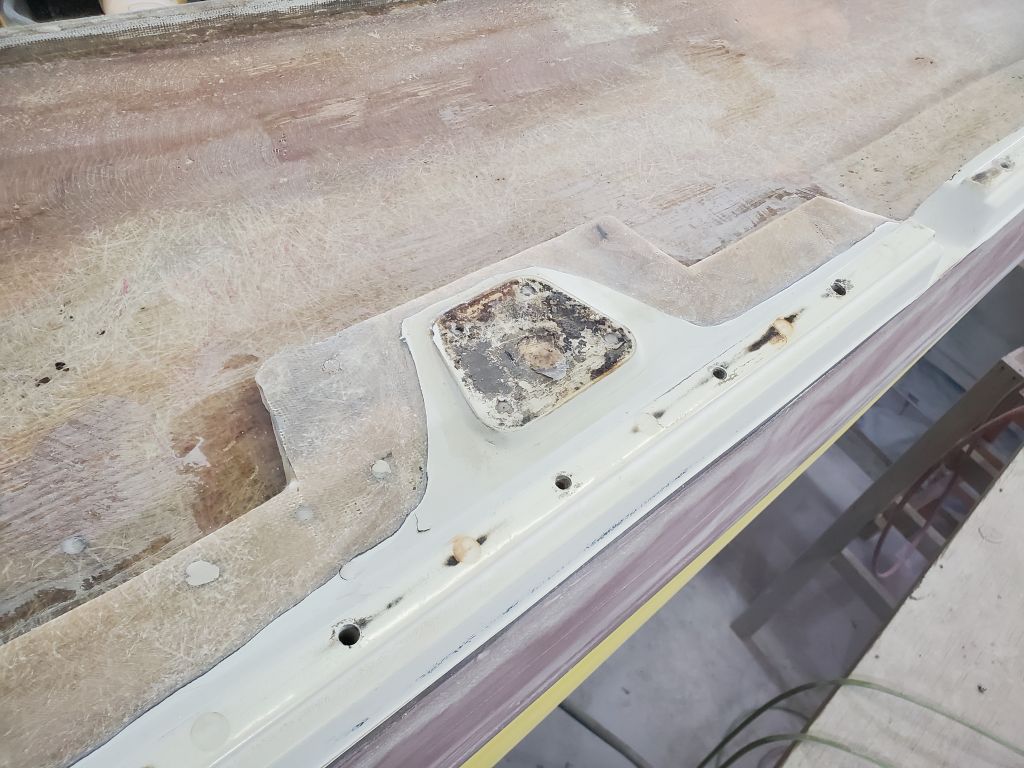
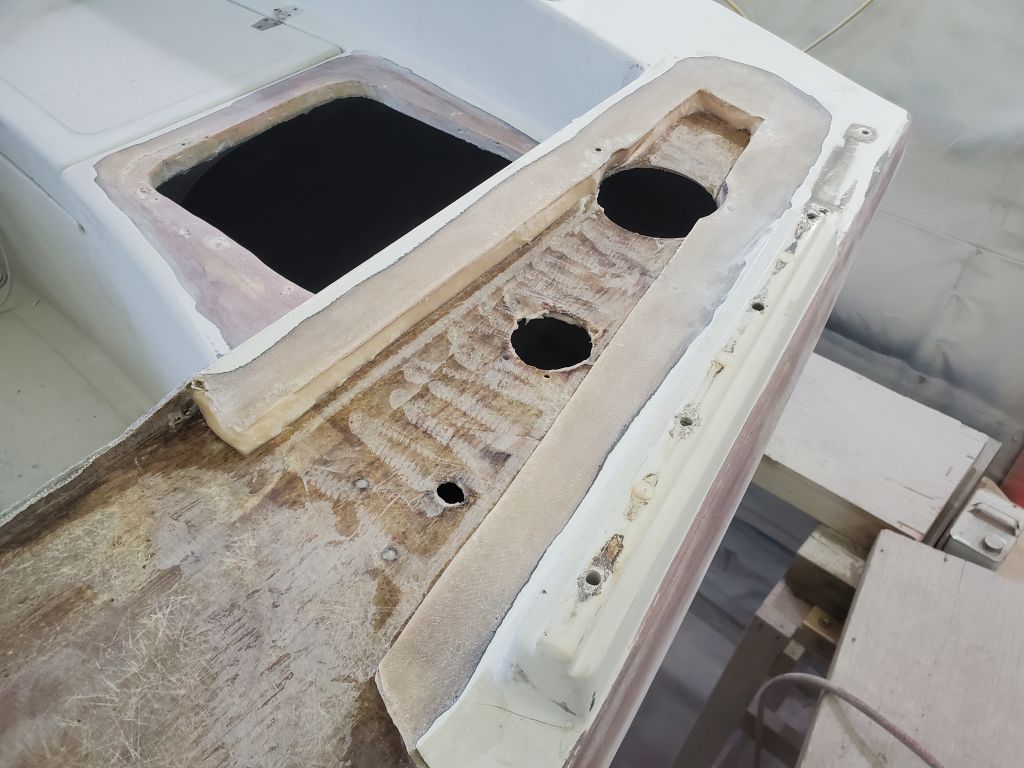
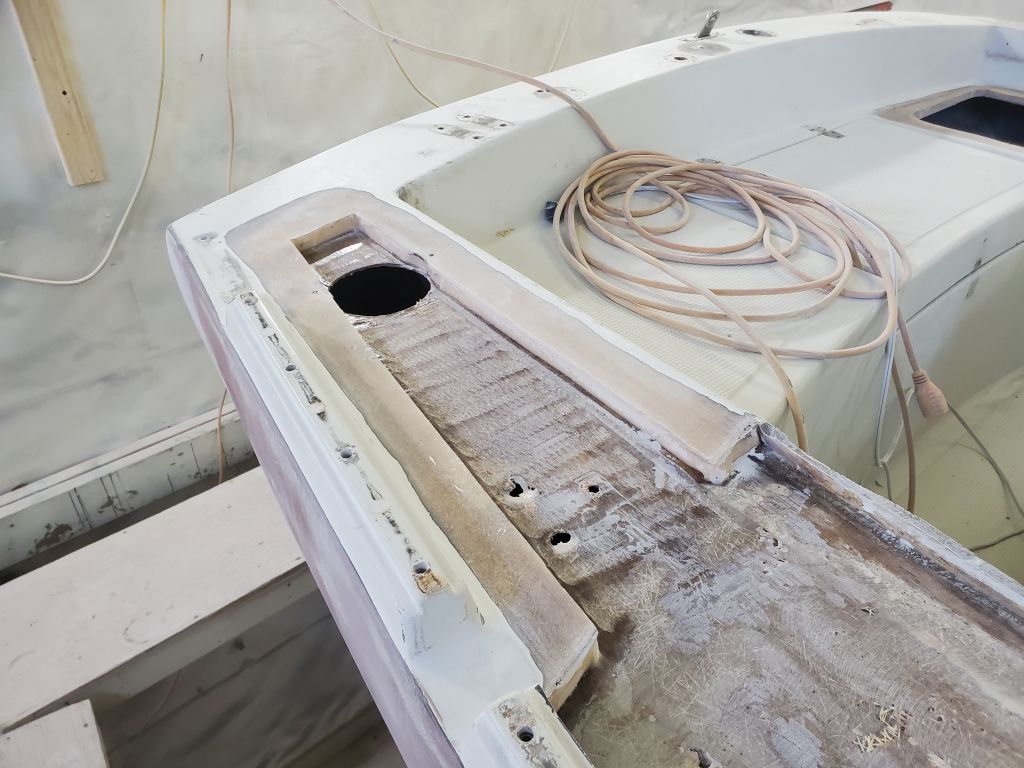
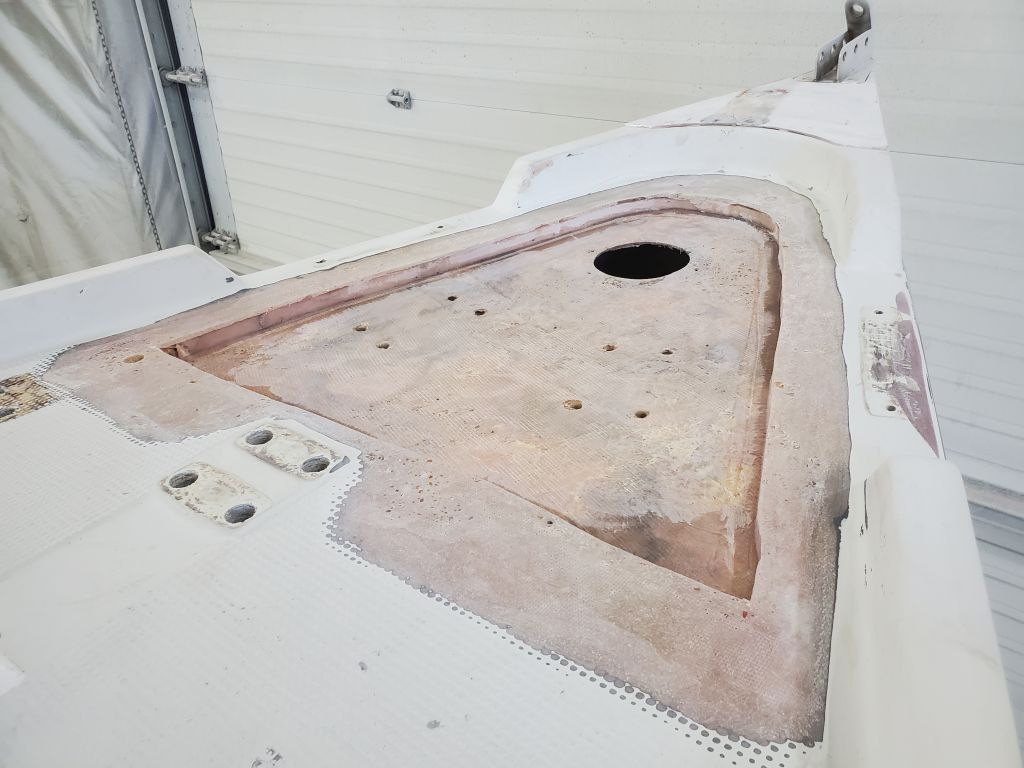
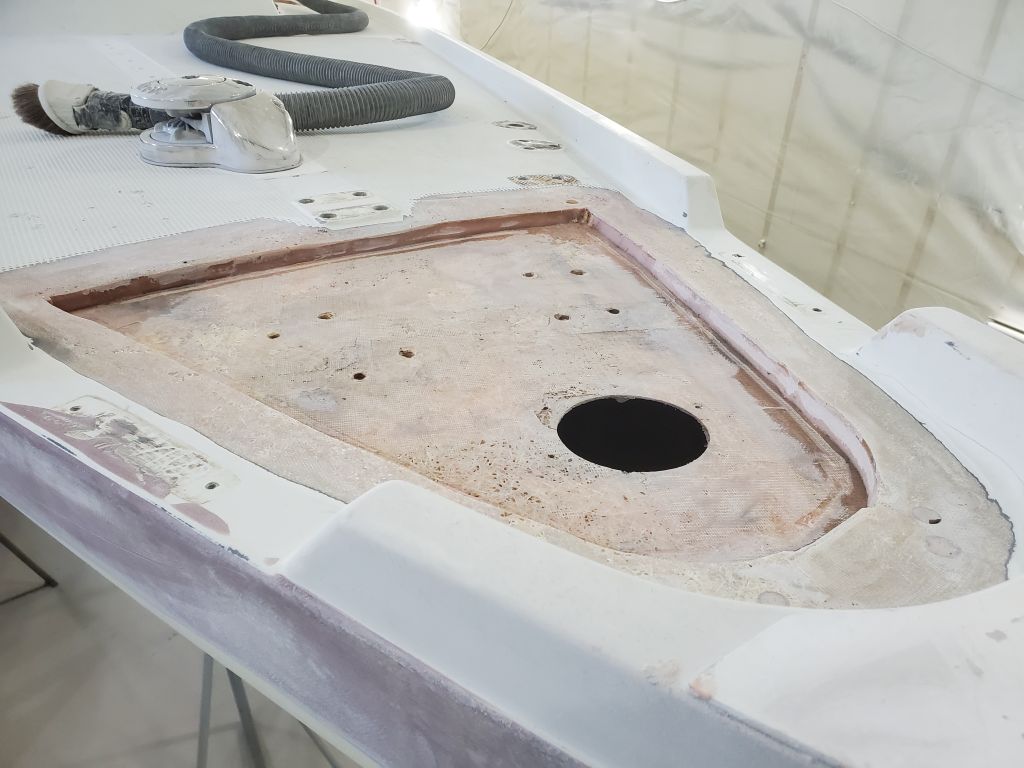
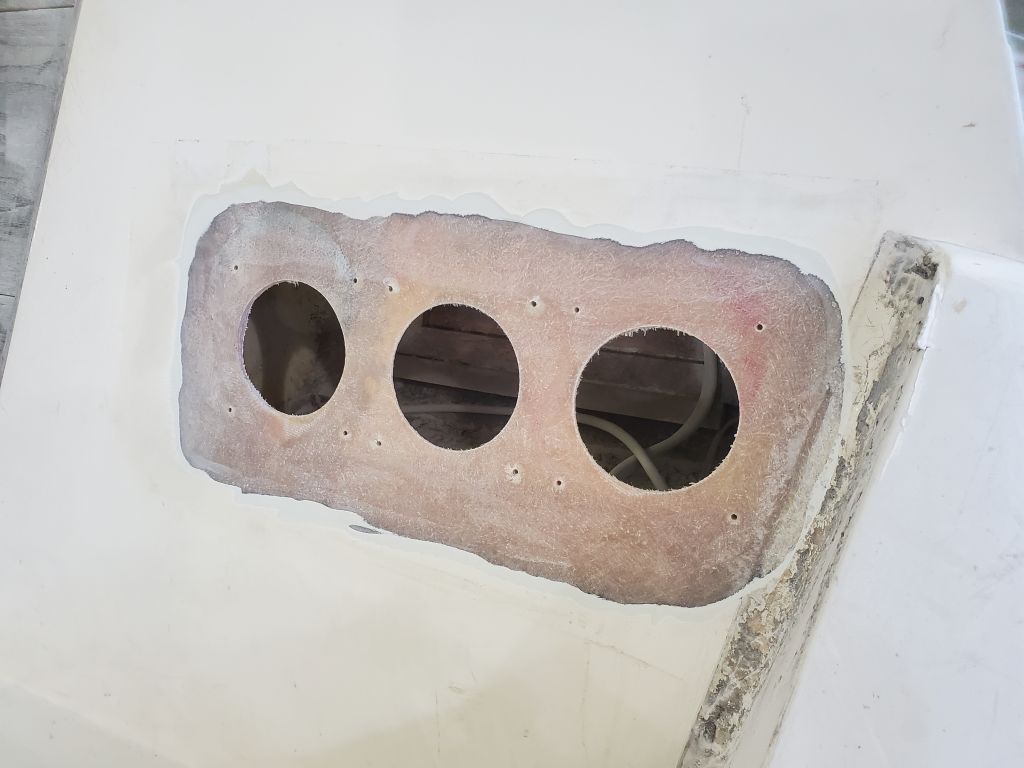
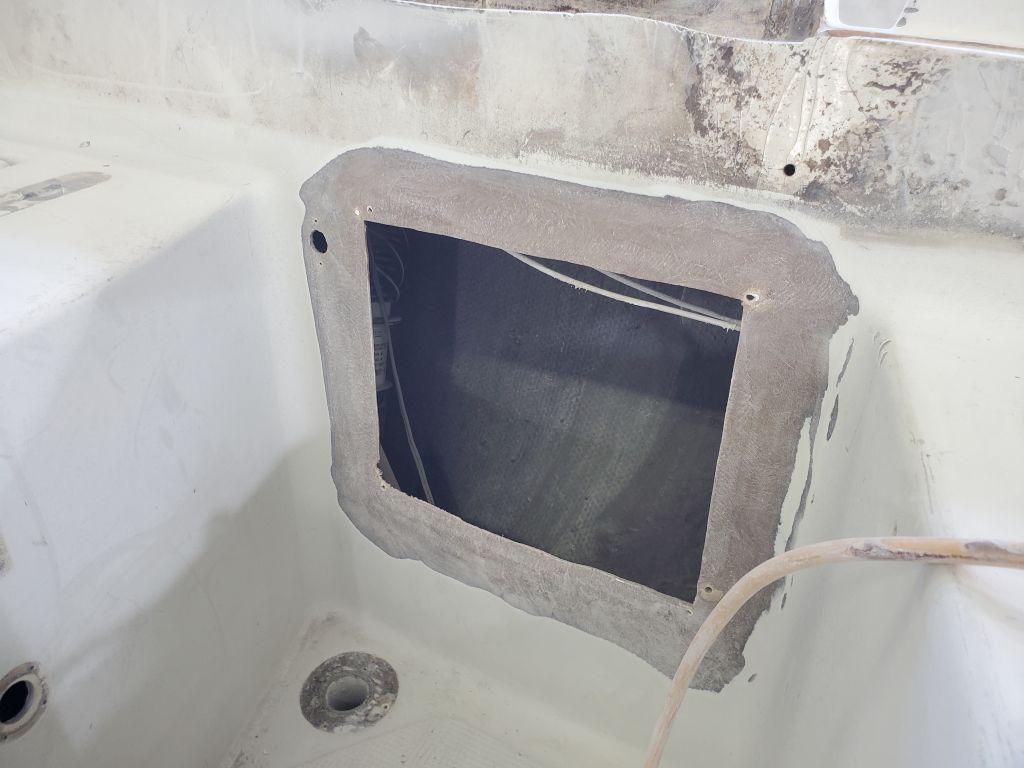
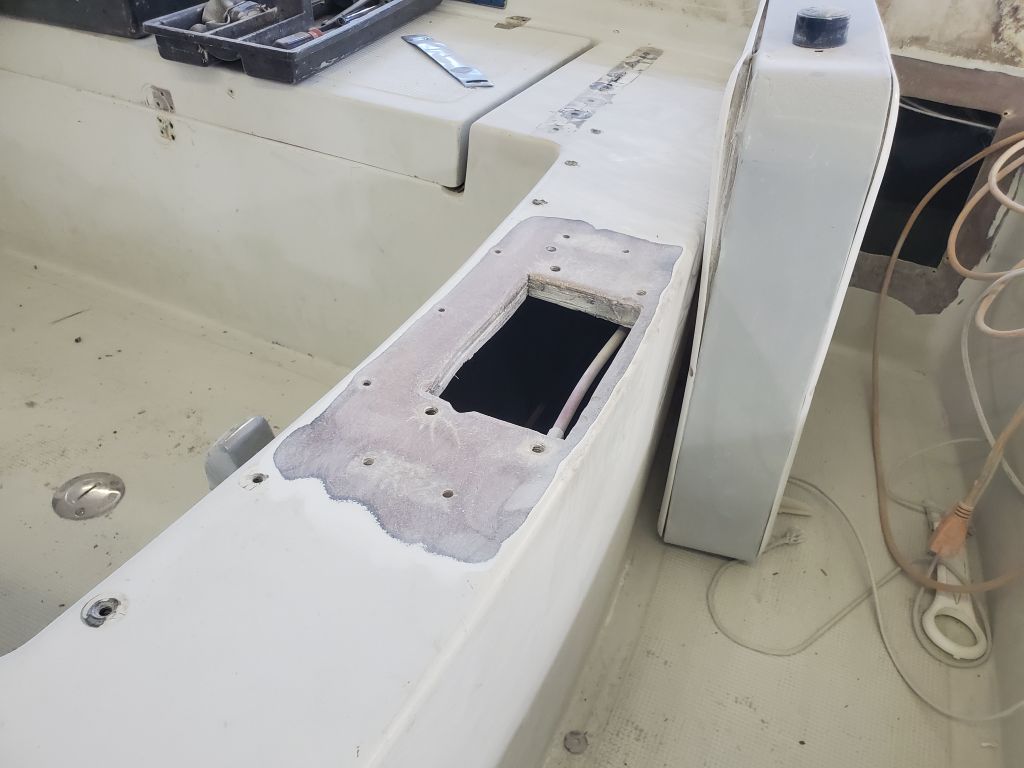
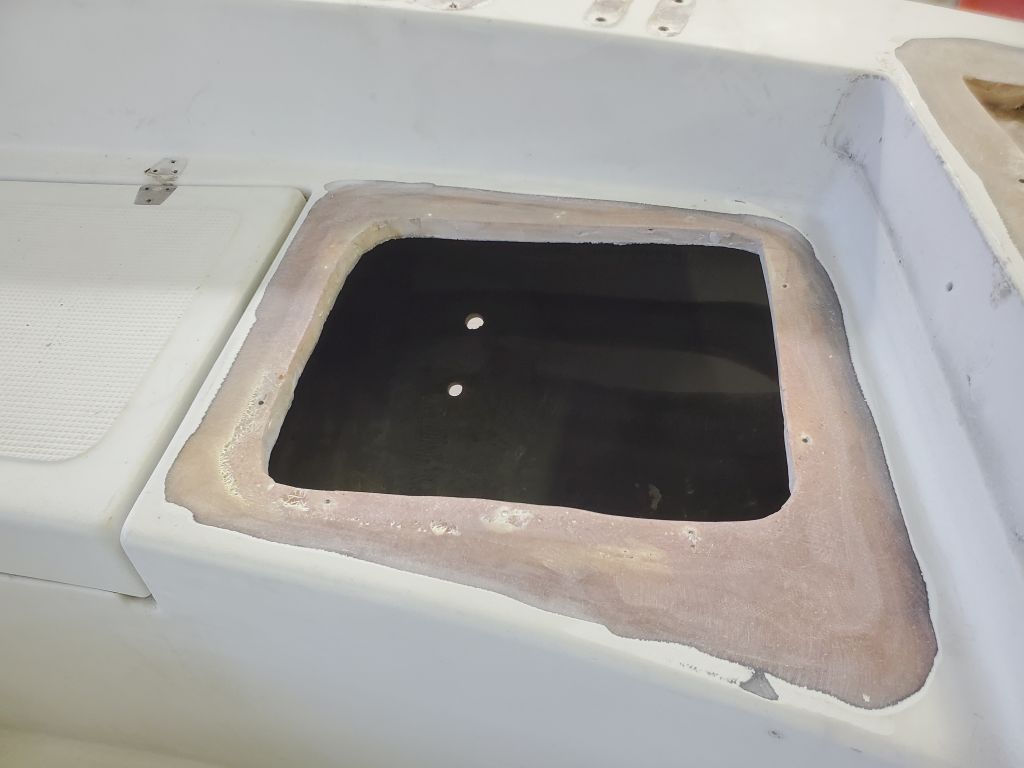
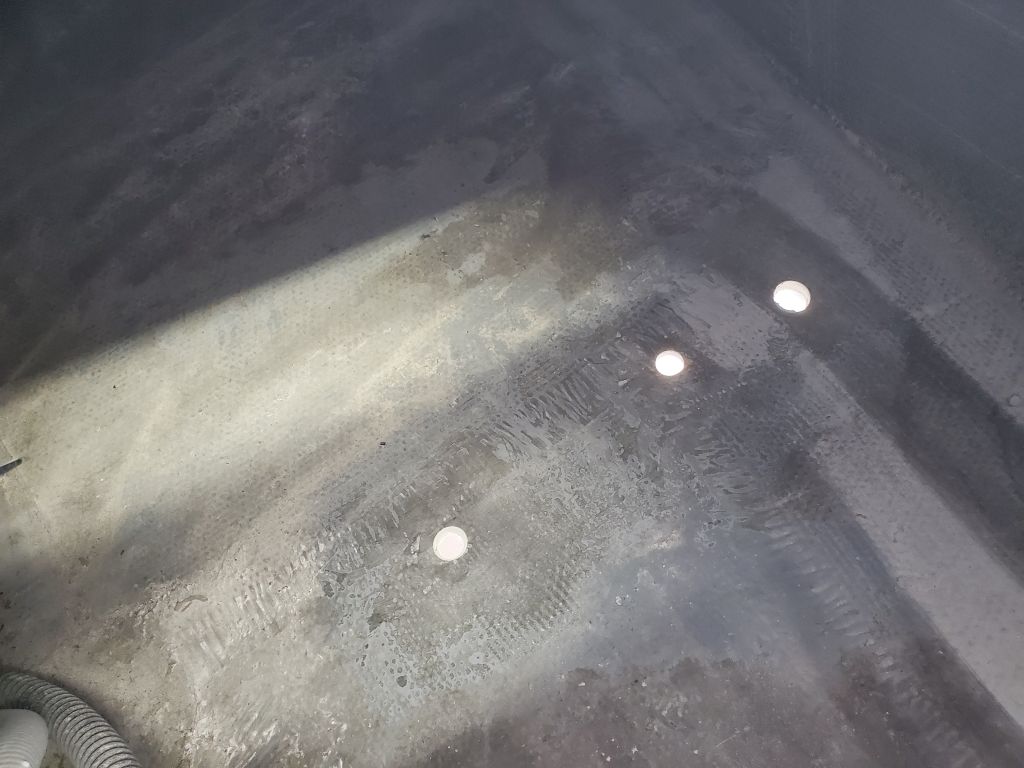
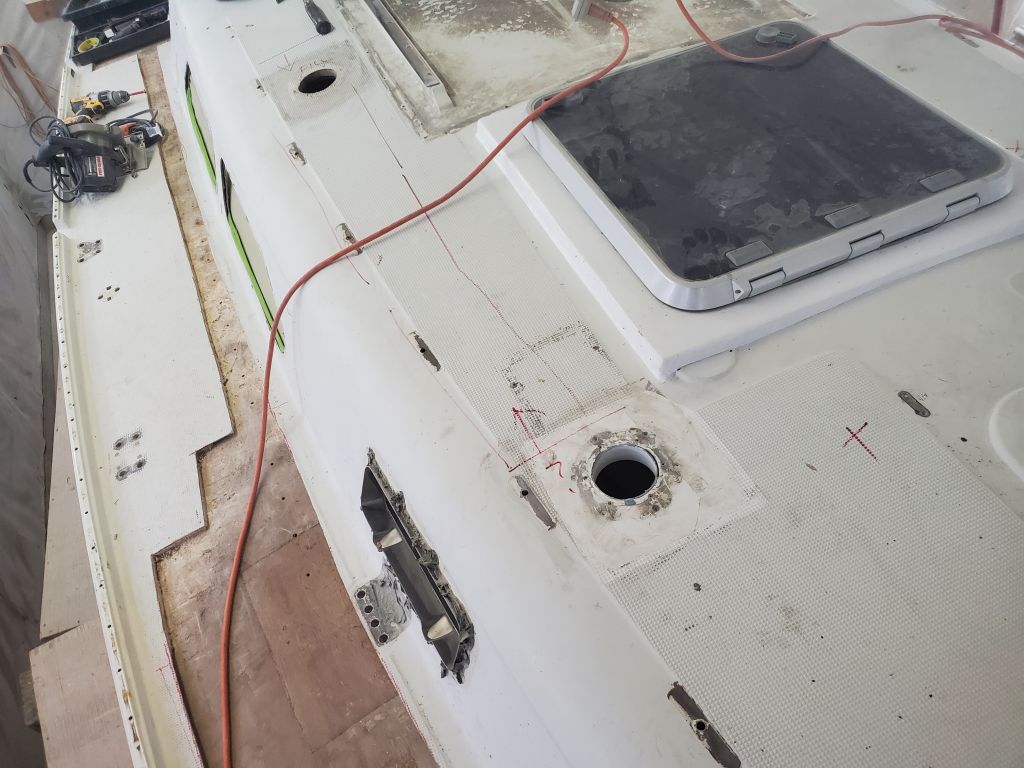
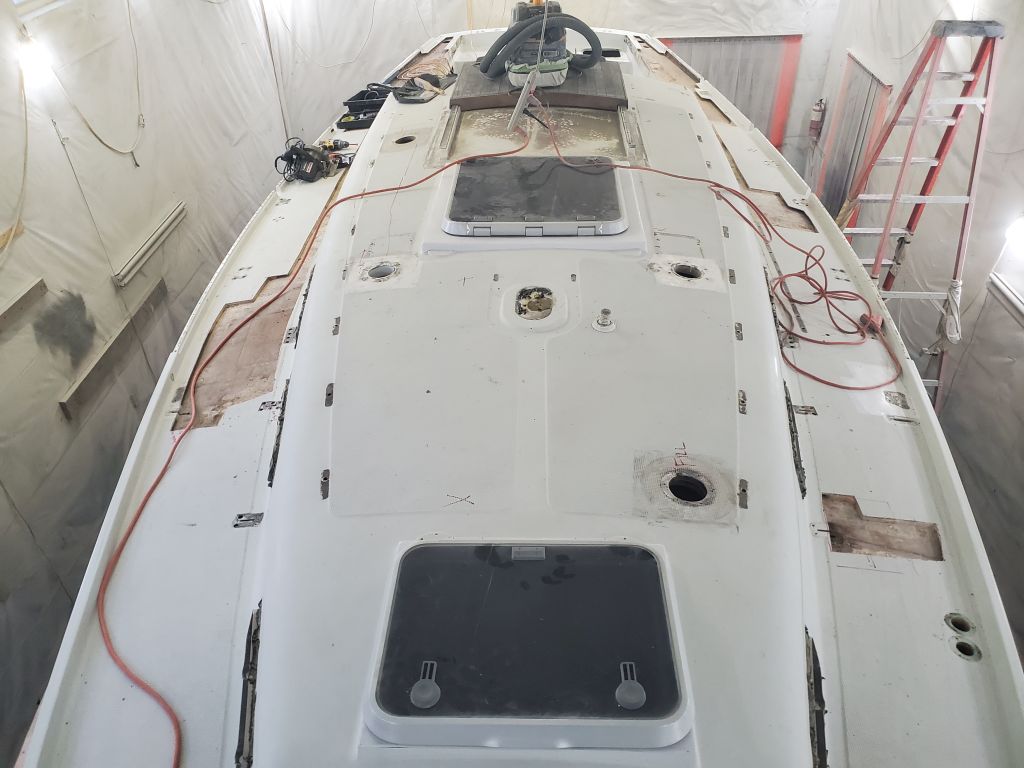
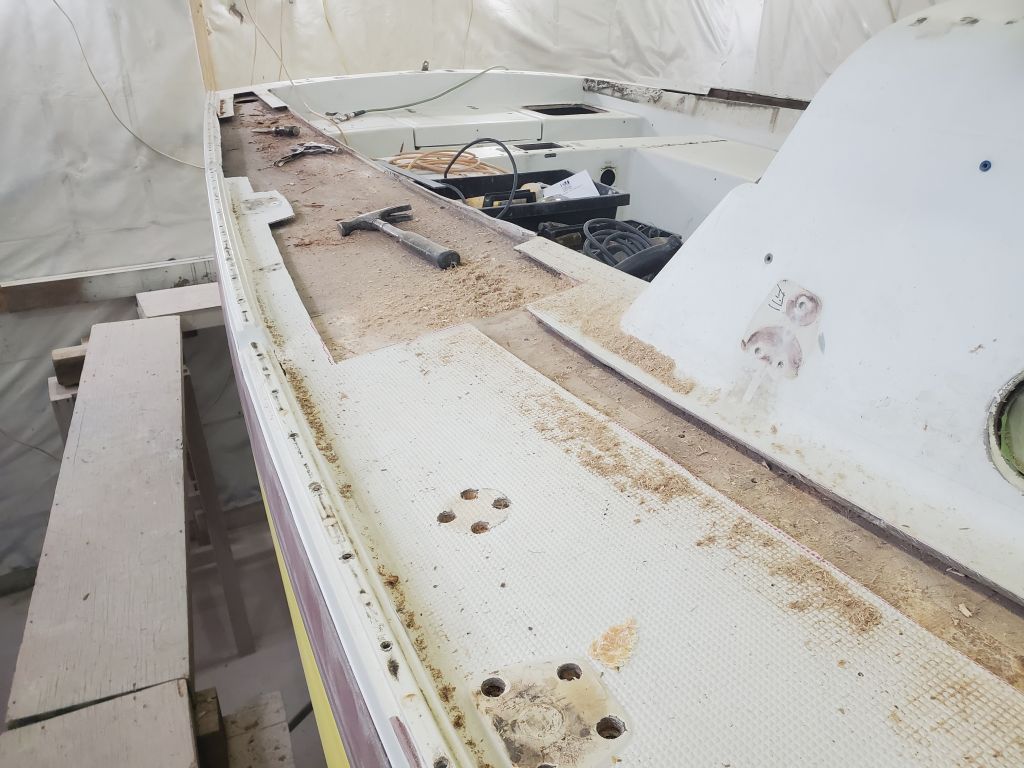
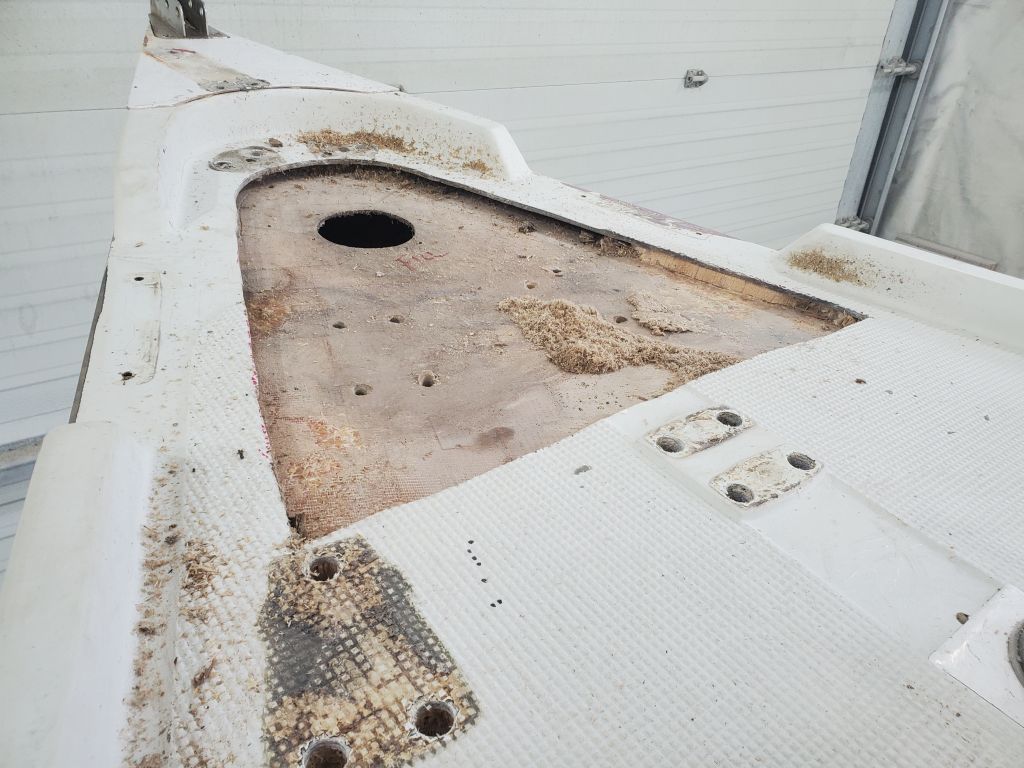
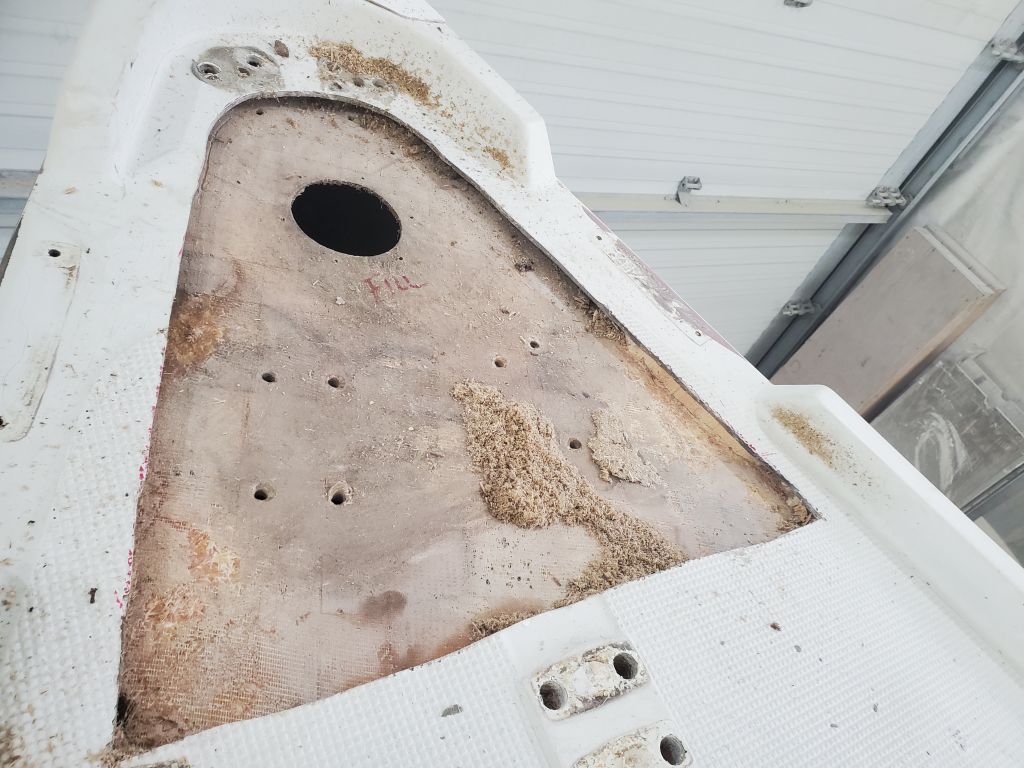
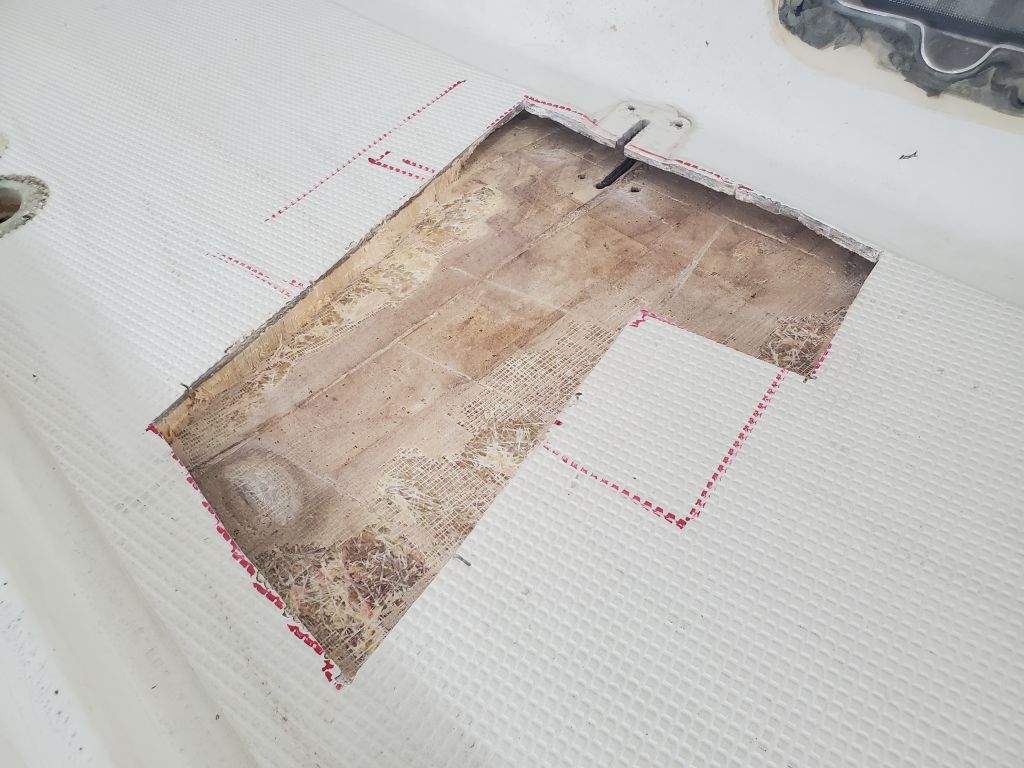
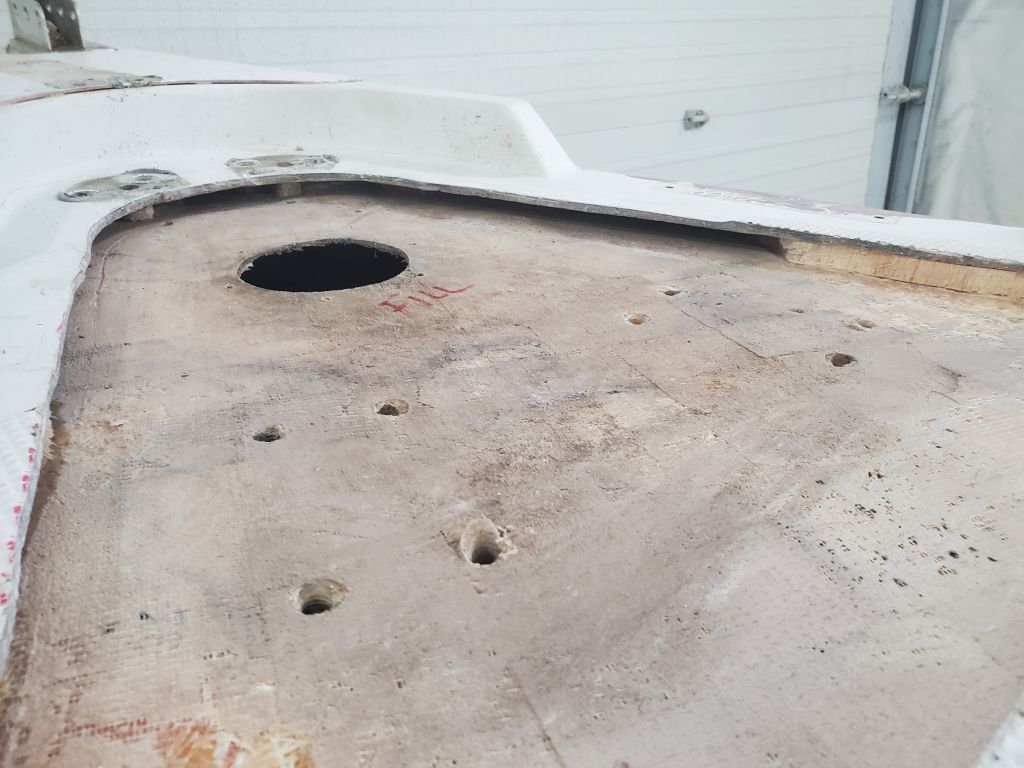
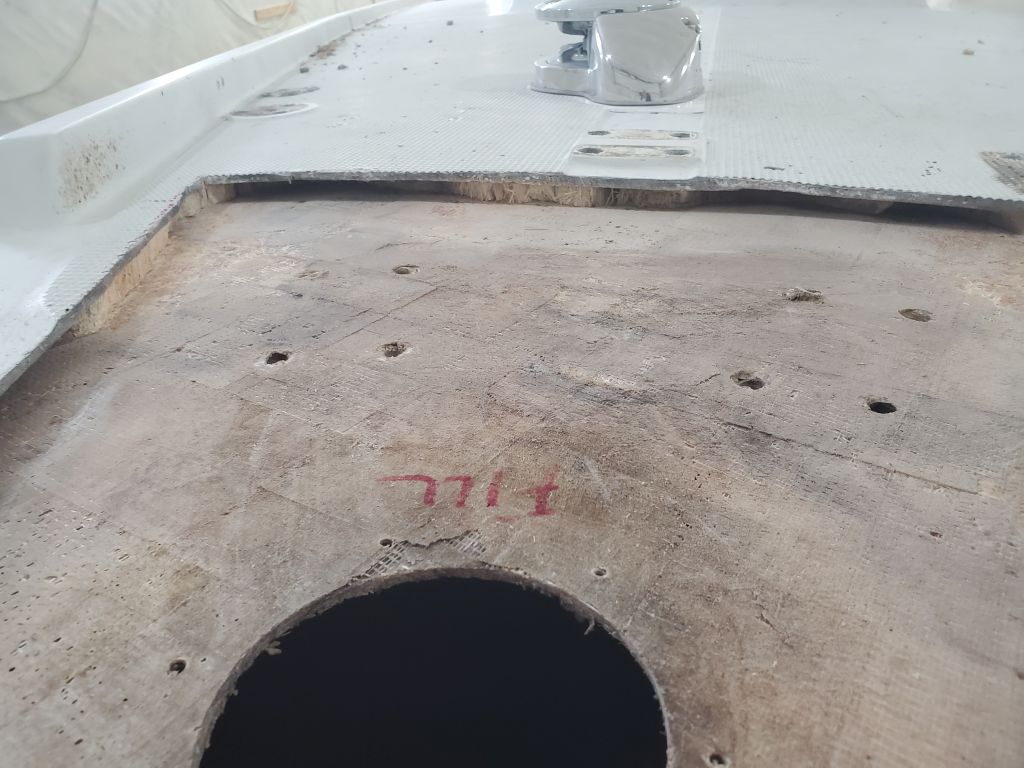
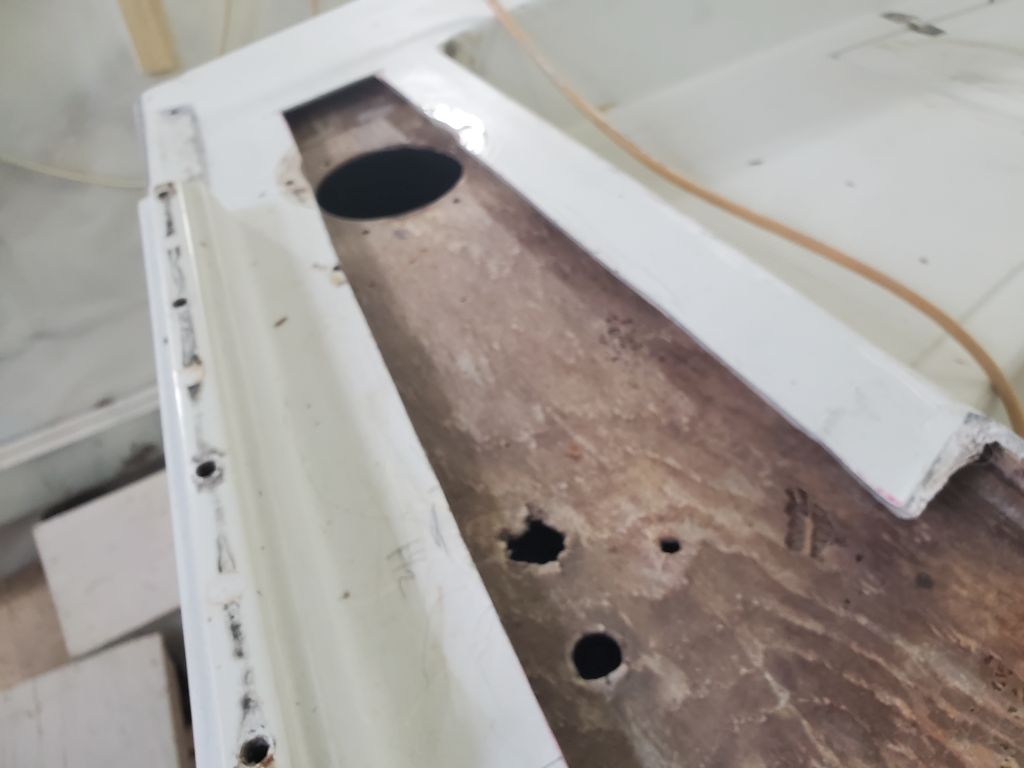
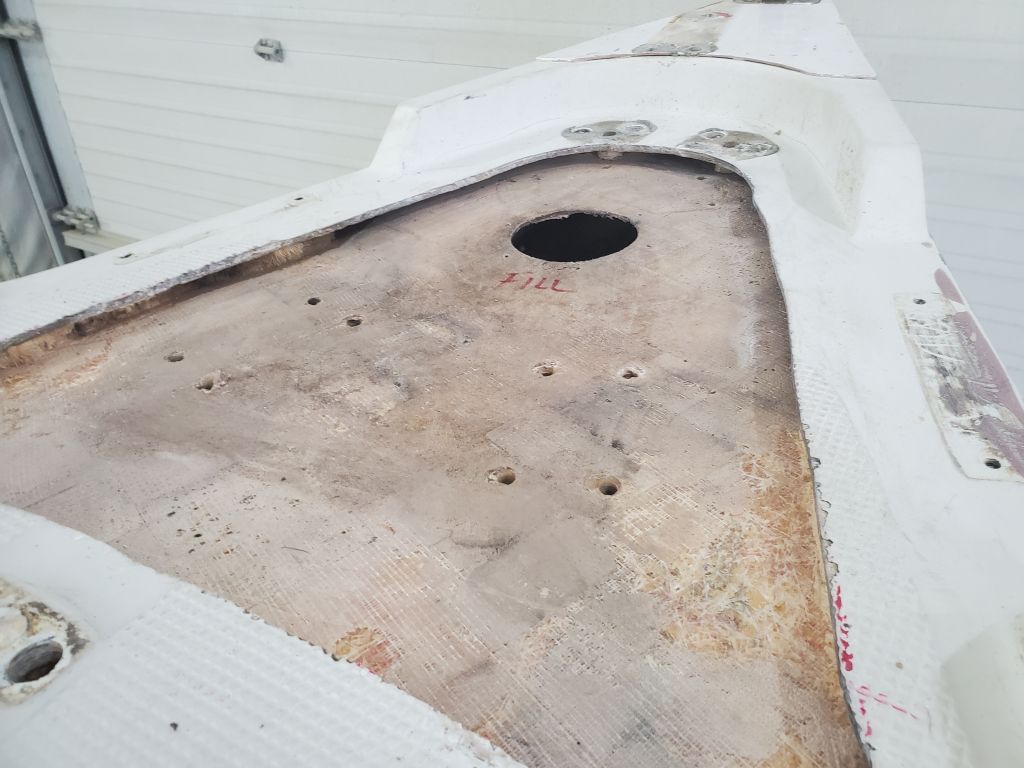
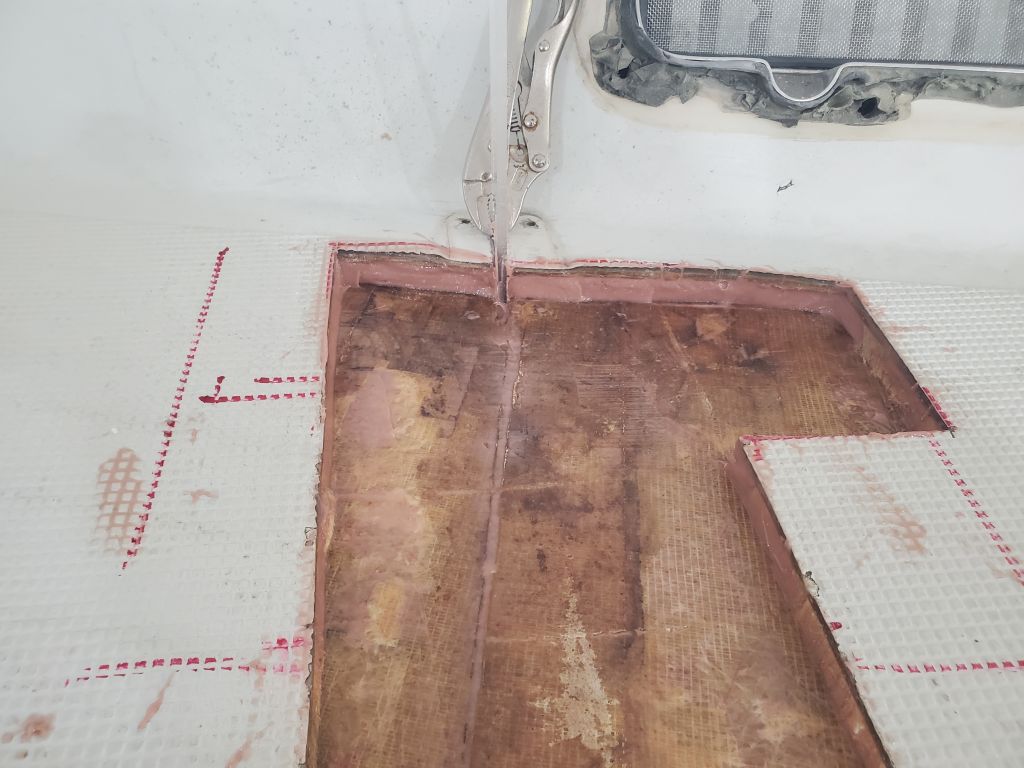
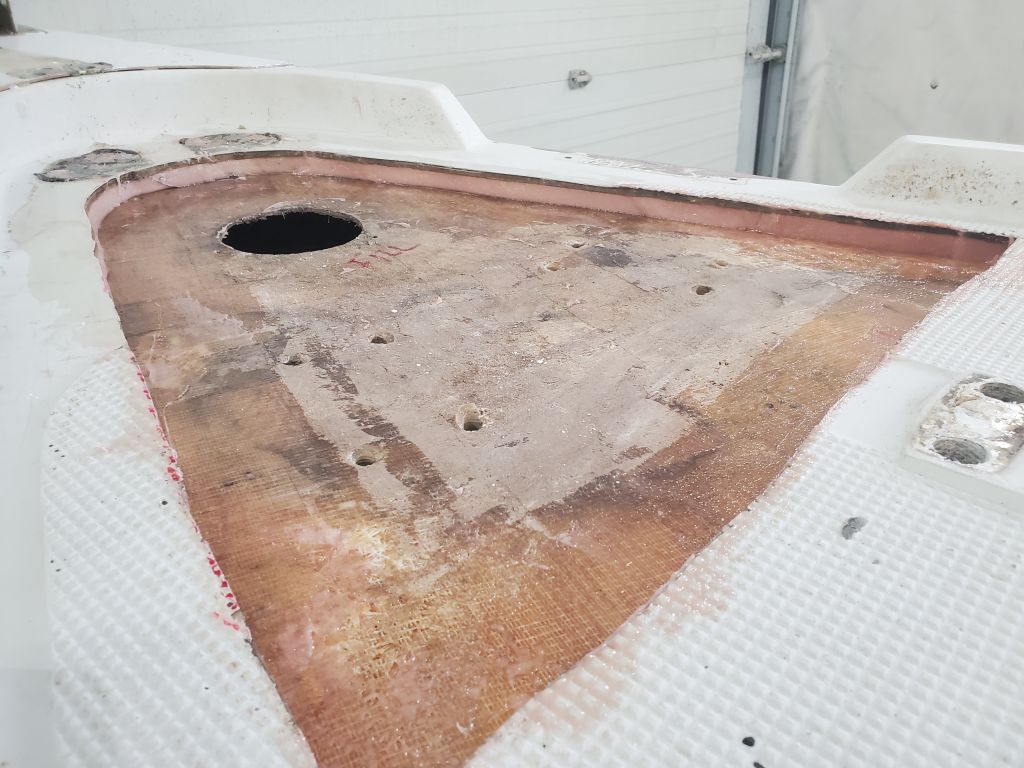
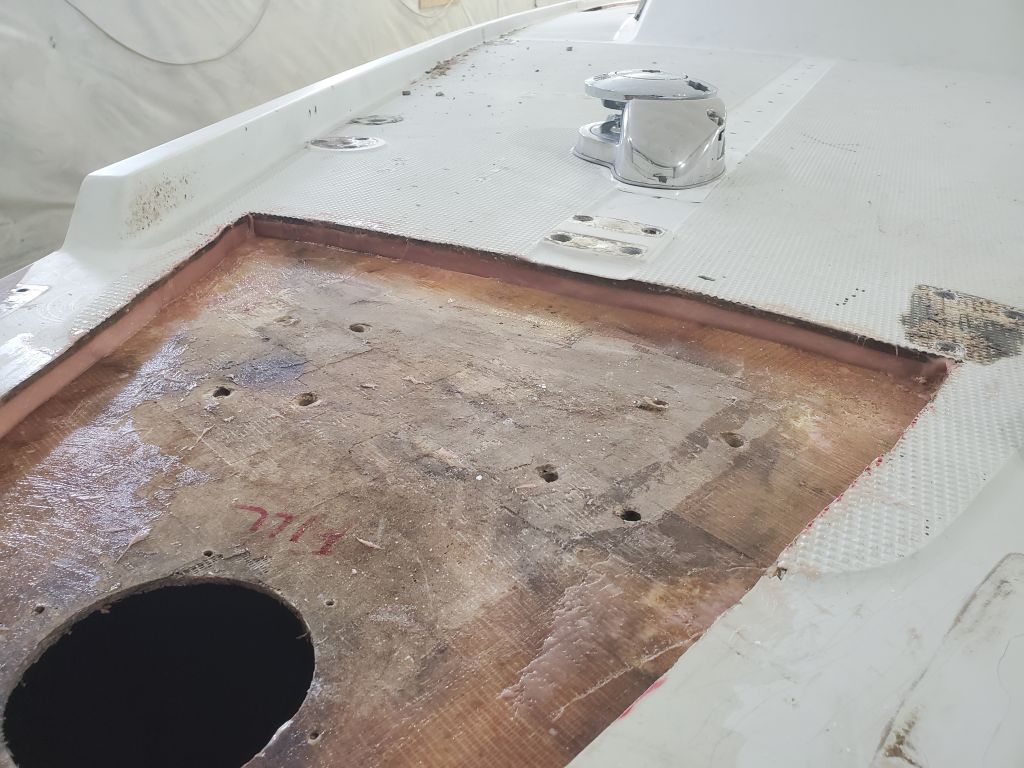
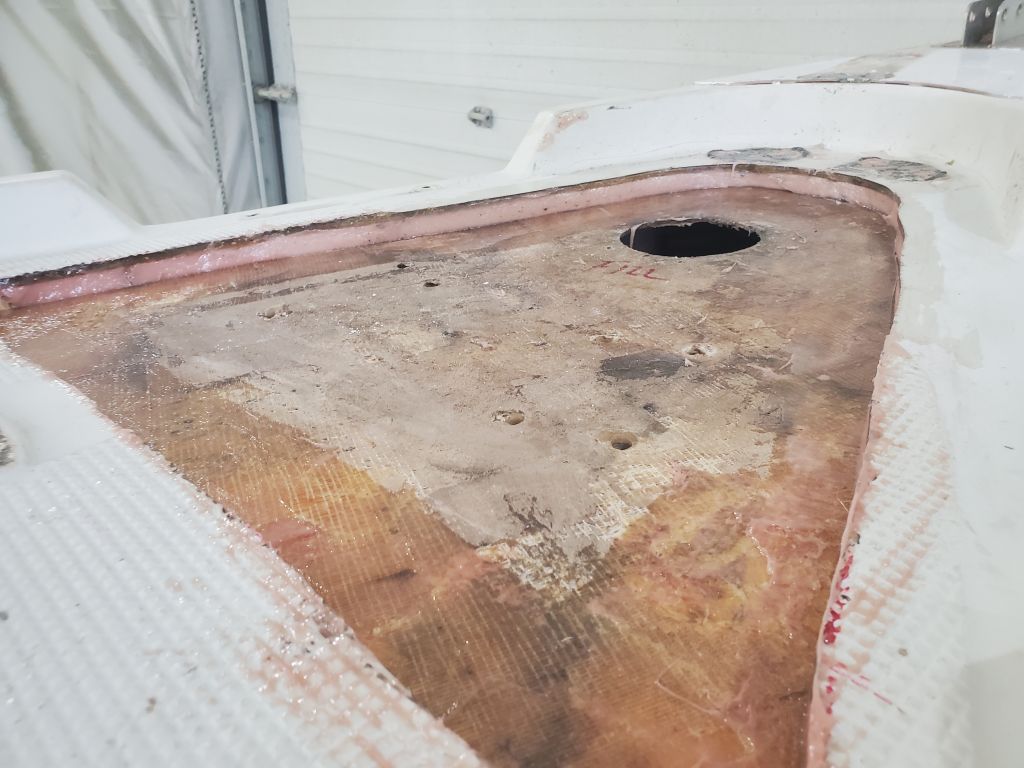
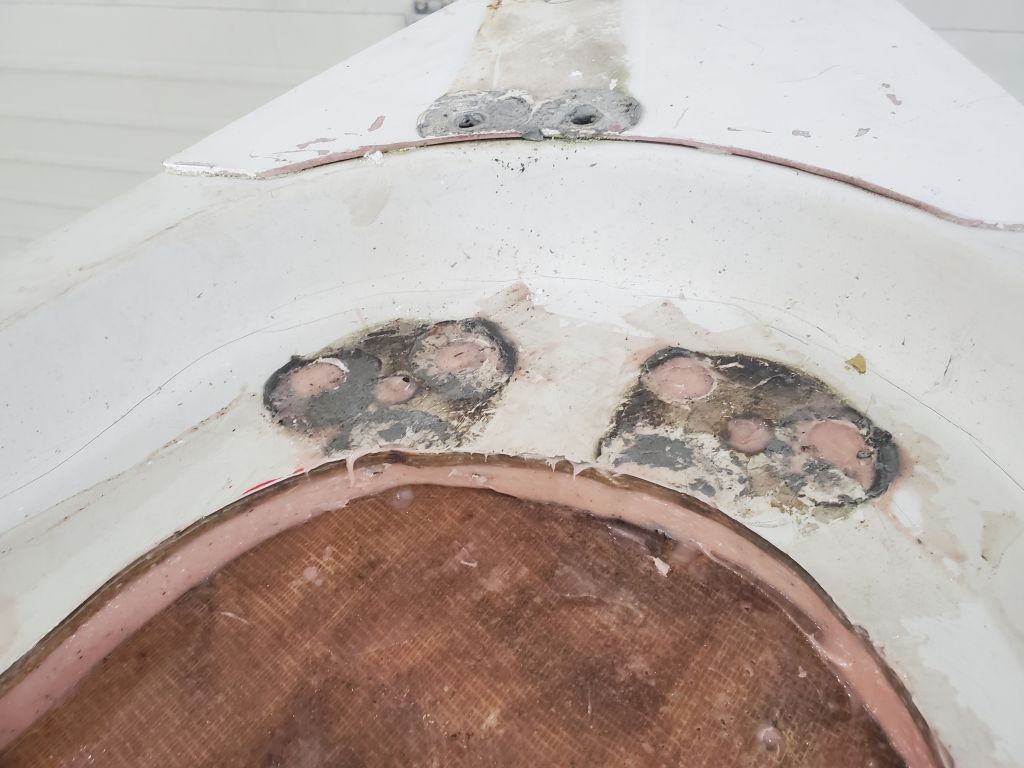
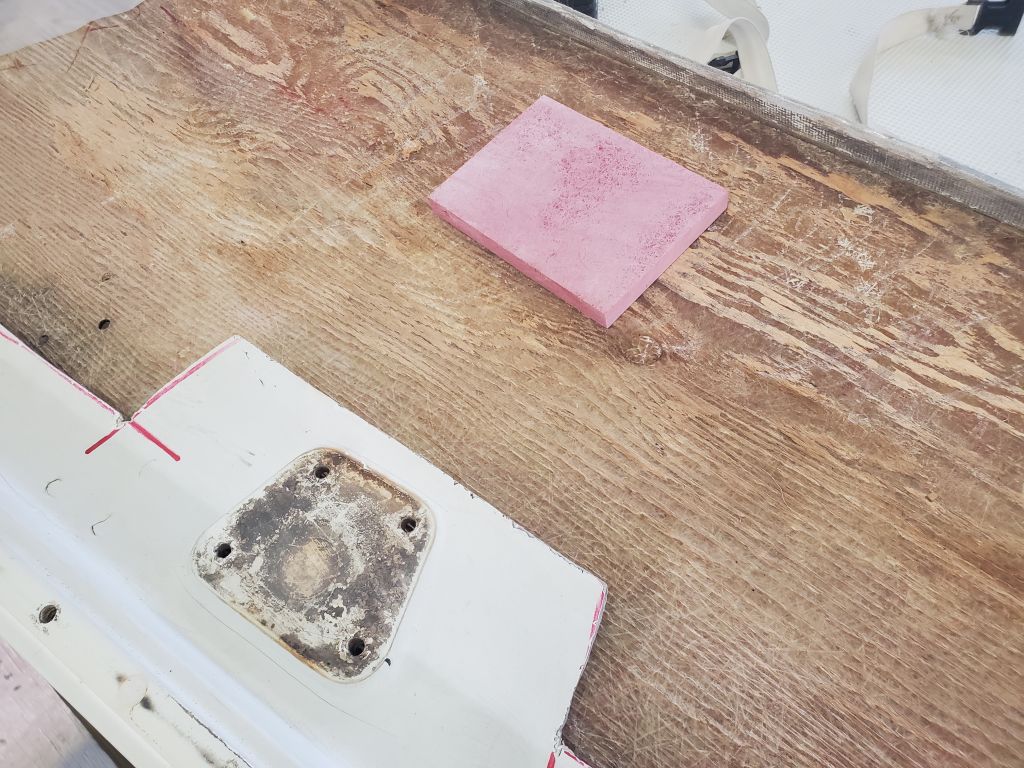
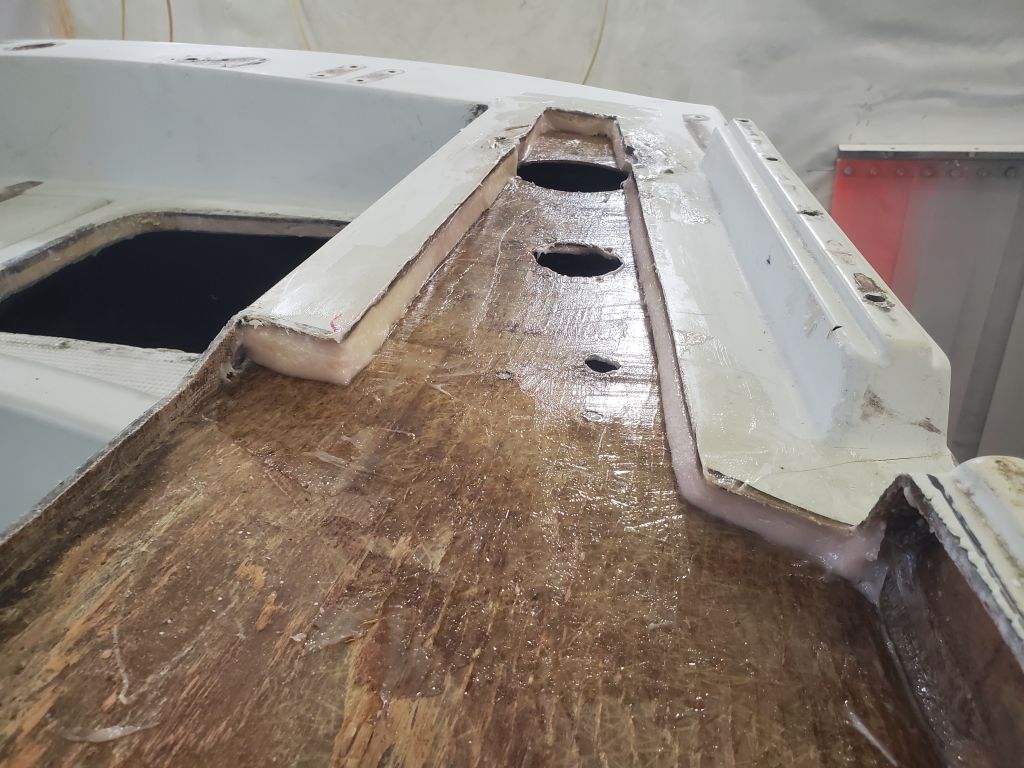
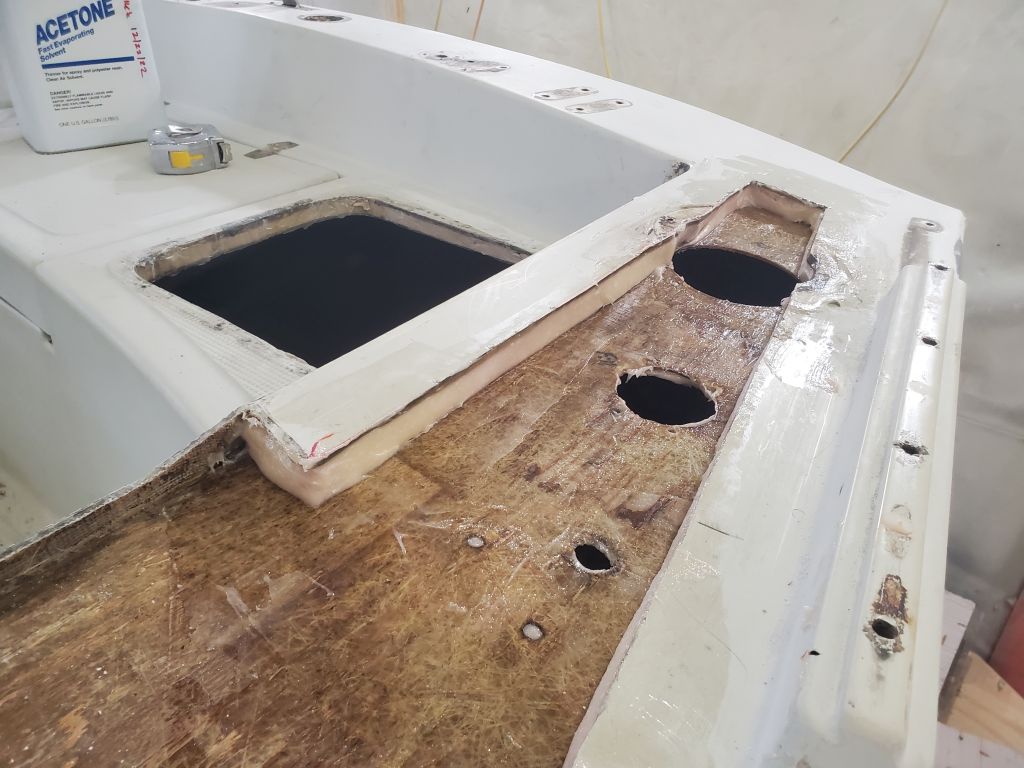
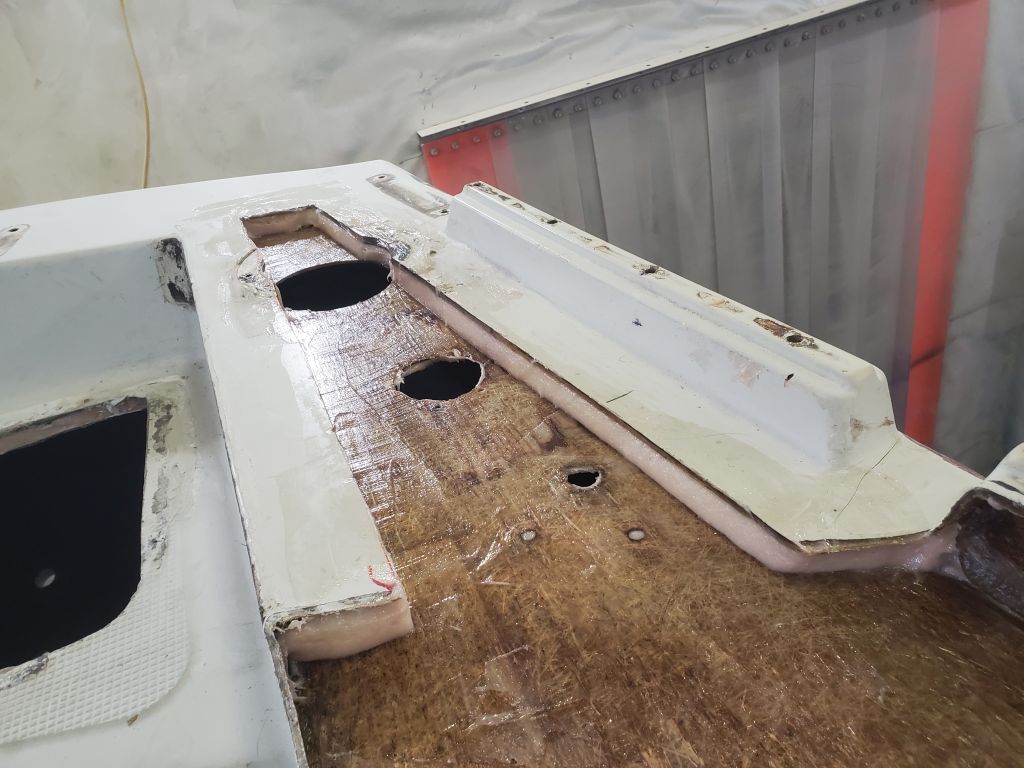
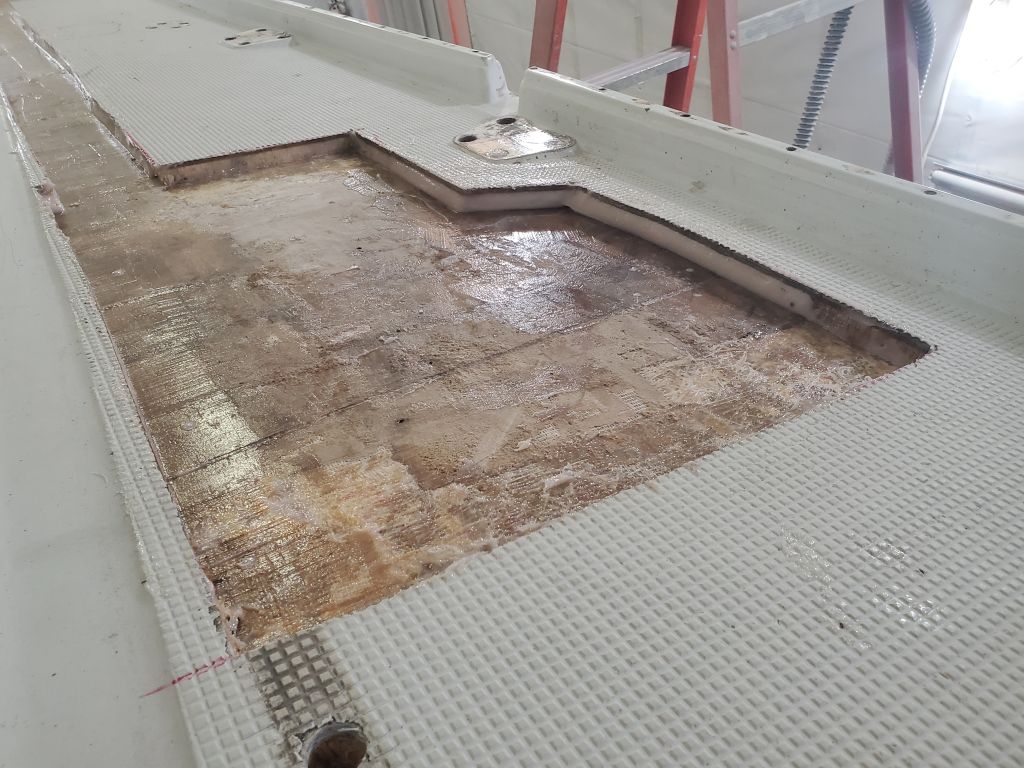
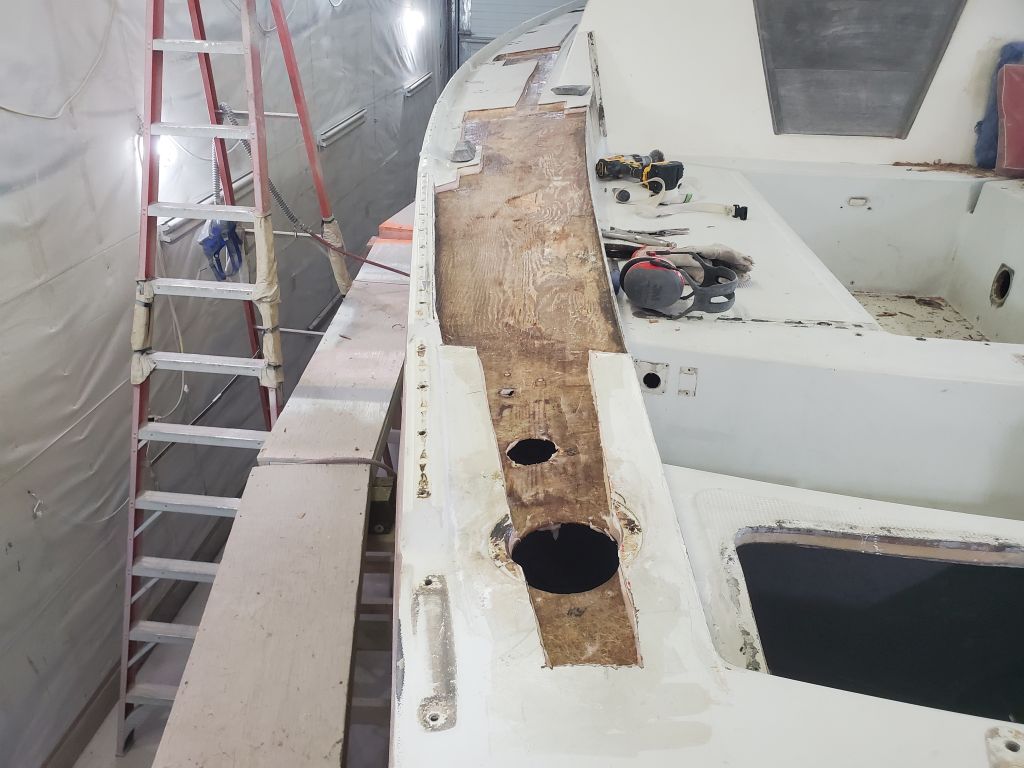
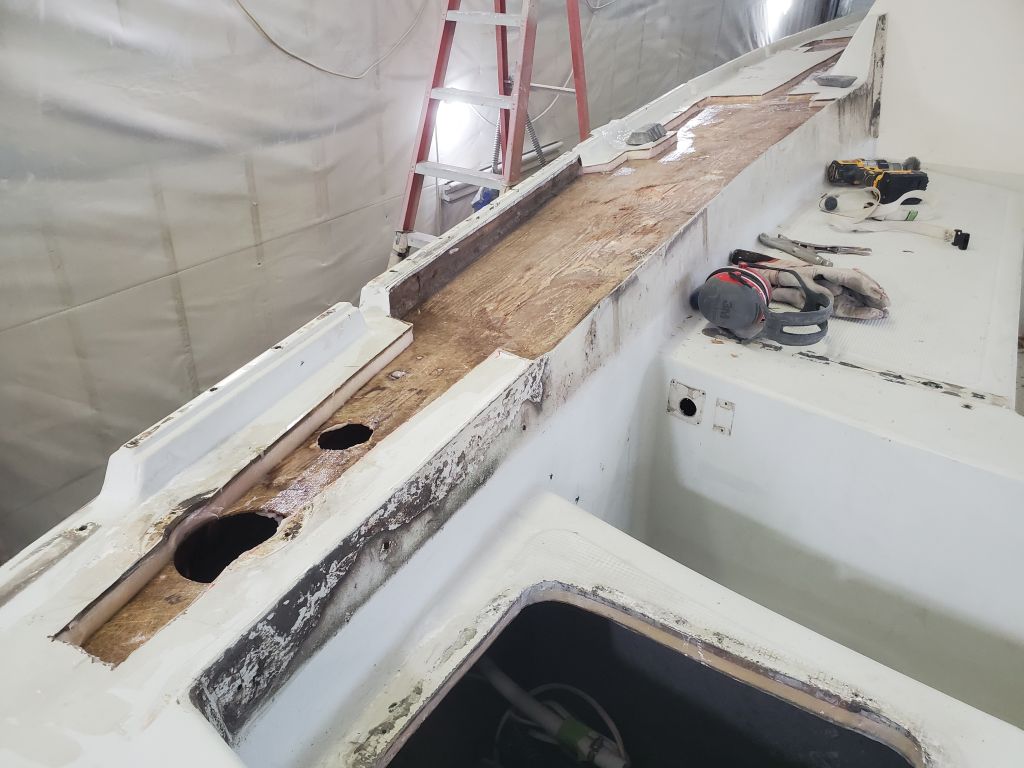
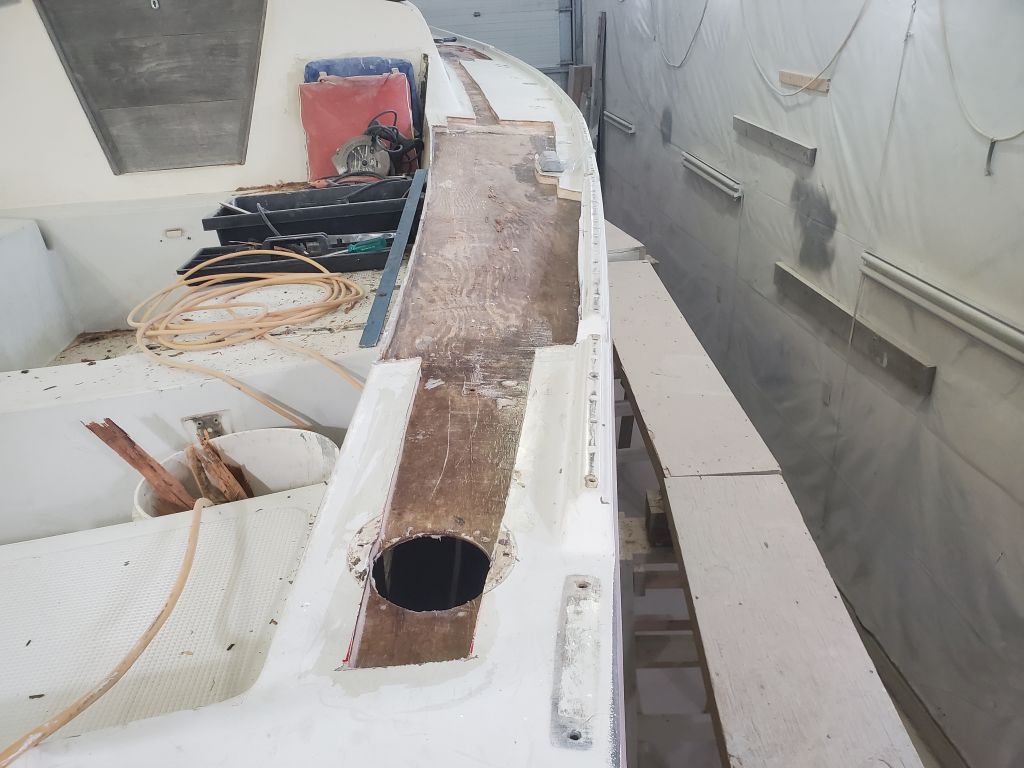
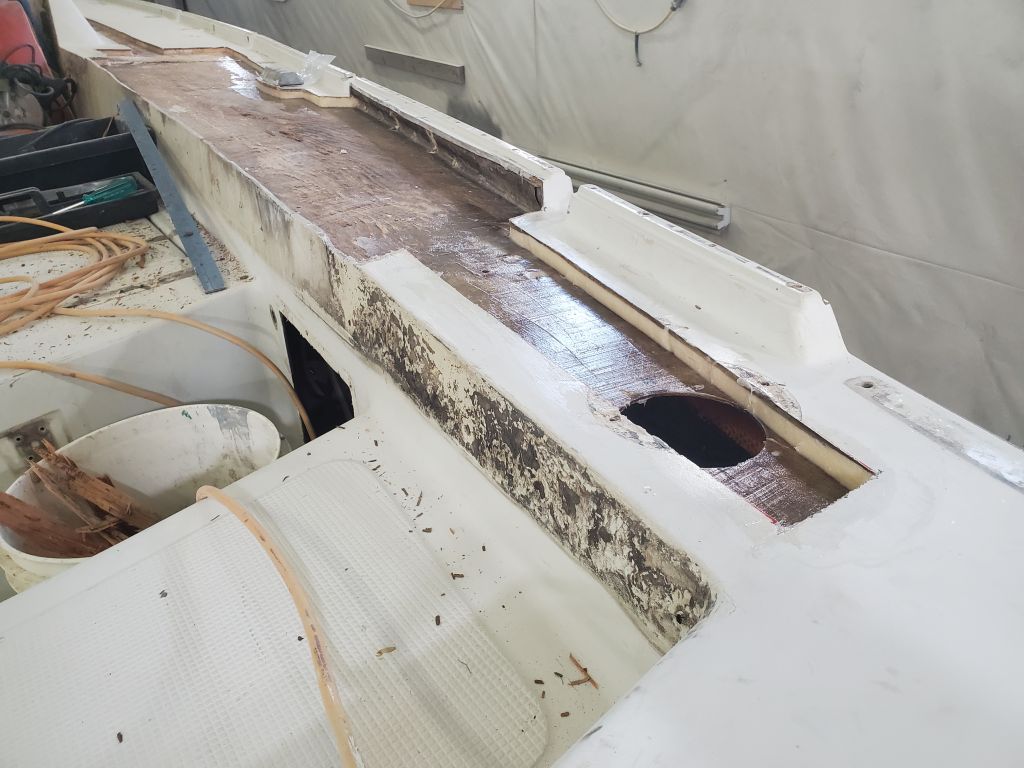
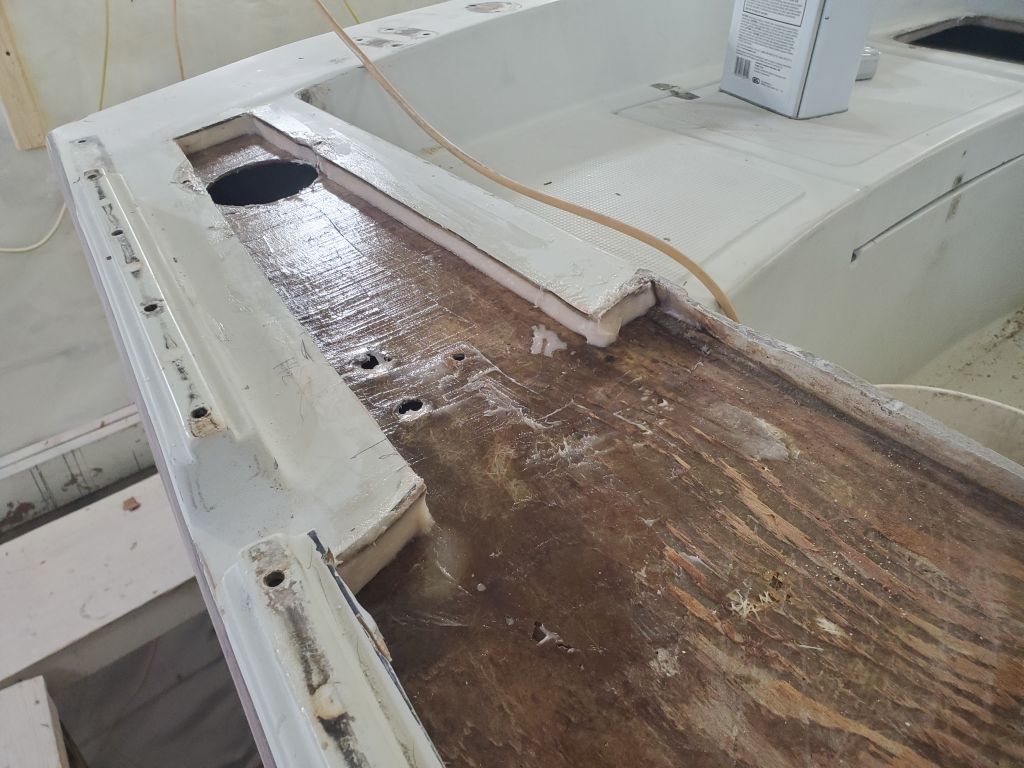
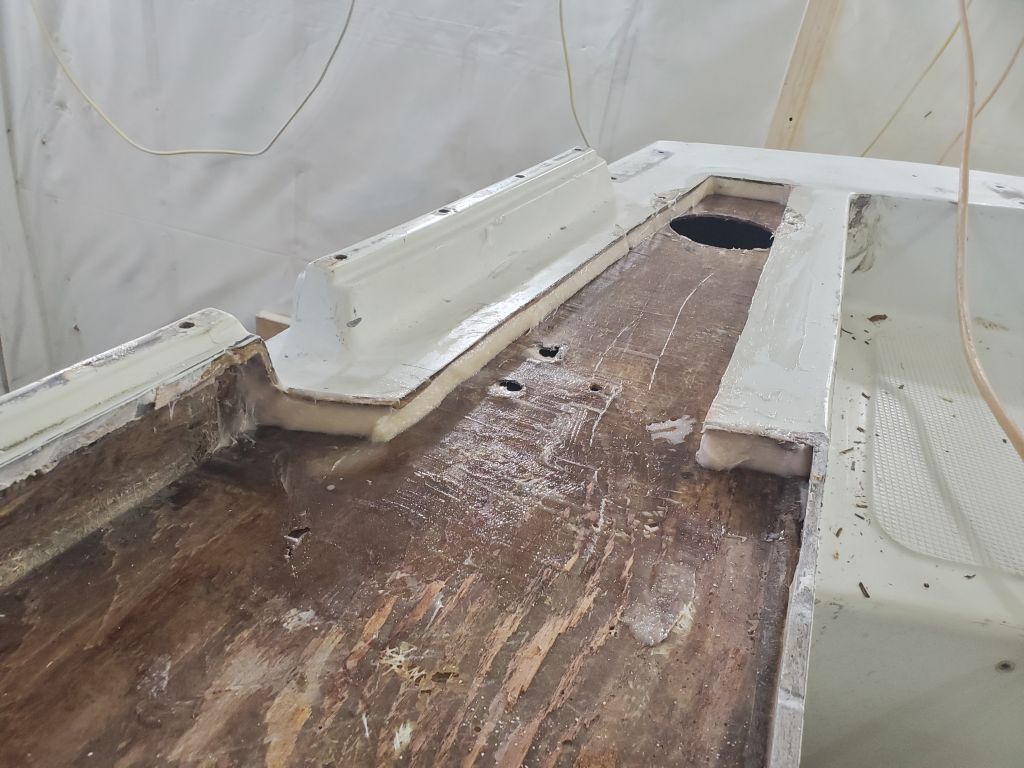
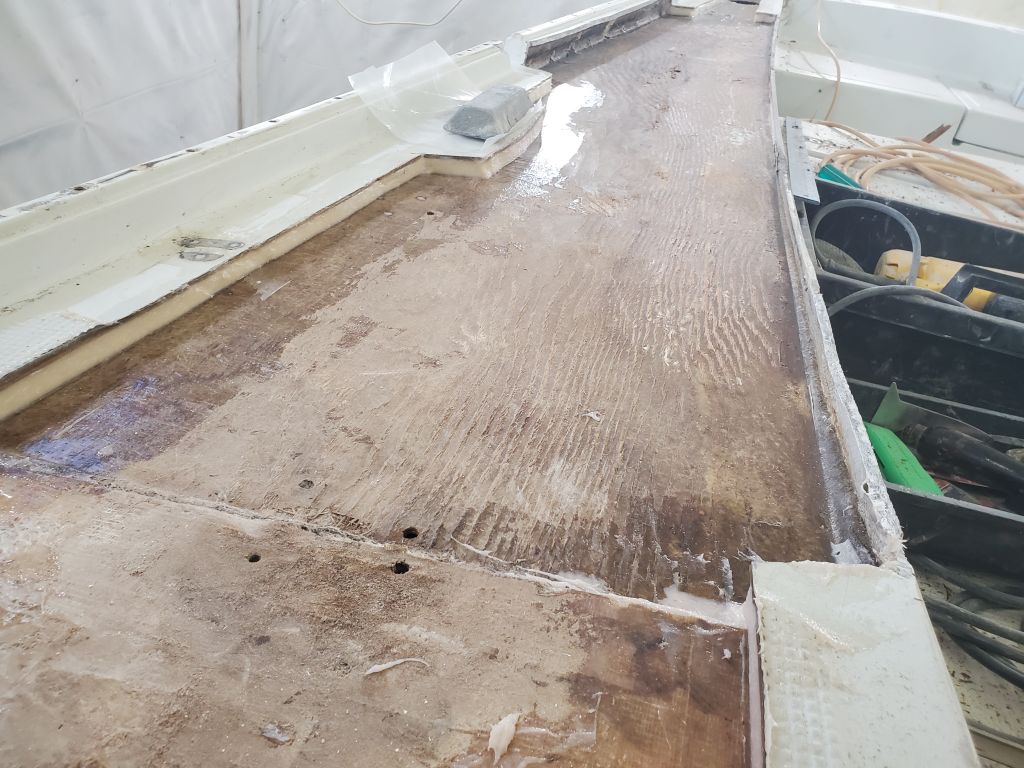
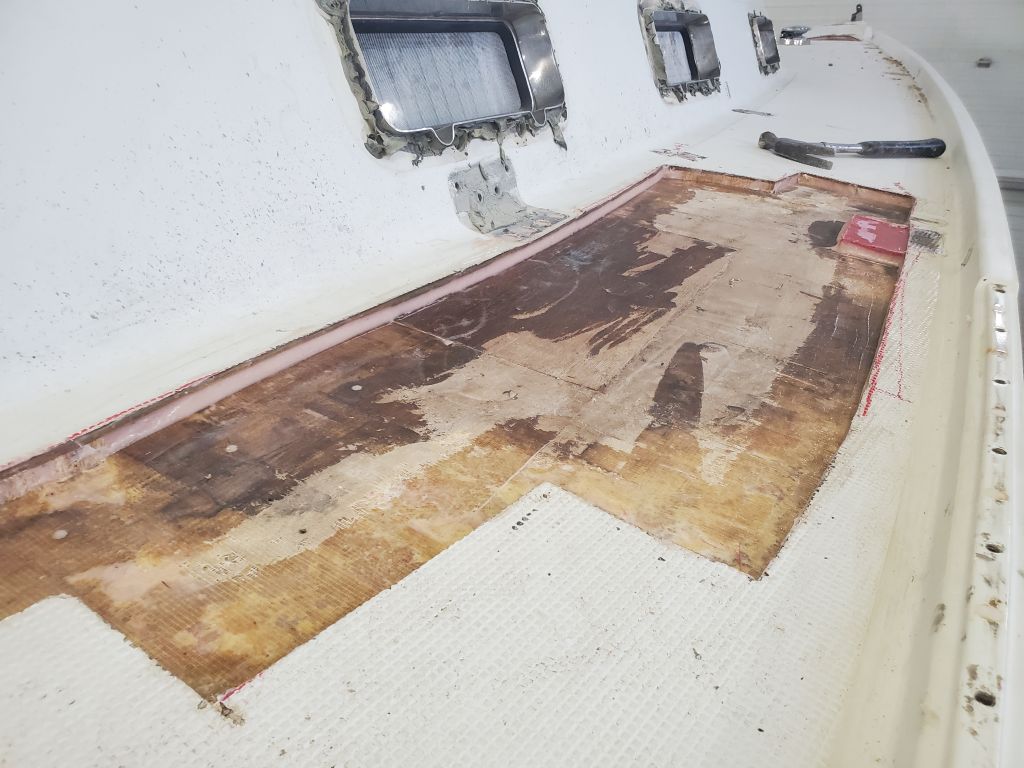
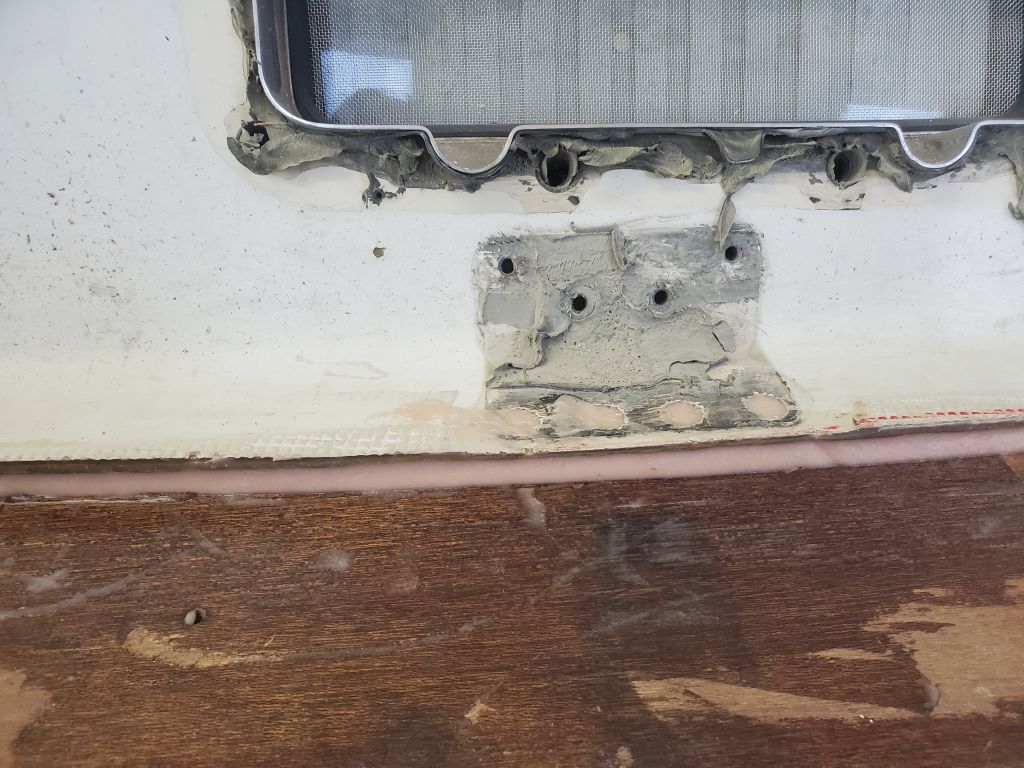
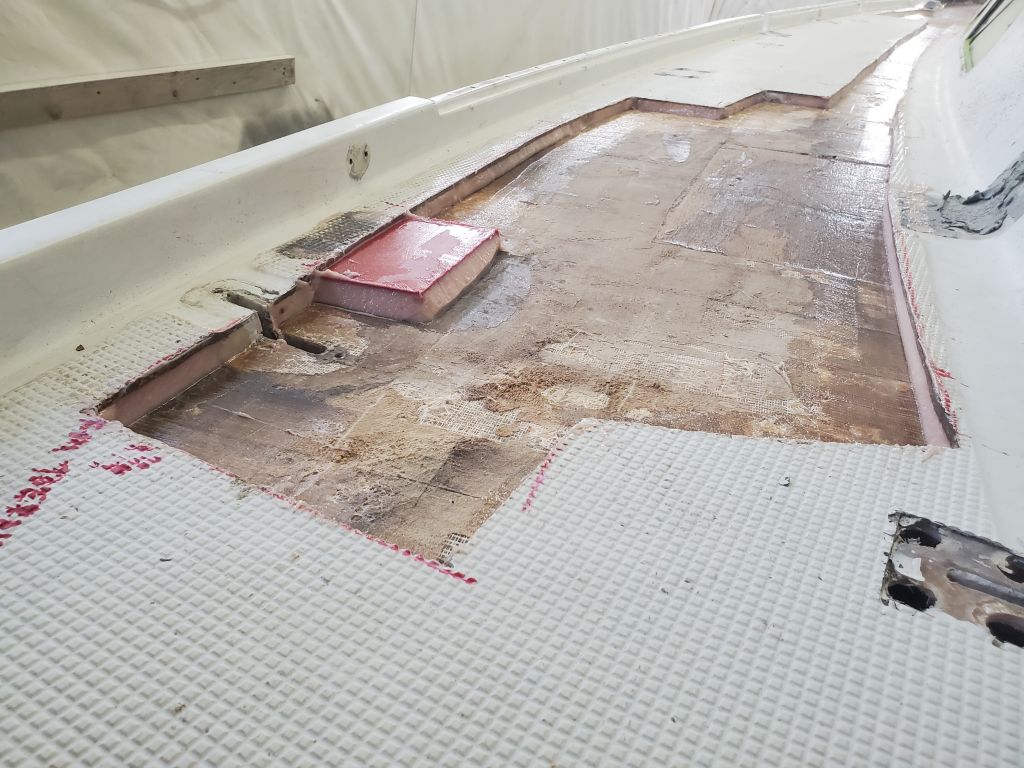
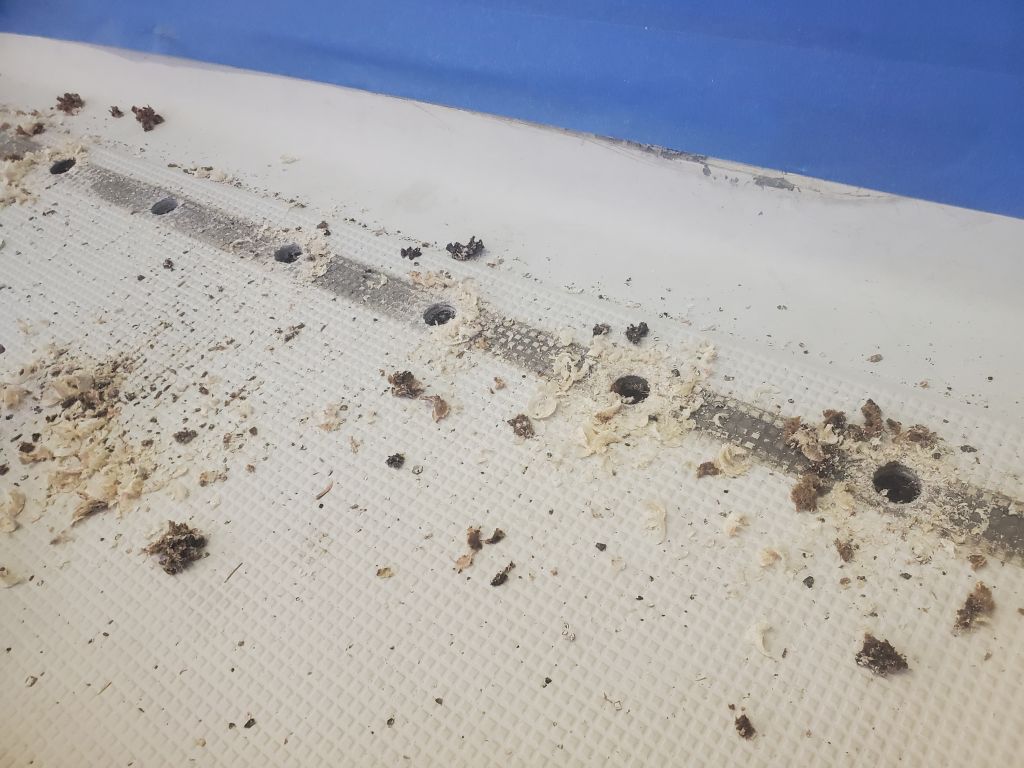
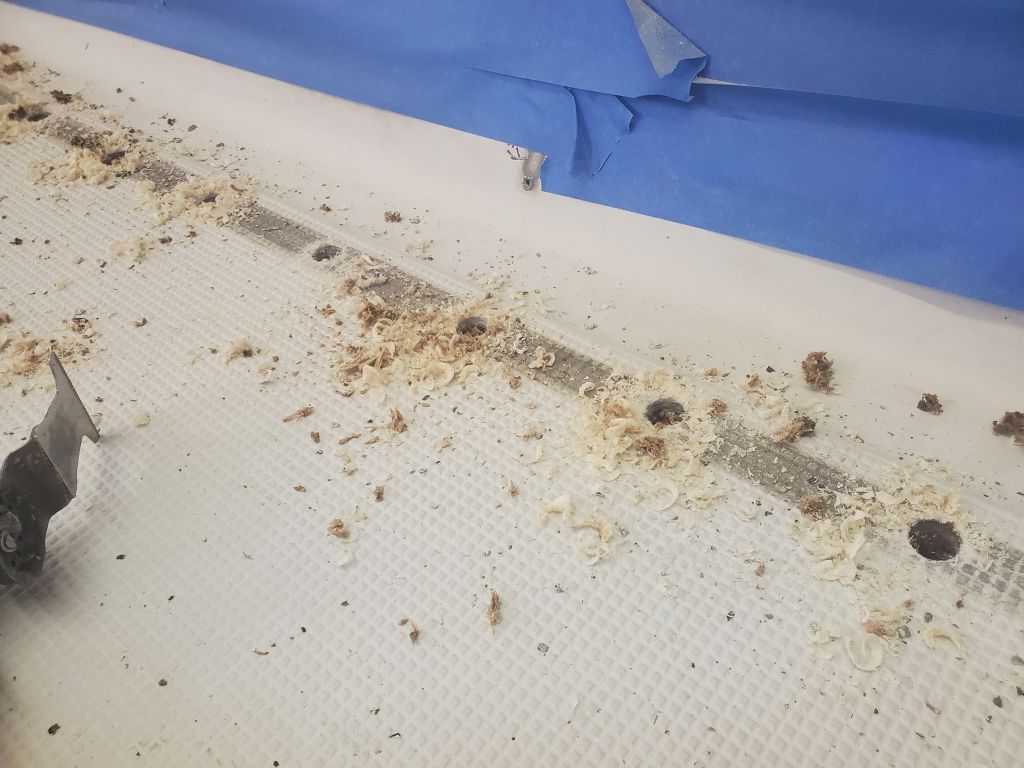
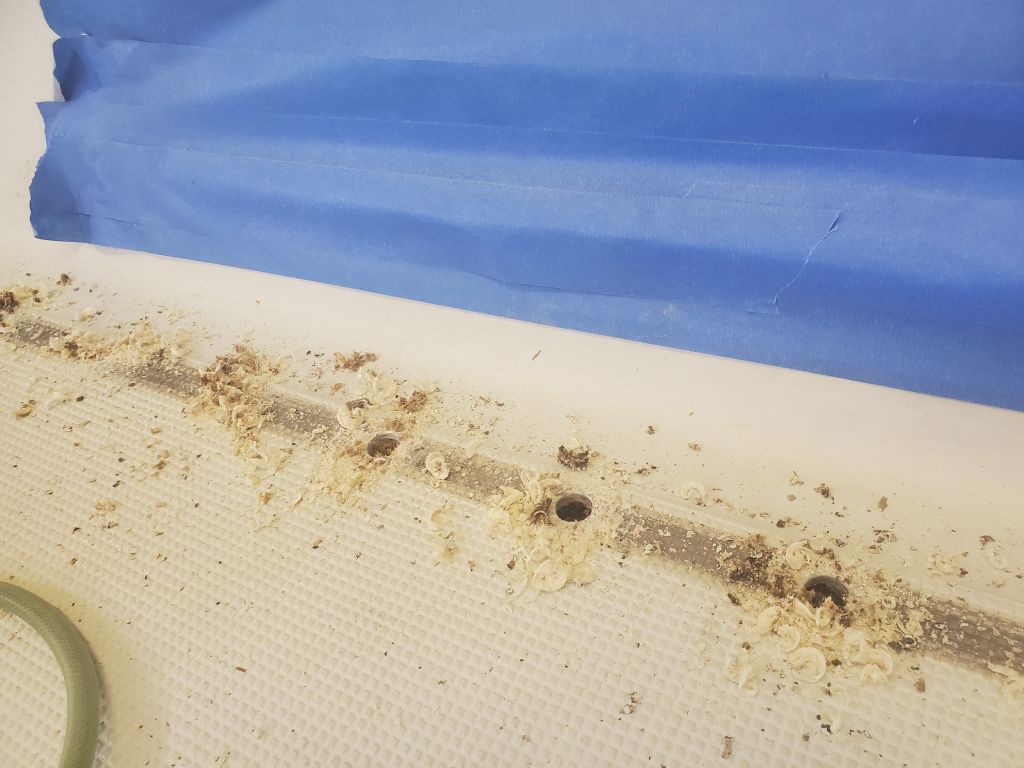
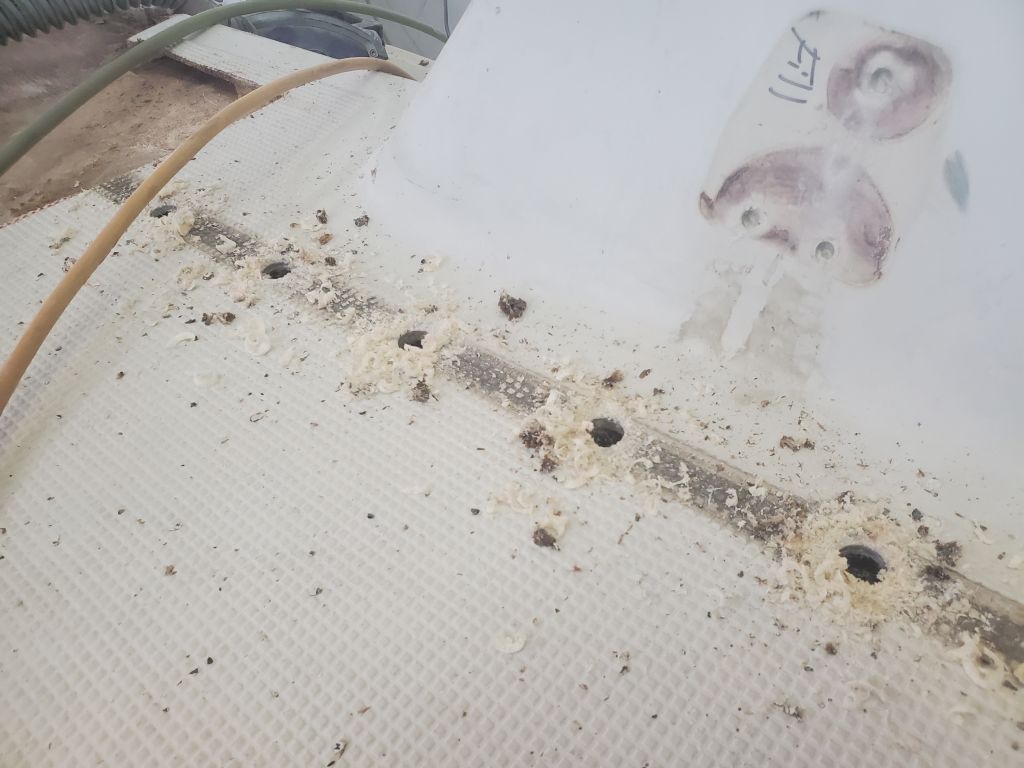
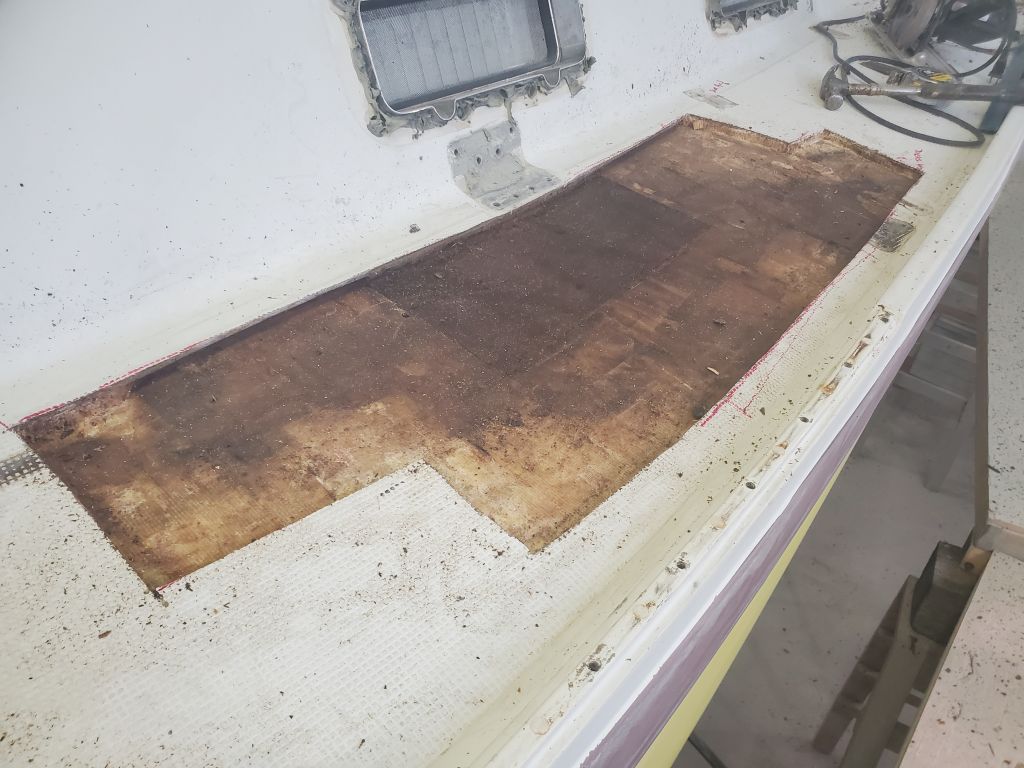
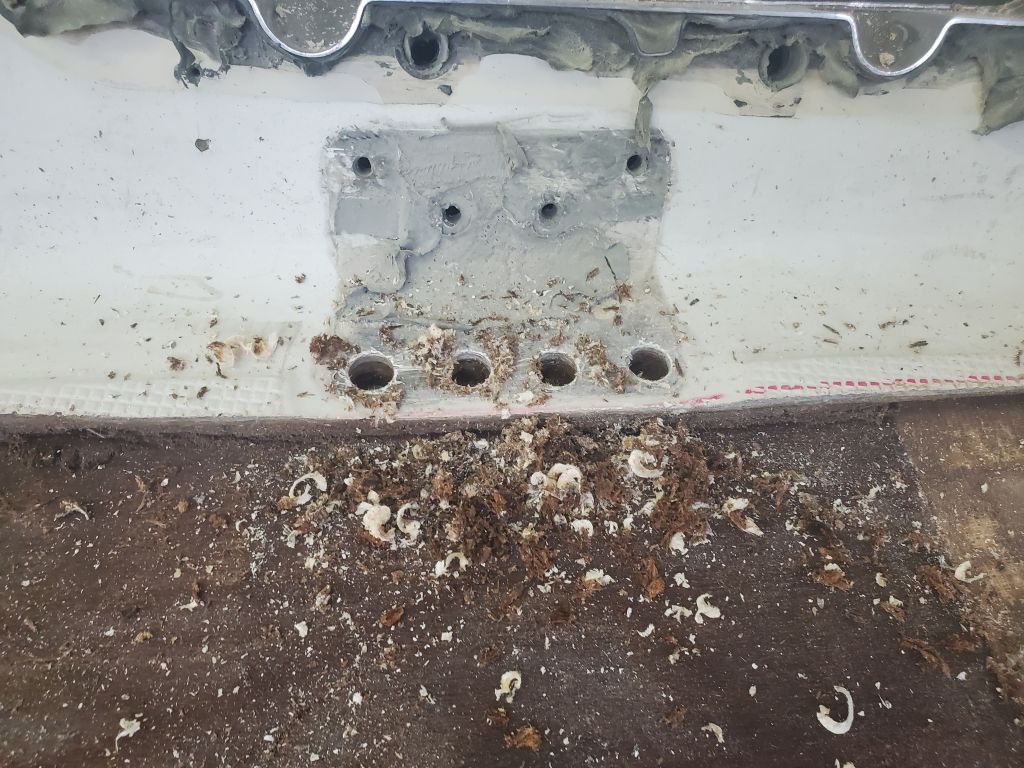
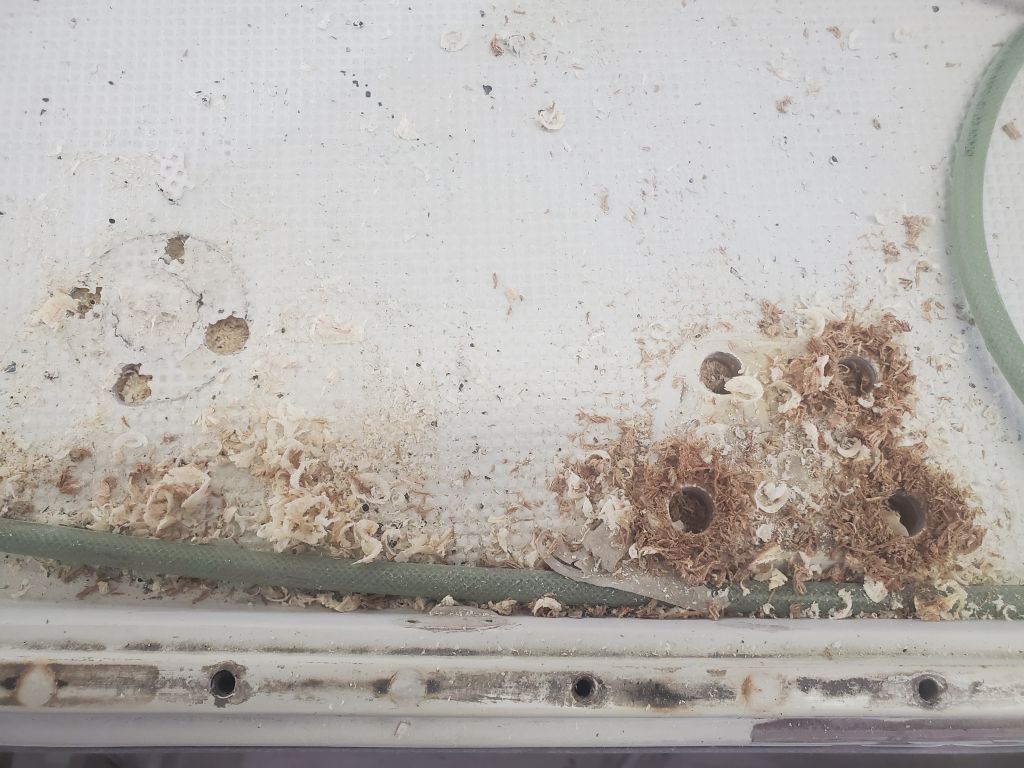
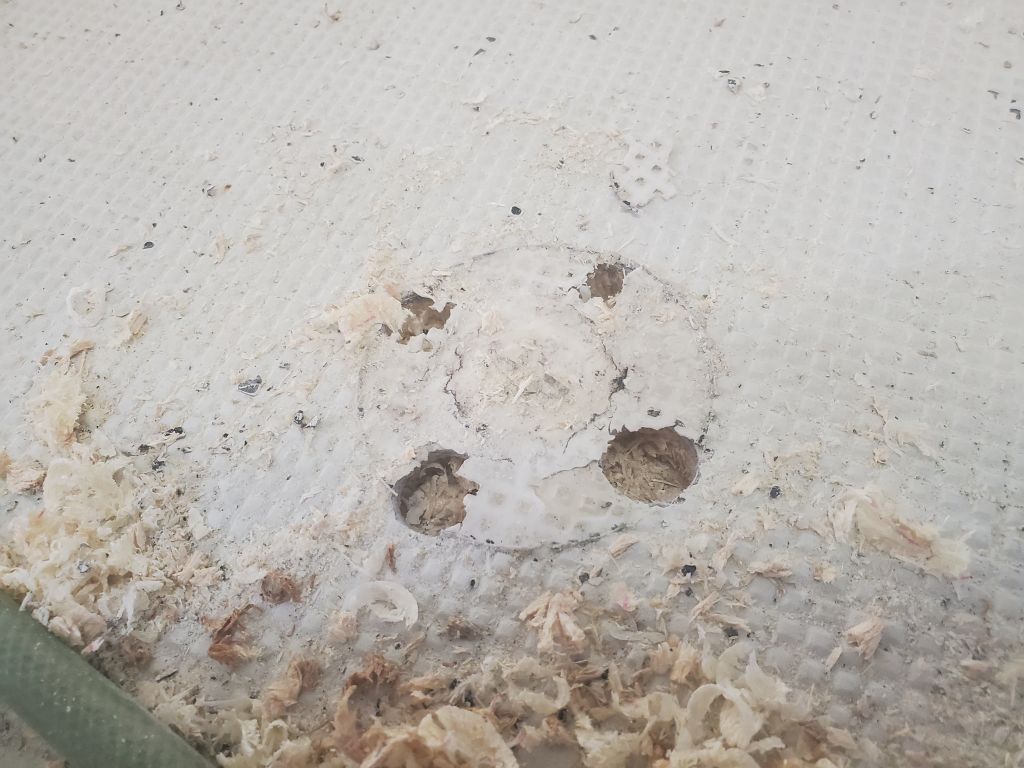
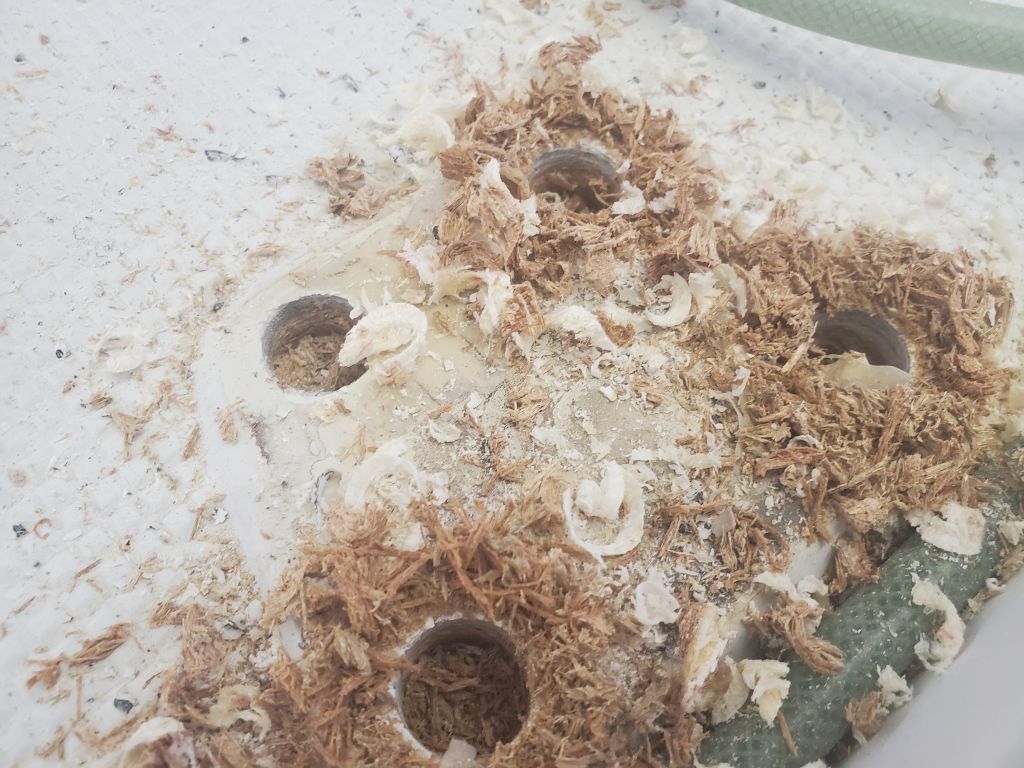
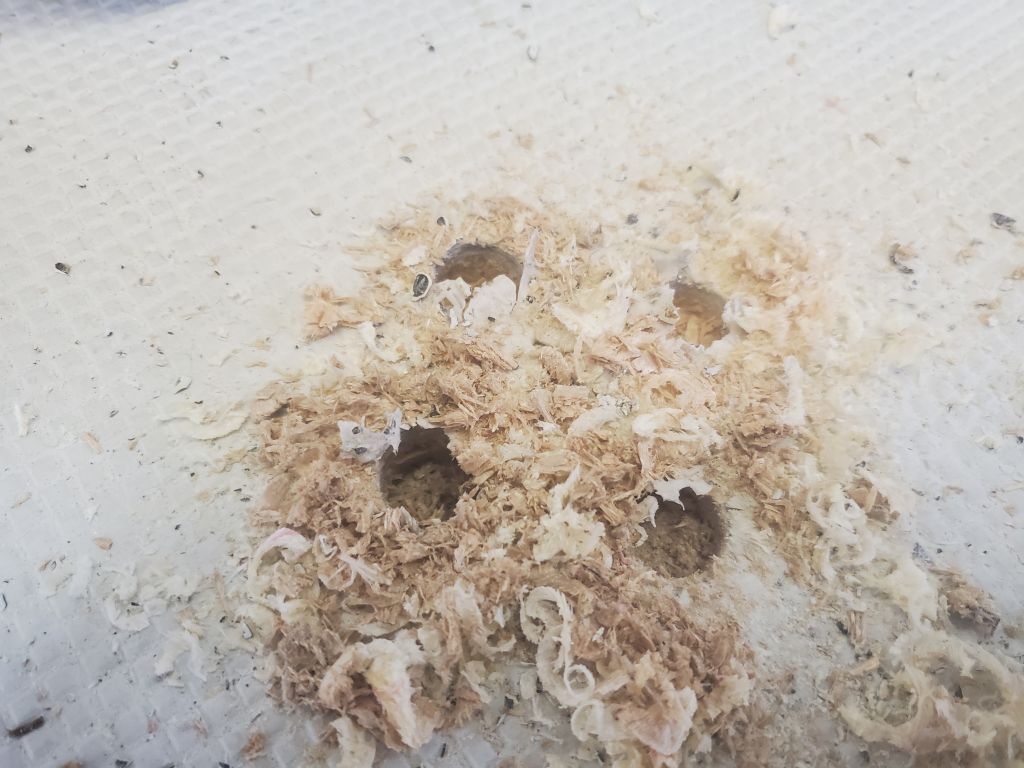
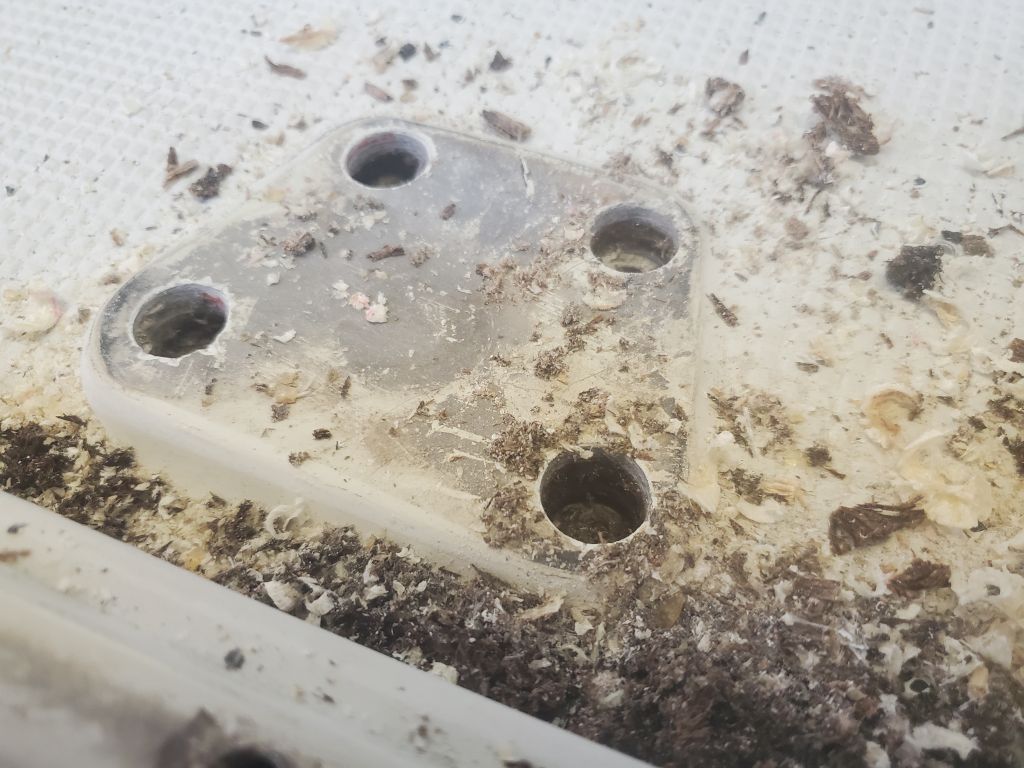
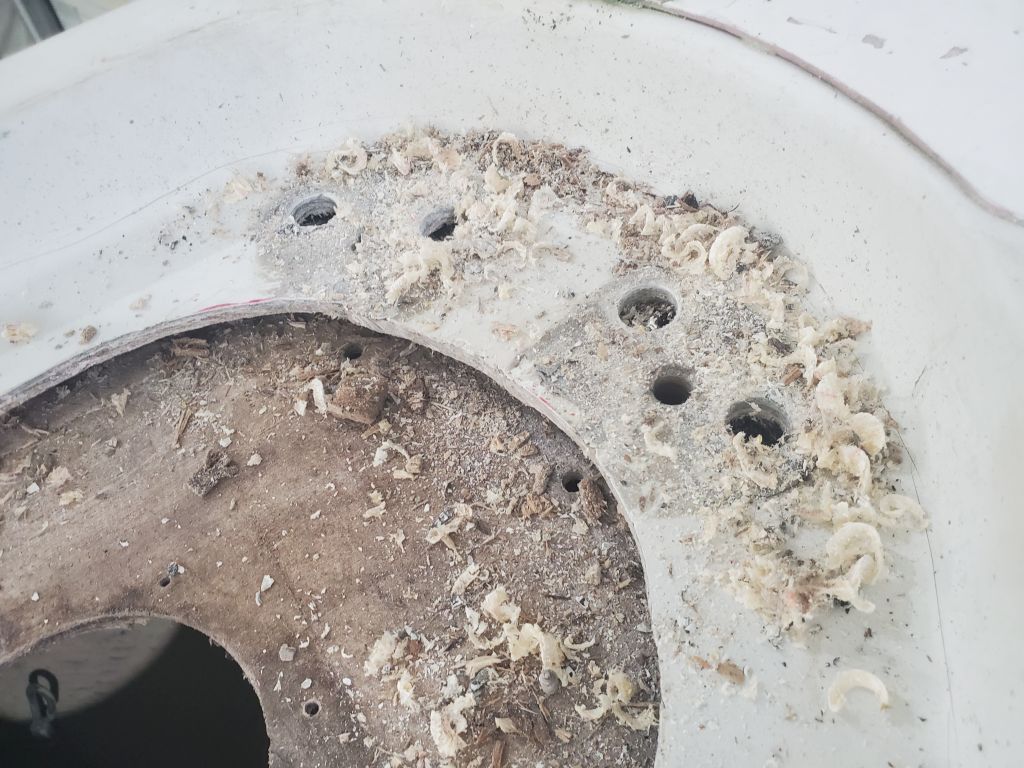
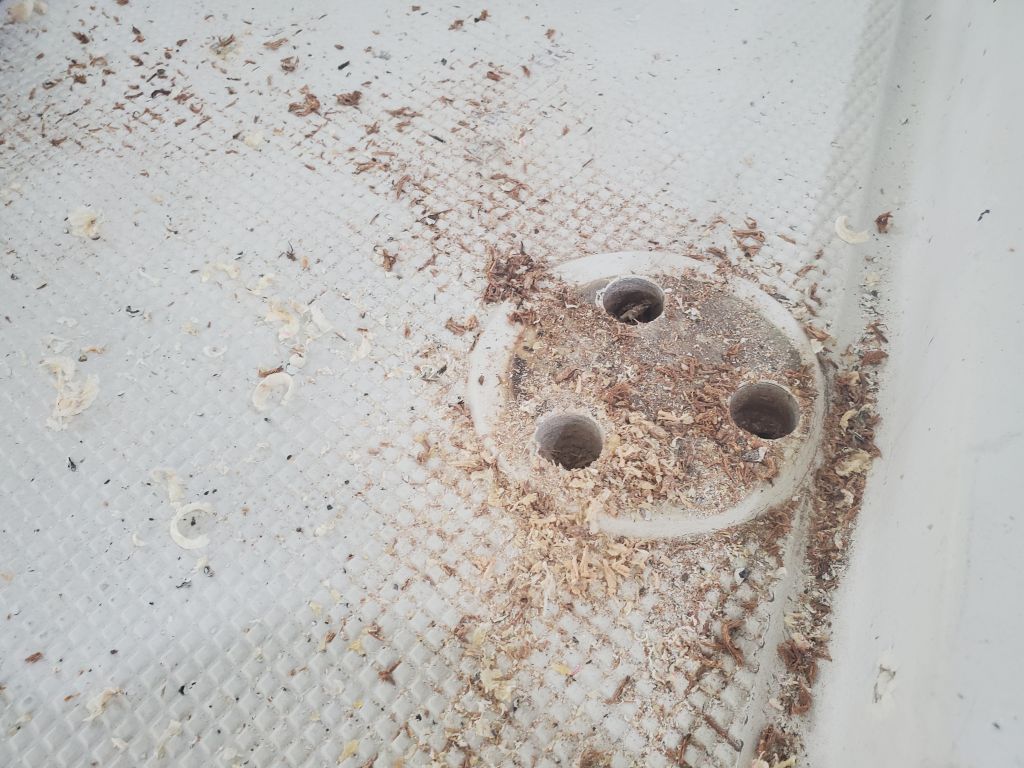
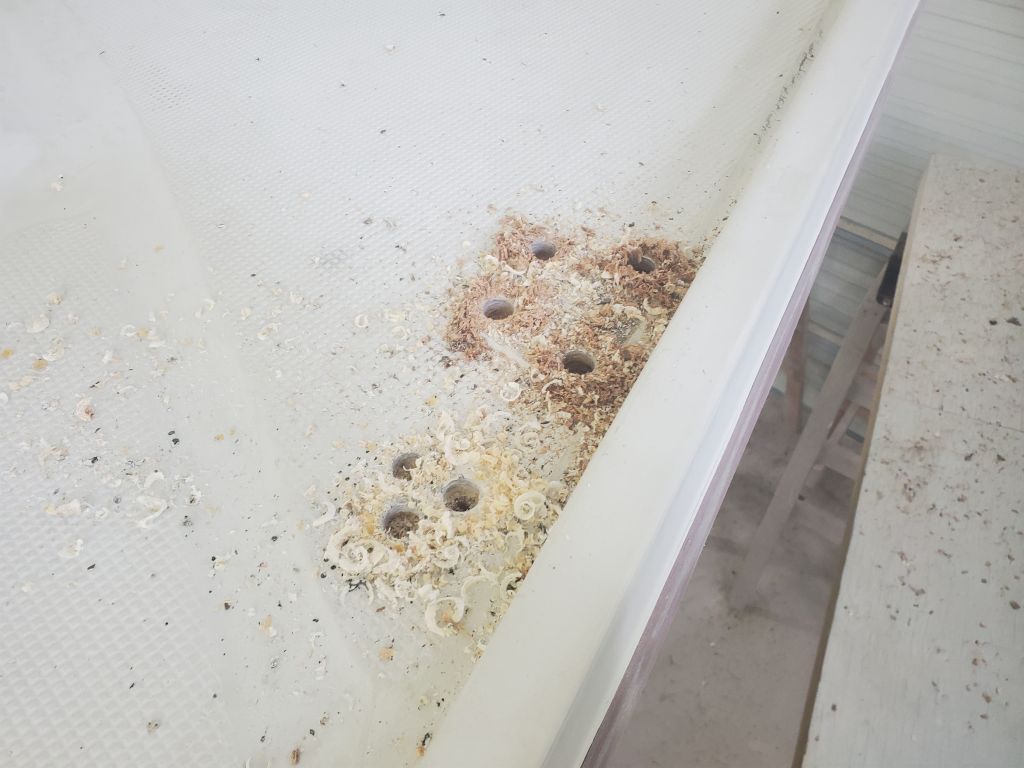
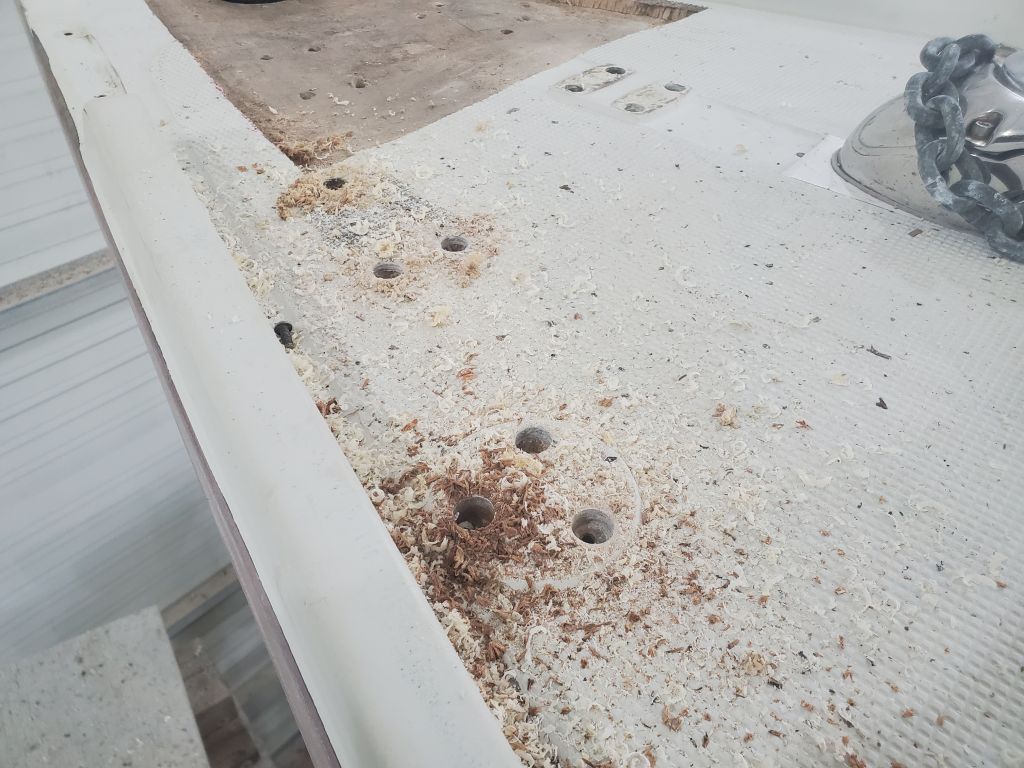
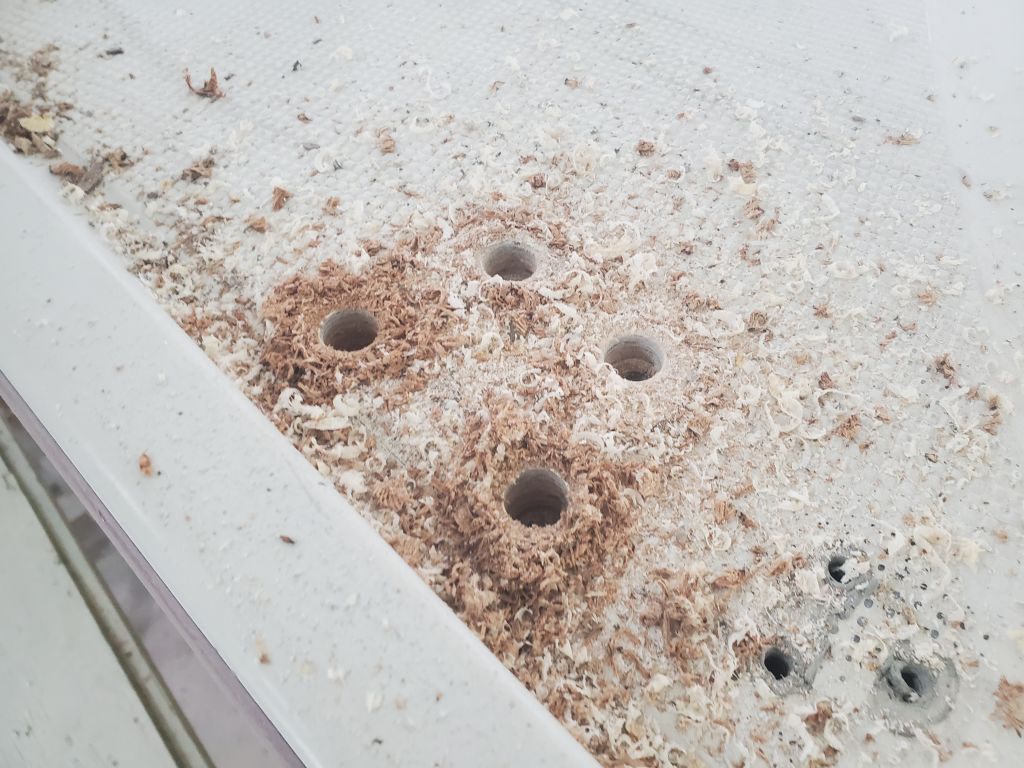
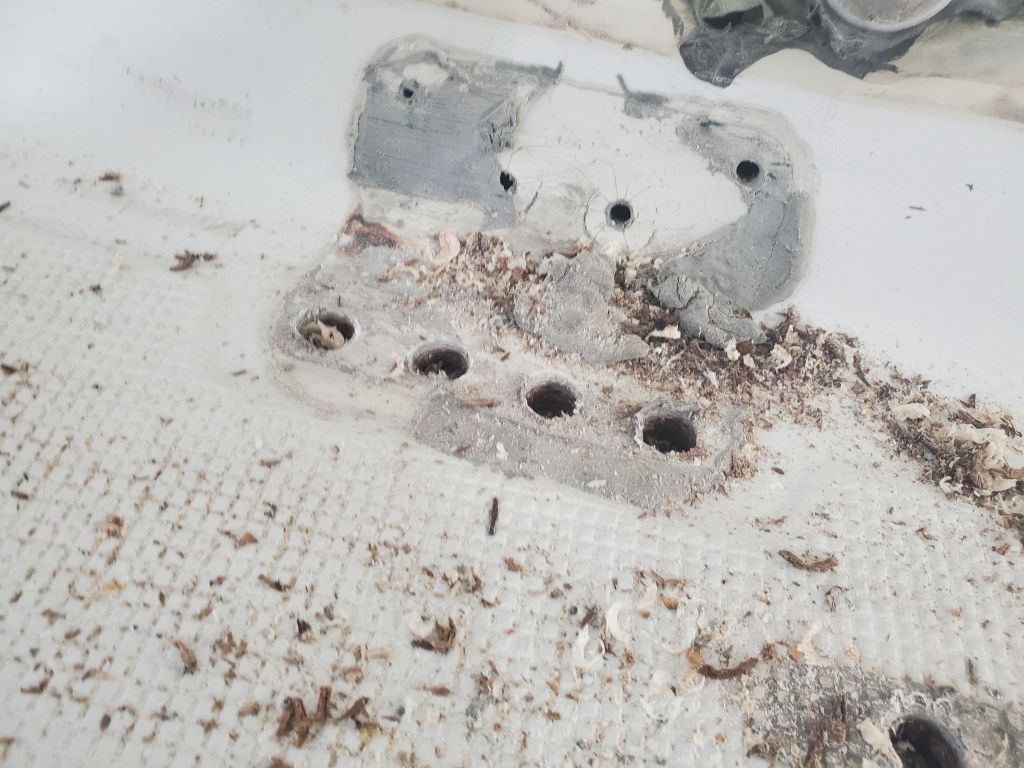
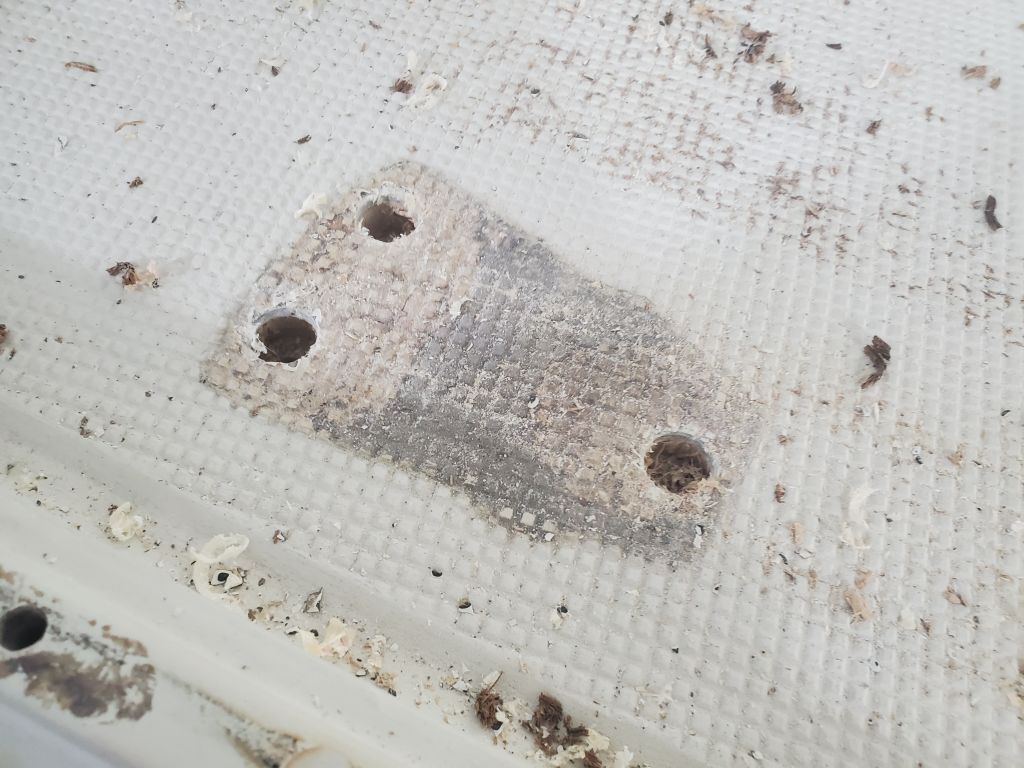
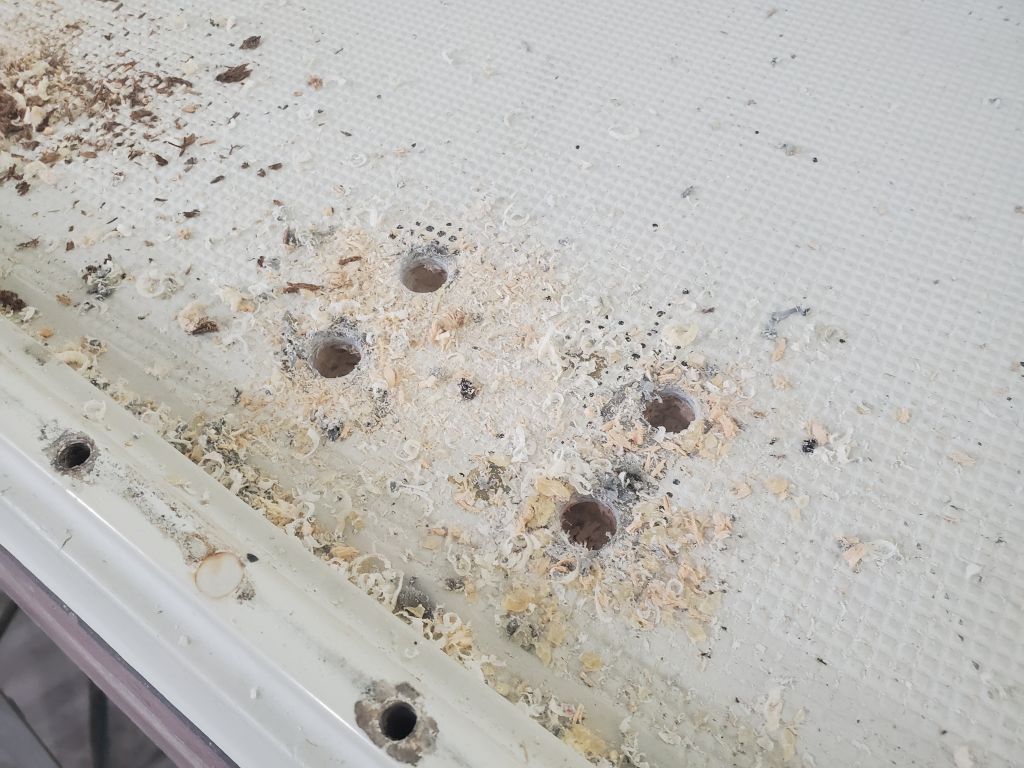
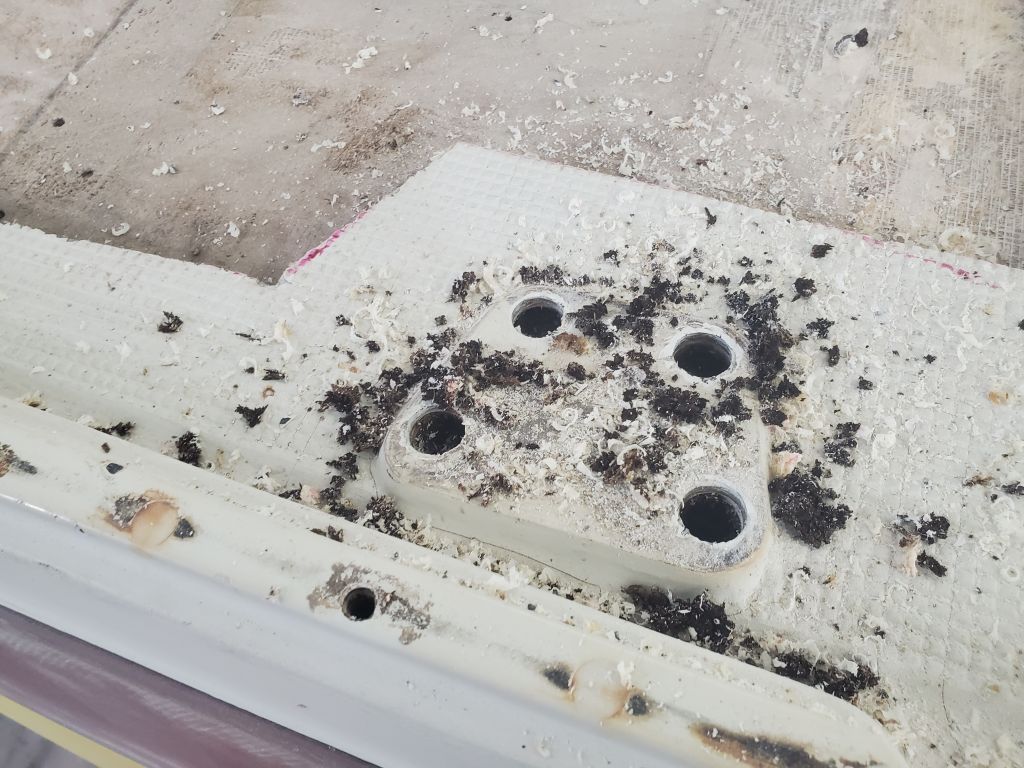
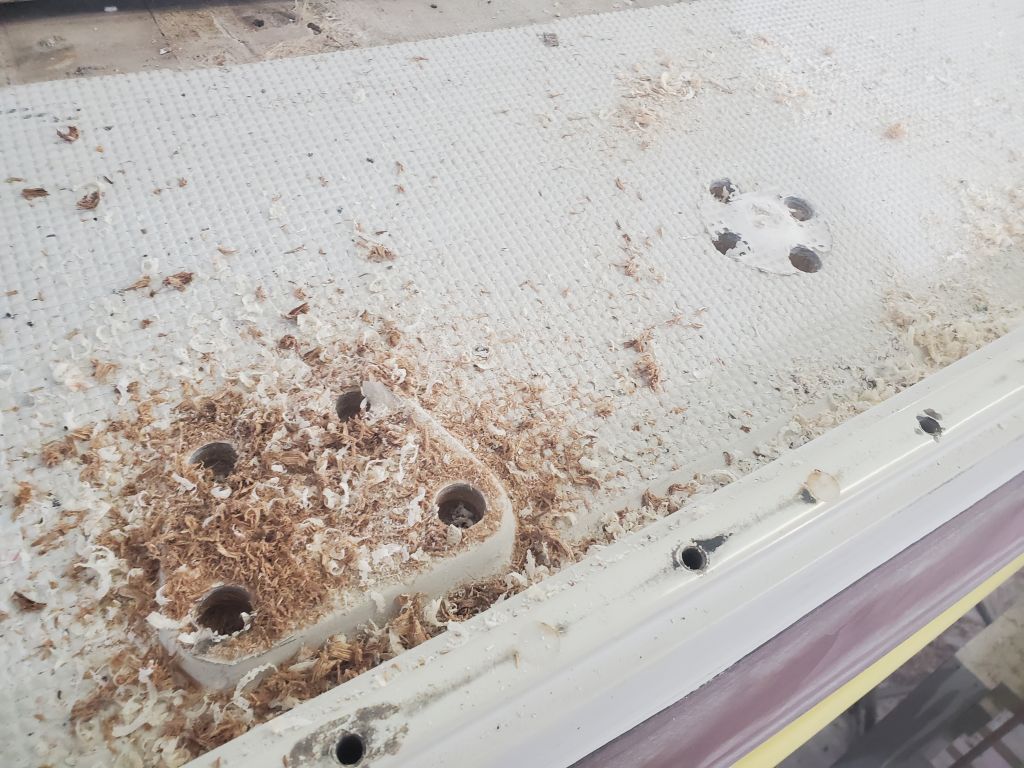
The bow repair, along with both after sections near the transom, required patching of the inner deck skin in way of now-removed round deck plates. With poor or even no access from beneath, I chose to use small sections of 1/8″ prefab fiberglass sized to fit through the holes from above, then epoxied in place. I installed a temporary screw to use as a handle, and, once I’d inserted the epoxy-buttered pieces through the openings, used stir sticks and hot glue to hold them securely while the epoxy cured.
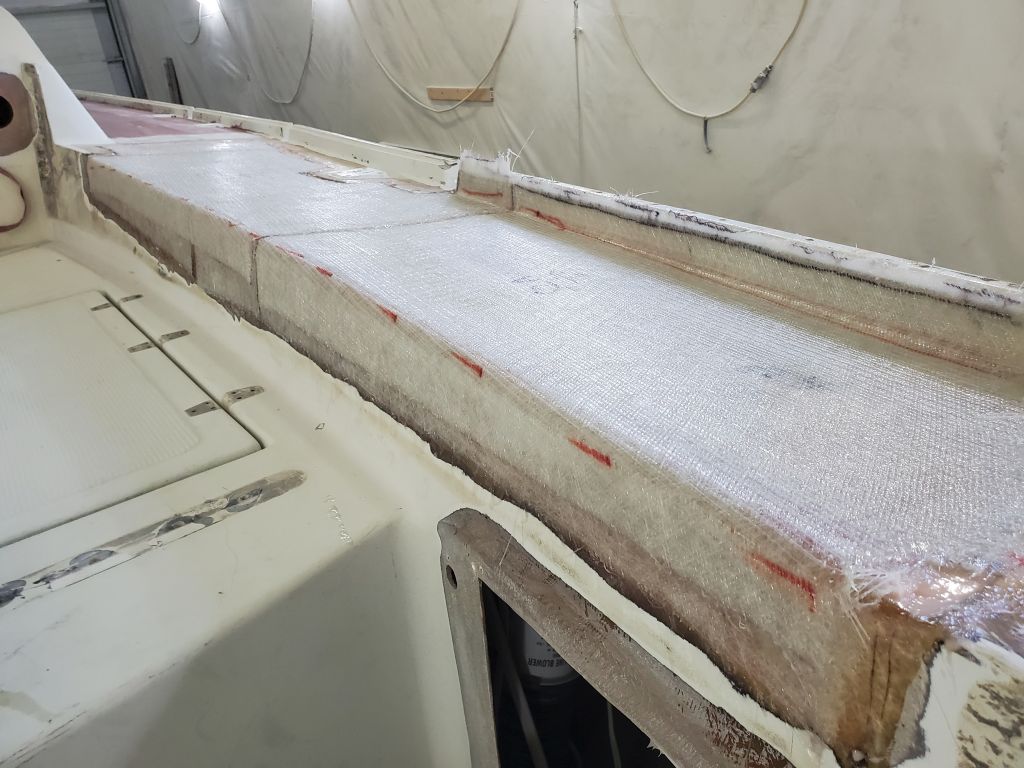
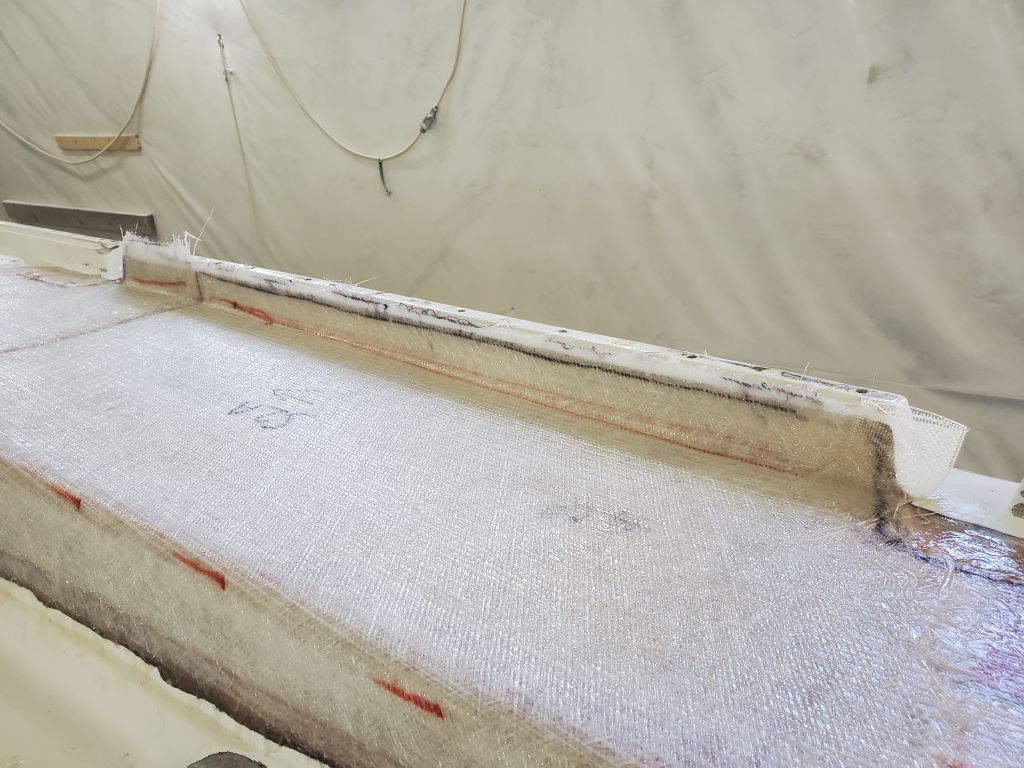
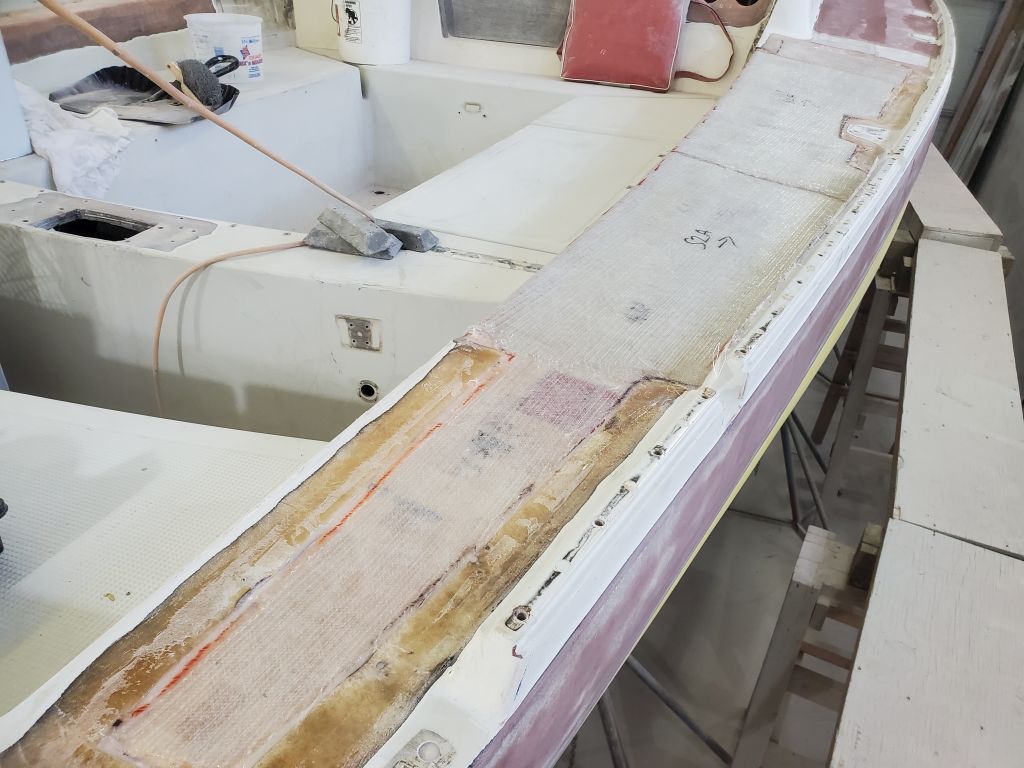
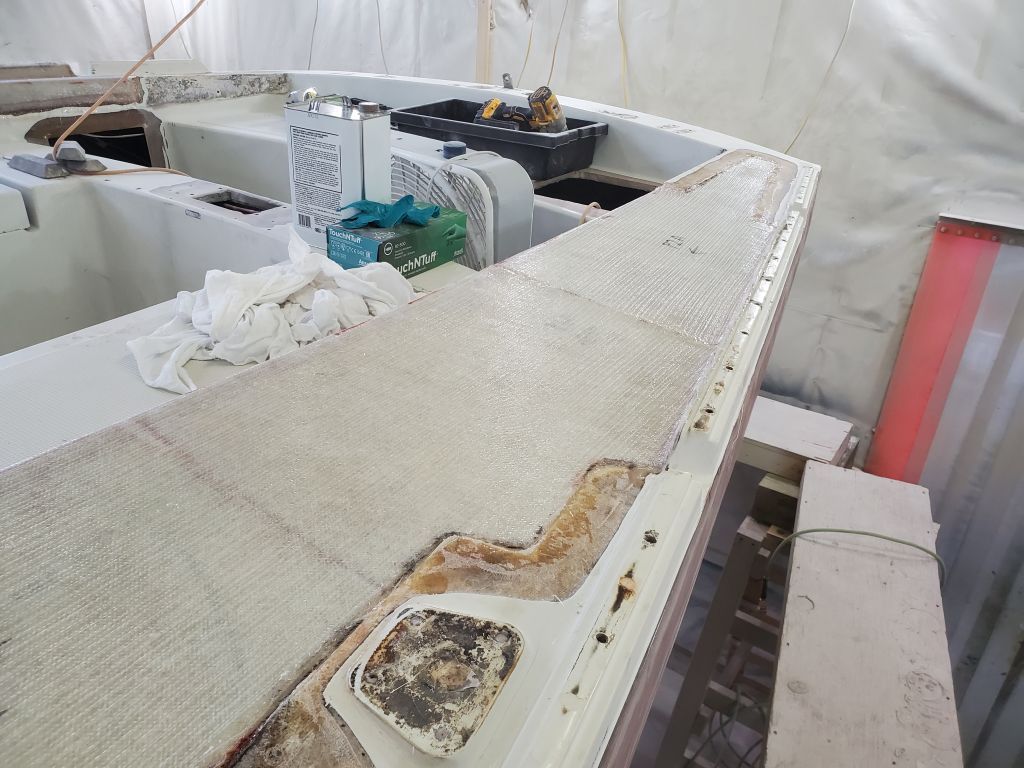
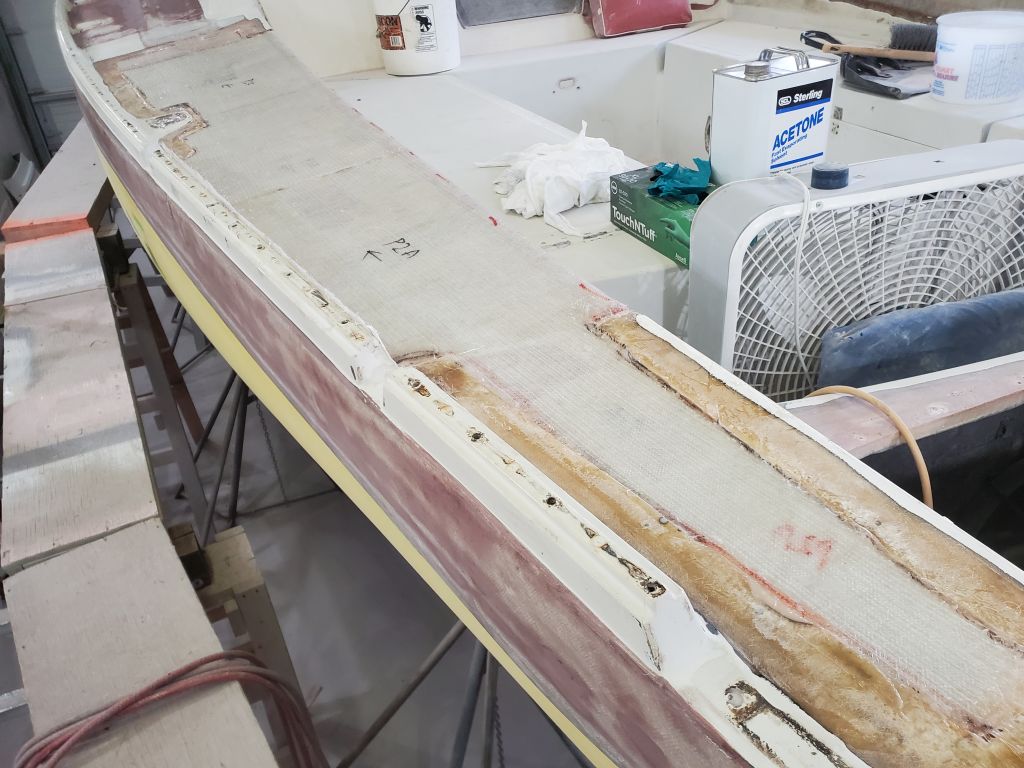
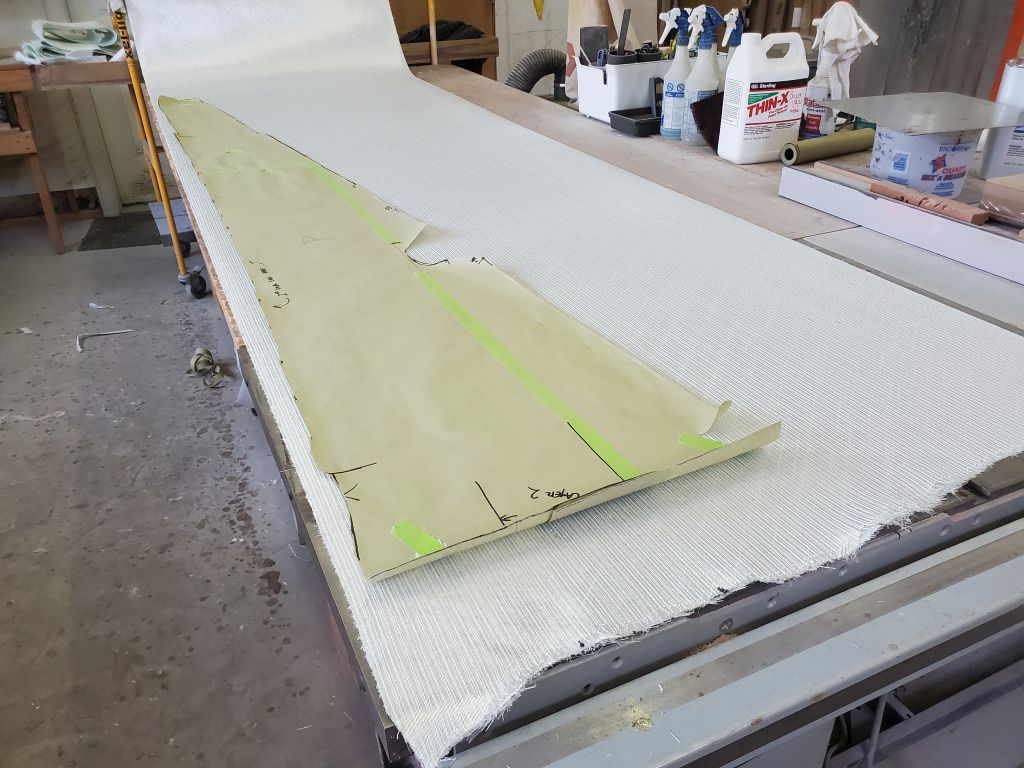
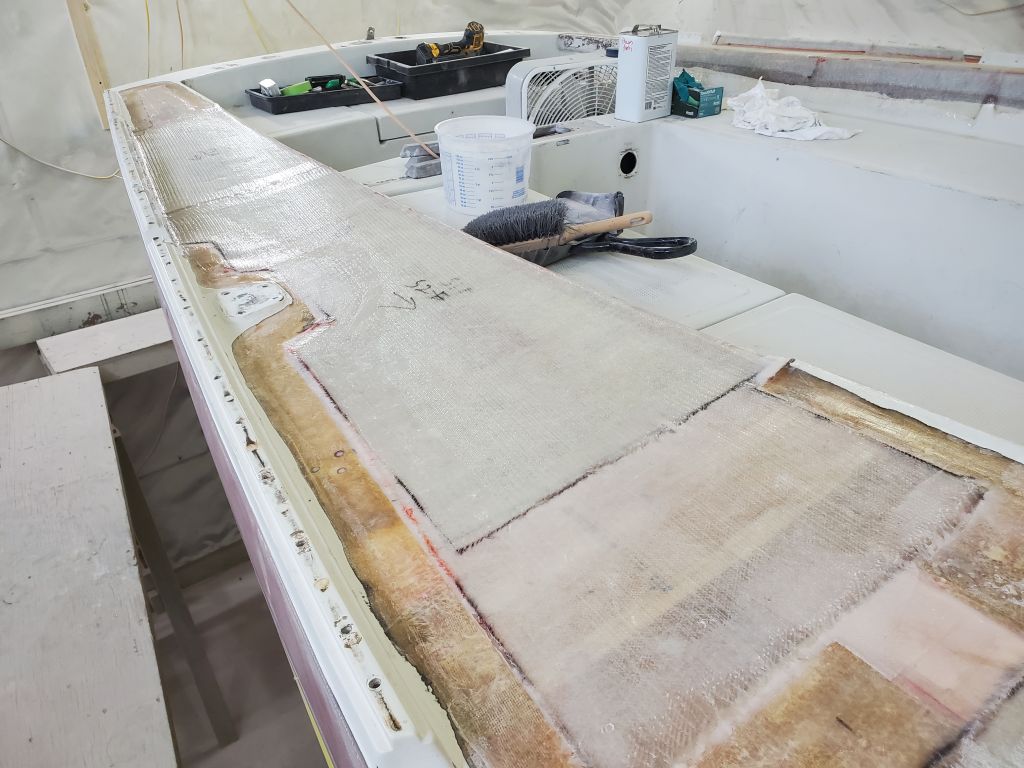
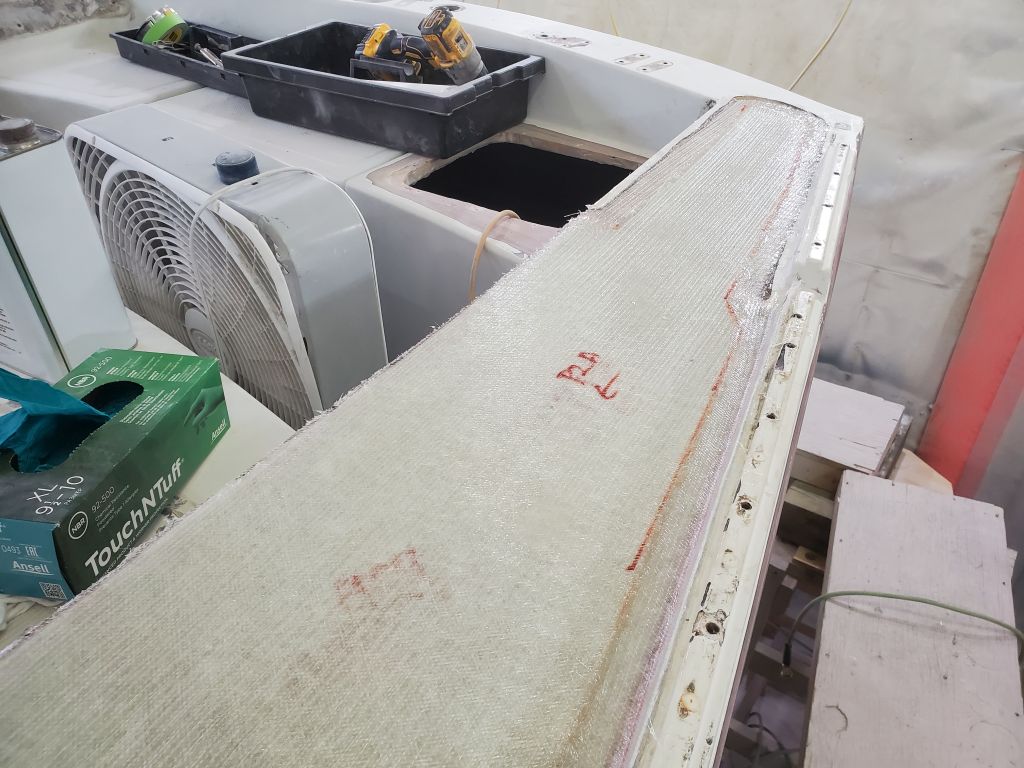
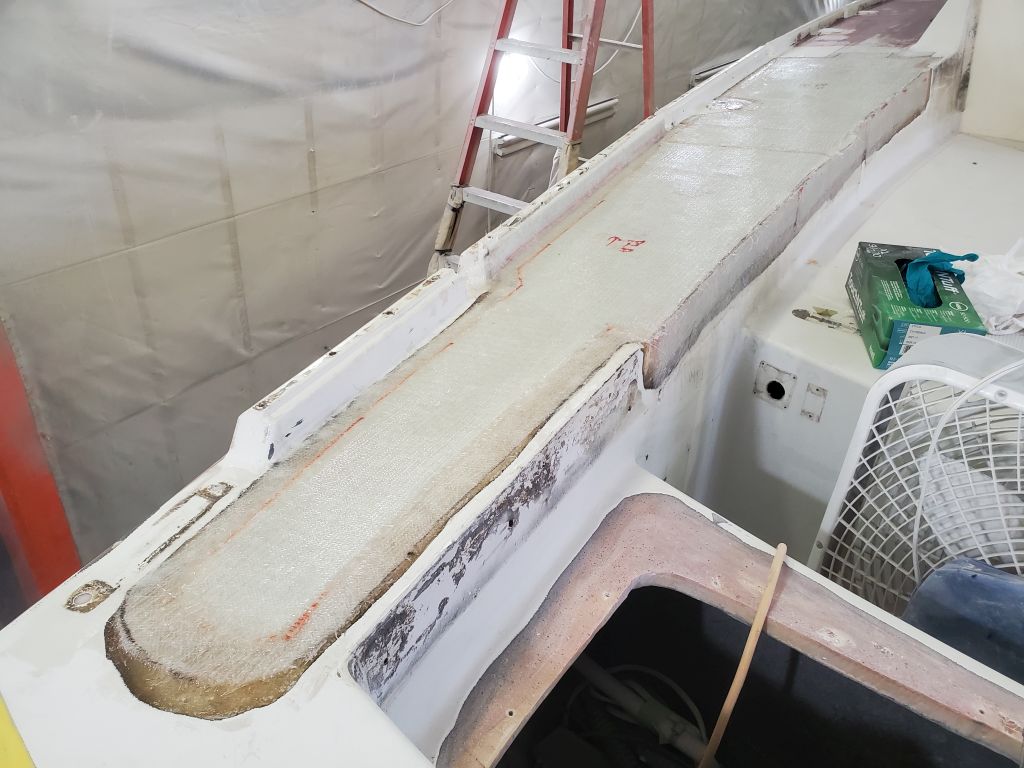
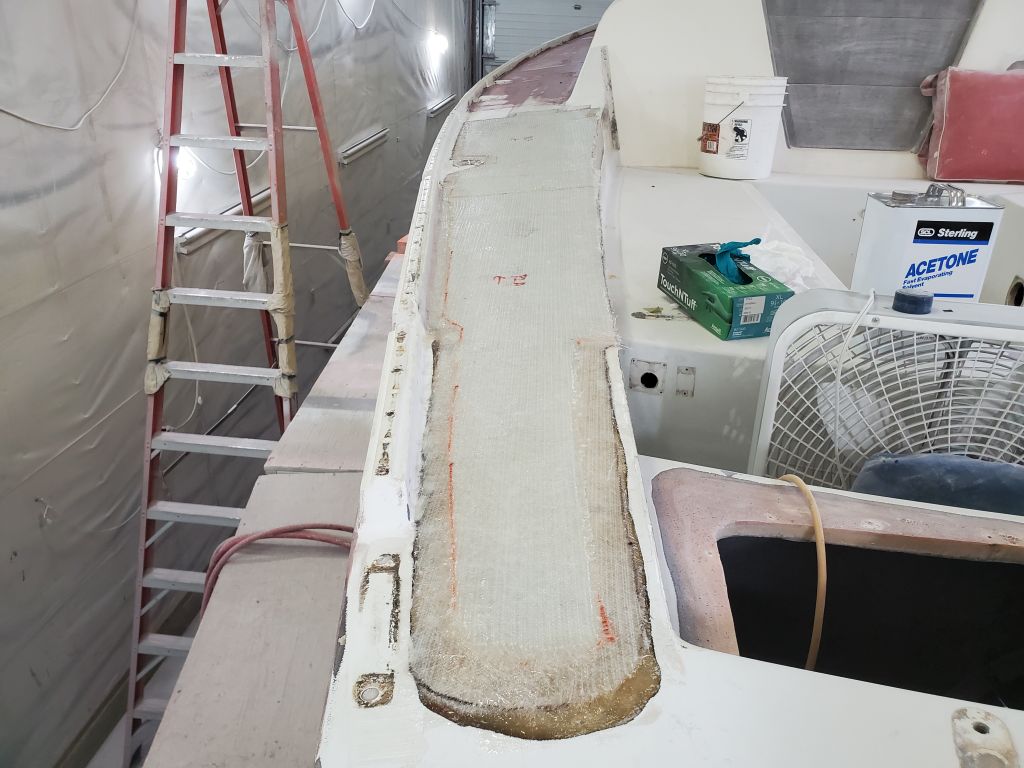
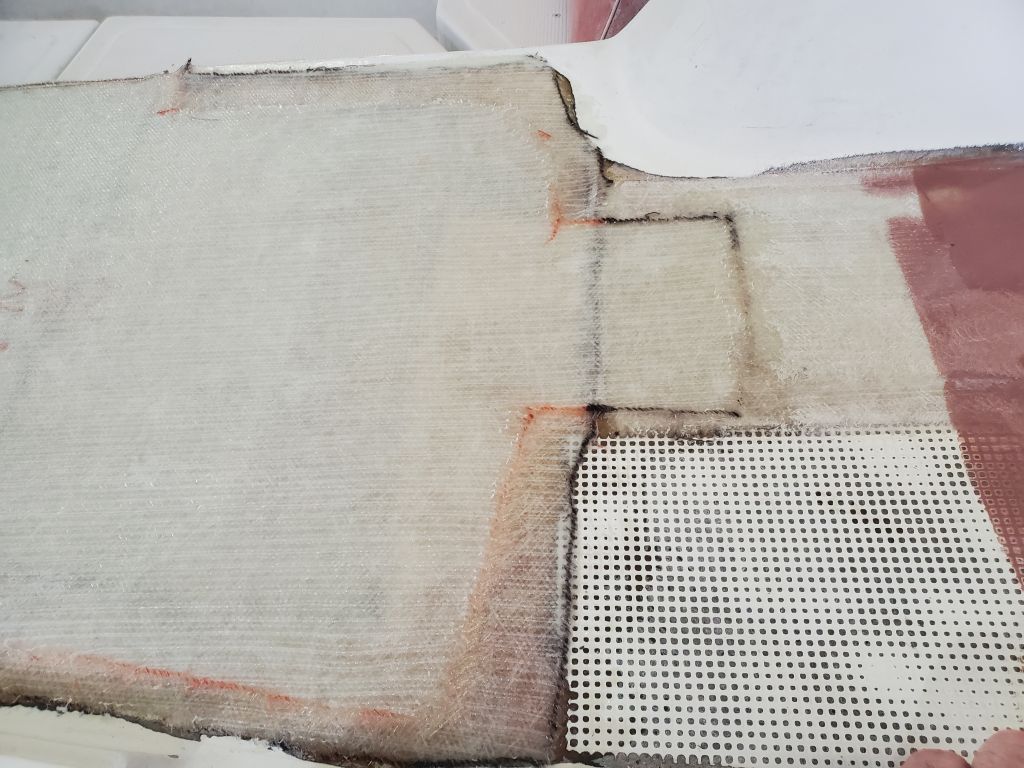
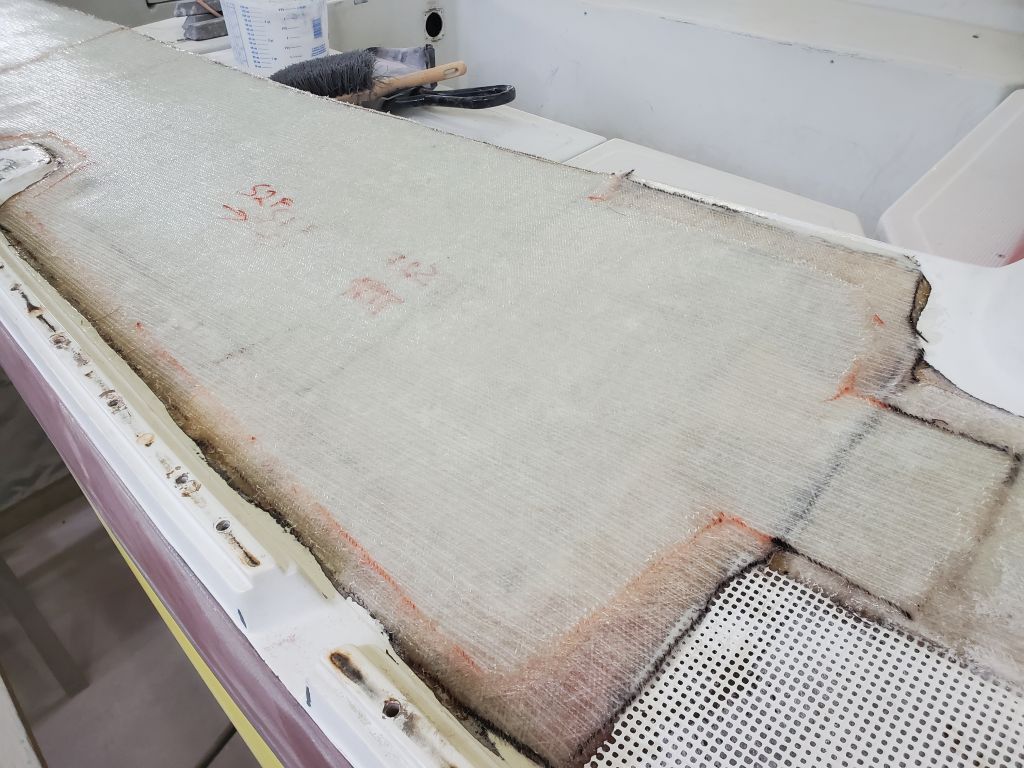
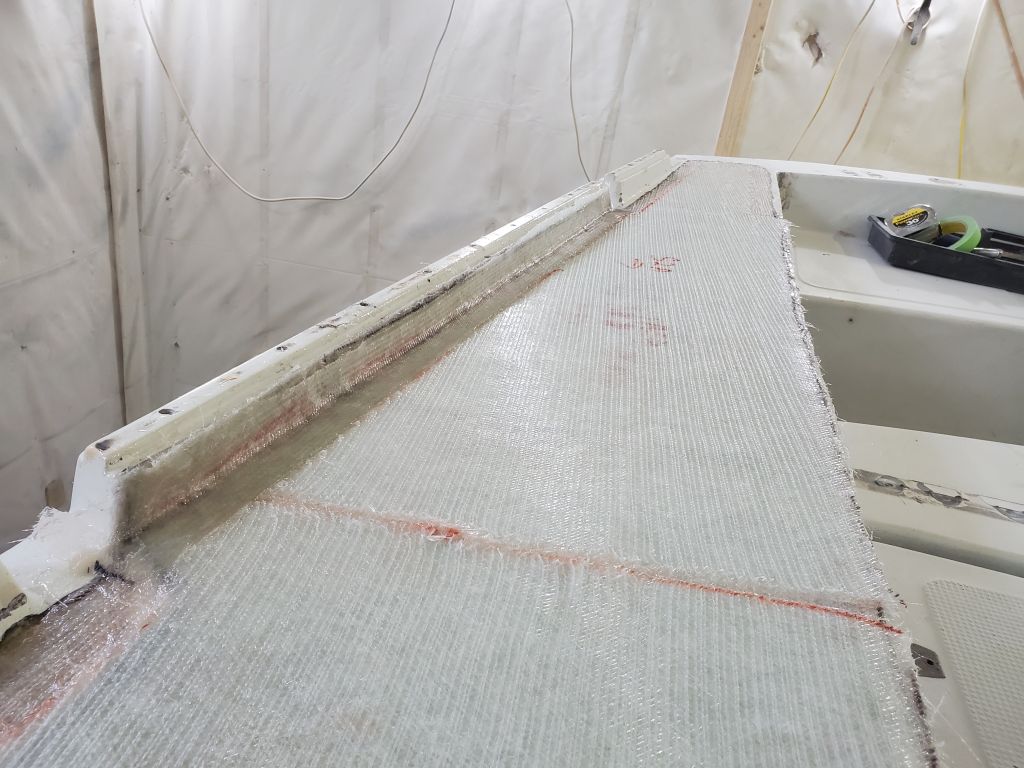
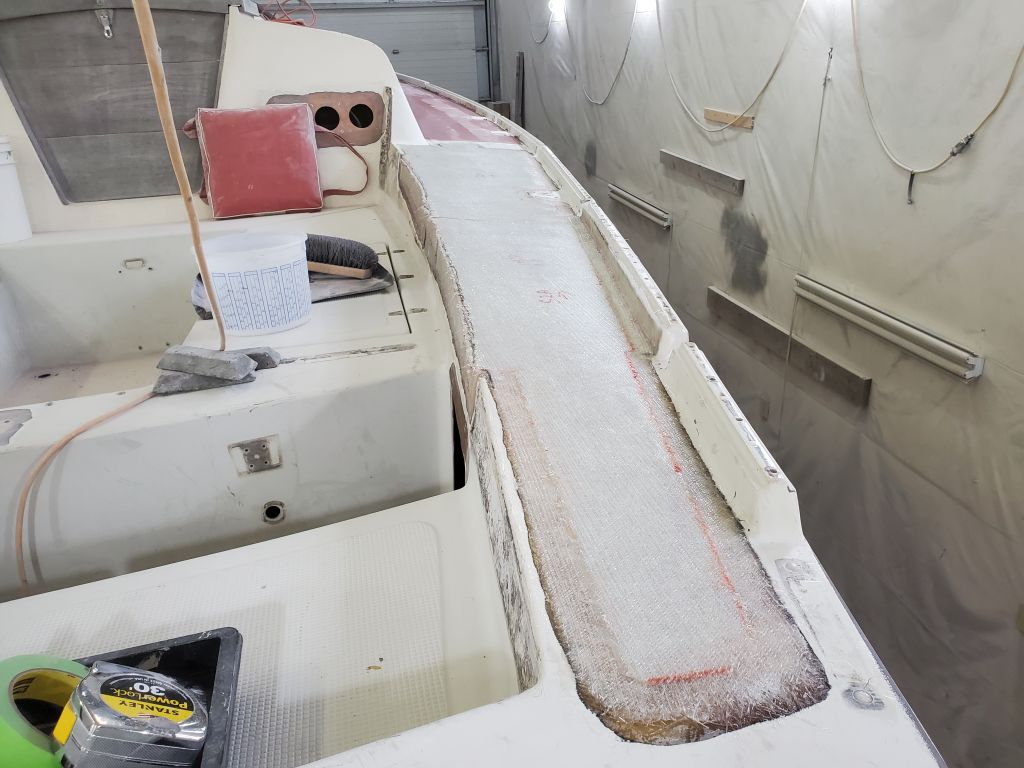
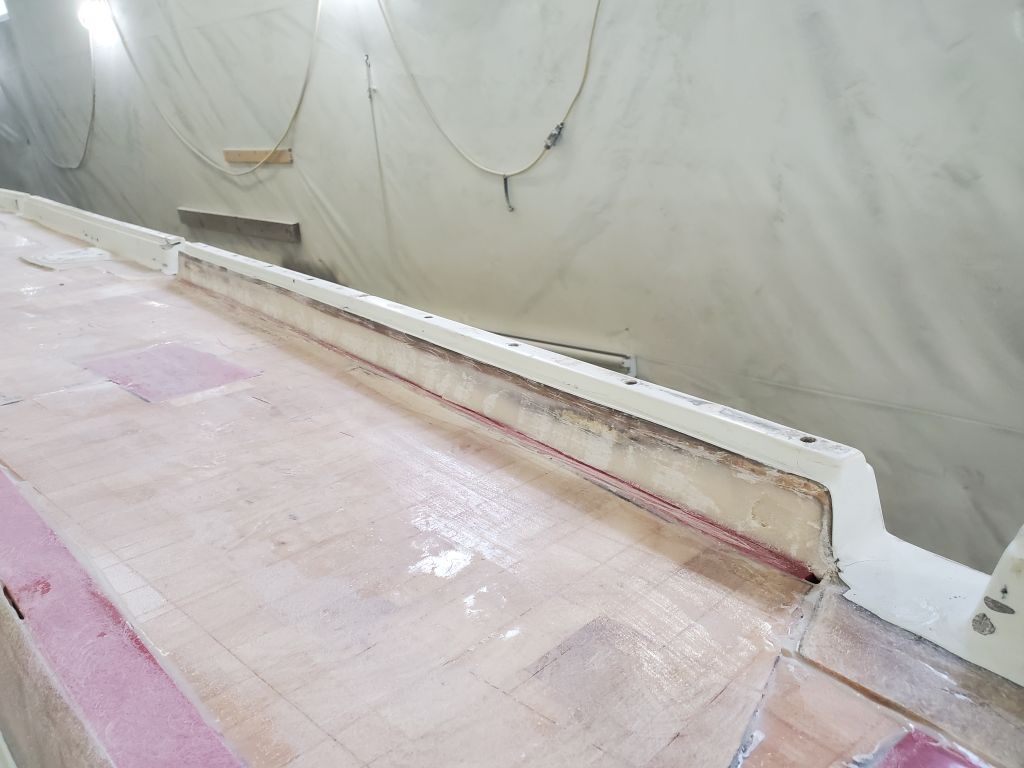
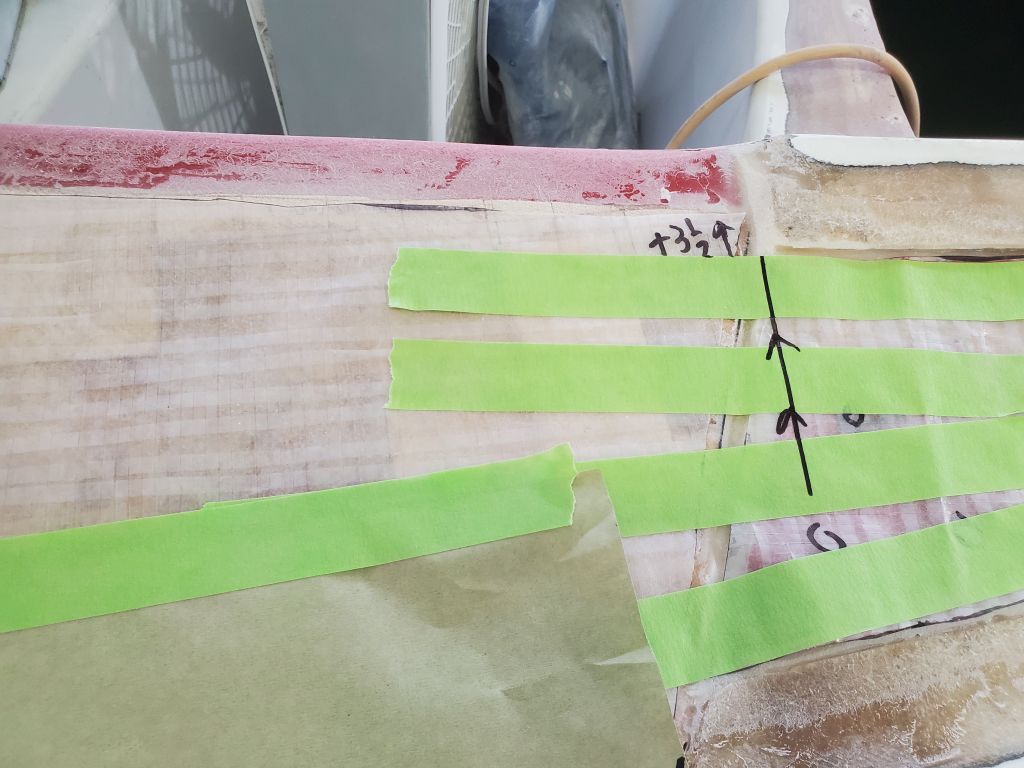
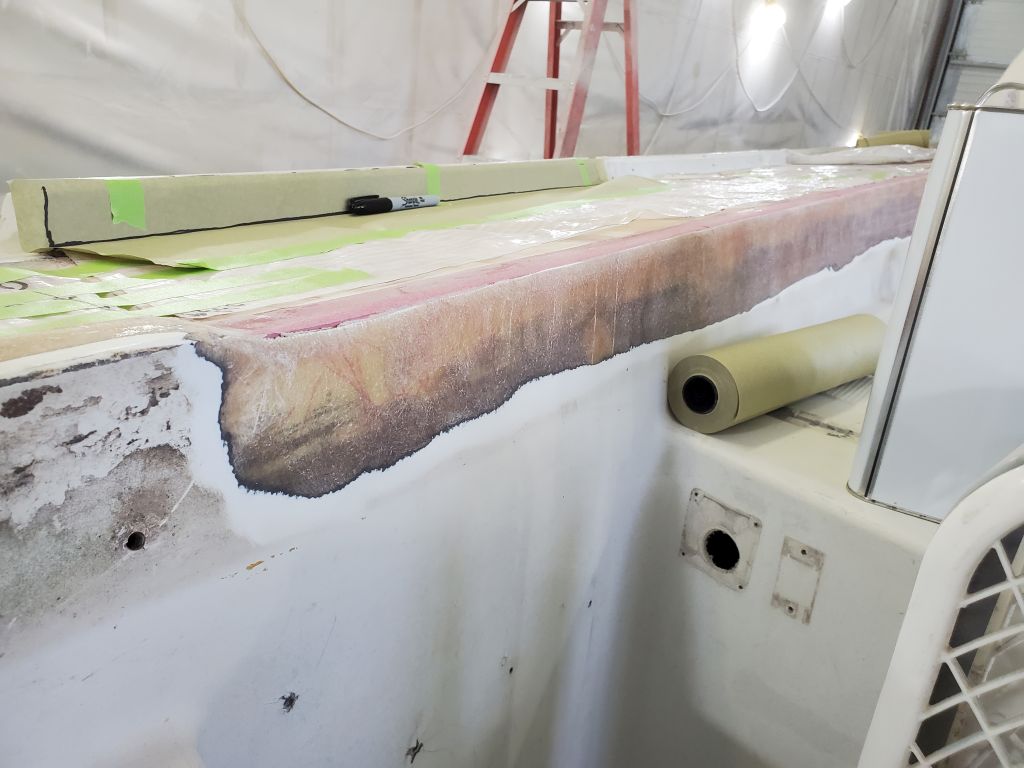
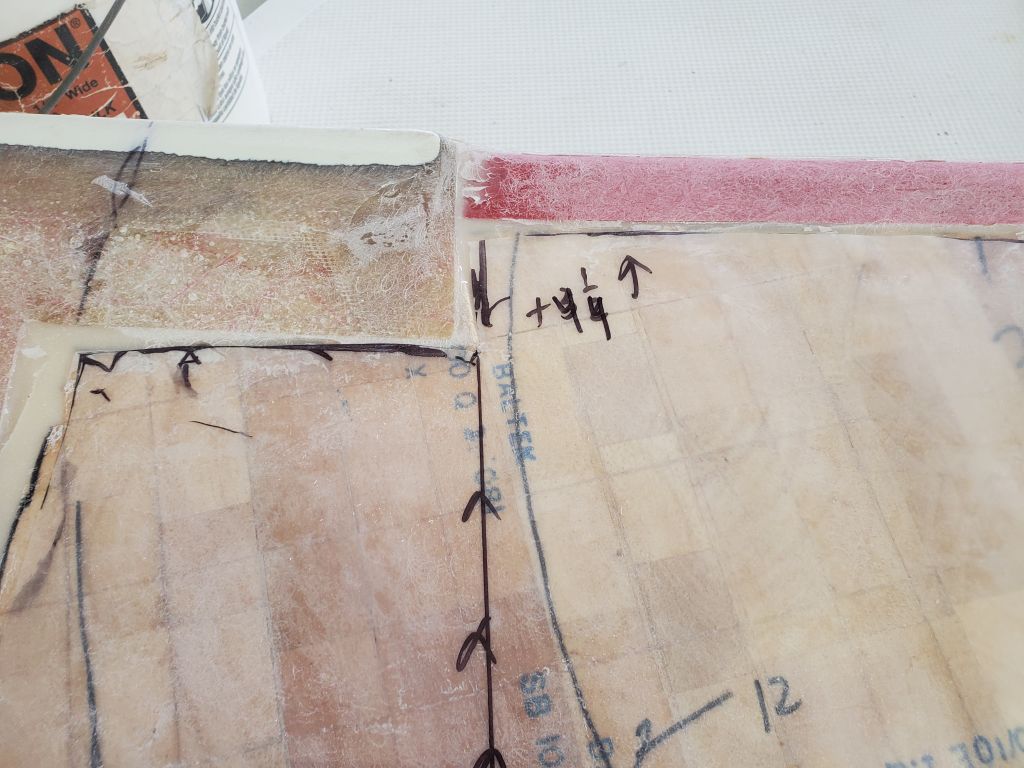
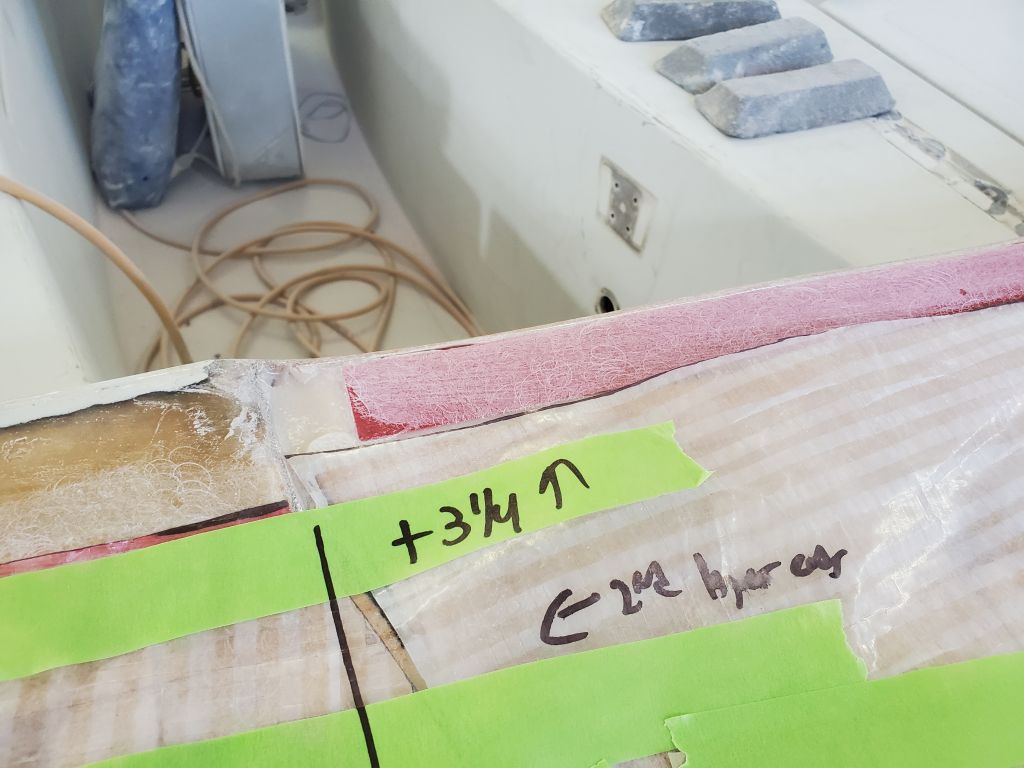
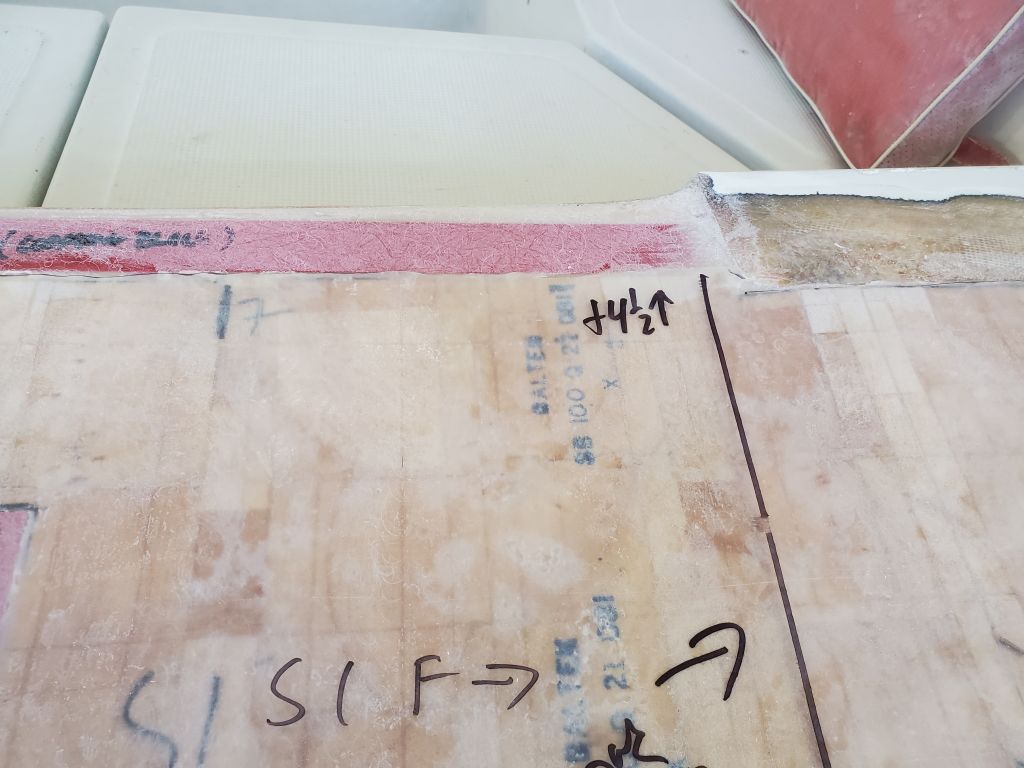
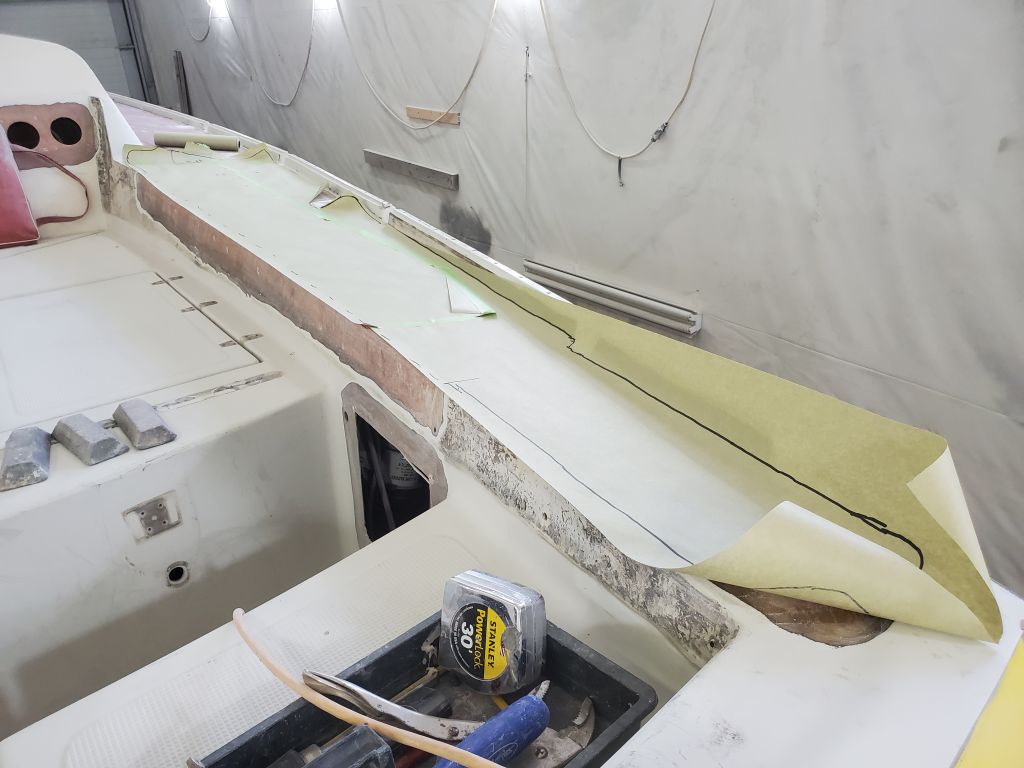
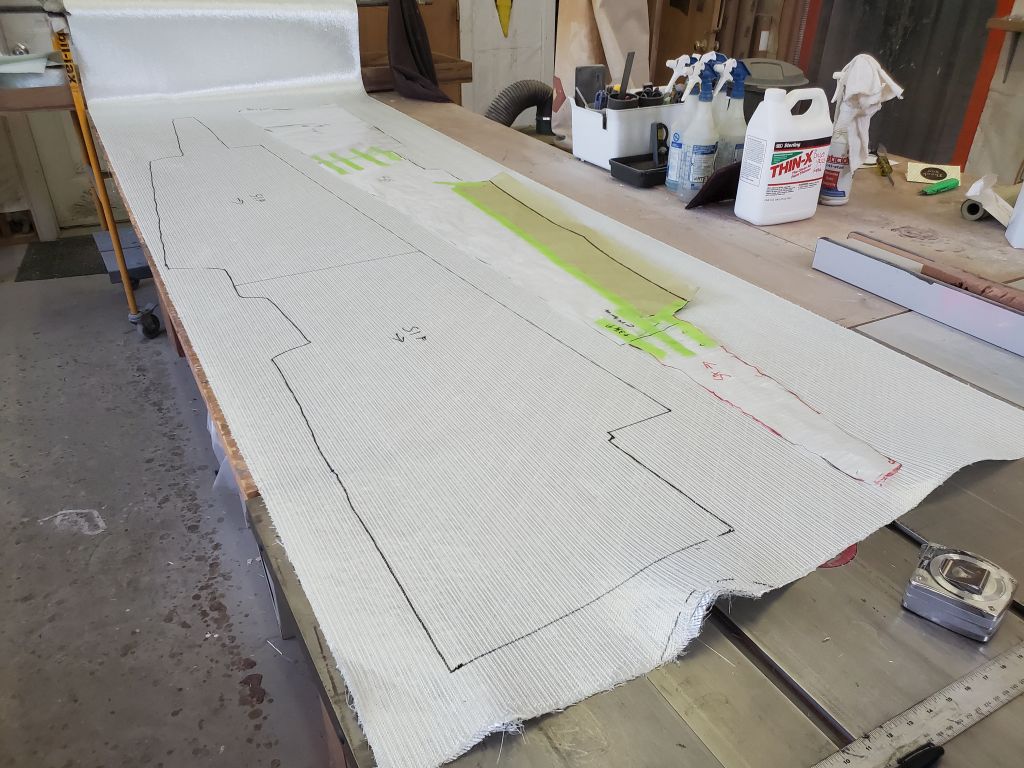
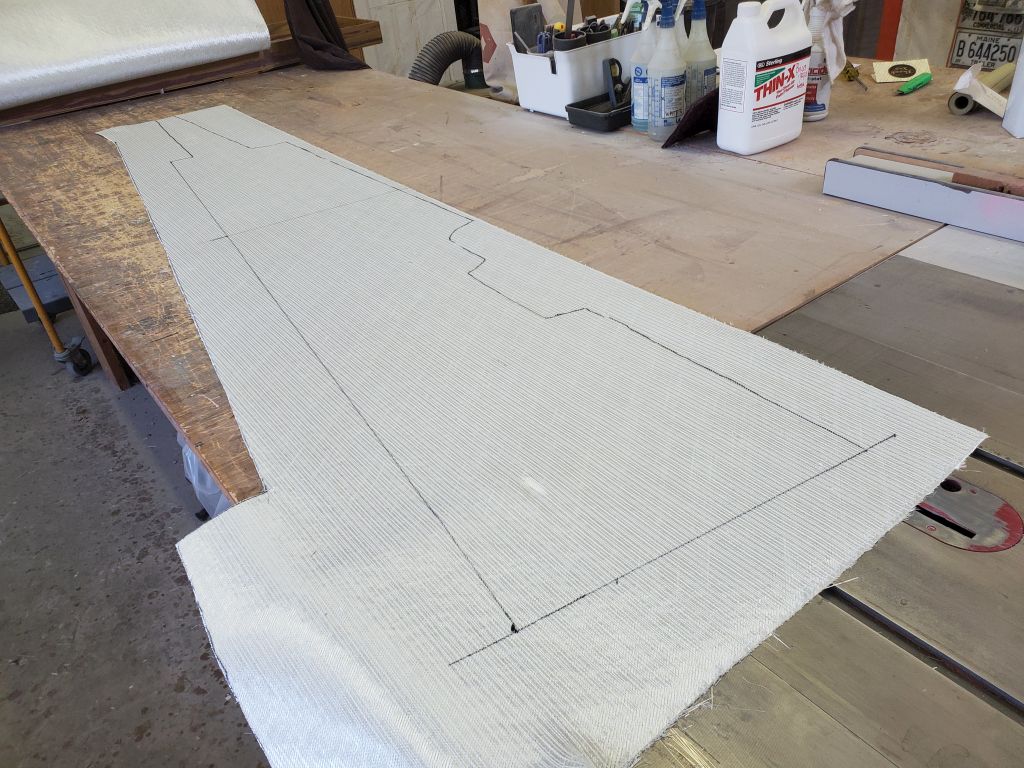
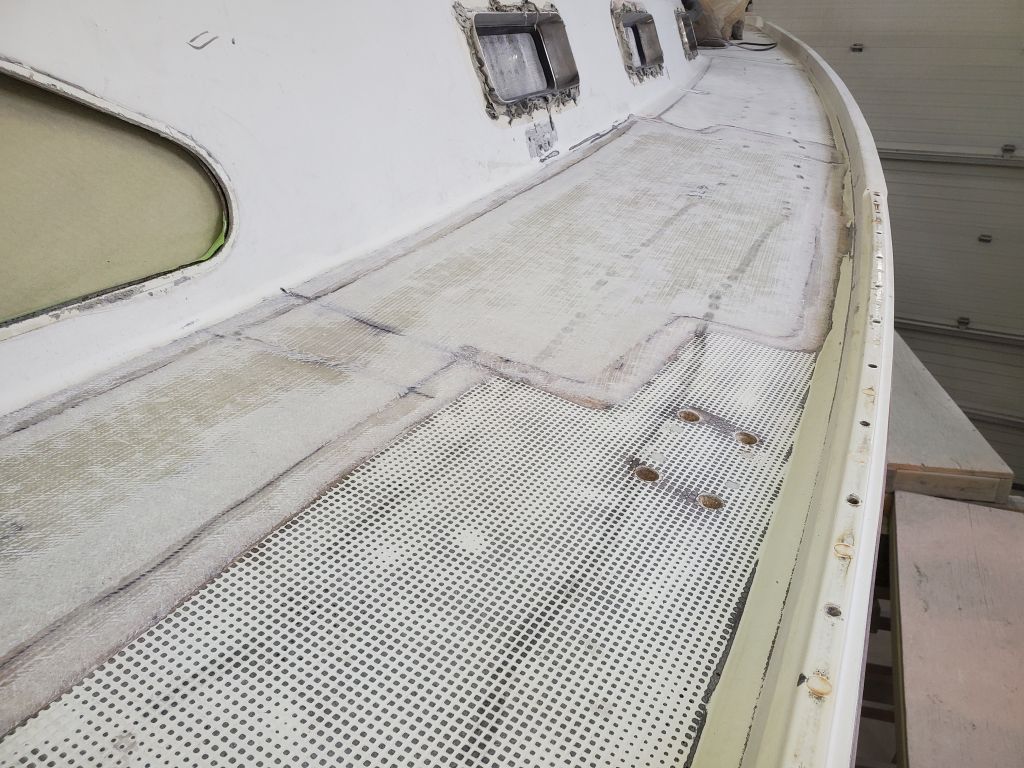
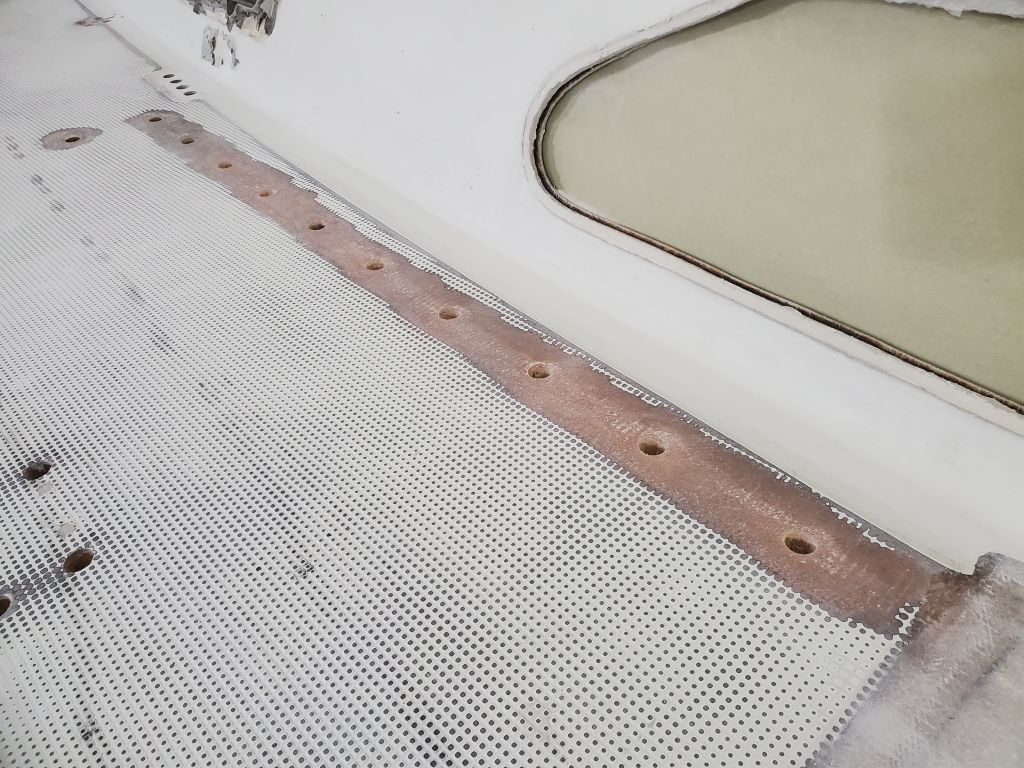
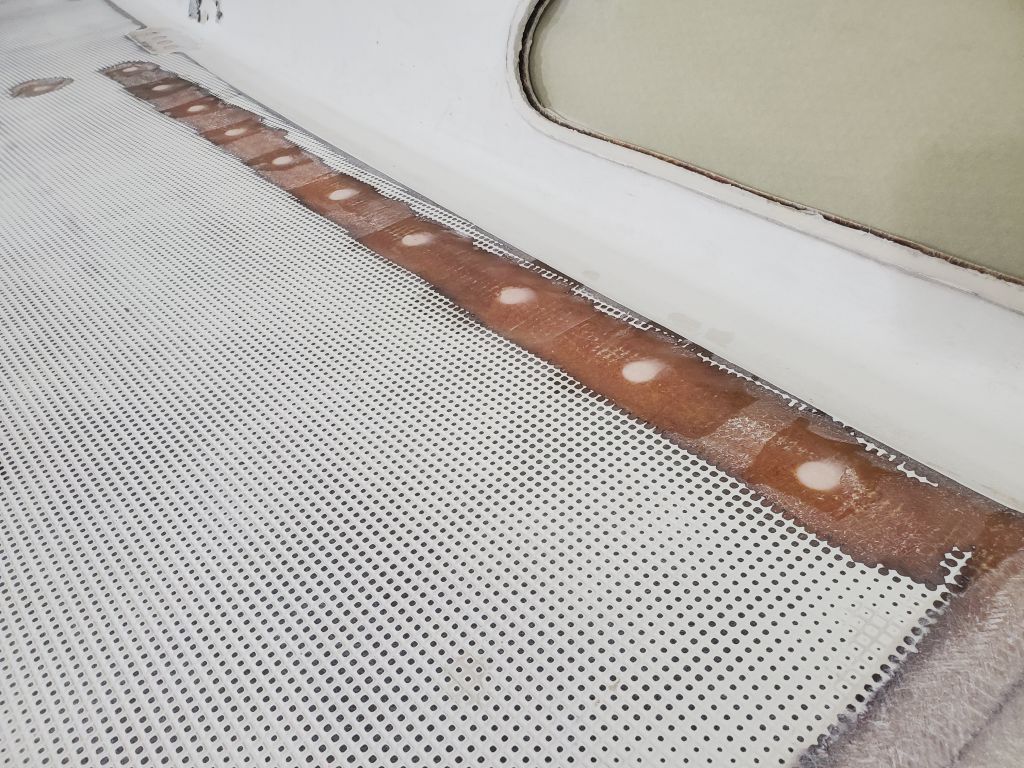
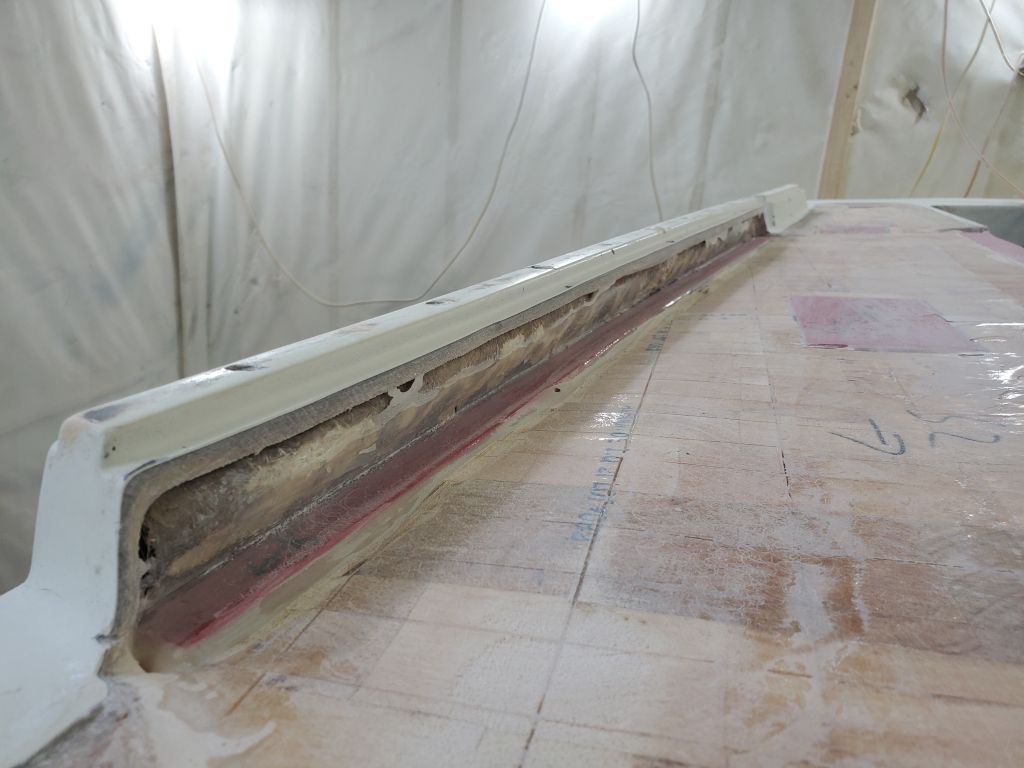
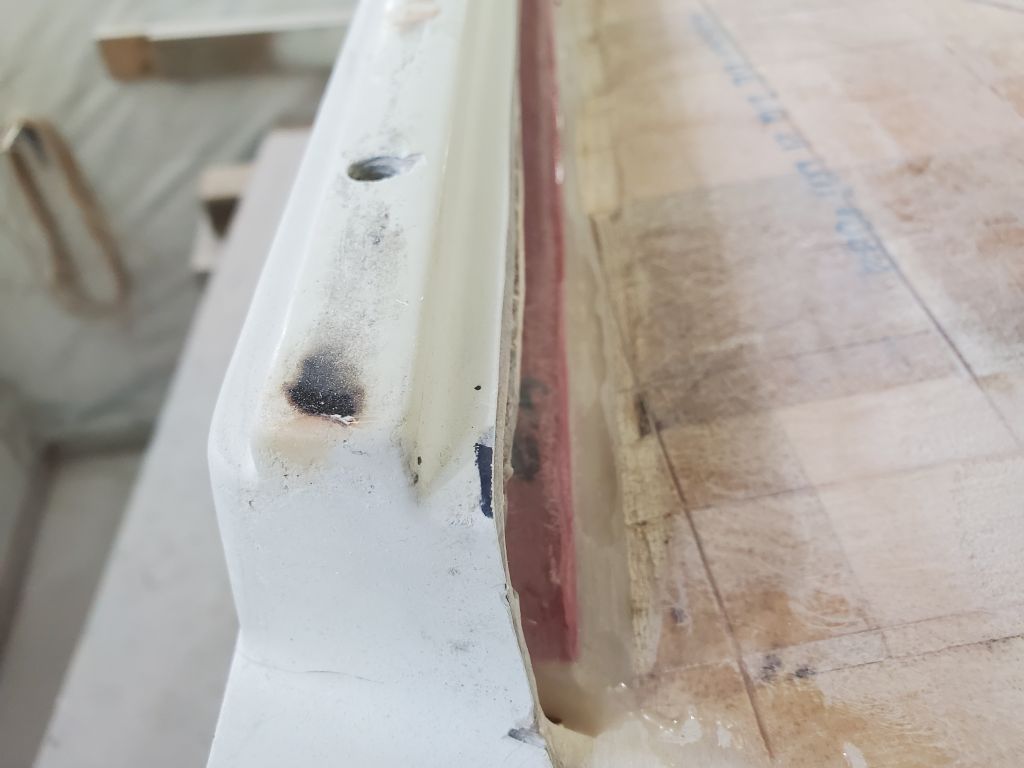
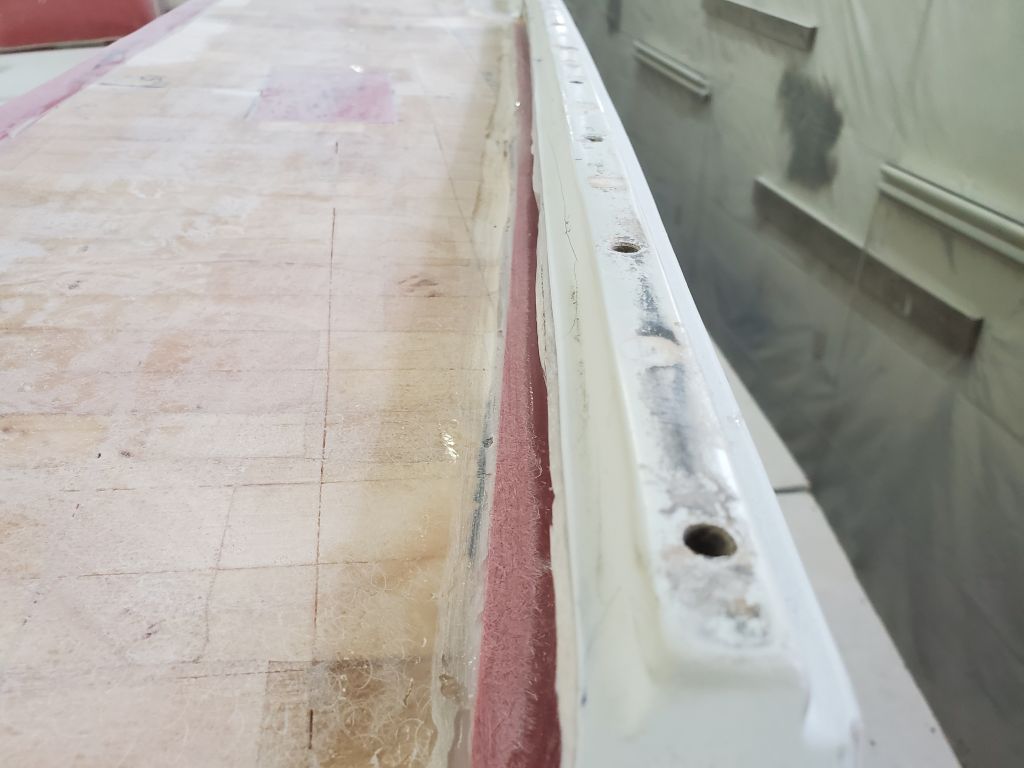
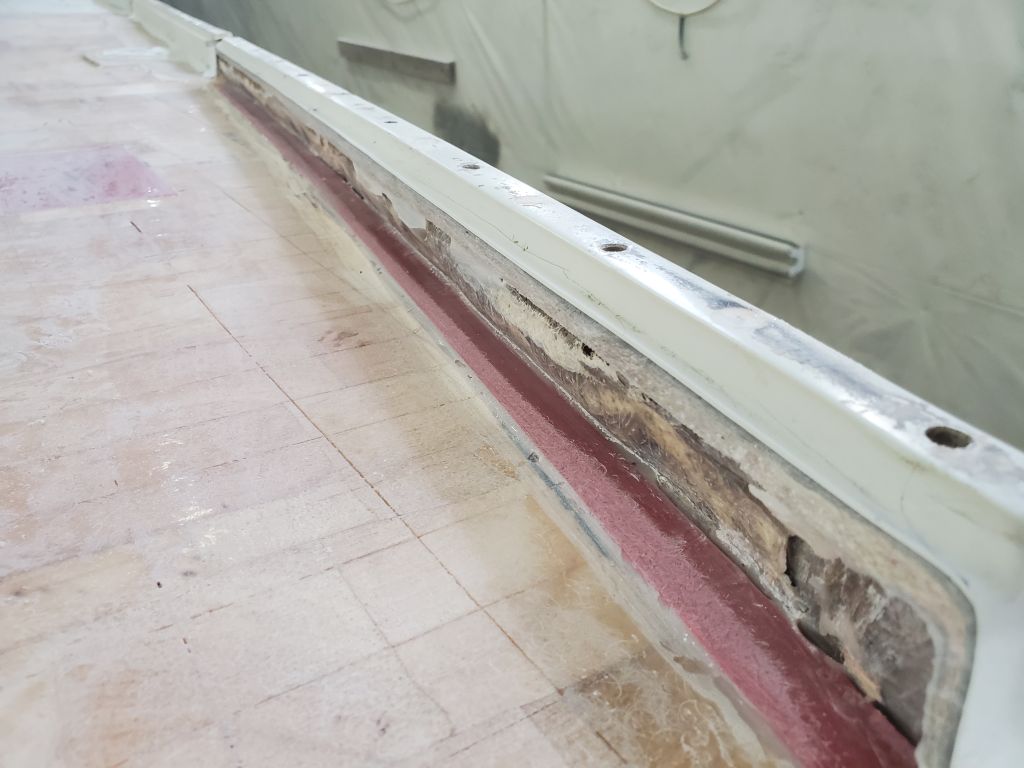
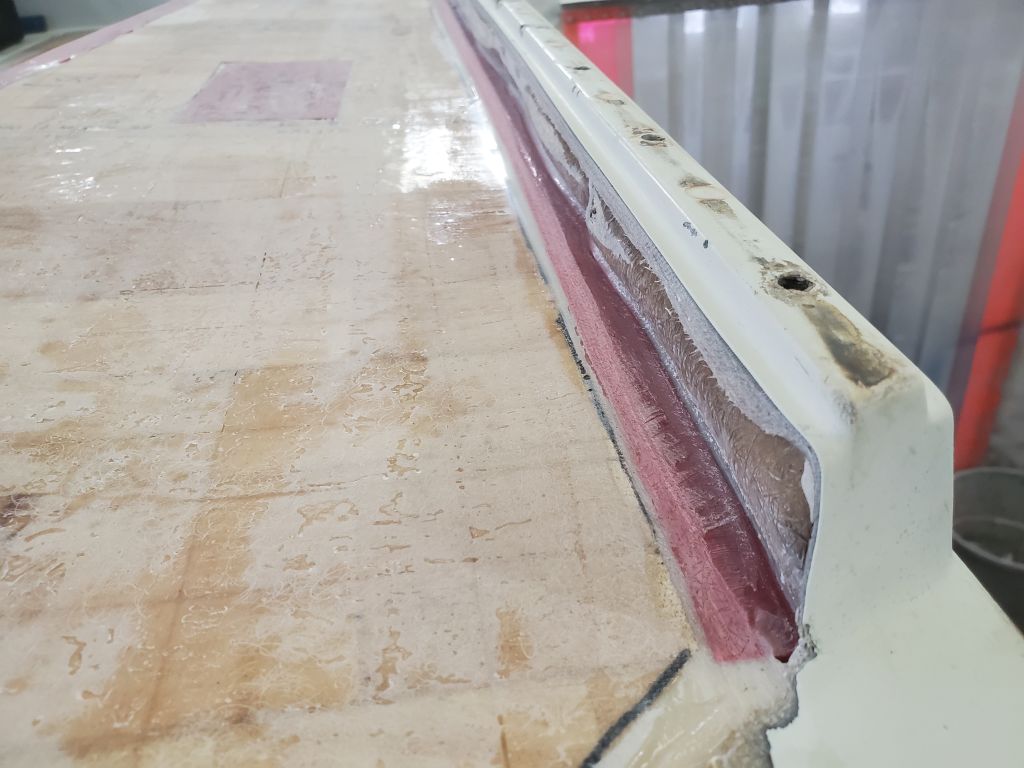
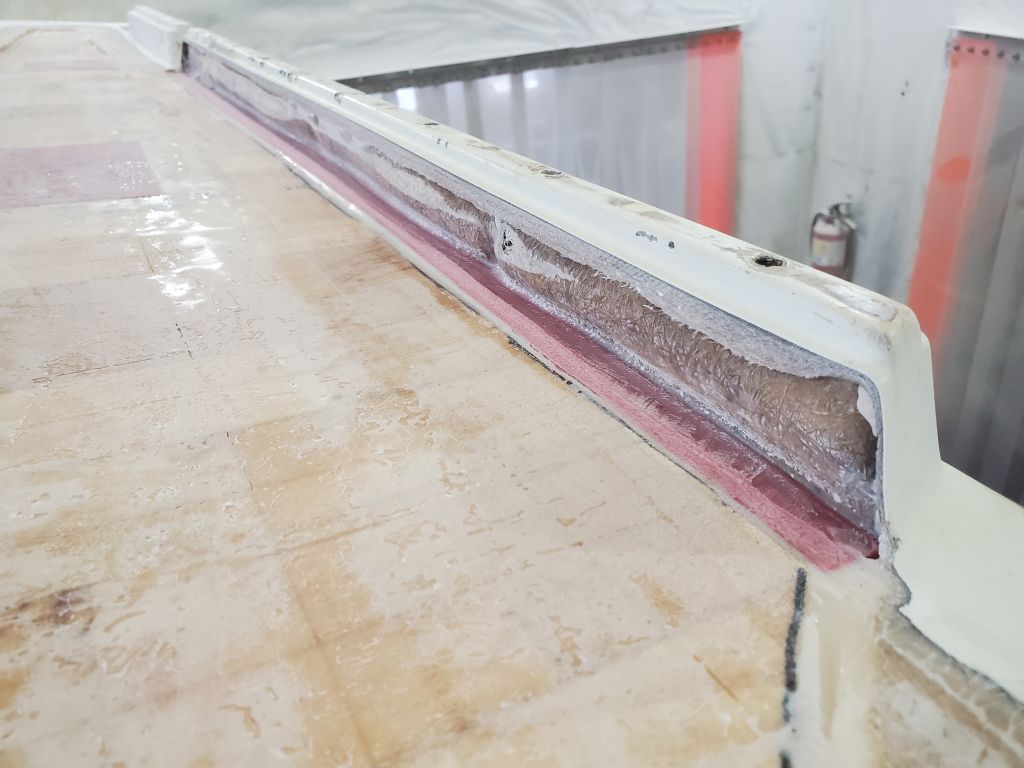
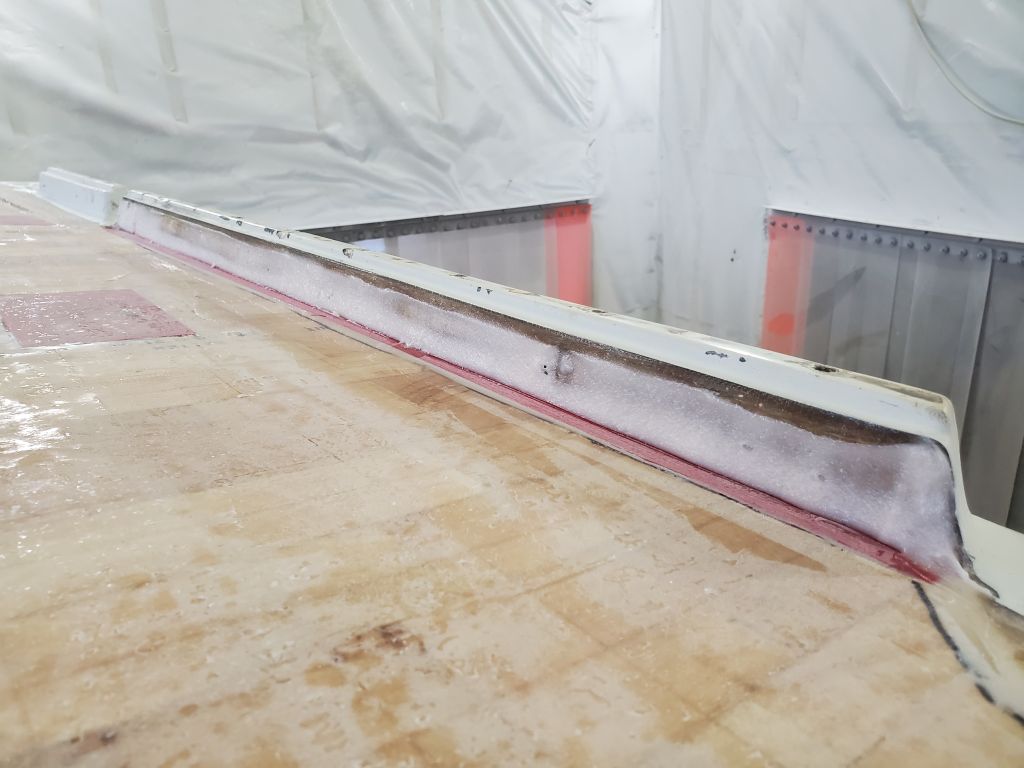
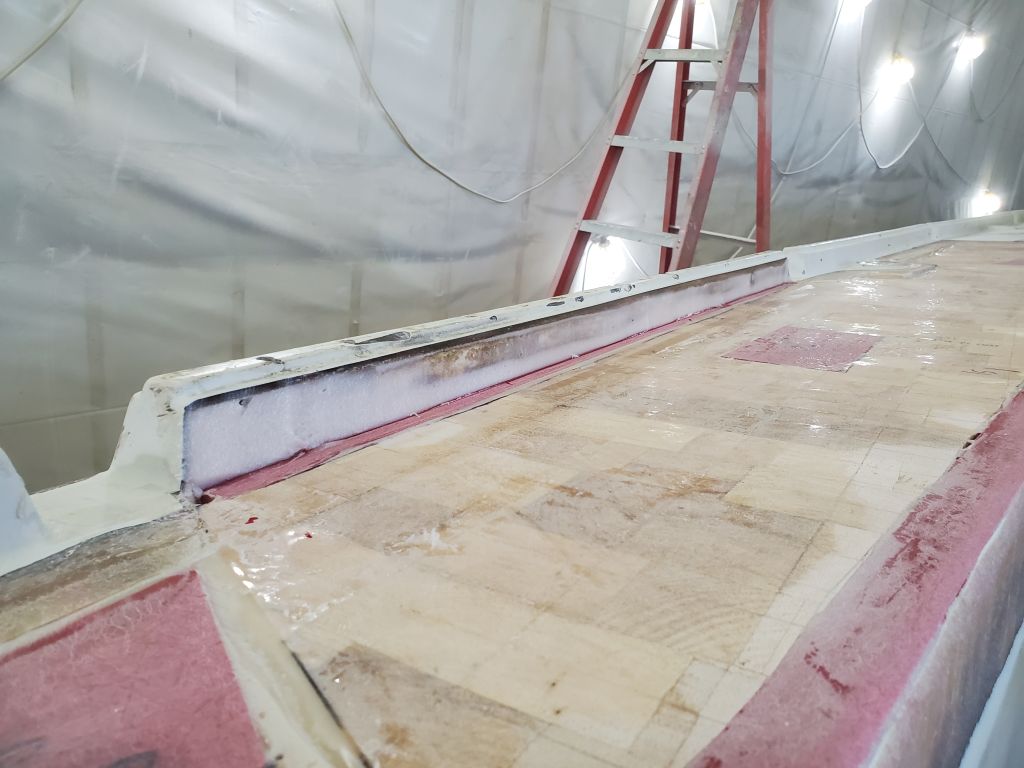
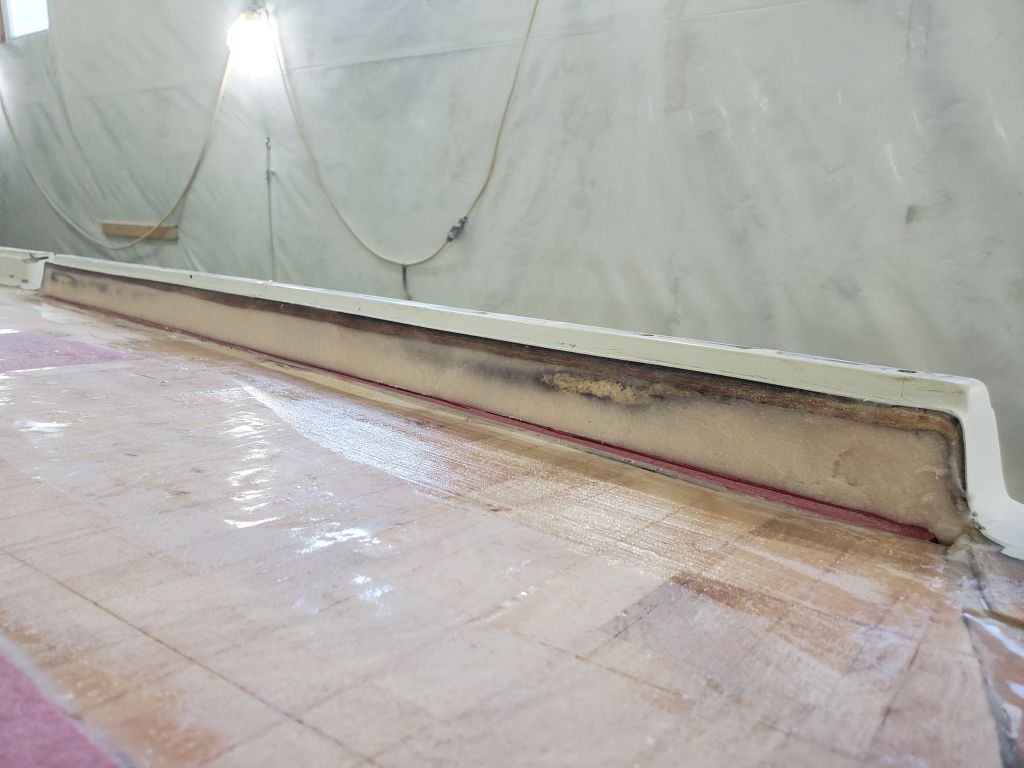
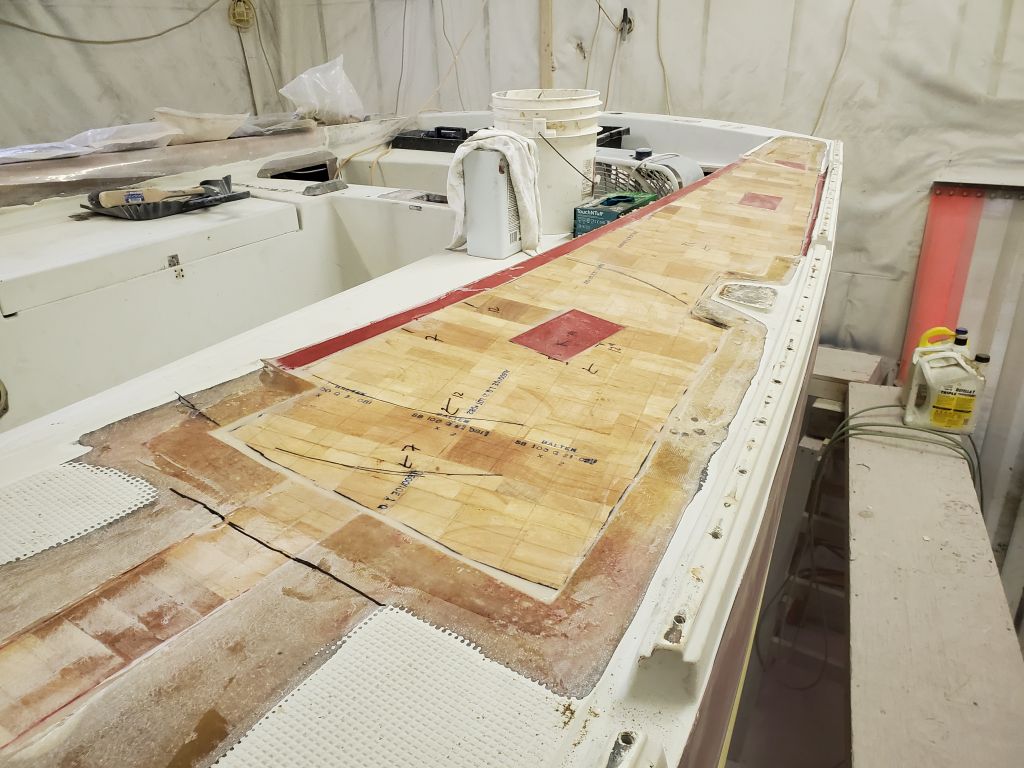
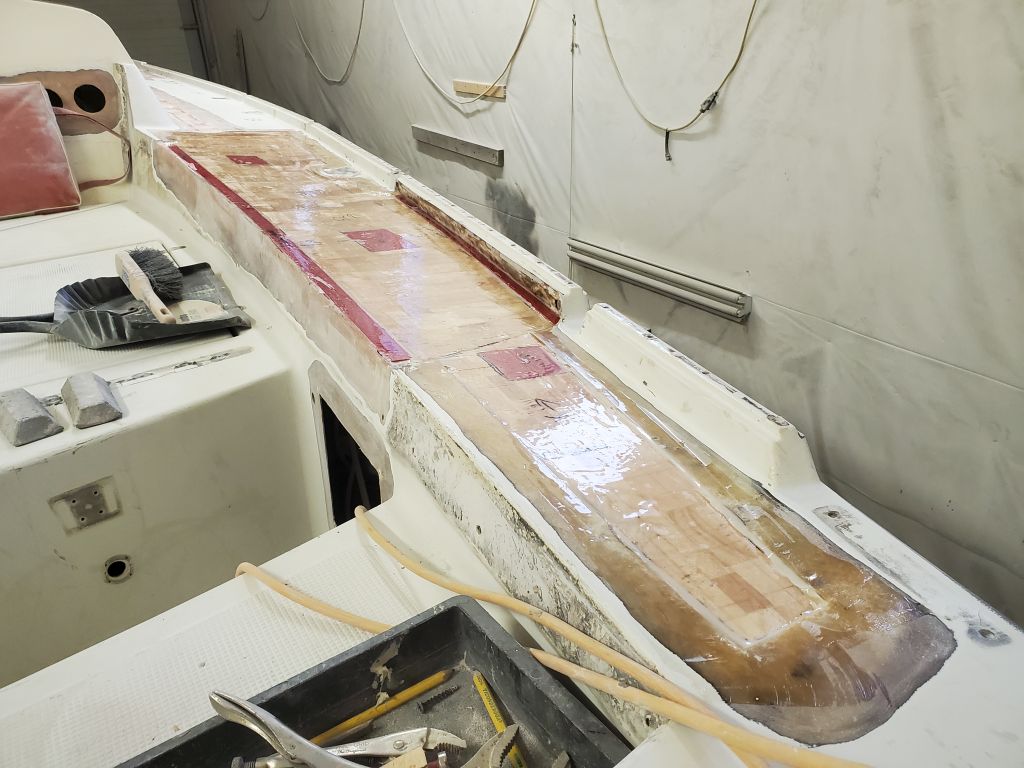
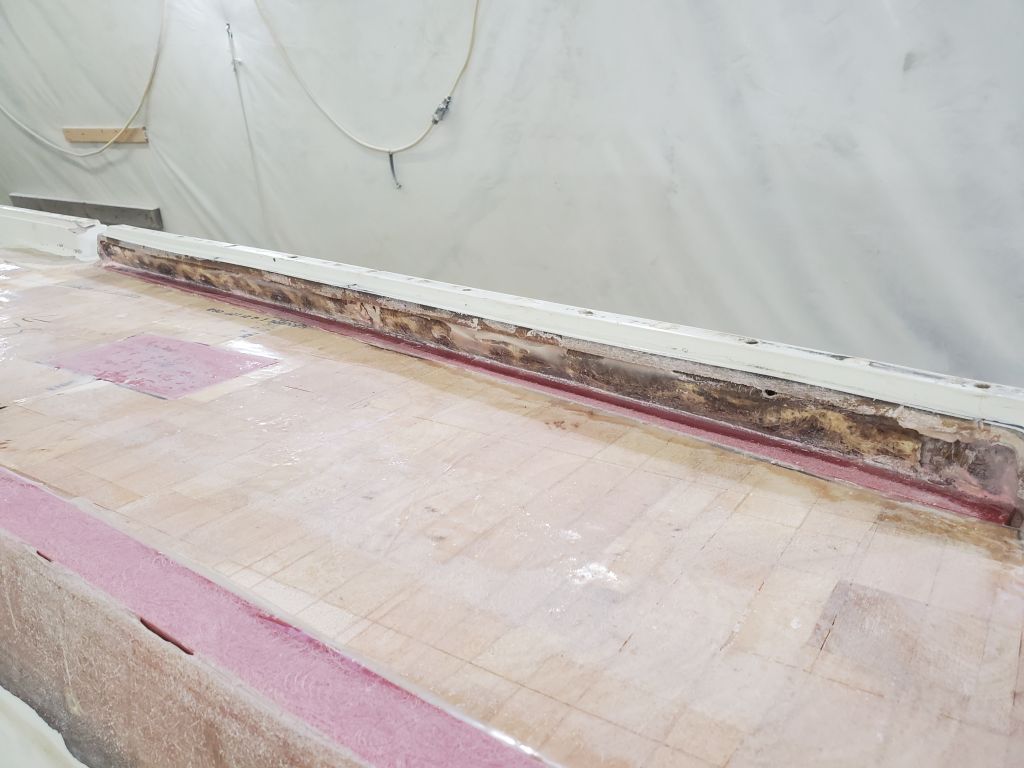
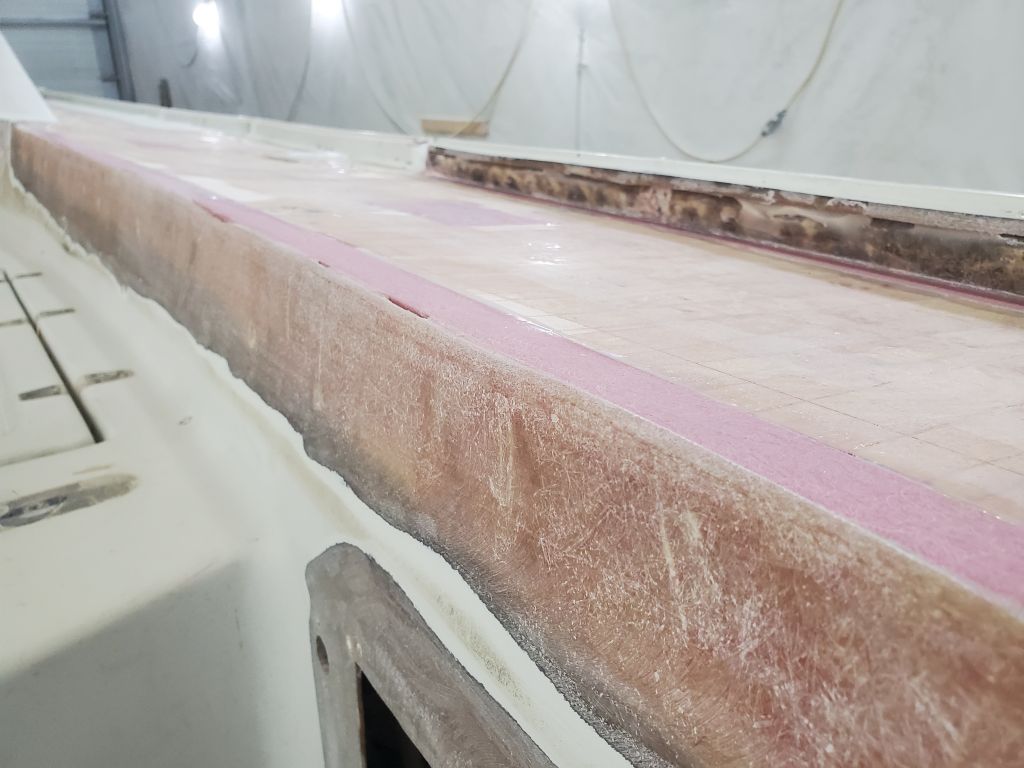
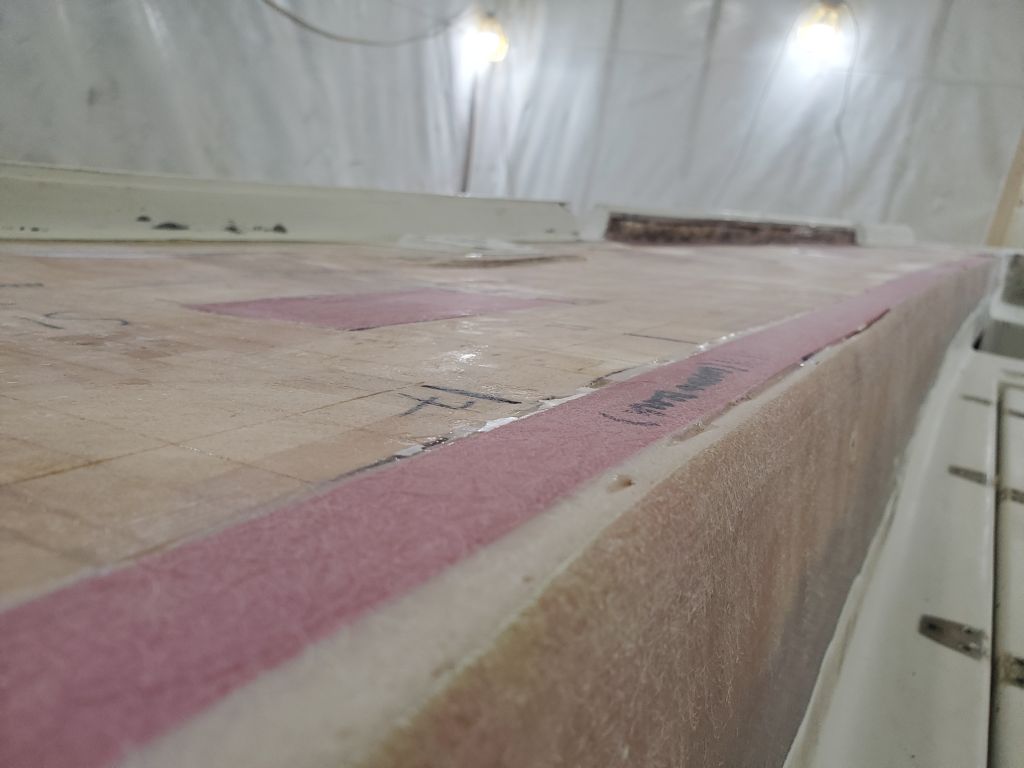
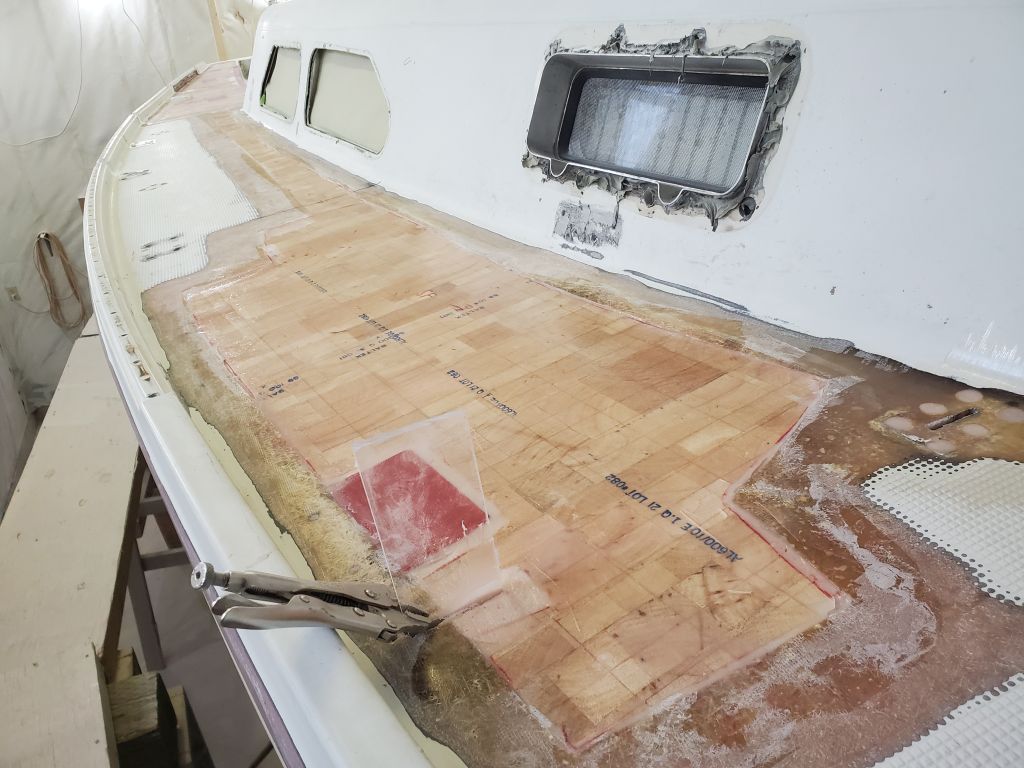
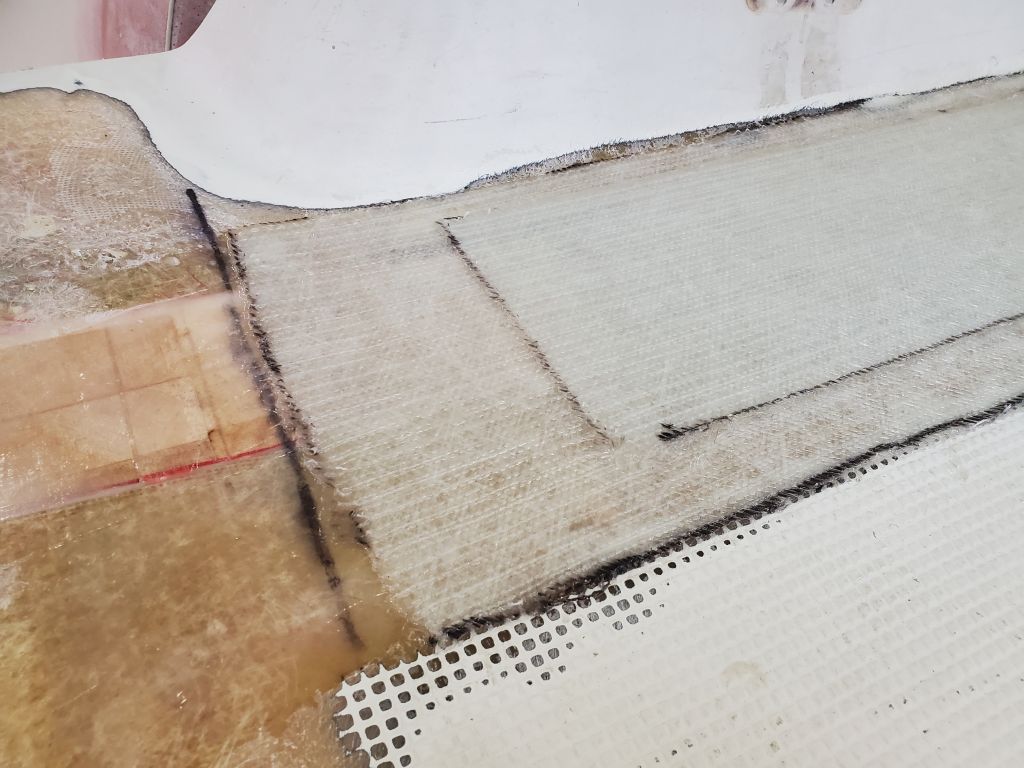
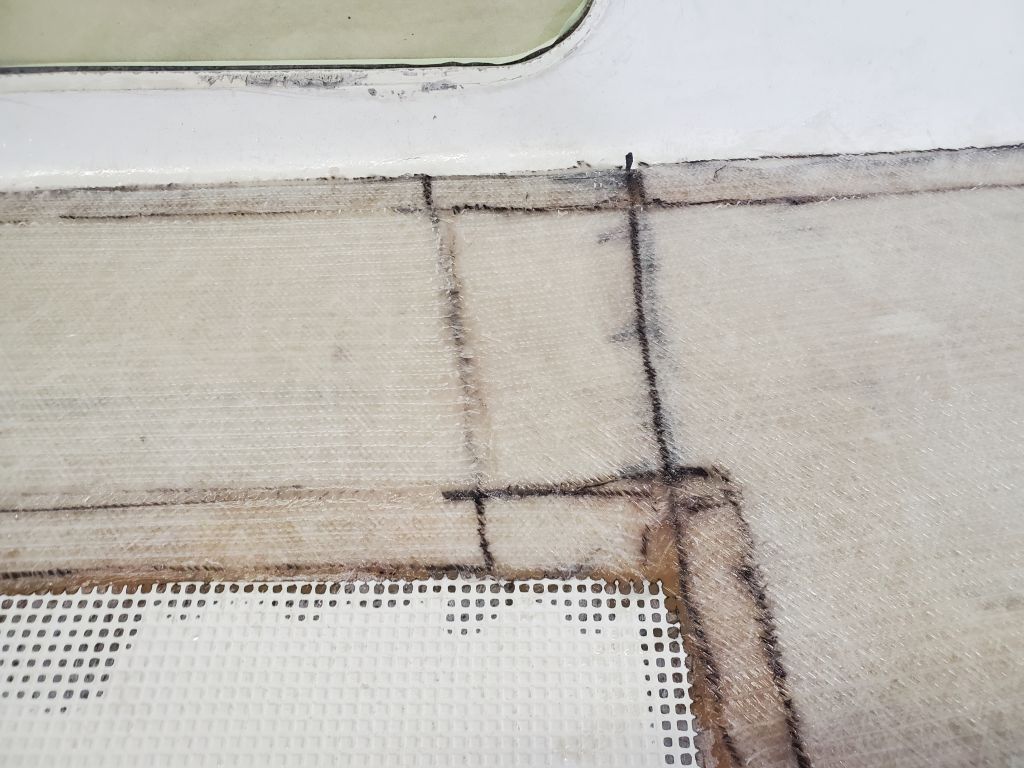
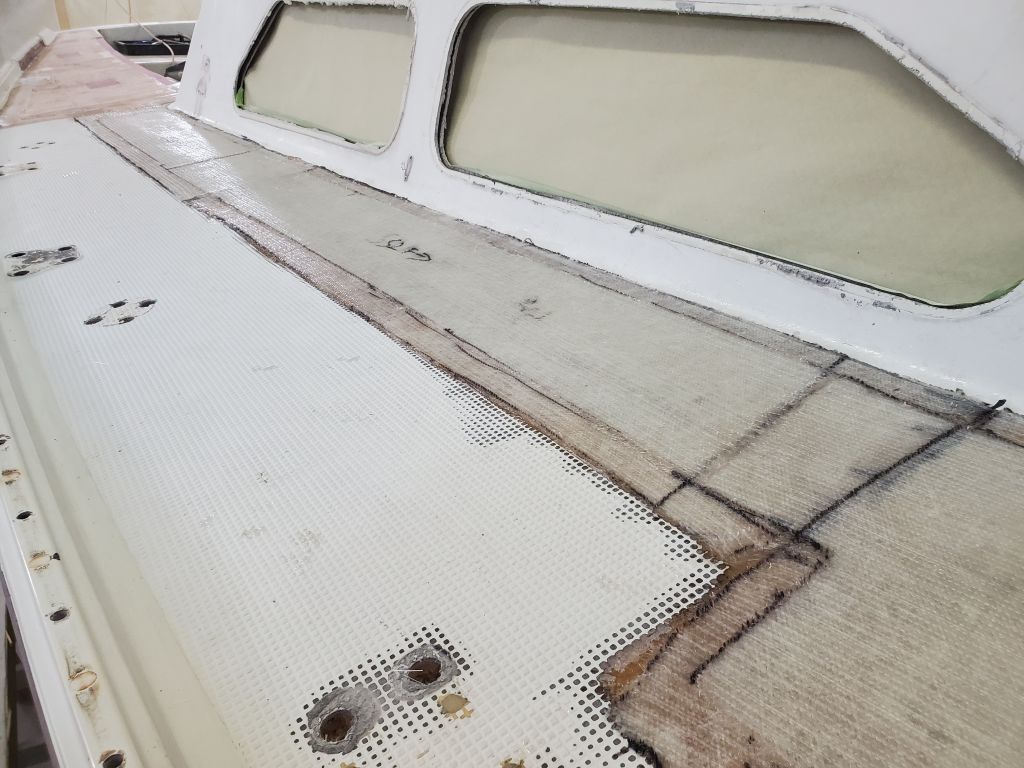
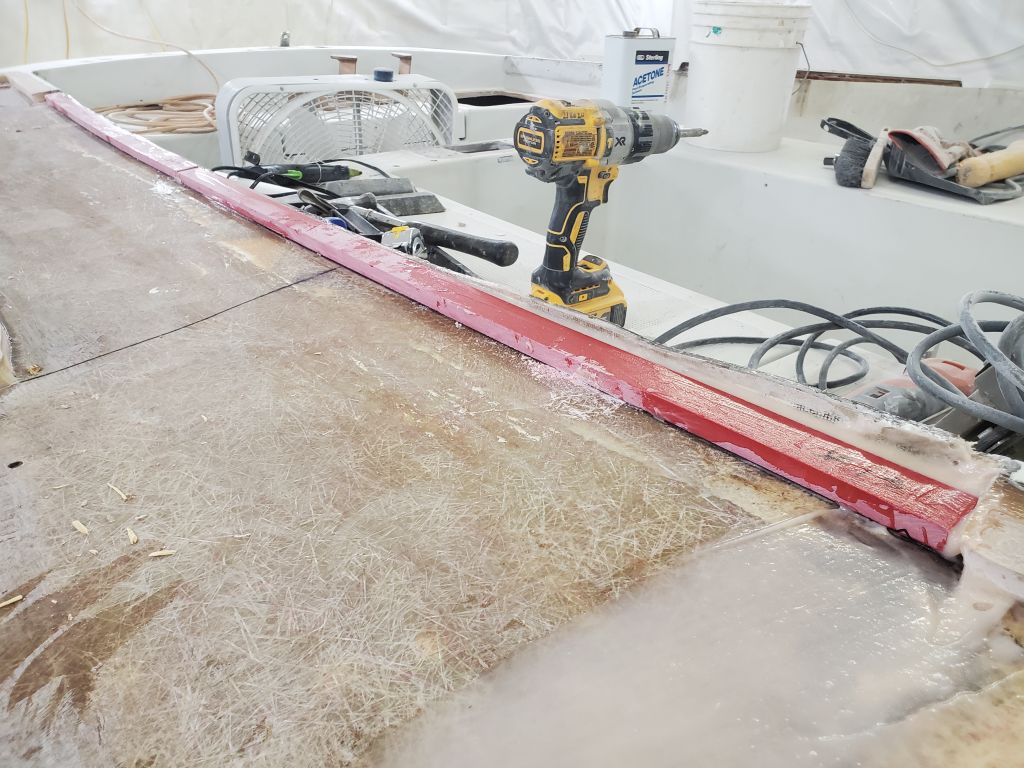
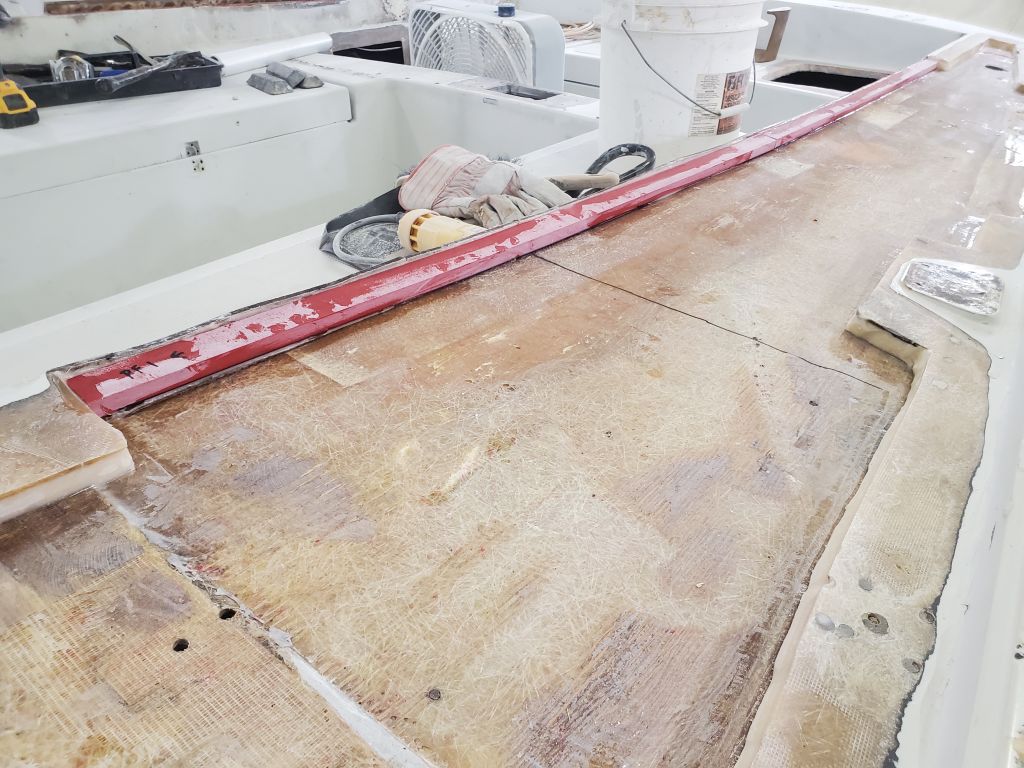
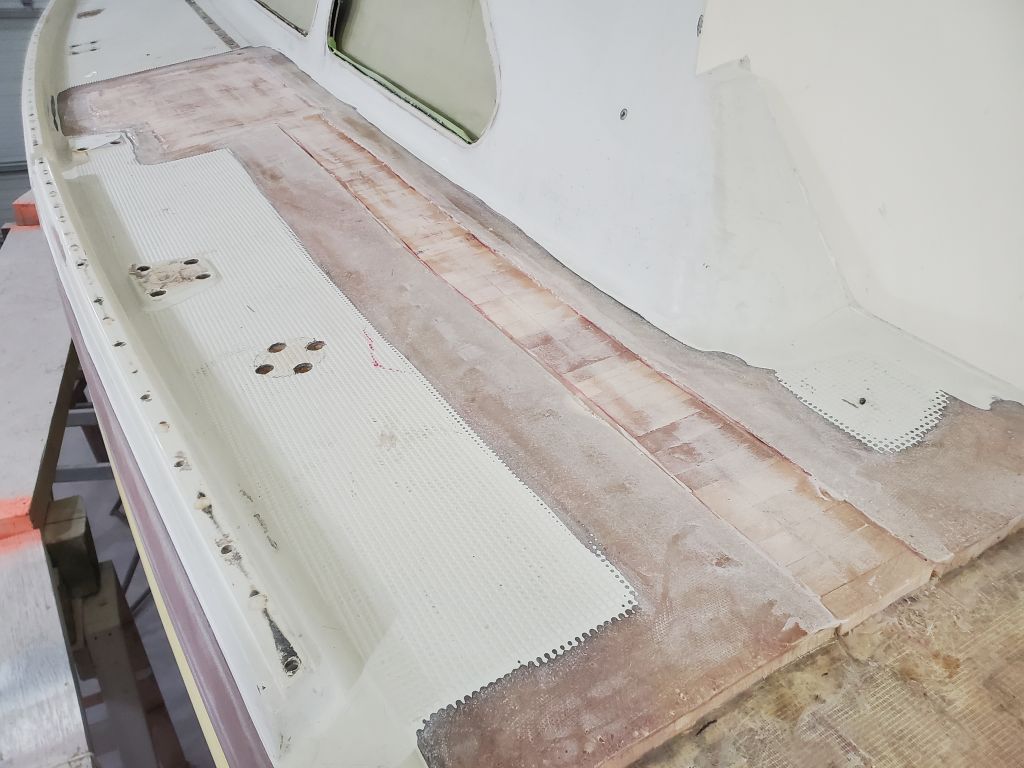
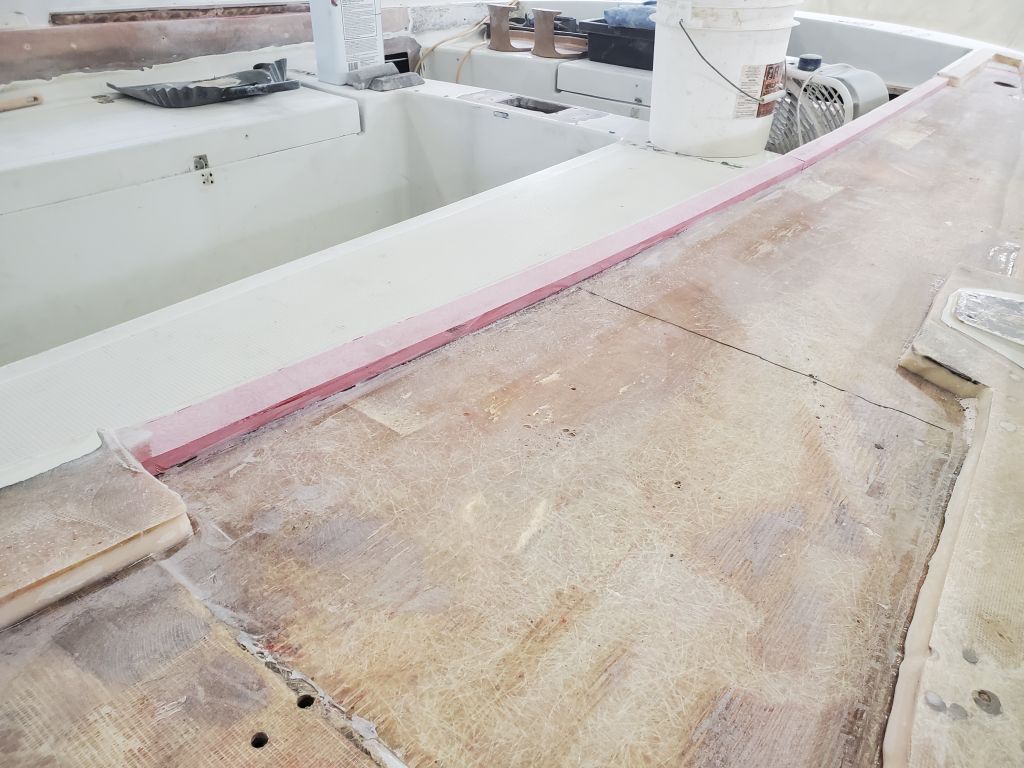
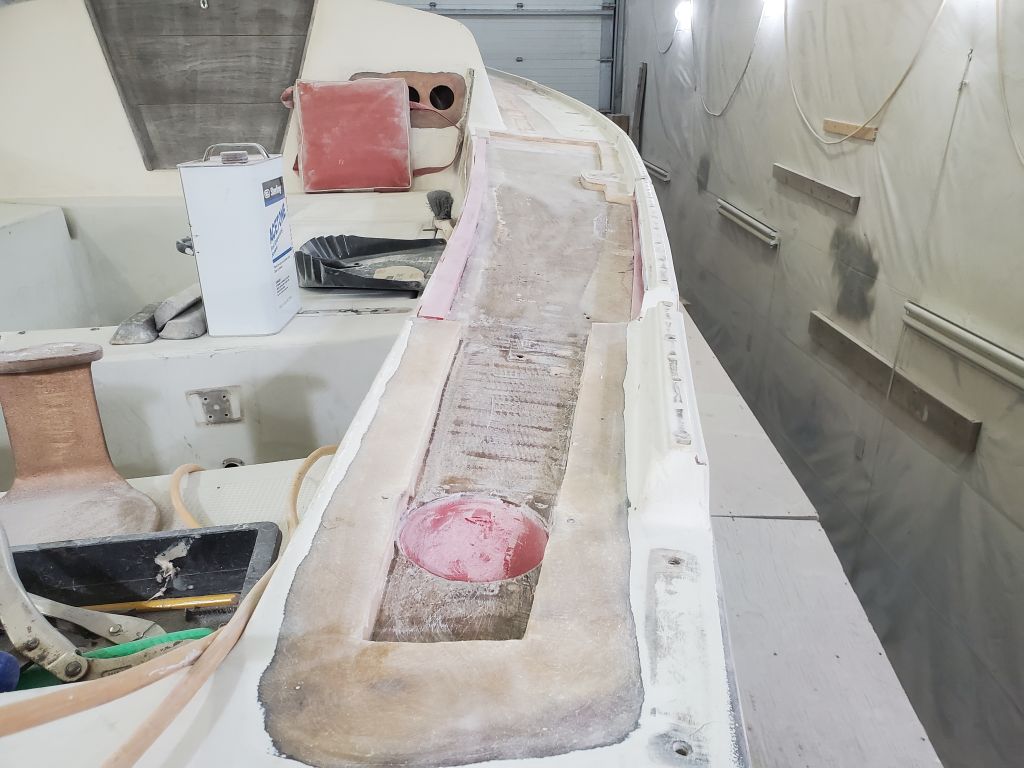
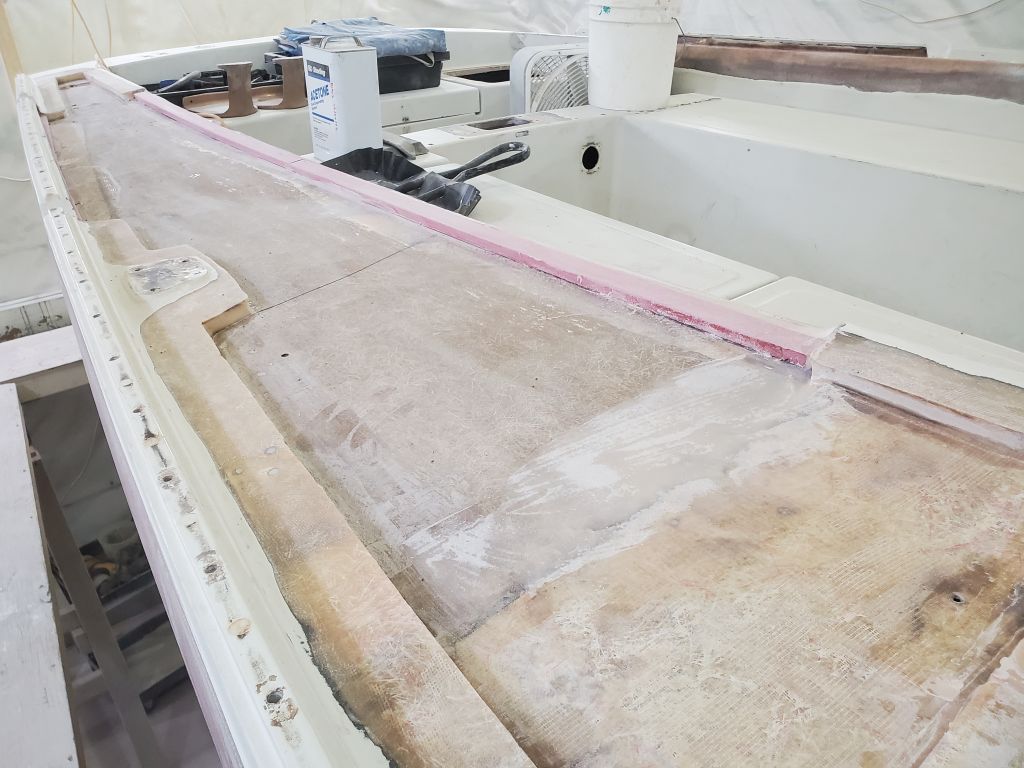
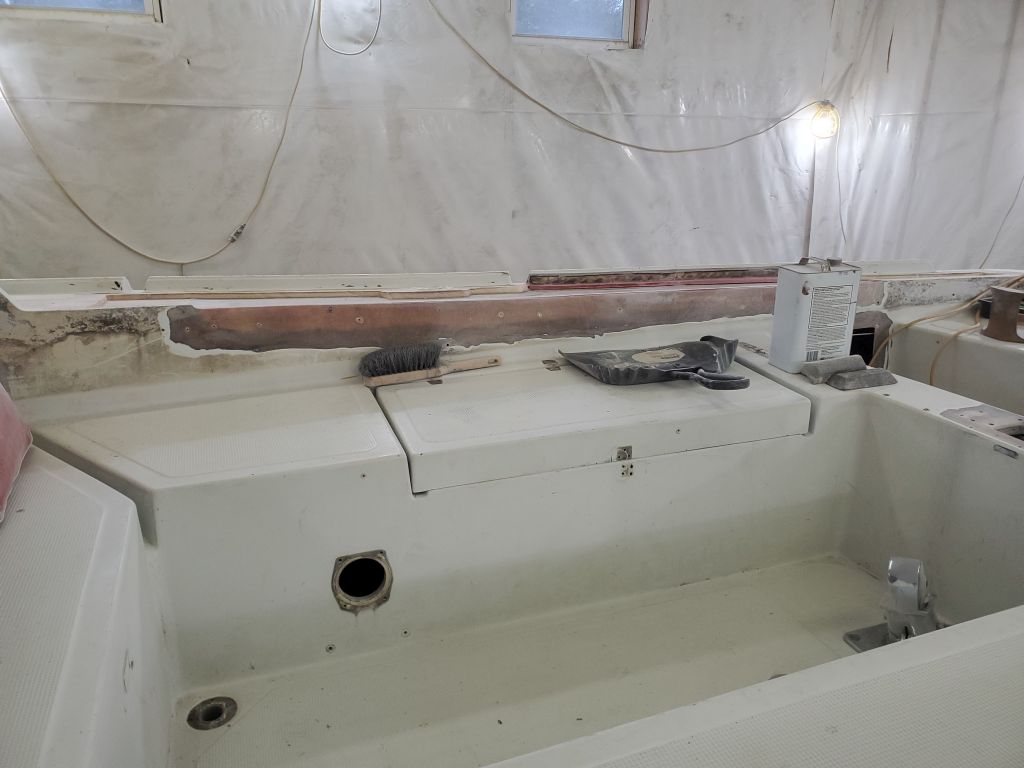
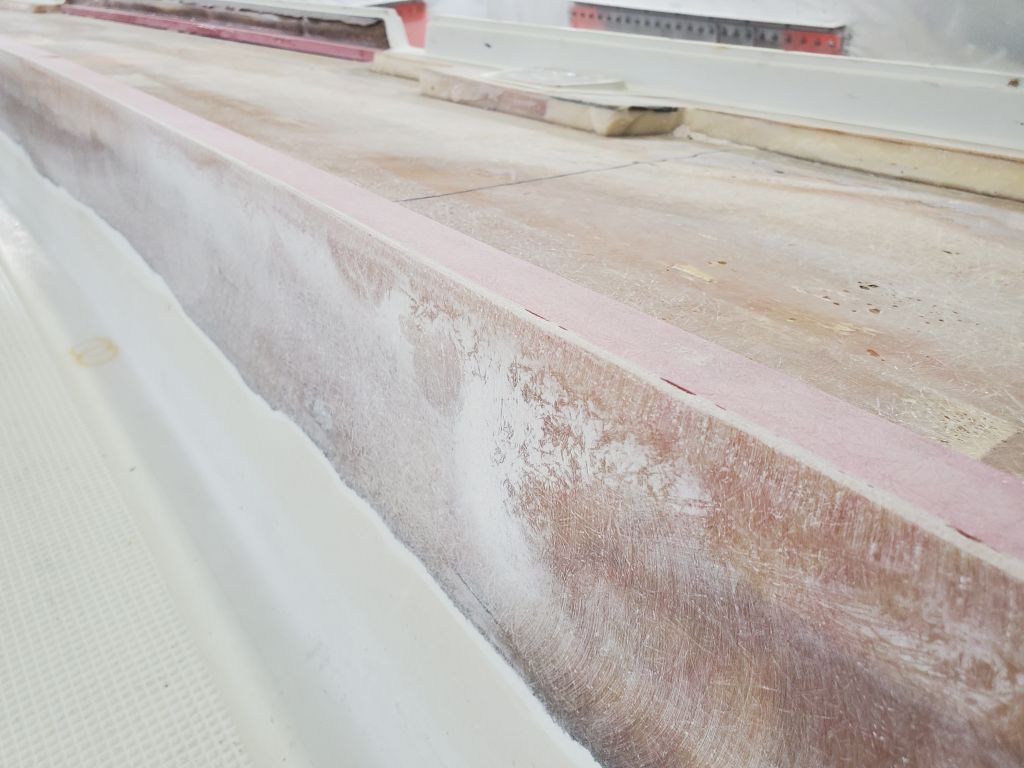
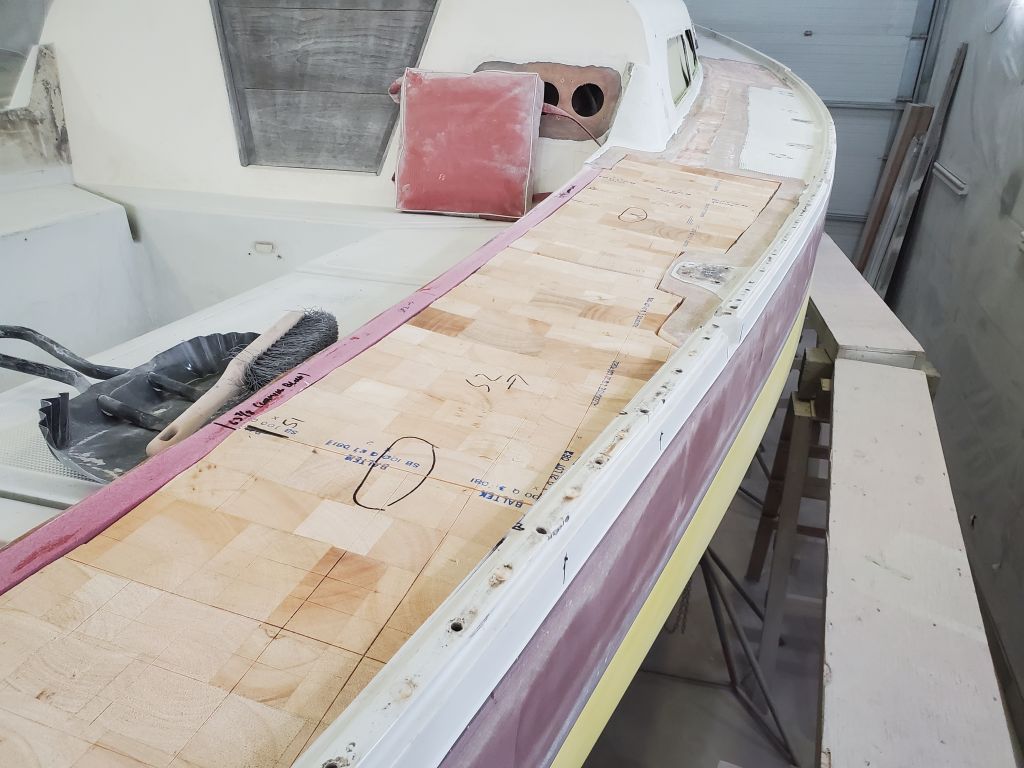
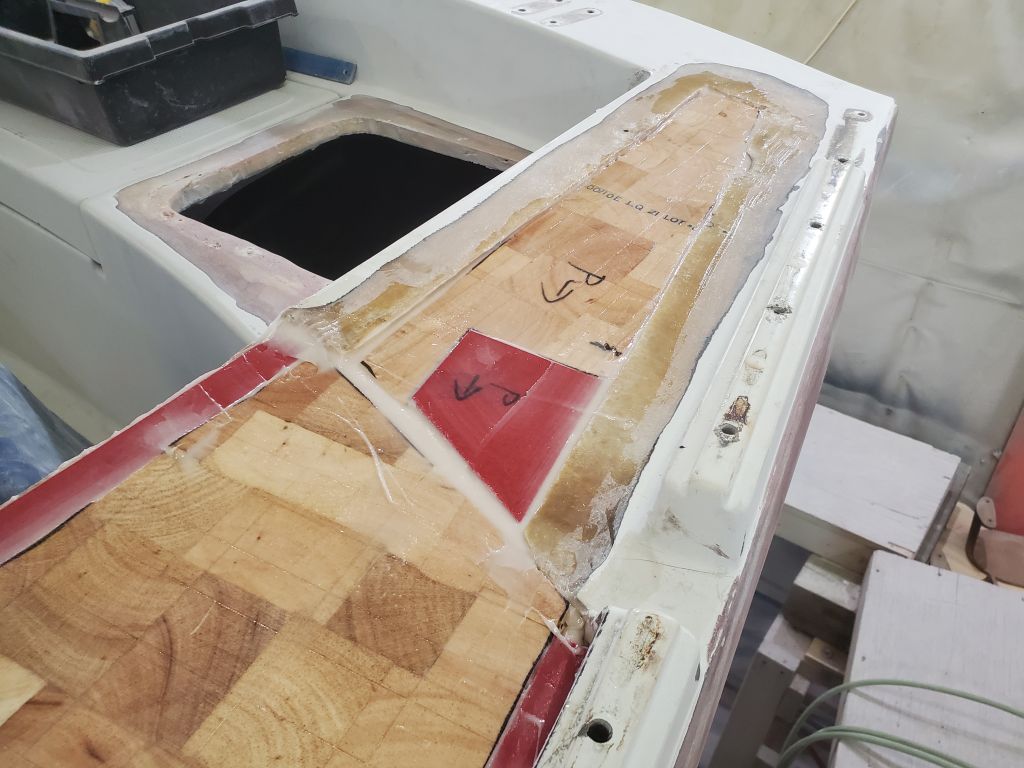
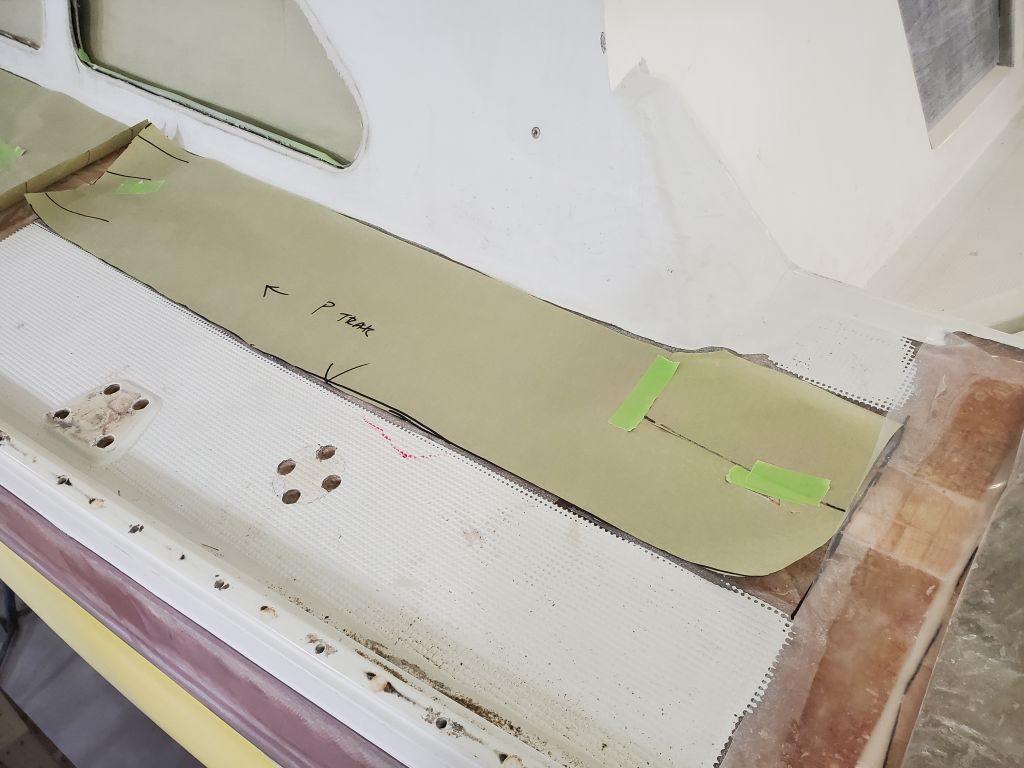
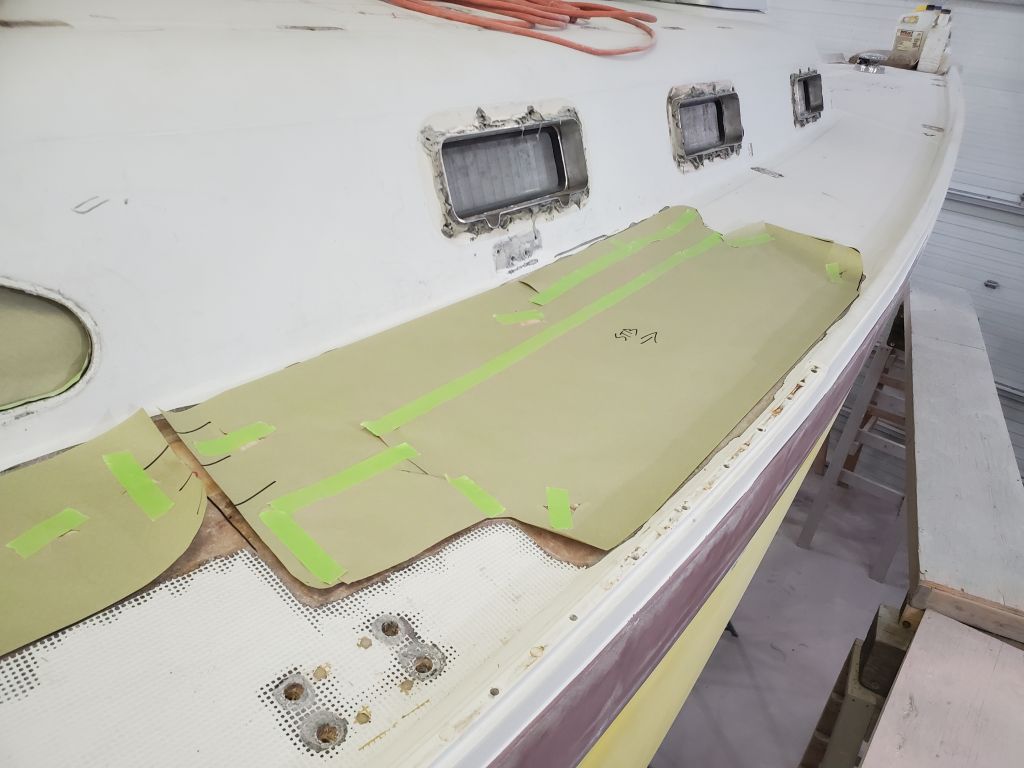
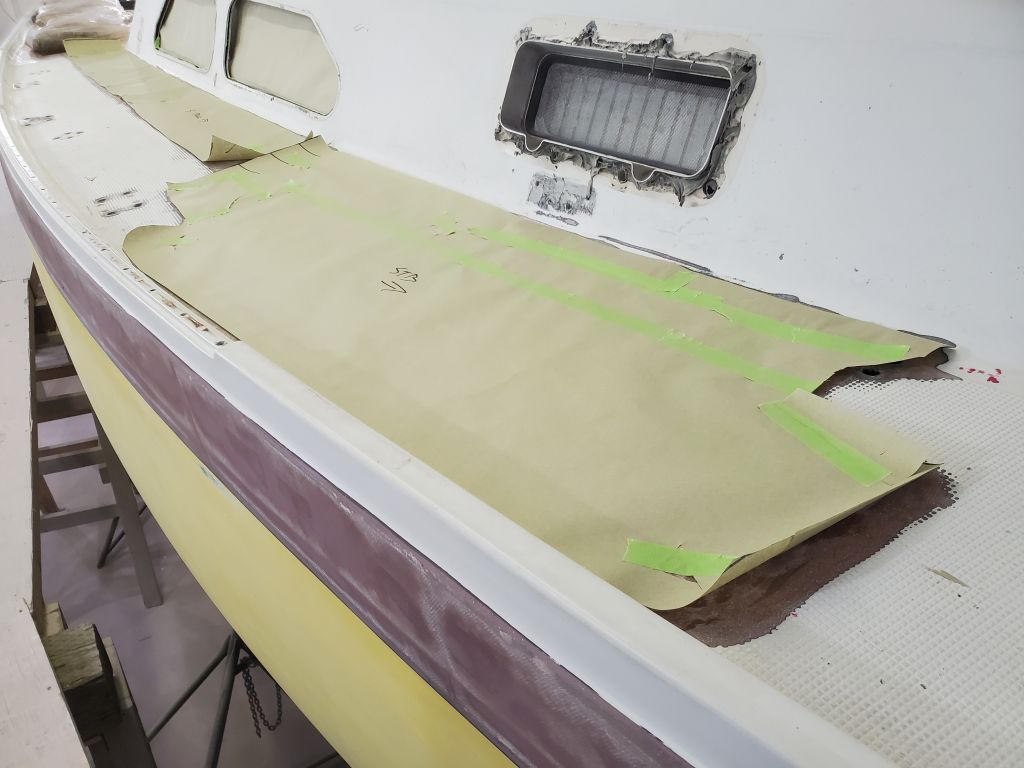
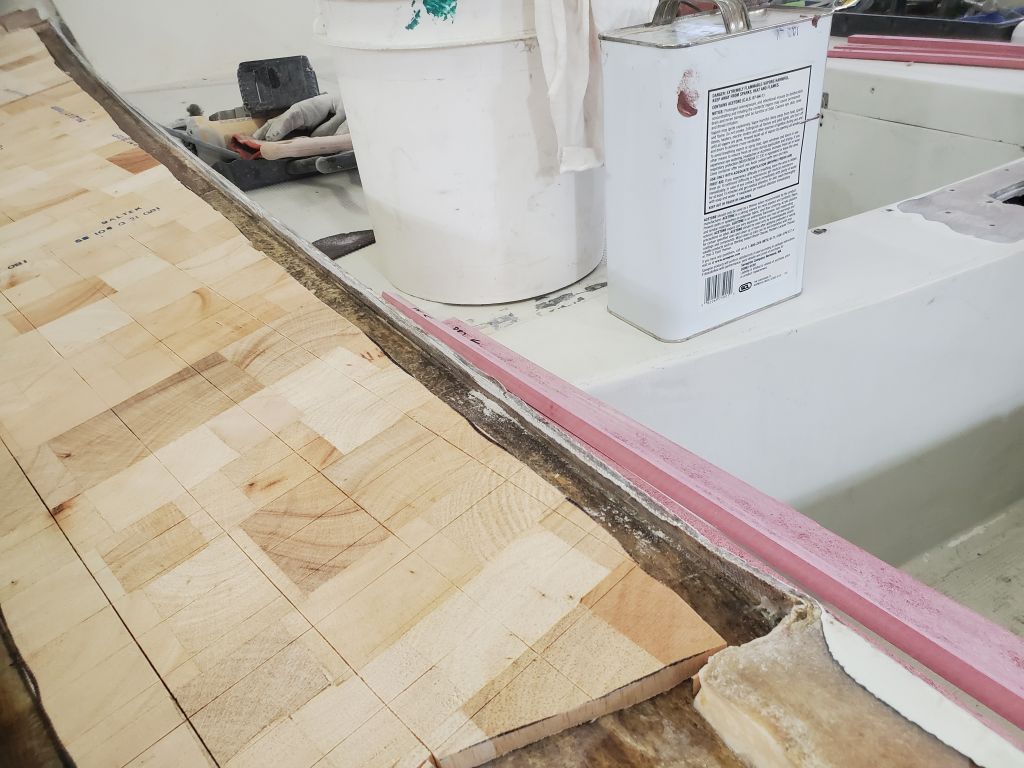
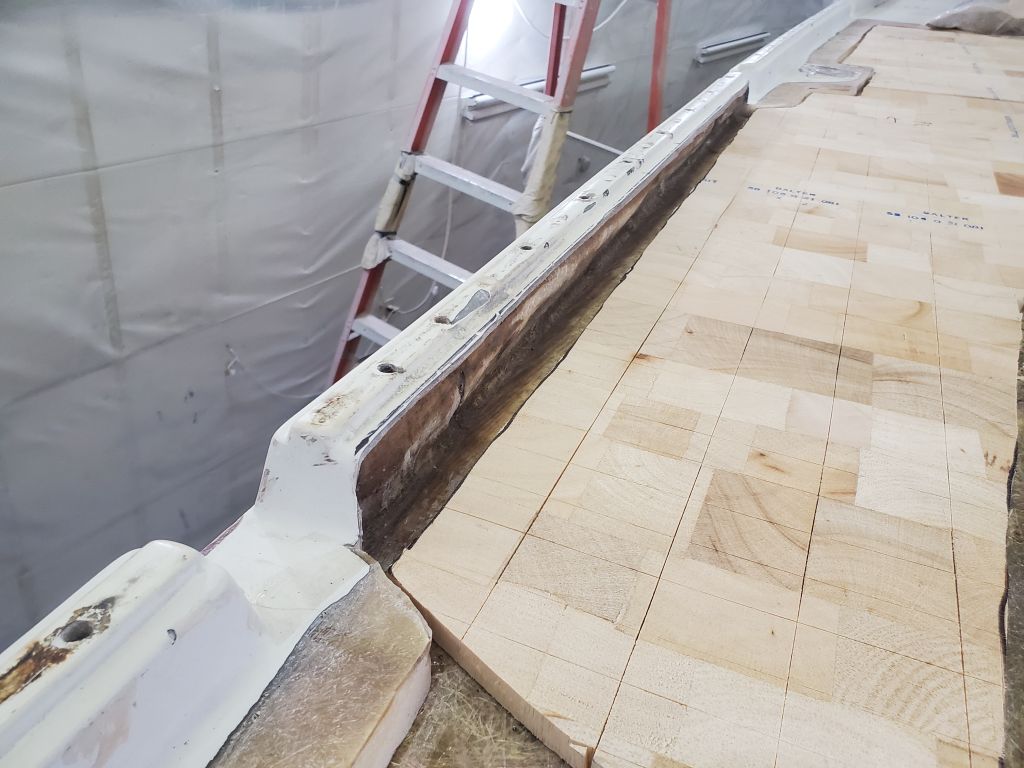
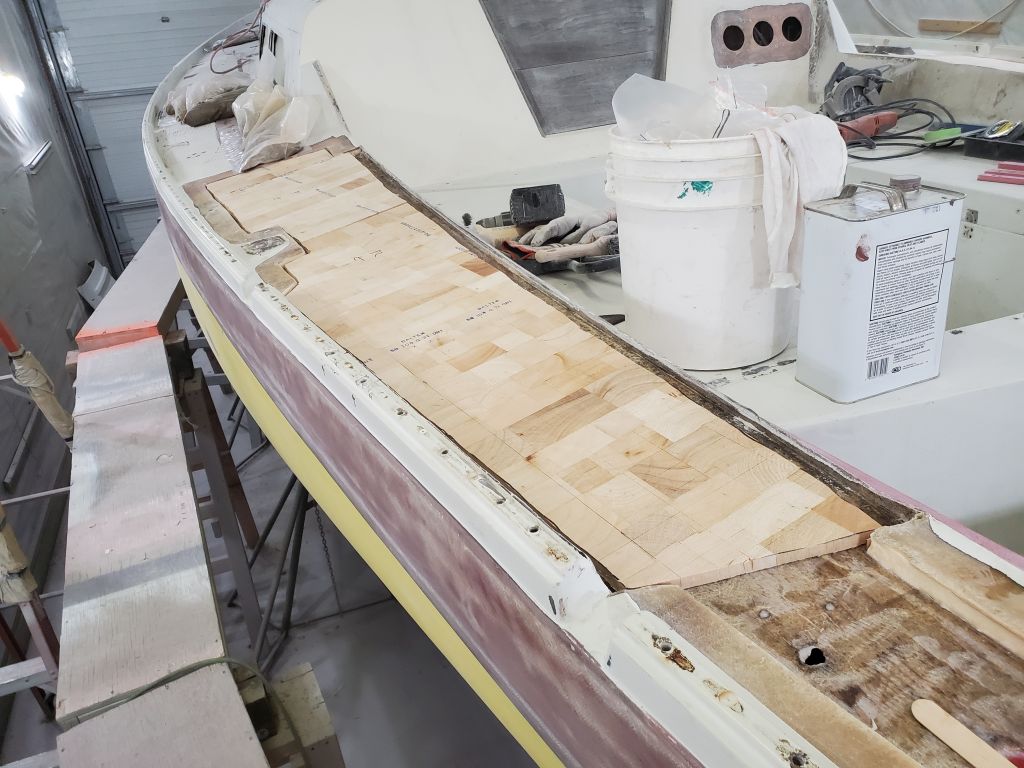
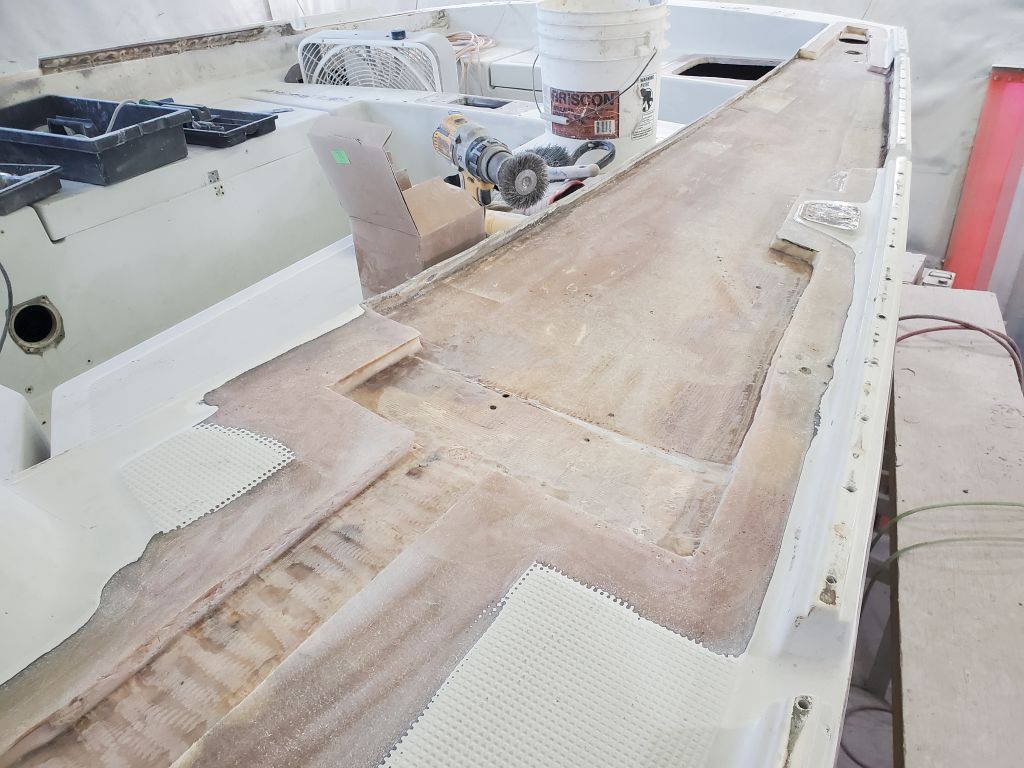
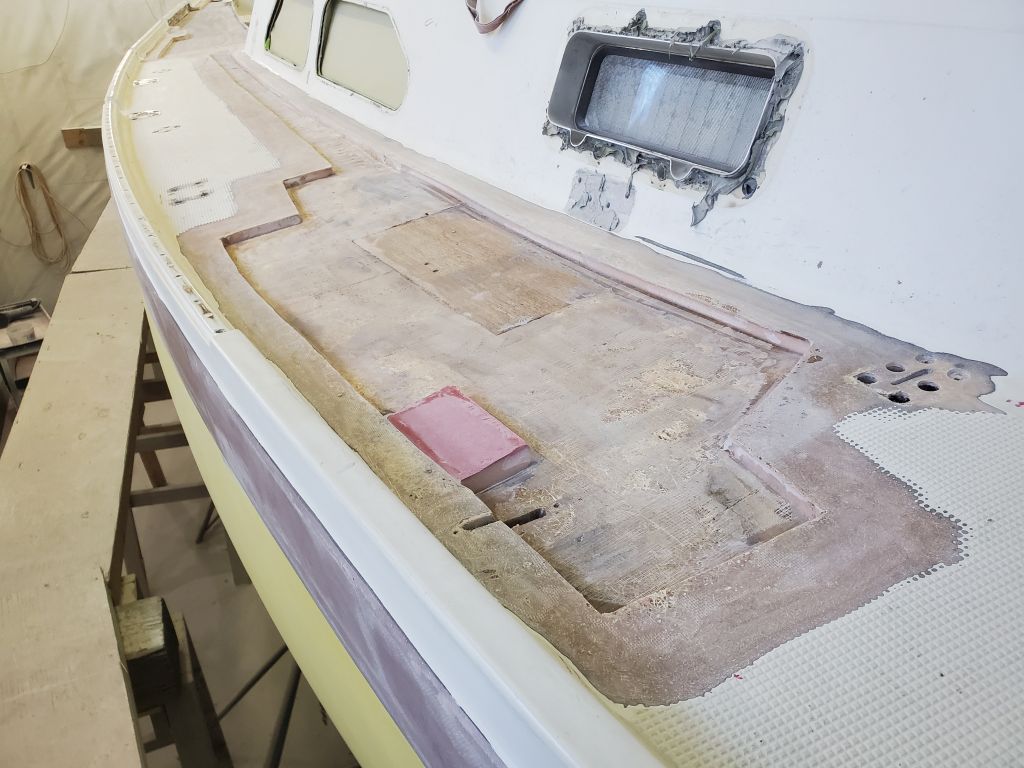
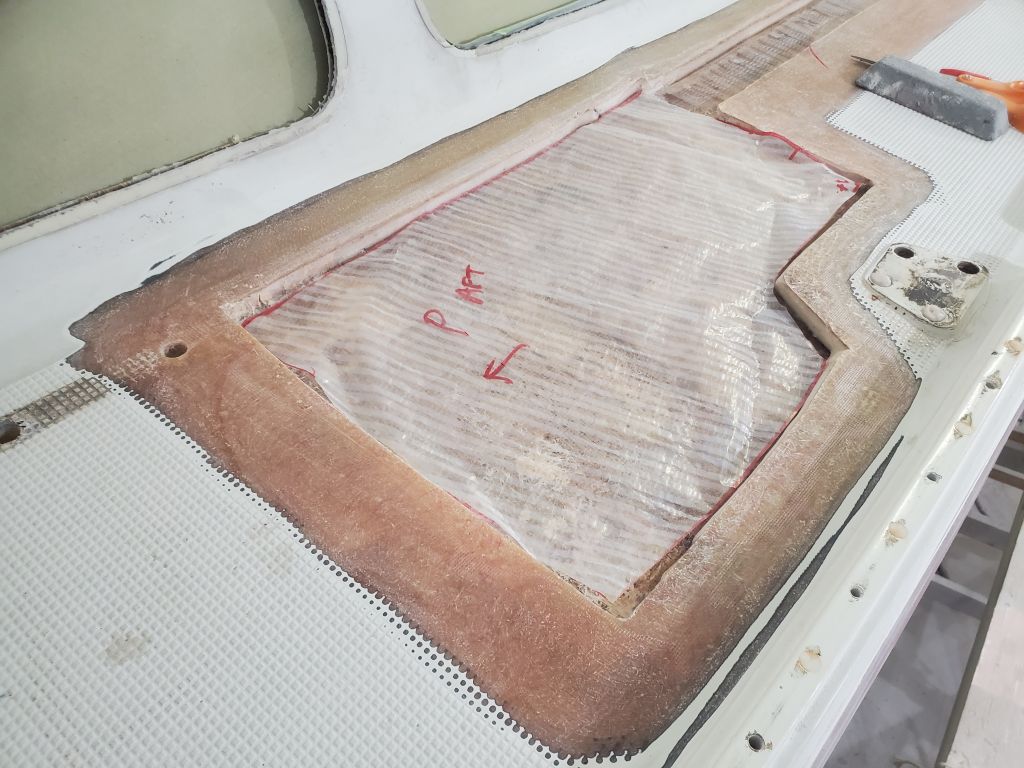
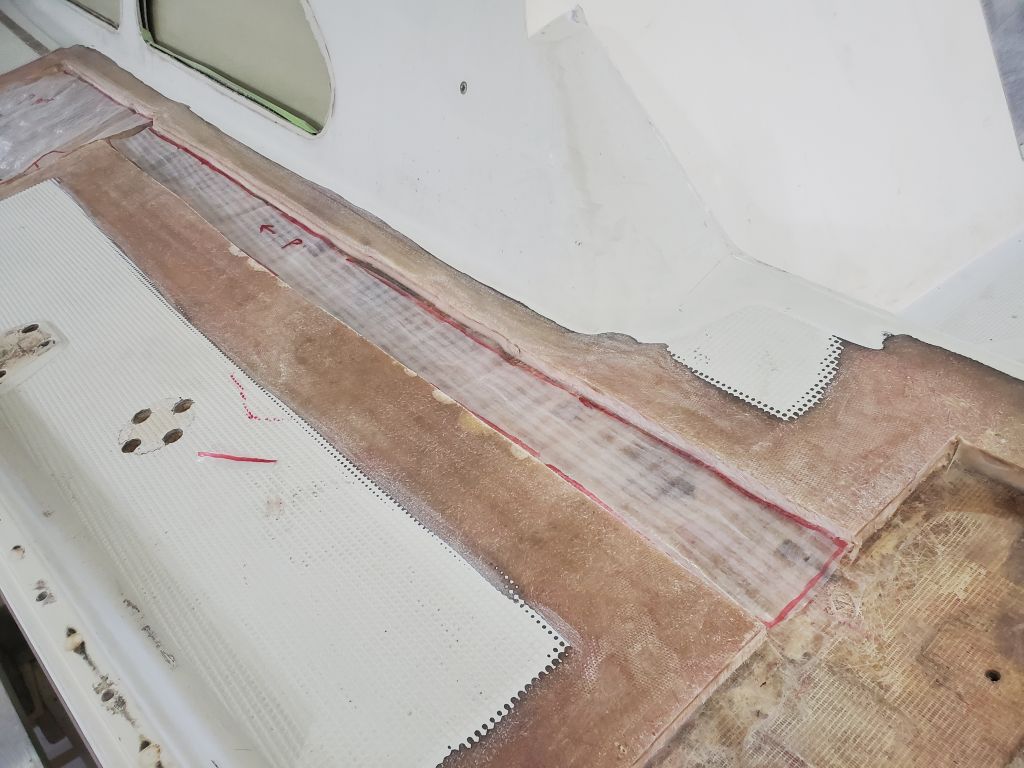
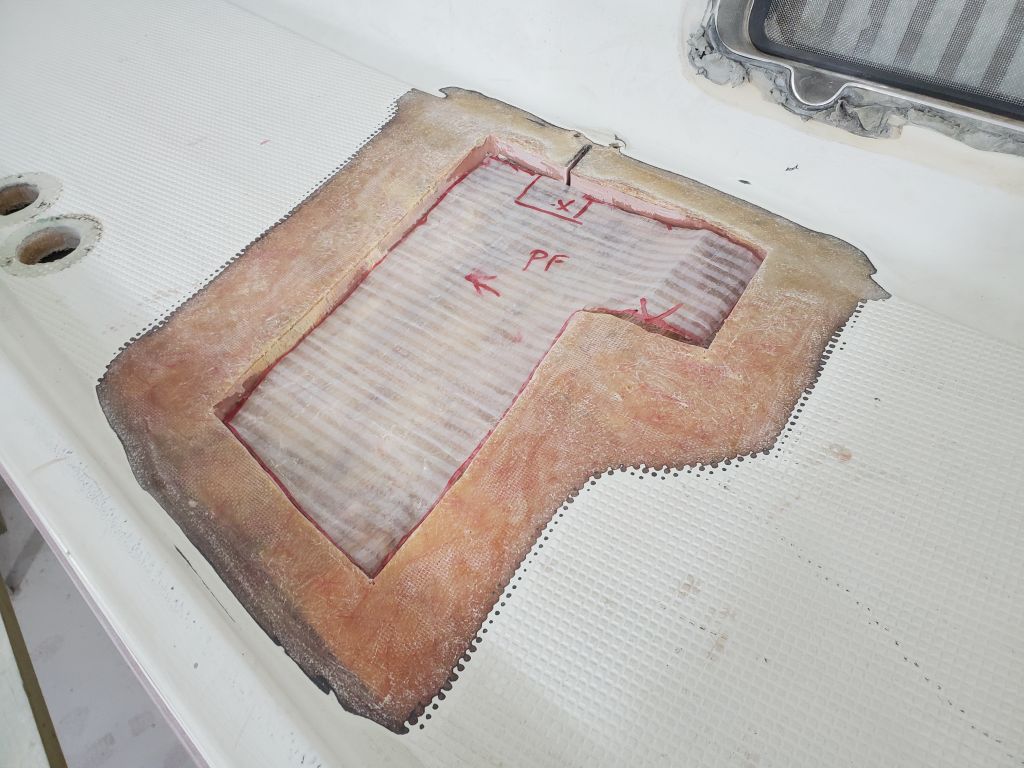
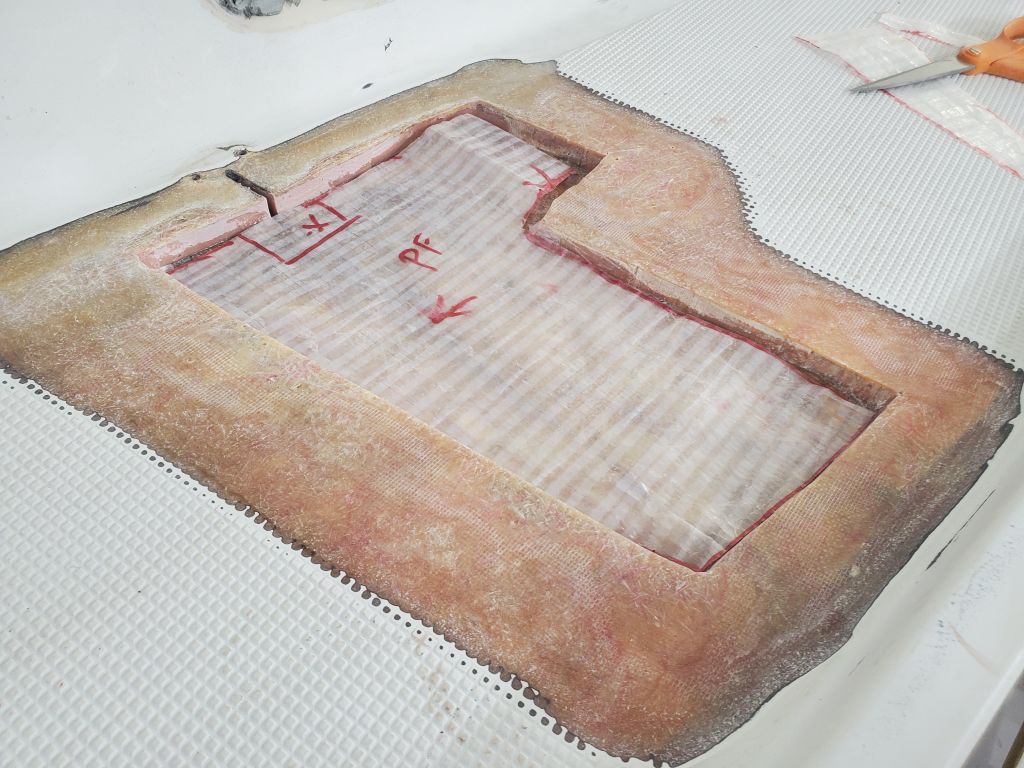
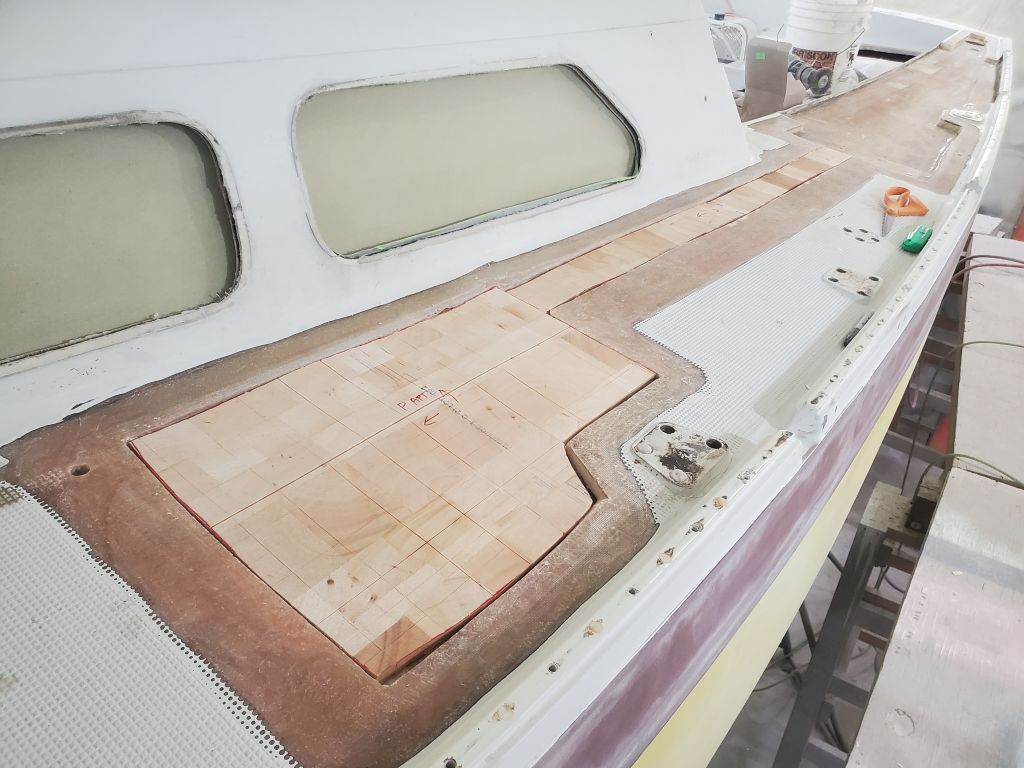
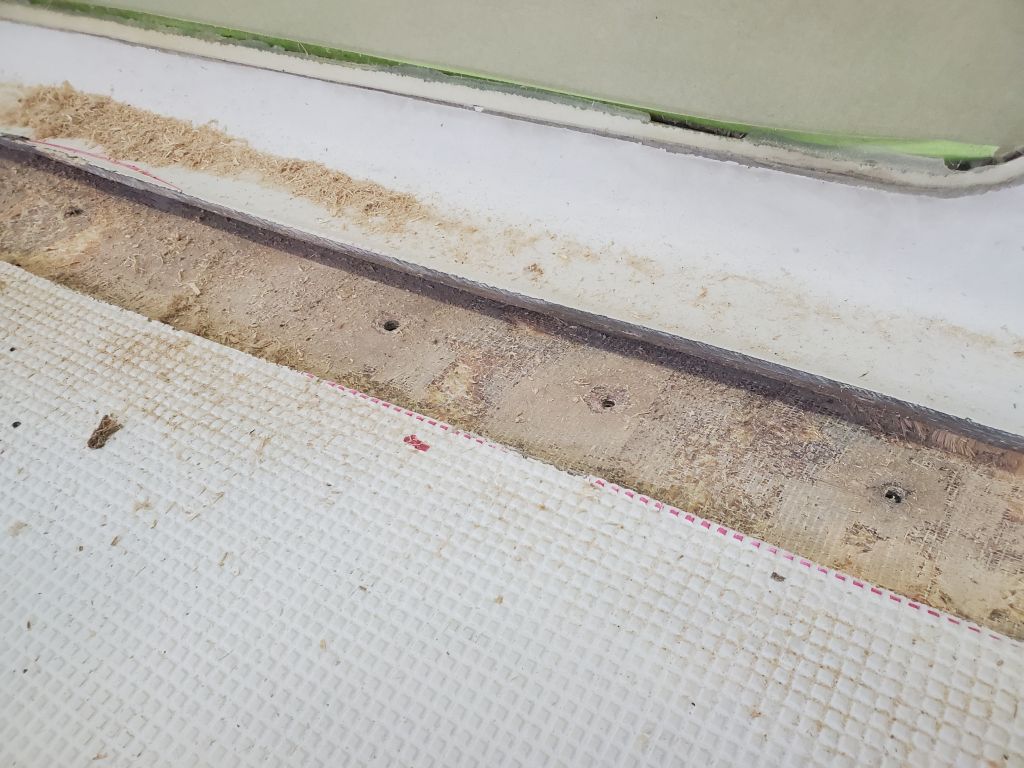
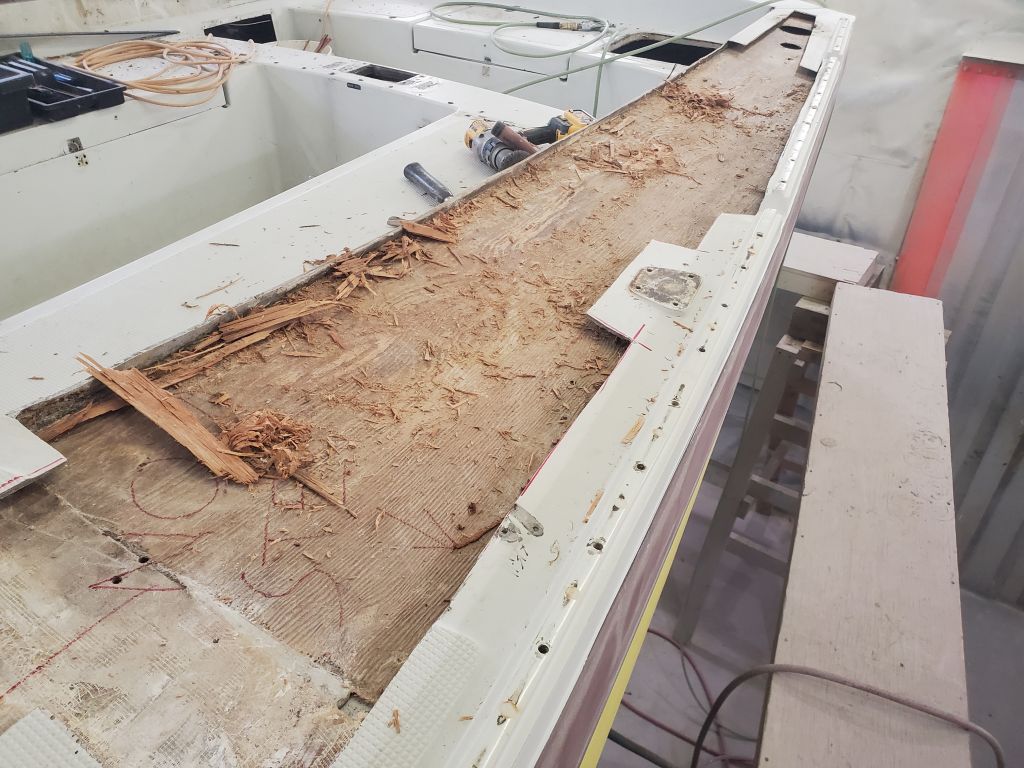
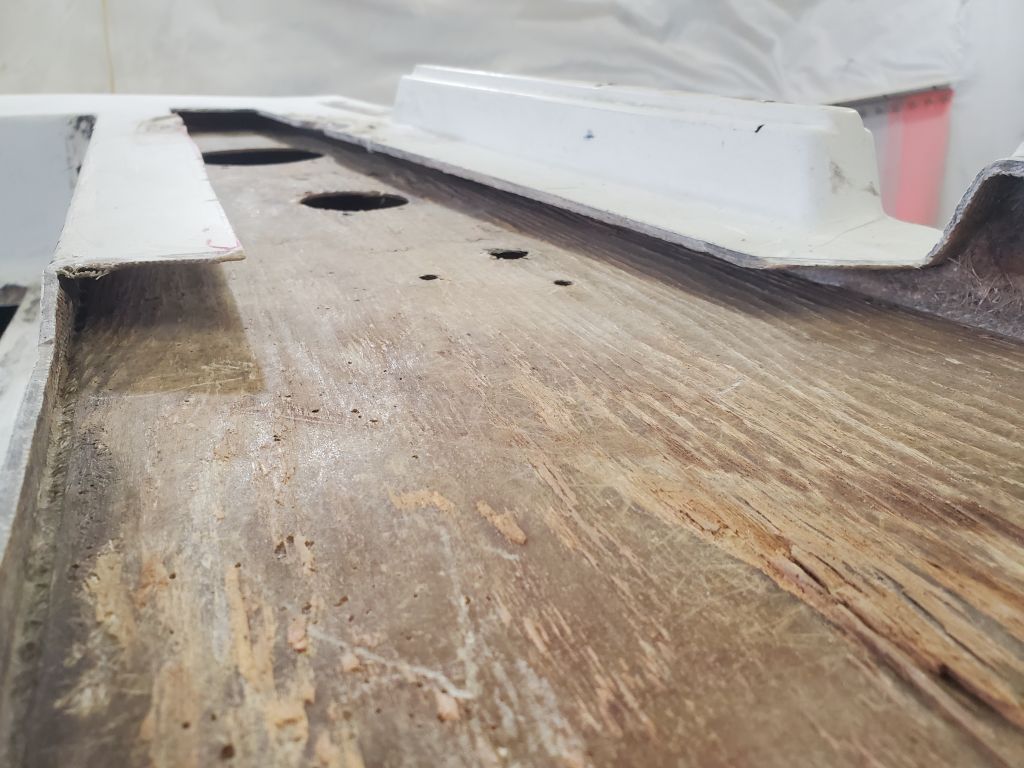
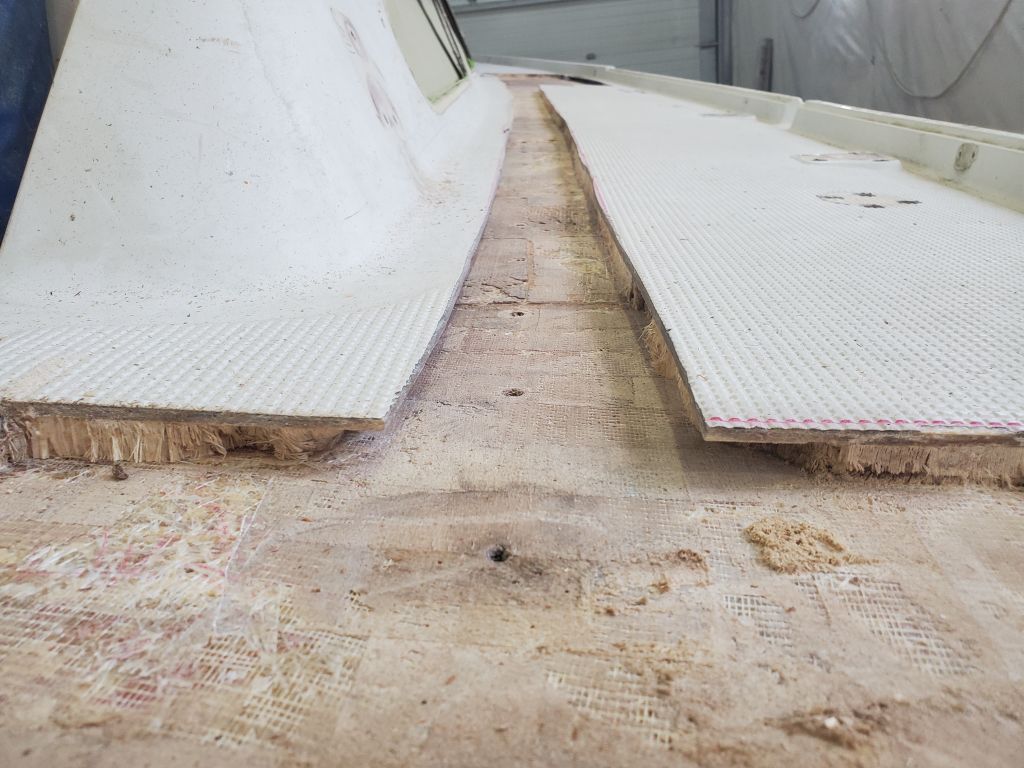
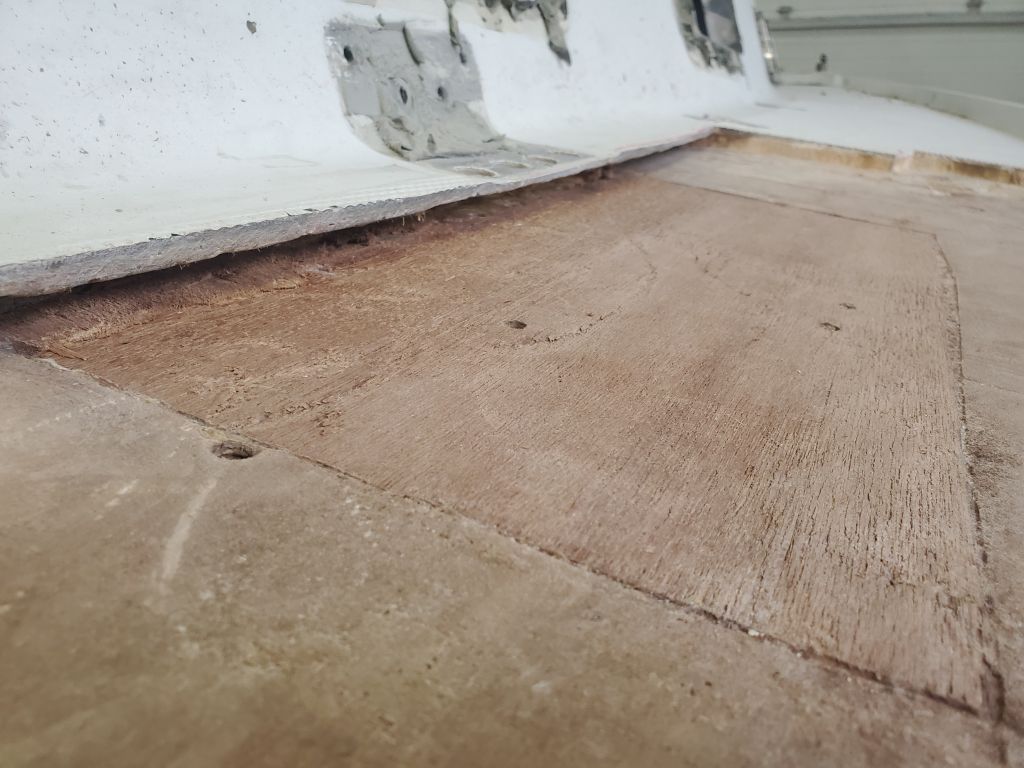
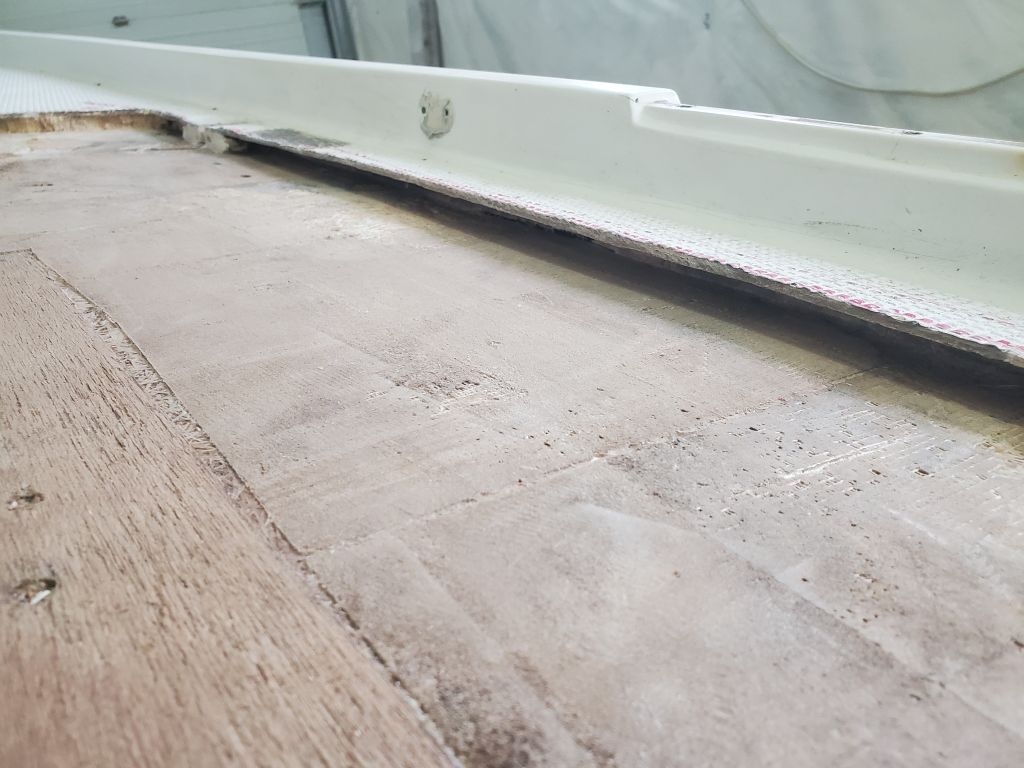
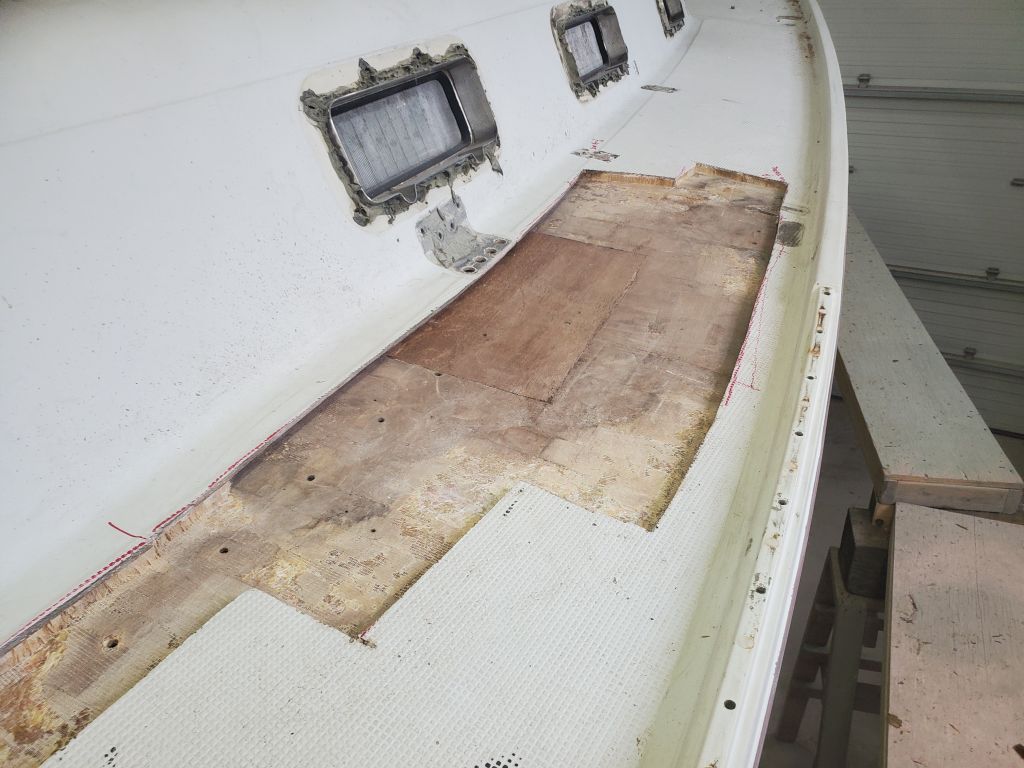
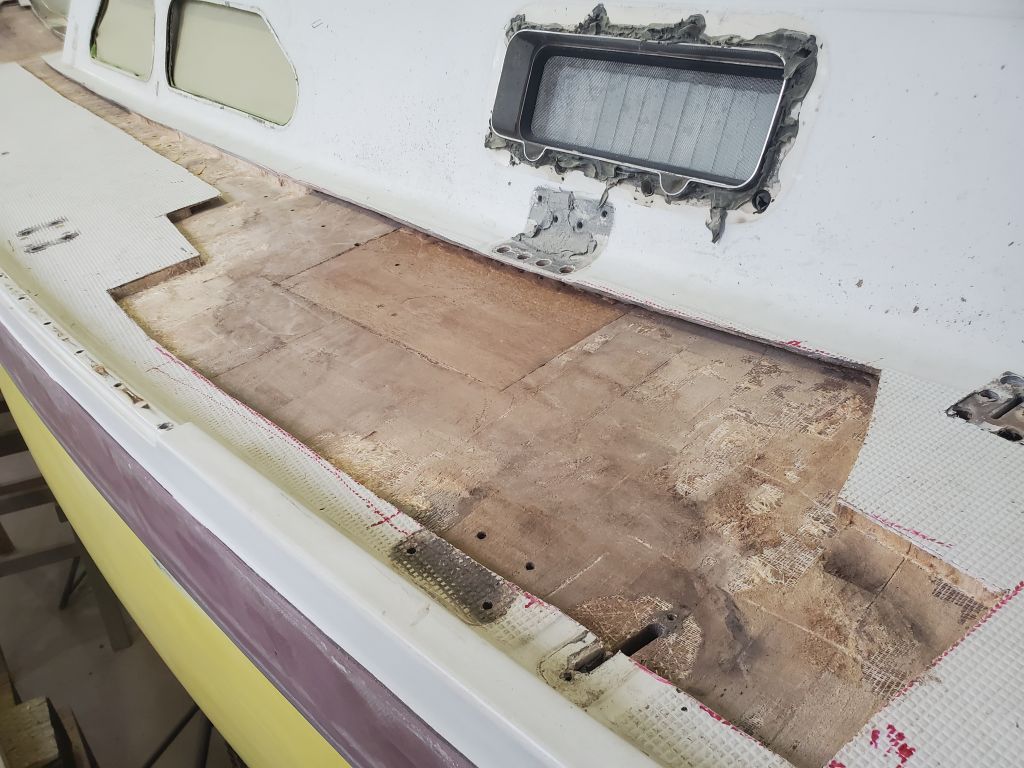
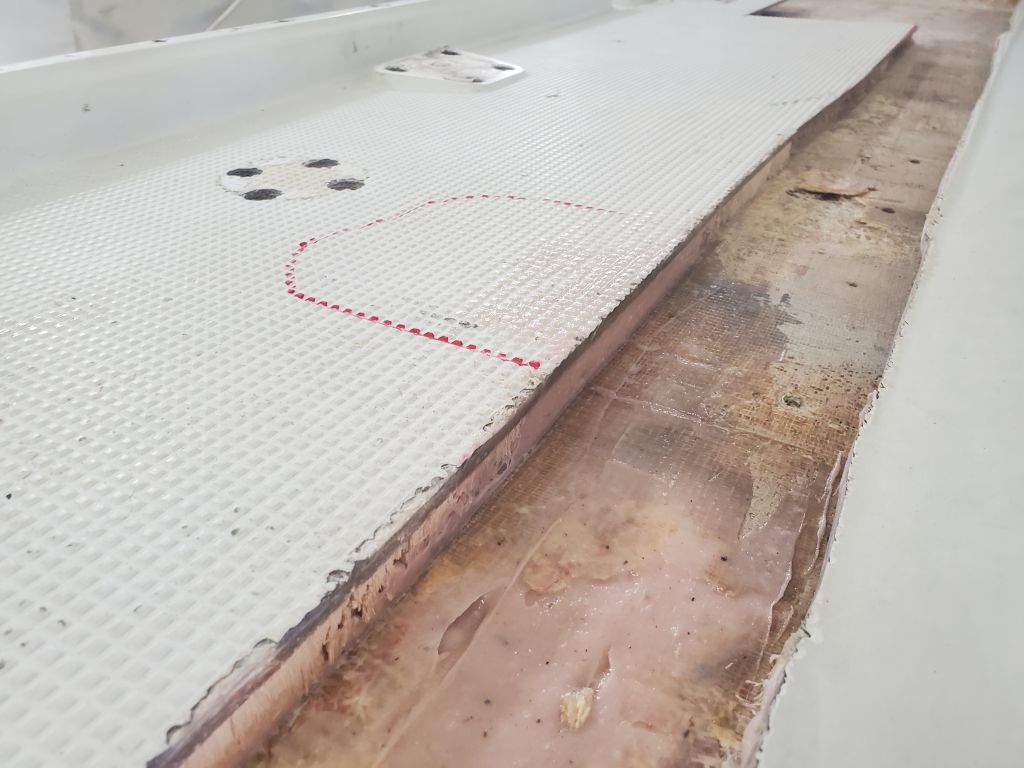
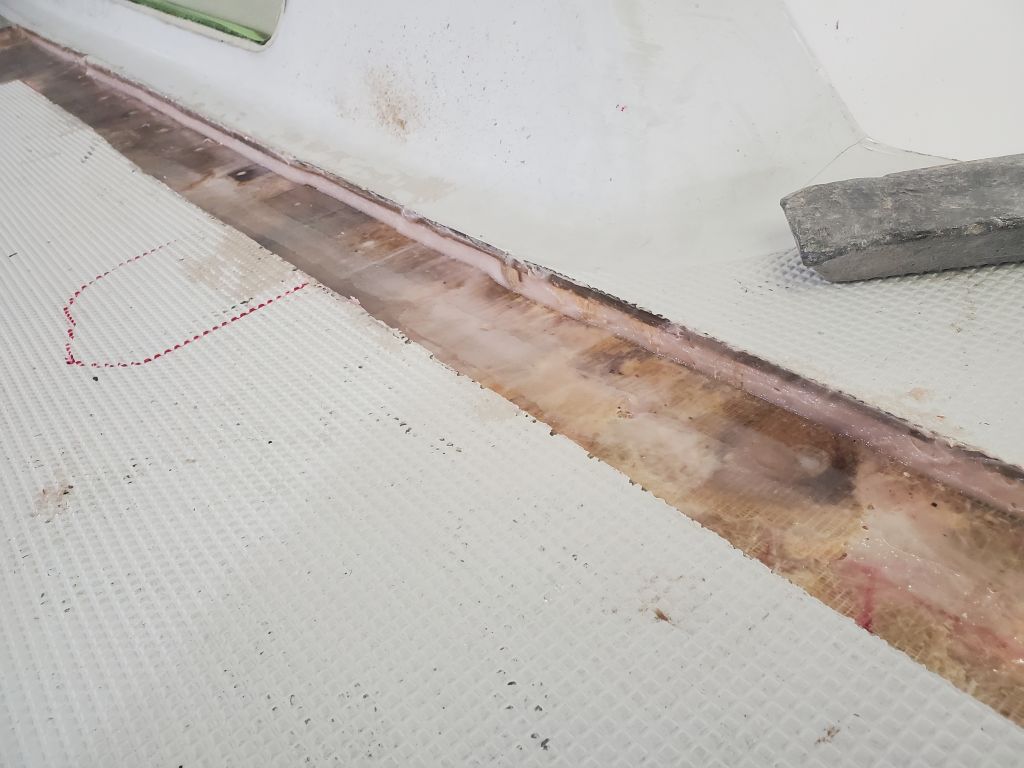
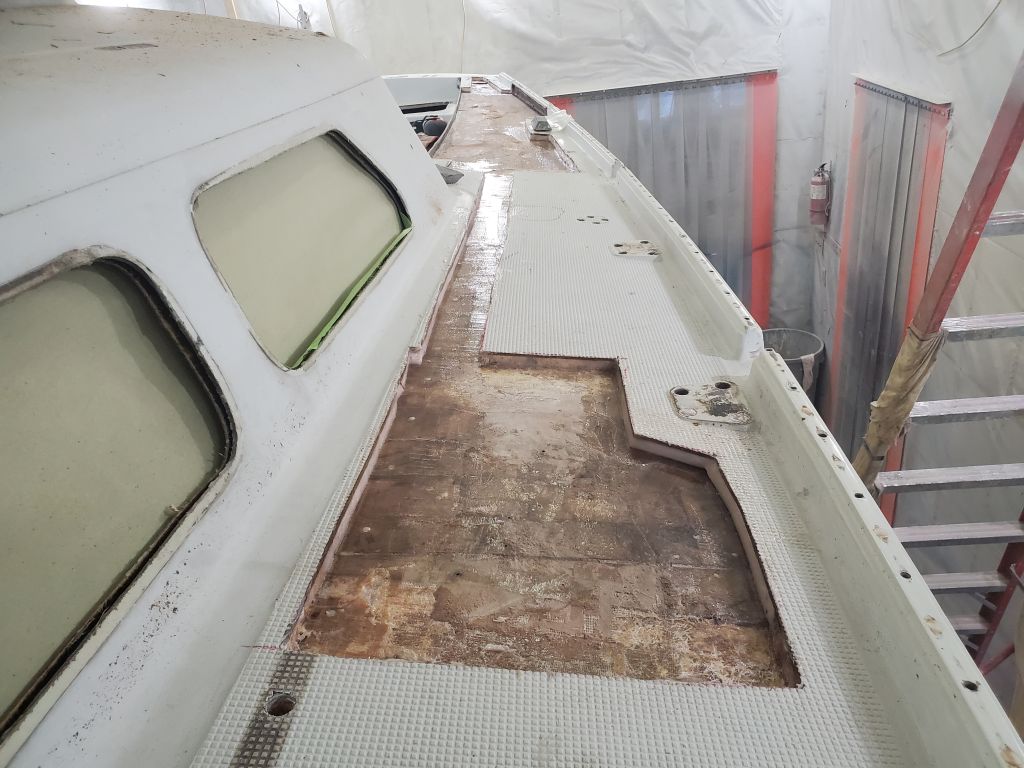
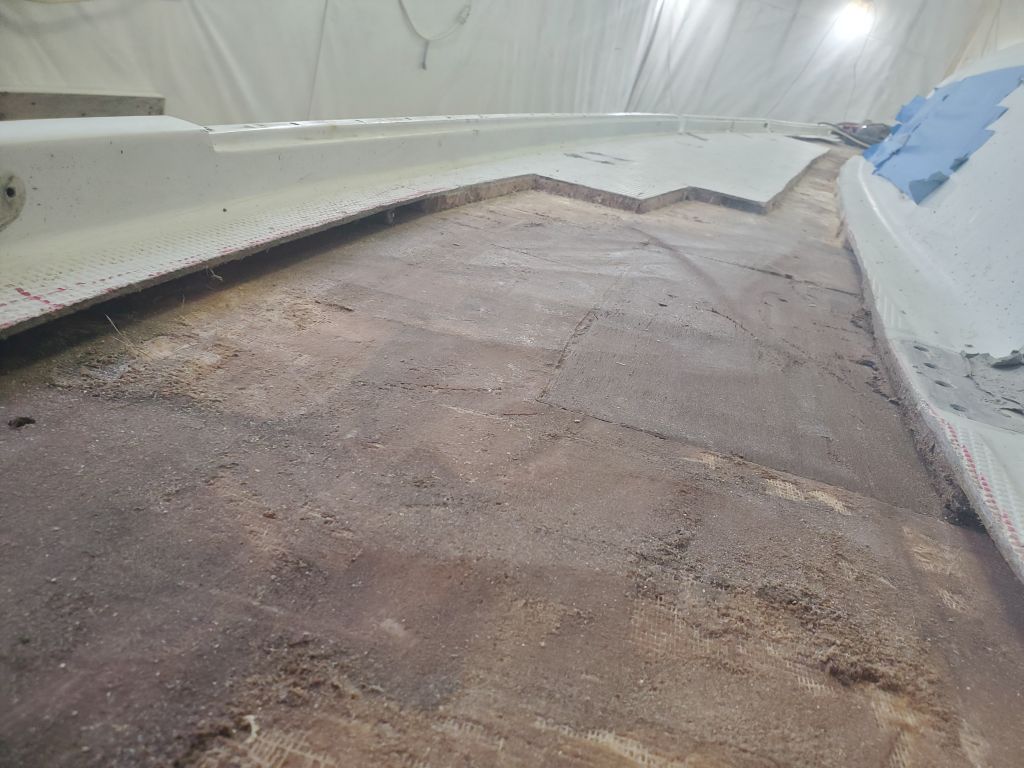
Next, I laid out some solid fiberglass edge pieces in the areas outboard of the cockpit coamings, along the inside edges against the cockpit, and beneath the open section of the toerail where I’d cut away the original molded winch islands. At the inboard edges, the 1/2″ thick, 1″ wide material would establish the proper shape and height for the new work, and somehow it just made sense to me to install solid fiberglass against the edge beneath the toerails. I didn’t take photos of the dry layout (photos of the installation further below), but did mark the inner skins at the edges of the solid pieces, which I could use to pattern the balsa core for the remainder of the open area.
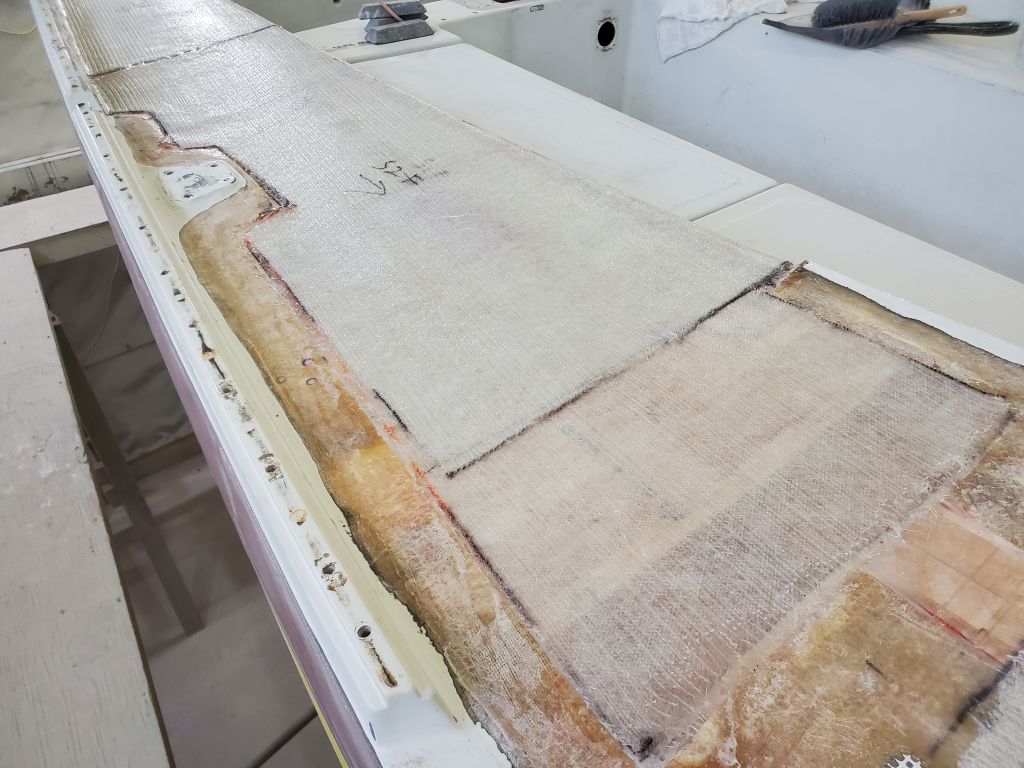
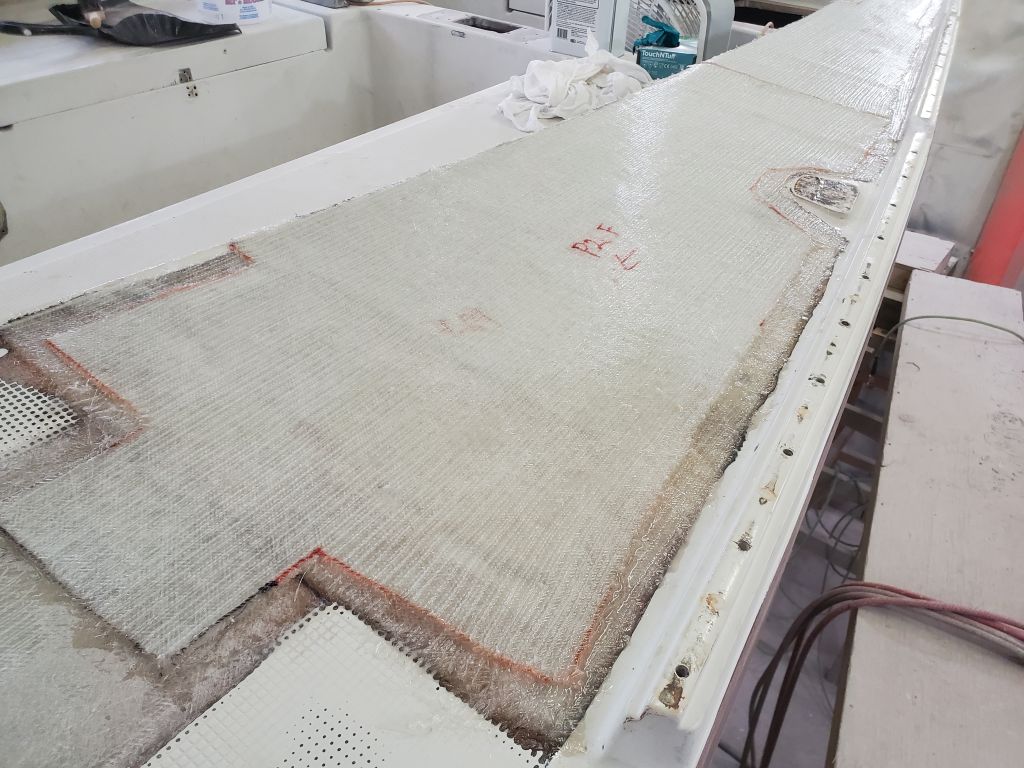
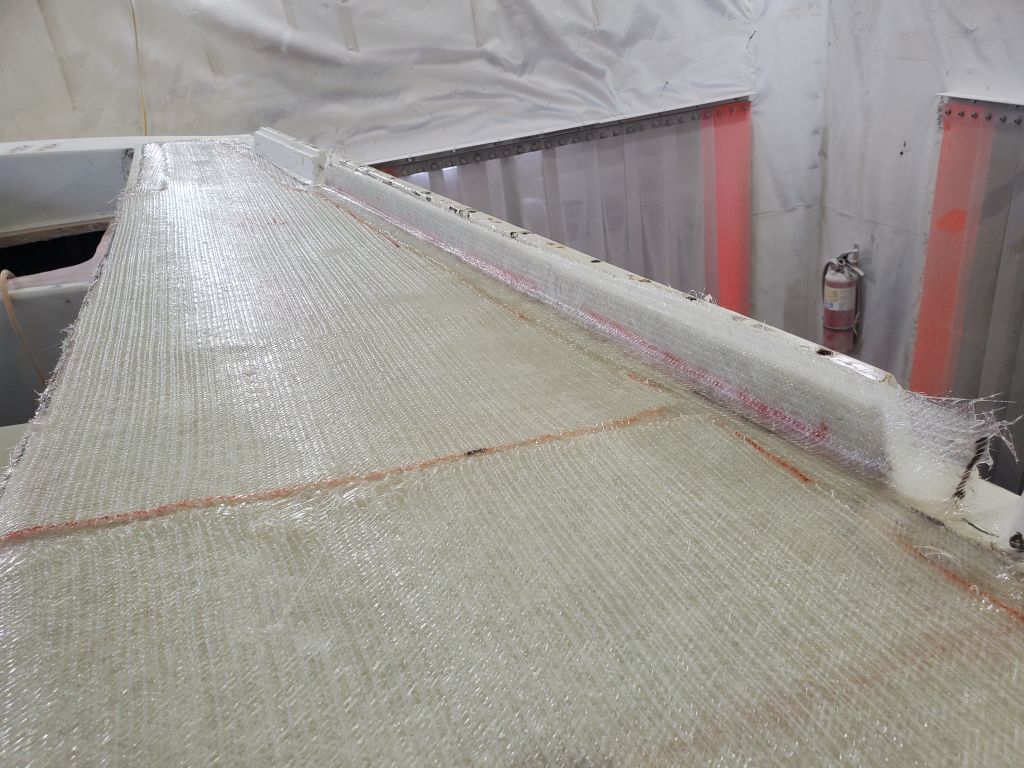
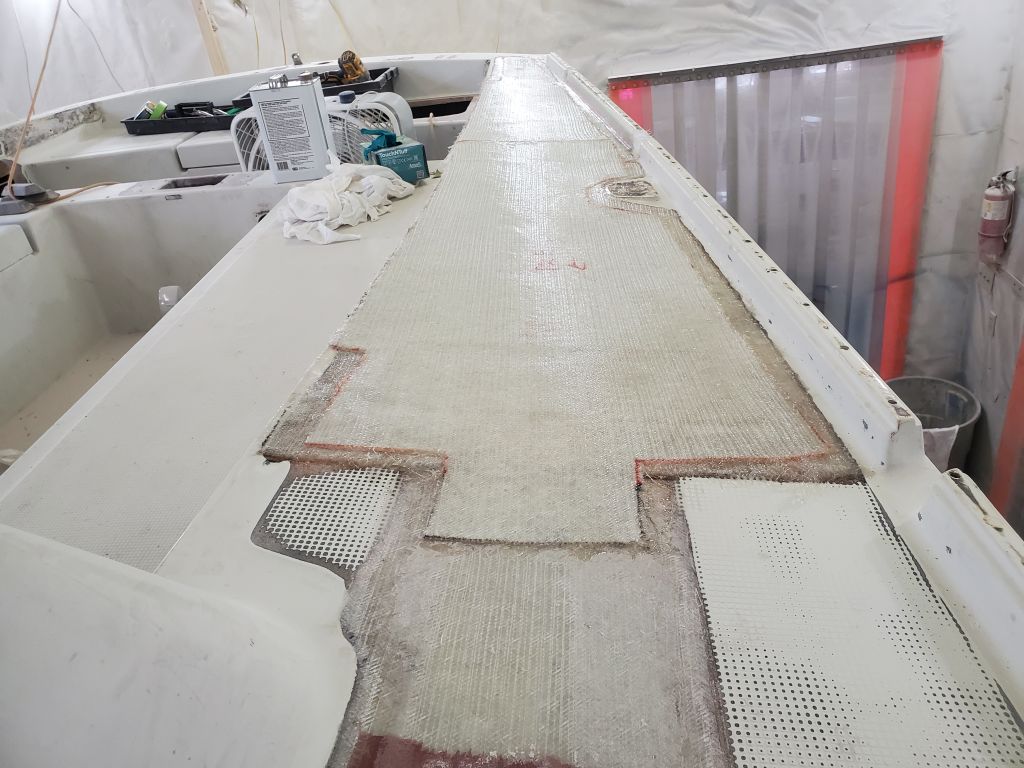
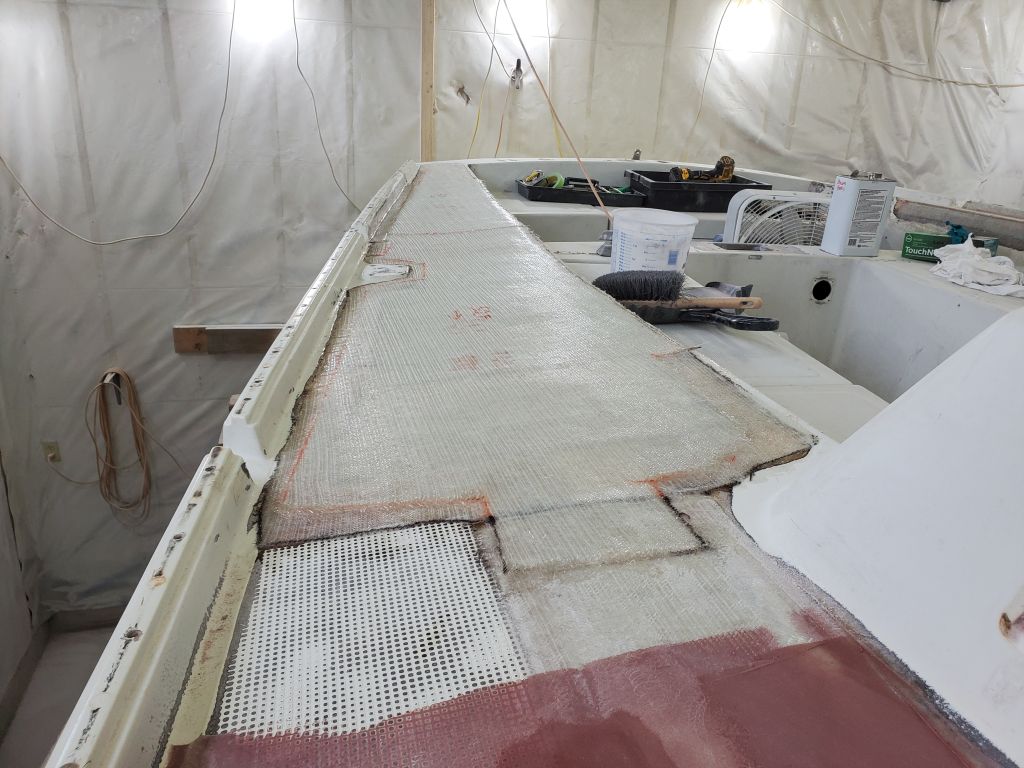
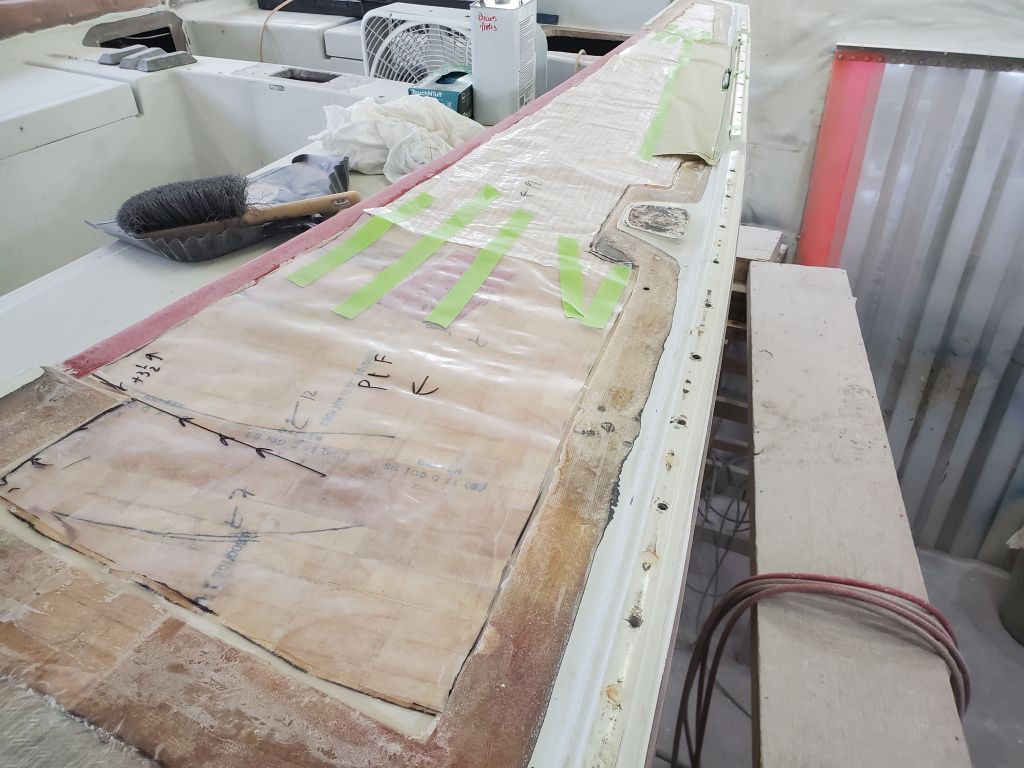
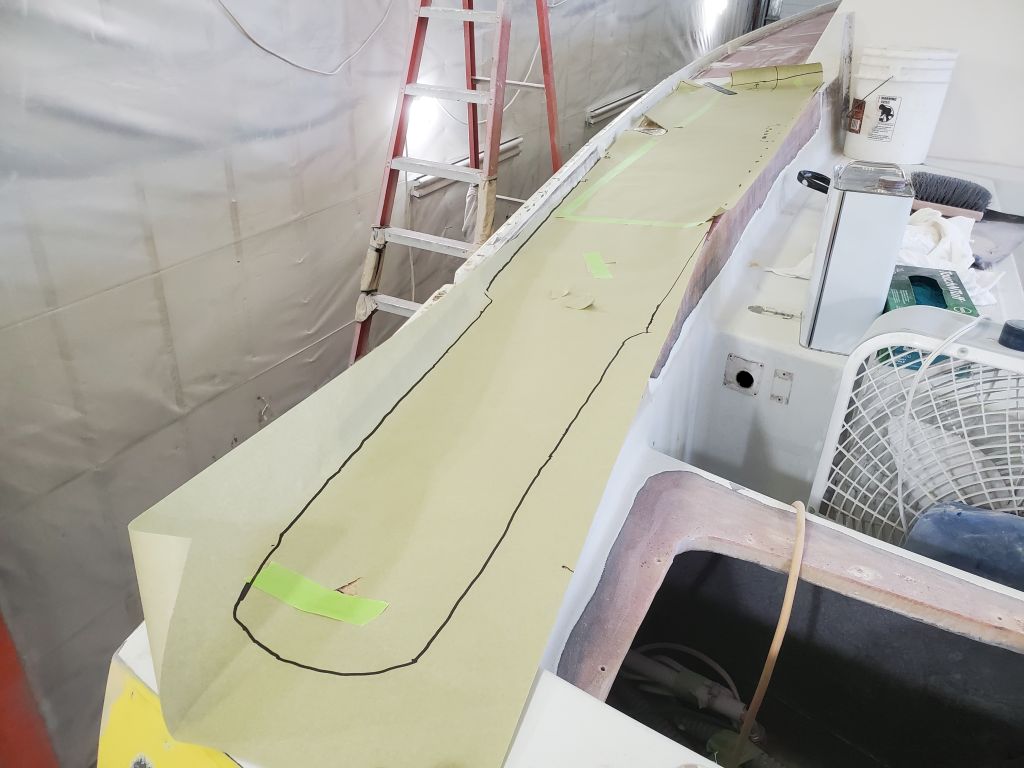
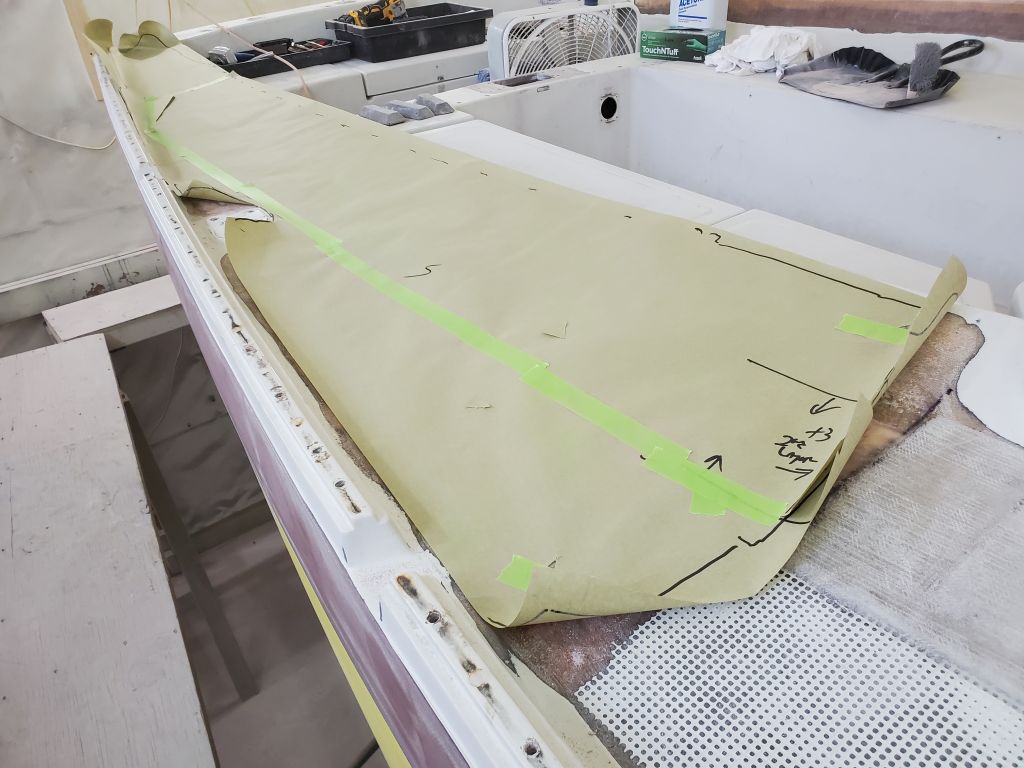
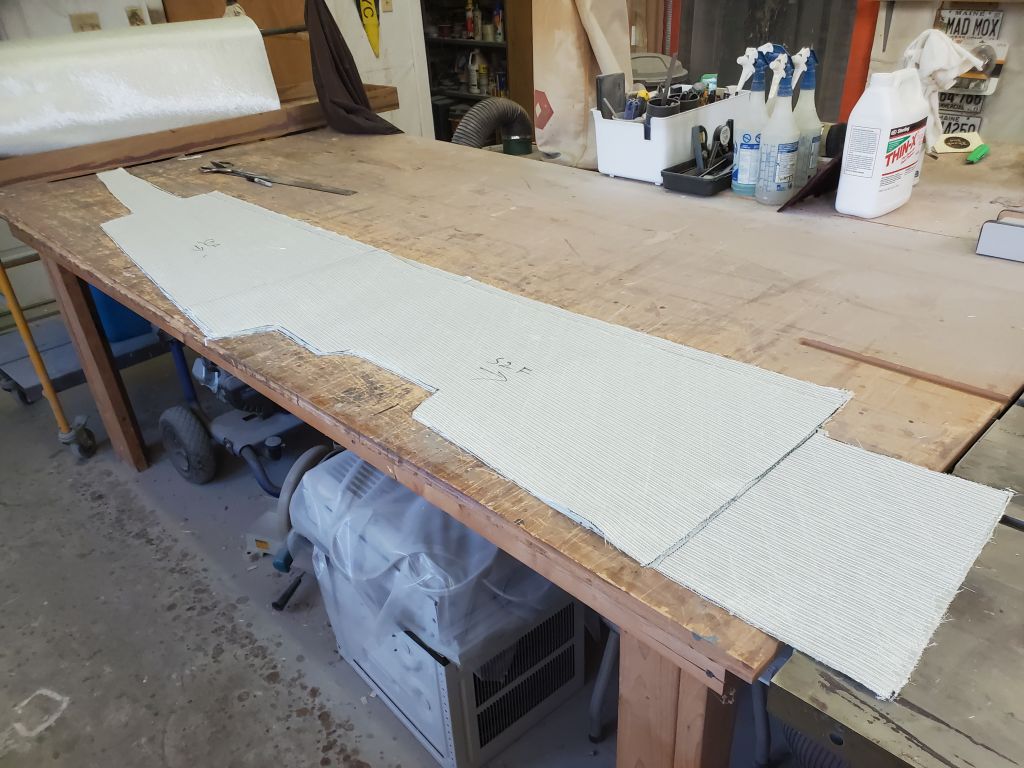
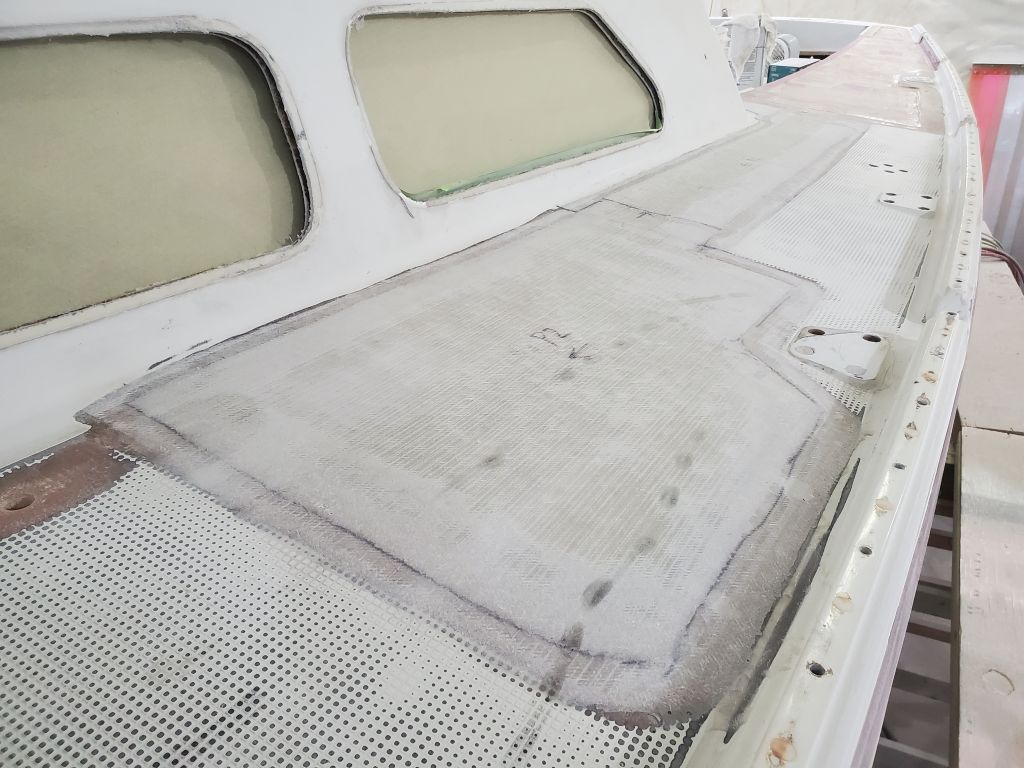
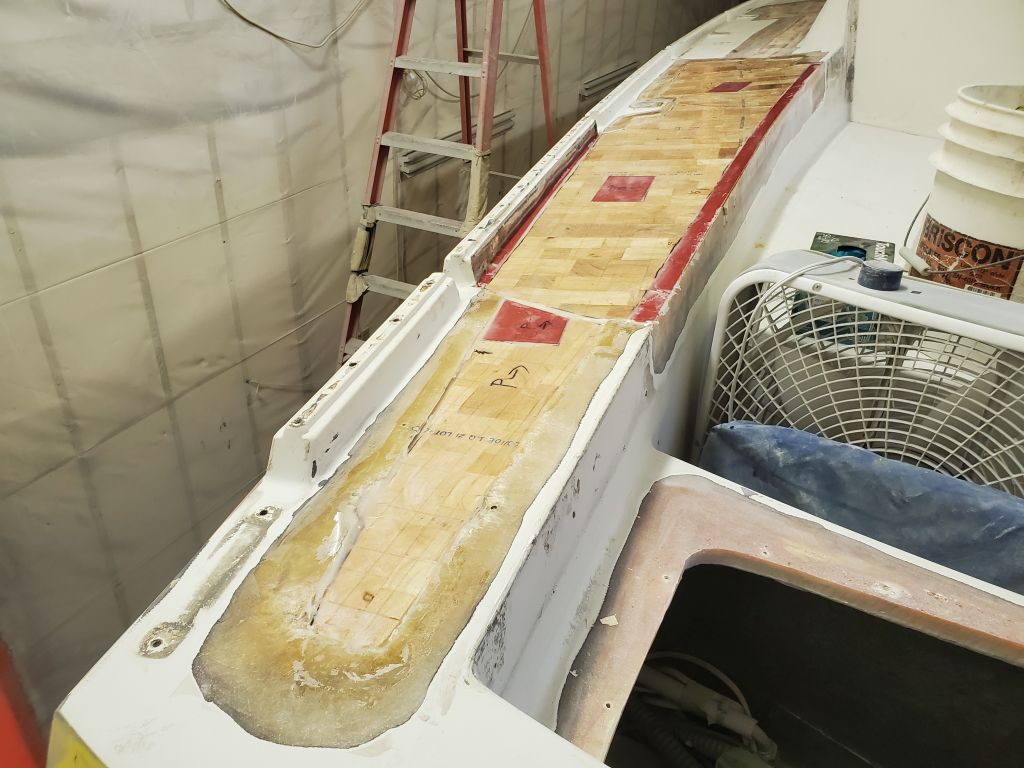
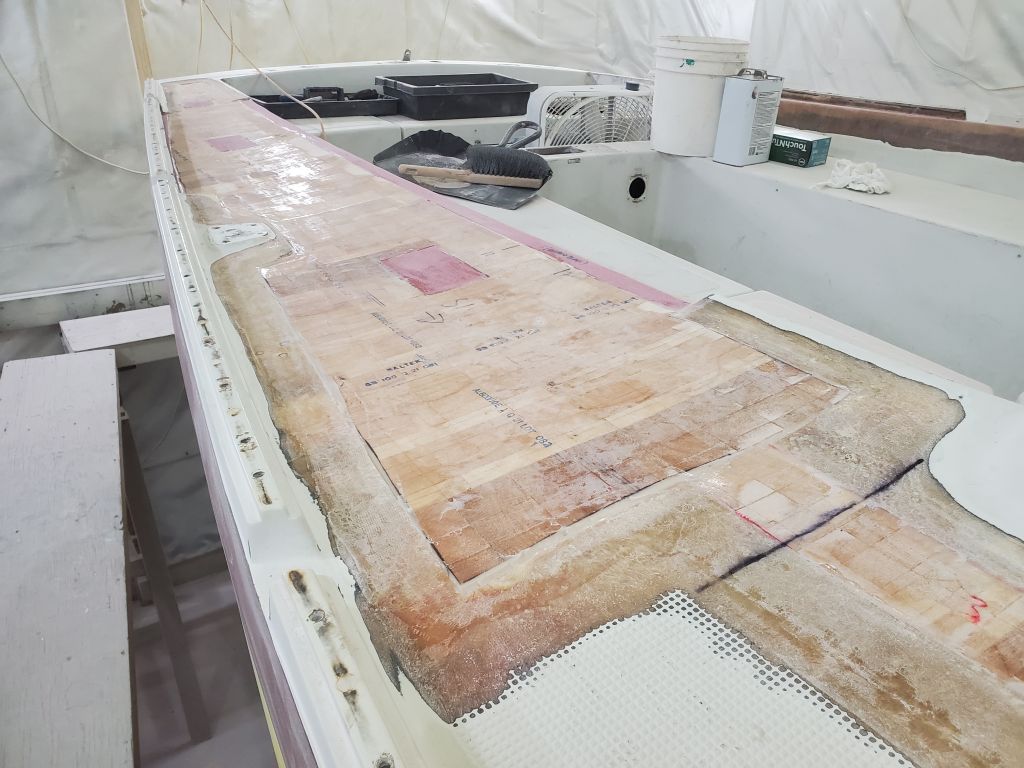
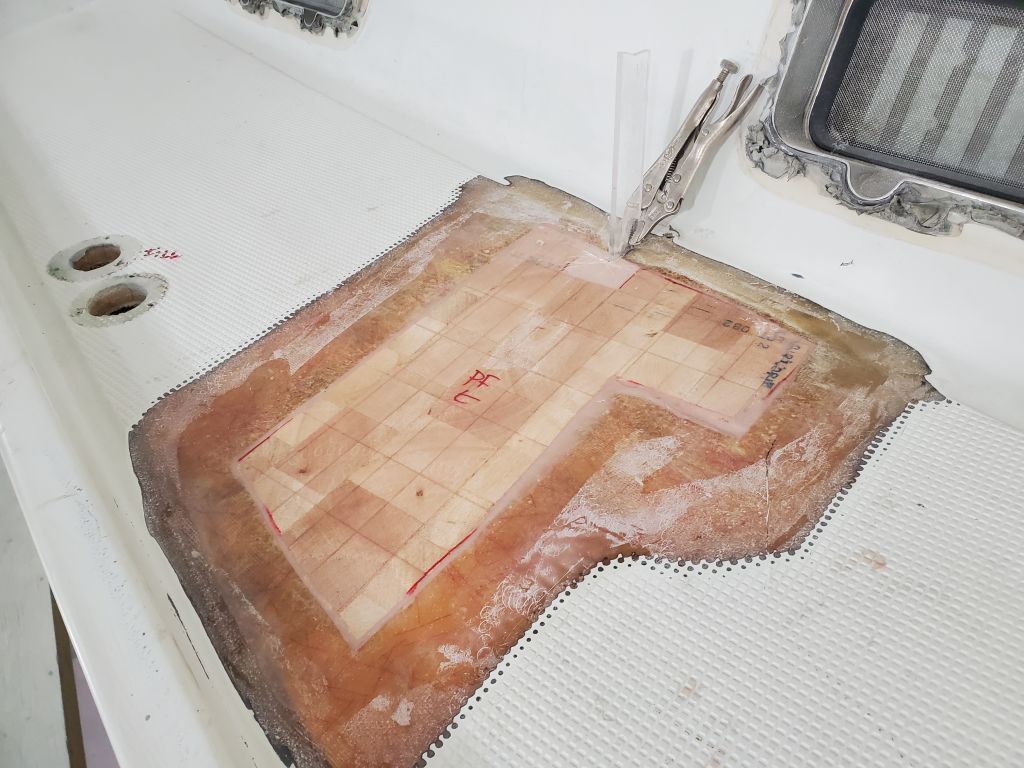
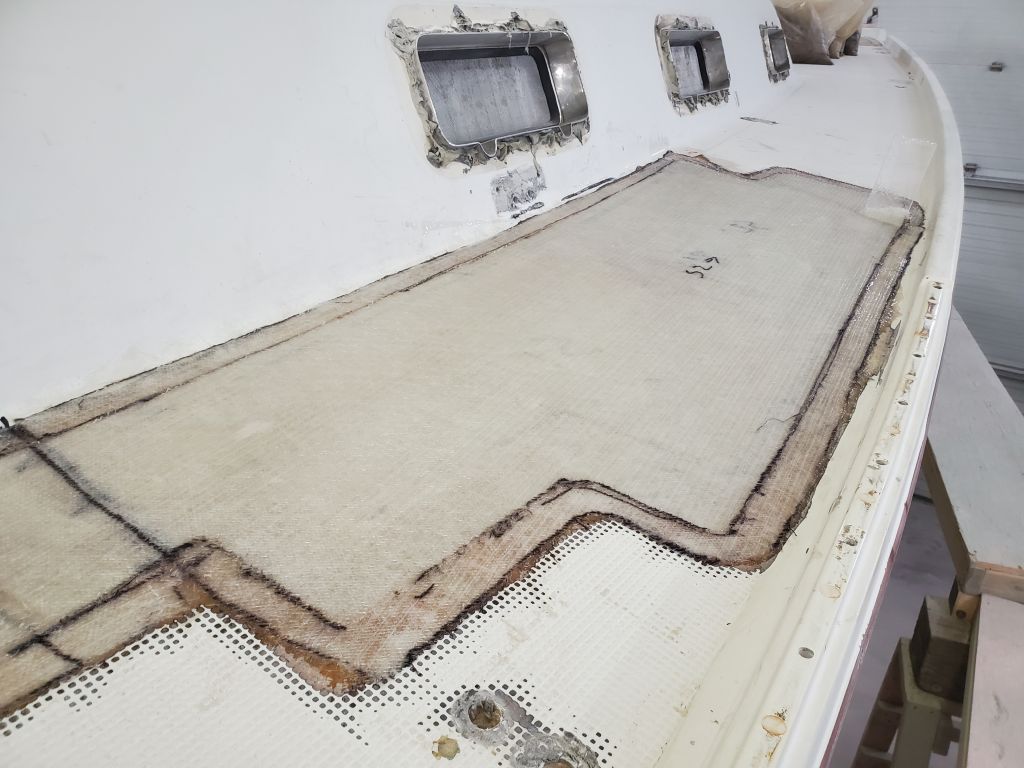
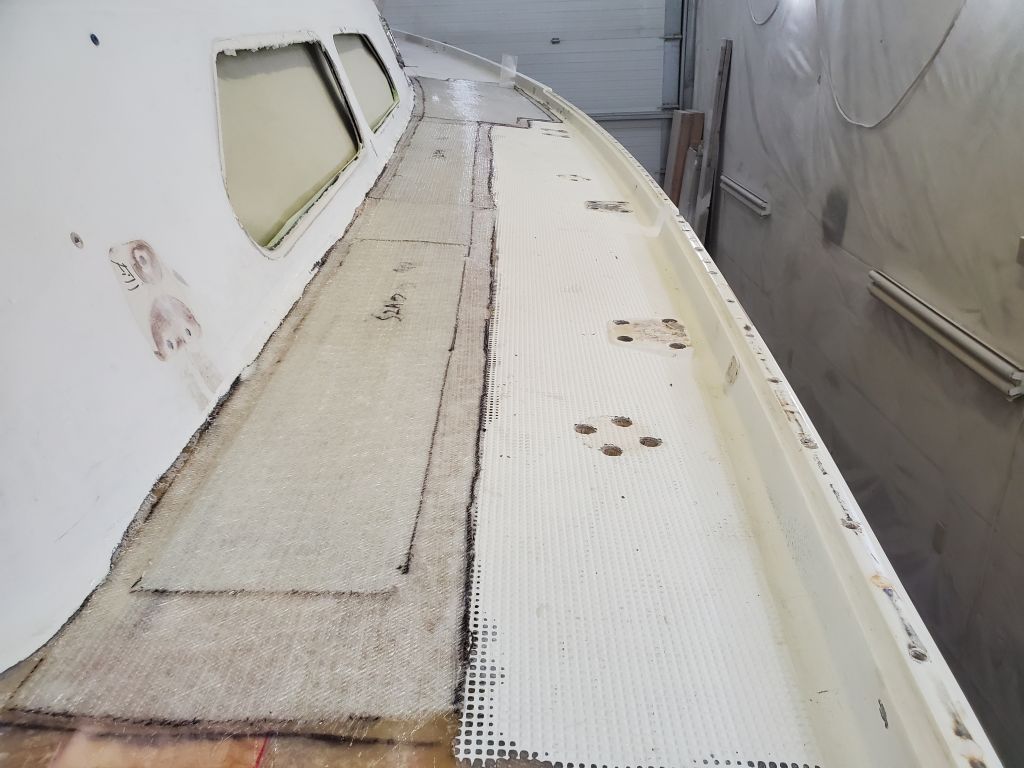
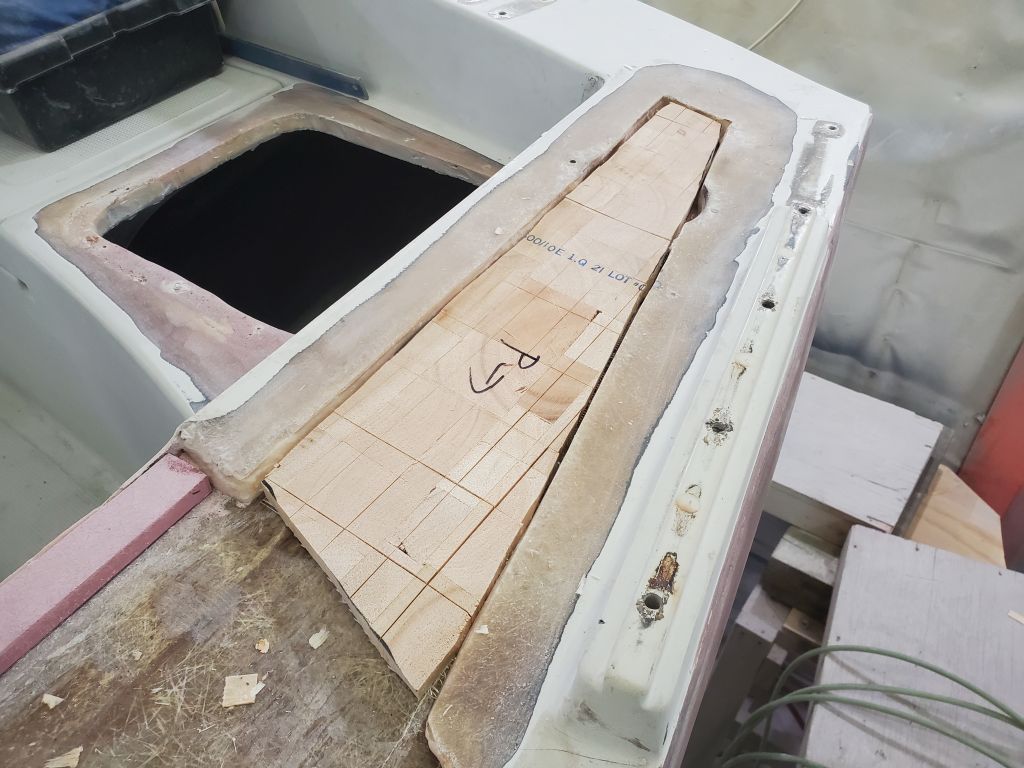
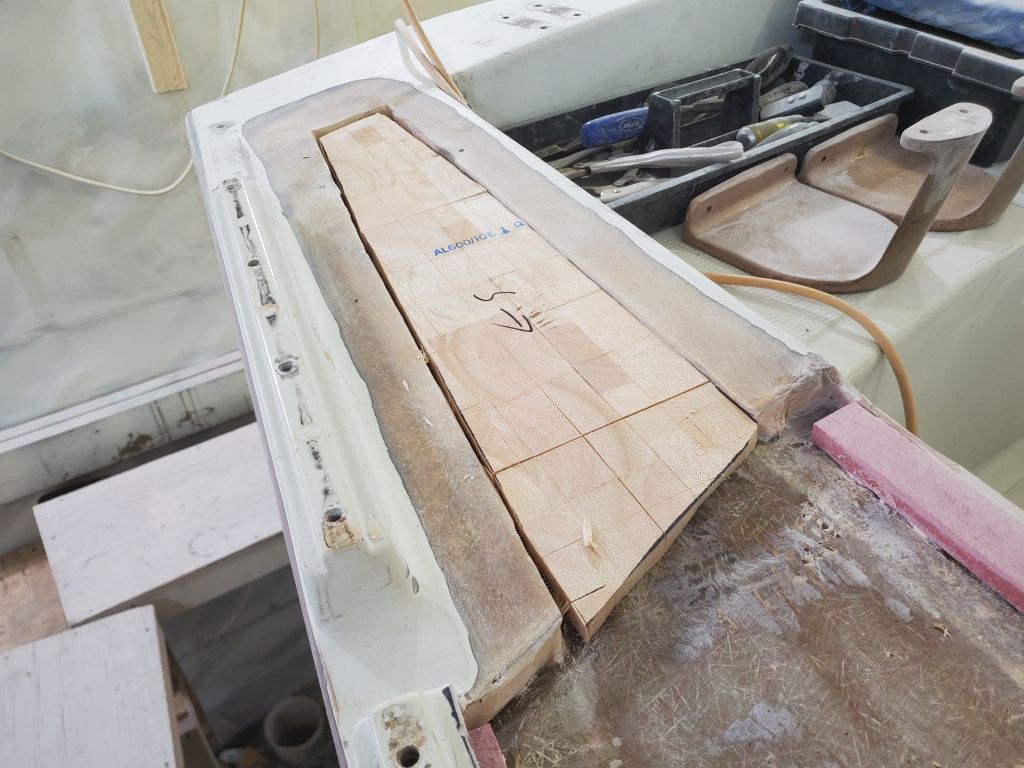
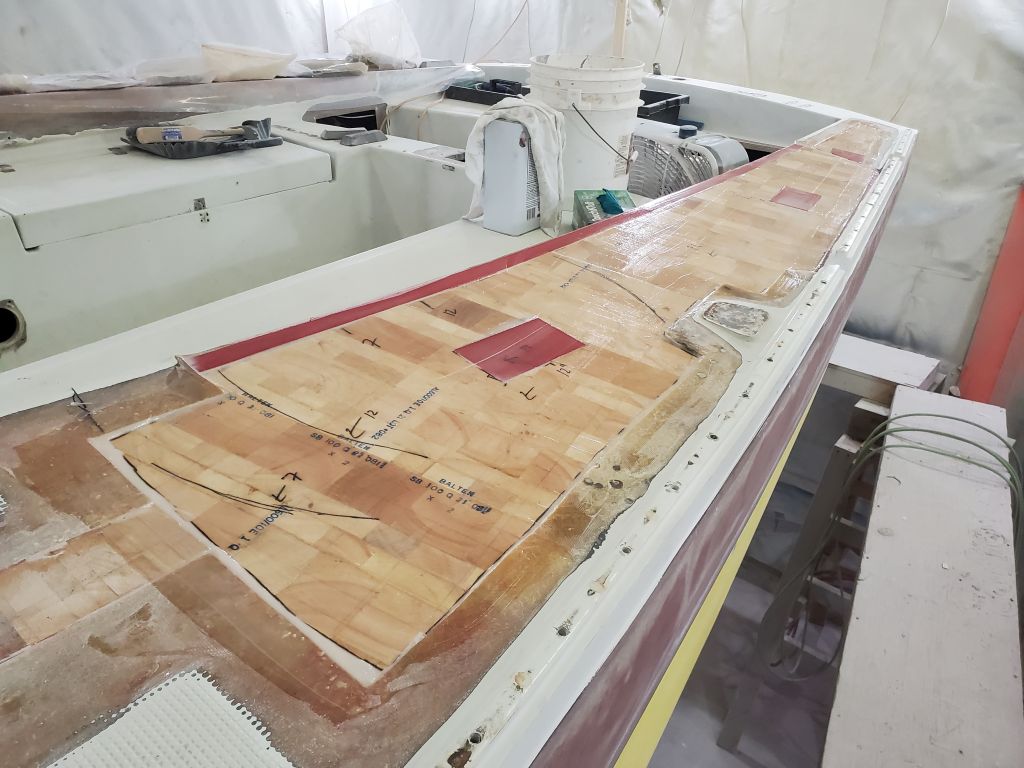
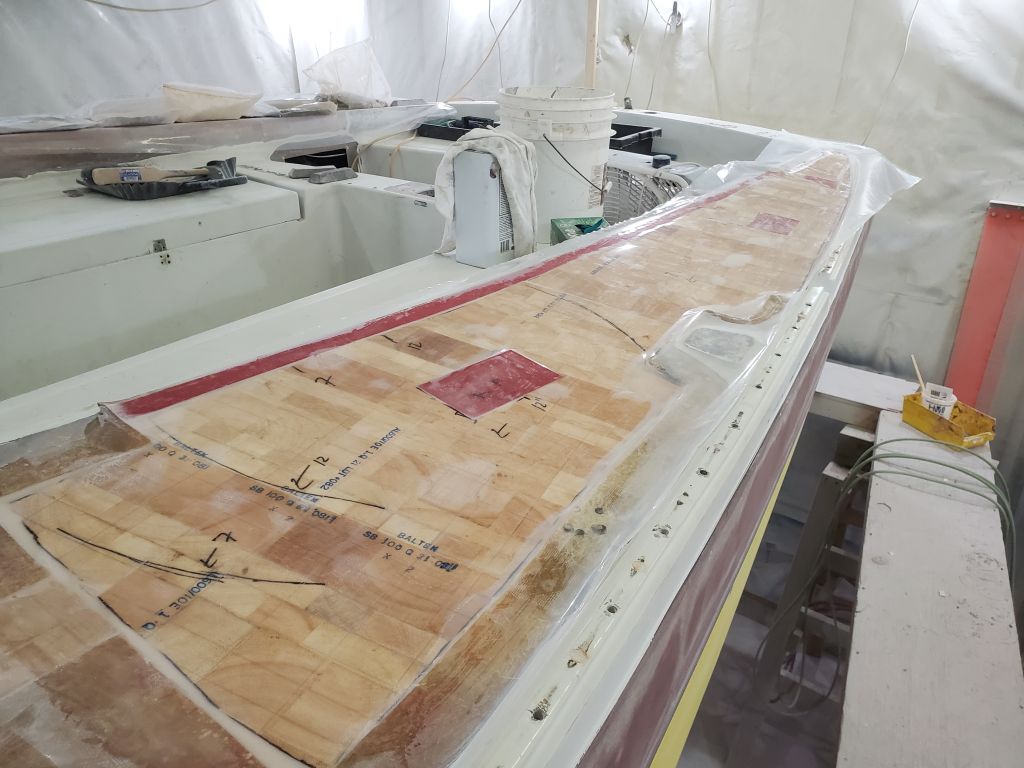
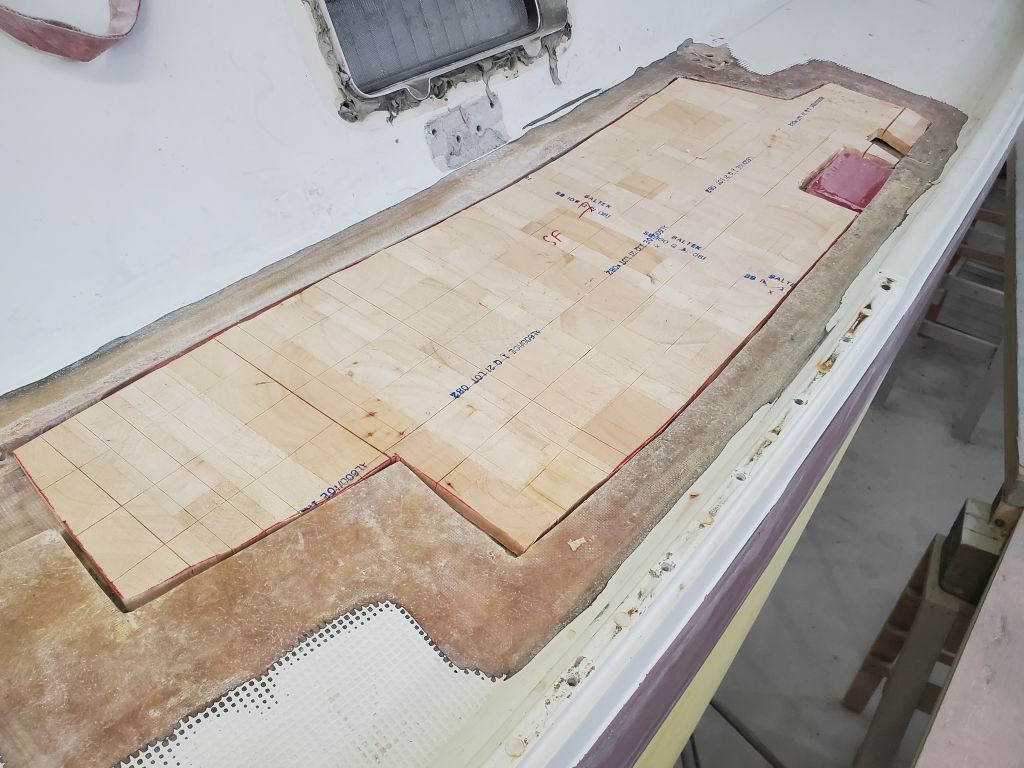
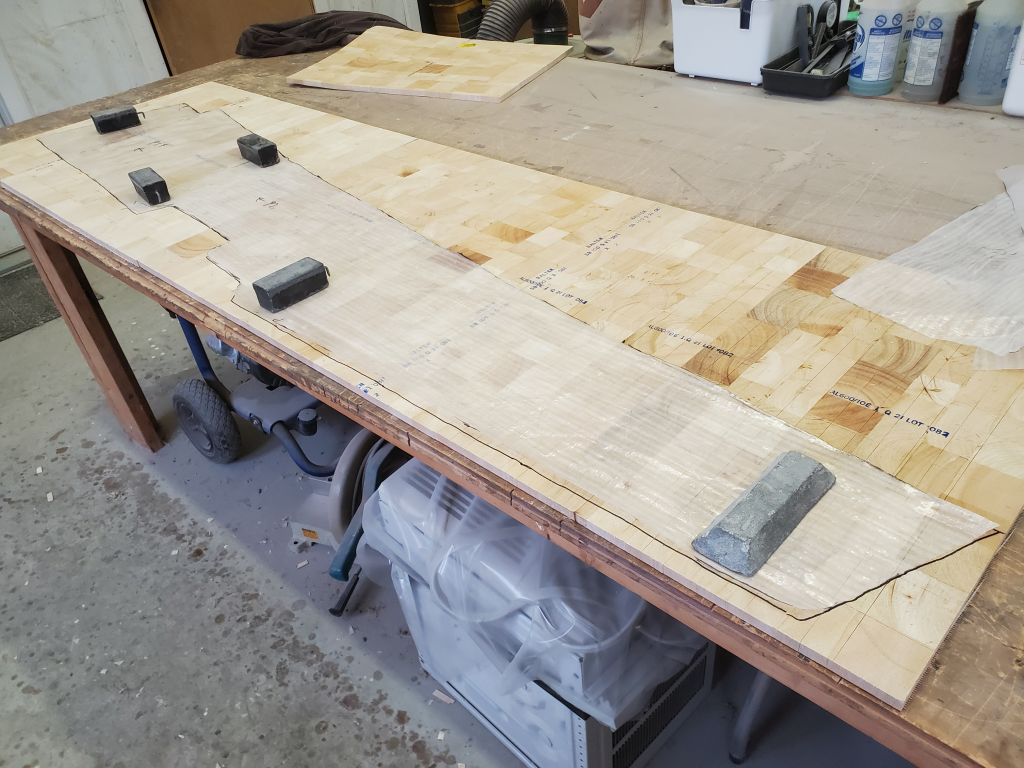
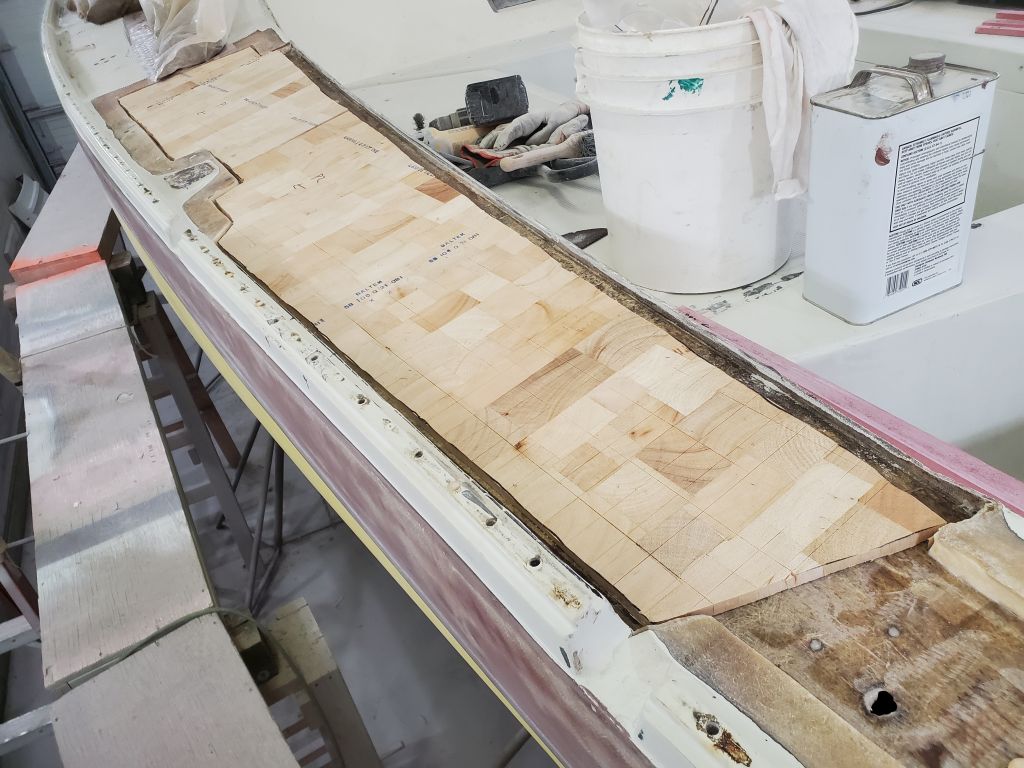
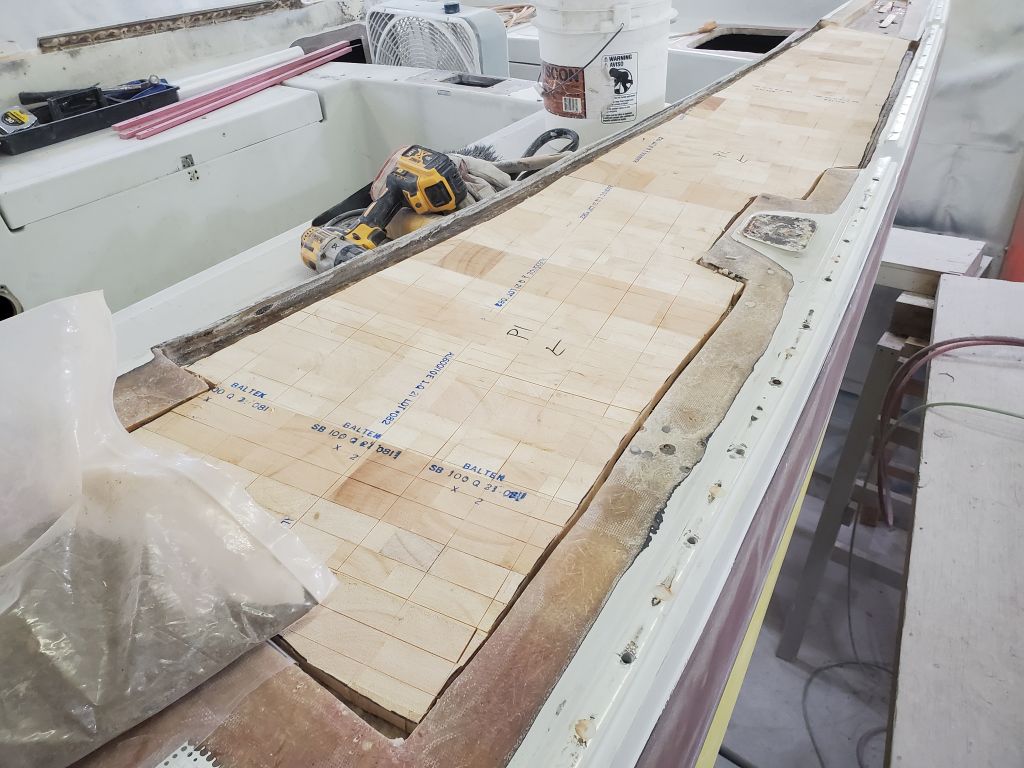
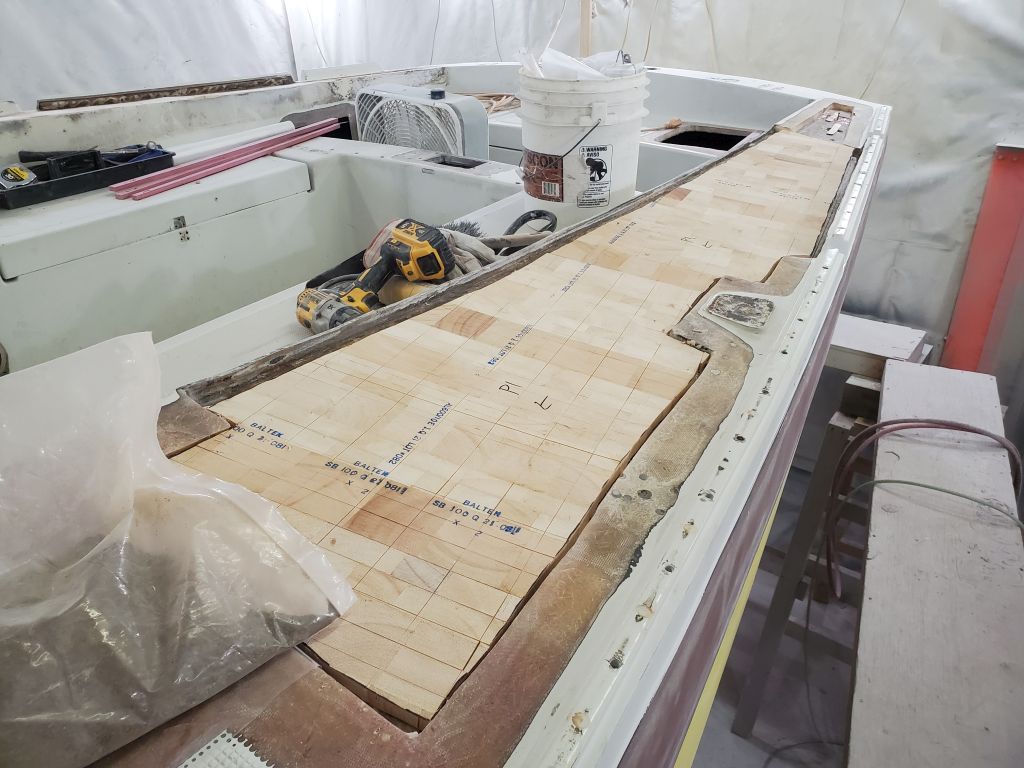
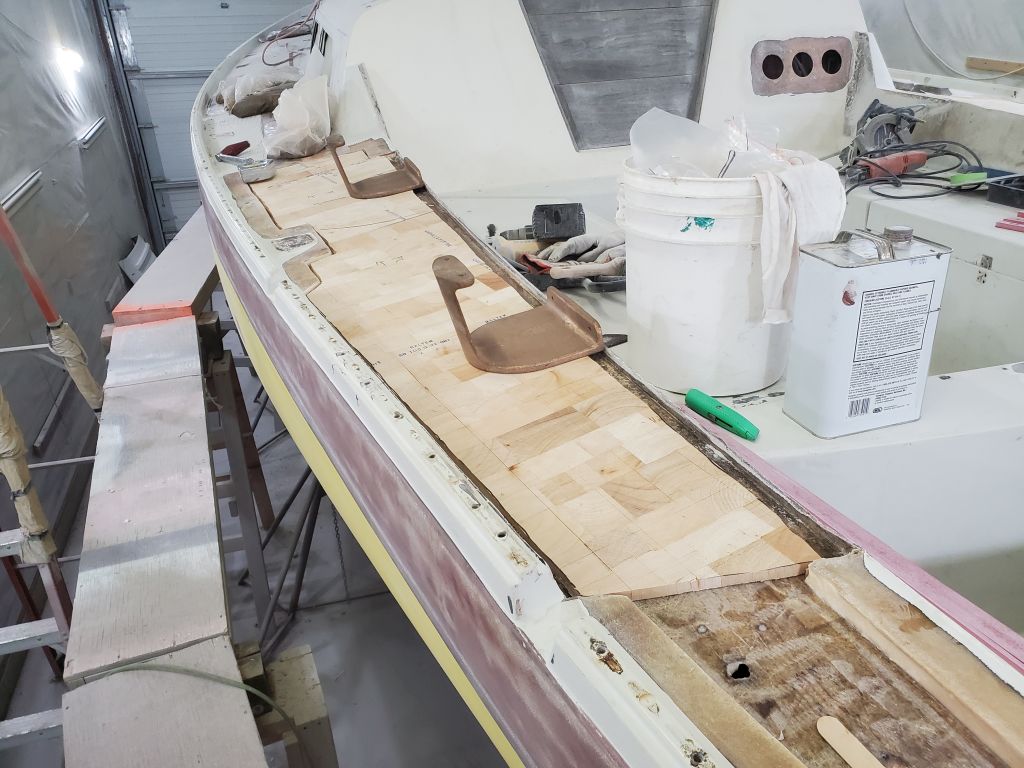
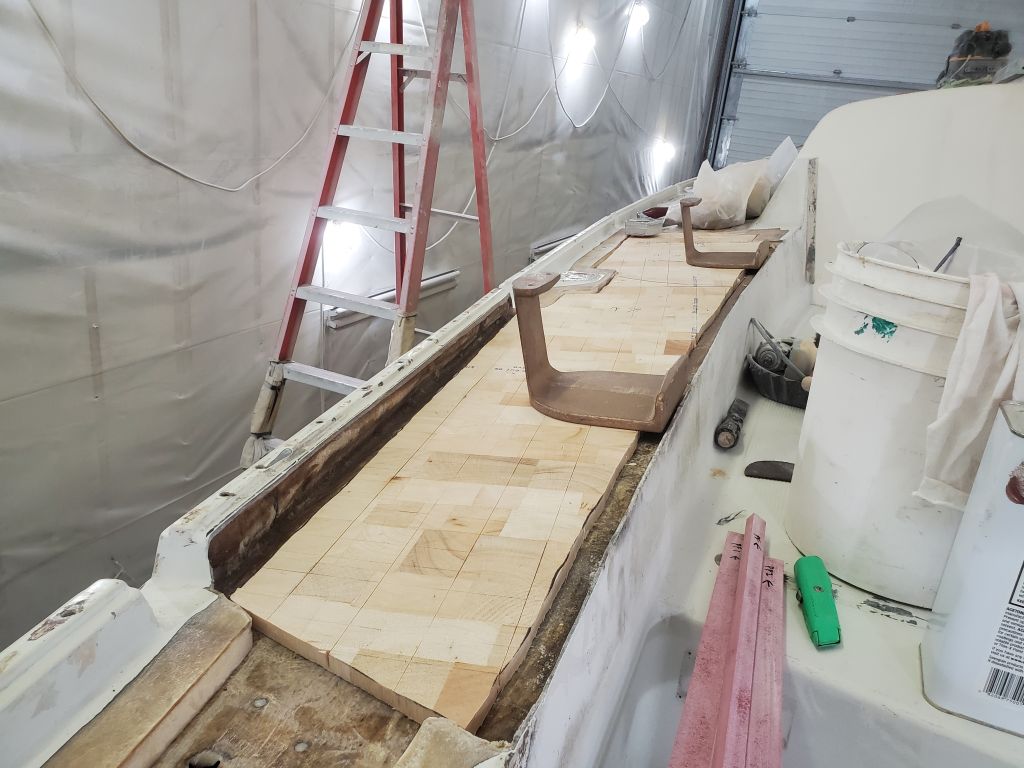
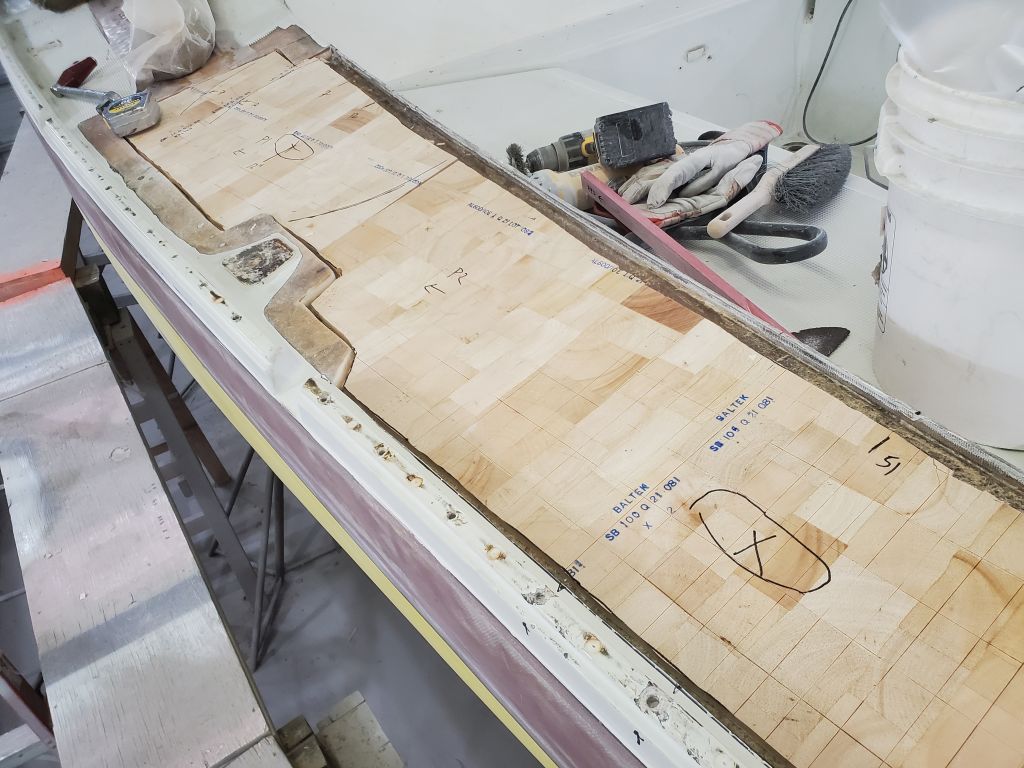
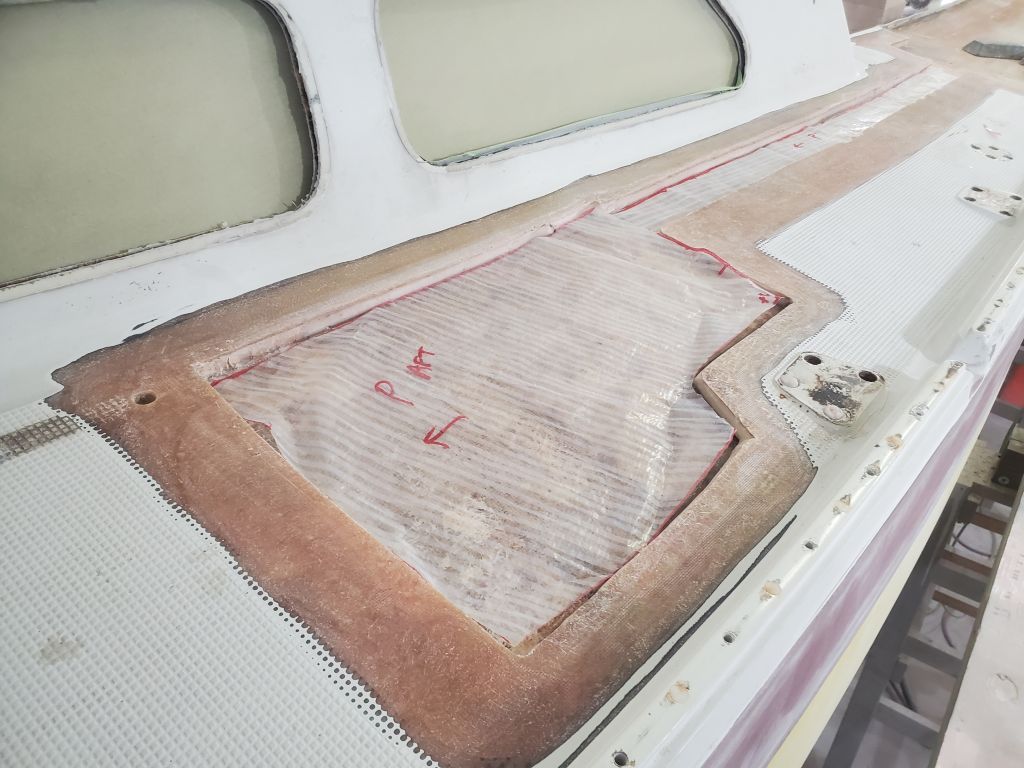
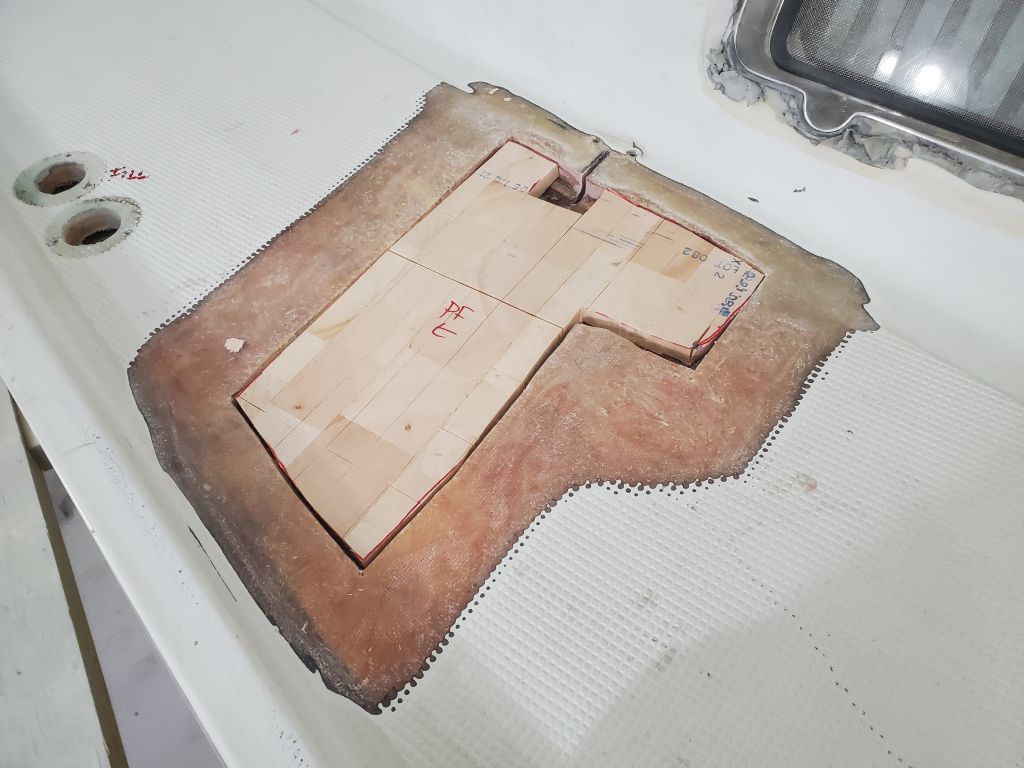
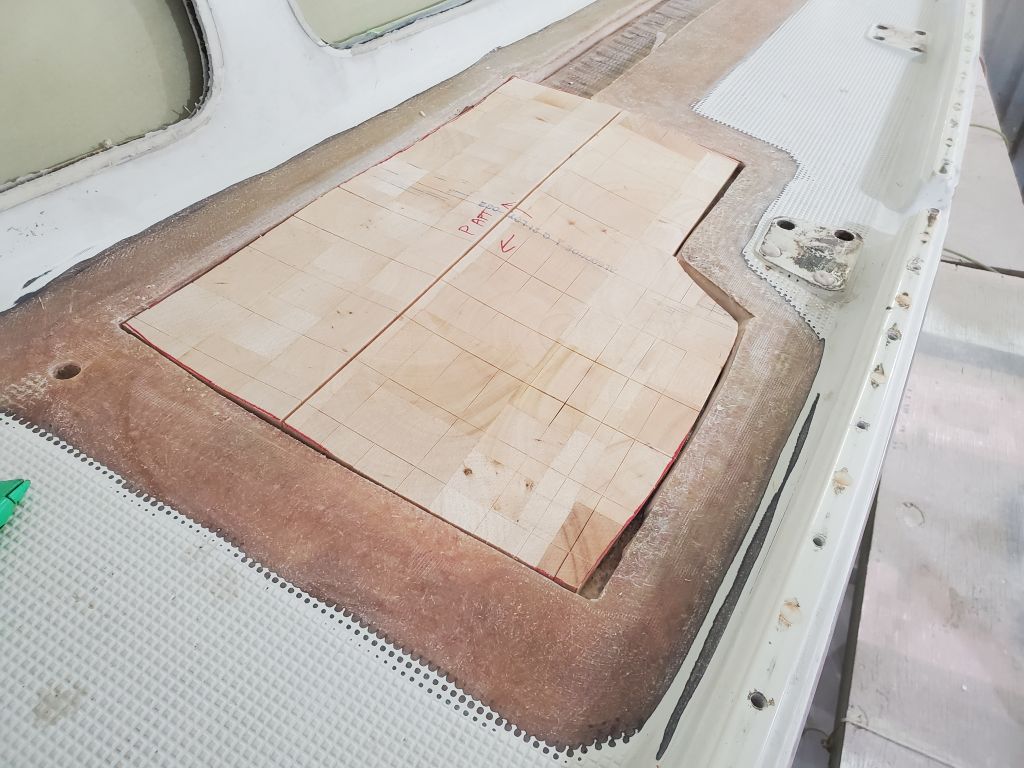
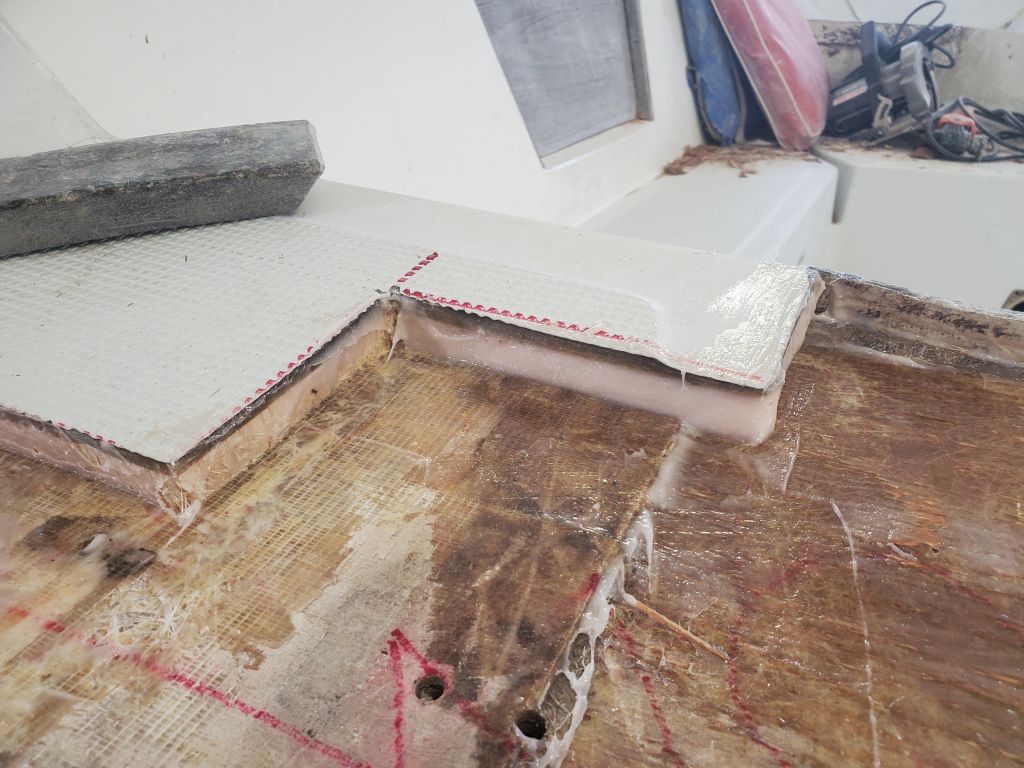
With patterns complete, I cut and dry-fitted the core, showing the gaps at the edges where the solid fiberglass would go.
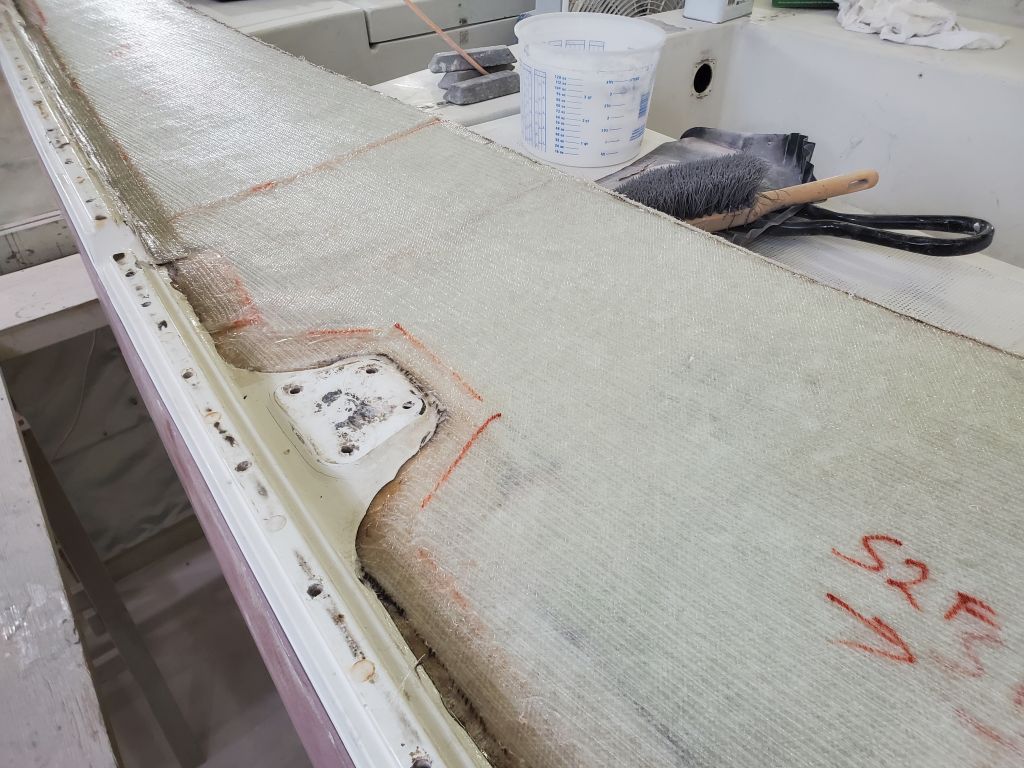
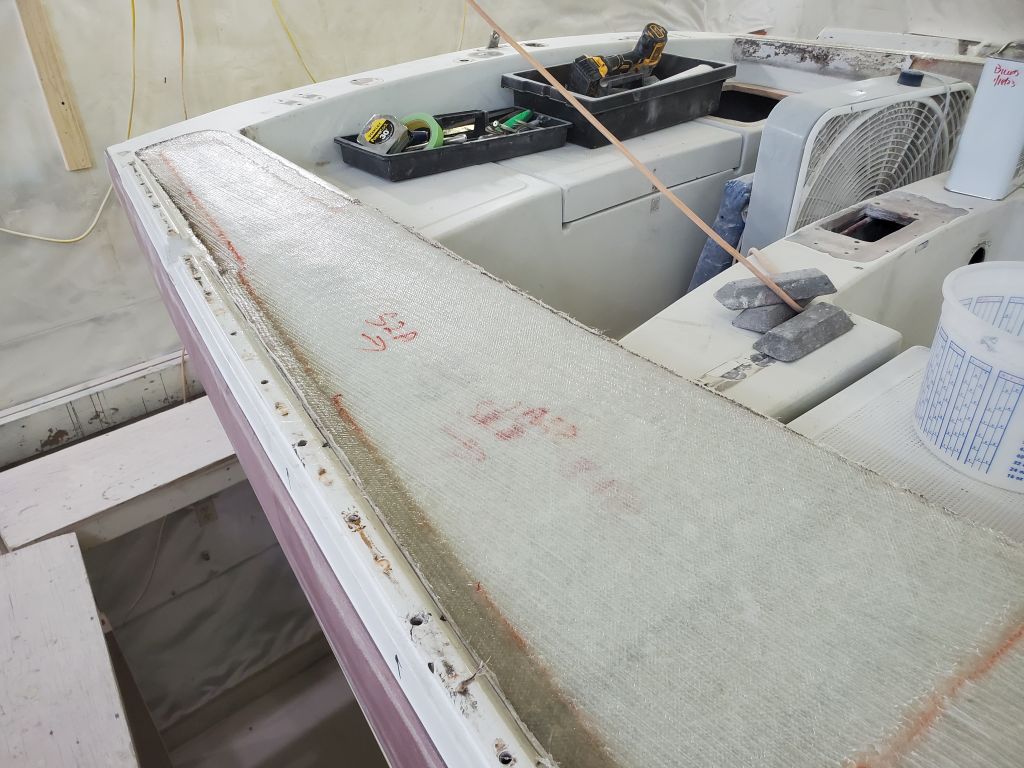
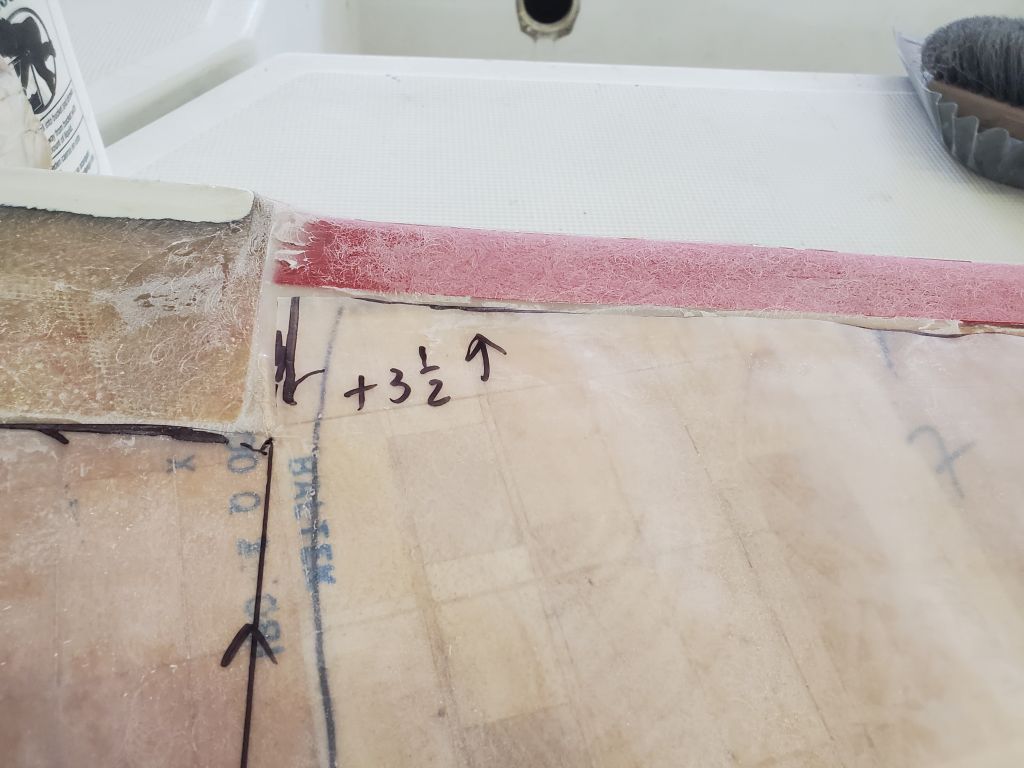
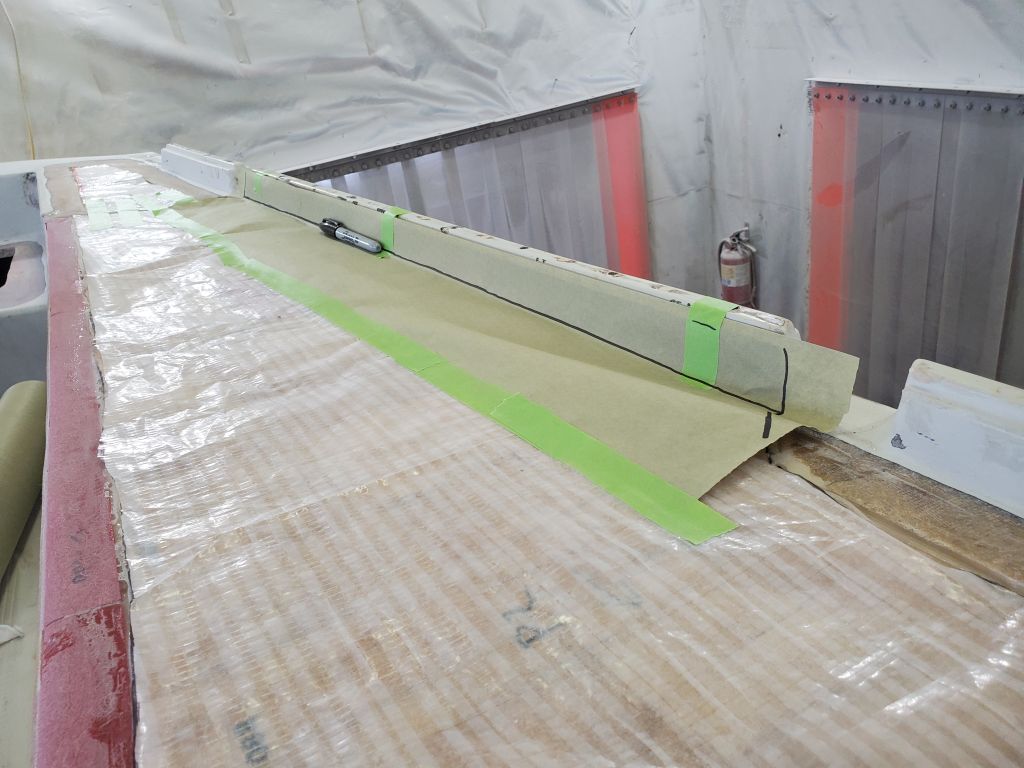
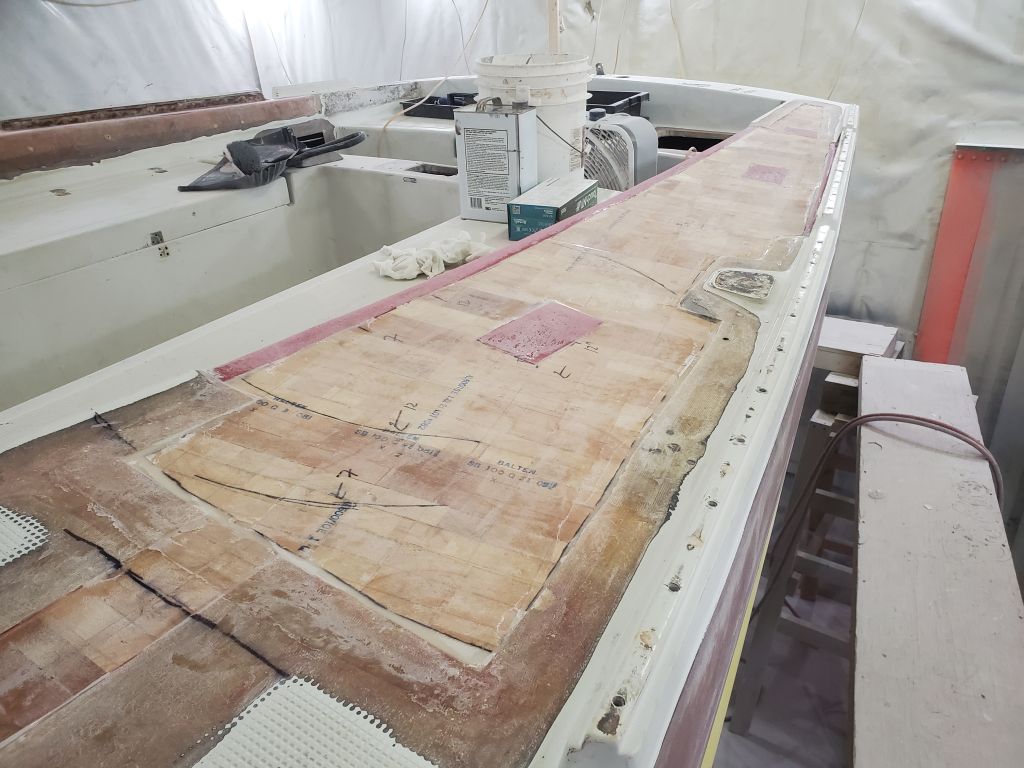
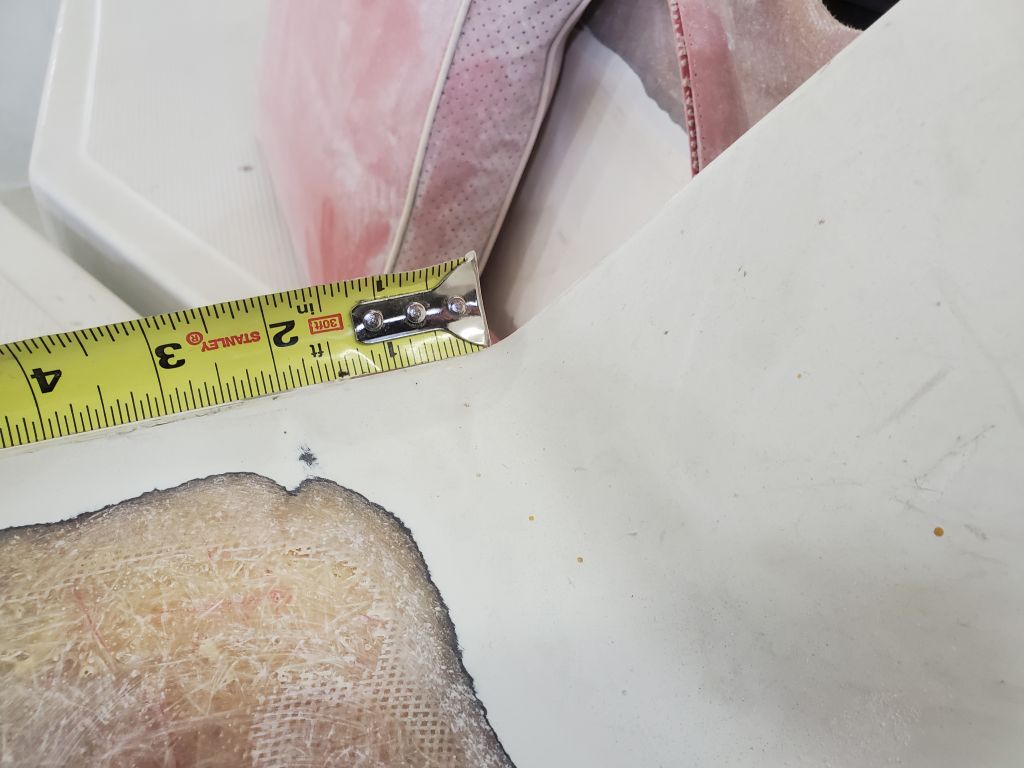
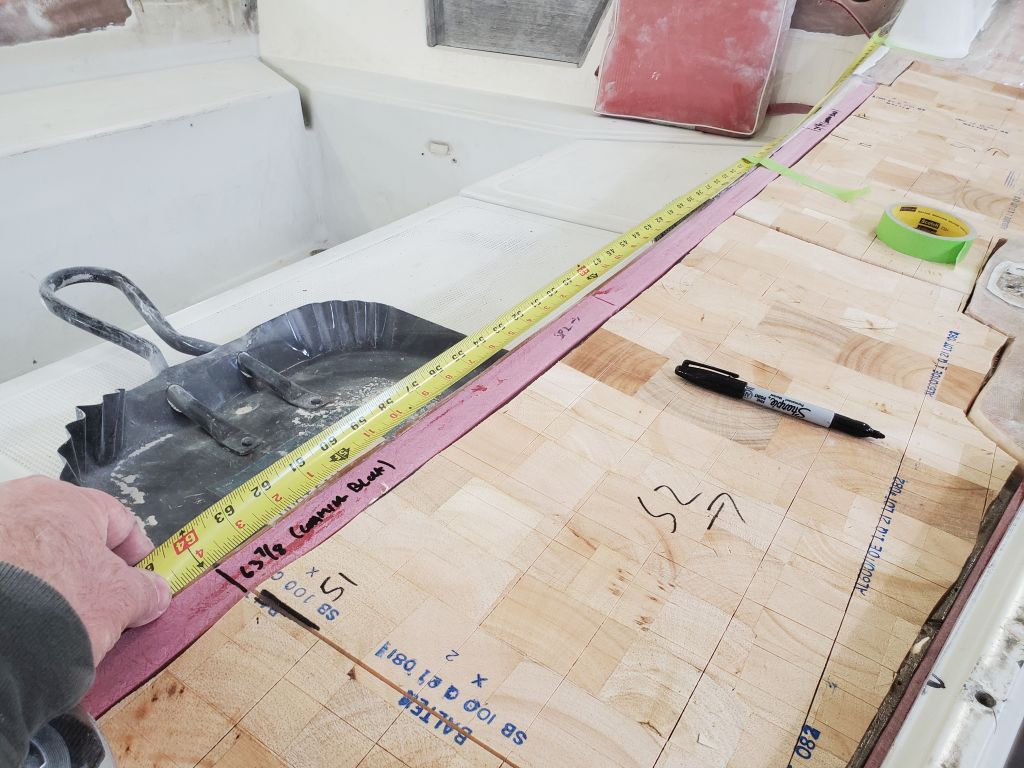
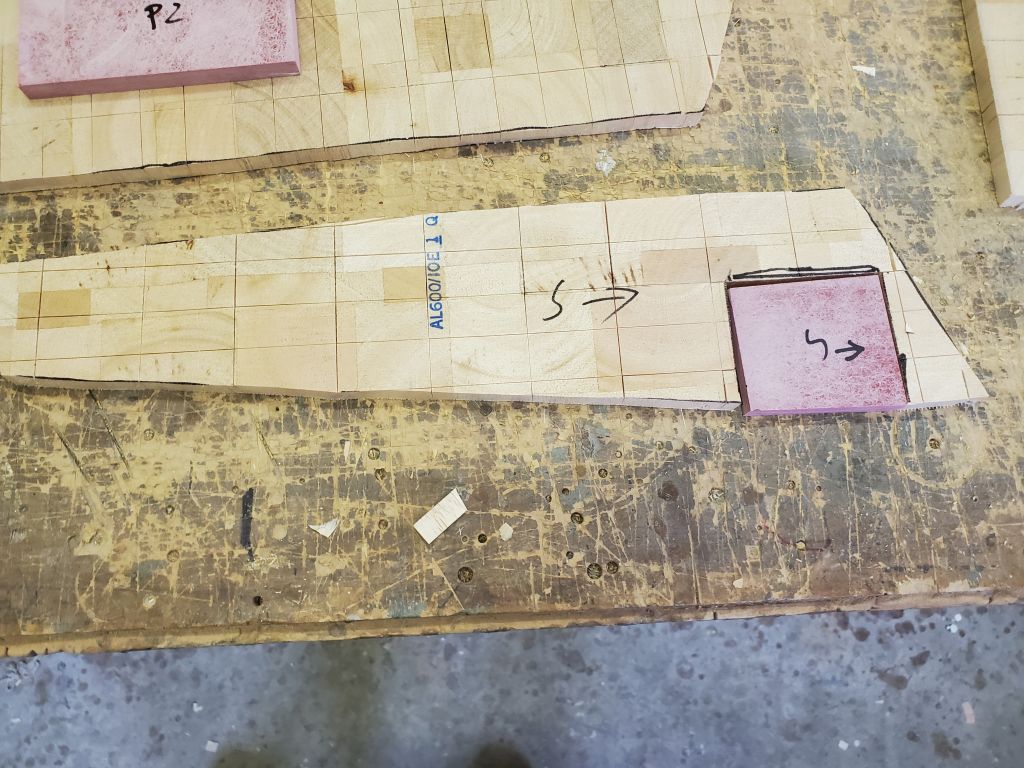
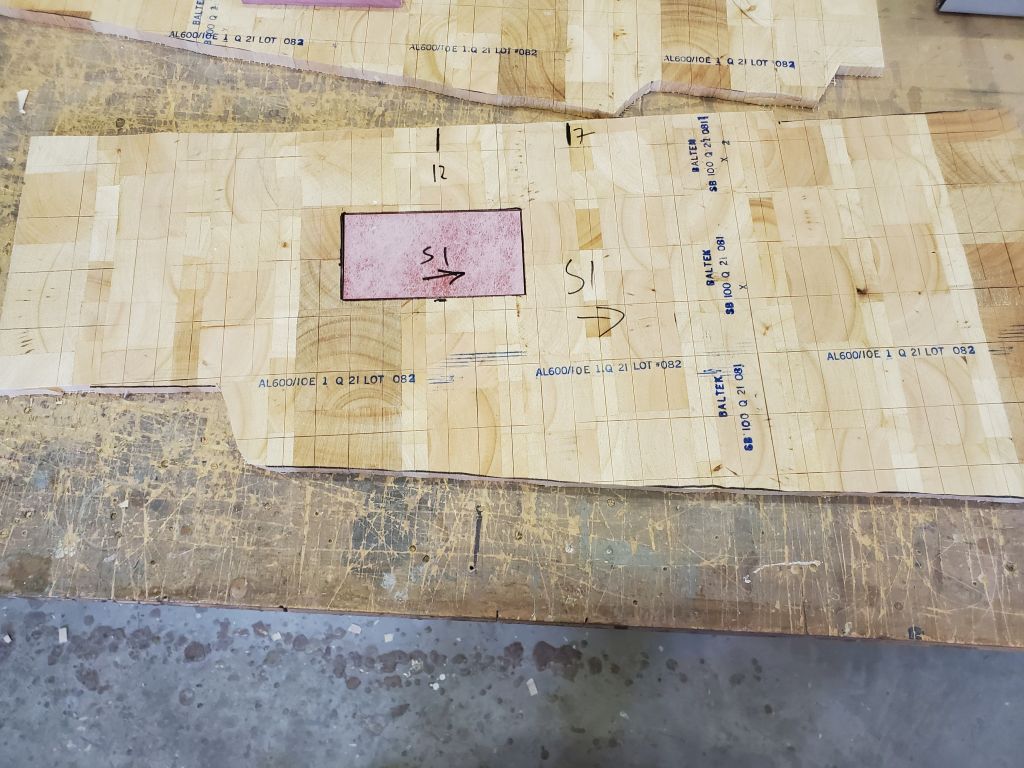
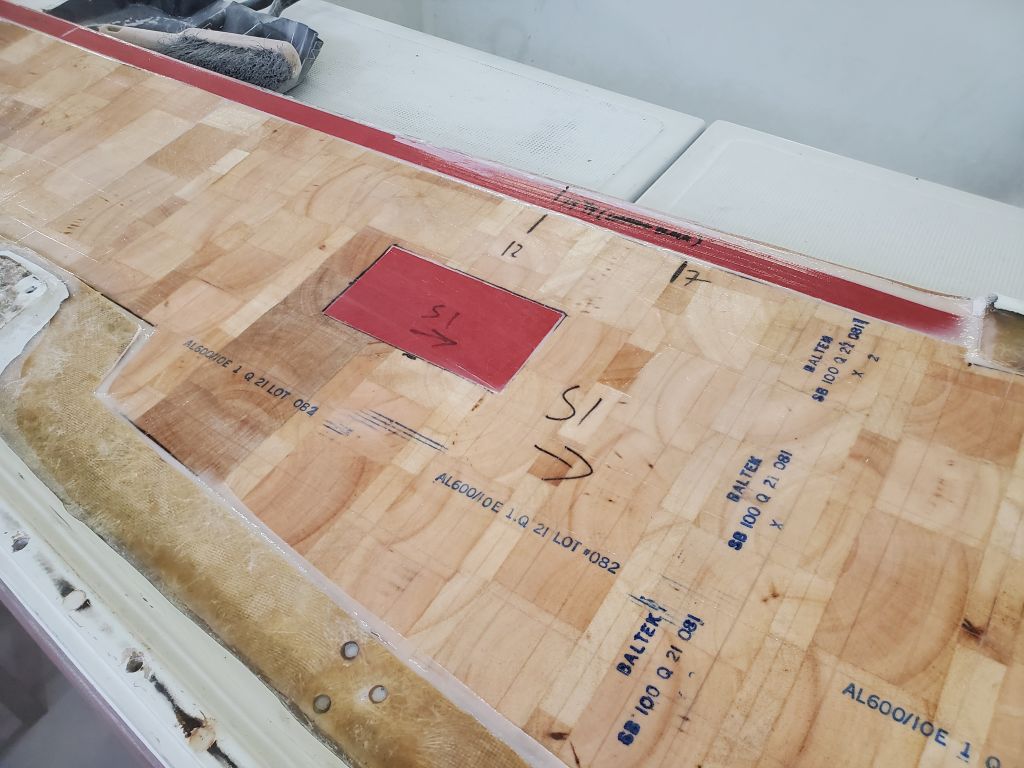
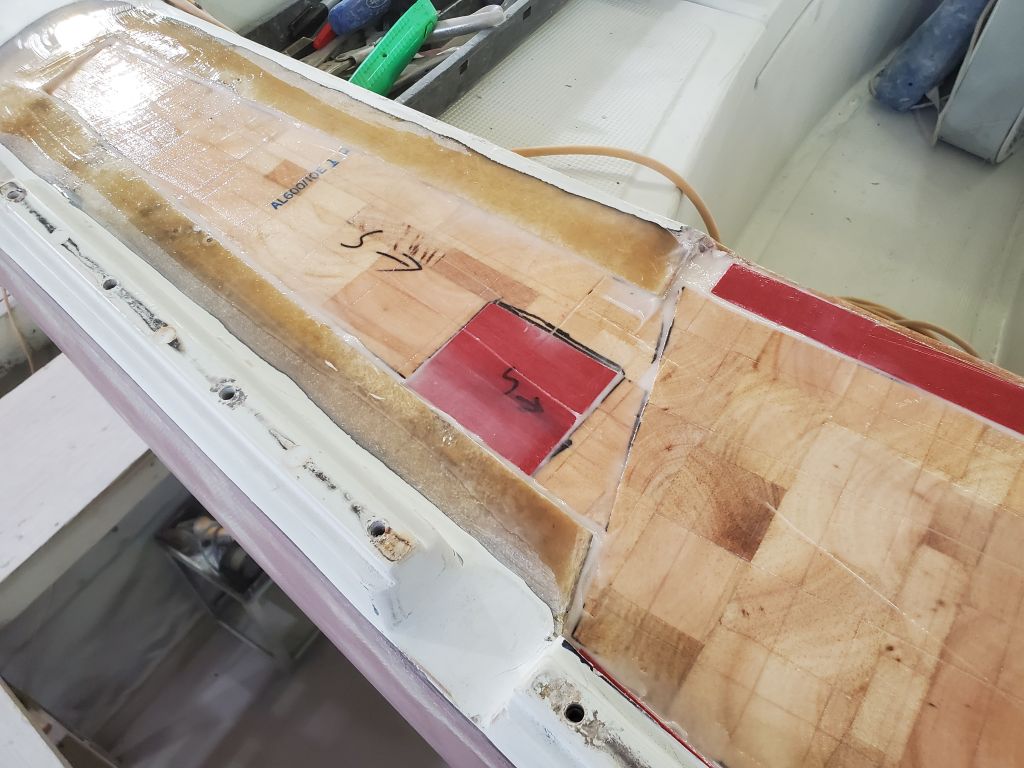
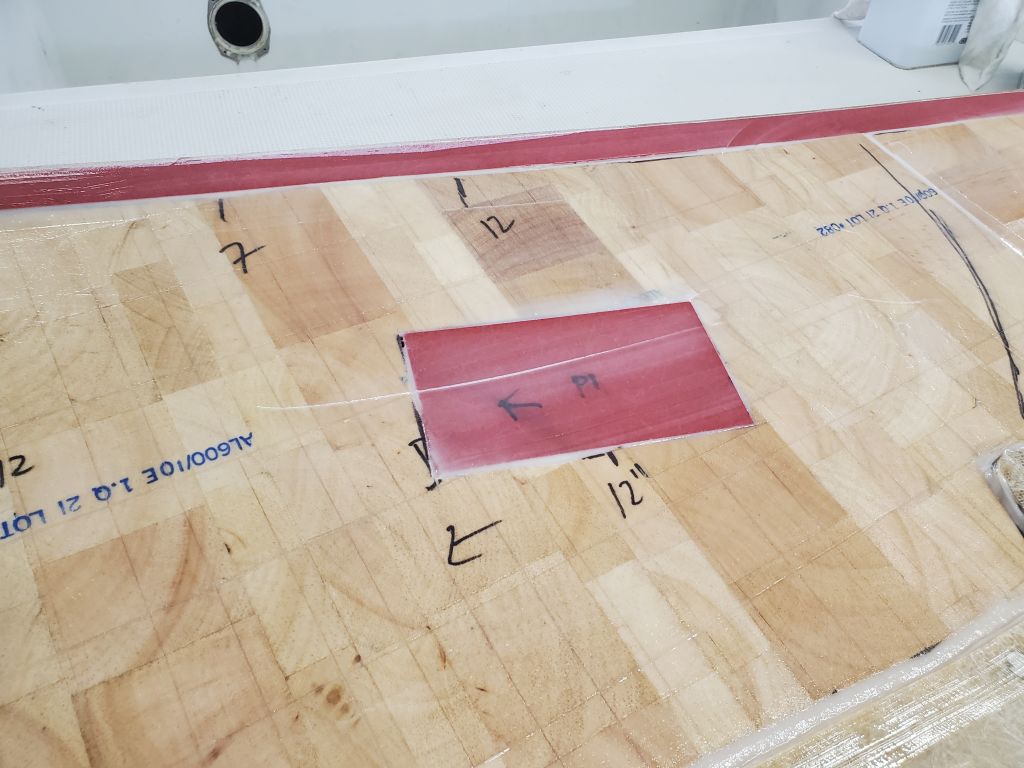
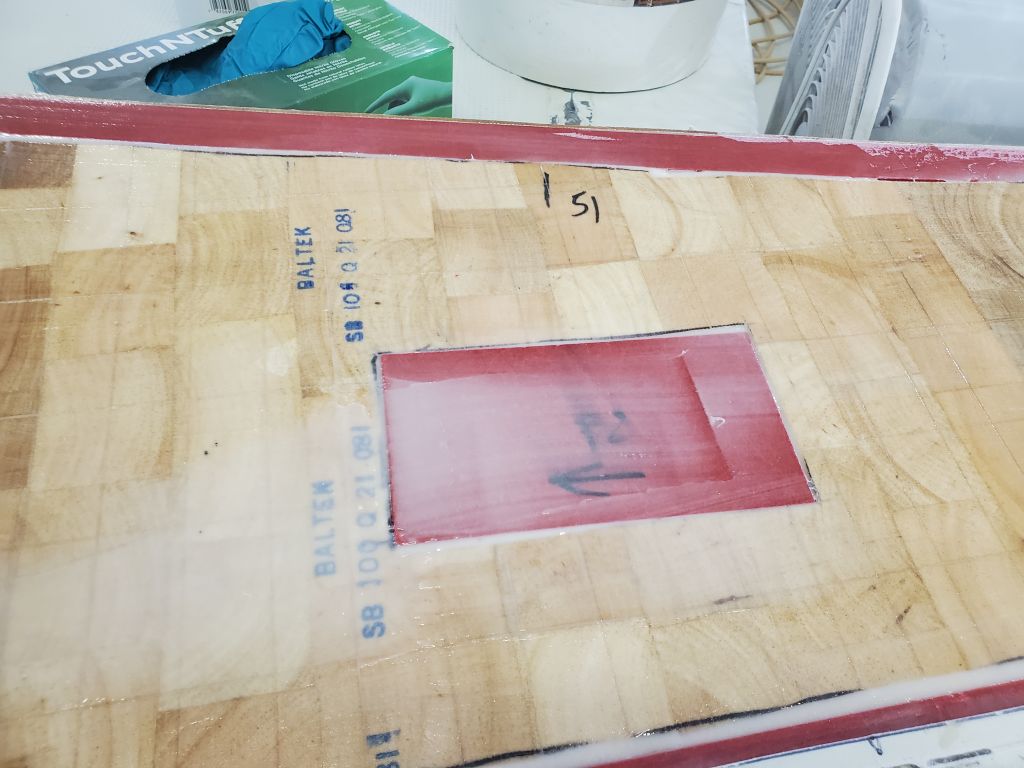
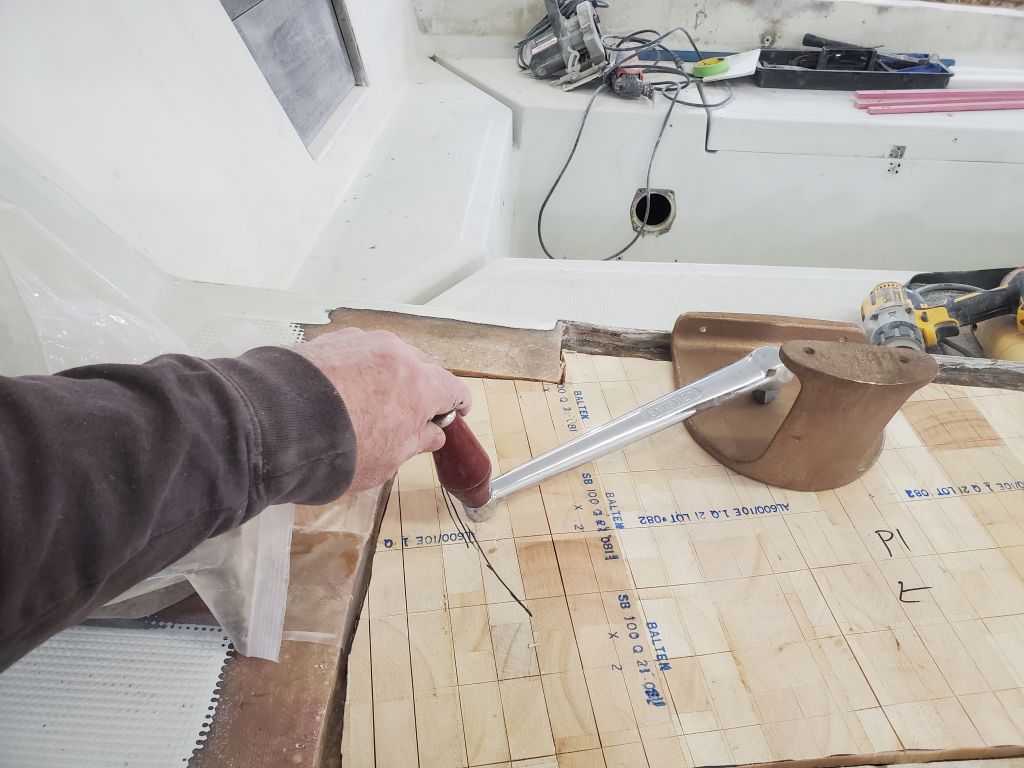
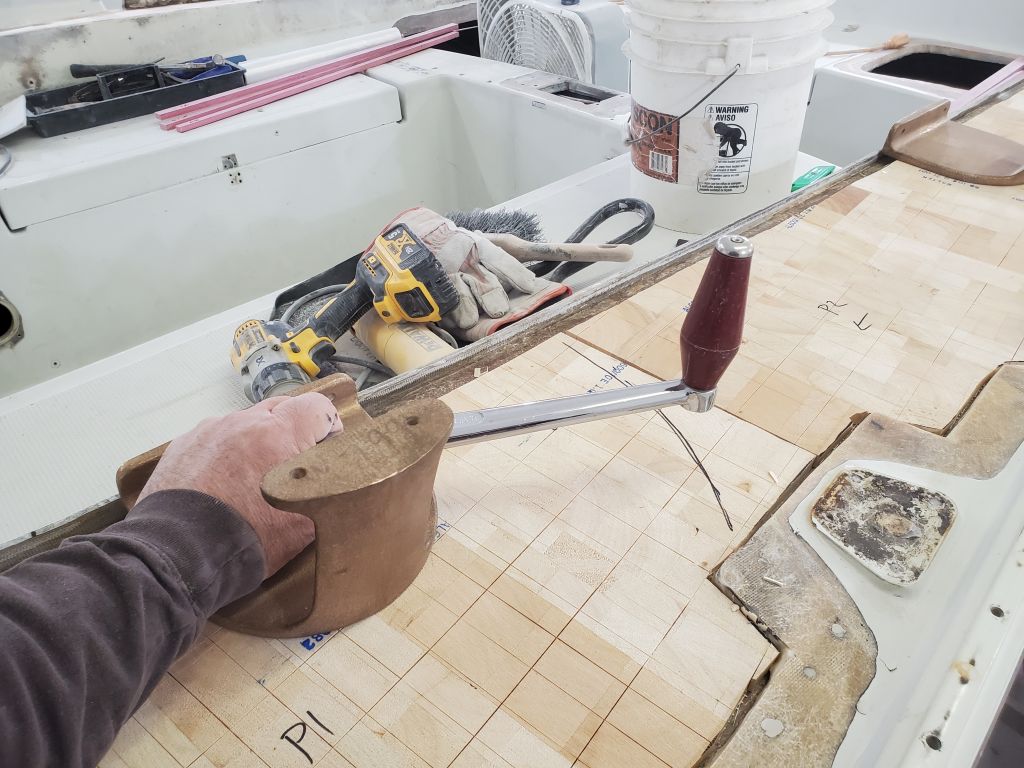
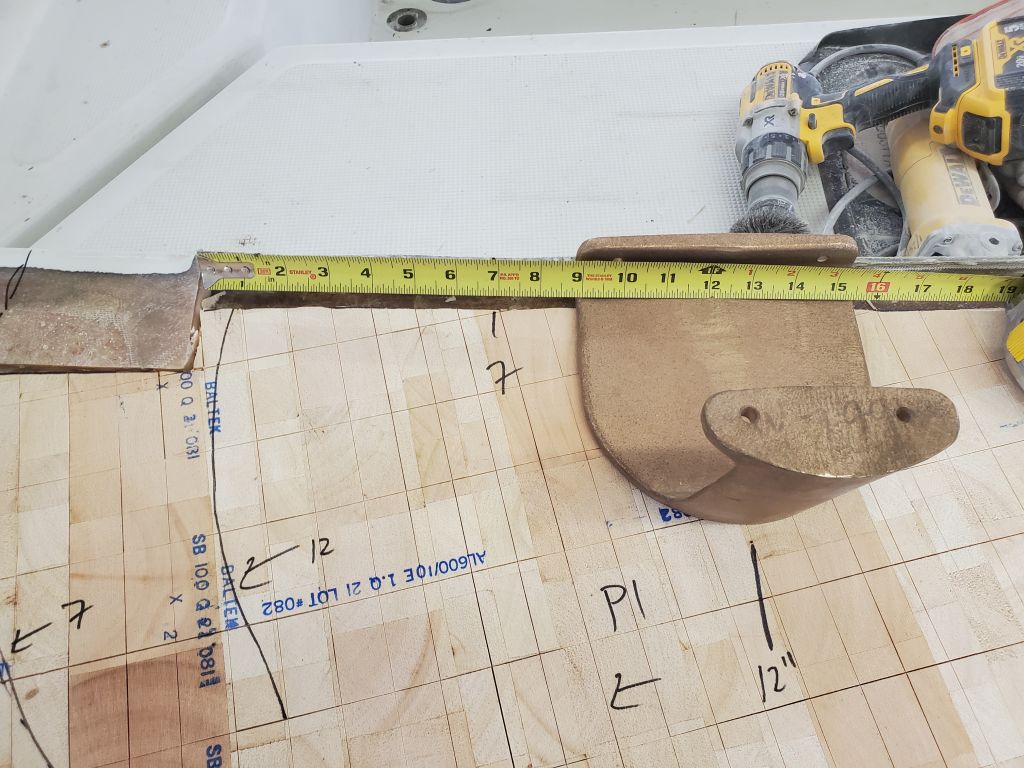
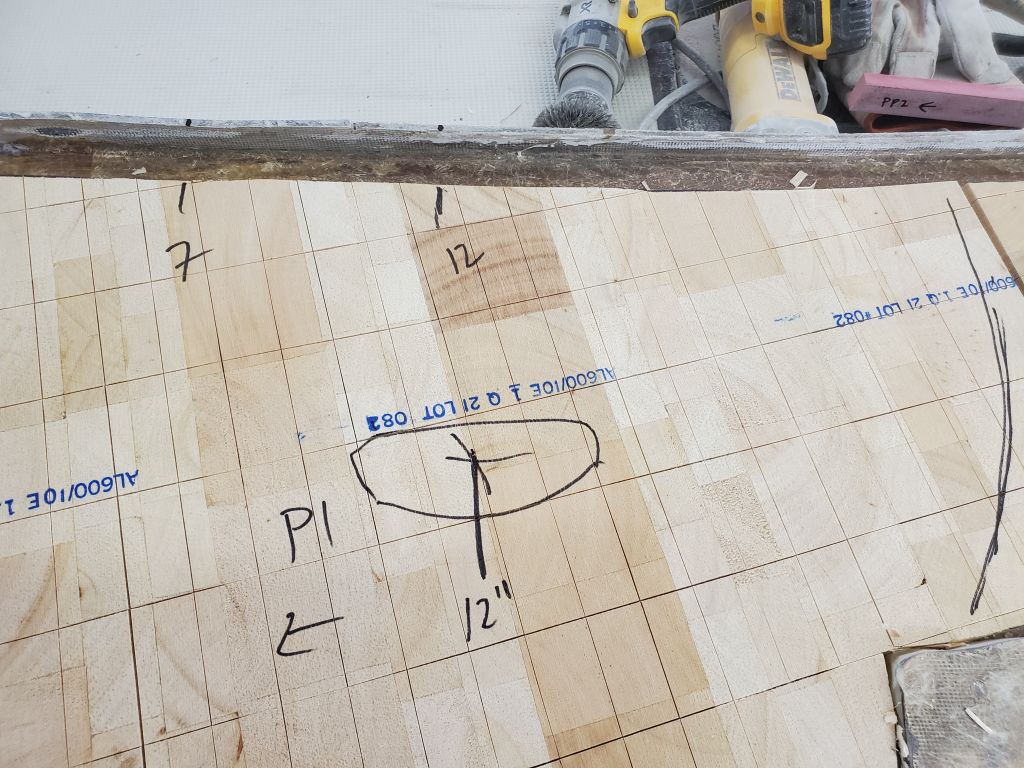
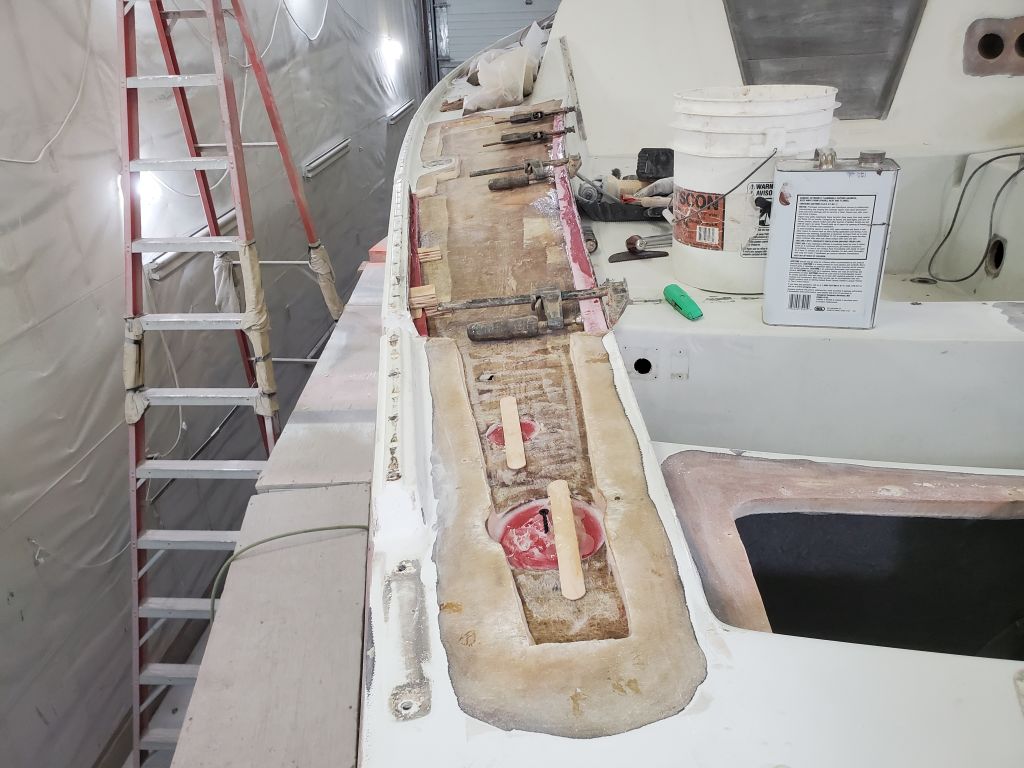
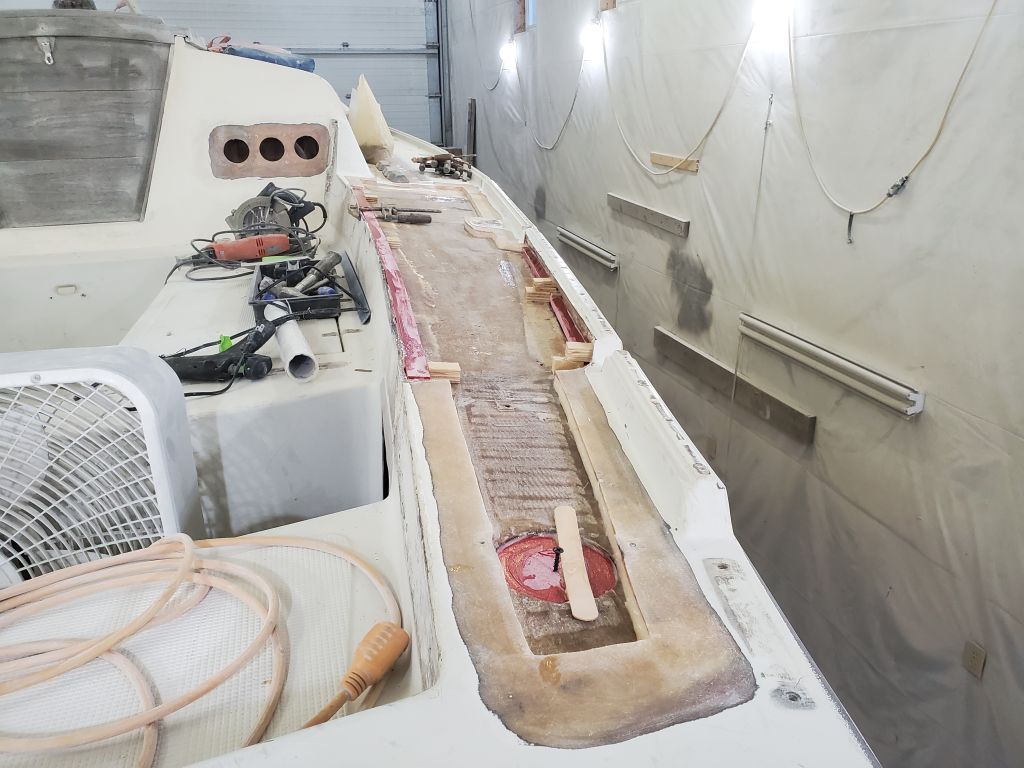
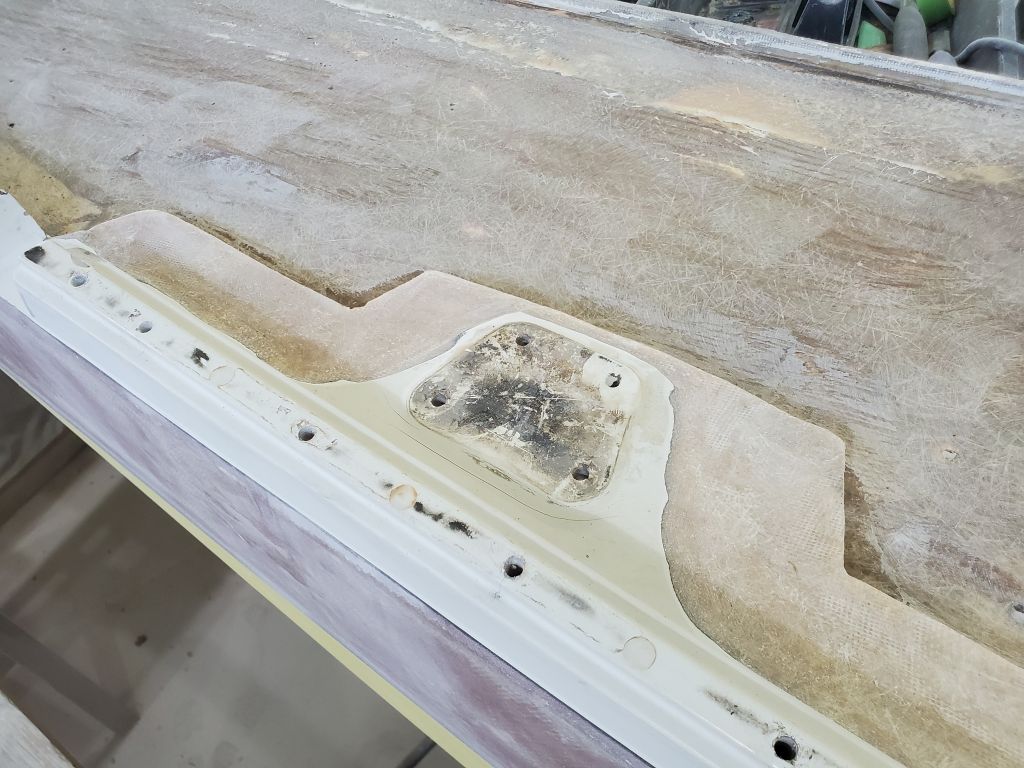
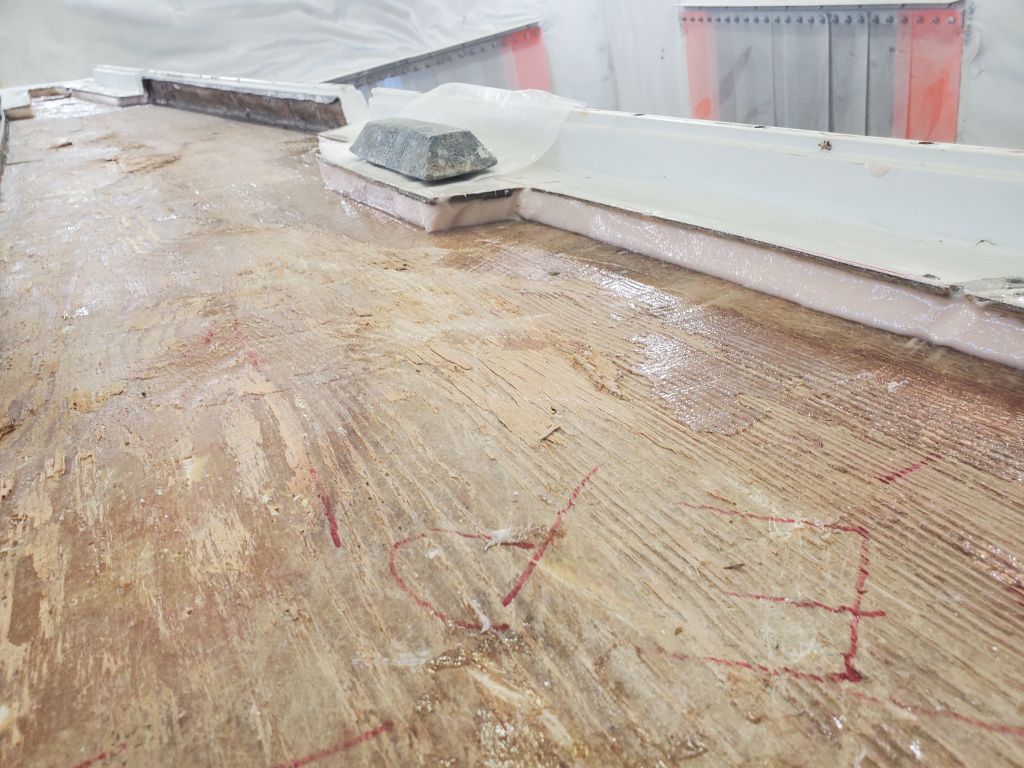
Now I measured one of the original winch islands to relocate the winches on the new core. The original locations were centered 7-1/2″, and 51″, respectively, aft of the forward edge of the islands (at deck level). I transferred these marks to one of the sidedecks for now so I could determine the approximate locations, then laid out the newly-arrived bronze winch stands upside down for now to simulate the installation.
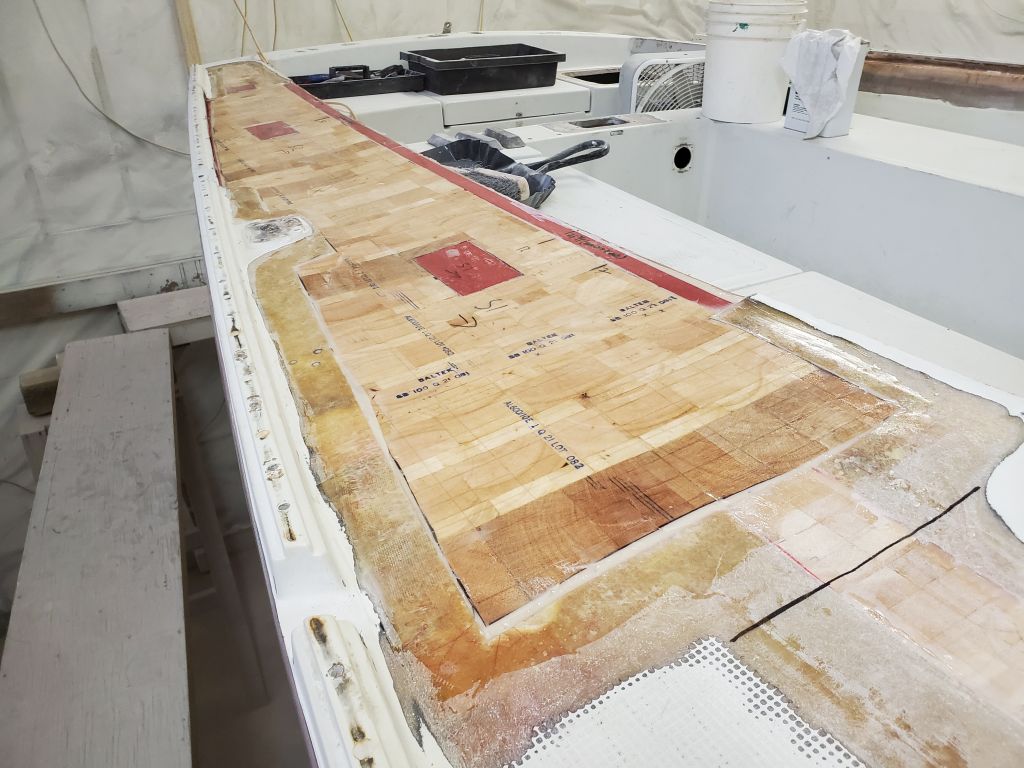
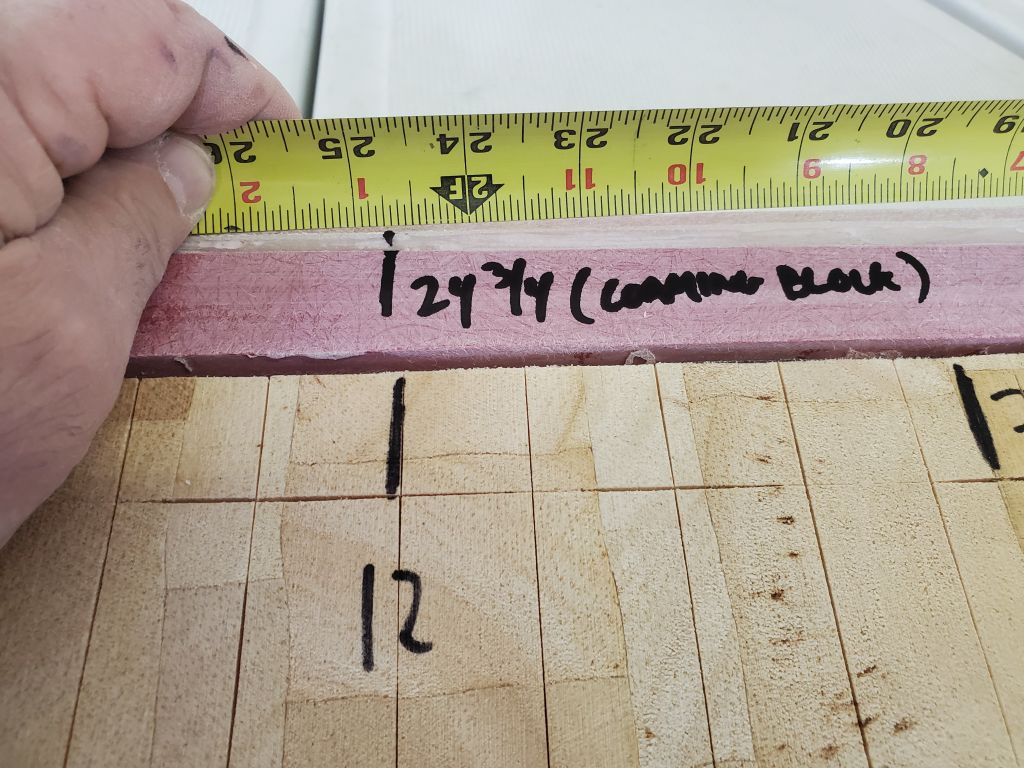
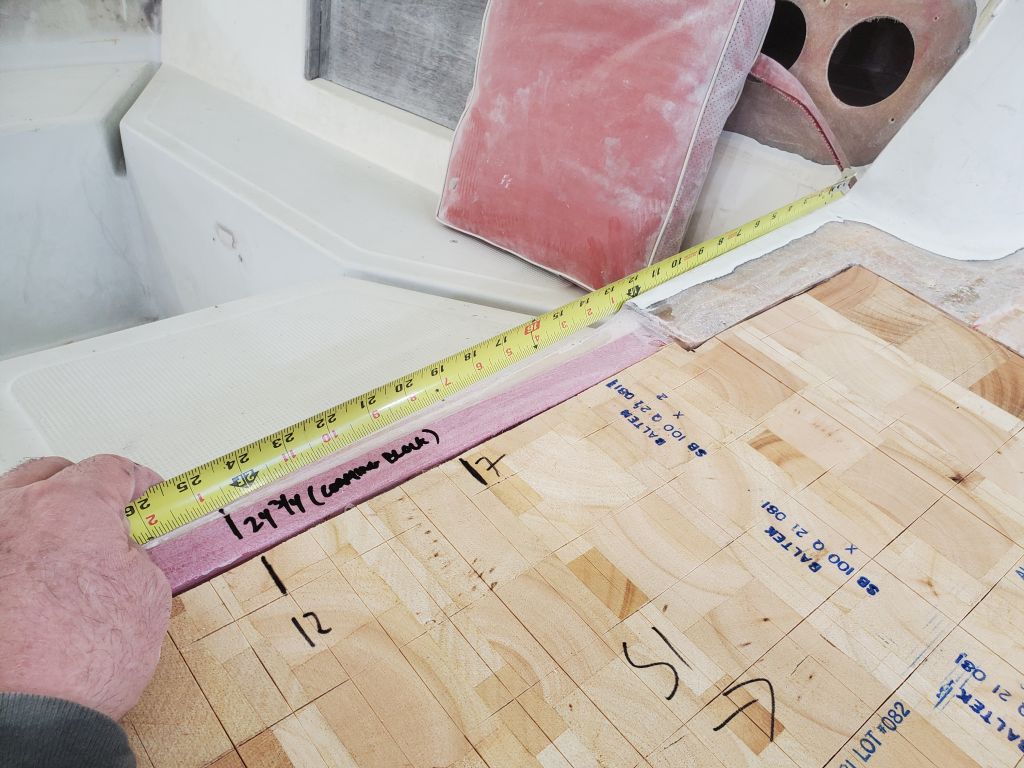
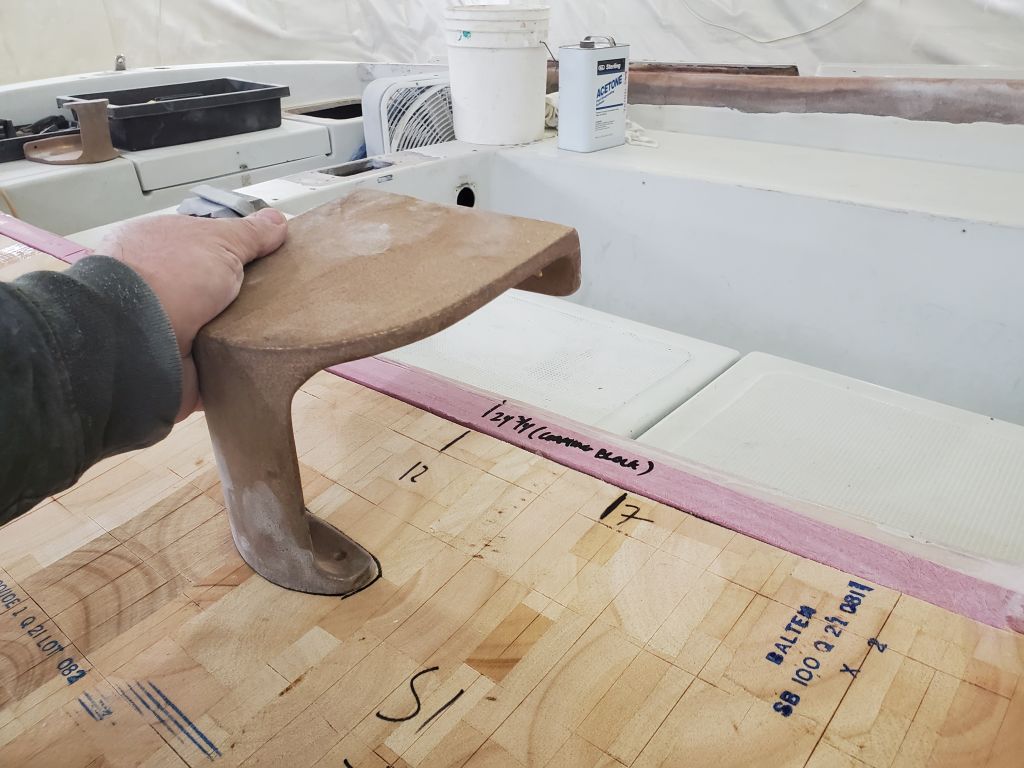
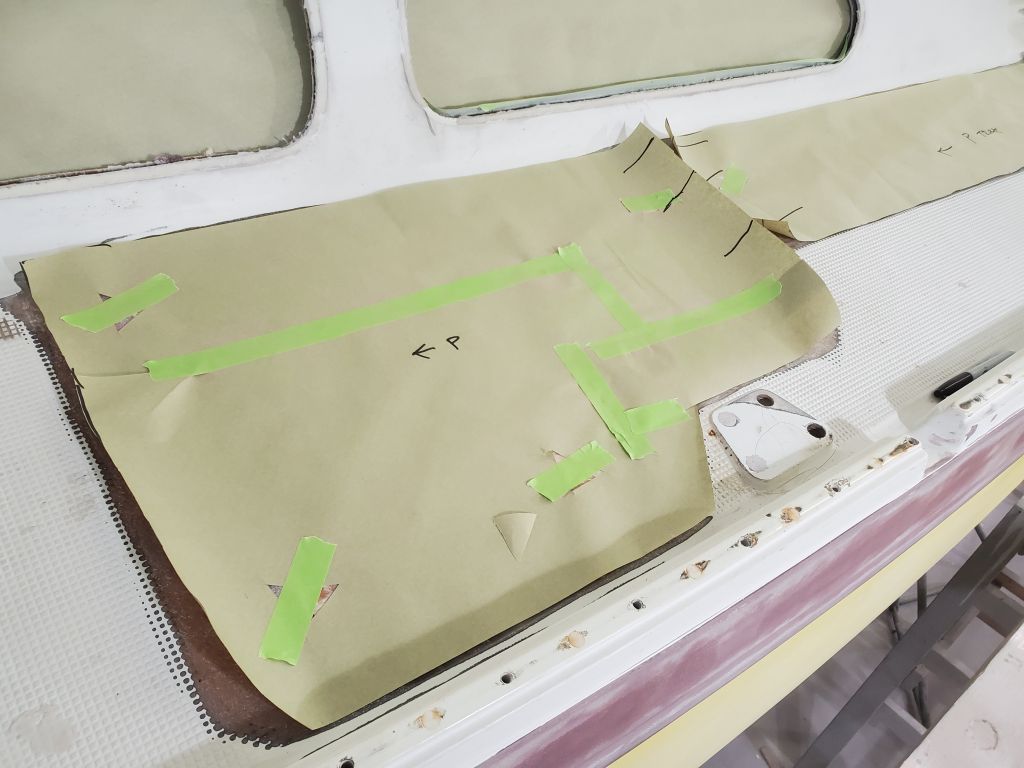
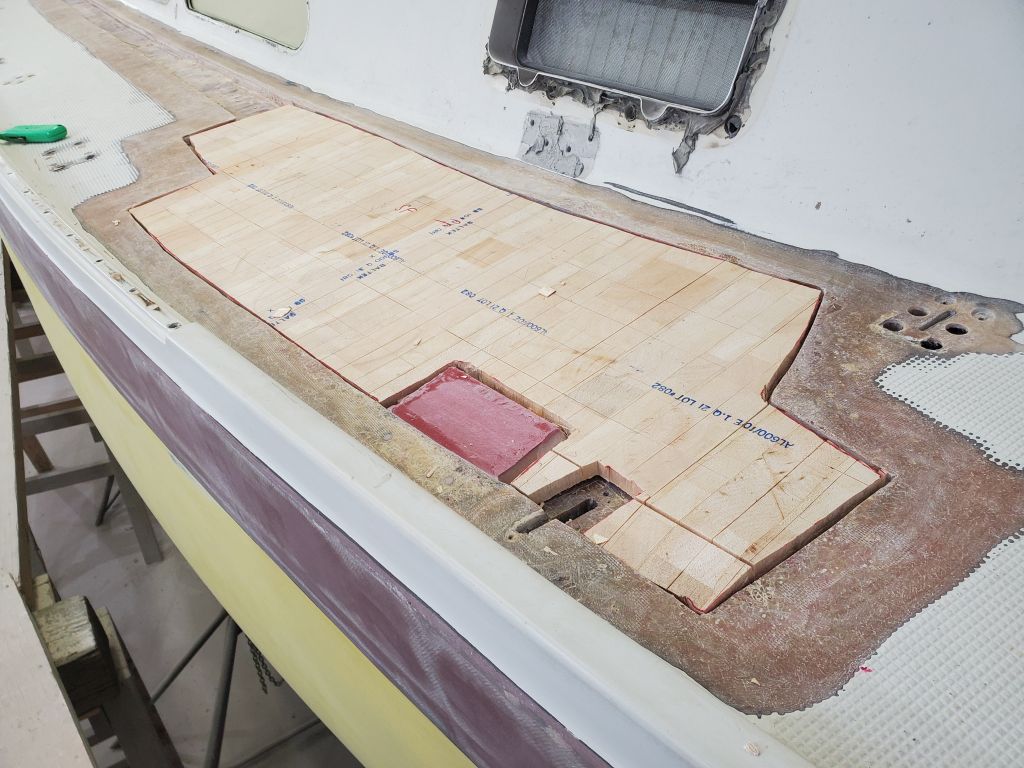
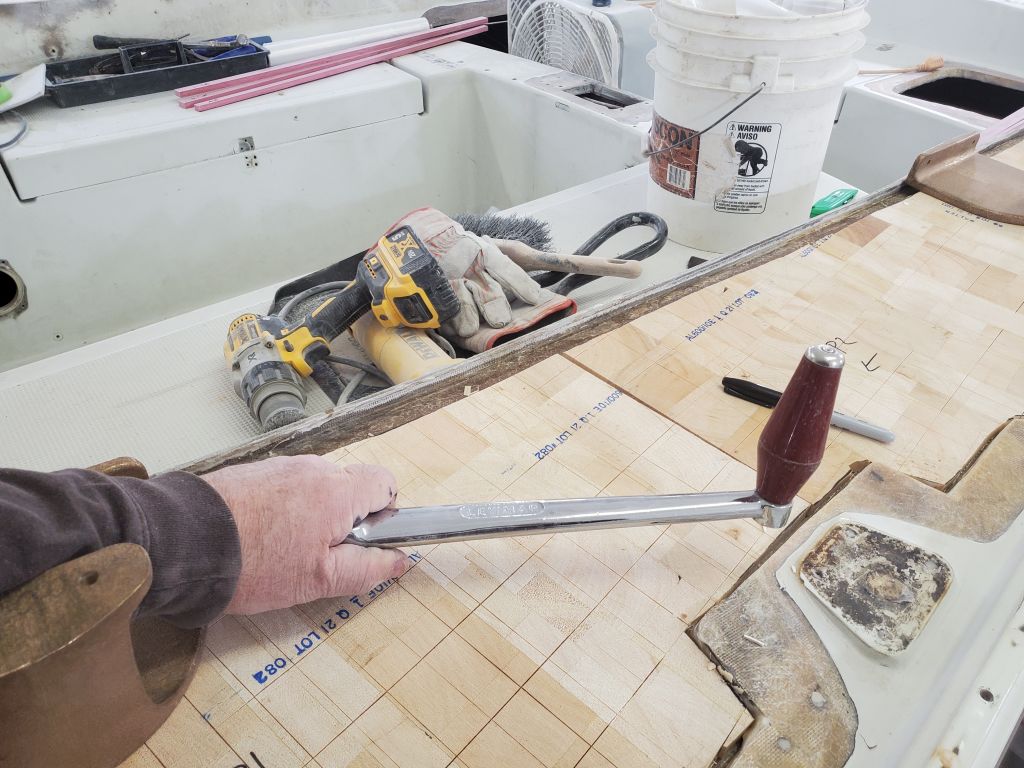
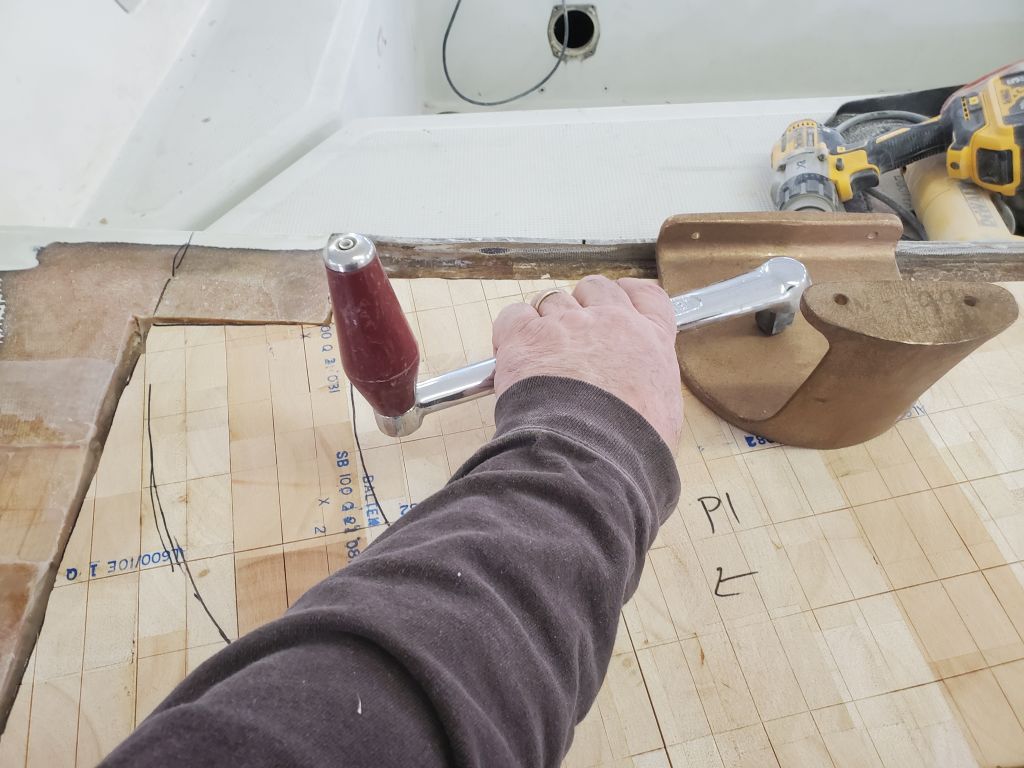
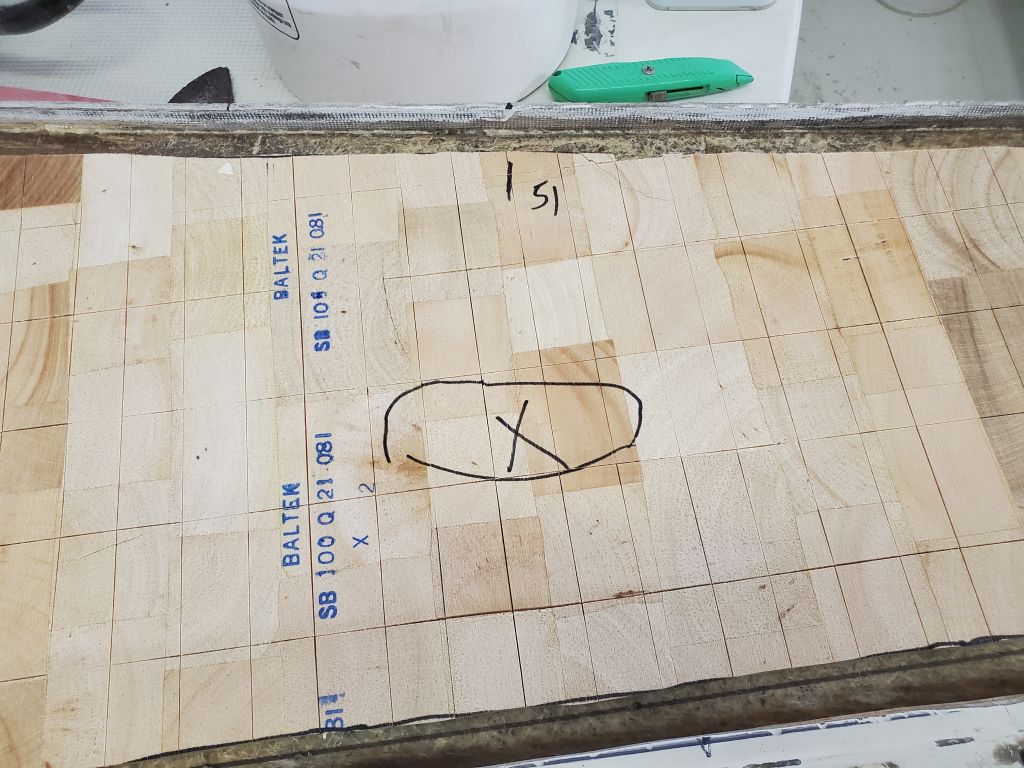
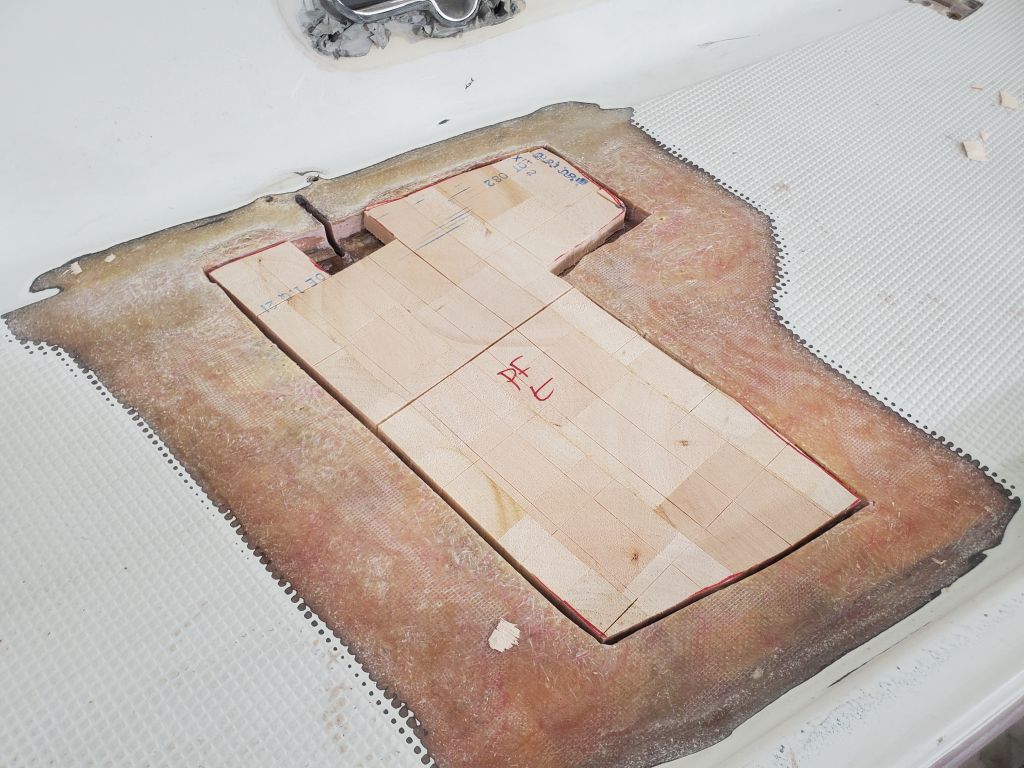
Using a 12″ long test winch handle (intentionally a very long handle to maximize clearances), I roughed out the clearance required for the forward winch; the after winch had no clearance issues and I intended it to stay in its original location. But to make room for dodger wings at the forward end, it would behoove things to move the forward winch aft a bit, to increase clearance and keep all options open as much as possible. However, a further limiting factor was at hand: the stanchion base, located just a bit aft. I didn’t want any conflicts between the stanchion and proper use of the winch handle, so, with the handle mocked up to estimate sound clearance, I repositioned the winch stand as far aft as I could, which turned out to be about 5″ further aft, or 12″ from the leading edge of the original winch island. I drew arcs on the core representing the approximate throw of the long winch handle to illustrate clearance. The new location forged a balance between clearing the stanchion (critical) and the dodger wing (important, but more flexible).
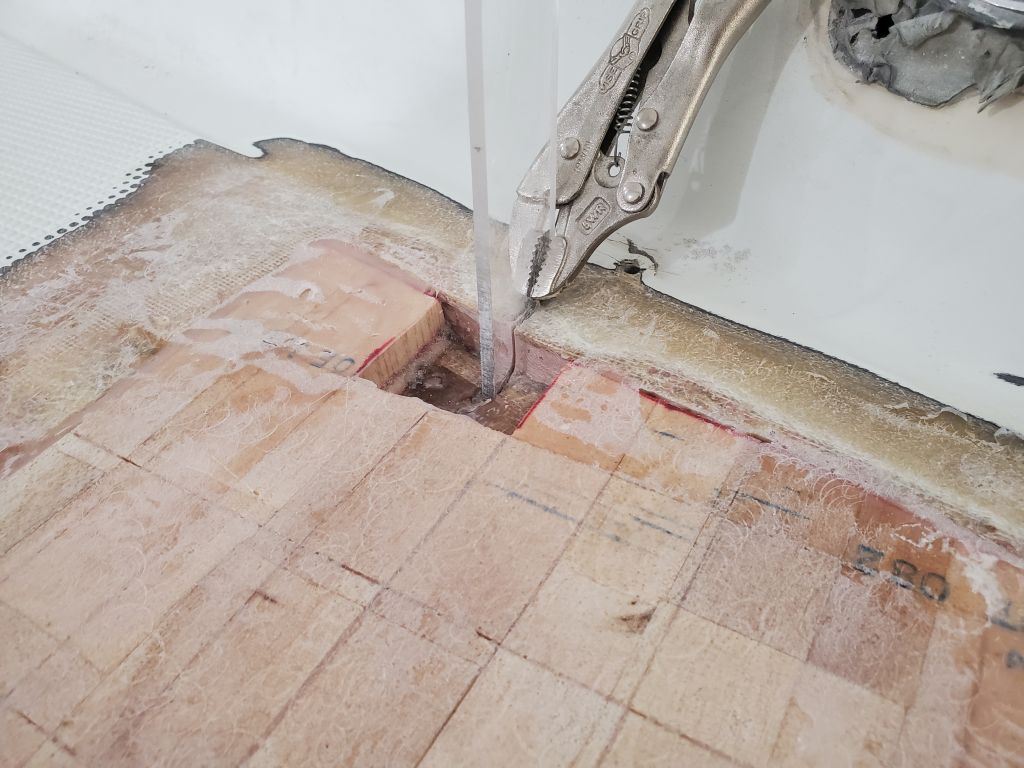
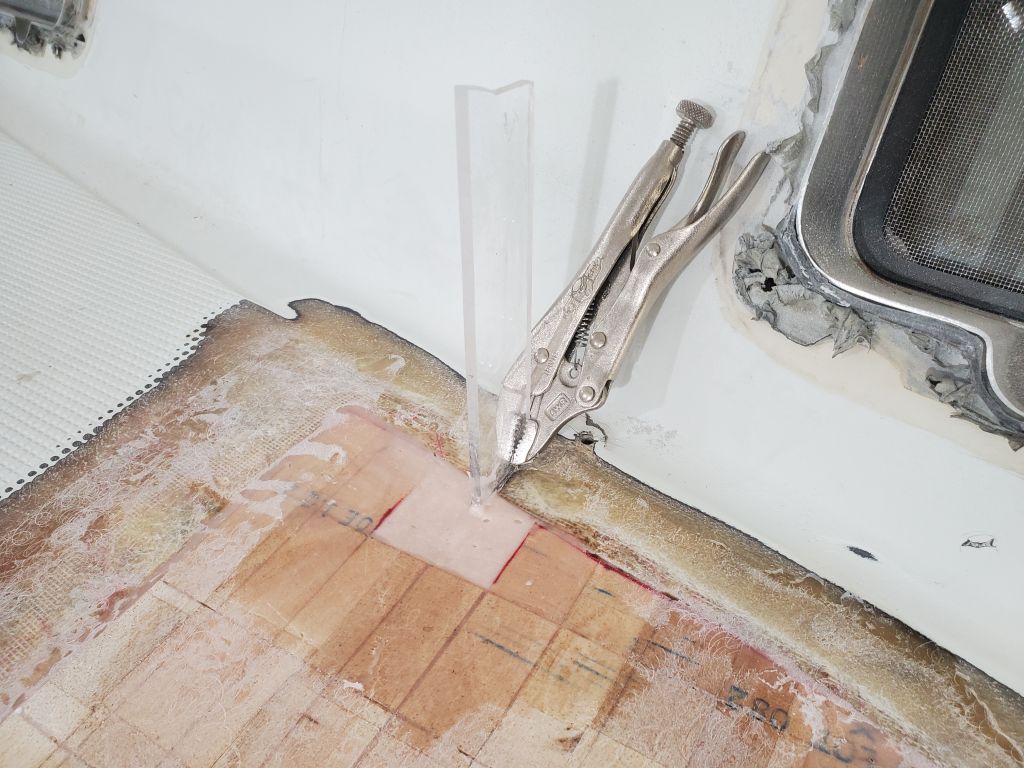
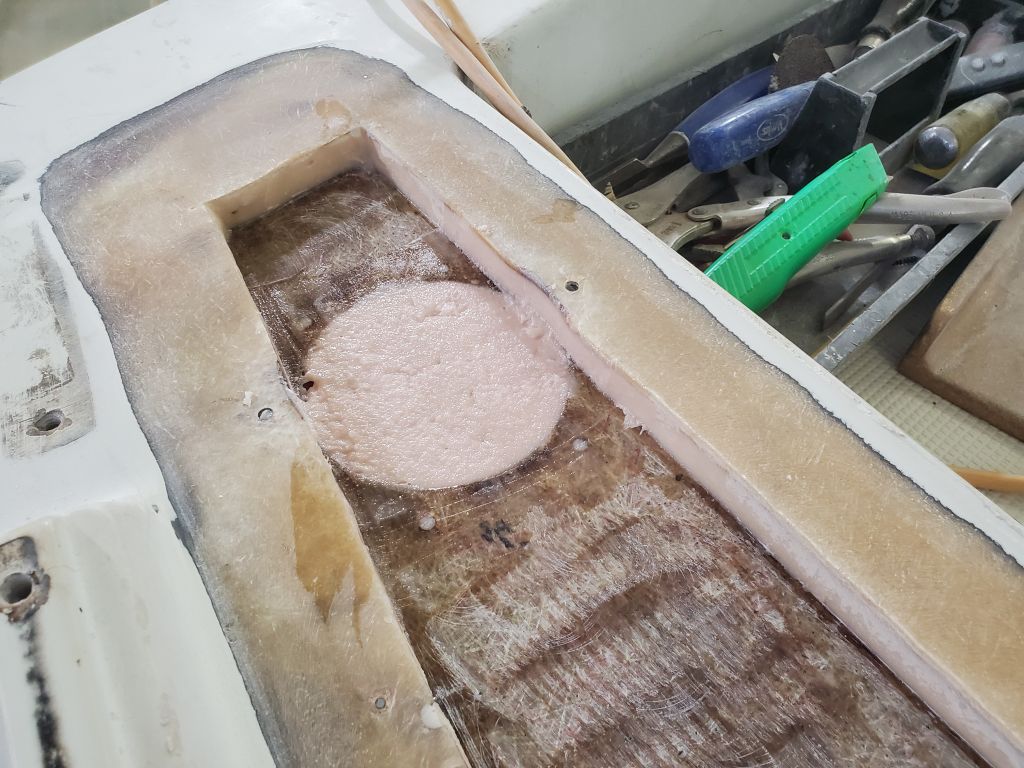
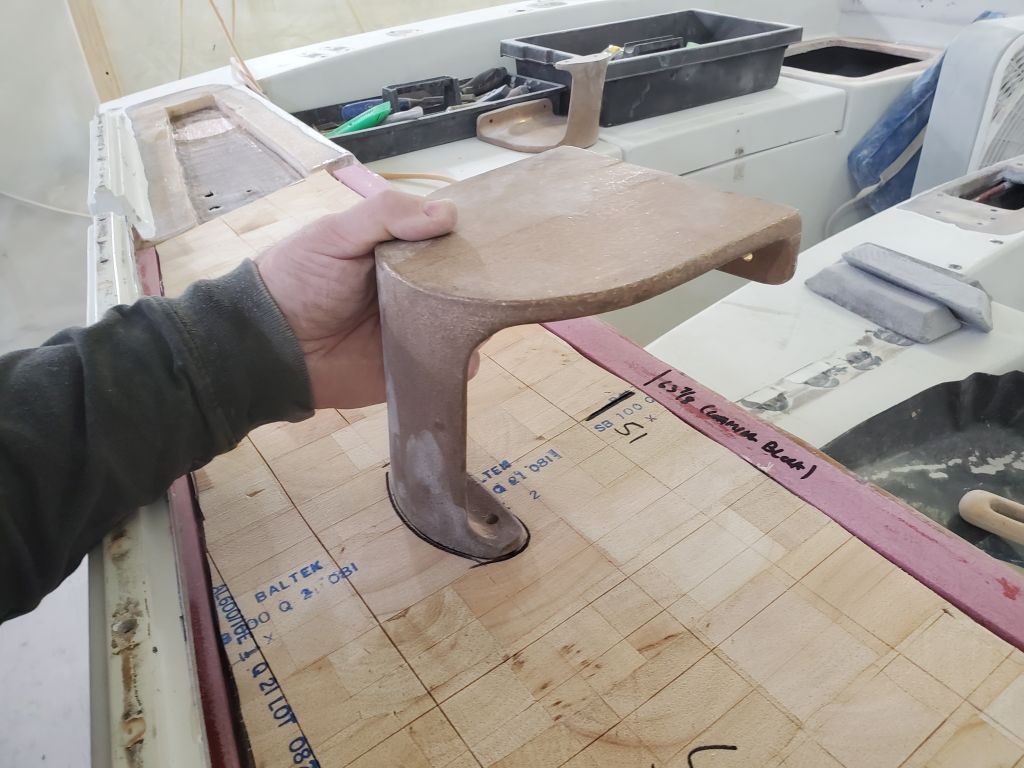
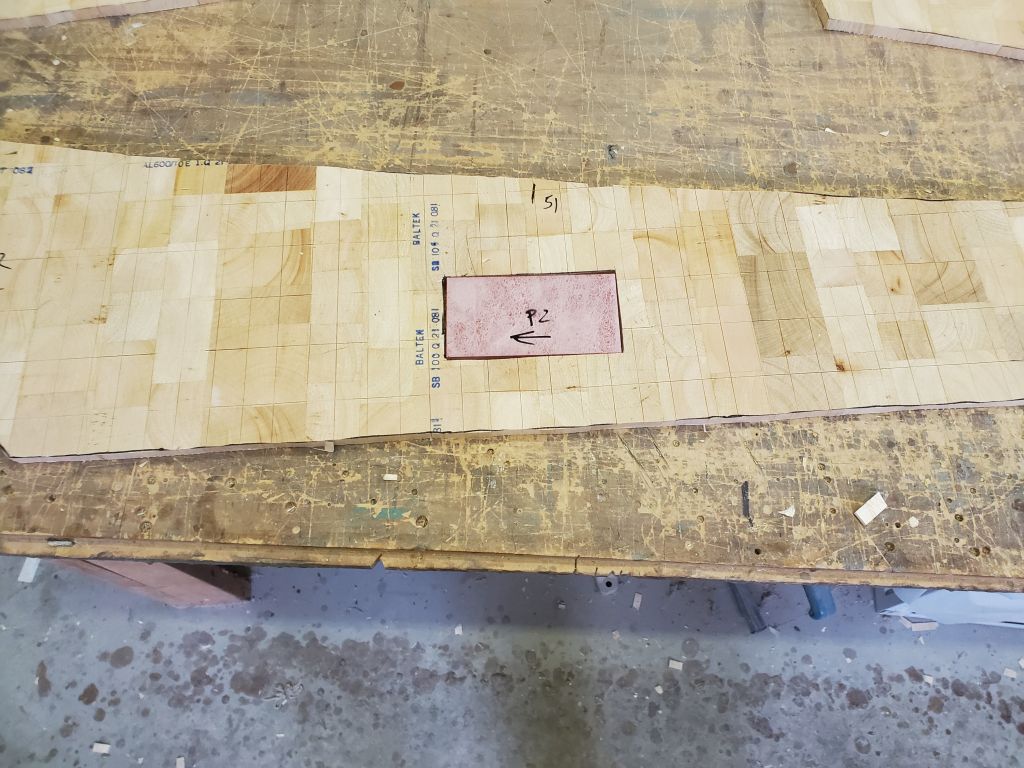
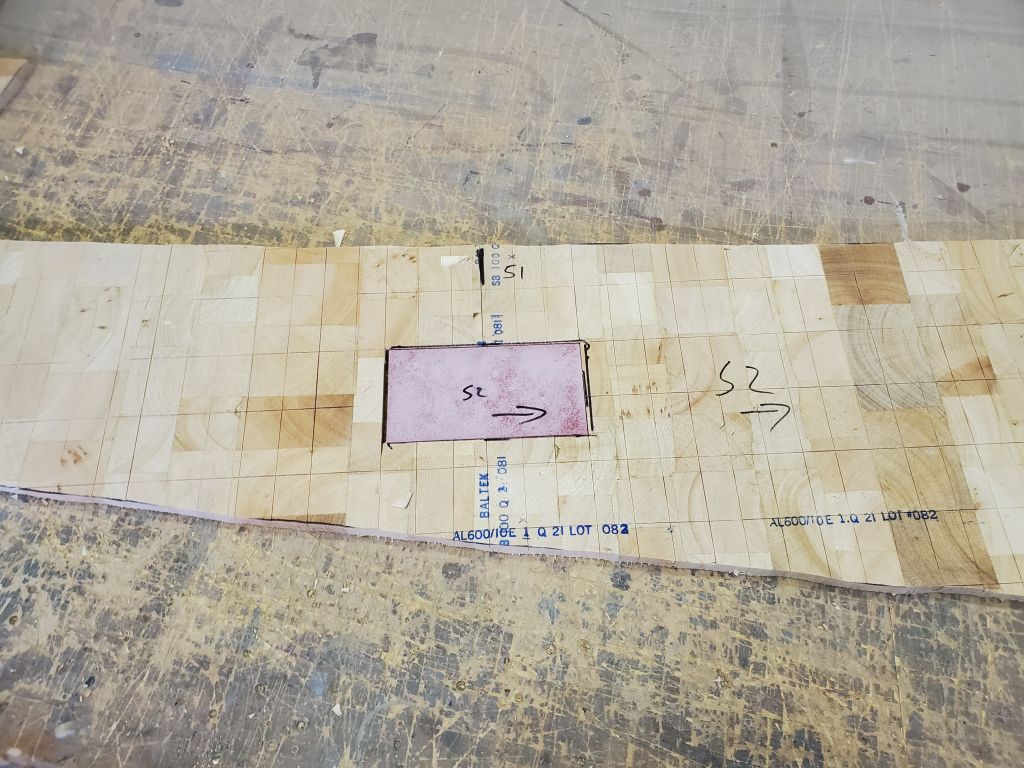
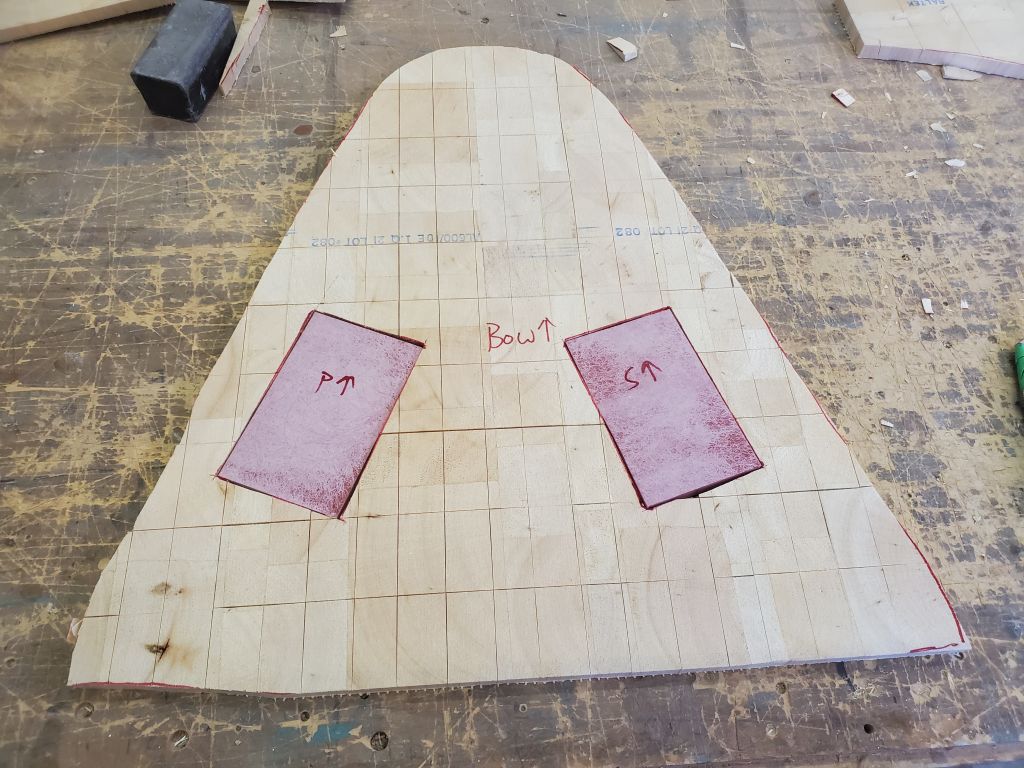
Satisfied with the placement, I used the winch islands, held in place in their proper orientation, to mark the core in way of the deck bases, which was ultimately the purpose of this exercise now. I’d remove blocks of the core beneath these marks in order to replace it with solid fiberglass.
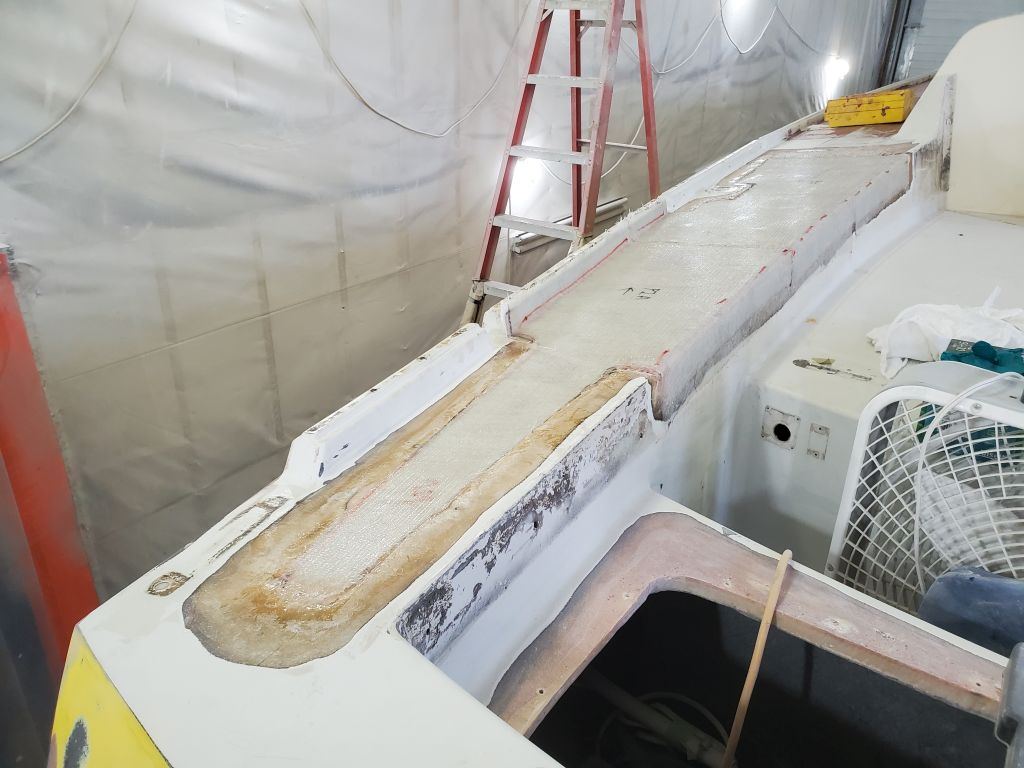
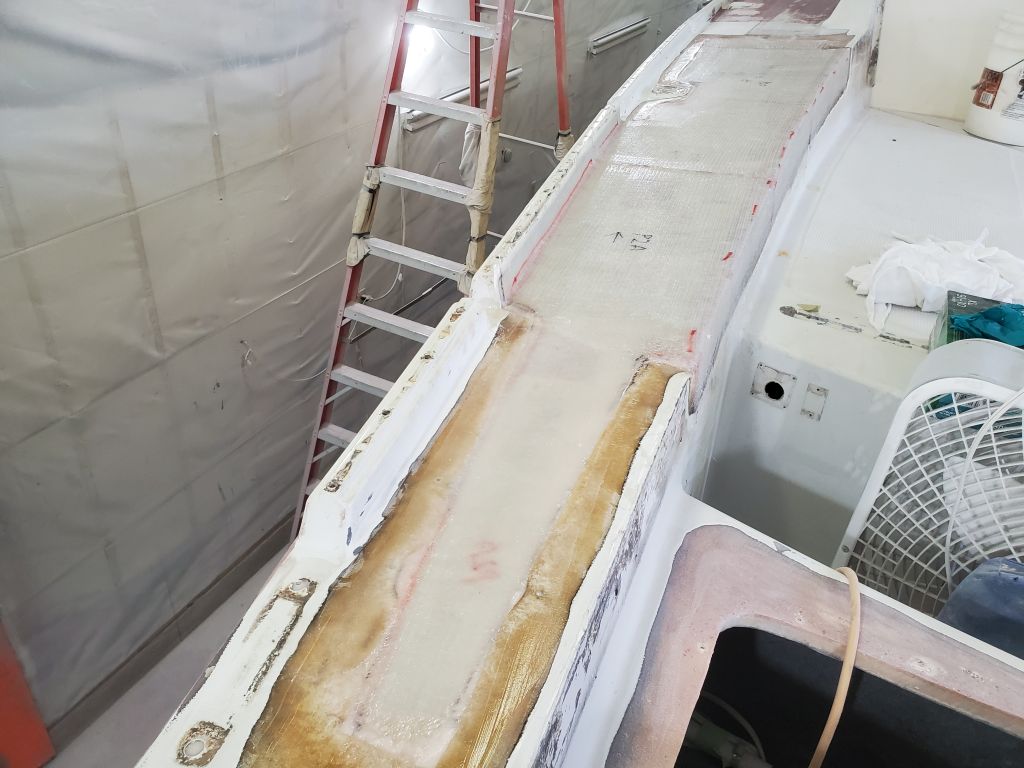
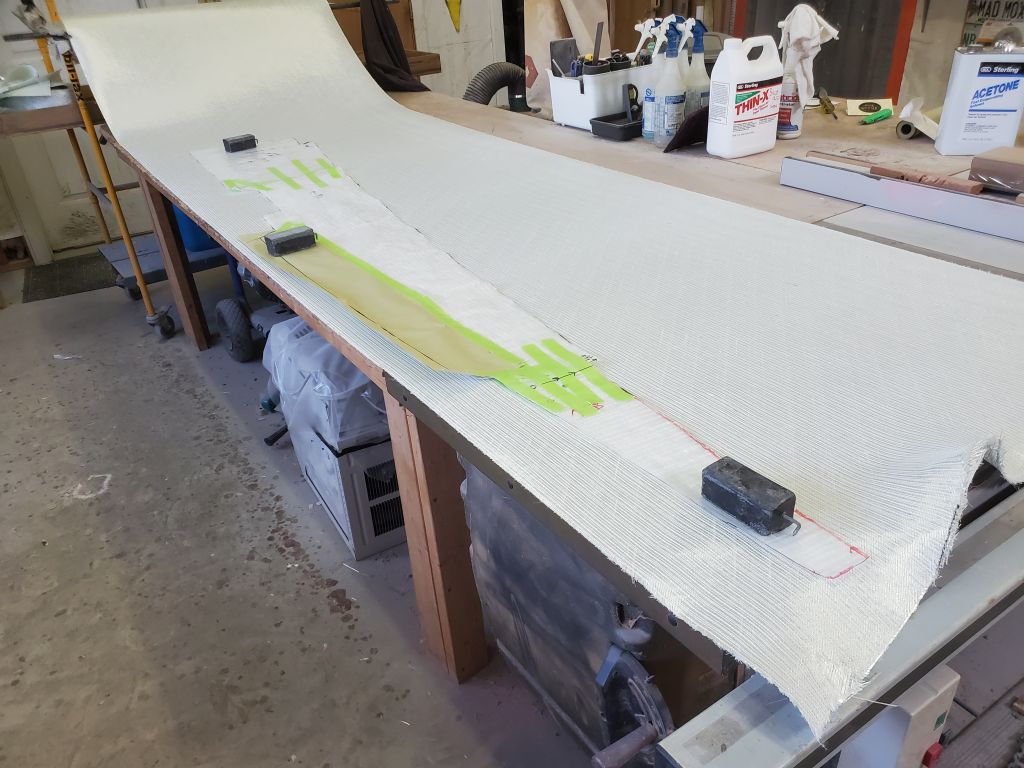
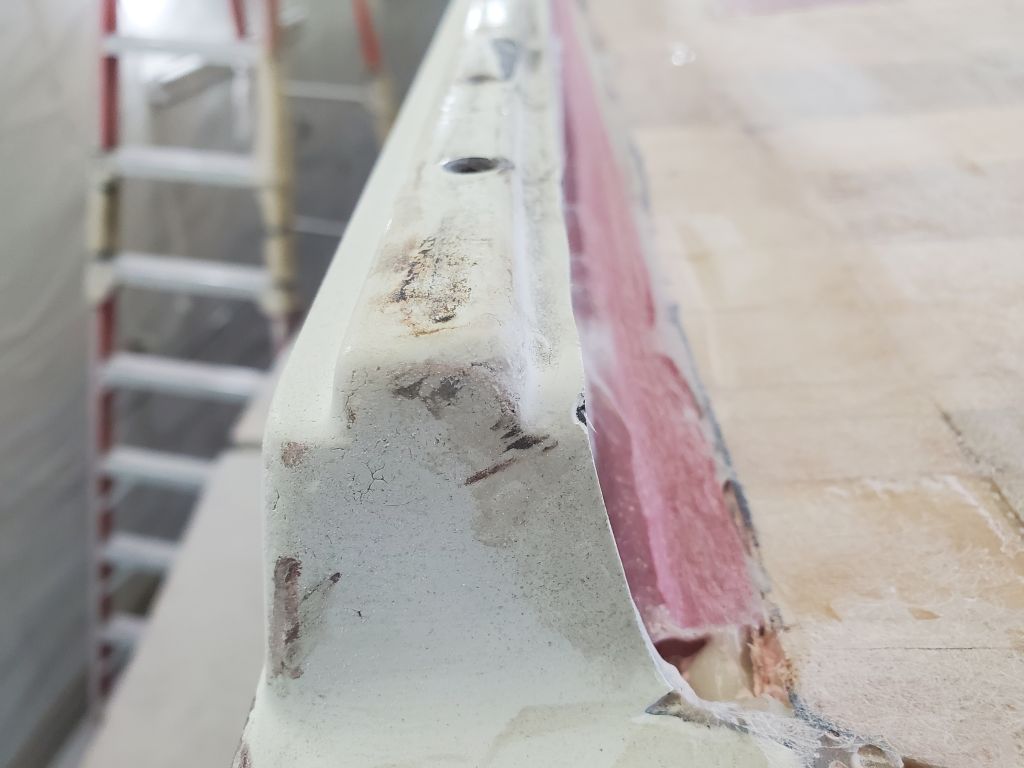
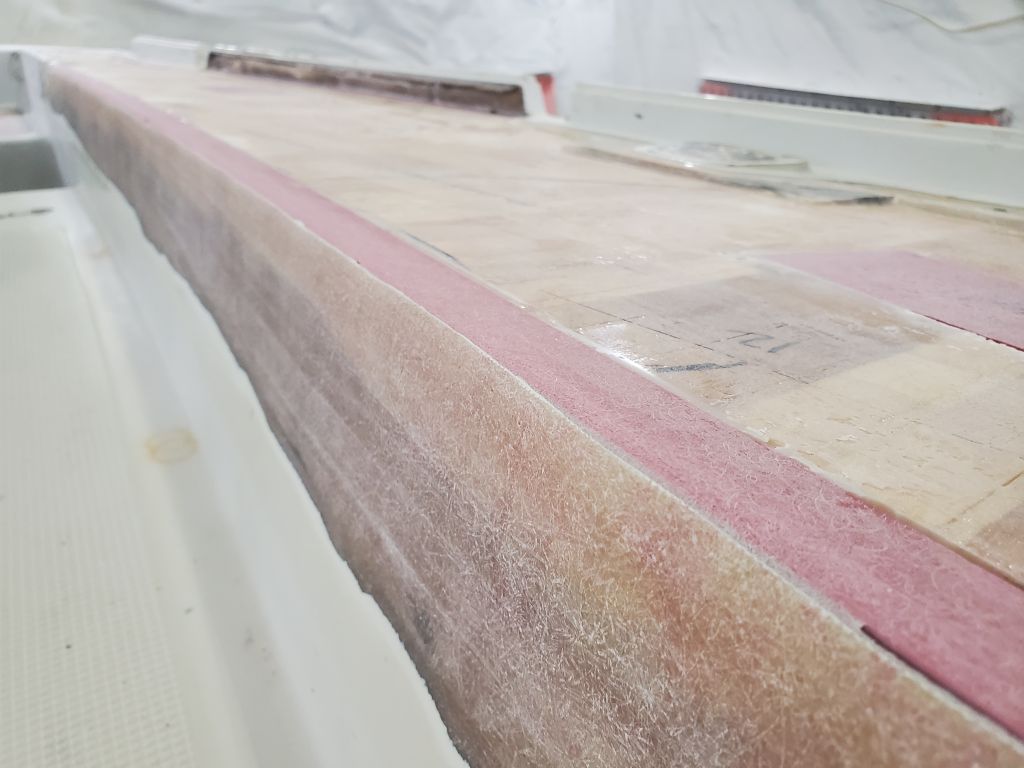
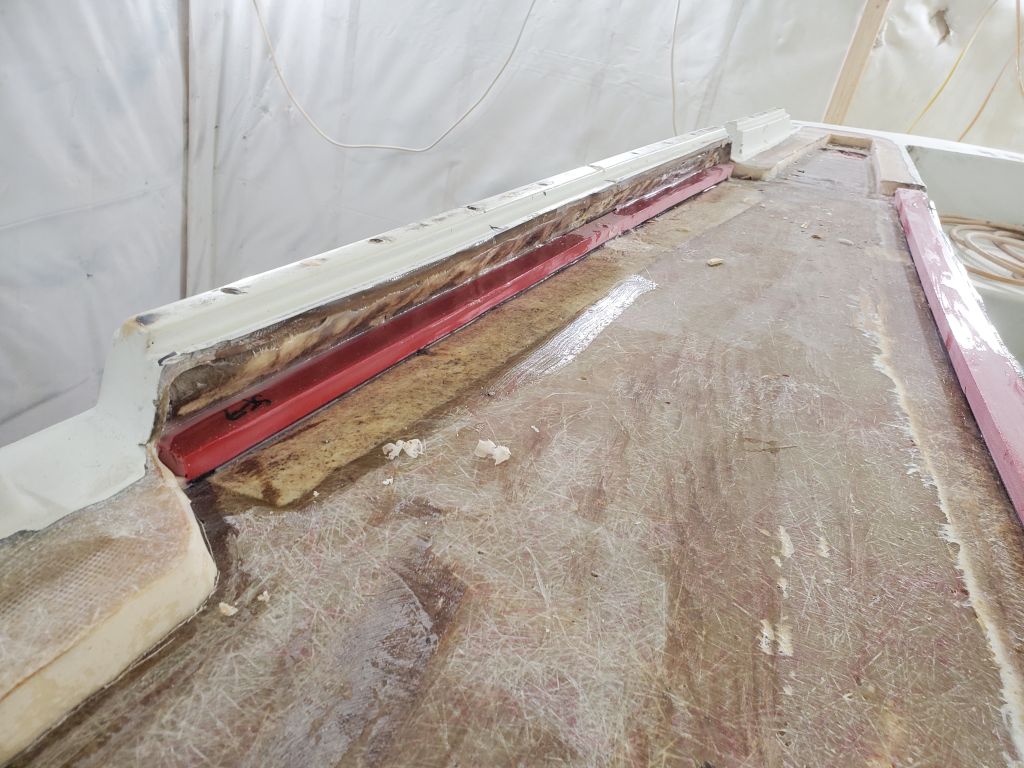
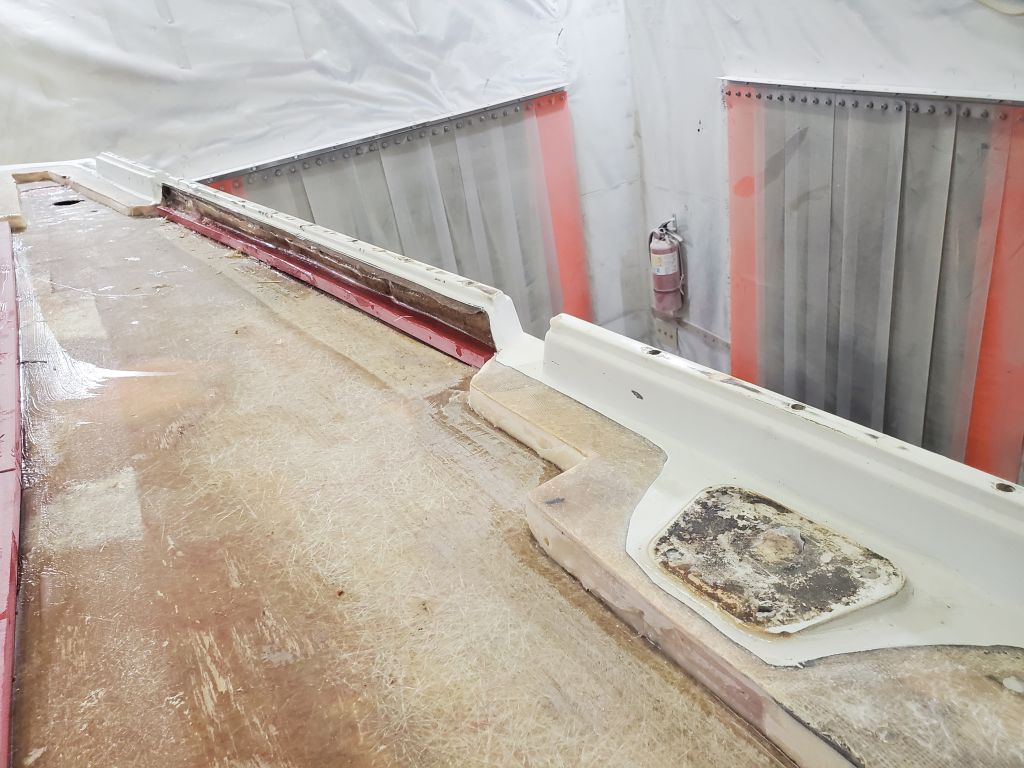
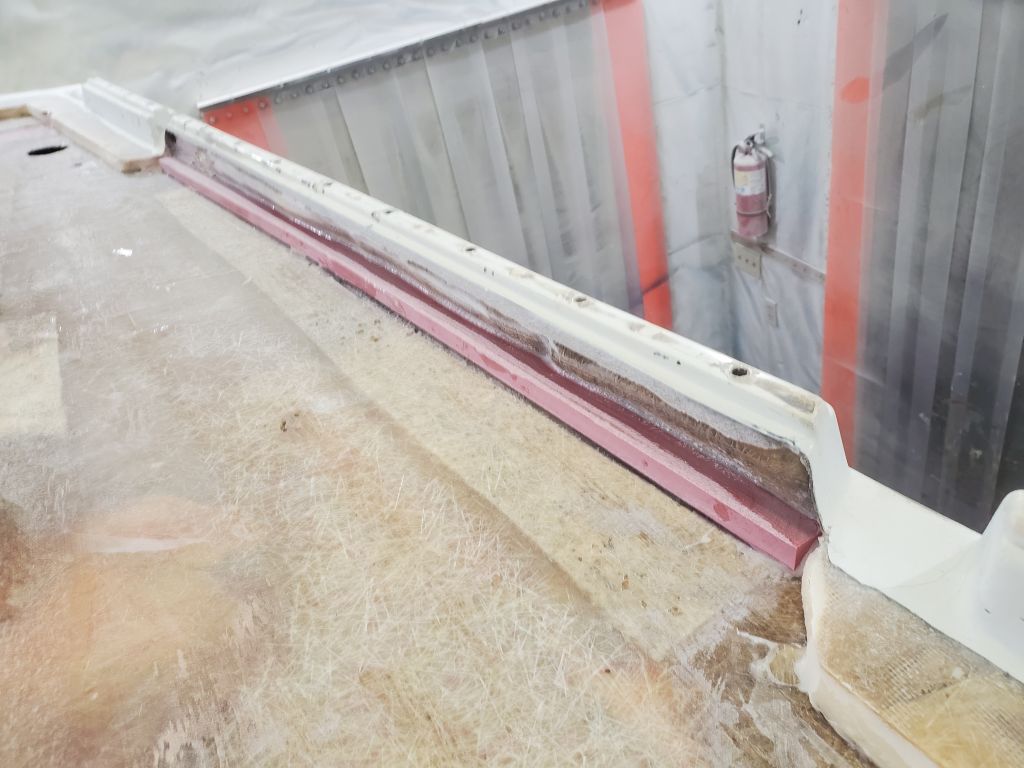
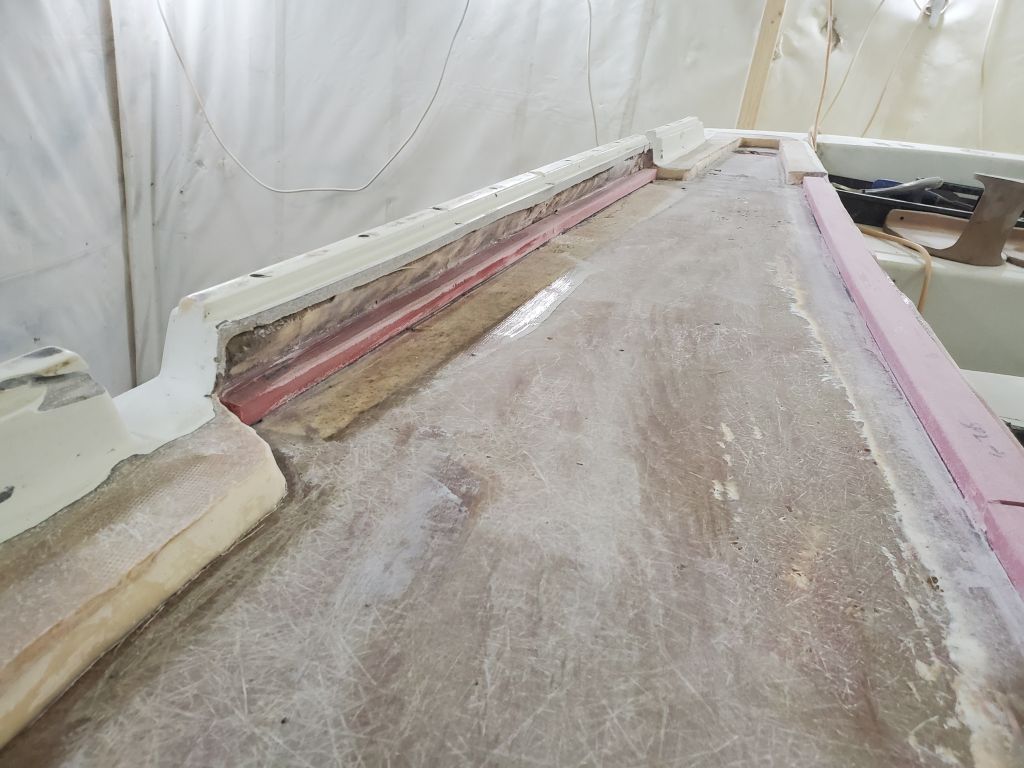
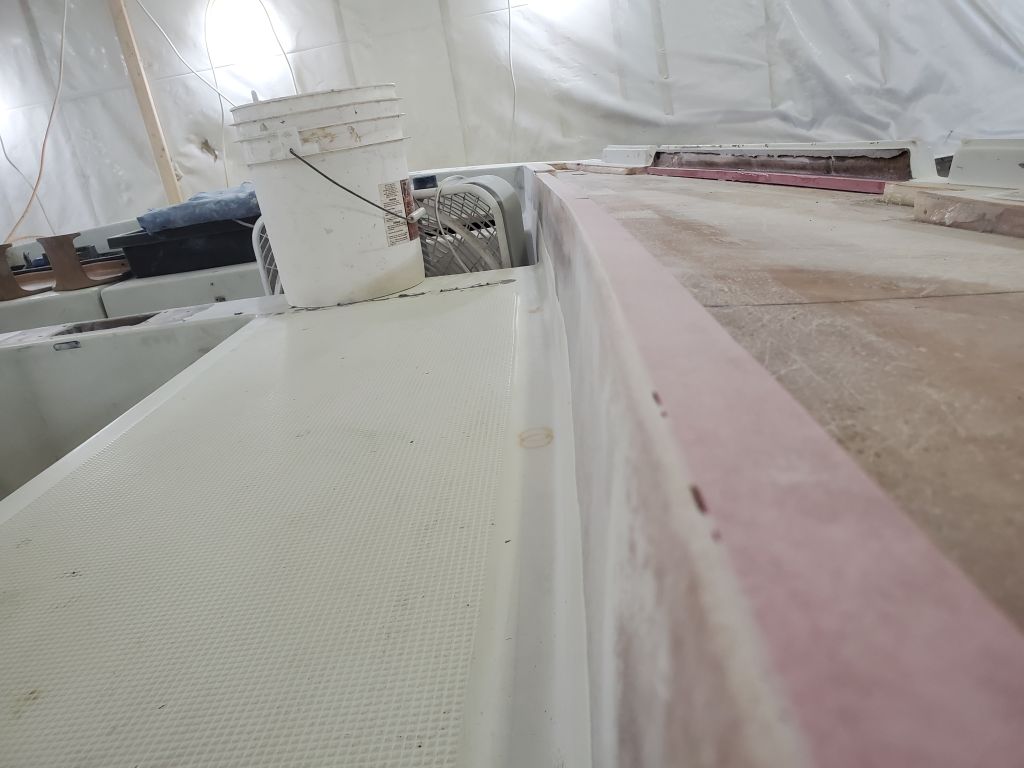
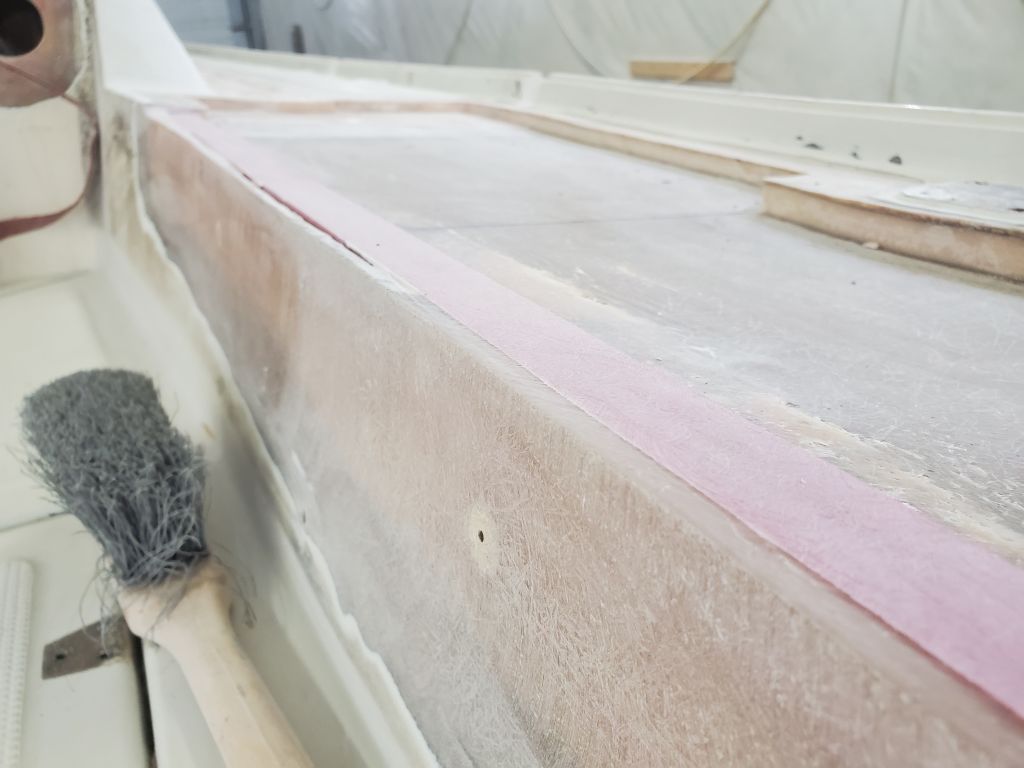
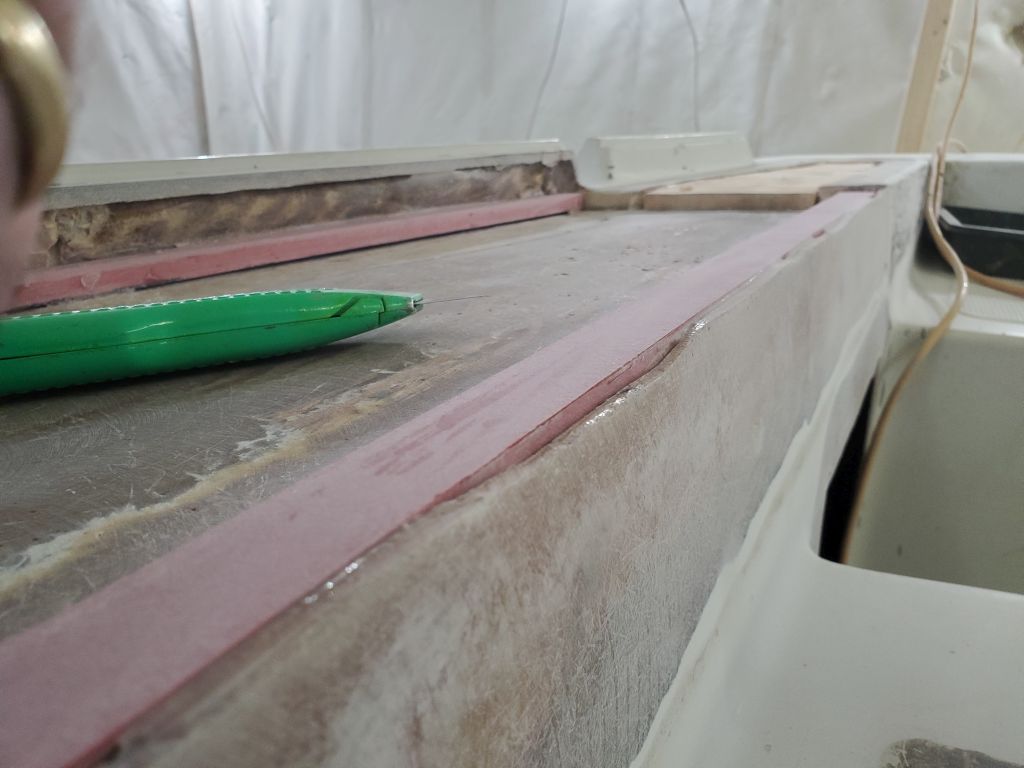
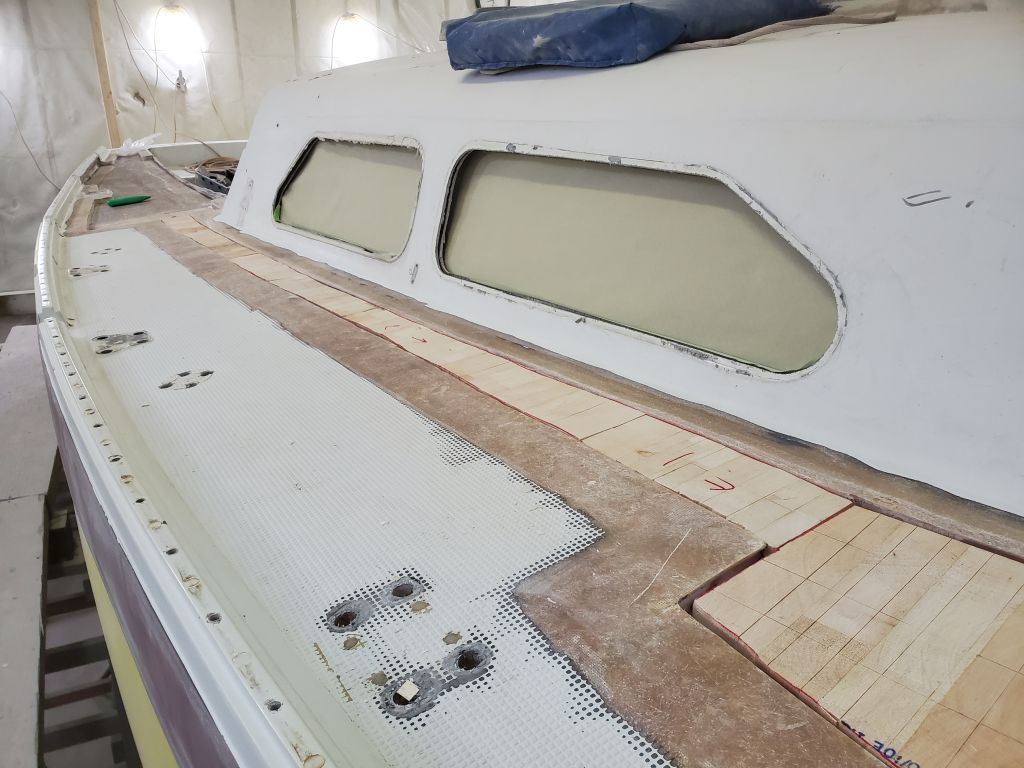
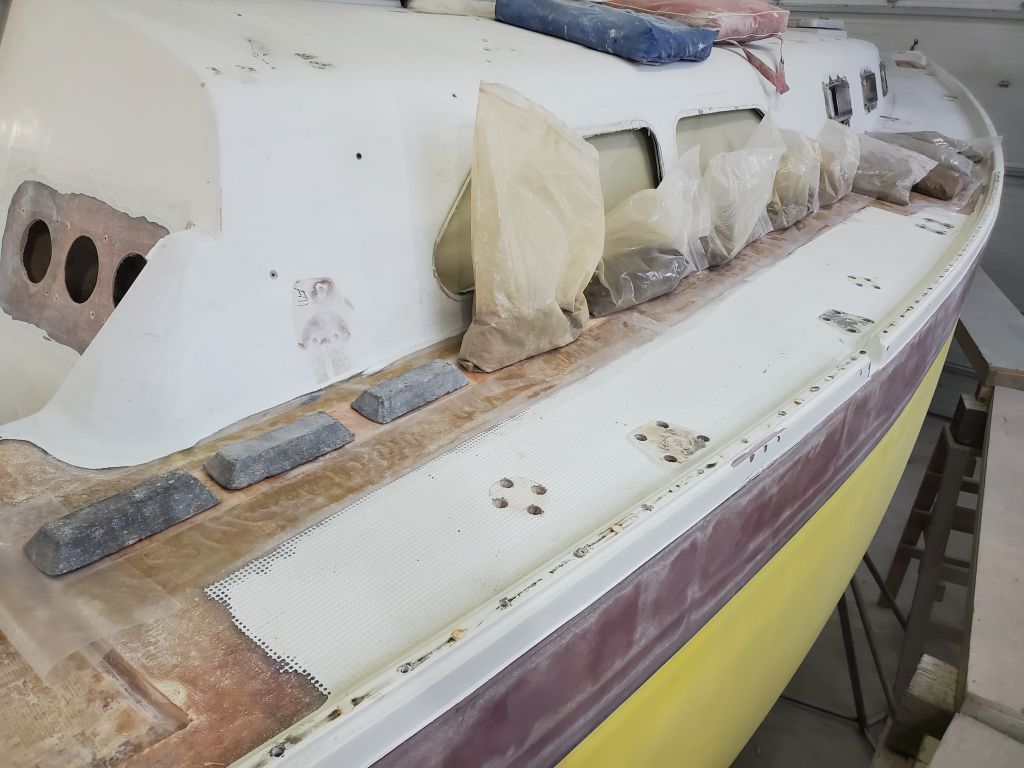
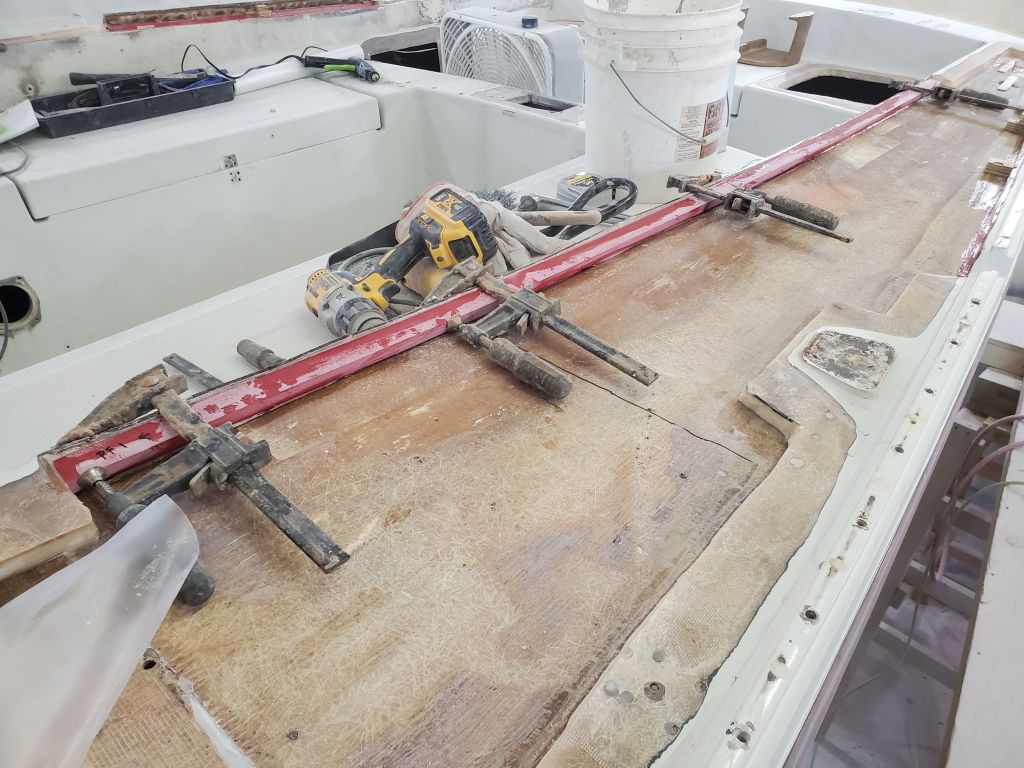
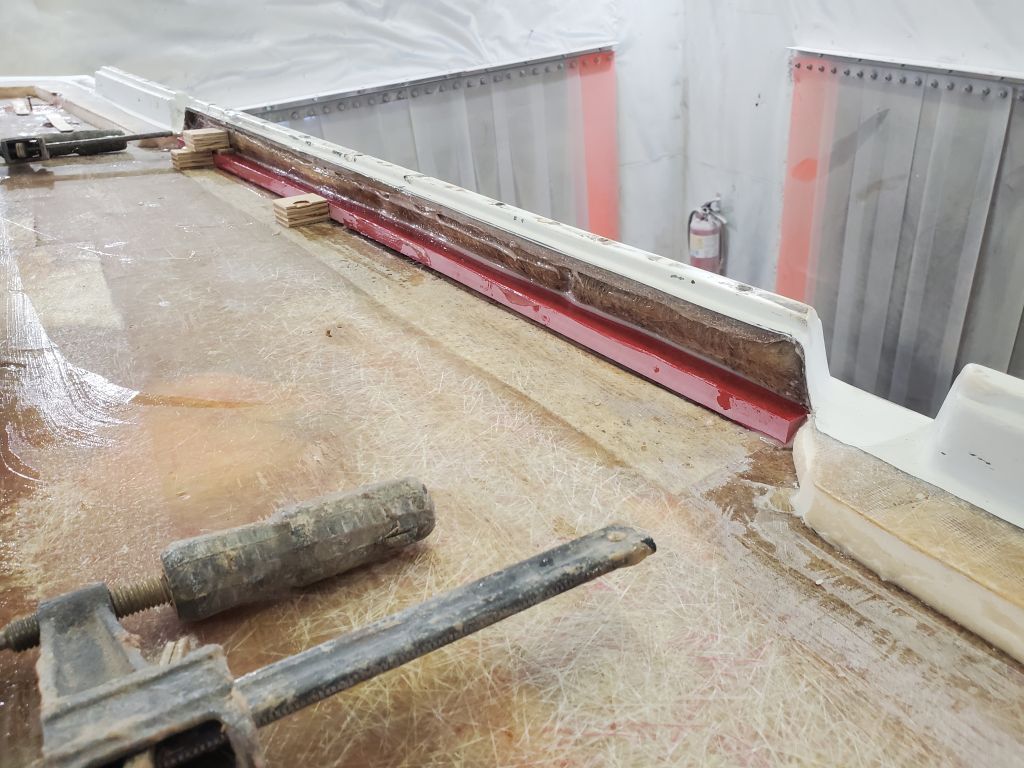
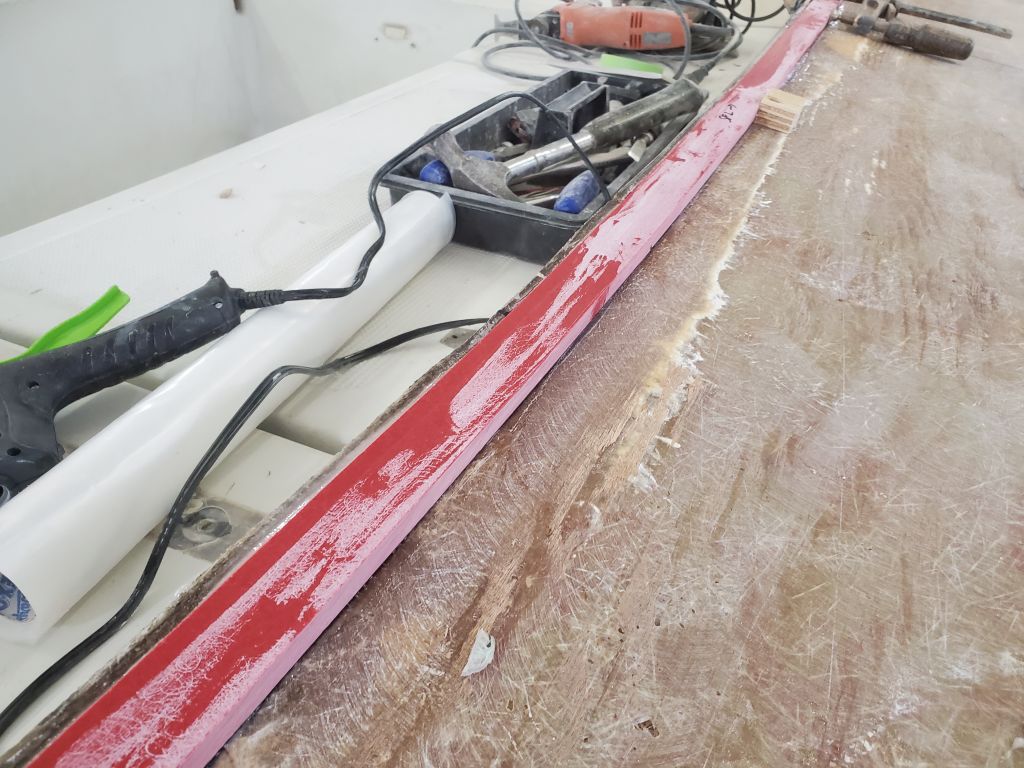
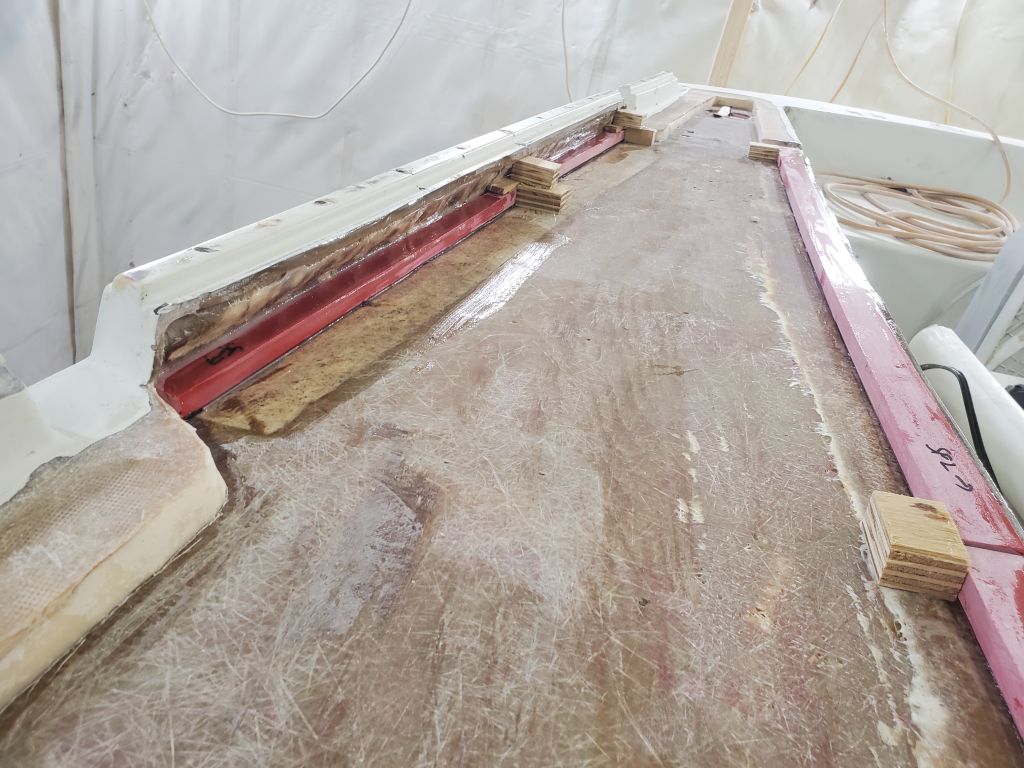
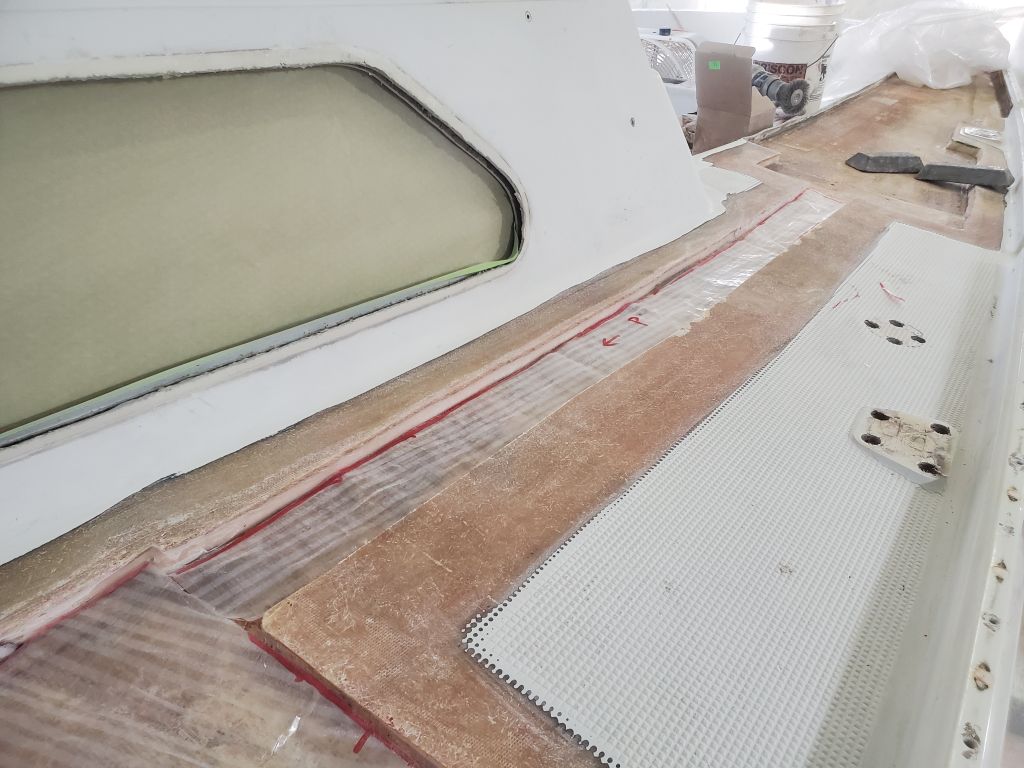
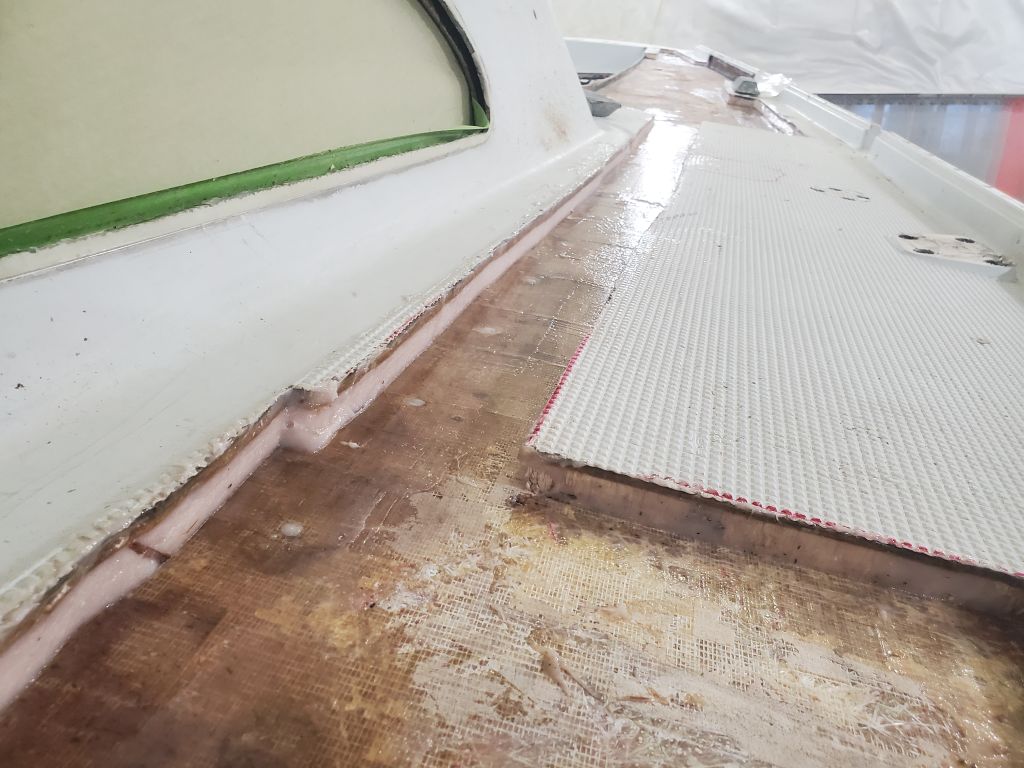
But for now, I set the core pieces aside and turned my attention to the fiberglass edges, which I wanted to epoxy in place before the end of the day. Along the inboard edges, I could use clamps to secure the fiberglass in its epoxy bedding, though the clamps only worked in the orientation shown. Along the outer edge, beneath the toerail, clamps didn’t work–I’d thought they would–so I hurried to come up with some hot glue blocks and wedges as needed to hold the fiberglass into the curvature as required, and to hold it flat when it wanted to twist up at the inner edge near the after end. I left this arrangement to cure overnight.