< Back to Rhodes 18
Tuesday
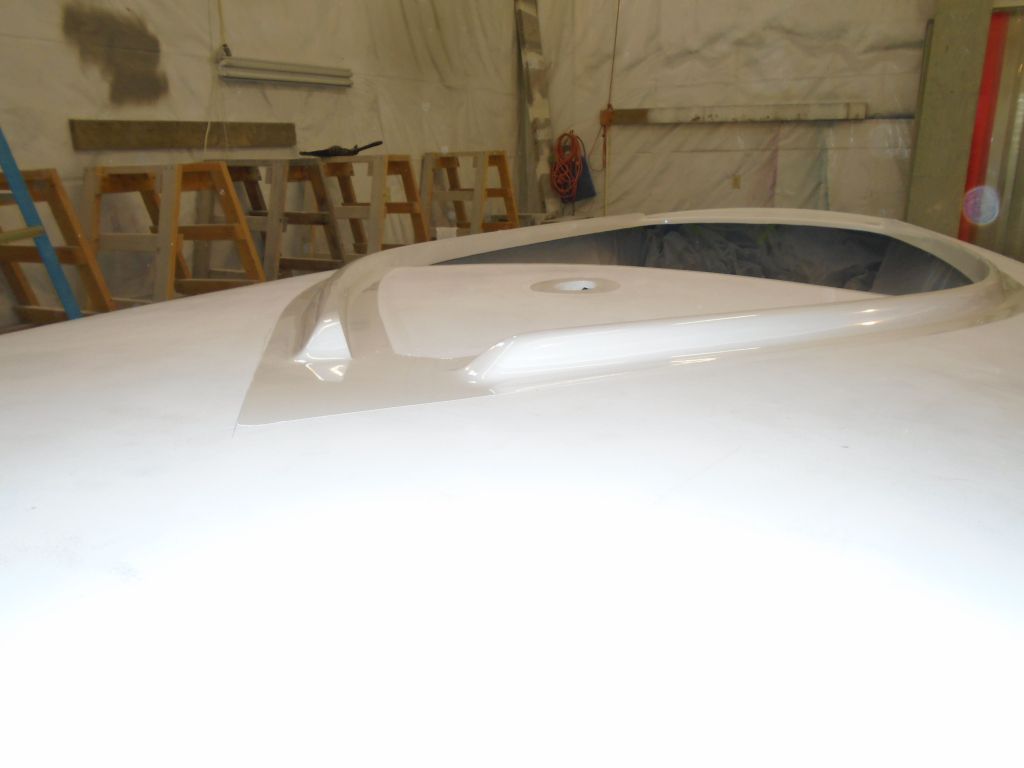
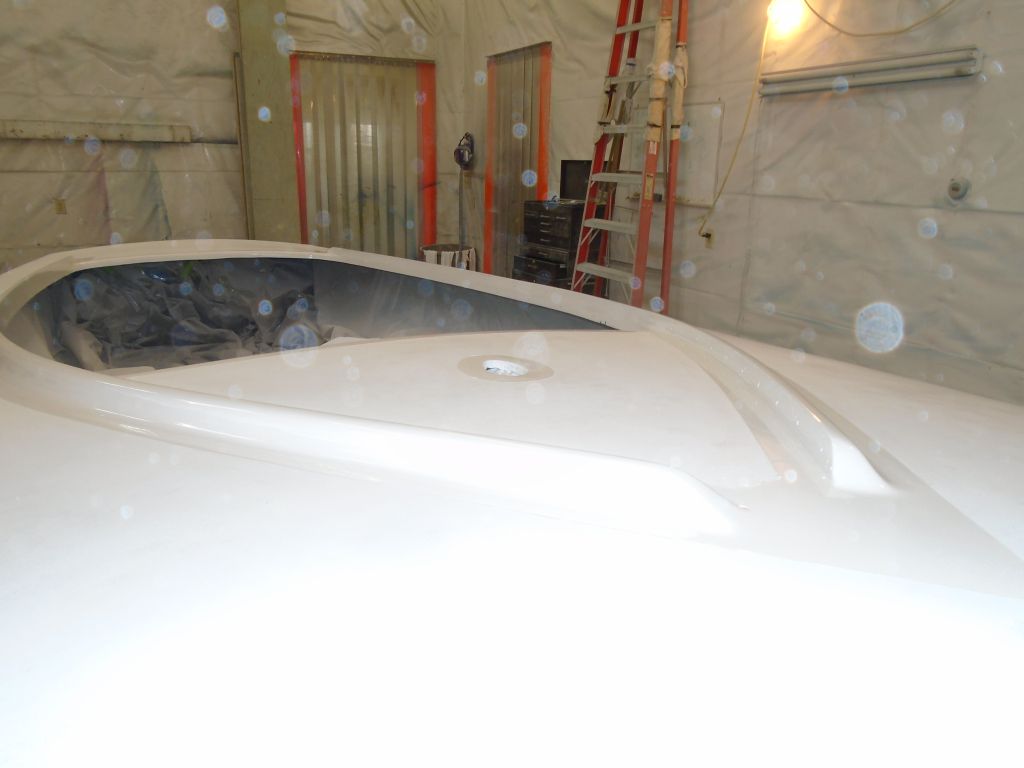
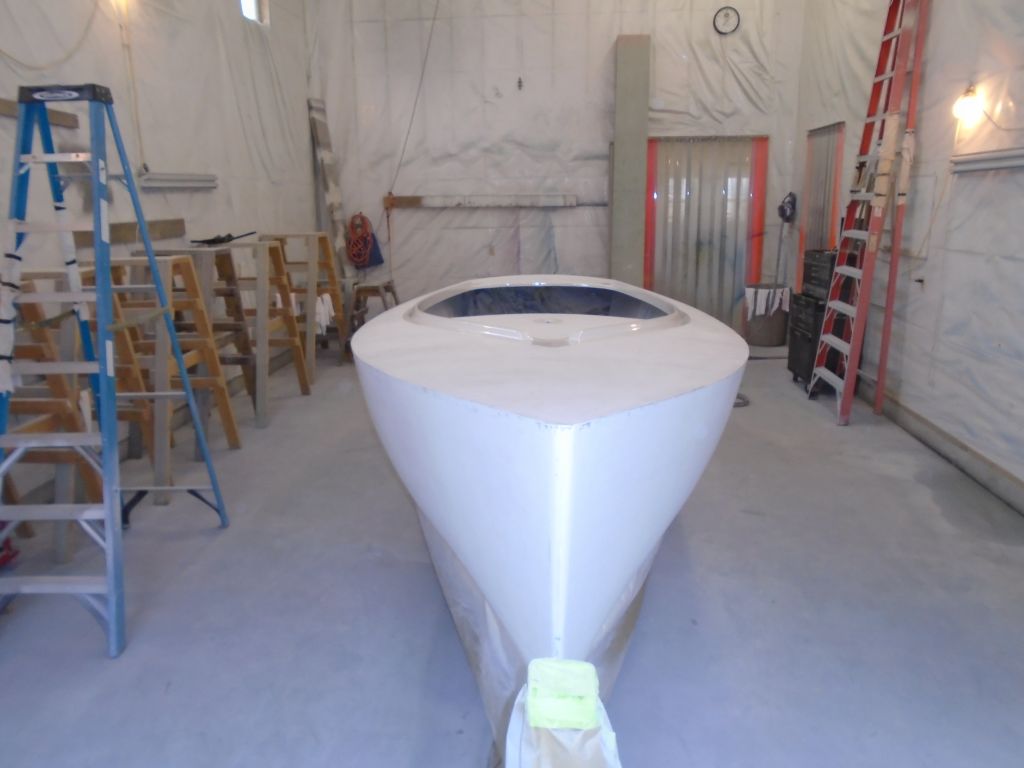
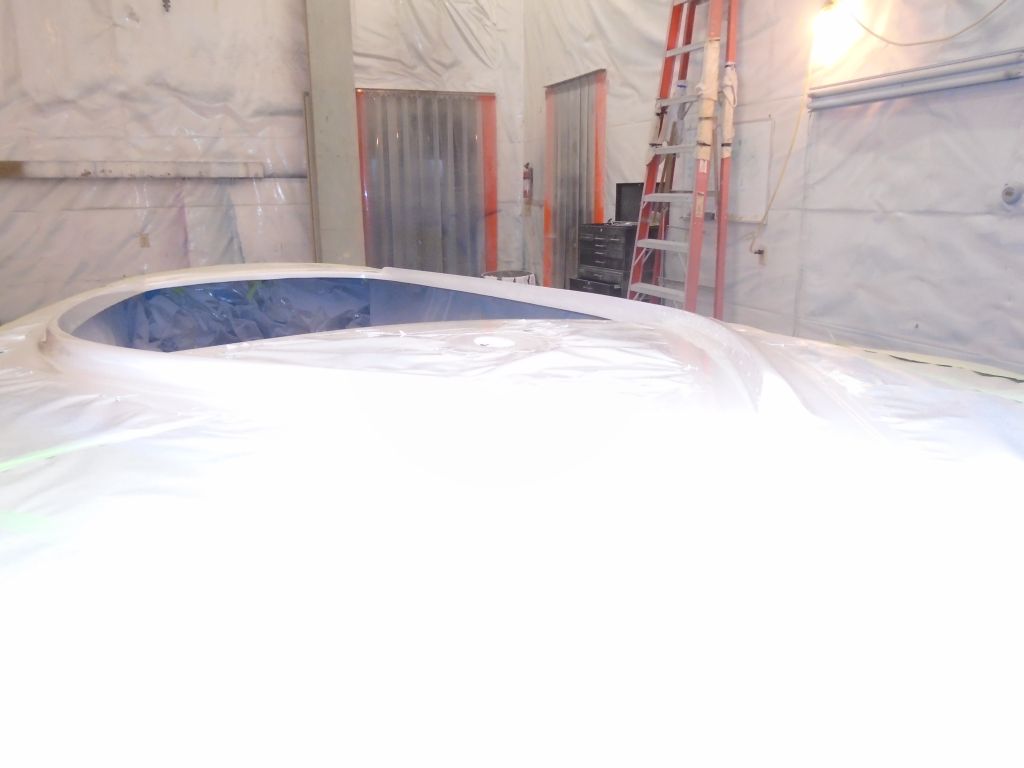
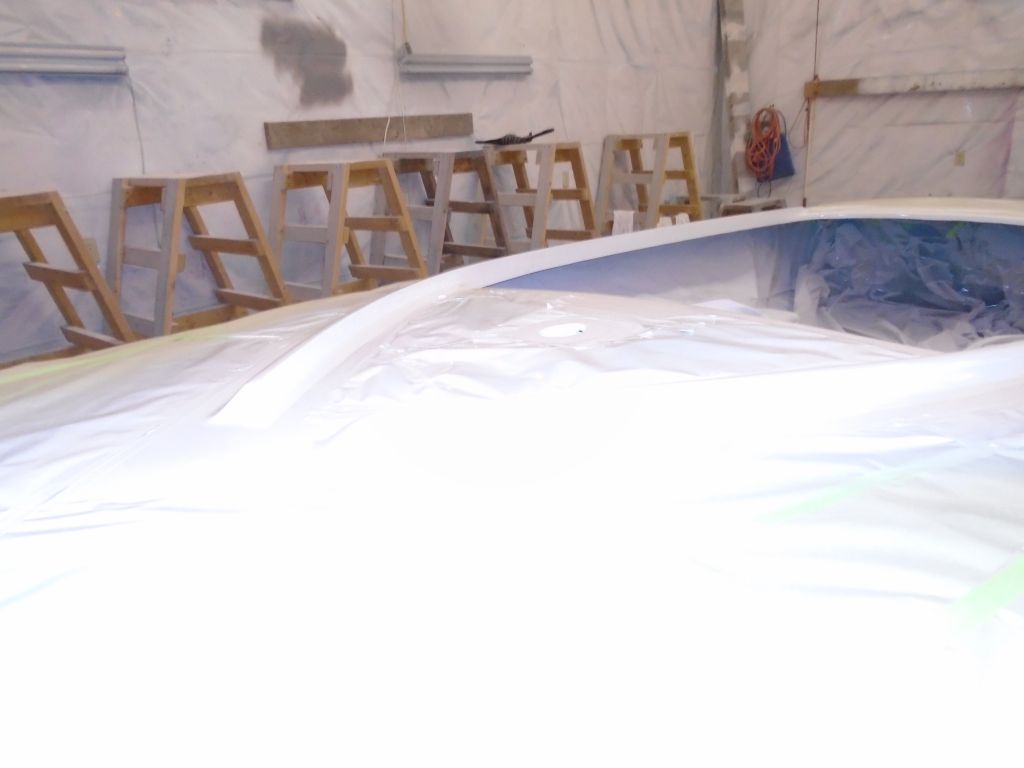
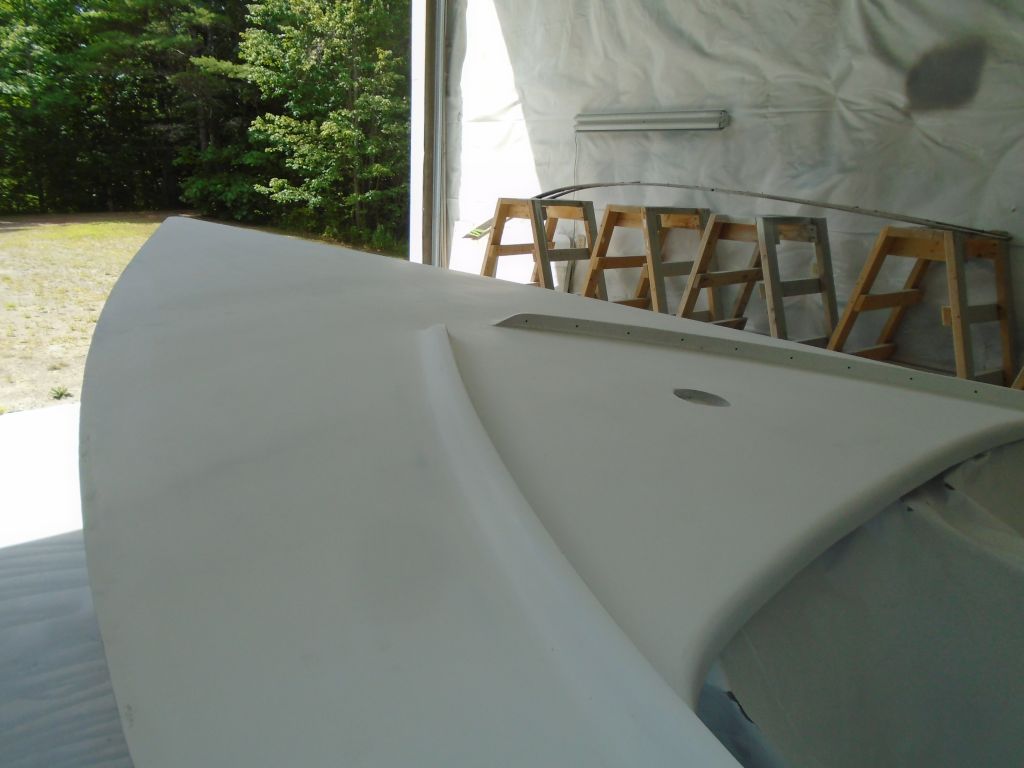
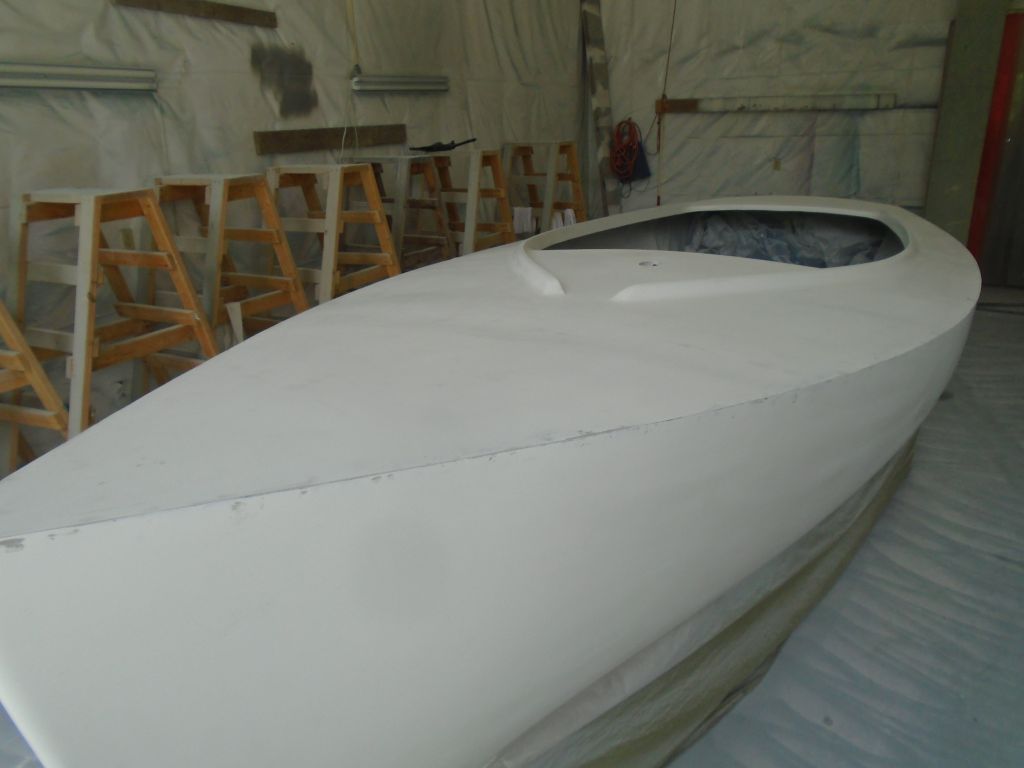
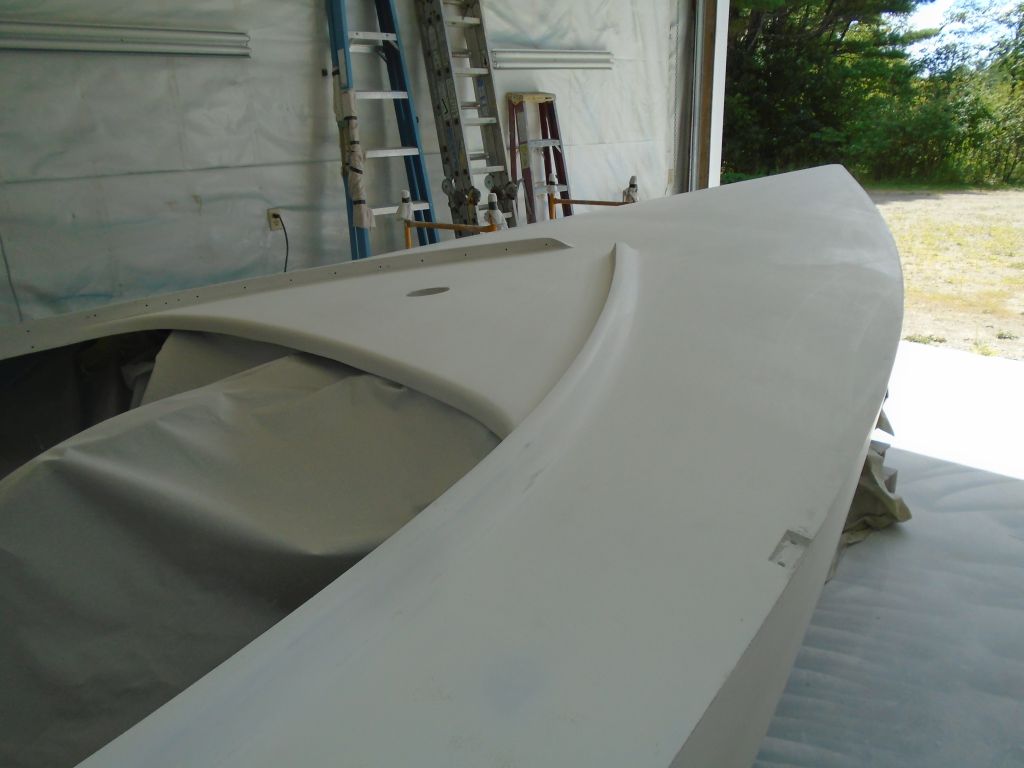
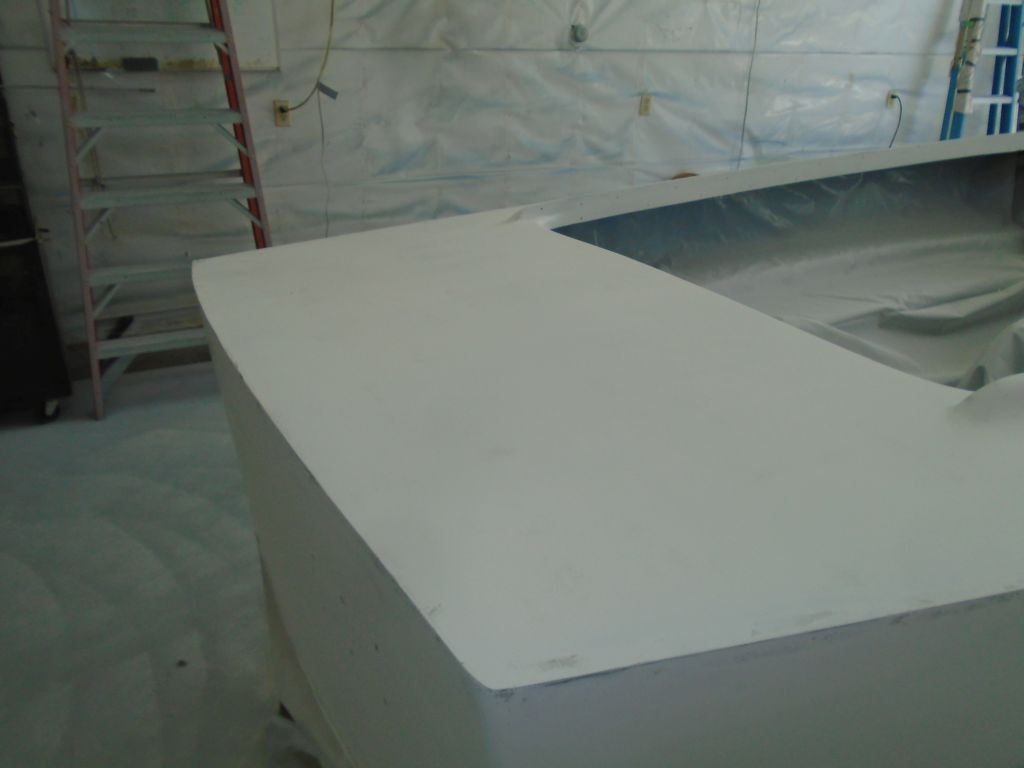
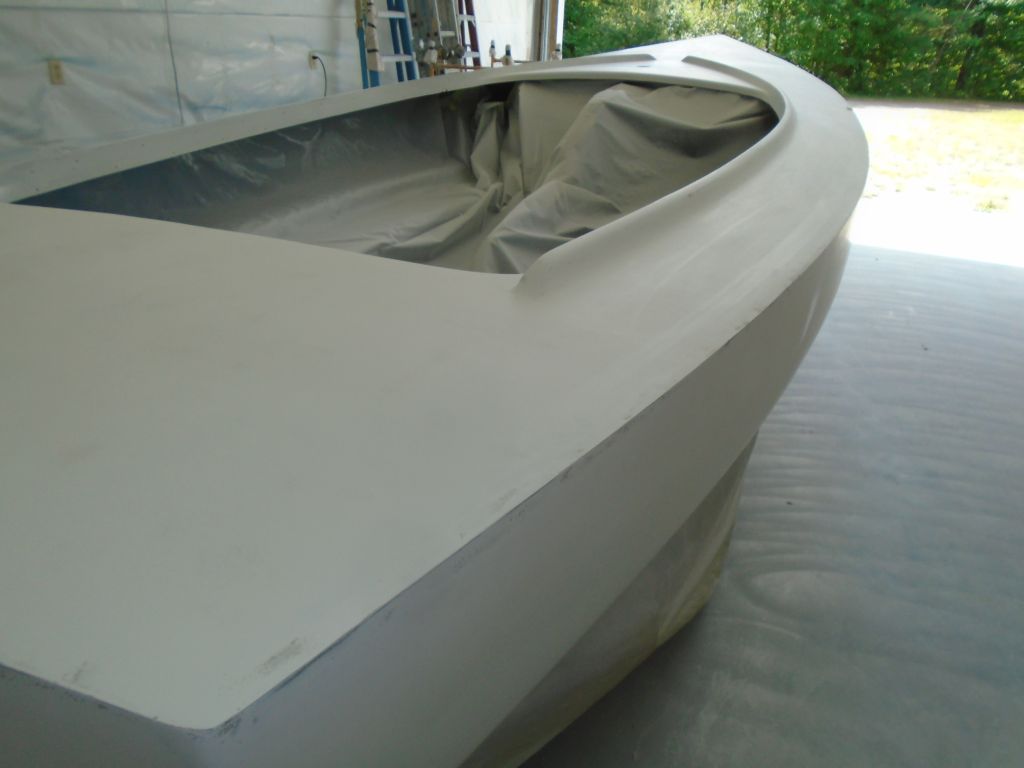
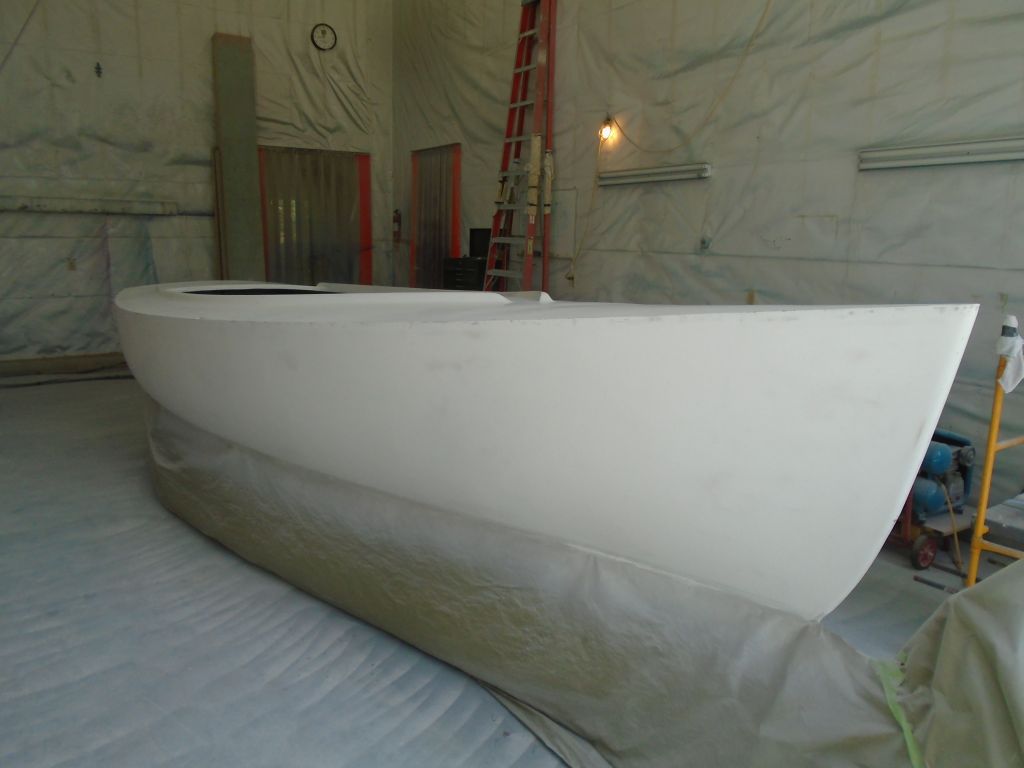
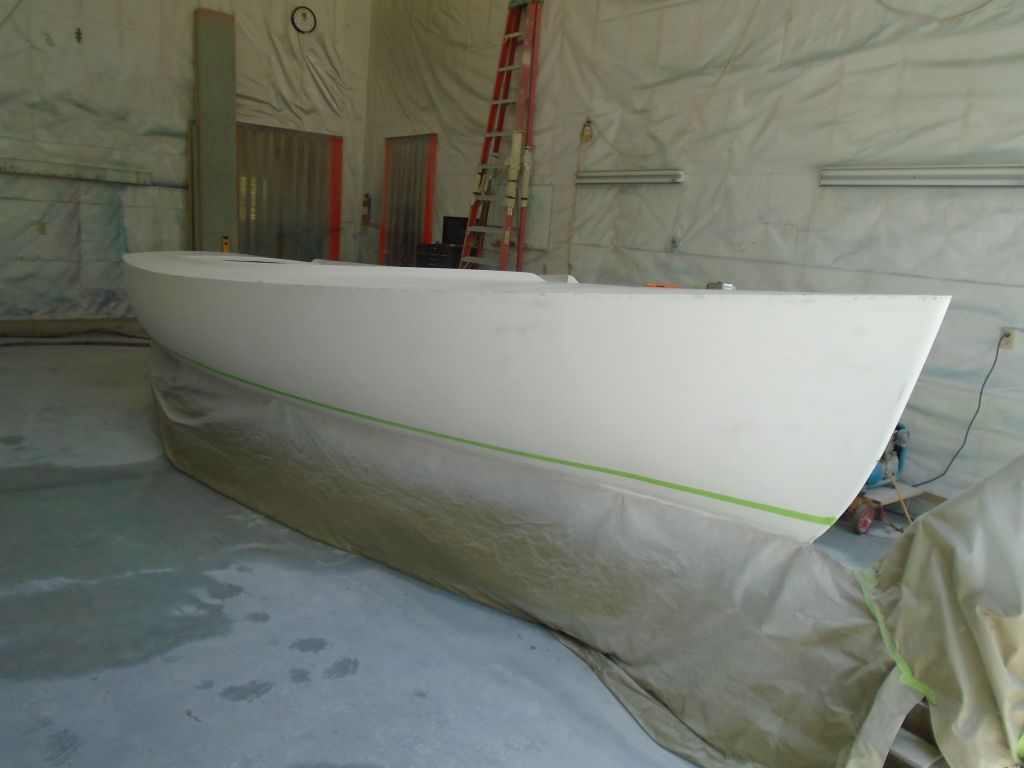
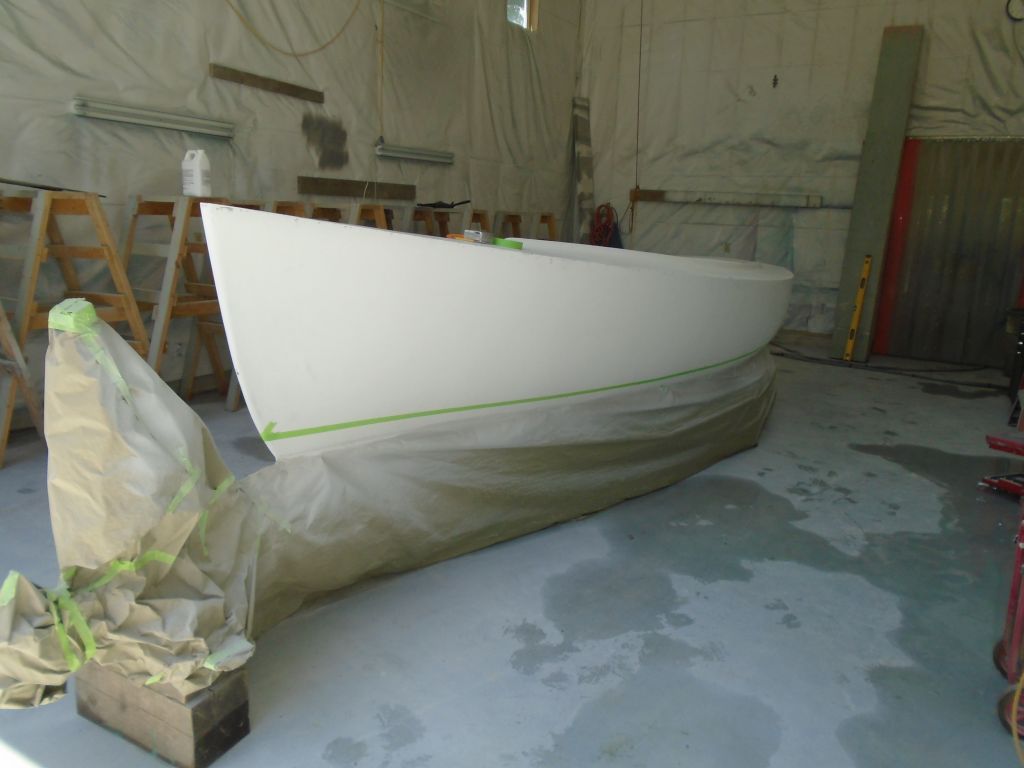
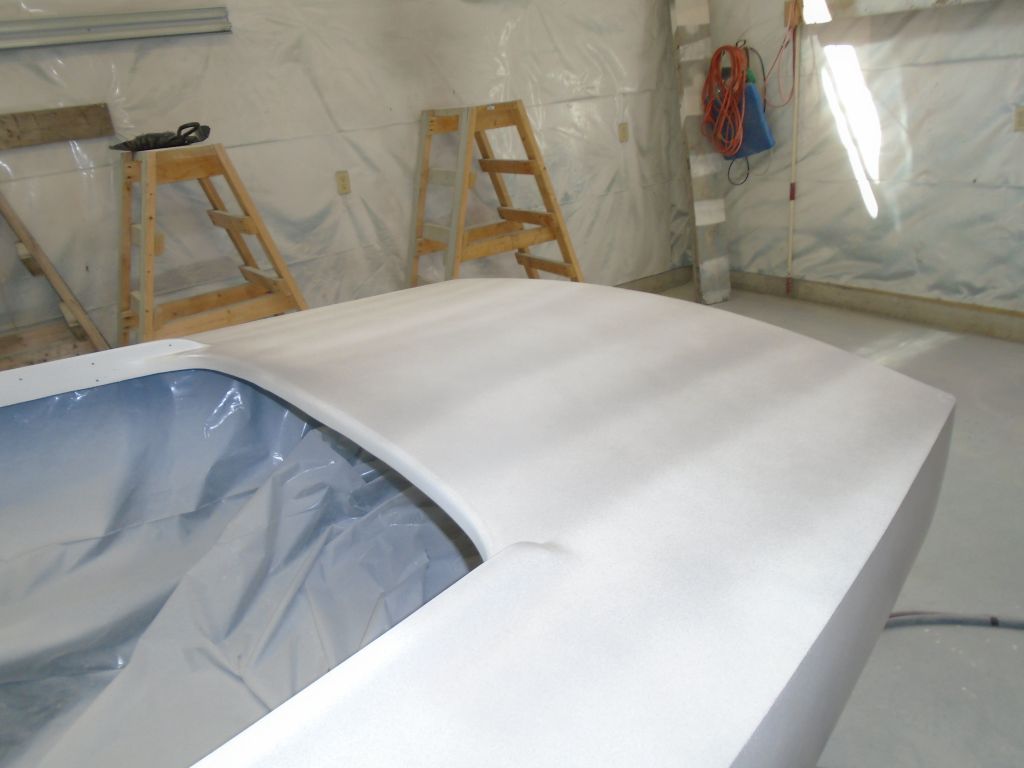
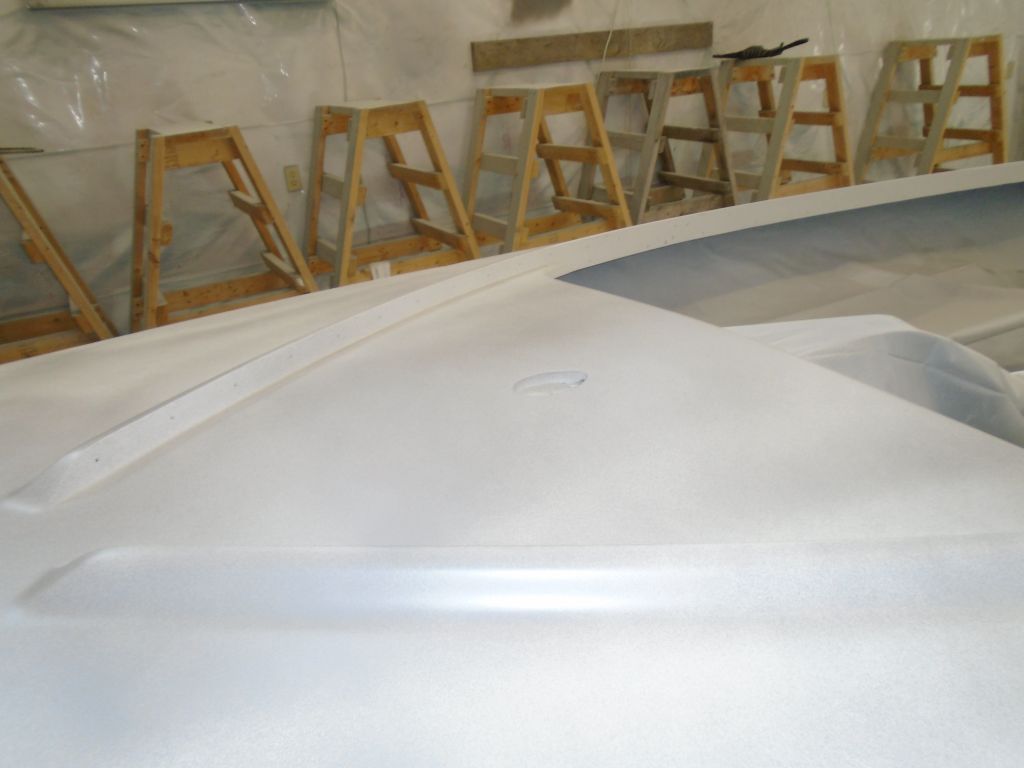
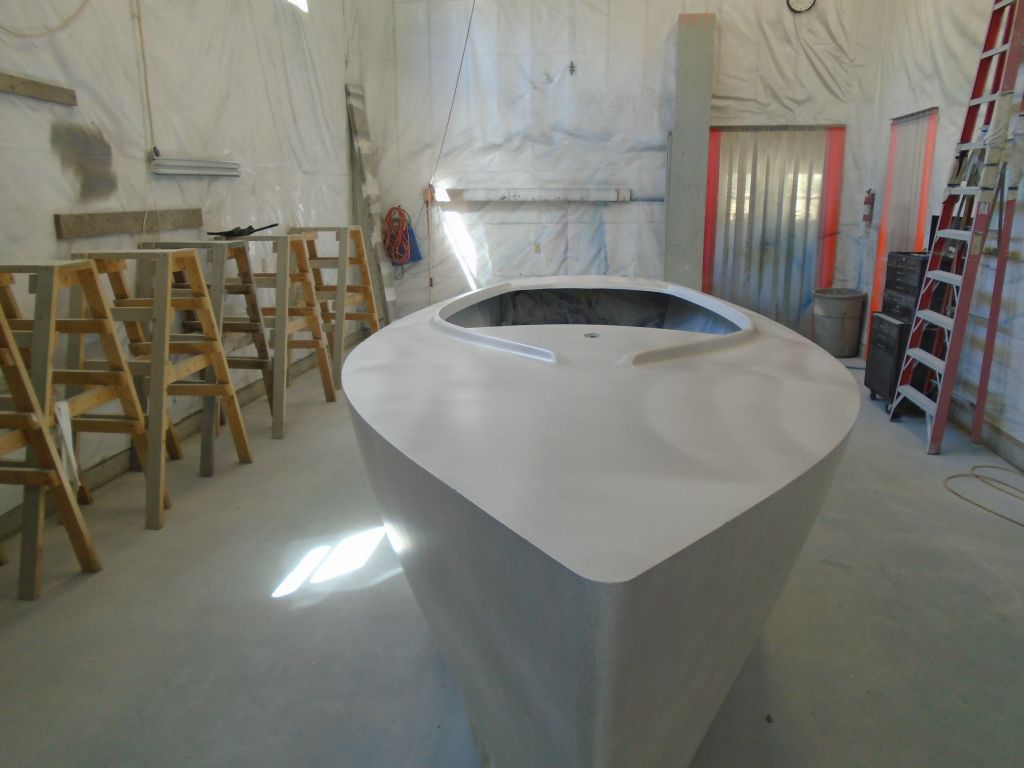
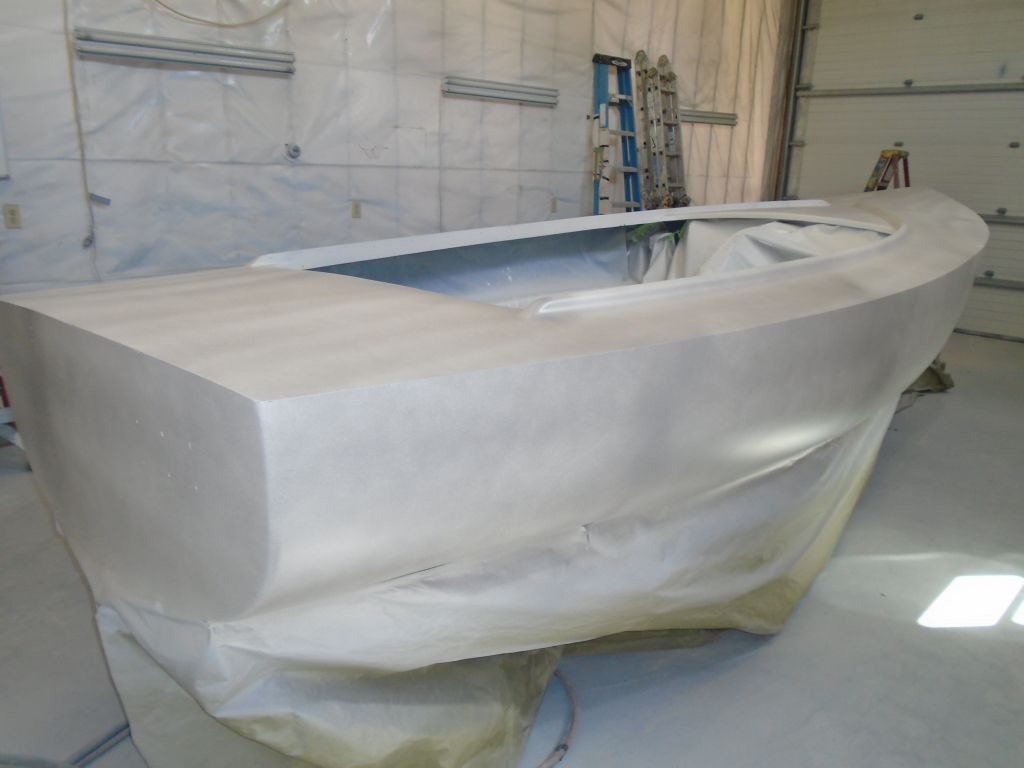
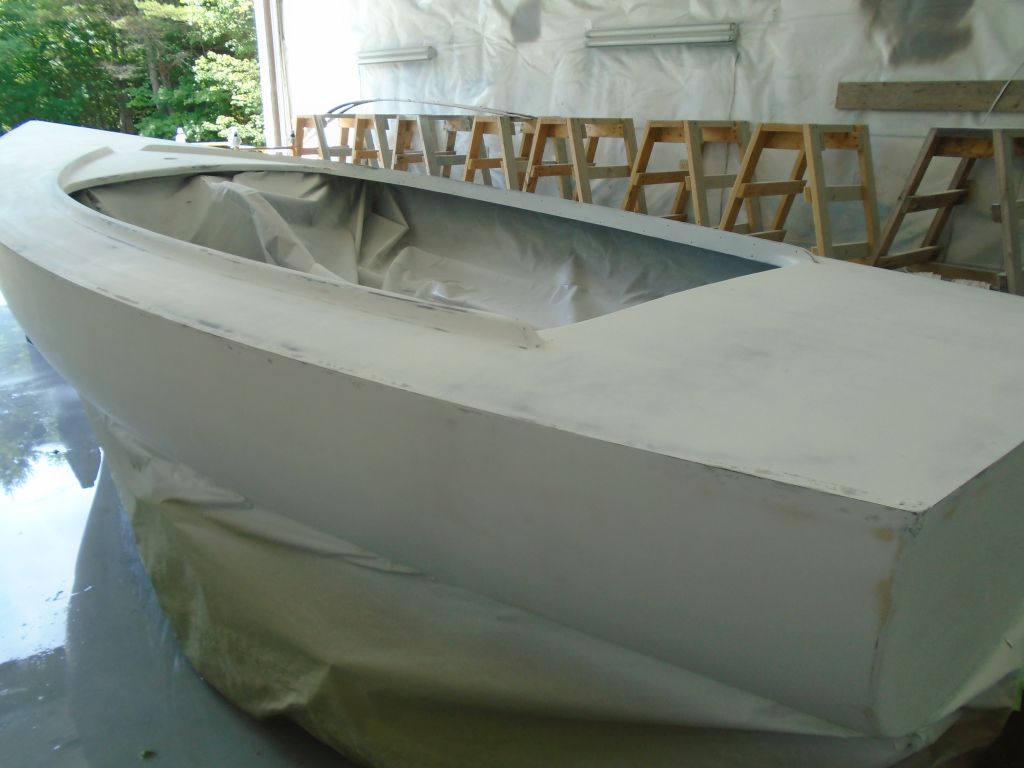
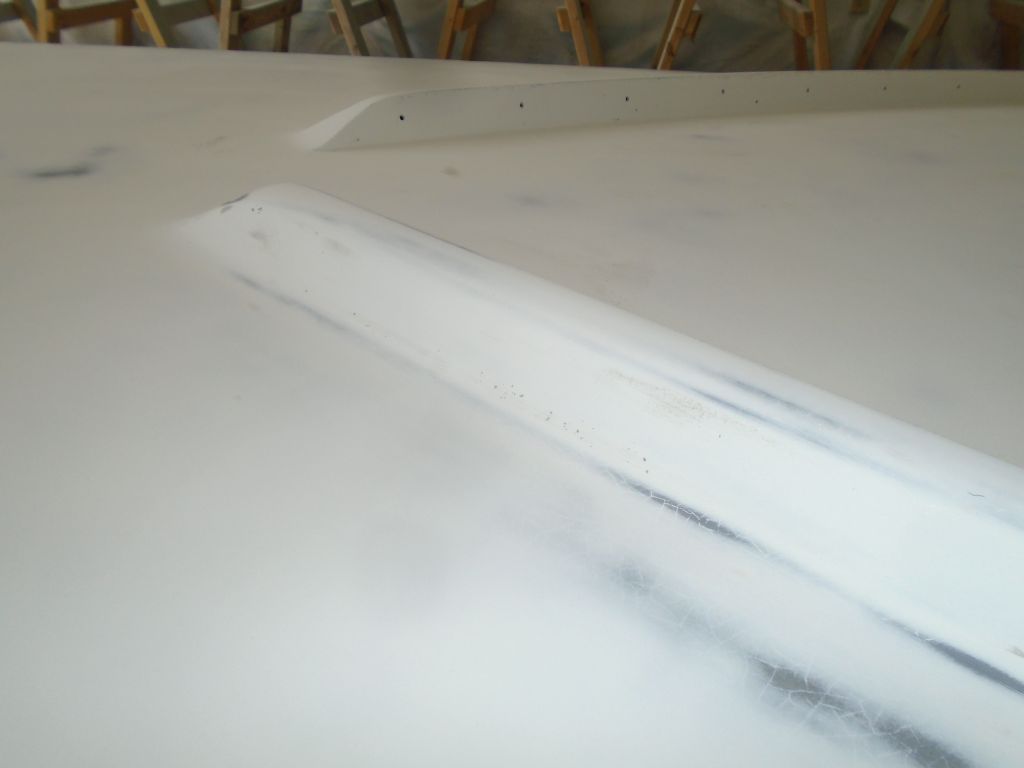
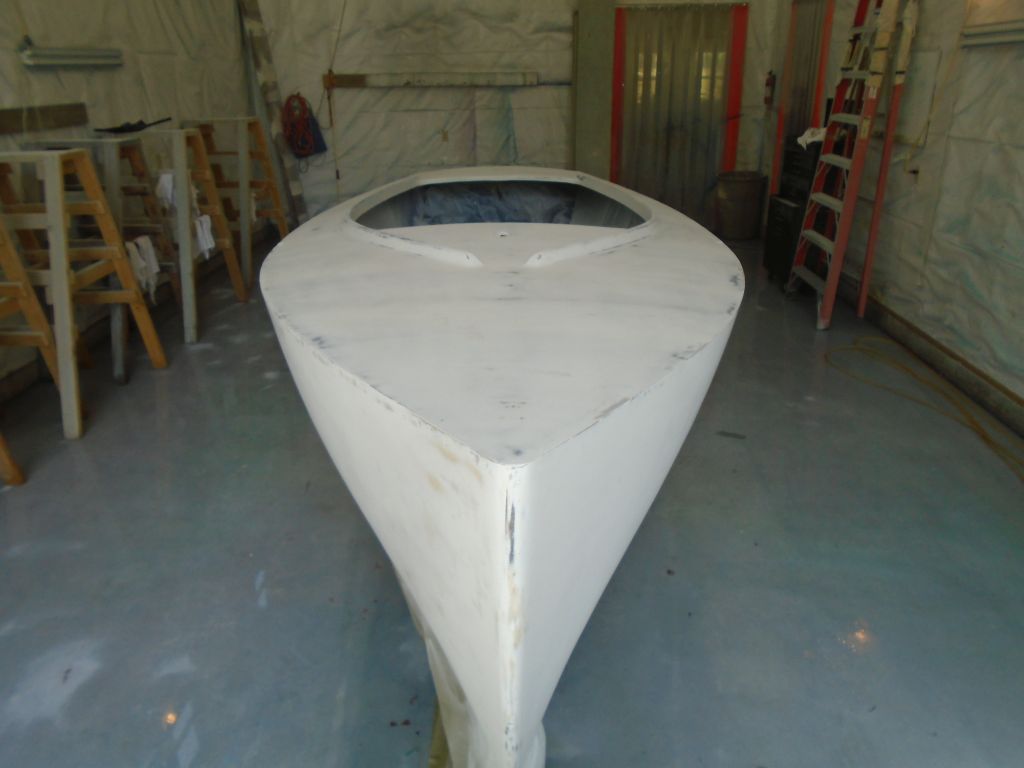
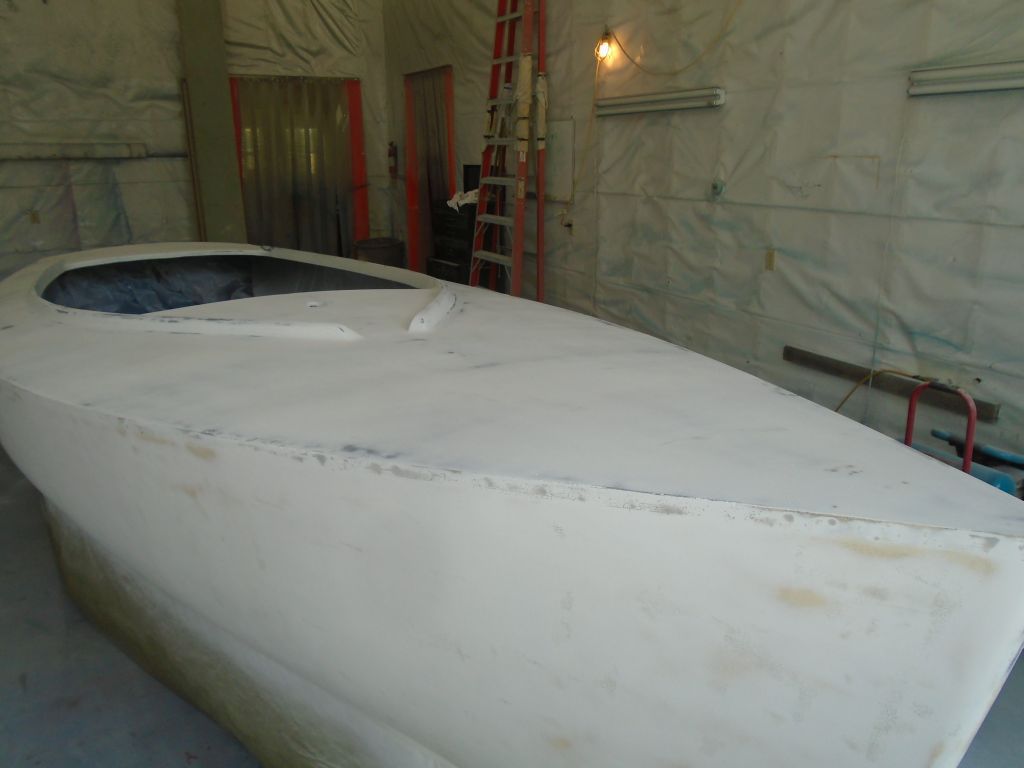
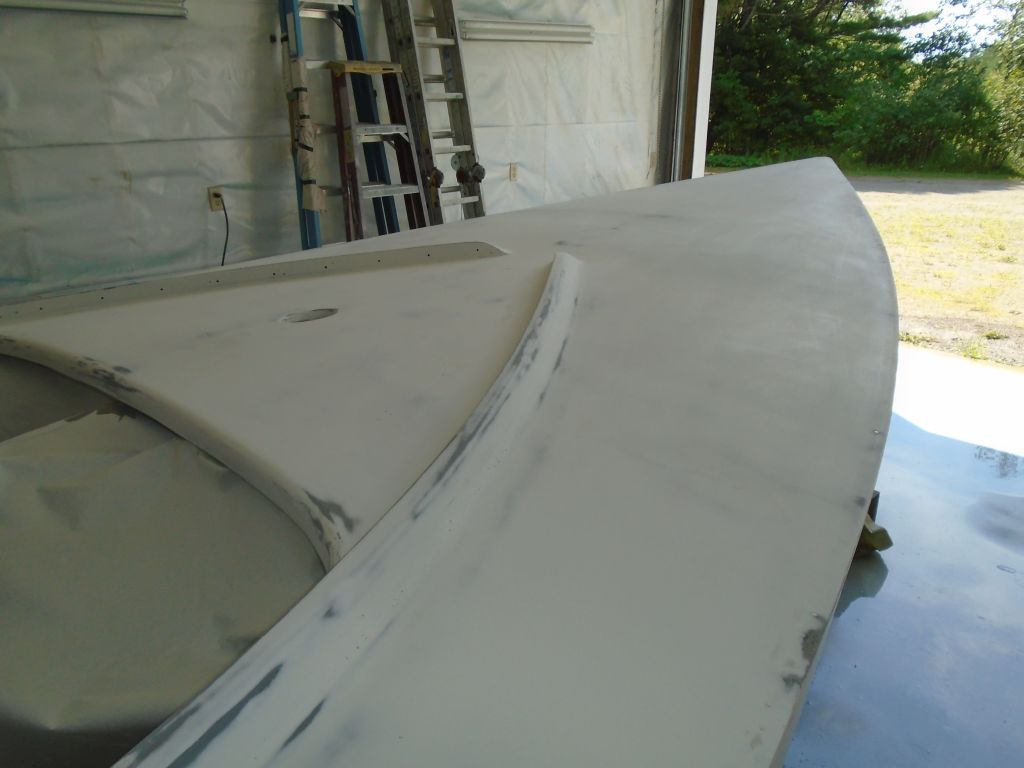
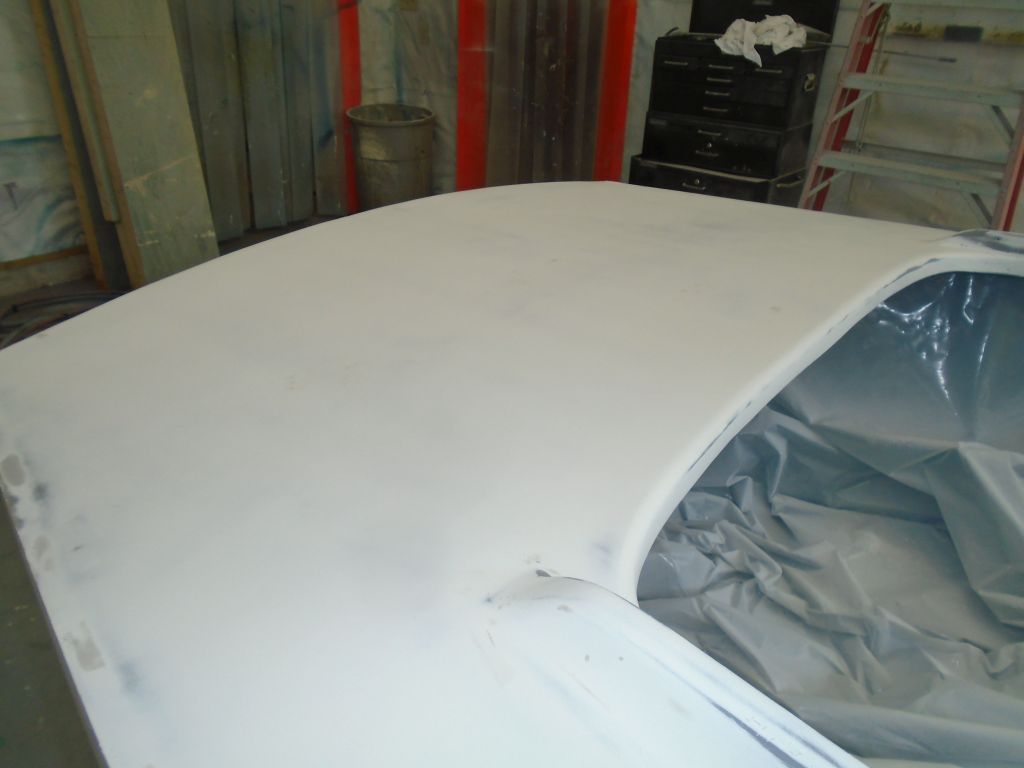
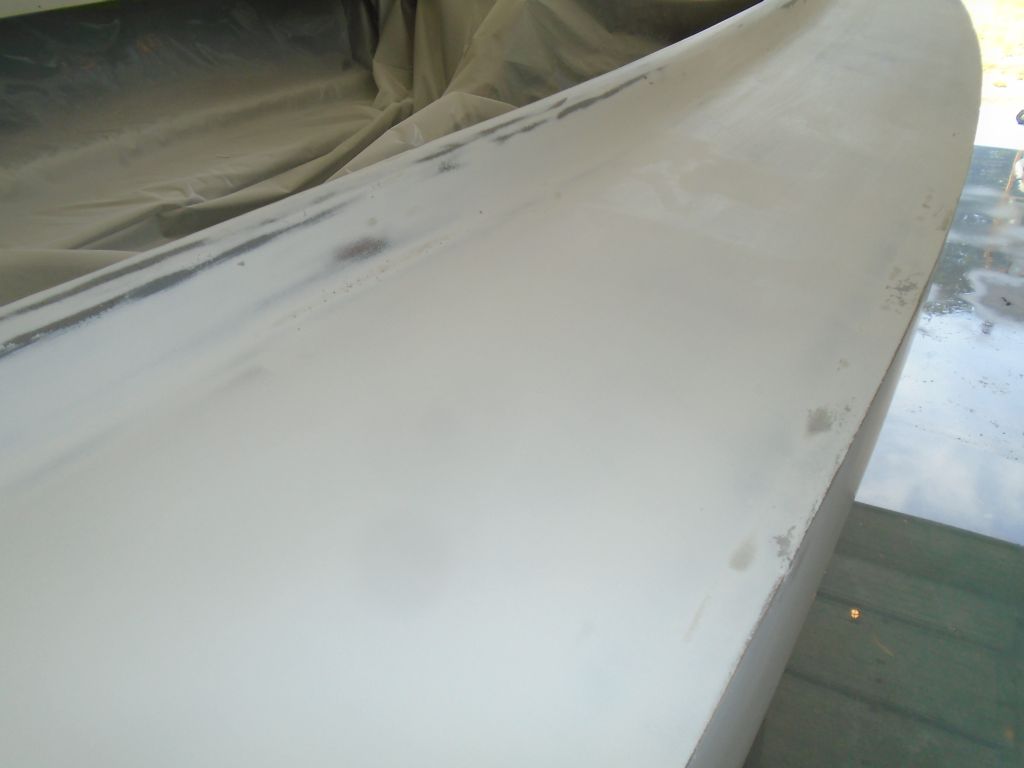
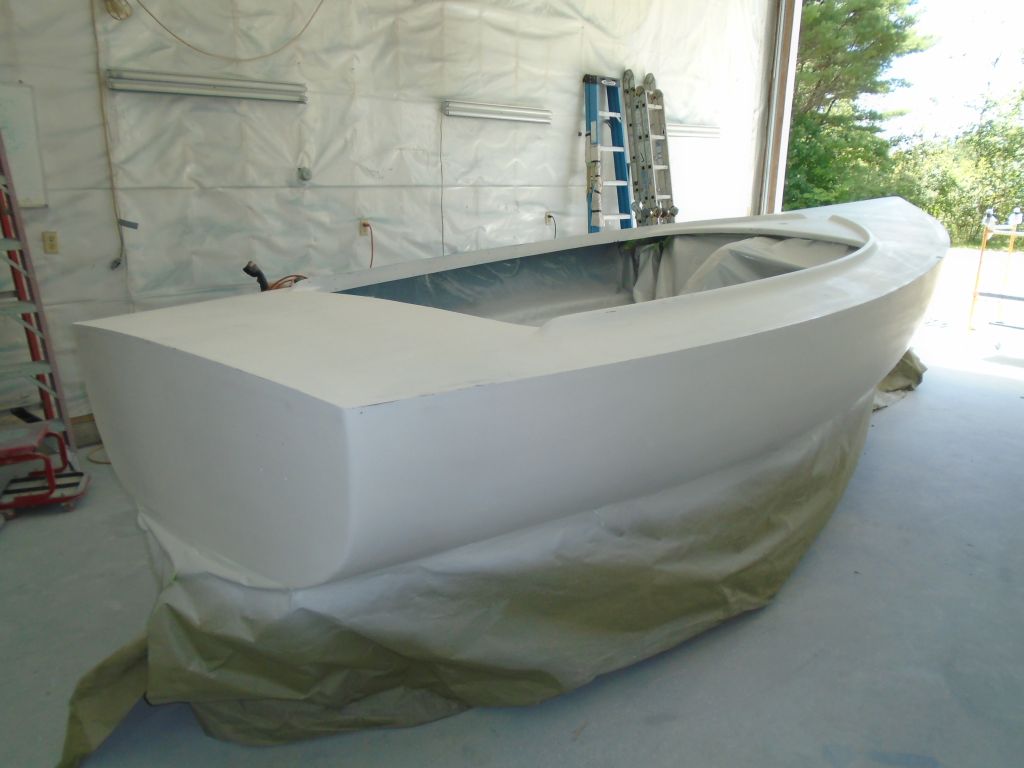
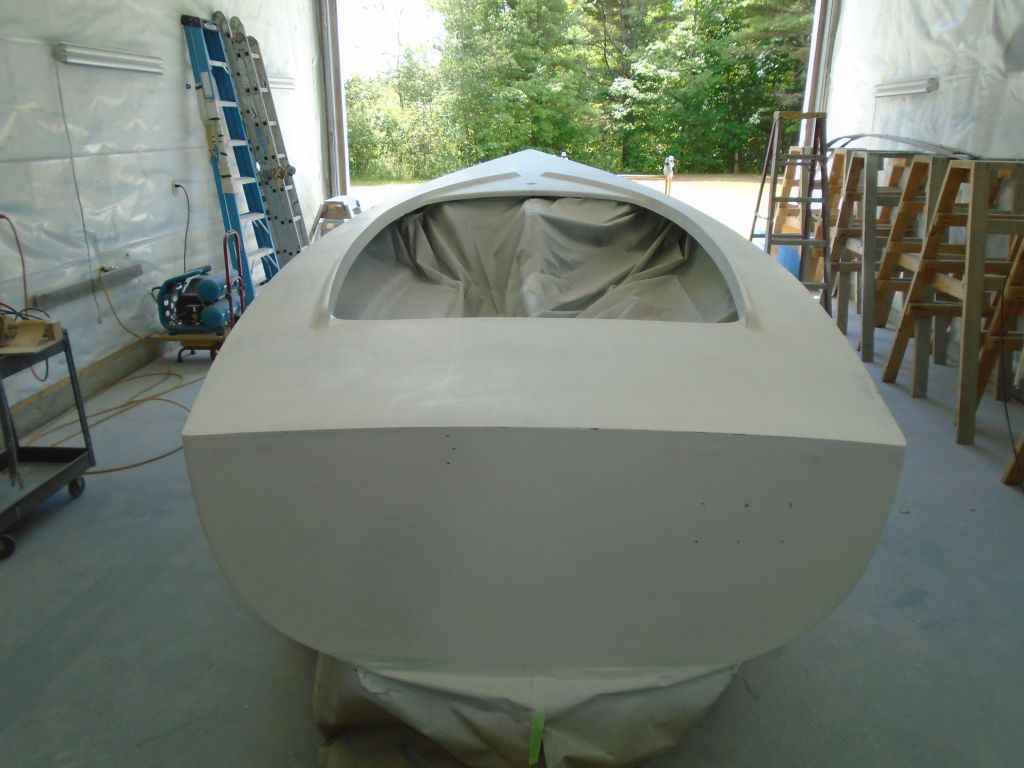
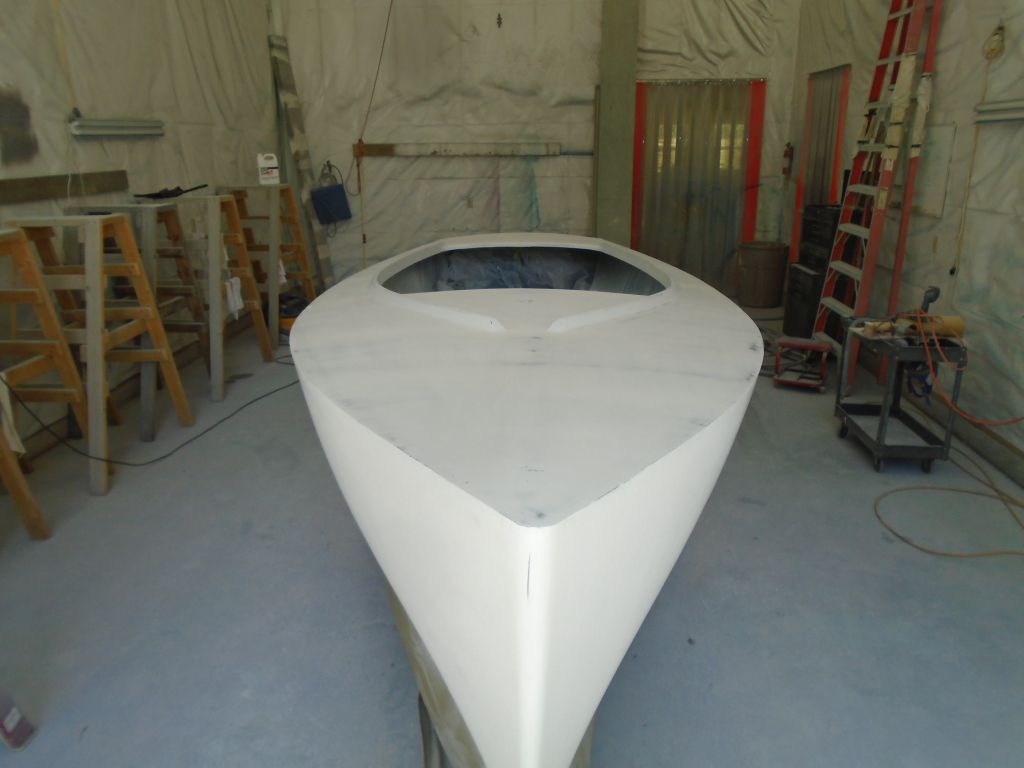
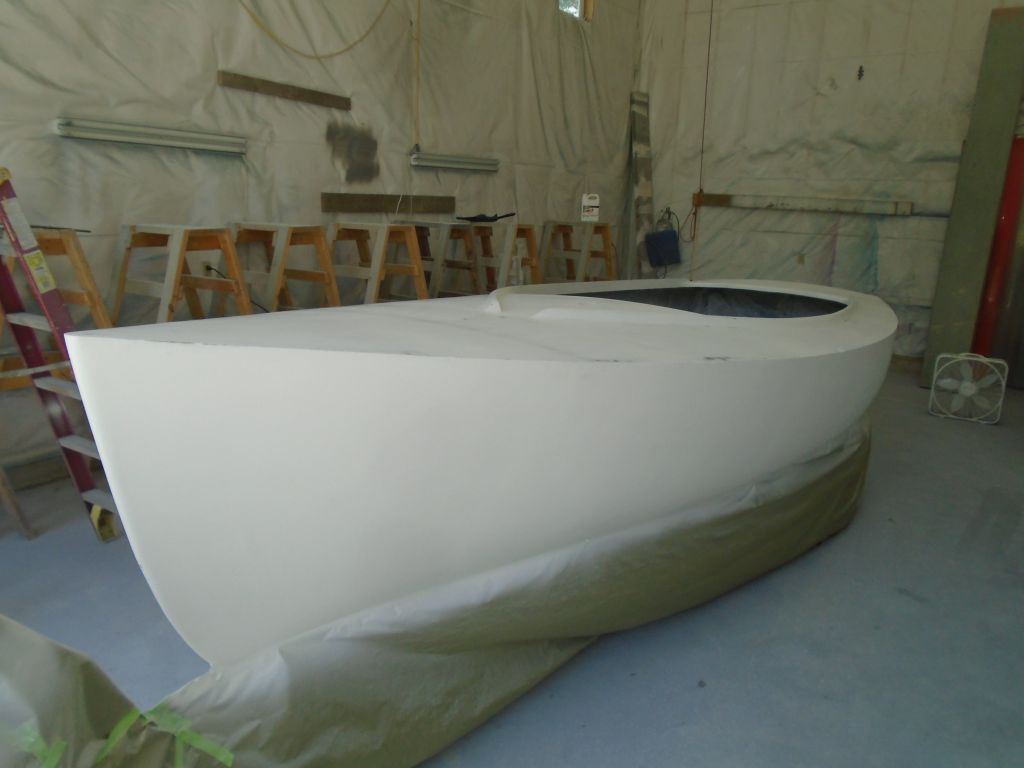
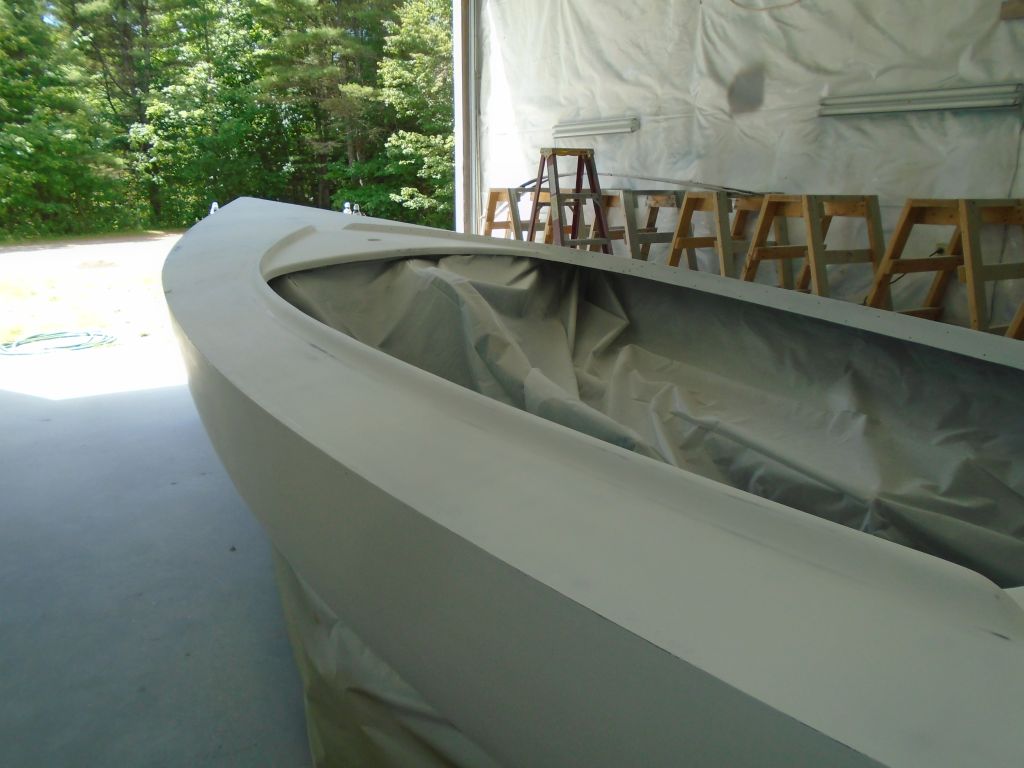
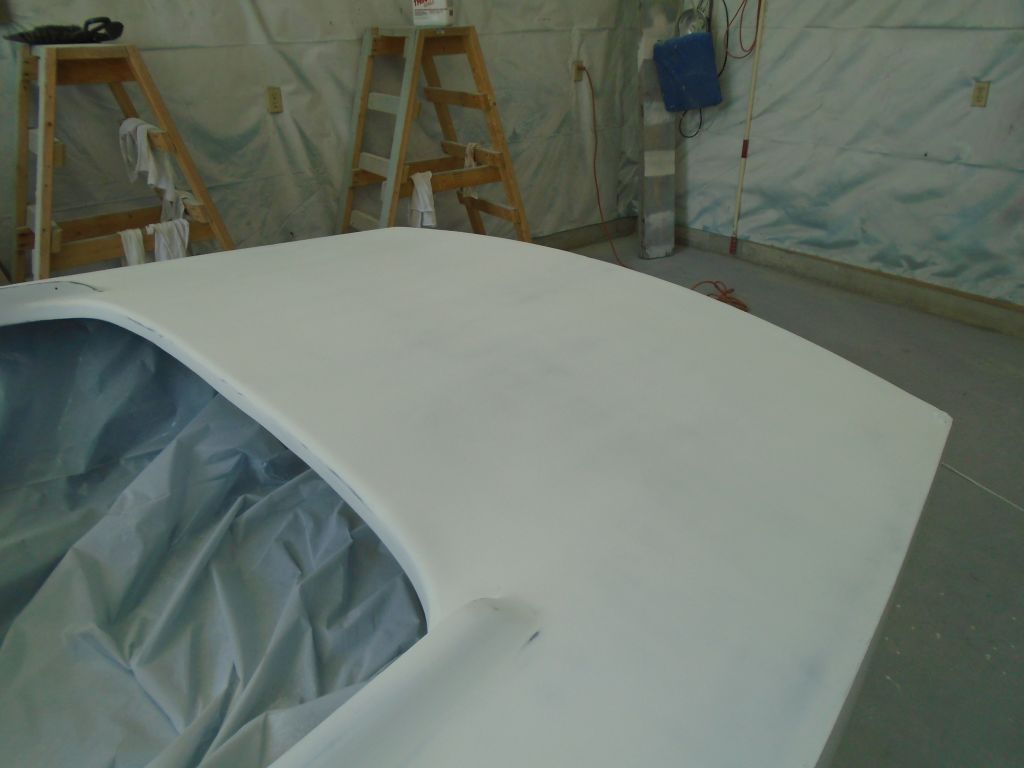
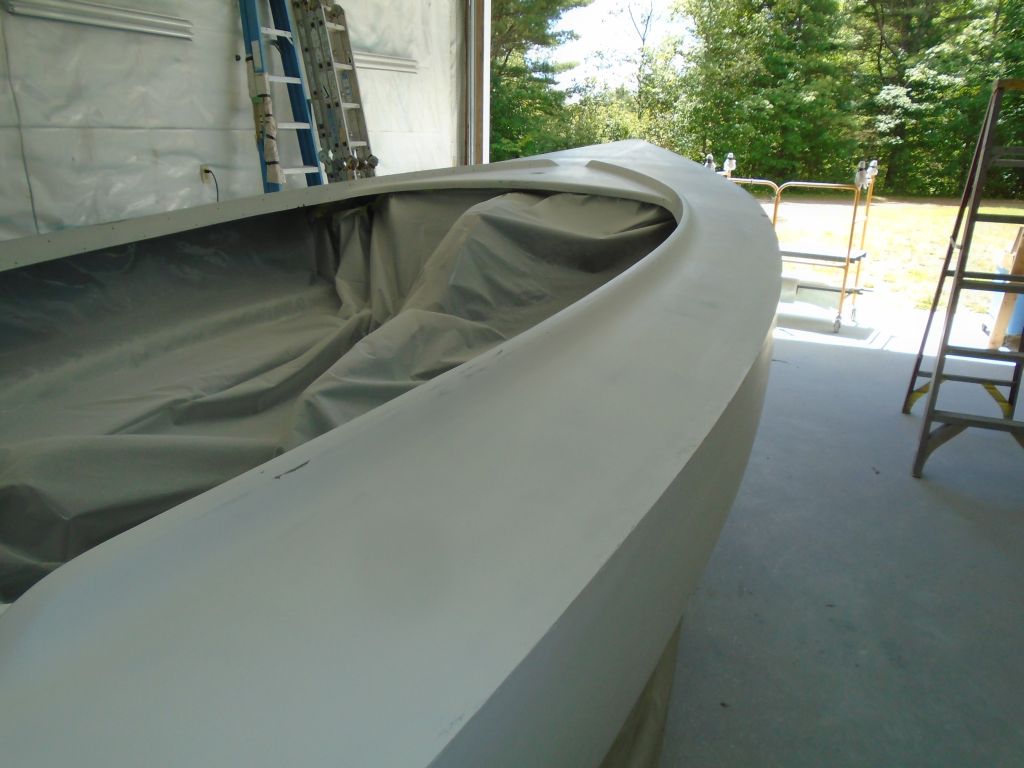
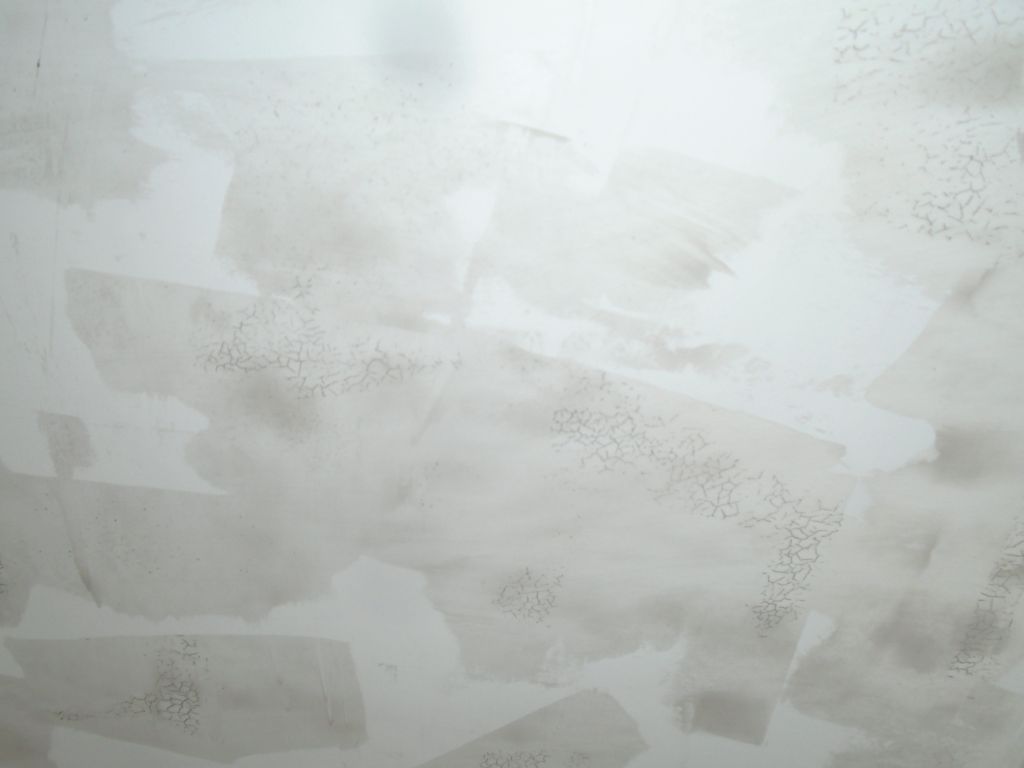
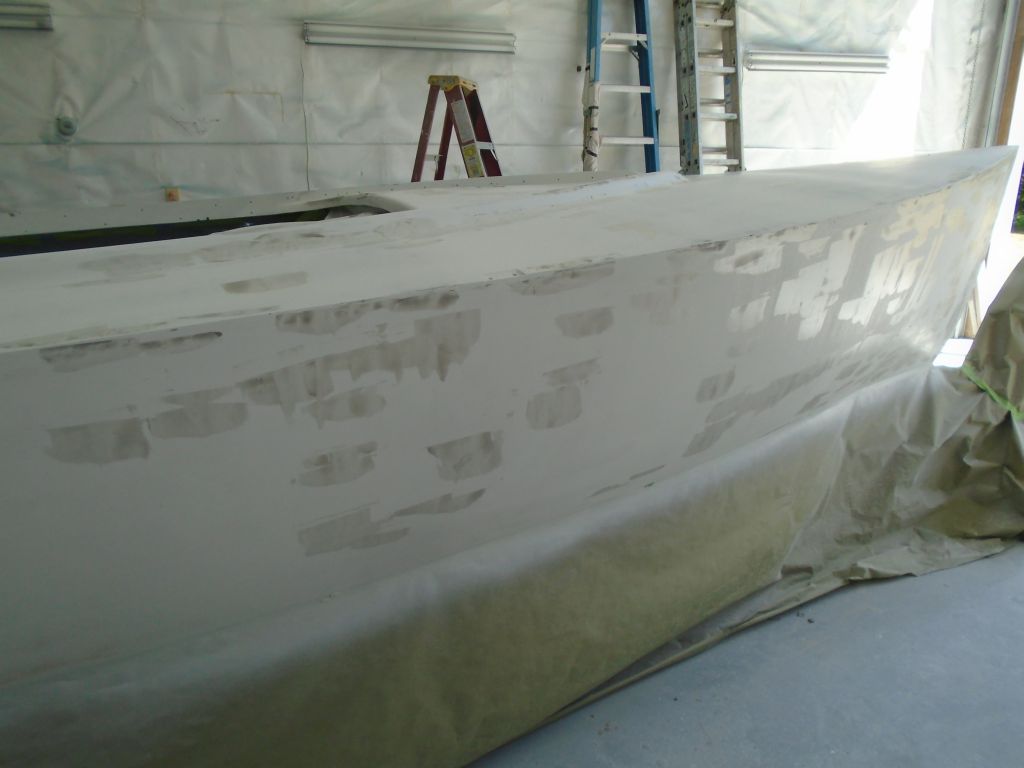
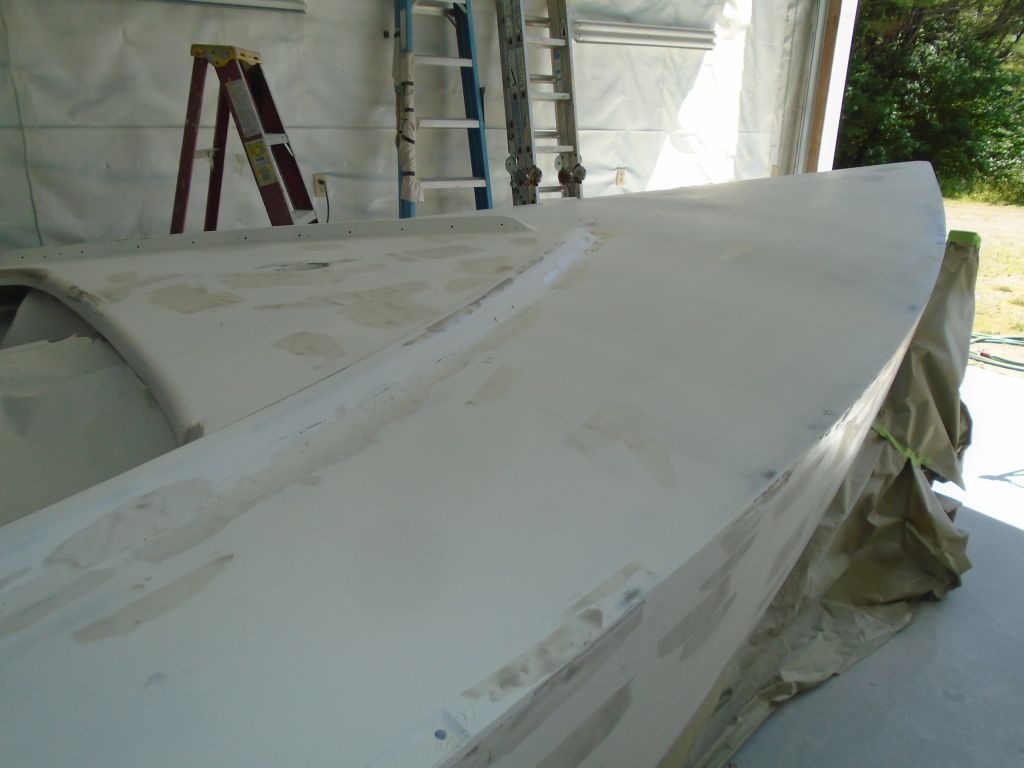
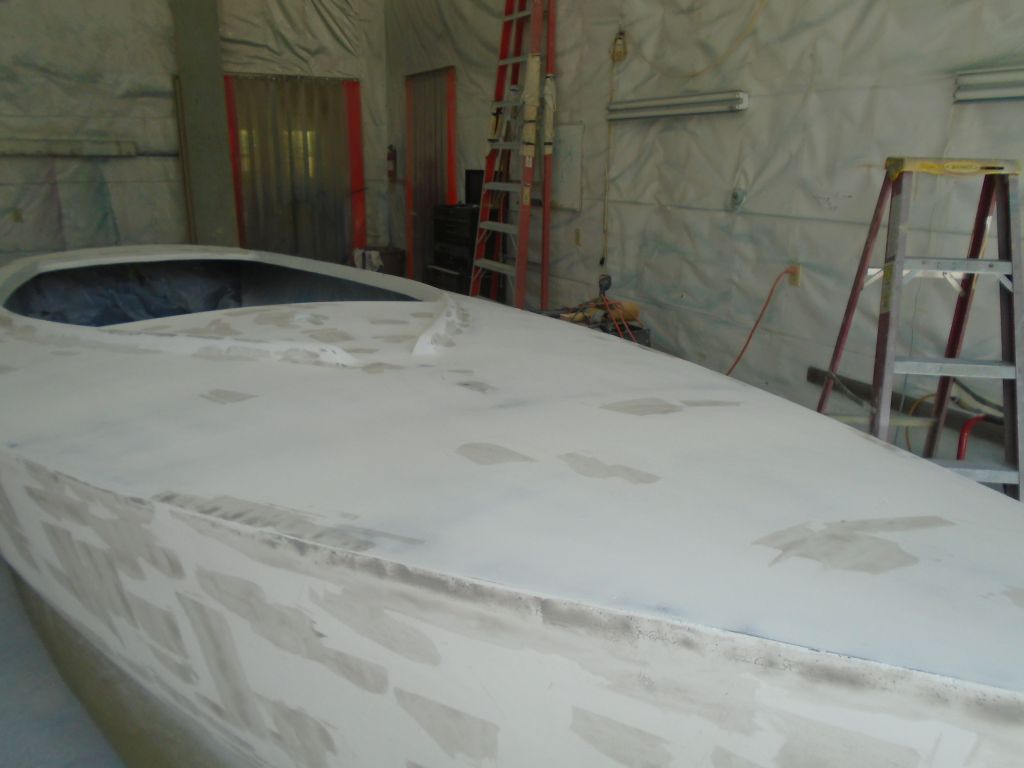
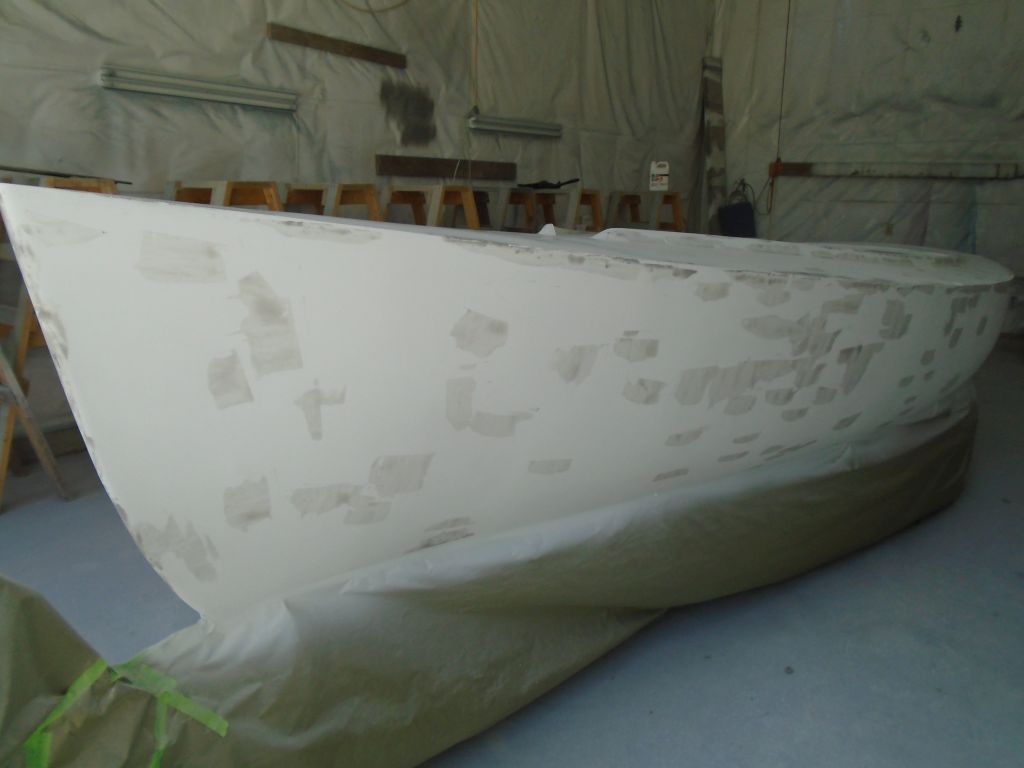
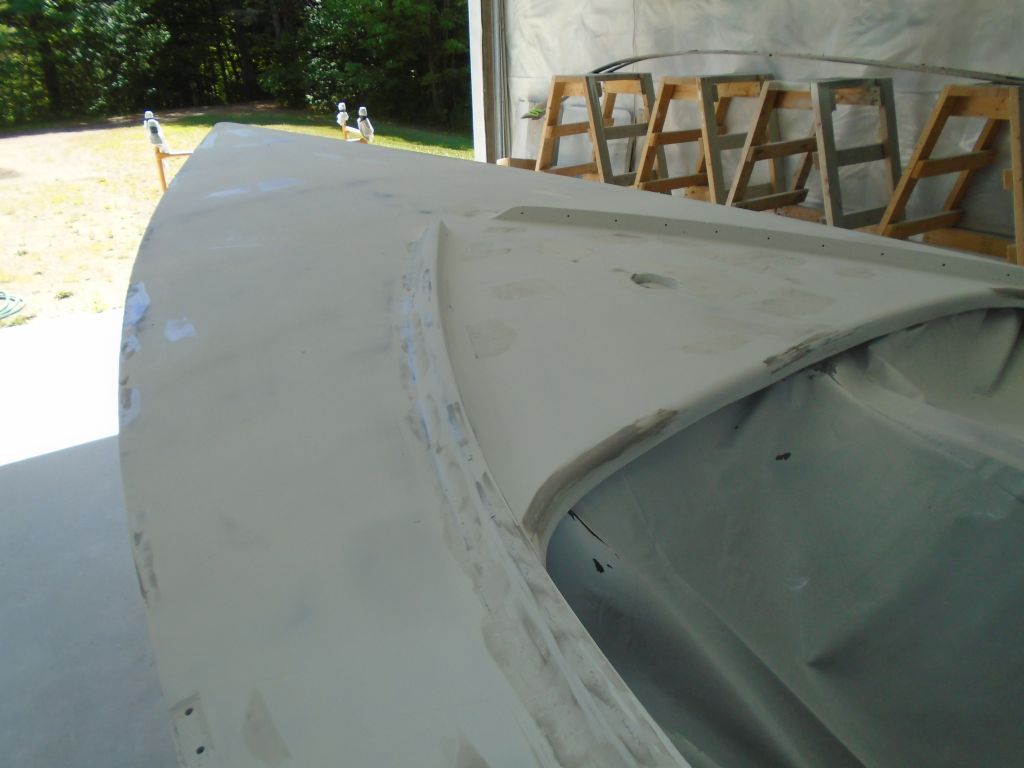
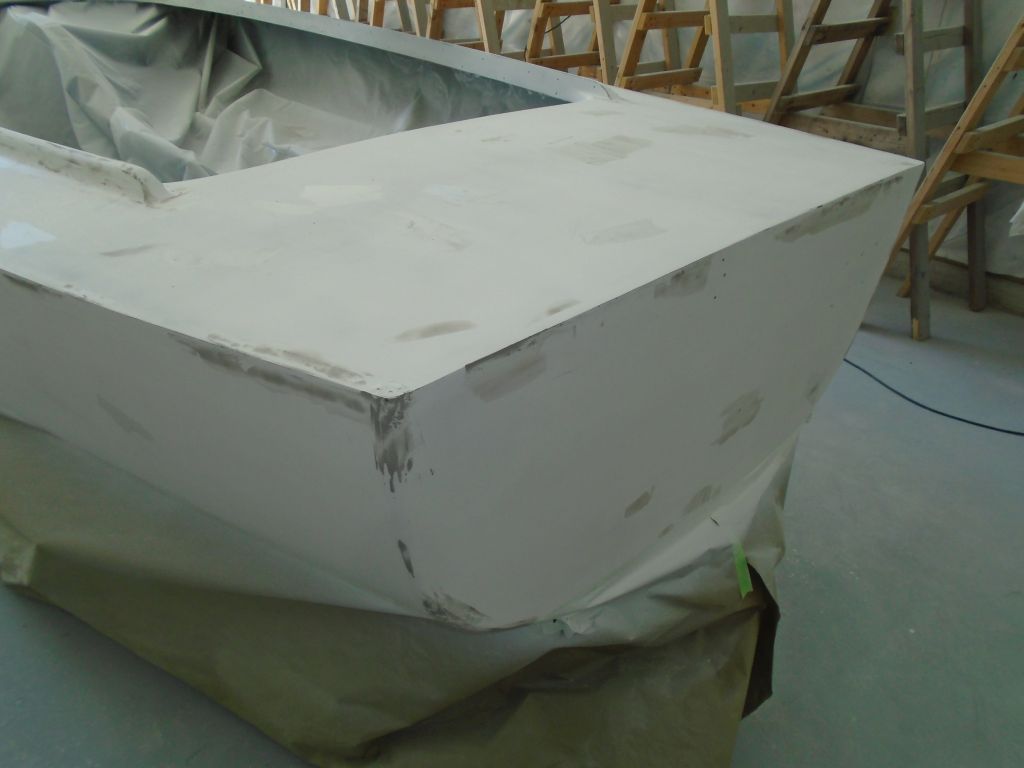
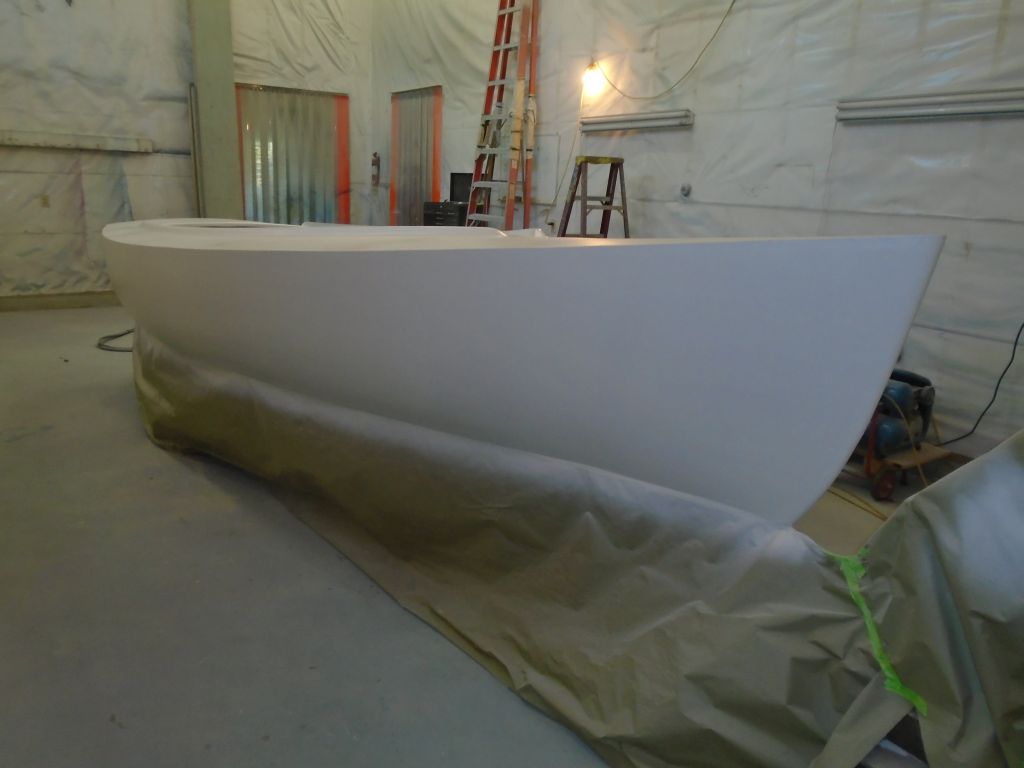
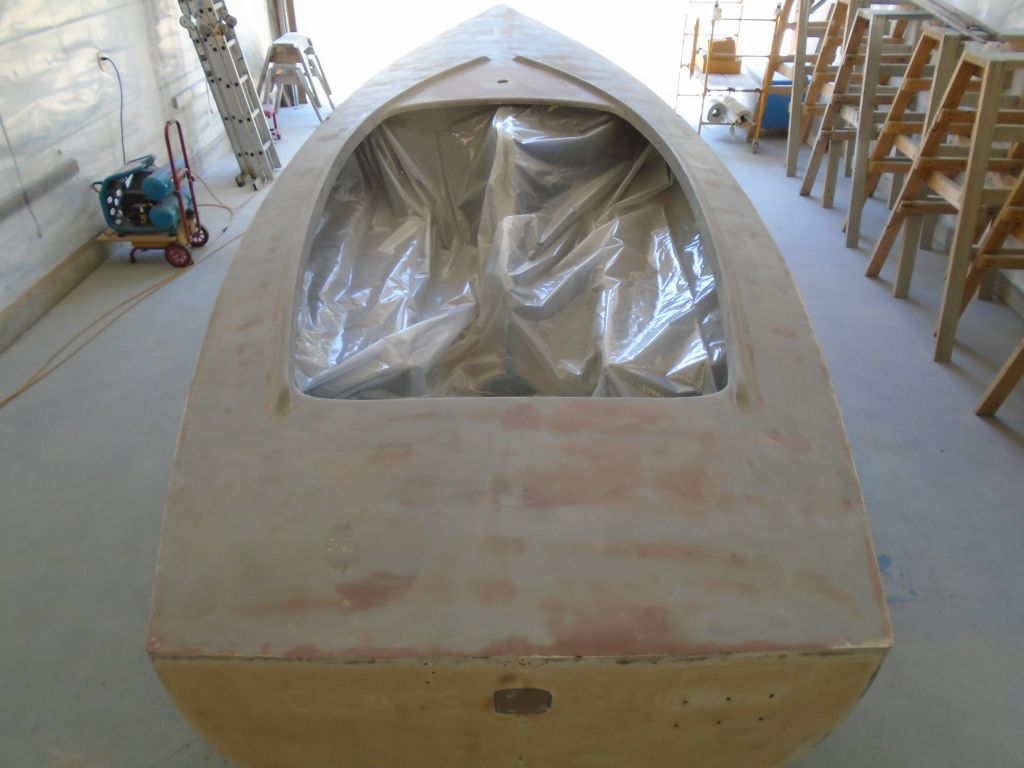
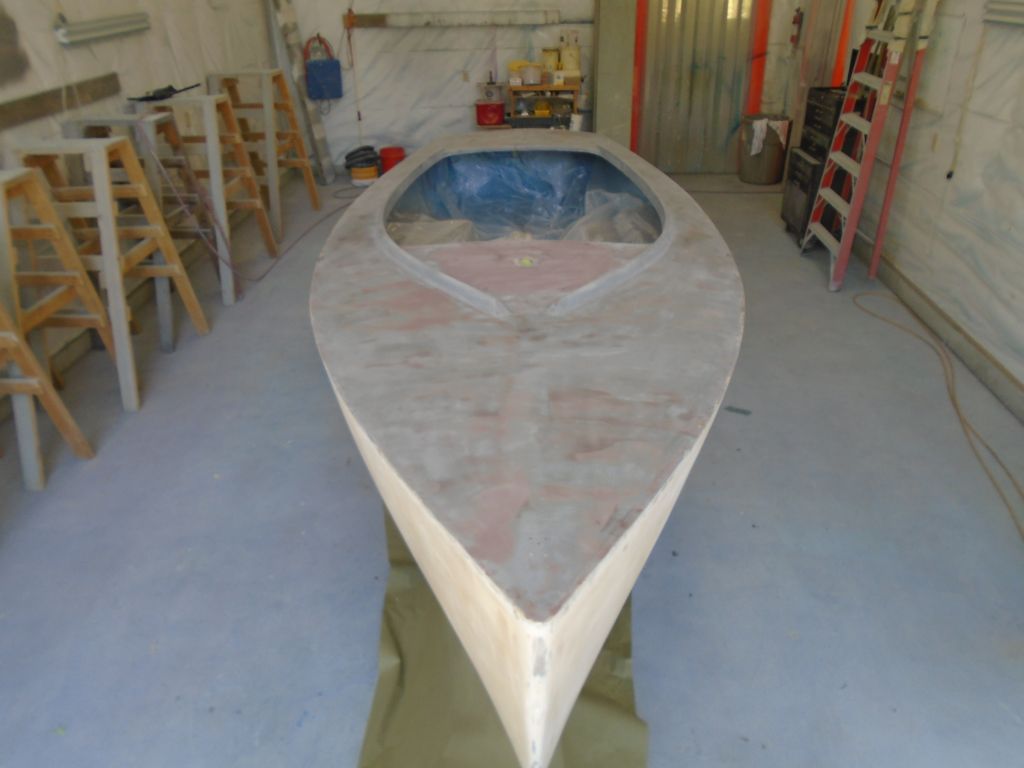
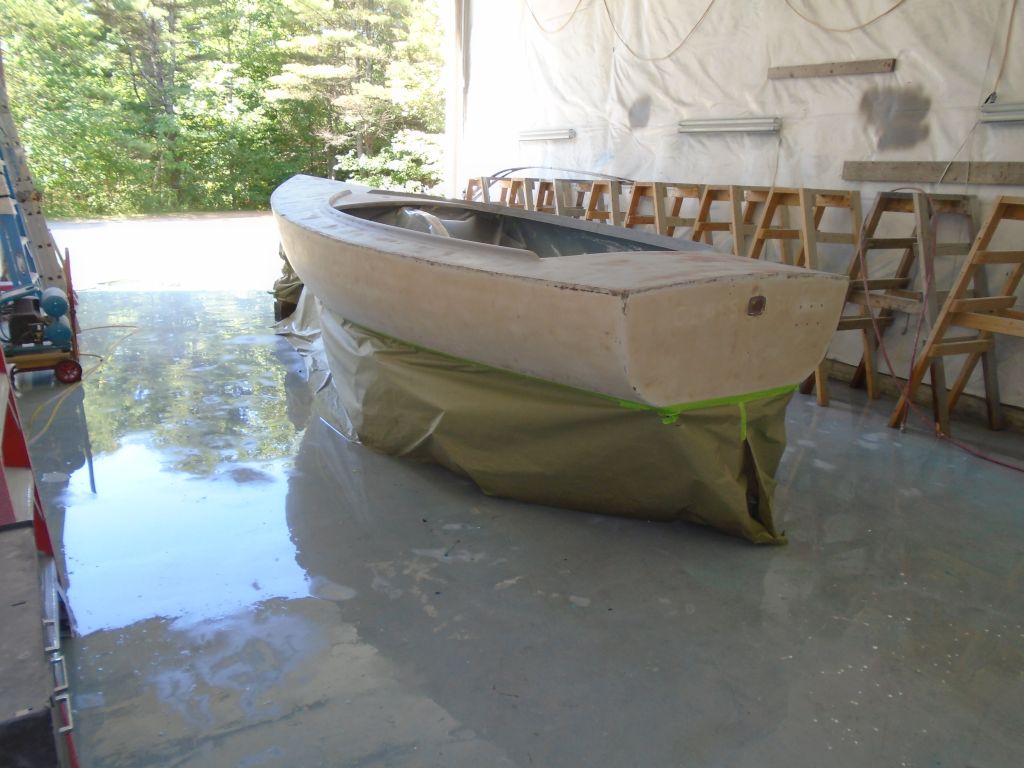
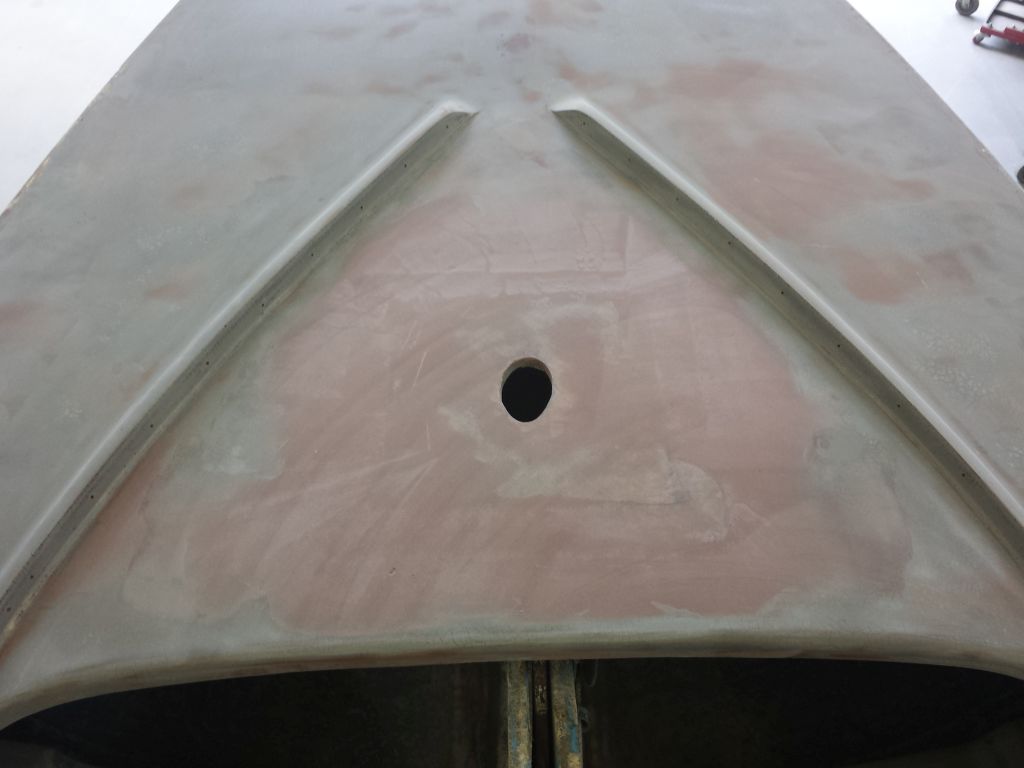
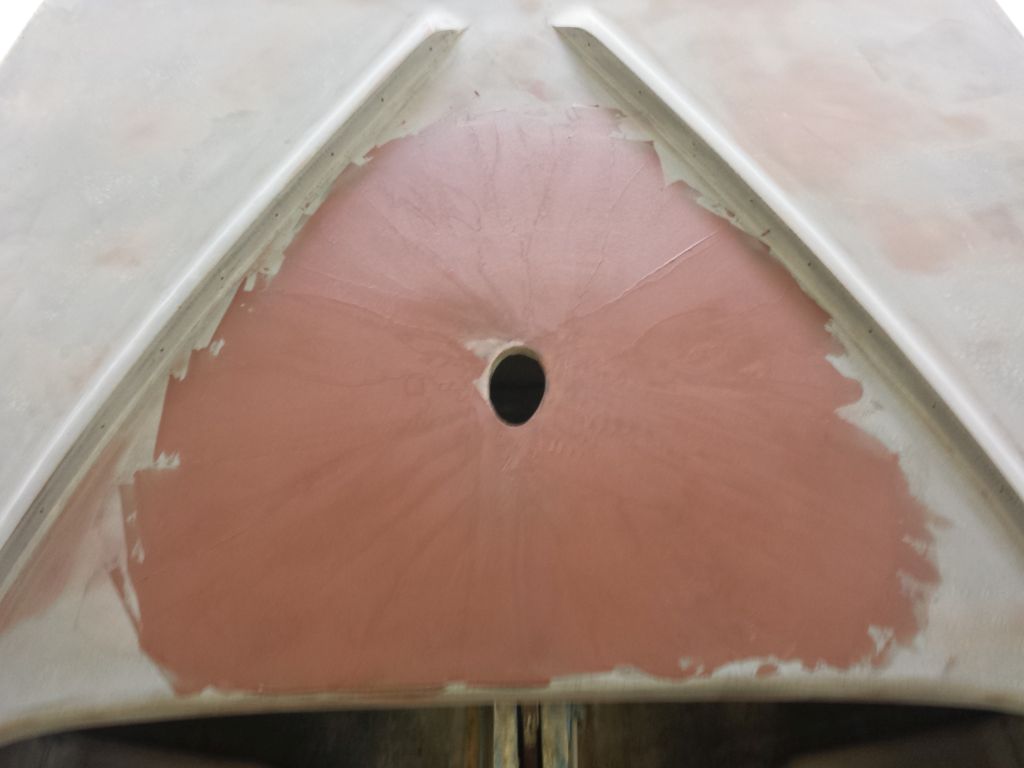
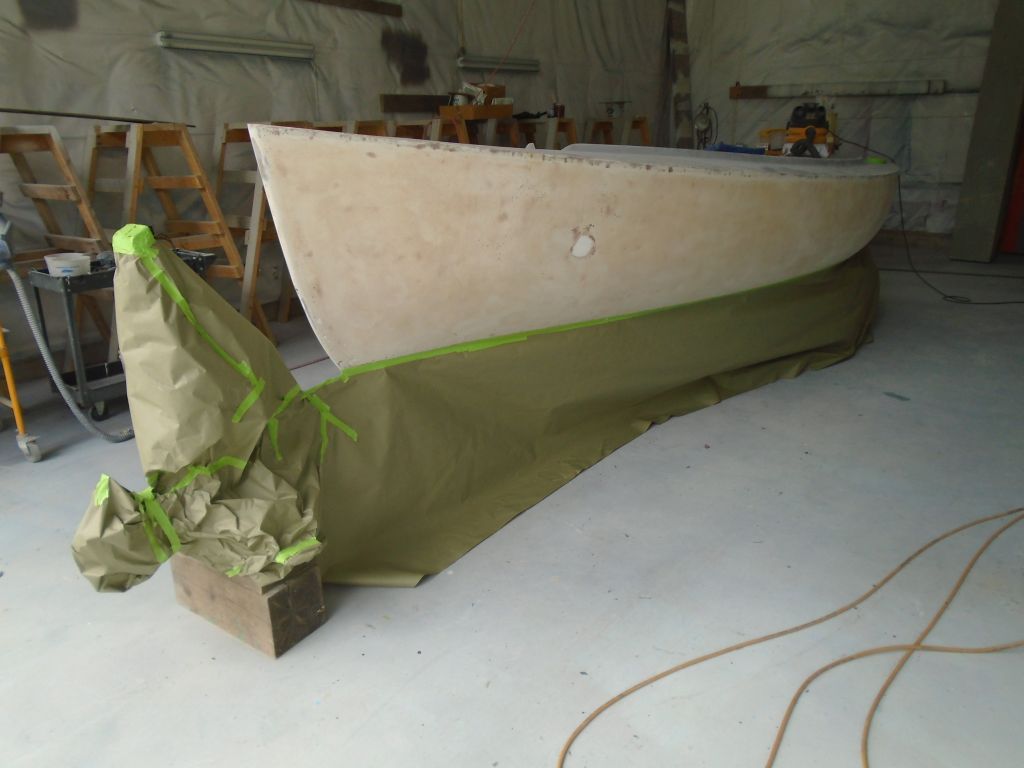
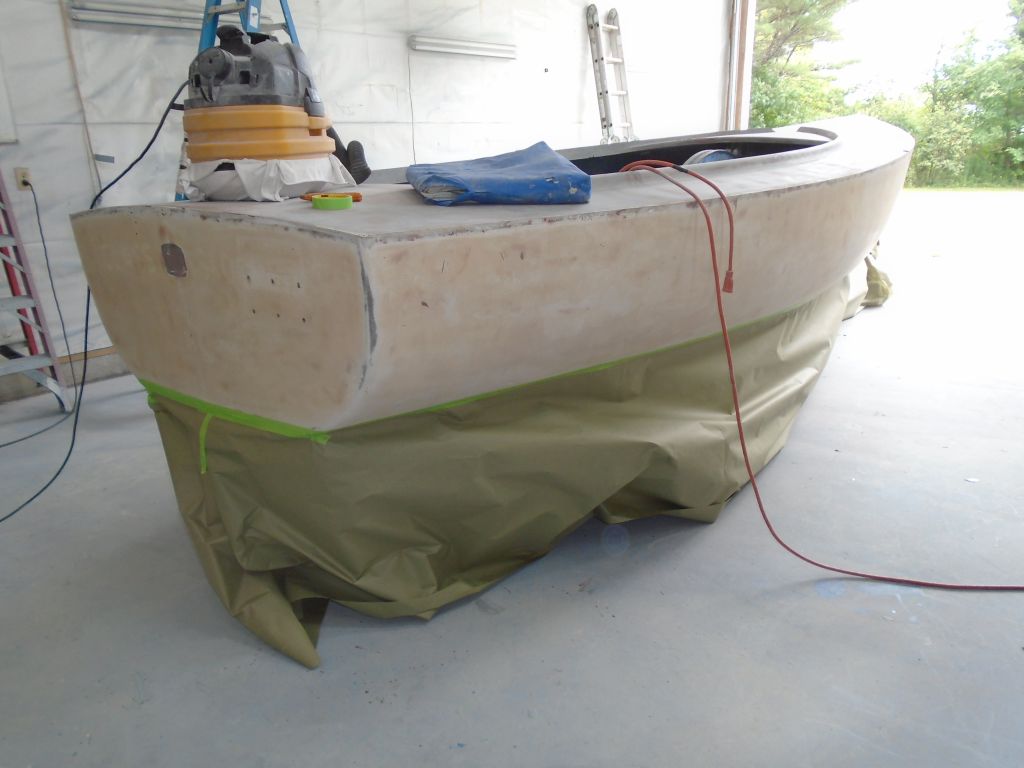
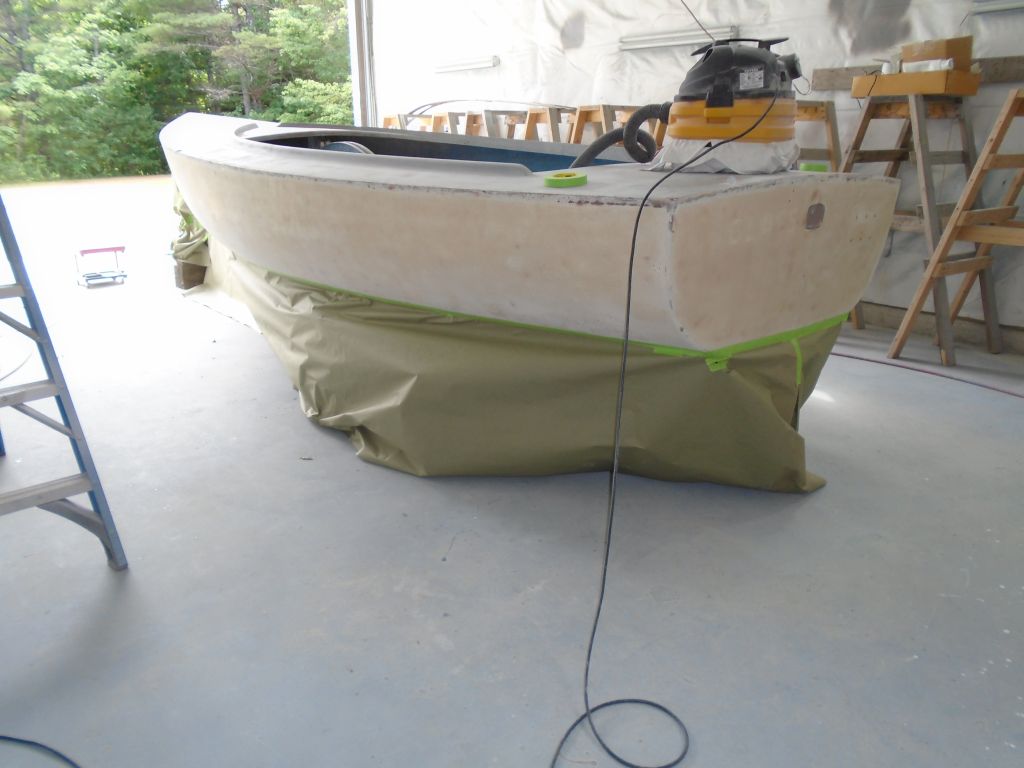
I spent the morning sanding the deck and hull with 320 grit paper, by machine and hand as needed. I sanded away the light gray coat, which worked fairly well, but I thought the experiment was only a marginal success, as I felt that I needed to sand more than necessary inn some areas, since the wet-on-wet coat tended to incorporate itself into the layers beneath rather than staying on top. Not a real surprise, and still, it made for an easy gauge of sanding progress.
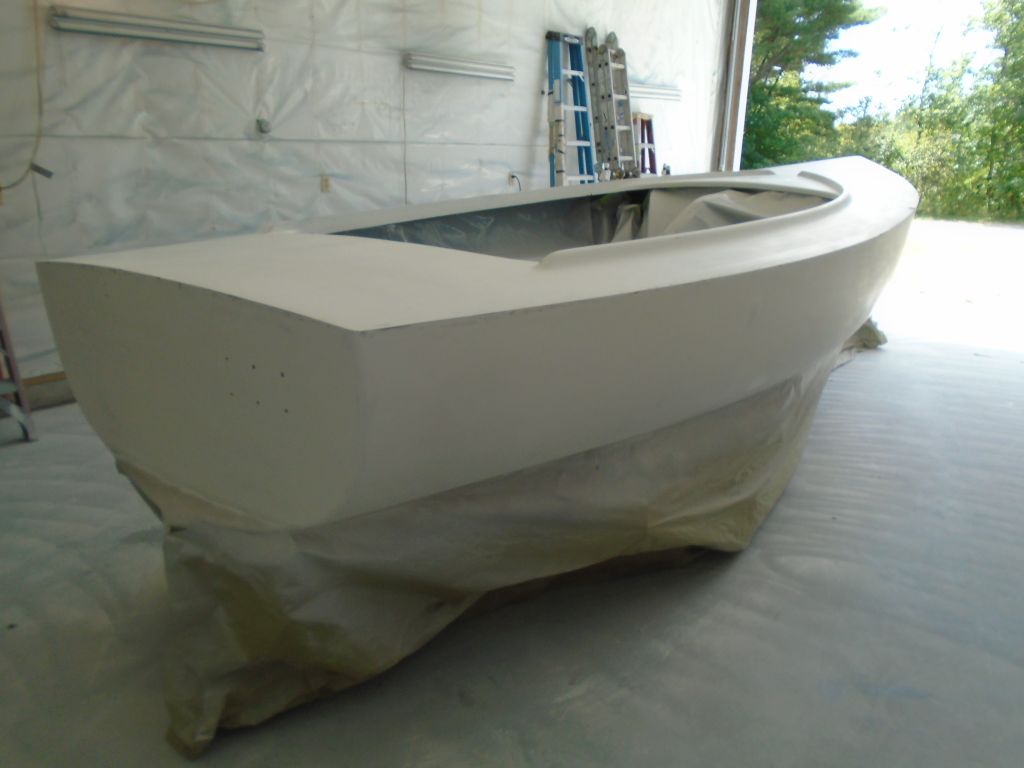
After sanding, I cleaned up the boat and shop with blow gun, vacuum, and broom, and solvent-washed the surfaces to accept tape.
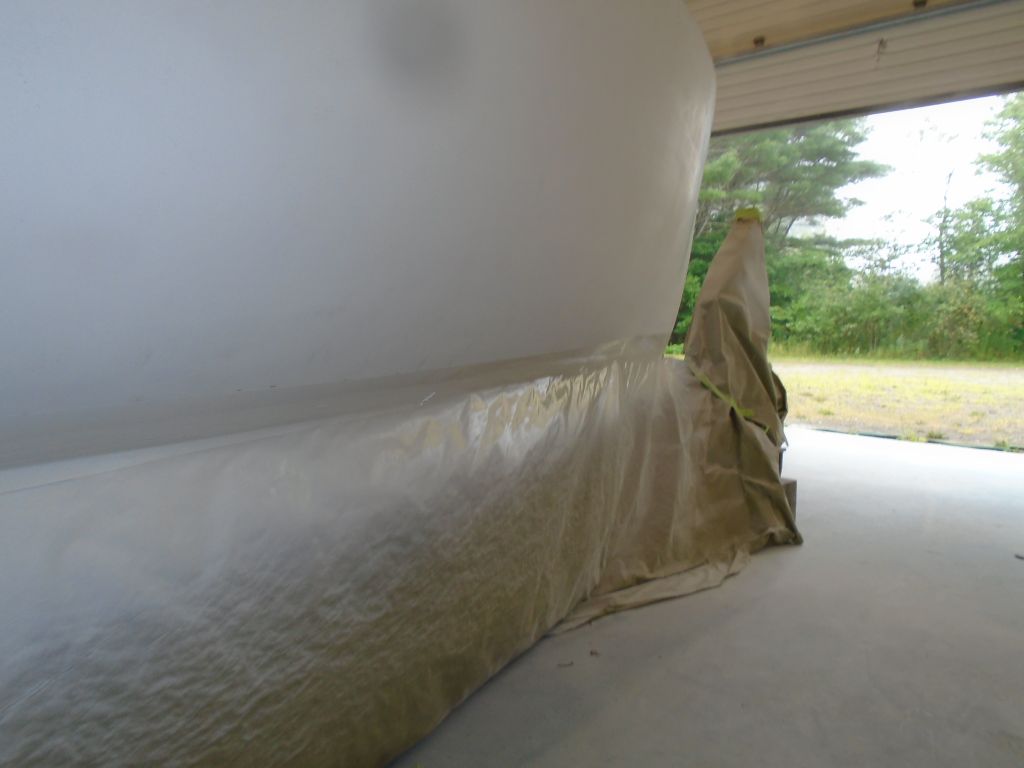
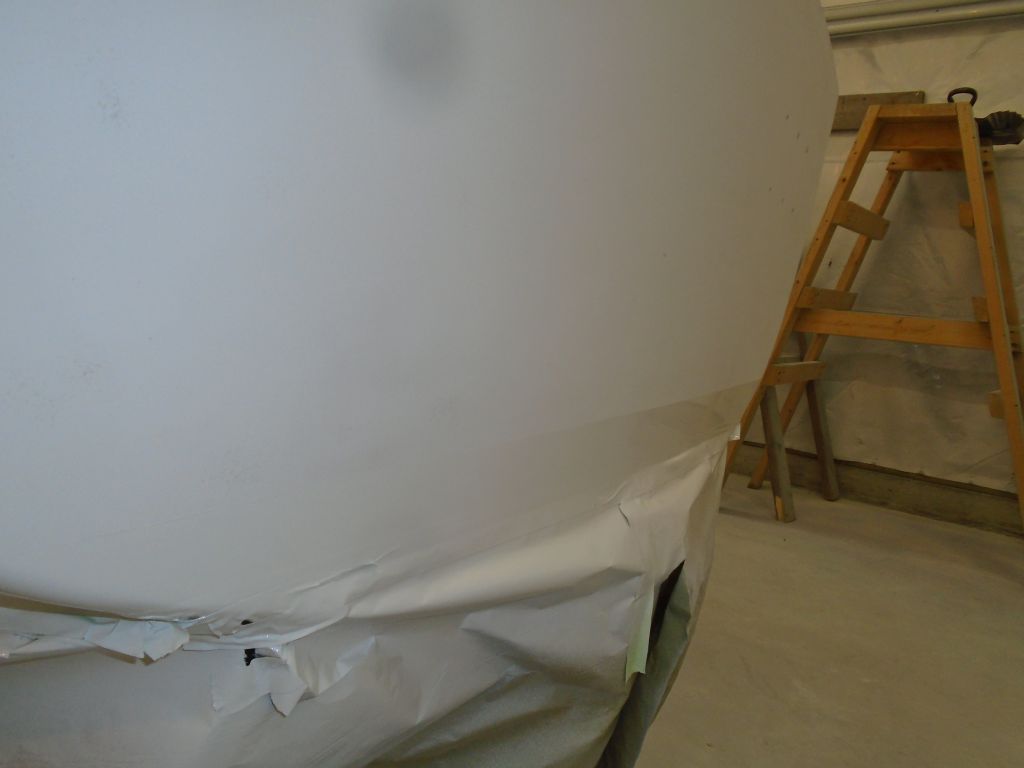
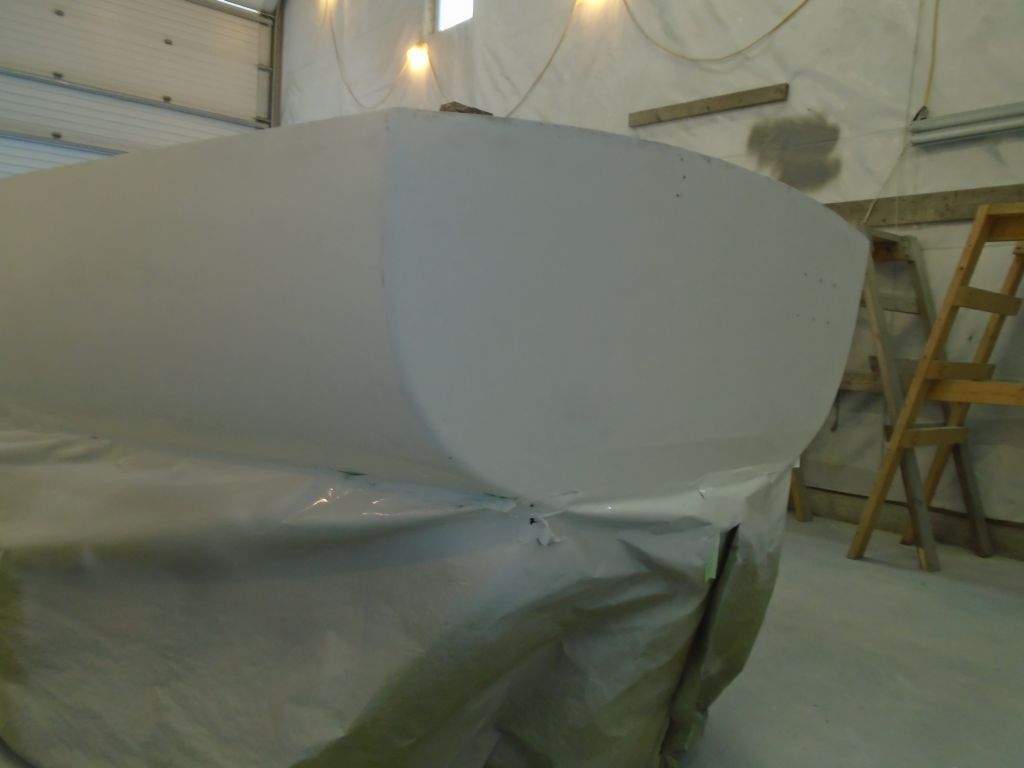
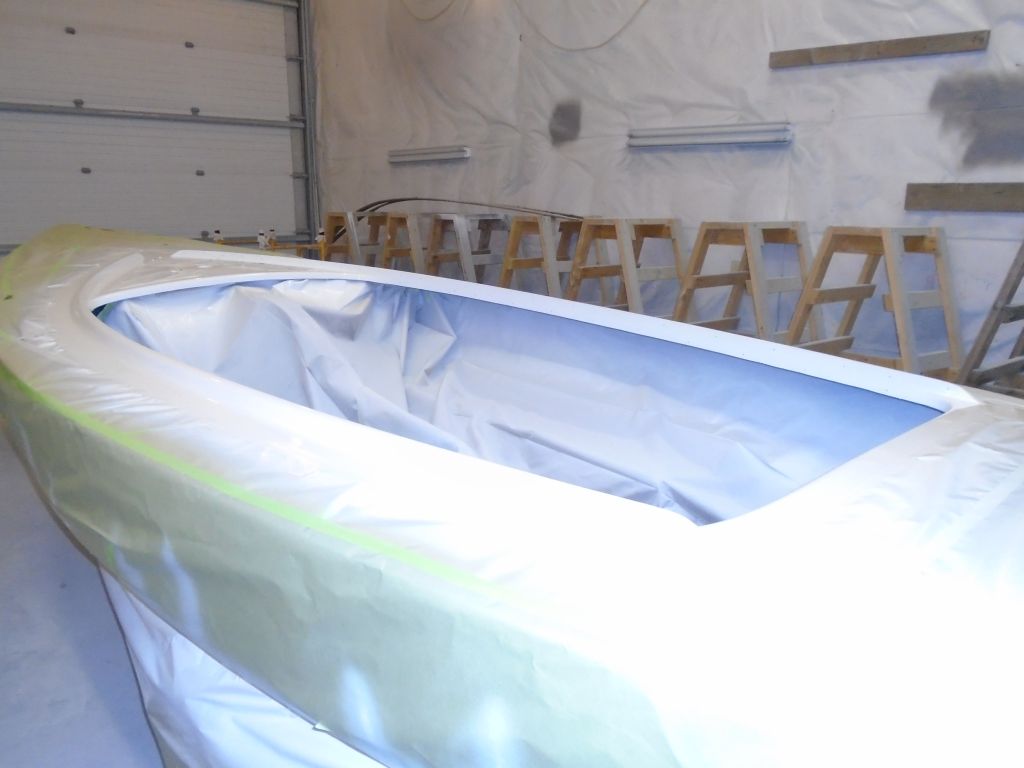
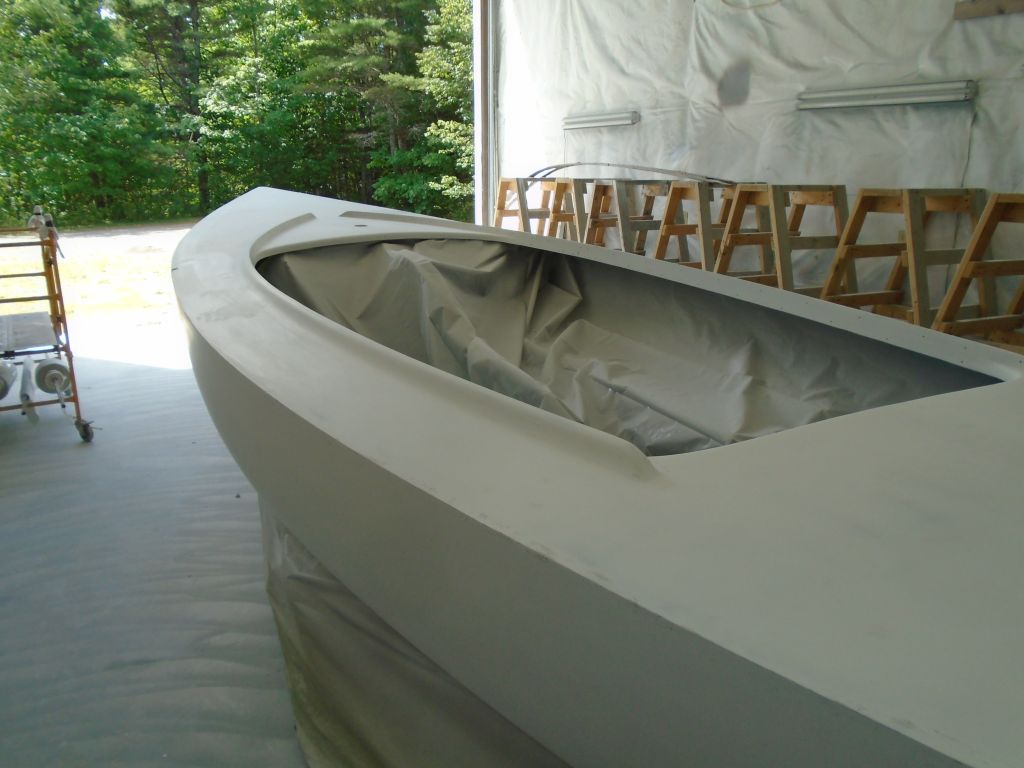
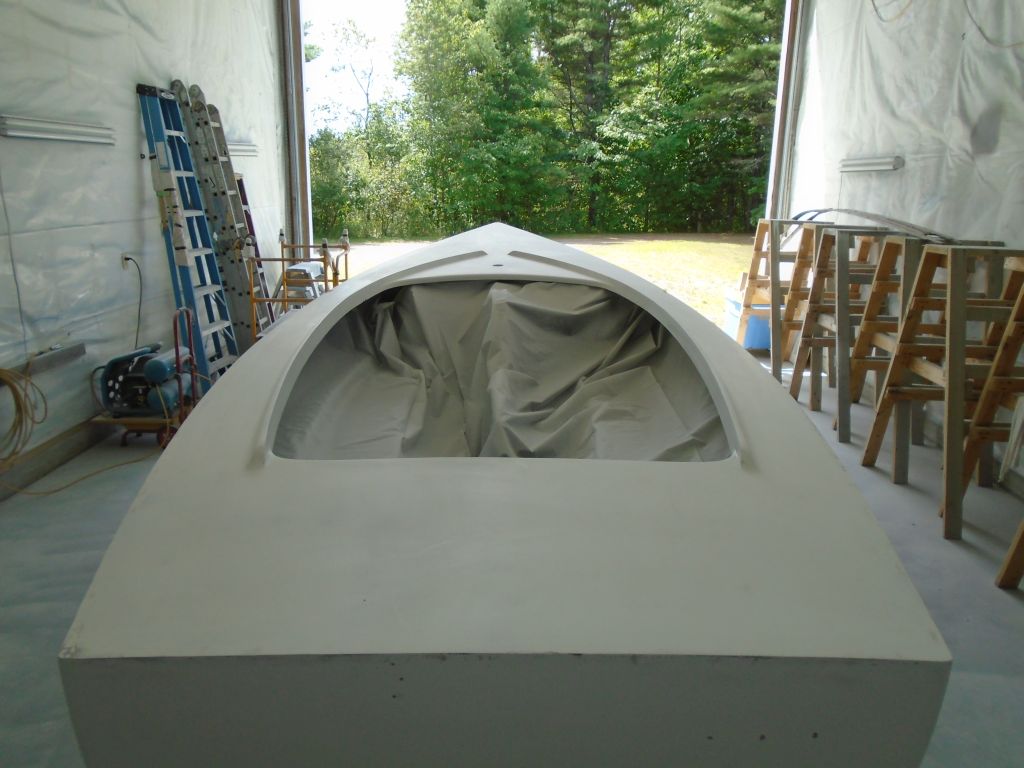
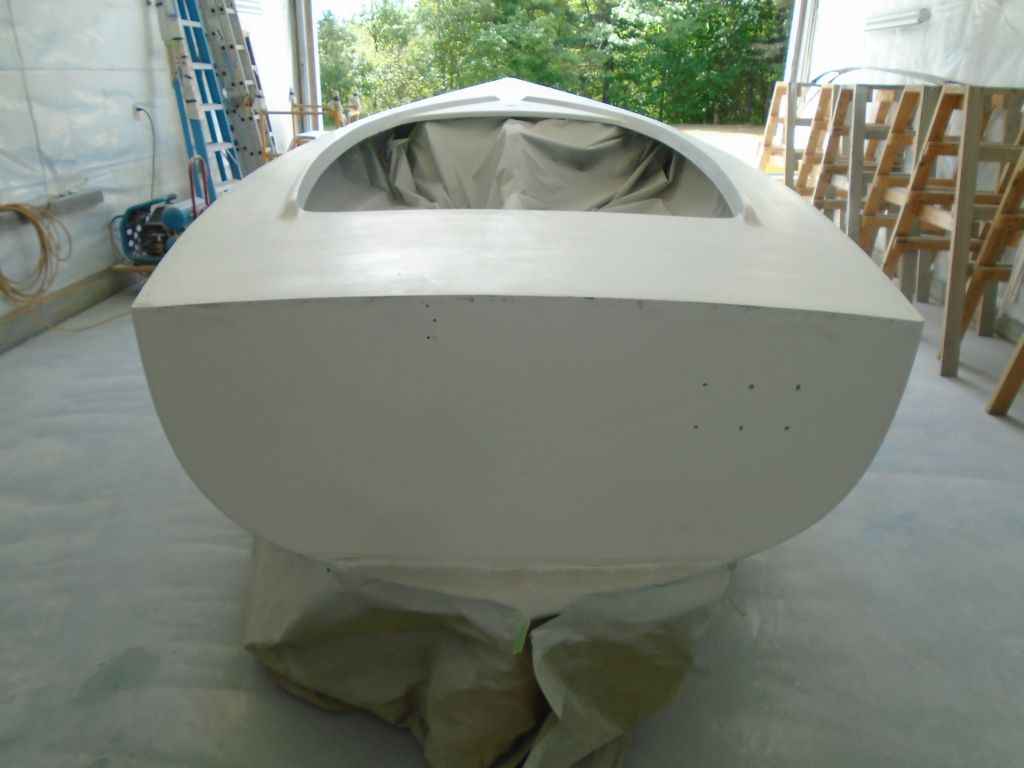
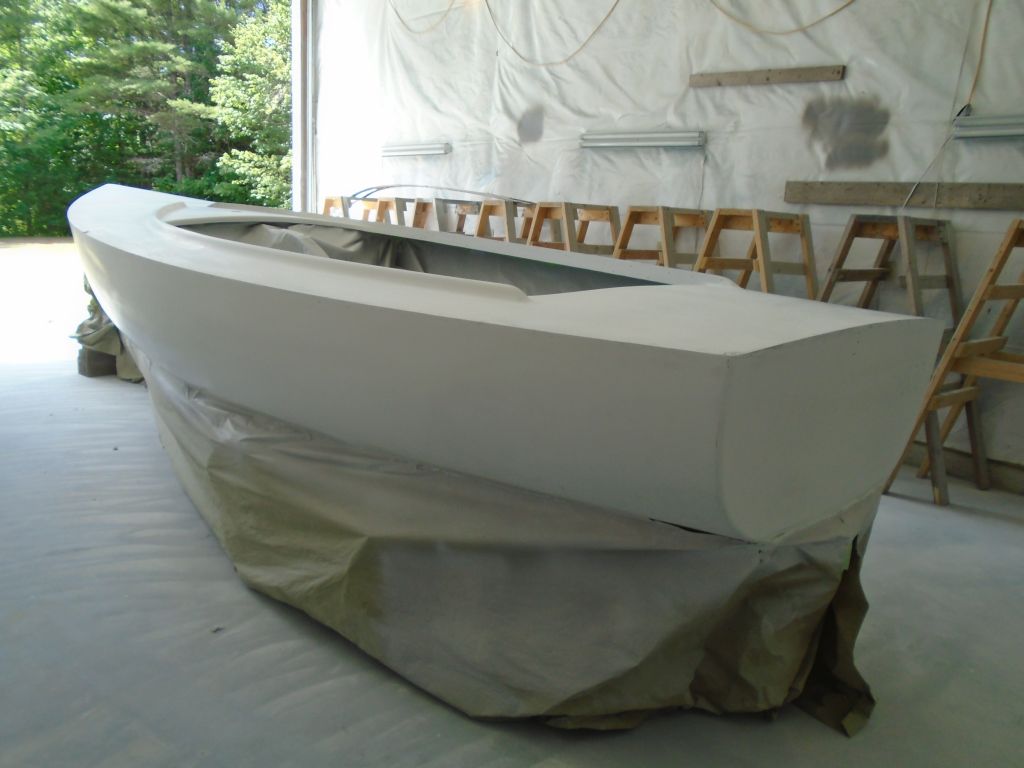
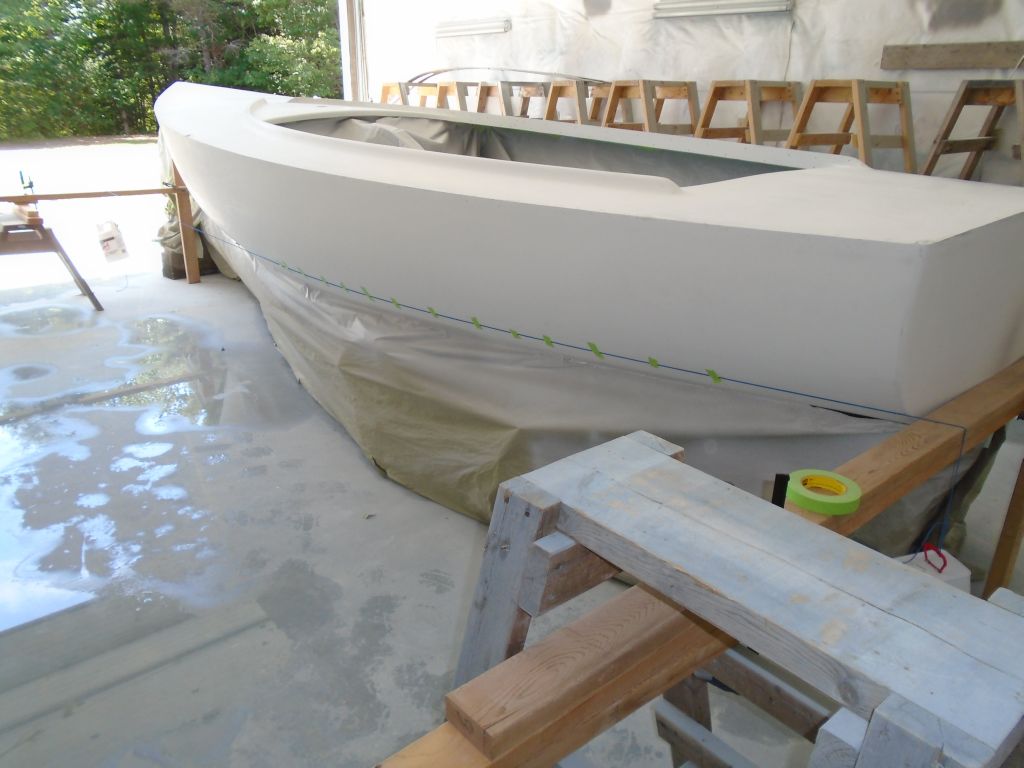
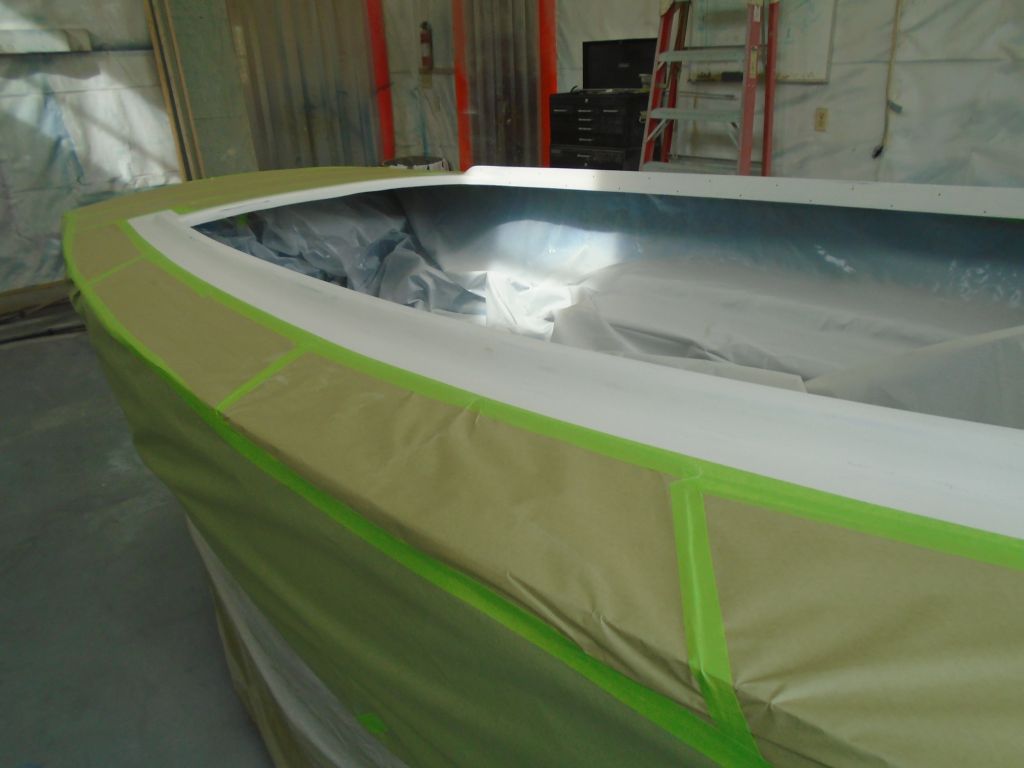
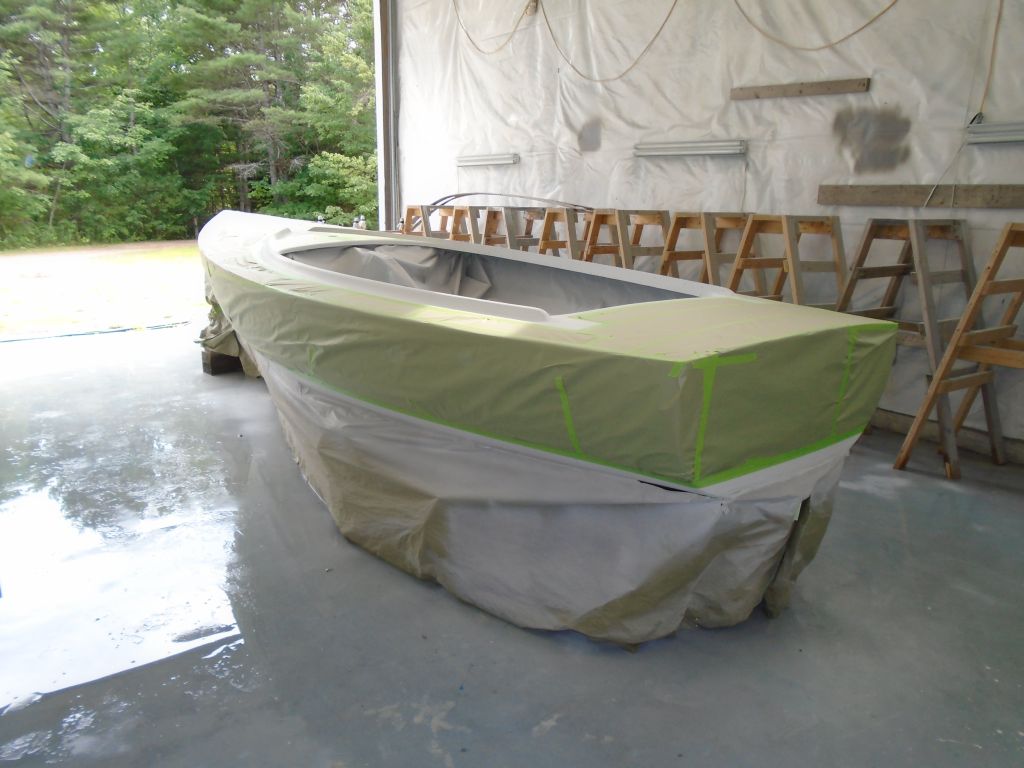
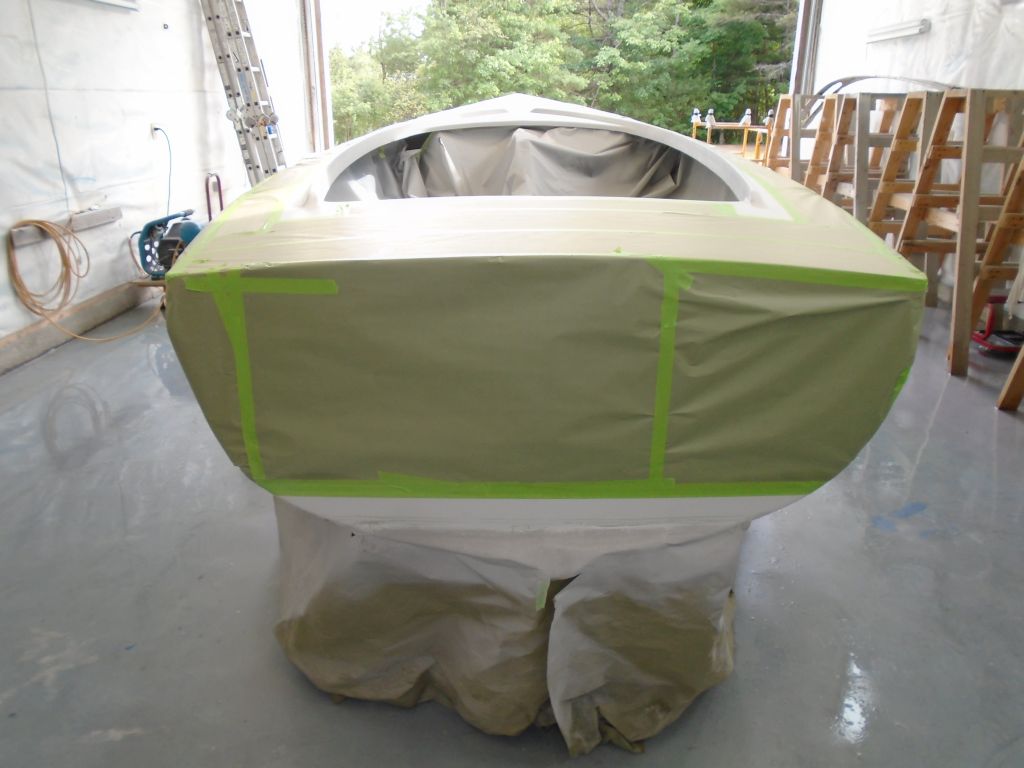
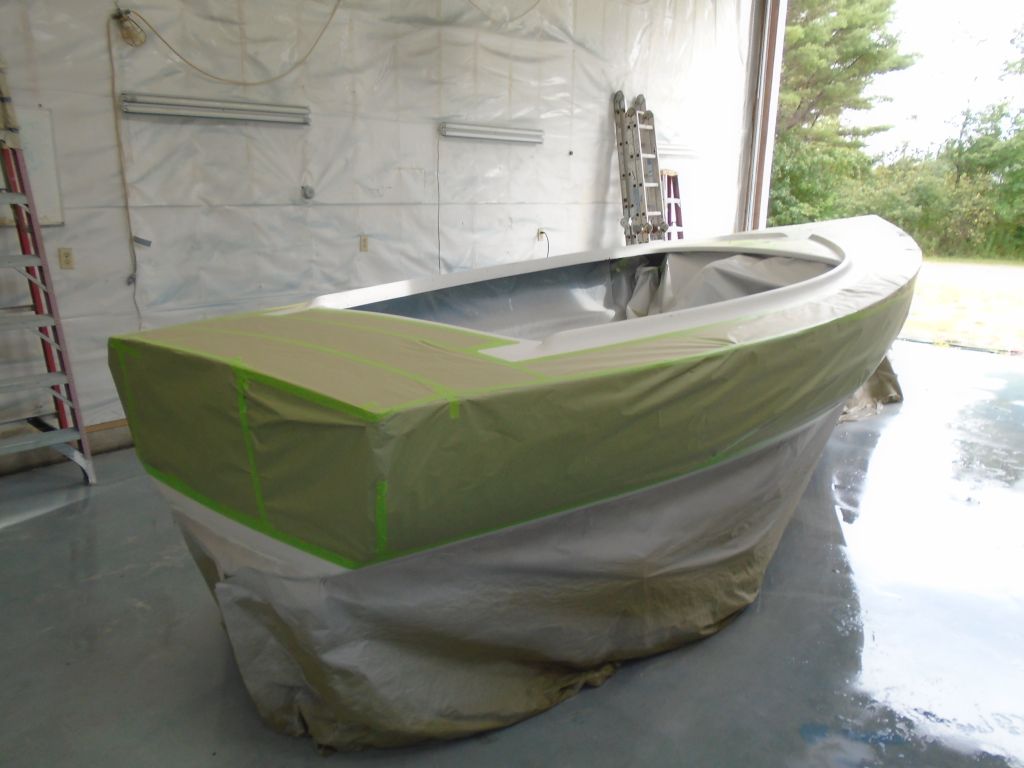
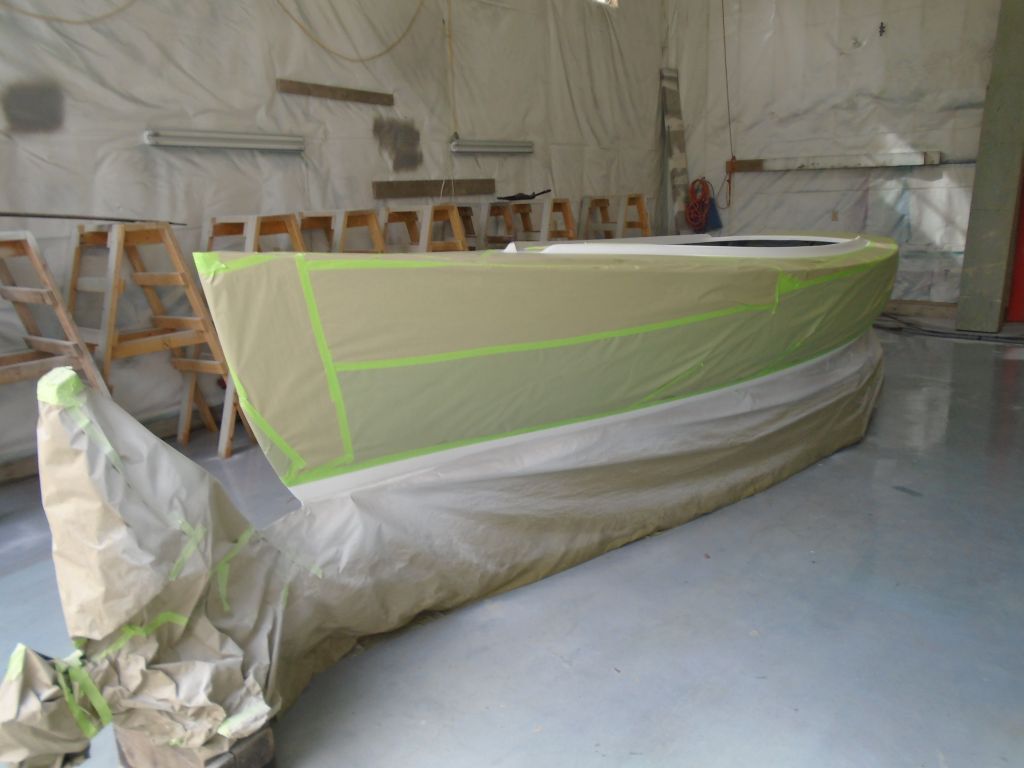
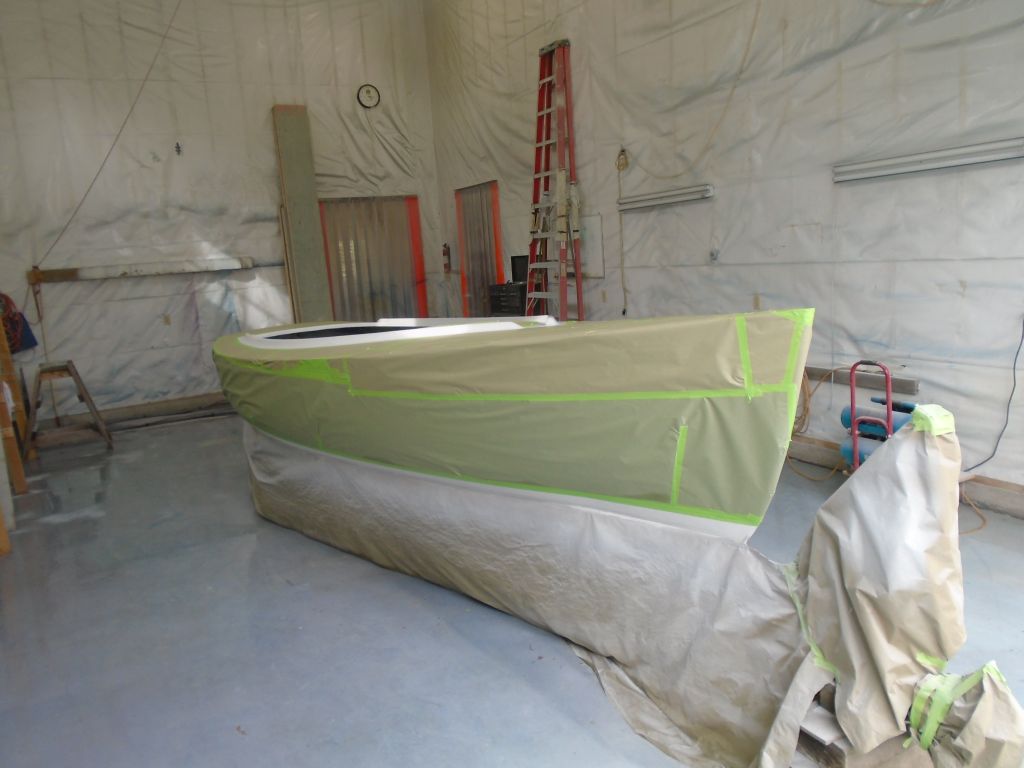
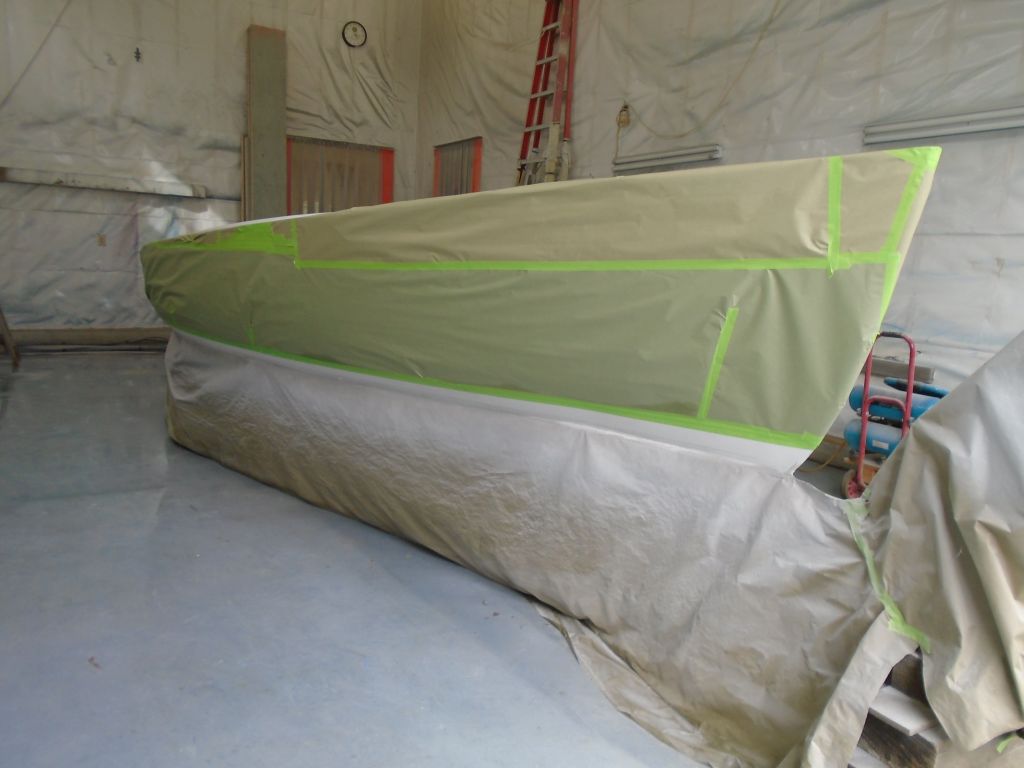
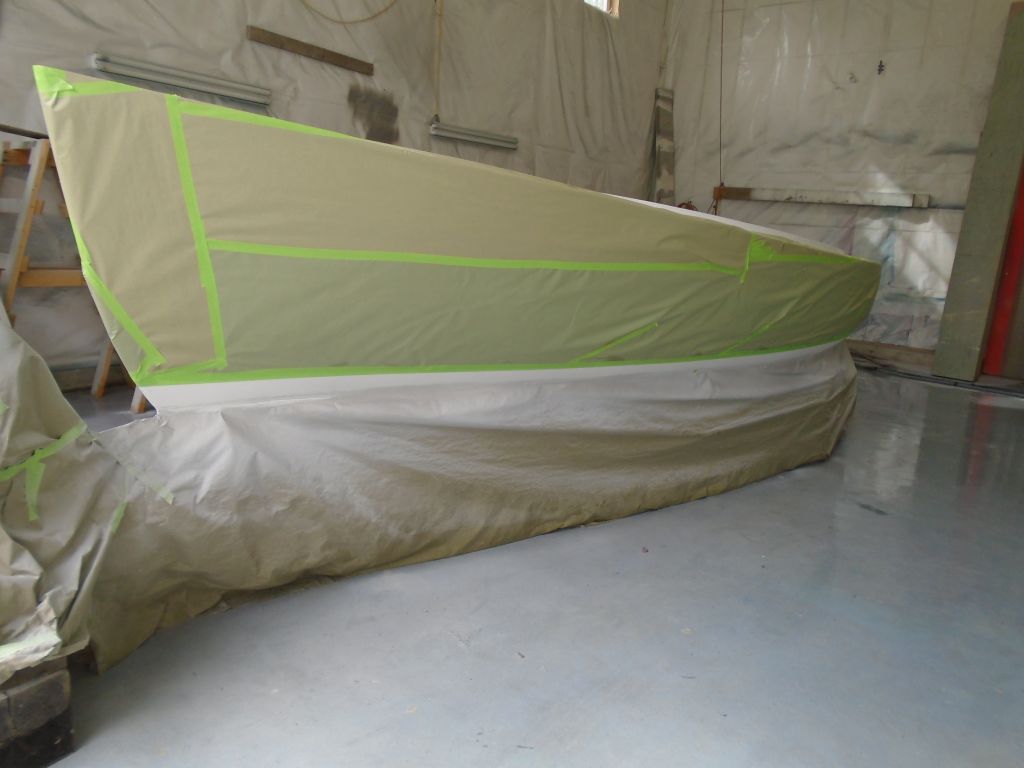
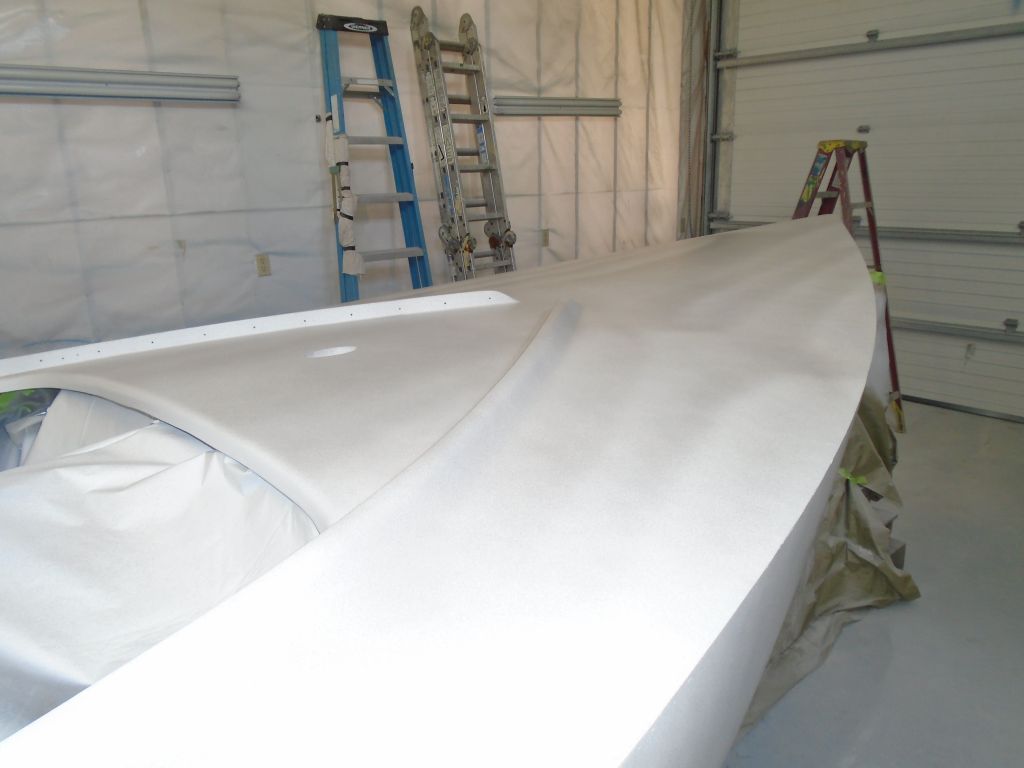
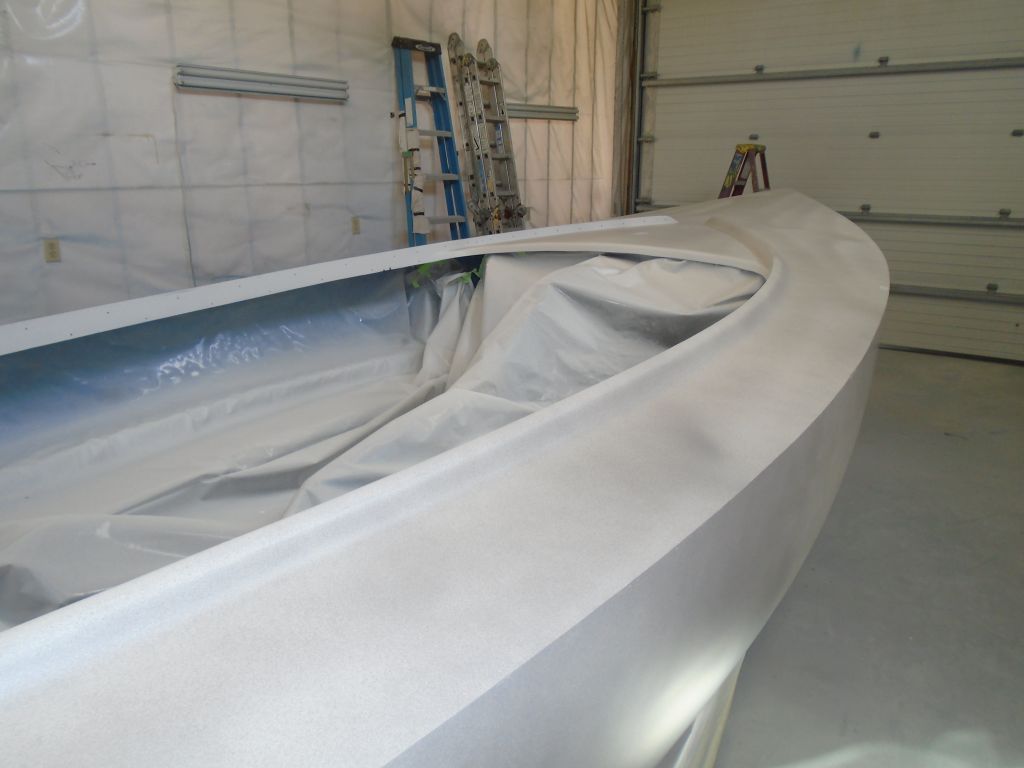
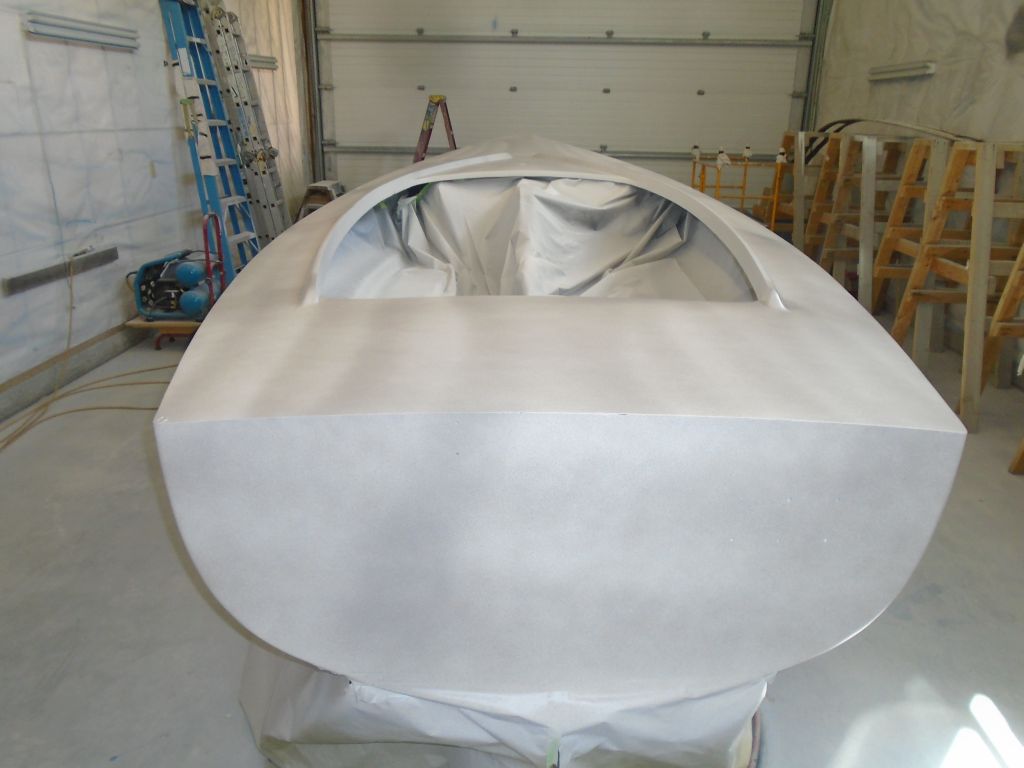
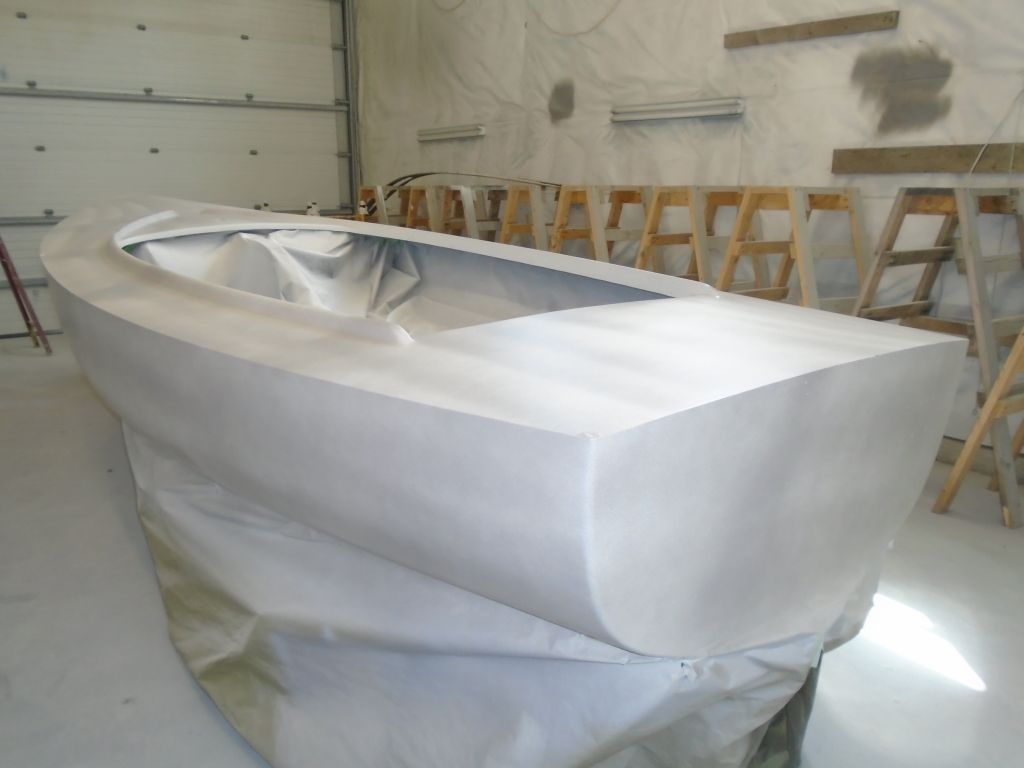
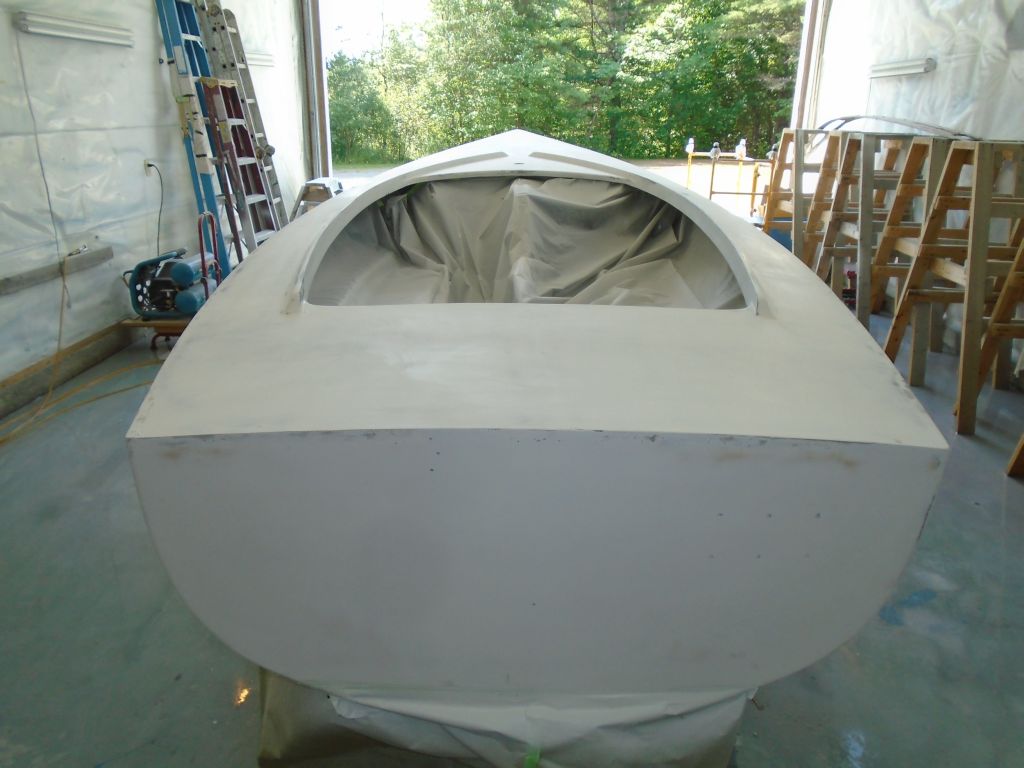
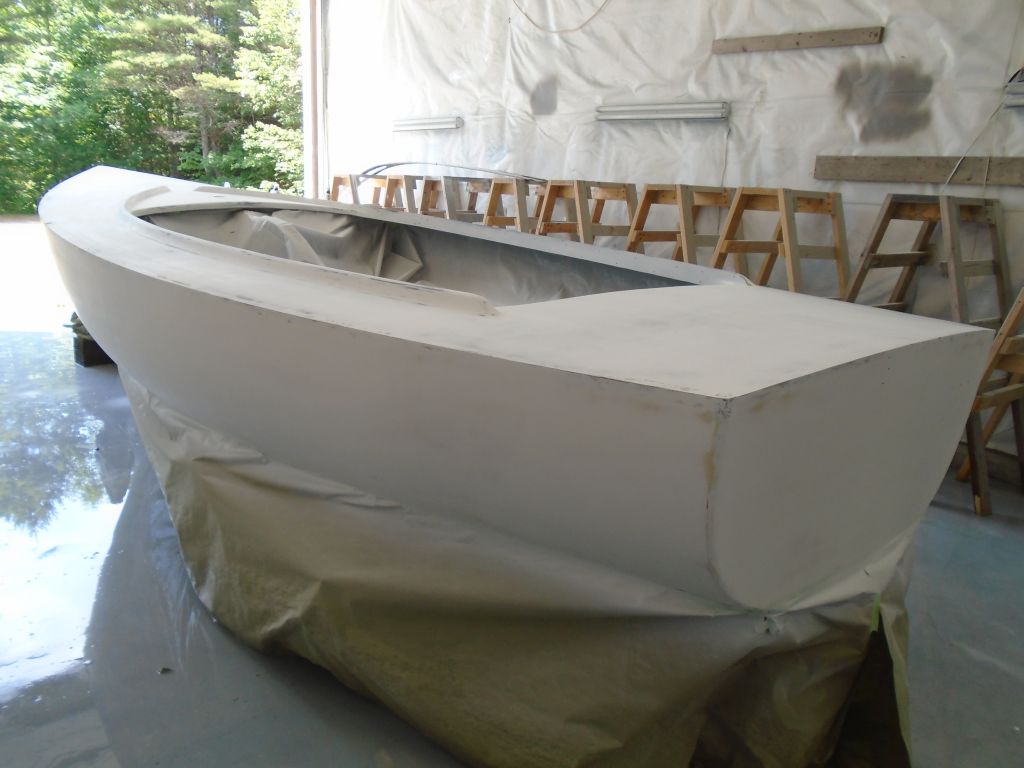
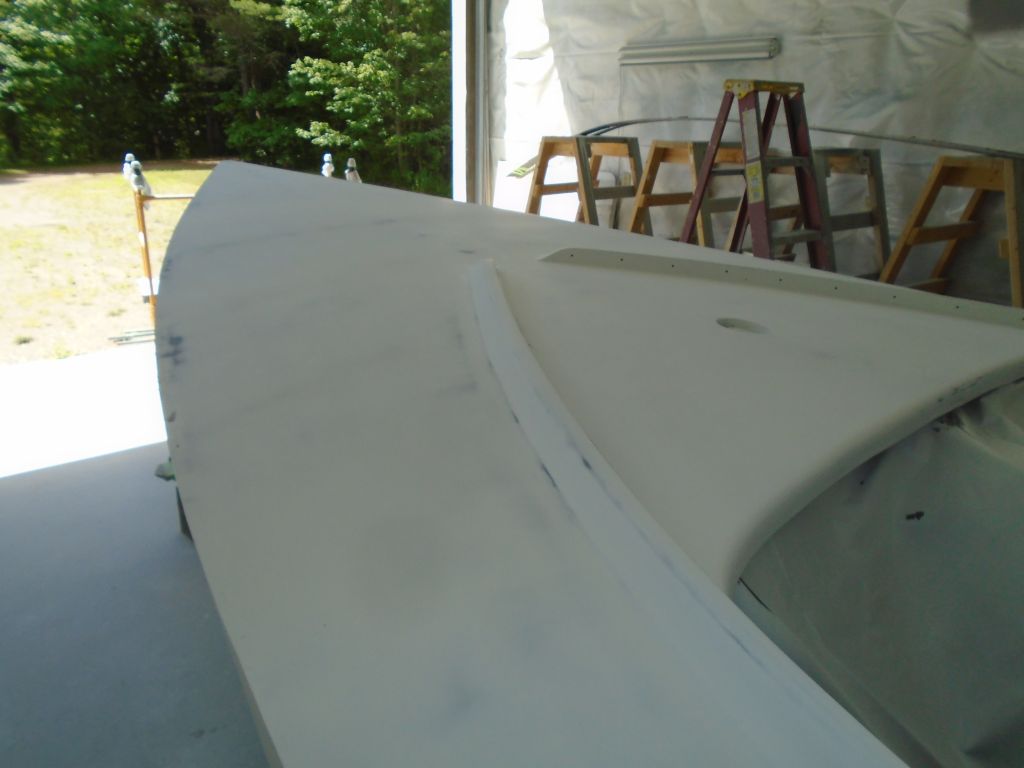
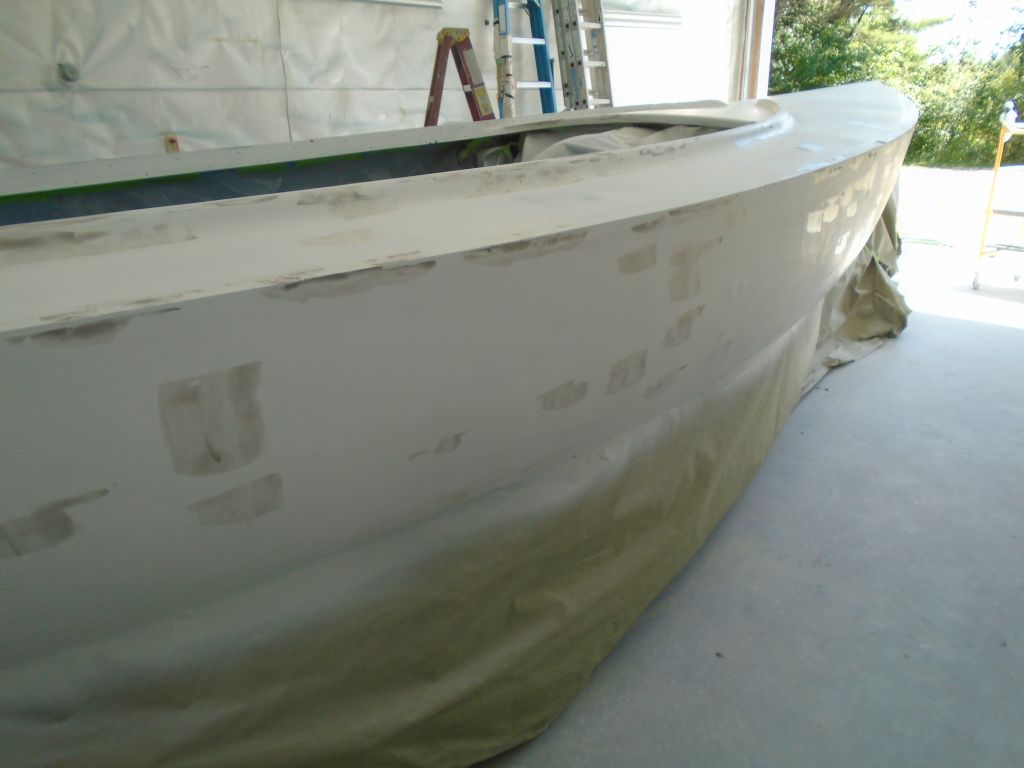
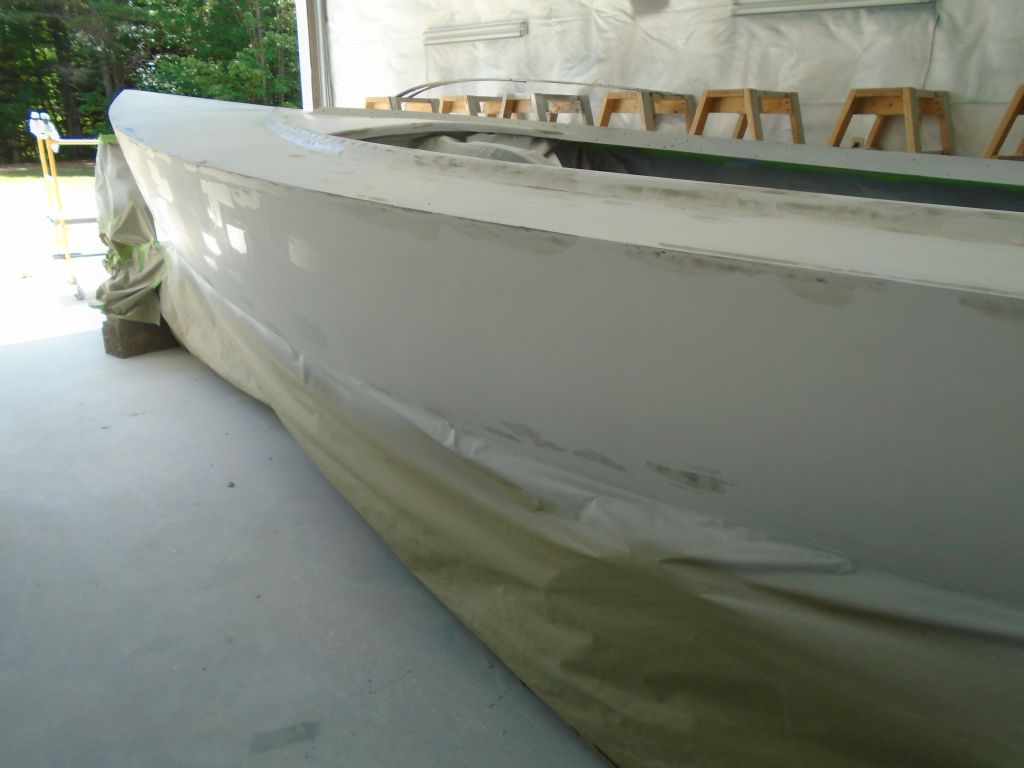
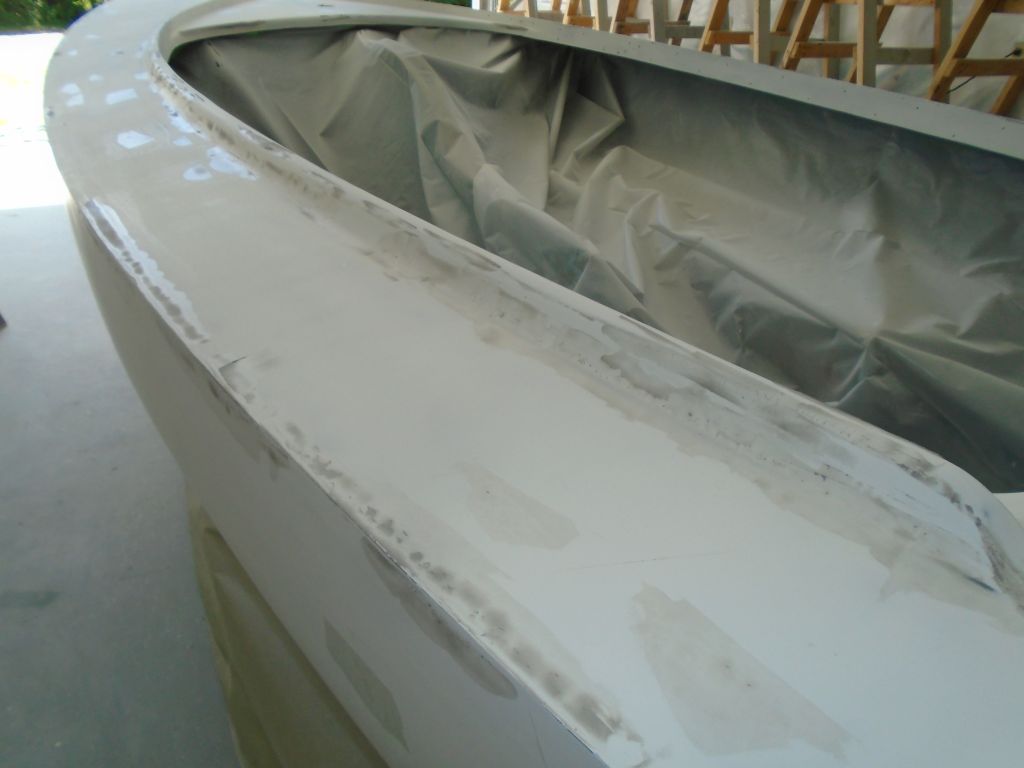
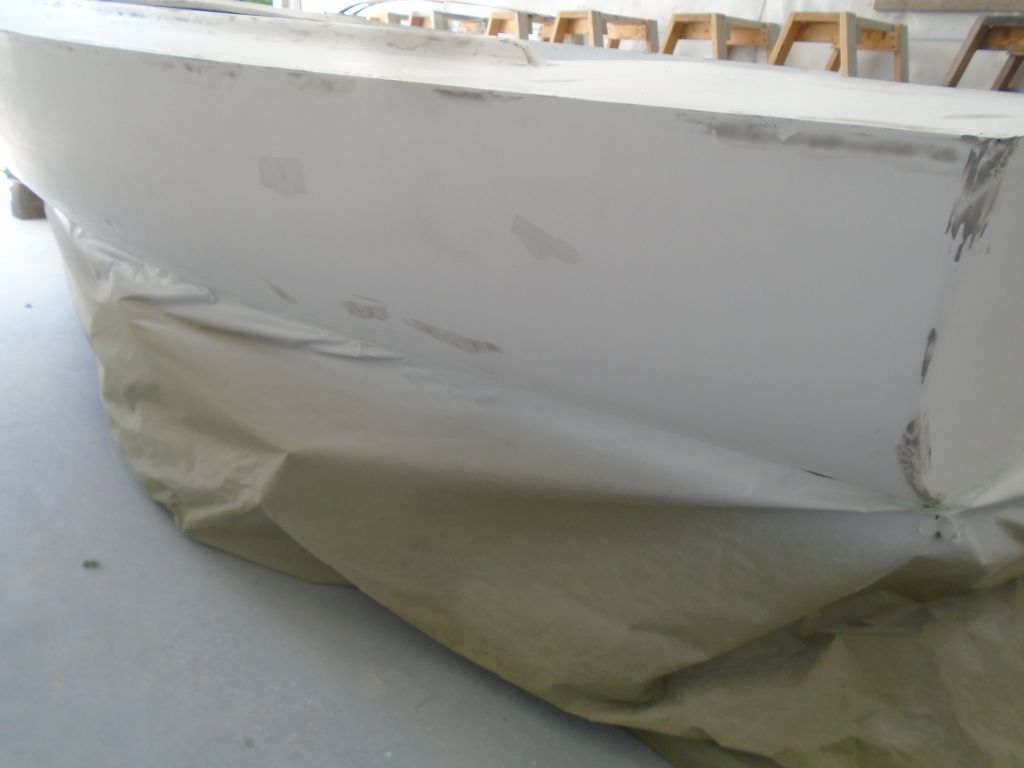
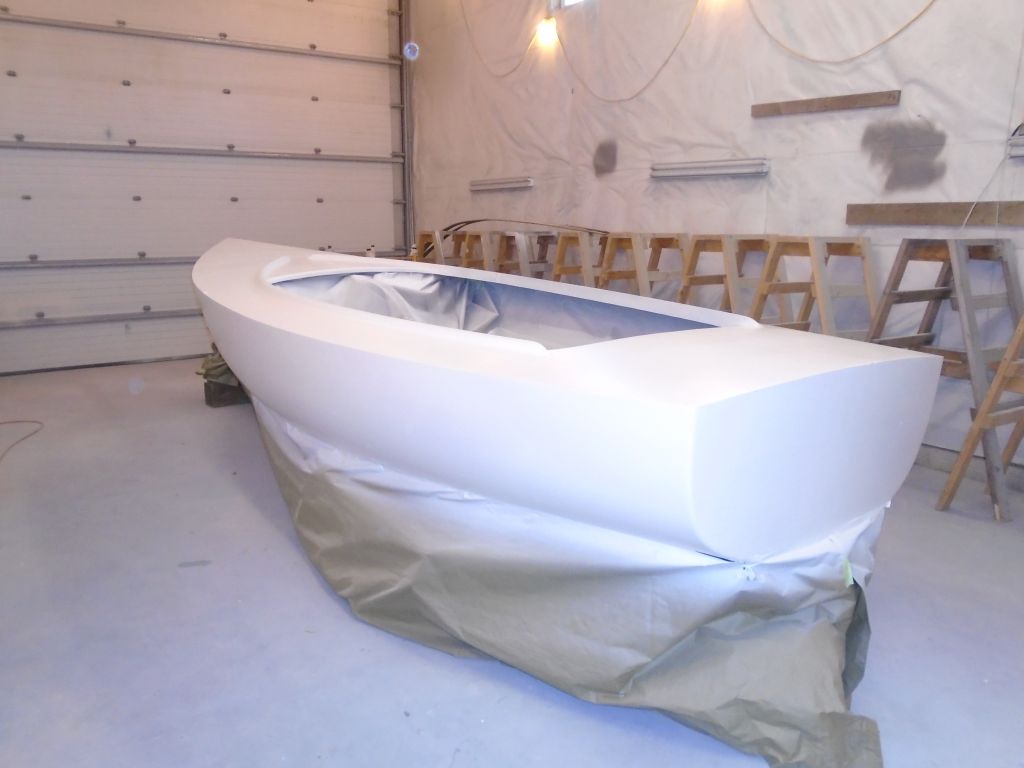
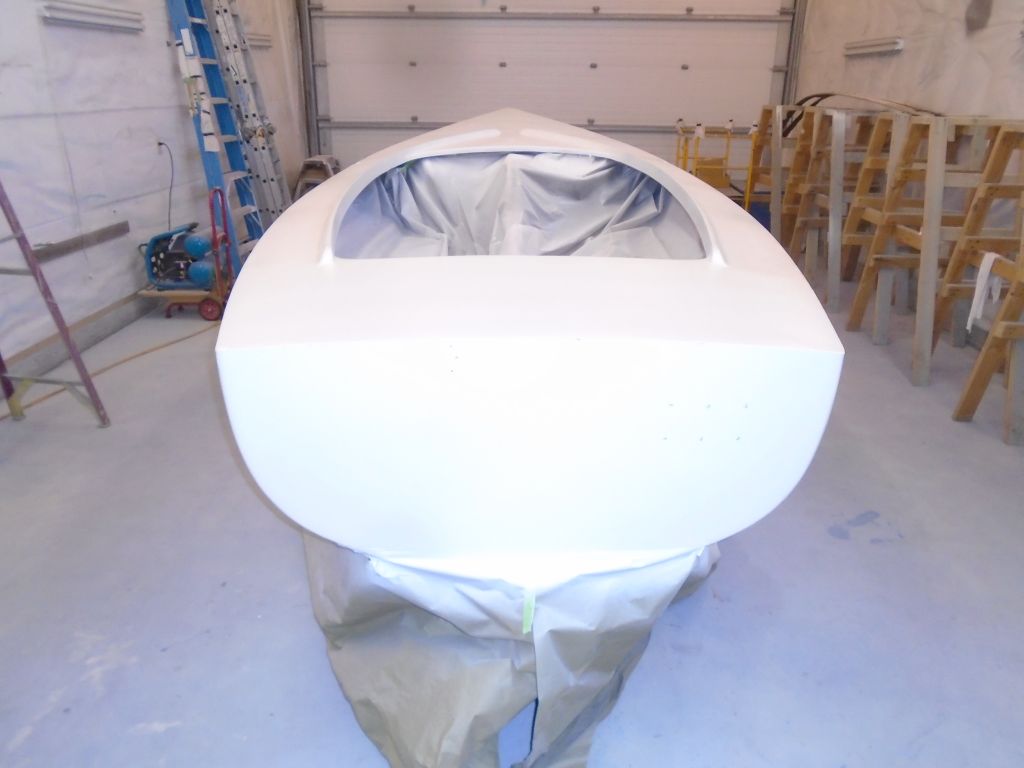
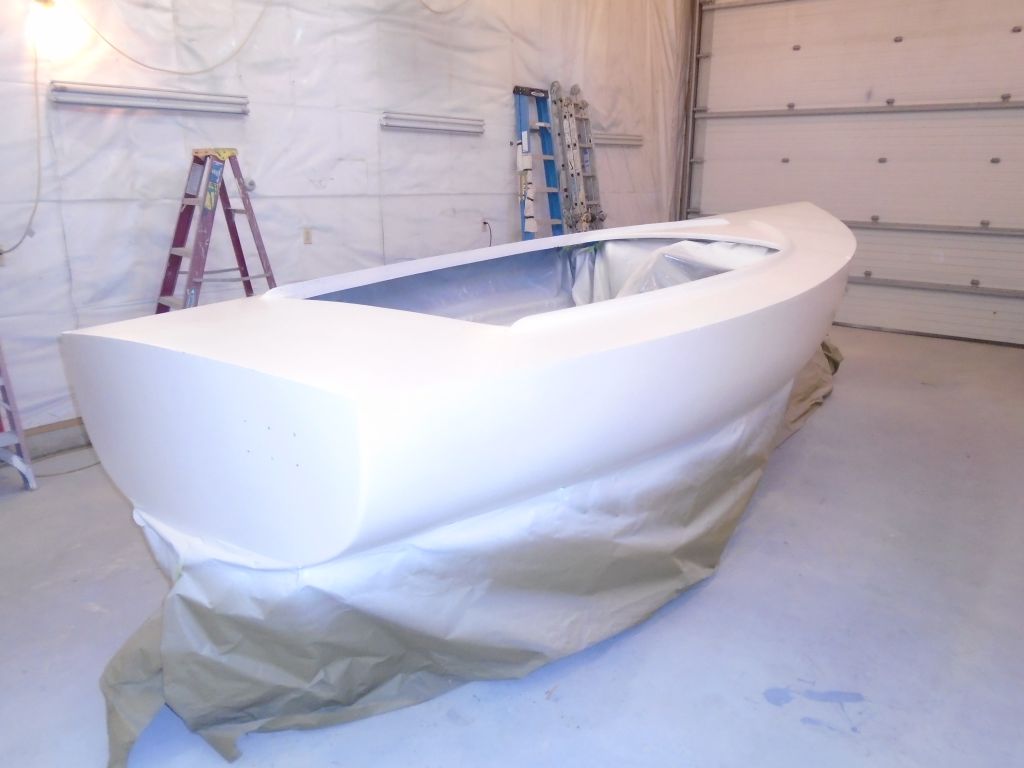
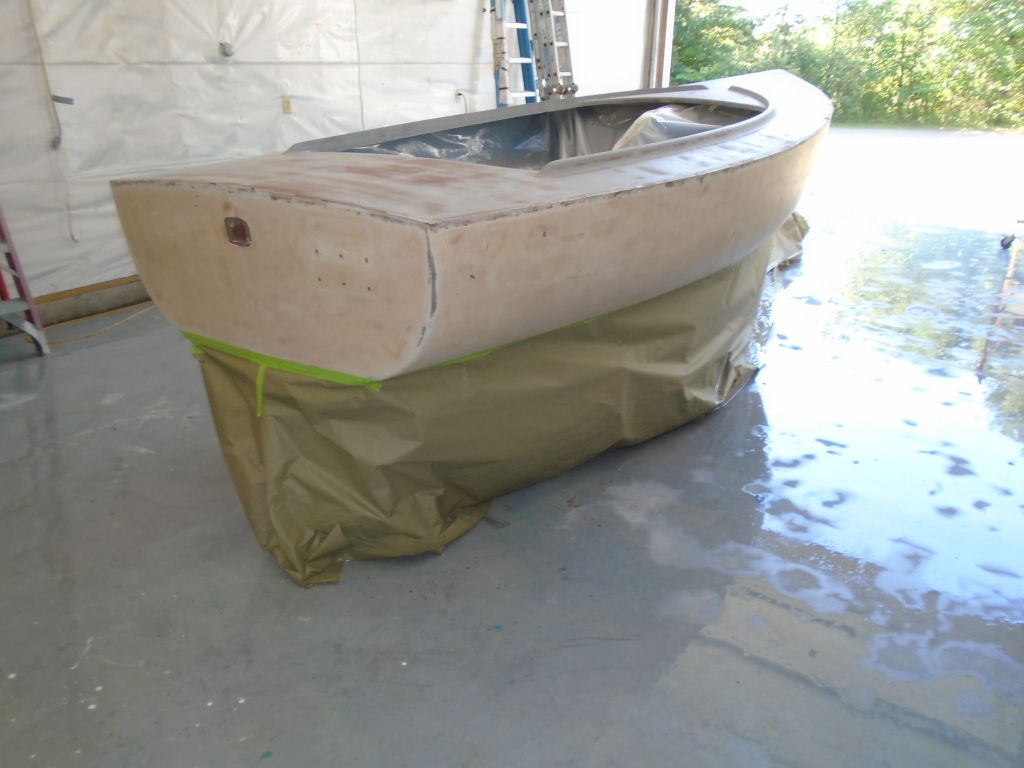
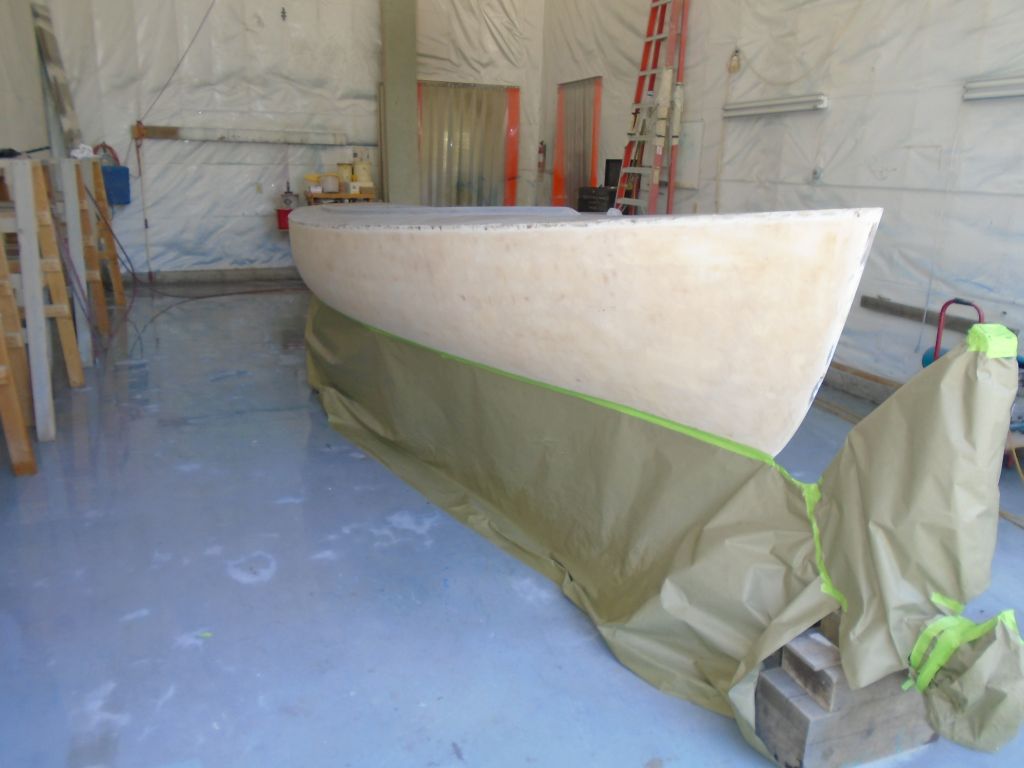
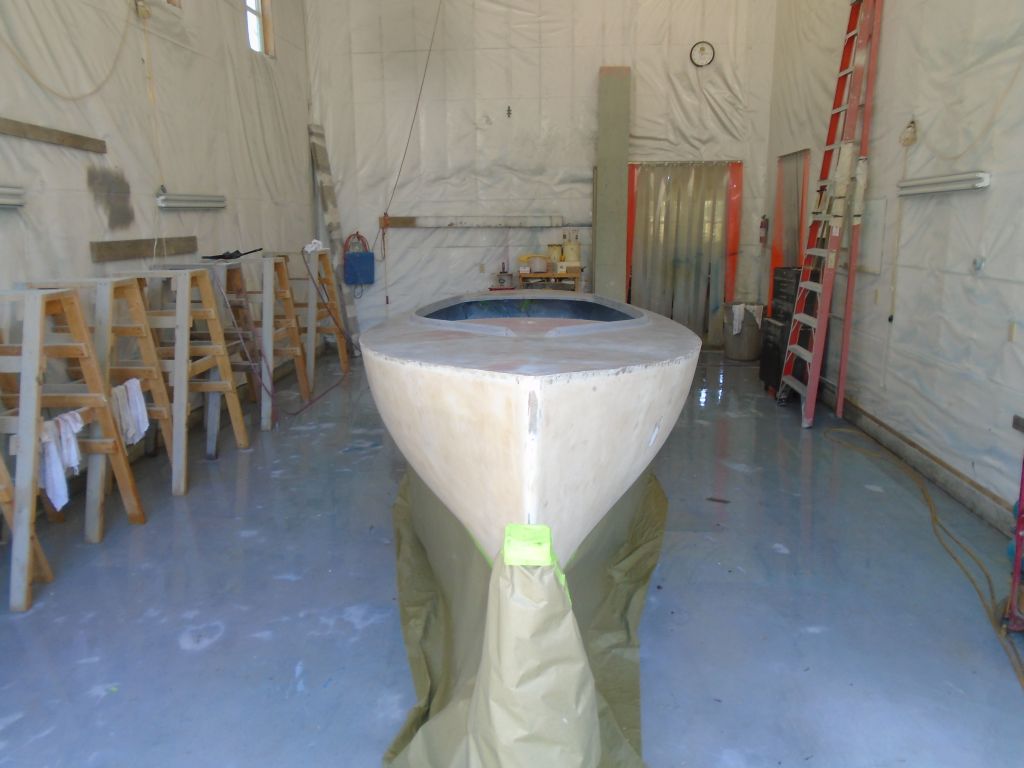
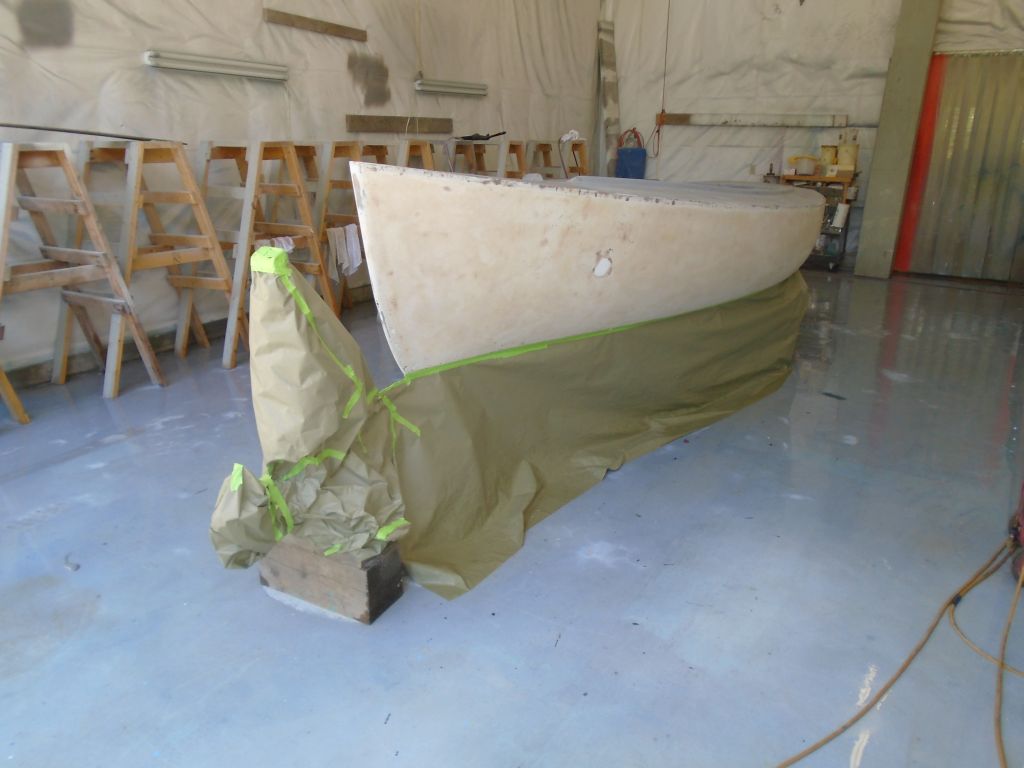
The boottop would be the same color as the smooth areas of the deck, and since I could reach all these areas at the same time, I went ahead and struck and masked a new boottop 1-1/2″ above the already-masked waterline.
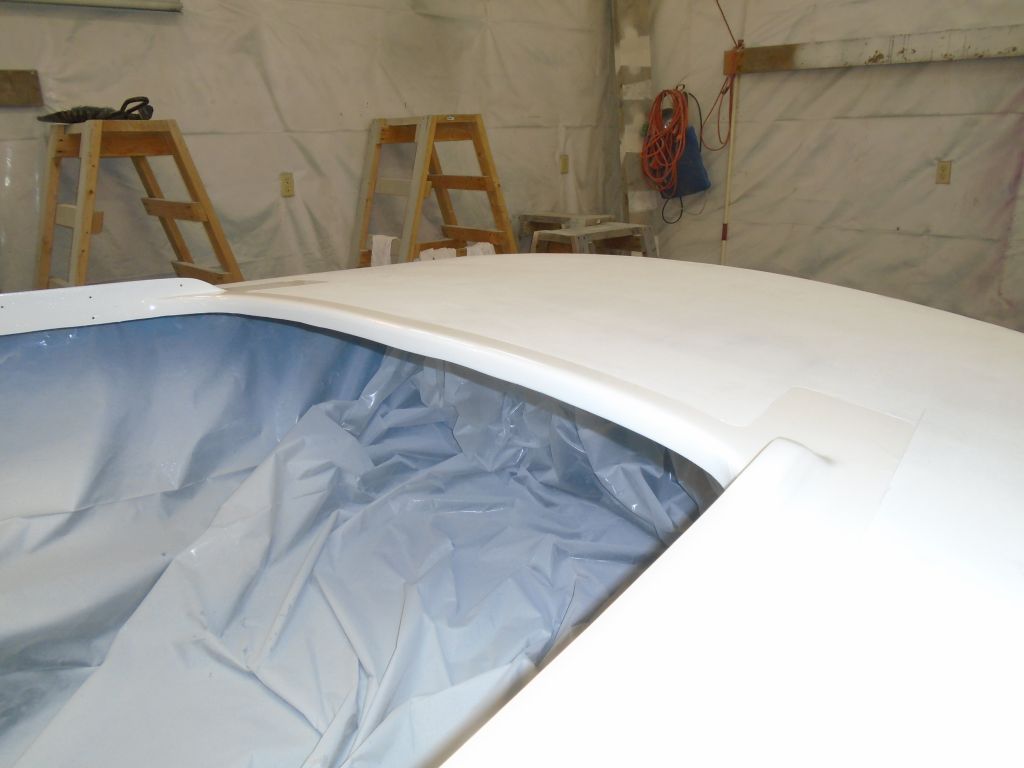
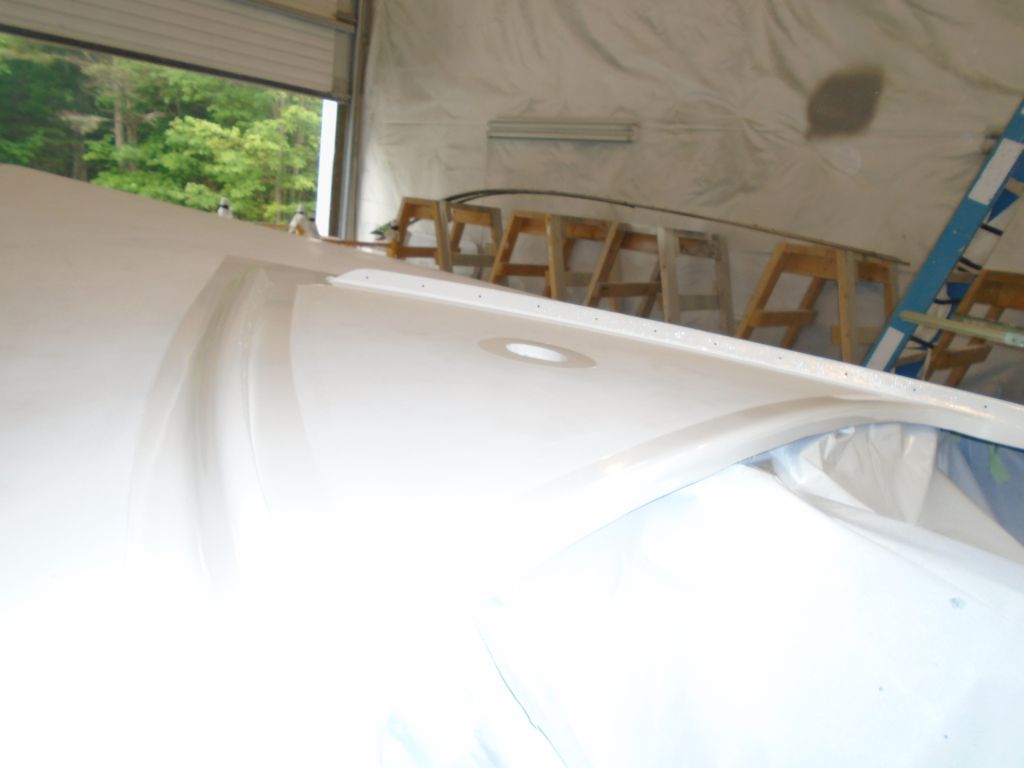
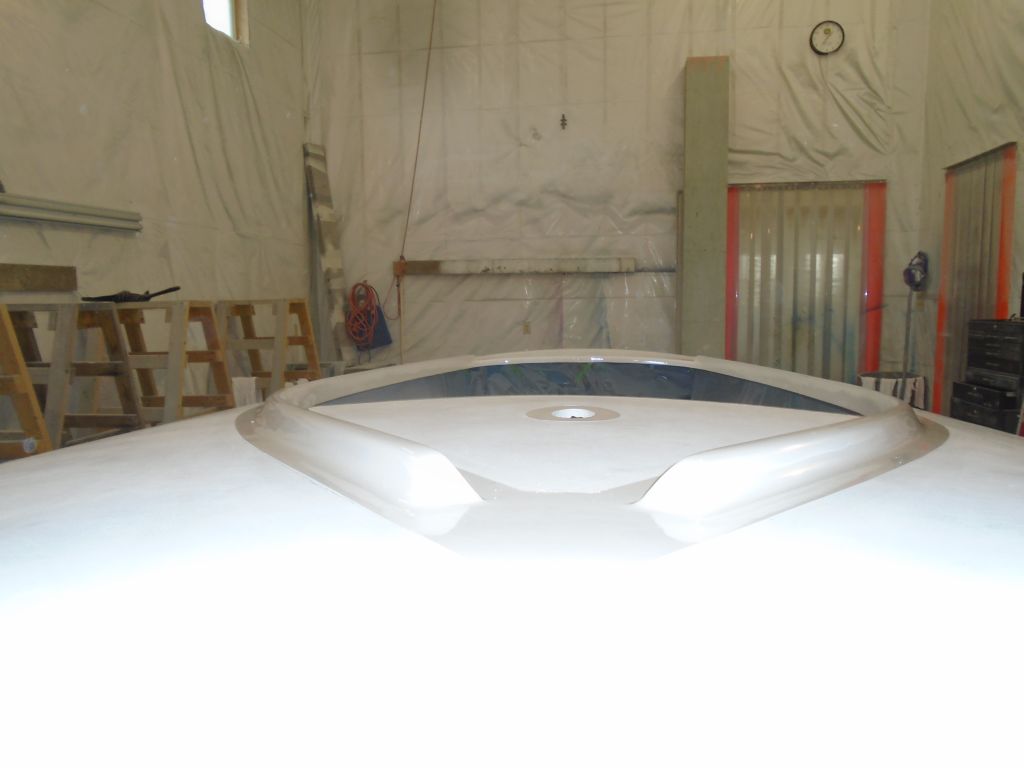
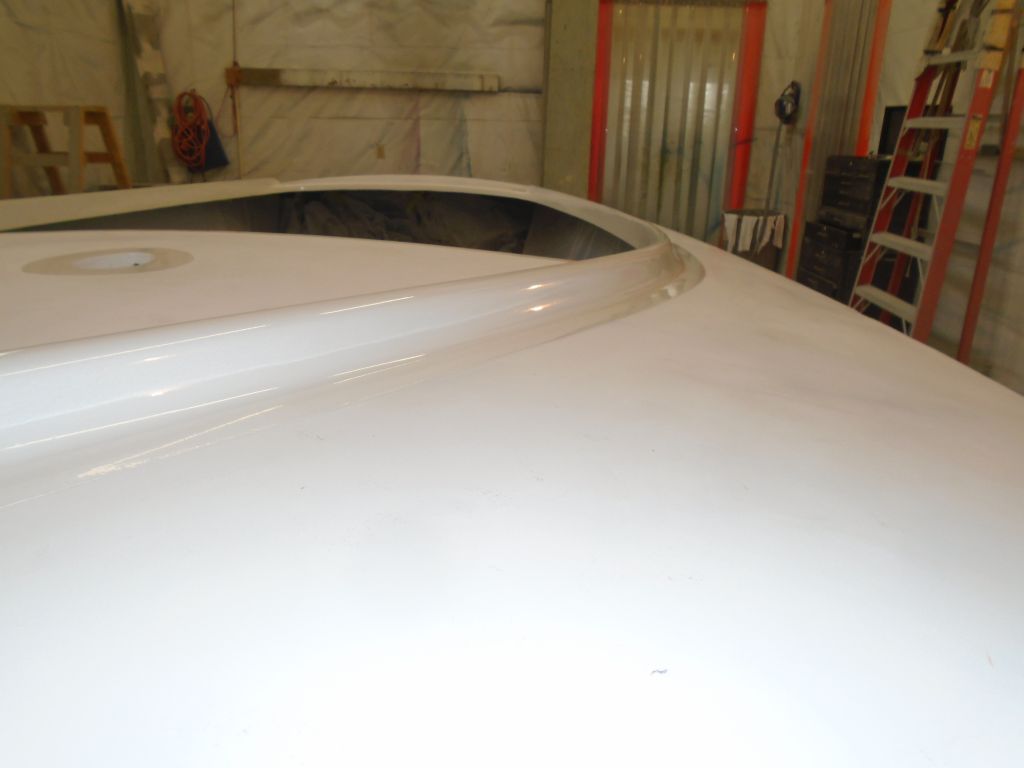
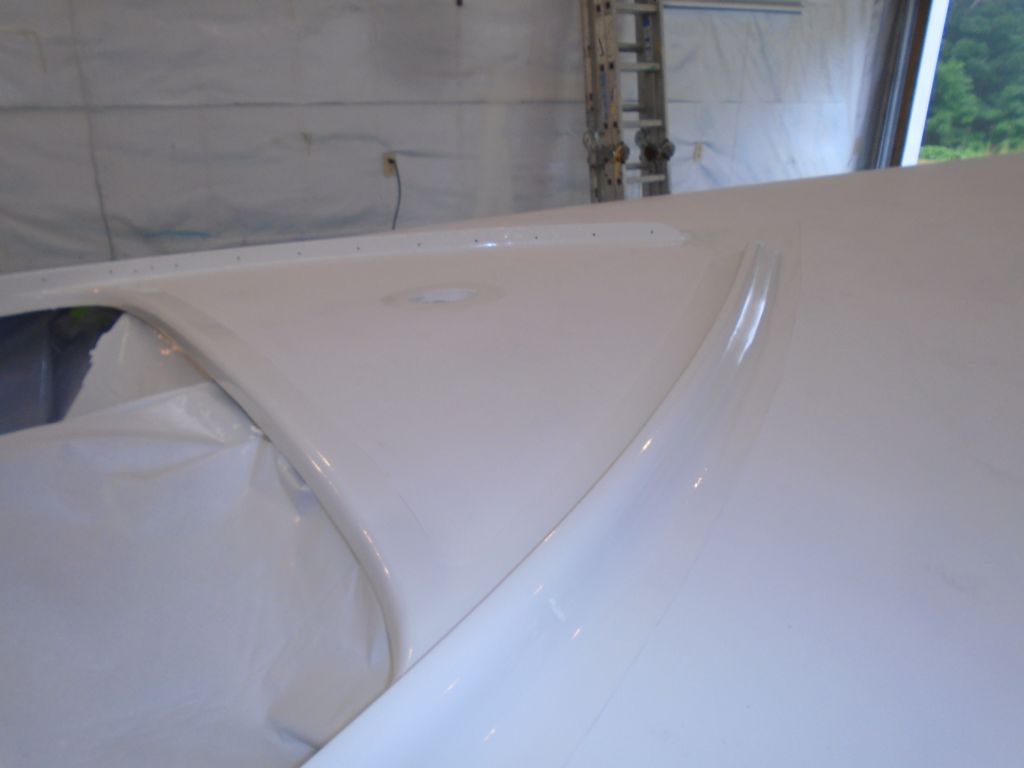
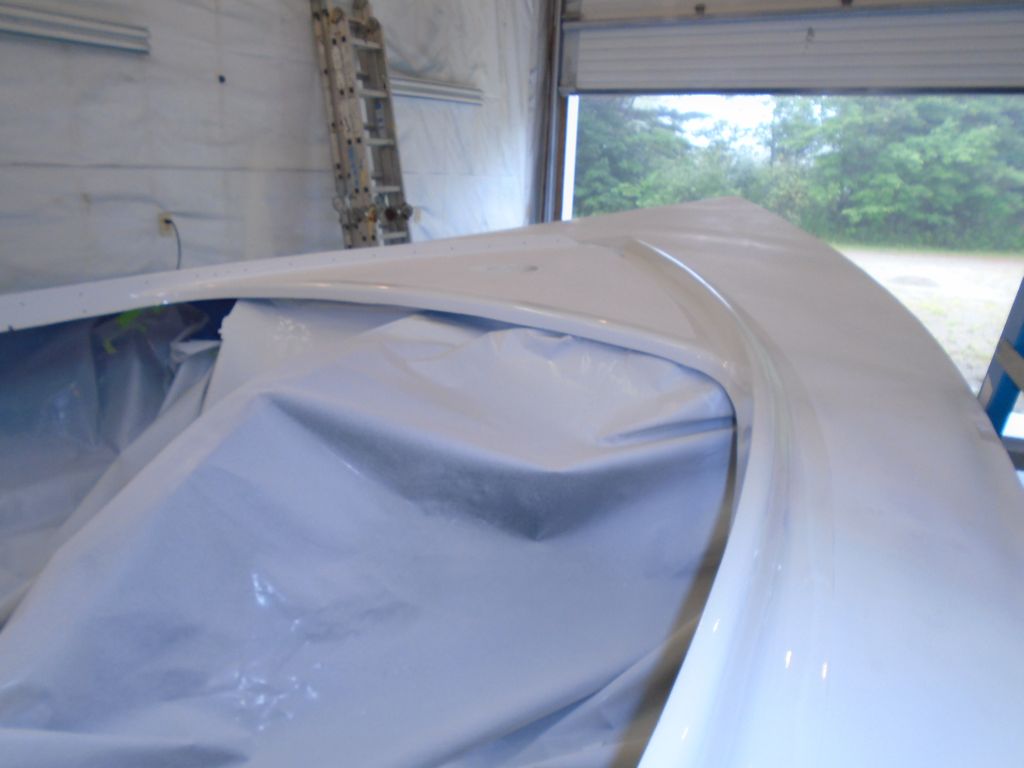
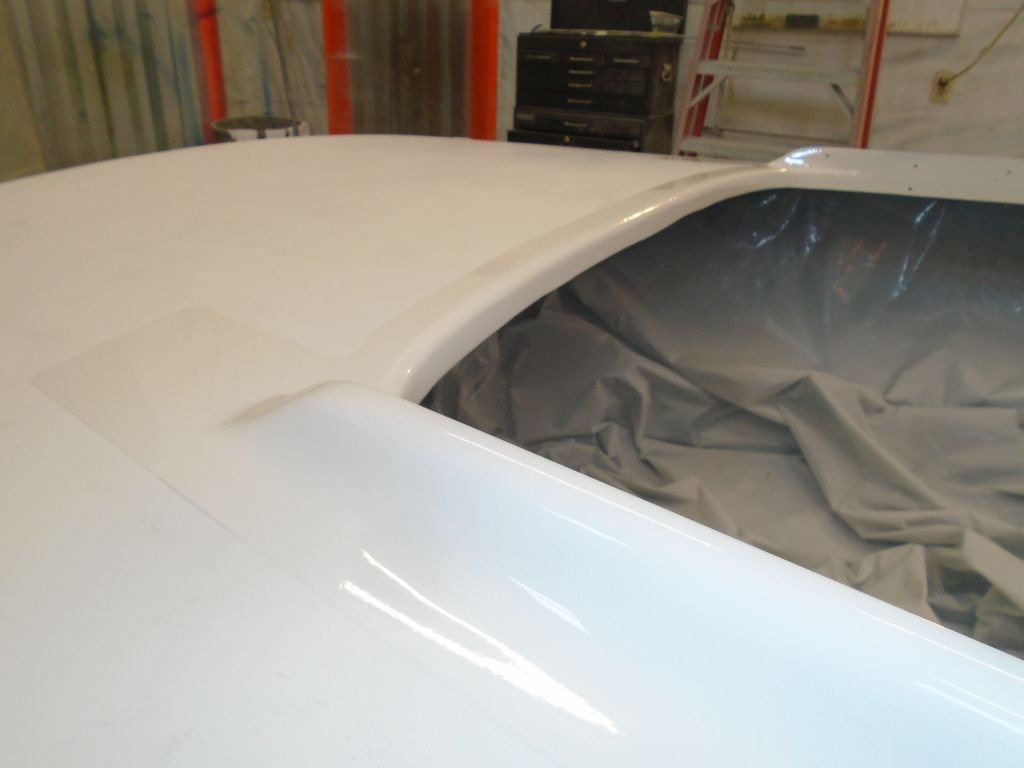
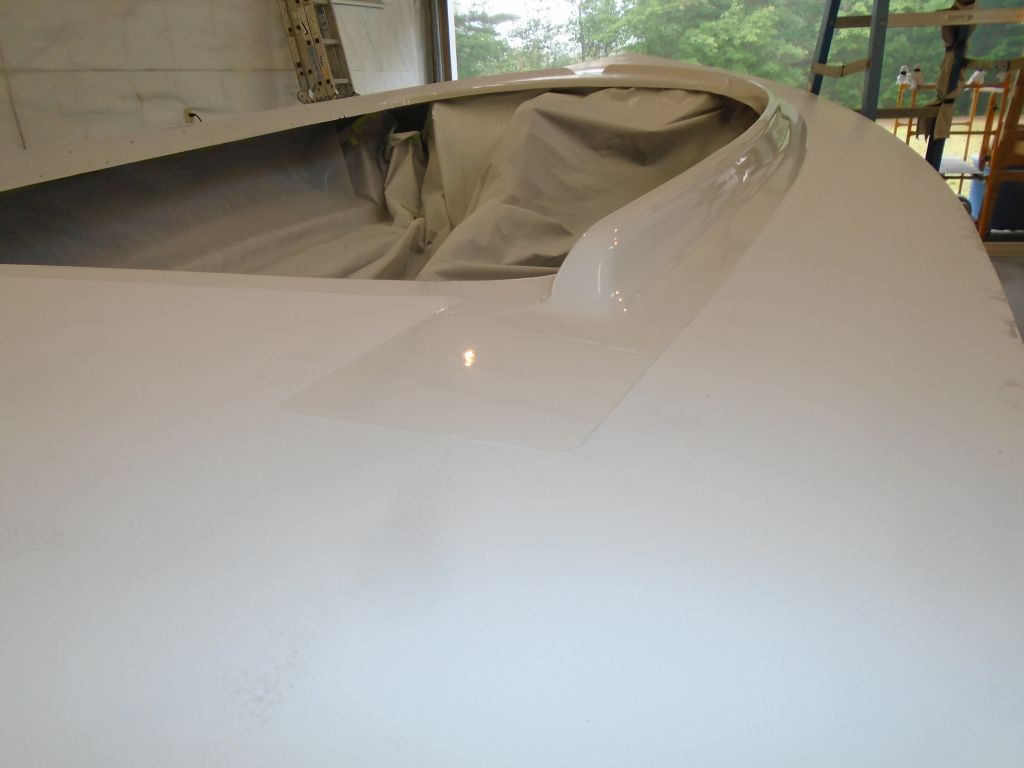
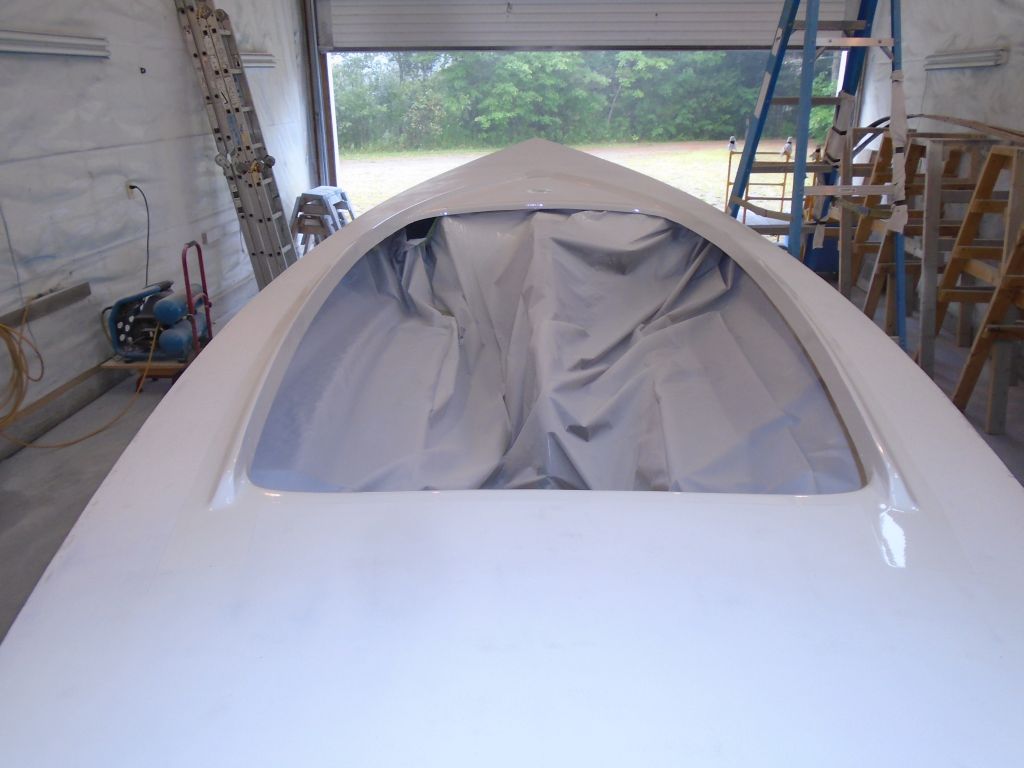
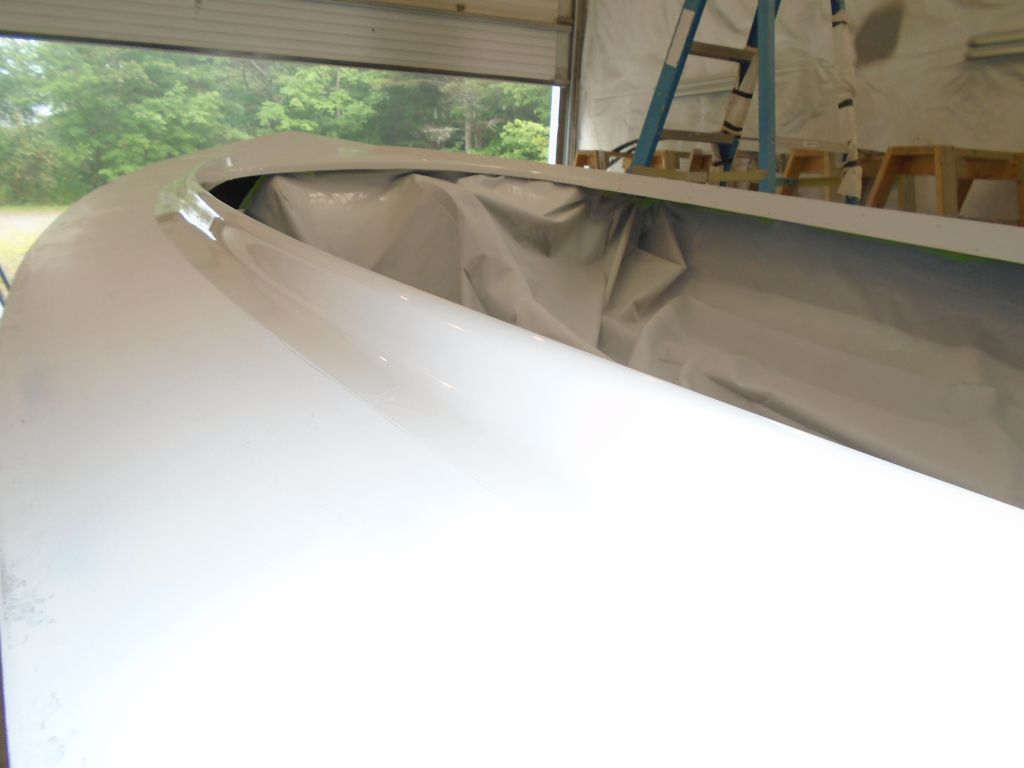
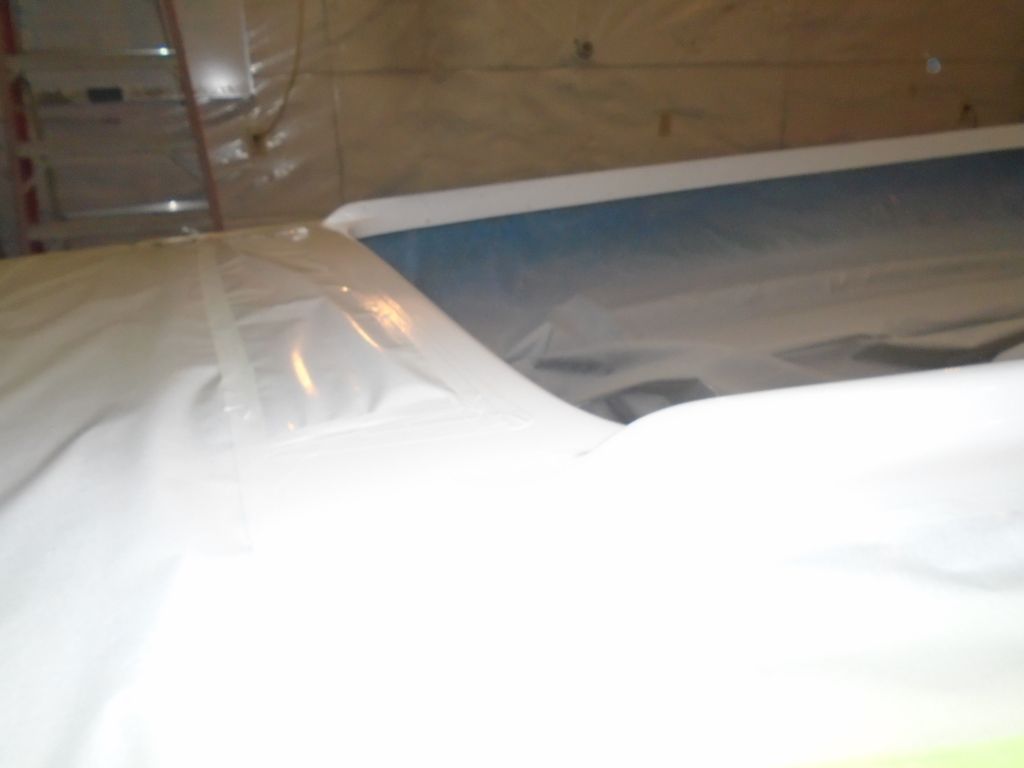
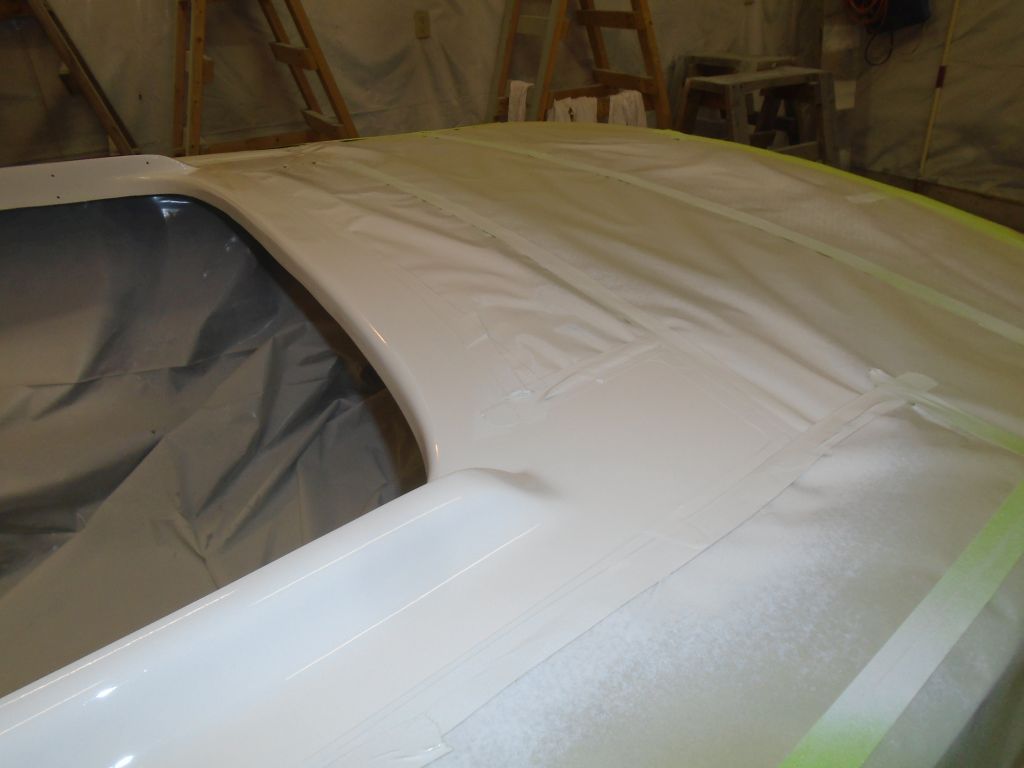
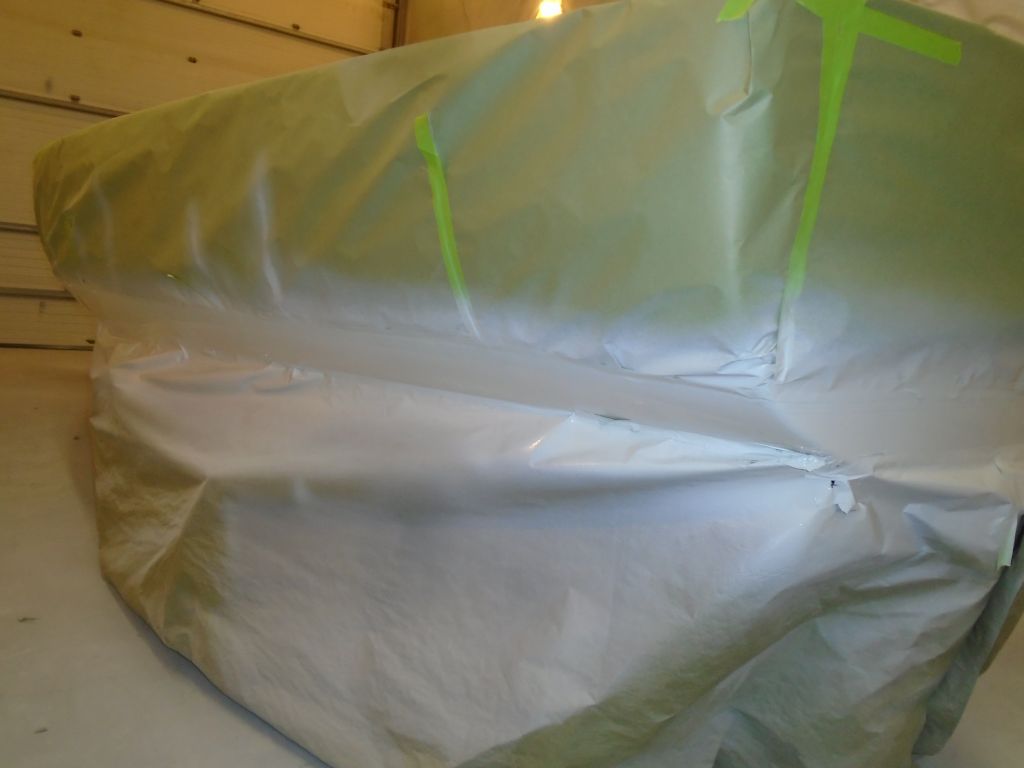
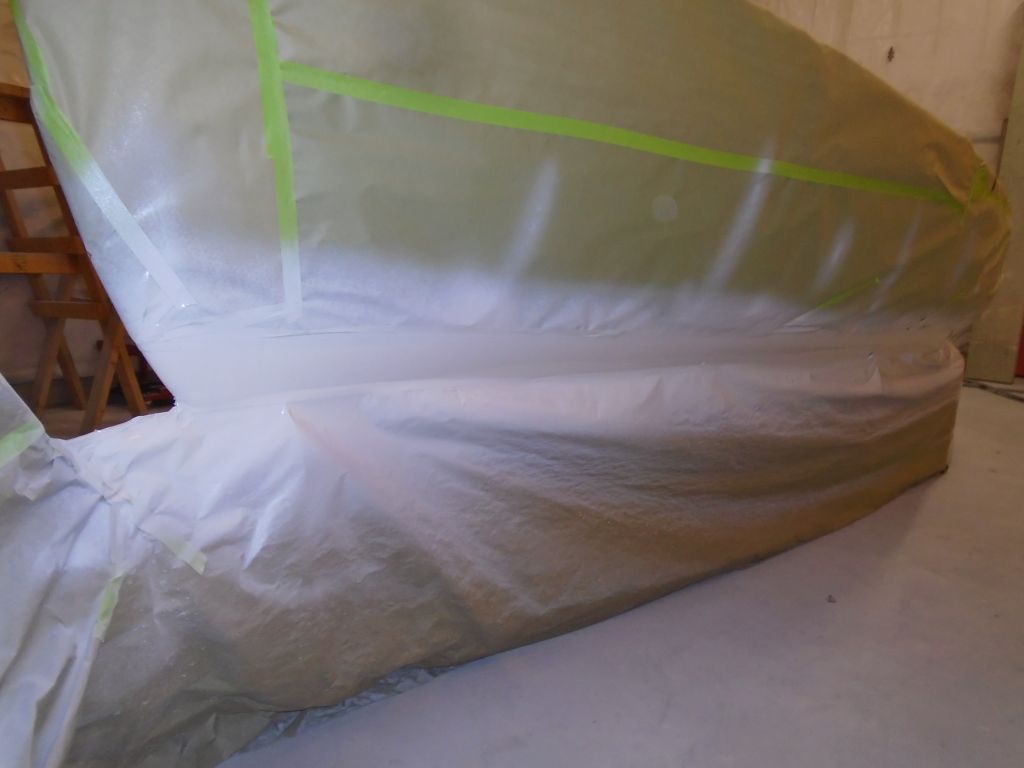
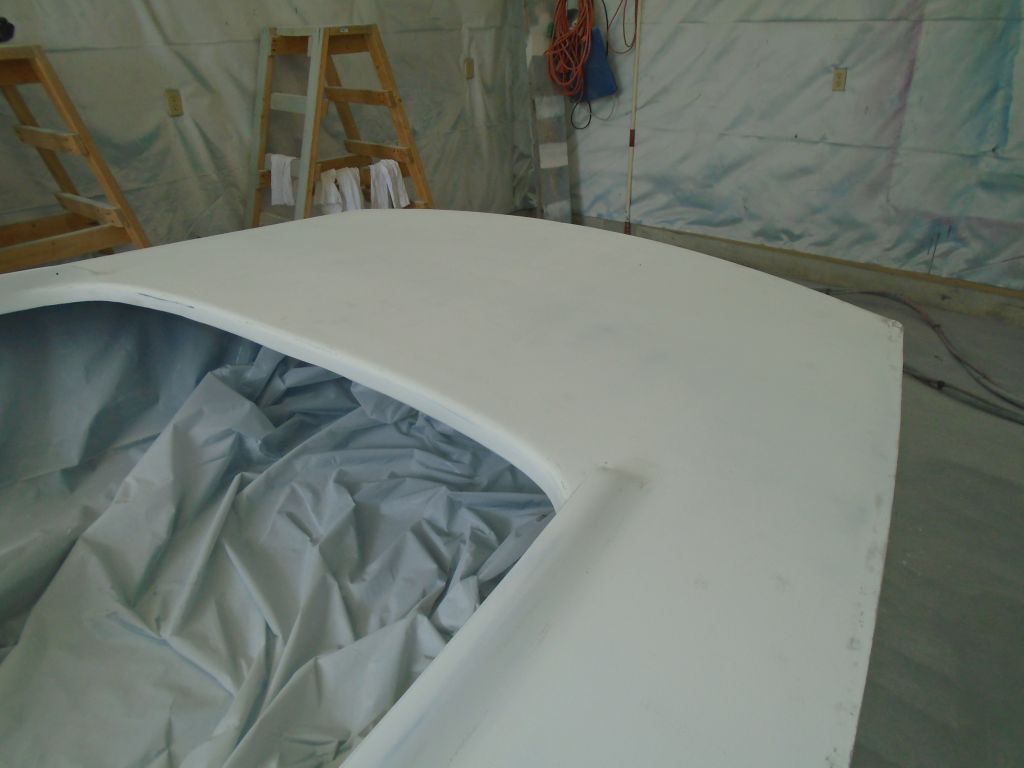
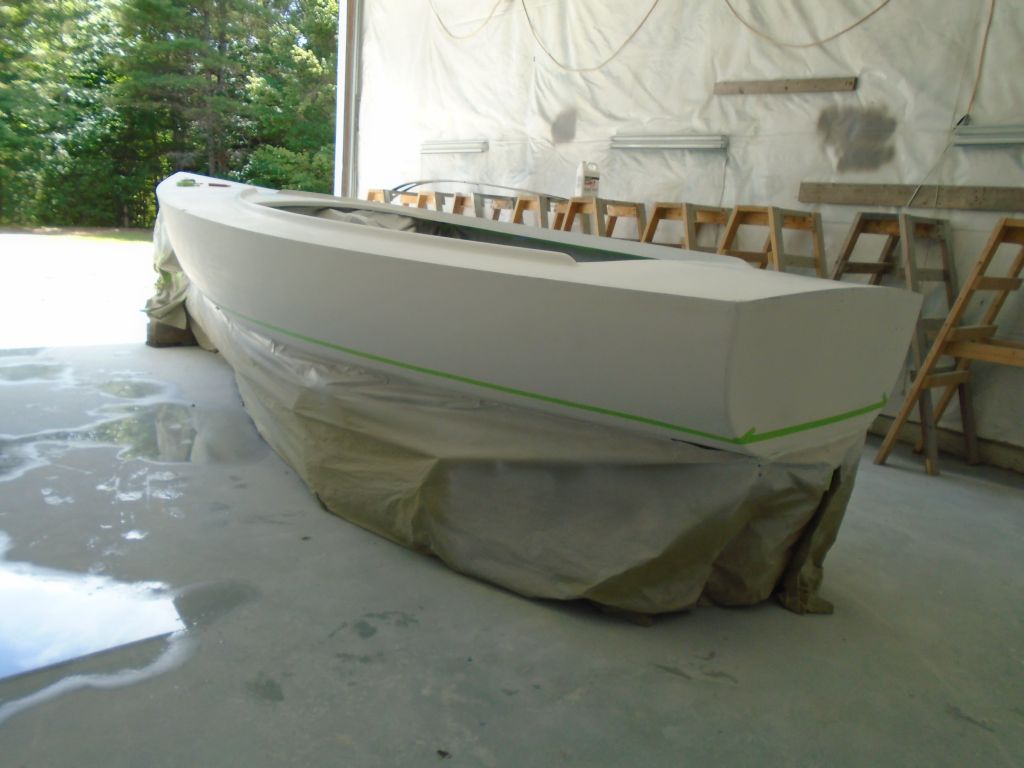
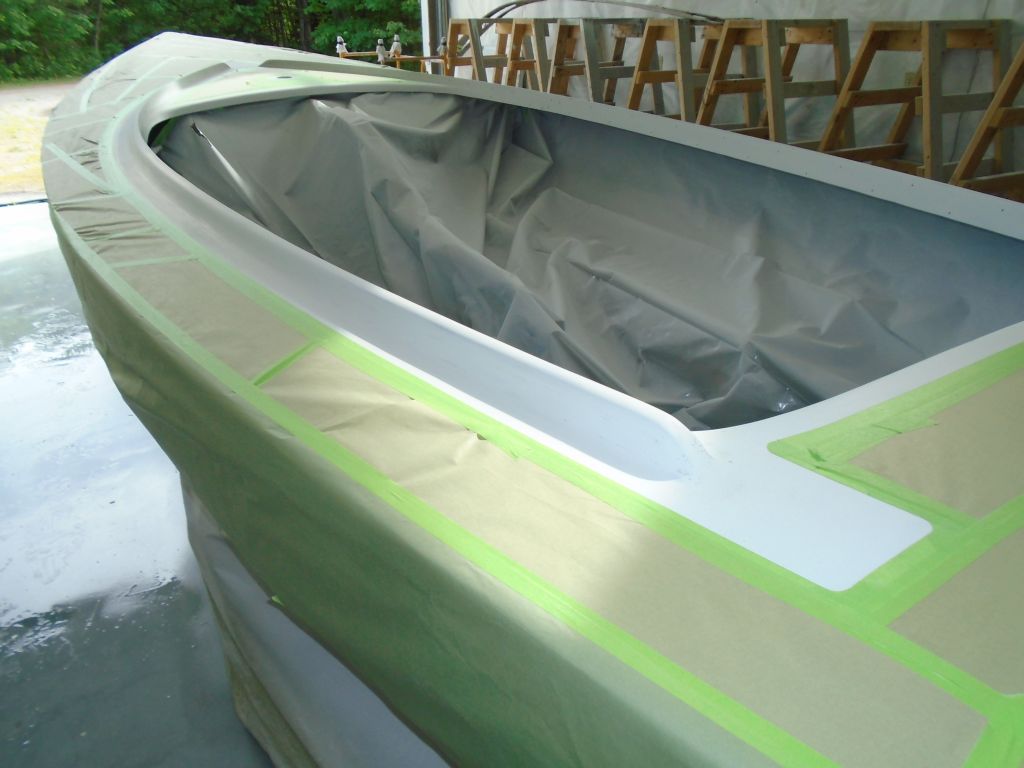
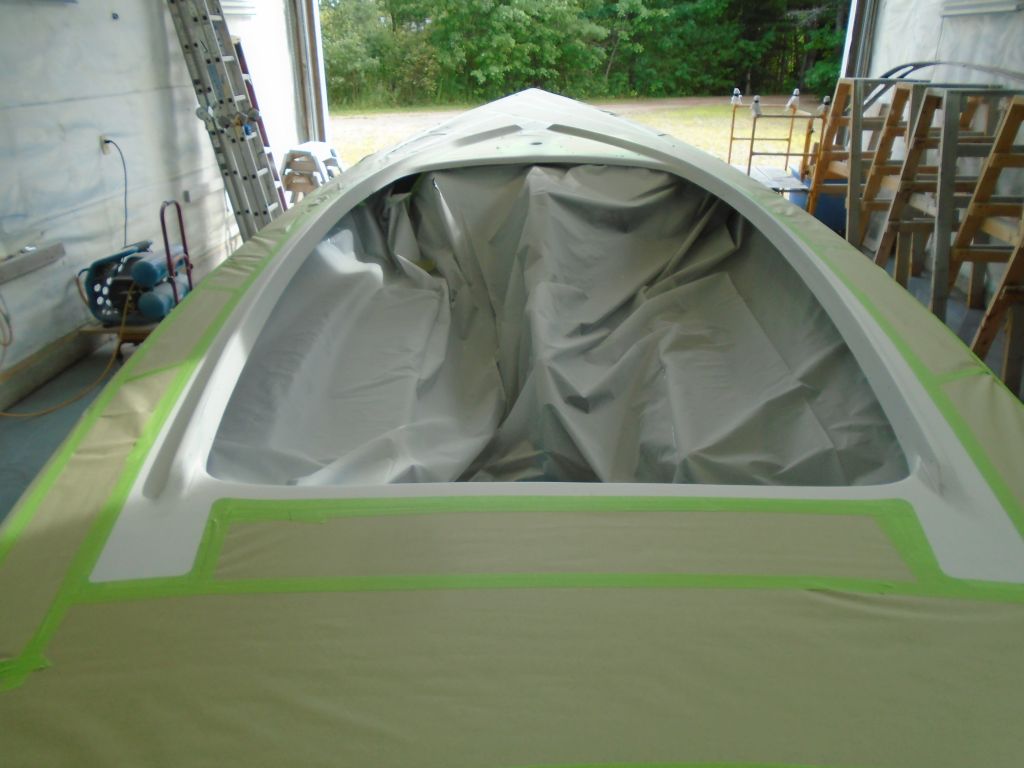
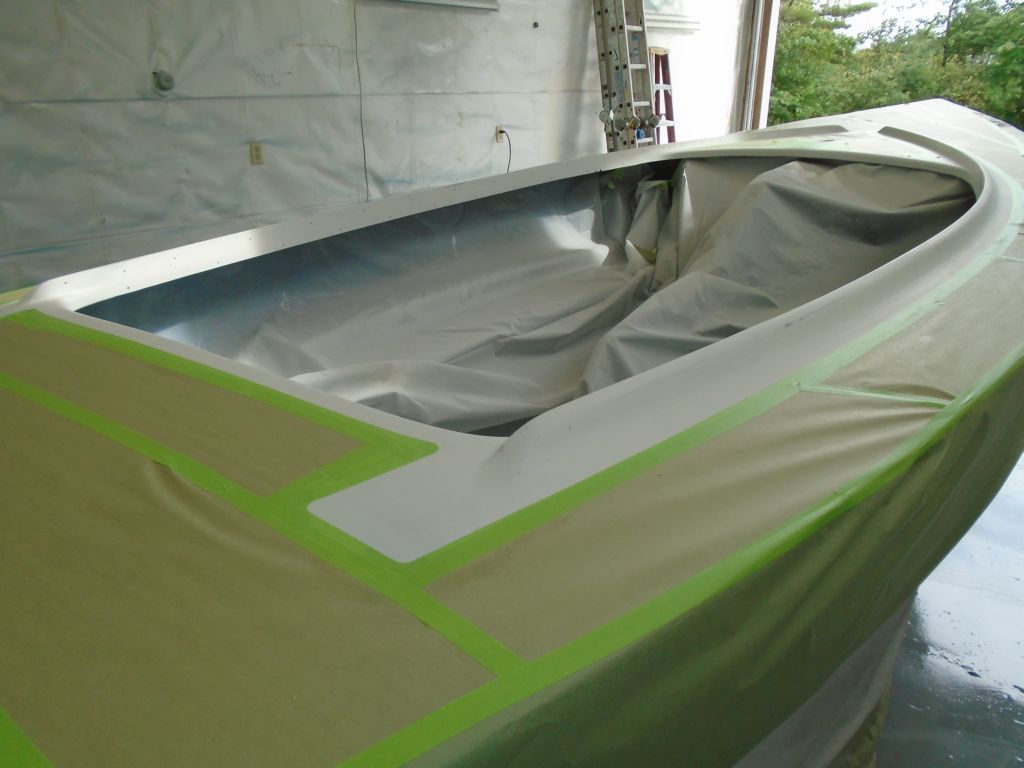
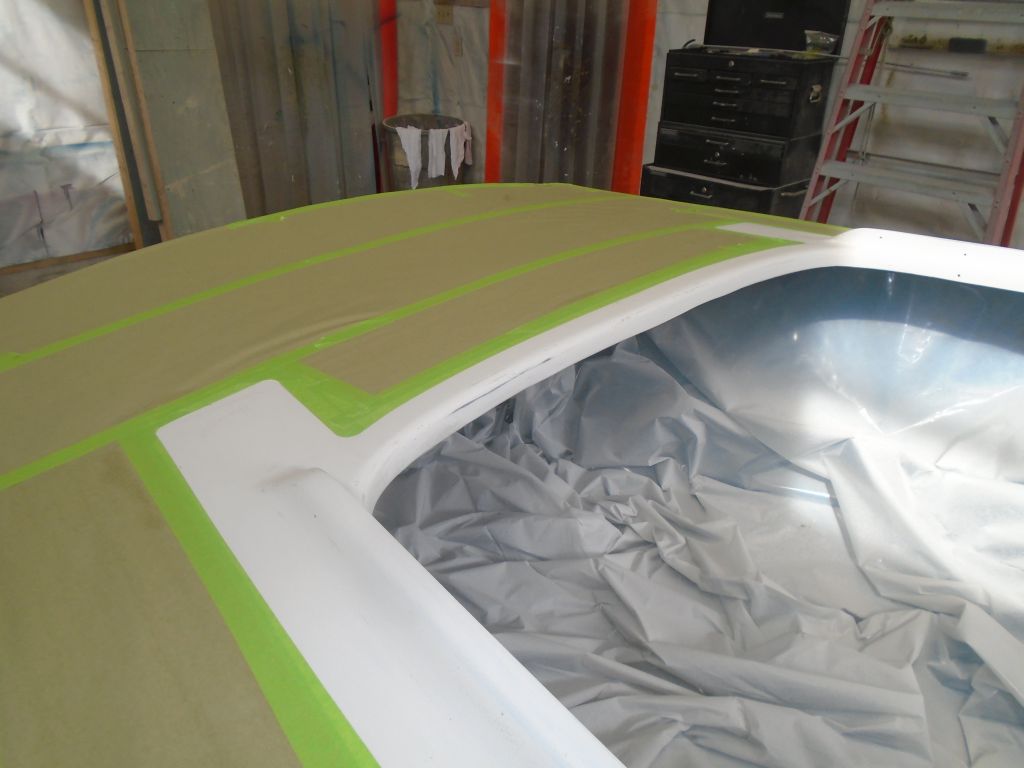
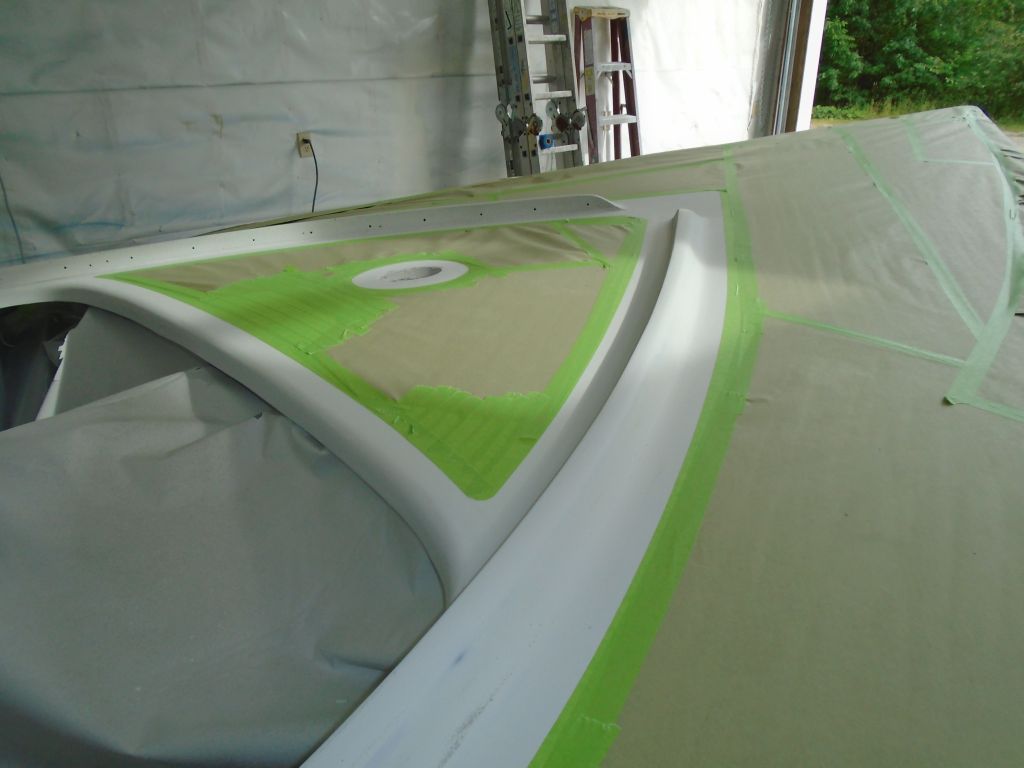
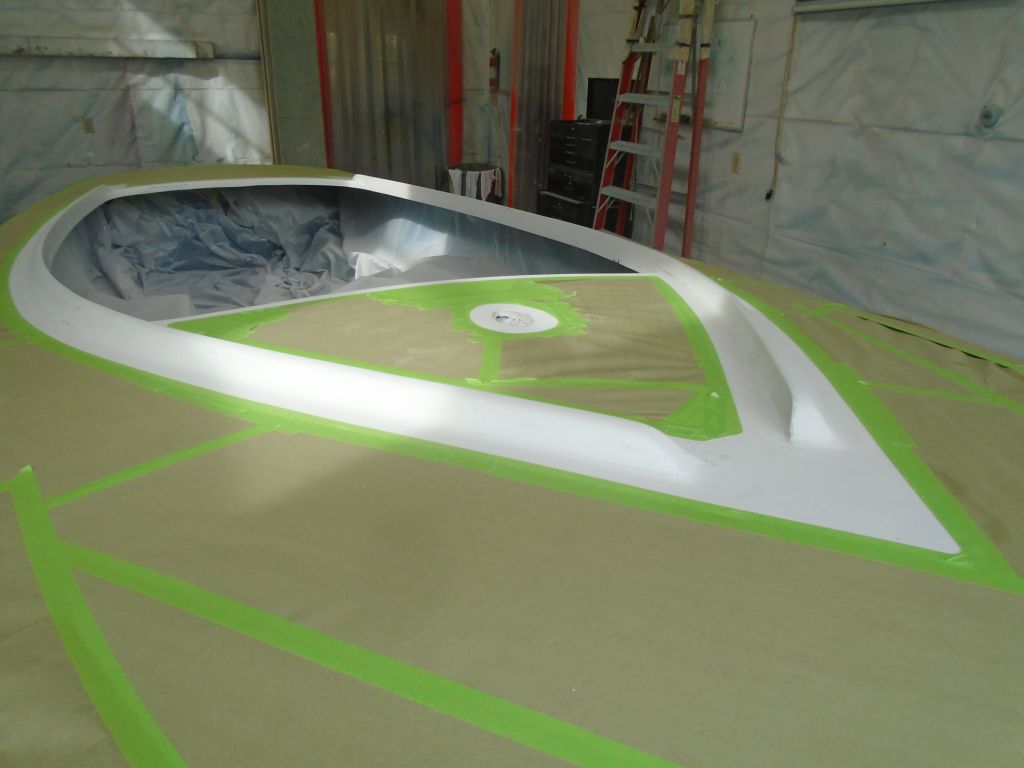
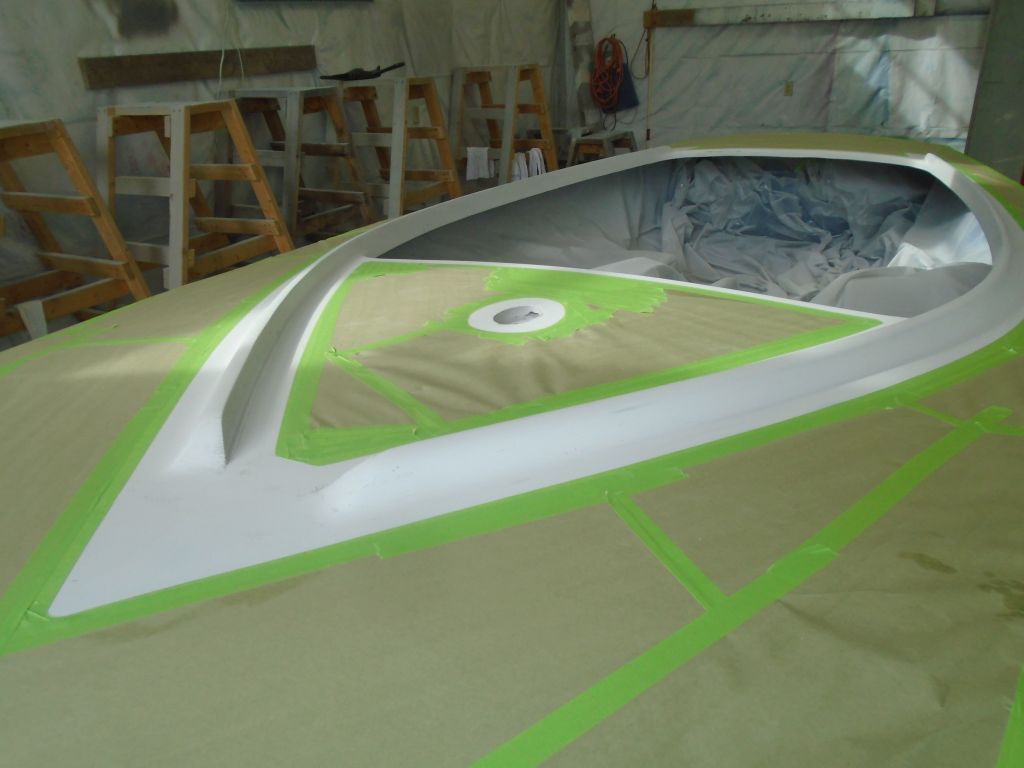
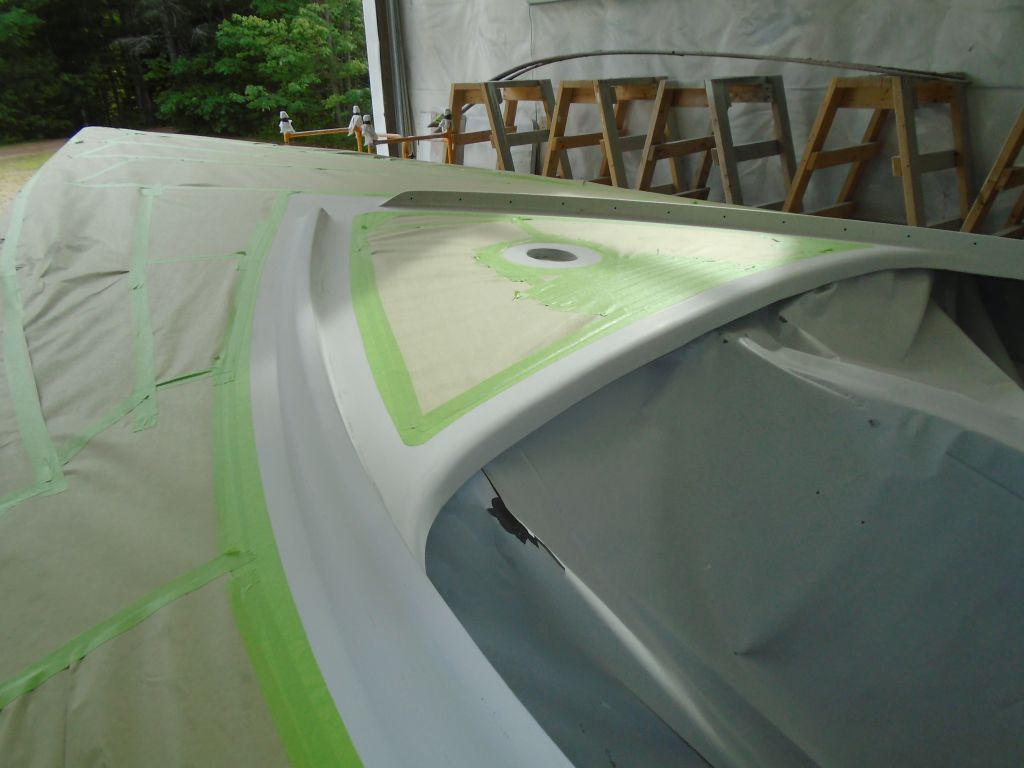
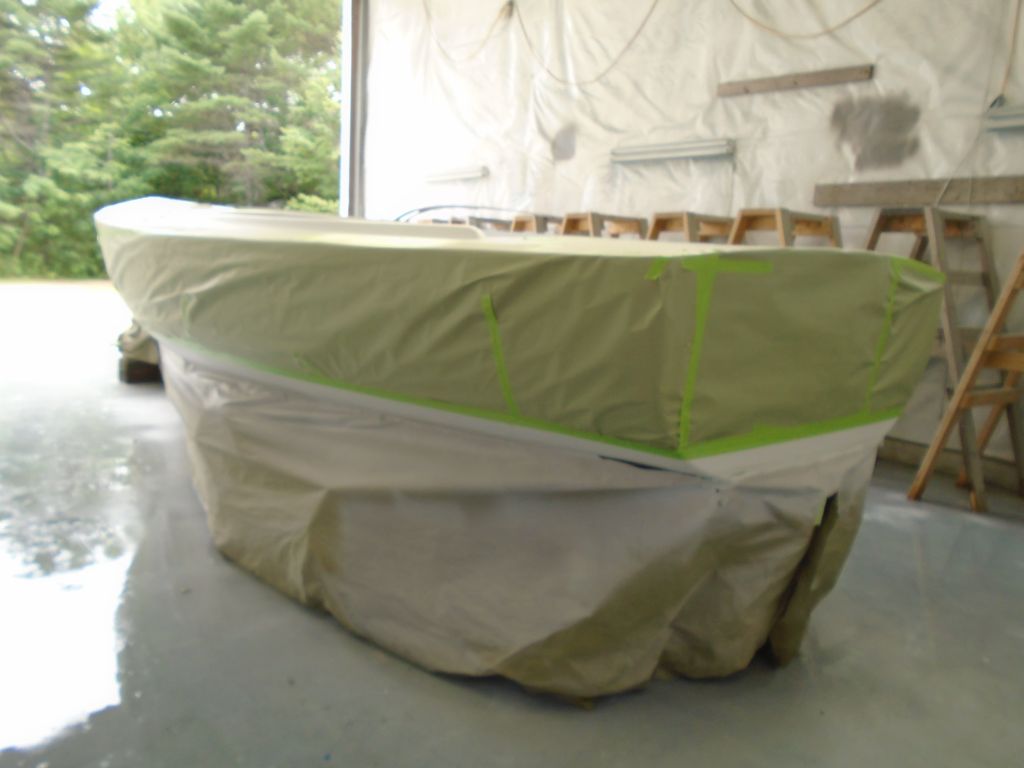
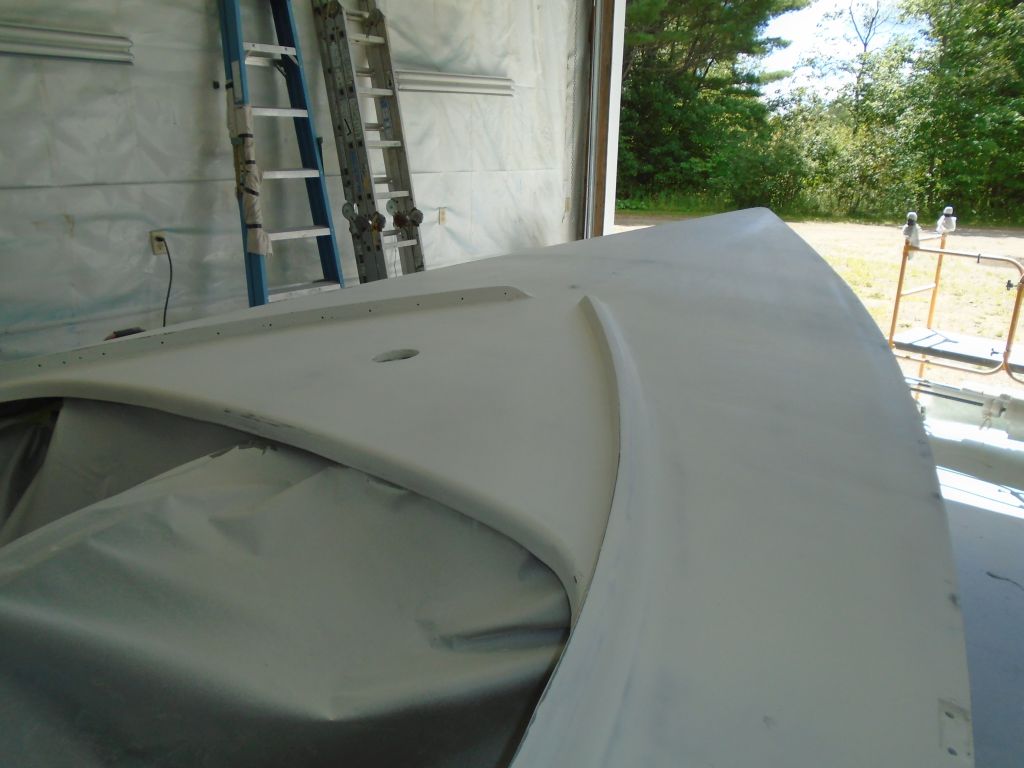
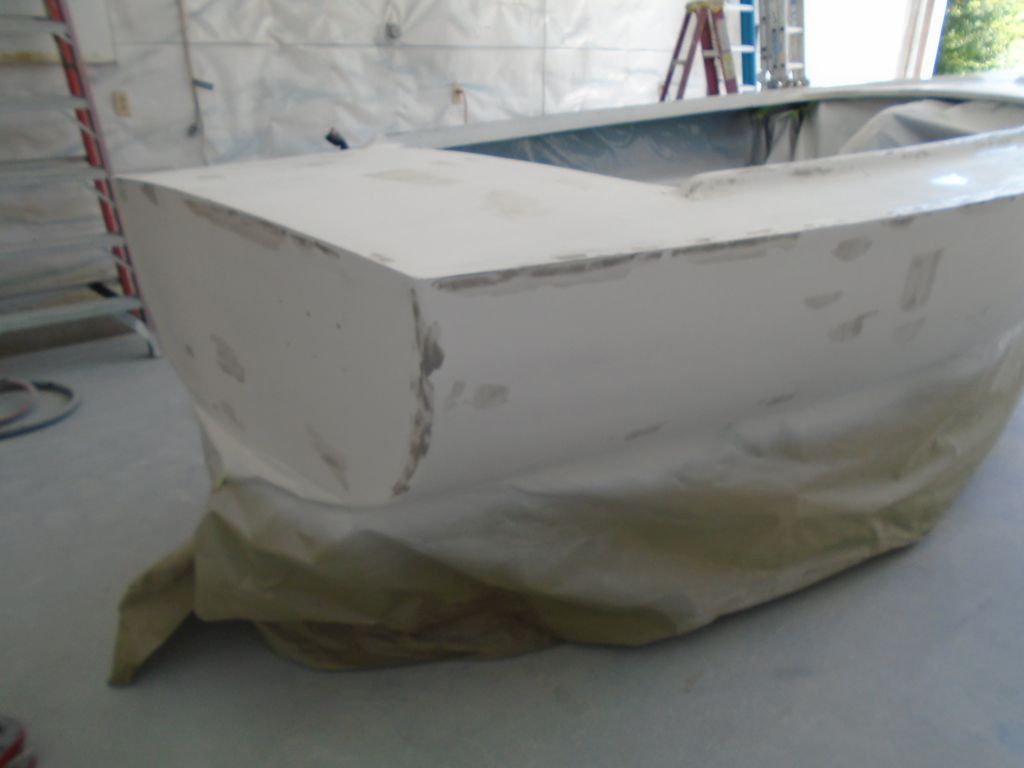
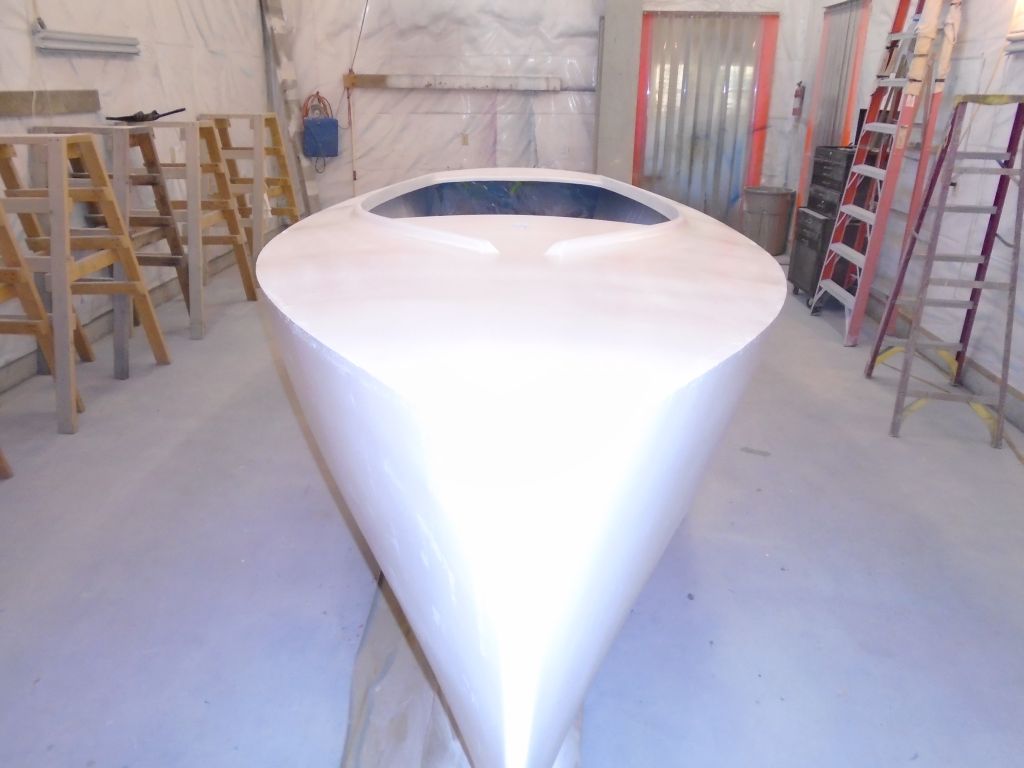
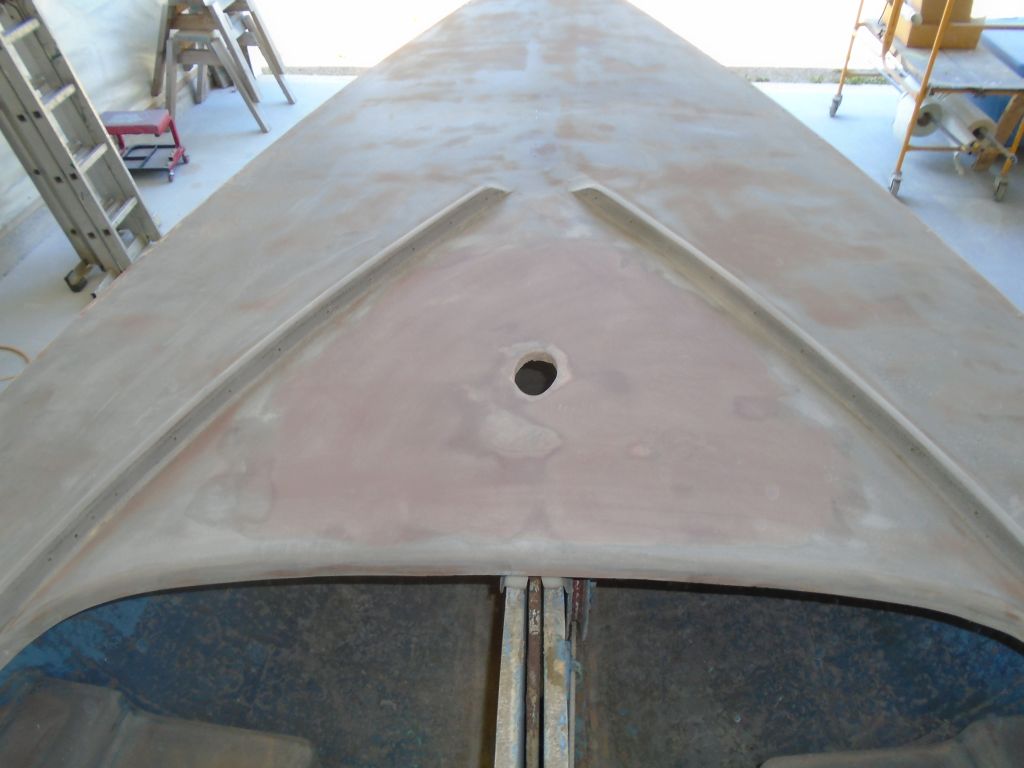
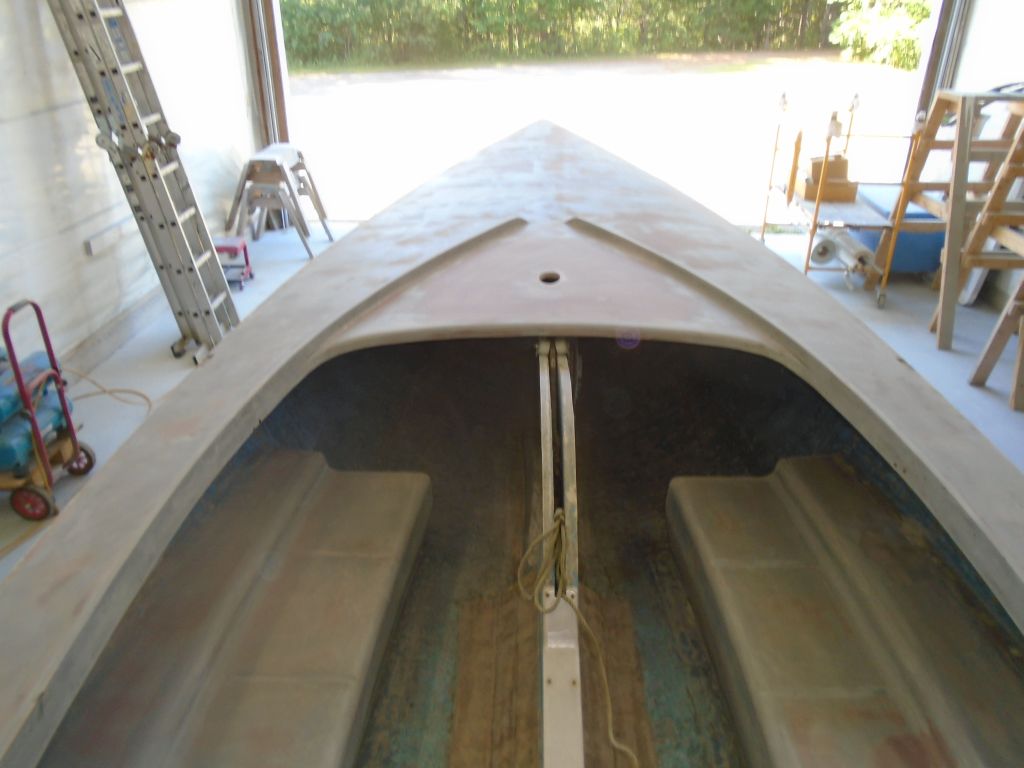
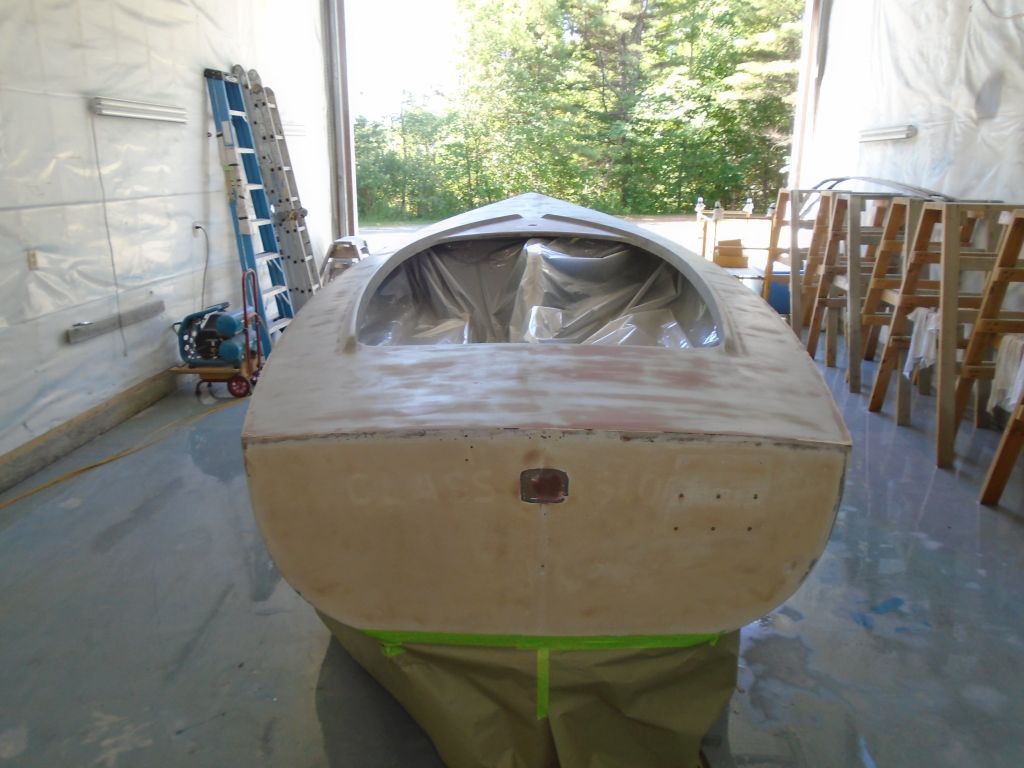
On deck, I masked off borders around the cockpit coamings, cockpit opening, and mast partners, the only areas to receive glossy paint on deck. Then, I completed the masking for topcoats by covering the remainder of the deck and hull in masking paper to protect against overspray.
Total time billed on this job today: 8 hours
0600 Weather Observation:
45°, clear. Forecast for the day: sunny, 80s.