< Back to Steadfast
Friday
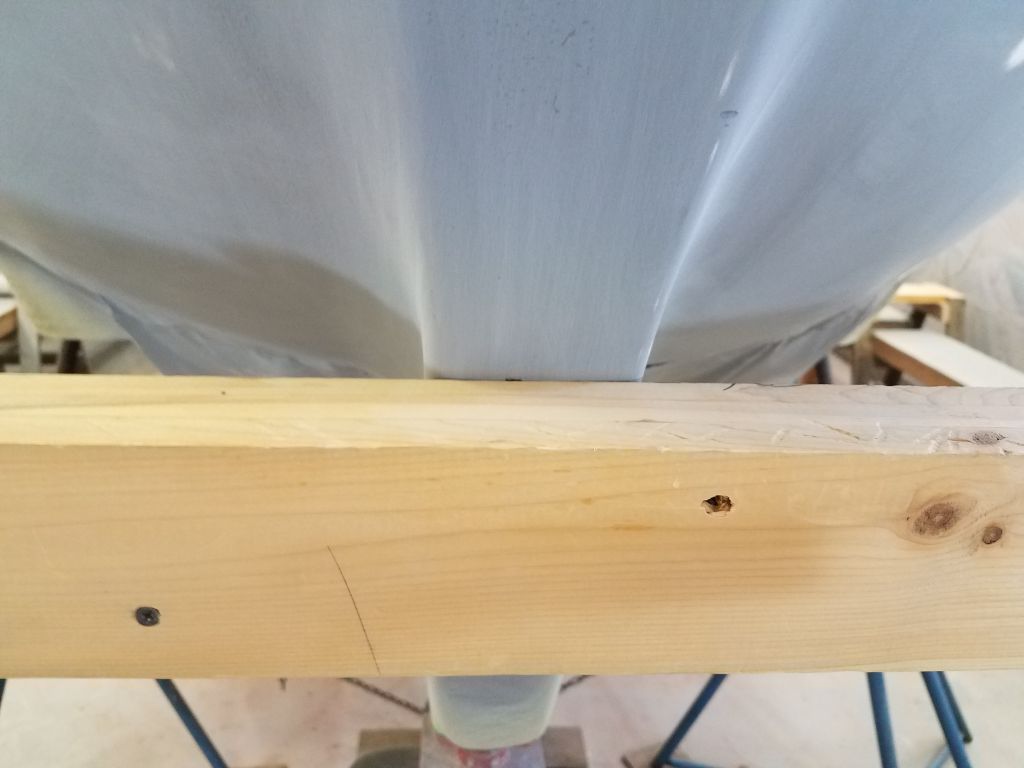
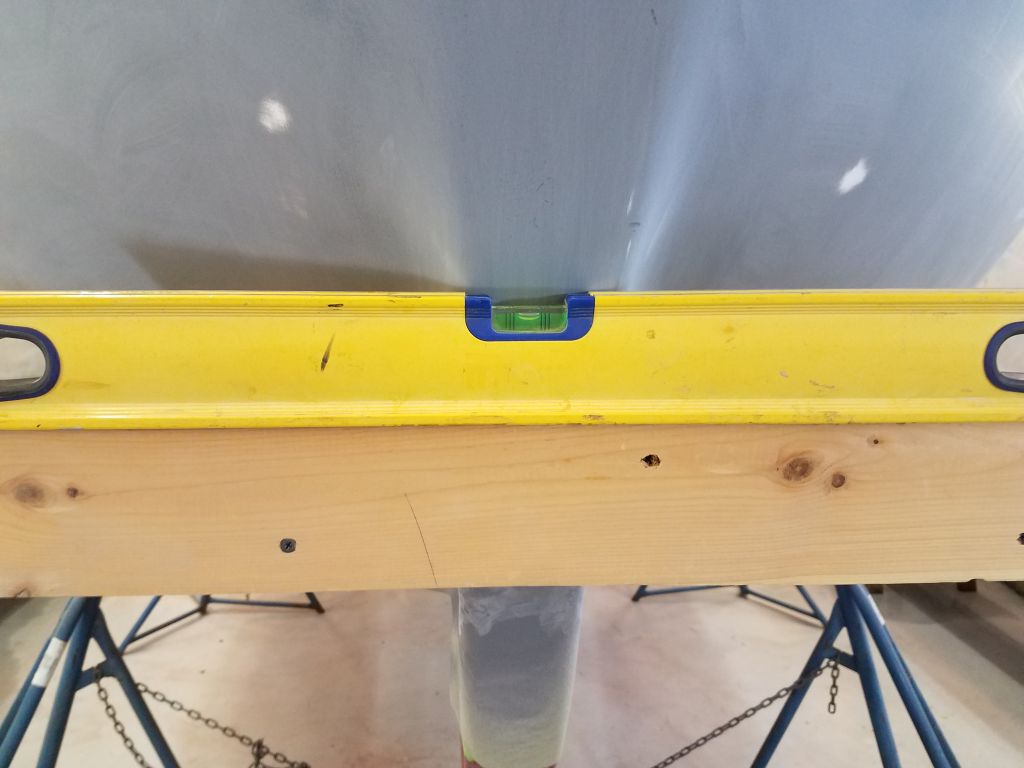
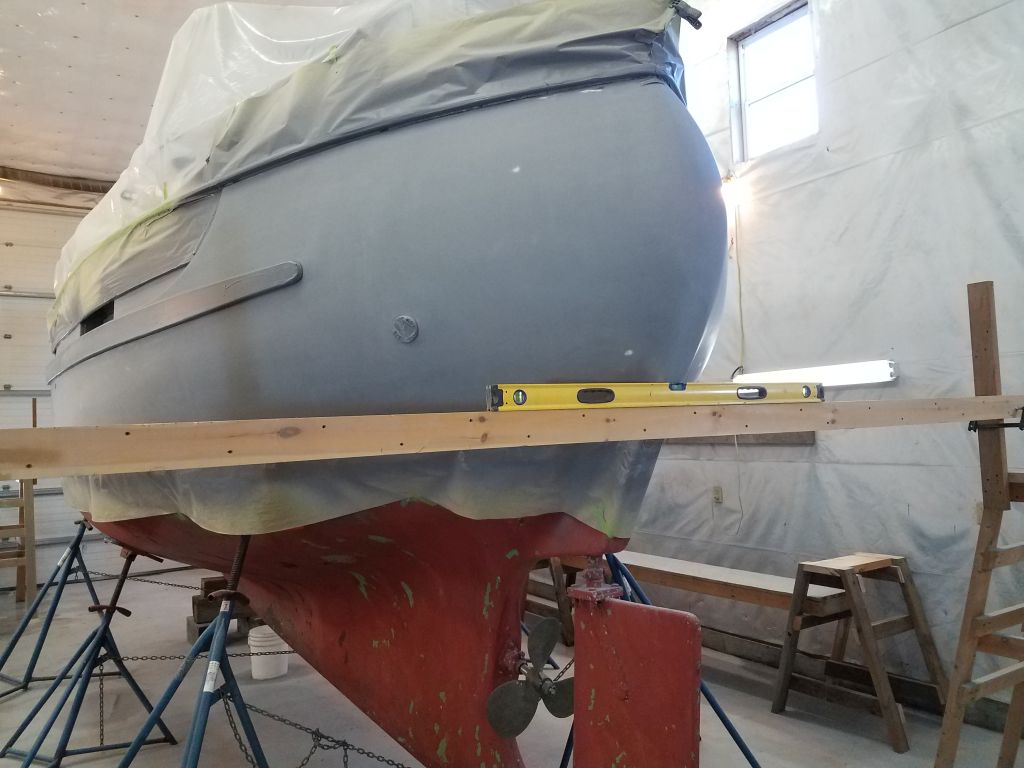
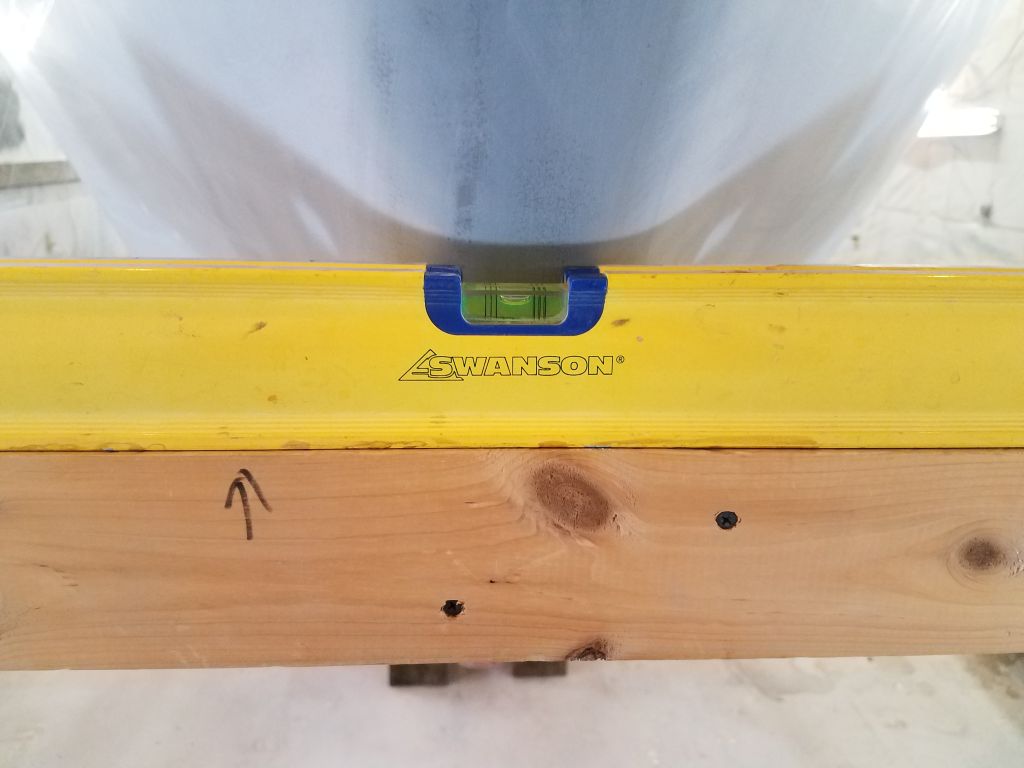
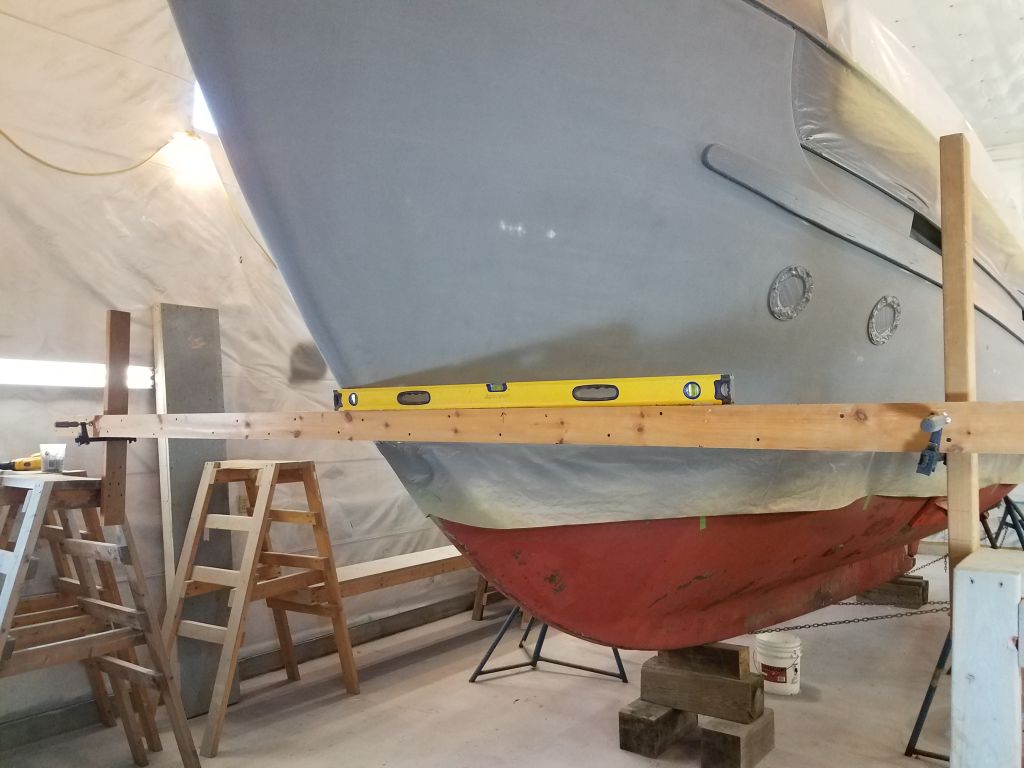
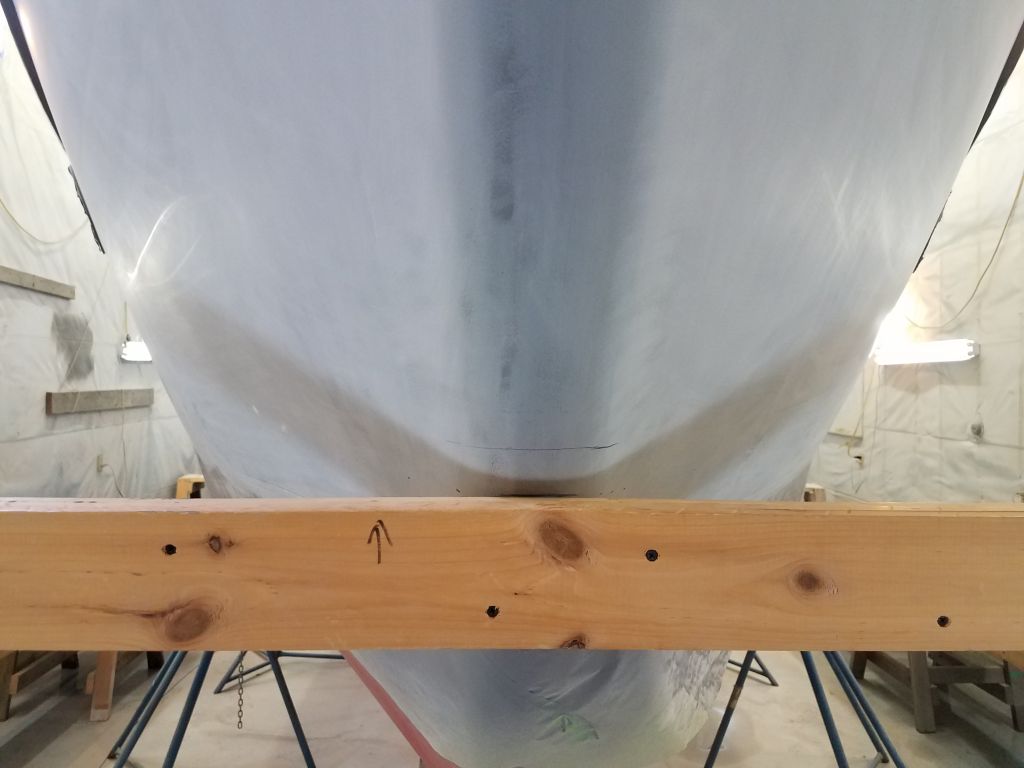
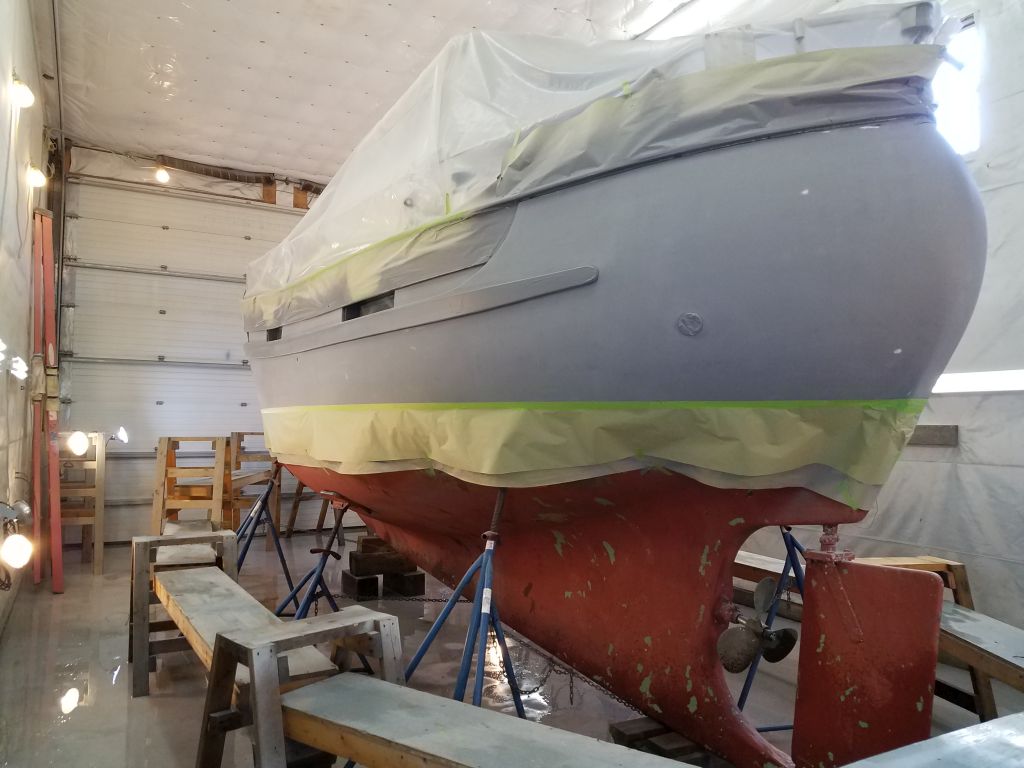
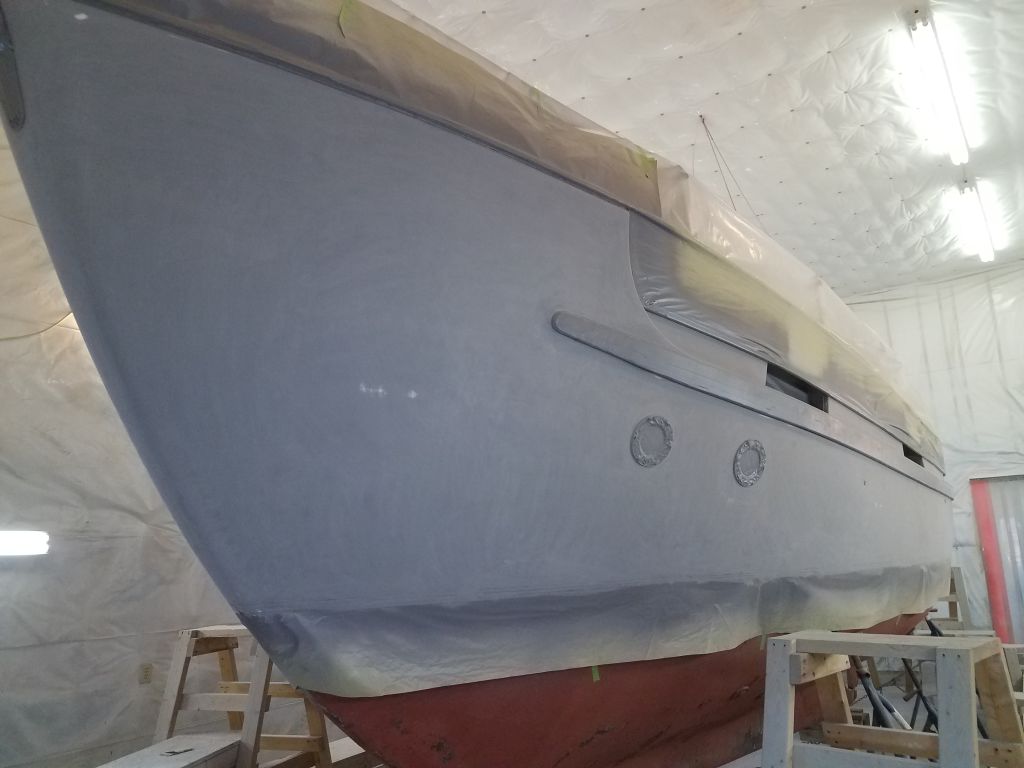
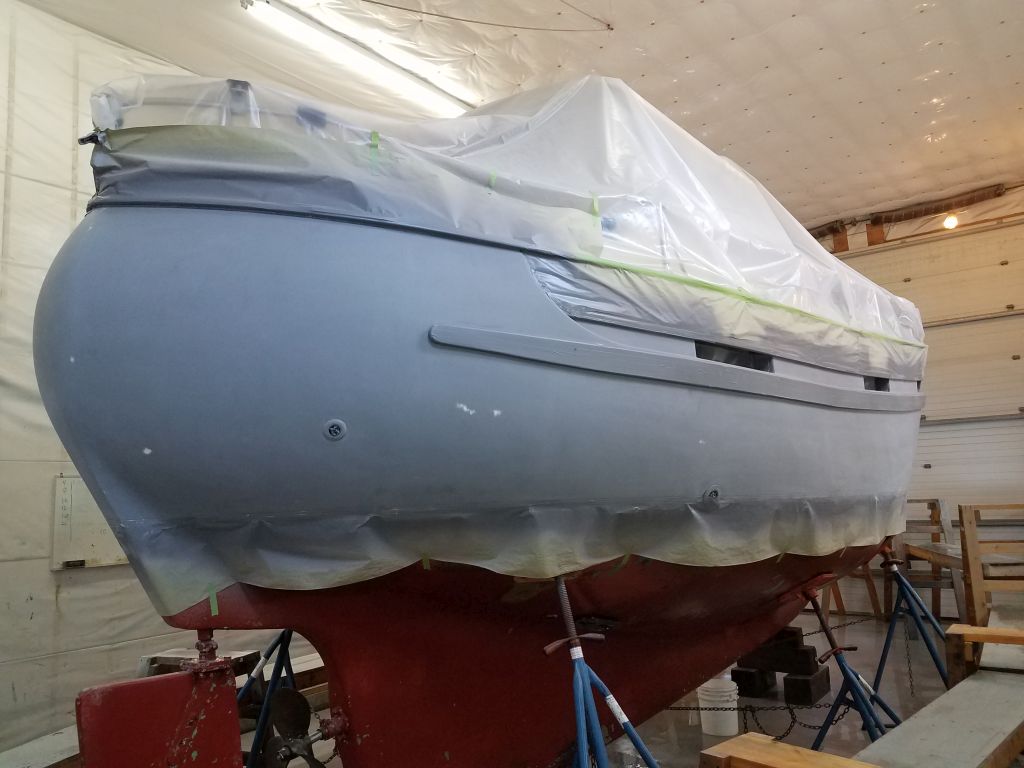
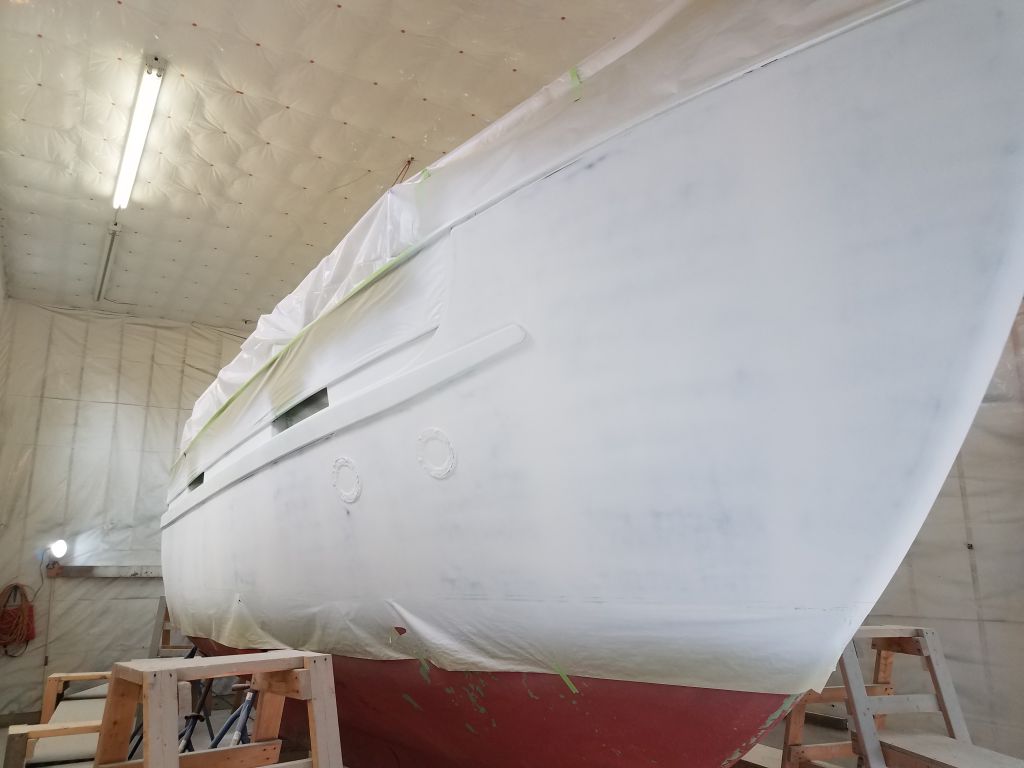
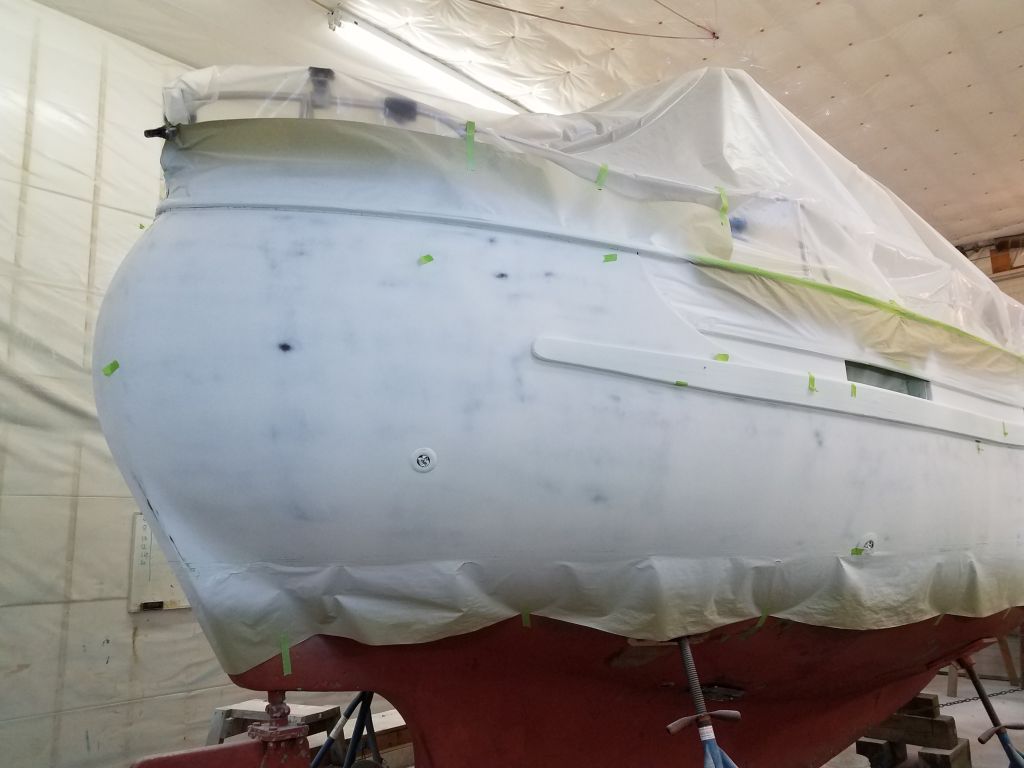
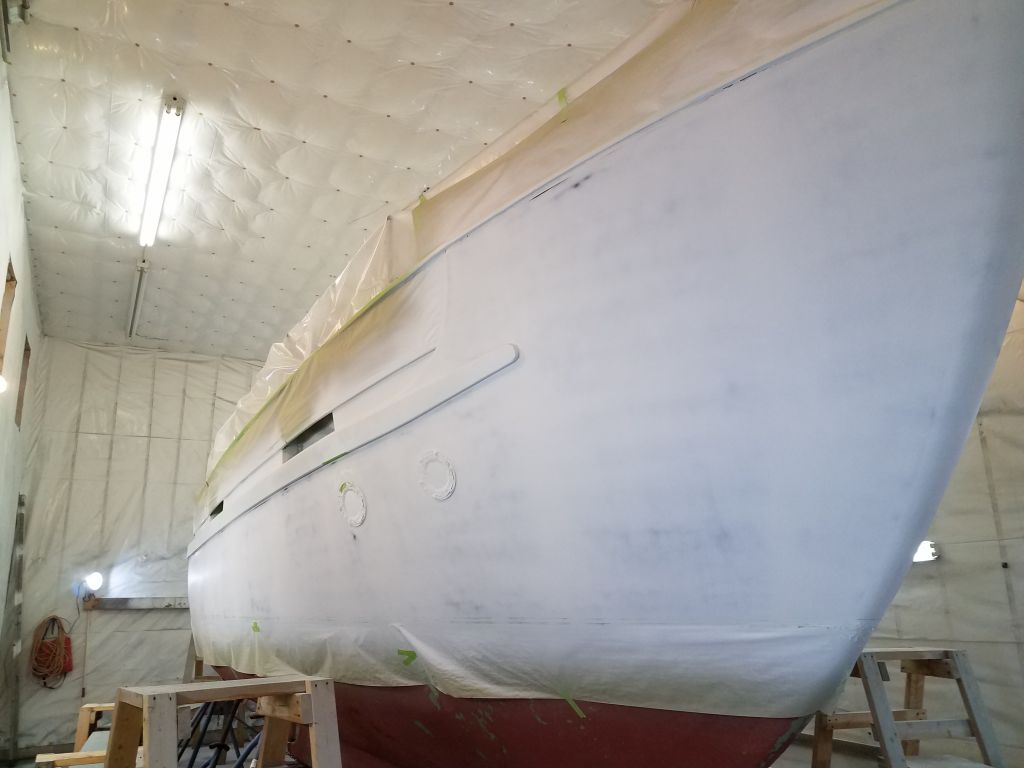
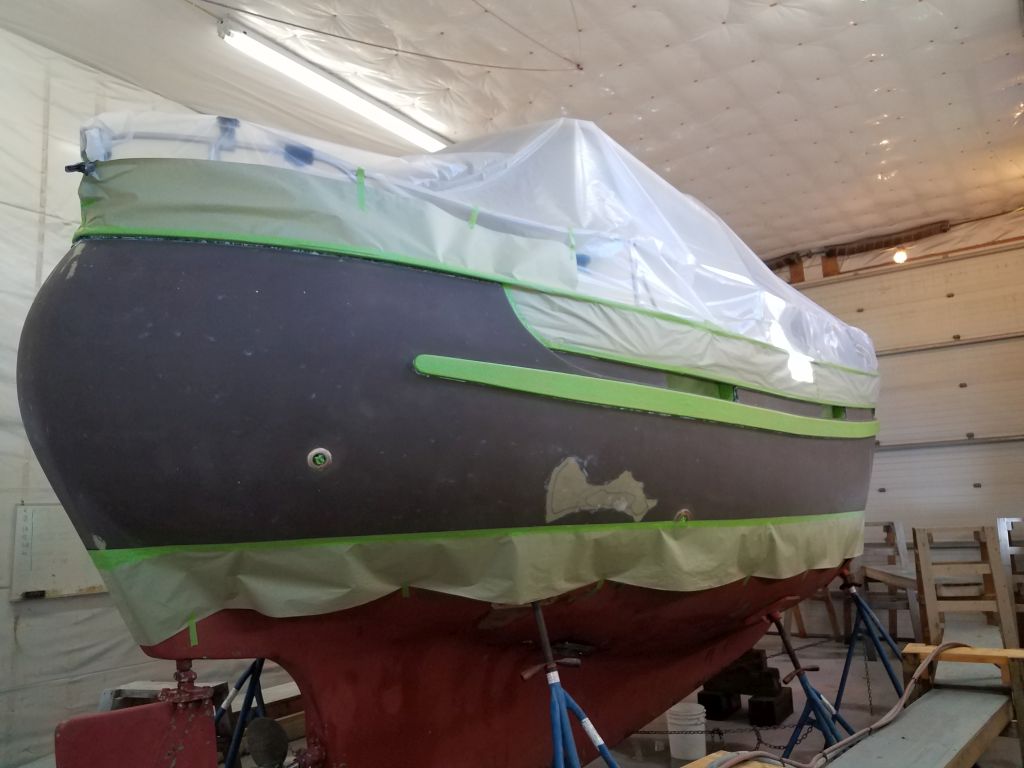
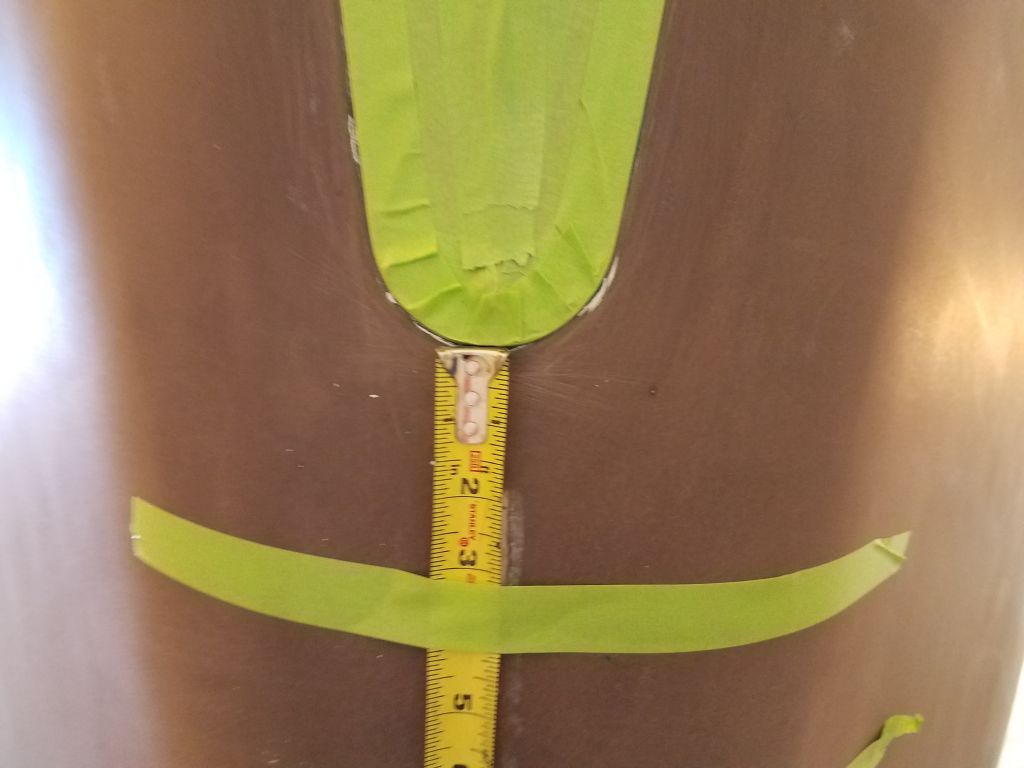
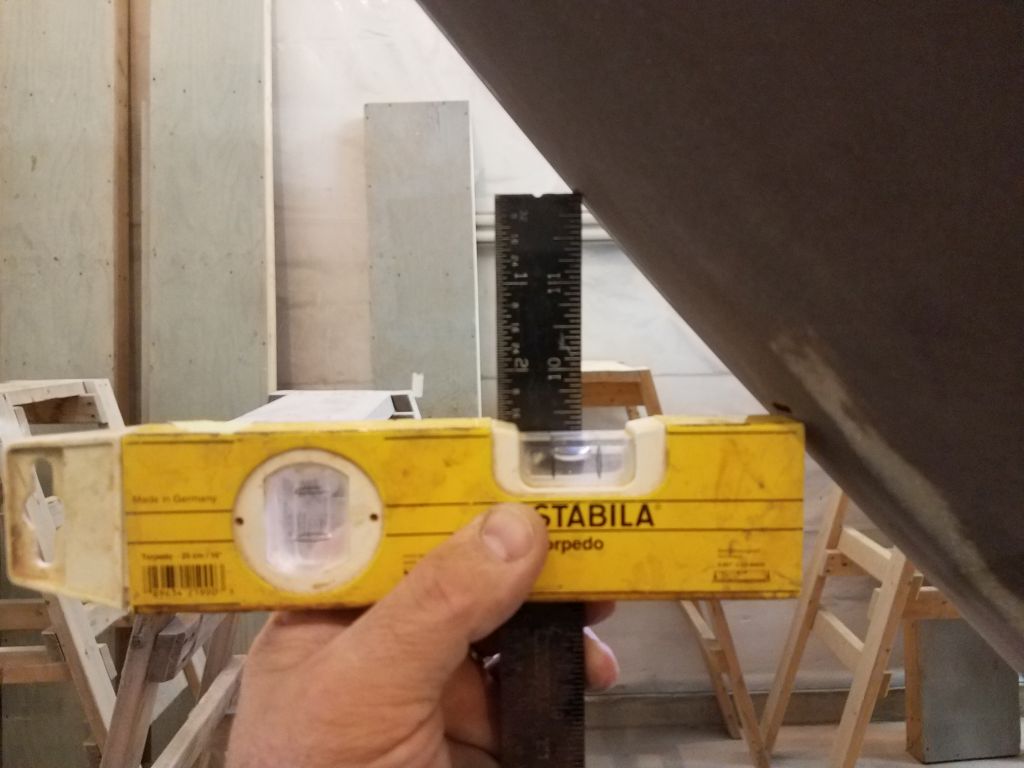
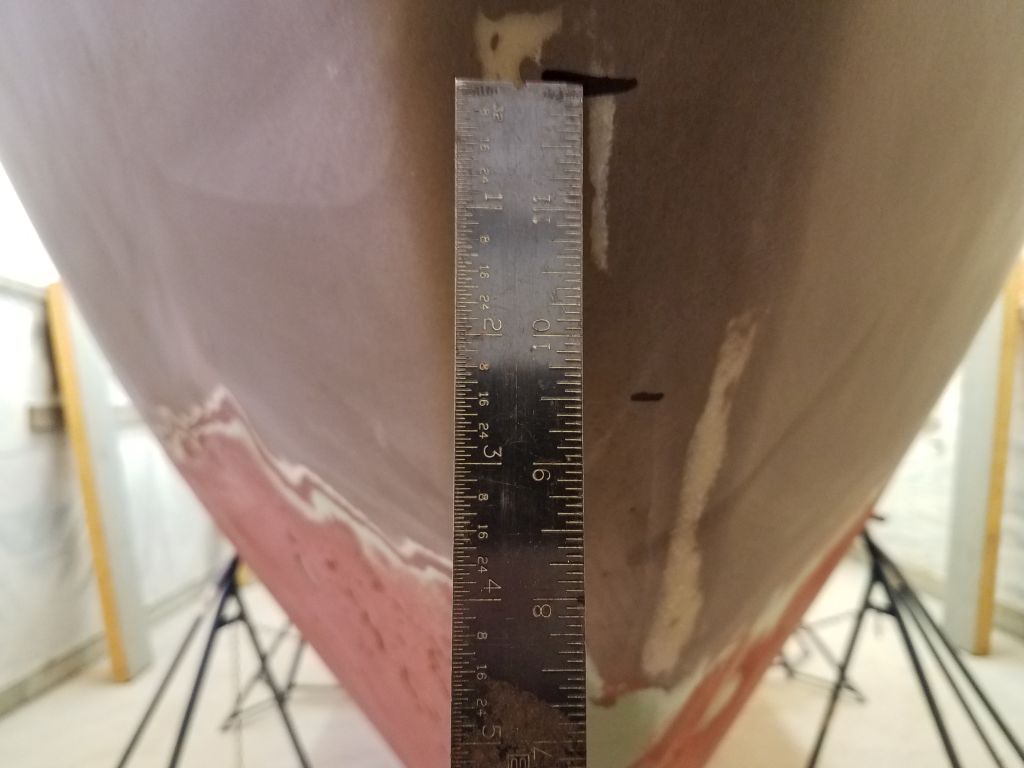
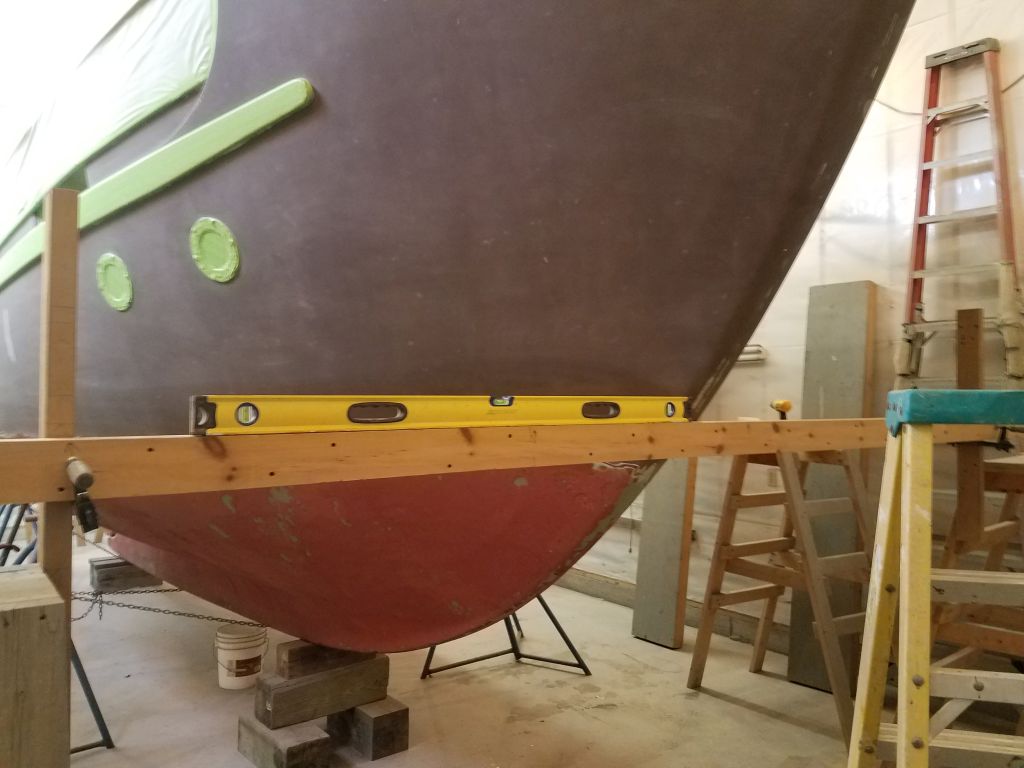
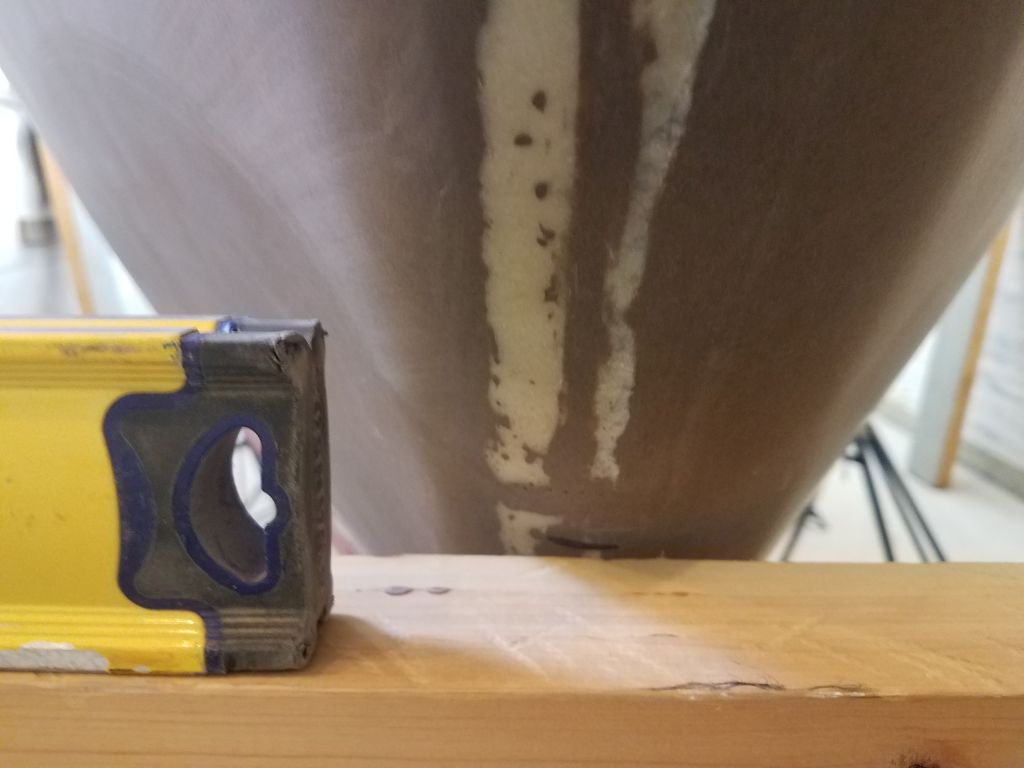
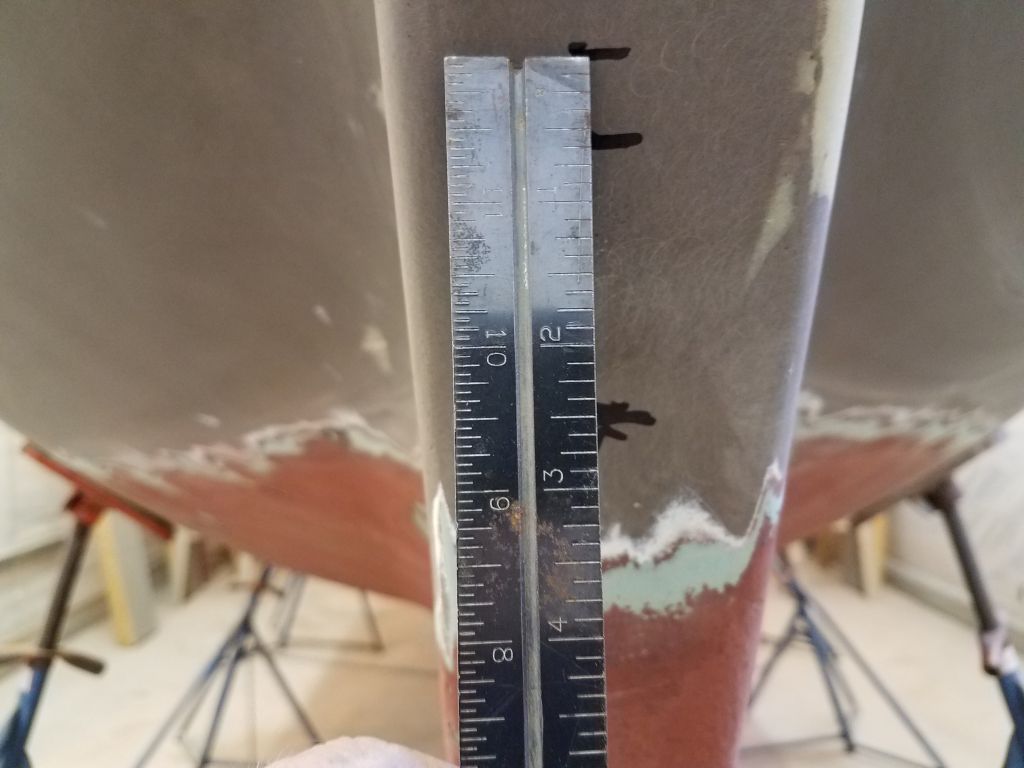
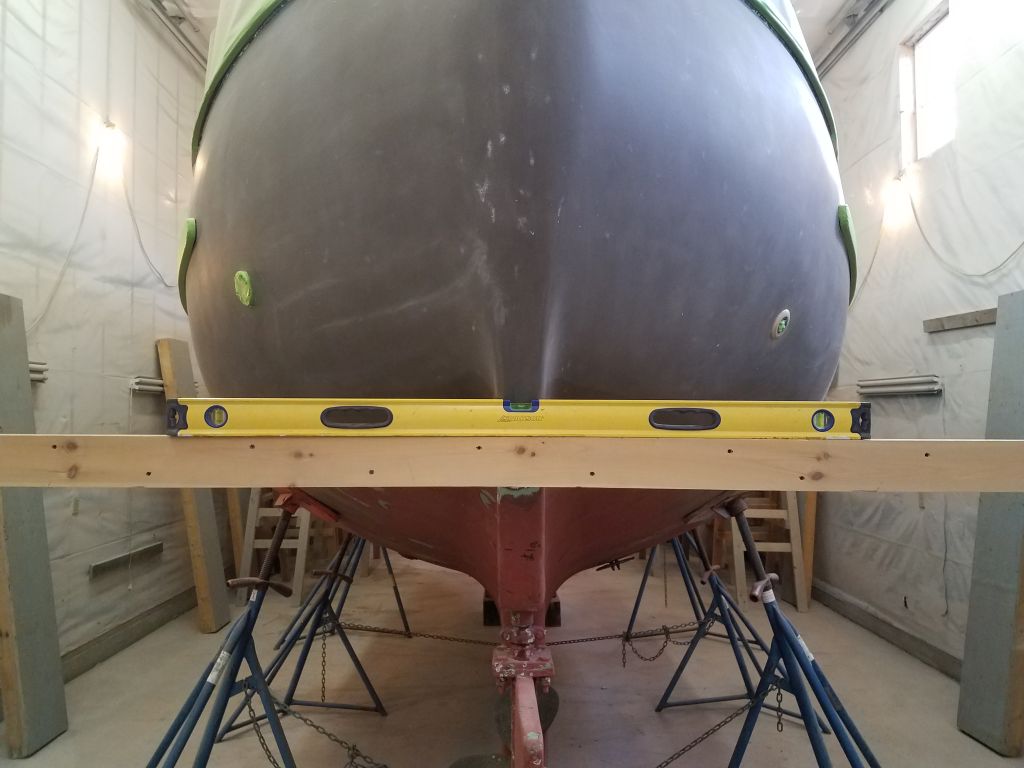
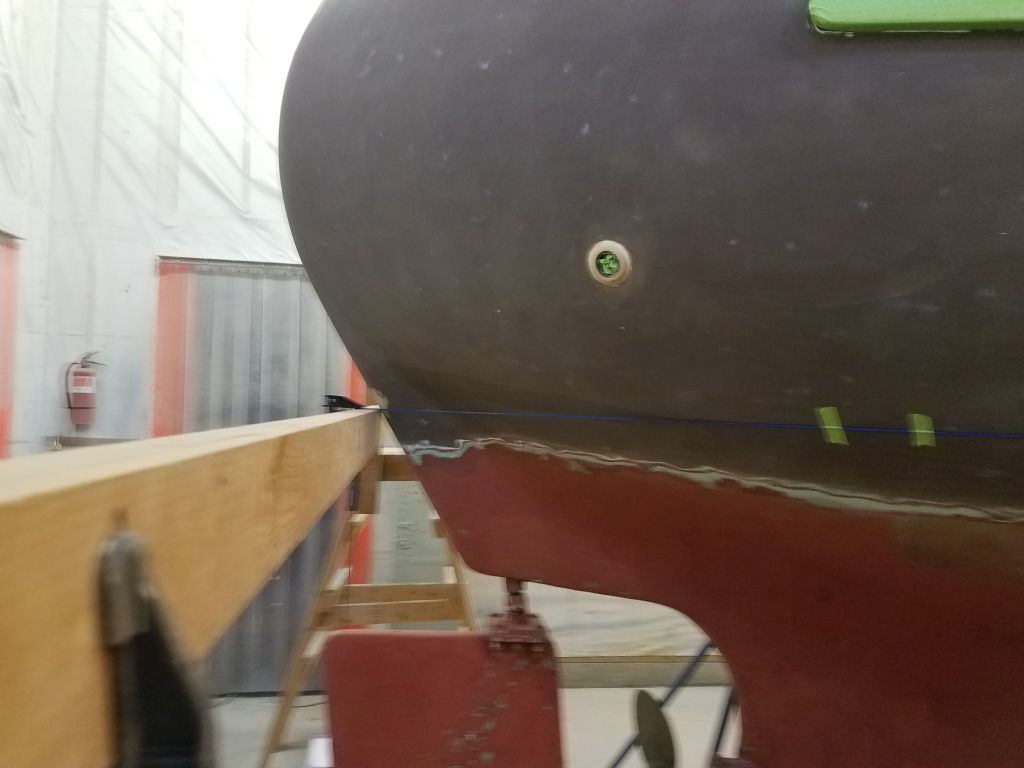
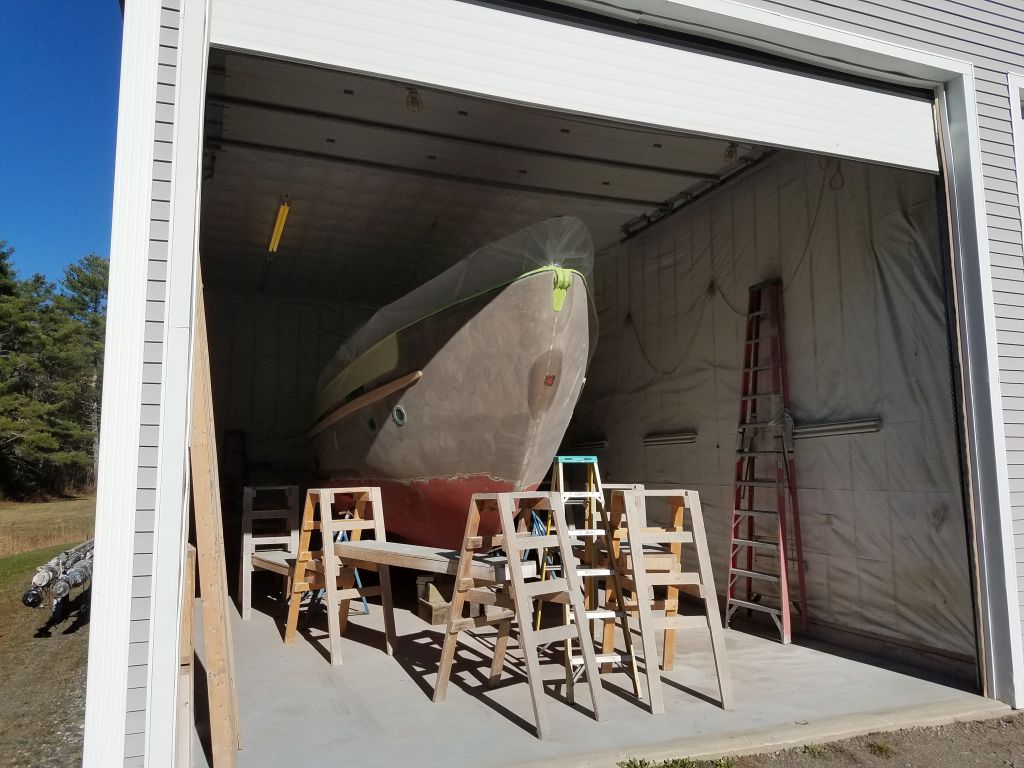
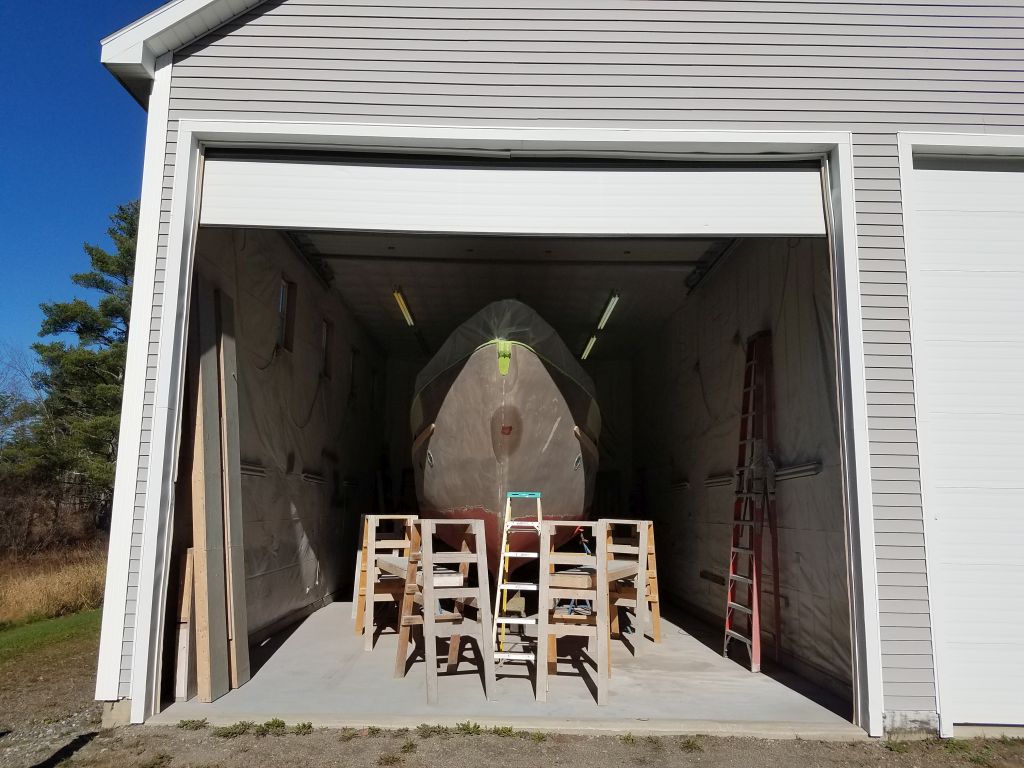
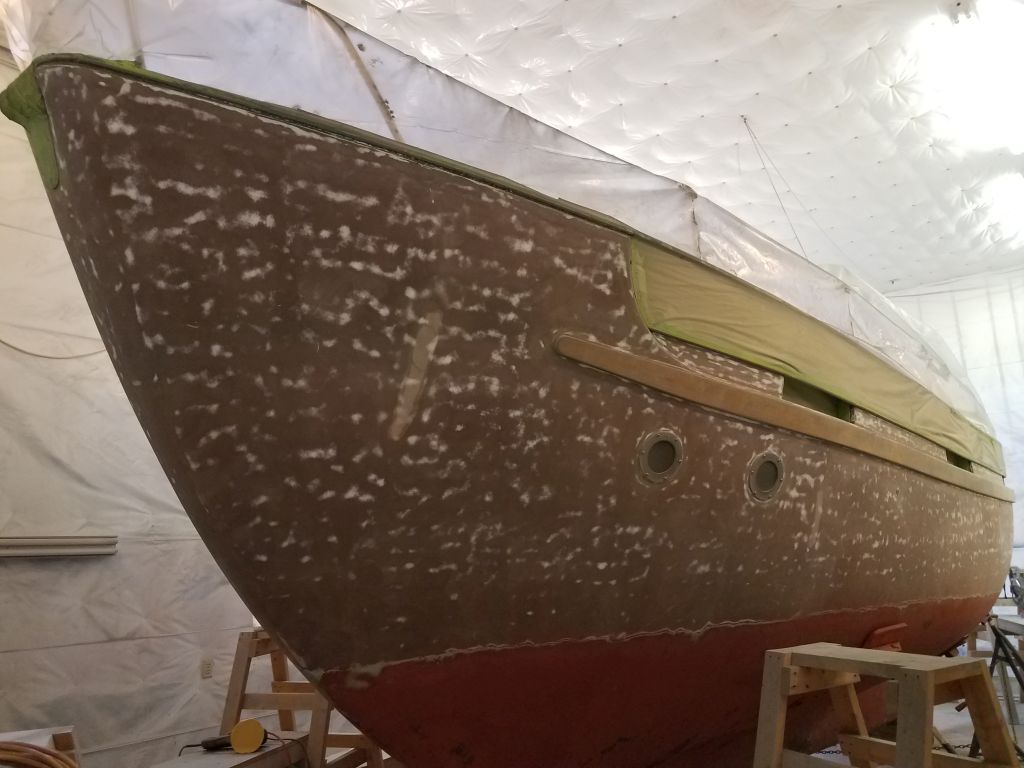
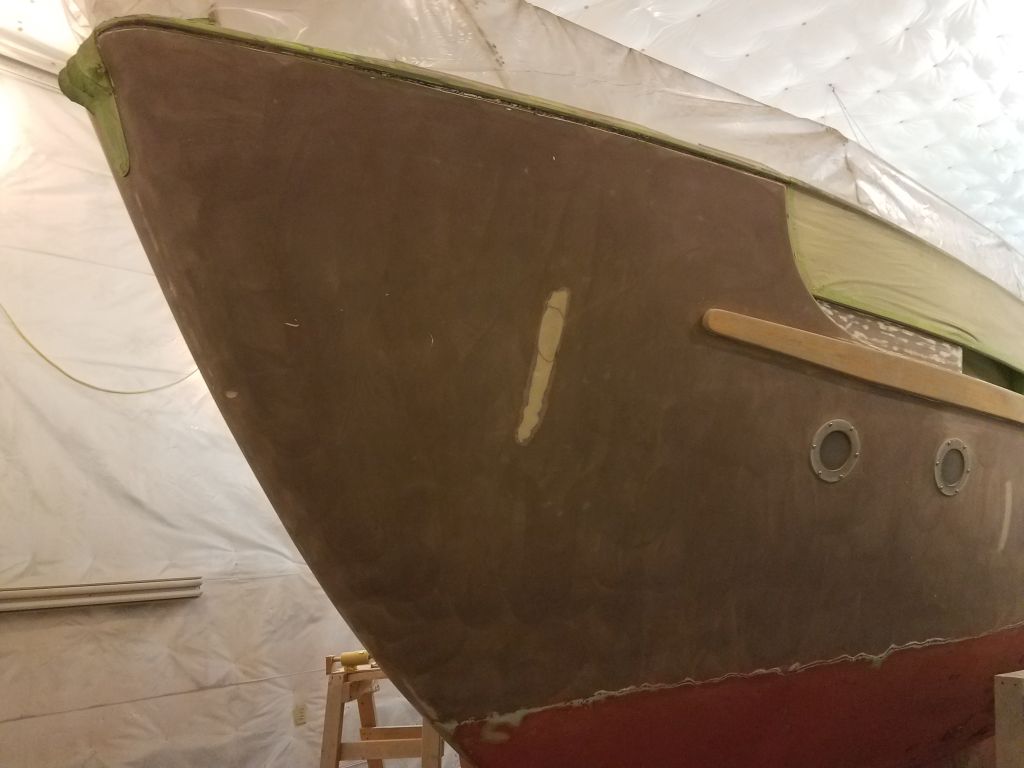
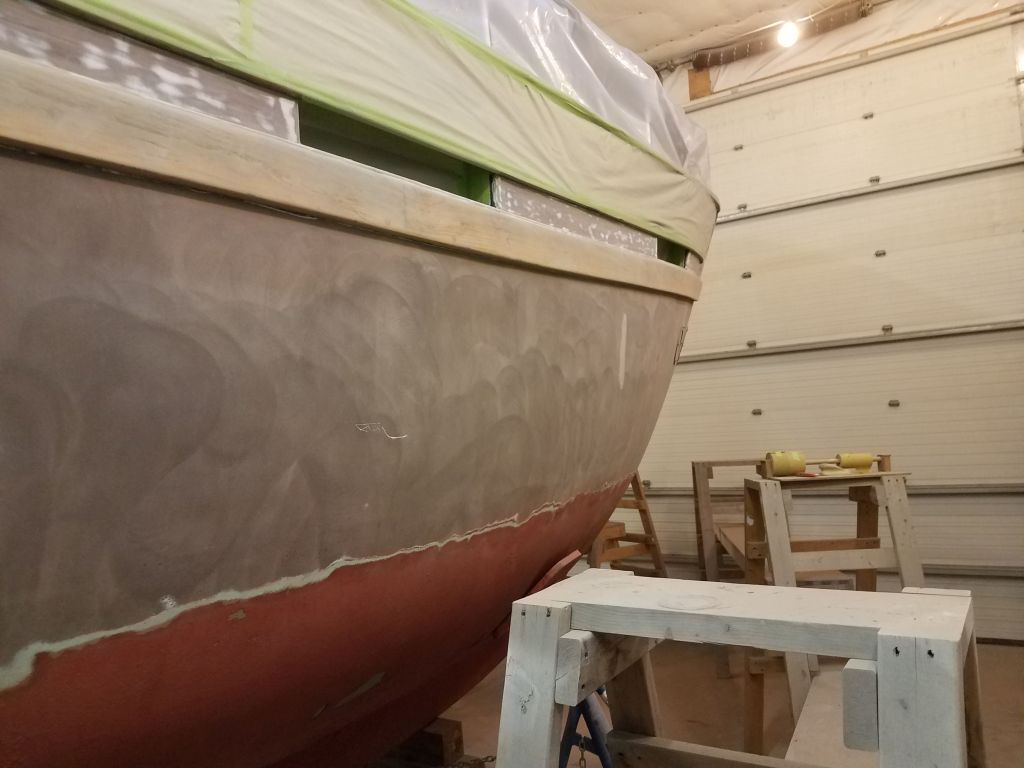
Now that the hull was primed, sanded, and clean, my next step was to strike and mark a new boottop. Moving the staging out of the way for the moment, I made new marks at stem and stern 3″ above the waterline I’d marked and masked earlier; this would be the visual height of the new boottop, and the same as the one I’d removed from the hull as it came to me. As before, I used a small level and straightedge to transfer up the 3″ height at stem and stern. Once I had the reference marks, I set up my horizontal string beams again and leveled them at the proper height both bow and stern.
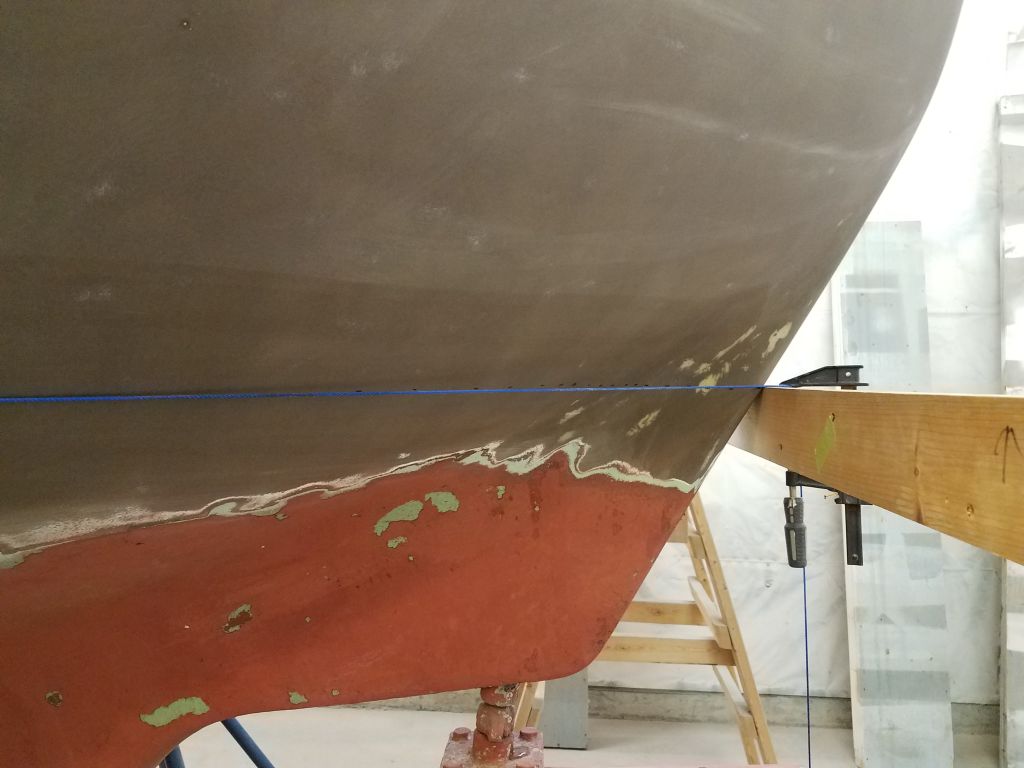
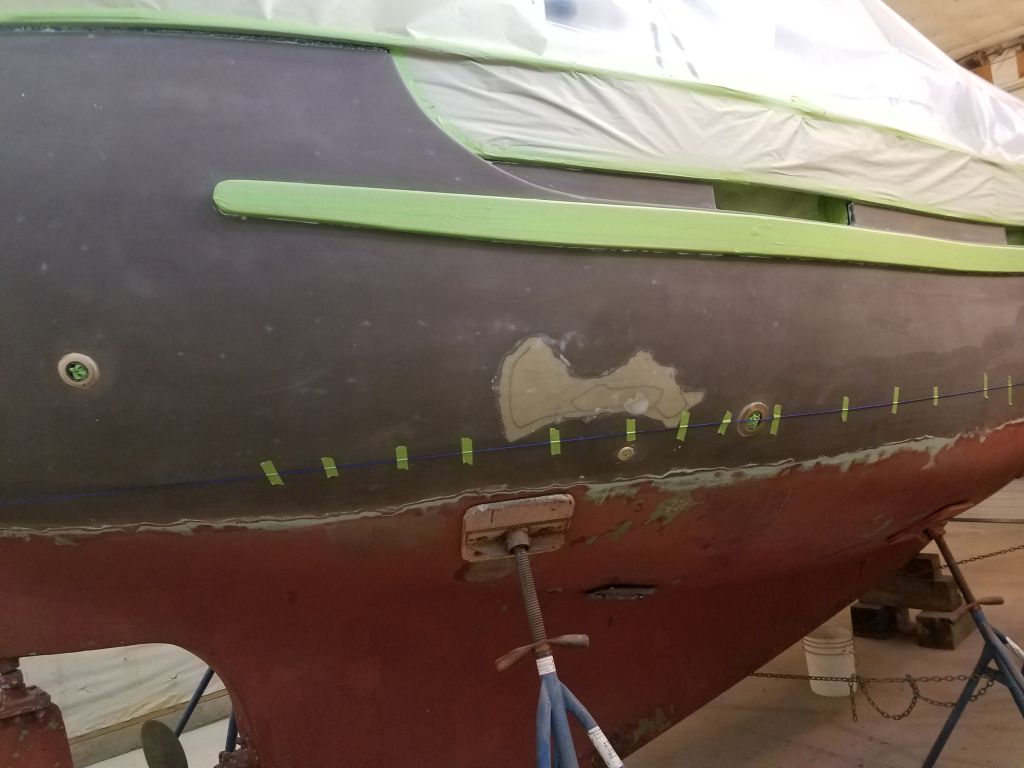
In my usual way, I used a taut string to mark the top of the new boottop at this height, along both sides of the hull.
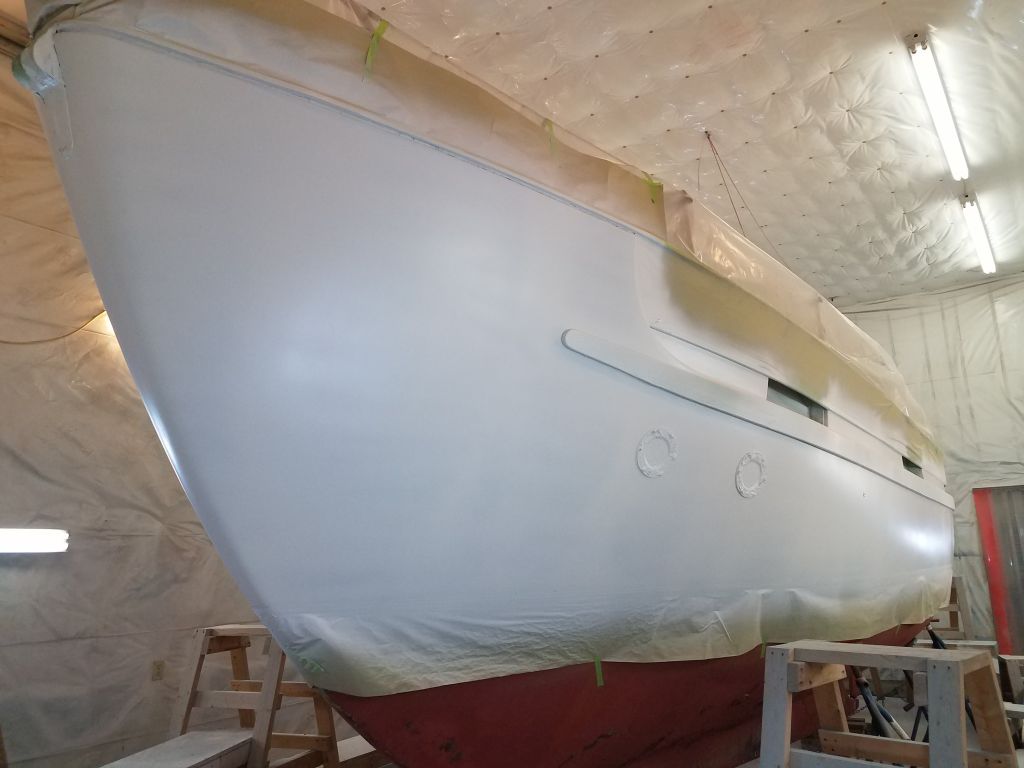
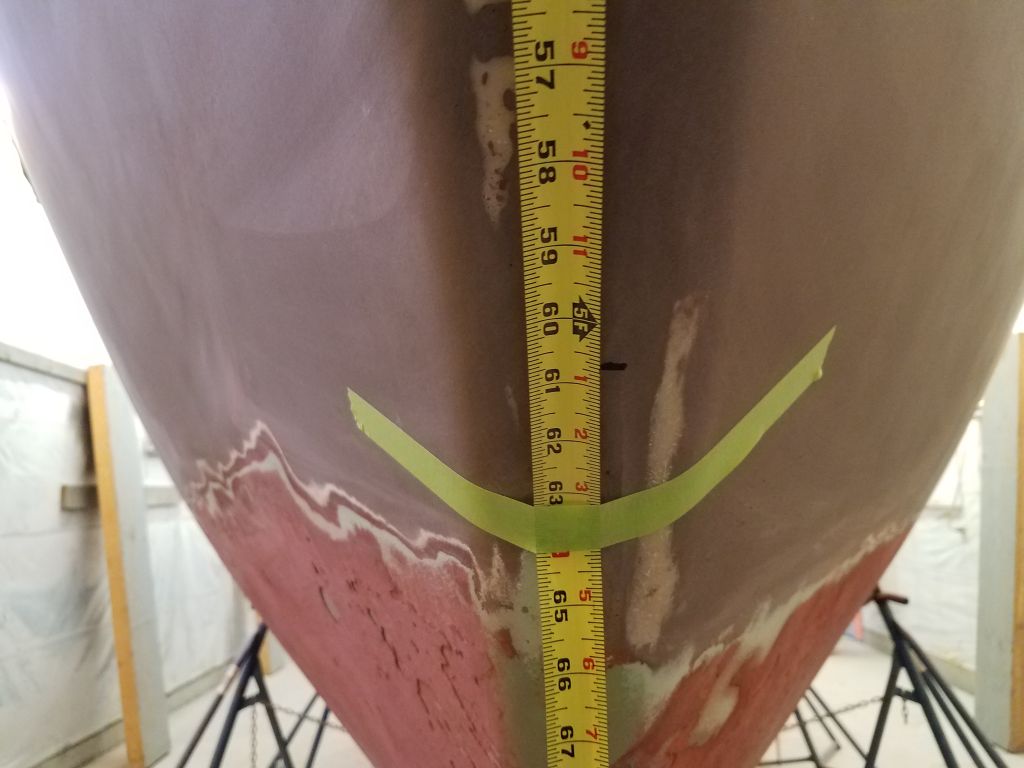
Once I had all the marks on each side, before removing the horizontal beam at the bow I made a new pencil mark a further 1-1/2″ up from the top of the new boottop so I could have a reference point to create a sheered boottop at the bow, which I’d lay out shortly.
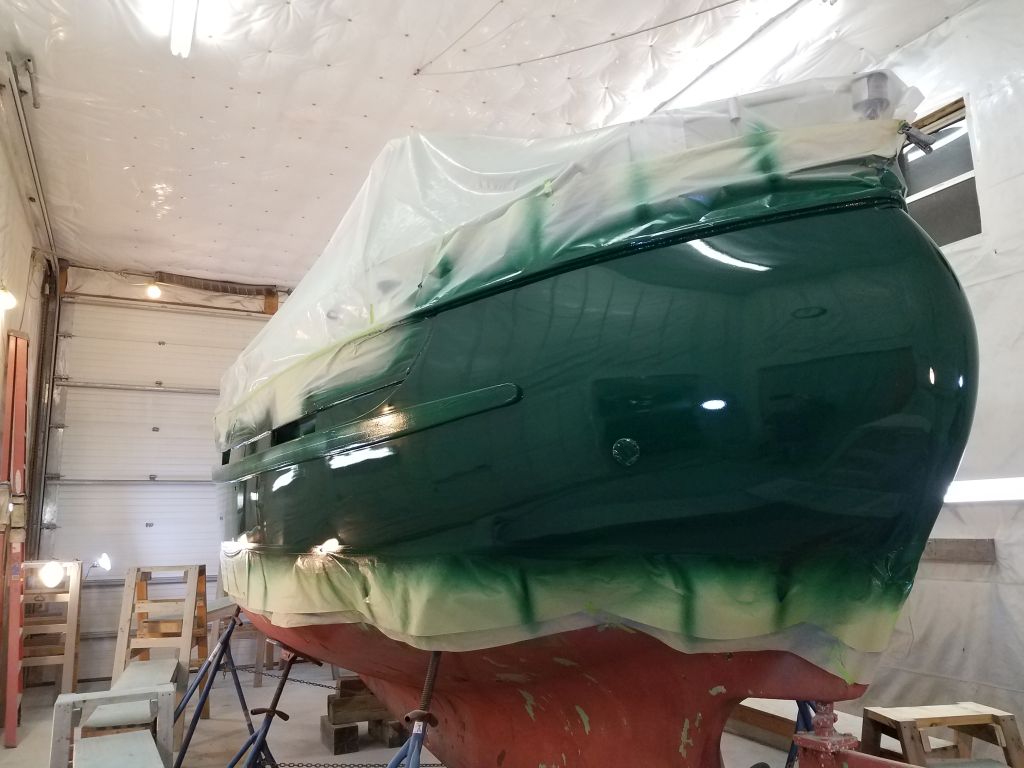
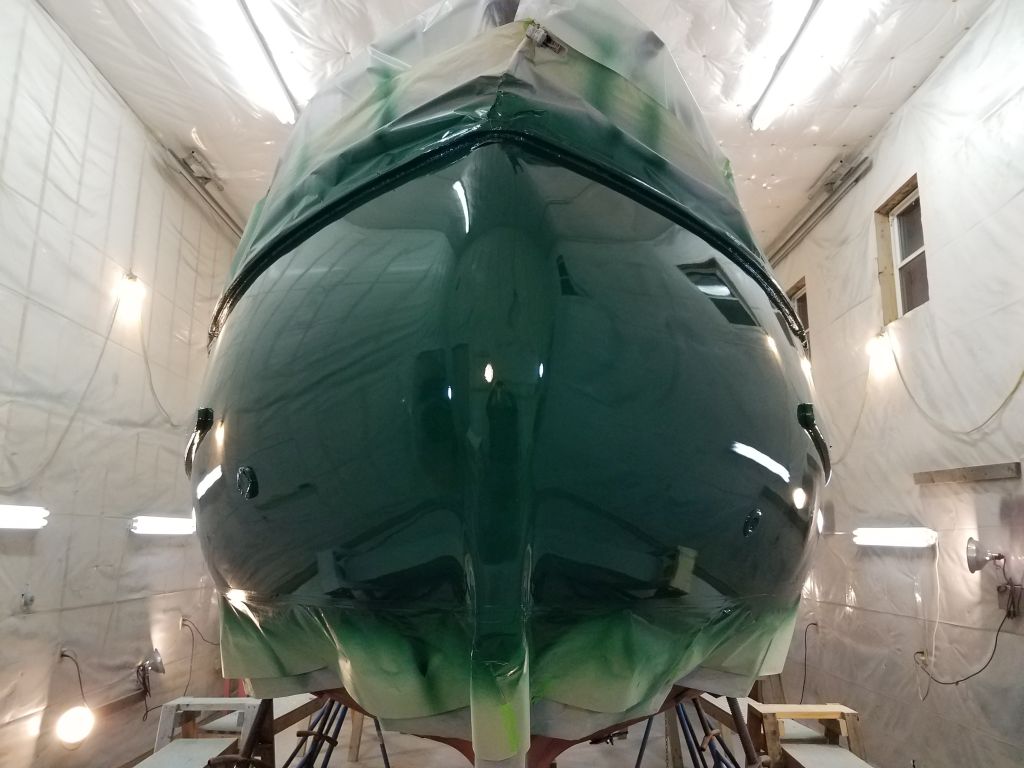
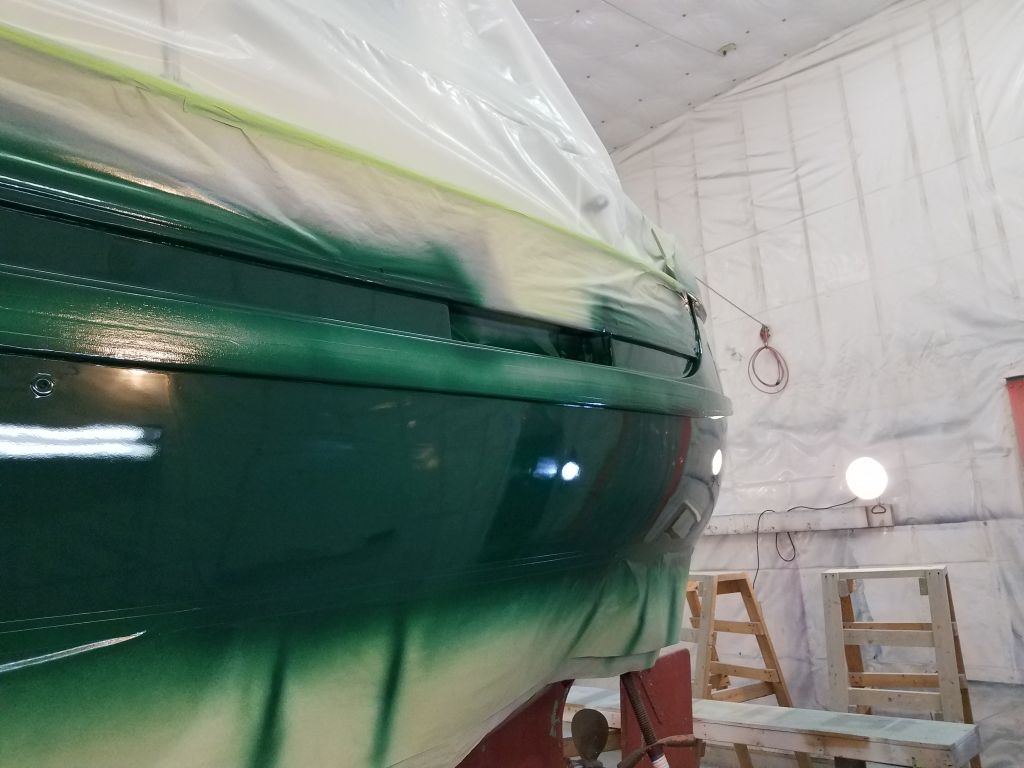
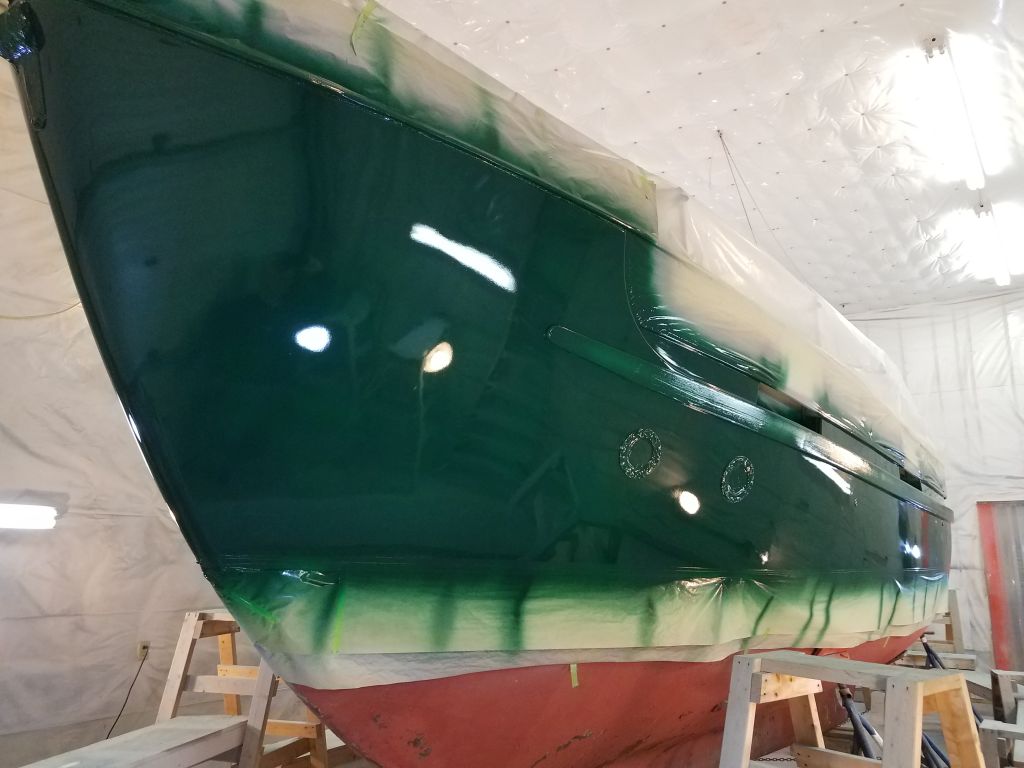
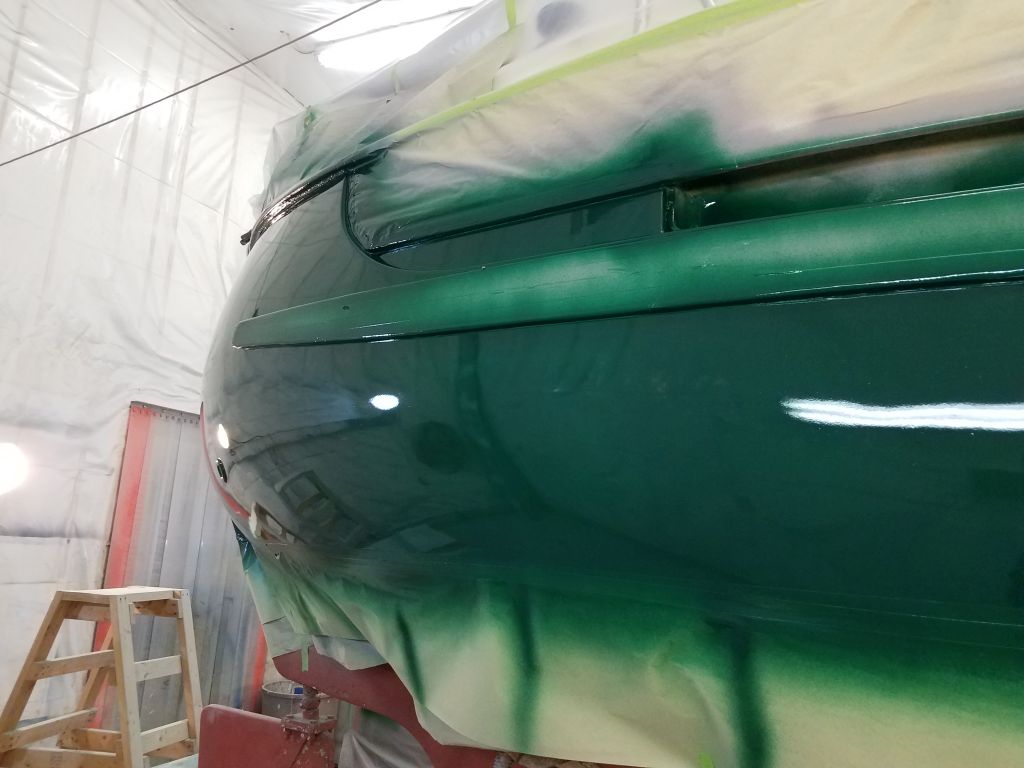
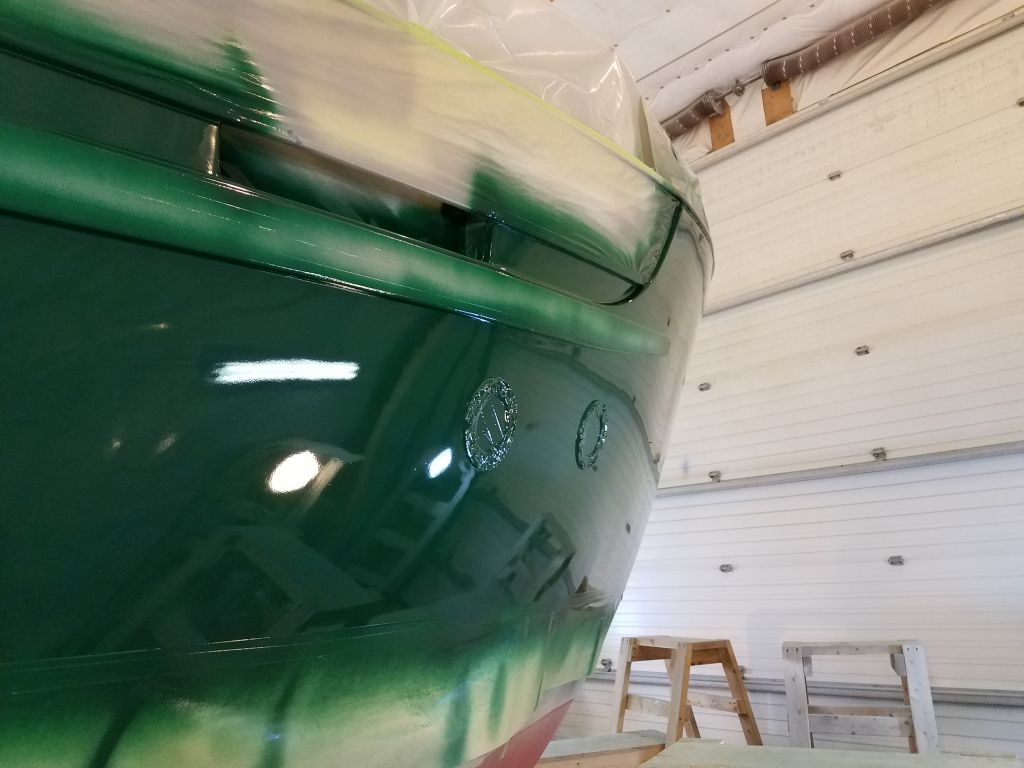
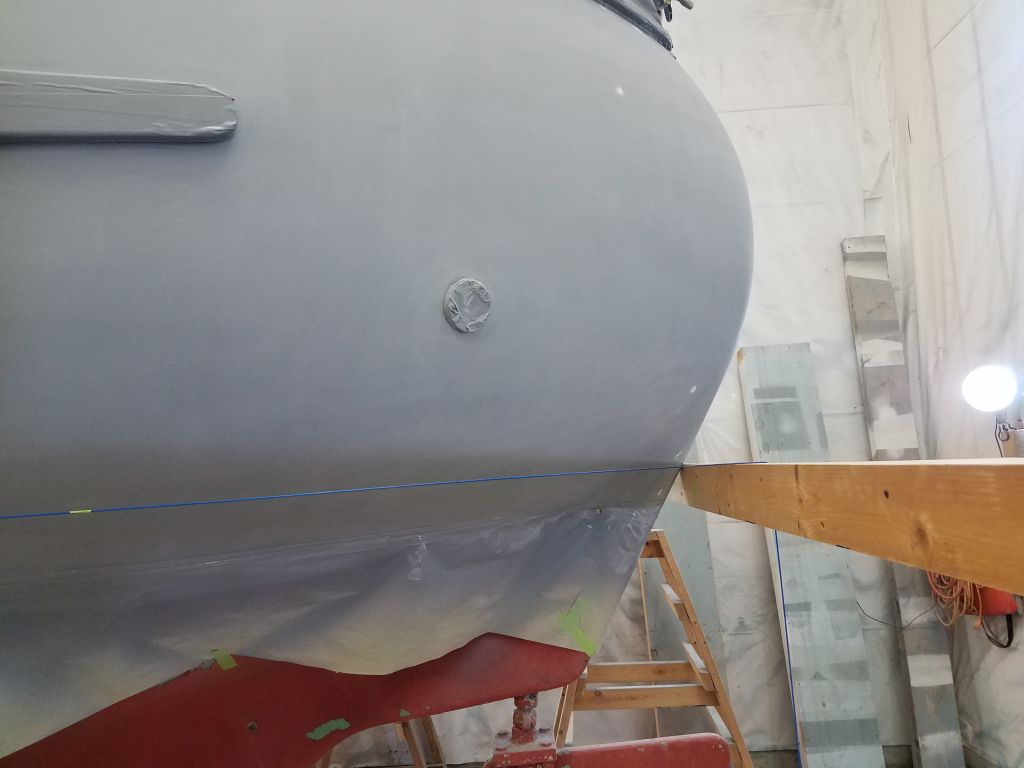
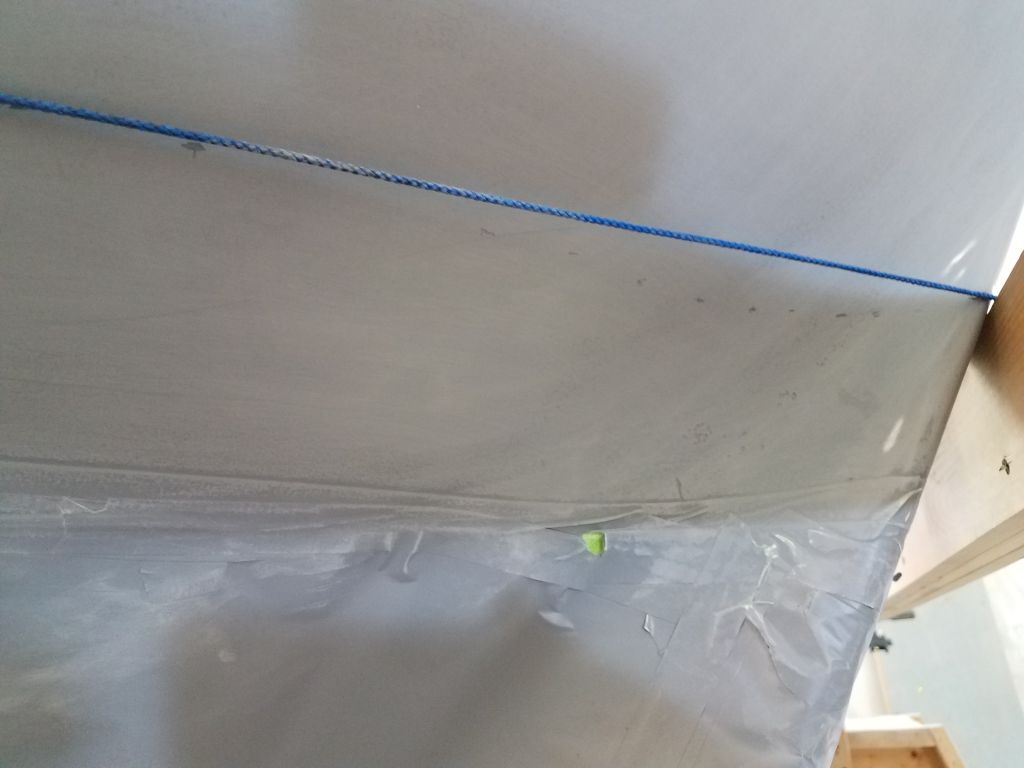
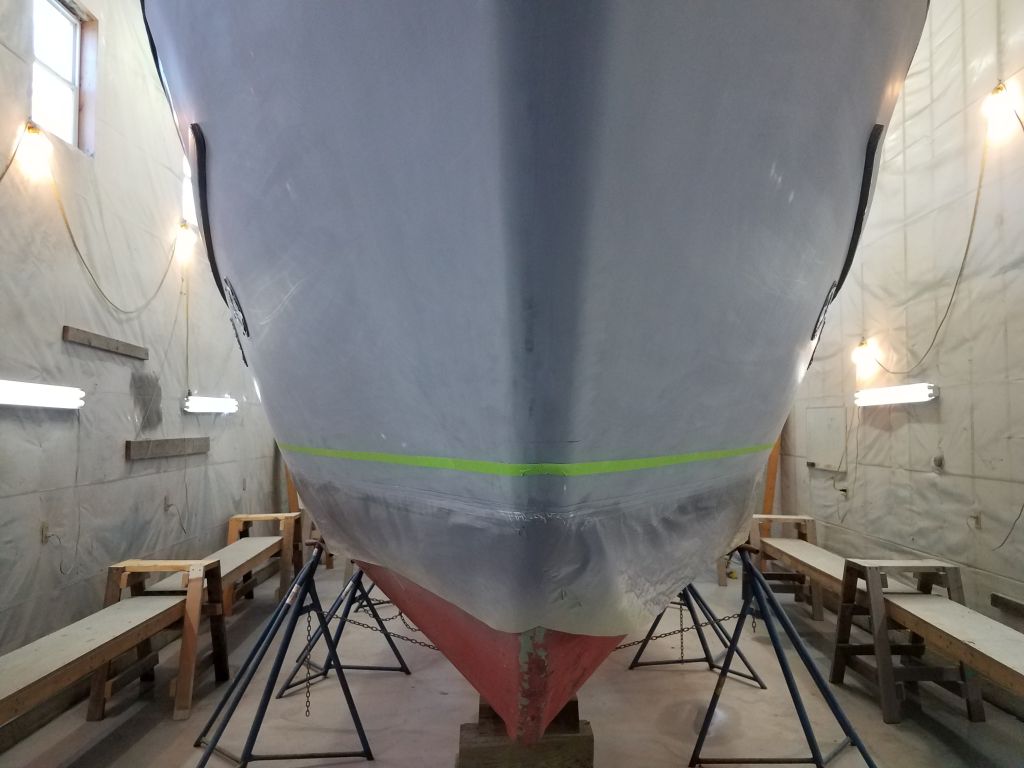
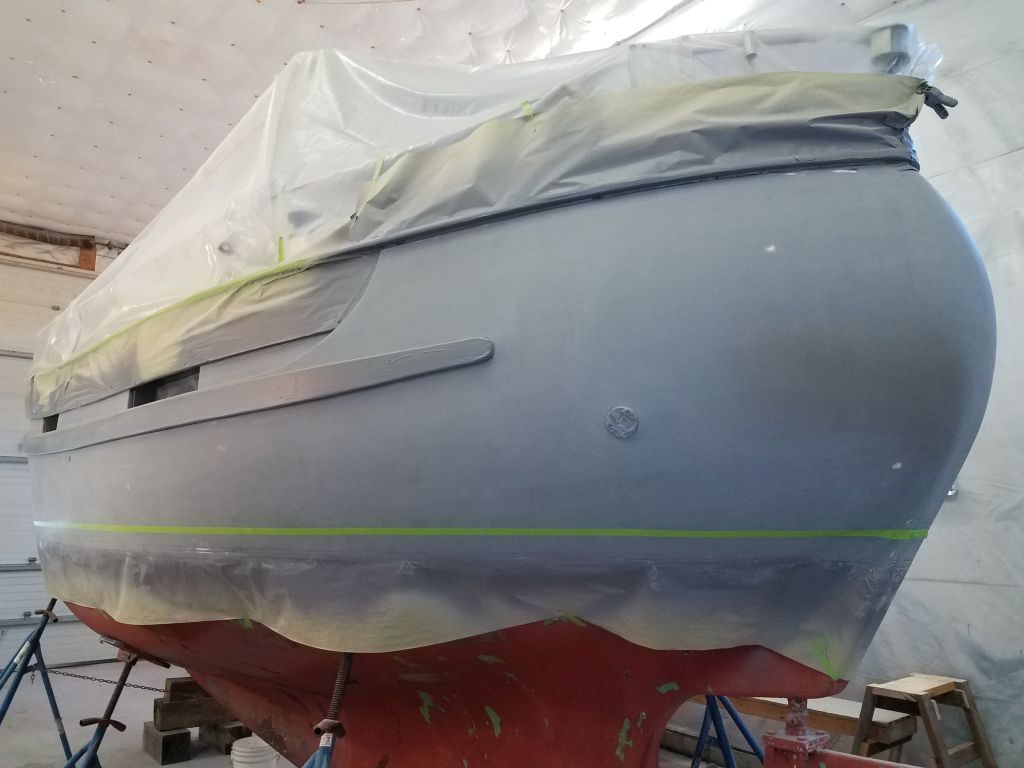
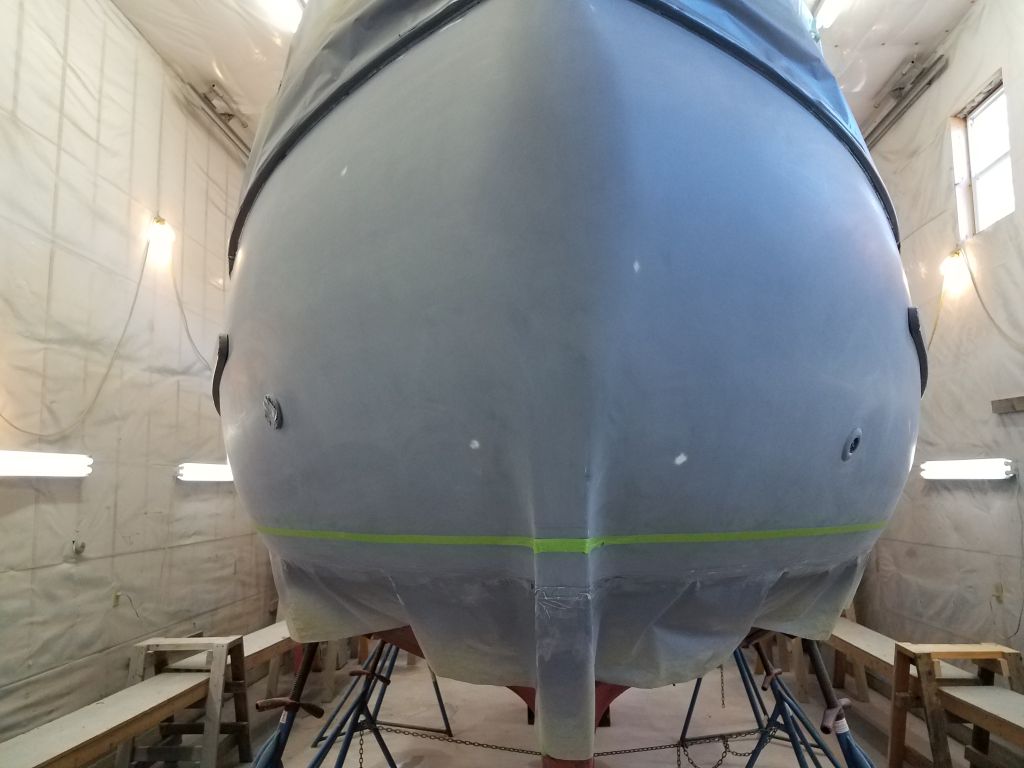
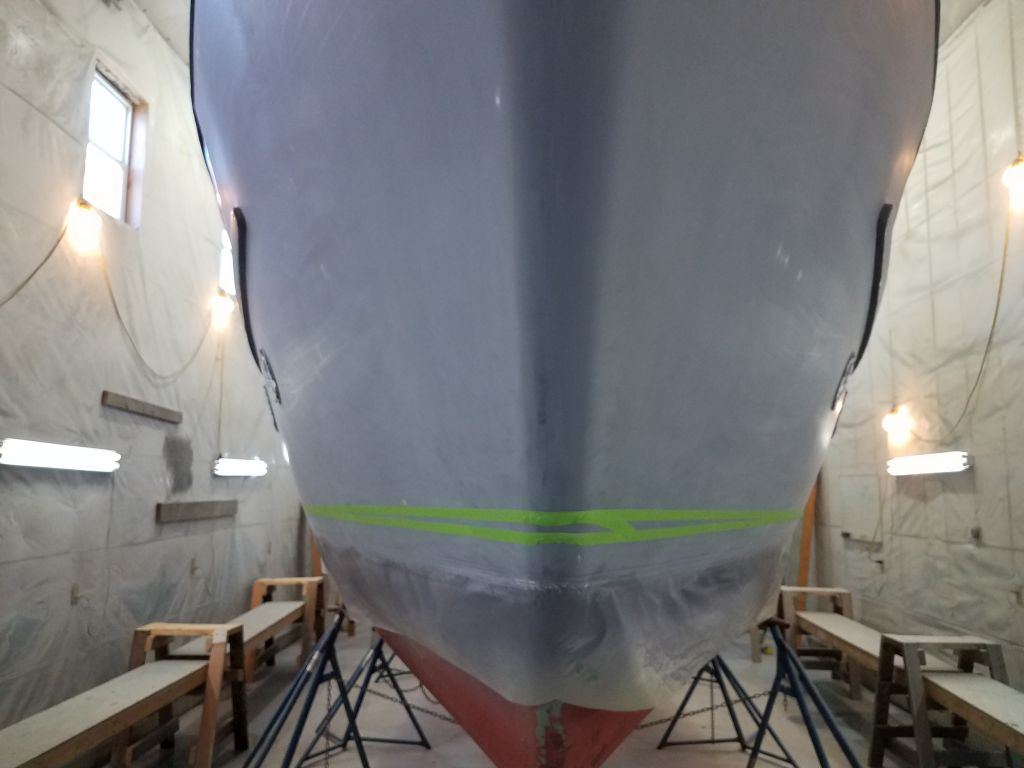
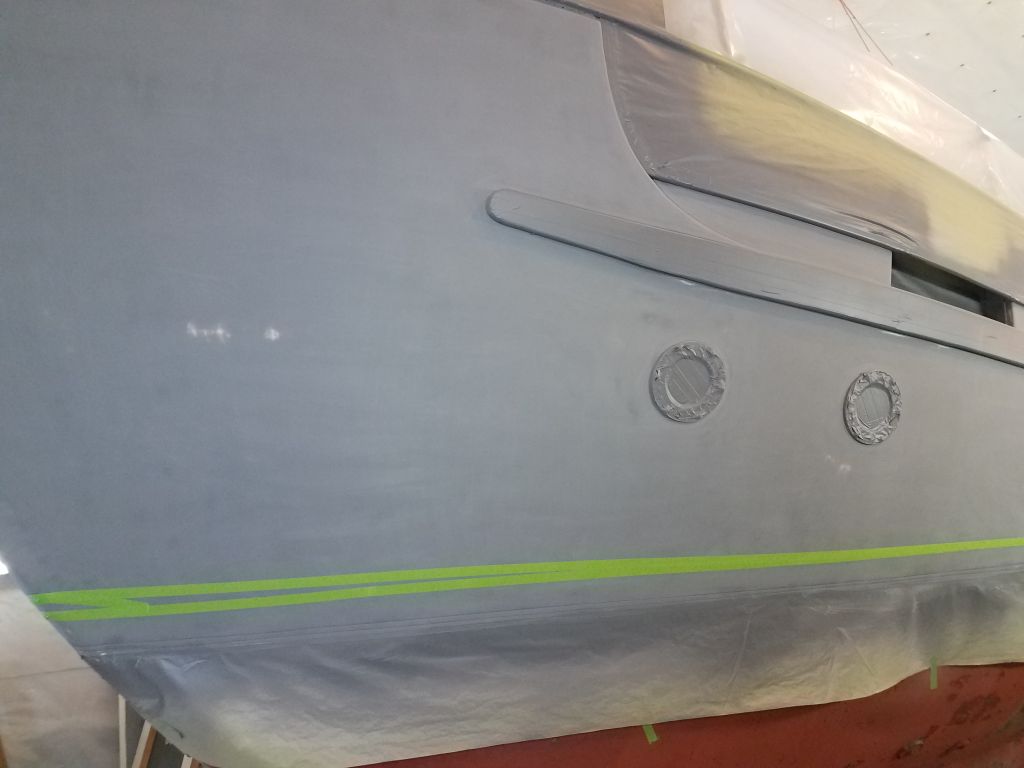
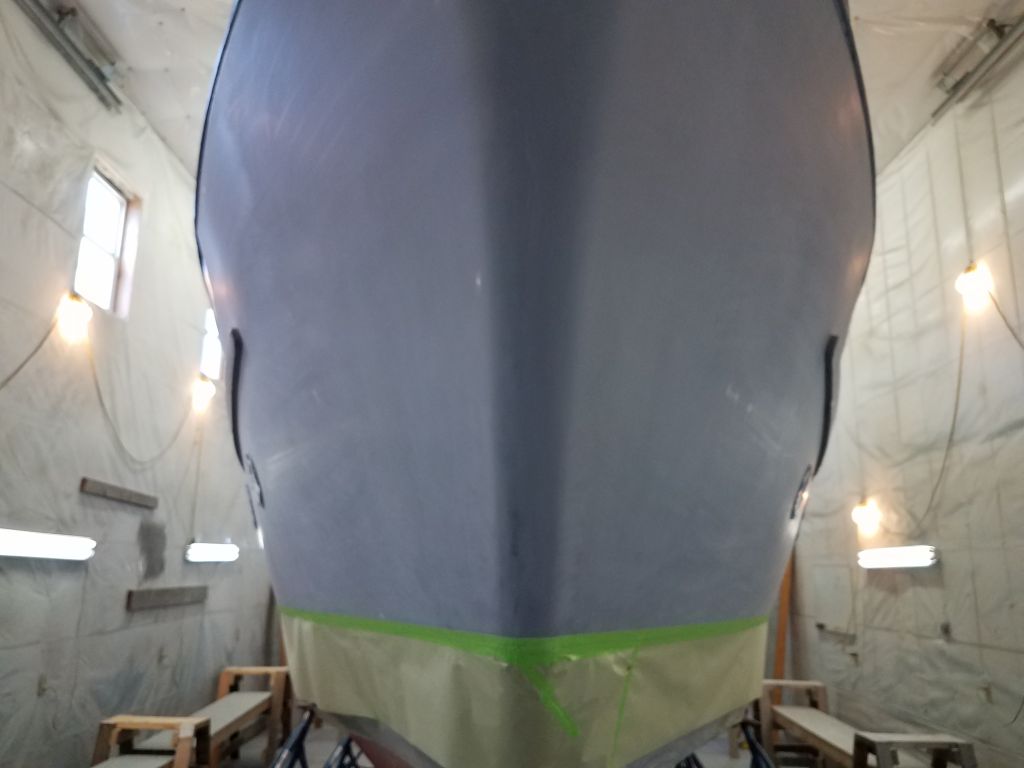
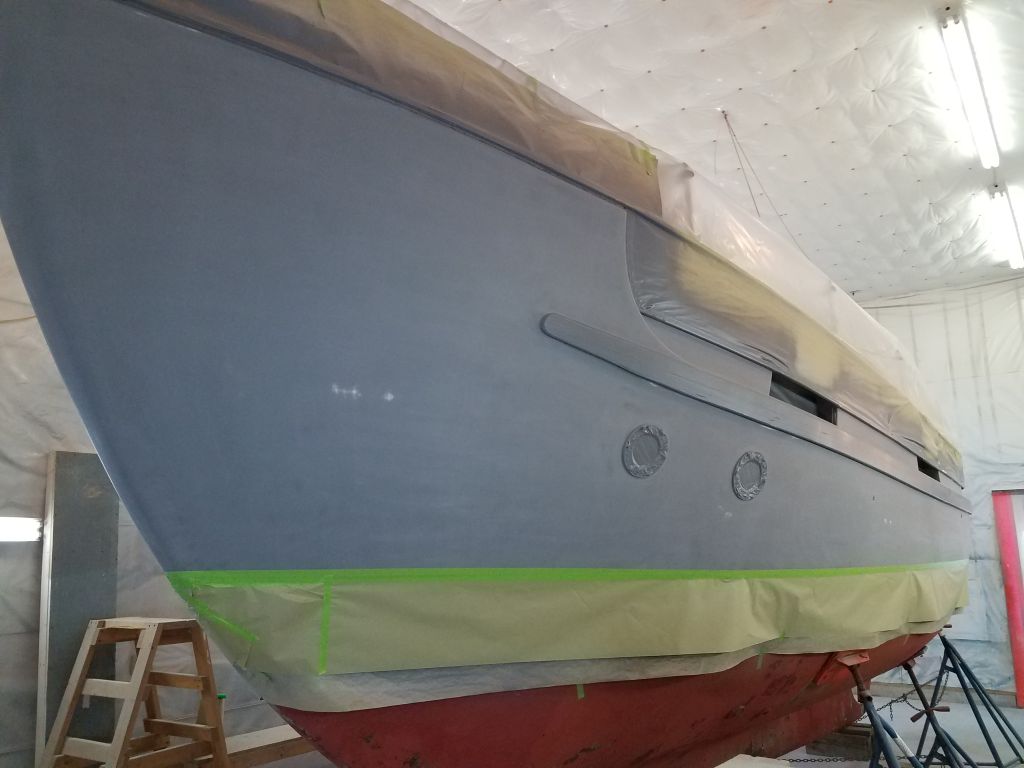
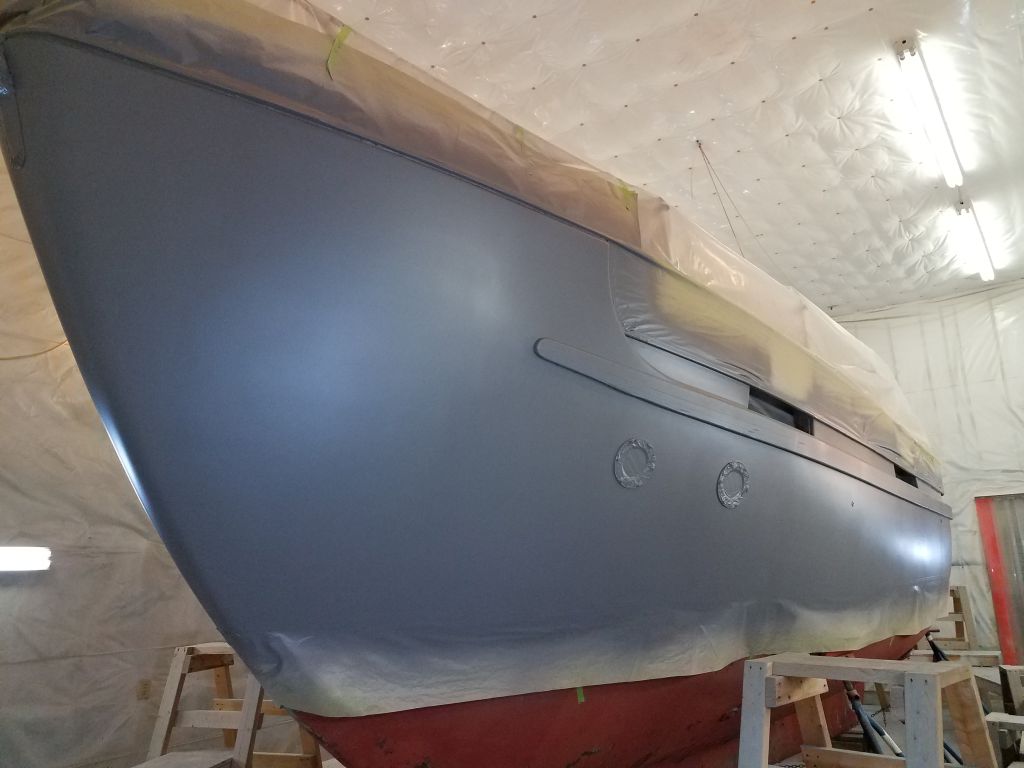
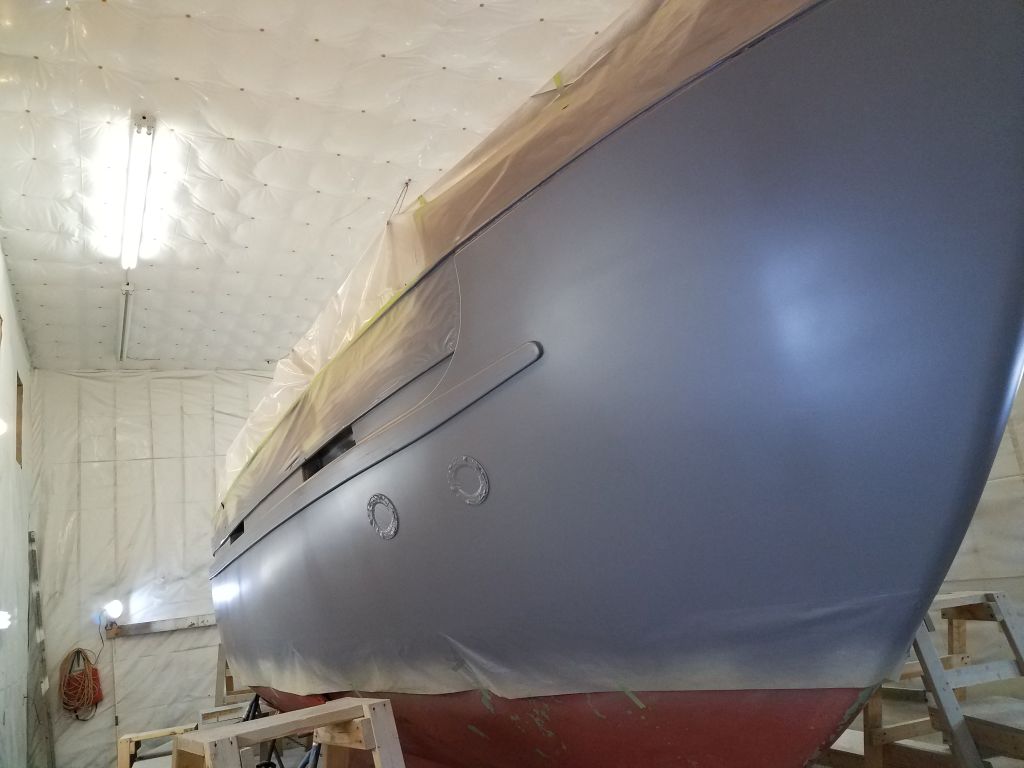
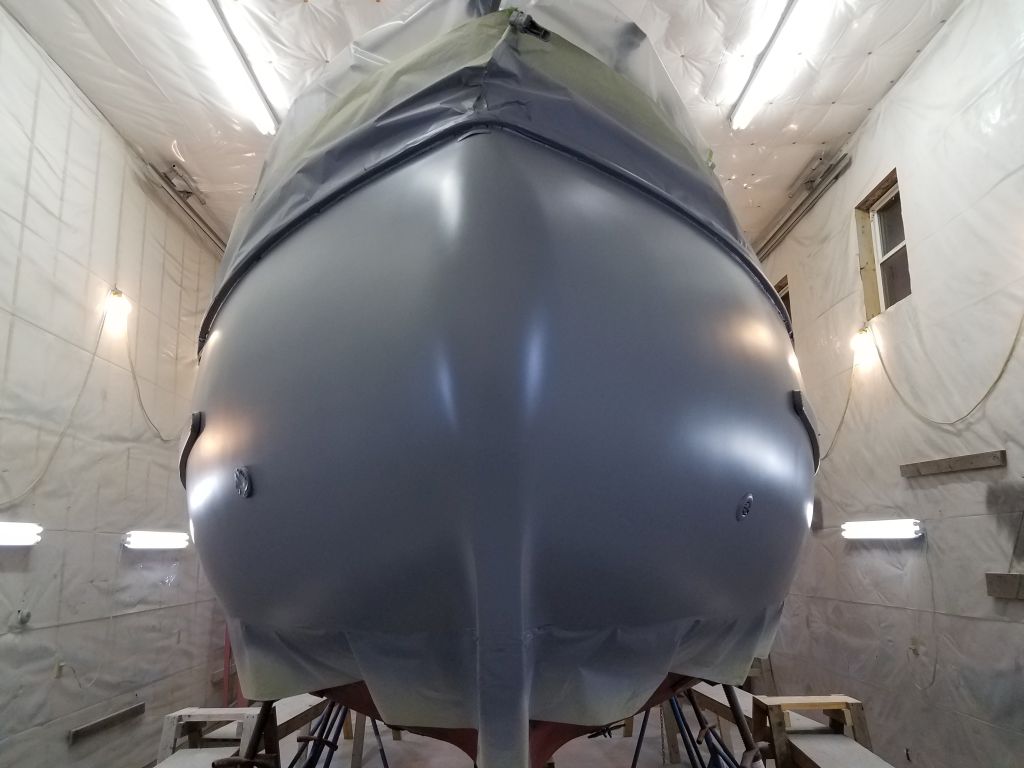
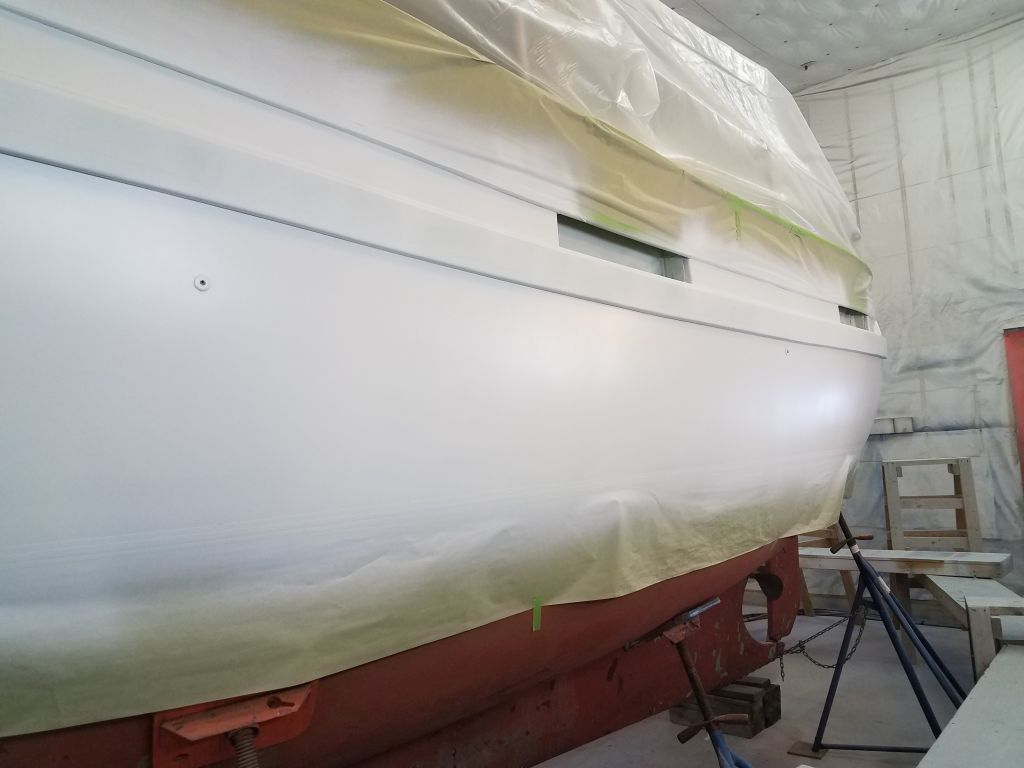
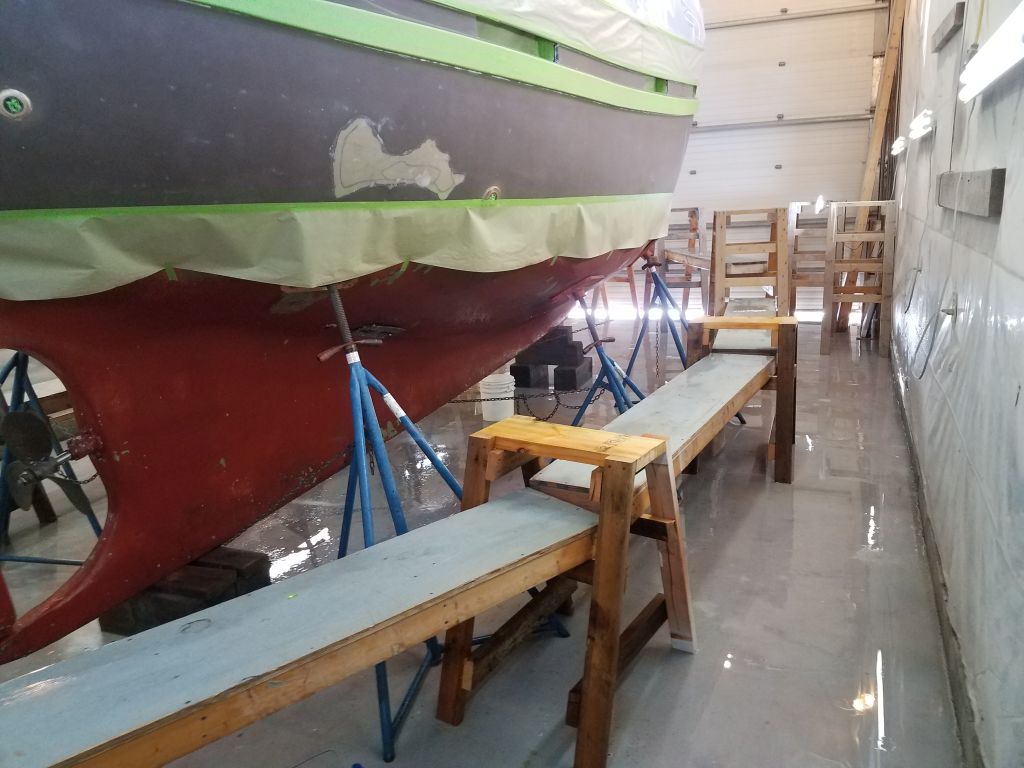
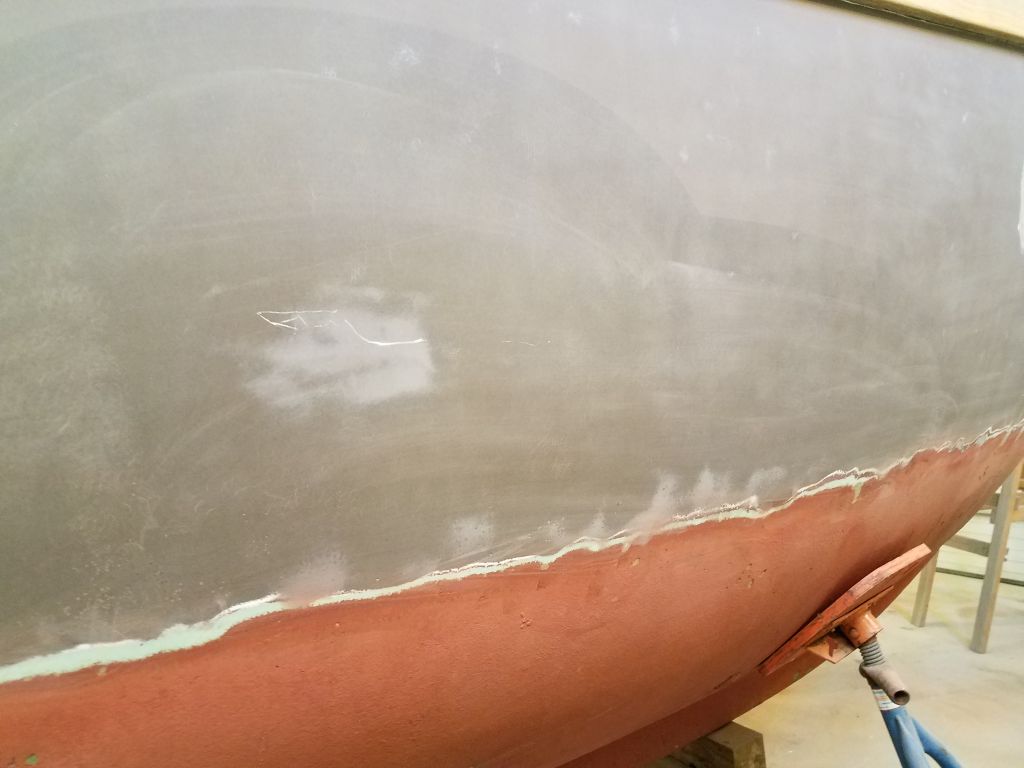
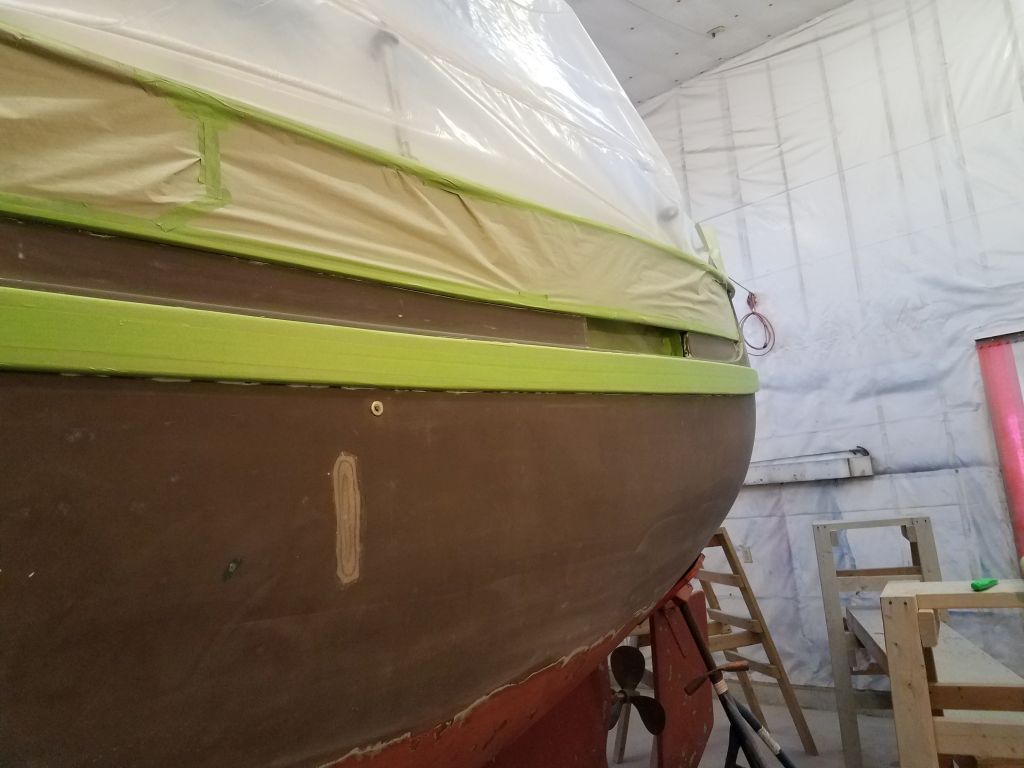
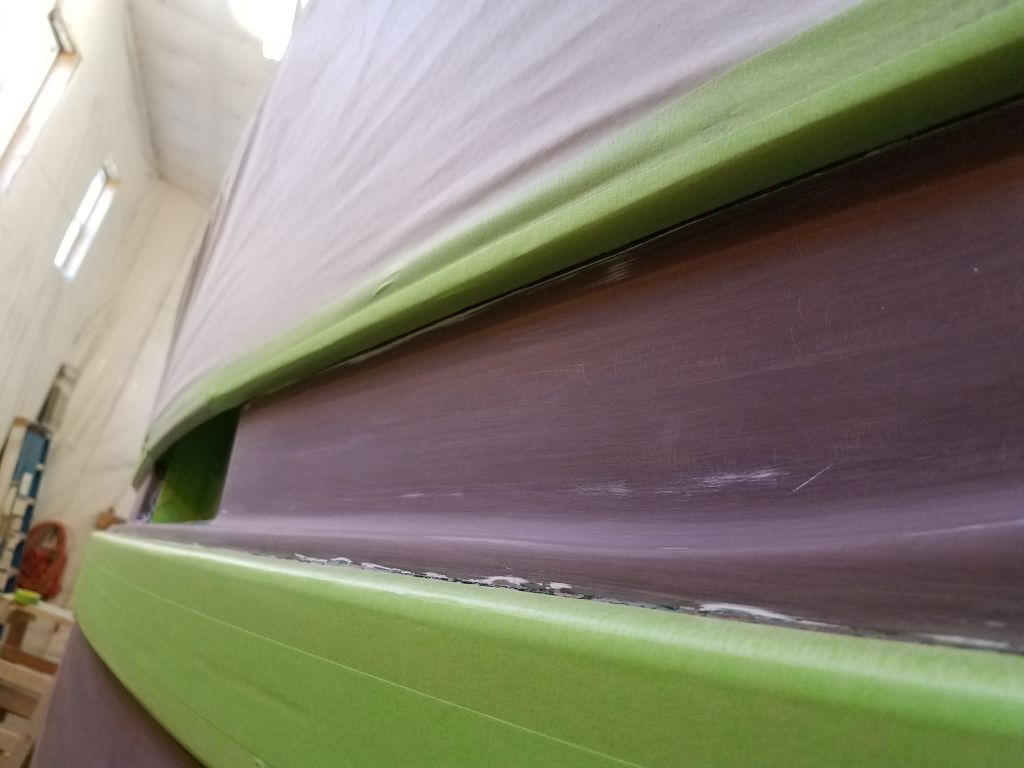
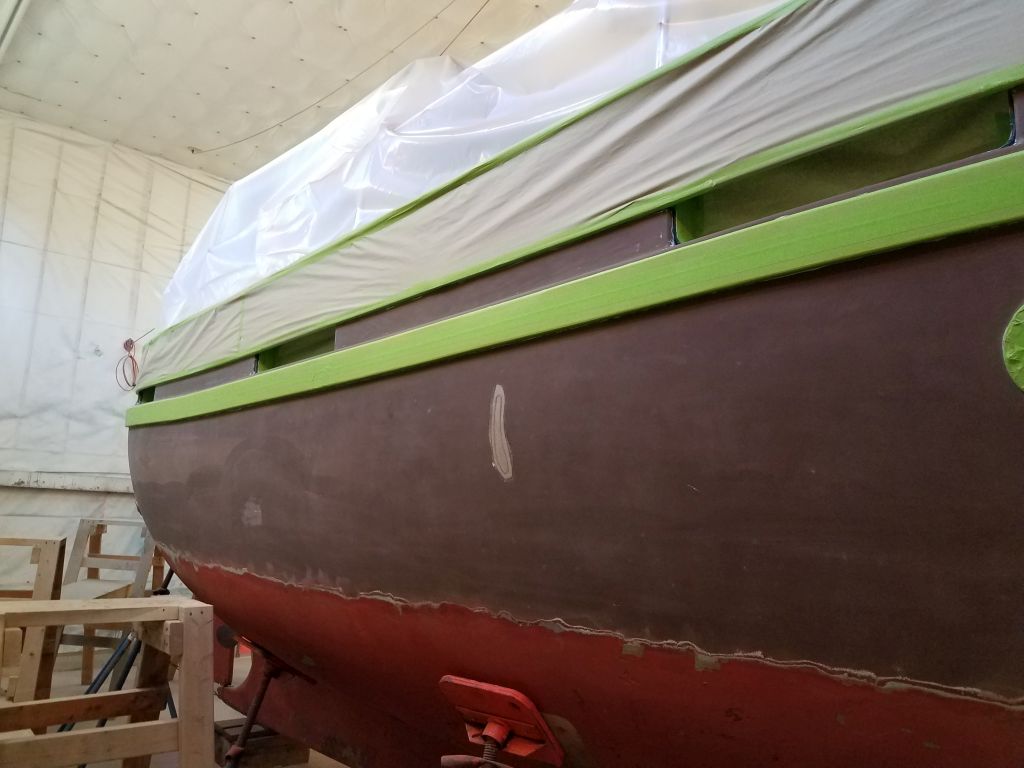
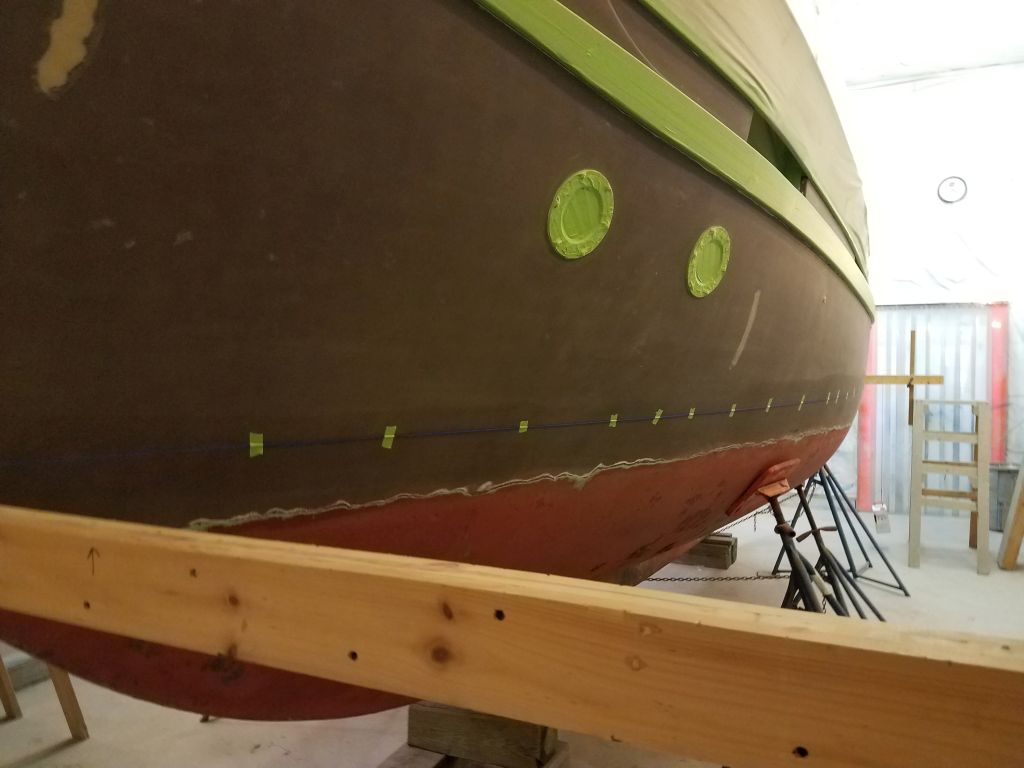
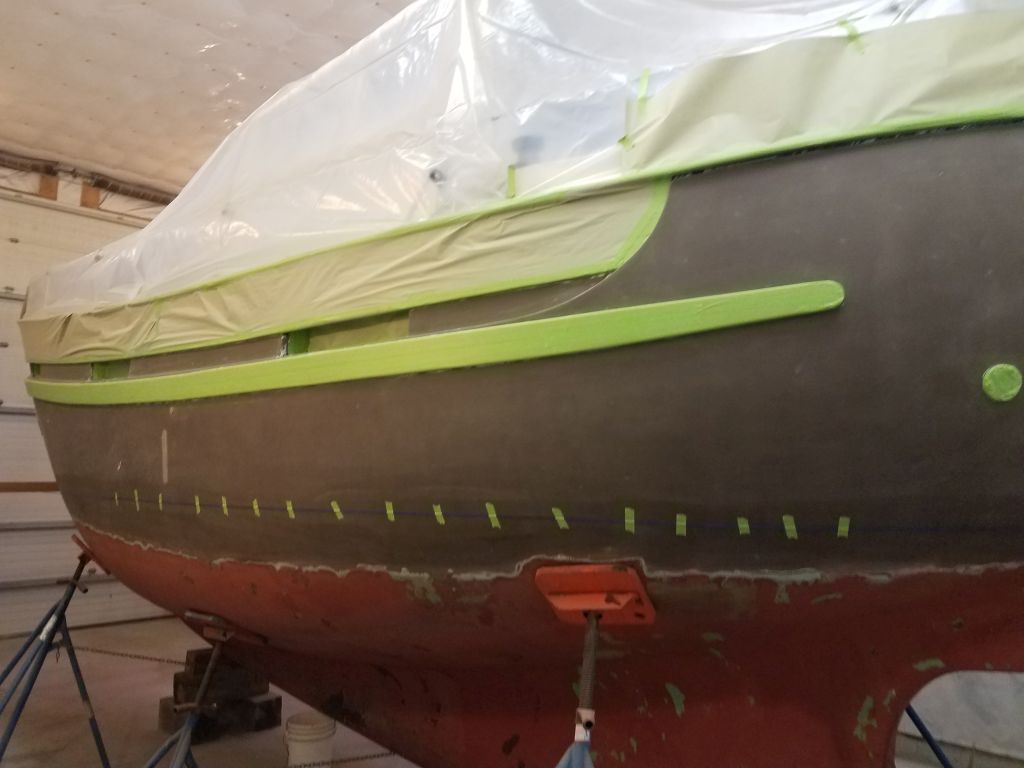
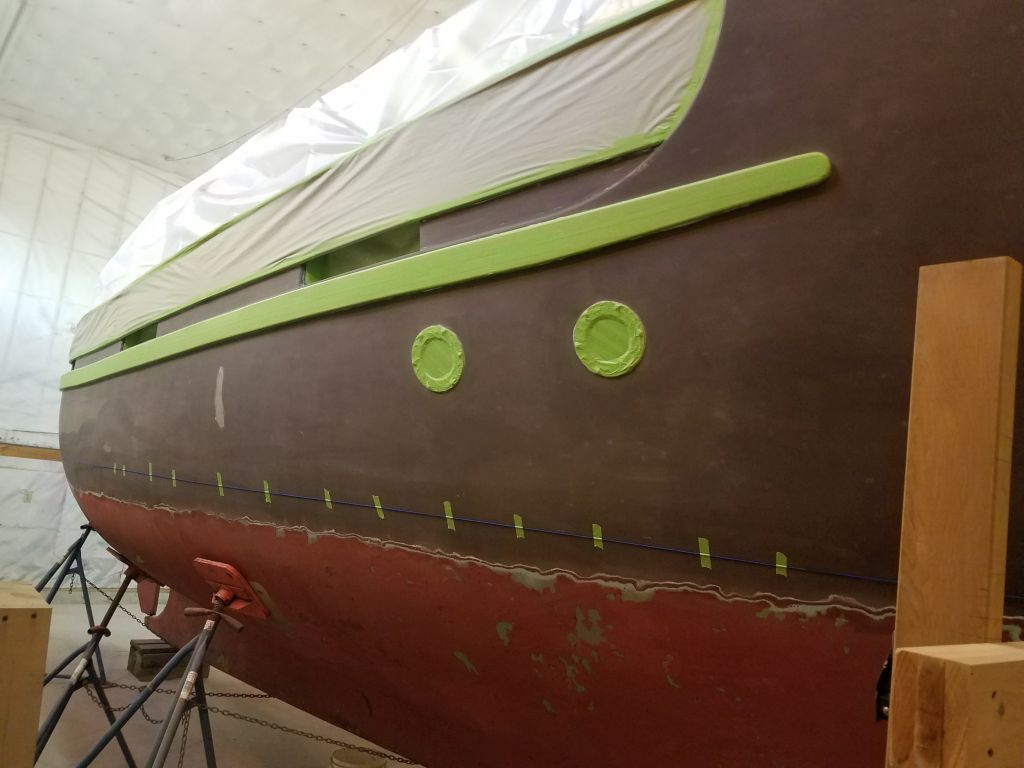
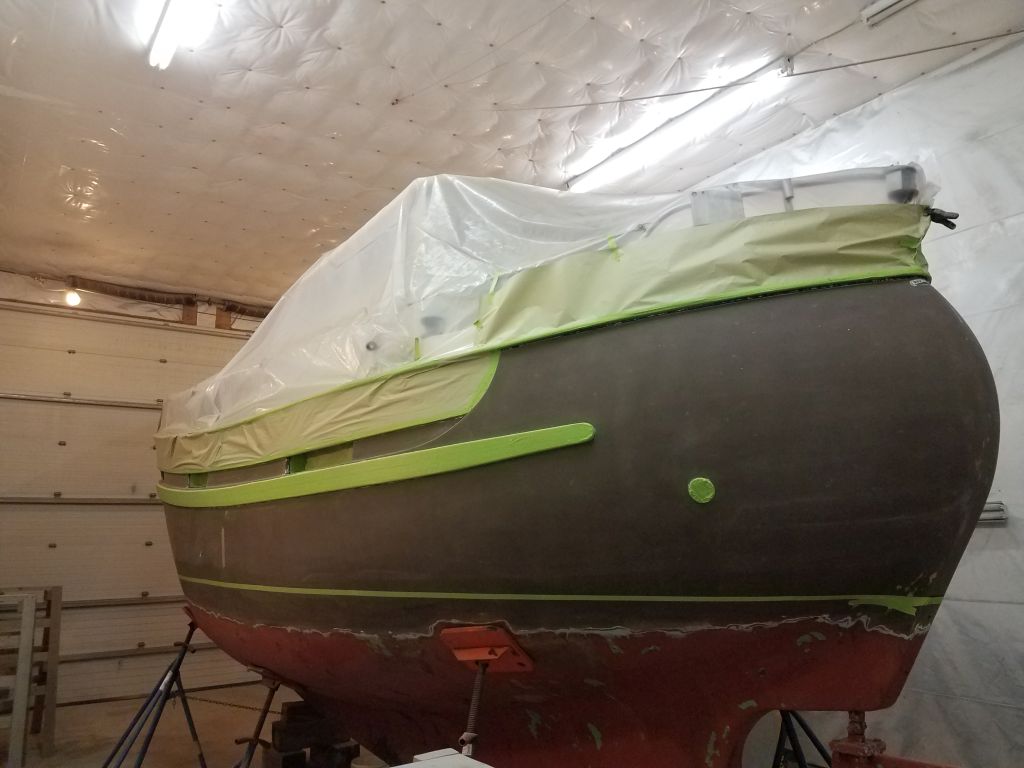
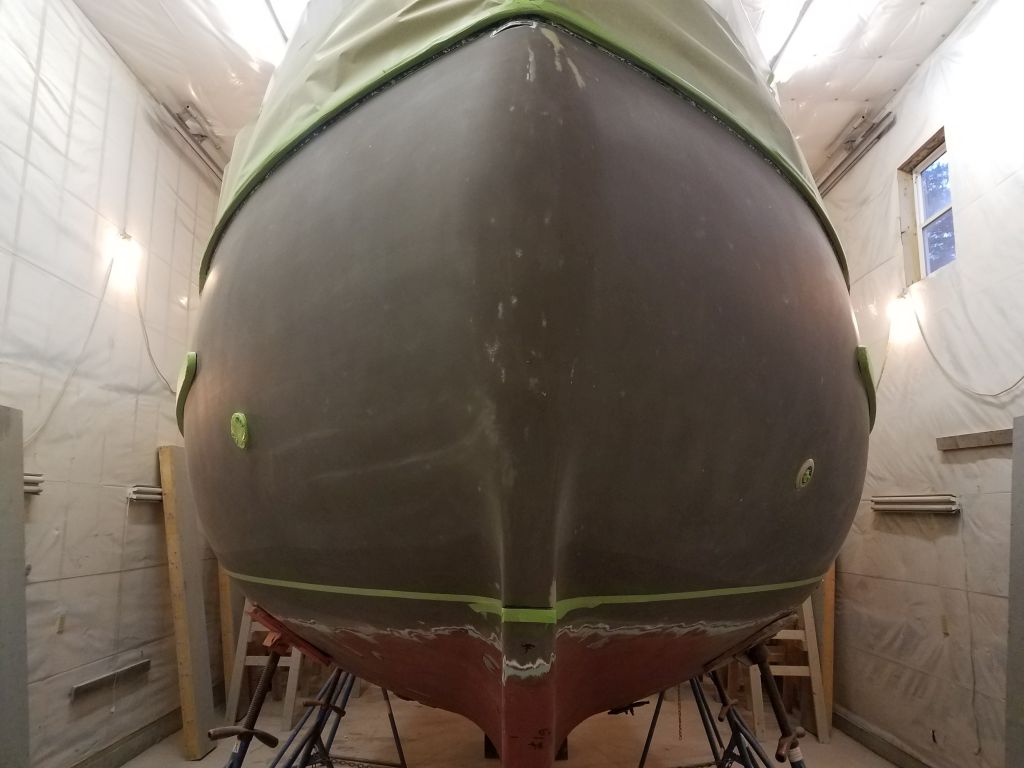
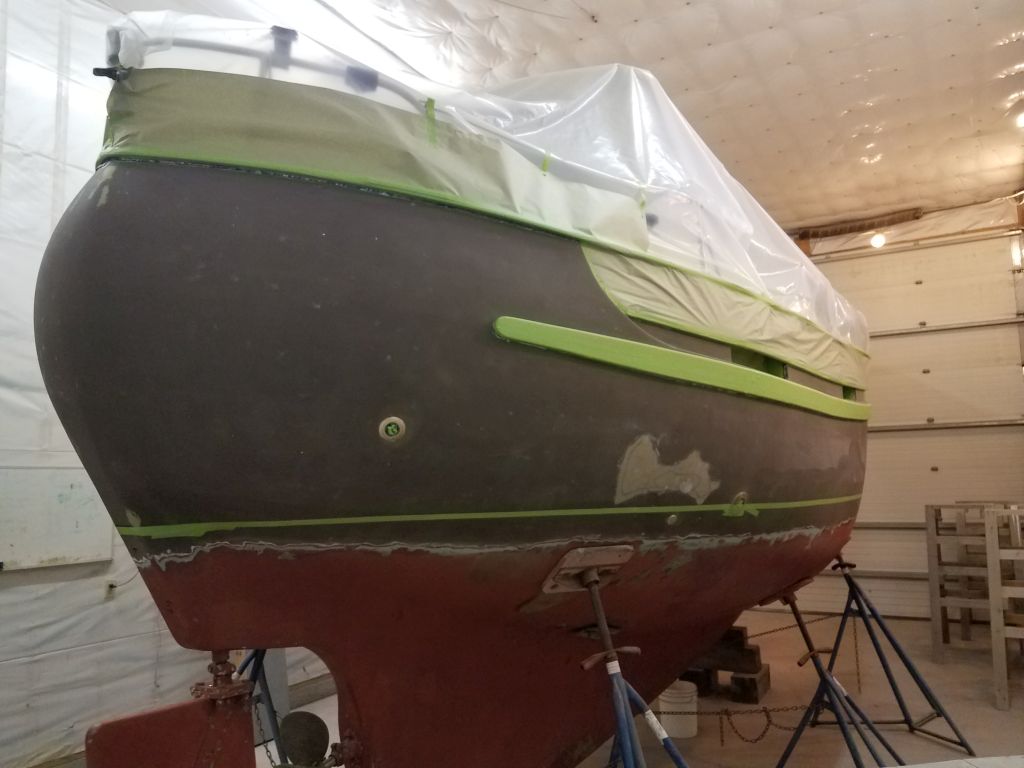
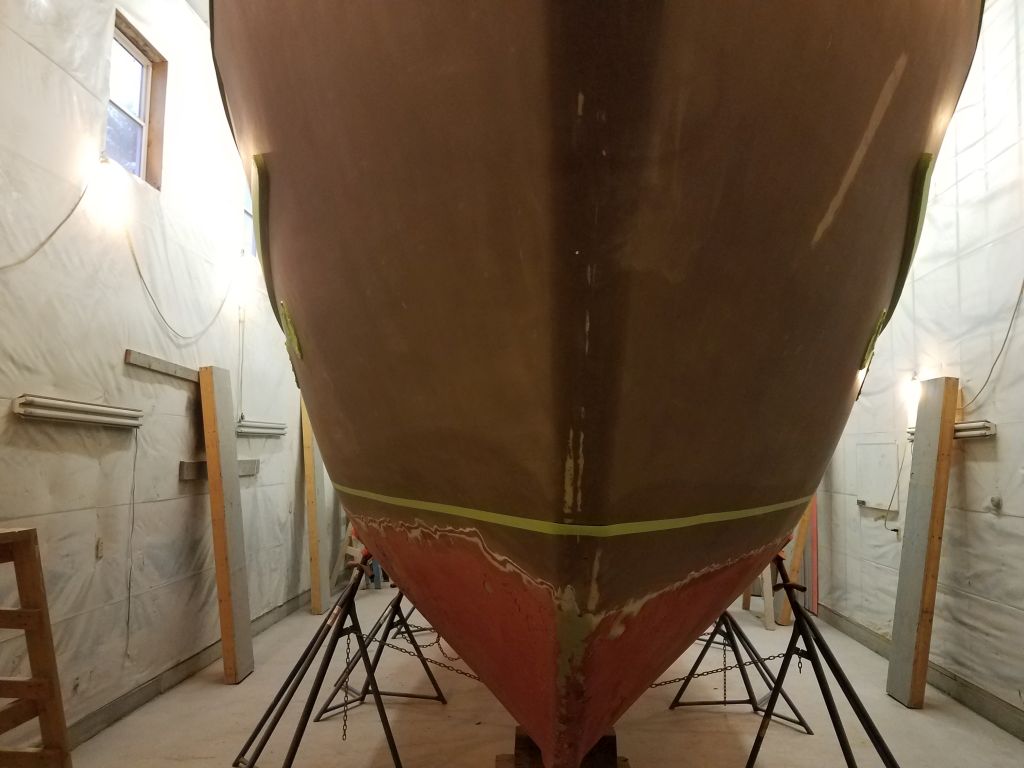
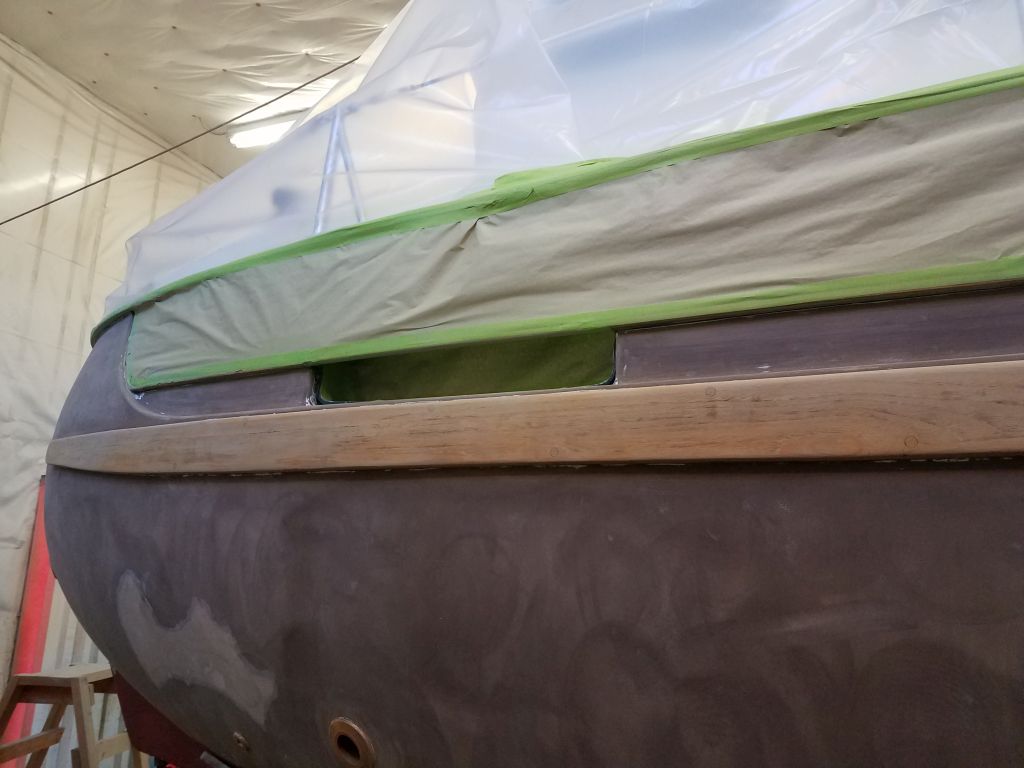
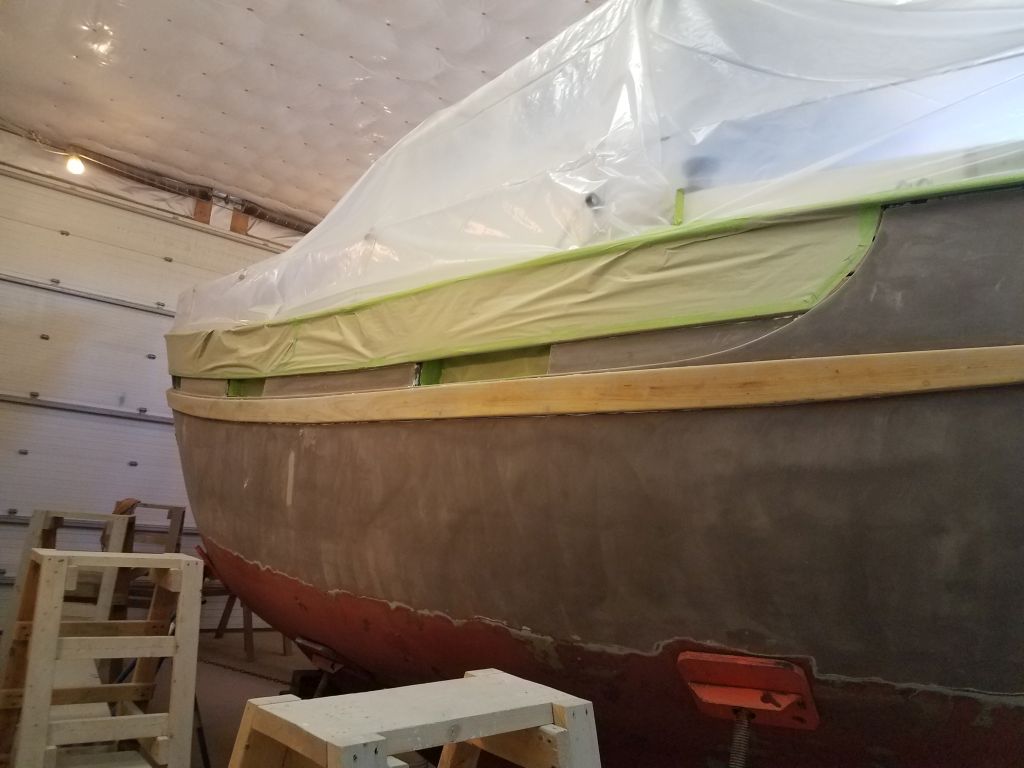
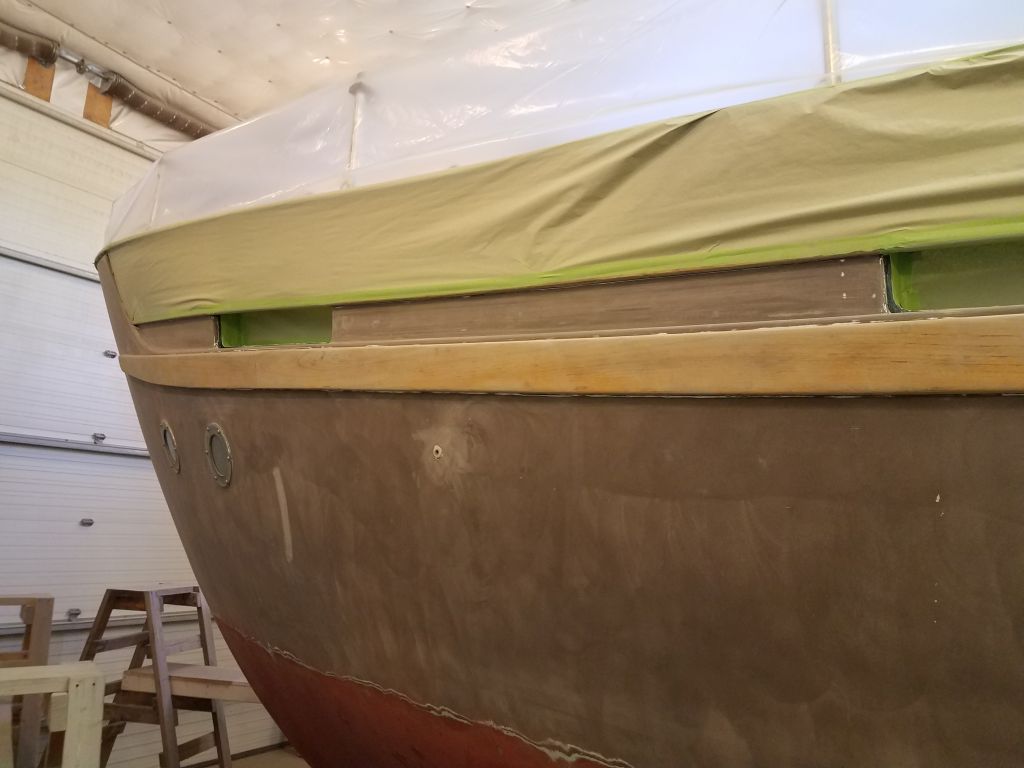
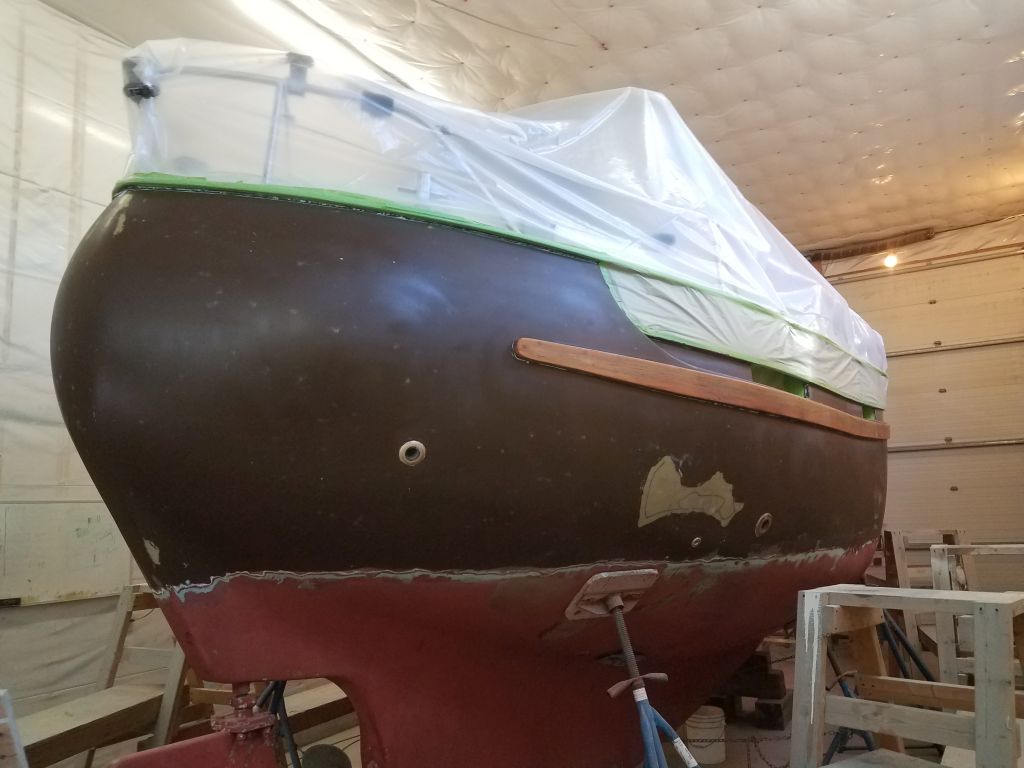
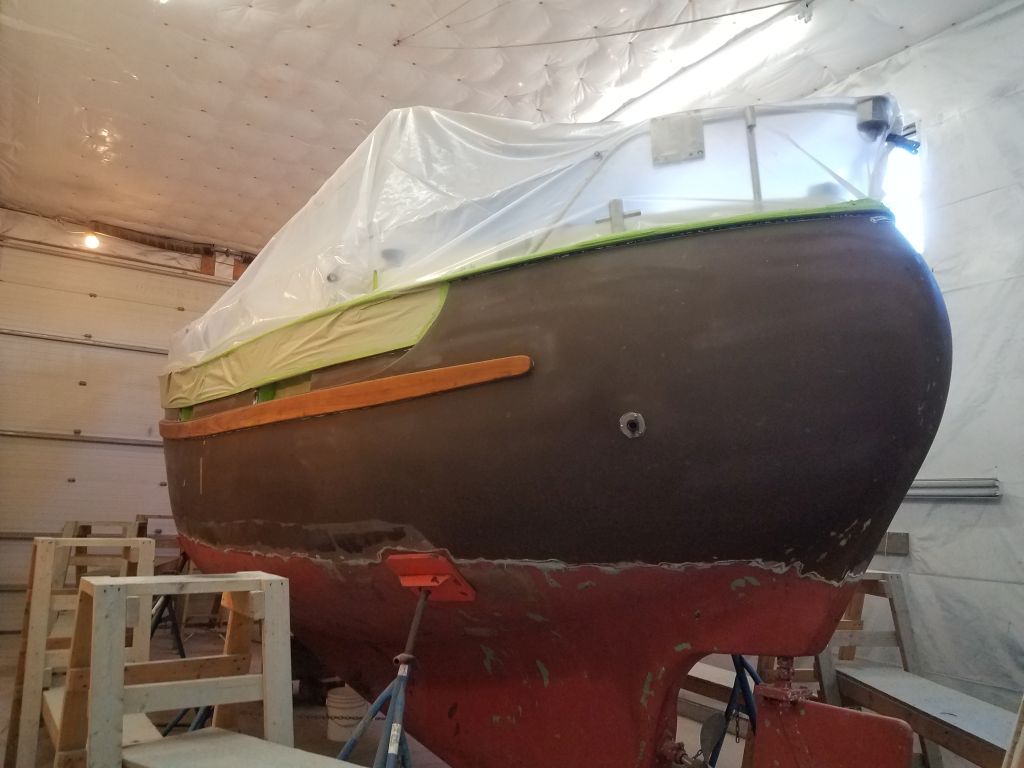
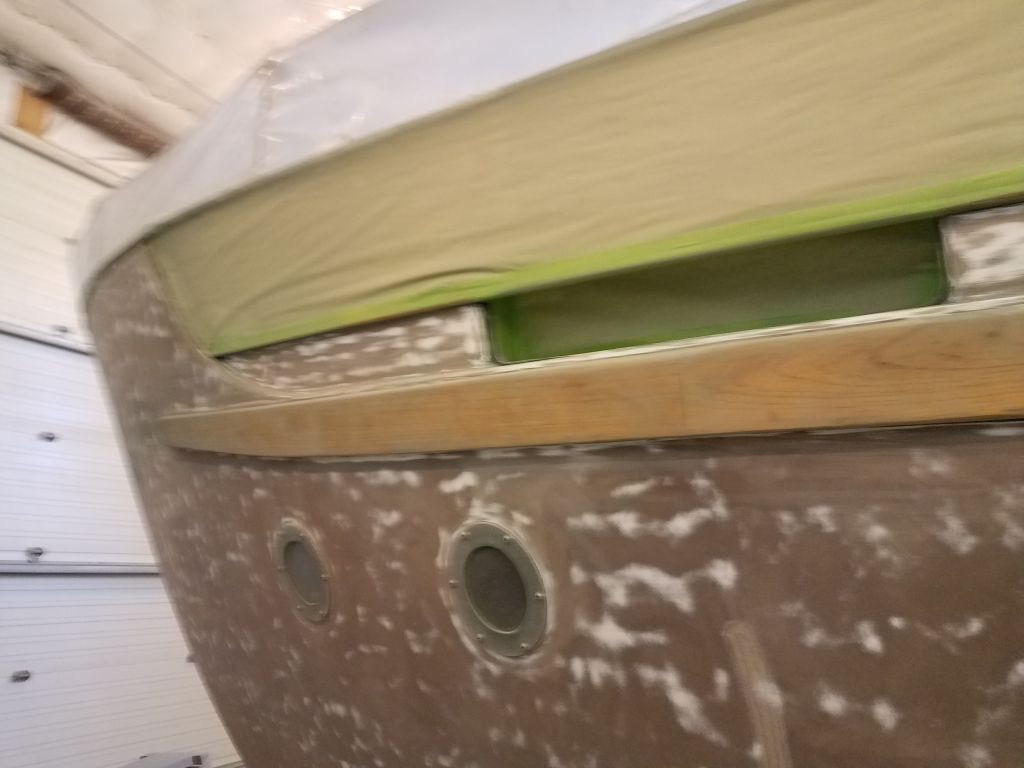
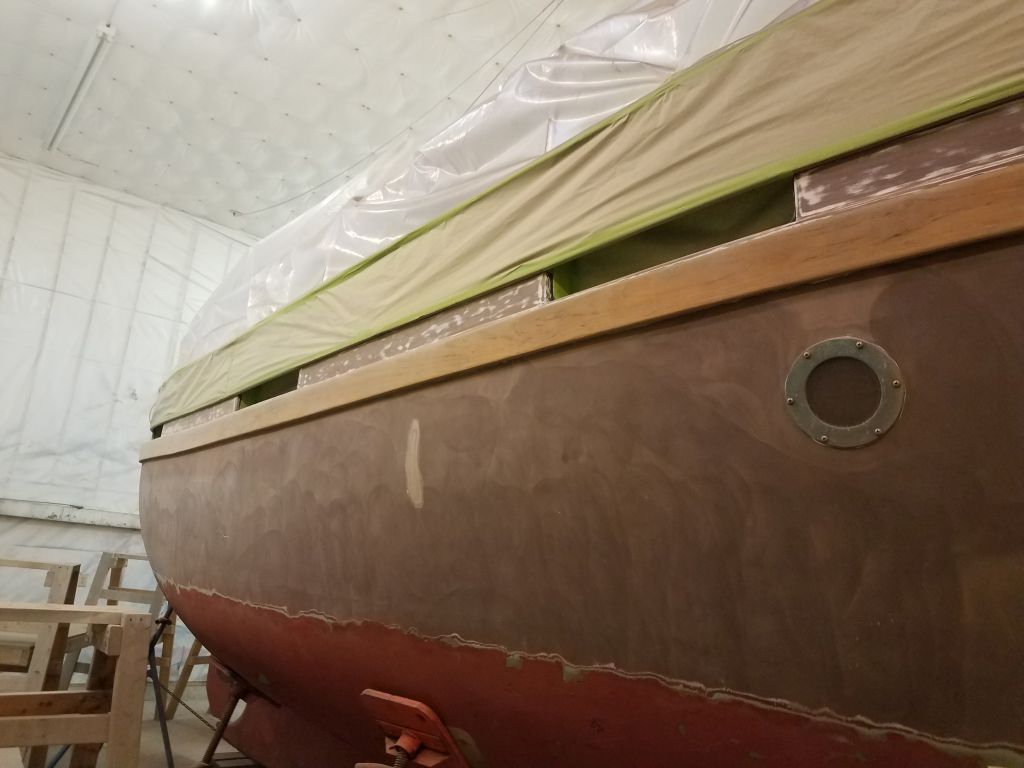
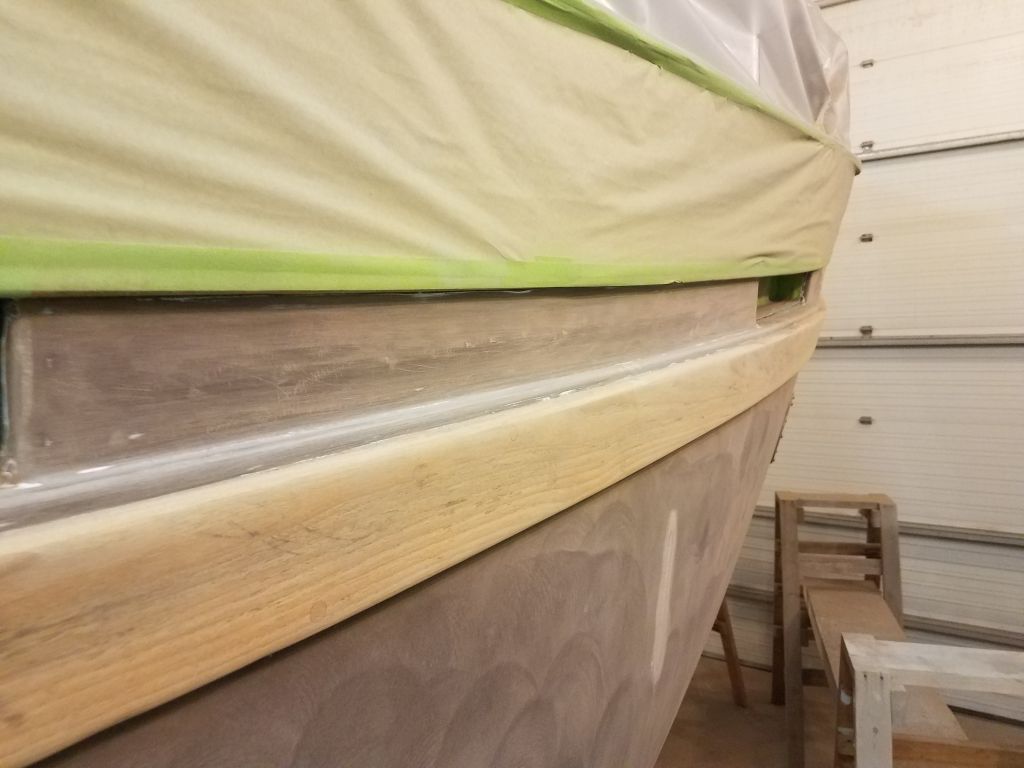
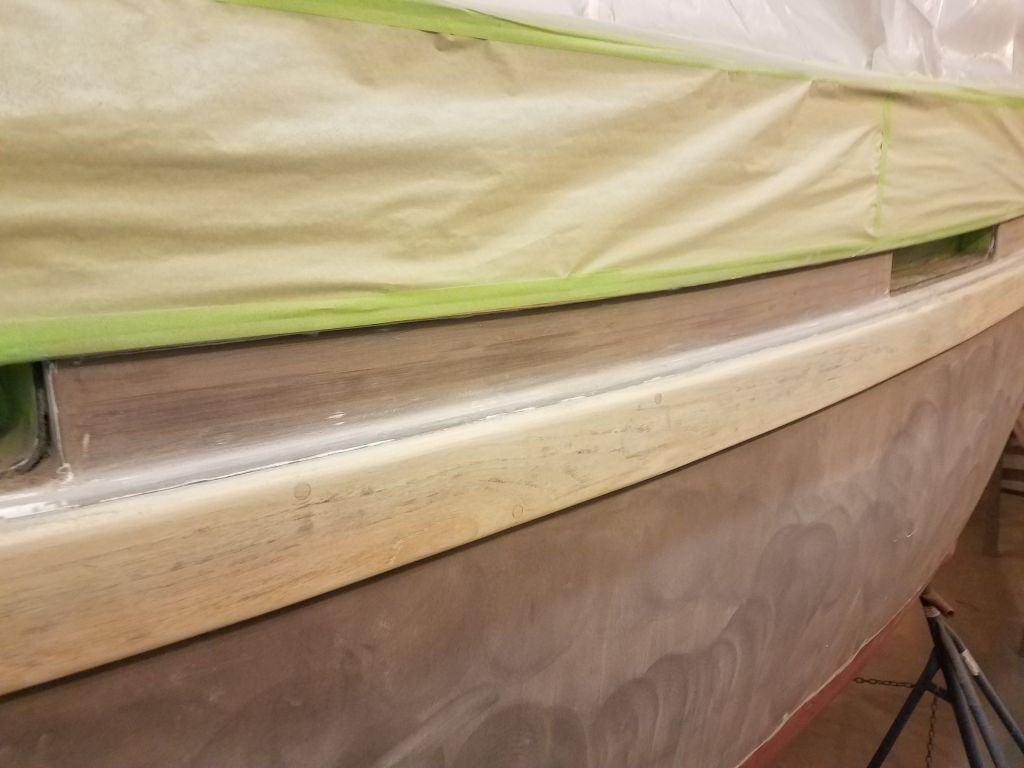
Afterwards, I removed the beams and masked off the top of the new boottop (i.e. the bottom edge of the new topsides paint), following the marks I made and fairing by eye as needed.
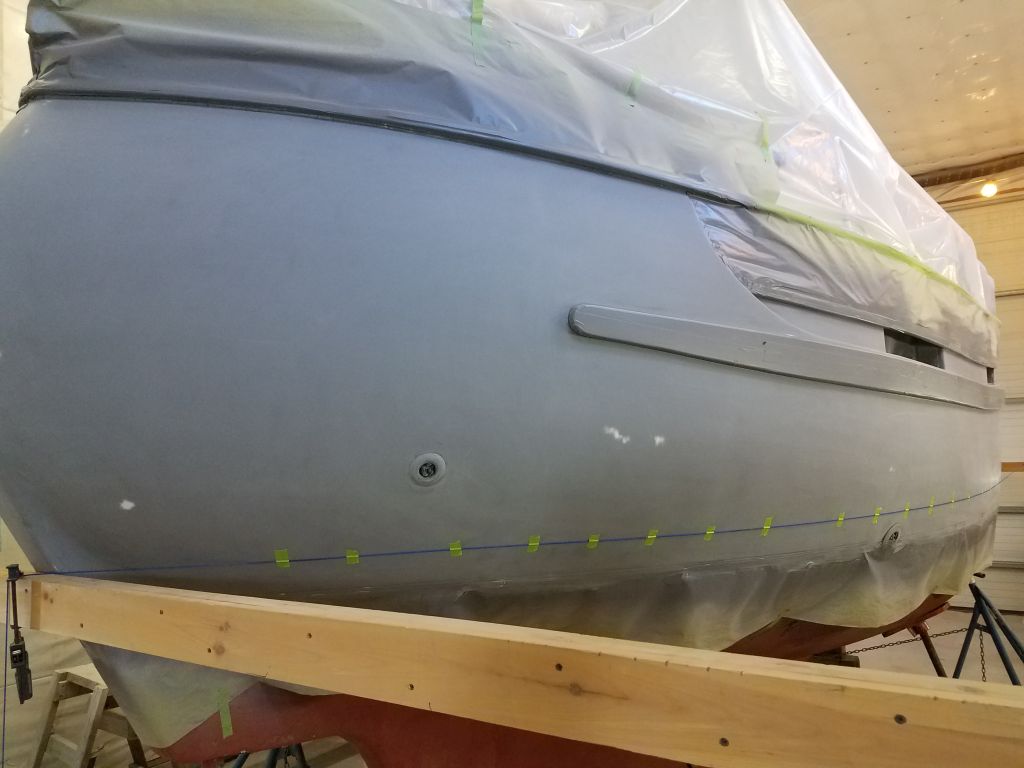
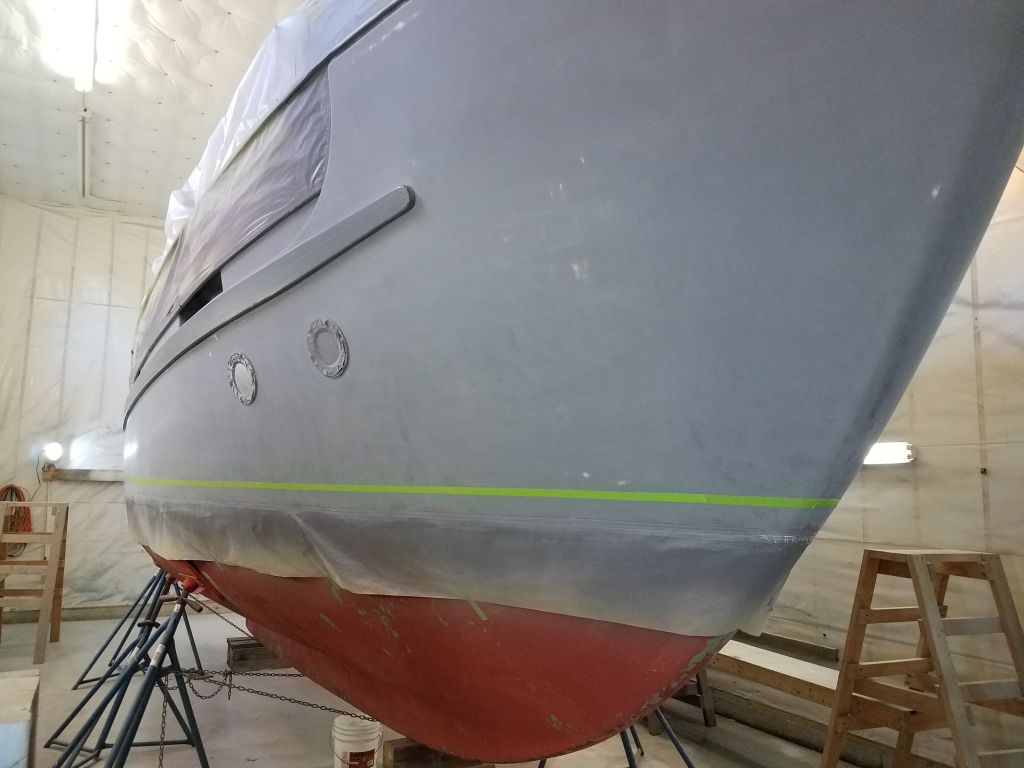
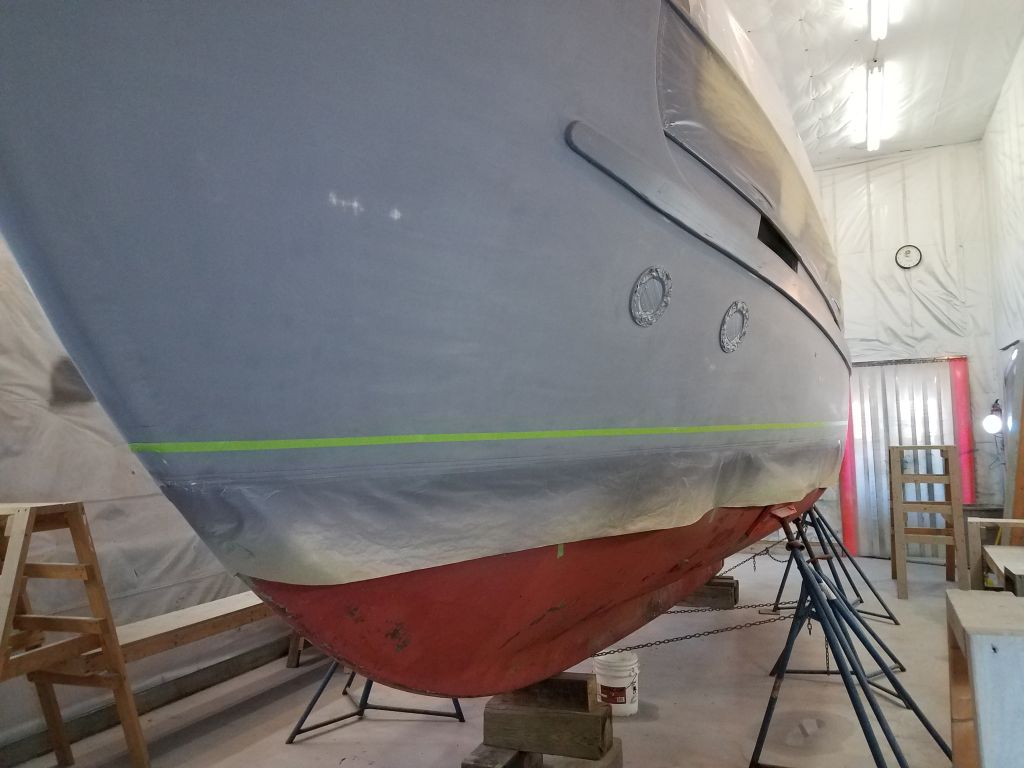
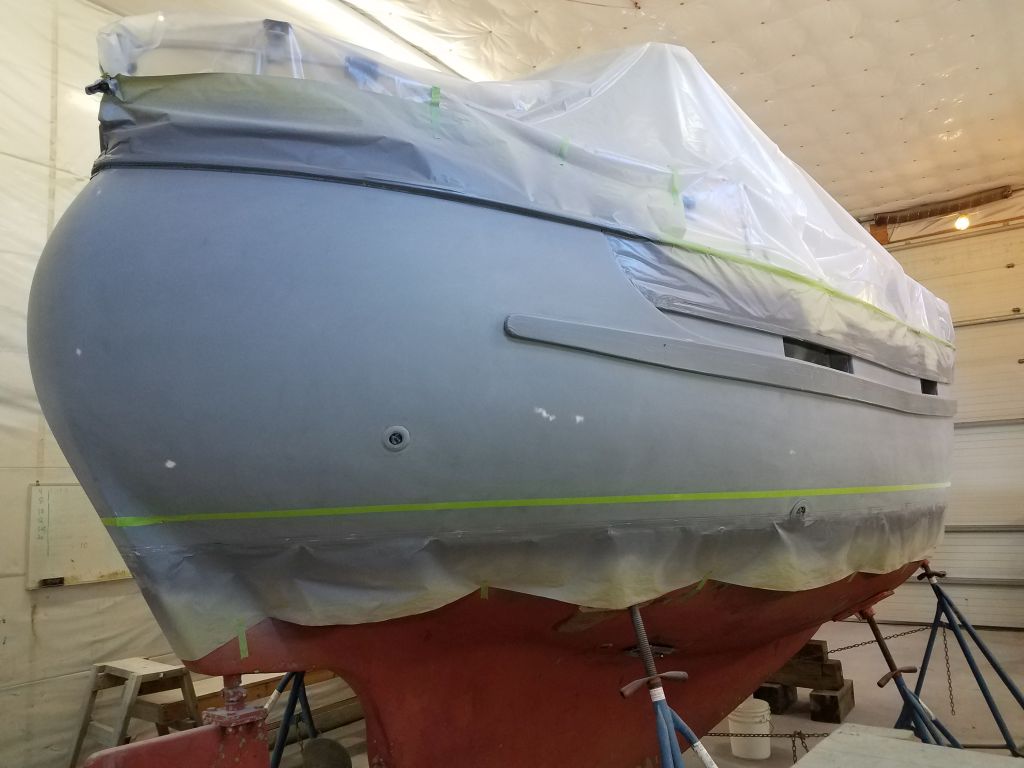
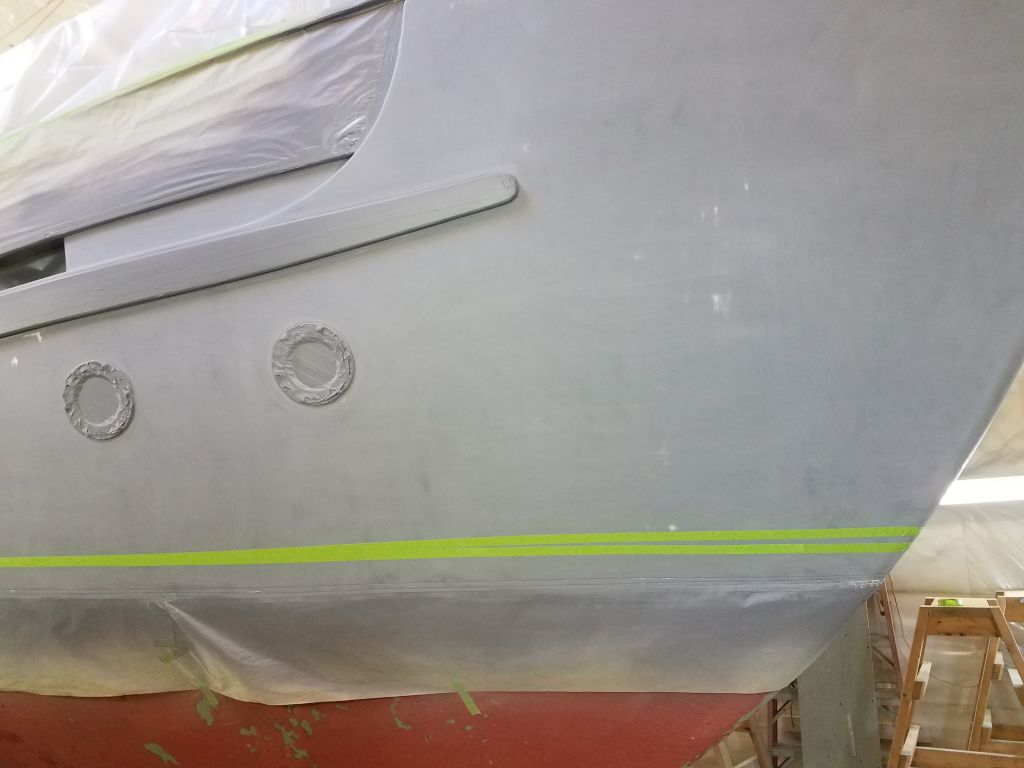
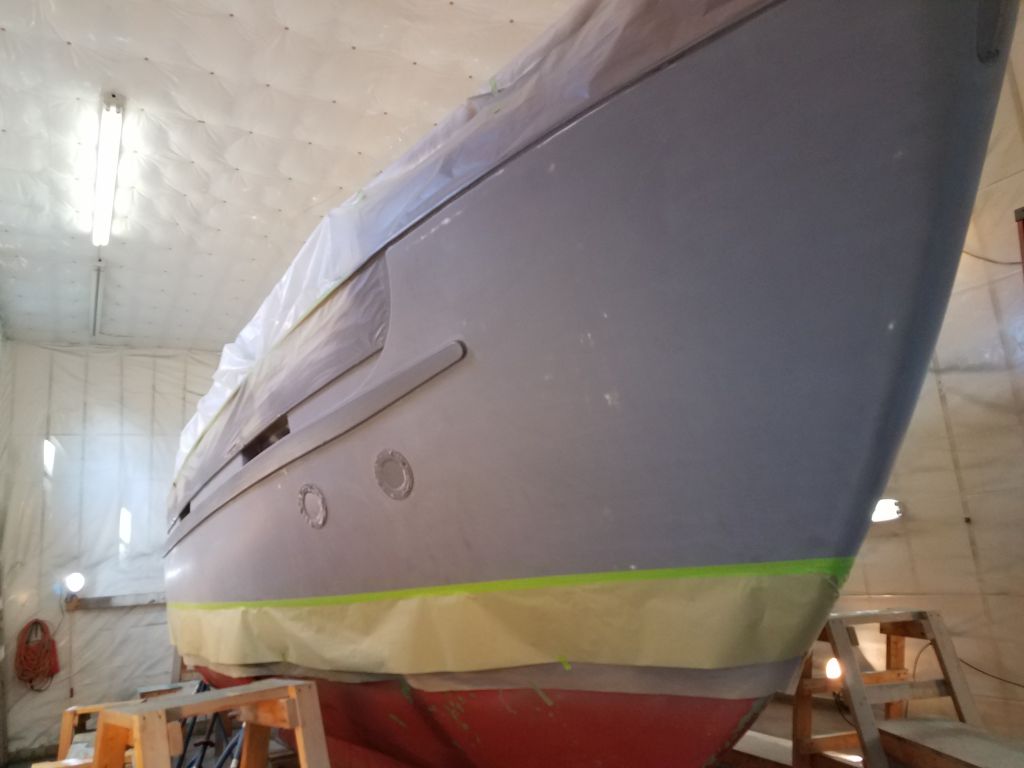
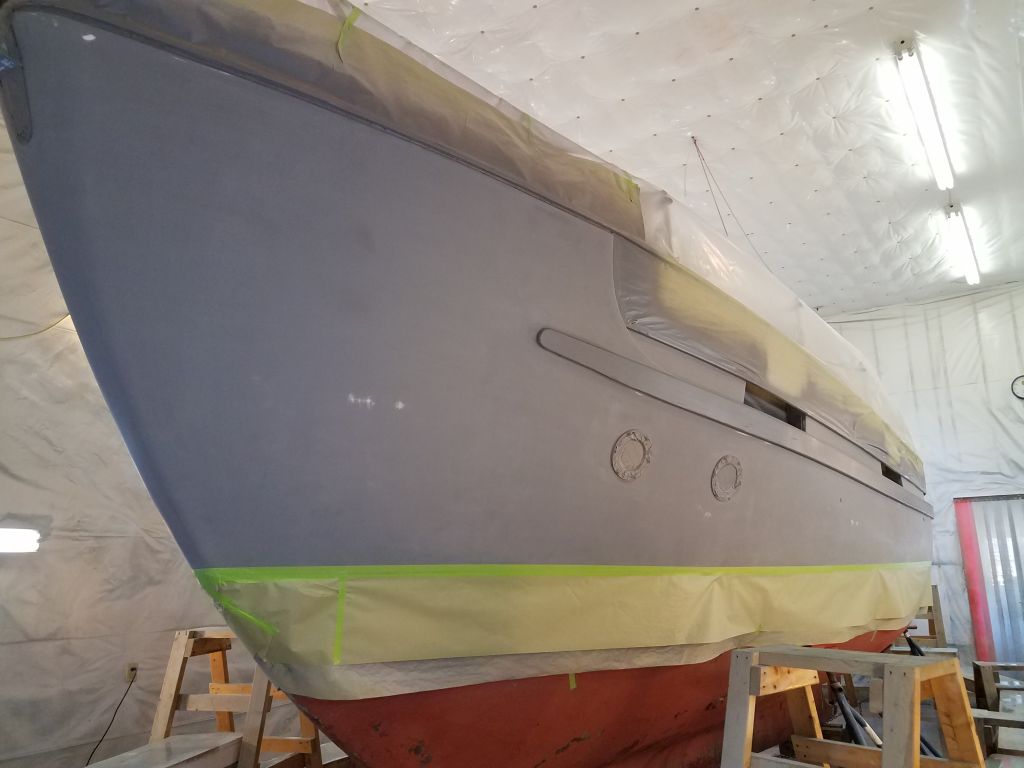
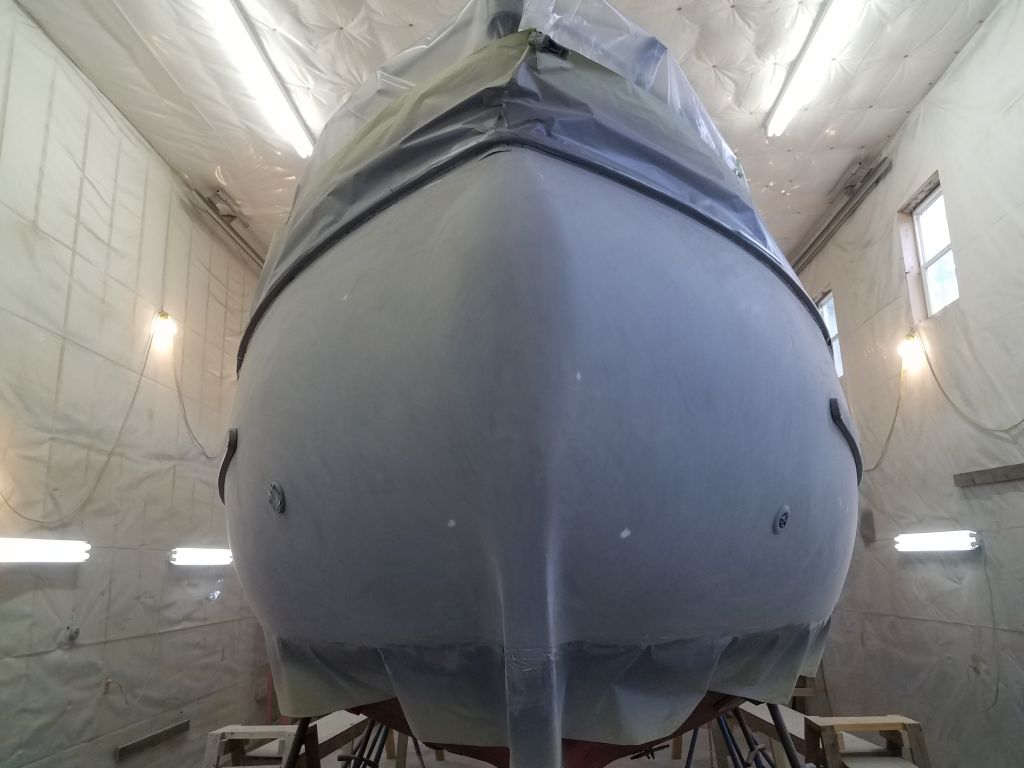
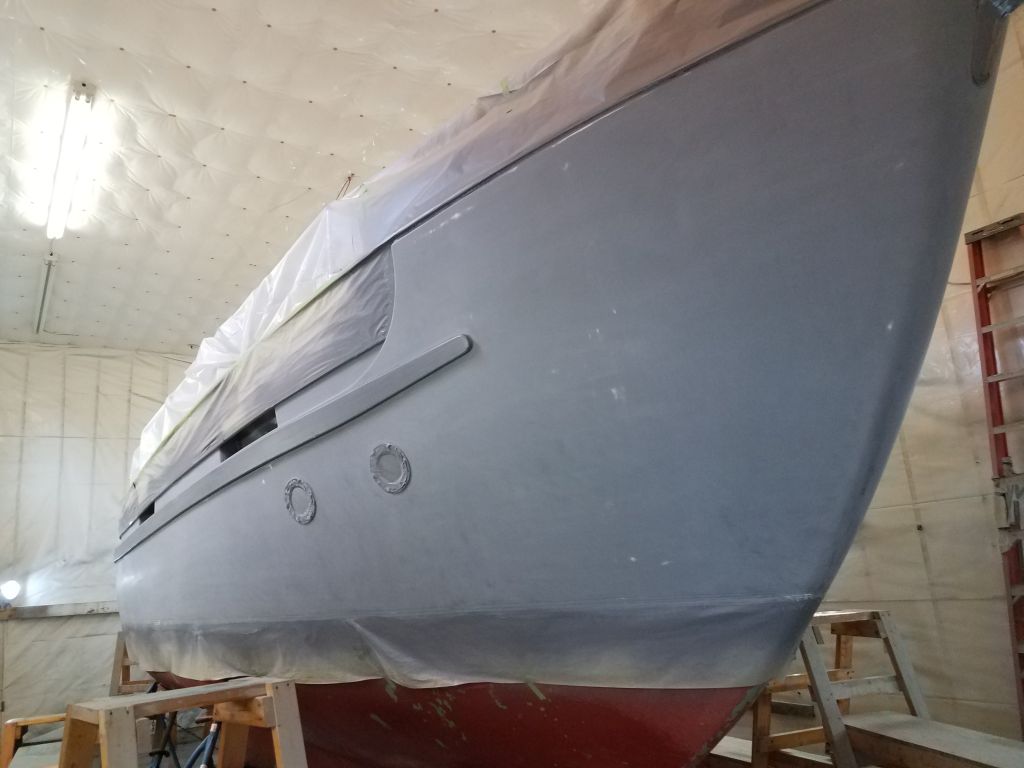
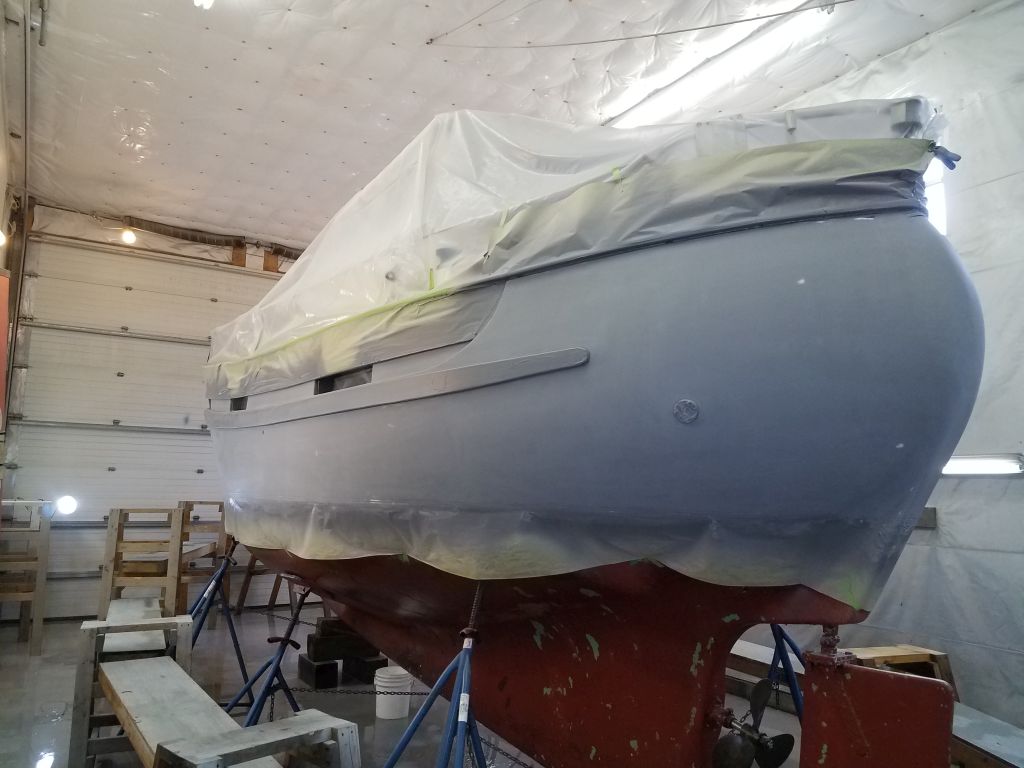
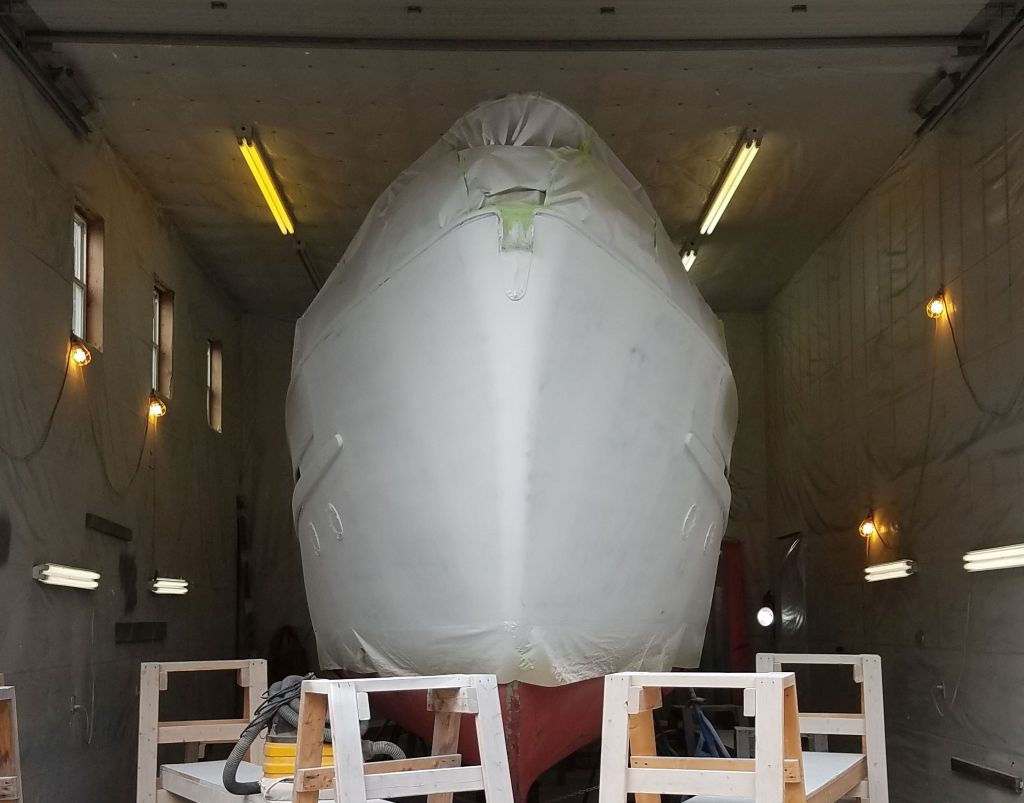
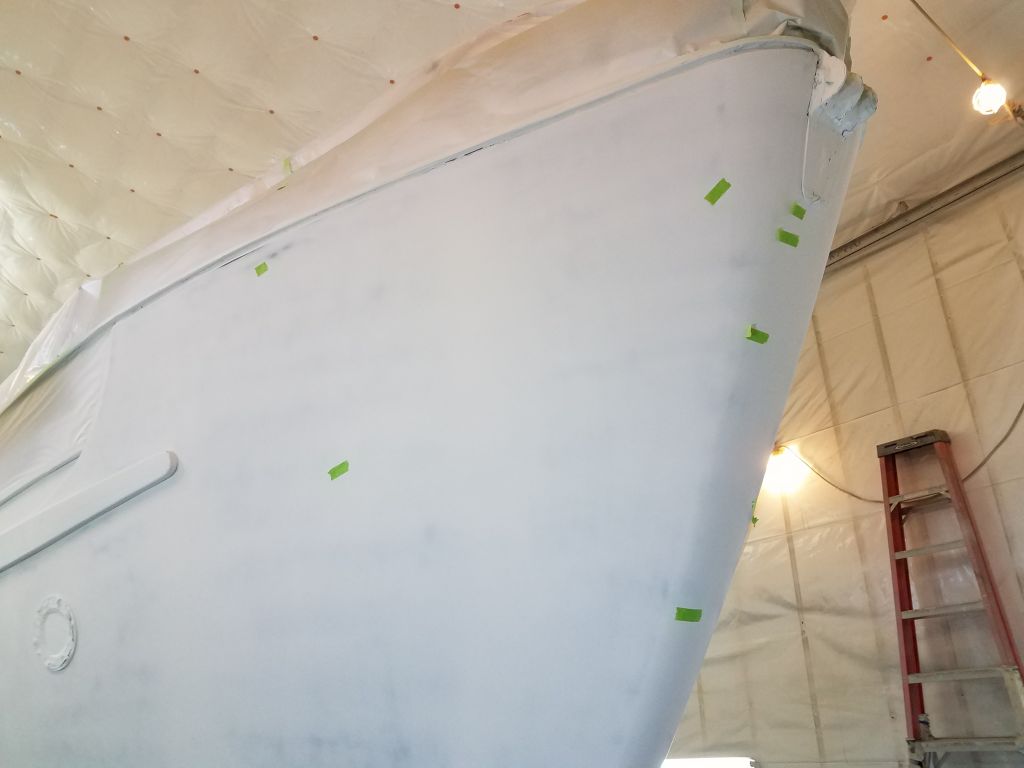
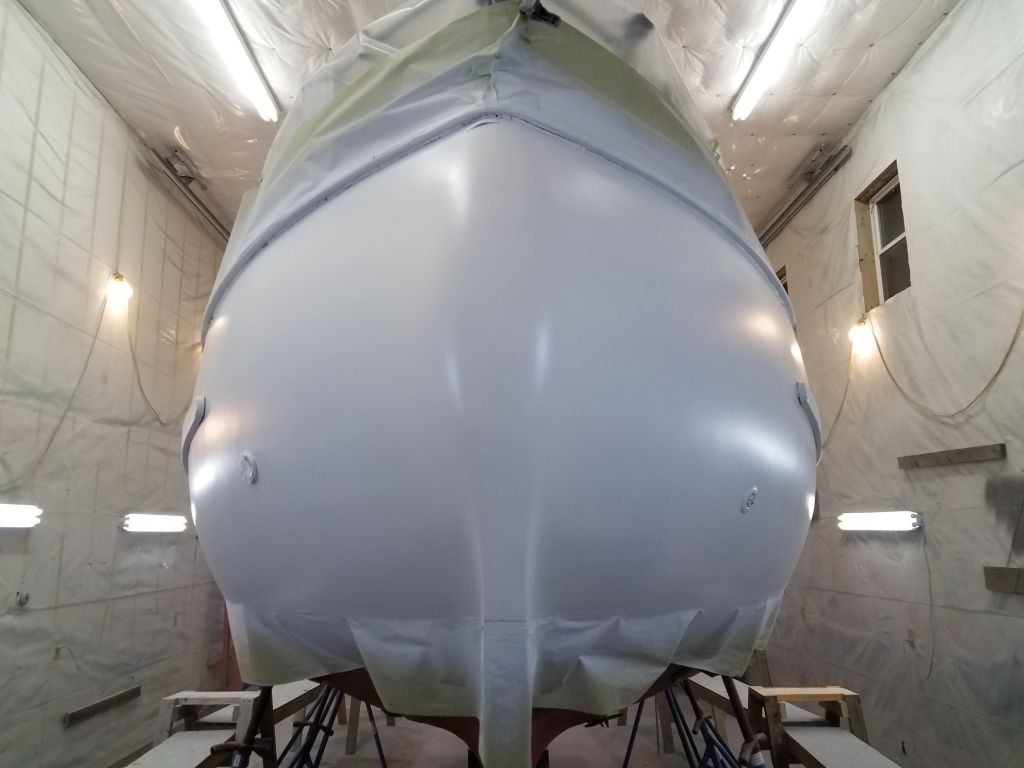
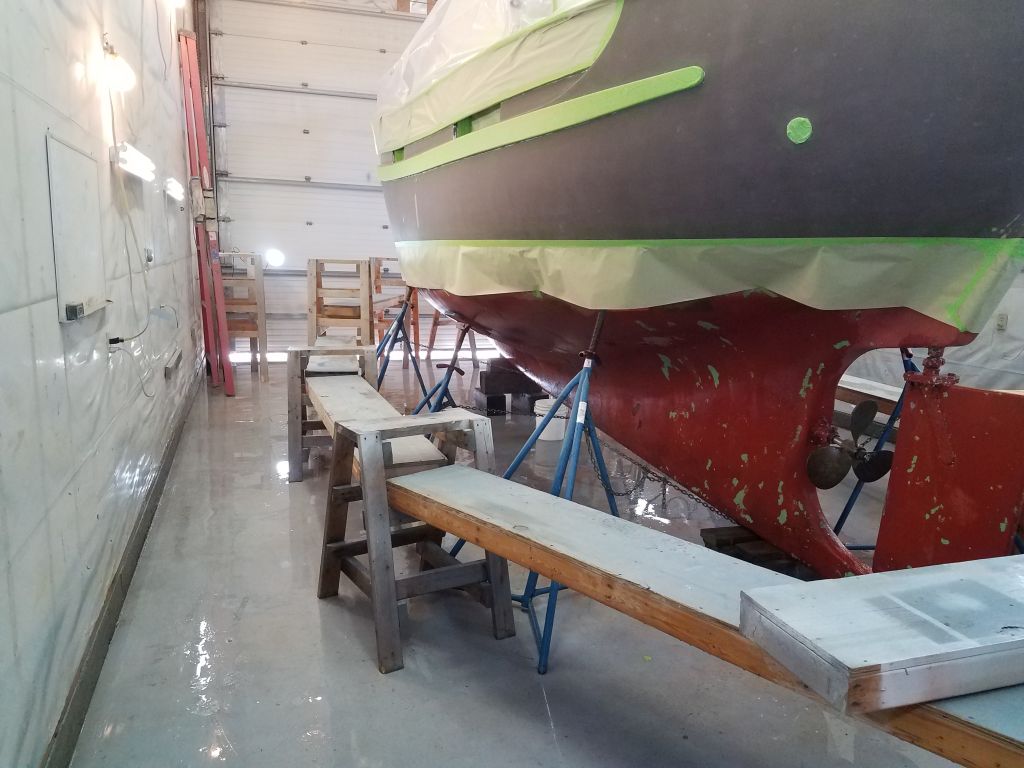
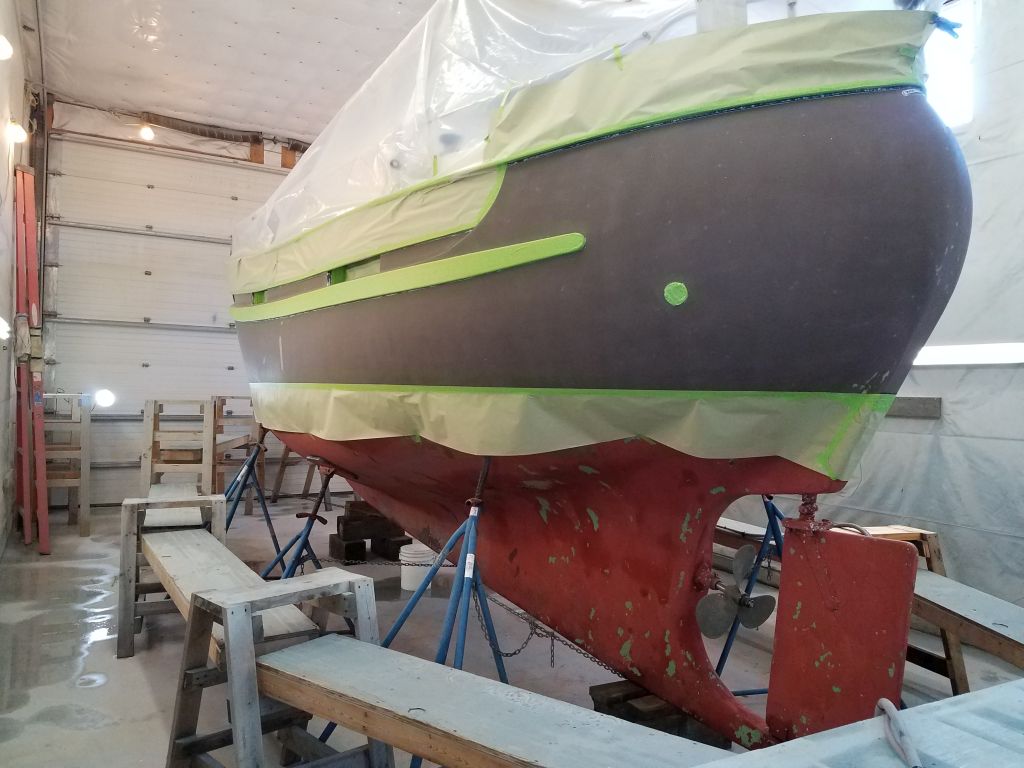
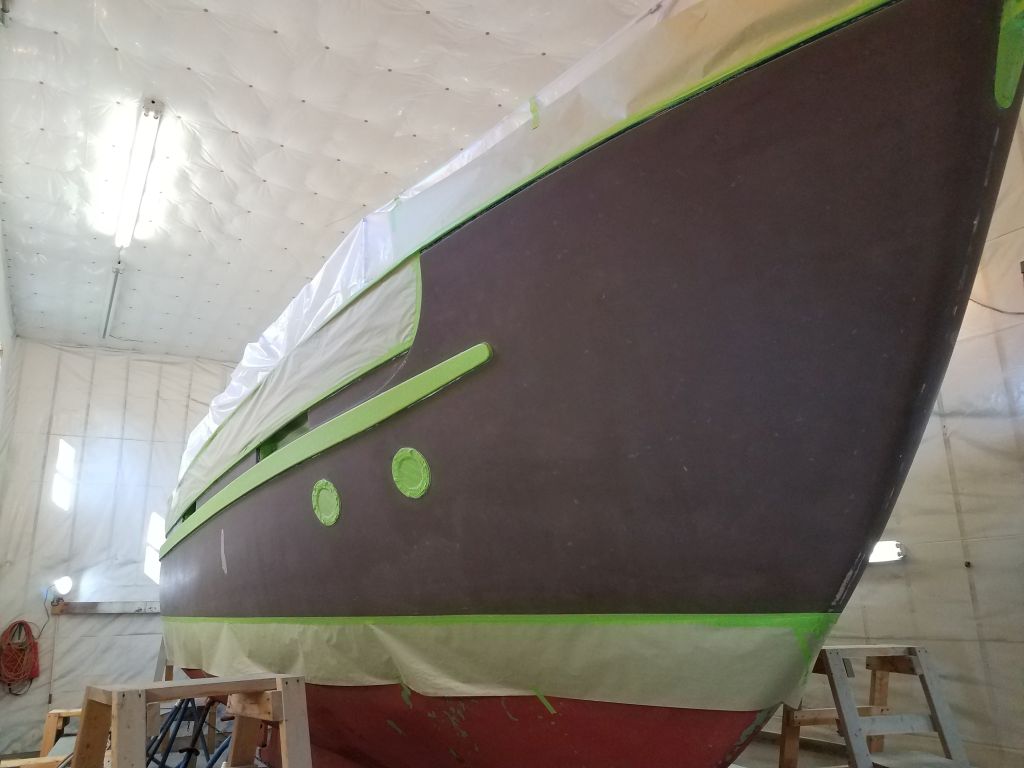
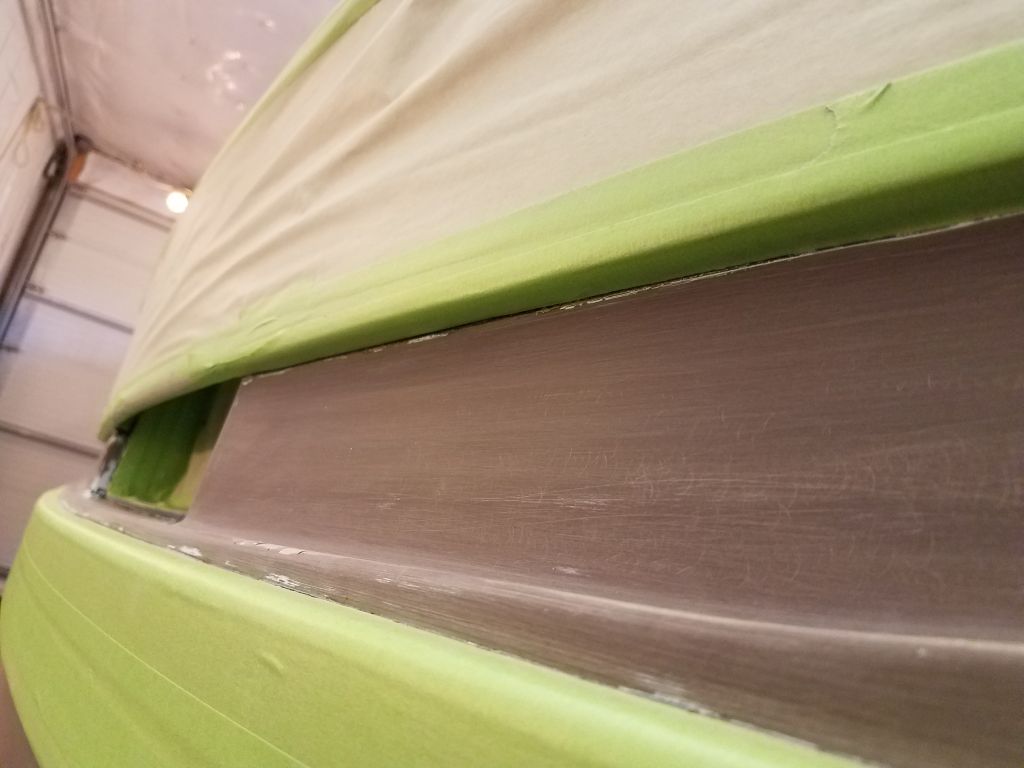
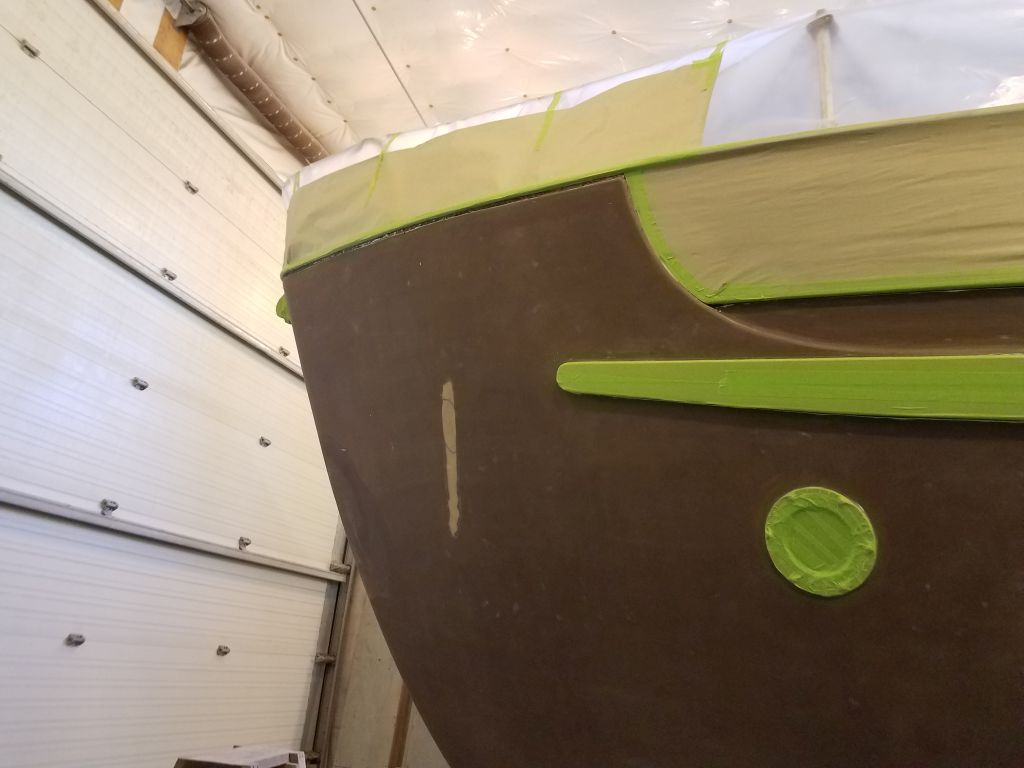
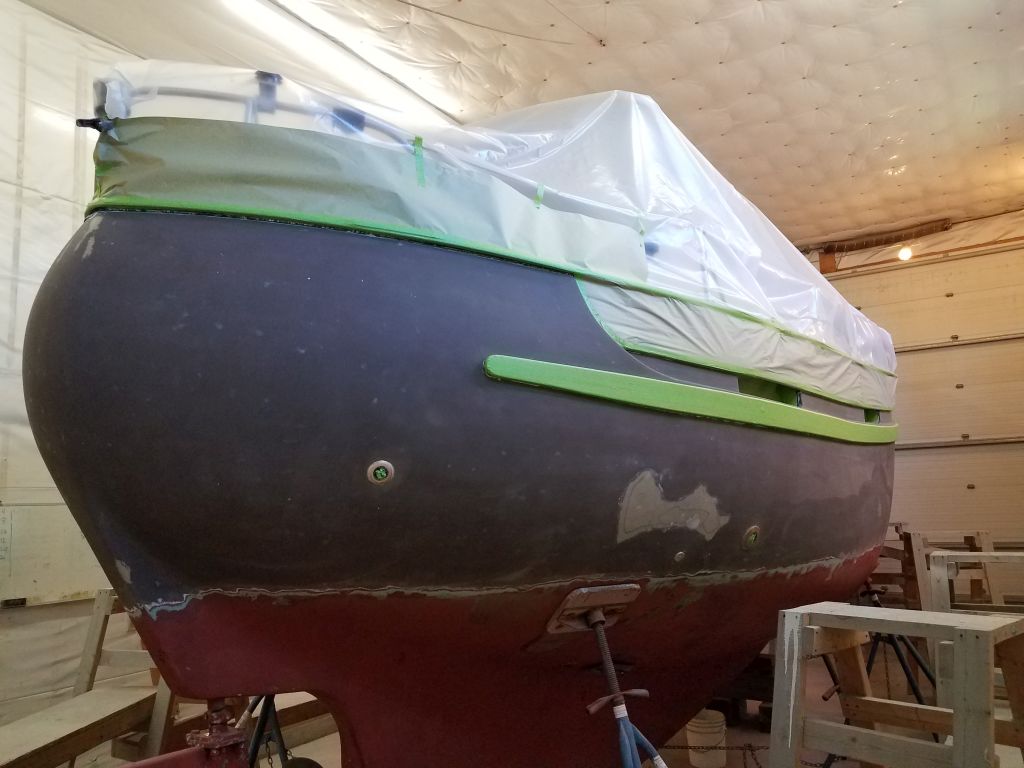
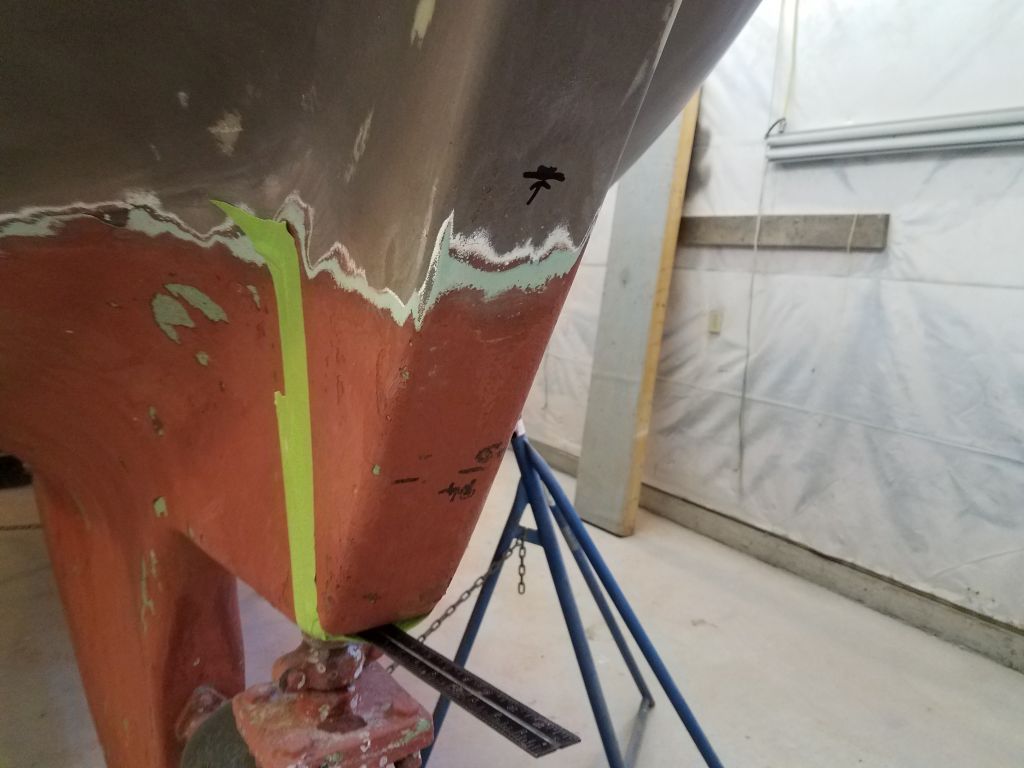
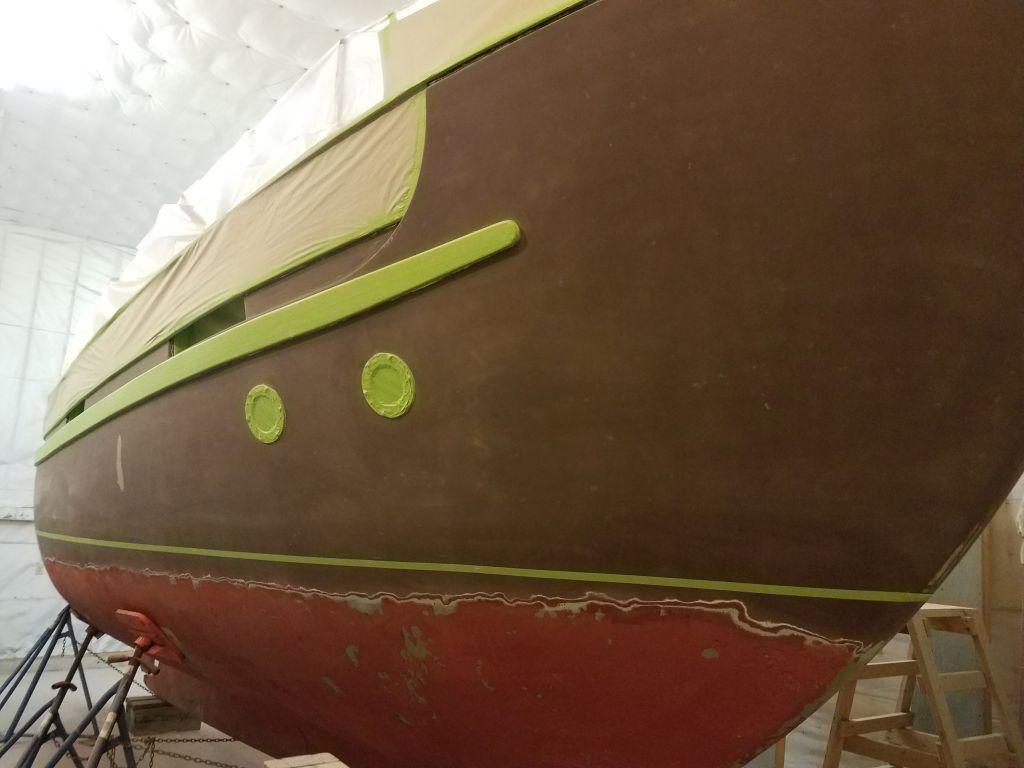
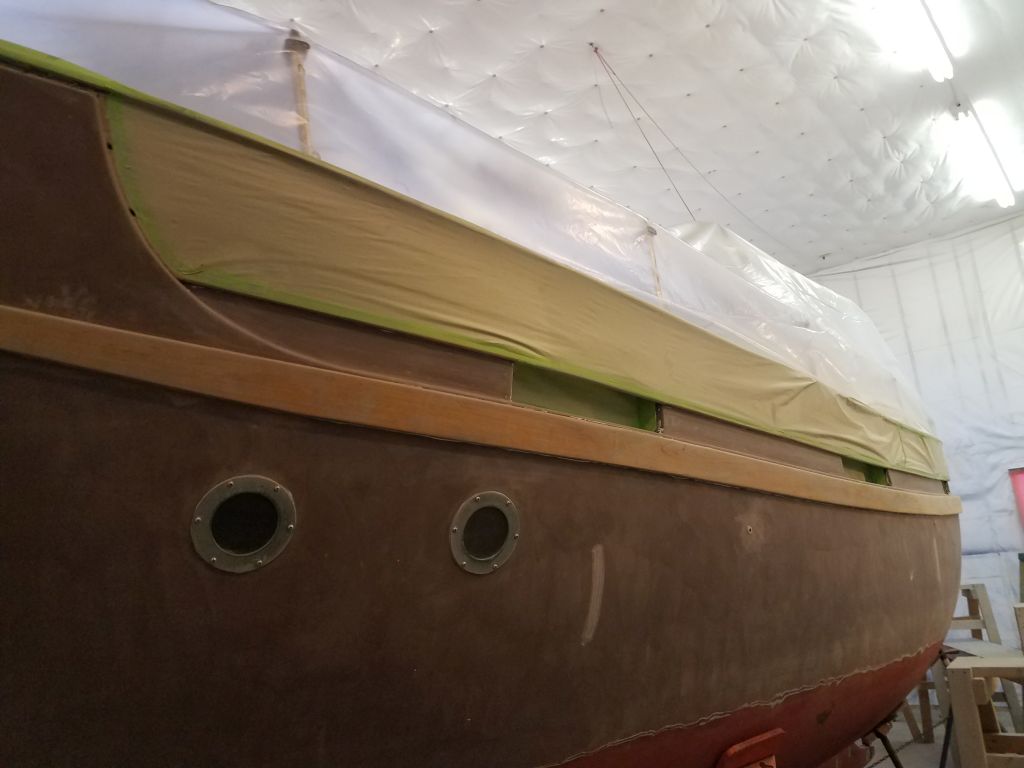
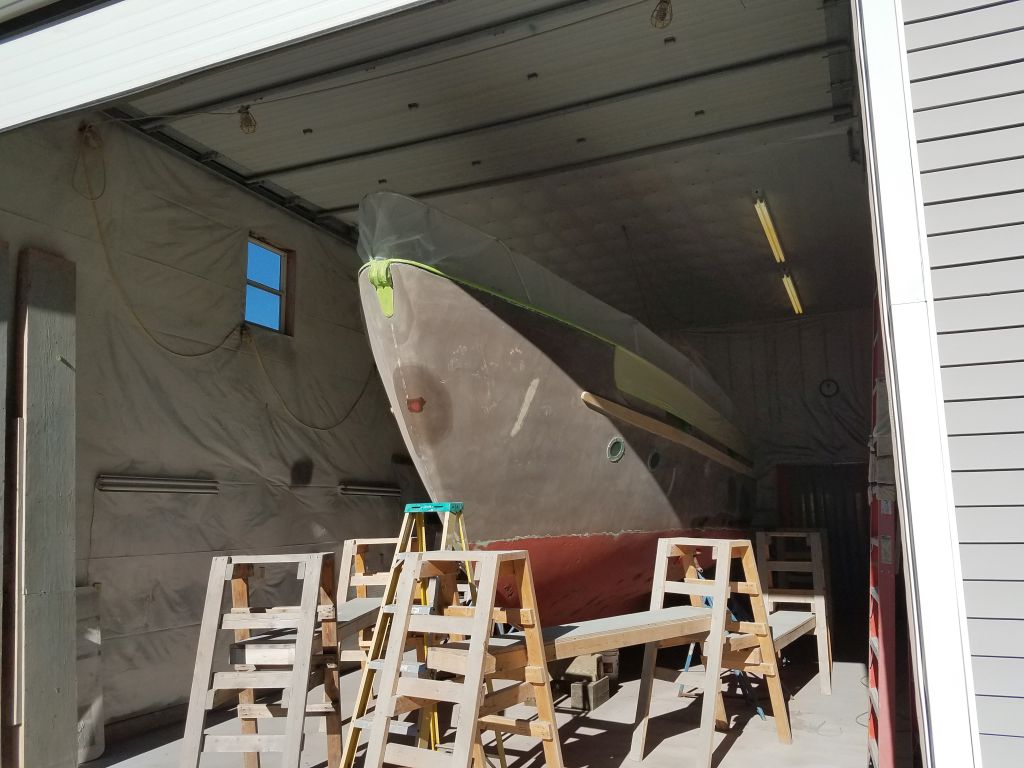
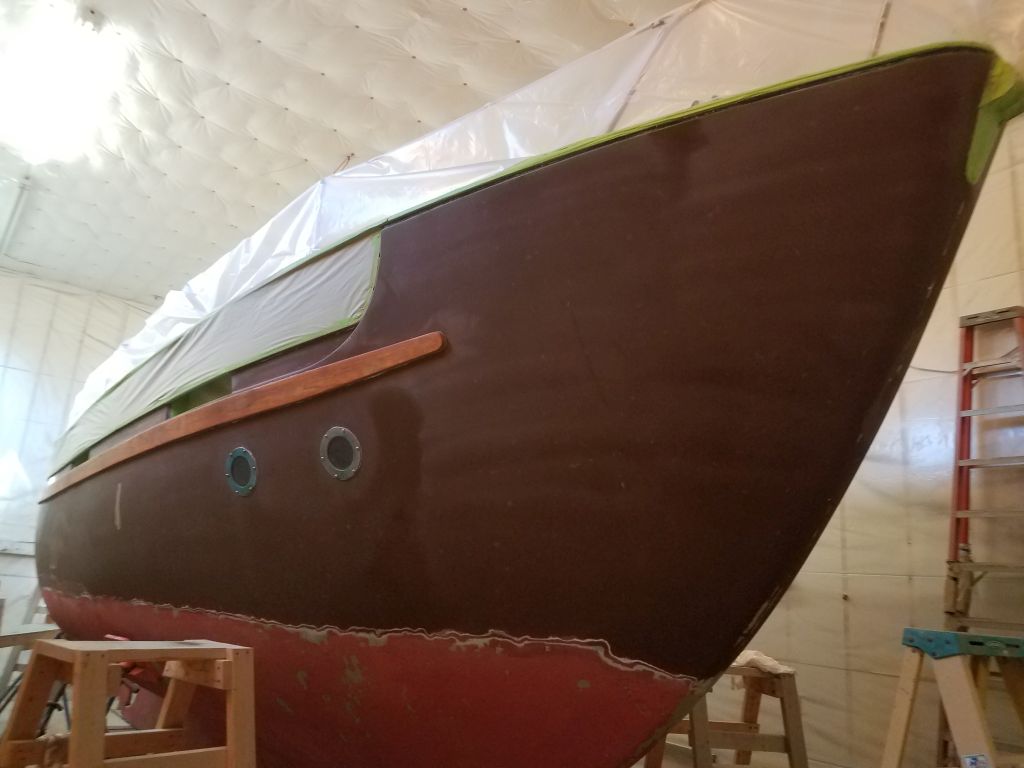
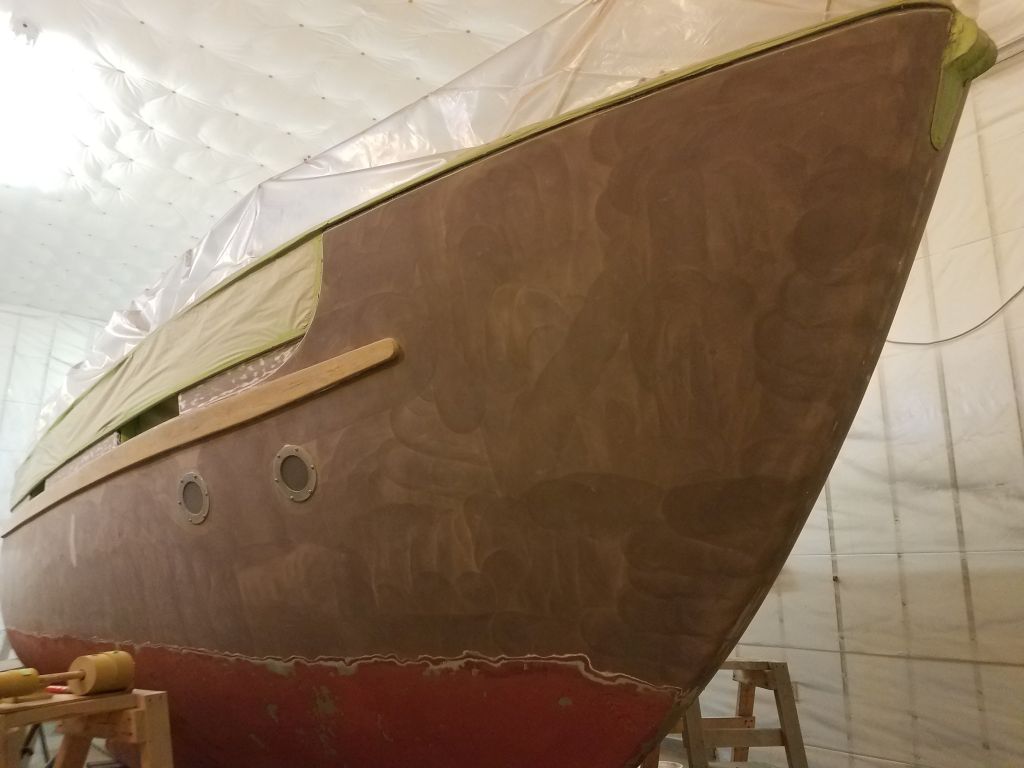
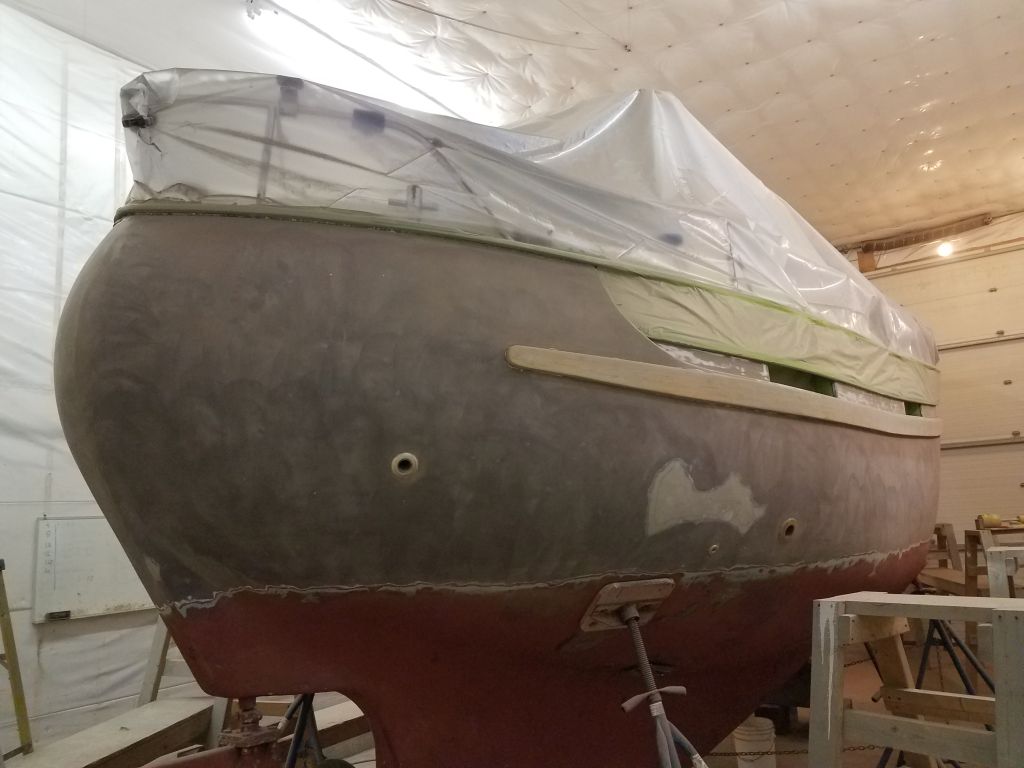
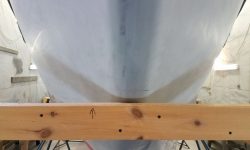
At the bow, I chose to create a slightly sheered boottop, where the top edge curved upwards towards the stem. To my eye, this treatment is required in most cases, not to create some sort of wacky funhouse-curvy version of a stripe, but rather to subtly enhance appearance by eliminating the trope l’oeil that occurs as bows grow higher and the hull angles in towards the waterline; this creates the impression that the striping becomes narrower. A nice curve leading to a wider stripe at the stem reduces this and looks appropriate in its own right when coupled with a bold sheerline and utter height of the bows on this boat.
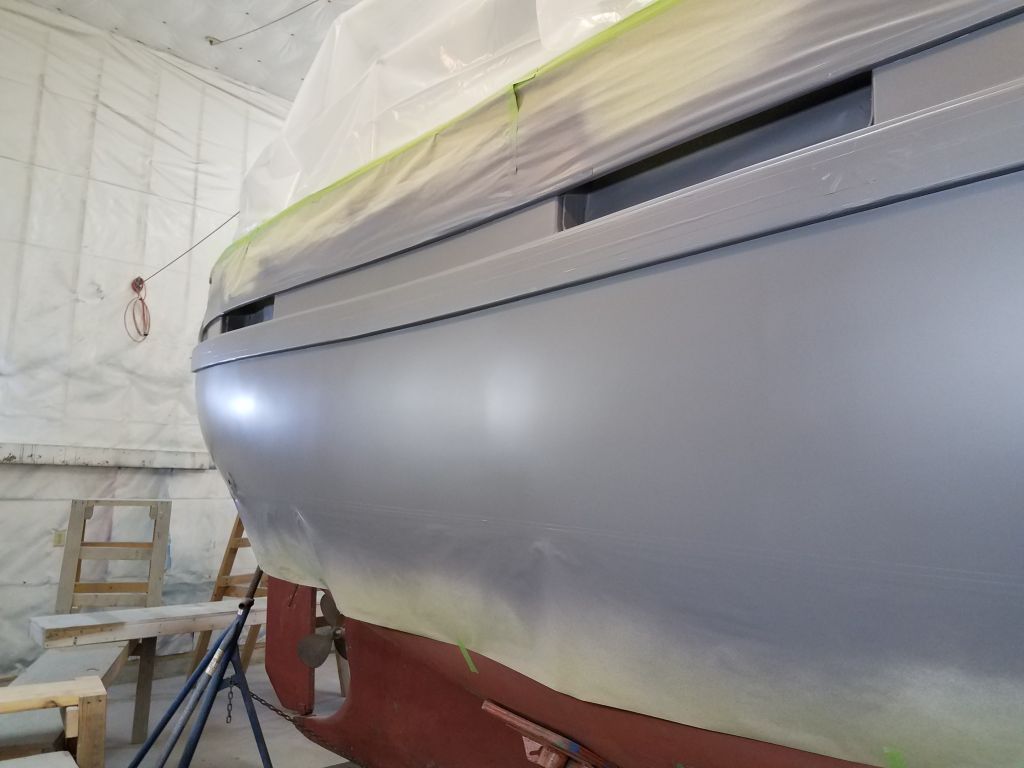
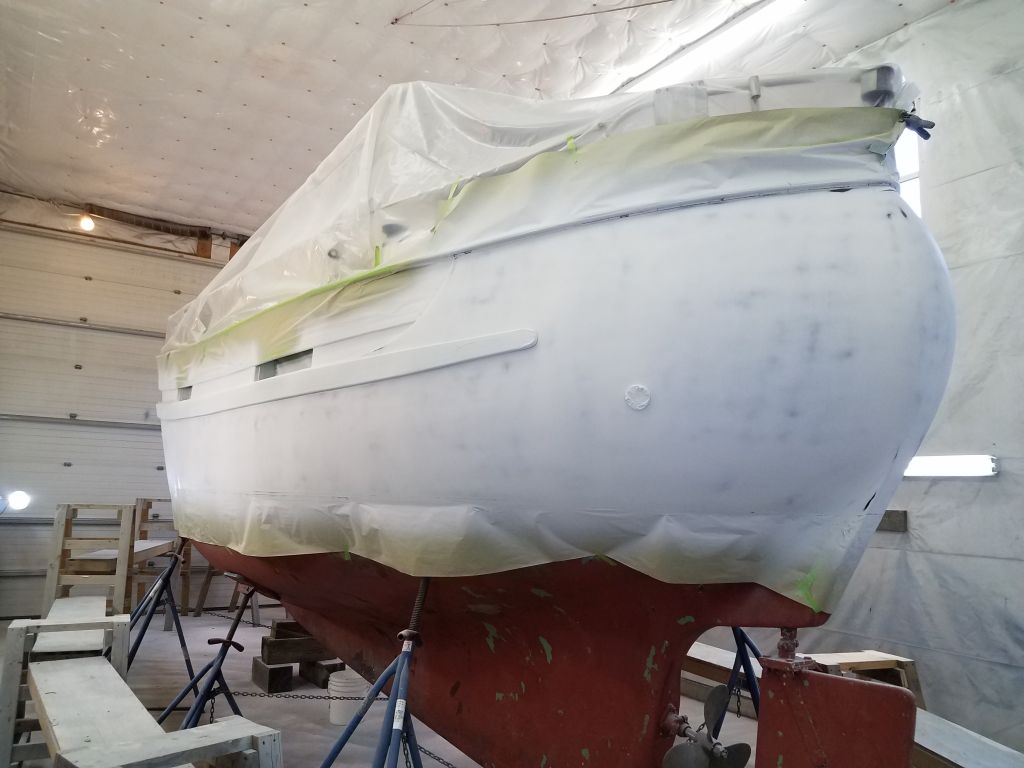
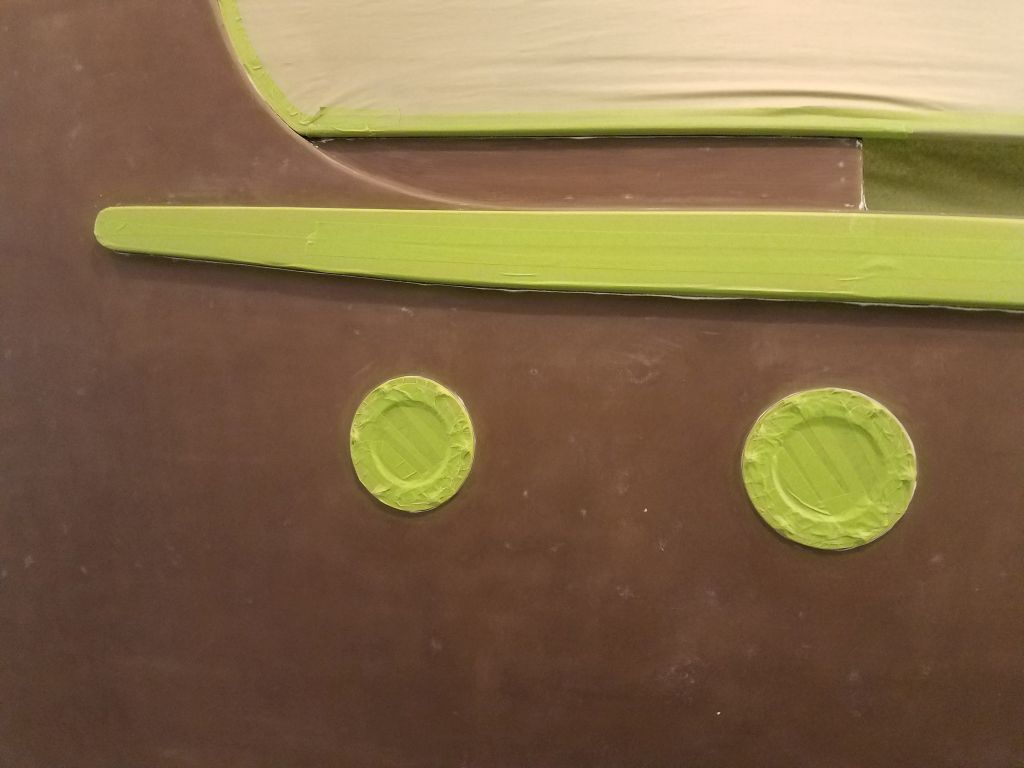
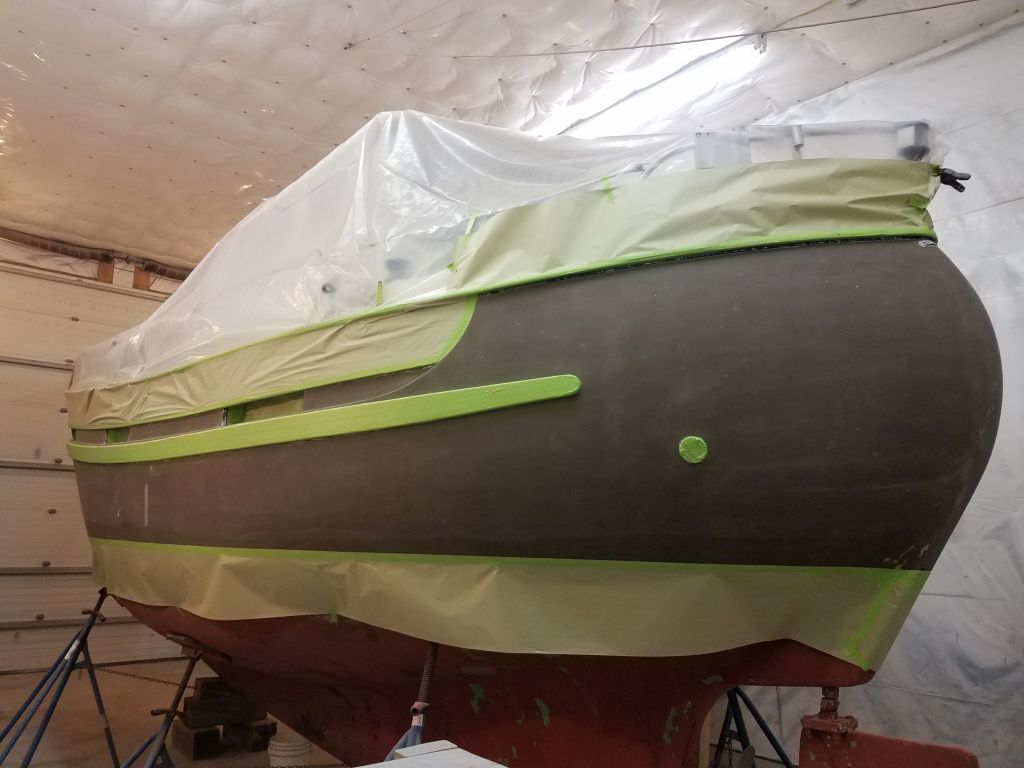
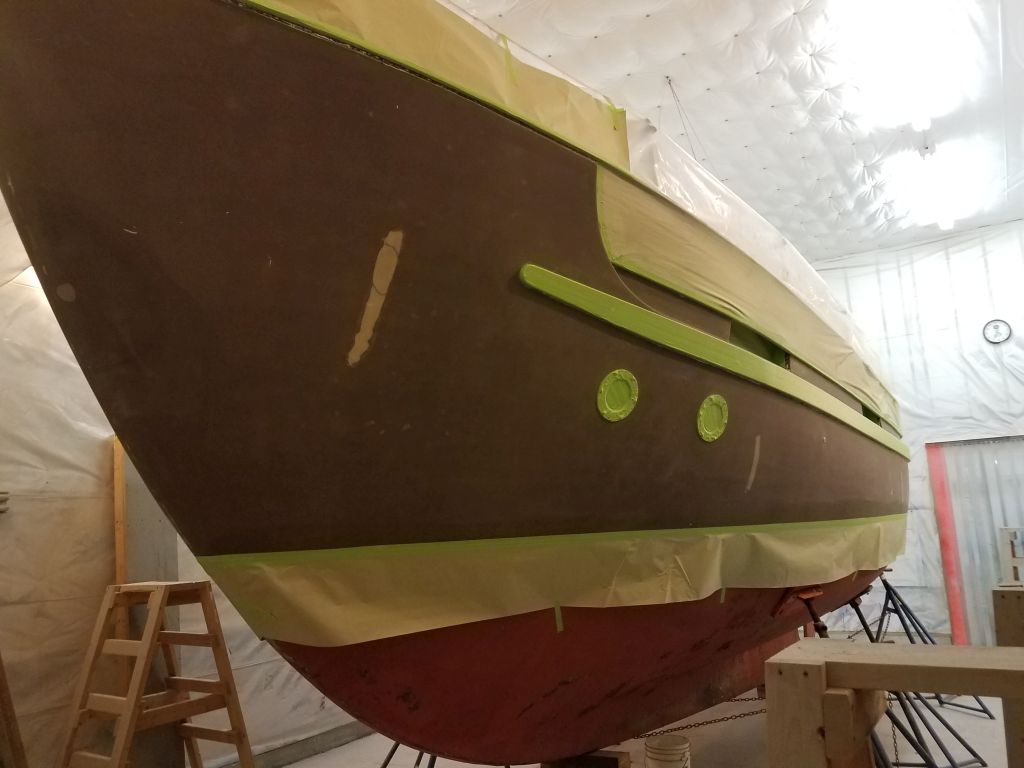
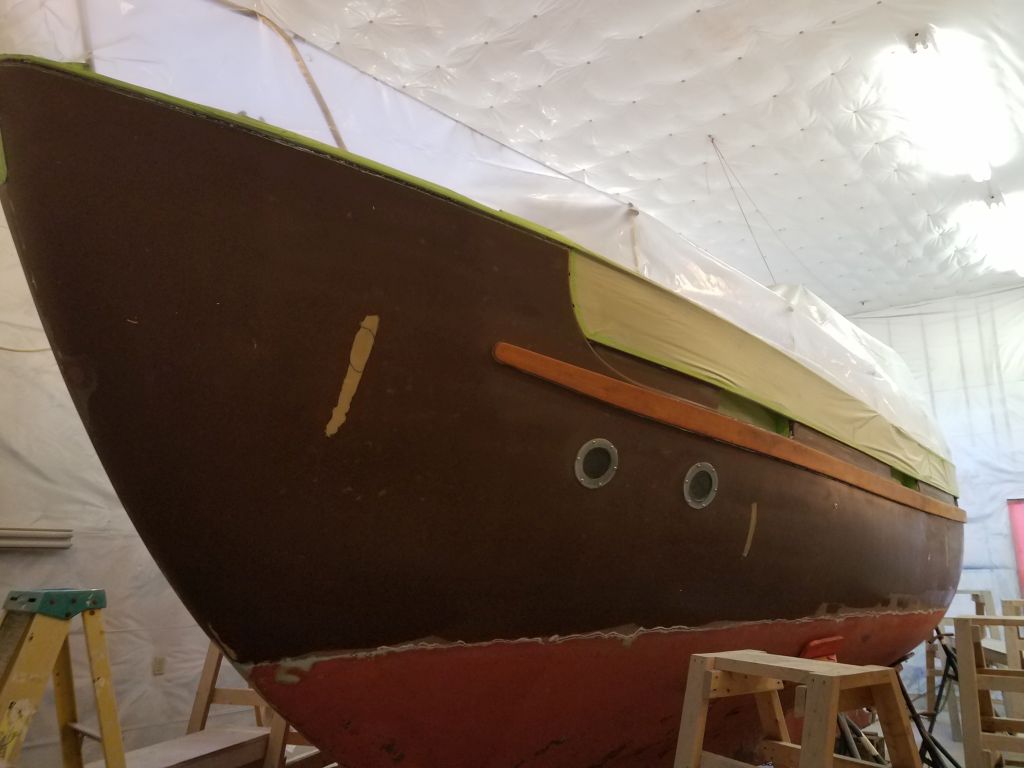
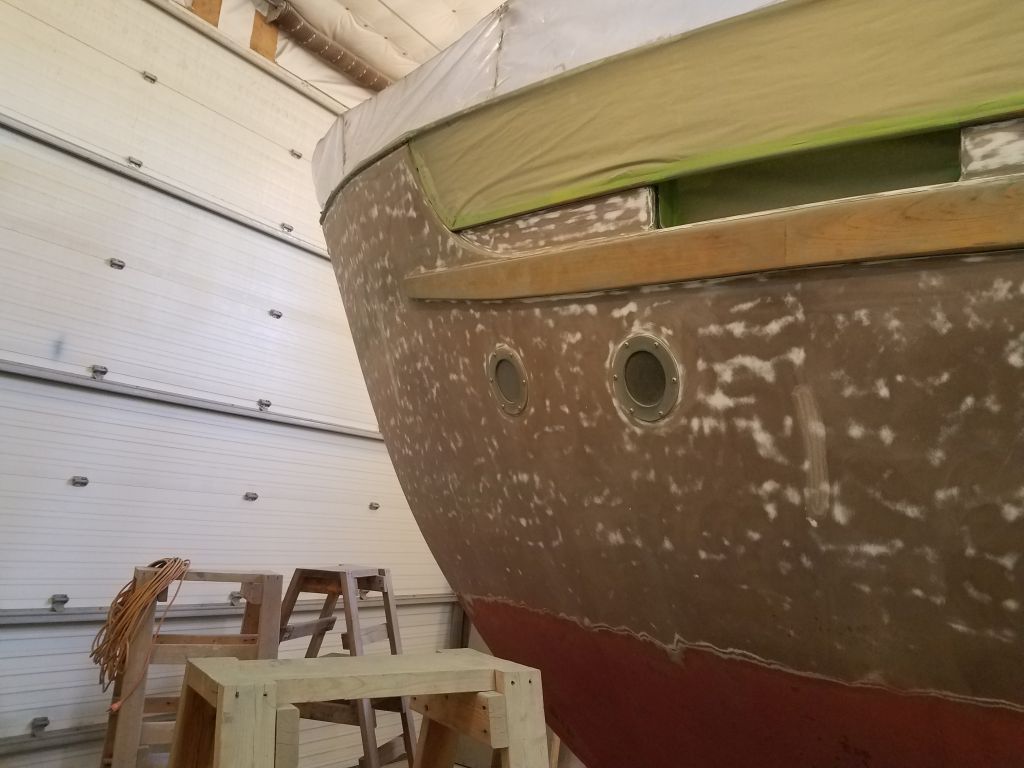
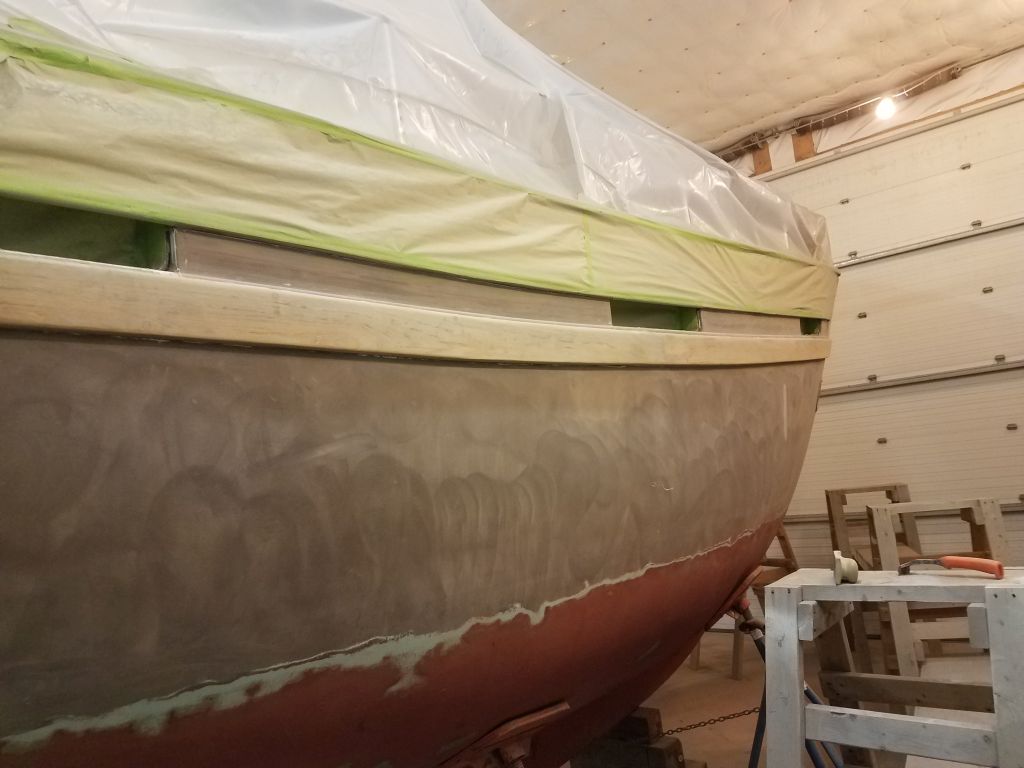
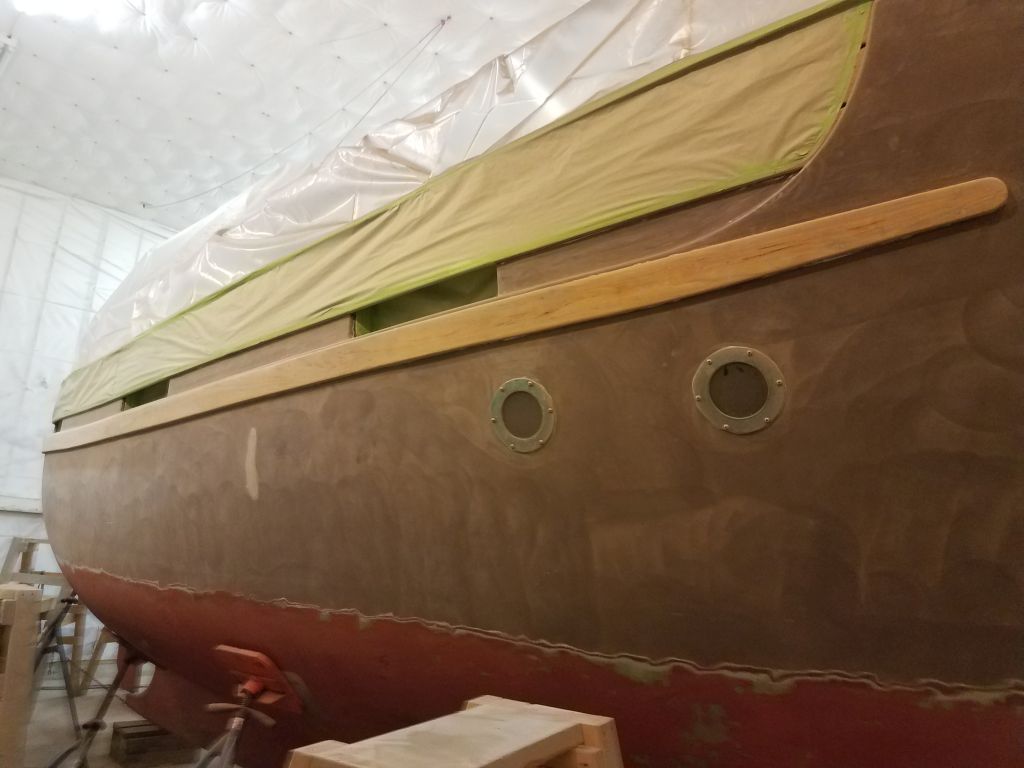
In any event, I made a mark nine feet aft from the stem on each side, an point I chose arbitrarily and simply because to my eye it looked like the right place to begin the sheering based on the shape of the hull. From here, working entirely by eye, I masked off a new, higher line that gently faired into the existing tape line at the 9′ mark, then curved gently up to the new mark on the stem, which was 1-1/2″ higher than the “straight” stripe I’d masked off before.
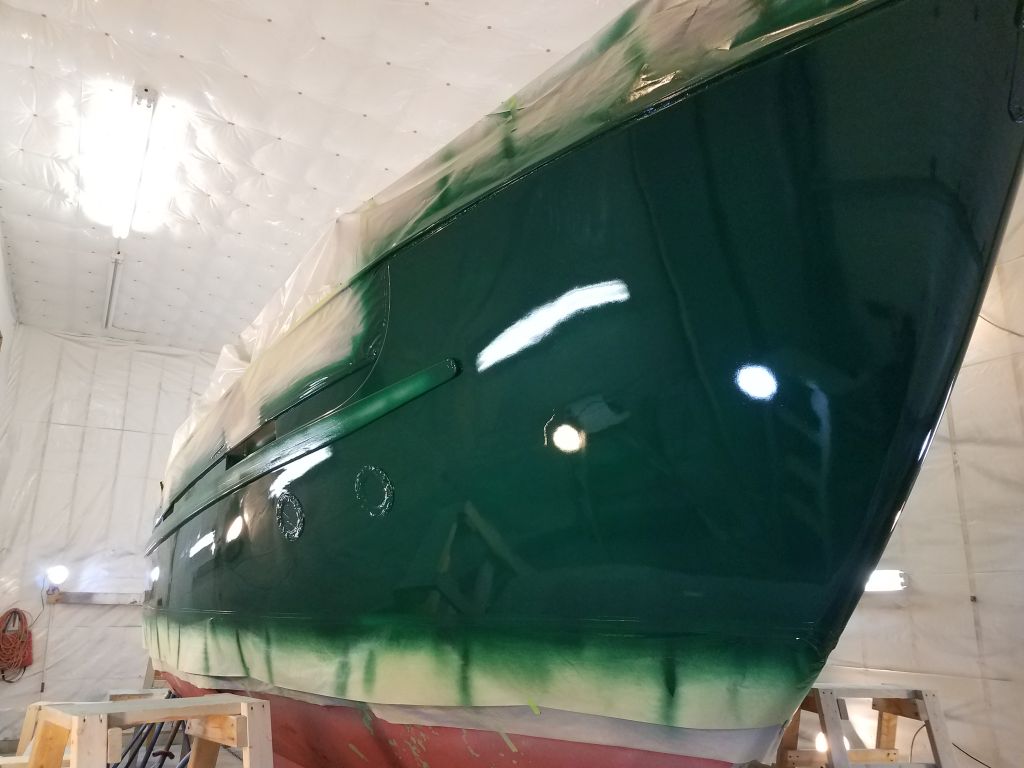
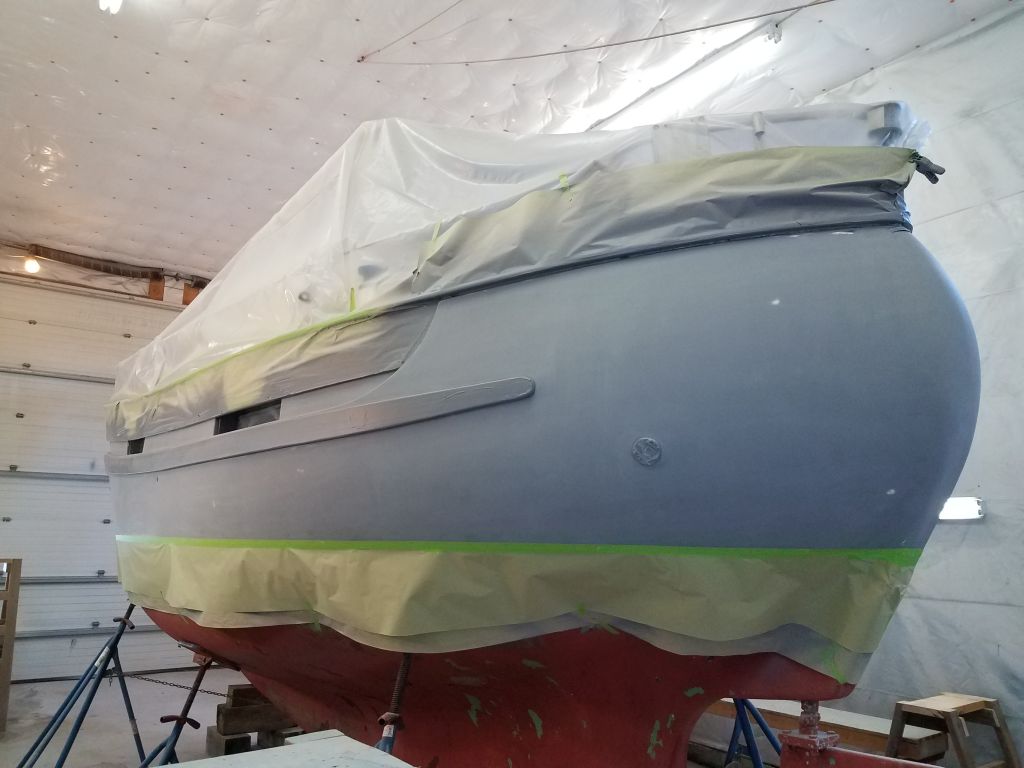
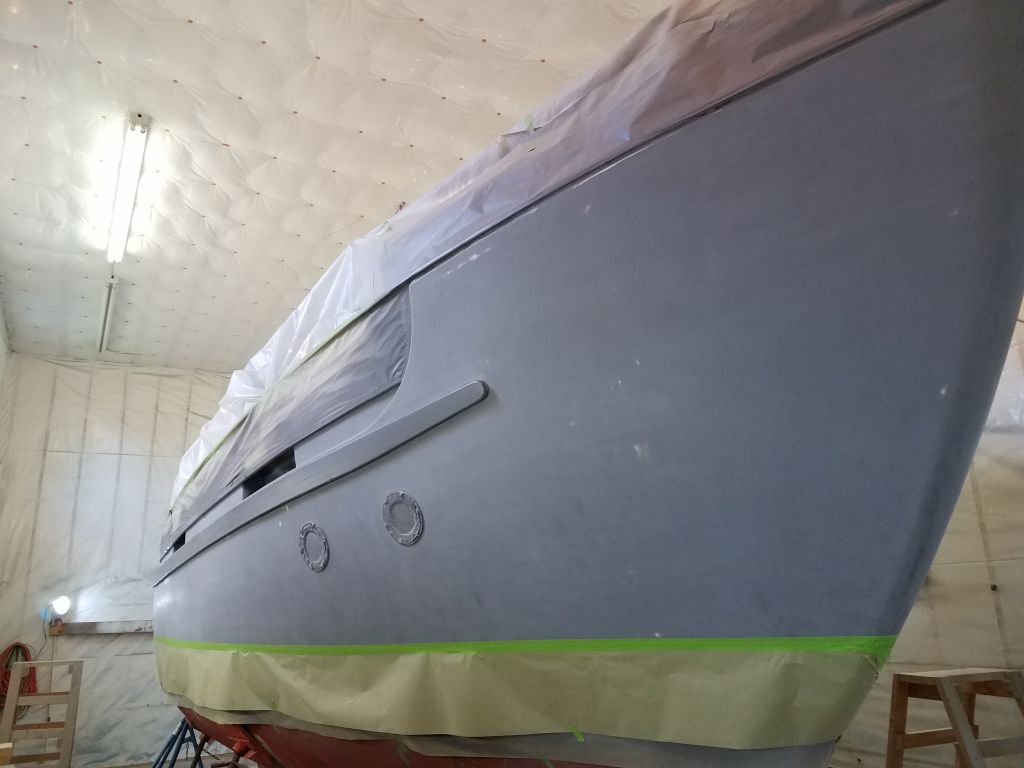
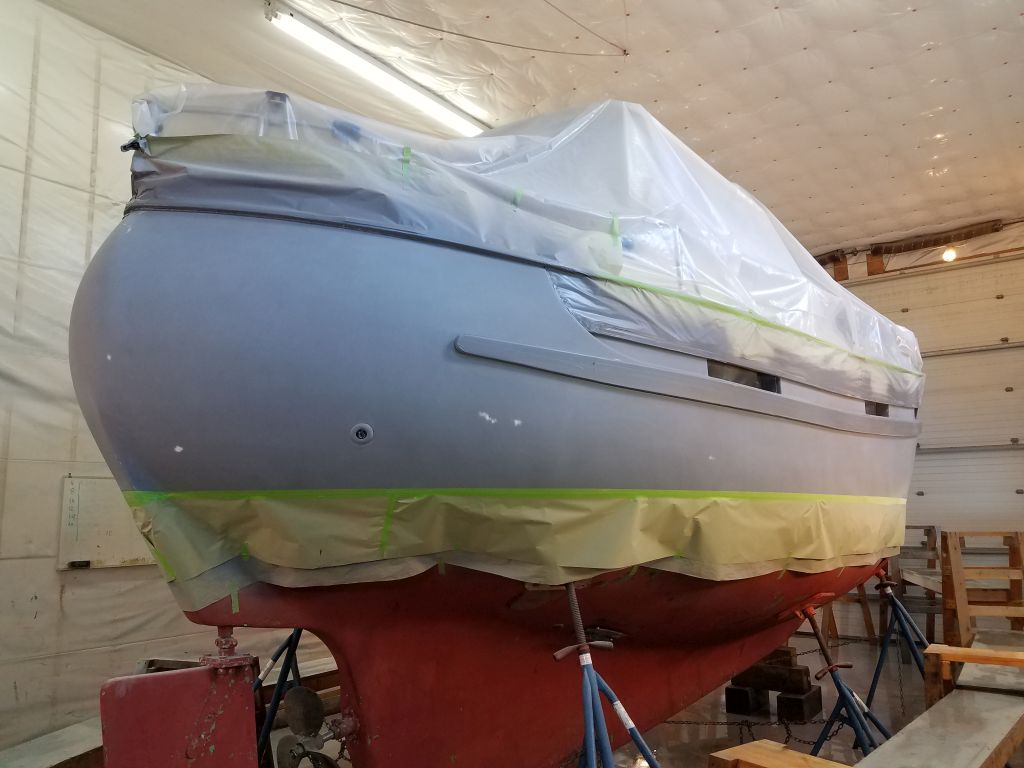
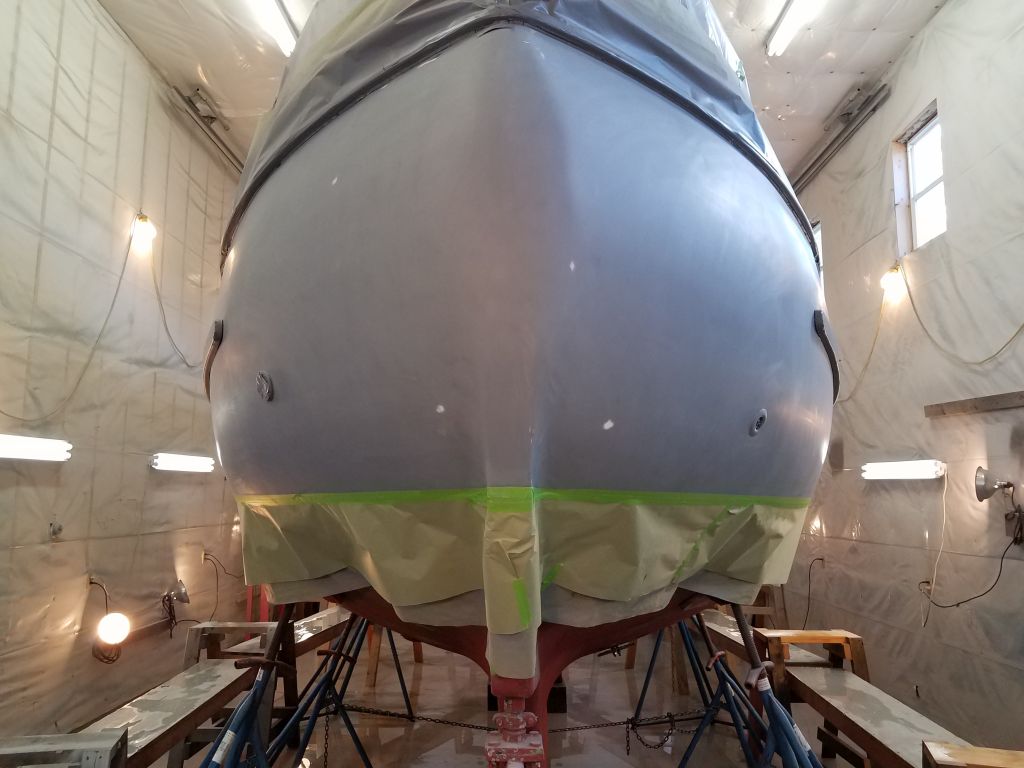
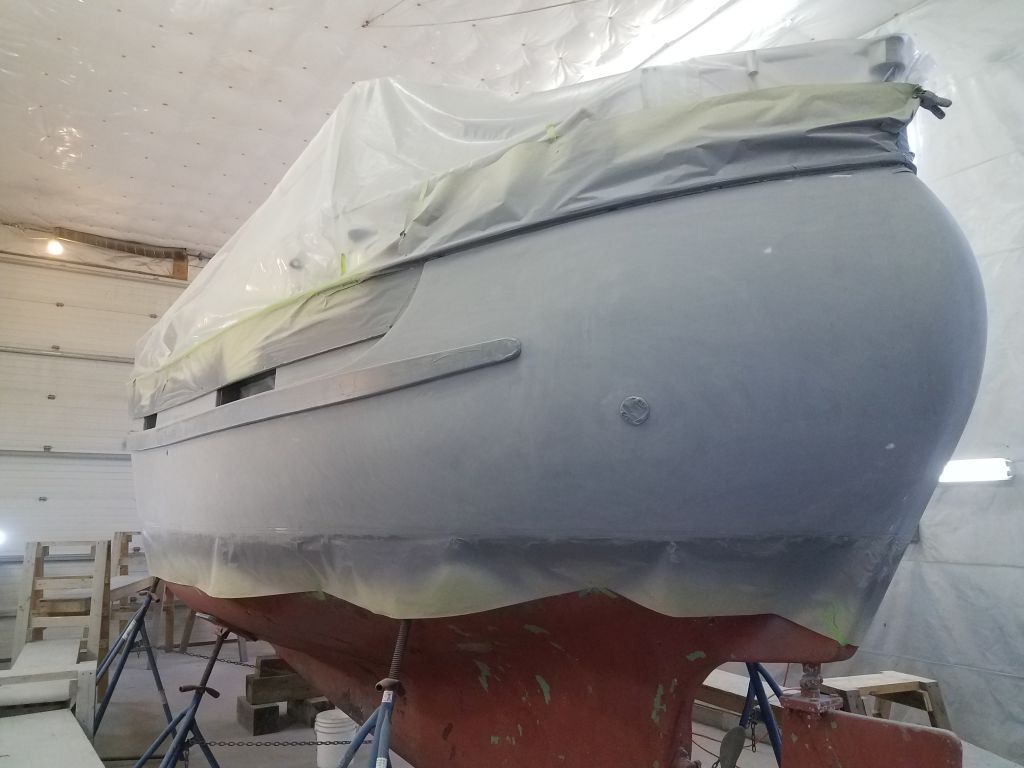
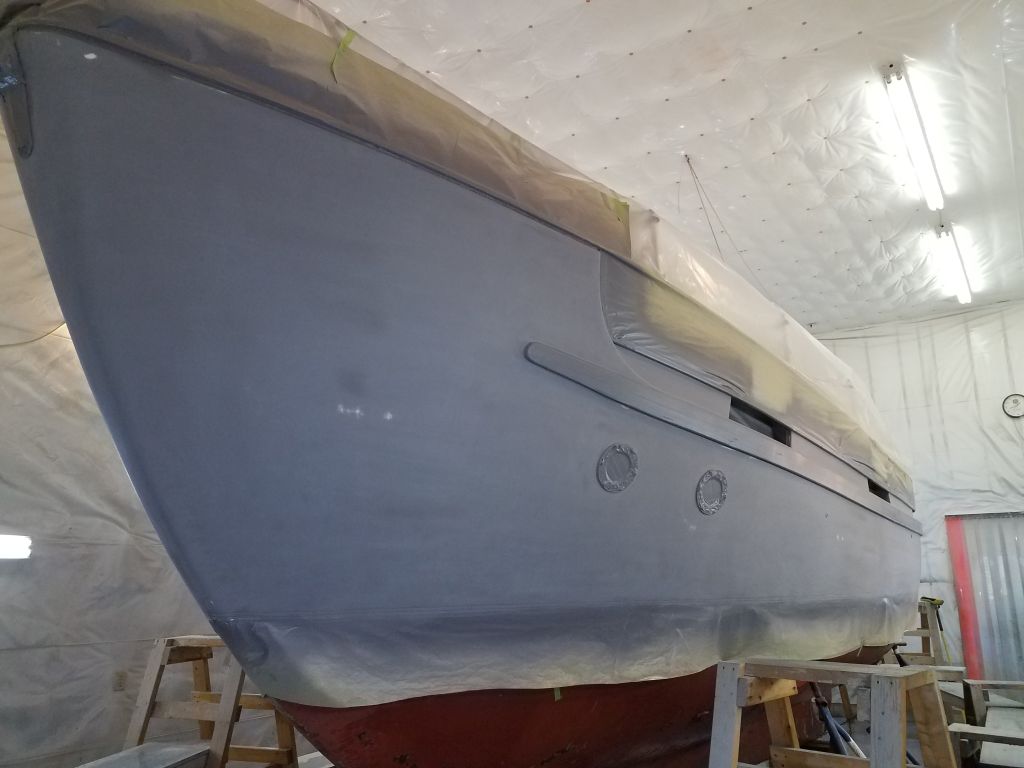
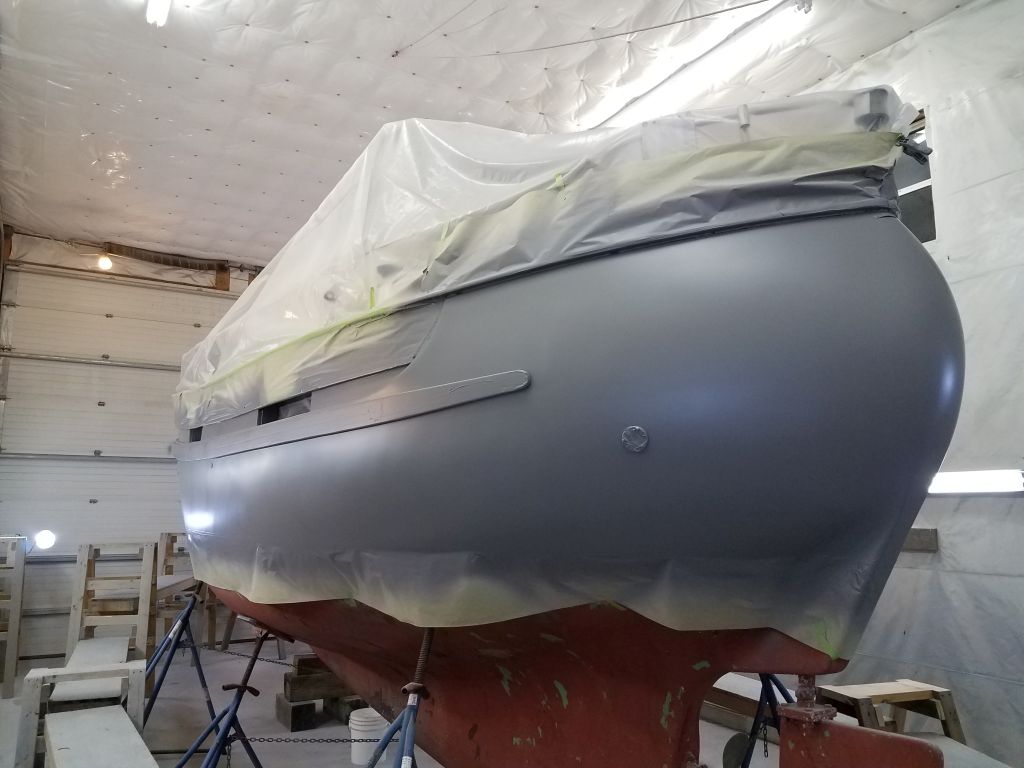
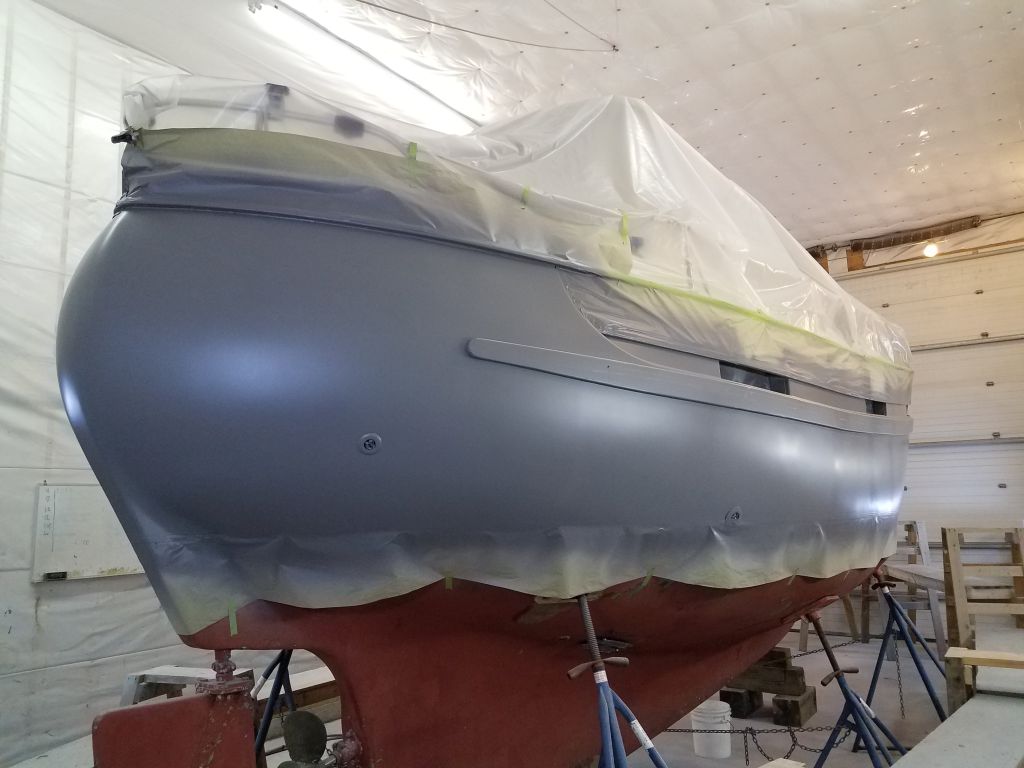
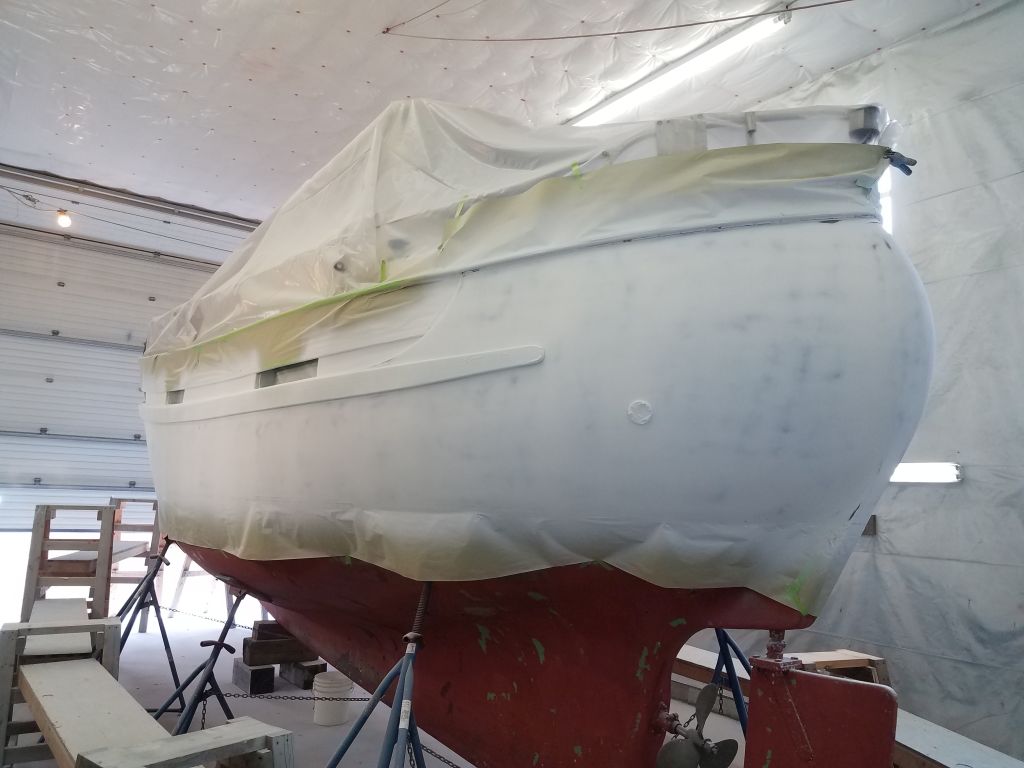
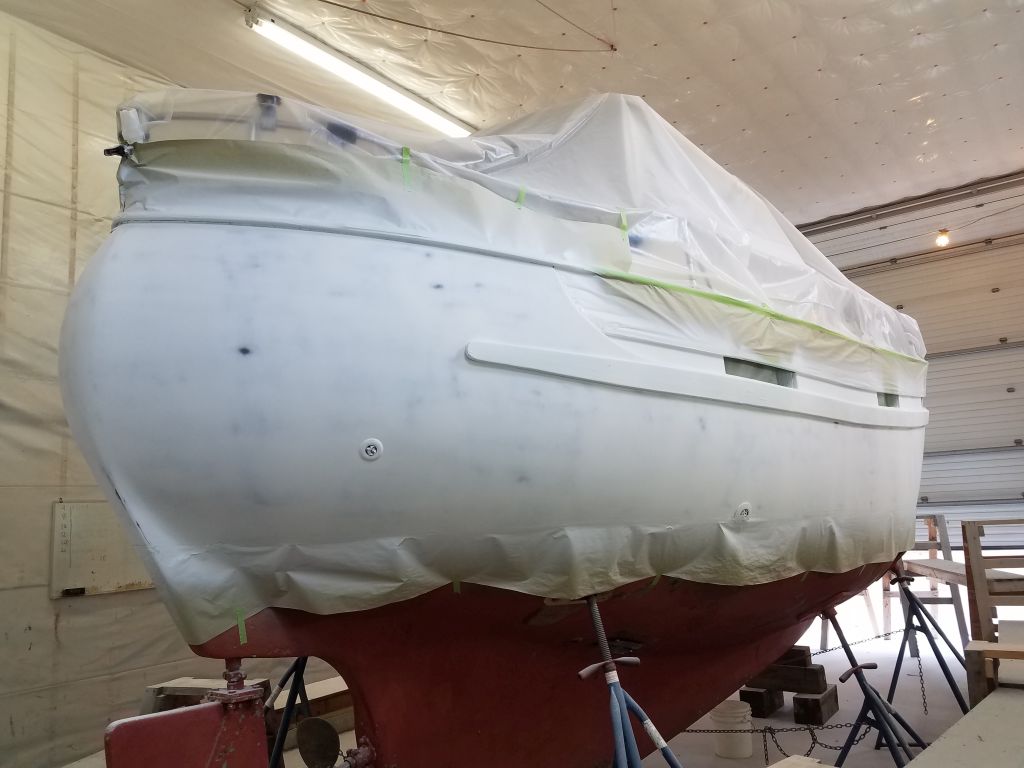
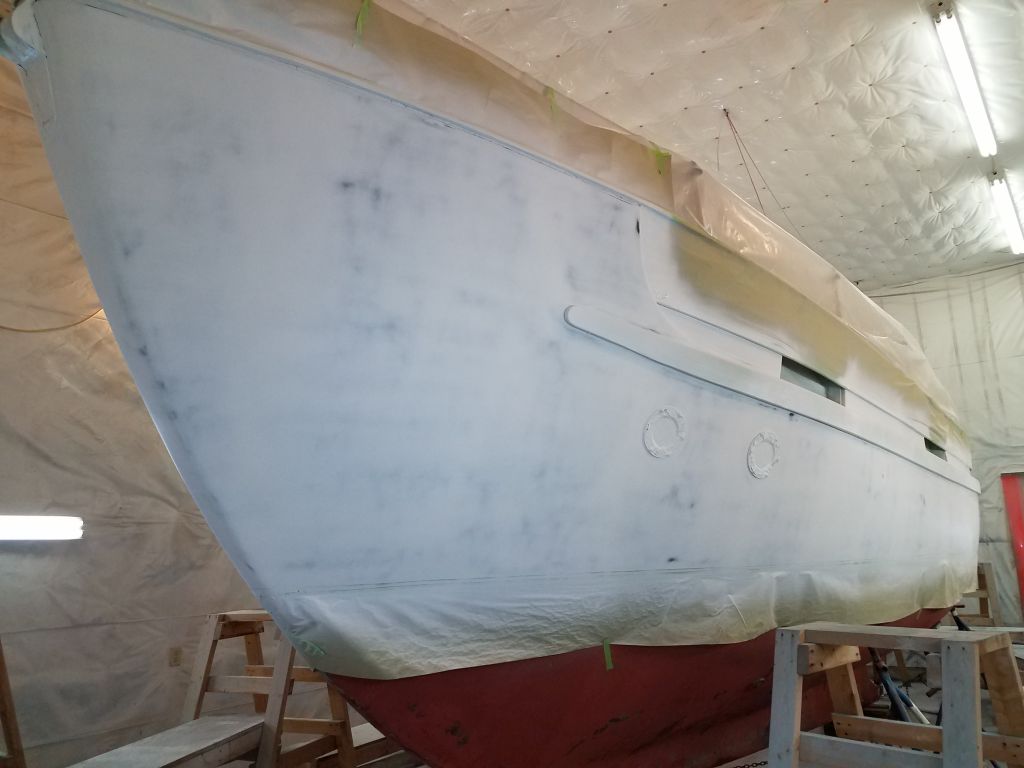
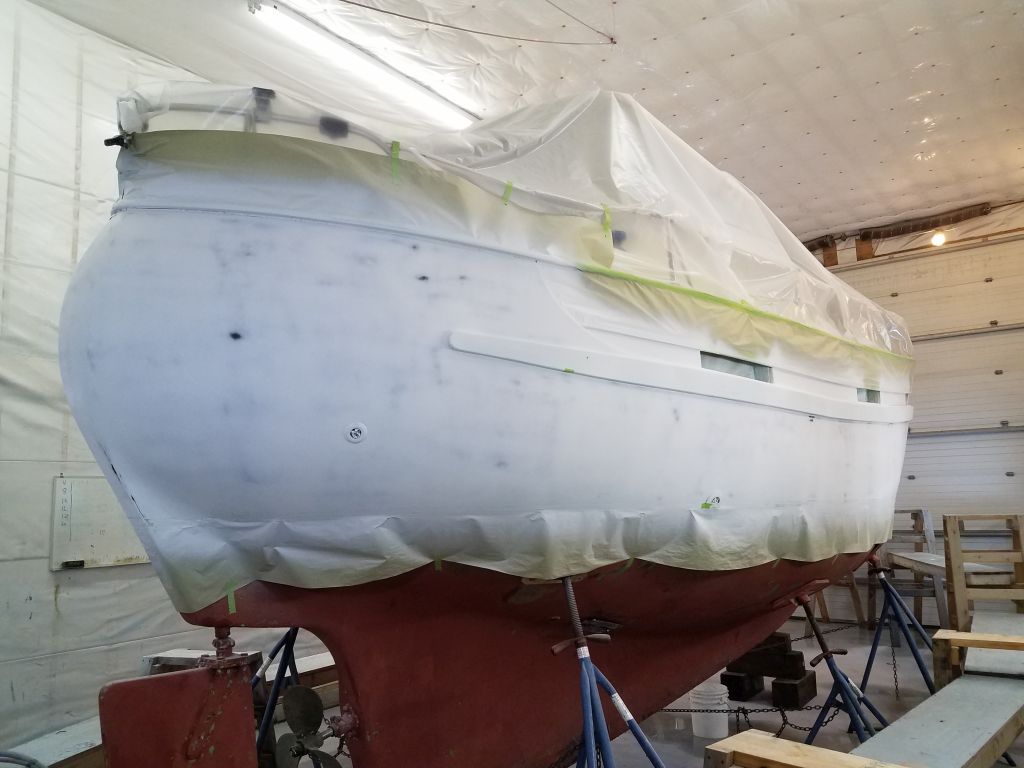
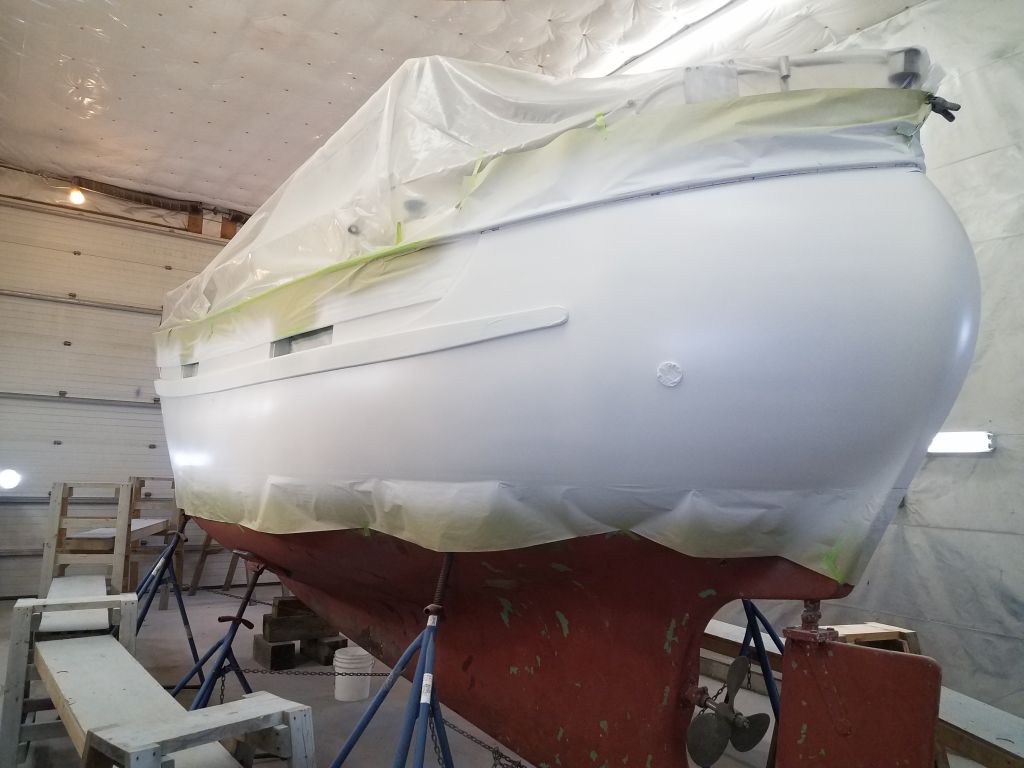
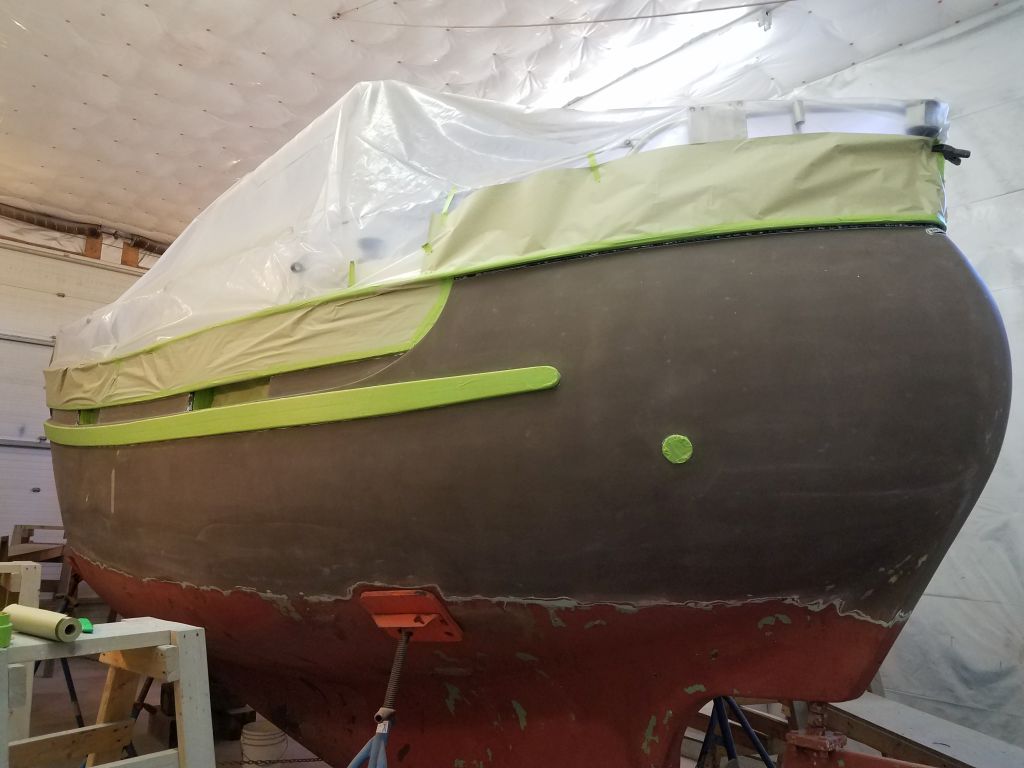
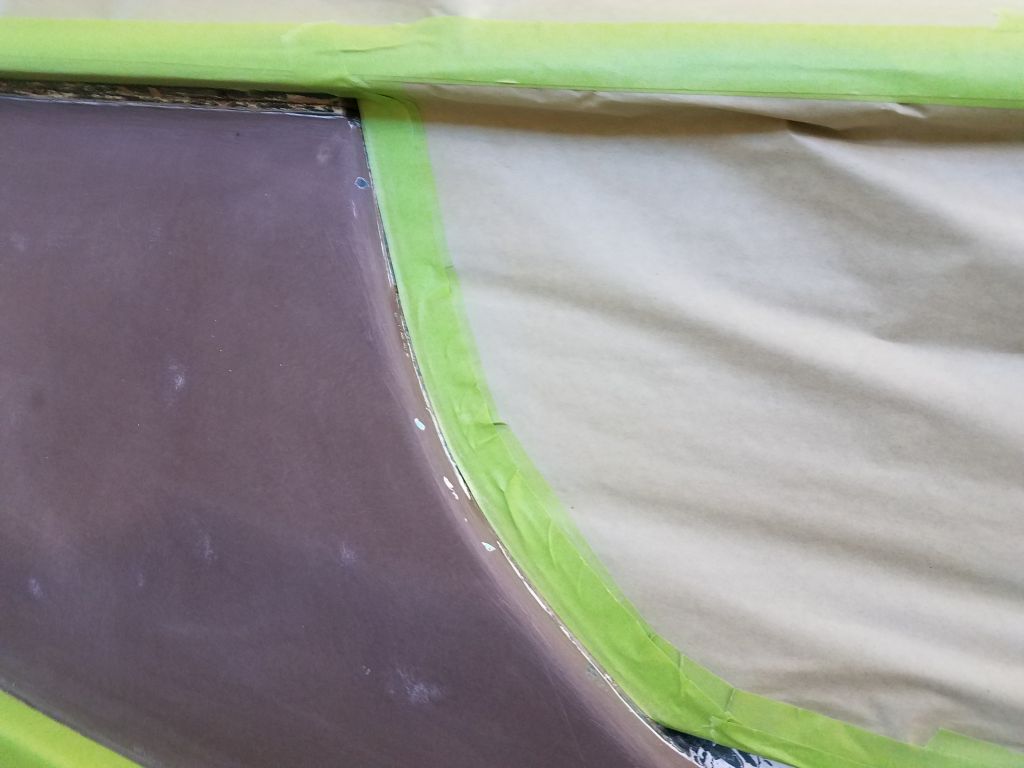
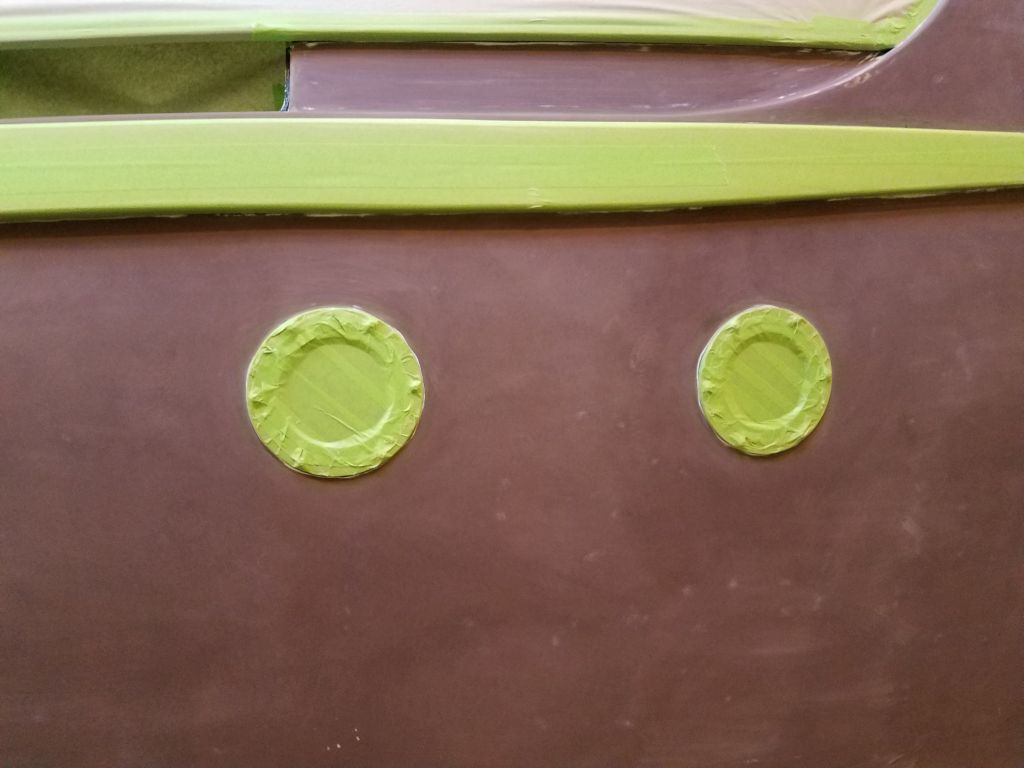
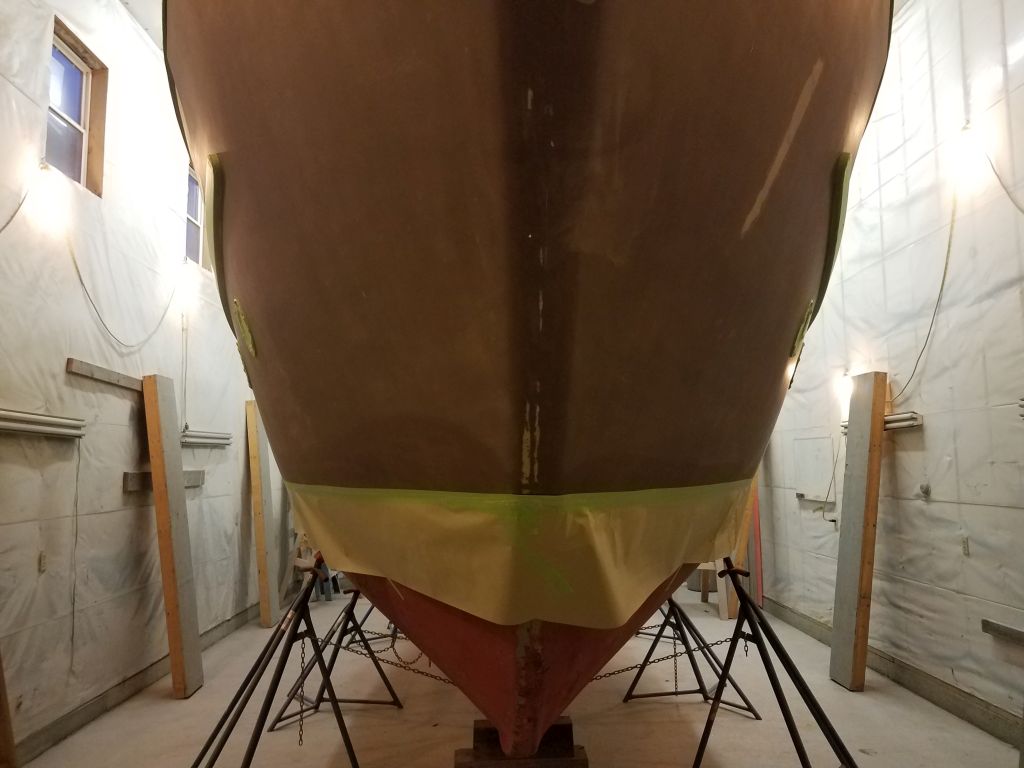
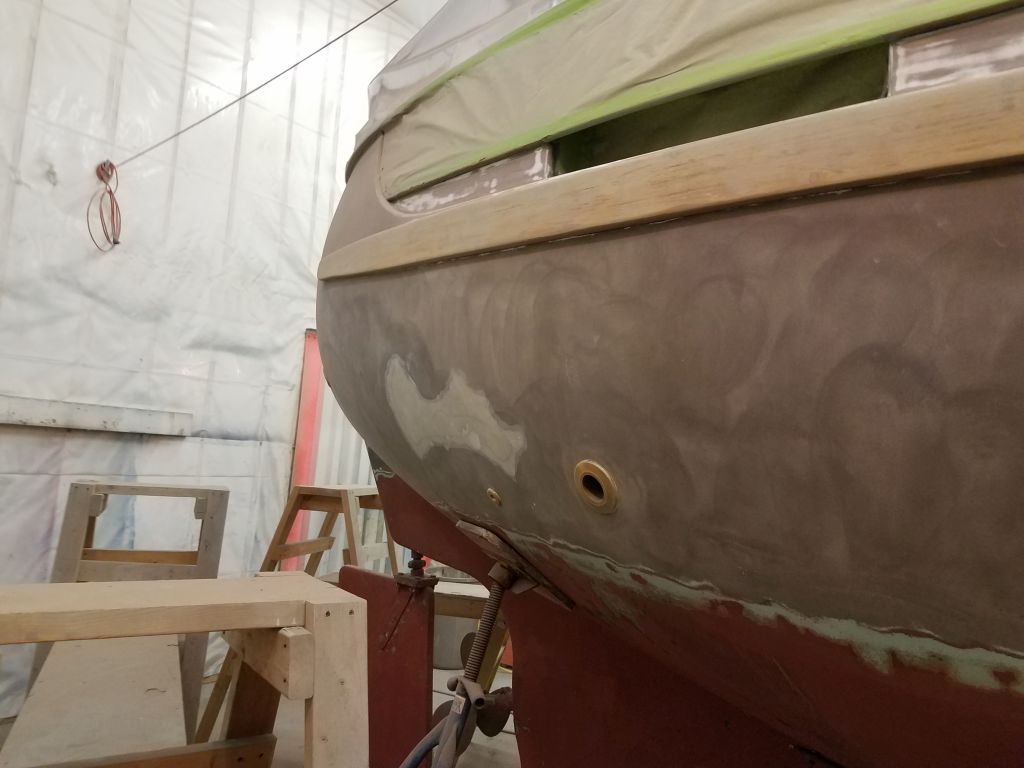
Finally, I applied masking paper beneath the new tape to cover the eventual boottop area and protect it from overspray when I sprayed the topsides later.
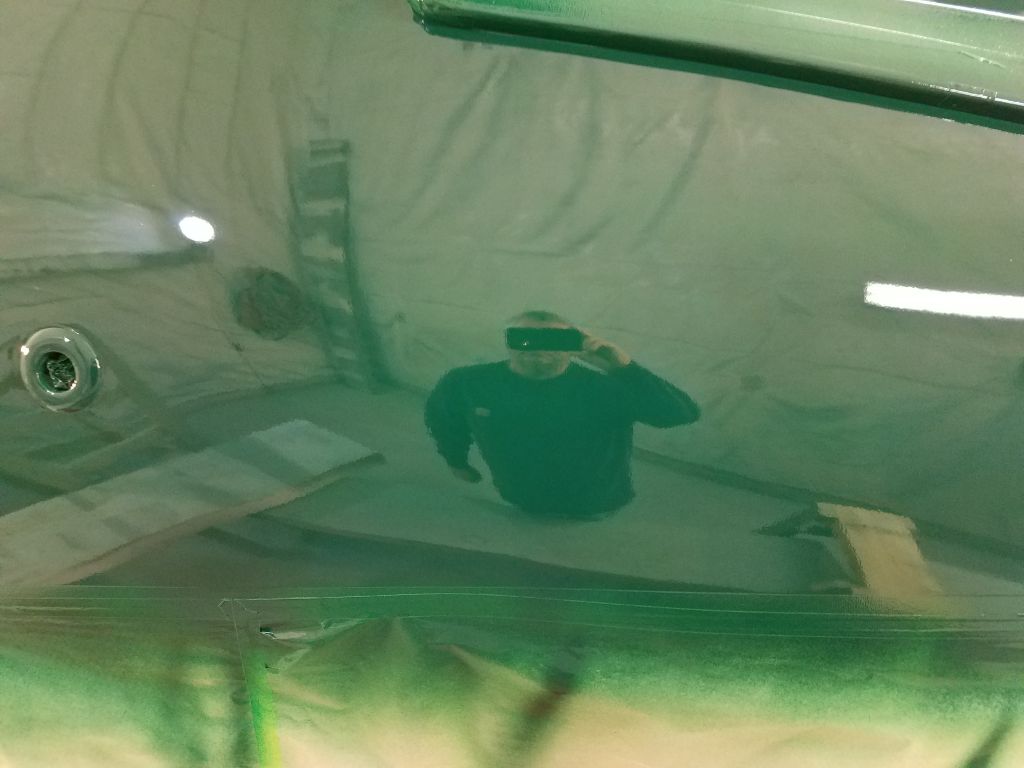
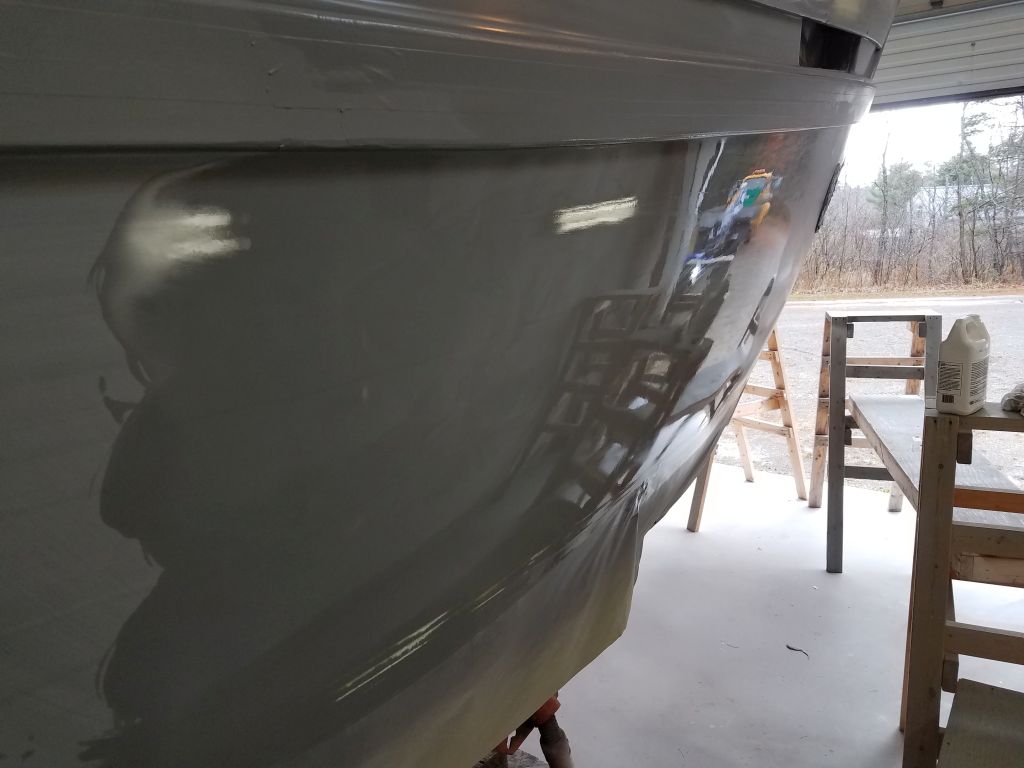
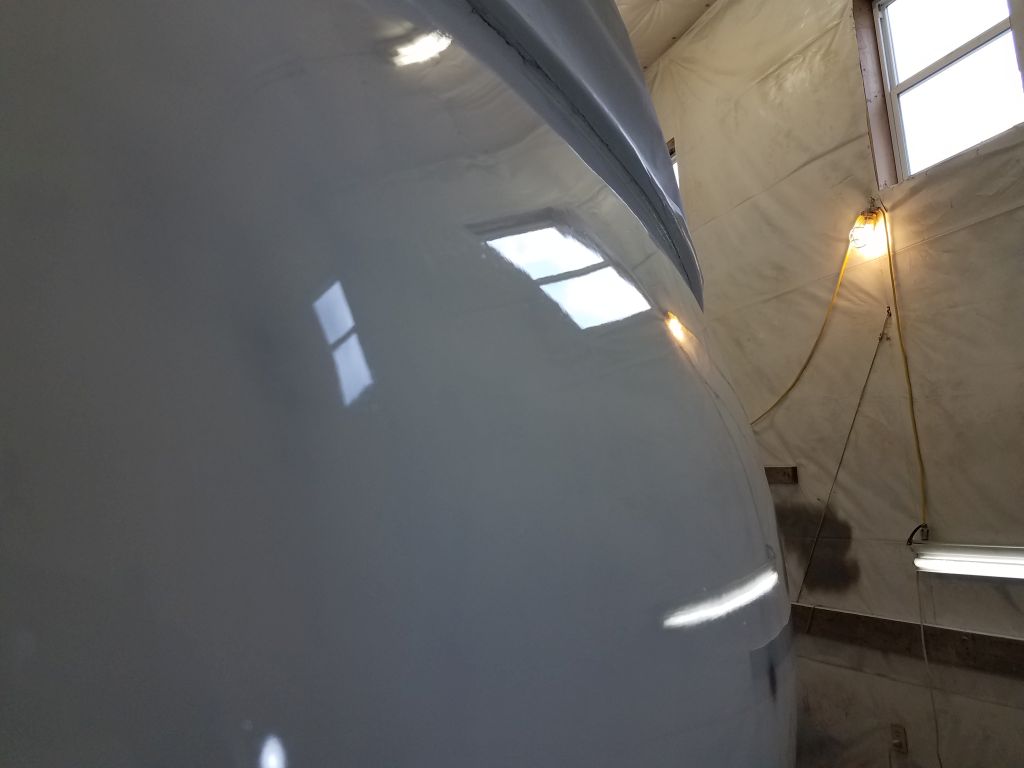
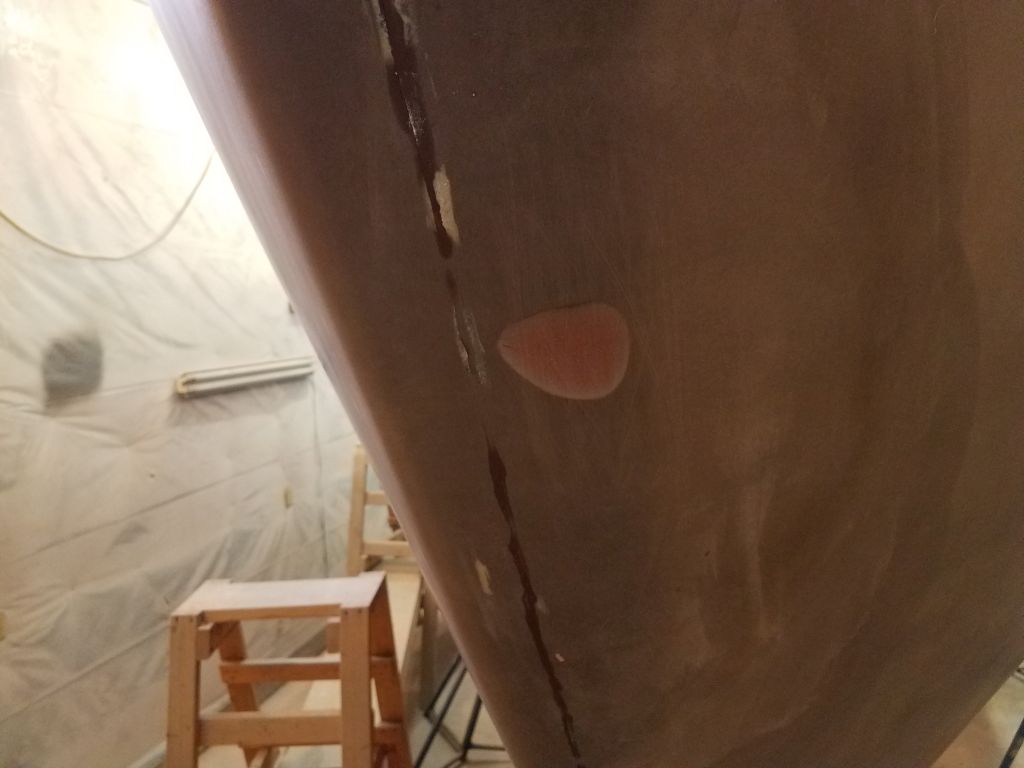
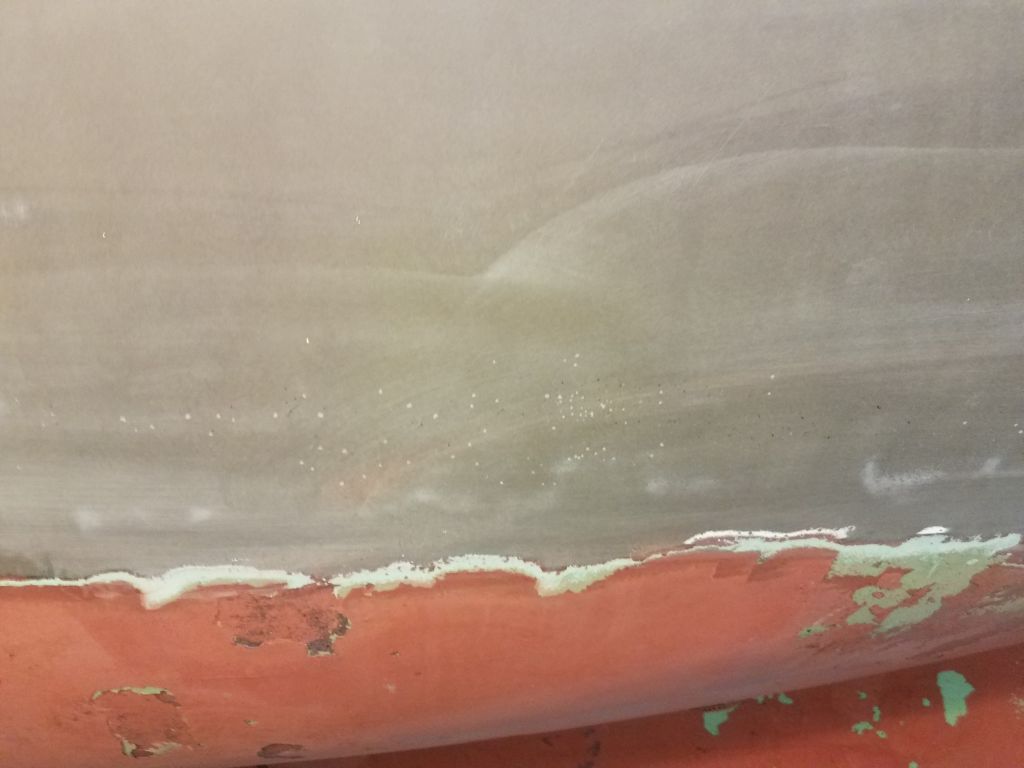
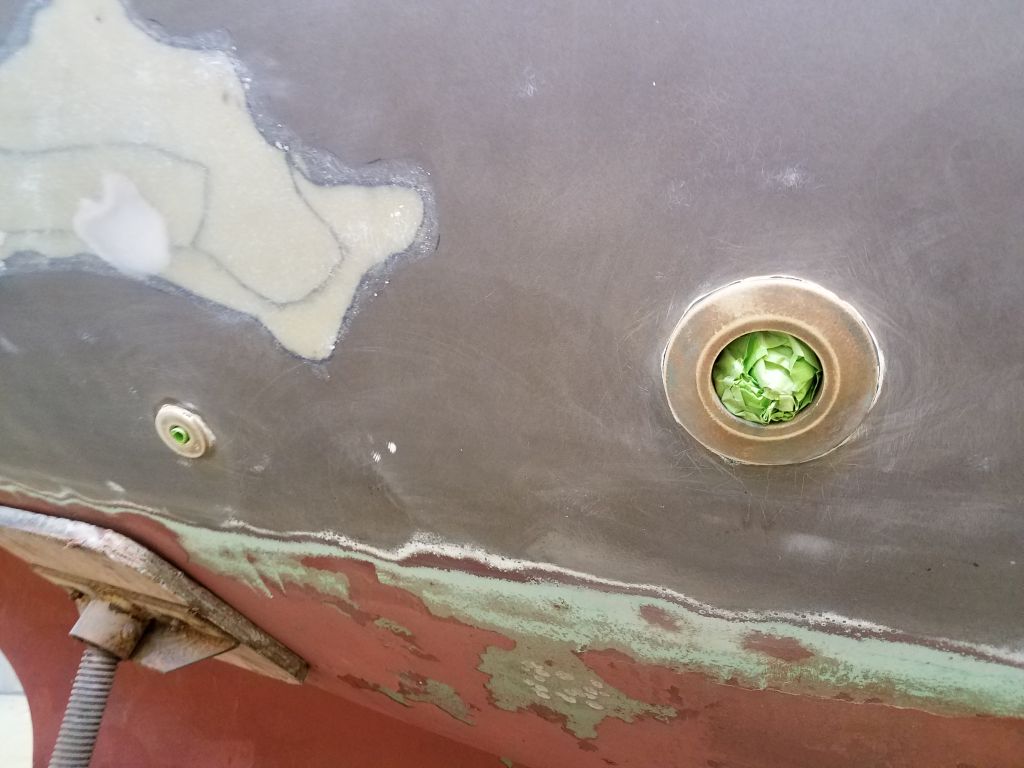
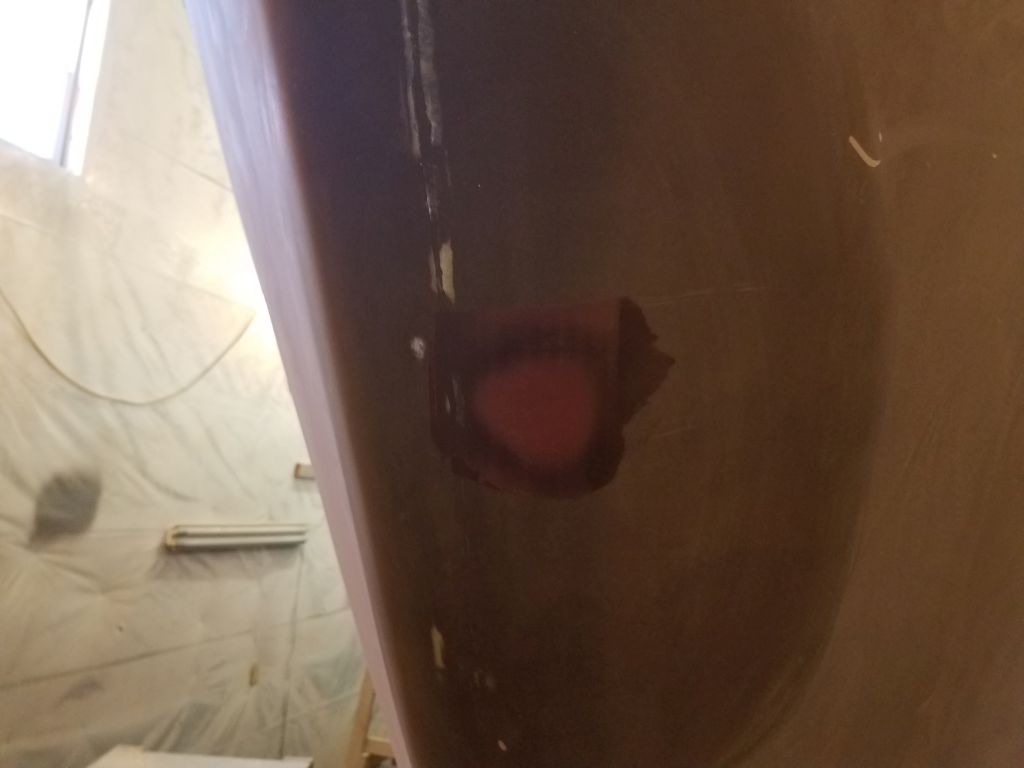
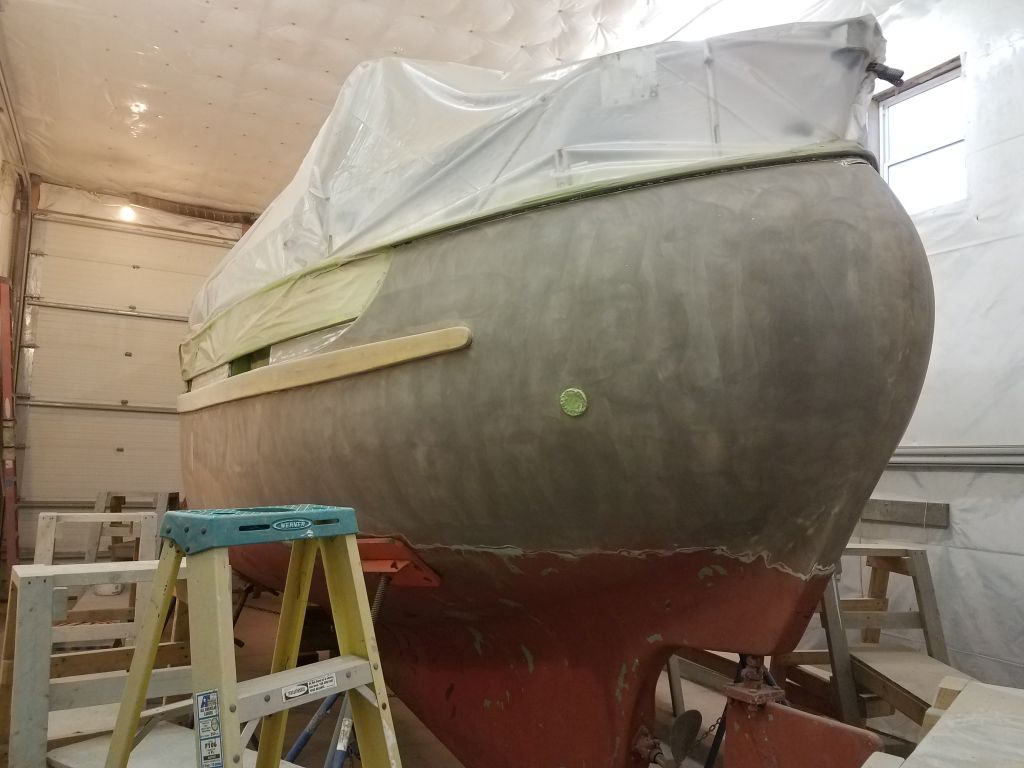
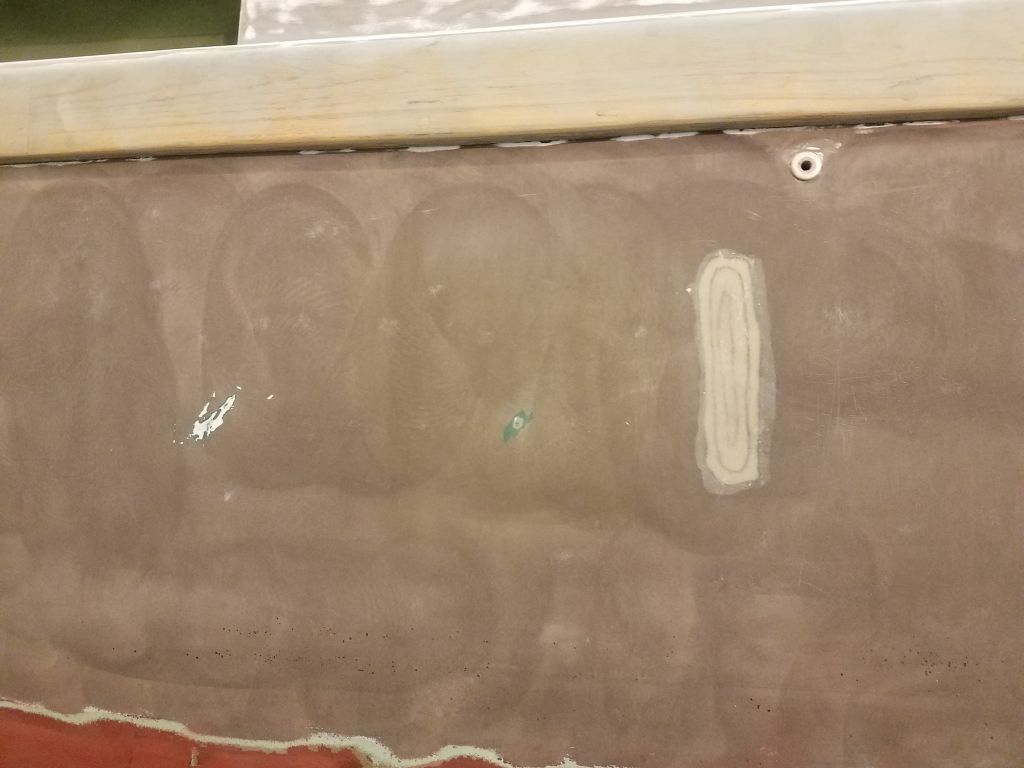
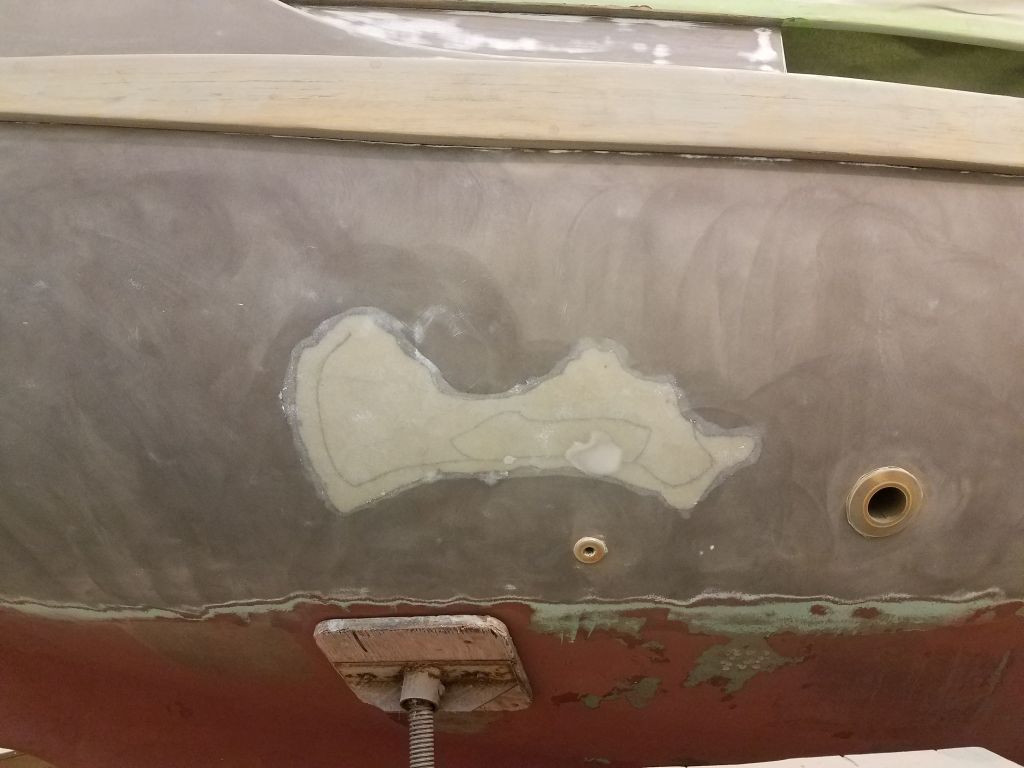
I reset the staging and went around the hull closely, fine-tuning a few areas with fine sandpaper where the original sanding had missed (some areas only appear once the original sanding dust is removed). Then, after spot-cleaning the dust from these areas, I focused once more on the shop itself and washed again the staging and floor to remove final dust and get things as clean as possible. Afterwards, I completed the final solvent wash, this time with the fancy solvent supplied by the paint manufacturer for this purpose. I set up additional task lighting through the shop to highlight the hull and help during the topcoating process, as the only way to keep track of the spraying is with as much light as possible over the hull. I prepared some of my equipment and paint and looked forward to spraying the topcoats next time.
Total time billed on this job today: 4.25 hours
0600 Weather Observation: 32°, clear. Forecast for the day: sunny and breezy, 40°