Friday
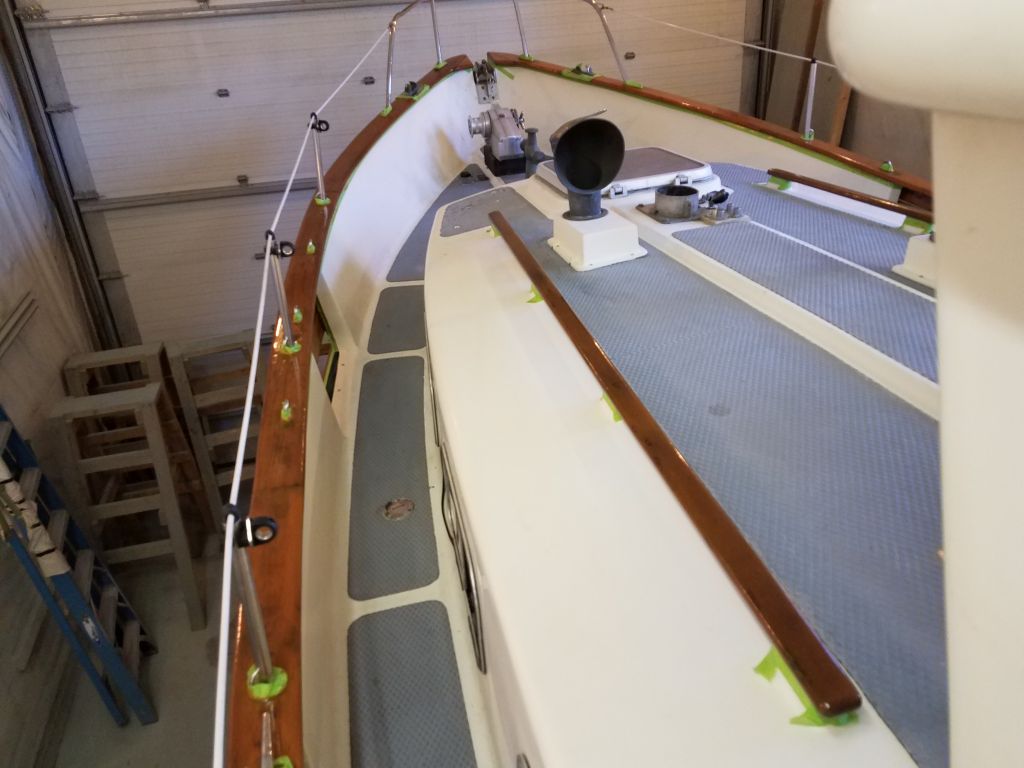
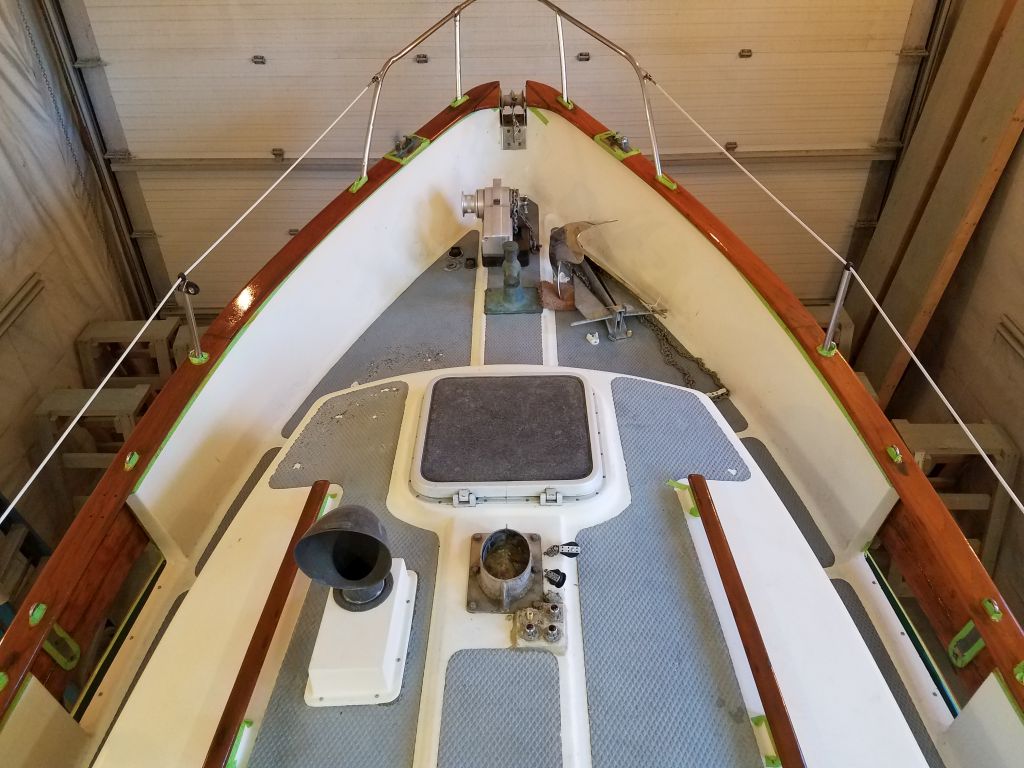
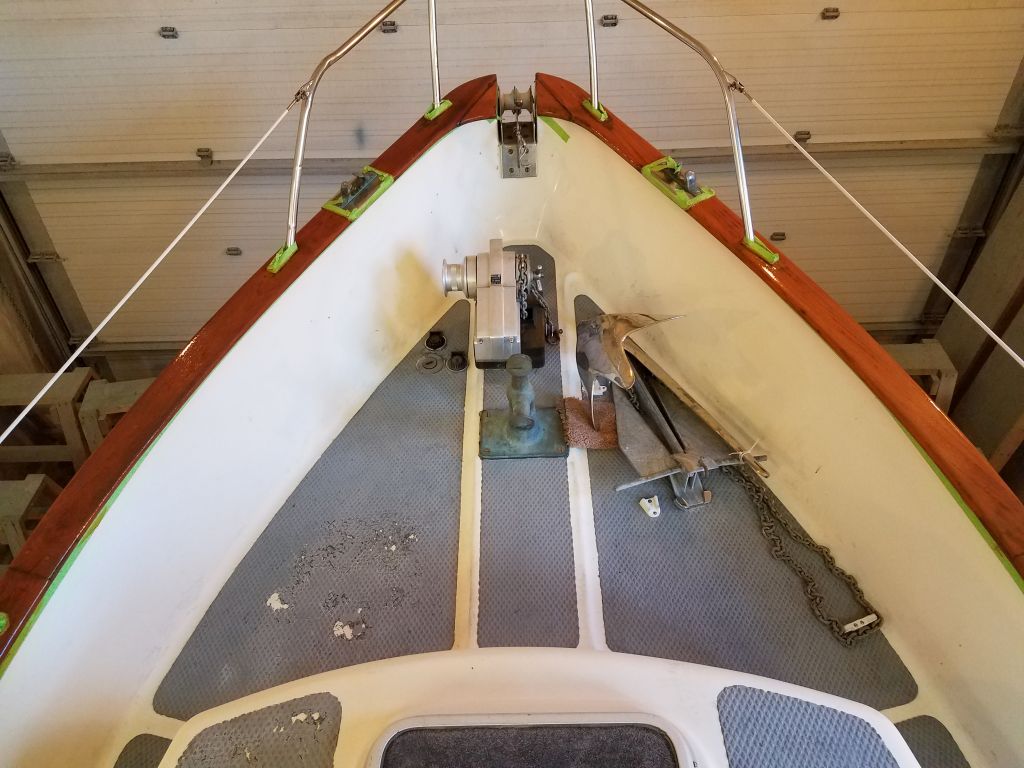
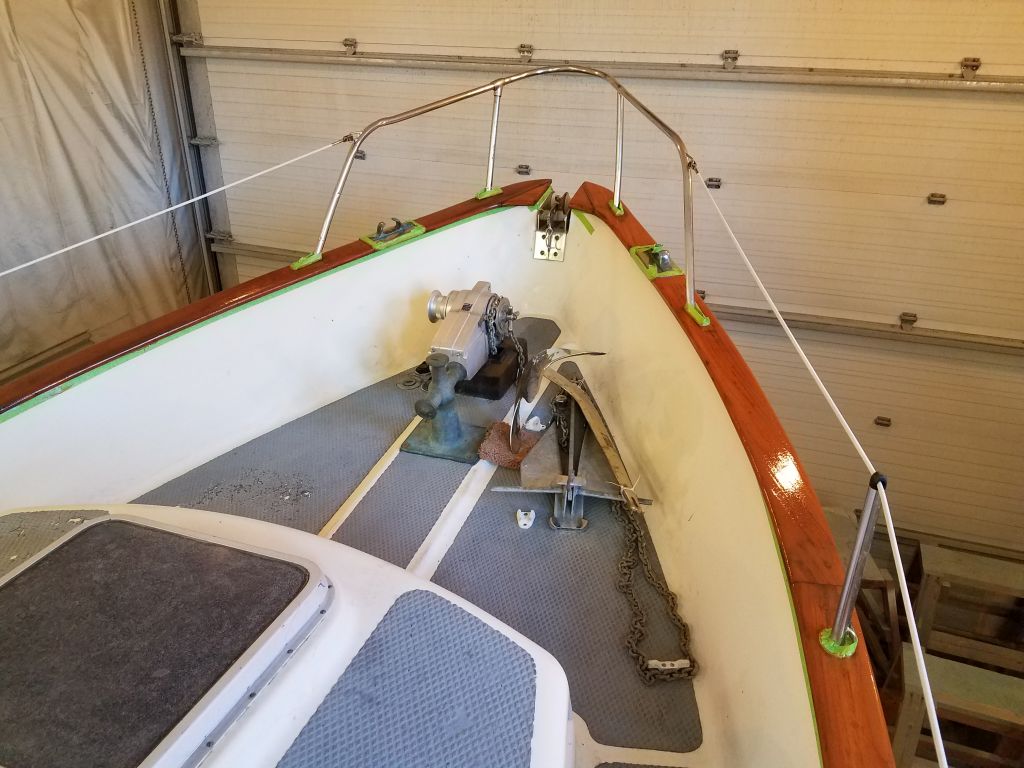
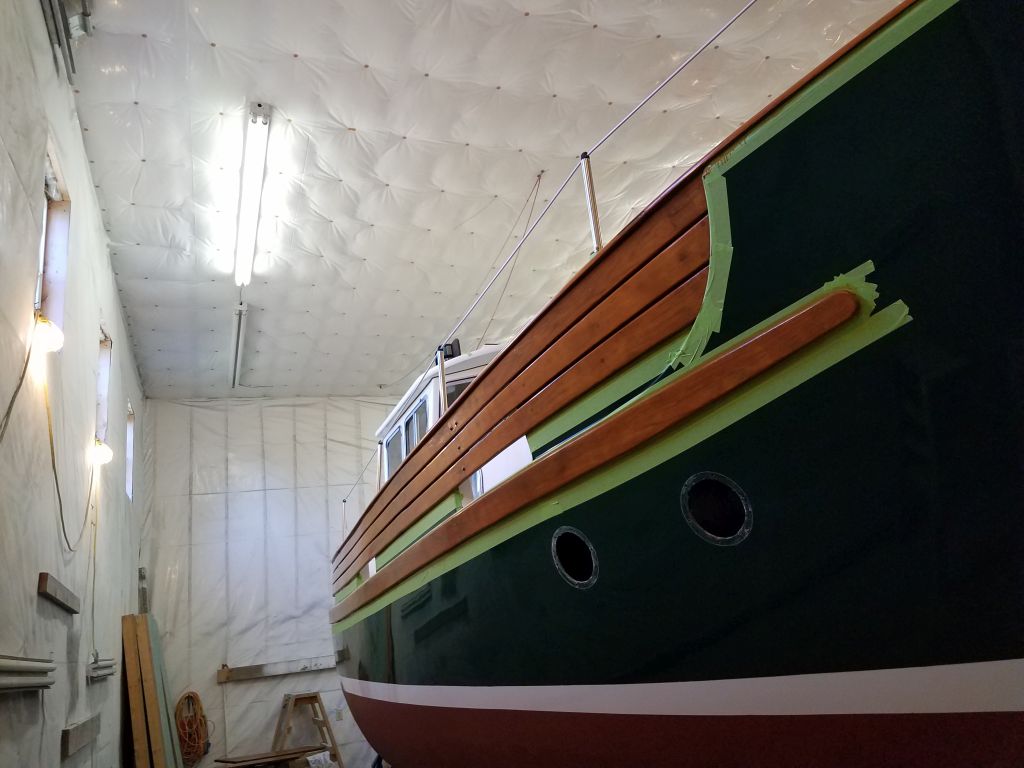
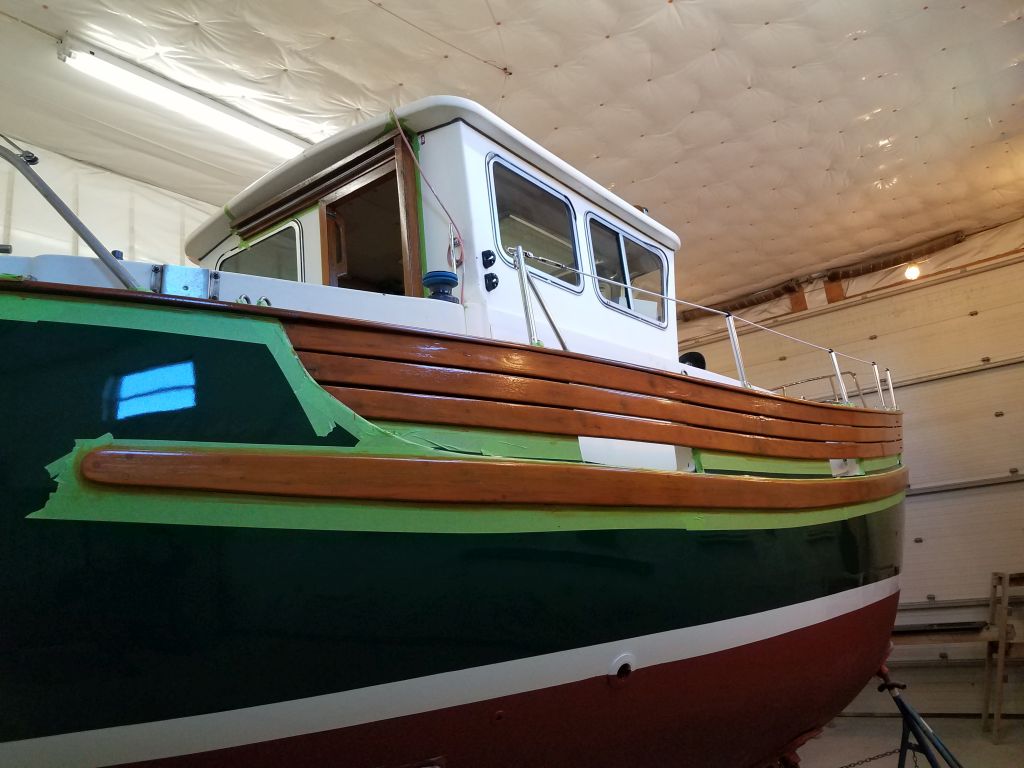
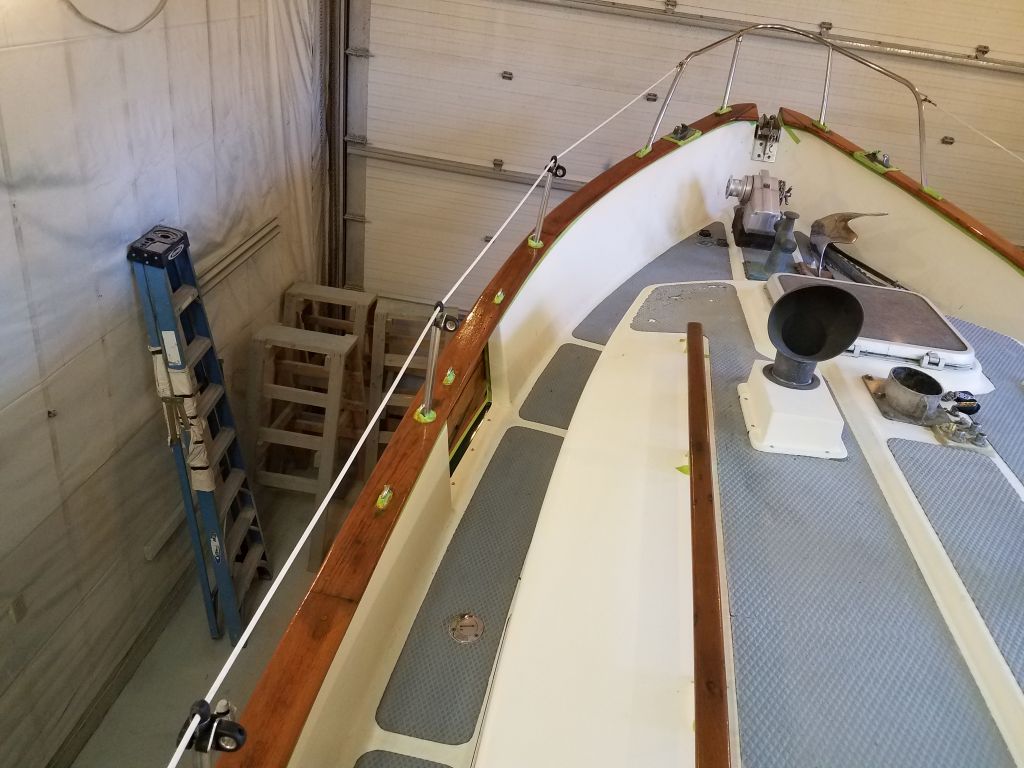
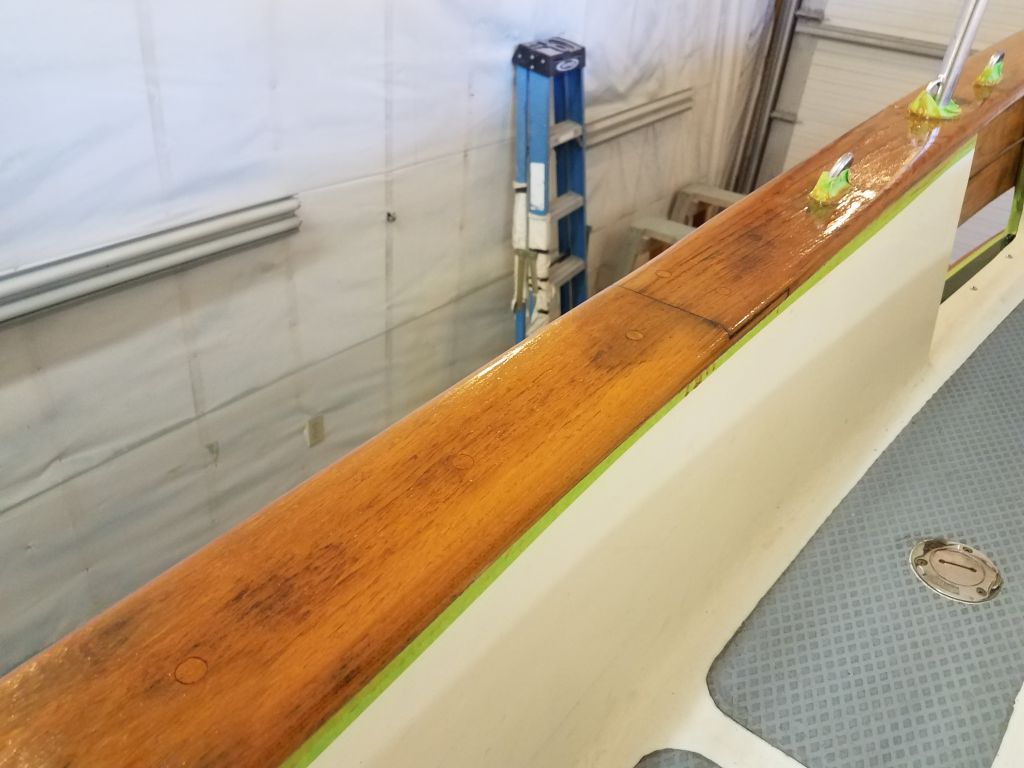
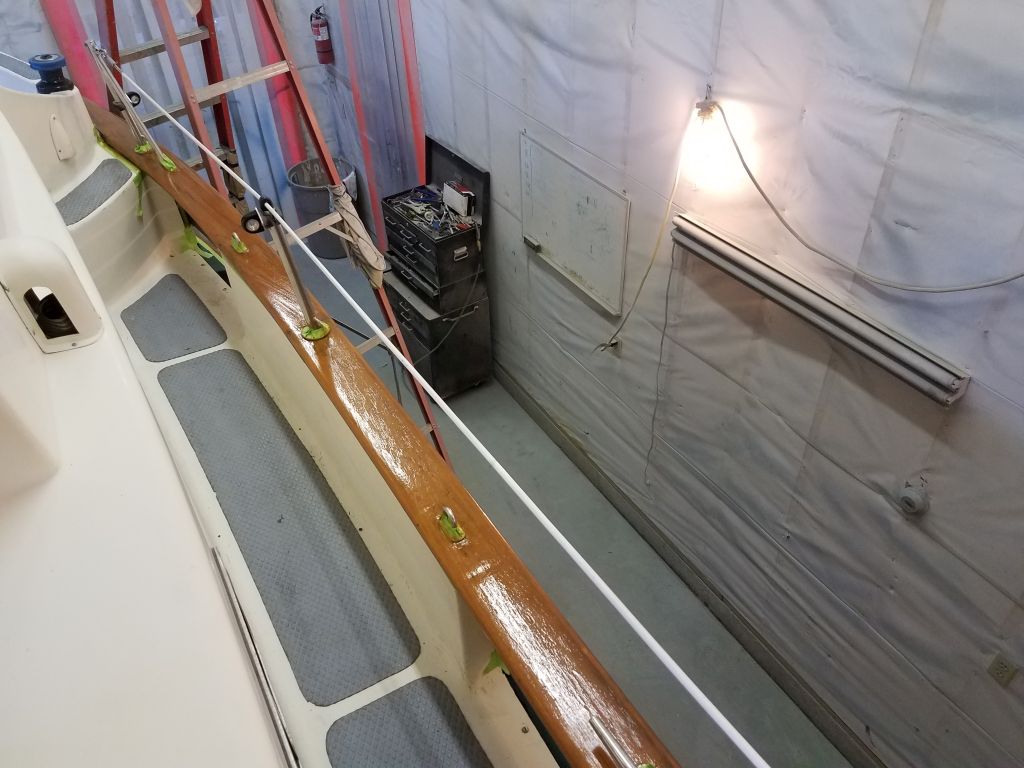
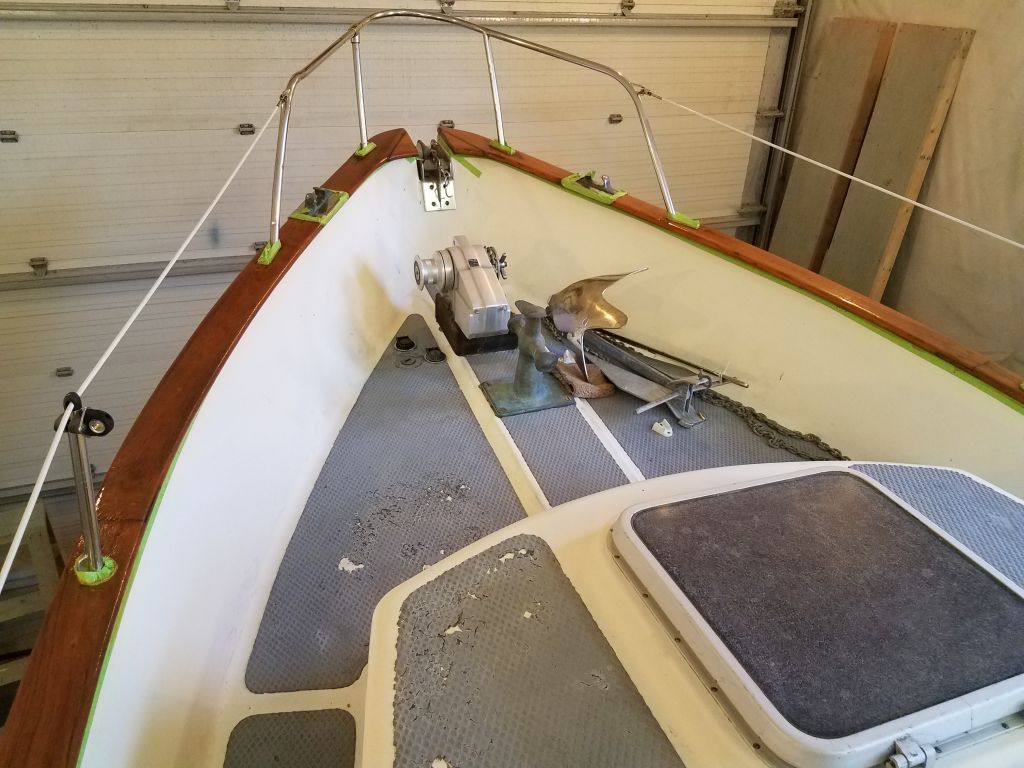
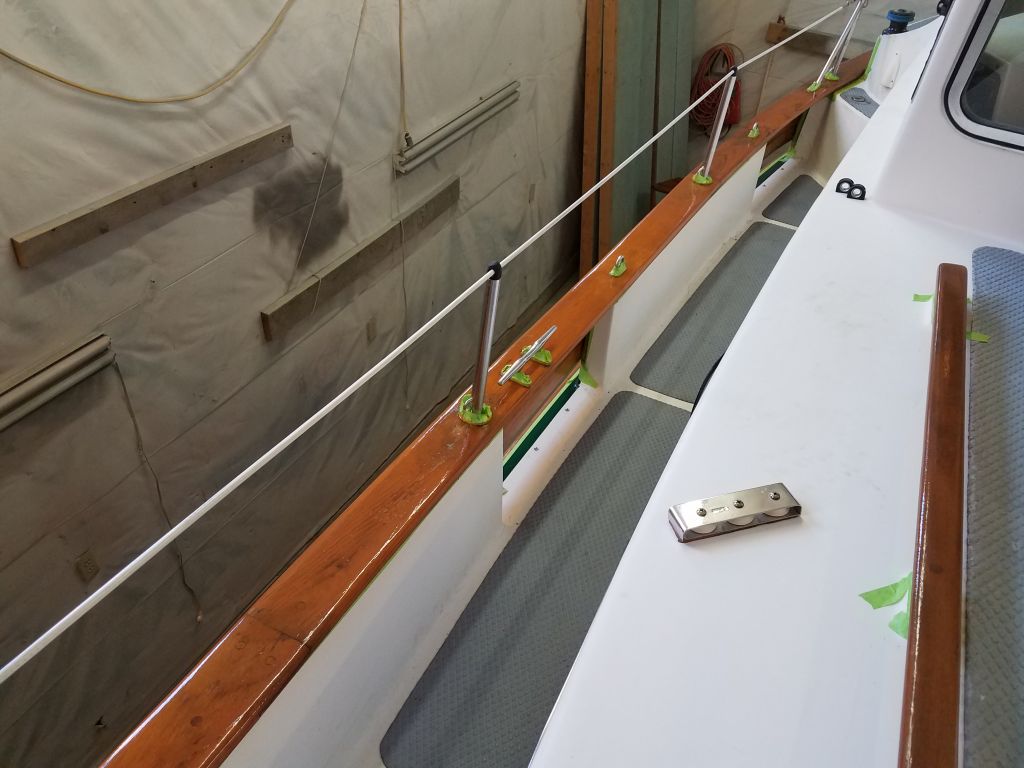
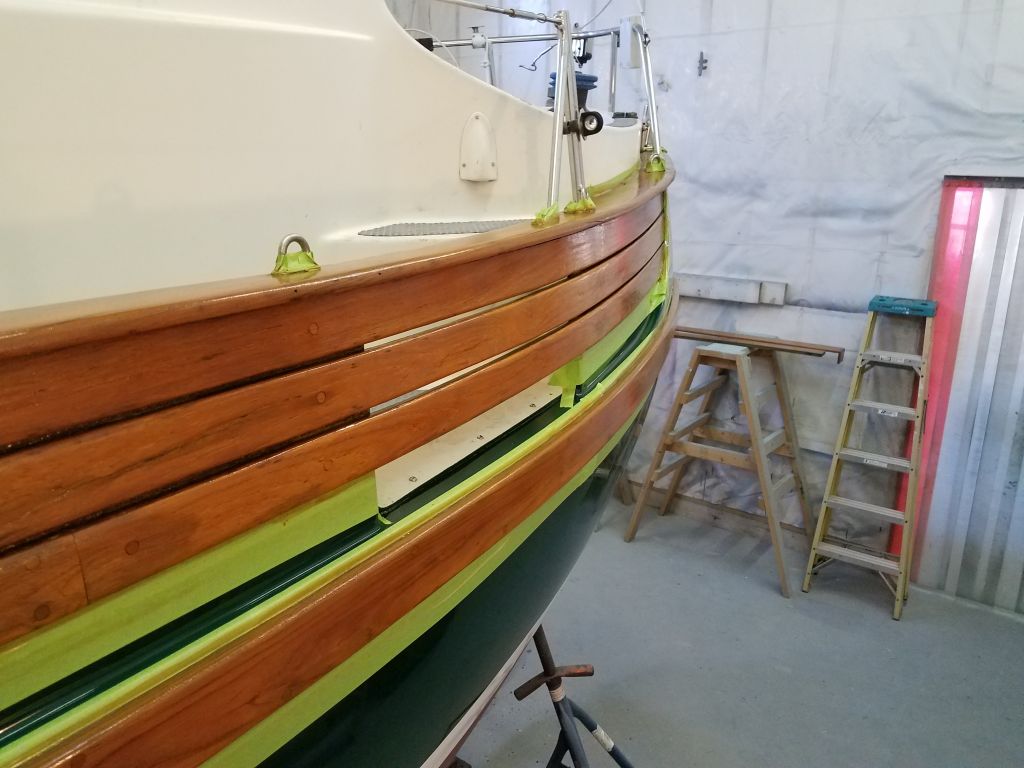
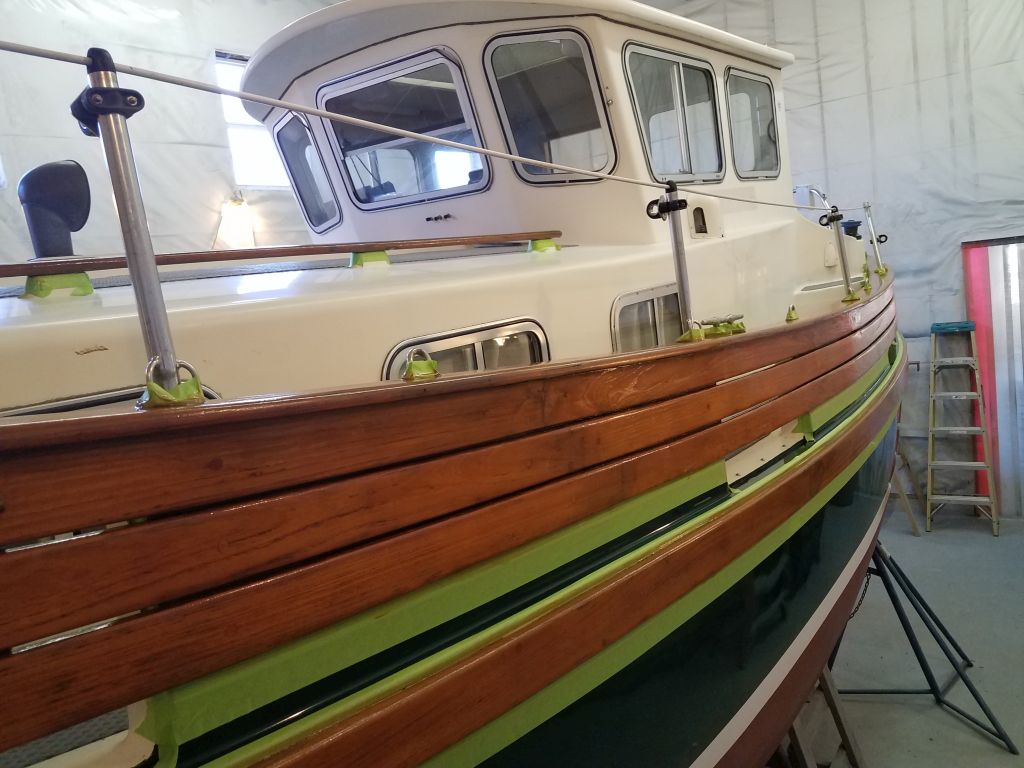
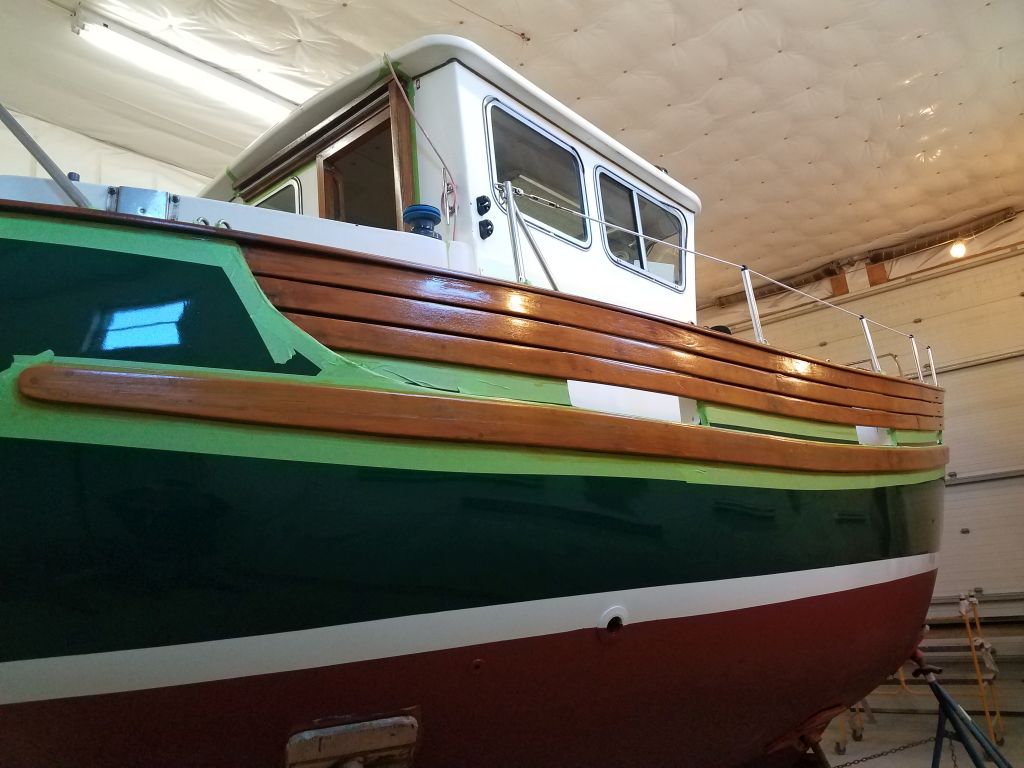
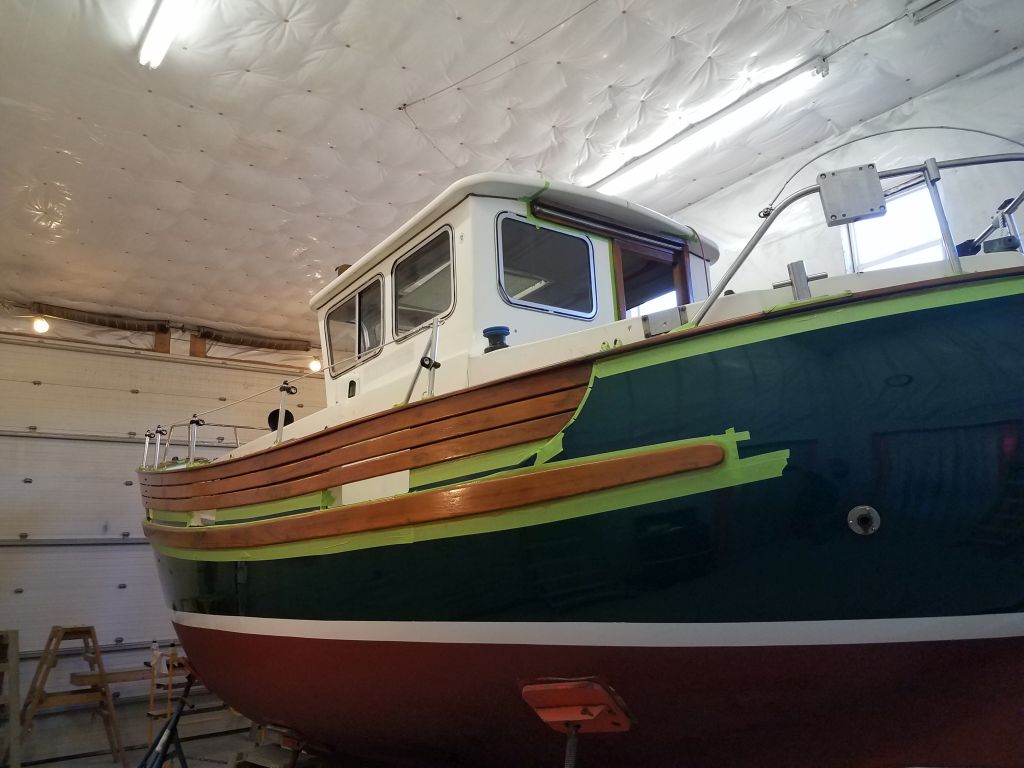
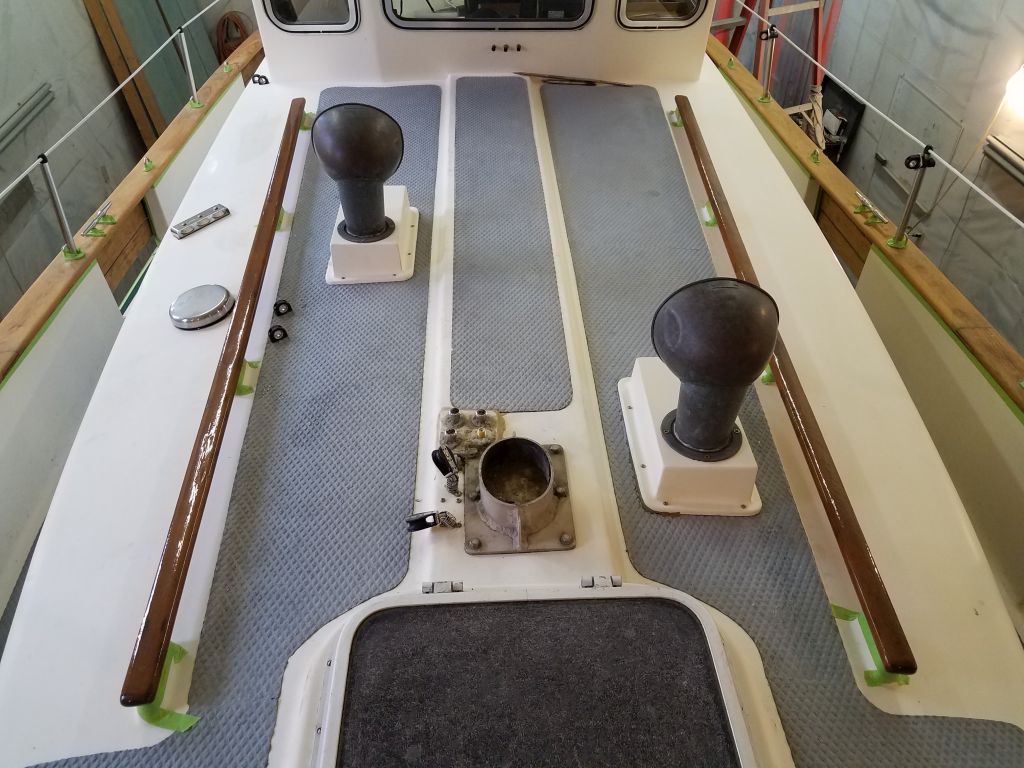
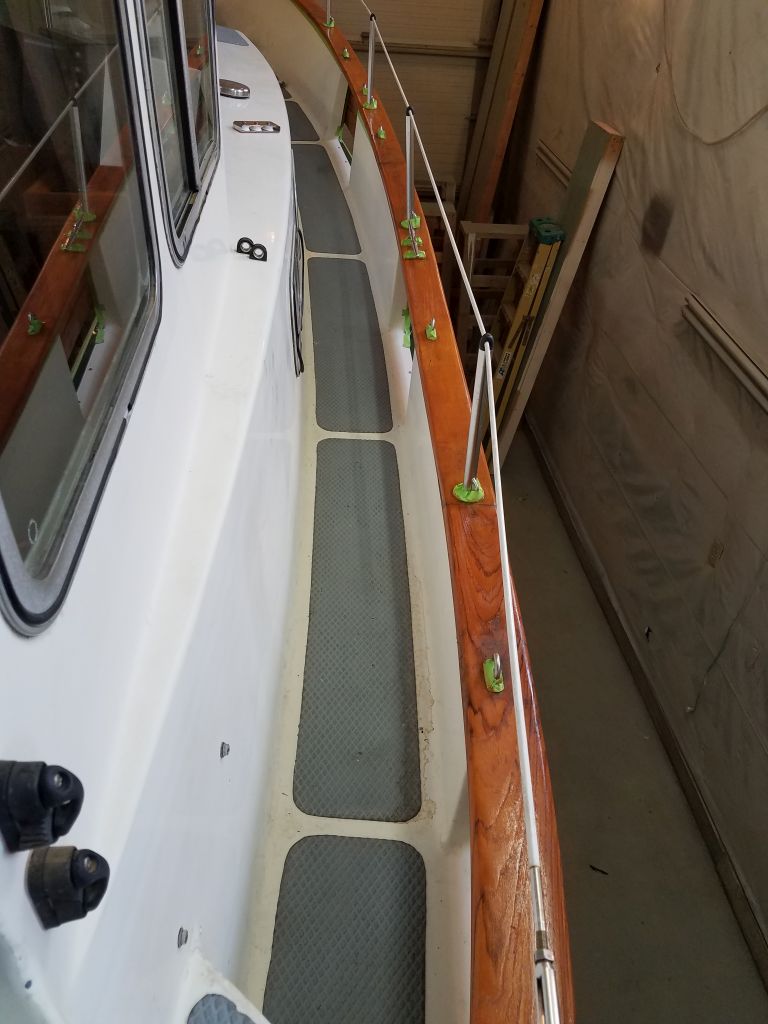
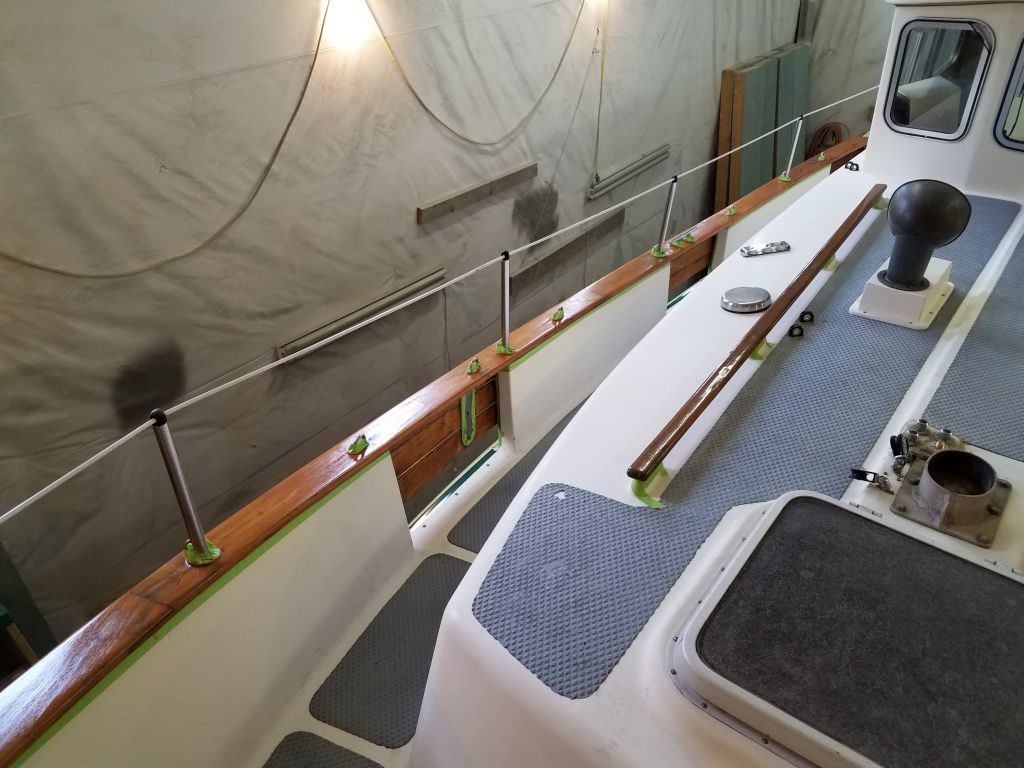
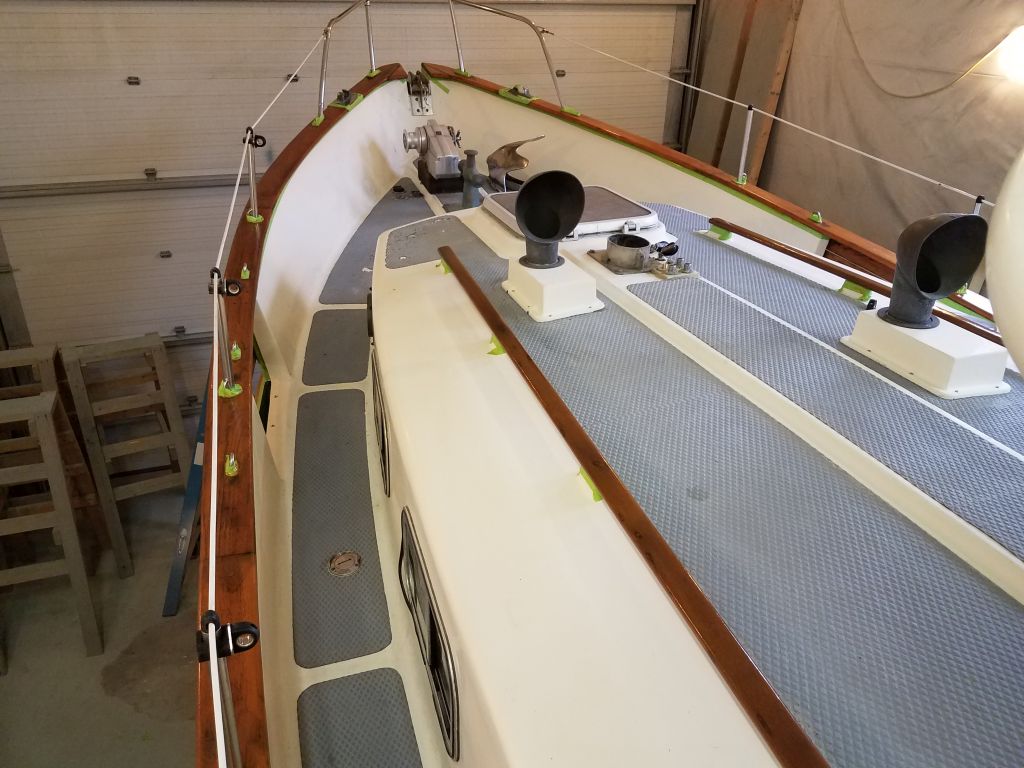
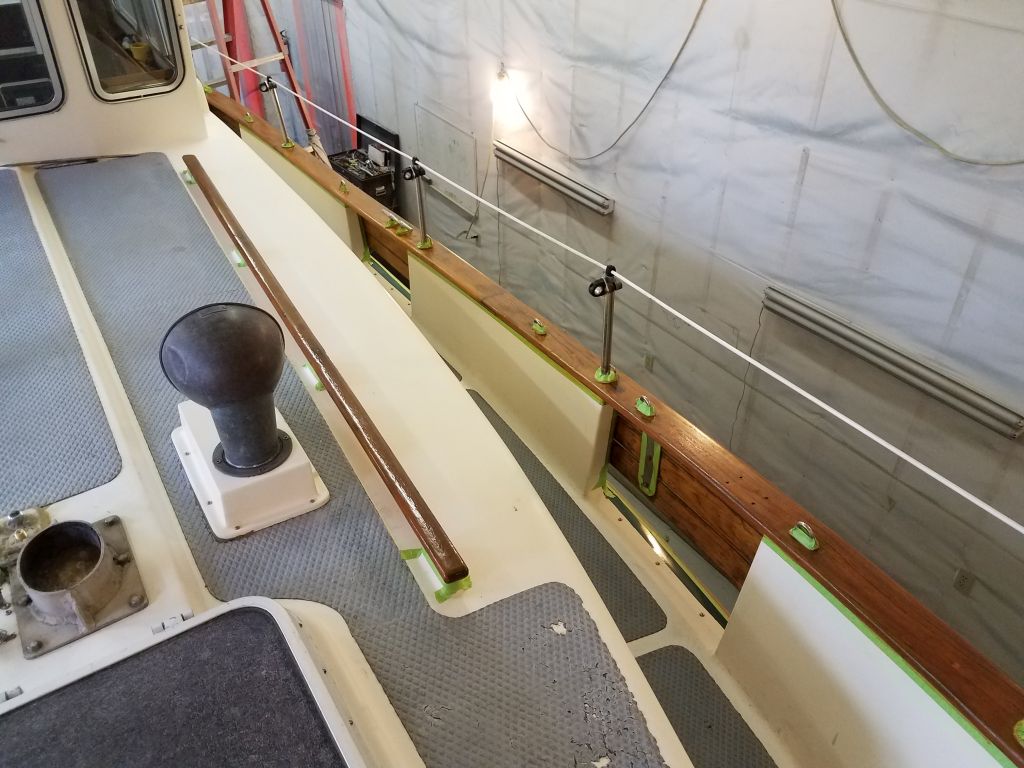
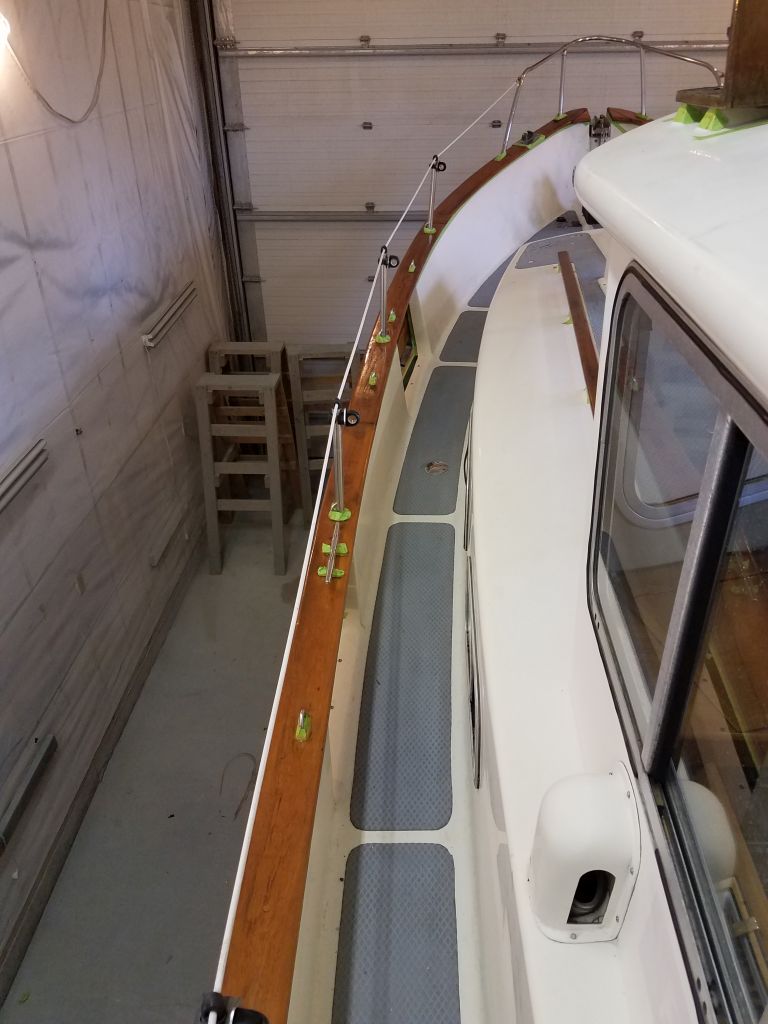
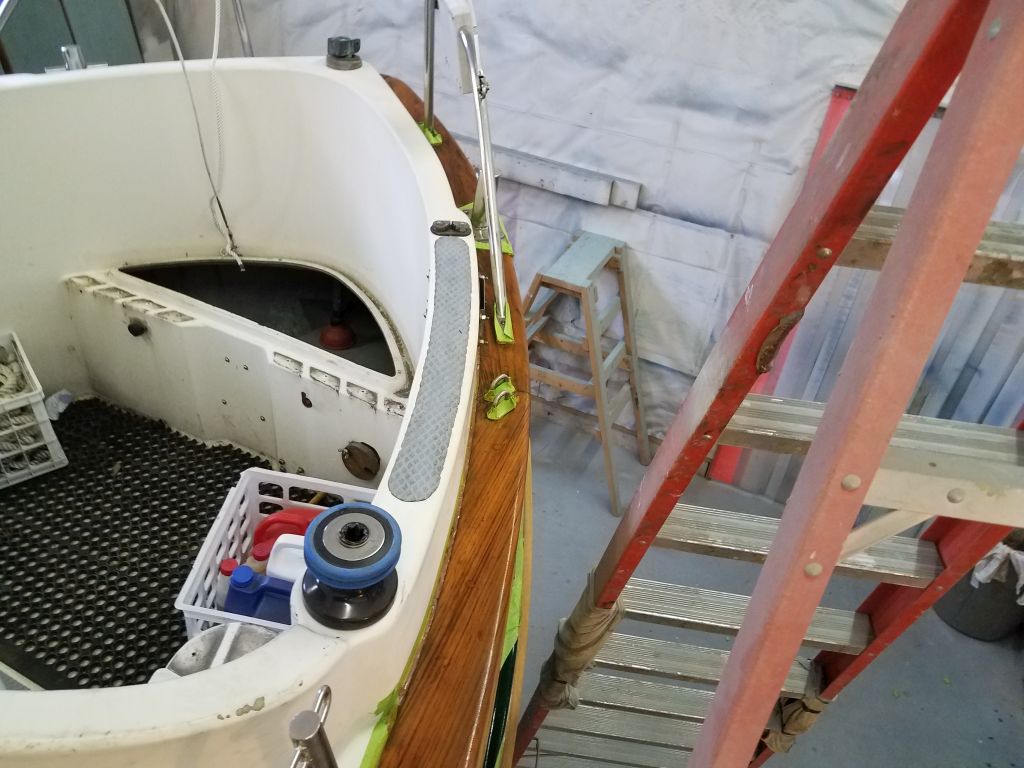
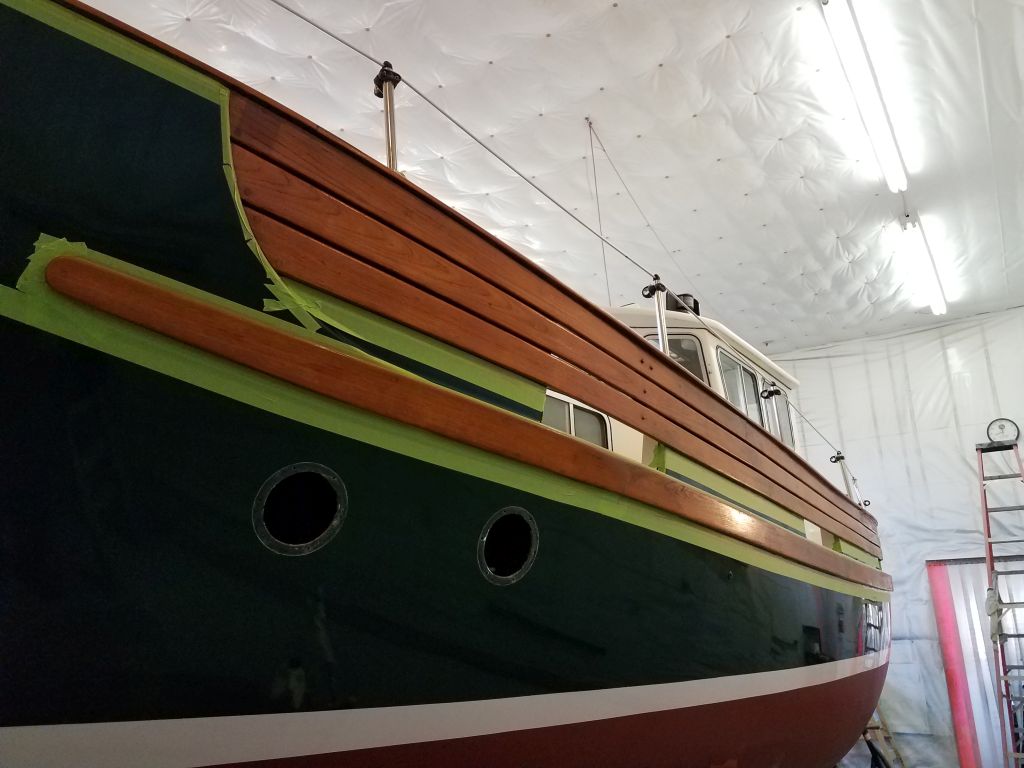
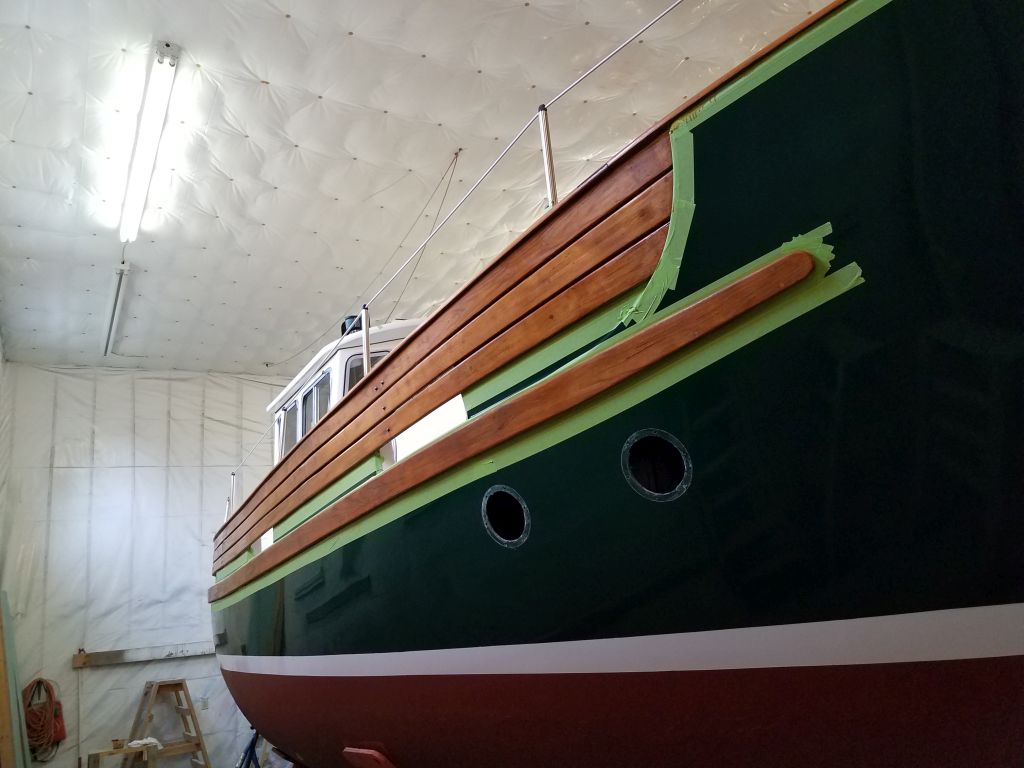
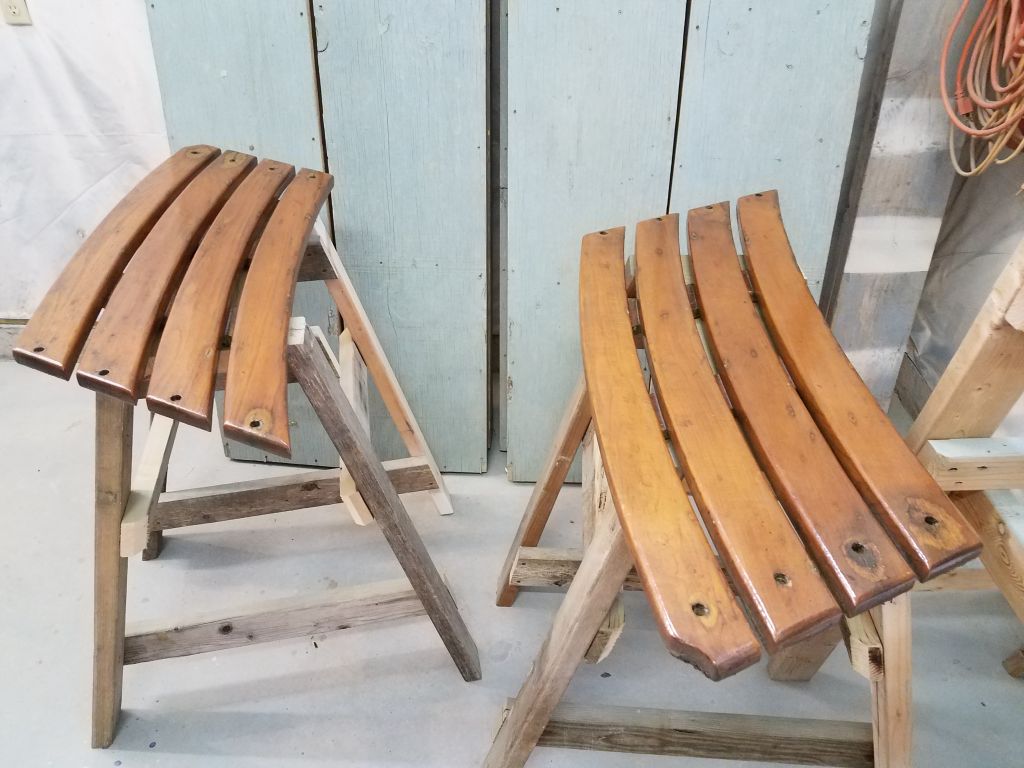
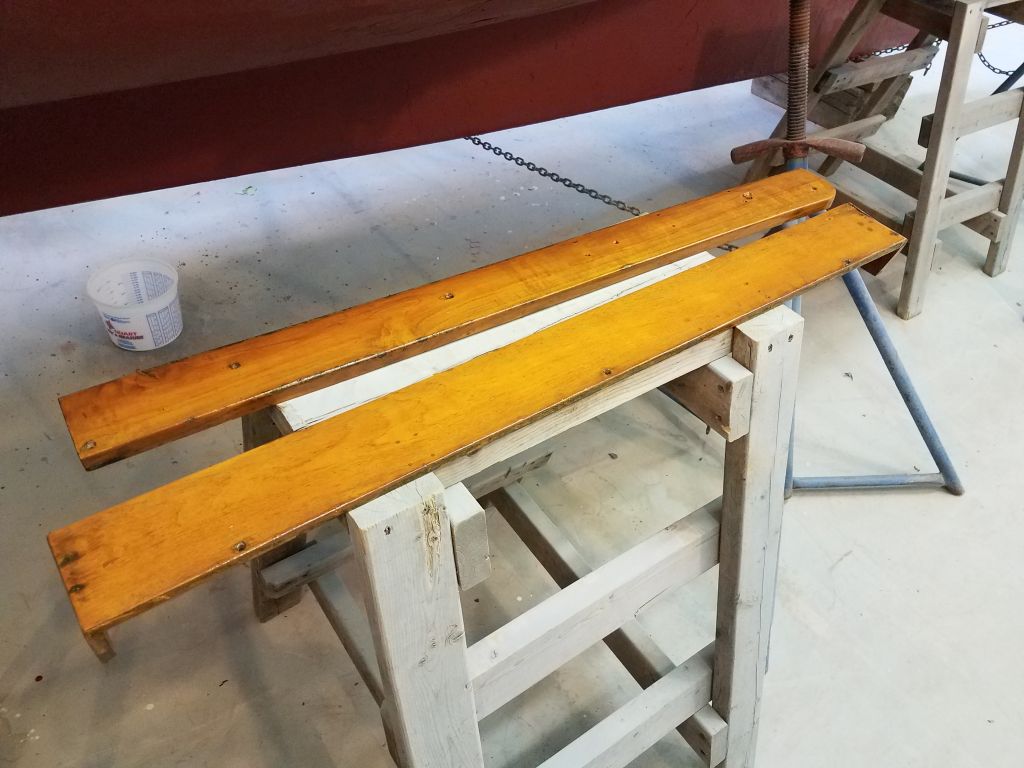
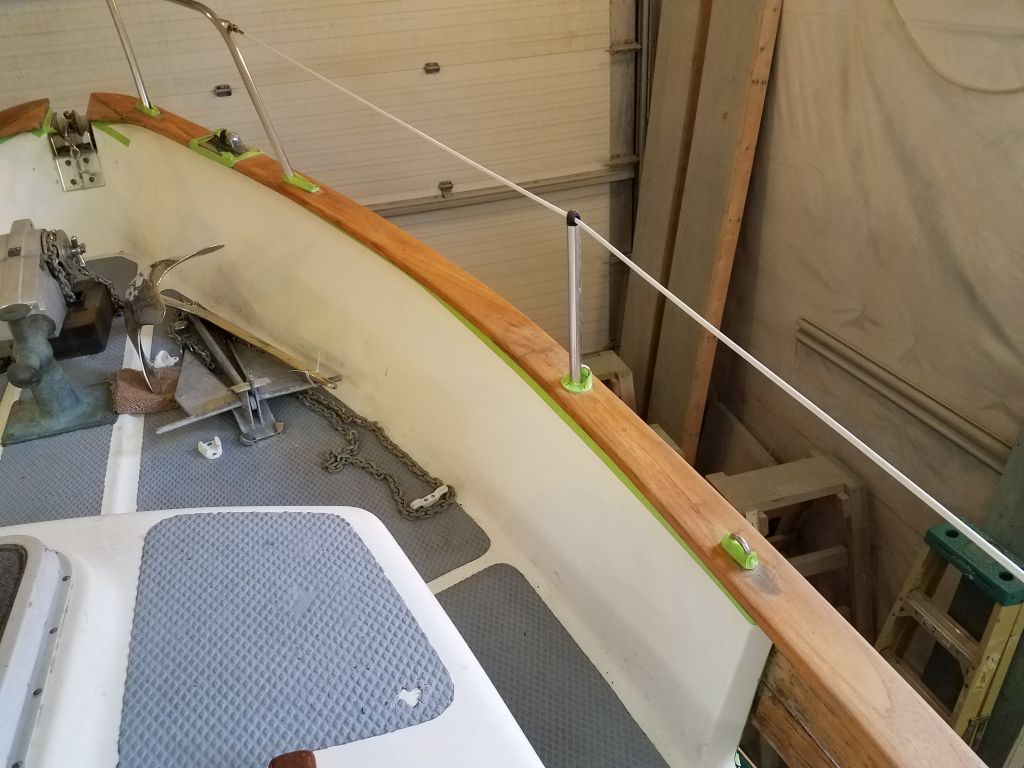
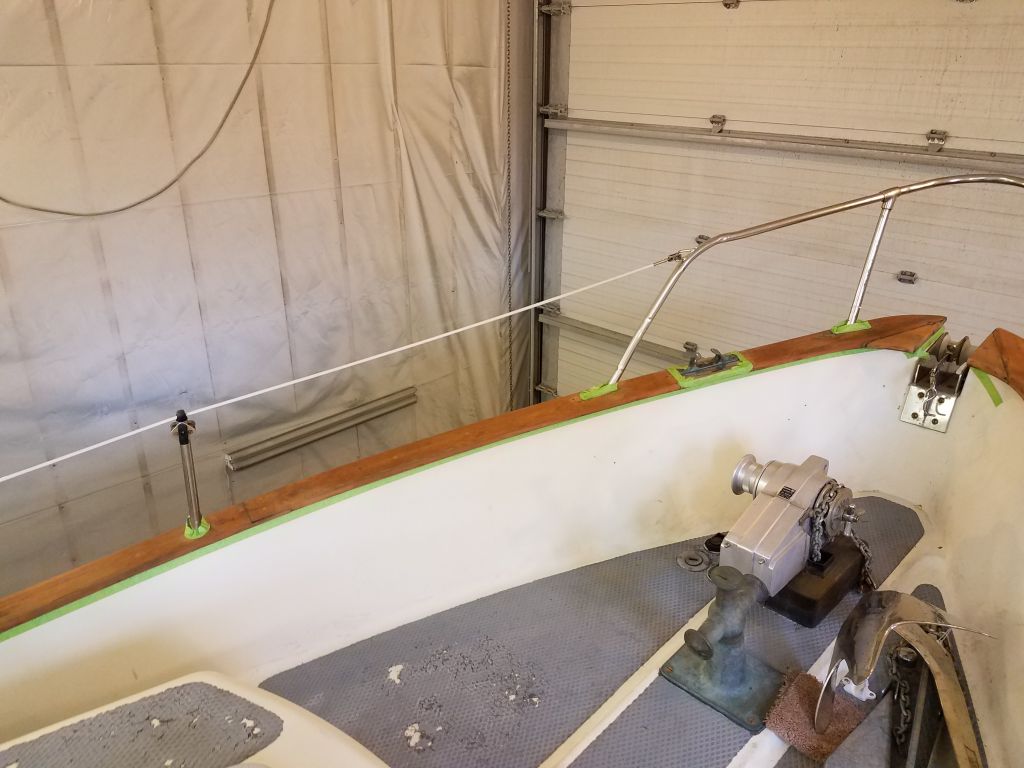
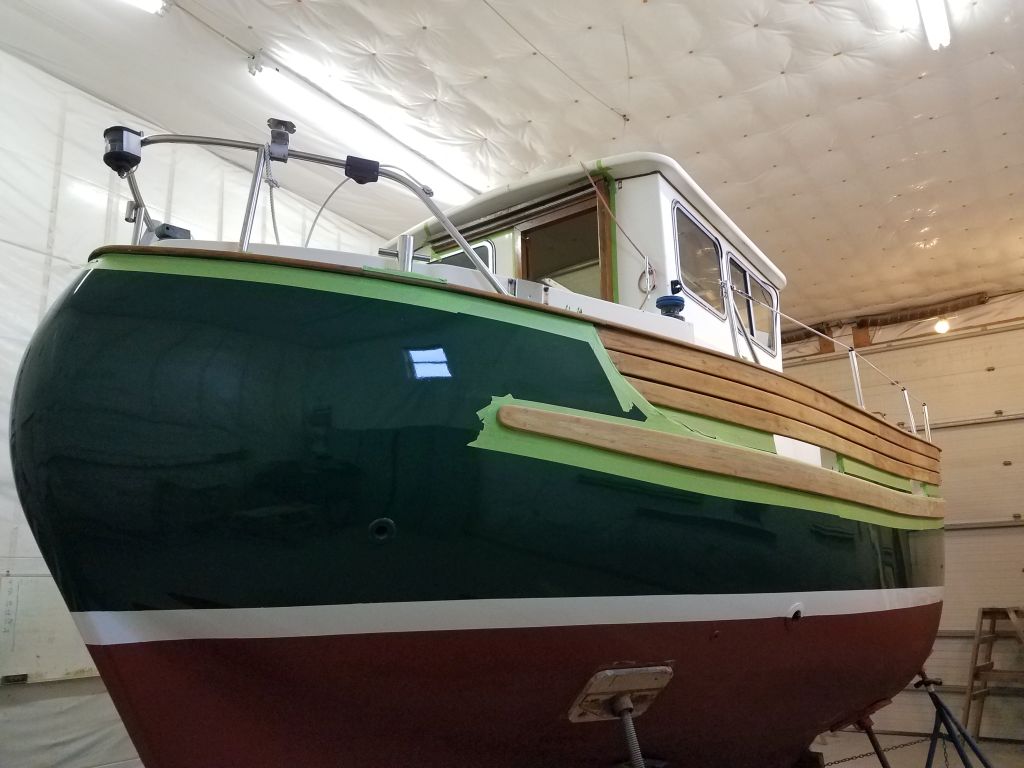
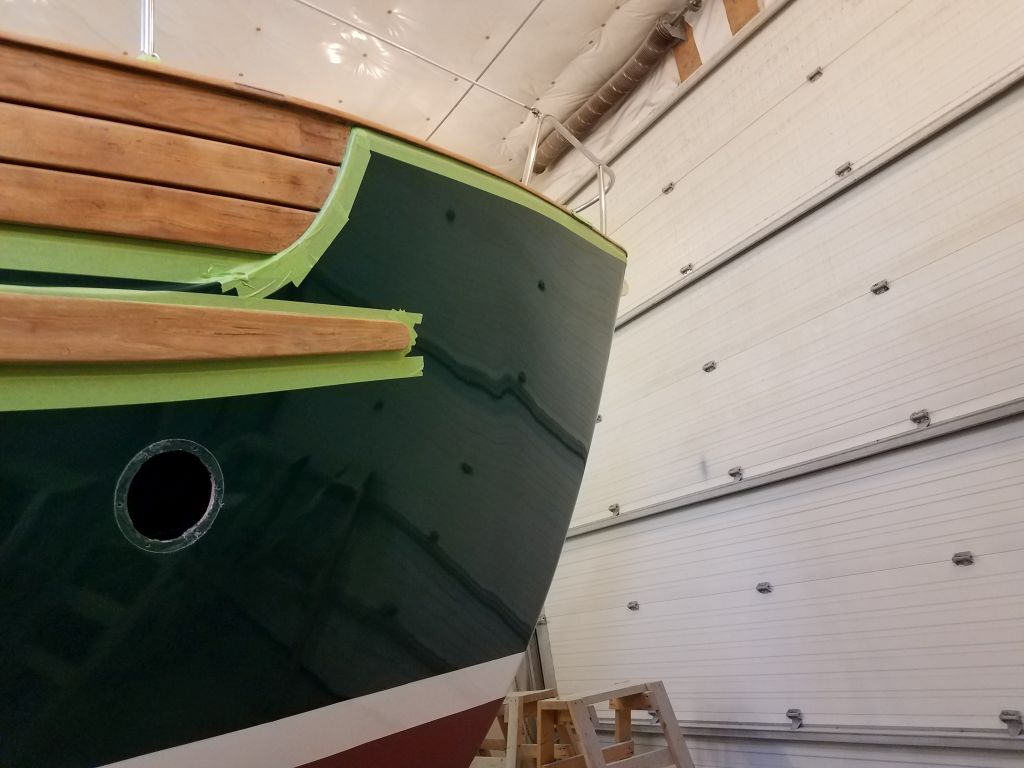
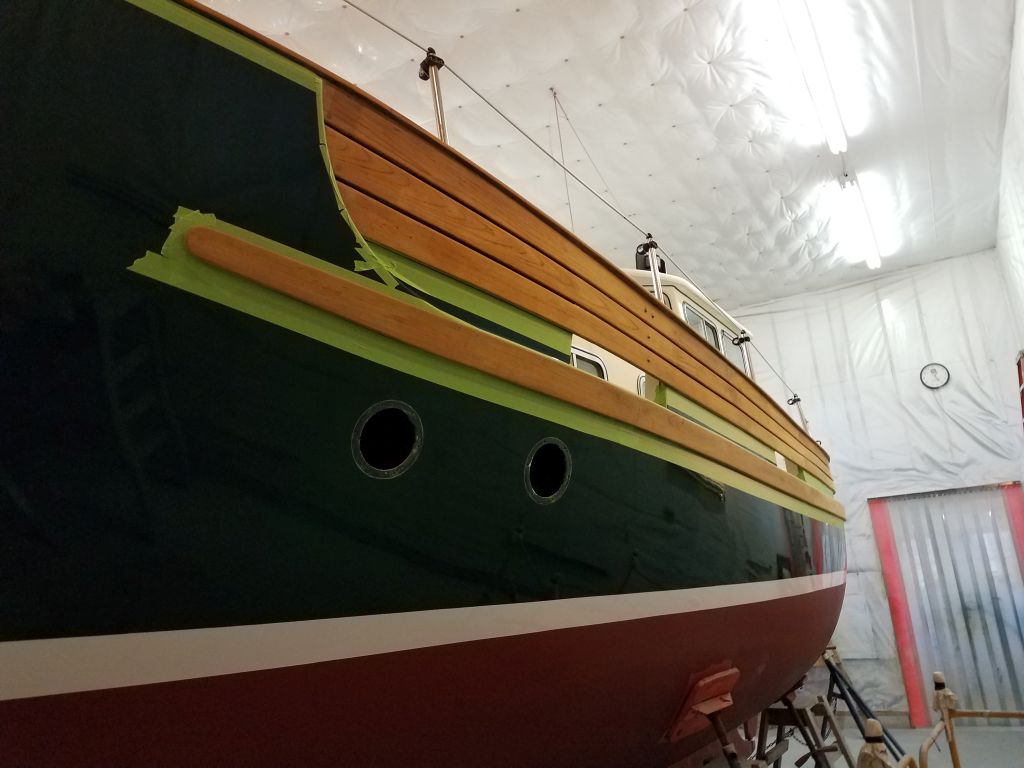
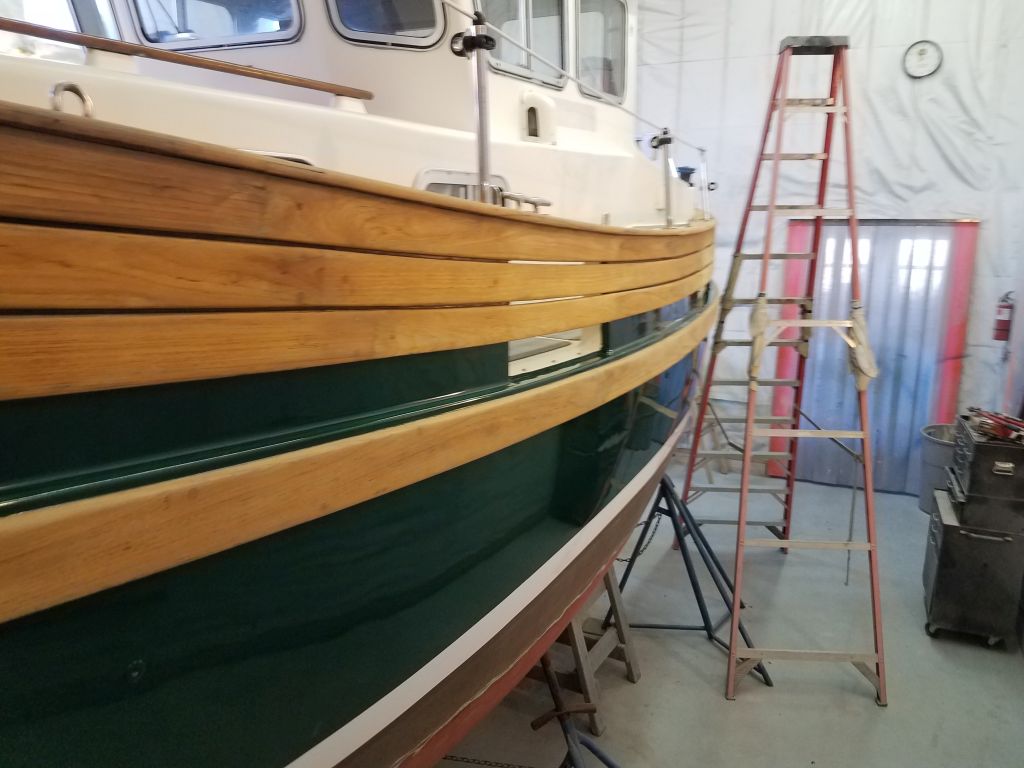
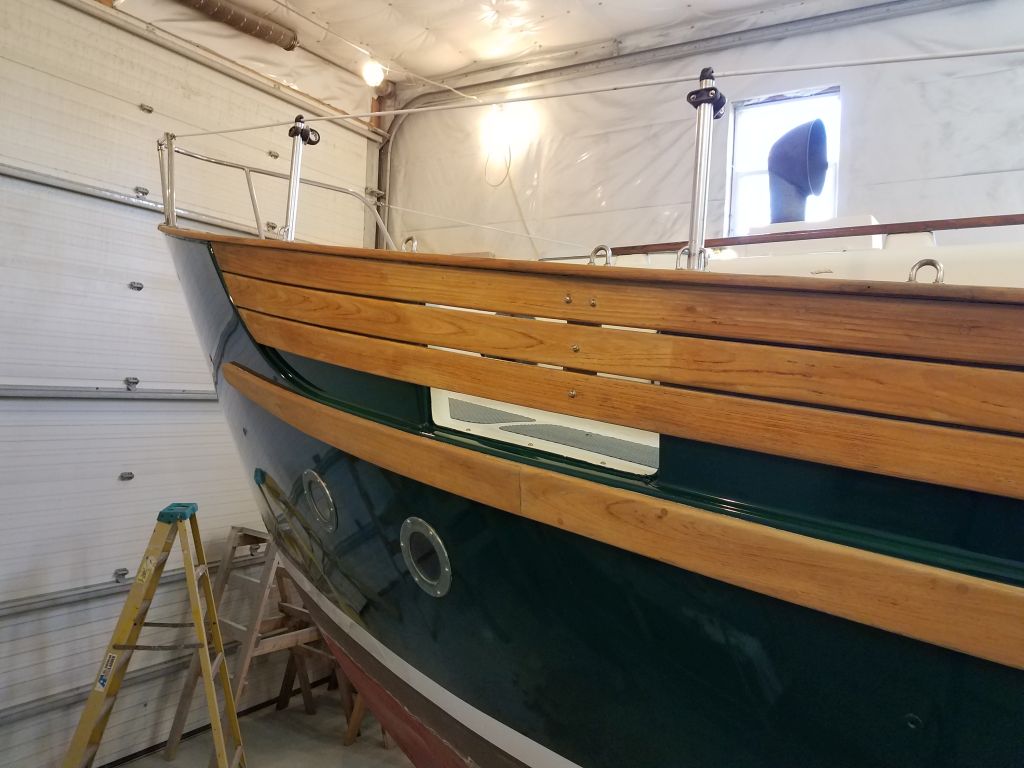
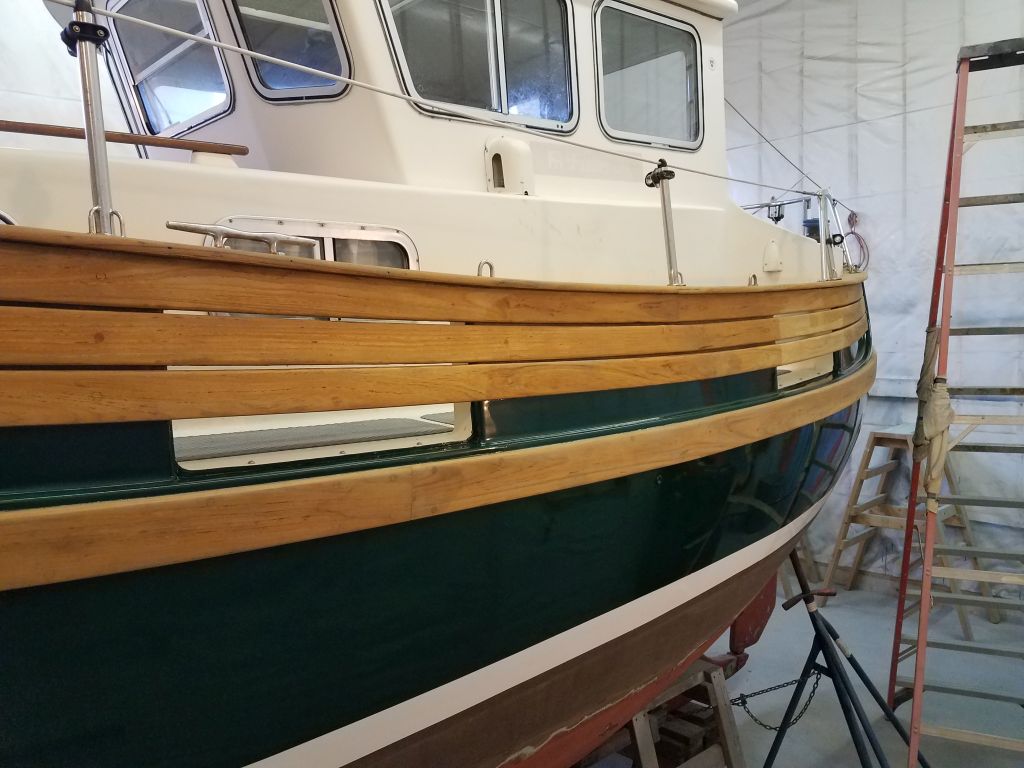
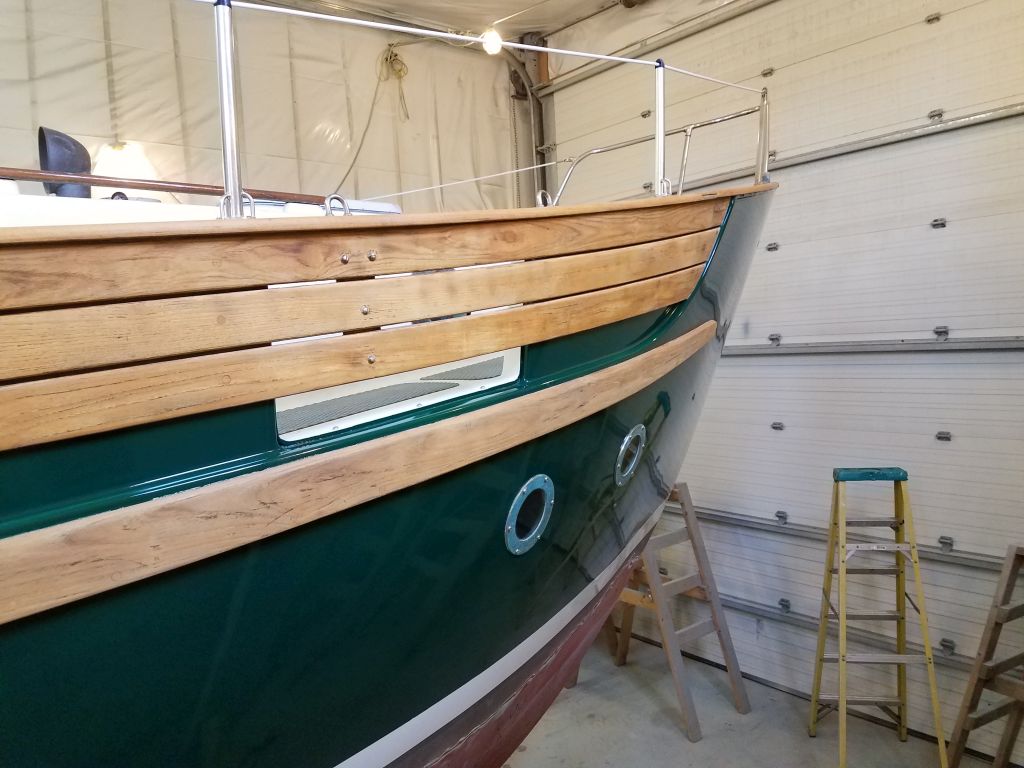
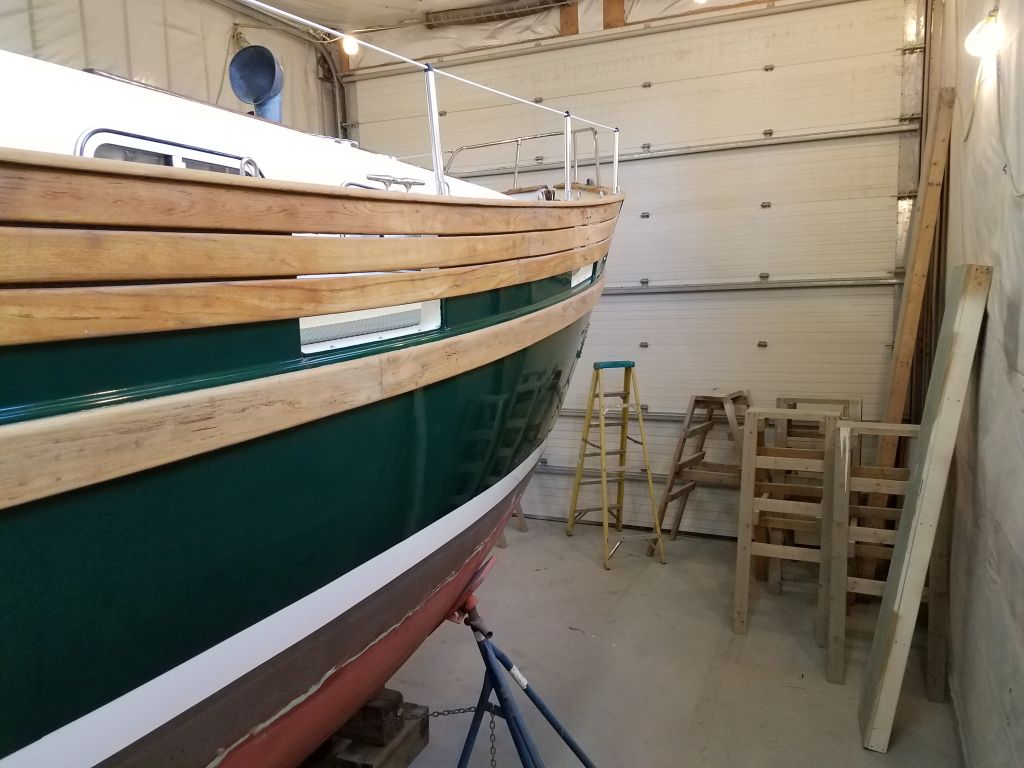
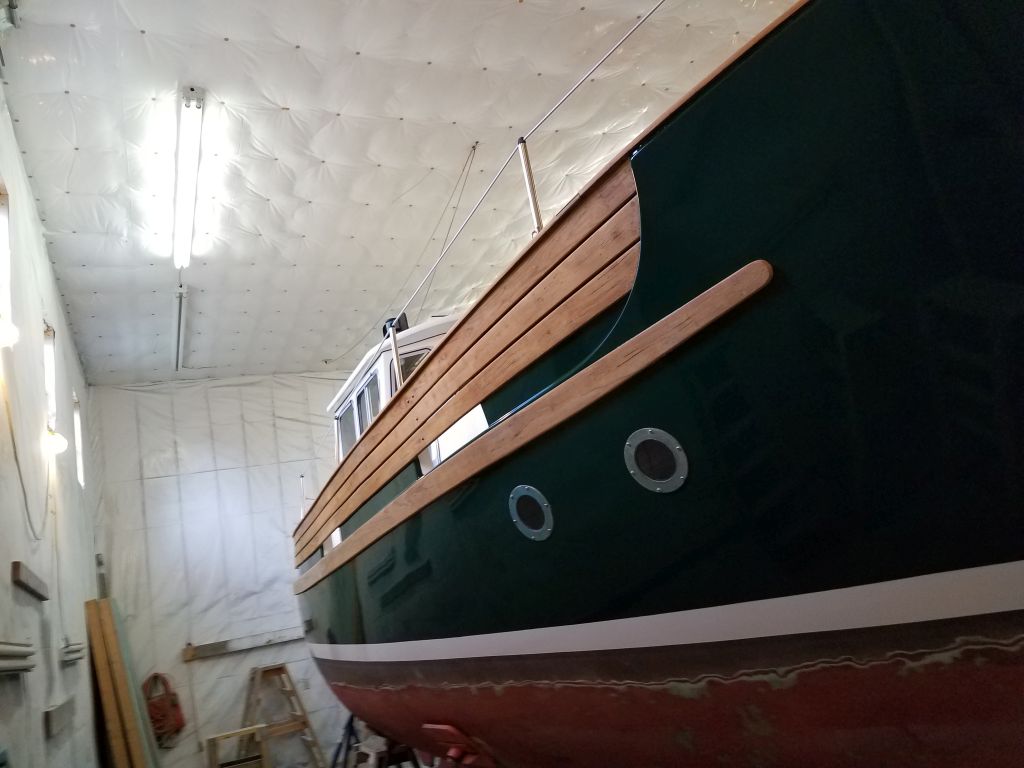
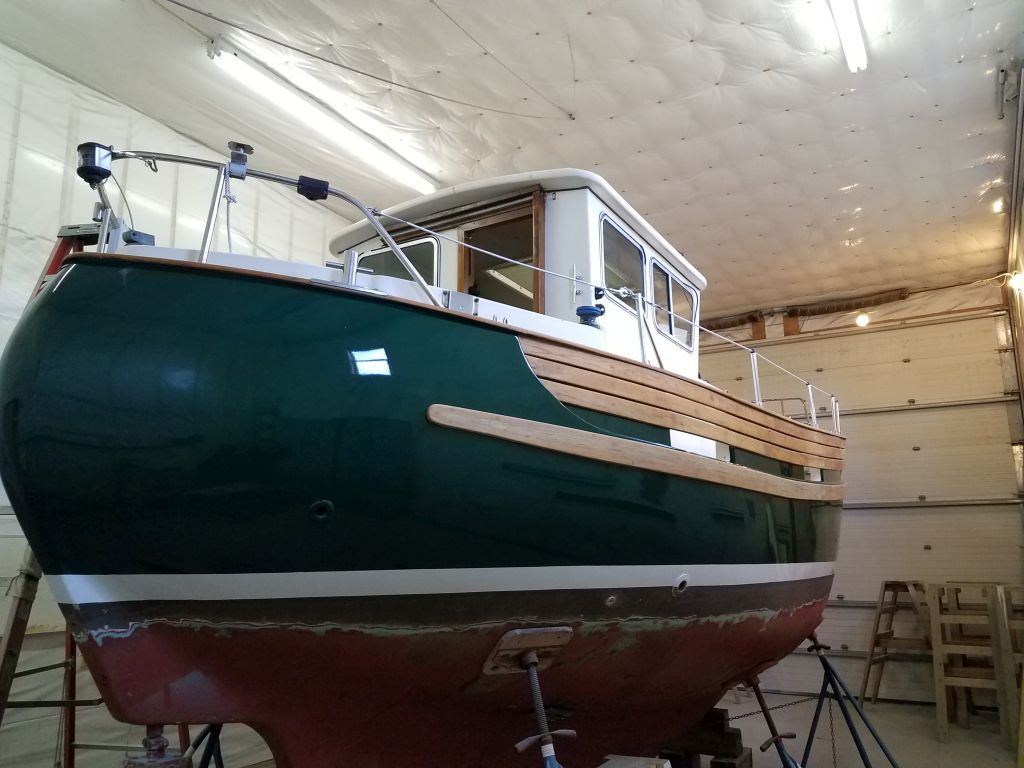
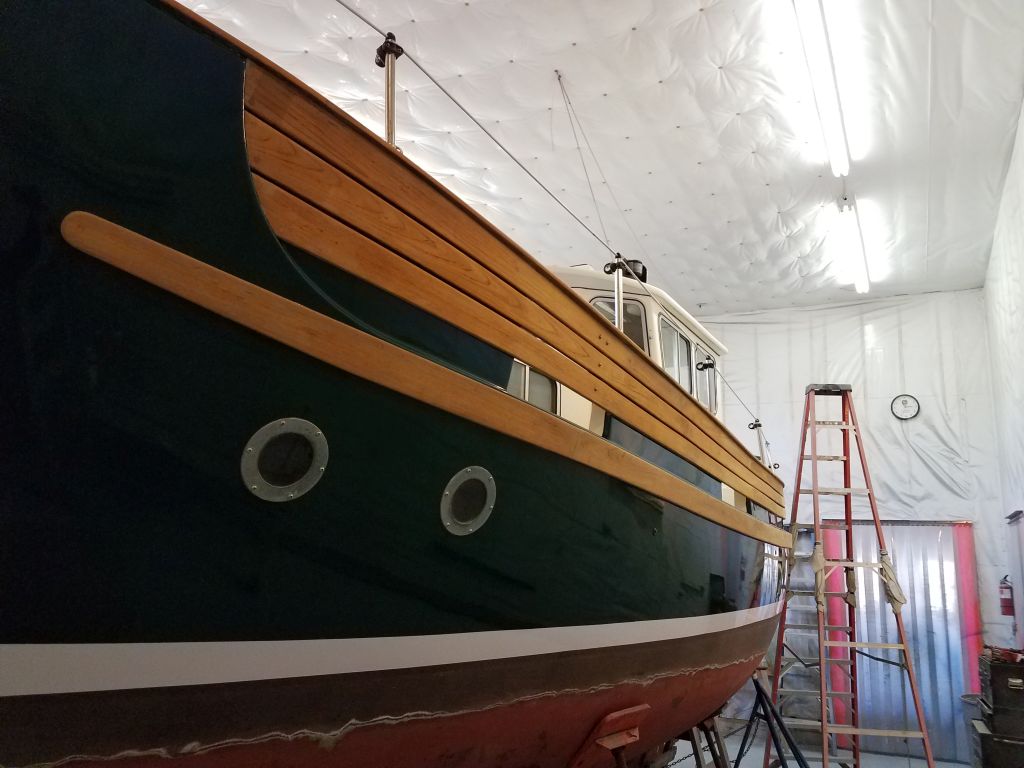
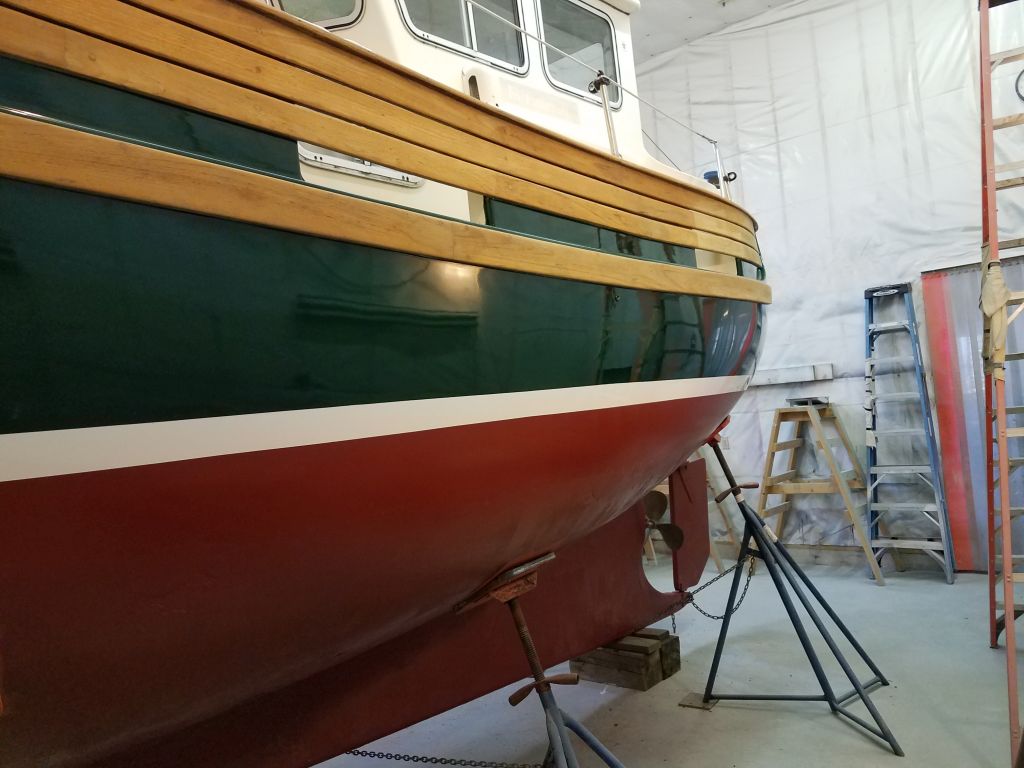
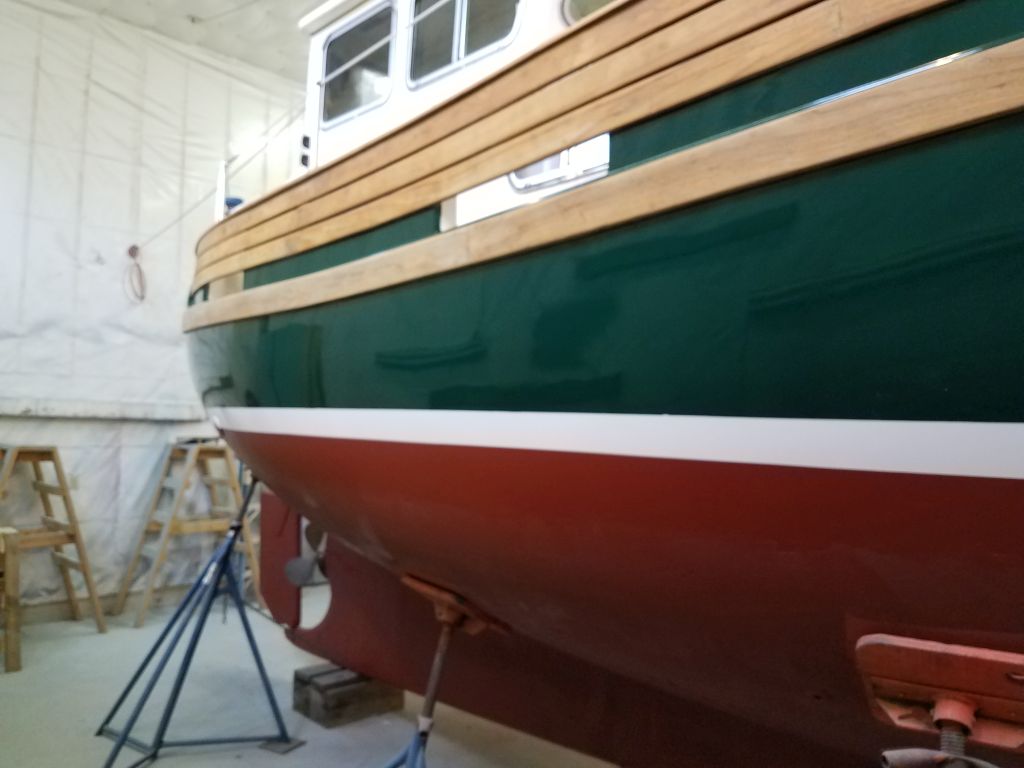
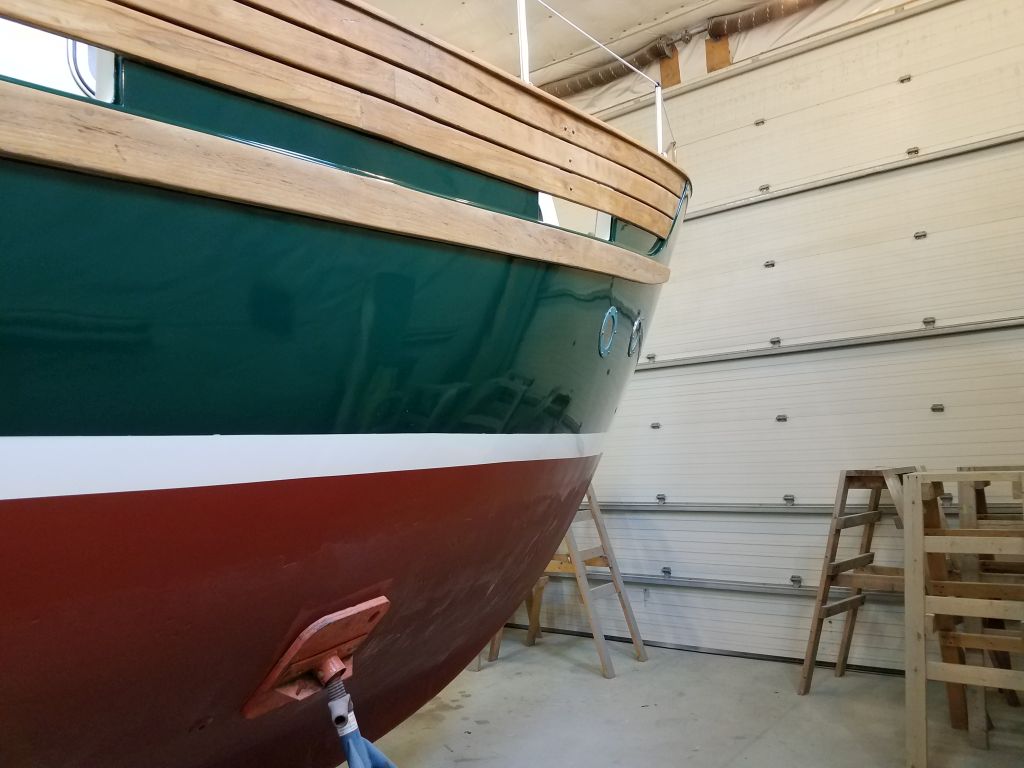
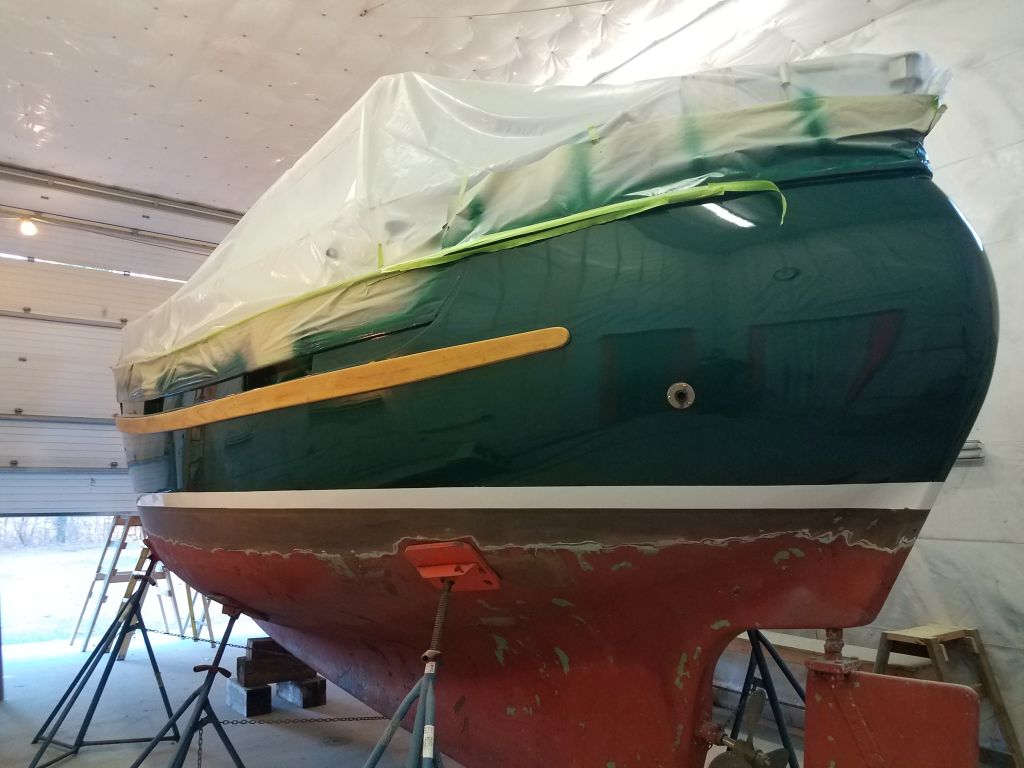
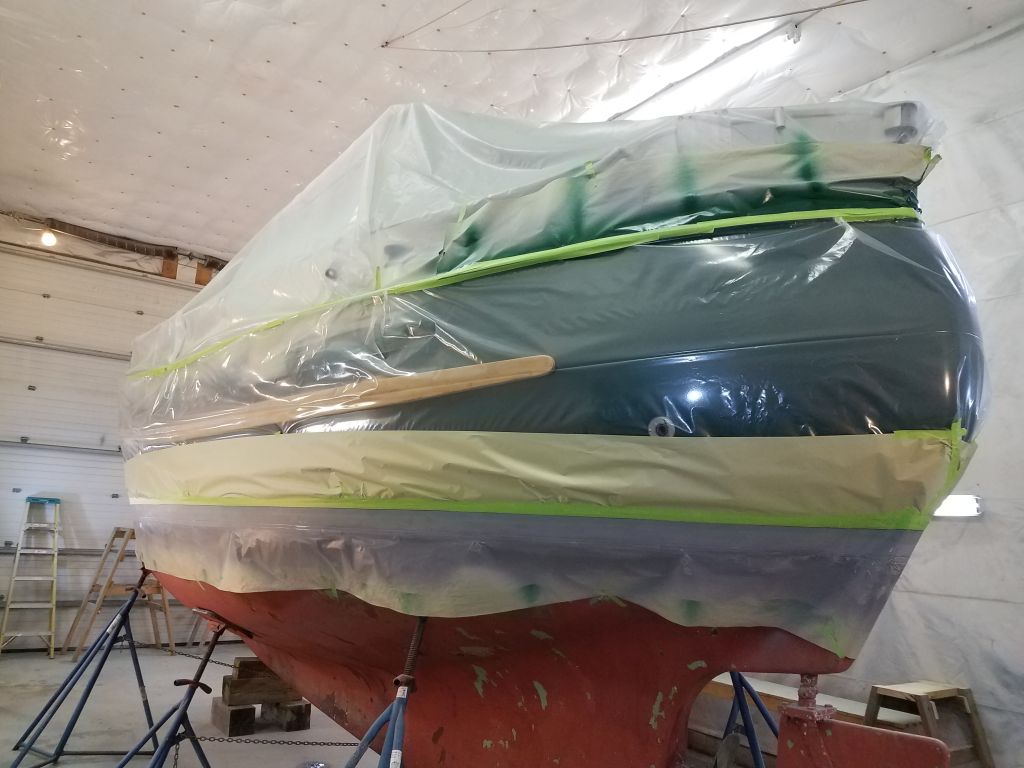
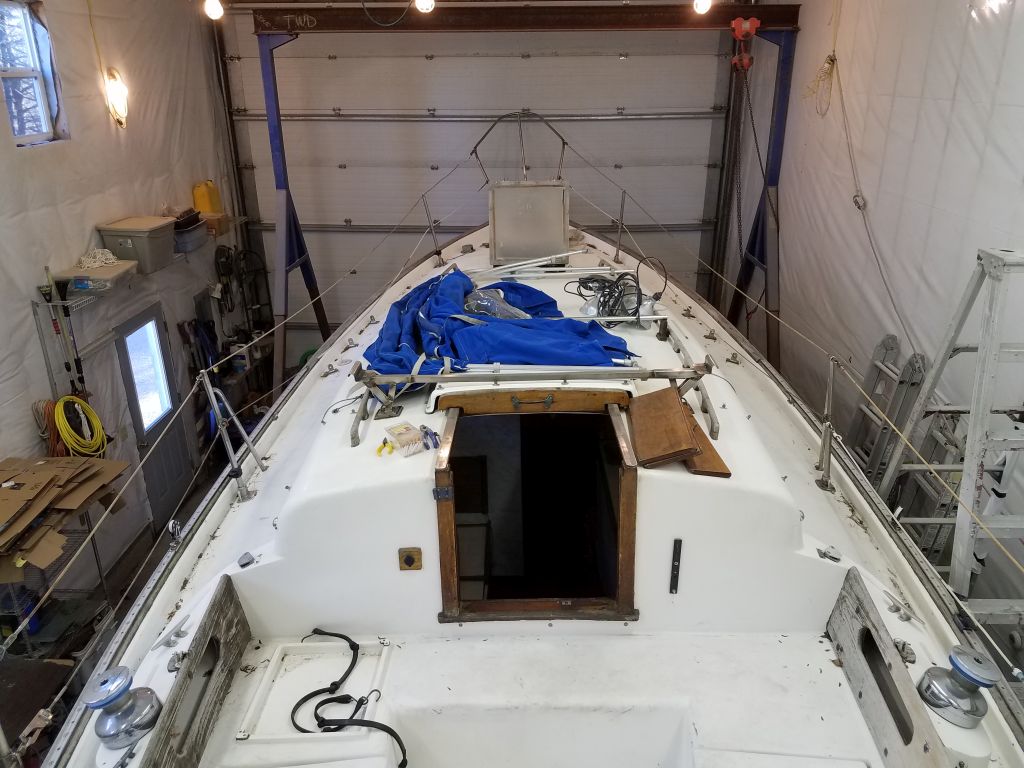
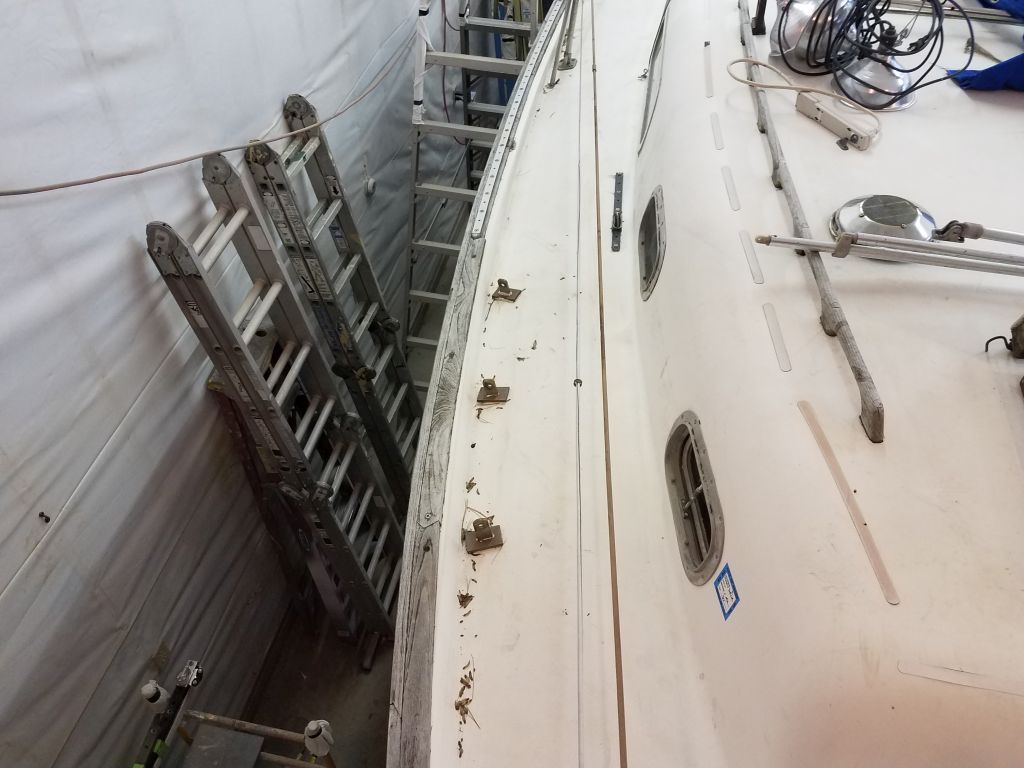
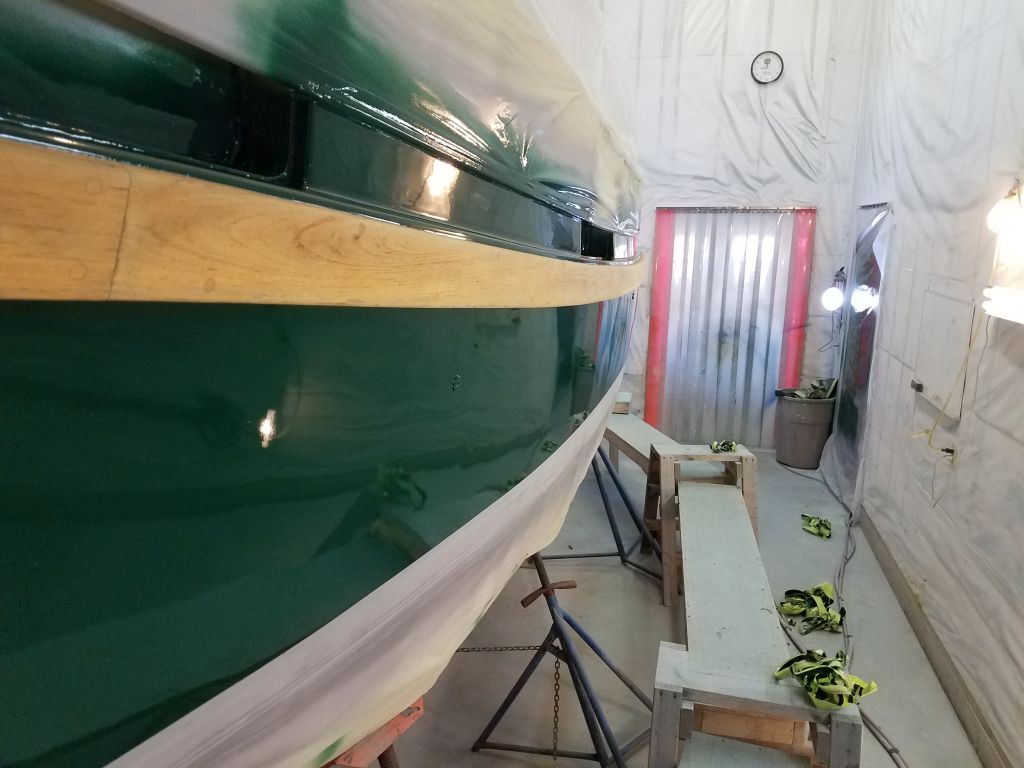
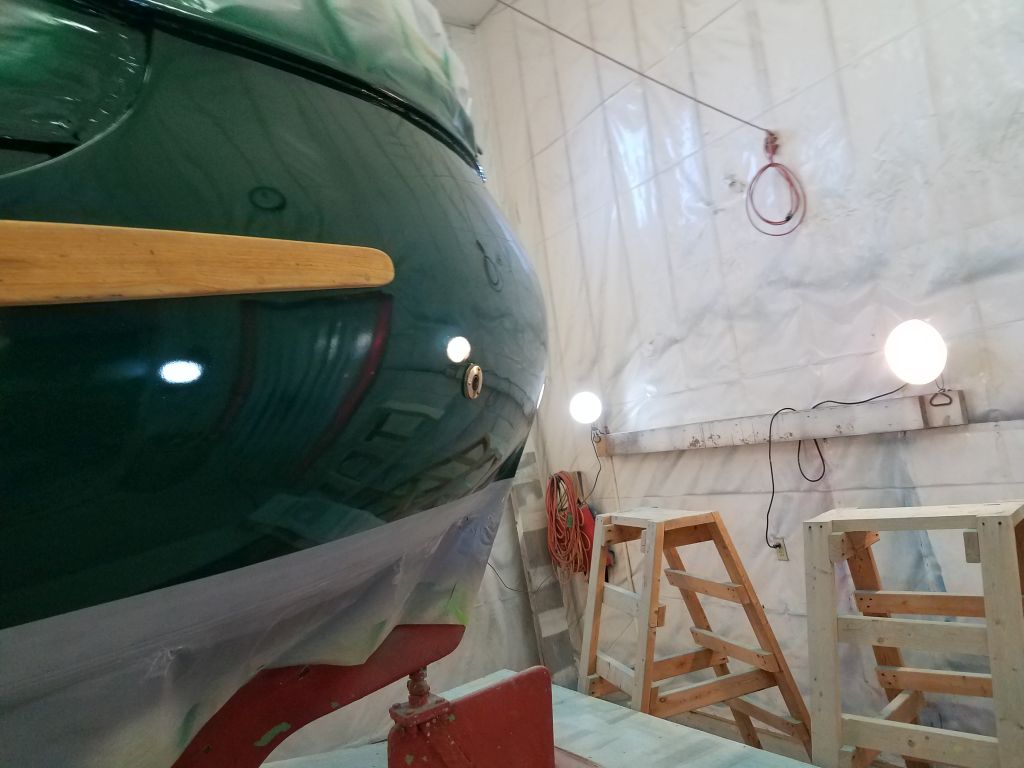
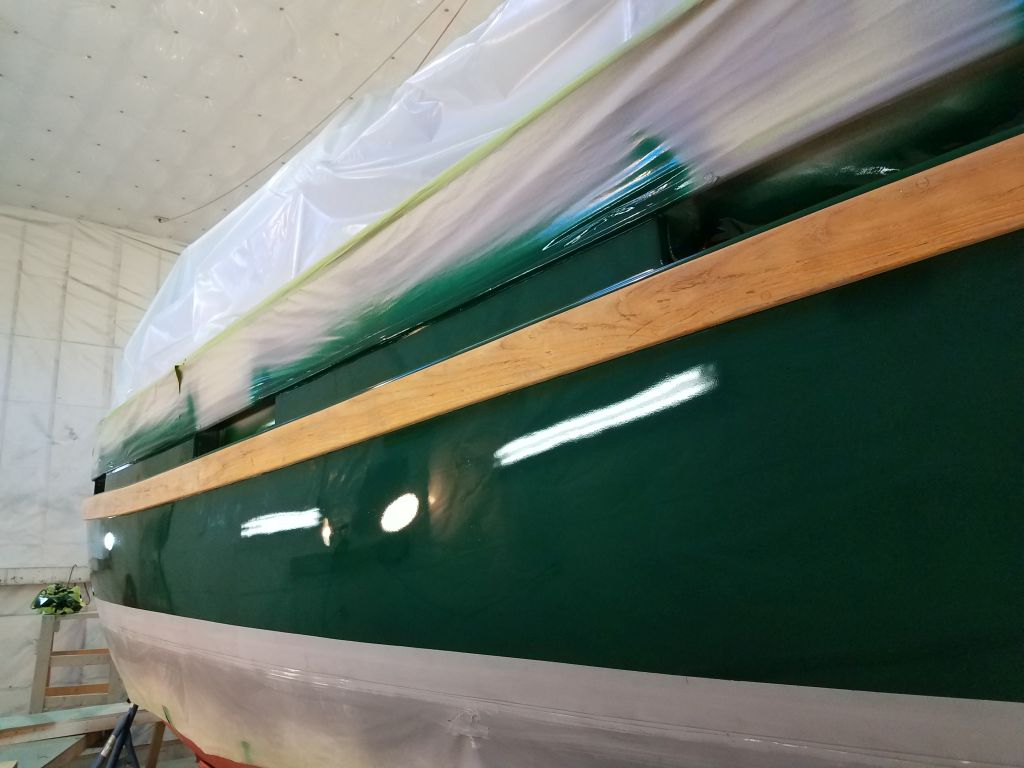
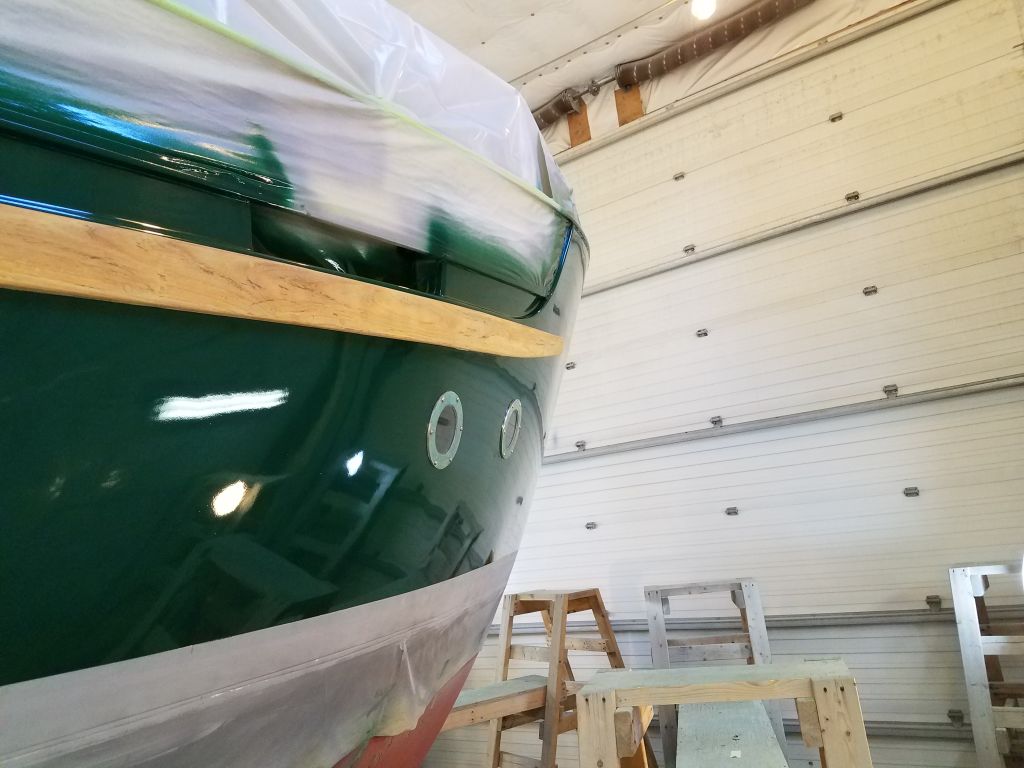
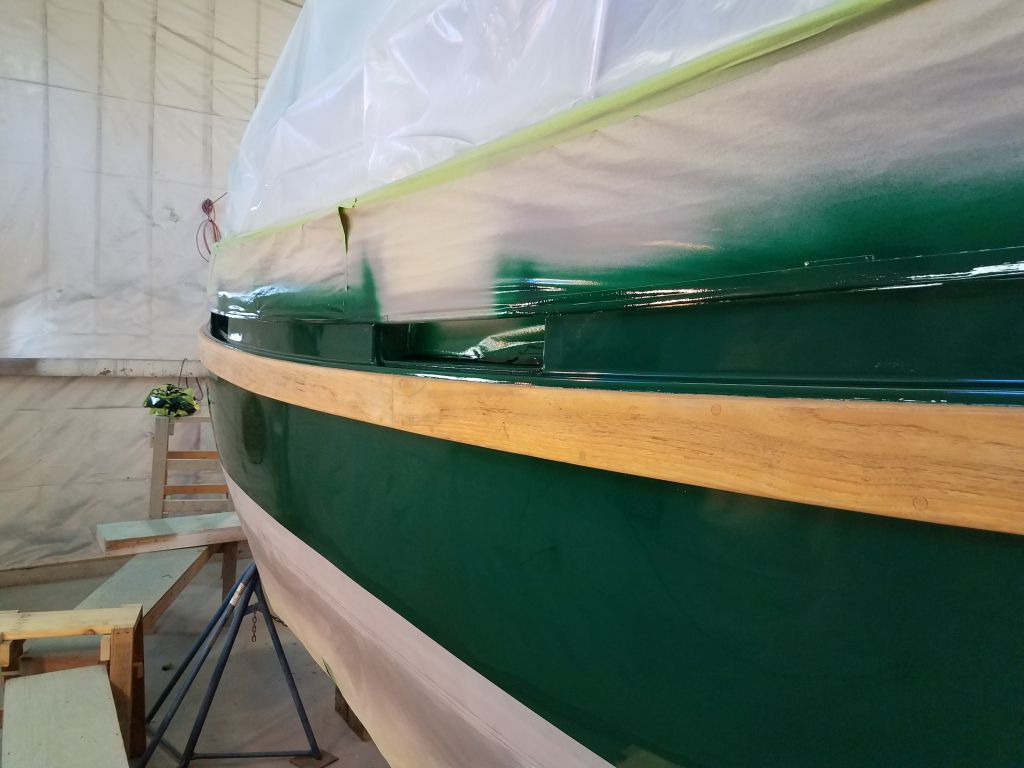
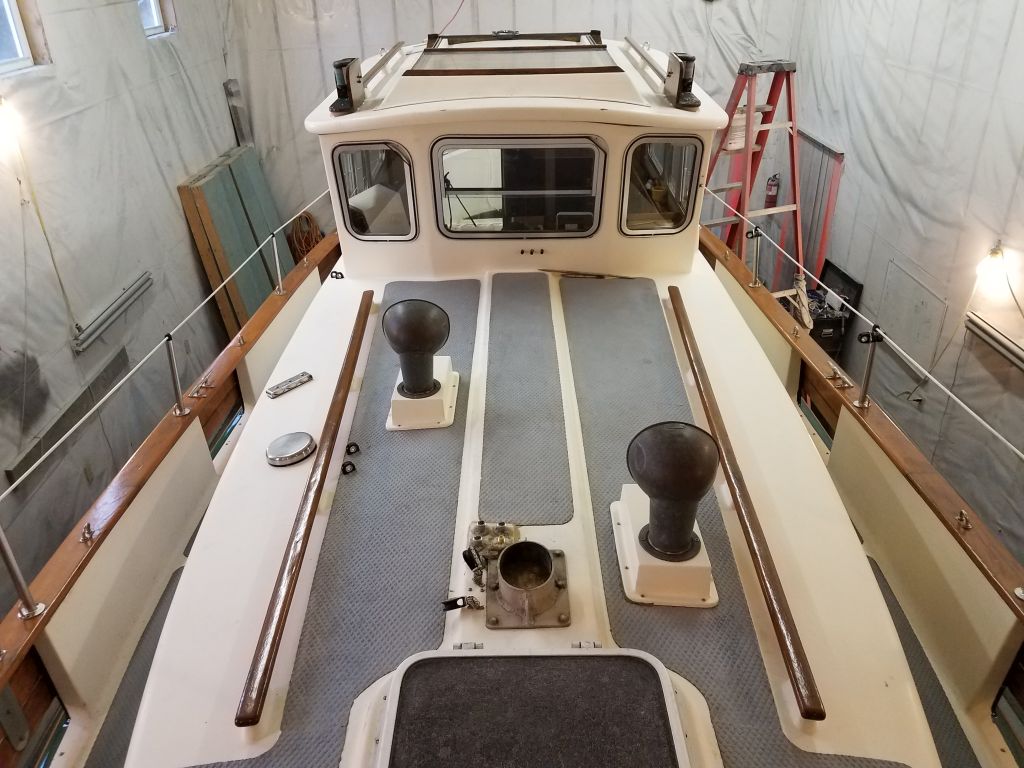
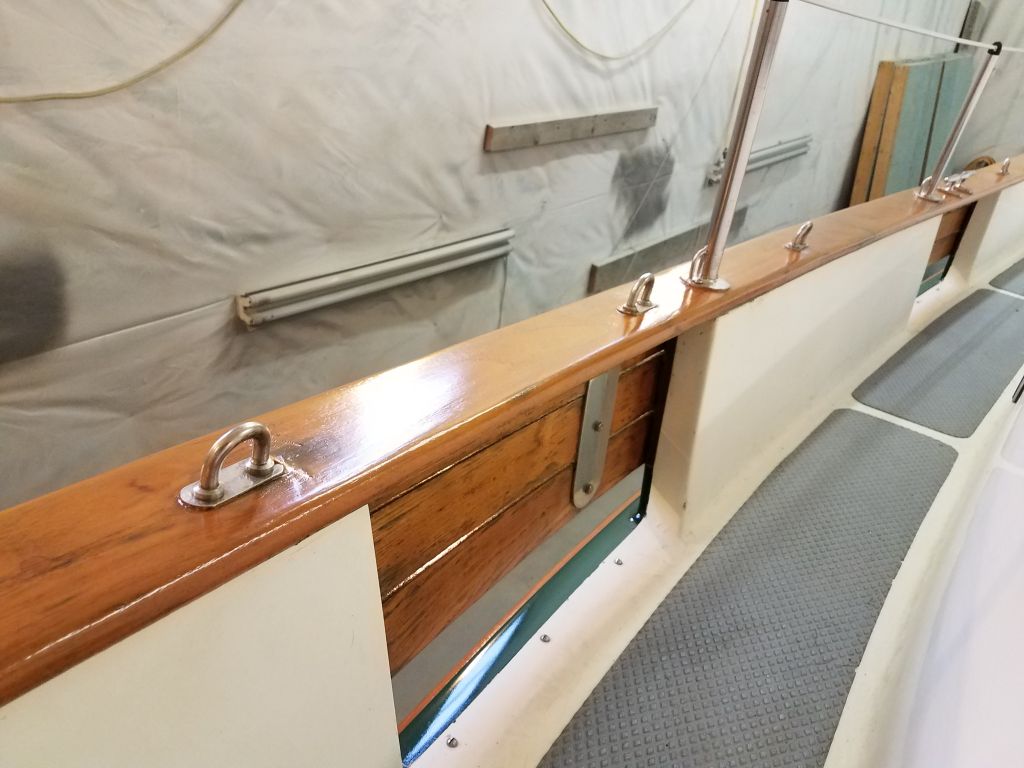
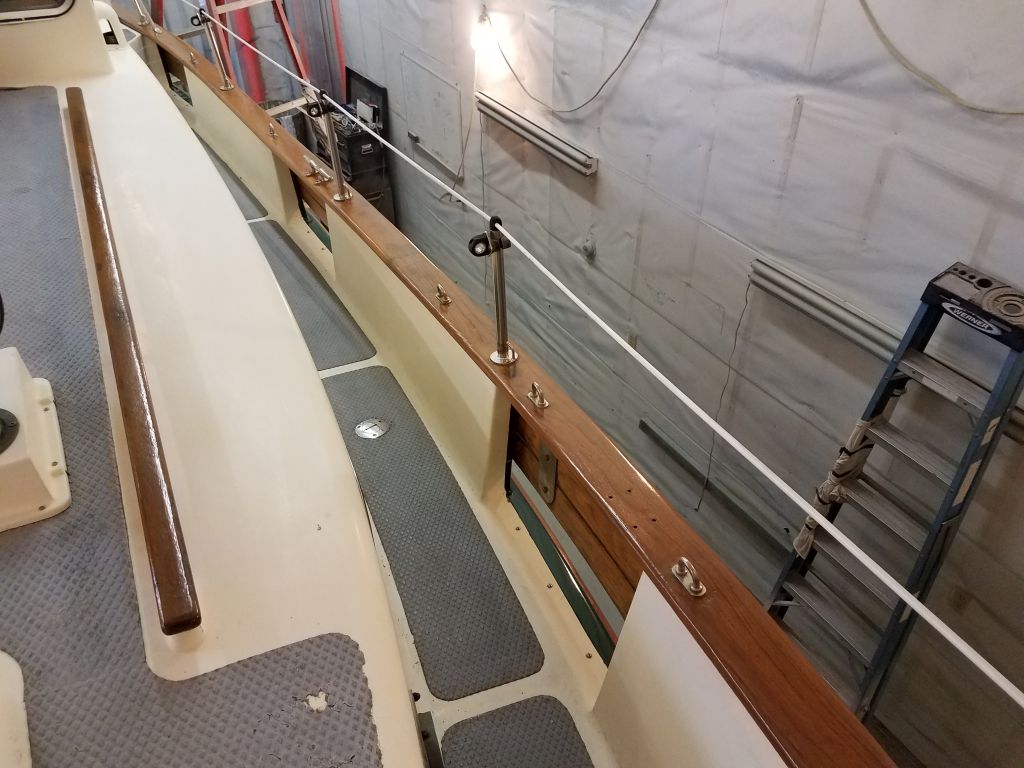
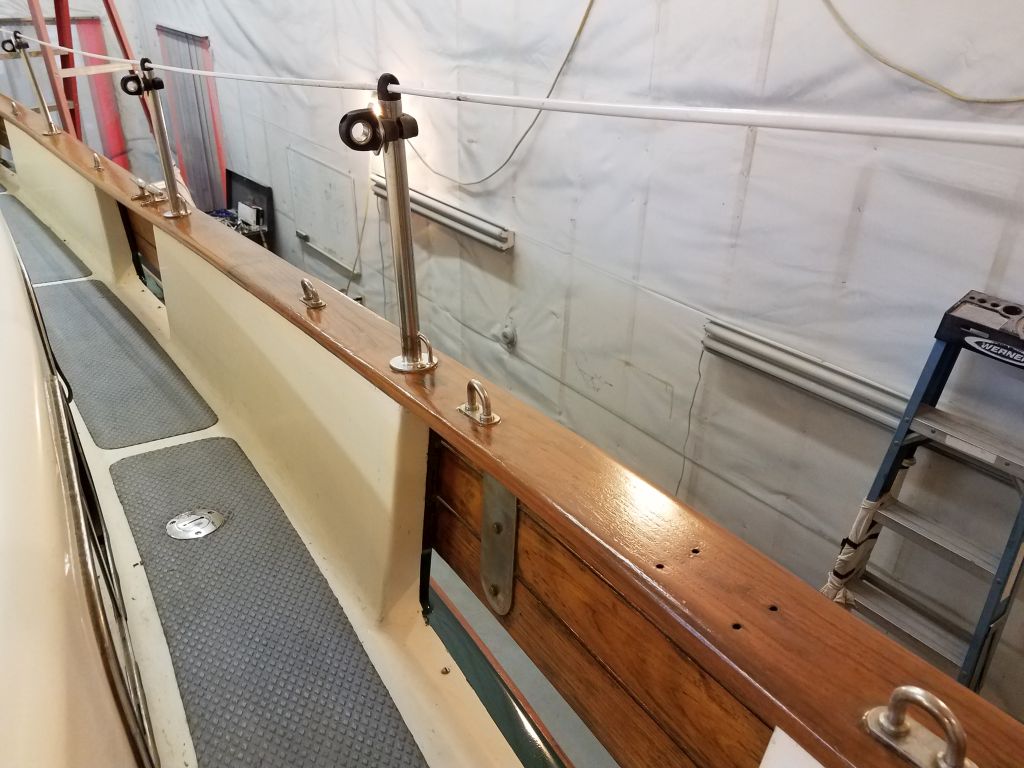
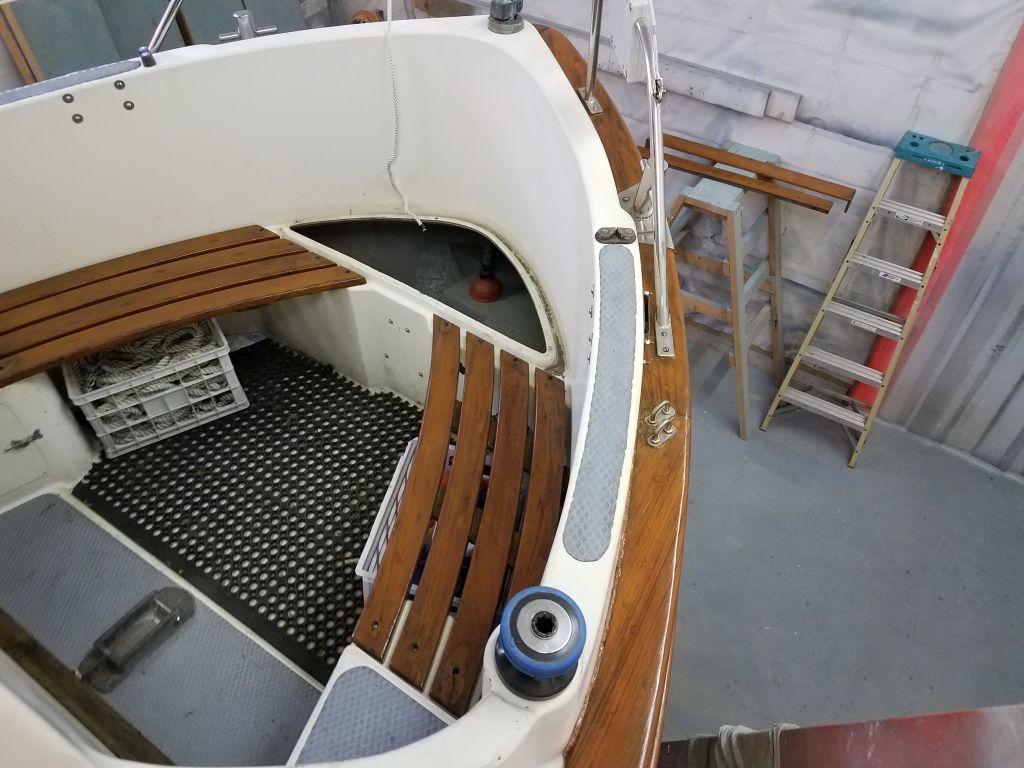
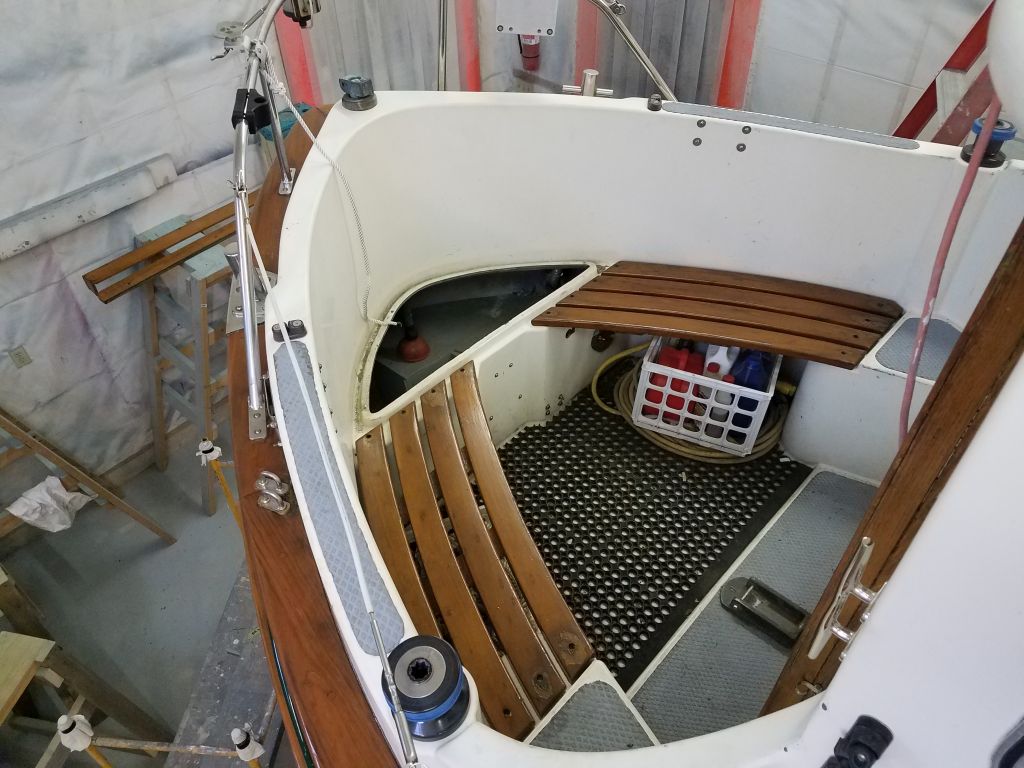
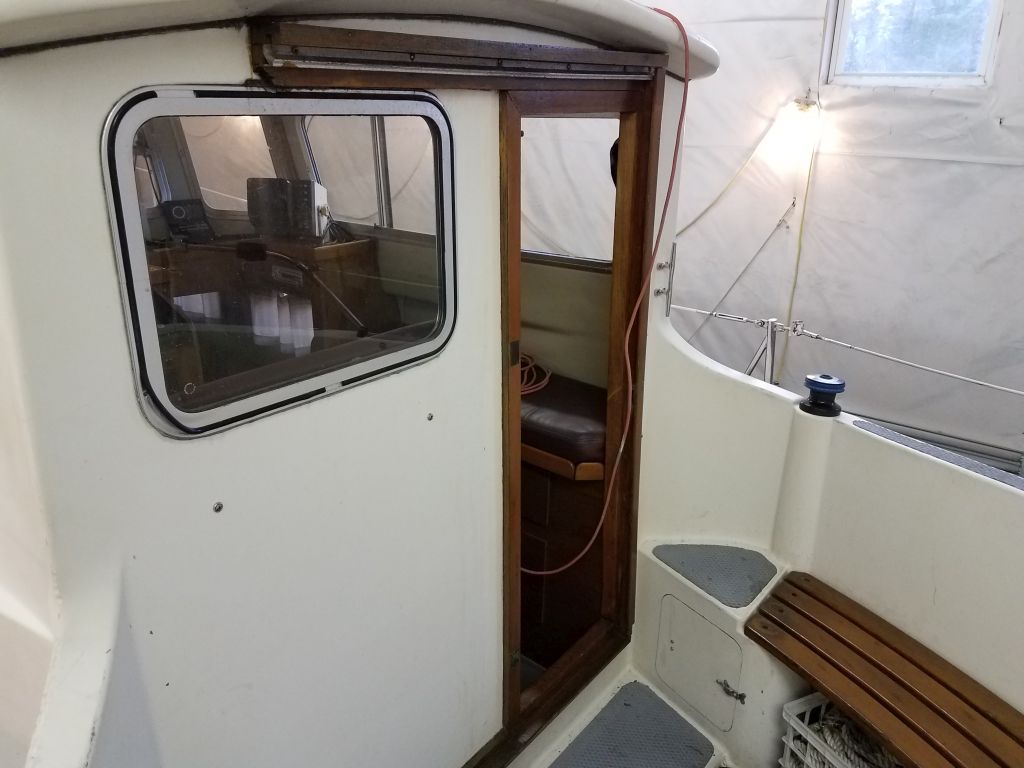
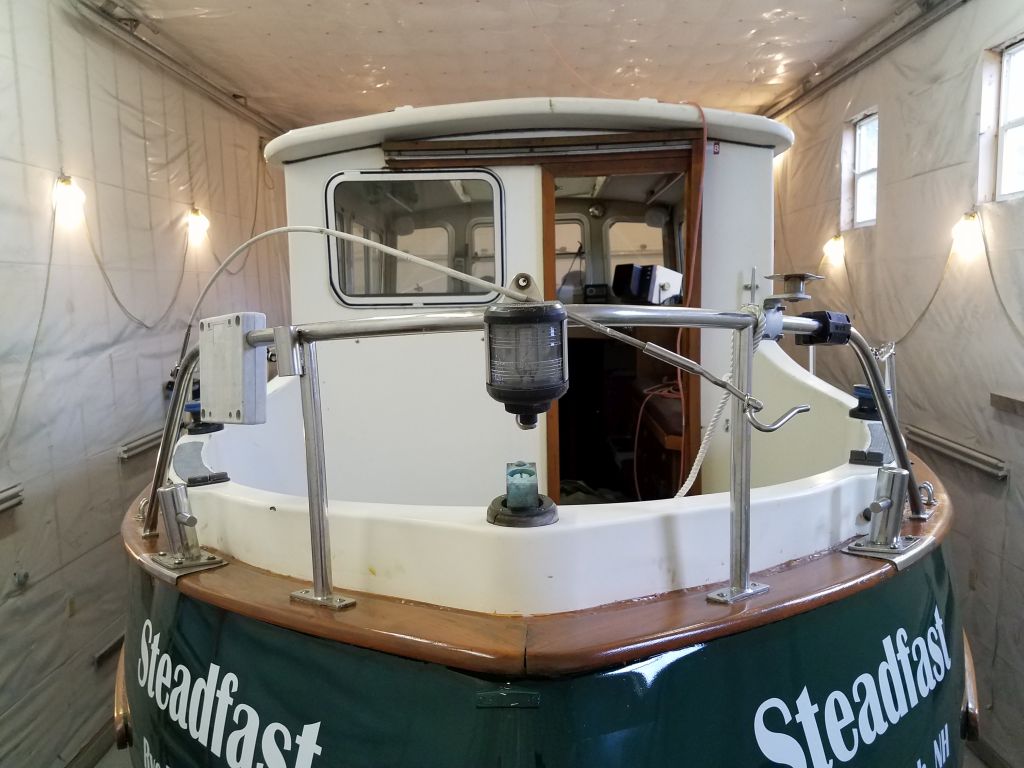
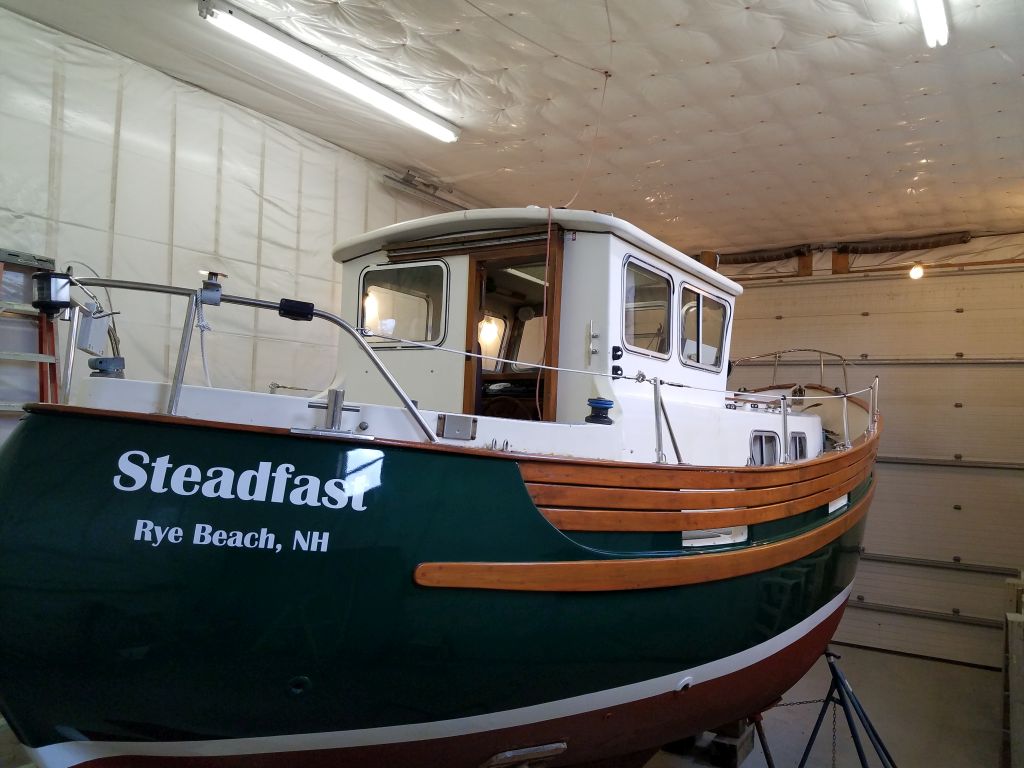
My work on the brightwork was complete, and I spent the first part of the day removing all the masking tape. I reinstalled the cockpit seats, and also some metal half-oval that I’d removed from one of the caprails.
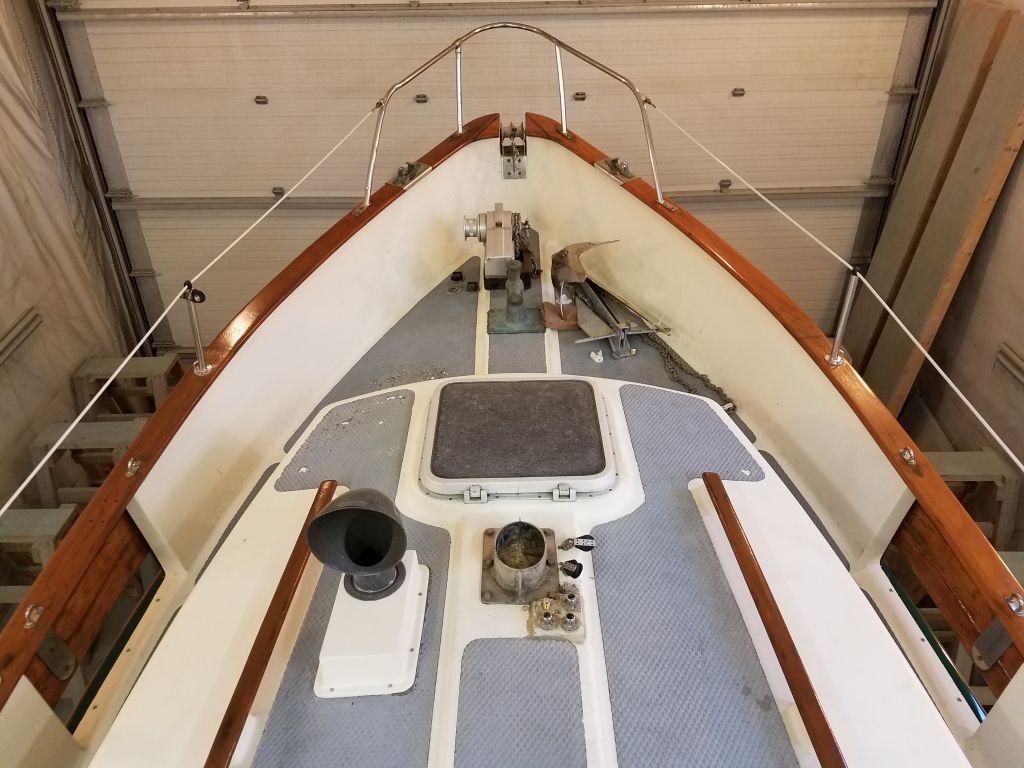


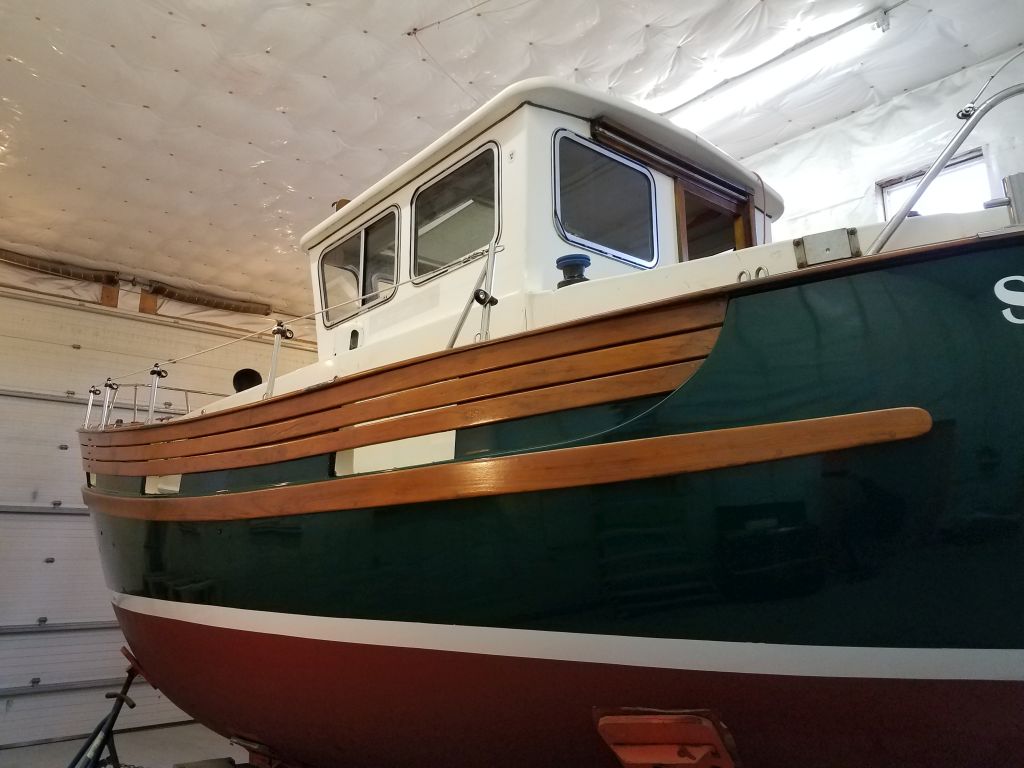
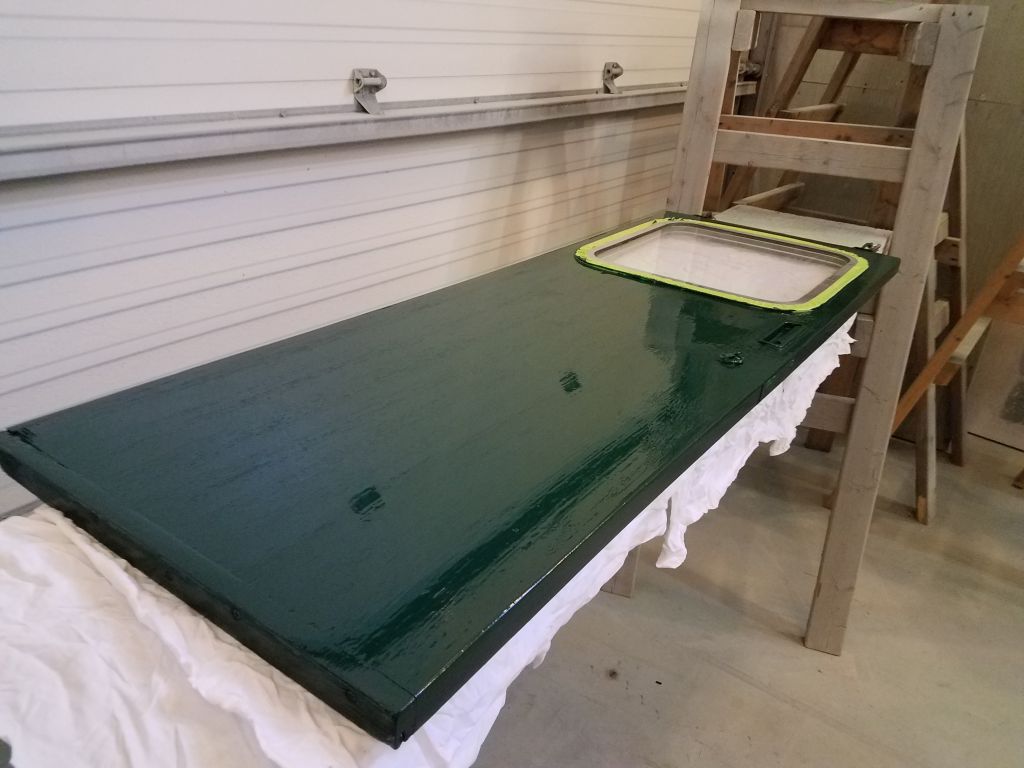
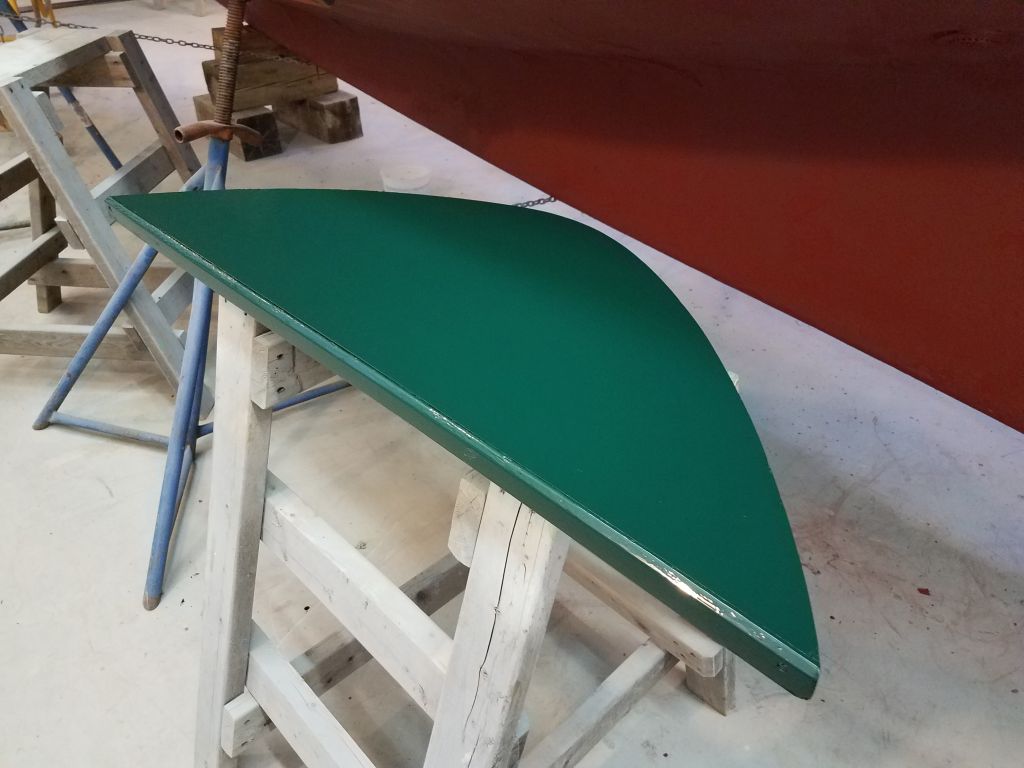
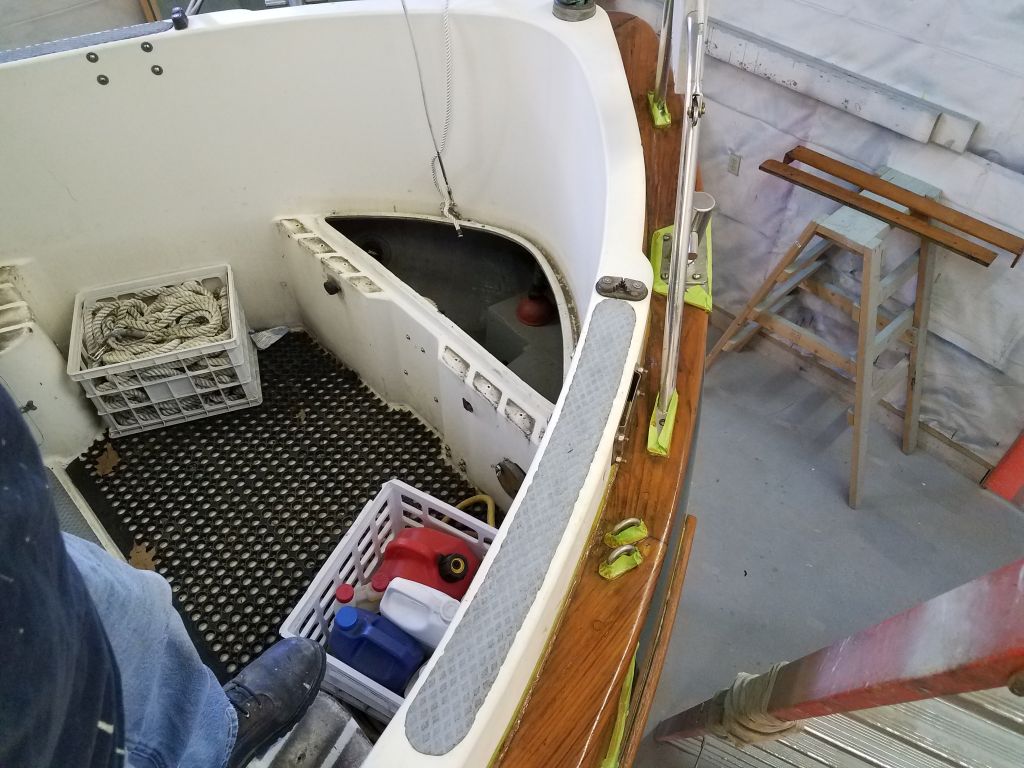
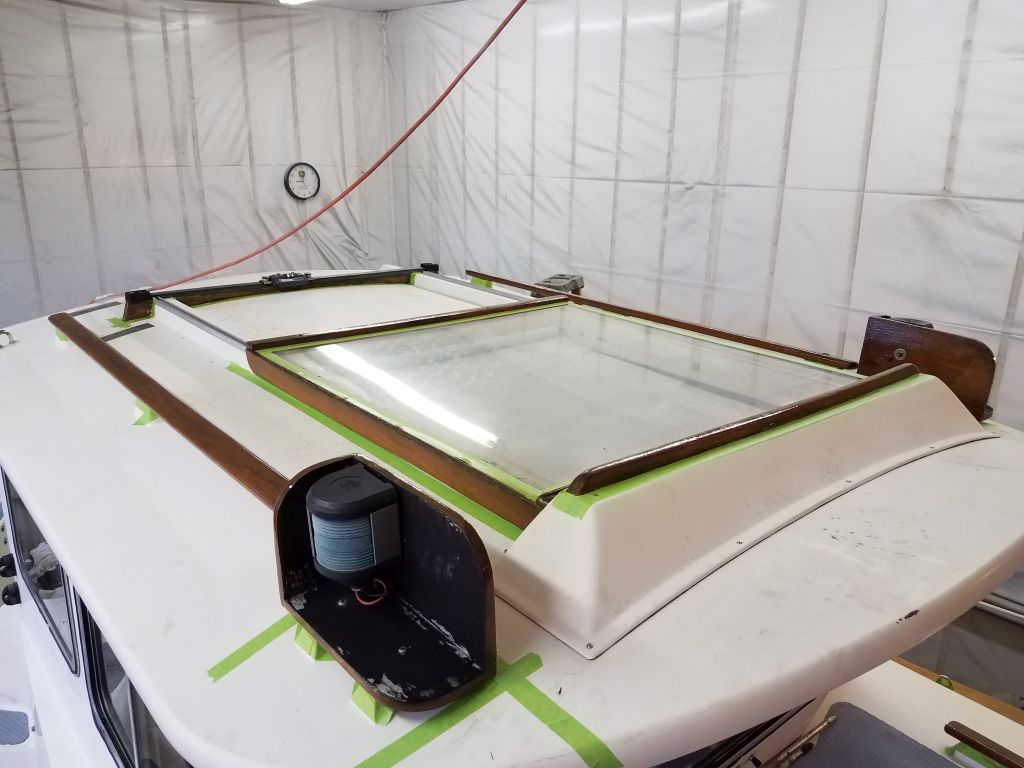
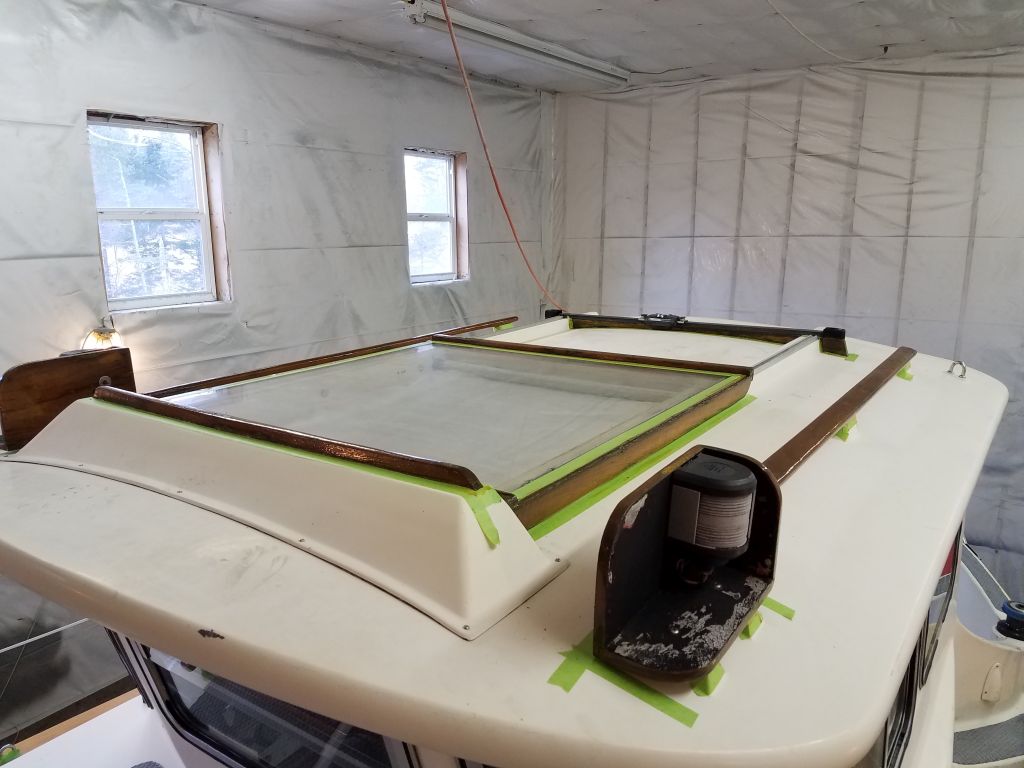
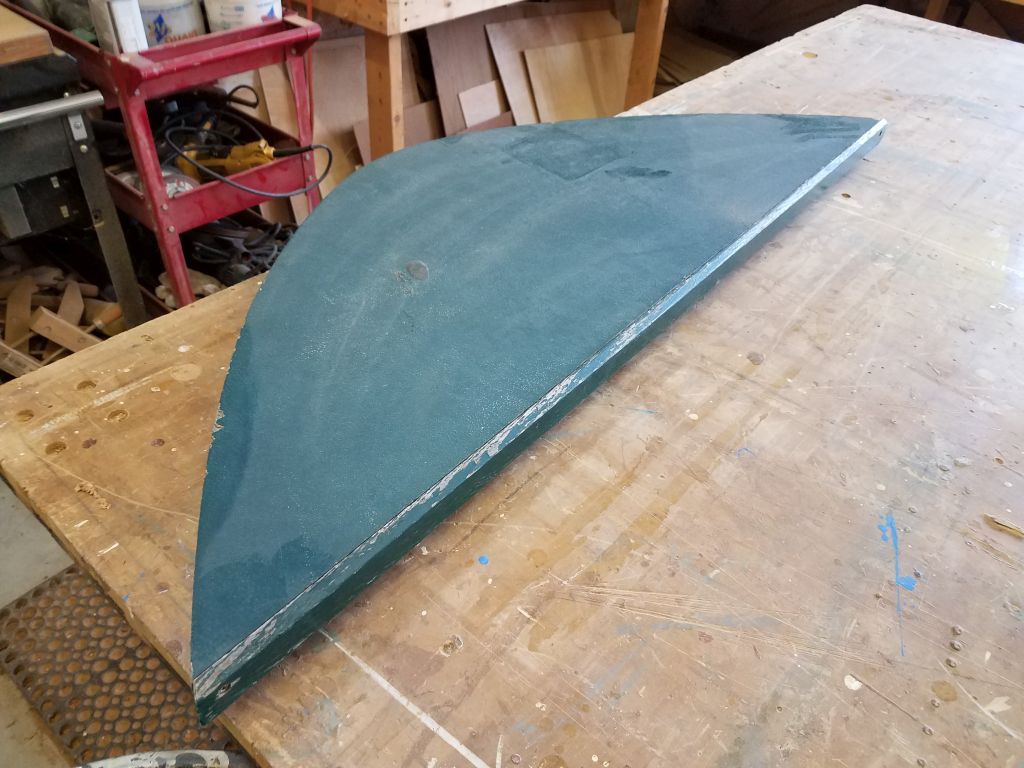
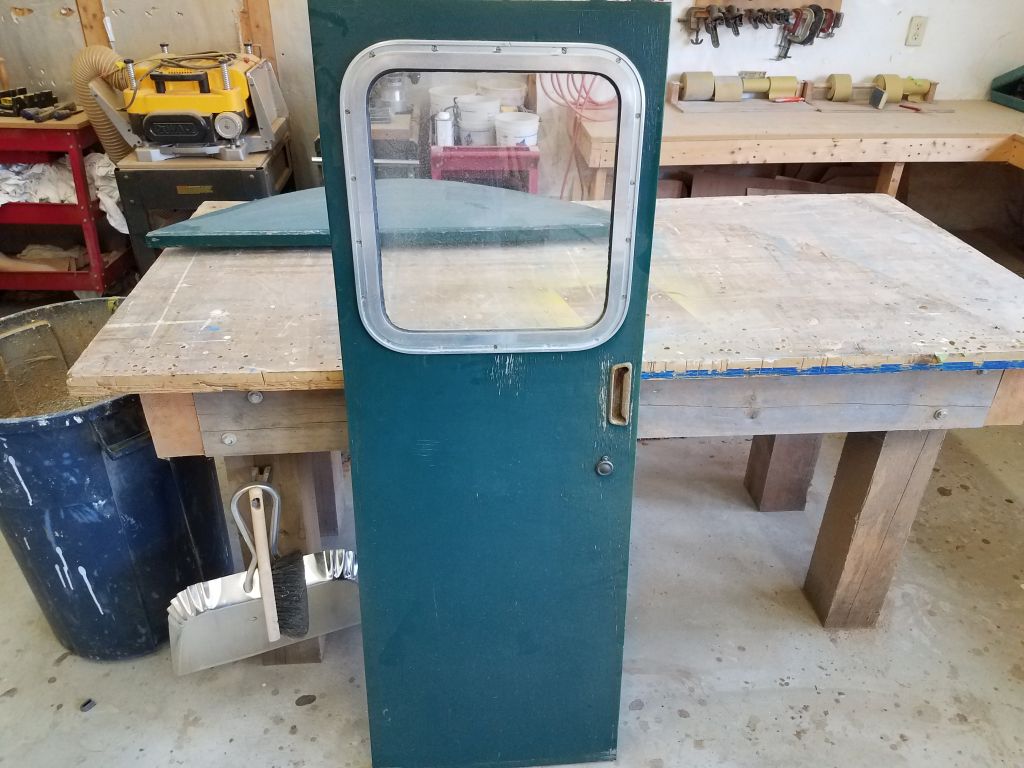
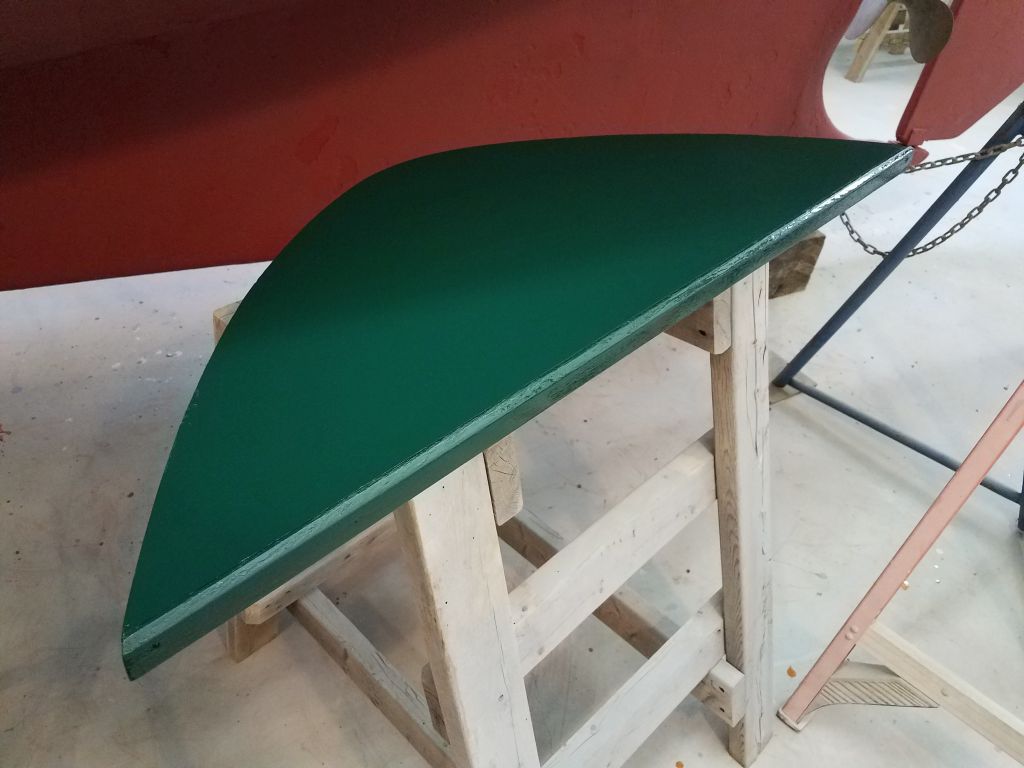
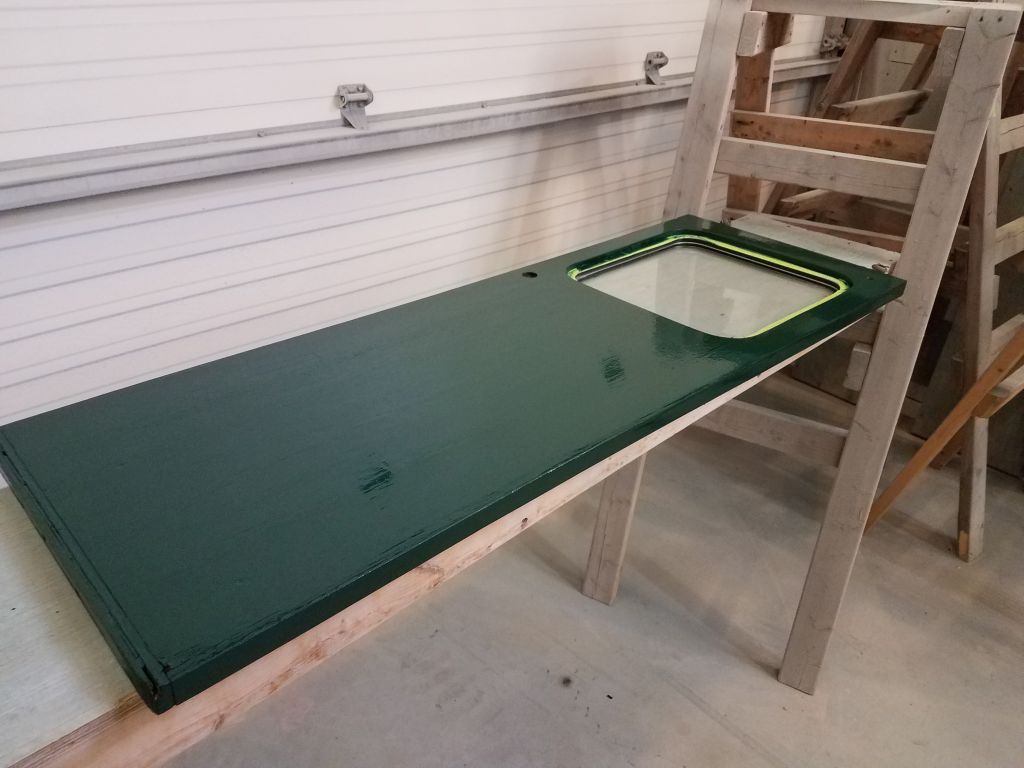
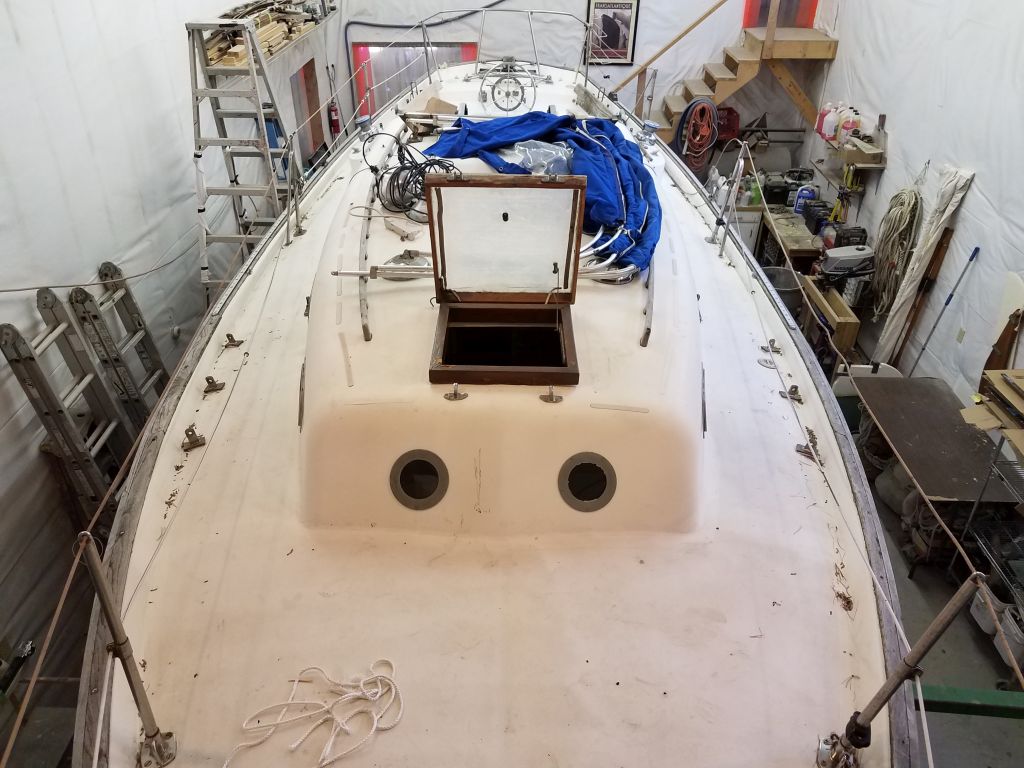
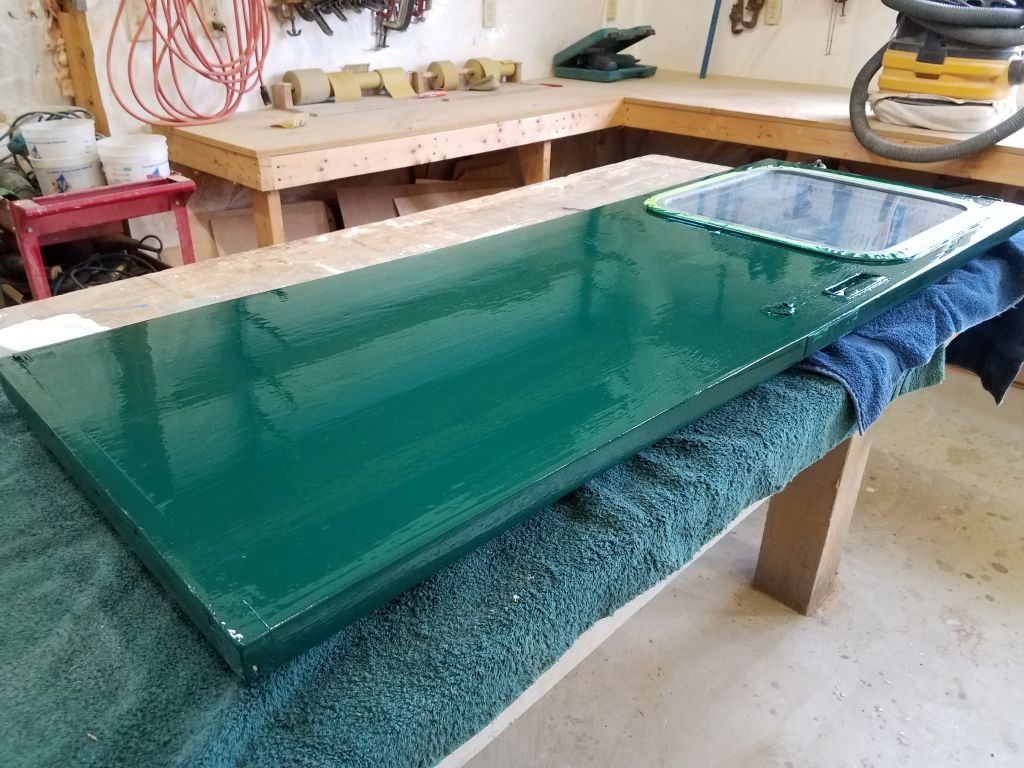
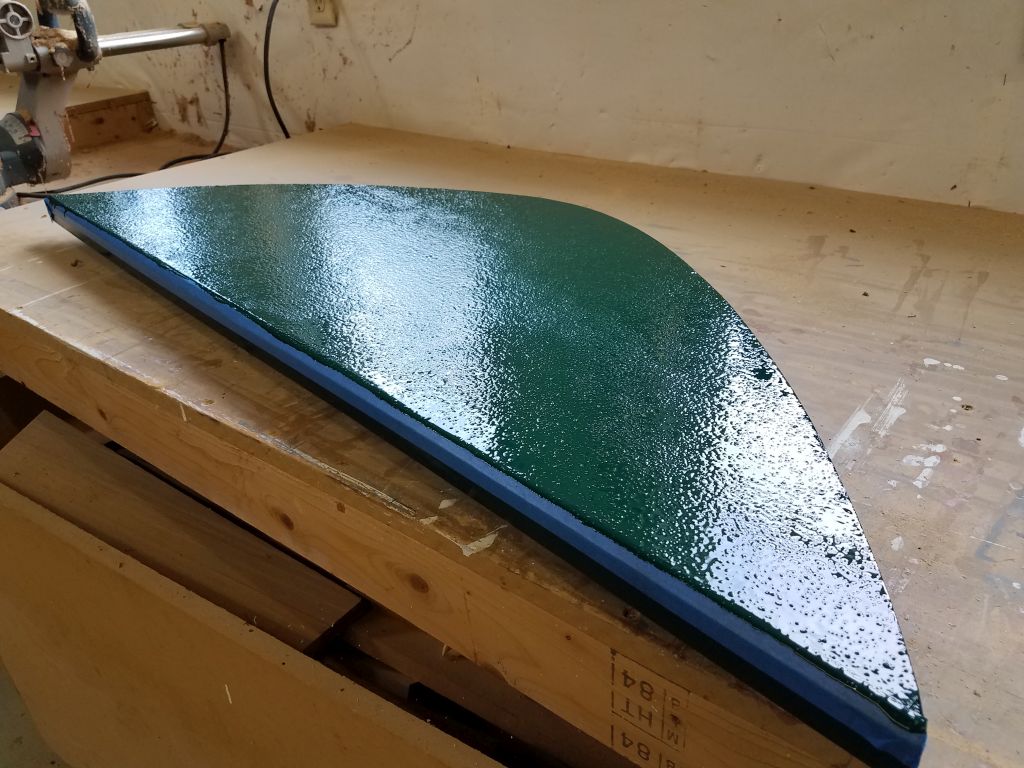
The pilothouse door (exterior side) required another coat of the green paint, so after a light sanding and final preparations, I applied more. For the lazarette hatch, to match the original finish, I mixed some rubberized nonskid particles into the paint and applied a nonskid coat to the top surface.
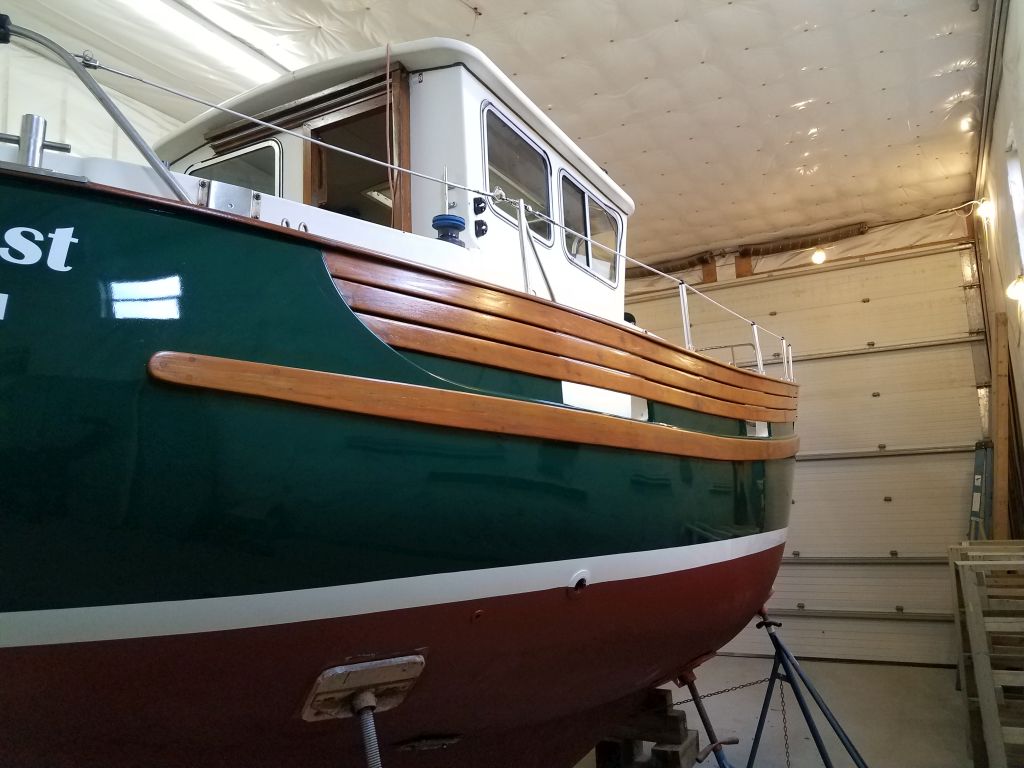
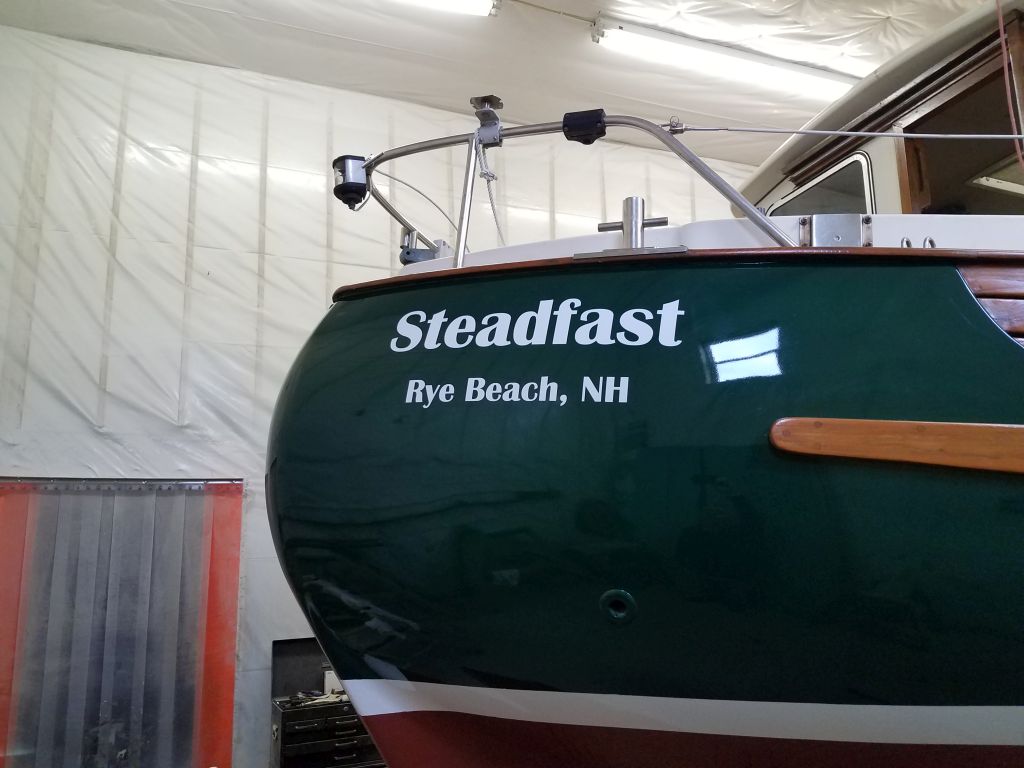
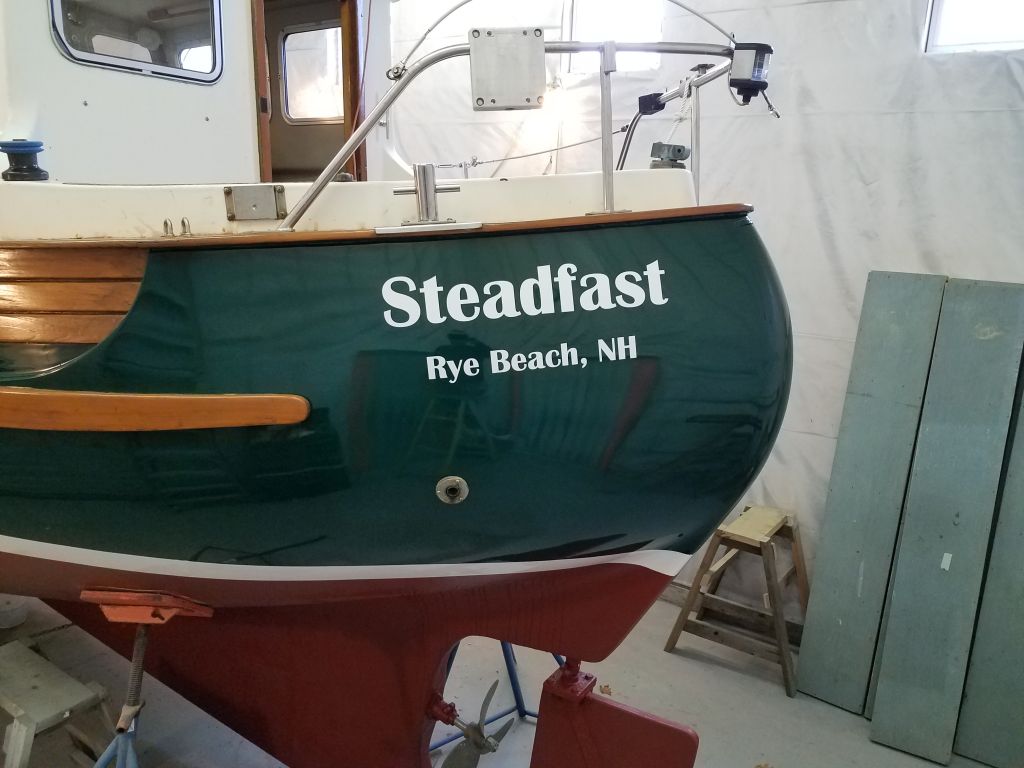
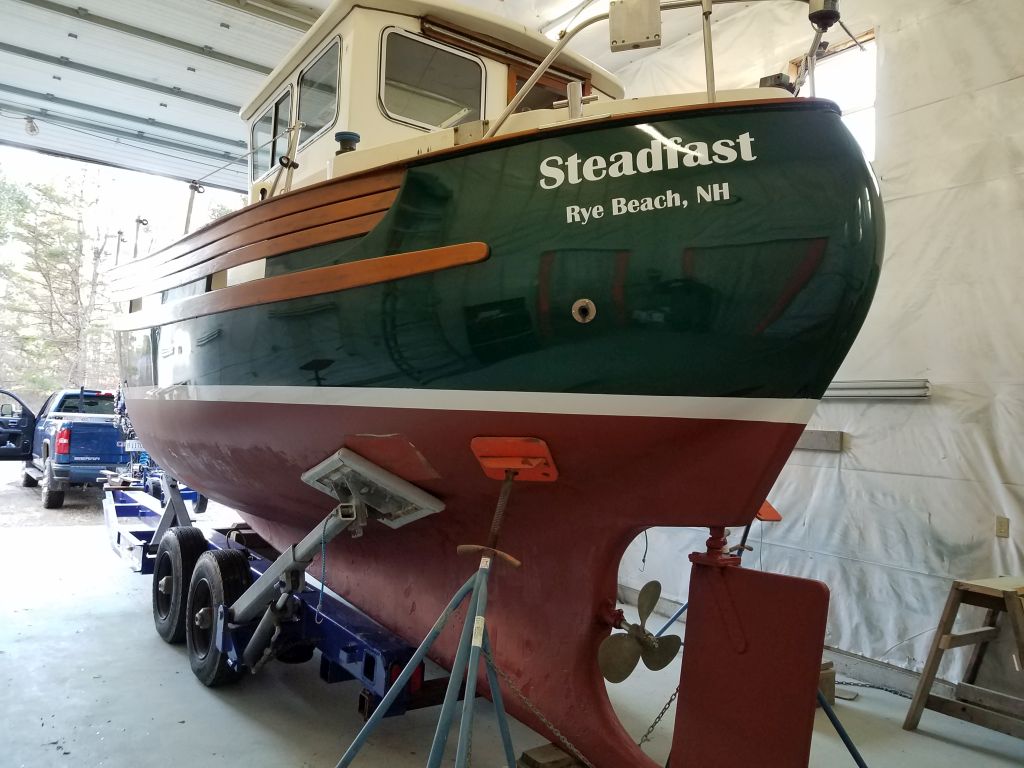
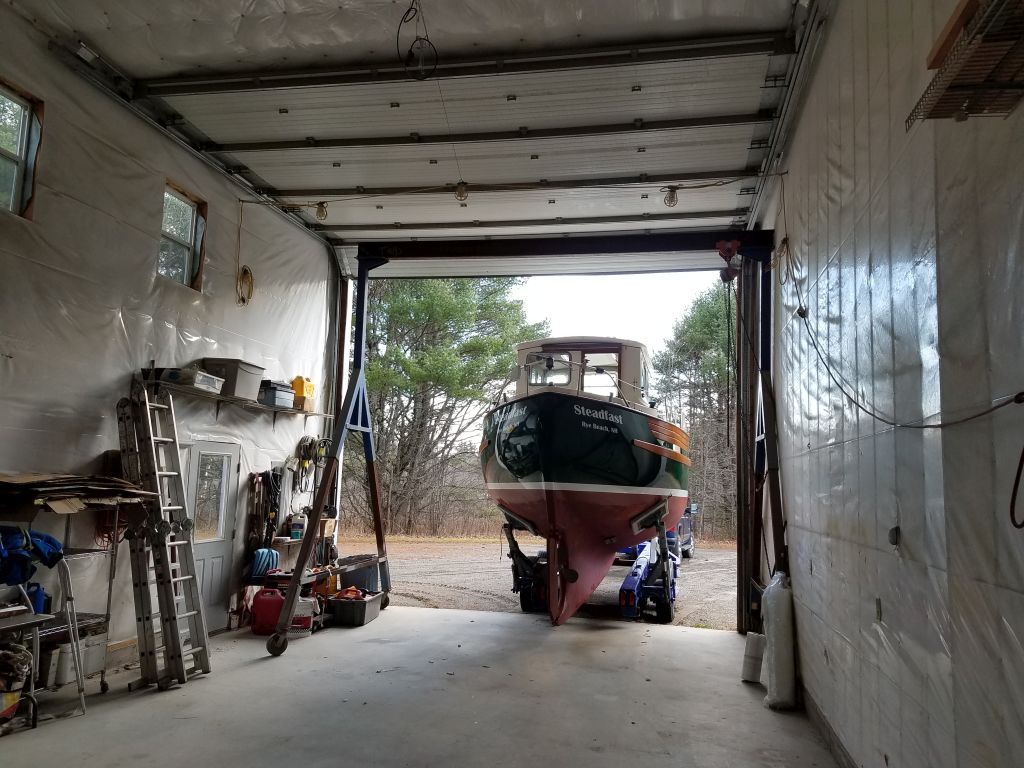
Earlier, I’d ordered and picked up new vinyl for the name and hailport according to the owner’s wishes (the font is Brittanic Bold), and now I applied these to the stern, using reference measurements I’d noted when I removed the original name at the beginning of the project.


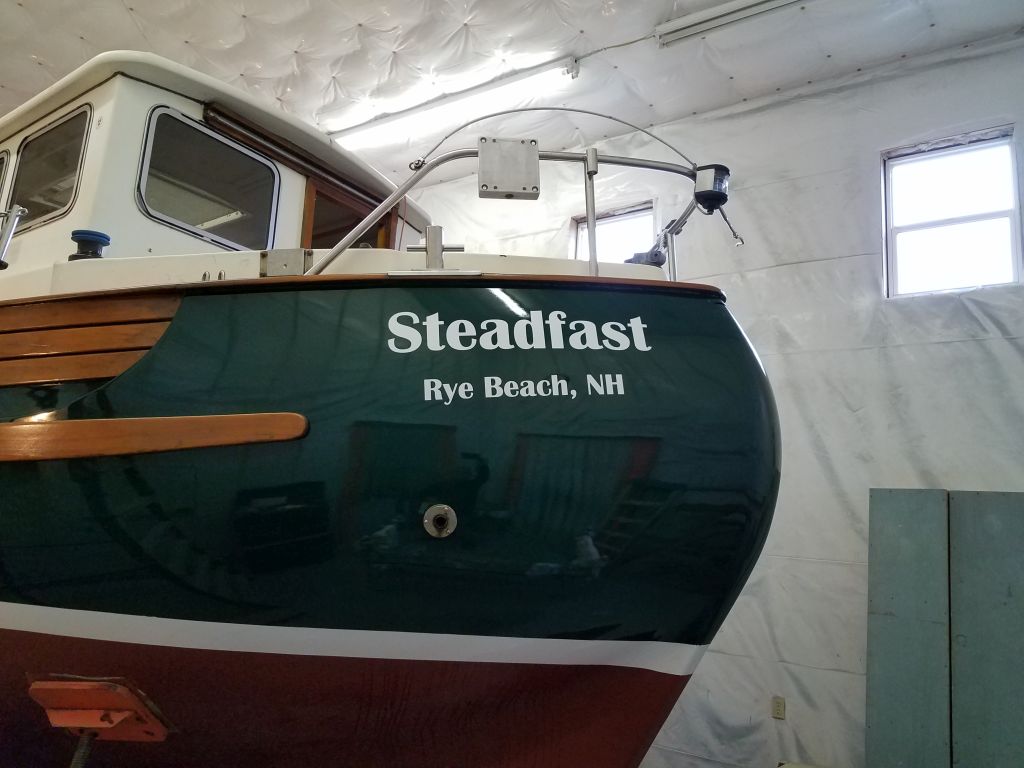
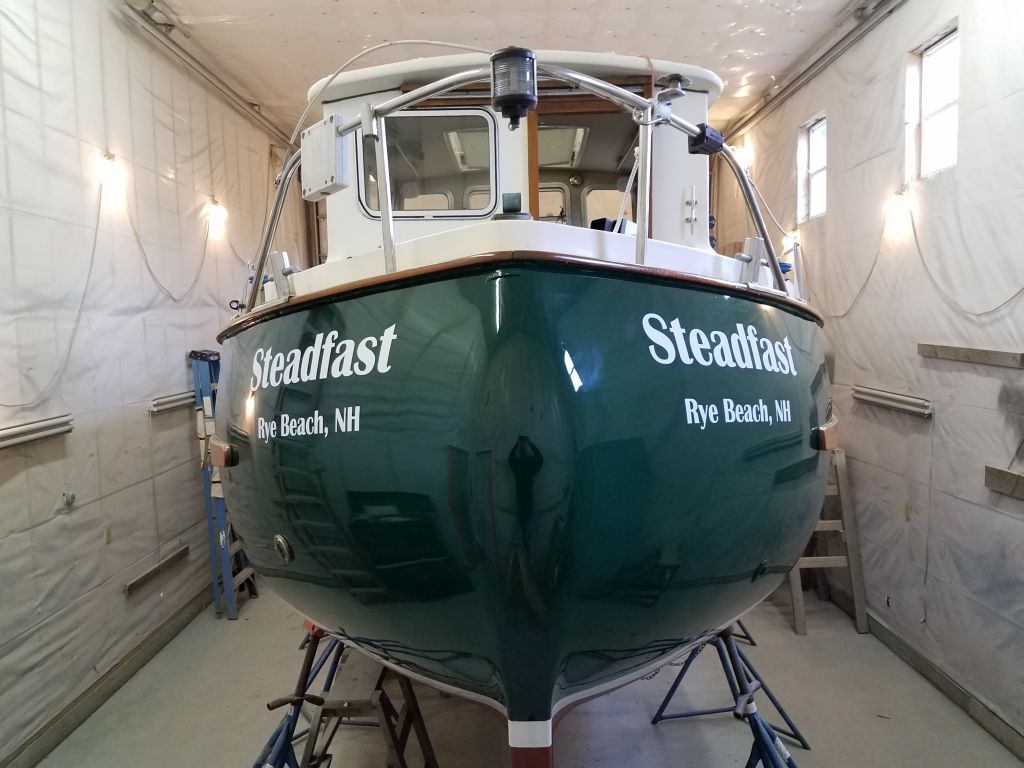
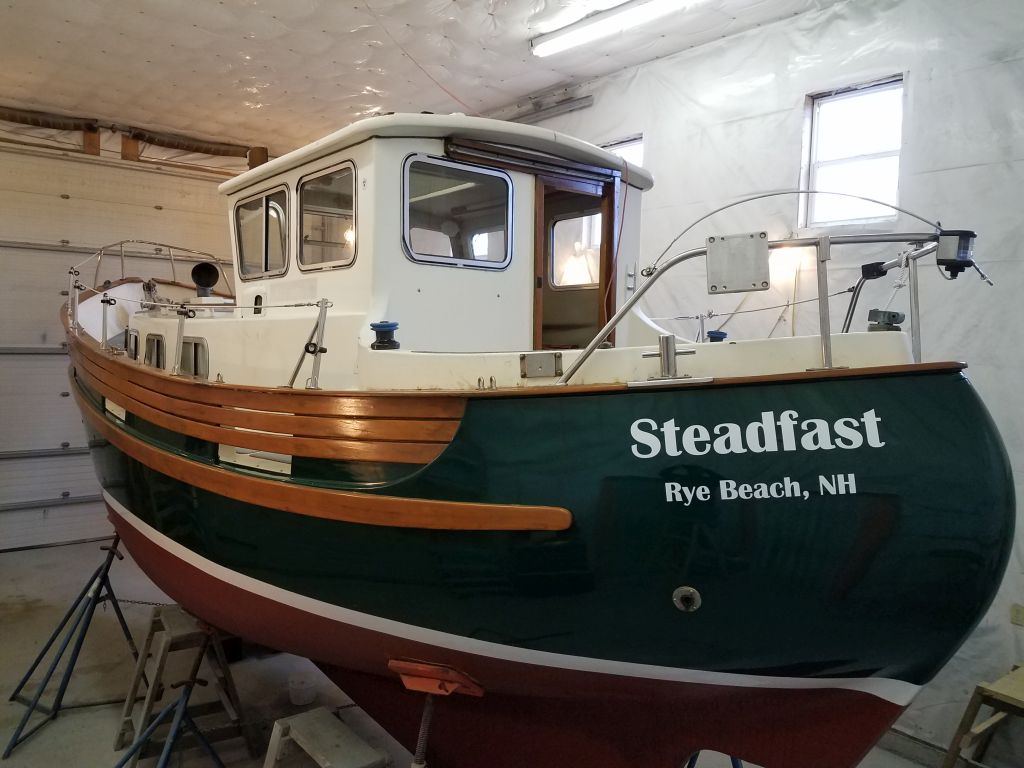
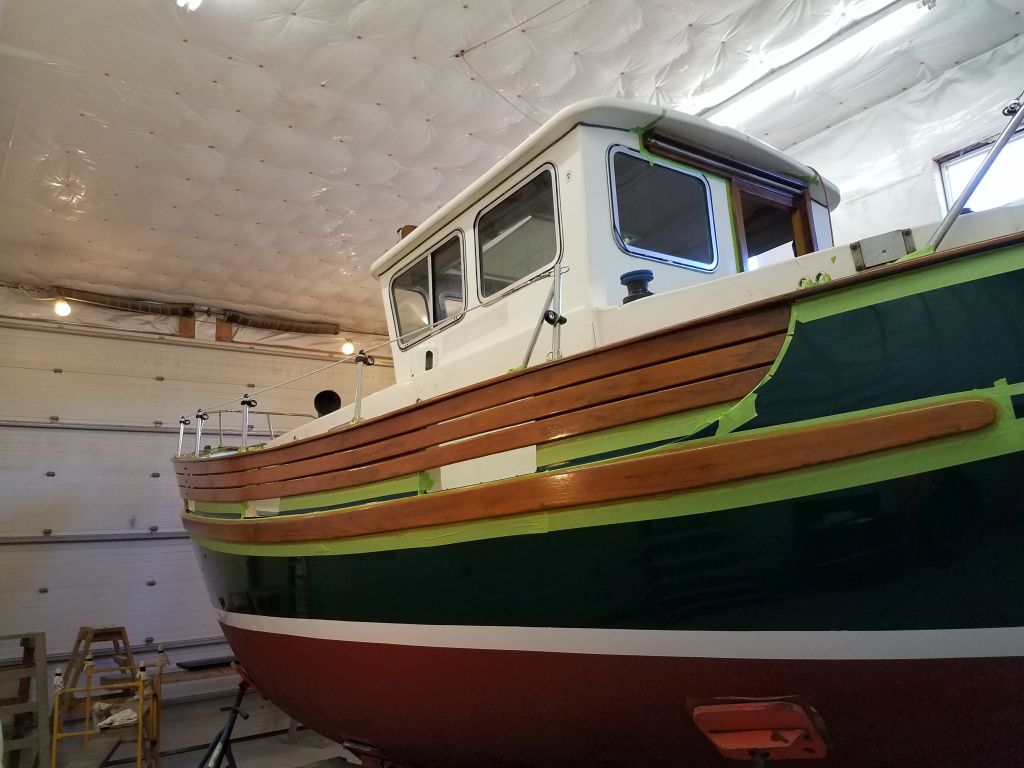
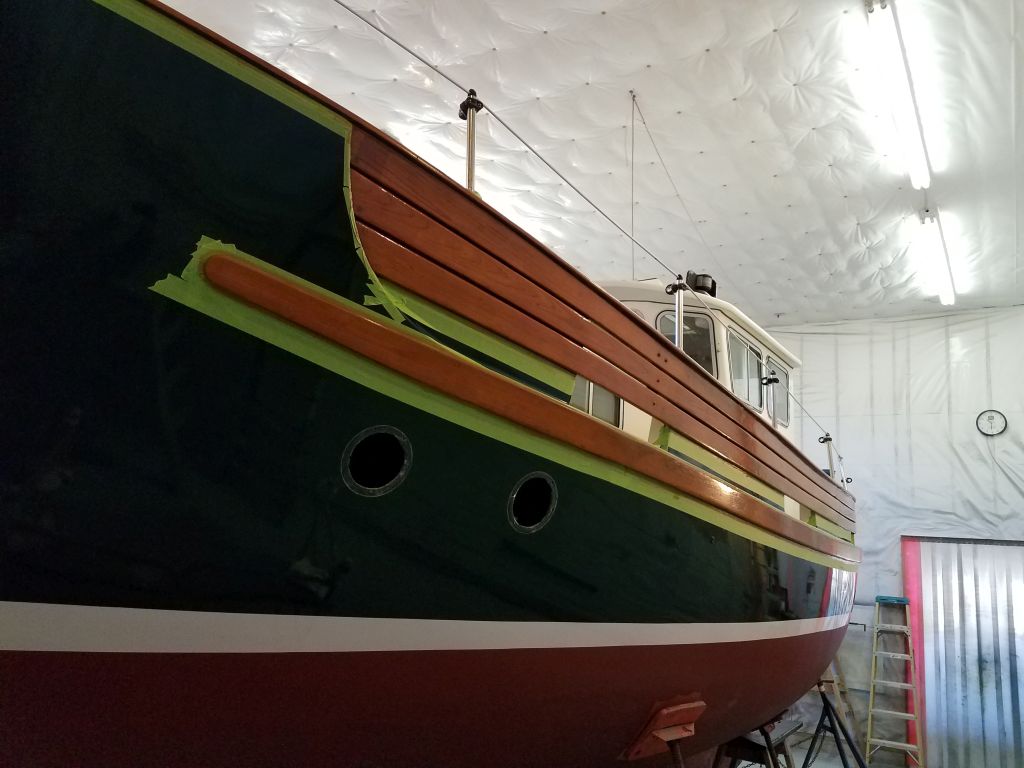
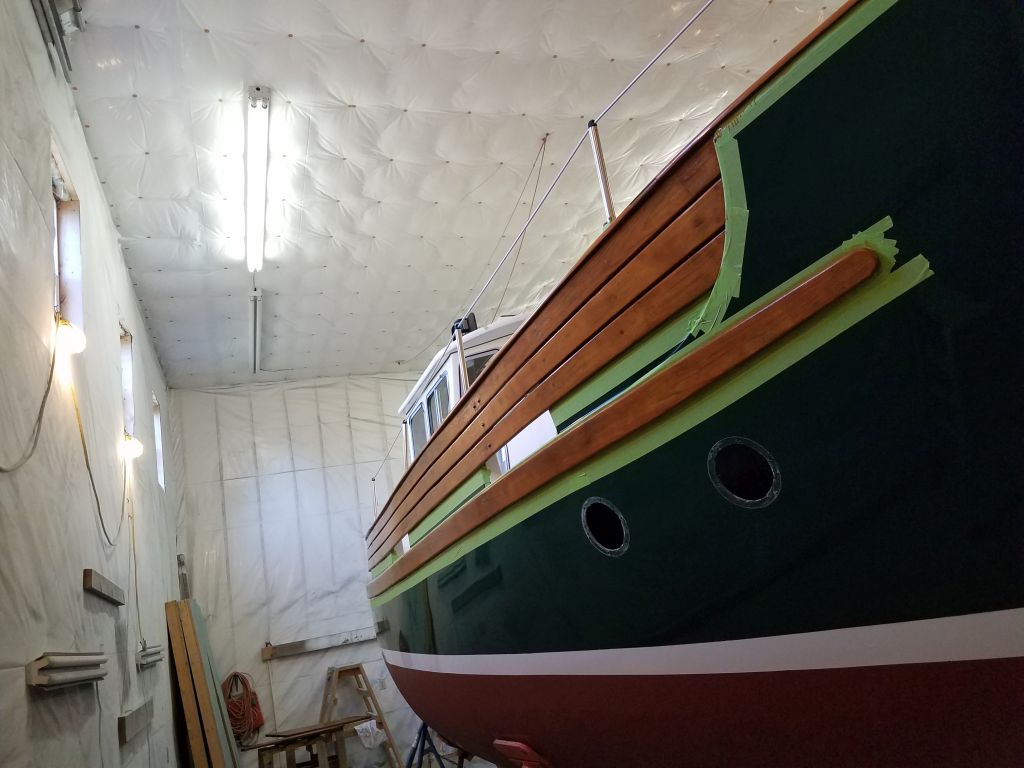
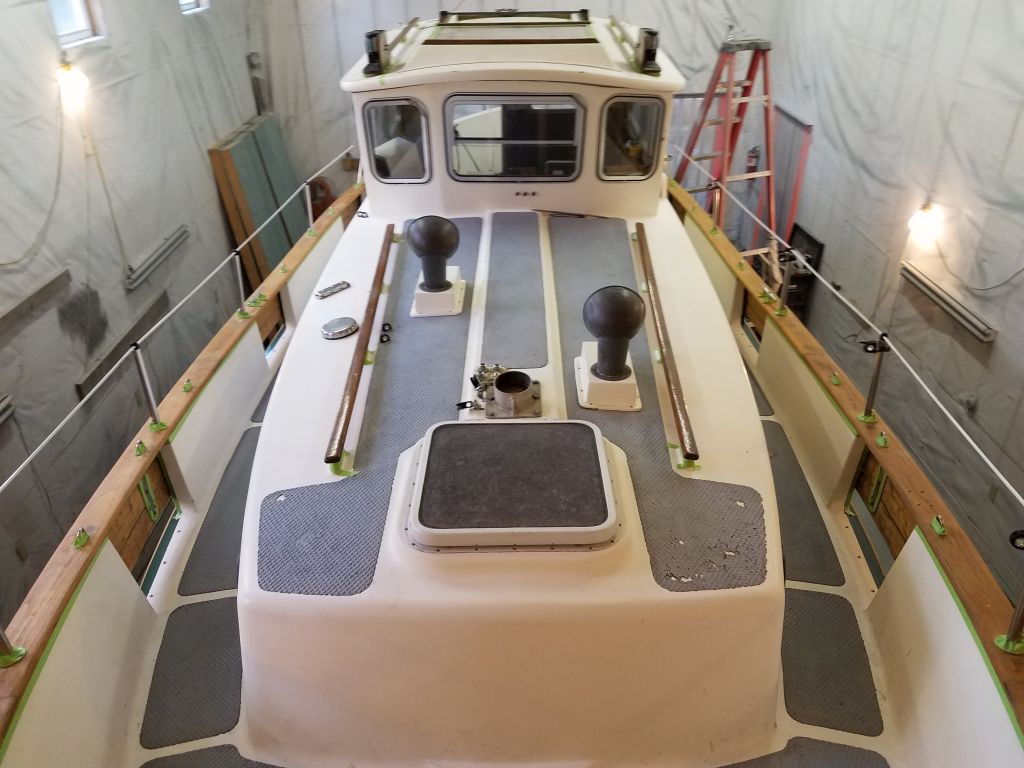
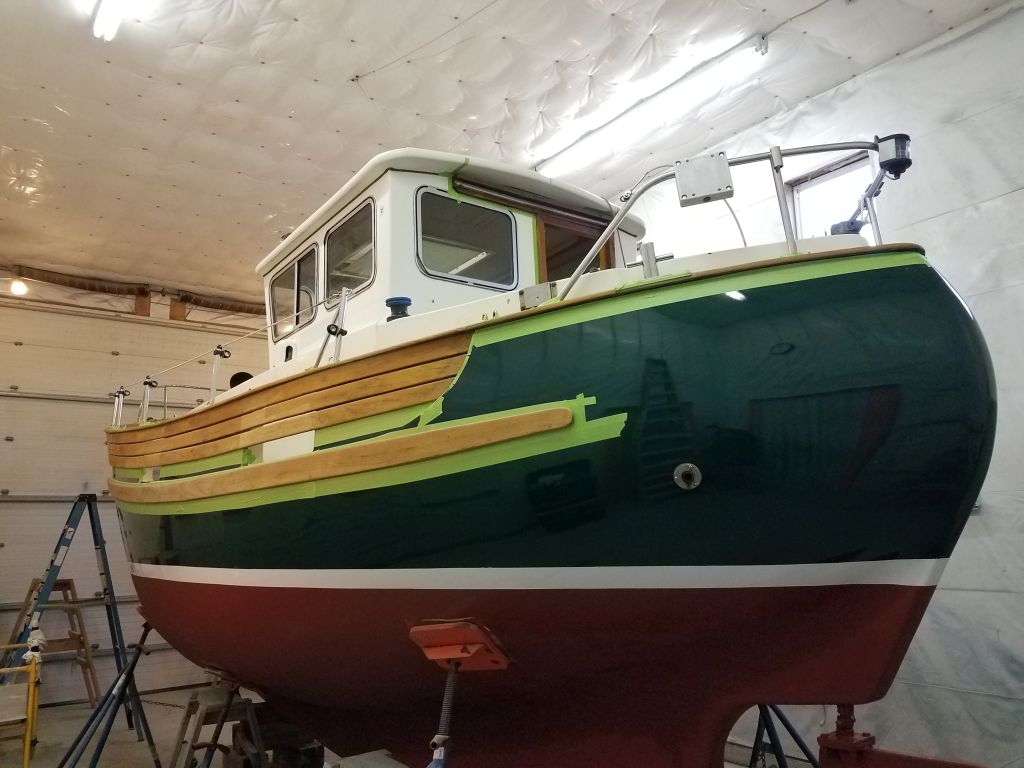
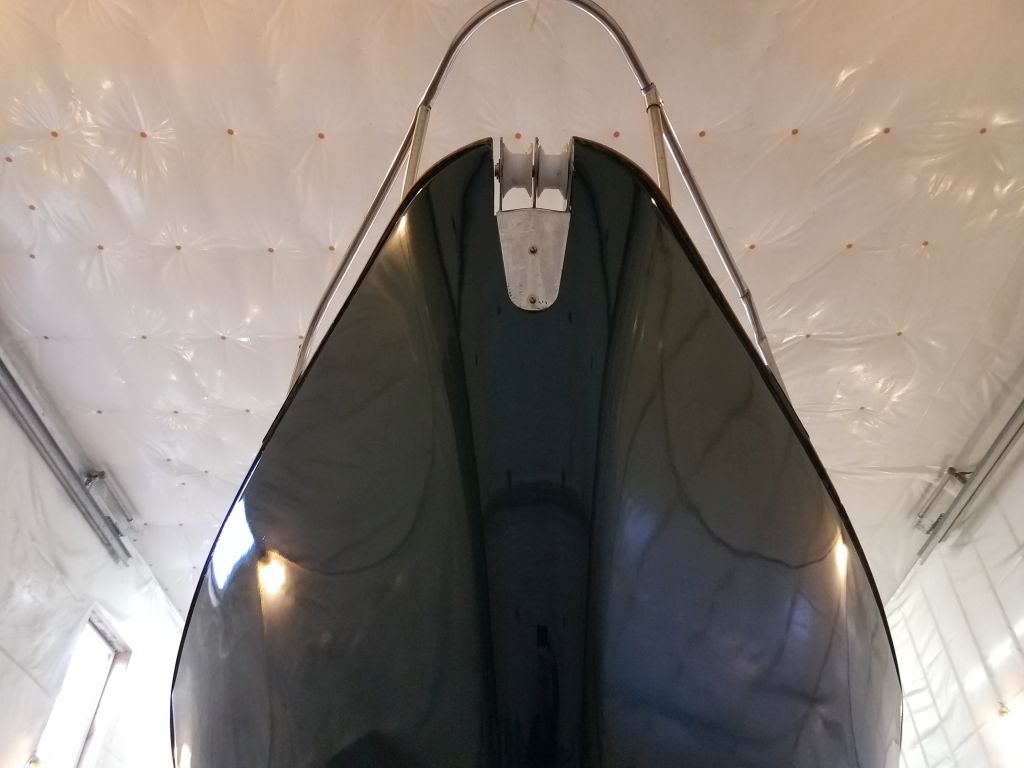
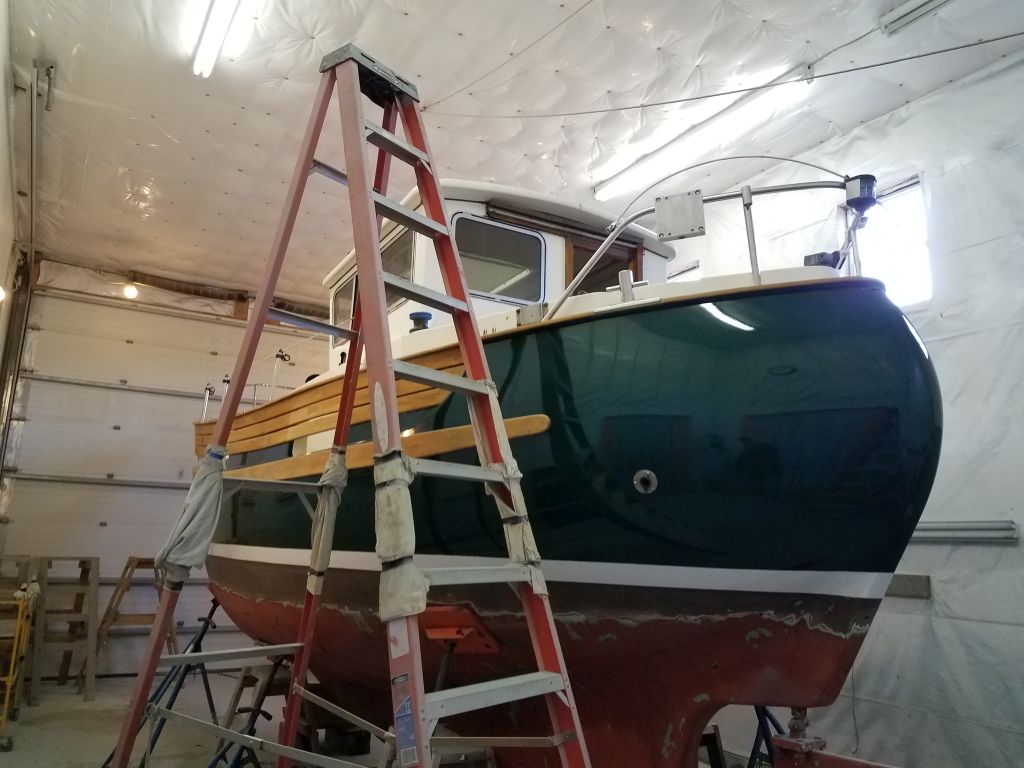
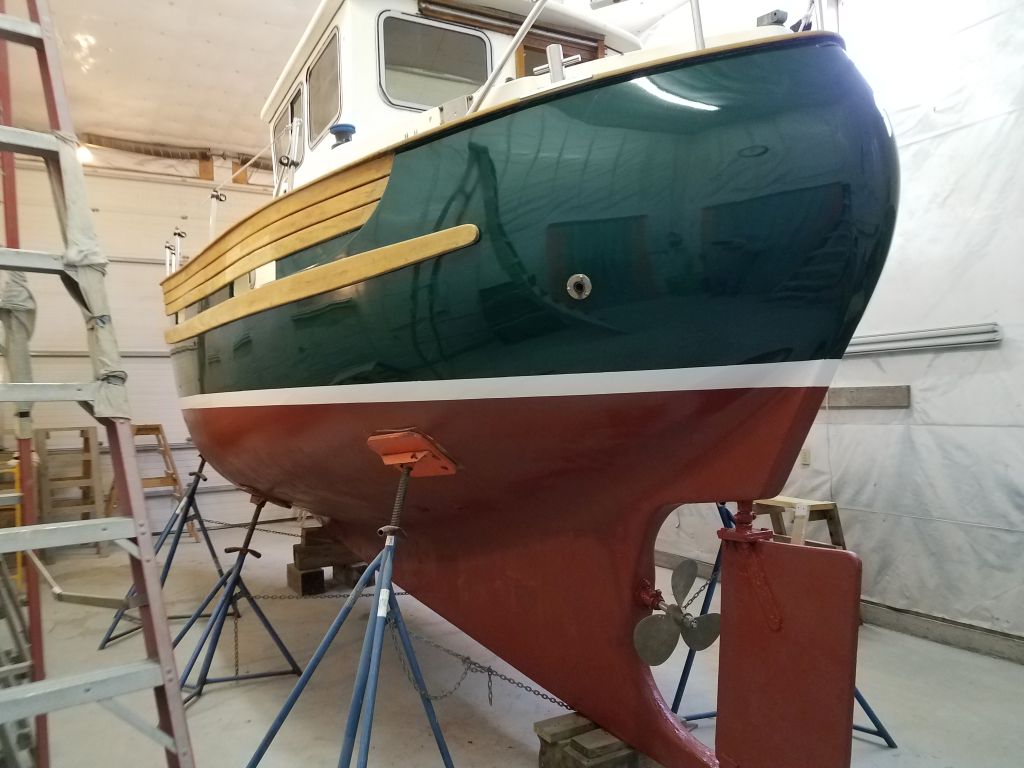
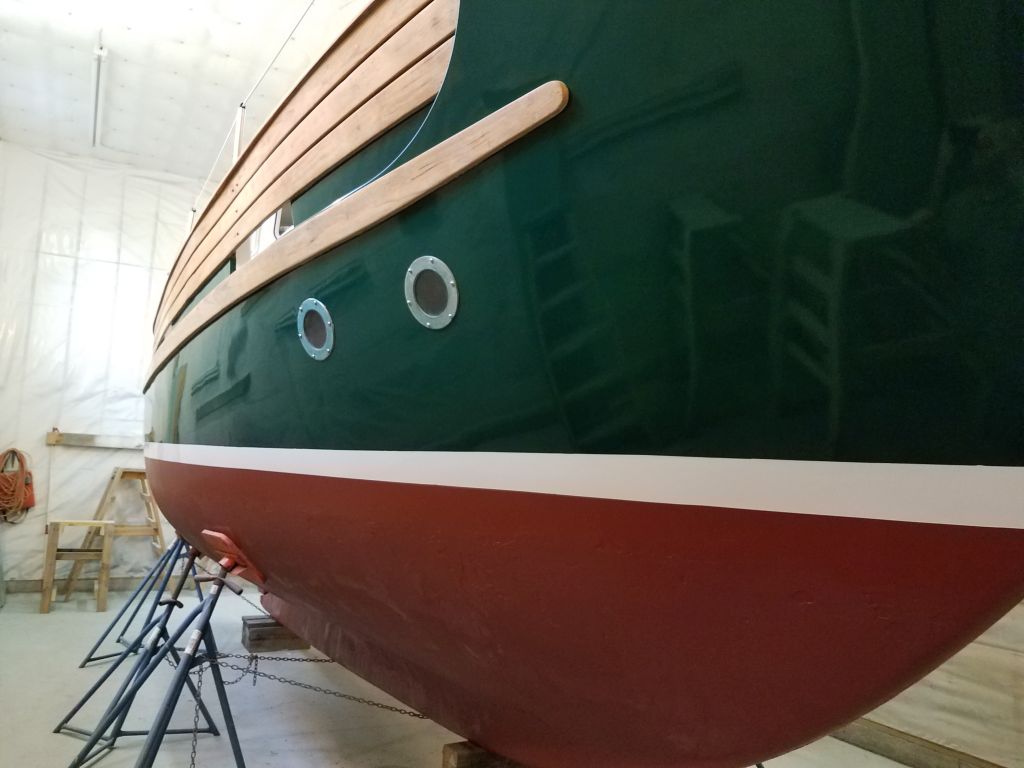
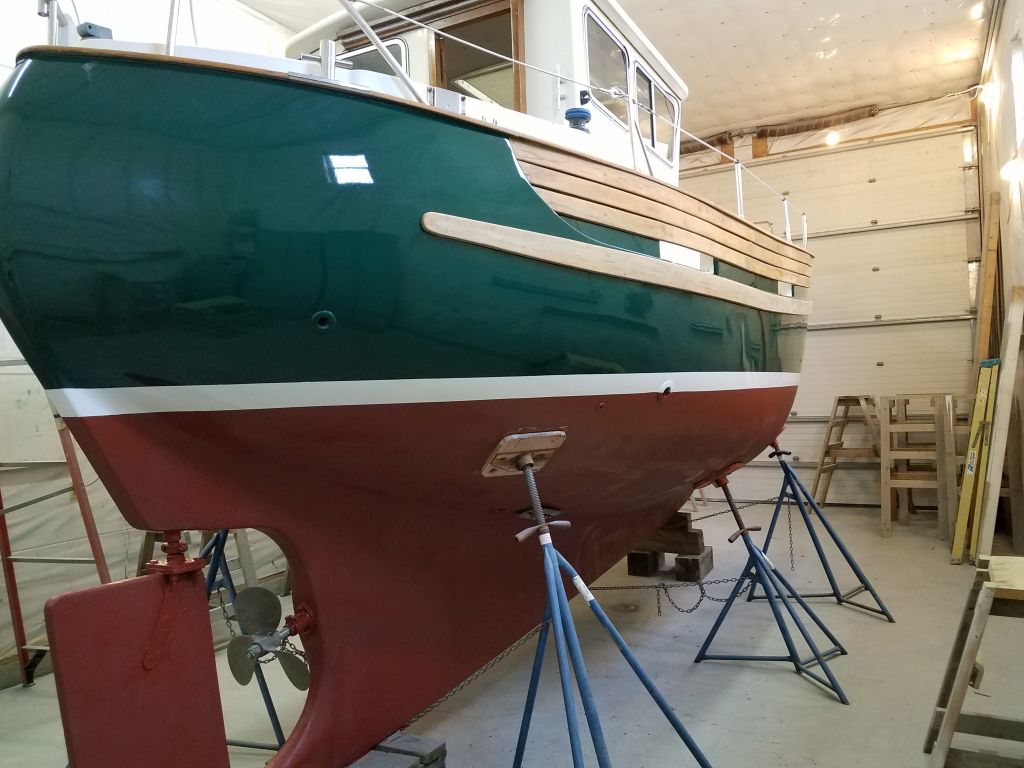
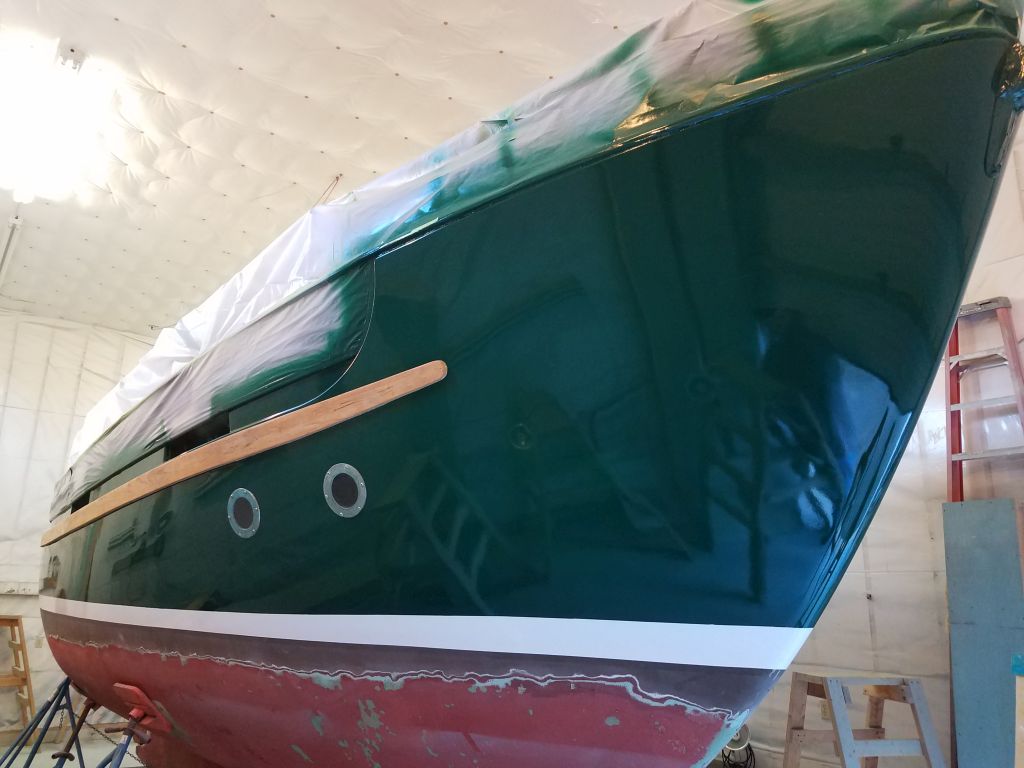
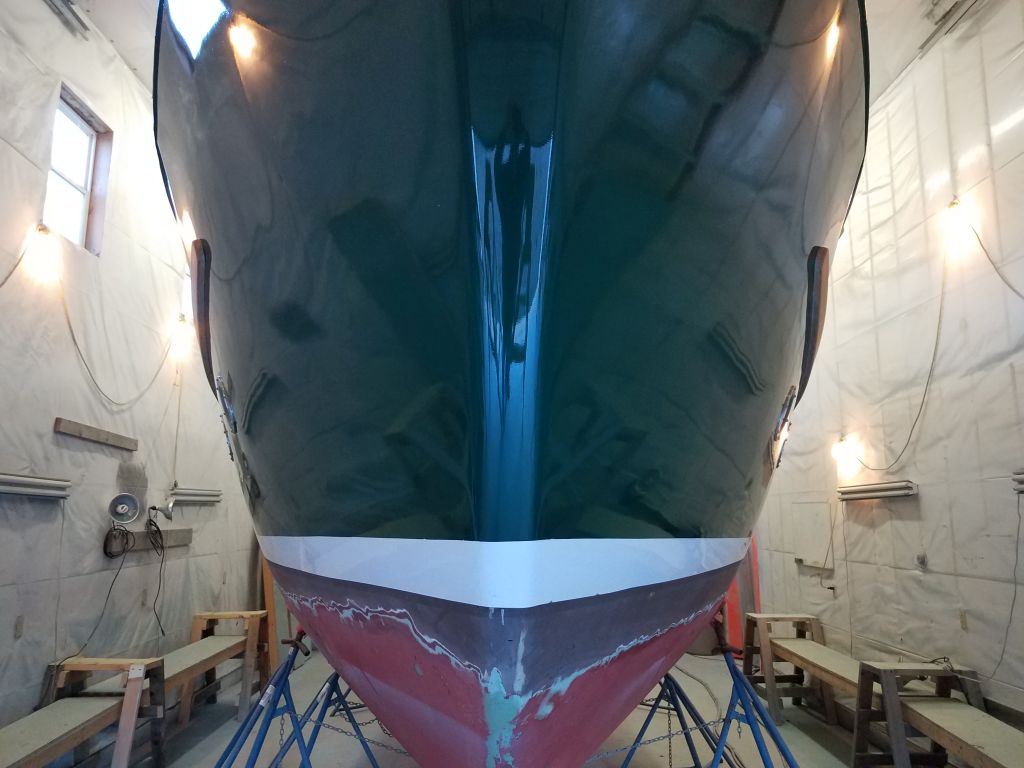
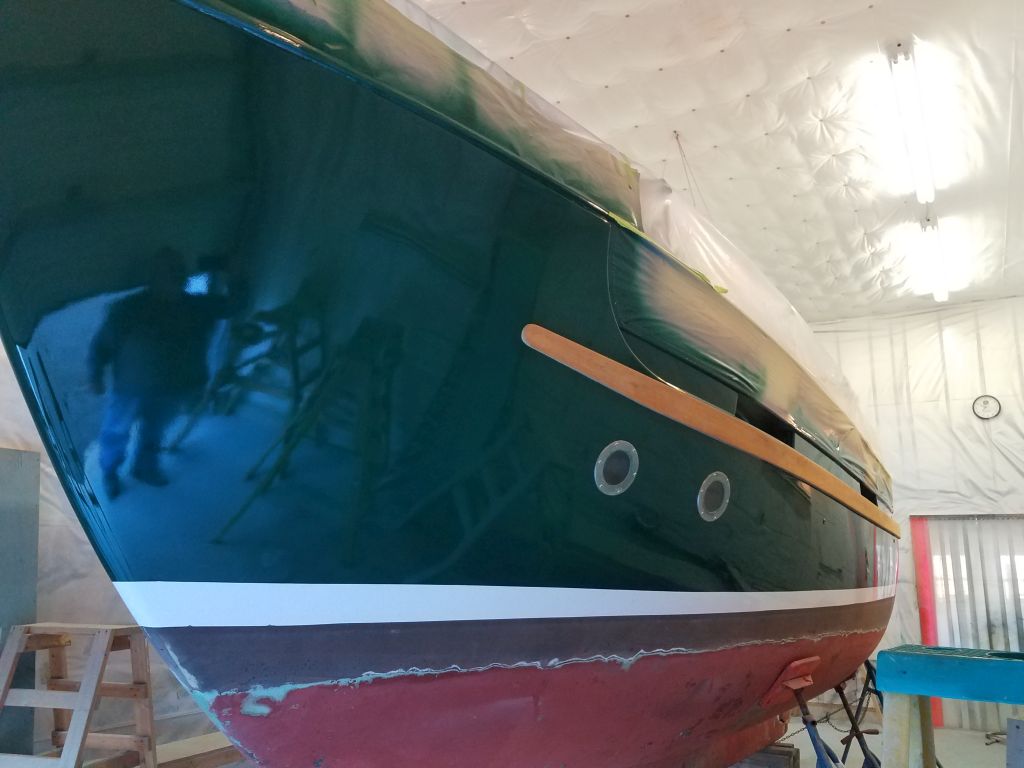
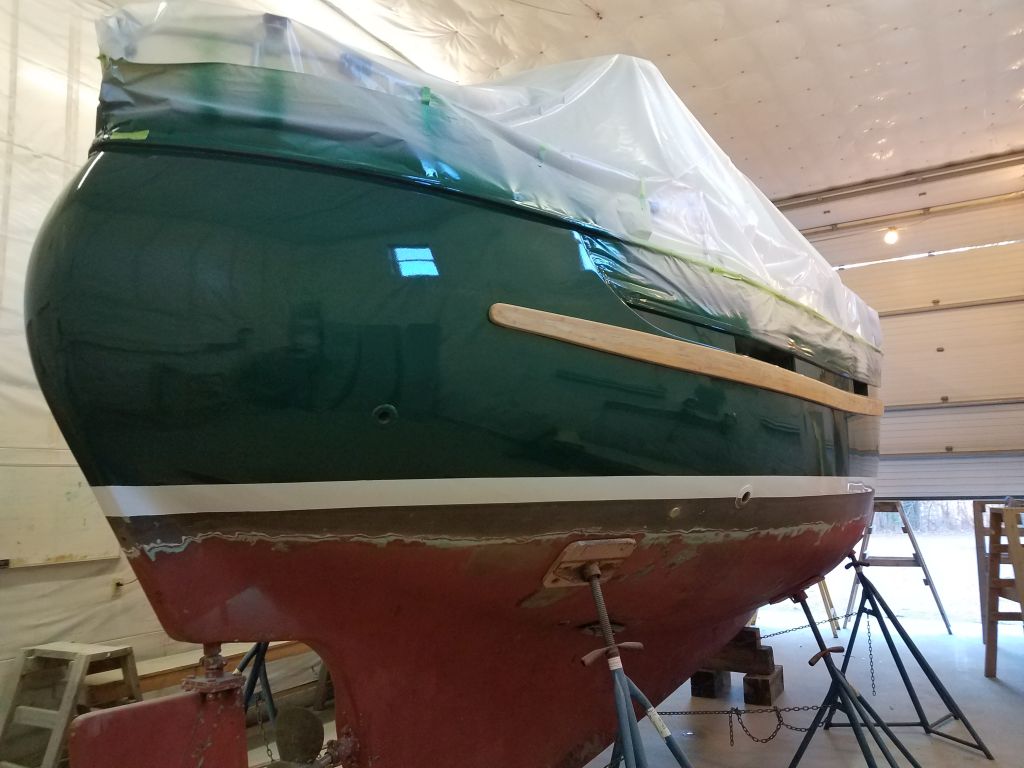
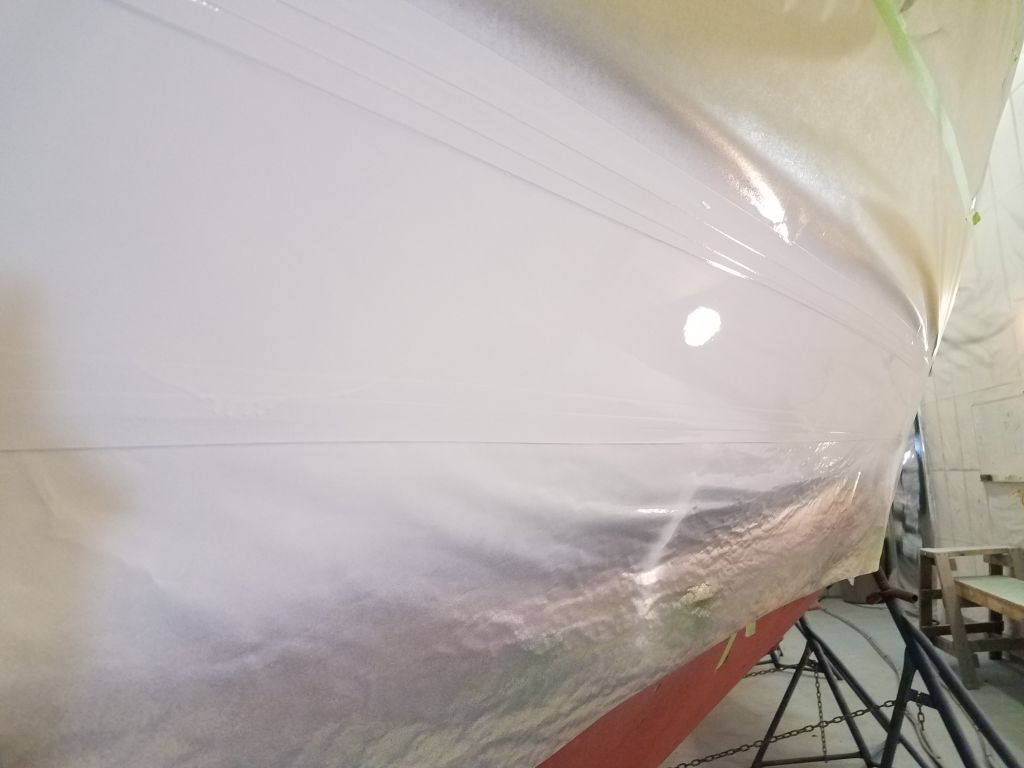
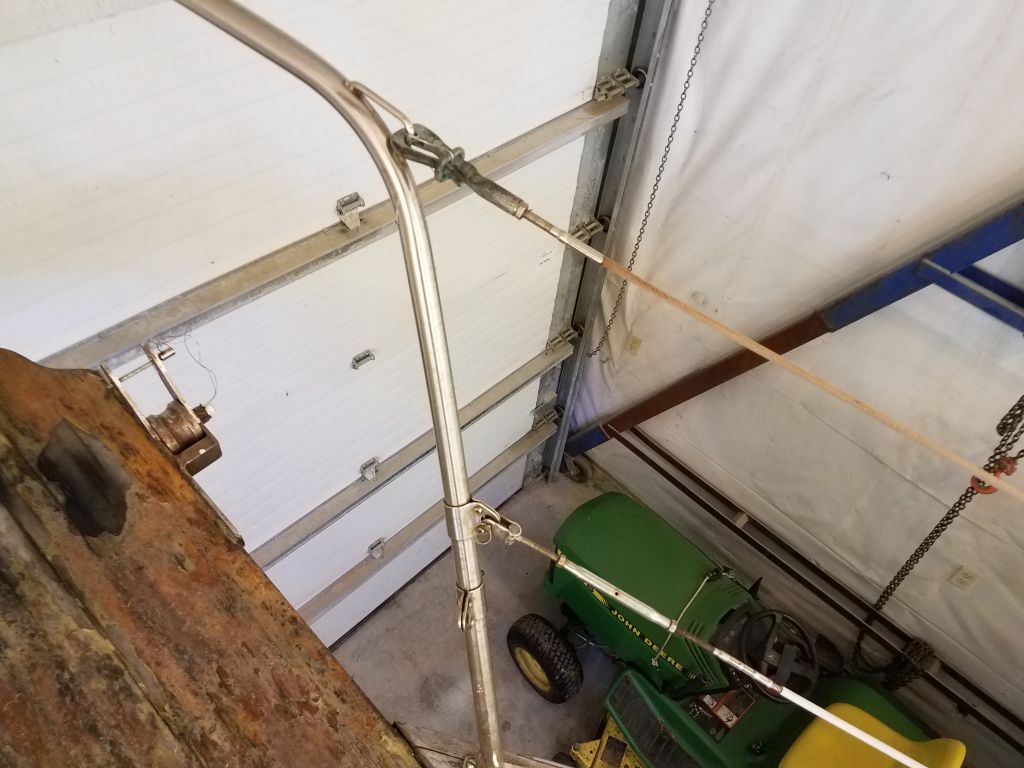
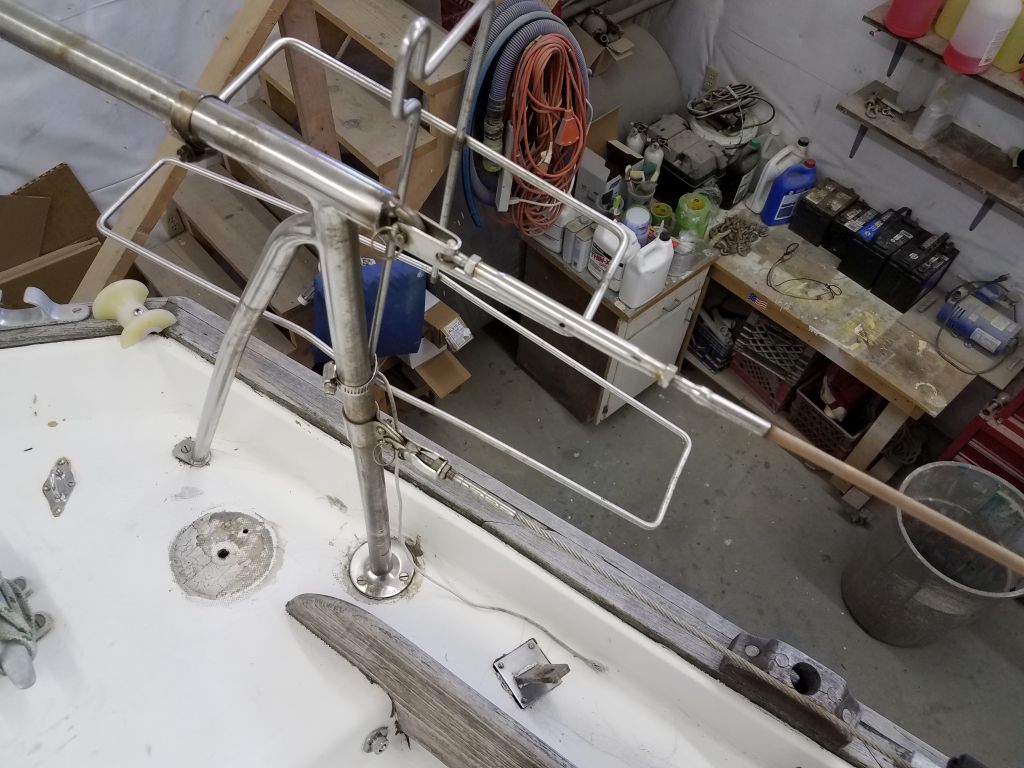
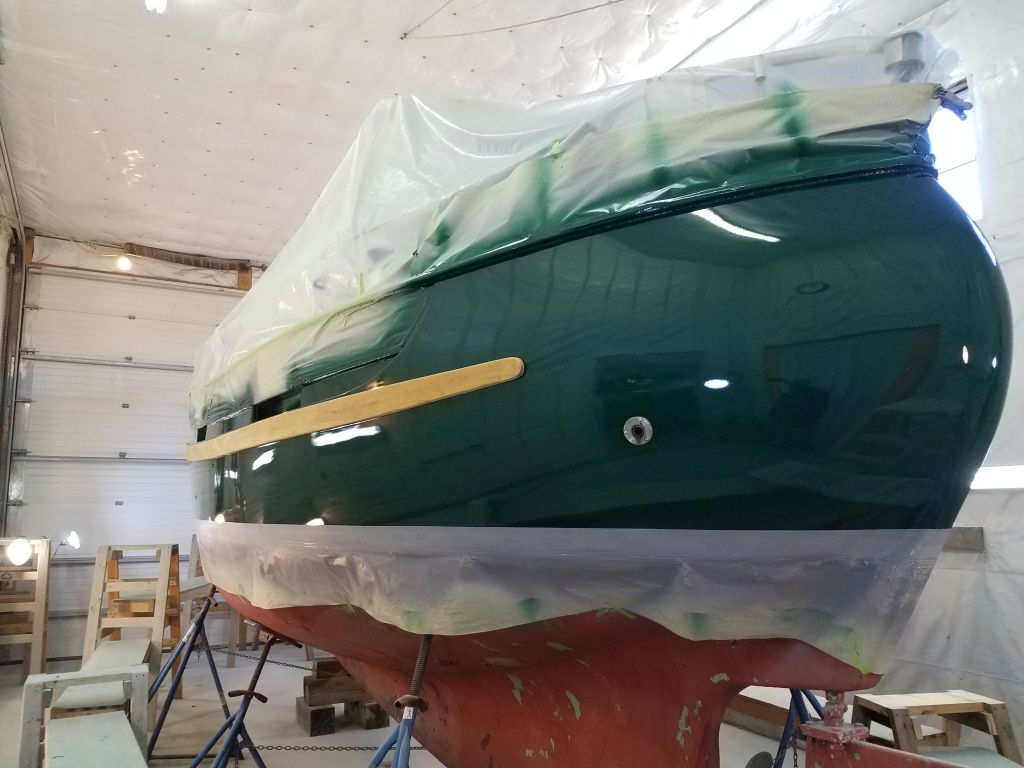
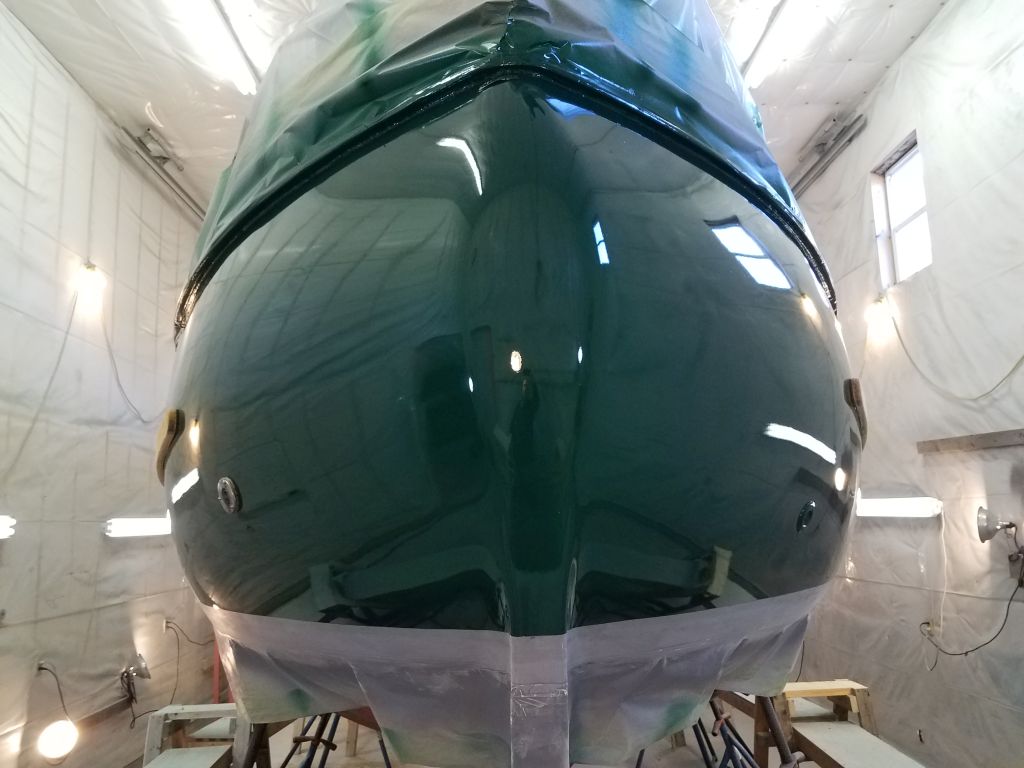
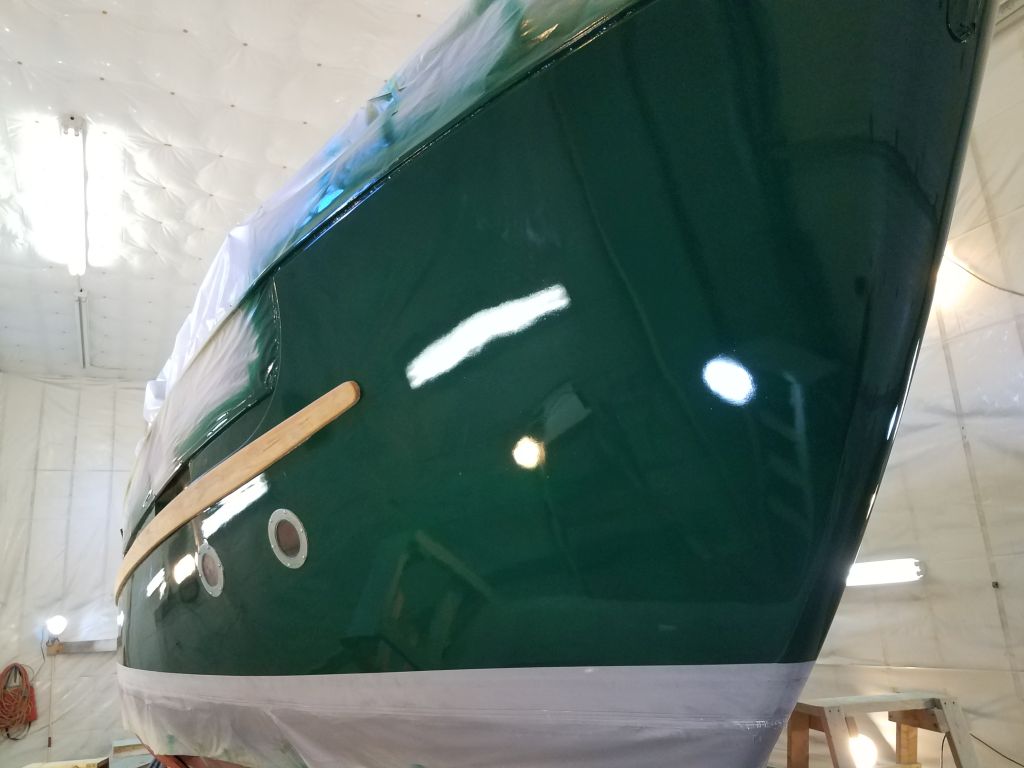
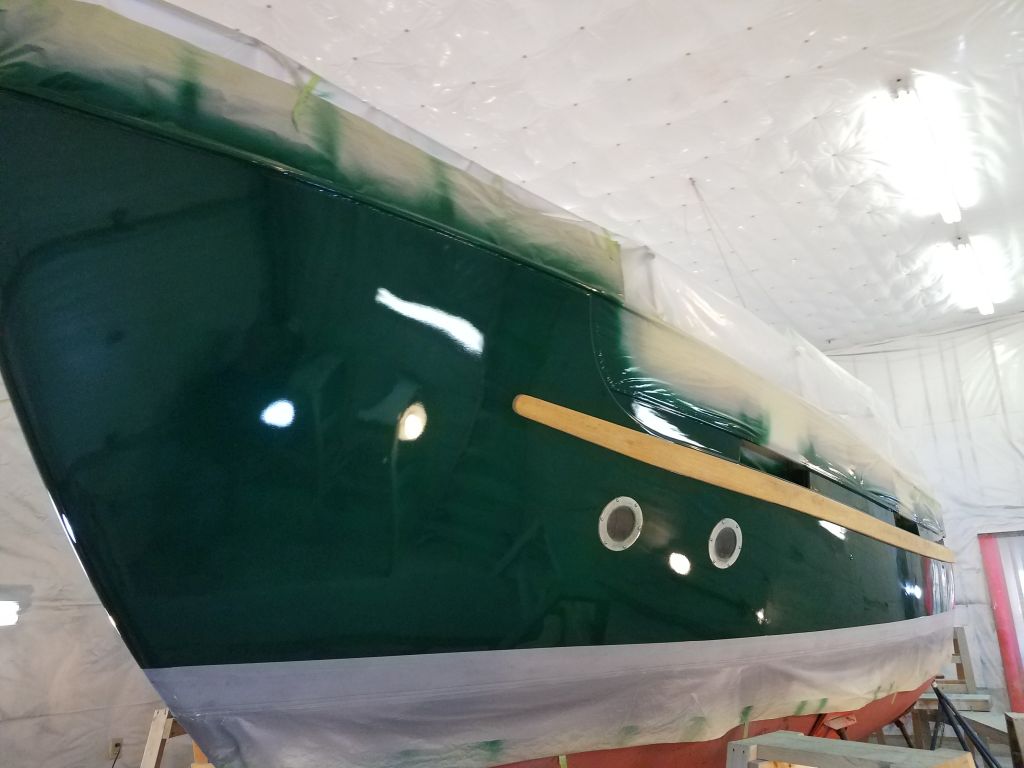
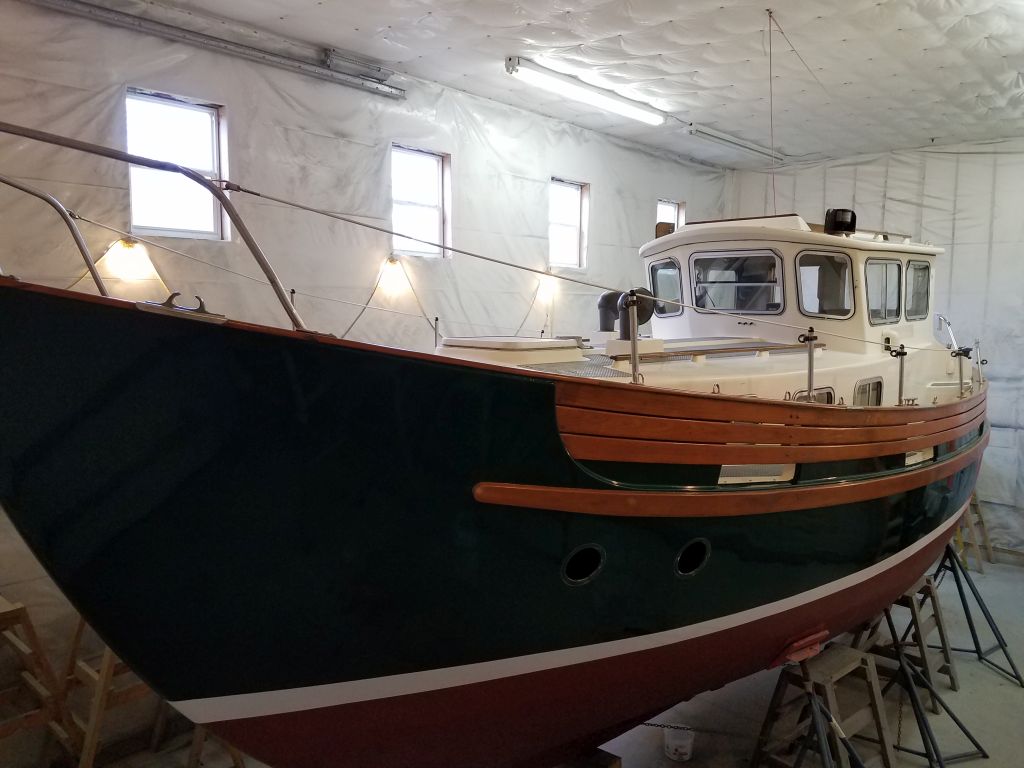
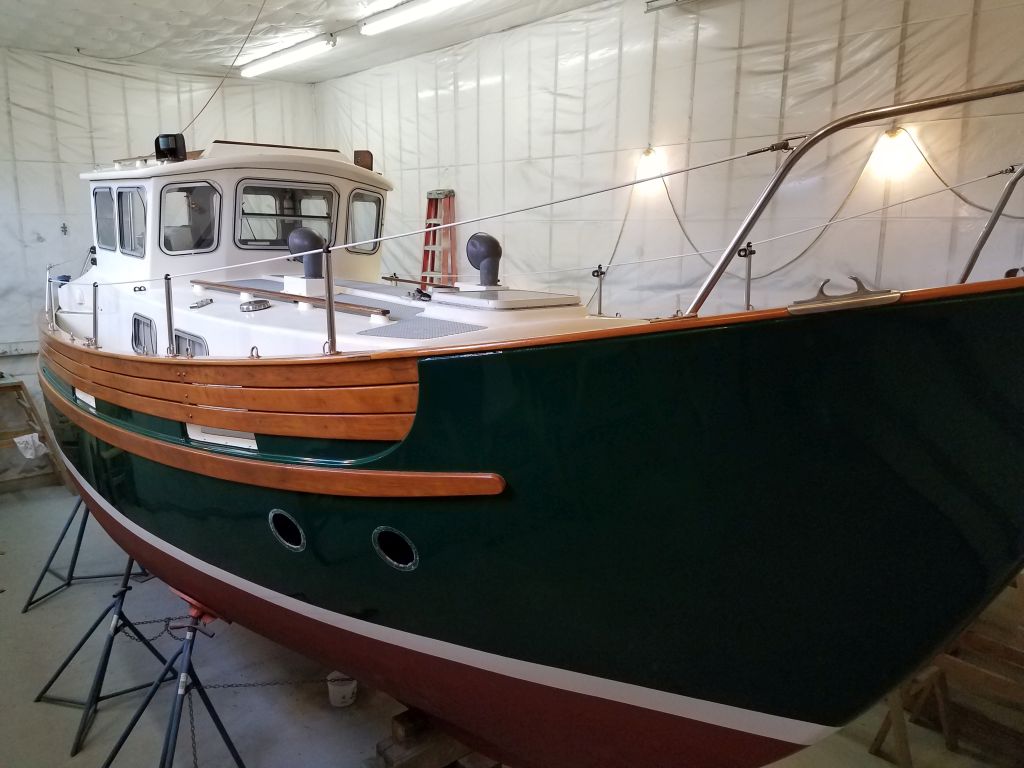
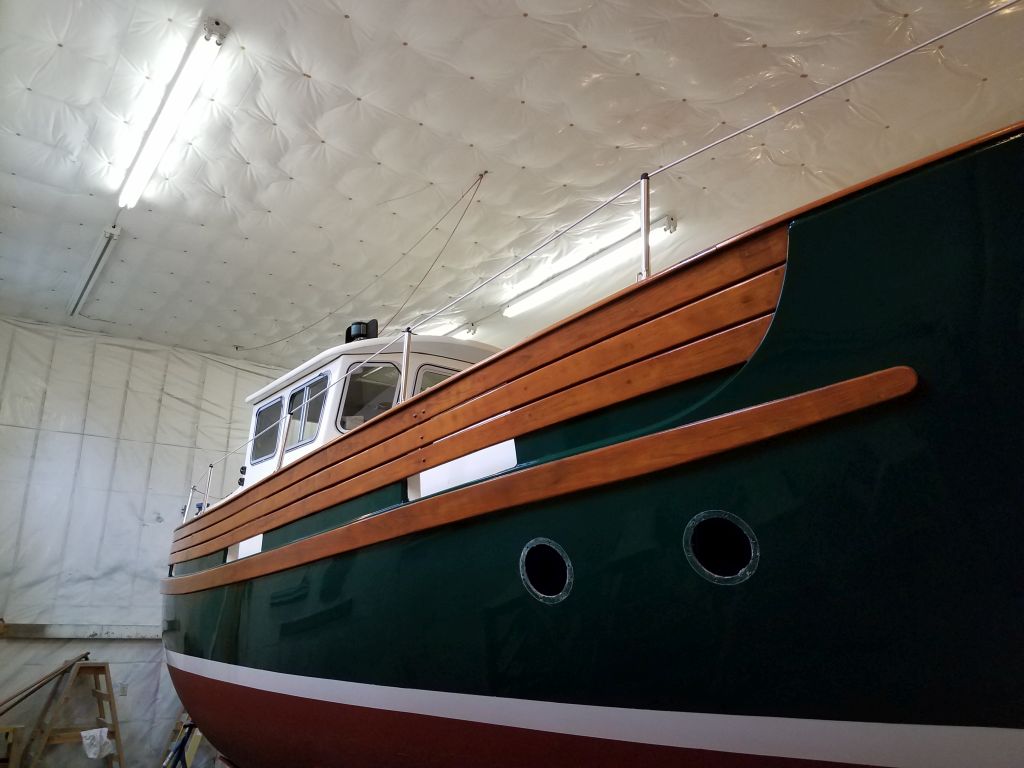
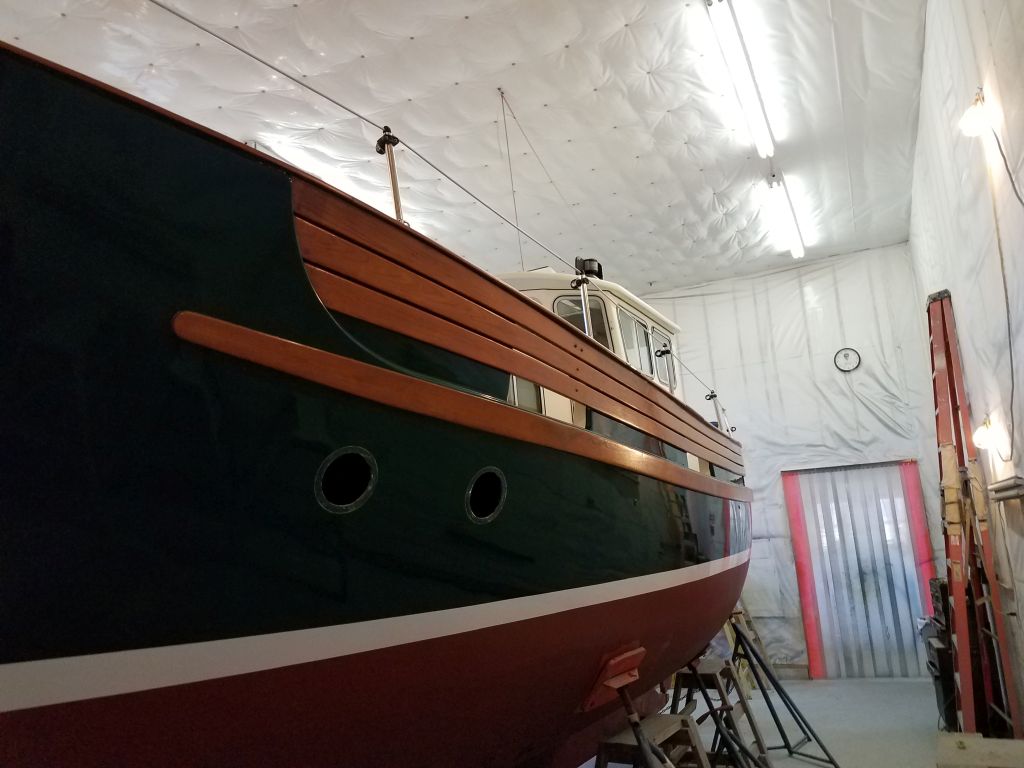
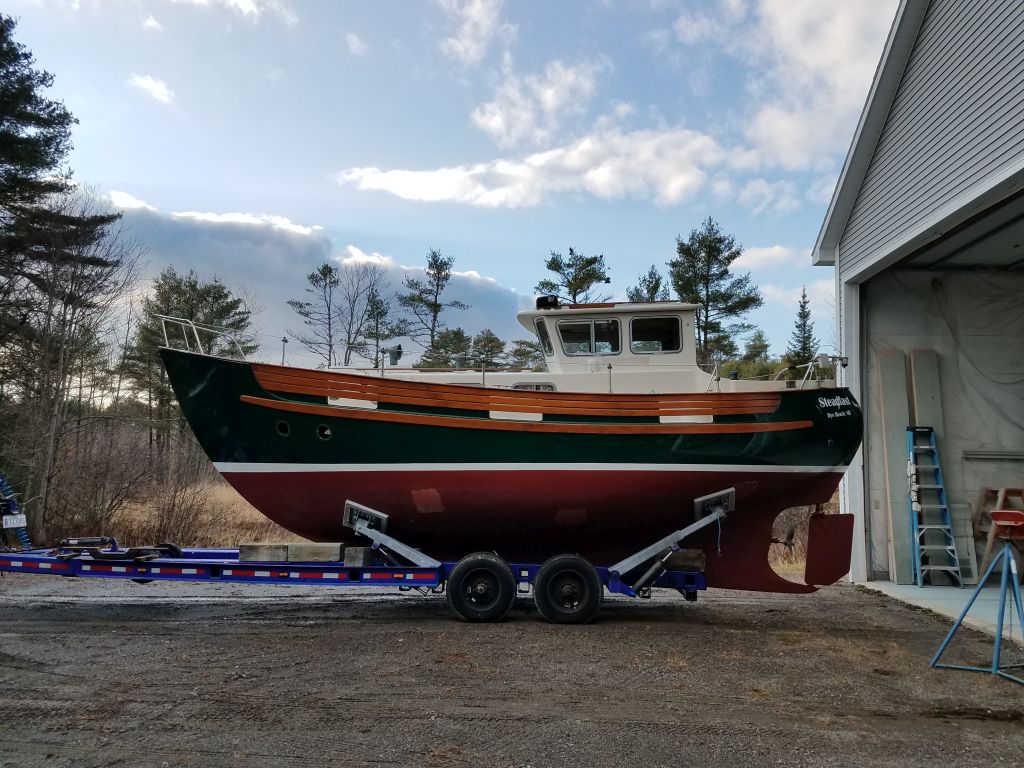
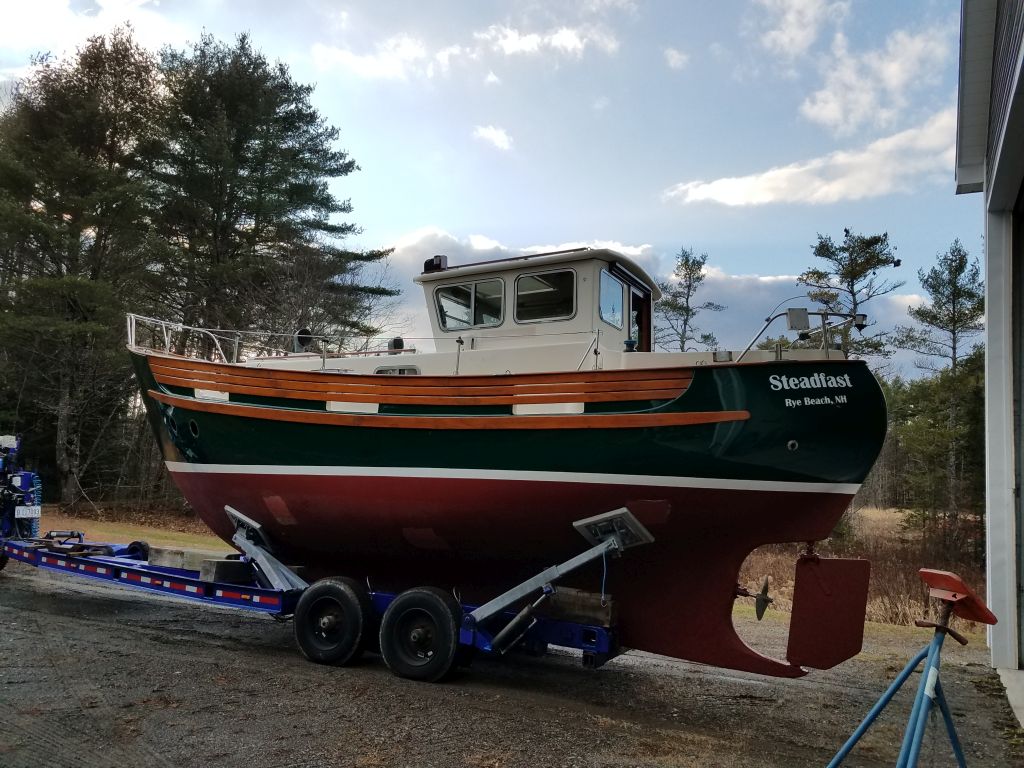
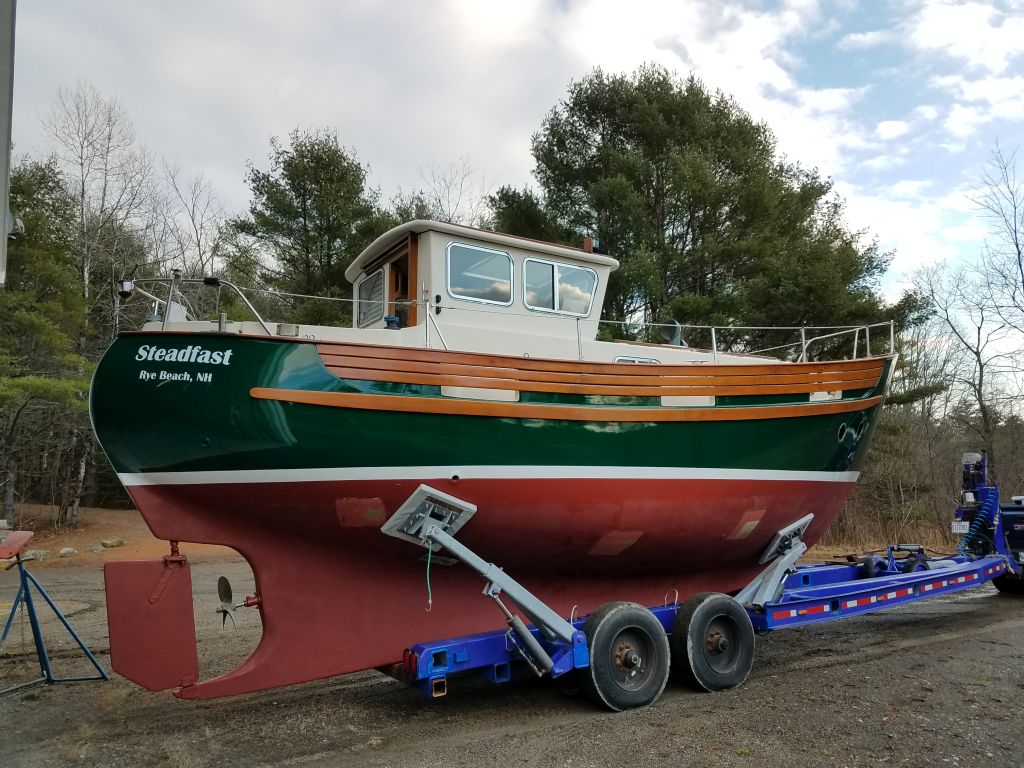
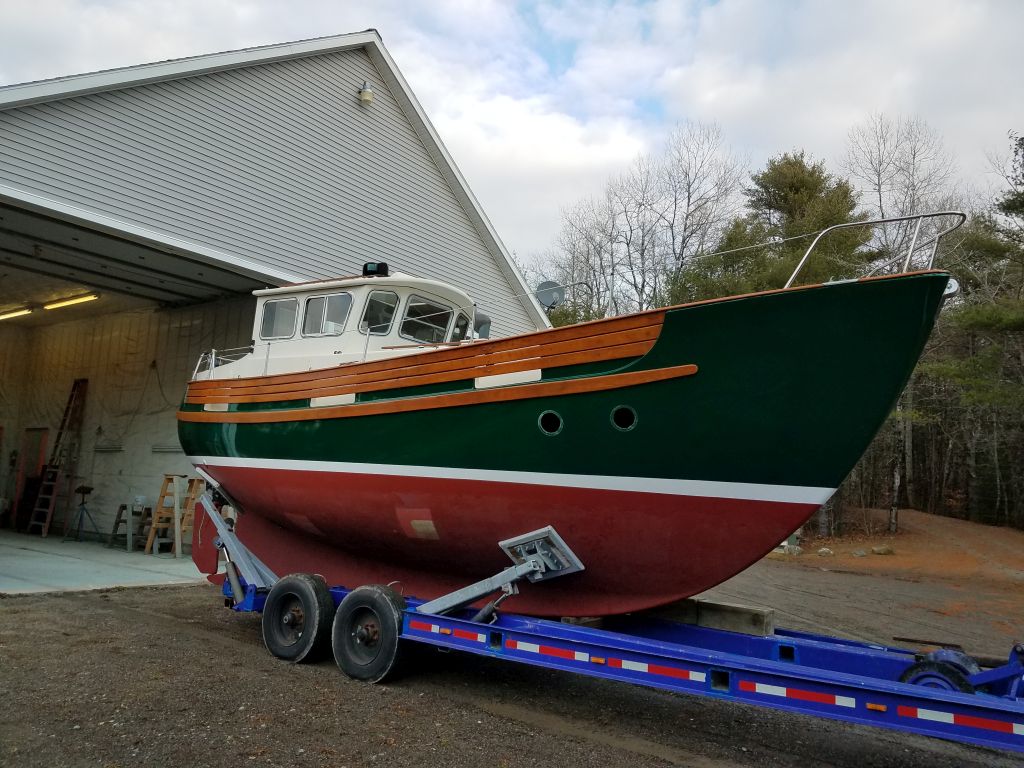
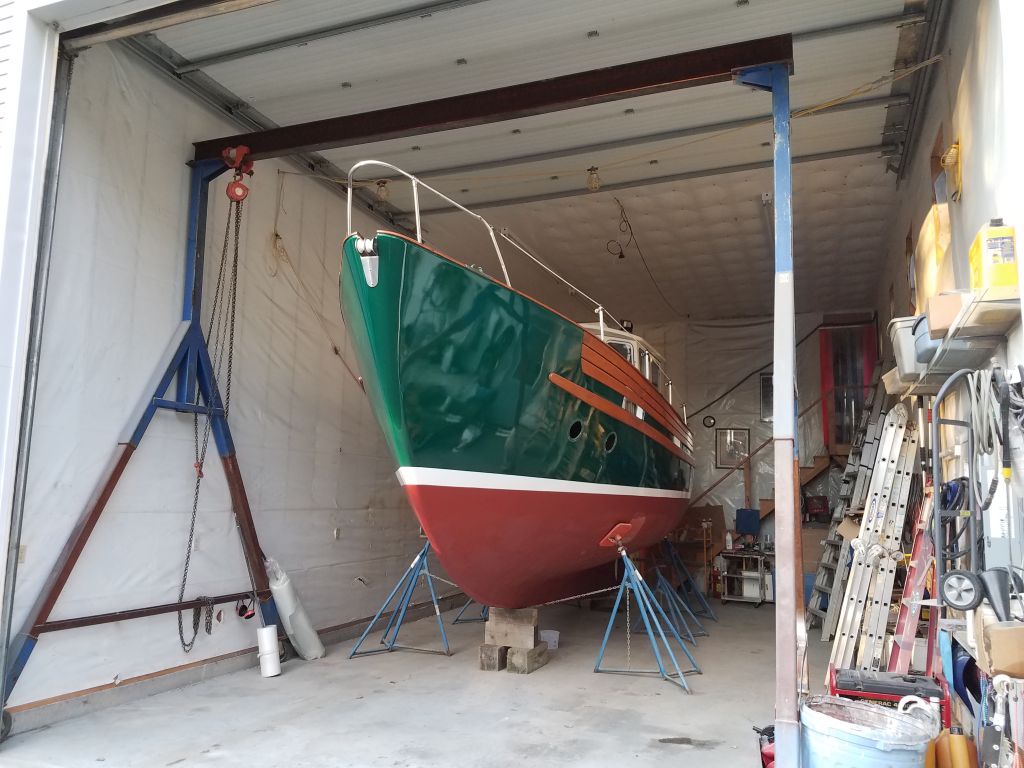
Other than a few final details, this completed the work I’d been hired to do. The owner had made arrangements with me to store the boat indoors during the winter, but I couldn’t keep her in my main work bay, so I spent the afternoon shuffling boats (I had first to move out a boat in the other bay to make room) so I could move Steadfast into the other bay for comfy storage. This gave a good opportunity to have a look at the refinished topsides from a distance, though the winter light was low and hidden in a cloud bank, so failed to give a true sense of the vibrancy of the jade green hull.


Total time billed on this job today: 4.25 hours
0600 Weather Observation: Clouds and a shower, 40°. Forecast for the day: Clearing, high near 50