March 23, 2020
August West 9
Monday
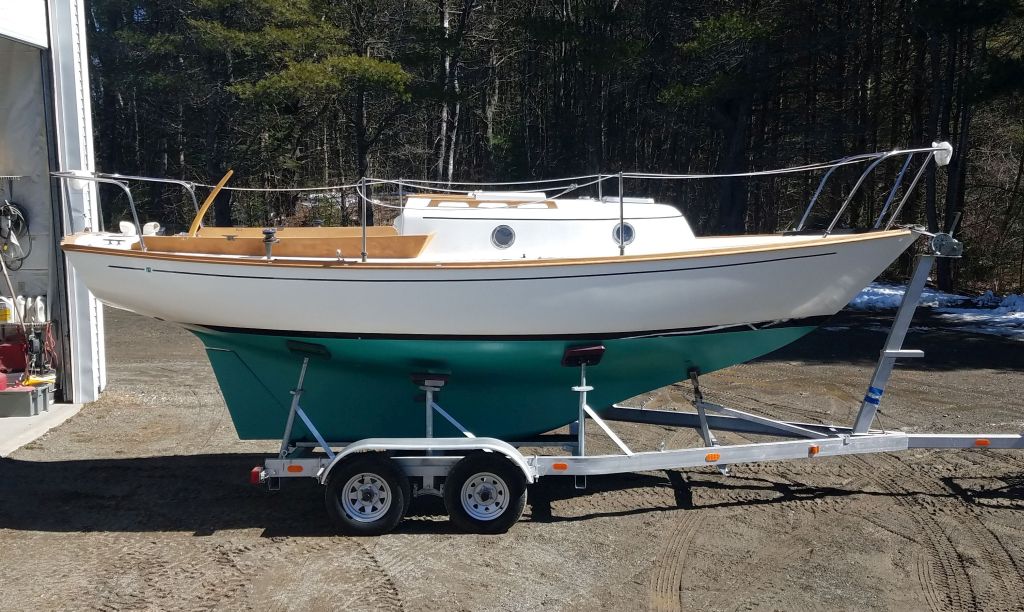
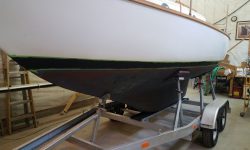
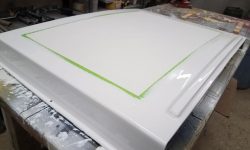
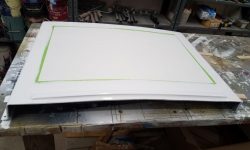
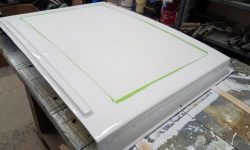
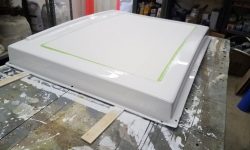
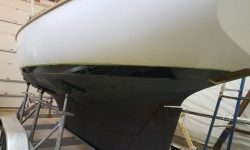
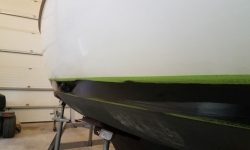
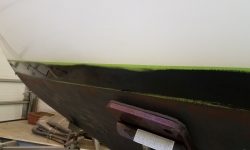
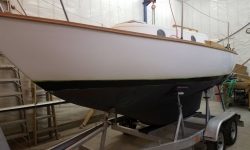
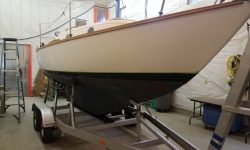
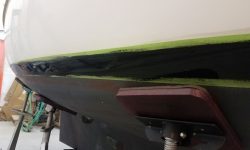
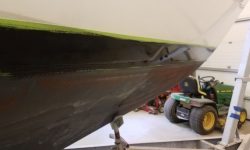
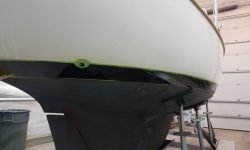
To begin the day, I lightly sanded the new paint on the boottop, preparing it for another coat later in the day. At the same time, I lightly sanded the sea hood as well, as I felt it needed a third coat of white paint.
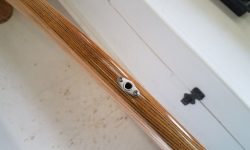
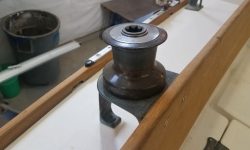
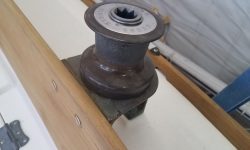
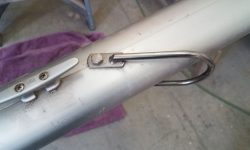
Up on deck, I installed a new tiller extension that the owner requested, and also reinstalled the original sheet winches, as the owner had decided not to proceed with the new self-tailers after all, since they didn’t really fit that well on the winch stands, and he thought they seemed out of proportion with the boat. Instead, we decided to try those rubber add-on self-tailing attachments, a simple and inexpensive alternative (and they come in gray now, not that horrible blue that used to be standard). I ordered a set and would do the installation once they arrived.
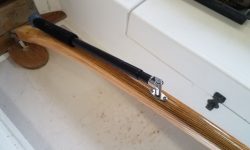
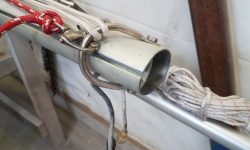
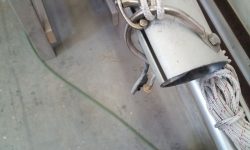
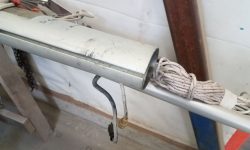
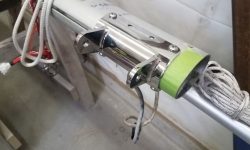
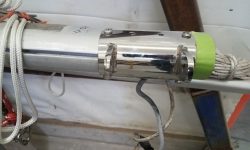
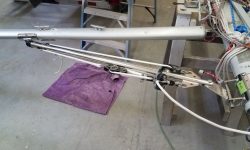
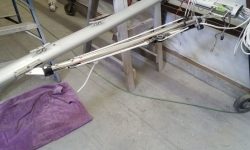
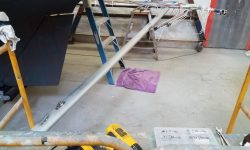
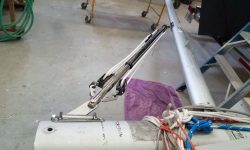
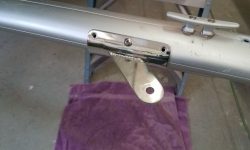
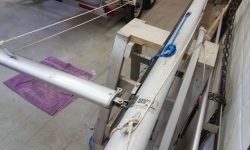
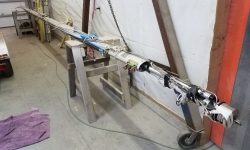
I had a couple small jobs to complete on the spars, starting with installing a new rigid boom vang. To begin, I had to first remove two old bails–one each on the mast and boom–left over from the old vang. Afterwards, I installed the mast bracket, keeping it about an inch above the base of the mast to ensure clearance within for the screws and the cast mast step on deck. I had only over-length screws on hand, so for the moment I temporarily installed the bracket with a few of these, but I’d replace them and complete the installation with shorter screws once they arrived.
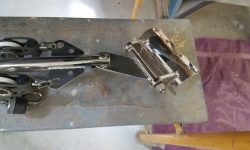
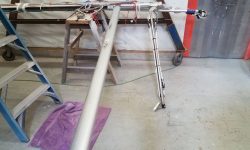
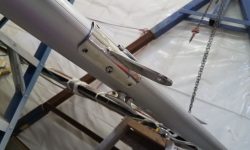
With the mast bracket in place, and all holes prepared for the correct screws later, I temporarily installed the boom so I could install the boom bracket for the other end of the vang. I set the boom just below horizontal, and with the vang installed in the mast bracket, tightened the vang to compress it as far as possible; I couldn’t quite two-block the tackle, but this was as far as I could compress the spring. Then, I let the boom end fall where it may on the boom, and installed the bracket with the two middle screws for now.
To double-check the placement of the bracket before drilling the remaining holes, I released the tackle on the vang, allowing it to push the boom up as far as possible. I was looking to ensure that there was ample lift in the spring in order to properly lift the boom; there was. Thus, I could finish drilling and tapping the fastener holes for the boom bracket, though final installation would await shorter screws a little later.
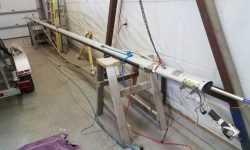
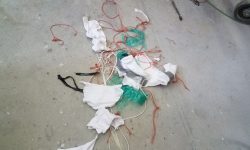
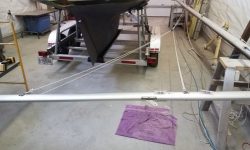
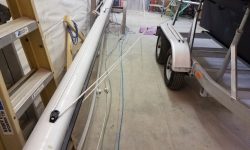
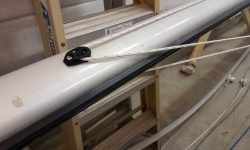
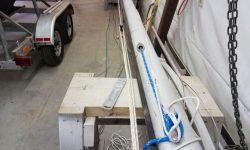
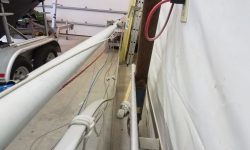
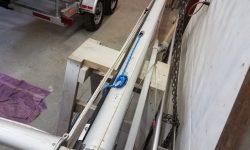
There was a set of basic, permanent lazy jacks in place on the mast, but the owner asked me to replace them with the adjustable/retractable jacks that I often installed. To begin, I first had to untie everything from the mast, as it looked like someone had intentionally made as much of a mess of the stays, halyards, and other lines as humanly possible, and I needed access to the spar in order to properly install the new lazy jacks.
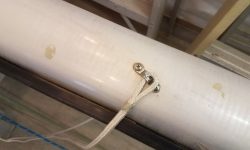
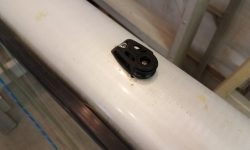
Above the spreaders, I removed the basic padeyes that held the top end of the old lazy jacks, and replaced the eyes with a pair of small cheek blocks. I was able to re-use one of the old screw holes for each block.
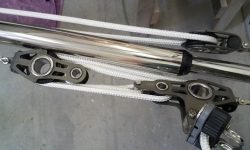
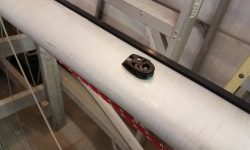
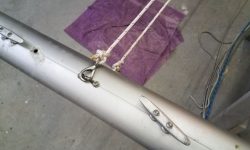
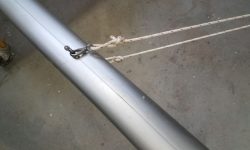
These blocks formed the basis for the adjustable/retractable feature of the lazy jacks. These are quite simple to install and use, but challenging to describe in writing, so suffice it to say I began by installing the lift/control lines through the cheek blocks, around an adjustable block on the front of the mast (with a control line leading down the mast to a cleat for adjustment), and to a pair of small blocks, one per side, which ultimately allowed me to lead two legs on each side (sufficient for a small sail like this) to new padeyes on the boom, to which I affixed the legs with snap hooks.
To determine the final length of the forward mast control line, I retracted the jacks, securing them through the gooseneck for now, which brought the forward control block to its highest point, therefore allowing me to finalize the length of the line. For now, I used a spare cleat on the side of the mast since I didn’t have a dedicated cleat on hand that I could use; I’d order one and install it later.
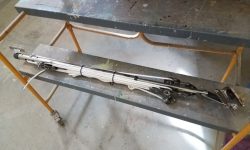
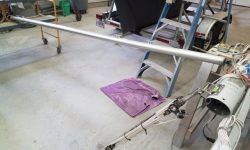
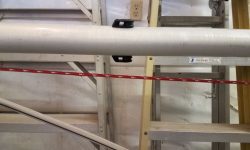
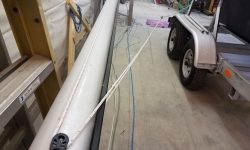
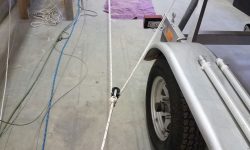
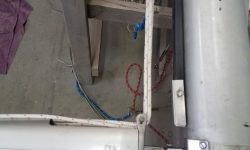
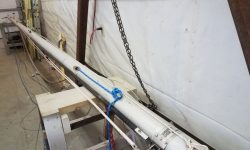
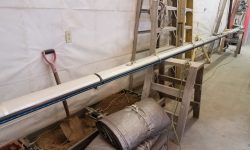
With the rigging work complete, I straightened out and re-secured the rigging to the spar for storage and transport.
By now, it was late enough in the day for me to get to work on the day’s painting projects, starting with the sea hood.
After final preparations, I applied a second coat of black paint to the boottop.
Total time billed on this job today: 7 hours
0600 Weather Observation: 15° , clear. Forecast for the day: Becoming cloudy, snow overnight, 40°


