
110 Cookson Lane | Whitefield, ME 04353 | 207-232-7600 | tim@lackeysailing.com
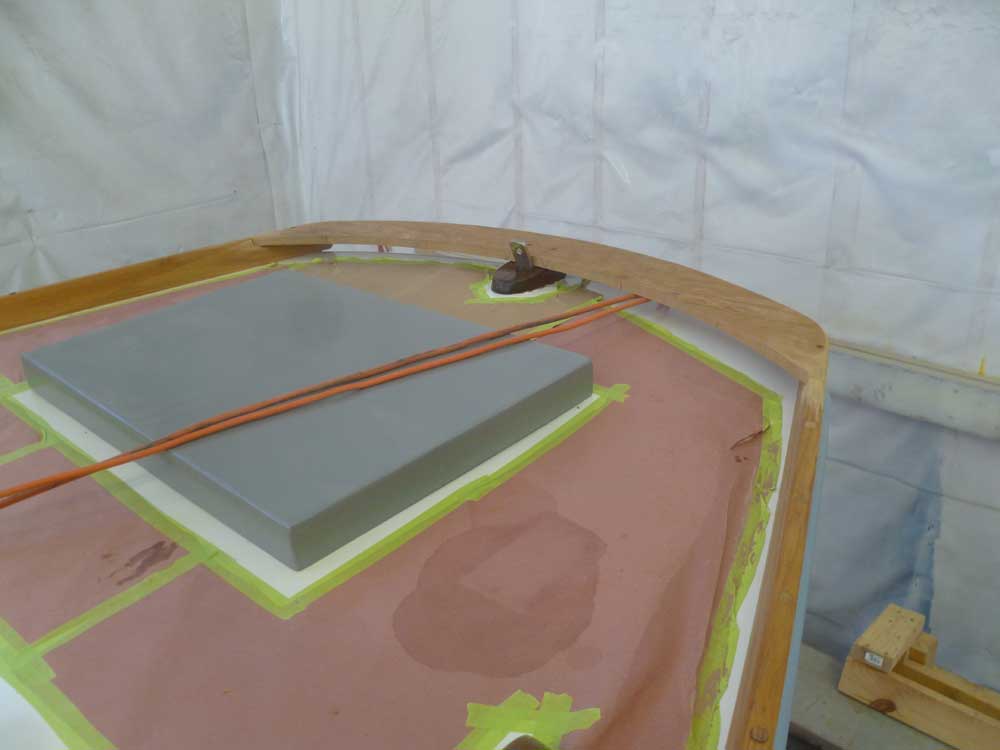
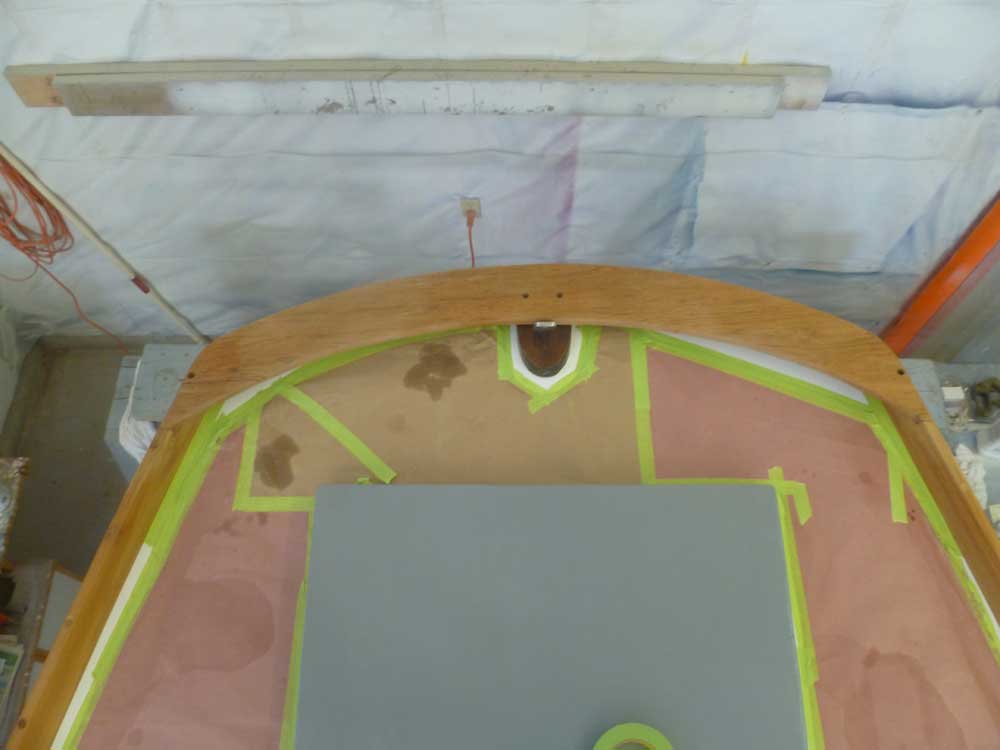
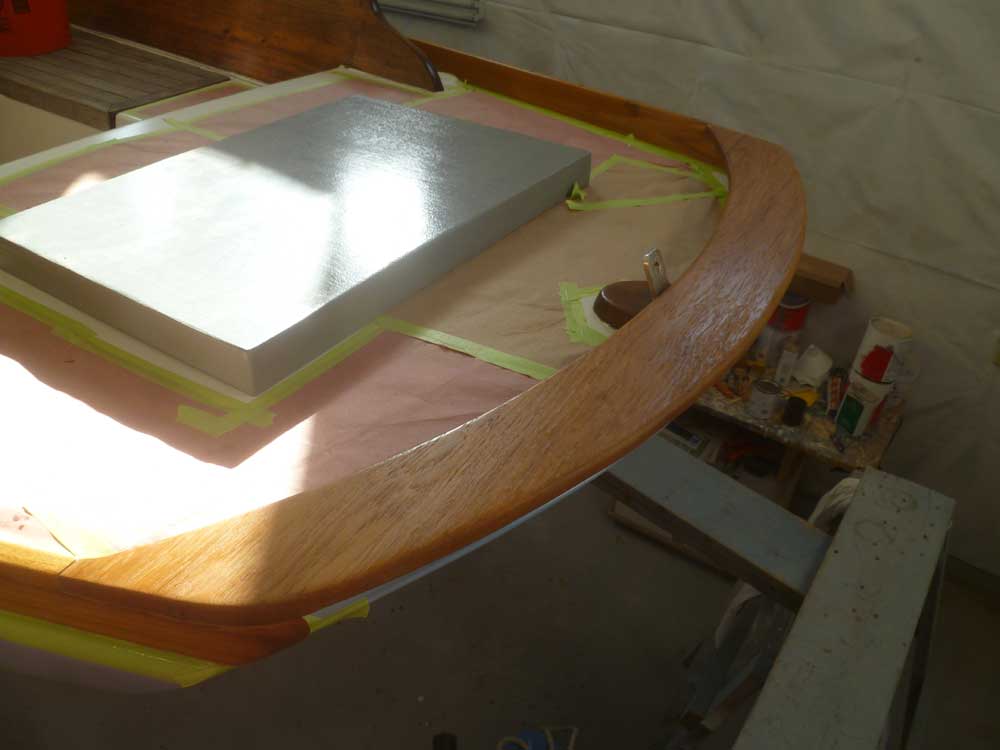
The taffrail blank was ready for additional work. After unclamping the blank, I laid out the old taffrail on top, and used it to create a rough outline of the new taffrail, which I then cut out, leaving the ends extra long and wide so I could fine-tune how it incorporated into the existing toerail ends. I adjusted the piece this way and that till it was symmetrical across the transom, and so that its edges remained parallel to the transom curve (and, on the inside, the nonskid paint line, which followed the transom curve).
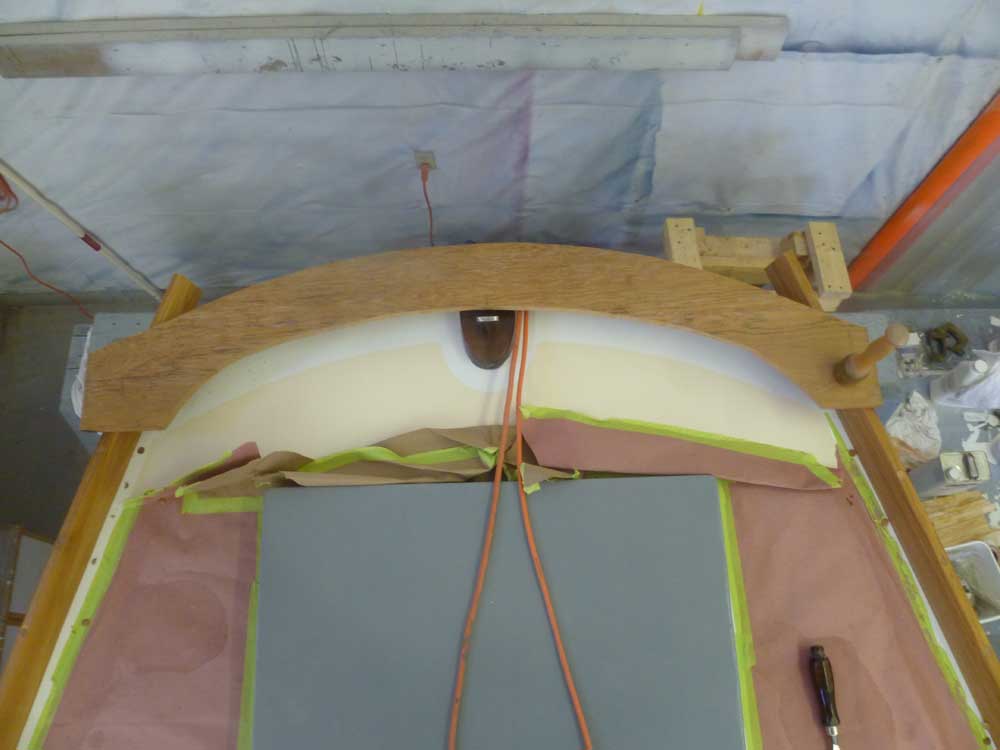
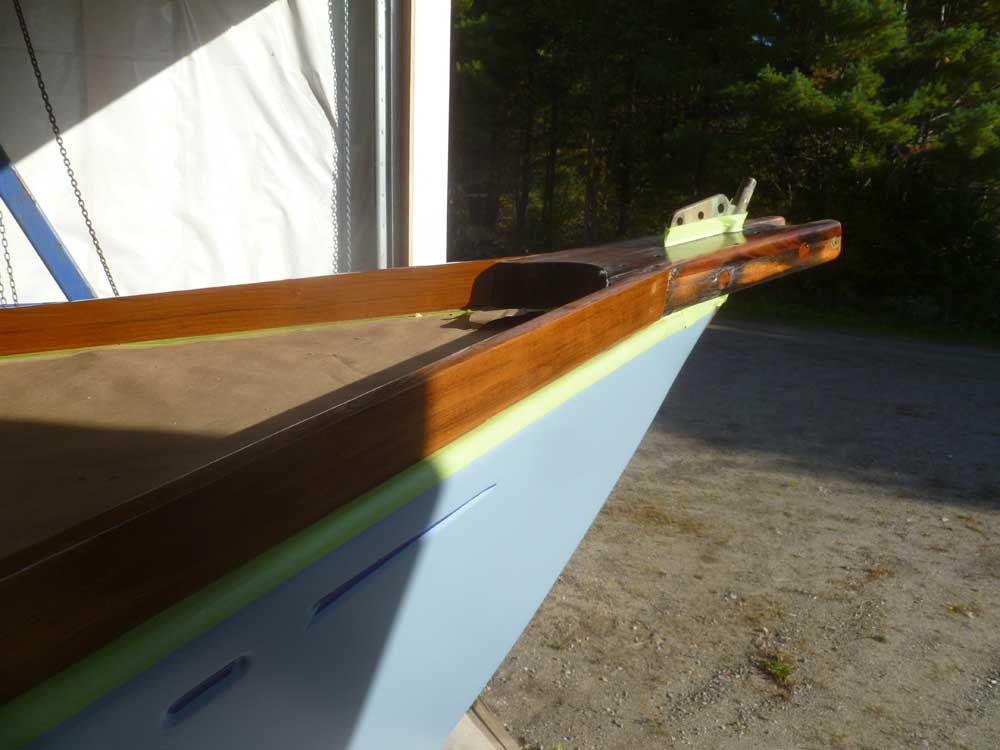
After making some reference marks where the blank met the ends of the toerail on each side, I trimmed the blank to its final shape. Then, with the blank once more on the boat, I marked the toerail for the cuts I needed to make in order to fit the taffrail flush with the top of the toerail.
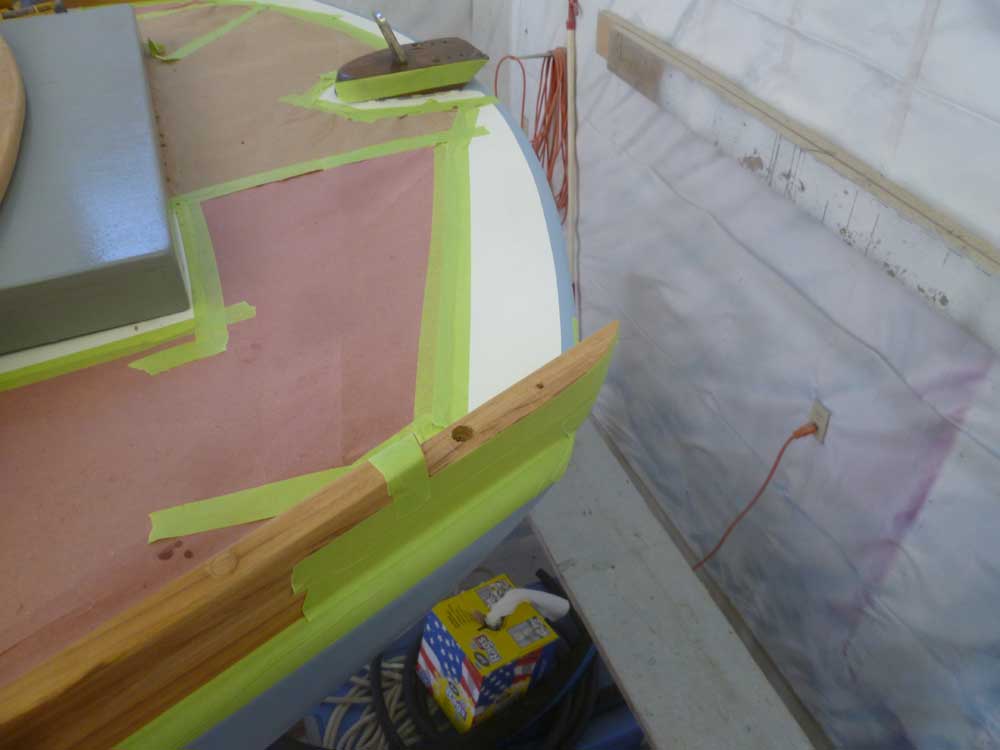
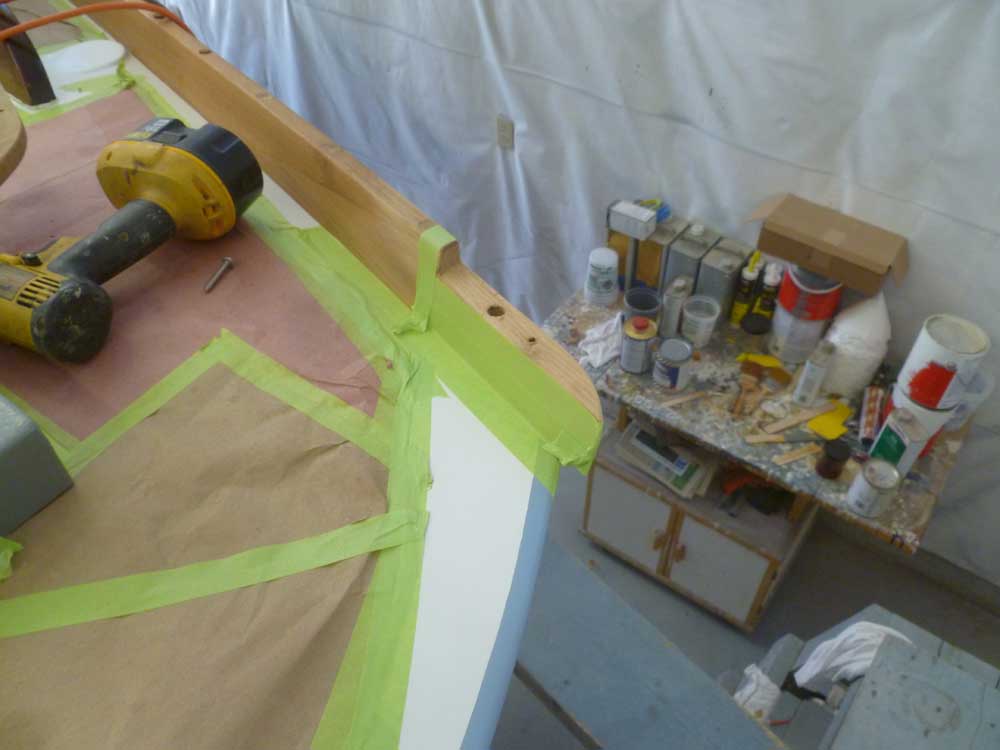
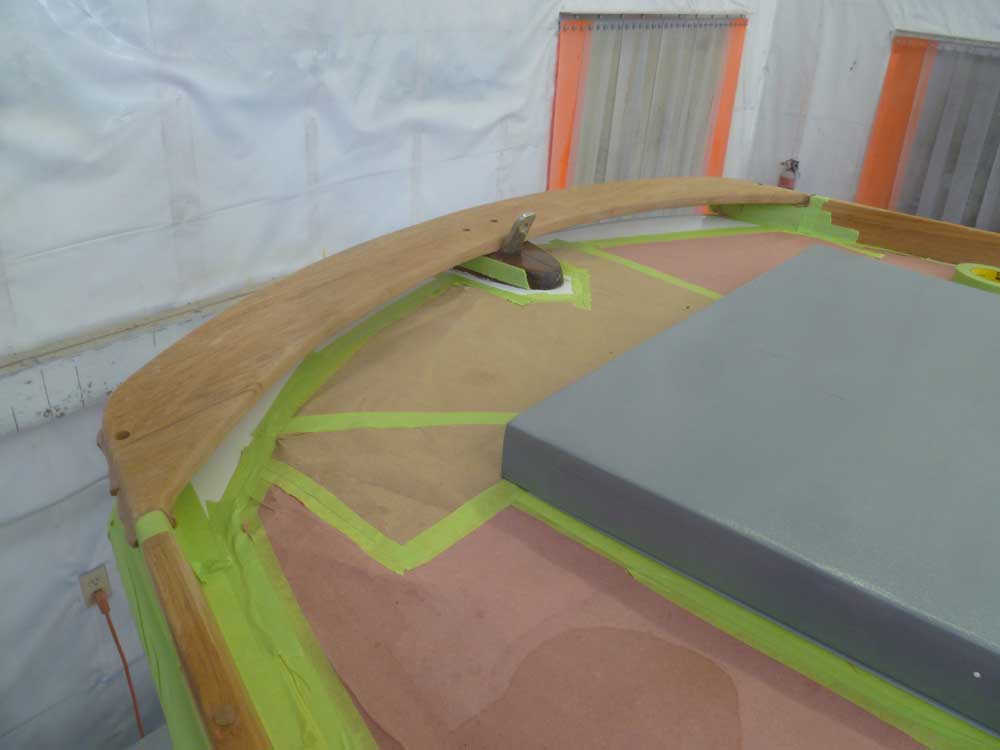
I made the toerail cuts with a saw and cleaned them up with a chisel, then fit the taffrail in place, holding it with a couple screws. Then, I could clean up the edges and joints with sandpaper to make for a flush fit.
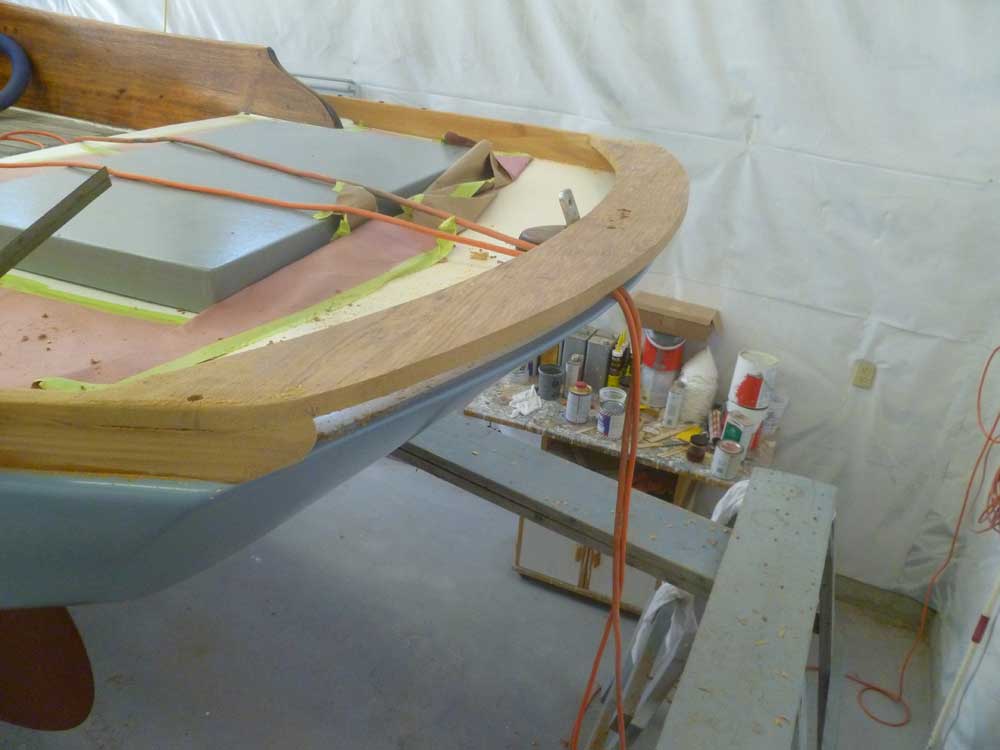
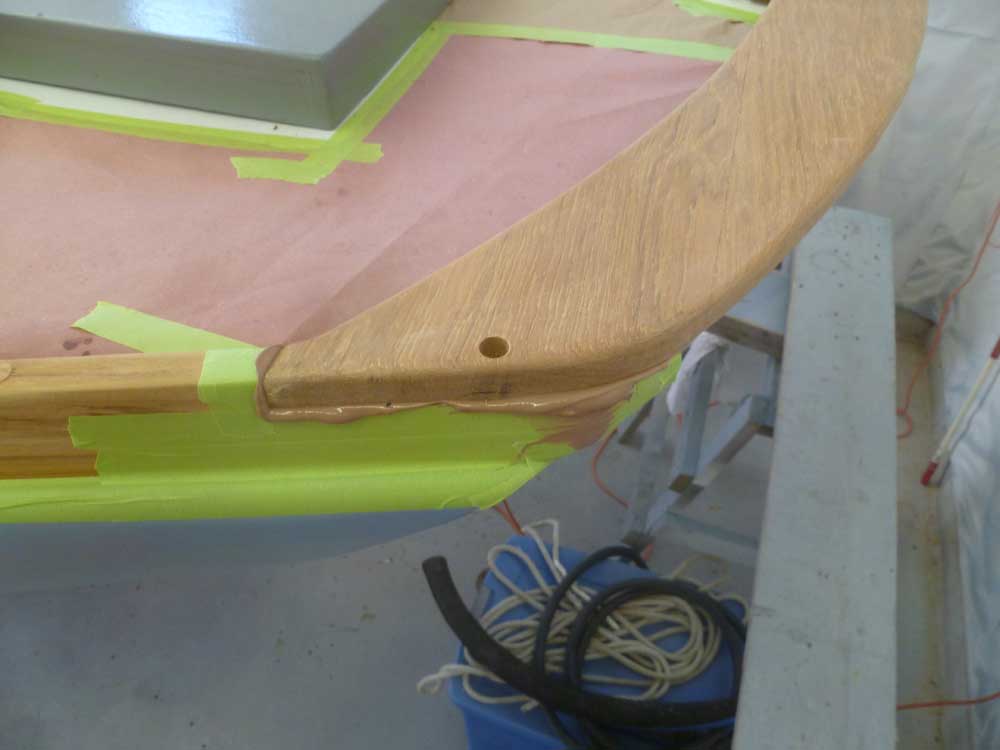
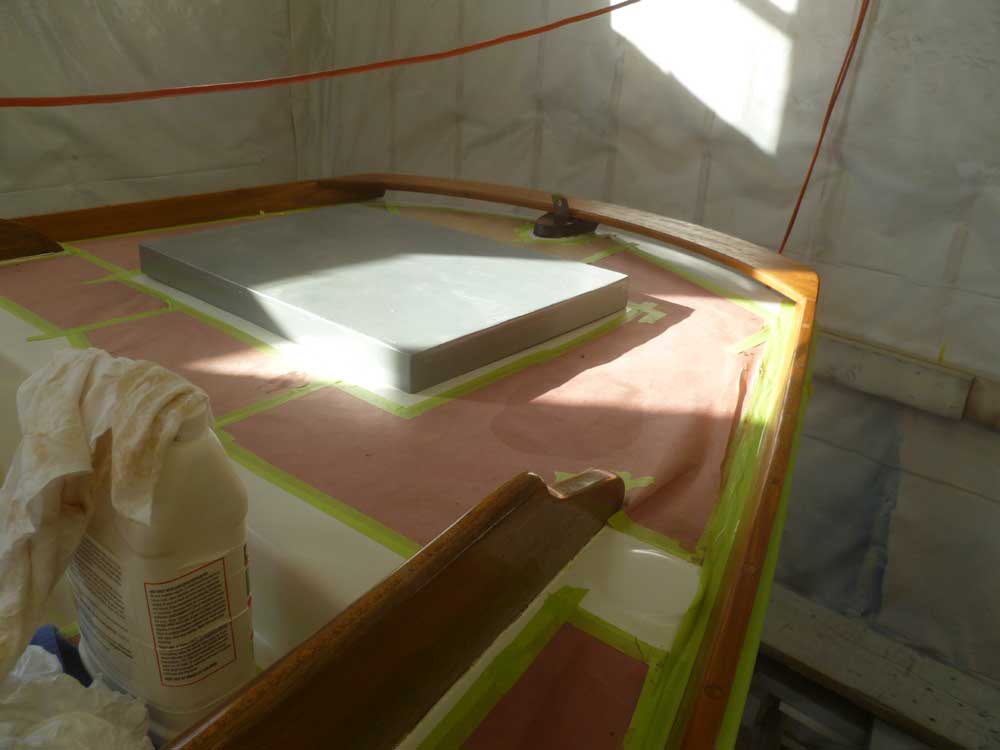
I removed the taffrail back to the bench, where I rounded its edges as need be and sanded the entire thing smooth to prepare it for installation and varnish. I installed the taffrail in a bed of teak-colored sealant, and secured it with a screw at each end, plus two in the support block in the middle.

Next, I cleaned up the sealant and bunged the screw holes (not shown here).

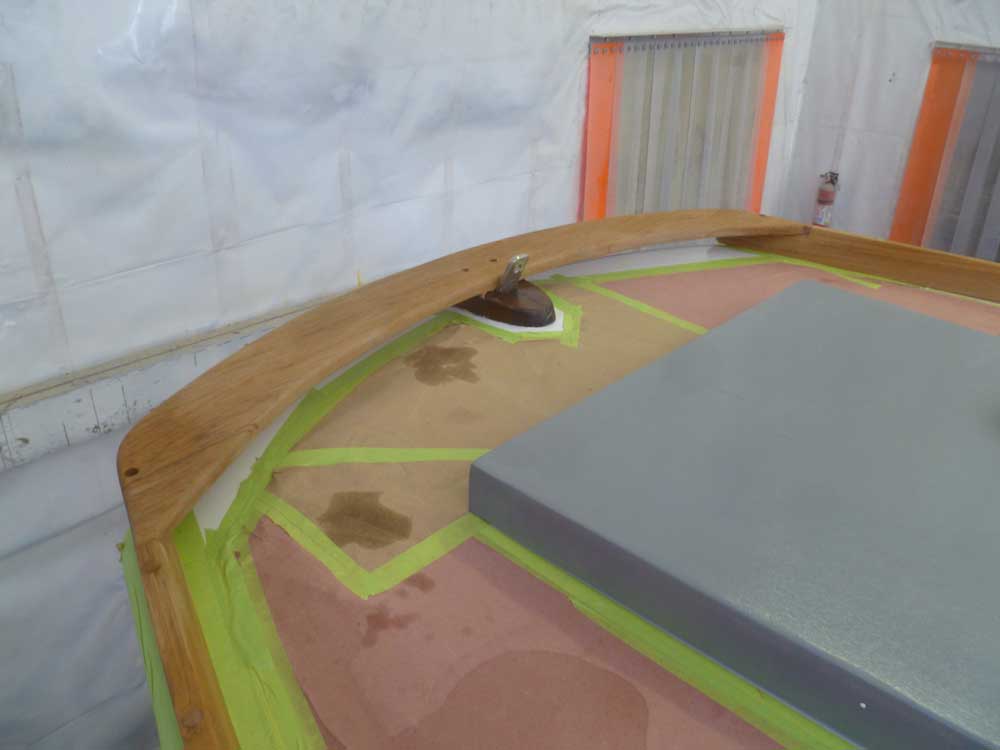
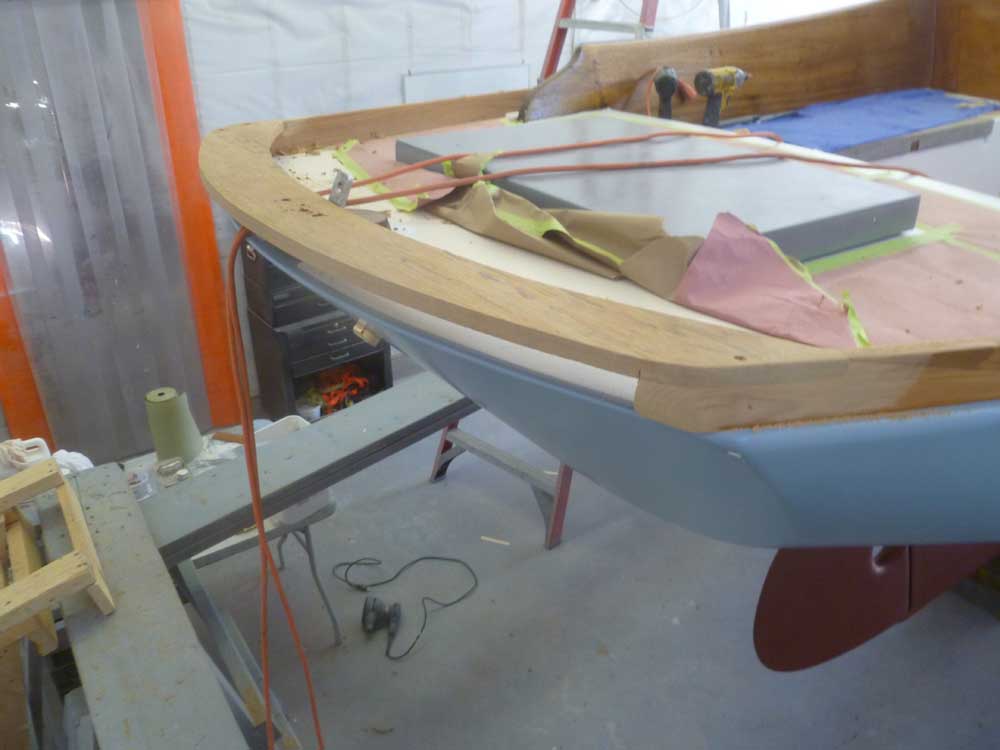
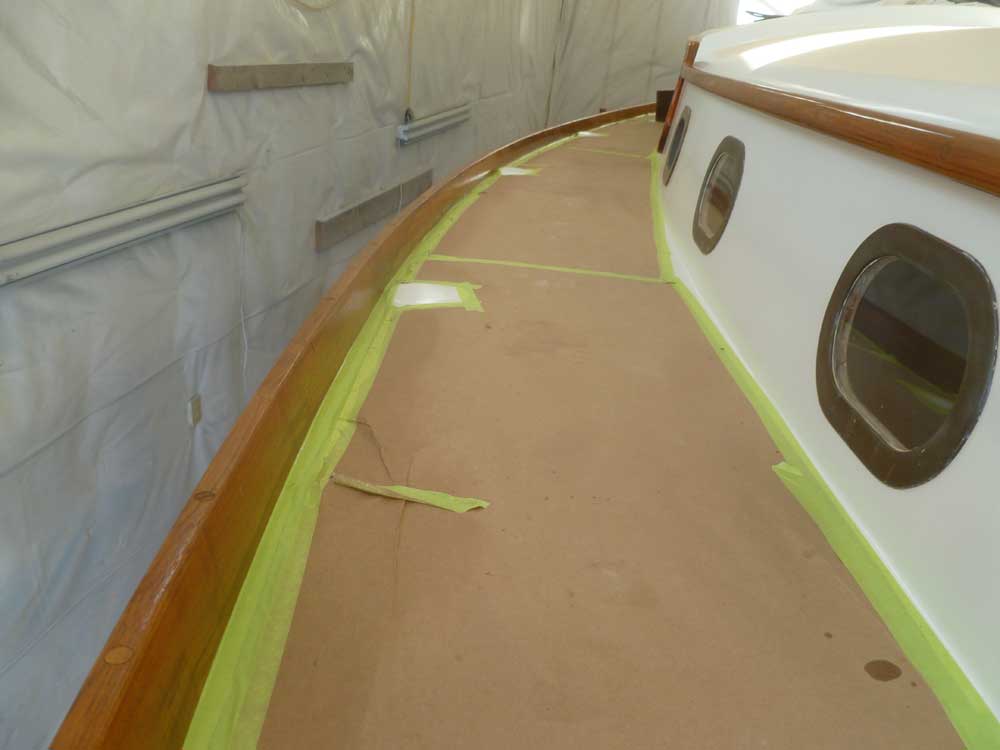
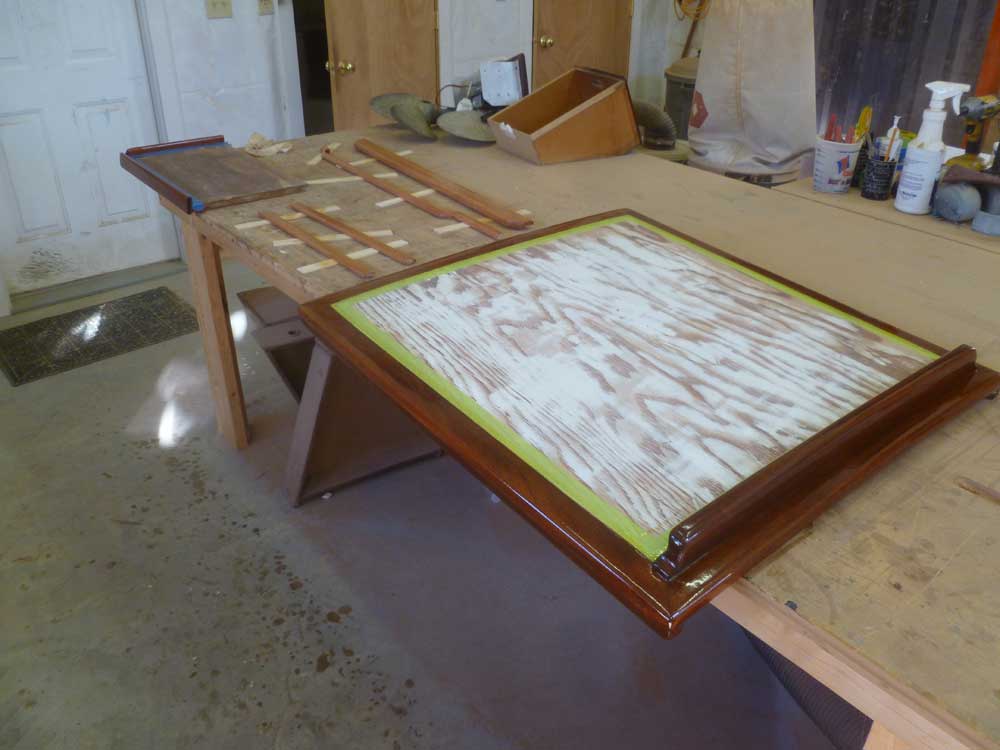
I masked off both sides of the toerail, then pared away the excess bungs with a chisel. Afterwards, I sanded the rails and applied varnish to all areas, including the taffrail.
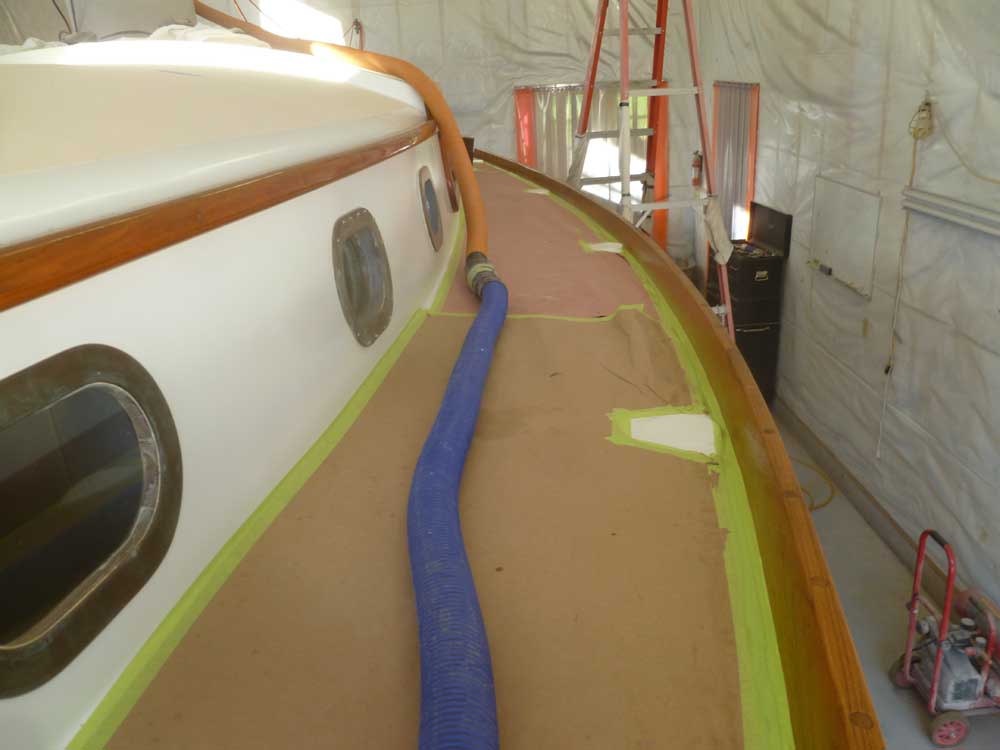
Finally, I varnished various small parts that were currently underway.
Total Time Billed on This Job Today: 6.25 hours
<Previous | Next>
