110 Cookson Lane | Whitefield, ME 04353 | 207-232-7600 | tim@lackeysailing.com
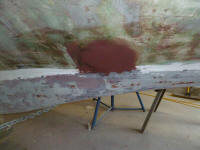
I began the day beneath the boat, sanding yesterday's application of fairing filler on the keel and two through hull patches.
The larger through hull forward, which had housed a knotmeter impeller, required one light additional application of filler to bring it fair and smooth with the adjacent hull.
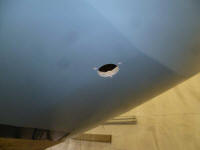
Fill one hole; drill another (or more). The engine intake through hull was next on my list. After taking various factors into account, I determined a location for the new fitting, at the after end of the future engine room on the starboard side, just forward of the aft bulkhead. This location would be convenient for hose runs to the water pump at the forward end of the engine on that side, and would also be easily accessible within the new engine room for ease of operation and service.
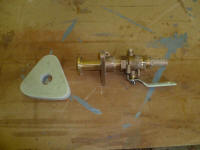
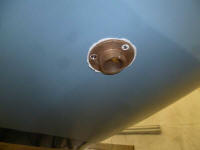
My current fittings of choice were the bronze Groco IBFV adapter flanges equipped with bronze ball valves. The flanged base fitting would provide the strong through hull connection required, while the removable valve would allow easy servicing. The adapter features the correct thread style for each end of its connection: straight for the through hull fitting, tapered for the ball valve end.
From 3/4" G-10 fiberglass, I cut a backing plate to fit the bronze flange.
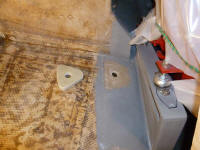
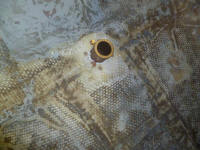
After ensuring that the chosen position provided enough clearance for seacock handle operation, installation of the valve itself (i.e. room to spin if needed), and drill access for drilling the seacock bolt holes, I made a mark on the hull and drilled a pilot hole through to the outside so I could drill the actual hole from there. Inside the boat, I sanded away the paint in way of the new fitting's location so I could bond a fiberglass backing plate to the hull with epoxy adhesive, which I did next.
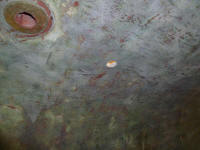

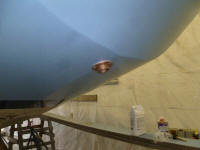
Next, I prepared for the engine exhaust through hull installation. I drilled a new hole directly through the now-patched location of the original fitting, on the centerline aft, then dry-fit the new bronze exhaust outlet and drilled and tapped through the hull for three machine screws to secure it. After cleaning up the area, I installed the fitting in a bed of sealant; inside the hull, I added nuts and washers to the threaded bolts, then cut off the excess length.
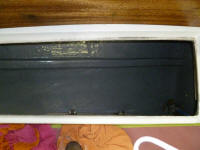
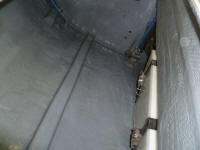
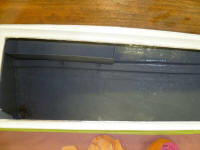
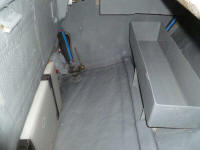
After cleaning out the cockpit lockers as needed--vacuum and solvent wash--I applied a coat of gray bilge paint to these areas.
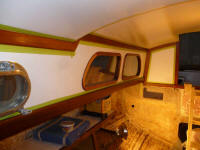
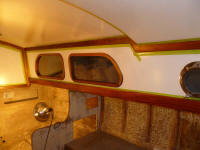
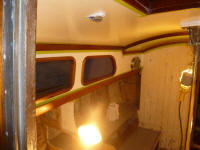
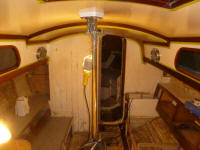
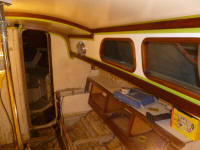
Finally, I prepped the interior brightwork and applied a coat of satin varnish to these areas.

<Previous | Next>
