110 Cookson Lane | Whitefield, ME 04353 | 207-232-7600 | tim@lackeysailing.com
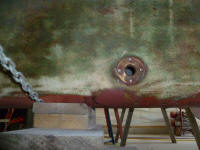
To get started, I worked on the through hull patches and other fiberglass work I'd installed yesterday, water-washing and sanding these areas to prepare them for the next steps.
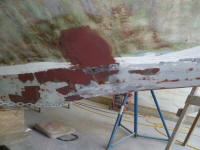
Afterwards, I applied a coat of fairing filler to the exterior of the patches. I also prepped and filled a few areas on the already-surfaced ballast keel where the old compound had flaked away. I stopped well short of any attempts to truly fair or smooth this keel, but wanted to make the surface a bit more consistent at least.
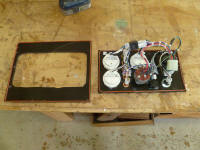
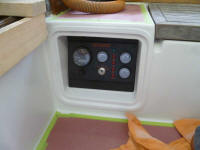
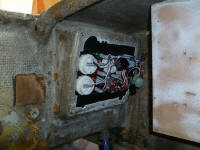
There was a nice angled, recessed area in the cockpit to accept engine gauges, but the back of the recess had been carved out to accommodate the old panel, and the openings were too large and inconsistent for the new Beta gauge panel to cover. I purchased a piece of black acrylic with a textured surface that closely matched that of the Beta panel itself, and cut it to fit and fill the opening.
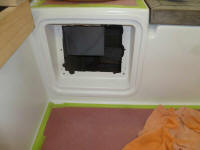
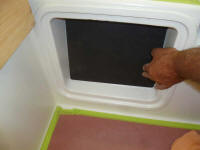
Then, I laid out the cut location for the Beta panel using a template I'd made some time ago for another job, and cut the opening. With the newly-cut panel held in place, I marked a couple areas on the boat where I'd need to widen the existing cutout to accept the new panel, then cut out these marked areas.
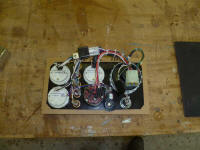
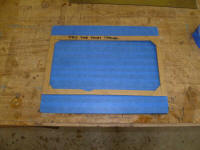
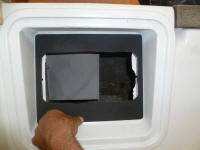
I applied a self-adhesive silicone gasket to the perimeters of both panels, and secured the new gauge panel and its backer panel in place in the opening, completing the installation.
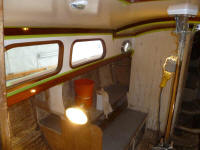
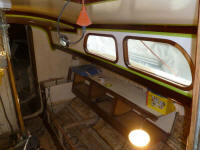
Meanwhile, I continued with the interior brightwork, and sanded, cleaned, and revarnished the cabin trunk trim. The trim had originally been treated with a traditional red mahogany paste stain/filler, and while I'd stripped and sanded clean the wood, remnants of this filler remained in the wood grain, so the open grain filled more quickly with the varnish than it might have with raw, untreated mahogany. Assuming this 4th coat of gloss varnish was consistent and smooth after curing, the next (and possibly last) coat would be rubbed-effect satin varnish.
I'd had much of the interior woodwork (drawers, removable pieces, etc.) in storage ever since beginning the project, but now I pulled out the items and went through it, setting aside pieces I planned to work with sooner than later; all the woodwork would require refinishing along with the remainder of the saloon. Some of the old trim pieces that I'd removed early on, not knowing at the time the fate of portions of the interior, would probably not be used, so I set them aside. Over the coming days and weeks, I'd work on some of these interior pieces as time and progress warranted.
What I really wanted now, however, was the various pieces of the eyebrow trim, which was a project begun by someone else years before and never completed. I'd carefully removed this trim during an early stage of the project, when I determined that the cabin trunk sheathing had to be redone, and I'd set aside the teak pieces for later. To complete the trim, I'd need to fabricate pieces for the after portion of the coachroof, but the rest was complete and needed only cleaning up and refinishing before reinstallation.
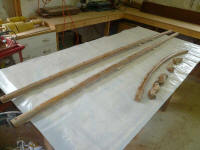
I applied paint stripper to the lightly-varnished (and largely worn-off) trim pieces, then scraped off the remaining varnish.
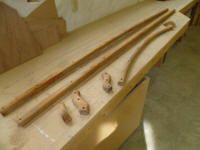
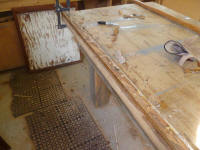
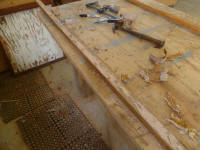
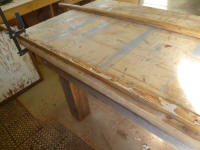
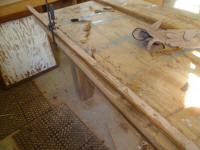
The trim had been installed with polyurethane sealant, and as a result it took with it some of the old sheathing and even plywood when I removed it. These remnants now needed to be removed, and the only way through the tenacious adhesive was with a slim, stiff 5-in-1 tool which, with plenty of elbow grease, sliced through and removed the old material to a point that I could work with. I had enough time to scrape clean the two long pieces, leaving the smaller pieces for later.
Total Time Billed on This Job Today: 7.25 hours
<Previous | Next>
