110 Cookson Lane | Whitefield, ME 04353 | 207-232-7600 | tim@lackeysailing.com
After some office time to wrap up various orders for some of the work ahead, as well as finalizing the engine order with Sound Marine Diesel, I set up some staging so that I could begin one of the larger projects on the list. The owner reported that there were leaks coming from the after portion of the starboard toerail, so rebedding this rail had become a high priority.
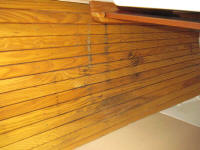
Once I was set up, I began to investigate. Inside the boat, the ash ceiling in the quarterberth showed clear evidence of the leaks, with four or five narrow vertical stained areas showing where water had dripped and run down.
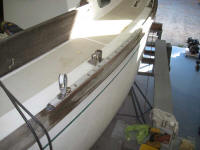
Following these stains upward to the area beneath the hull-deck joint, however, I noticed that the stains seemed to be lined up precisely with the through bolts securing the genoa track to the top of the toerail, while the exposed self-tapping screw ends securing the wooden rail itself showed no signs of this leakage, nor did any of the water stains inside line up with these screws.
Looking at the track, it did appear that the forces of the genoa sheet, over time, had caused the track to move enough to release whatever sealant had been beneath; for all I knew, this was an original installation, in which case it'd be no surprise that leakage might have occurred
Further bolstering the idea that it was the track, rather than the rail itself, that was leaking were several nuts that were covered with silicone in some previous person's ineffective attempt to stop the leakage from within. In addition, one of these bolts had a helpful label taped to it: the label read "leak".
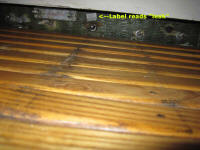
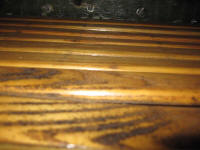
With no other reported leakage issues, coupled with the fact that the toerail and rubrail on both sides of the boat appeared to be well and securely installed, it seemed that we might get lucky and need only to rebed the genoa track to eliminate the leakage. After passing this information along to the owner, we decided to proceed on that course and later do a leak test to ensure that we'd truly addressed the problem.
I removed the genoa track, using multiple sets of locking pliers to hold the nuts beneath while I removed the screws from above. 11 of the 12 over-long screws came out cleanly; the head of one spun off, but I was able to remove the stud from below. Beneath the track was little evidence of a good seal; instead, I saw dried-up and wasted sealant, and minimal at that. The evidence seemed to keep pointing to this as the problem.
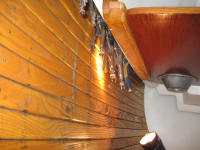
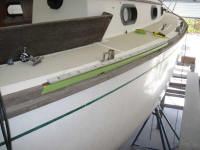
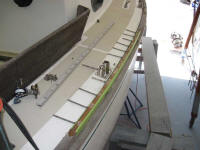
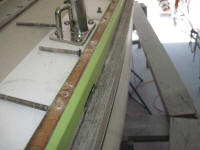
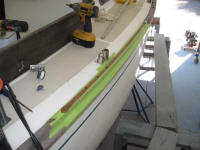
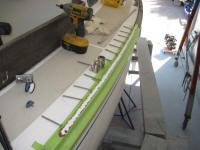
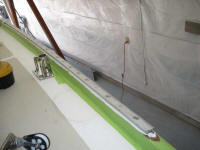
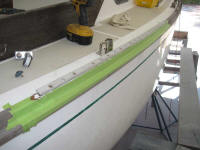
After cleaning up the mating surfaces, I milled small countersinks in the top of the toerail at each fastener location, all the better to hold additional sealant where it was needed most. Then, I masked off the bare teak rails to prevent sealant from staining the wood, and rebedded the toerail with lots of sealant and new stainless steel fasteners.
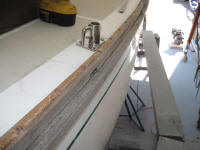
Once I'd cleaned up from the genoa track work, I decided to try a test buffing on the hull. Despite being dirty and oxidized, the original gelcoat was in pretty good condition, and I thought it would clean up well. I was awaiting new supplies in order to clean and polish the entire hull and deck, but with some materials I had on hand I decided to sample the process on the transom.
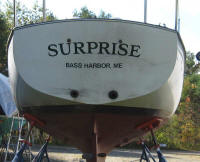
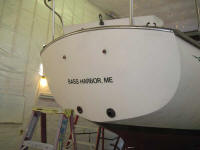
First, however, I thought I'd remove the name, which was painted on the transom and had faded and partially worn away; the owner wanted it redone. The old paint was surprisingly resistant to all the solvents I tried on it; I'd never seen name paint resist removal the way this did. Eventually, the name succumbed to a combination of rubbing compound and solvent, but the process took longer than expected.
However, the rubbing compound did a good job cleaning up the transom, which was one of the worse areas of the boat in terms of original appearance. As a sample, I was pleased with the results, but the transom wasn't yet complete; during the actual job, I'd use a couple additional products after the rubbing compound to bring out the best of the old gelcoat.
Note that the hailport used vinyl lettering, not paint, and as of these photos and this writing, I'd not yet removed it. I'd be removing these letters in the near future, and before the final hull cleaning and buffing.
Total Time on This Job Today: 6.5 hours
