110 Cookson Lane | Whitefield, ME 04353 | 207-232-7600 | tim@lackeysailing.com
With the engine out of the way, the next step was to remove the various ancillary connections, such as control cables, engine wiring harness, the waterlift muffler, and related installations. Getting rid of the things that I knew were in the way and would require replacement would open up the engine room for future work, and allow for better inspection of remaining components to determine what would require replacement.
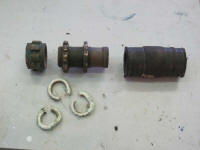
I began by removing the propeller shaft and stuffing box assembly. The bronze stuffing box was in good condition and would be reusable, though I'd install new packing and a new hose and clamps before reinstallation. The shaft was generally in fair condition, but the new engine installation would likely require a new shaft of a different length.
Next, I removed the control cables, which would be replaced with new along with the control unit in the cockpit. Dealing with corroded connections and stainless steel screws that had effectively welded themselves to the aluminum housing meant that removing the old controls took some time.
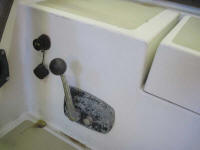
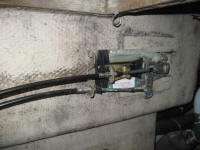
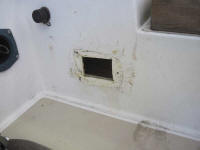
Similarly, I removed the old engine stop cable and instrument panel, which required removing the entire surround from the aft end of the cockpit since the panel was throughbolted. The panel was in poor condition, having been broken in way of the stop cable at some point. The surround would be reusable if the new engine's control panel would fit within.
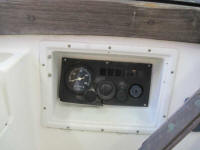
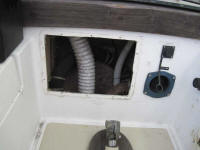
One of the hose clamps securing the exhaust hose to the muffler outlet was corroded in place and wouldn't move, so I had to cut off the clamp, after which I could remove the muffler with ease. The water contained within the muffler was full of carbon from the old engine. Afterwards, I could better climb into the engine room to release several screwed-in cable ties that held the old wiring harness in place beneath the cockpit, allowing me to remove that.
This opened up the engine room to the point that I could test-fit a template of the proposed new engine, a Beta 14. I had this template on hand from a previous job, and after double-checking its dimensions with the technical drawing downloaded from the Beta Marine website, I tested the fit of the template using (temporarily) the old flexible engine mounts to place it in position.
Fortunately, the fit looked generally good in concept: the mount spacing was just about the same as the old Yanmar's, and the additional length of the new engine didn't appear to cause any issues within the space. Transmission center location looked to be generally in the same place, which meant that the new engine ought to be a good overall fit.
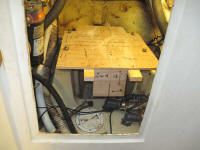
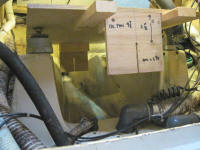
With this information at hand, I inititiated contact with the engine dealer to start the ordering process.
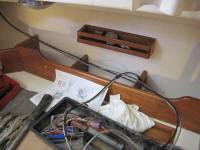
The engine room and other portions of the boat awaited a thorough cleaning, which I'd do in the near future once I had a chance to pick up some detergent. Meanwhile, I took care of a few small odds and ends on the work list, including removing some redundant cabling from above the galley; this cabling appeared to be from a no-longer-used depthsounder or some such, and, after determining that it didn't lead anywhere important, I removed it.
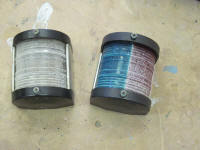
I also removed for replacement the lenses from the running lights, which were badly crazed and for which replacement had been requested. I started to put together an order for these, as well as several other replacement items that would be needed.
Total Time on This Job Today: 7.25 hours
