110 Cookson Lane | Whitefield, ME 04353 | 207-232-7600 | tim@lackeysailing.com
In order to move significantly forward on the actual installation of the engine in the boat, I needed the thinner nuts I ordered yesterday, so that I could properly align the template and mark the mounting holes for drilling.
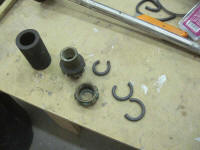
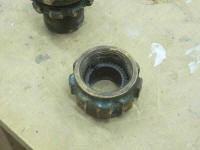
In the meantime, I worked on a few related things, beginning with the stuffing box. The original bronze stuffing box was in good condition, but I cleaned up the threads and lightly greased them with waterproof grease to ease operation.
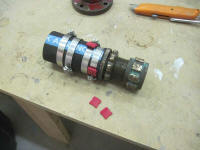
Then, I repacked the stuffing box with new 1/4" graphite-impregnated Gore-Tex packing, and assembled the hose and stuffing box with new clamps. I tried three rings of the packing, but this didn't leave sufficient room for the packing nut to thread on an appreciable amount without over-compressing the packing, so I pulled out one ring, leaving two in place.
I wouldn't install the hose in the boat till I was through with the engine alignment string.
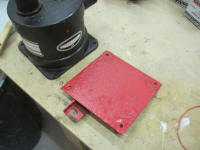
Originally, the fiberglass waterlift muffler had been secured on a steel platform to one of the after engine mounts; this was more or less a necessity given the tight space available. I planned to re-use the basic setup, but with the new engine and its different exhaust configuration I thought it'd be better to turn the muffler 90° on the platform to better align the inlet with the new exhaust hose.
I unbolted the muffler and cleaned up the steel platform, which was pretty rusted. I enlarged the mounting hole so it would fit over the new engine mount stud, then primed and painted the platform to extend its life before rebolting the muffler in place later.
Inside the boat, I secured the engine wiring harness beneath the cockpit, as well as securing the engine control cables a short distance forward of the control to ensure a straight run there and prevent any undue radii in the cables when I went to connect them to the engine later.
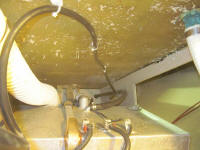
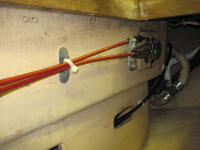
The original engine raw water intake had required 5/8" hose; the new engine required 3/4". Fortunately, the seacock was a 3/4" seacock that had been reduced to the 5/8", so I removed the old tailpiece and ordered a proper replacement. Similarly, I ordered new 90° sweeps for the raw water strainer so that I could connect the 3/4" hose to its inlet and outlet.
In mid-afternoon, the new nuts I'd ordered for the engine mounts arrived. The new nuts were a bit thinner in height, which would give me the adjustment room I needed to lower the aft end of the engine without bottoming out the mount. The new nuts' height (on the left) looked perfect.
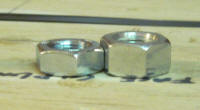
Unfortunately, I immediately realized I'd made a foolish error. Not having thread gauges on hand for studs of this size, I'd made the mistake of assuming that the studs were a US thread, since the nut seemed to fit a US wrench perfectly, and had ordered both fine and coarse threads for what I thought was a 5/8" stud based on this information and measuring the stud itself.
Of course the stud size and threads were metric, given the engine's overseas origin, so the new nuts didn't work. I should have known this, but one tends to get stuck in one measurement scheme or another while remaining blind to the other. I had no option but to order the correct nuts in both available metric thread pitches and await their delivery tomorrow; this effectively ended my progress for the day.
Total Time on This Job Today: 4.75 hours
