
110 Cookson Lane | Whitefield, ME 04353 | 207-232-7600 | tim@lackeysailing.com
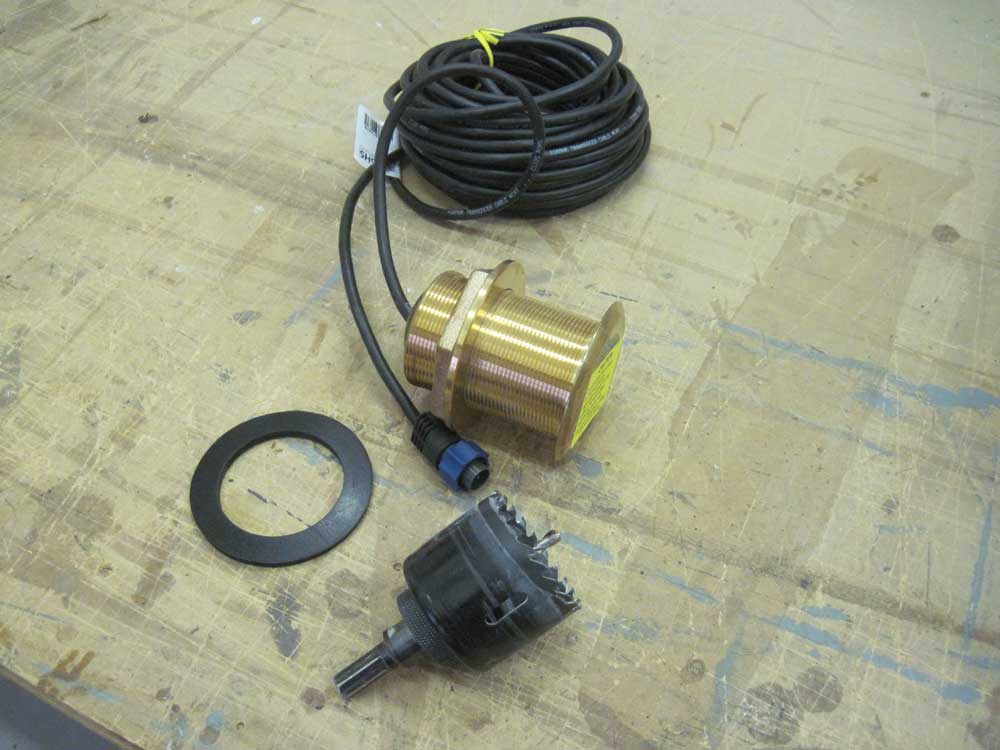
The new bronze transducer featured a 2-3/8" diameter housing, so I had to enlarge the existing hole in the bottom. To form a center for the hole saw, I cut a piece of scrap wood to a size that I could jam into the hole, after which it was quick to enlarge the hole with a 2-3/8" hole saw.
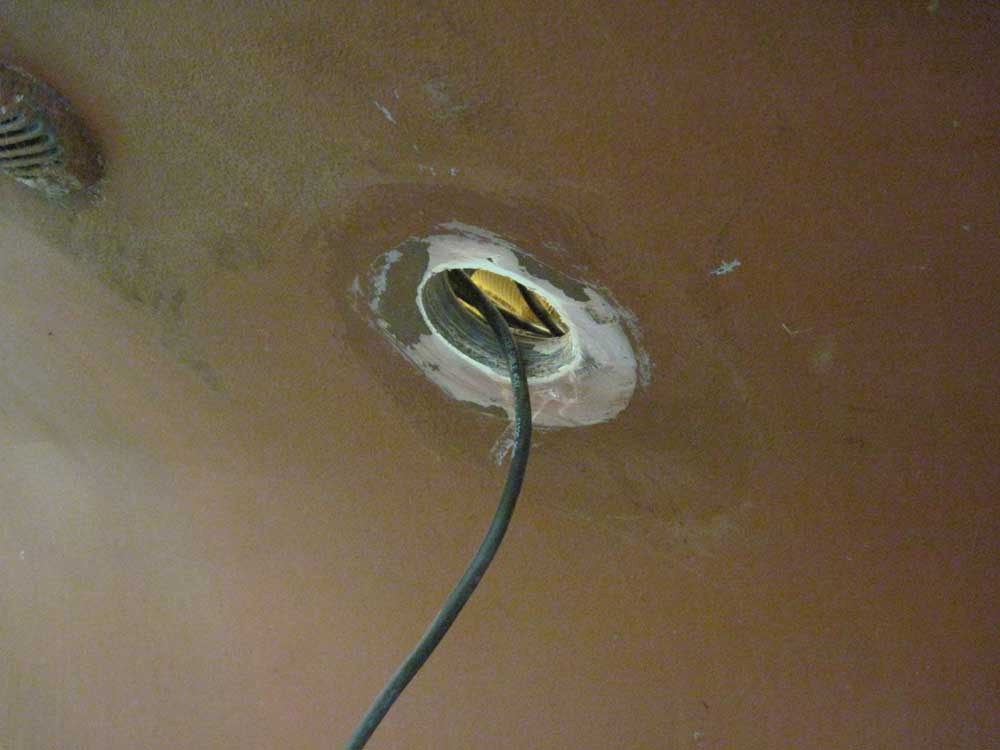
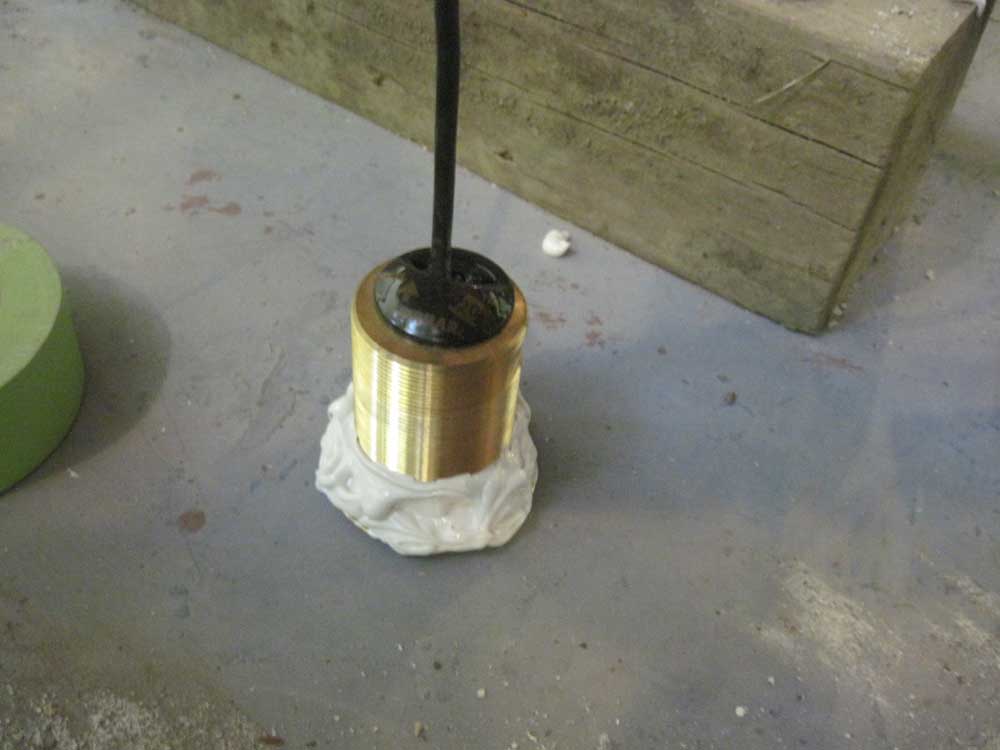
After lightly sanding around and inside the hole, and cleaning up the area, I snaked the transducer cable up through the hole, prepared tools as necessary, and then applied copious amounts of sealant to the transducer flange, as well as an inch or so up the threaded portion, where it'd be inside the hull.
The transducer featured a 20° internal angle that allowed it to be mounted flush on the angle of the hull, but it also needed to be oriented in a specific direction, which was marked on top of the transducer. I made a reference mark on the outside of the transducer before installing it so that I could get the orientation more or less correct as I inserted the body into the hole.

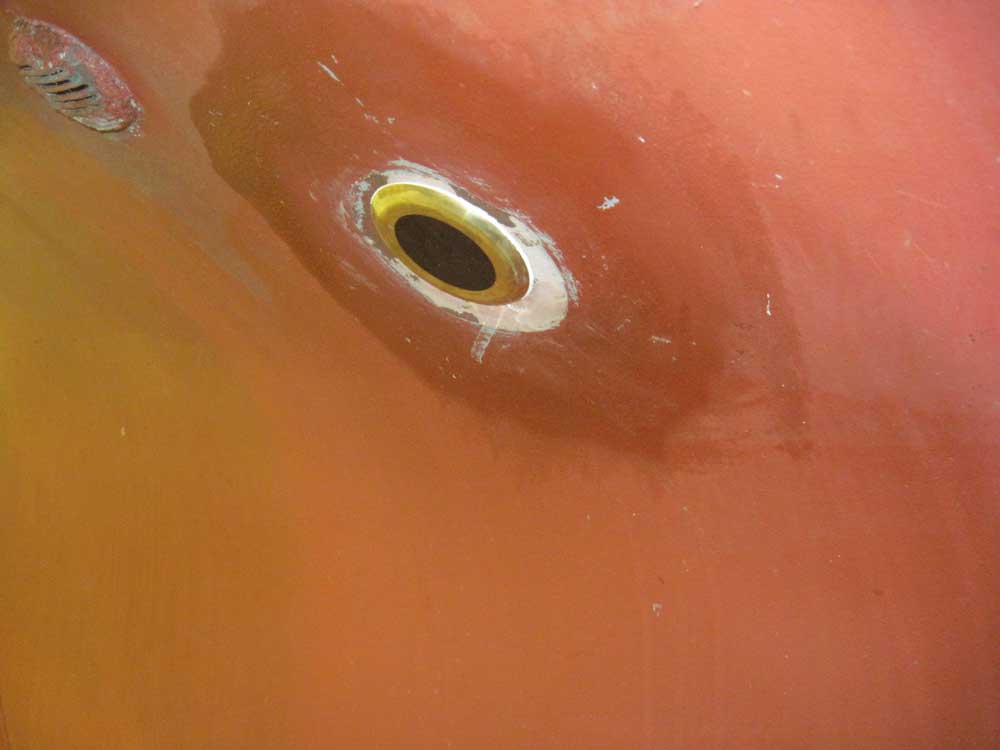
From inside, I secured the transducer with the supplied gasket and bronze nut, tightening it securely. I ran the cable into the cockpit locker for later snaking up to the display unit, once installed. Outside, I cleaned up the excess sealant from around the transducer.

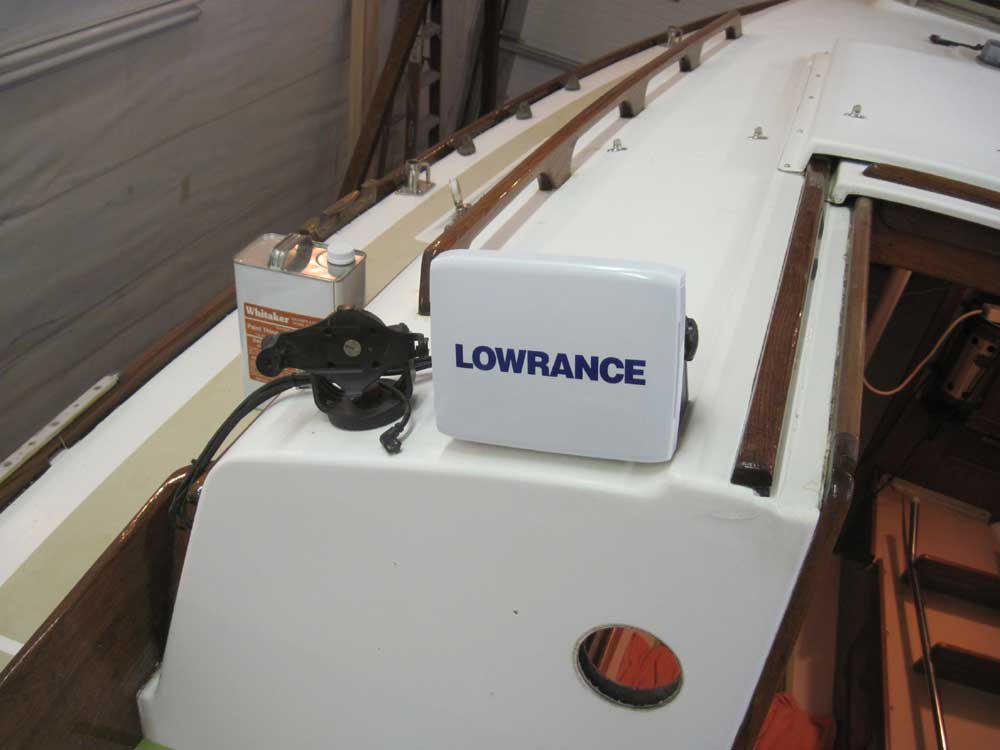
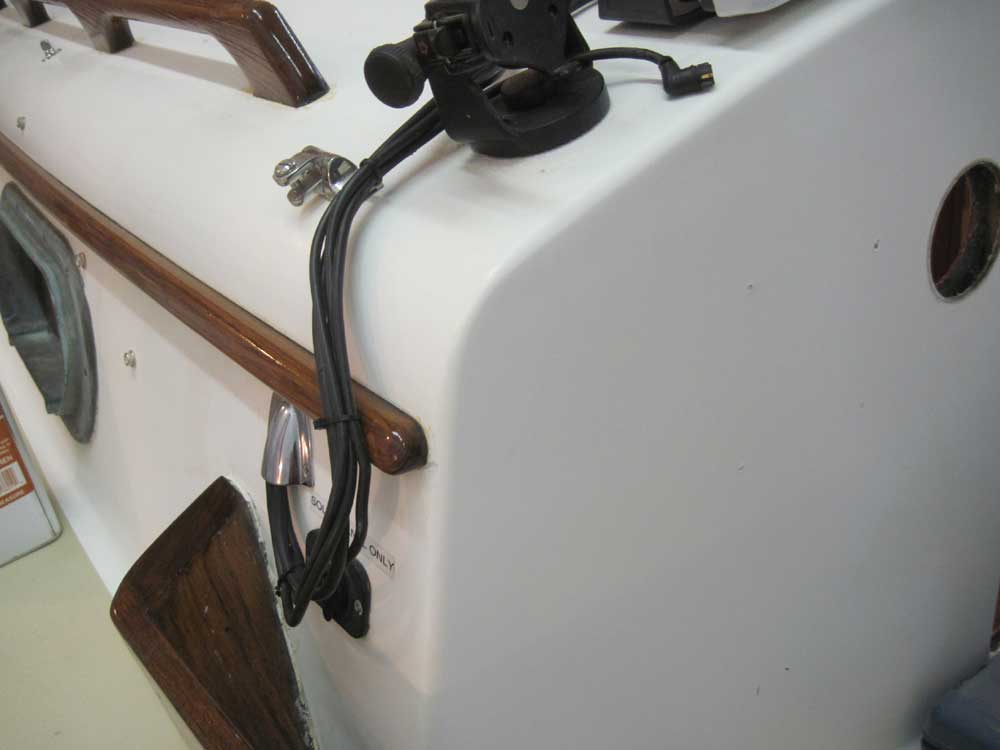
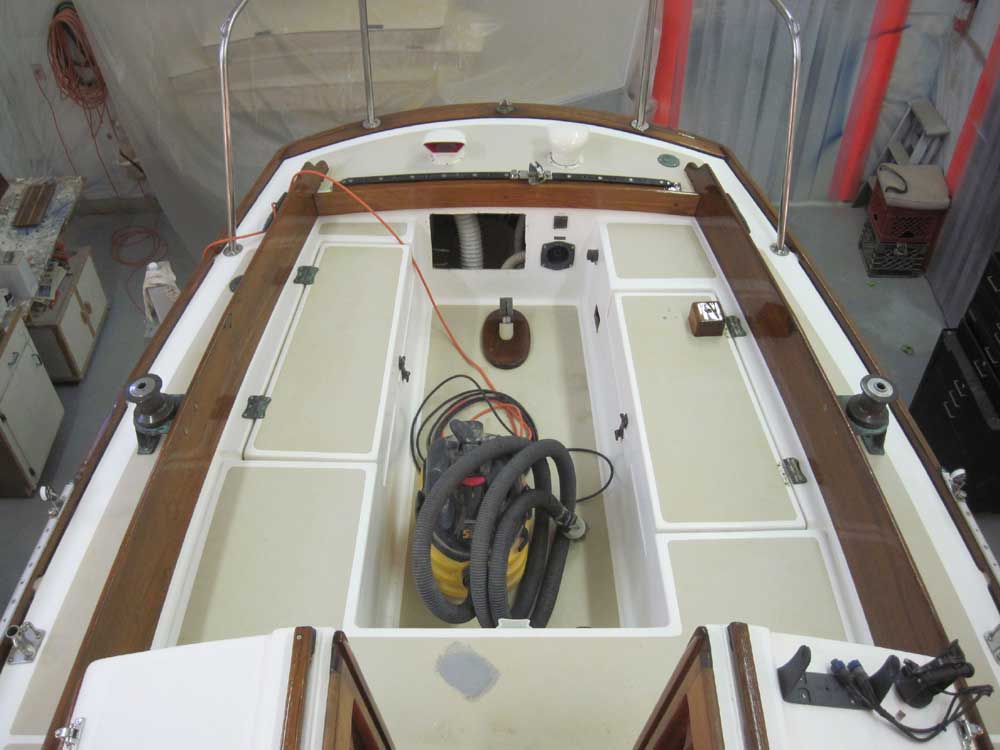
I installed the new bracket for the Lowrance fishfinder, using screws and sealant, and then ran the power/data cable and transducer cable out through an enlarged hole in the cabin side, following the route of an existing cable for another piece of electronic equipment. I snaked the transducer cable from the cockpit locker into the cabin following the route of some other wires; I was unable to snake it through the liner using the old transducer cable, as I'd hoped, as the plug end of the new cable was too large to fit in the tight space.
Afterwards, I made up the power connections for the new unit to the back of the electrical panel, and secured the excess transducer cable in the cockpit locker adjacent to some similarly-secured existing wiring.

Following up on the engine delivery status, I was informed that the shipment had been delayed, and wouldn't be going out till next week. This was disappointing, but all I could do was move forward with whatever other tasks I could in the meantime.
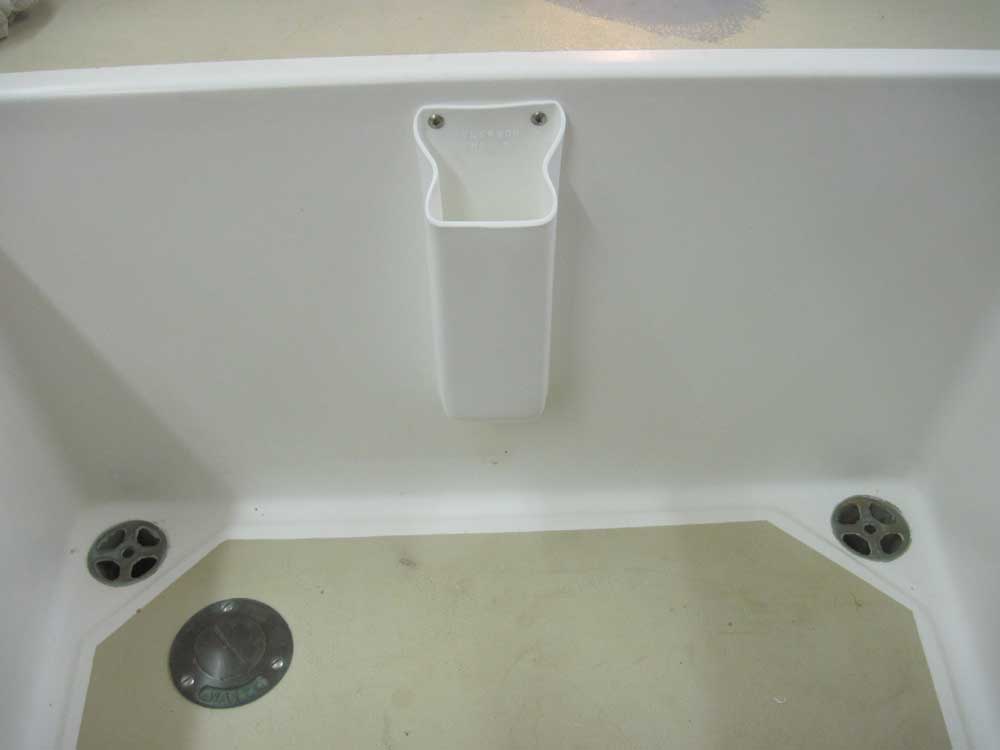
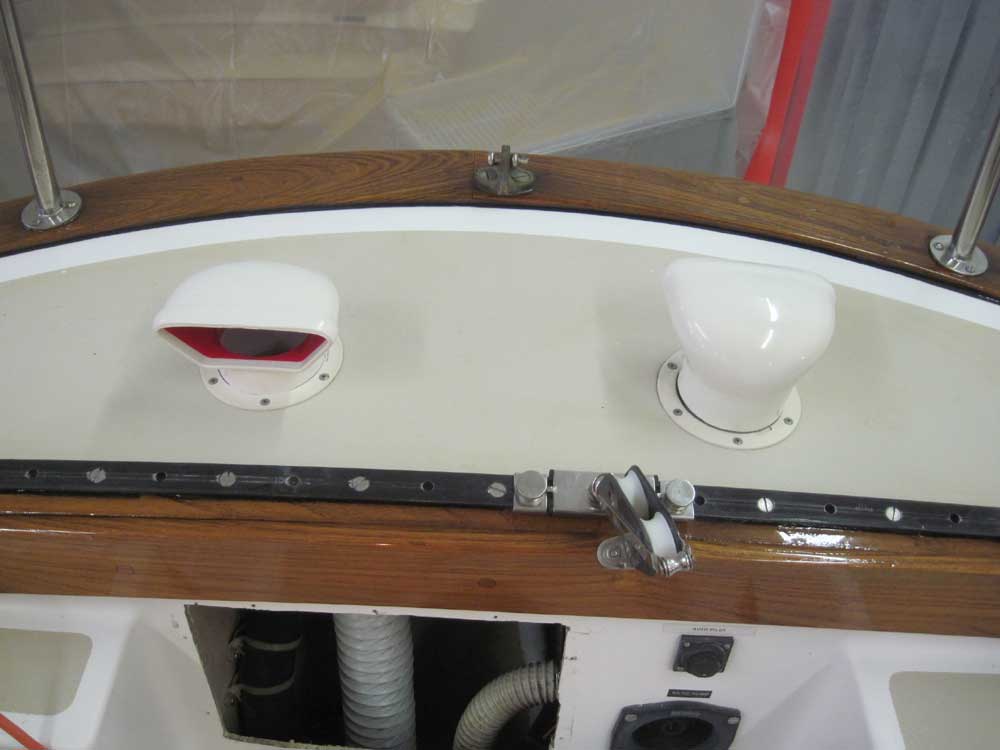
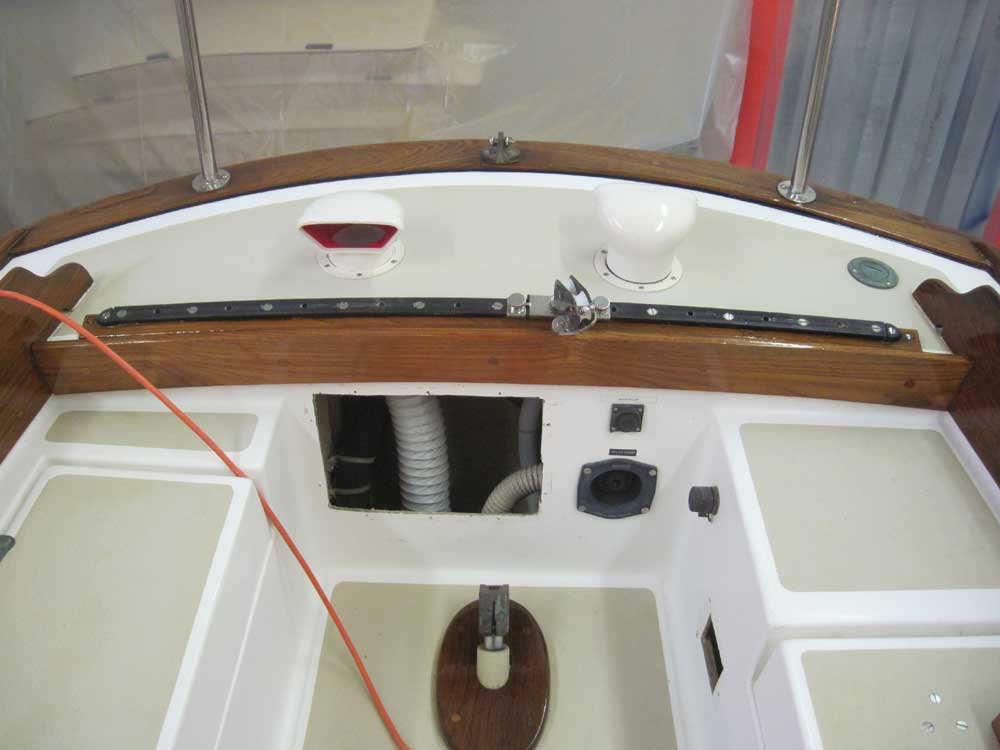
To that end, I installed a few odds and ends on deck: a replacement winch handle pocket and some new cowl vents to replace similar, deteriorated versions that I'd removed earlier.
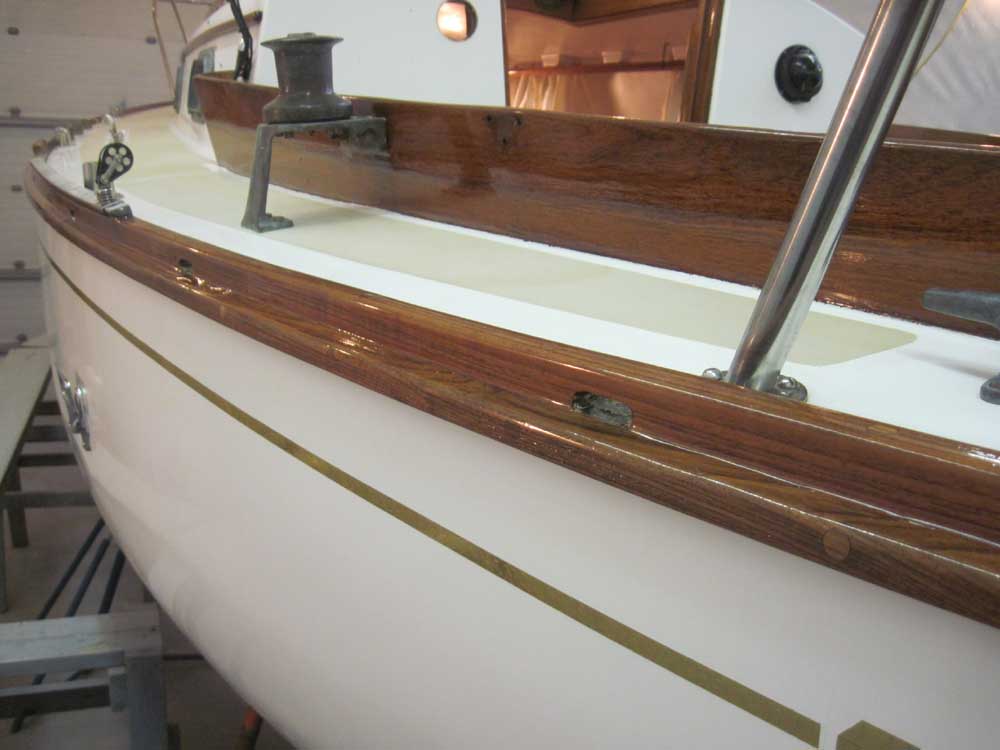
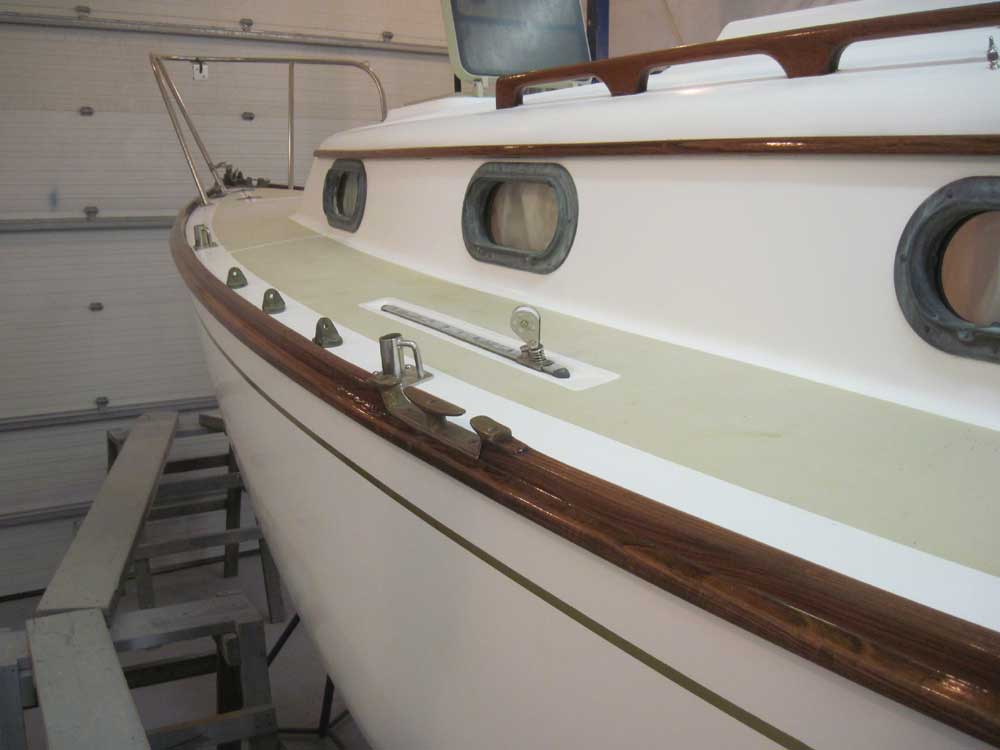
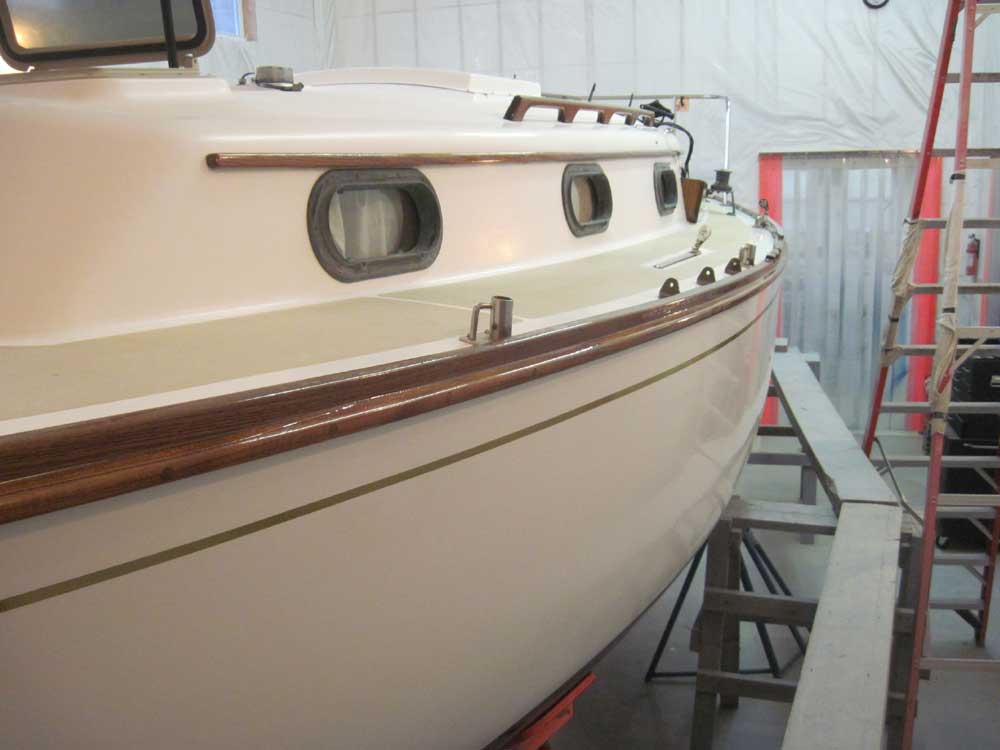
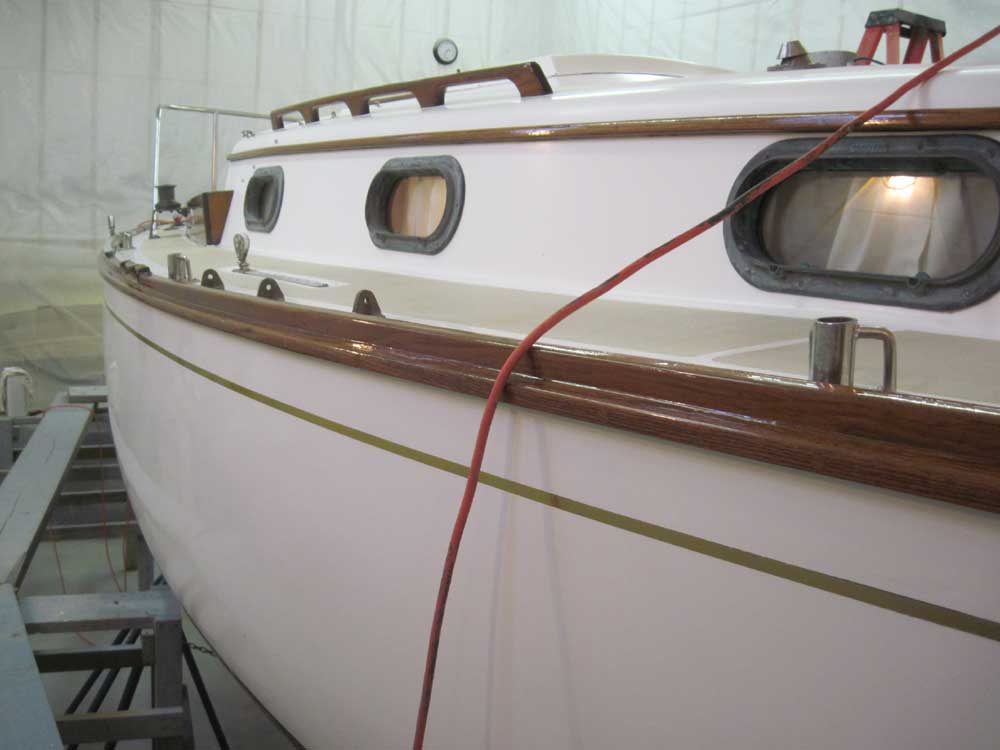
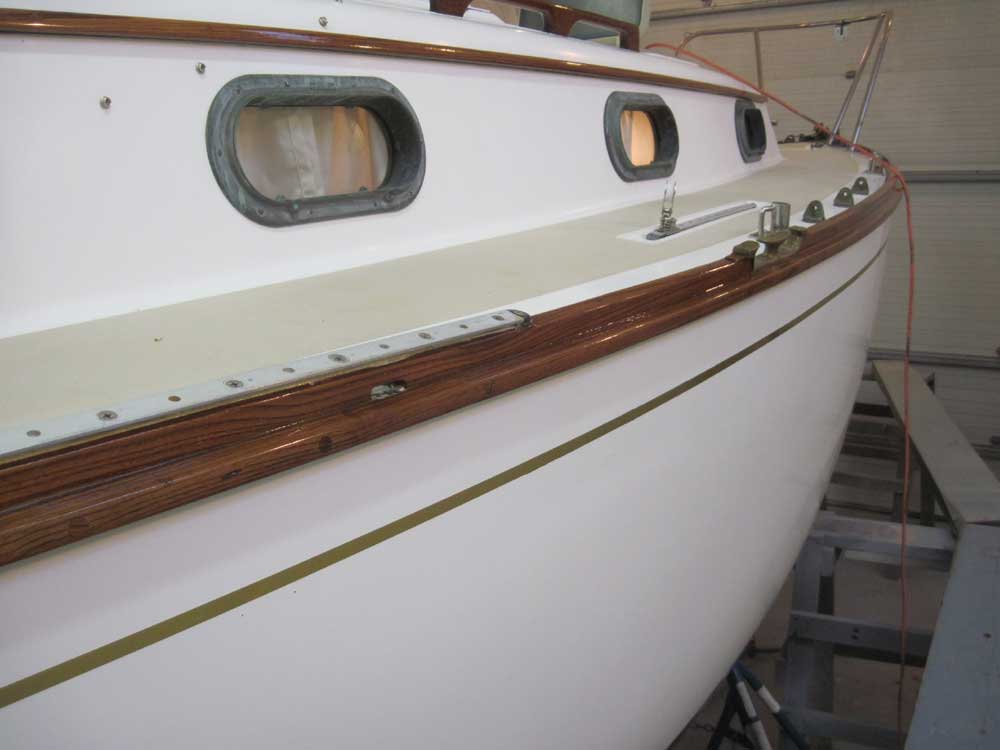
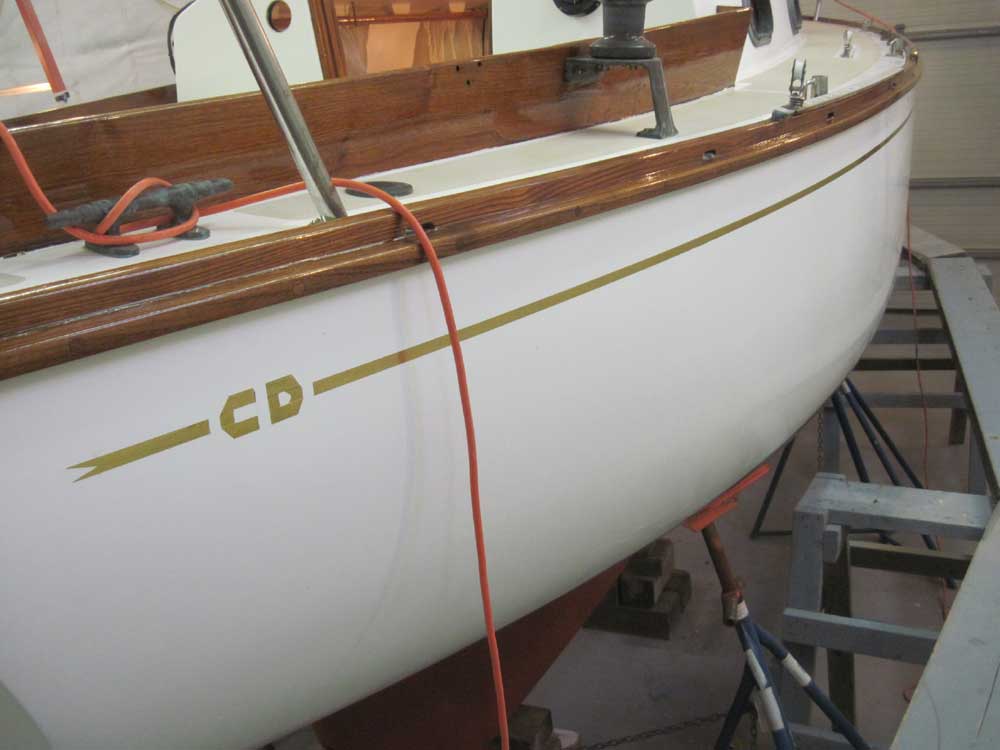
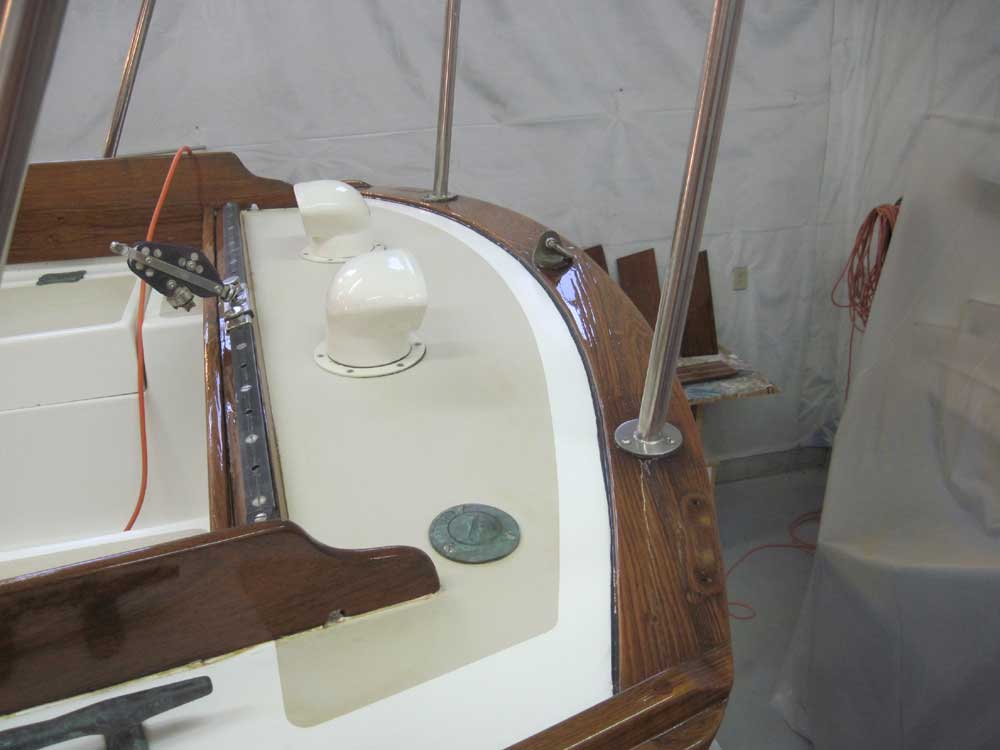
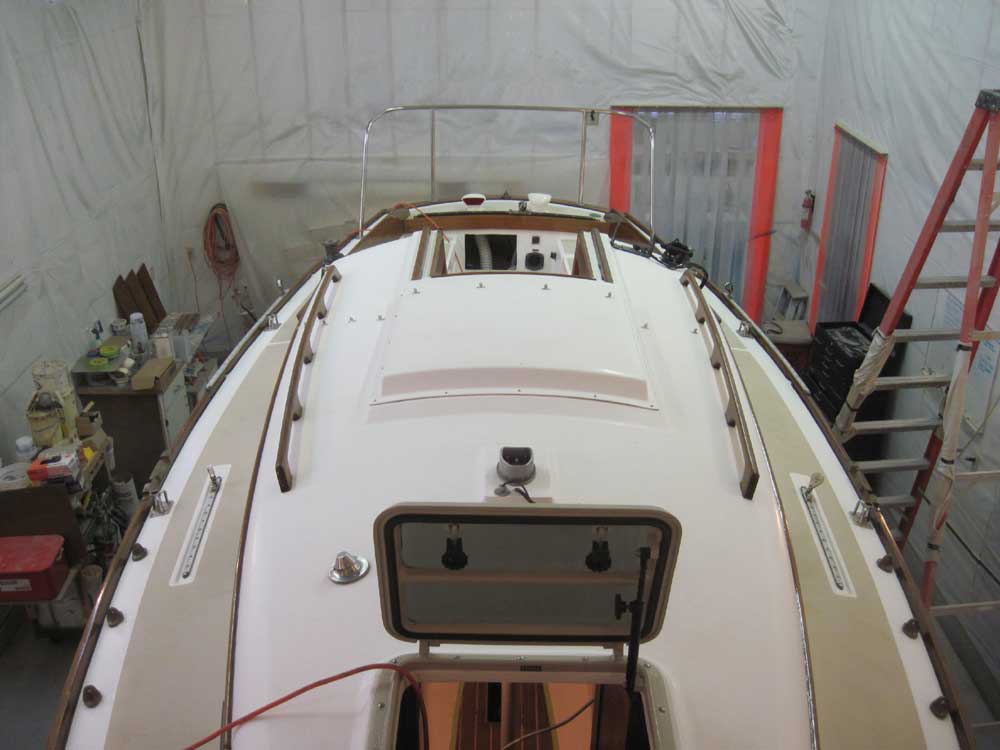
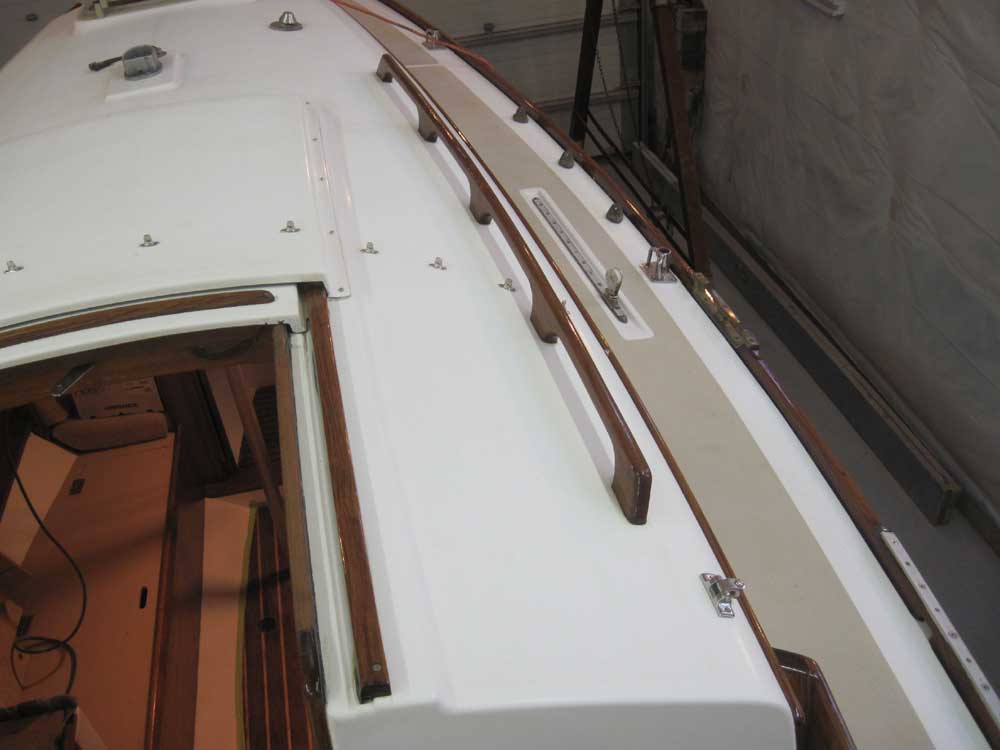
The exterior brightwork was done (in the temporary sense of doneness implied in all varnish work), so I removed all the masking tape and cleaned up from the job. I reinstalled some hardware that I'd removed at the beginning of the job.

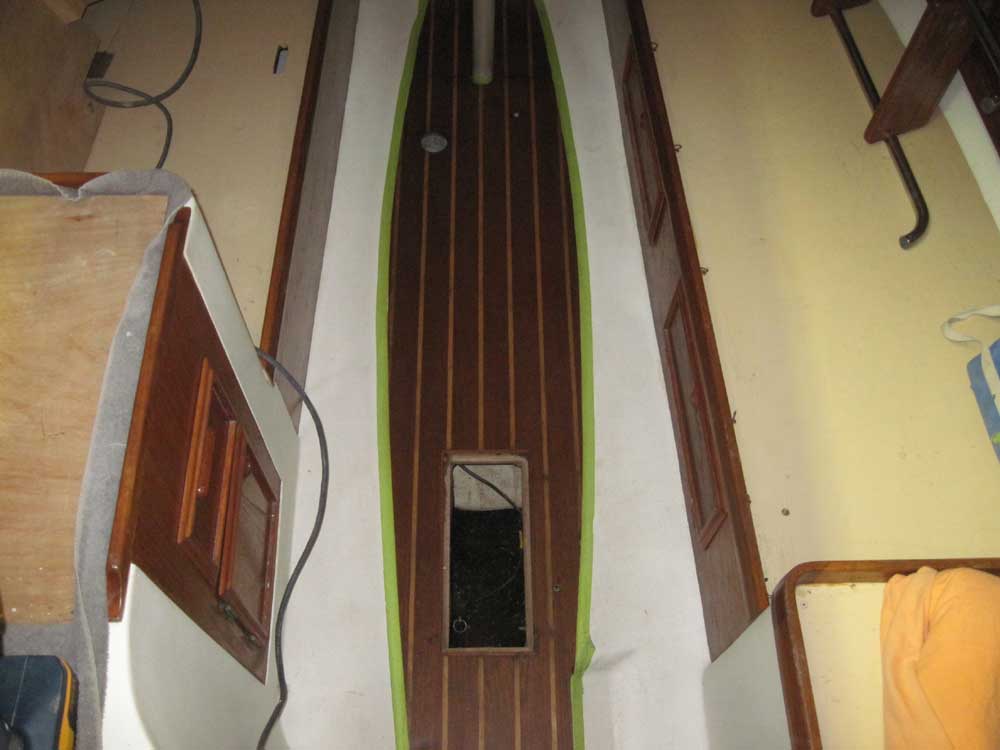
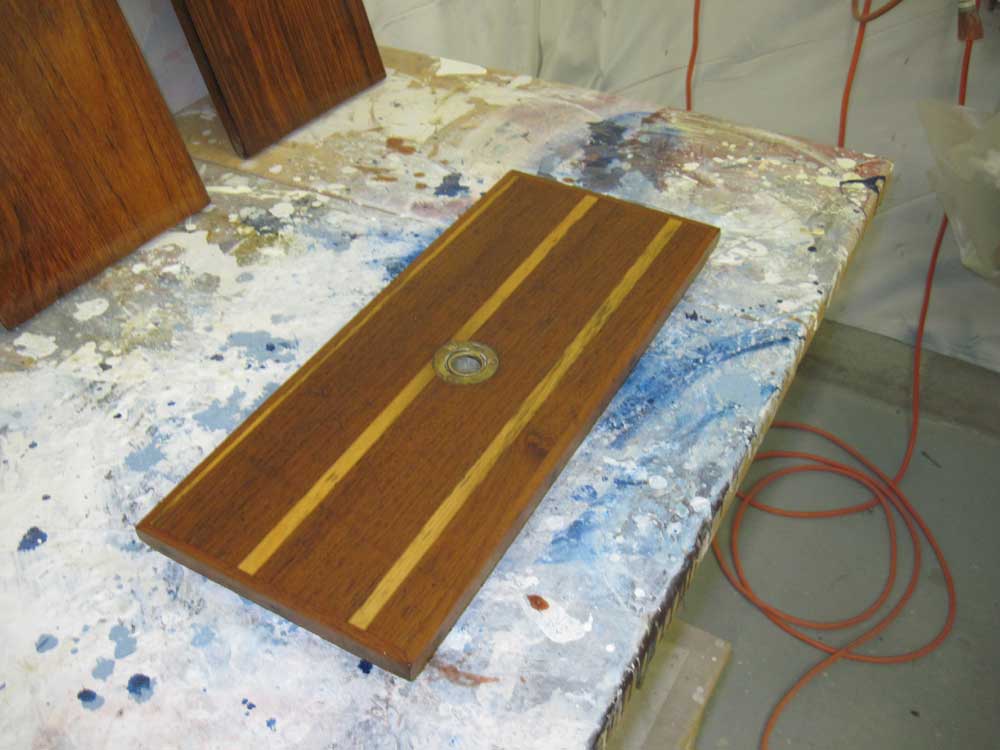
I decided to wrap up the cabin sole and galley stove countertop cover with a coat of satin varnish, which I thought would look best and tie in better with the existing interior finishes. This would give the sole the full weekend to cure.
(Sorry for the poor quality photos of the new varnish--better to follow.)

Total Time on This Job Today: 6.5 hours
