110 Cookson Lane | Whitefield, ME 04353 | 207-232-7600 | tim@lackeysailing.com
Snow Lily | Thursday, May 23, 2013
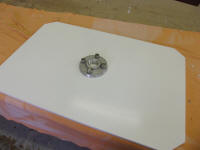
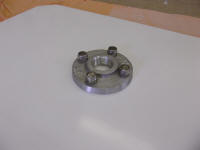
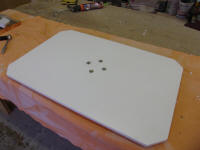
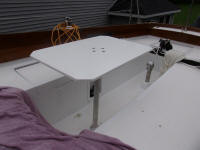
To get started, I used a new countersink to recess the four fasteners required for the cockpit table's threaded flange, then bolted it into place, completing the table in tie for a test fit.
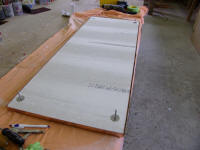
Next on the agenda was the woodstove's heat shielding, starting with the base. On the bench, I laid out for four bolts that would secure the base to the wooden cabinet in the boat; later, when the stove itself arrived (still in the production schedule and not likely ready for some time to come), it would be bolted to this platform, which I'd reinforced with aluminum plates on each side of the heat insulation.
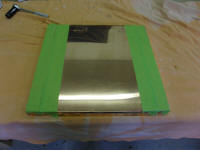
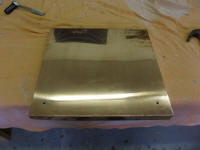
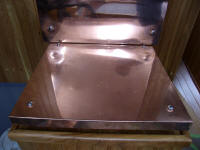
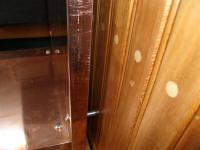
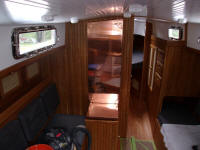
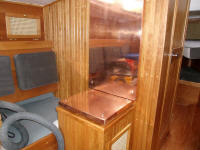
In the boat, I positioned the base and drilled four holes for the bolts, then installed the base with stainless panhead machine screws, copper washers, and 1" SS spacers beneath to provide an air space.
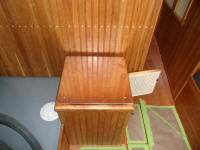
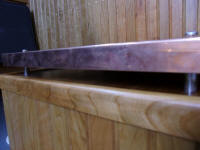
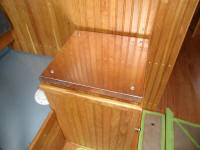
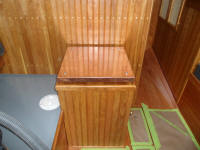
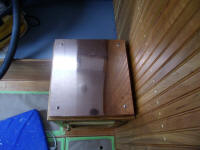
Next, I laid out and drilled four holes in the vertical section, which would protect the bulkhead. To prevent compression of the soft insulation, I glued on fender washers on the back side, using quick epoxy to hold them in position while I installed everything.
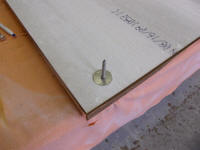
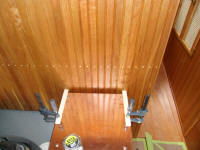
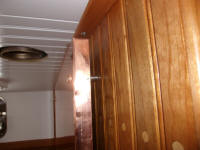
The specifications called for a small air space between the horizontal and vertical panels so I clamped some paint sticks to the base platform to hold the bulkhead section where I wanted it. After centering the panel over the base, I drilled pilot holes into the bulkhead through the four screwholes I'd drilled in the panel, after which I installed the panel with #12 screws, copper washers, and 1" SS spacers to maintain the required air space behind the panel.
Because of various and ongoing changes to some of the components and wiring setup for the electric motor and related items--this was only the second lithium system put together by the vendor, making it something of a prototype--it was necessary for me to remove the existing 48-volt distribution box (the big white box) in the electrical locker, and replace it with a new one, one that contained slightly different components and additional breakers for future growth. While I hated to undo my existing wiring, the job turned out to be pretty fast, and soon I had the box on the bench.
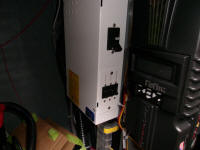
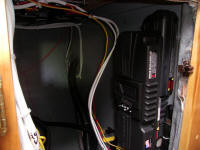
After swapping around a few breakers to match the old setup and better provide for the new, and moving my wiring harness from the old box to the new one--as well as adding a couple additional wires to the new breakers for some of the upcoming installations--I prepared to install the box back in the boat and rewire it.
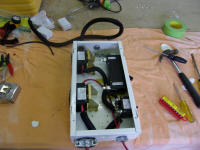
First, though, while the locker was as open as it was ever going to be, I installed the large, heavy 48-volt battery charger in its designated spot, followed by a junction box containing various other components of the battery monitoring system and other things (I didn't build or design these components or the system, I just install things when they come my way). Afterwards, I reinstalled the 48-volt box.
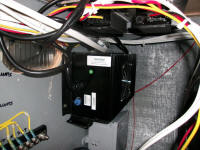
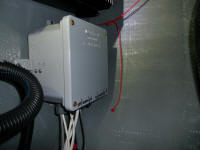
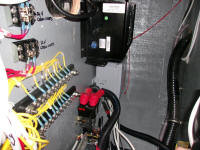
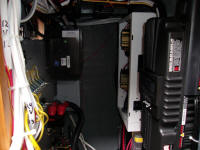
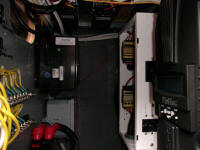
Finally, I made up what wires I could for now, including reattaching the various cables I'd removed from the old distribution box, and wiring up the battery charger to the conductors I'd run into the locker for this purpose long ago, and also made up the connections for the charger's positive and negative cables, included in the wiring harness and connected into the main 48-volt system.
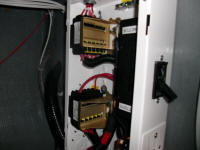
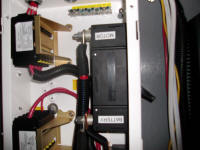
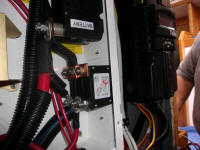
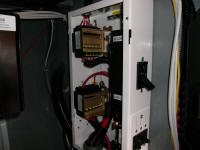
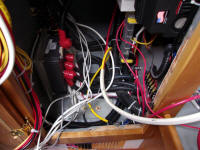
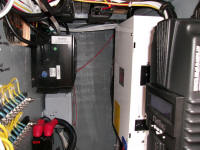
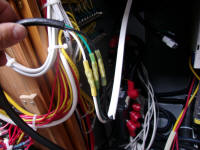
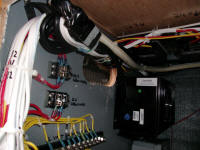
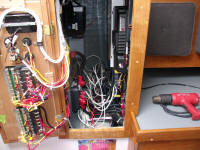
Most of the other wiring coming out of the BMS junction box and now in the bottom of the locker would wait for connection another time, as I was still awaiting an accurate and current wiring diagram that showed all the changes before I'd undertake the final steps.
Total Time on This Job Today: 7.5 hours
