
110 Cookson Lane | Whitefield, ME 04353 | 207-232-7600 | tim@lackeysailing.com
Snow Lily | Tuesday, January 29, 2013
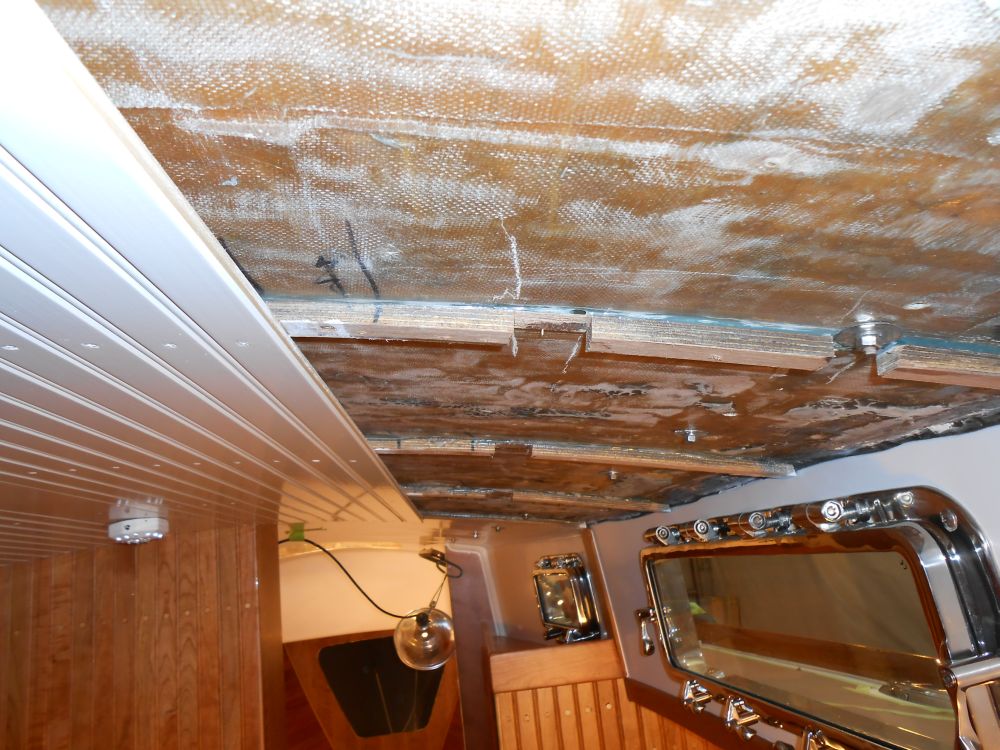
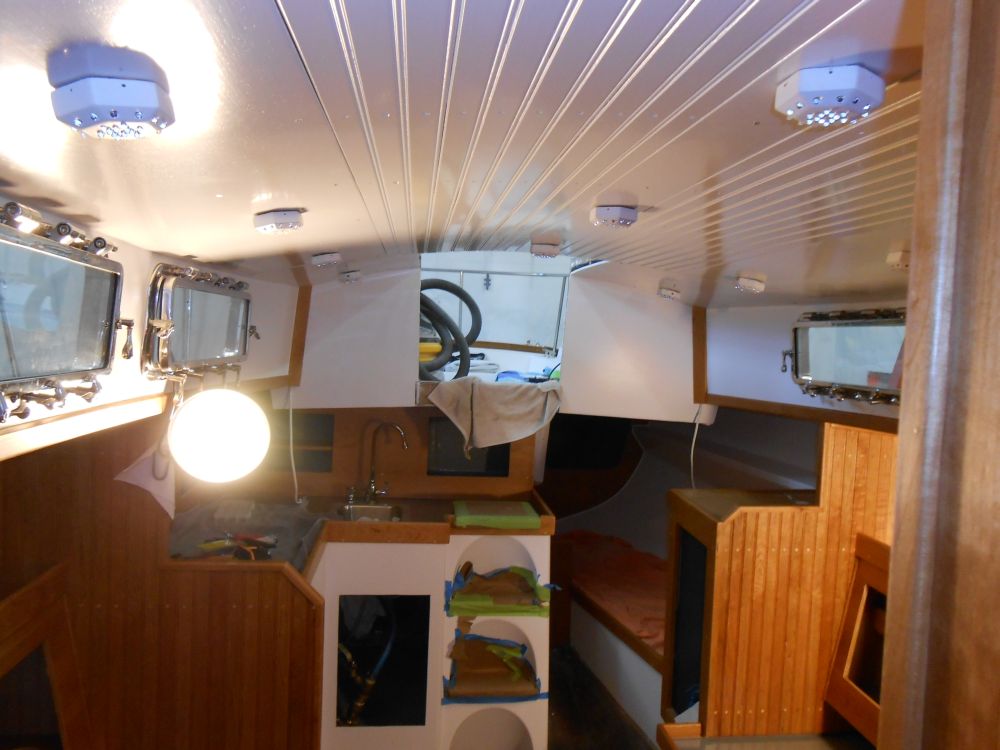
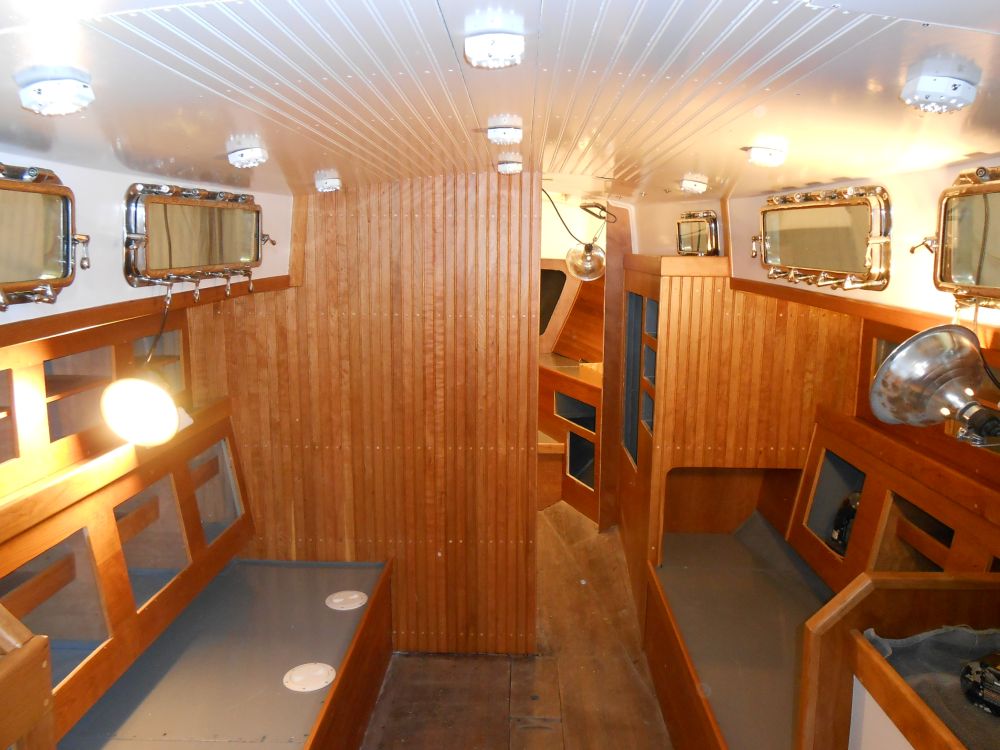
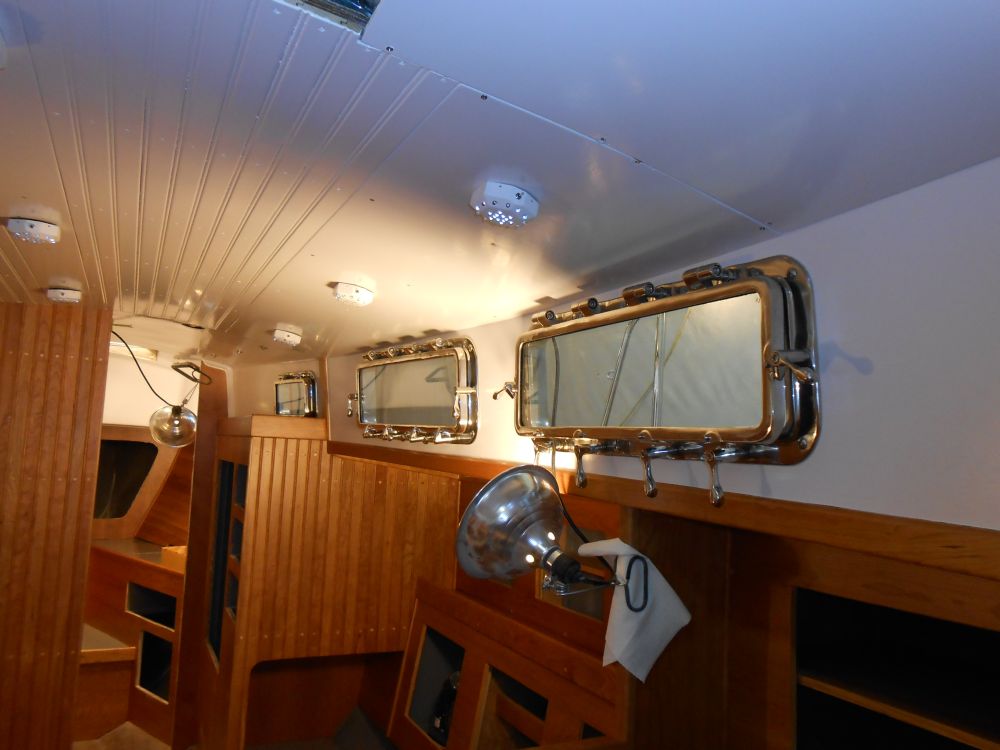
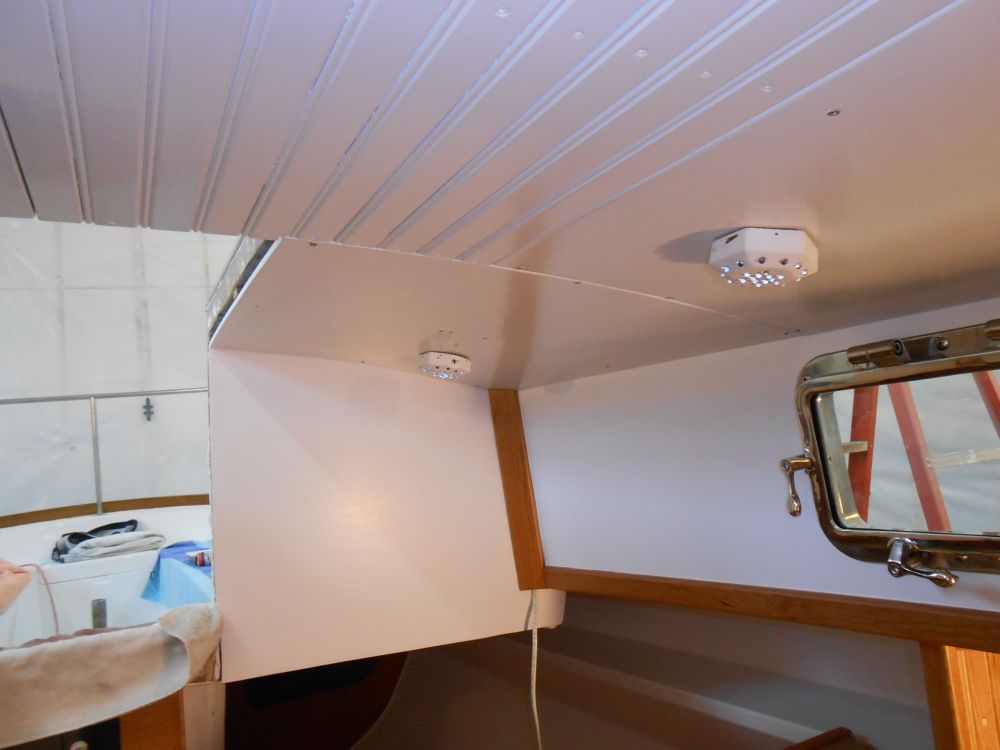
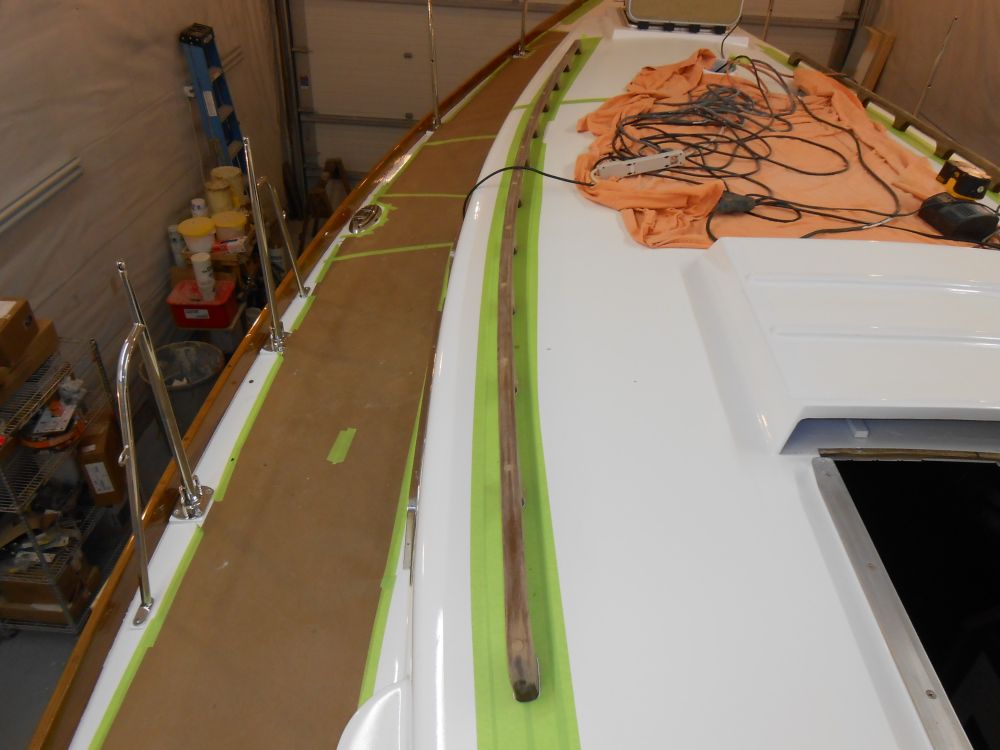
After starting the day with various measurements, details, and correspondence relating to a number of upcoming installations and issues, I got to work on the overhead. With the handrails installed, there was nothing standing in the way of final installation.
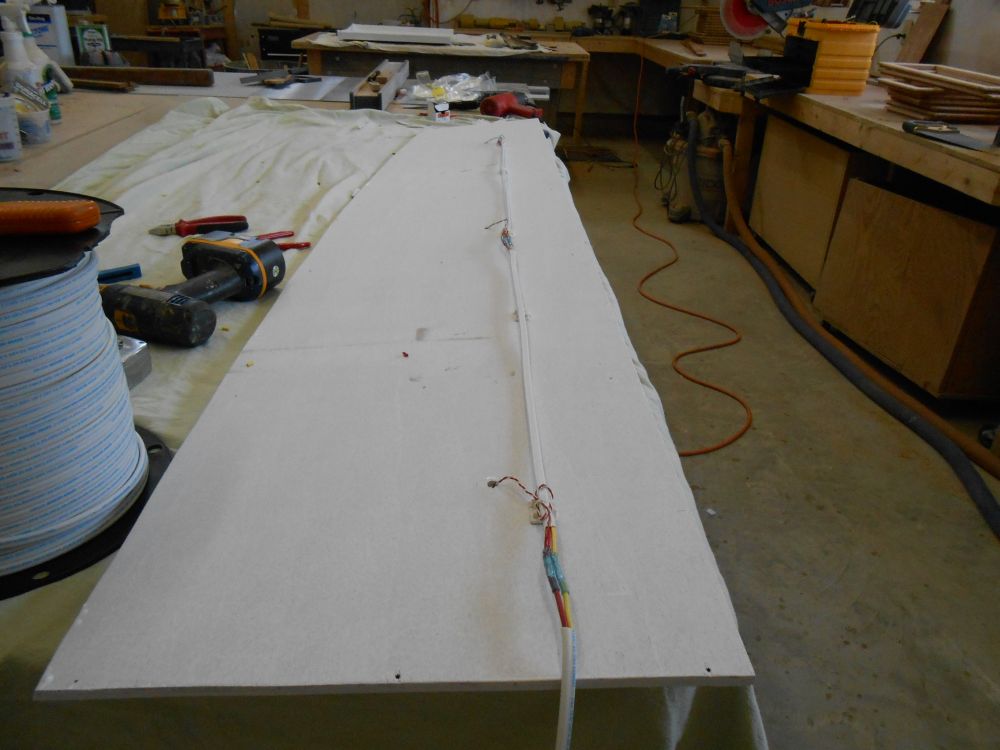
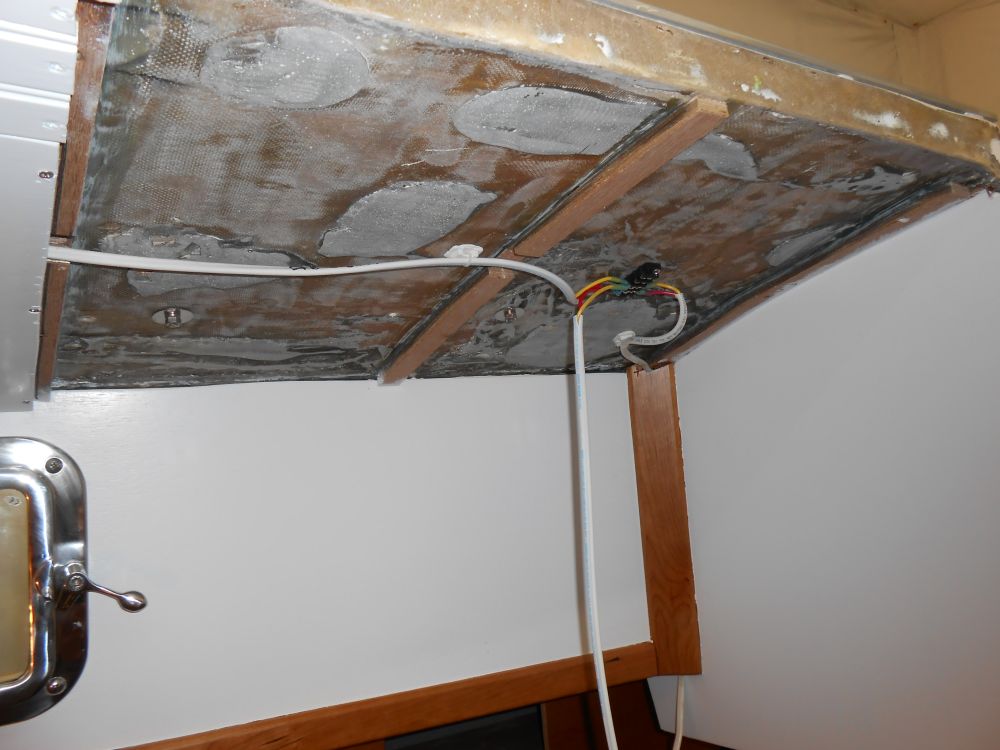
The overhead would incorporate a number of LED light fixtures. The owner selected and purchased fixtures for the installation, so with these on hand I could preinstall and prewire them to the overhead panels before installation. During original overhead construction, I'd laid out and drilled wiring holes for the fixtures.
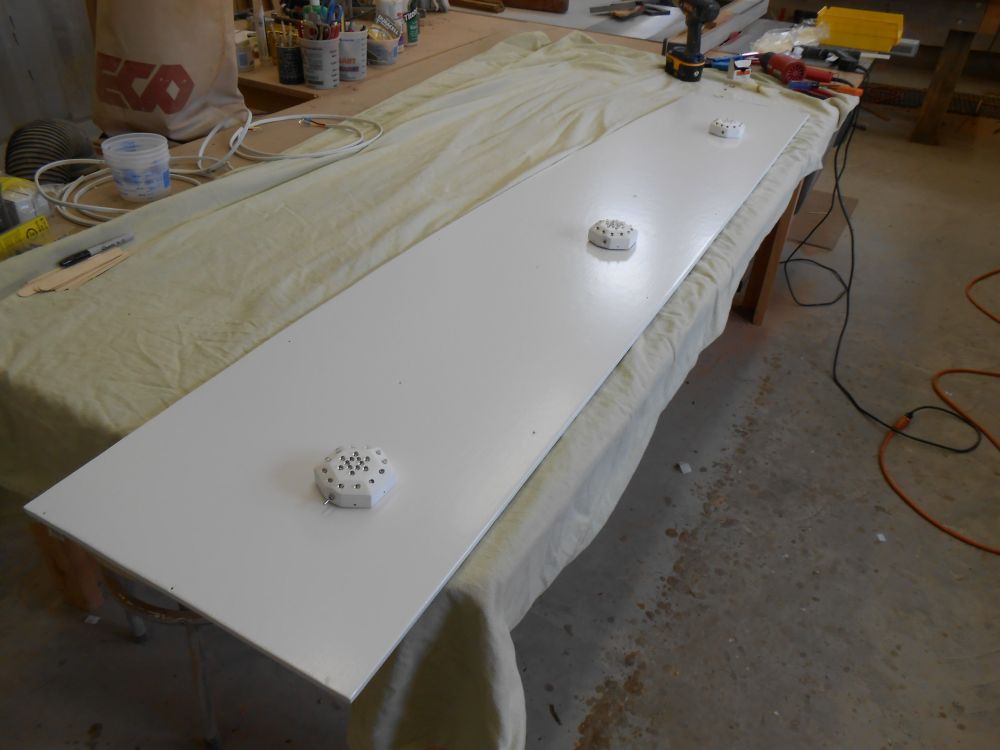
Beginning with the center overhead strip, I installed three fixtures using the supplied metal brackets, designed to be secured to the panel, and the fixture then slipped over the springy metal, capturing two tabs in little holes drilled within the fixture base.
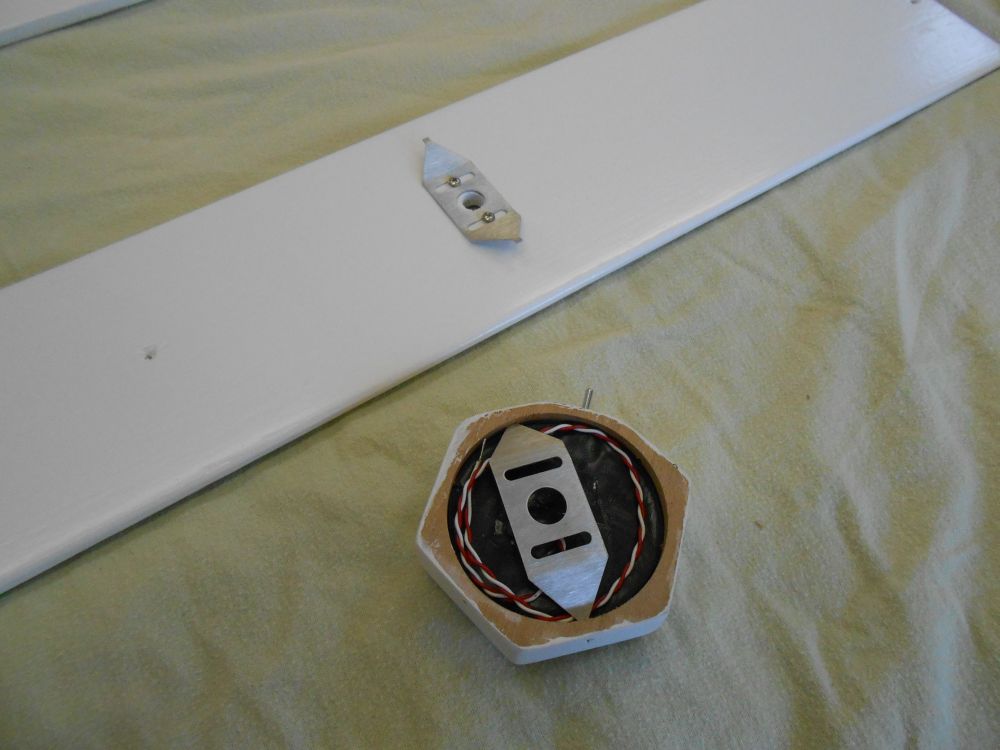
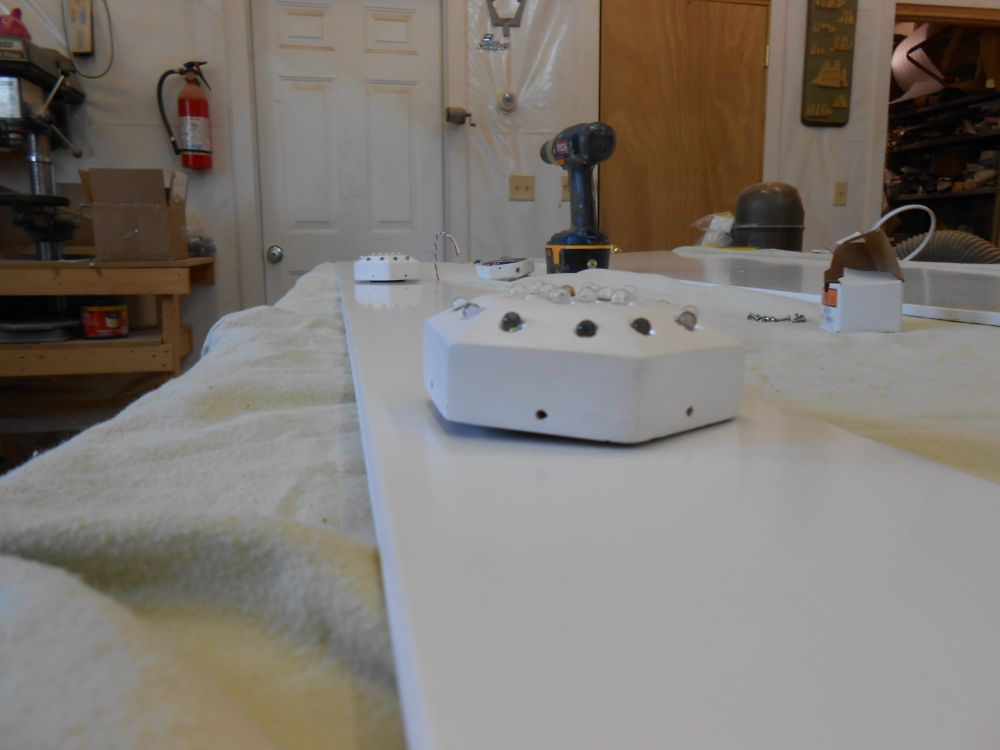
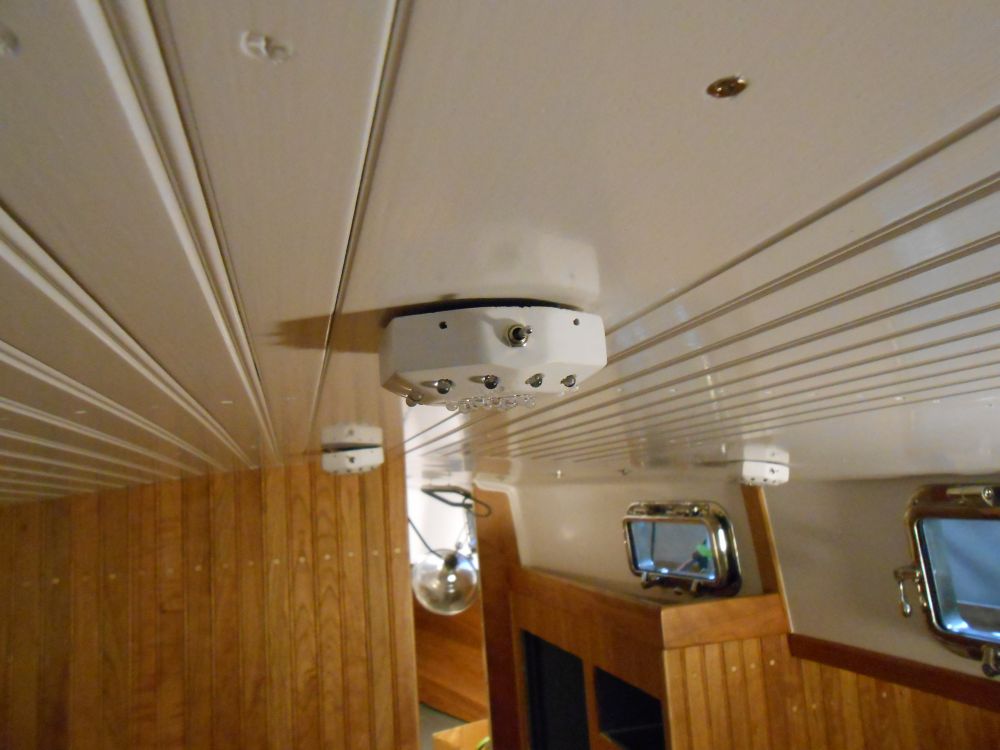
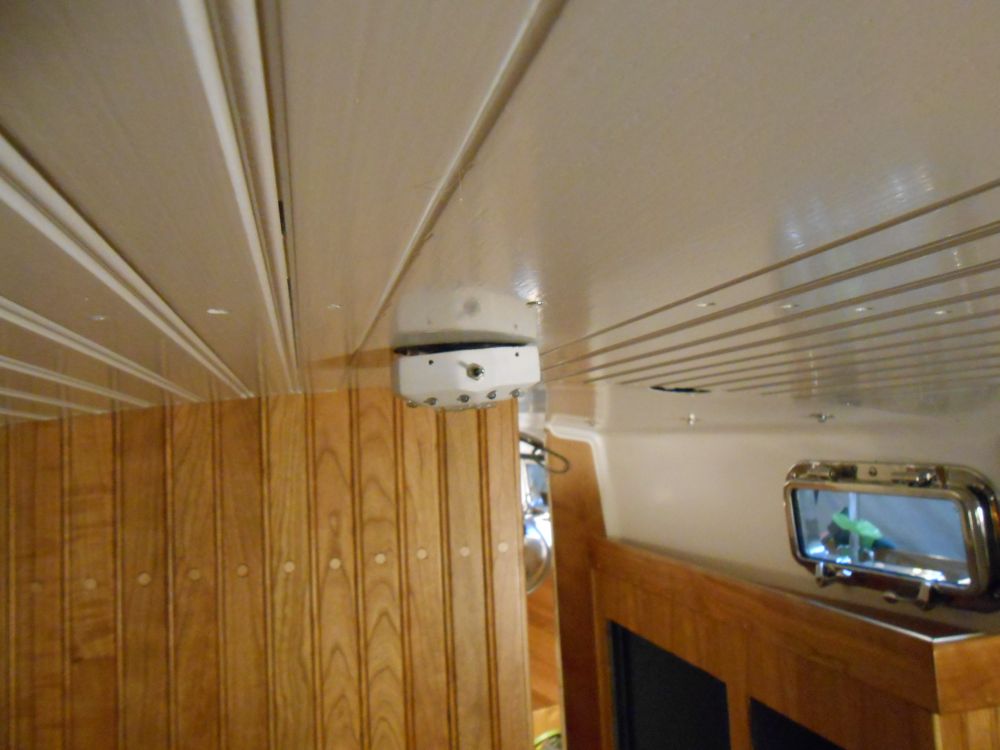
The brackets didn't hold the fixture base tightly to the overhead, and there seemed to be no way to easily do so, so the fixtures were held off the panel a bit--even with the panels upside down on the counter. The fixture was held away sometimes evenly, sometimes more crooked. I tried a few things to secure the fixture in a successful yet non-permanent way, including bits of butyl tape, but the springiness of the bracket overcame the relative minimal adhesion of this and other products.
I sent an email to the manufacturer to see if they had any experience or suggestions to correct this problem, or some way to secure the base with screws from the outside. I'd found something online that talked about possible screw locations through the fixture, but with the interior of the fixture completely sealed, and no external signs of potential screw locations, I wasn't about to try on my own without guidance.
From the underside, I wired the lights together, leaving a long tail to lead to the main power supply to the overhead lights in the cabin. Then I could hang the overhead section in the cabin, securing it with screws through my pre-drilled holes.

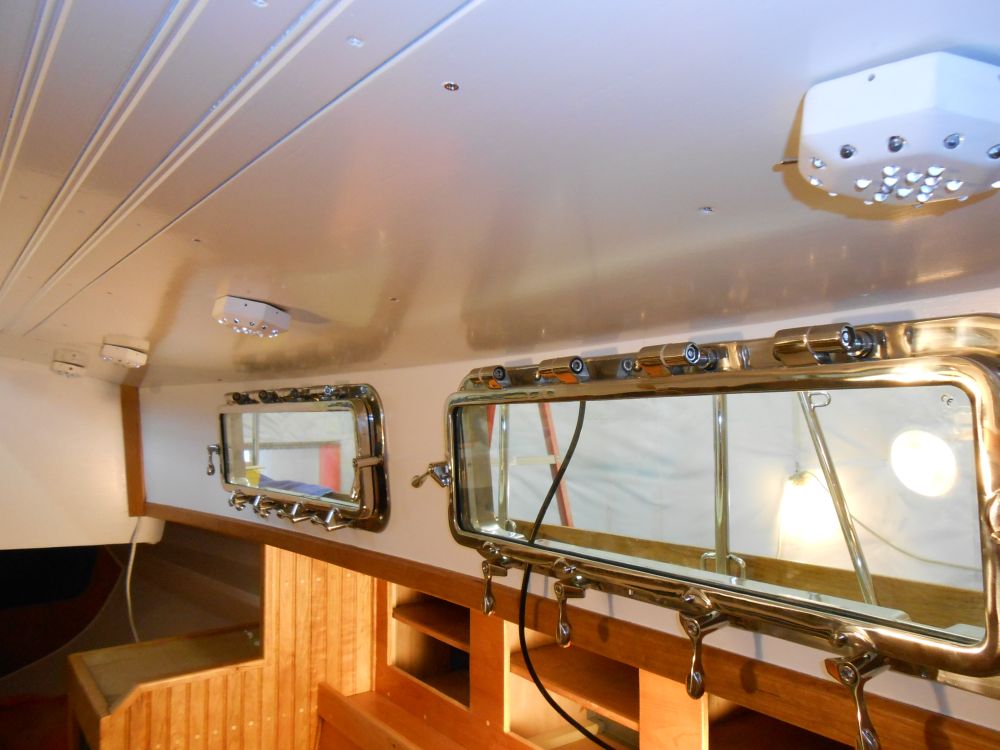
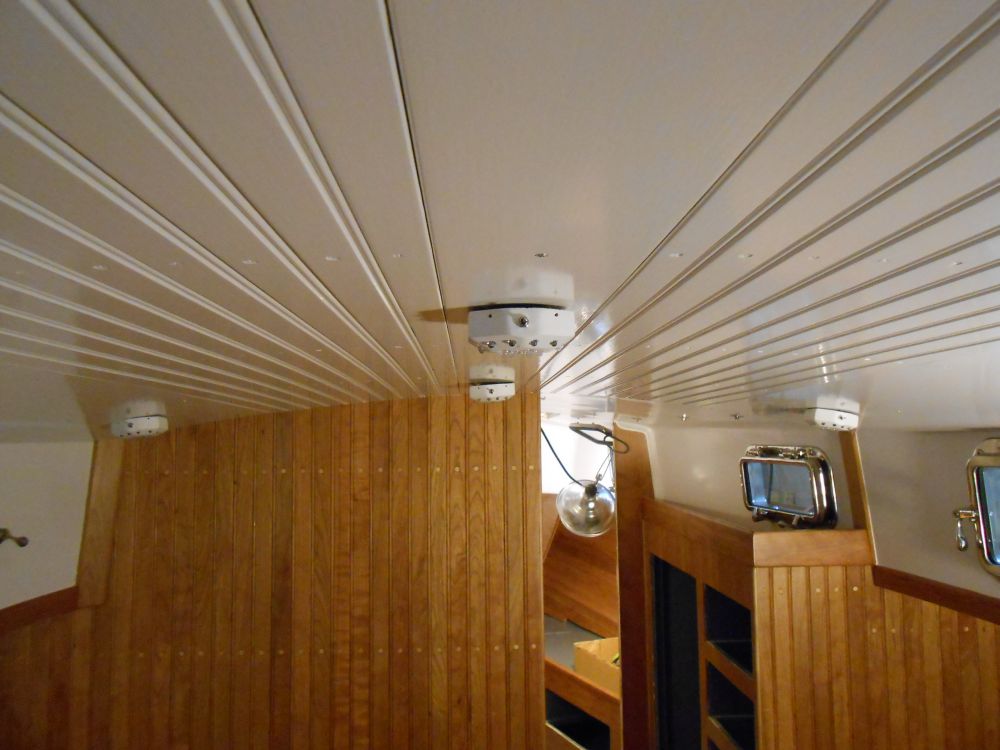
I repeated this process on the two longer side panels, installing and wiring the lights before screwing the panels in place. To allow room for the wires to pass, I notched out the overhead support beams in the appropriate place.
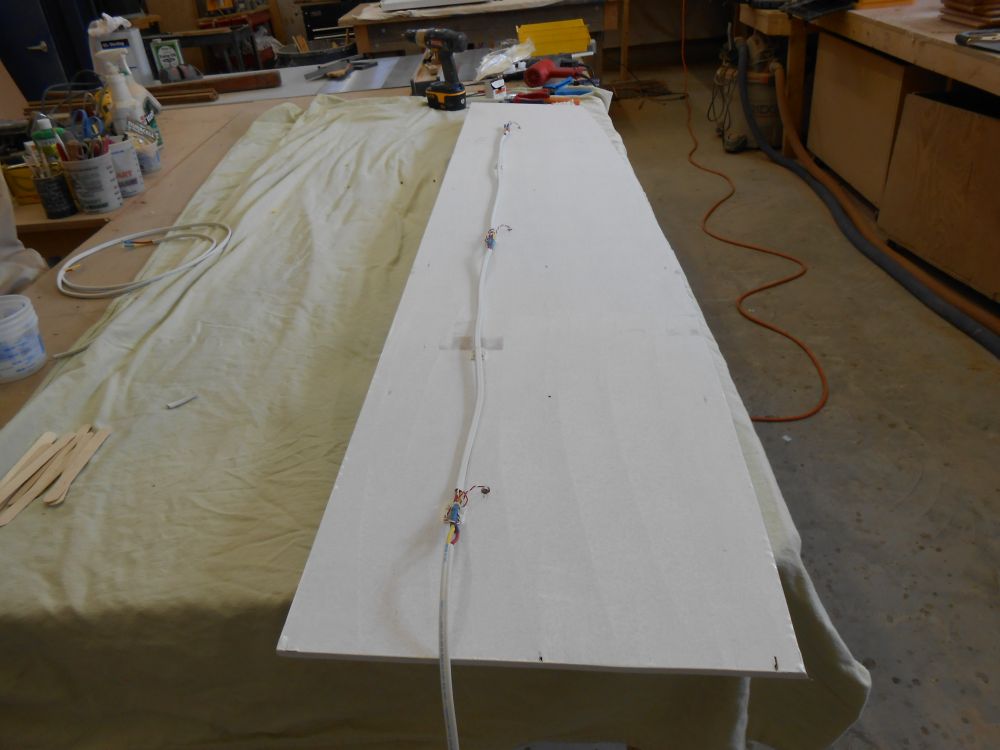
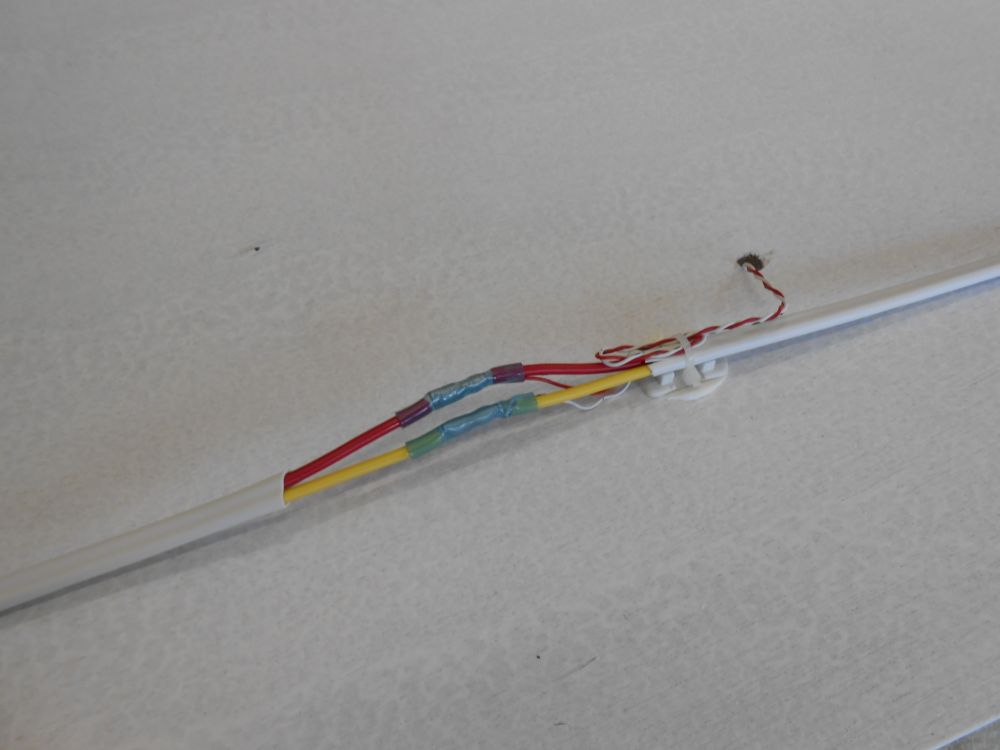
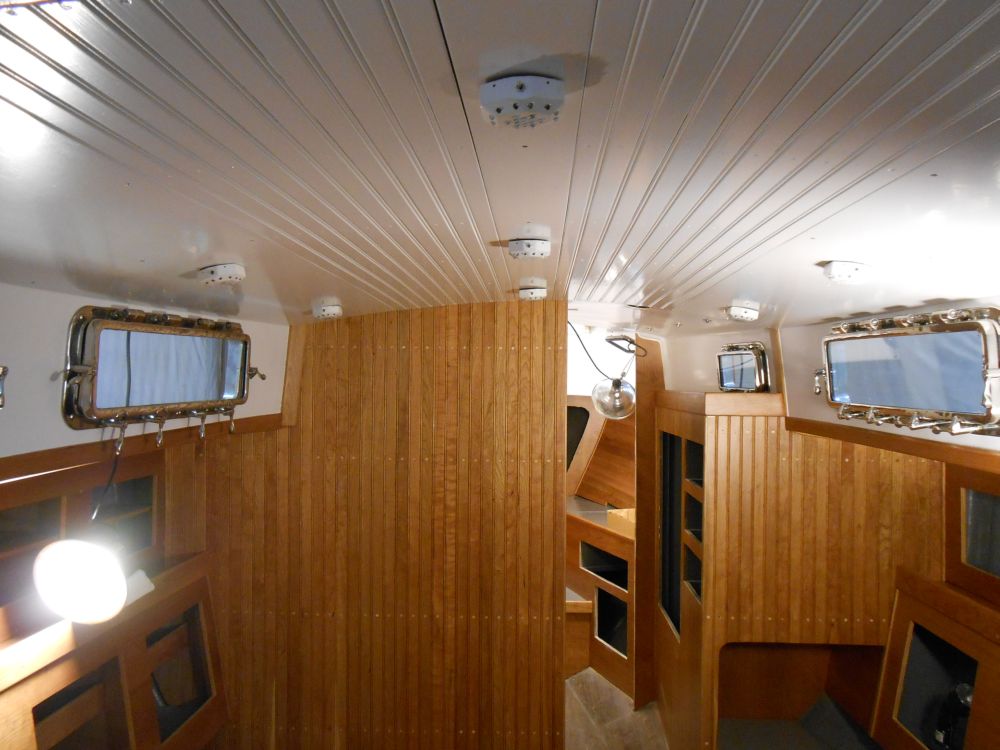
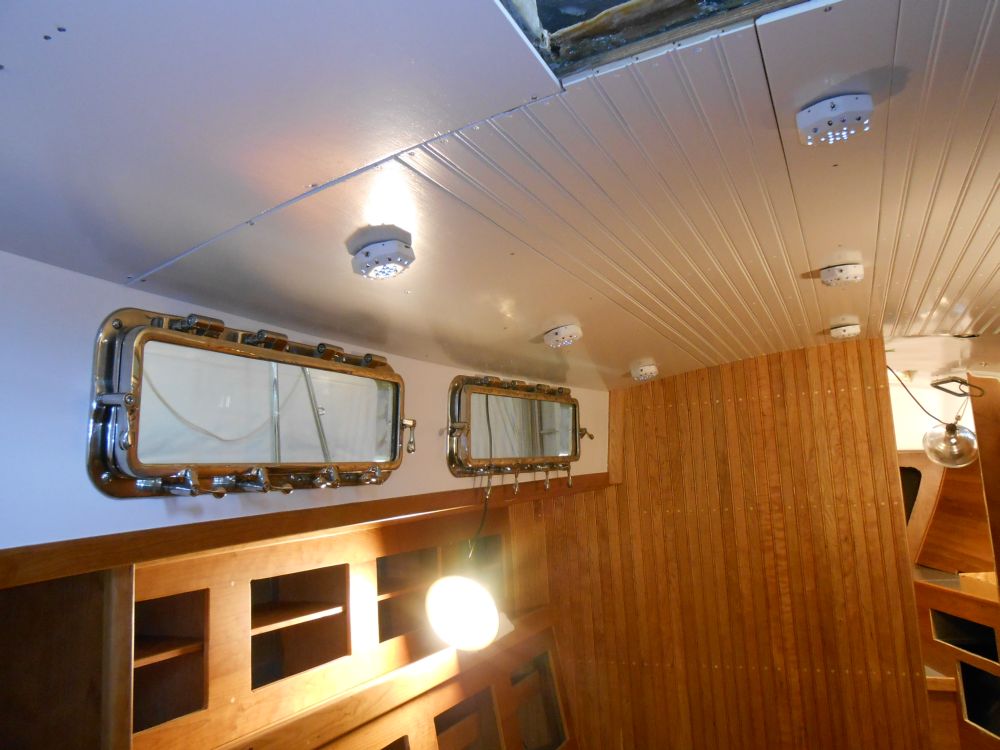
With the two side panels in place, I ran the wires back to a terminal strip--one on each side--where I could connect the wires with the power supply that I'd hidden behind the corner trim during installation. This would allow the wires to be disconnected easily should the panels need to be removed someday: the small after panels would be removed first, exposing the wiring connections for the other sections.
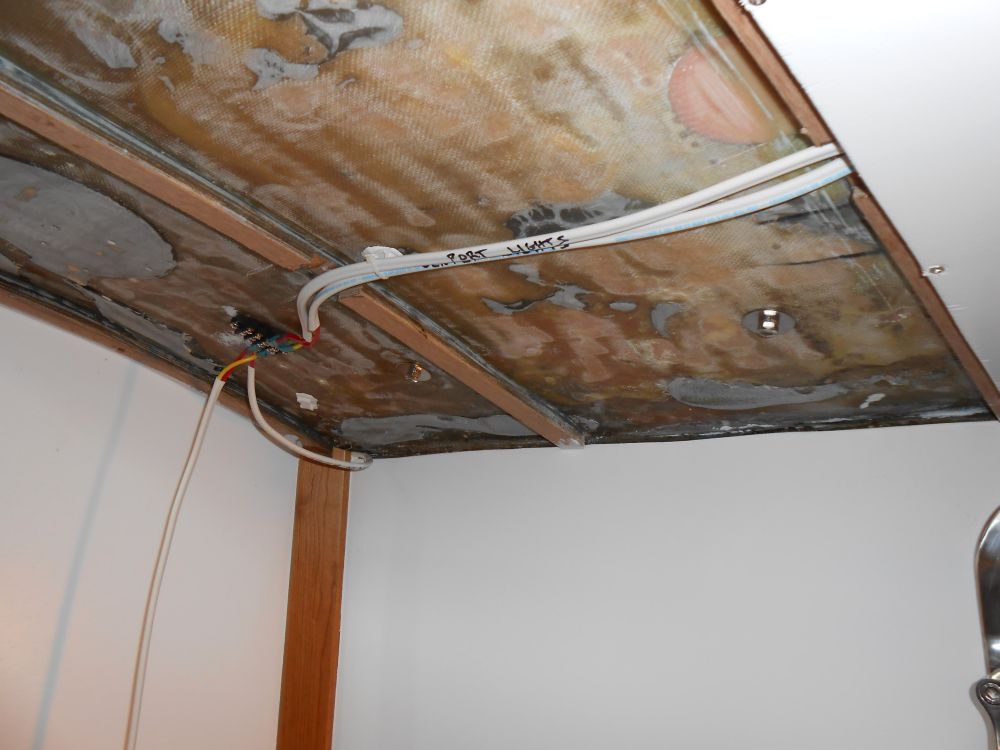
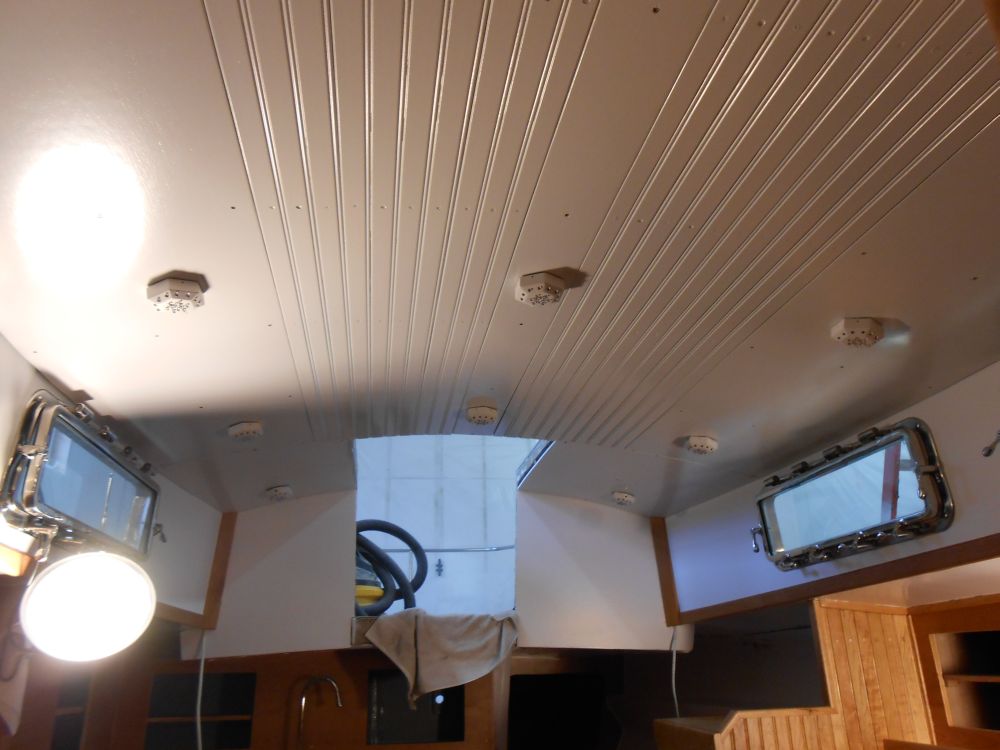
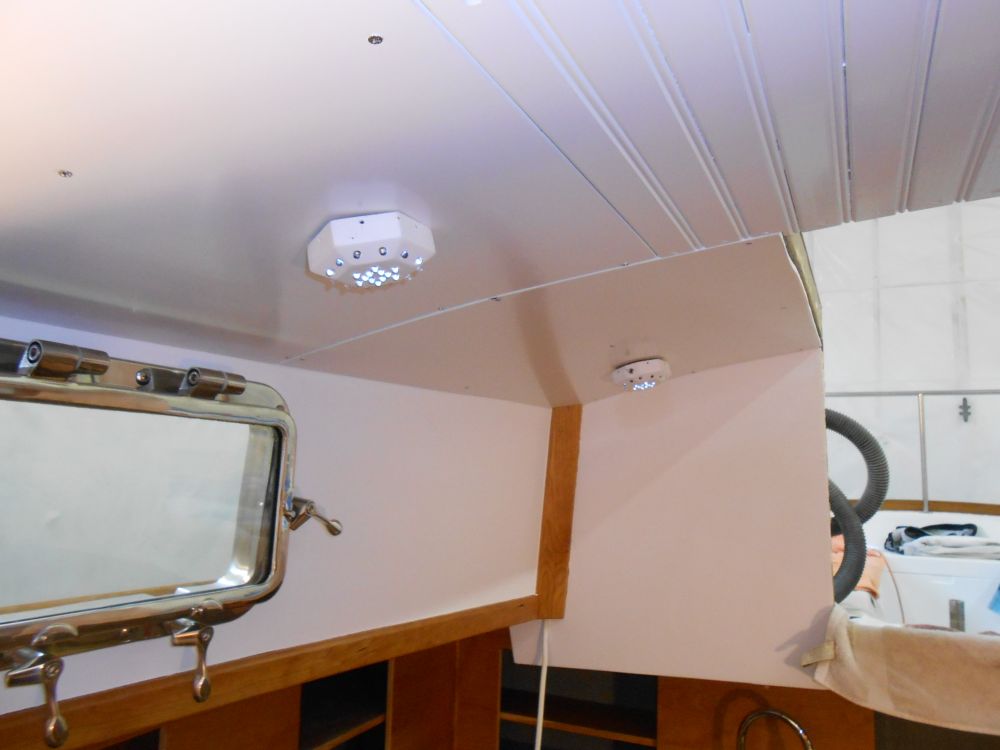
Hoping to make overhead removal as straightforward as possible, I decided to attach the light fixtures installed in the two smaller aft panels with quick-connectors, meaning I could install the panels now and run the wire--already installed on the terminal block--through the panel during installation, then installing the lights after. This would ease installation, and also make future removal simple. However, the quick connectors I had on hand were too bulky to fit within the small bases of the light fixtures, so for now I temporarily secured the lights while awaiting smaller connectors.
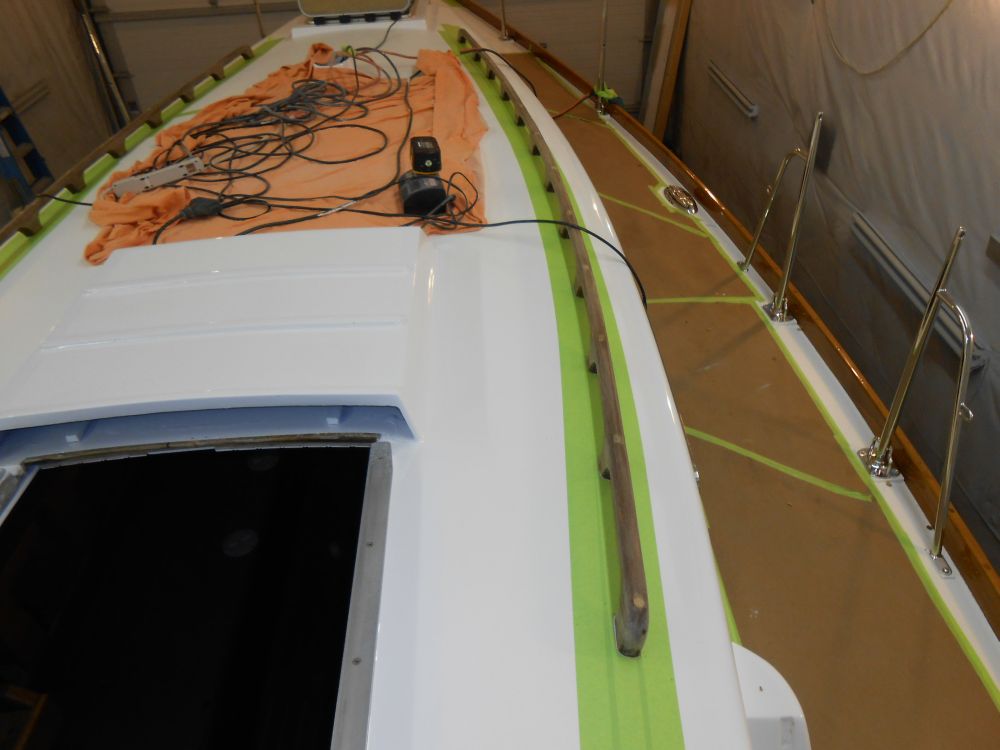
It was a great relief to finally hide the ugly underside of the deck. The overhead made a dramatic and immediate improvement to the appearance of the cabin. The owner and I had had a discussion about whether or not trim strips would be required over the screw locations. I'd originally planned on this, but it didn't look too bad as is either. In any event, at a minimum there'd be some trim at the ends, and at the transverse seam between the panels towards the aft end.
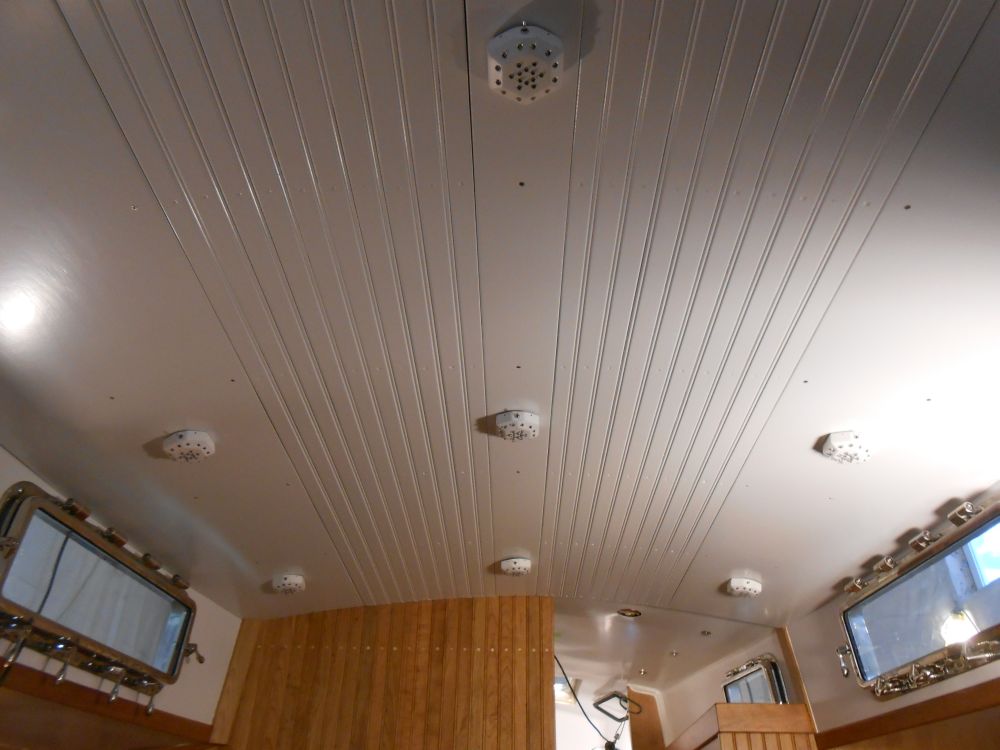
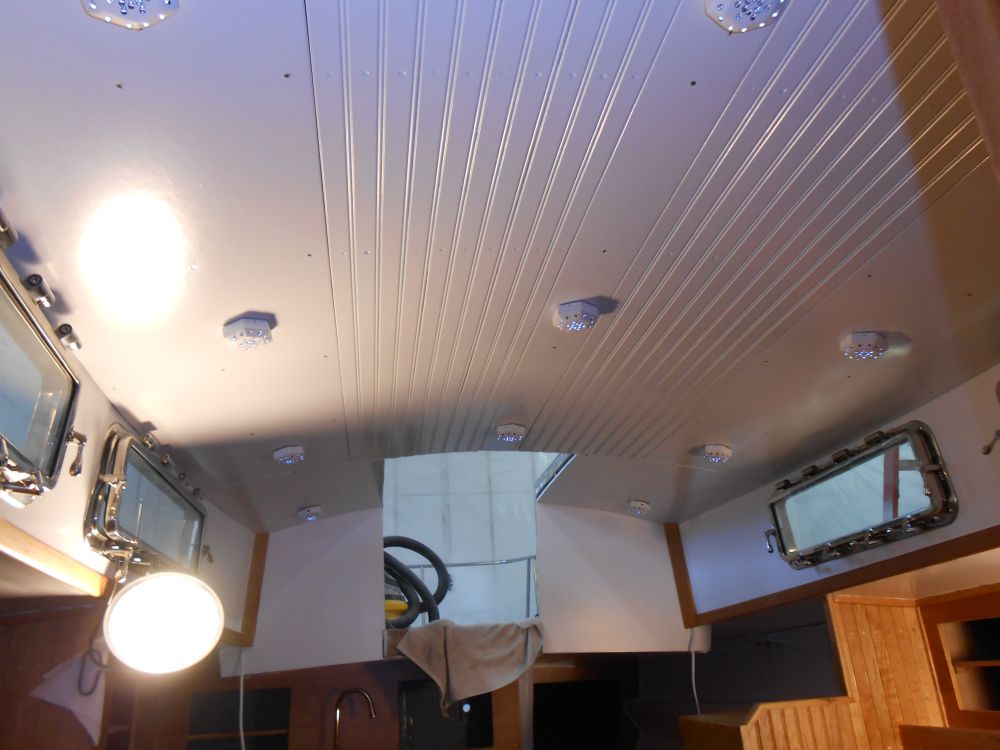
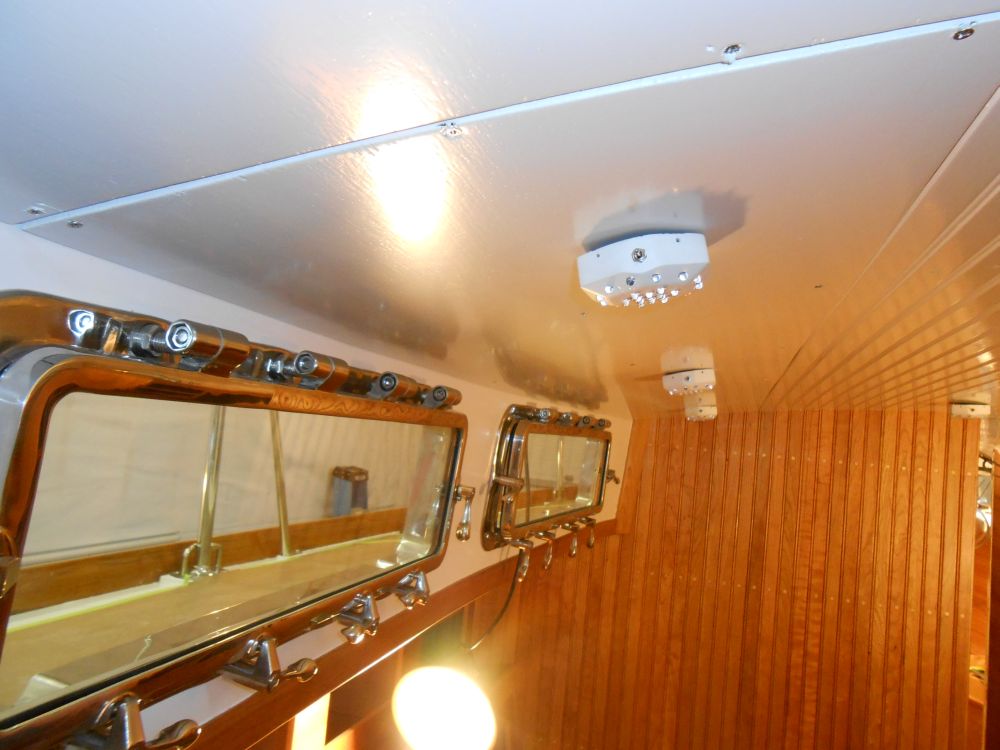
These photos show a few of the fixtures and how the brackets caused them to stand off the overhead. Hopefully the company could tell me how to ameliorate this problem without resorting to something unnecessarily permanent like glue.
With all the wiring and related work surrounding the overhead installation, this took much of the day. Later, I worked on a few odds and ends. Among other things, I prepared some lengths of piano hinge for the cockpit lockers, ready to install the hinges, but discovered I didn't have the correct fasteners on hand, so after ordering them I turned to the handrails once more, and pared away the excess bungs as needed before lightly sanding the rails to prepare them for varnish.
Total Time on This Job Today: 9.5 hours
