
110 Cookson Lane | Whitefield, ME 04353 | 207-232-7600 | tim@lackeysailing.com
Snow Lily | Wednesday, January 16, 2013
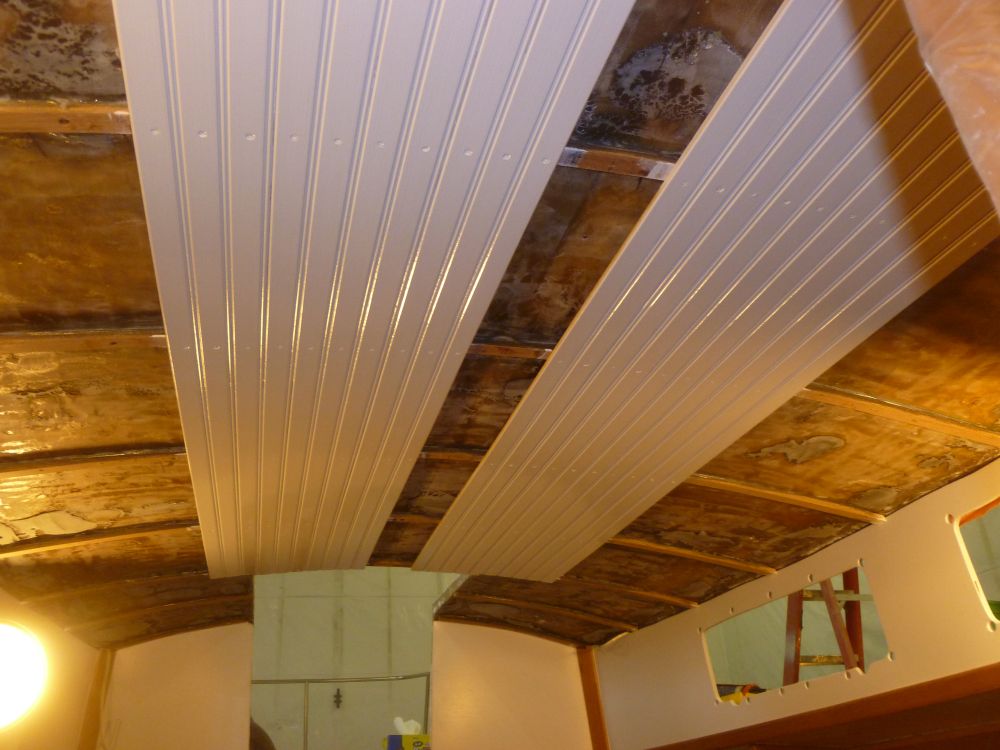
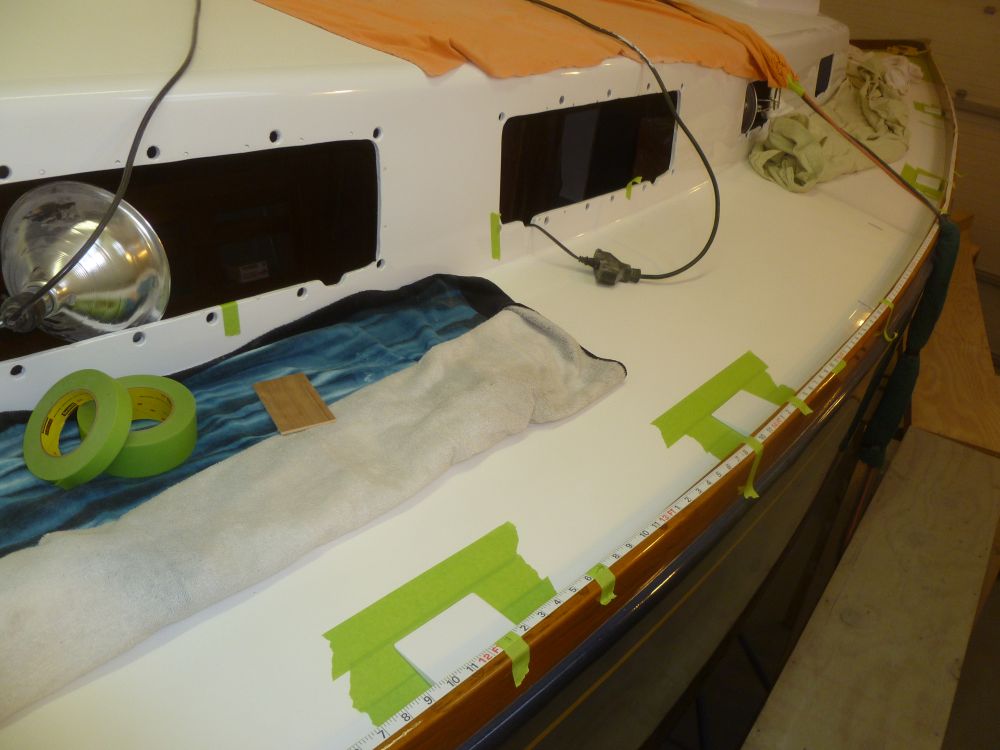
To begin, I sanded the primer on the overhead panels and beadboard, then applied the first coat of white semi-gloss enamel.

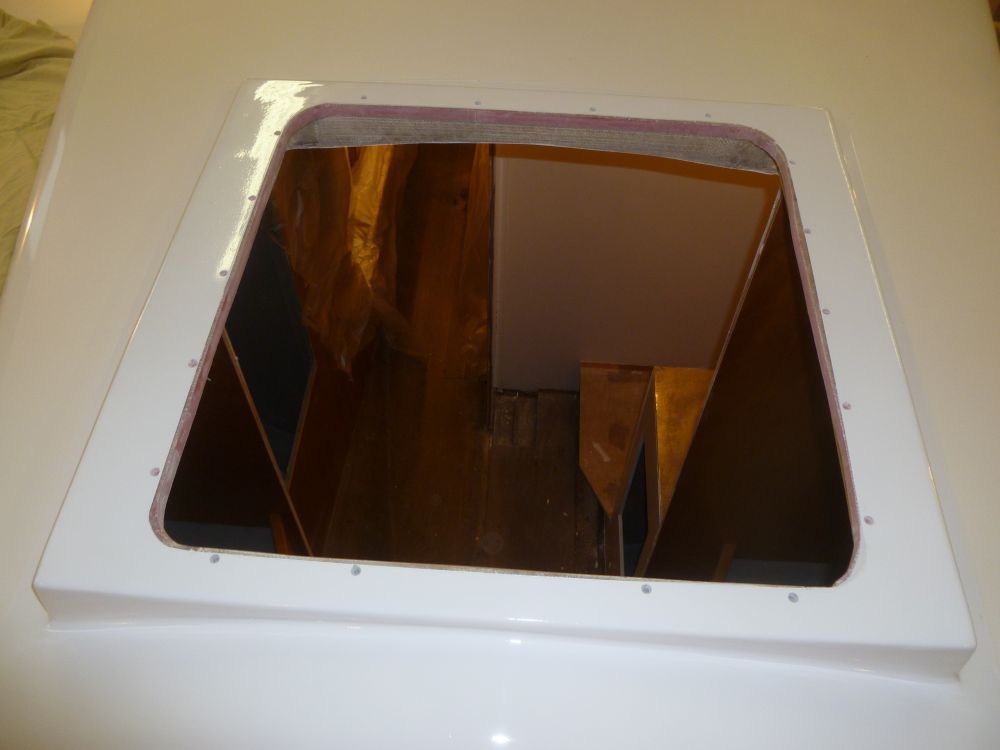
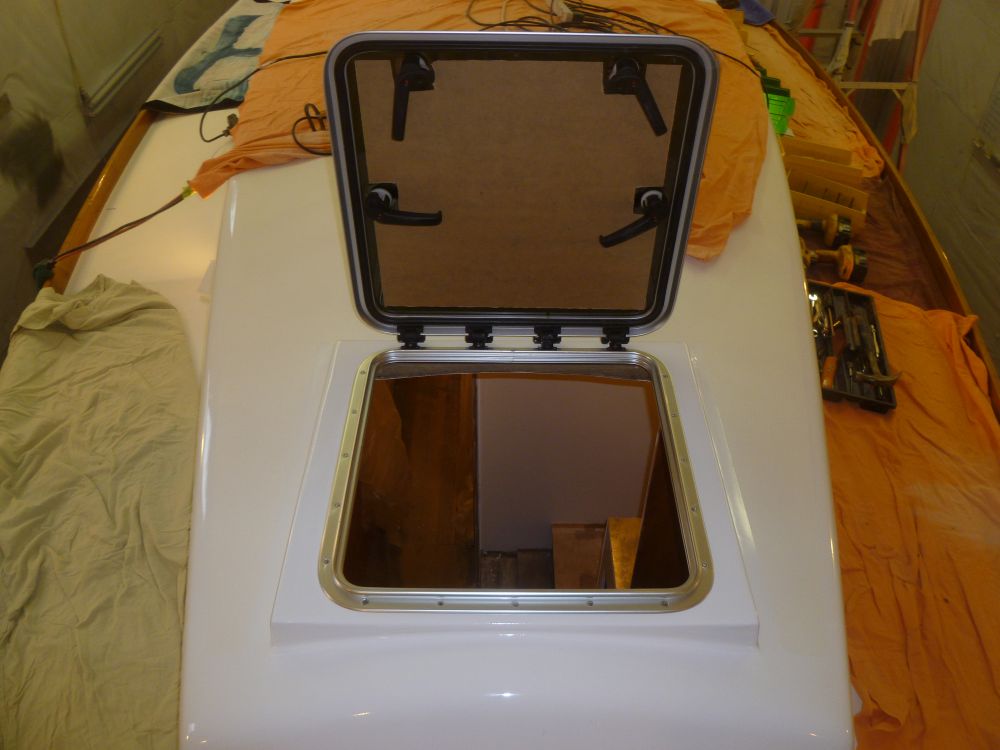
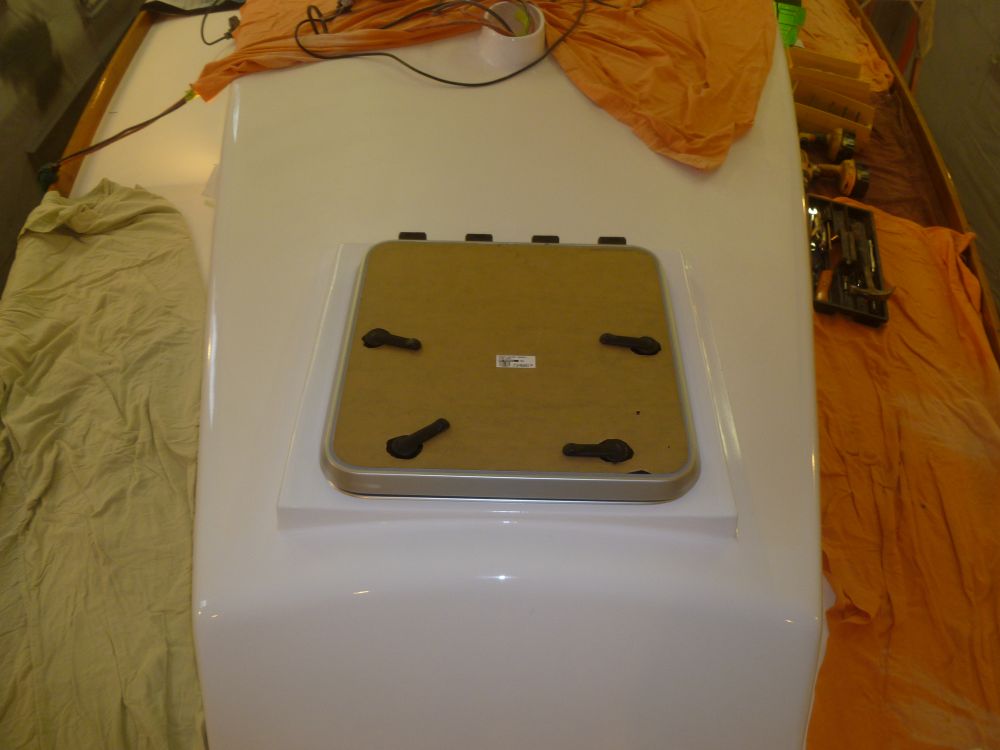
For the forward hatch, we selected a Vetus Magnus, and I'd built the new opening to accommodate the hatch closely. Ready to start trimming out and finishing the interior opening, I went ahead with the hatch installation, starting with a dry-fit to check the opening and mark the screw holes.
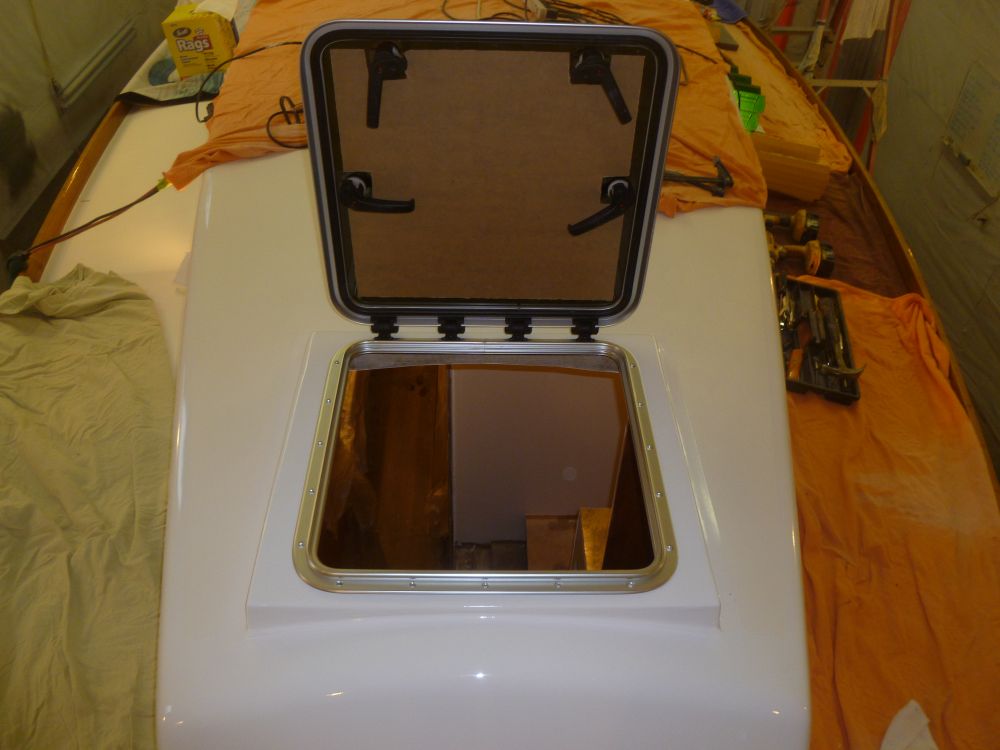
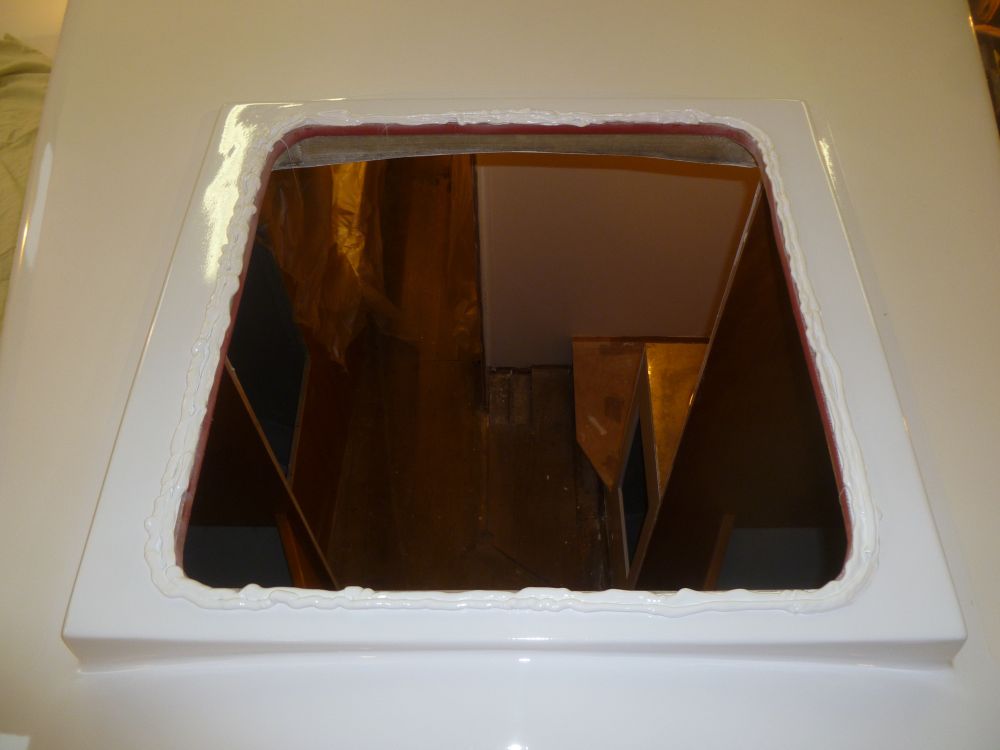
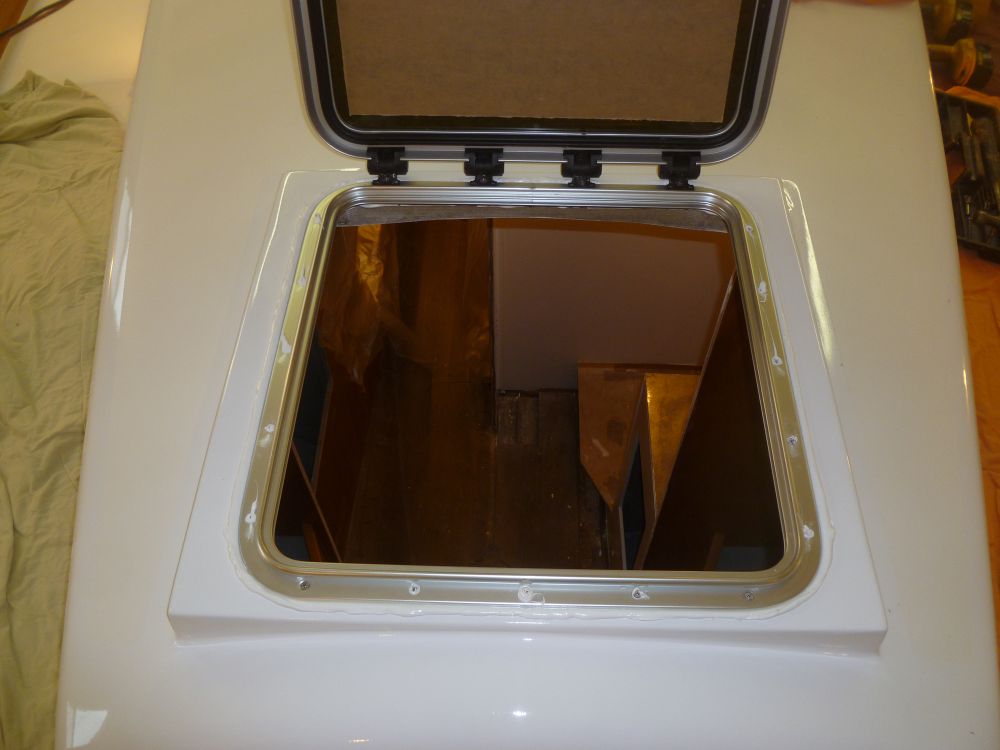
Afterwards, I drilled and tapped the frame for 10-24 machine screws, and otherwise prepared the opening and hatch frame for installation before applying heavy beads of sealant and securing the hatch in place. I left the protective paper coating on the hatch for now.
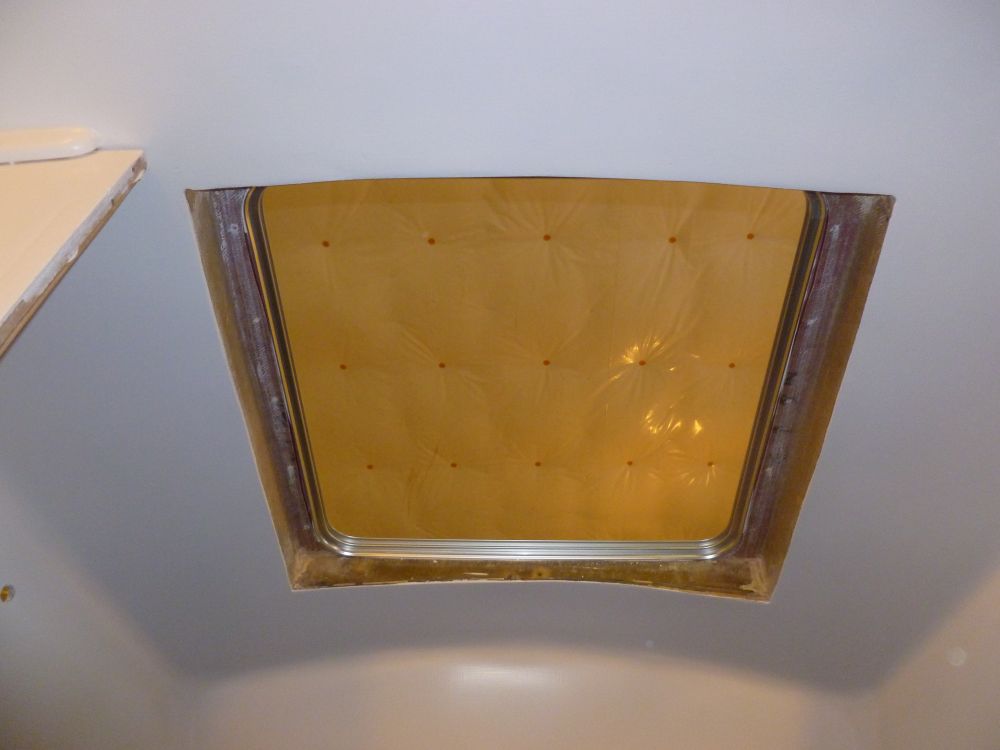
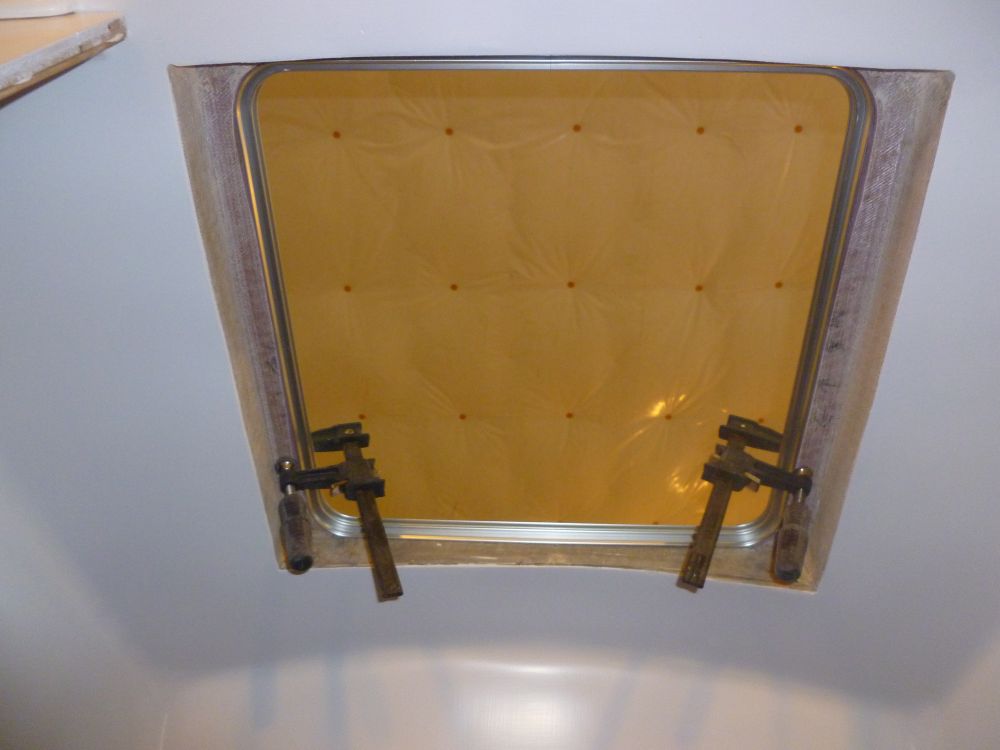
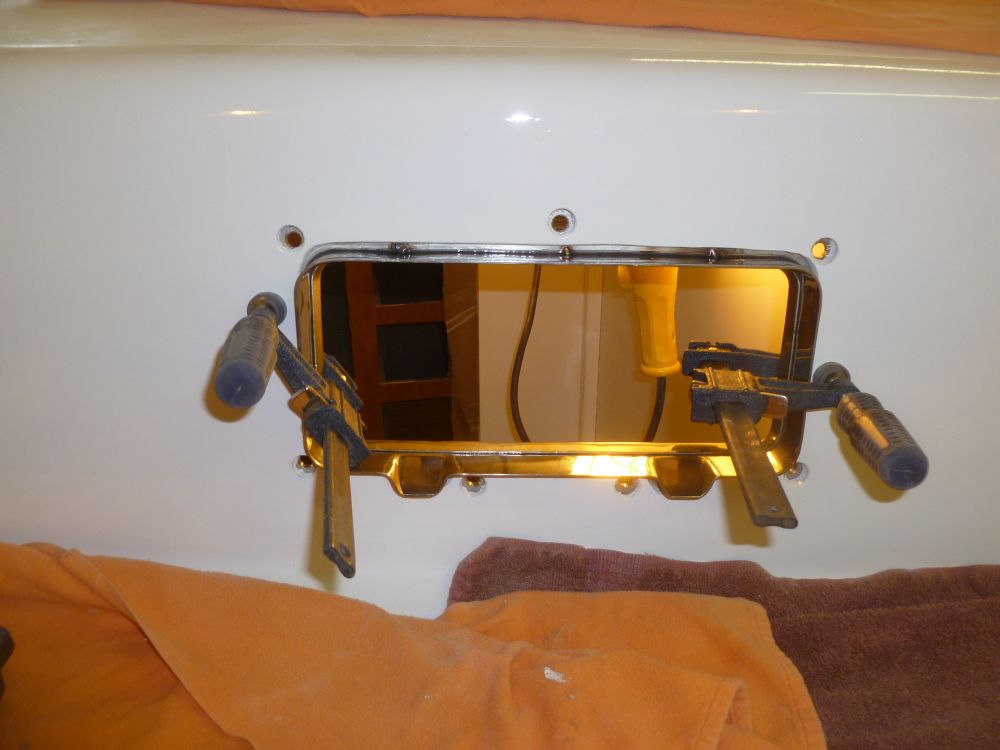
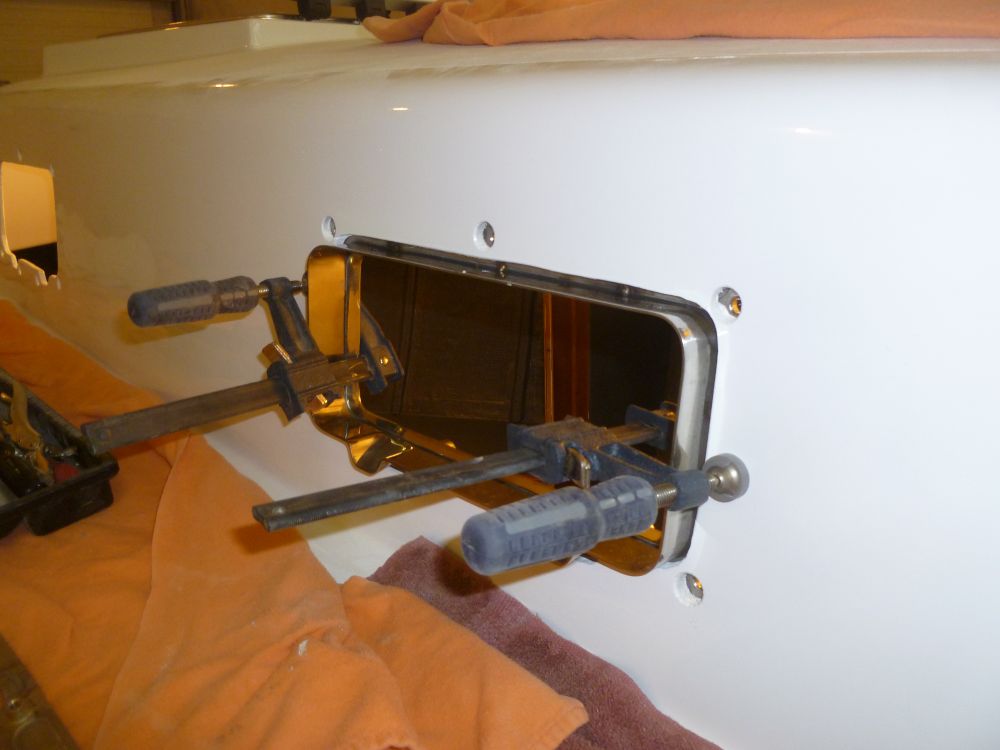
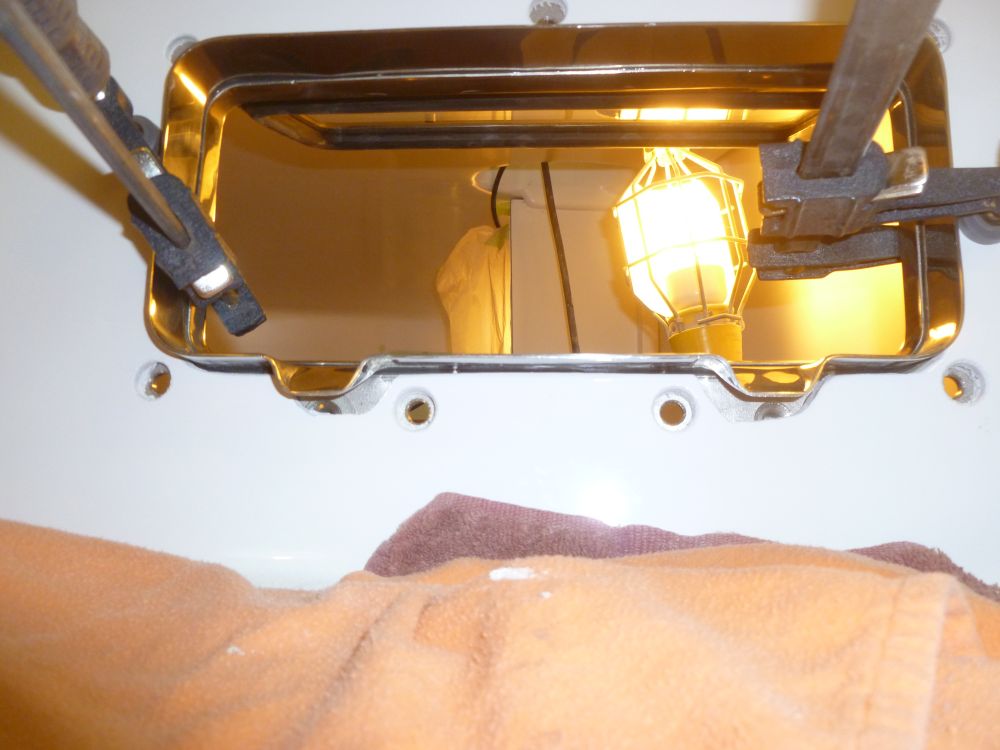
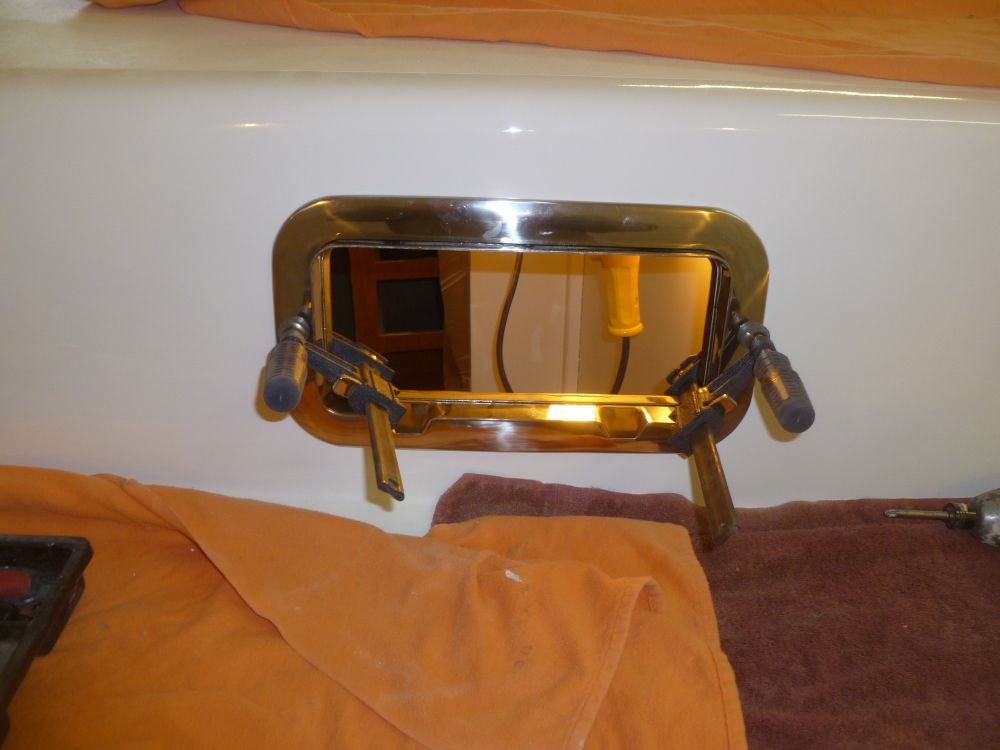
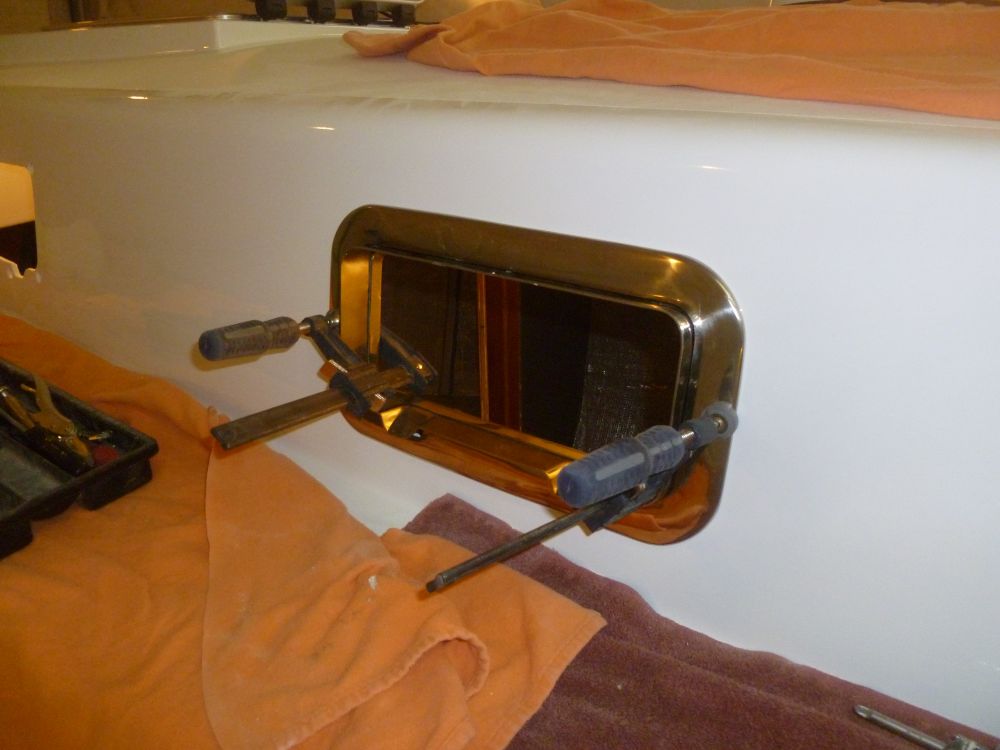
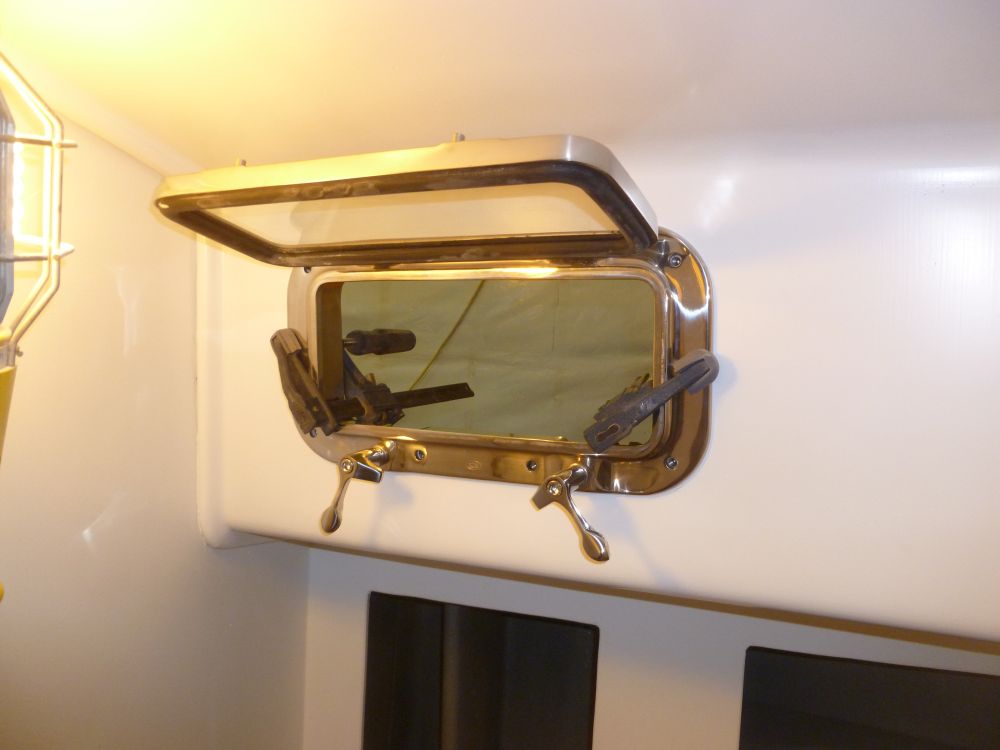
Thinking ahead to the imminent installation of the eight new portlights--I'd lined up some help in a few days for this task--I test-fit one of the forward ports to check out details of the opening, the general fit, and checking the fixing screw length. Each of the ports would eventually need to be dry-fit in this manner, to determine if any fine-tuning of the openings or stud locations was required. The port I fitted, located in the head, seemed to work out OK, with some minor adjustments to the port body within the intentionally oversized opening (to allow for proper sealing) vis-a-vis the relatively fixed position of the outer trim ring.
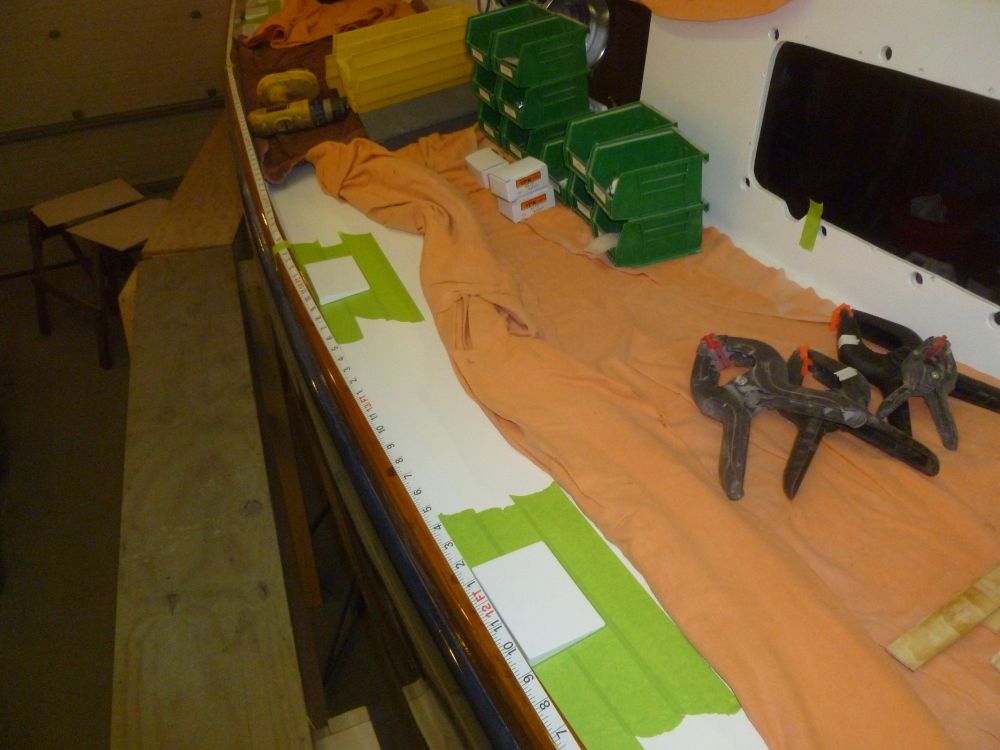
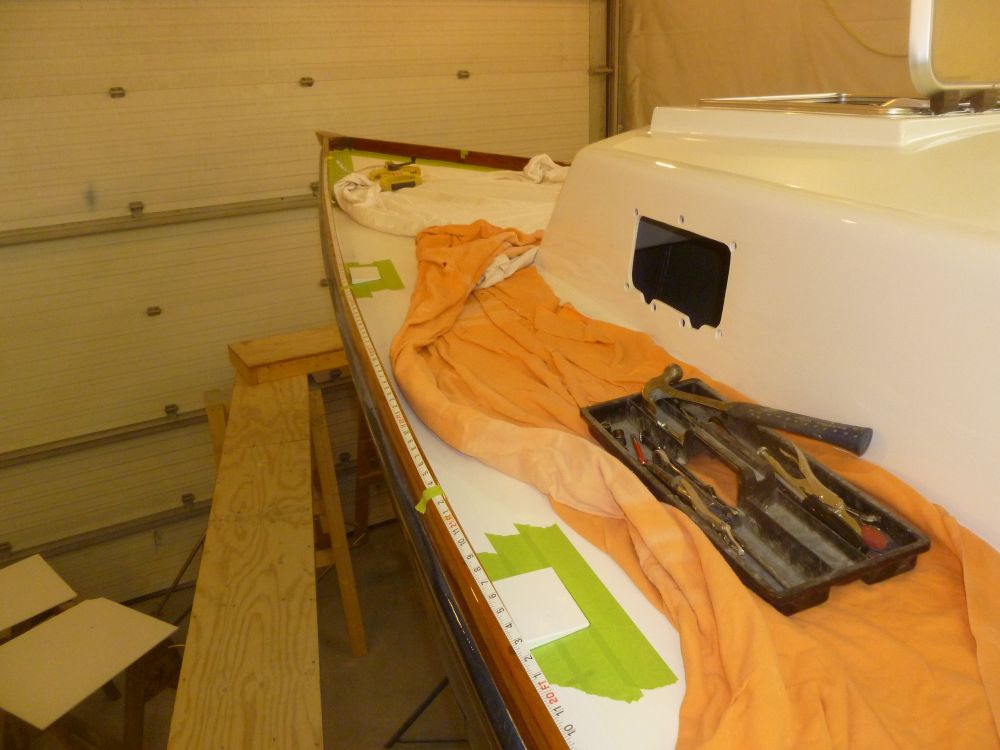
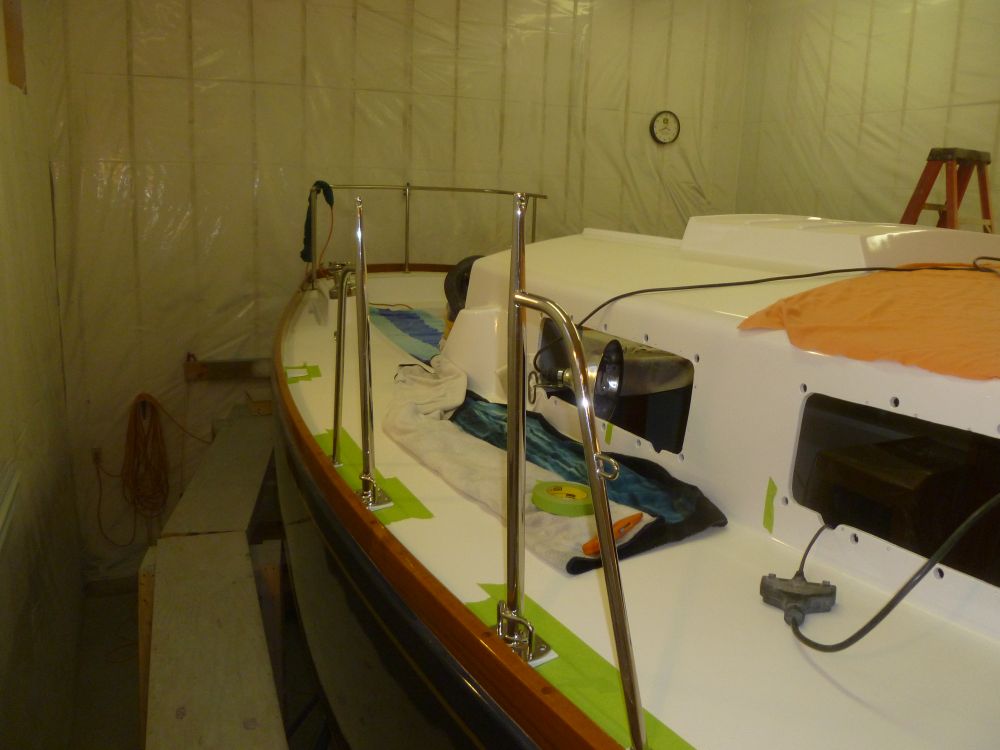
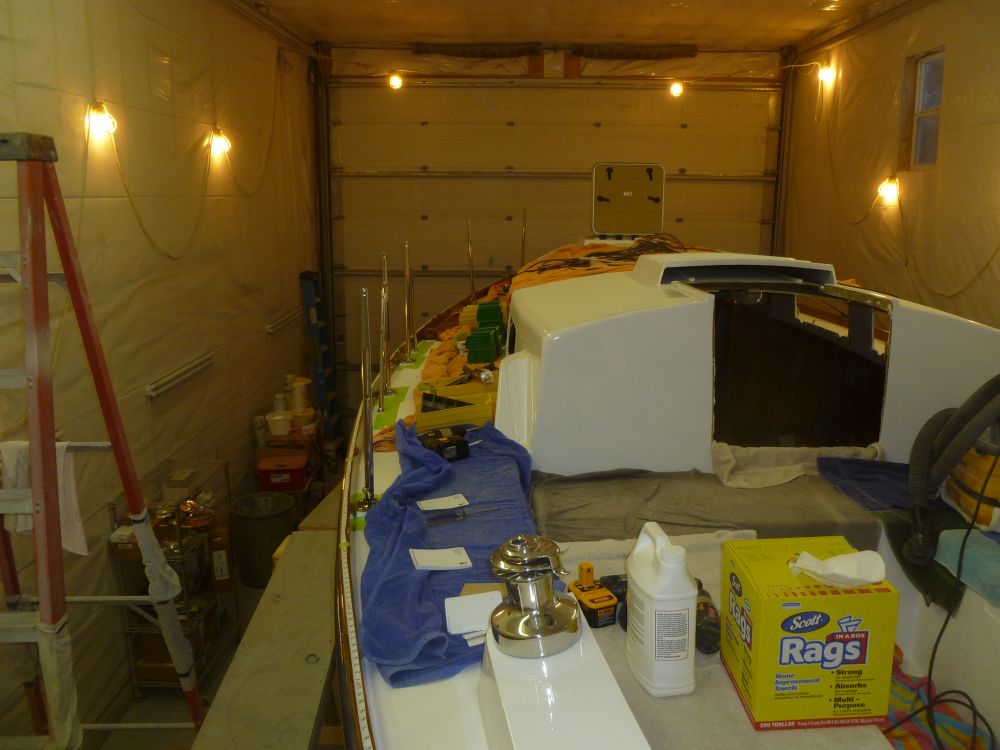
I spent most of the afternoon working on stanchion layout. I'd planned to have the bow pulpit in place by now to assist in the general layout, but discovered during an earlier test fit that the pulpit I removed from the boat was badly torqued out of symmetry, and otherwise unsuitable for a reasonable fit on the bow. So I laid out a series of measurements for a new pulpit to better fit the boat, and ordered the fabrication, which would take several weeks before delivery.
Generally speaking, I intended to install the new stanchions in the same basic positions as the old ones that I removed long ago, so with old photos and ghosts of fastener holes as my initial guide, I began on the starboard side by masking a long tape measure along the toerail for reference, then laid out the stanchion bases and gate opening roughly according to the original setup, with minor manipulations as needed to better suit the new equipment and, more importantly, accommodate various new dividers belowdecks, so that I avoided having one of the stanchion bolts end up buried in or near one of the bulkheads if possible.
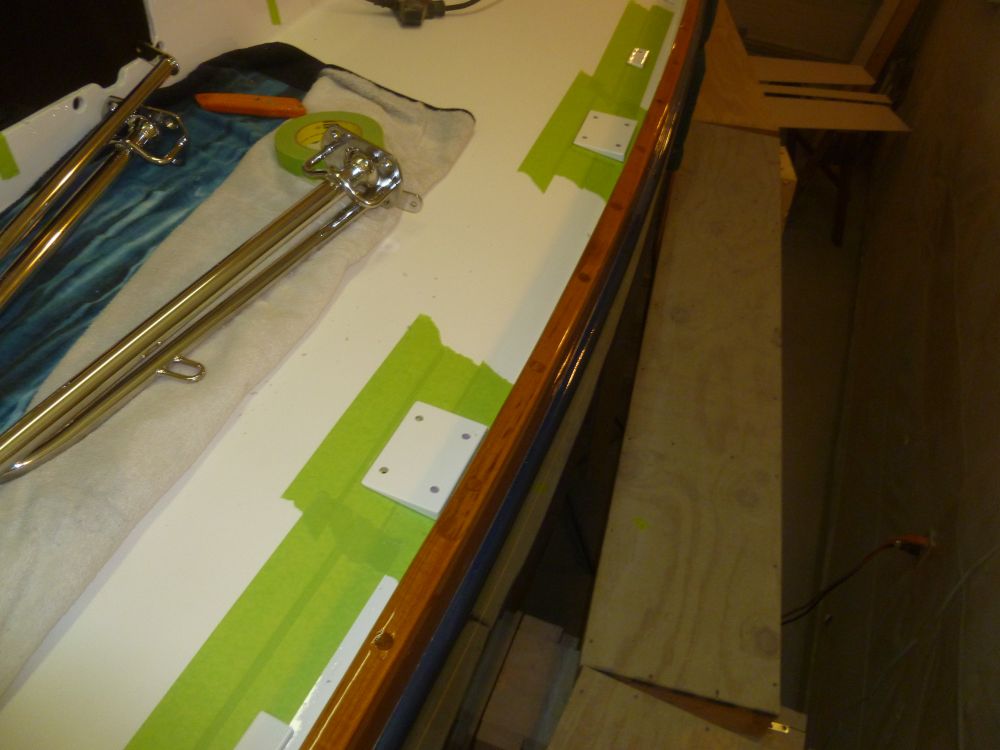
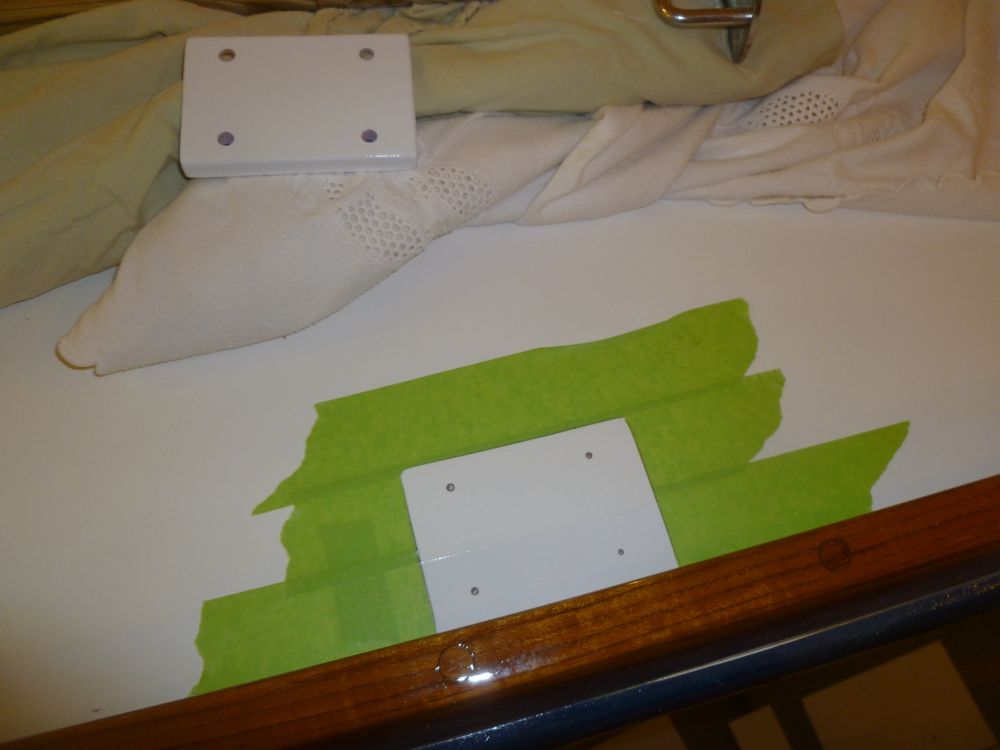
Eventually, I determined the final layout, checking the base measurements against the port side, where the locker dividers were in somewhat different locations, to ensure that the same layout would work on both sides. Masking the deck in each location, I marked around the stanchion base wedges to finalize their positions for later steps.
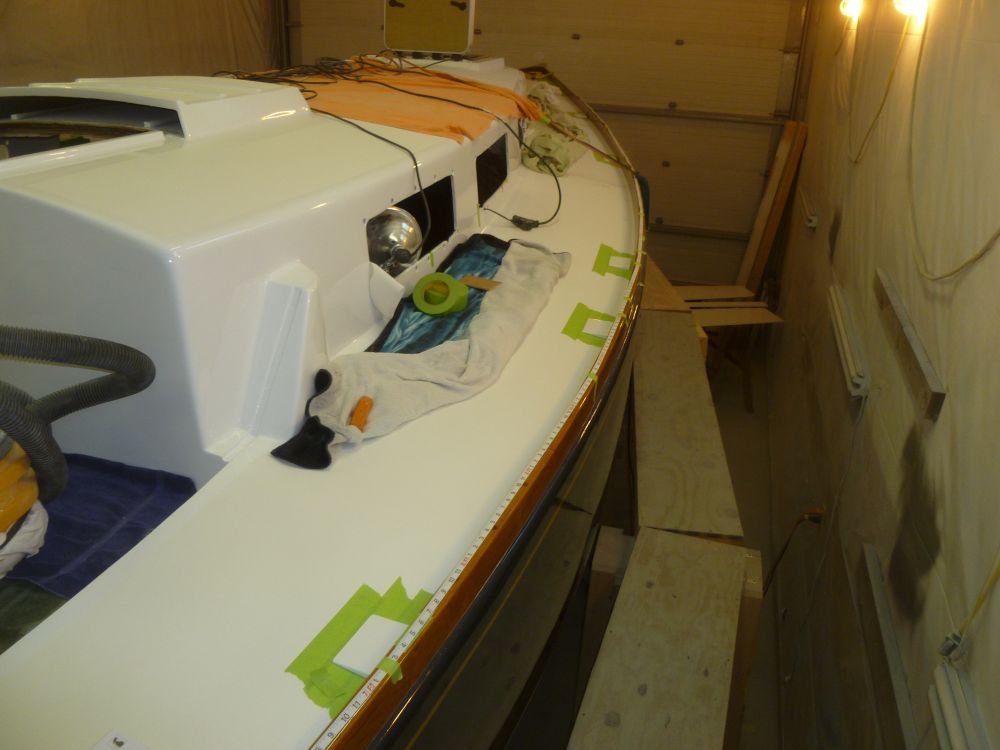
Noting the measurements of each location on the measuring tape, I moved the tape to the port side and marked out the locations there.
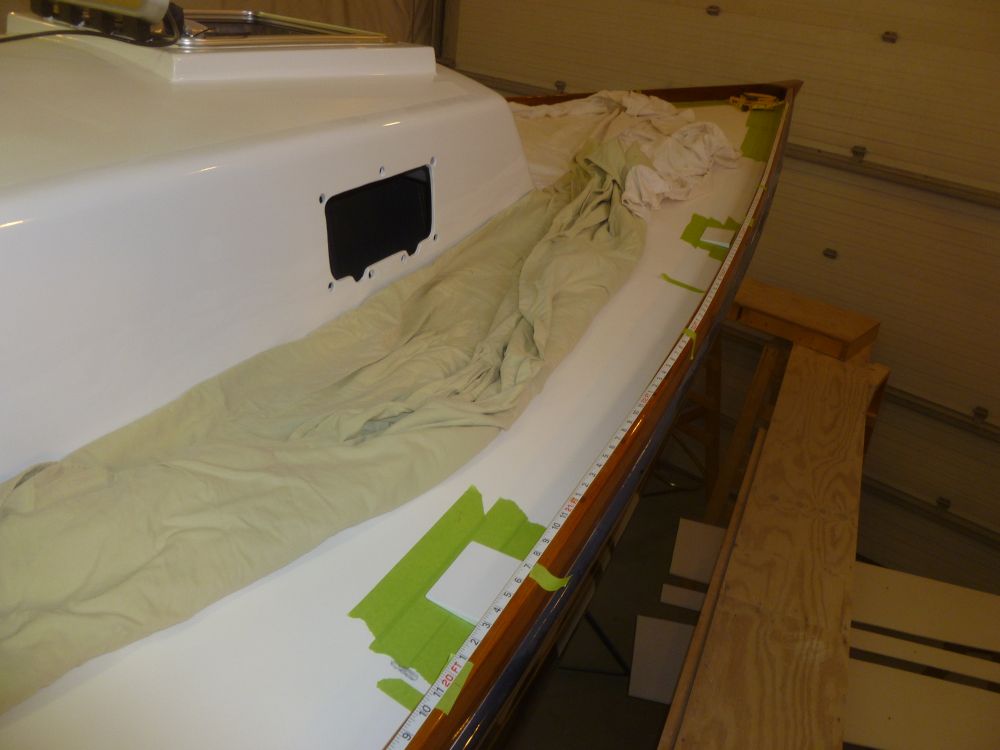
After marking the hole locations for each stanchion on the fiberglass base wedges, I drilled slightly oversized holes through the wedges, which I then used to mark the deck itself for the fastener locations. In most locations, the stanchion bases would be partially in the cored area of the deck, and partially in the solid portion near the hull-deck joint, so I'd need to overbore and epoxy-fill about half the holes--a process I'd begin next time.
Total Time on This Job Today: 8.5 hours
