110 Cookson Lane | Whitefield, ME 04353 | 207-232-7600 | tim@lackeysailing.com
Snow Lily | Tuesday, January 15, 2013
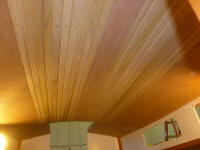
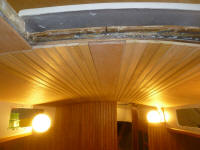
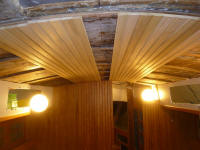
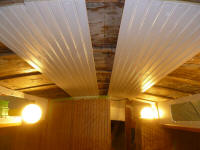
Continuing with the overhead, I cut and fitted the center "king plank", made from more of the 9mm plywood. I lightly beveled the edges to match the beveled profile of the beadboard edges.
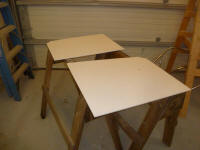
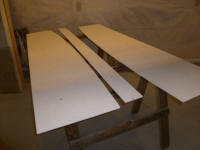
I removed the plywood sections of the overhead and prepared them for primer and paint, after first laying out, marking, and drilling wiring holes for the overhead lighting fixtures. I also lightly beveled the straight edge of the two plywood side panels where they met the beadboard, which would provide a clean seam and appropriate appearance where the panels met, without trim. After final preparations, I applied a coat of primer to the beadboard and other panels. I decided much earlier that it made the most sense to paint the beadboard in place, since the fit of the tongues and grooves was tight, and I worried that paint on those areas, were I to paint them individually, might affect the fit.
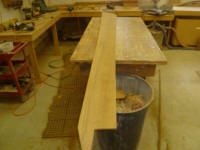
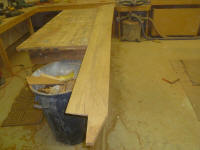
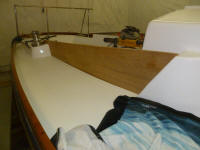
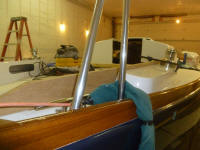
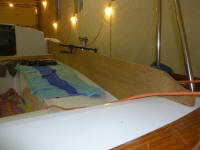
The coaming blanks had had ample cure time, so I unclamped them and sanded the surfaces to remove excess epoxy and prepare the blanks for final shaping. Beginning with the port coaming, I used the existing template to mark and cut out the coaming on the 3/4" teak, then test-fit the coaming in place. Pending final details and fine-tuning, I left the edges and surfaces raw. I had to make minor adjustments to the leading edge of he coaming where it met a recessed area molded into the fiberglass coaming block at the cabin, but otherwise the fit was good.
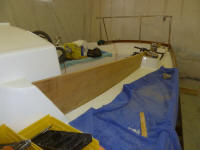
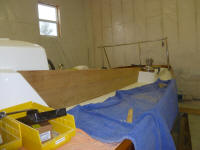
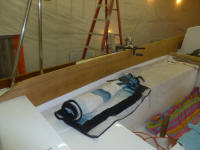
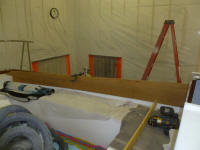
Now that I was done with the original port template, I separated the two halves of the template and used them on the starboard side to create the final shape there. There were slight differences in the length and height of this coaming compared to the port side, but the basic template worked fine to establish the shape once I reglued the halves together in the appropriate positions.
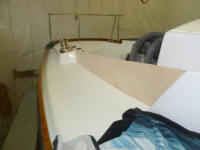
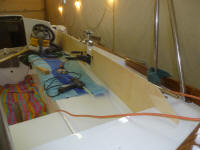
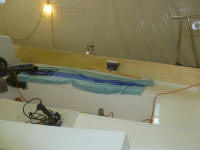
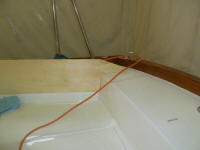
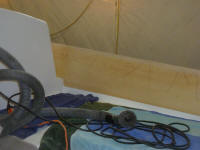
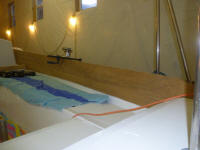
As before, I used the "new" template to cut out the starboard coaming, and test-fit it in place.
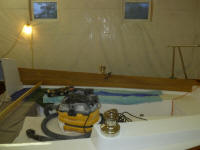
I laid out the openings for the coaming storage pockets, located in the winch islands, but had to order a hole saw of the correct size to accurately cut the ends, so final detail work on the coamings would wait till the new tool arrived.
Total Time on This Job Today: 8.25 hours
