110 Cookson Lane | Whitefield, ME 04353 | 207-232-7600 | tim@lackeysailing.com
Snow Lily | Tuesday, January 8, 2013
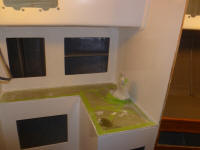
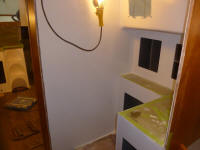
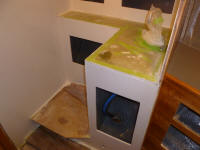
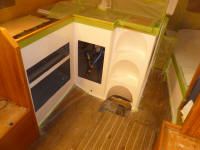
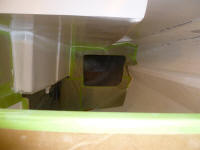
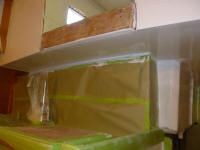
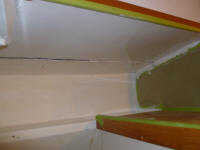
I began the day by sanding the primer in the head, galley, and quarterberth areas, after which I vacuumed and solvent washed. Later in the day, I applied the first coat of semi-gloss white enamel.
The stanchion bases were at a 90° angle to the stanchions themselves, and with the deck camber this forced the stanchions to lean outboard an excessive amount.
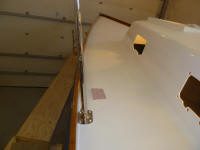
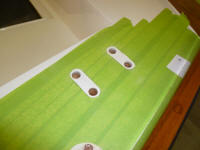
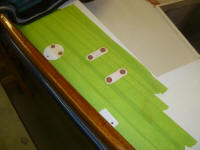
To correct this, I milled wedges from 3" wide solid fiberglass, with an angle across the width of the wedge to average the camber of the sidedecks. After milling a long strip to the correct angle, tapering from full thickness at the outboard edge to nearly nothing at the inboard edge, I cut it into appropriate sections to fit beneath each stanchion base and sanded them smooth.
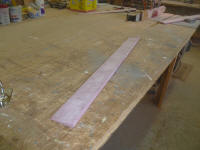
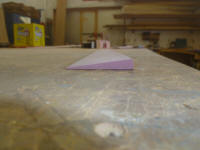
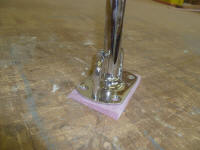
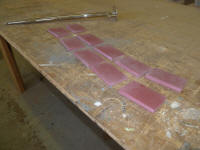
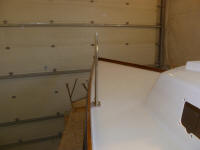
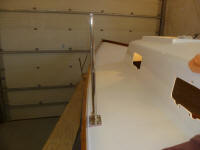
Four stanchions in way of the midships lifeline gates included welded braces, and the small brace bases also required angled wedges. I cut these from the offcuts left over from making the main wedges.
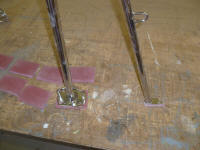
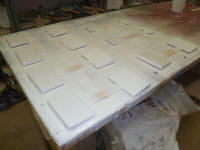
I'd made the wedges as small as possible, so little would be exposed, but they still required paint. To start, I applied several coats of epoxy-based primer (Alexseal) to the new wedges, leaving the primer to cure overnight.
I continued work on deck hardware layout and installation. Going through some of the remaining deck hardware in stock, I determined any additional fasteners I'd need in the coming weeks, and placed an order for what was needed. Then, I worked with the stern cleats and chocks to determine their position. After various iterations, I finalized the cleats' and chocks' positions based on their interaction with the nearby pulpit and the future cockpit coamings, and by referring to photos of the original layout.
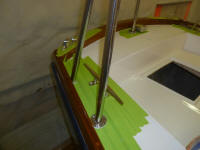
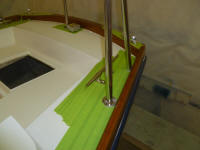
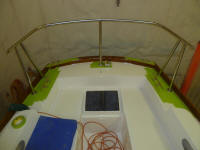
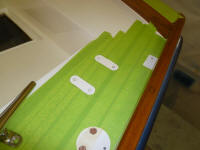
After preparing the area, I overdrilled the bolt hole locations with a 1/2" bit to remove the plywood core from around the fastener locations, then filled the holes with thickened epoxy and left it to cure.
Total Time on This Job Today: 8.25 hours
