
110 Cookson Lane | Whitefield, ME 04353 | 207-232-7600 | tim@lackeysailing.com
Snow Lily | Monday, January 7, 2013
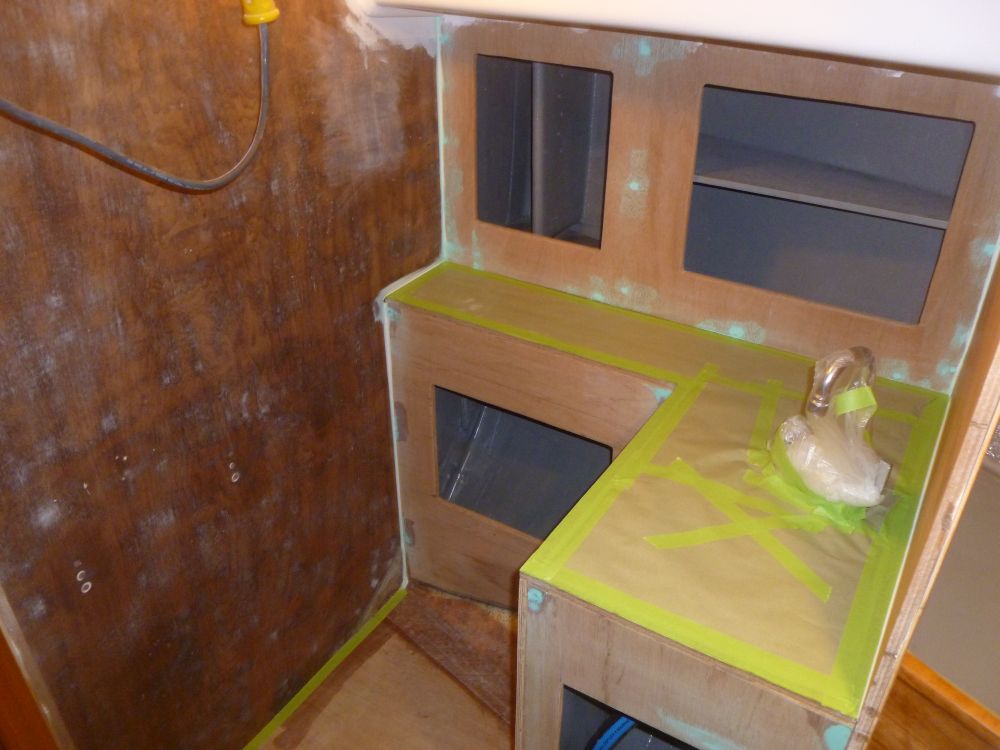
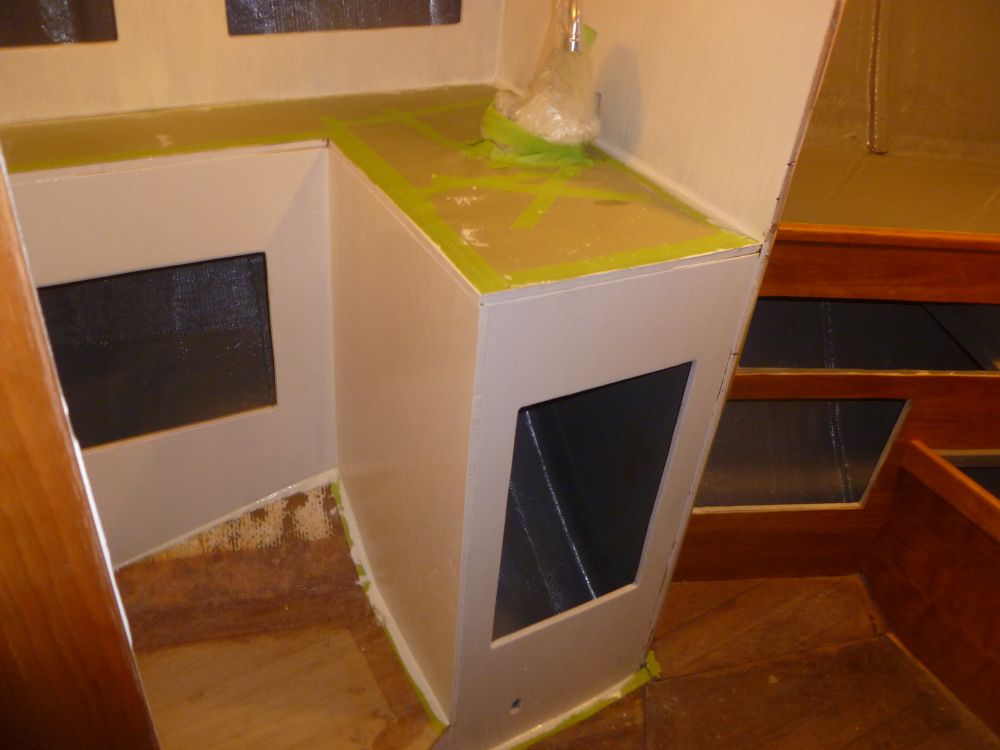
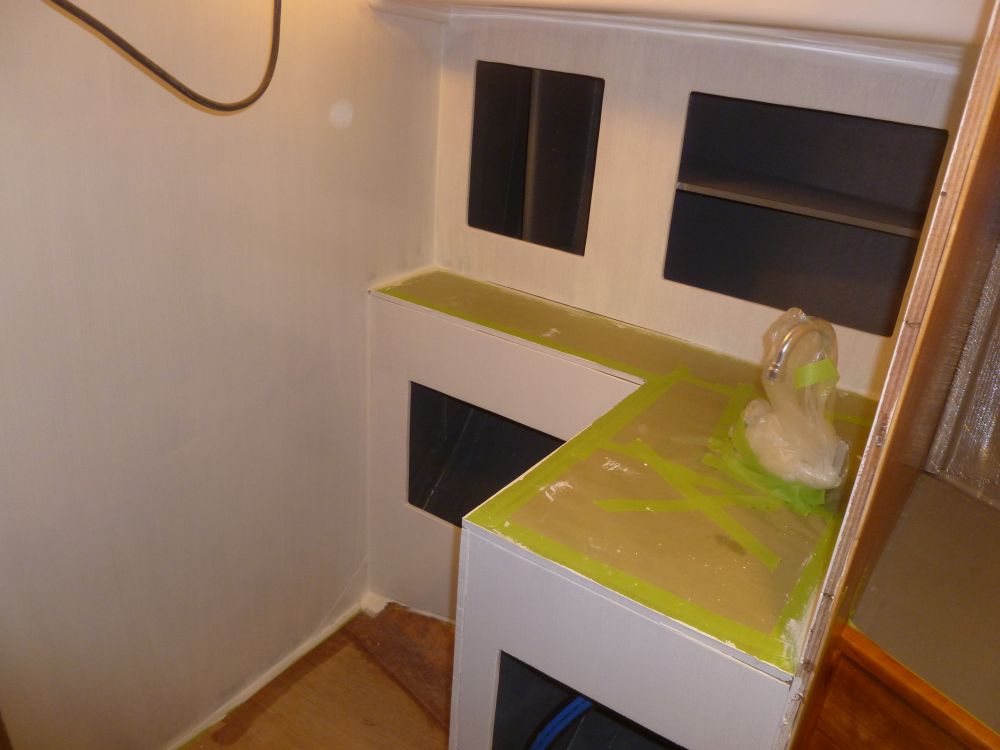
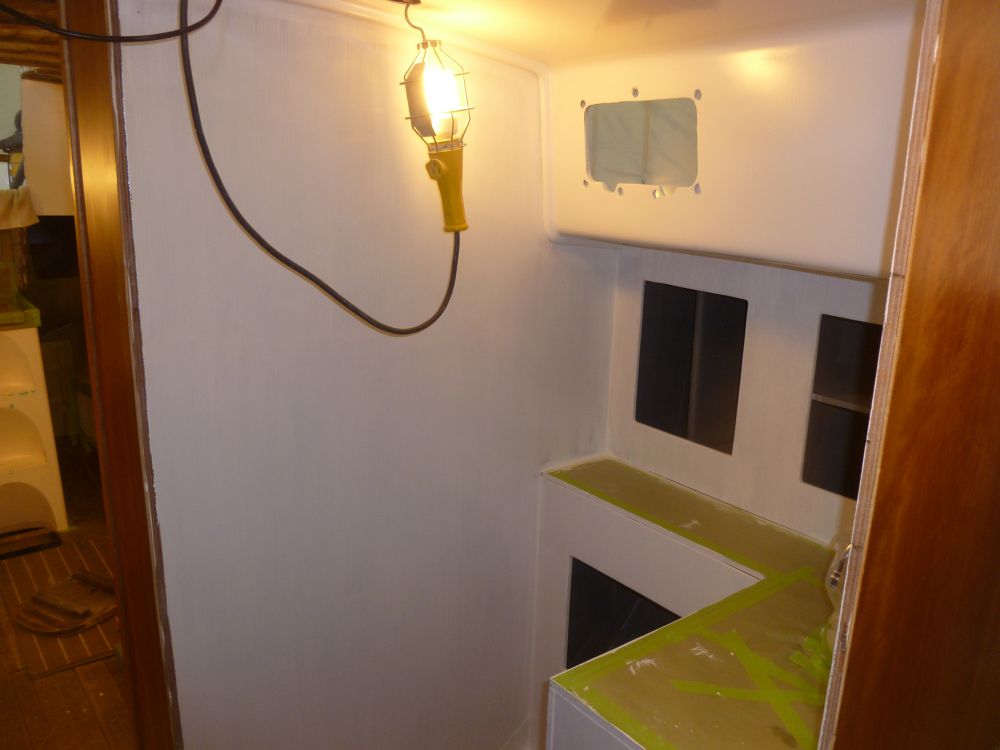
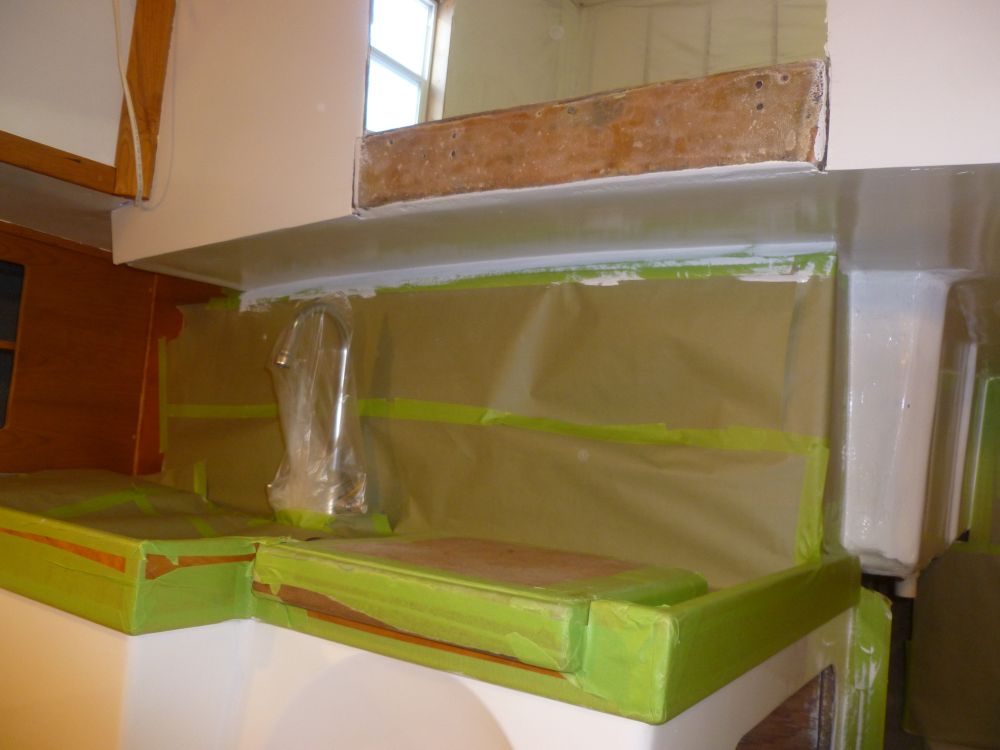
My main focus for the day was to finalize preparations for primer in the head compartment, galley, and quarterberth. The head cabinetry required a bit of light sanding to prepare the plywood panels, and to smooth some spot filler I'd applied over various fastener locations. Afterwards, I masked off the countertop and other areas as required.
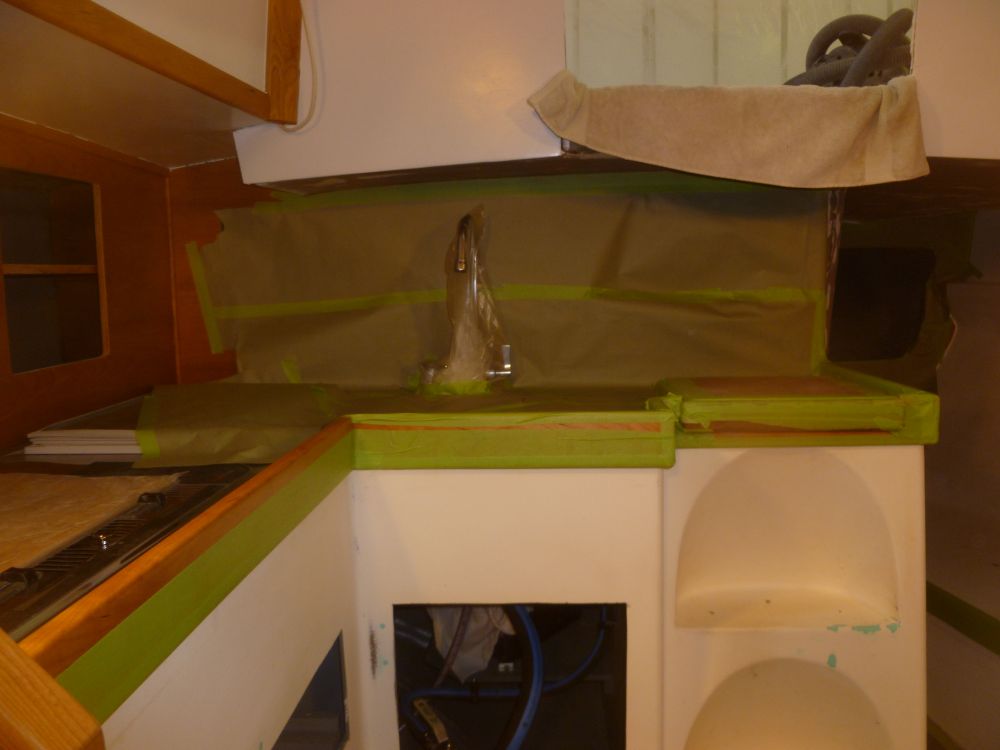
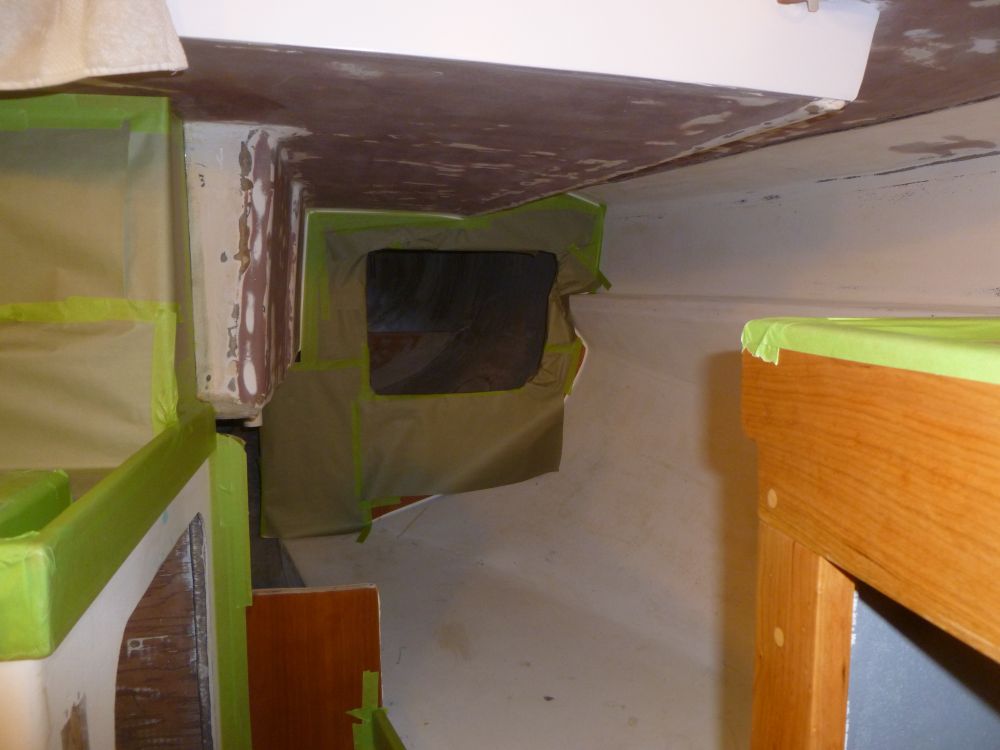
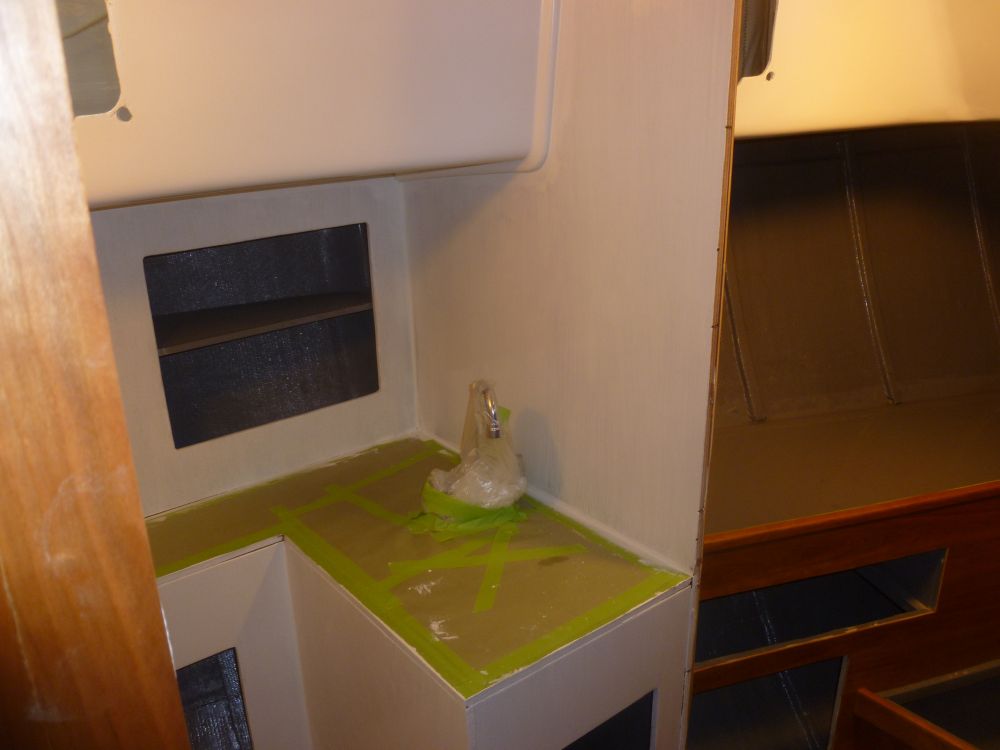
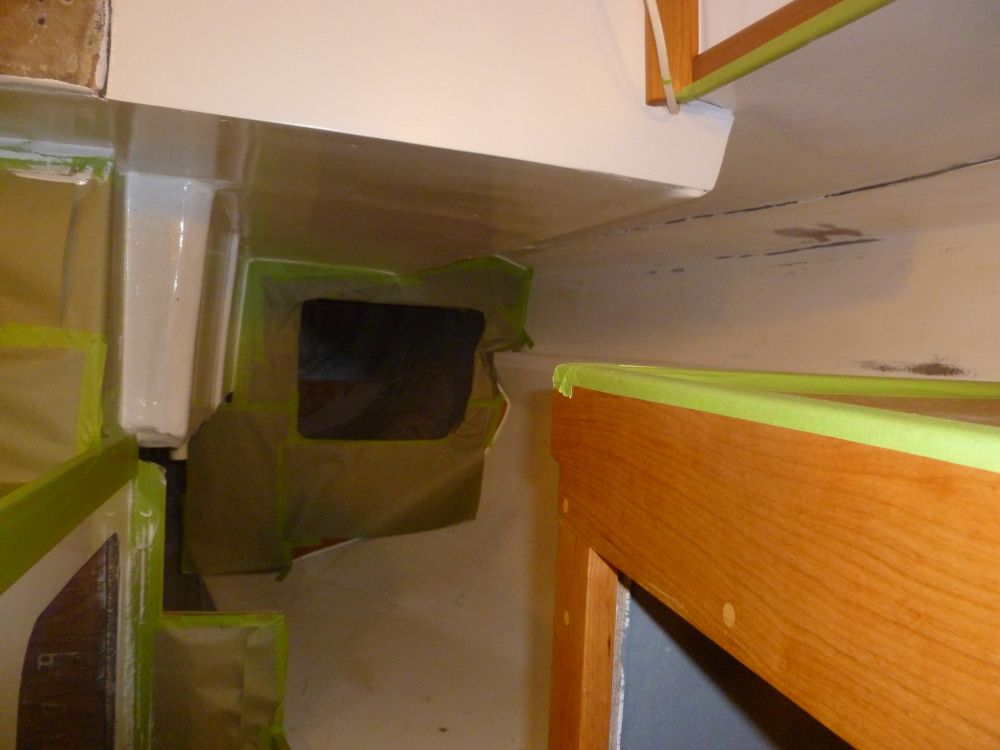
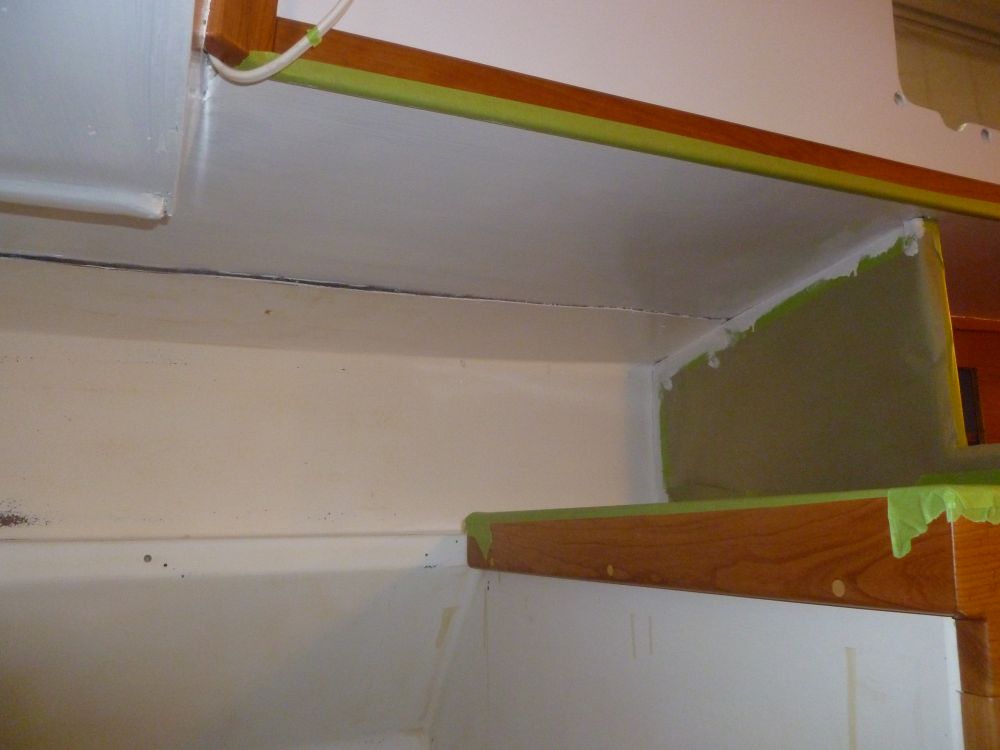
In the galley and quarterberth, I masked off trim and countertops, and other areas, as required in order to paint the base cabinets and portions of the overhead and cockpit well. With a natural demarcation between the quarterberth molded liner and the other areas, I chose to leave the liner area, including the hull liner, shelf, and berth platform, for a separate operation later.
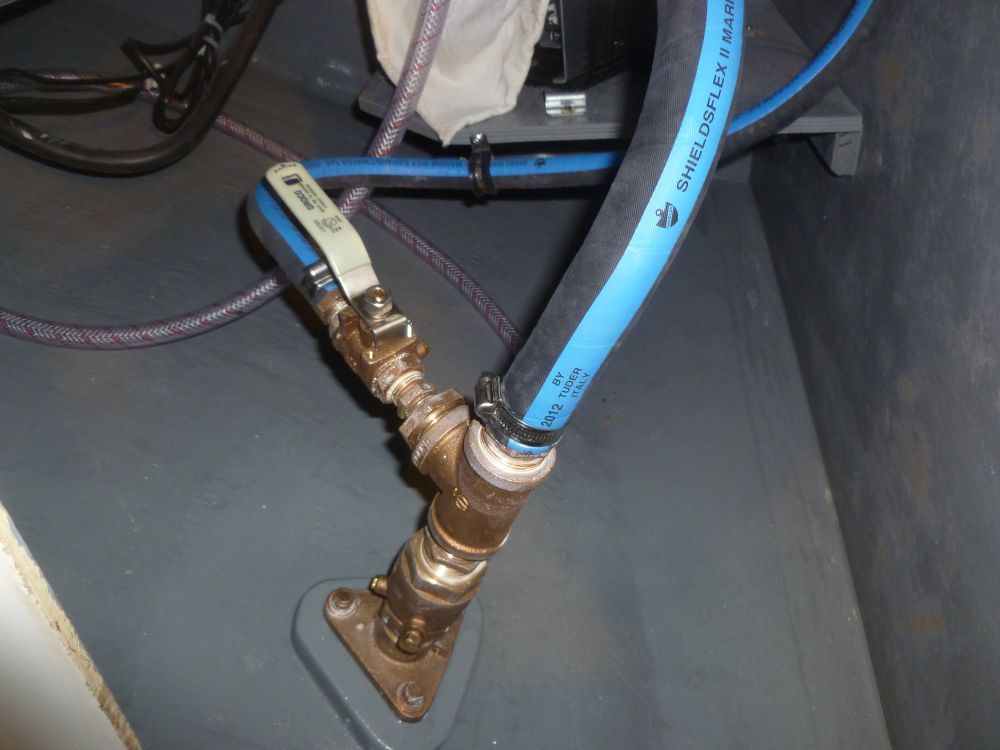
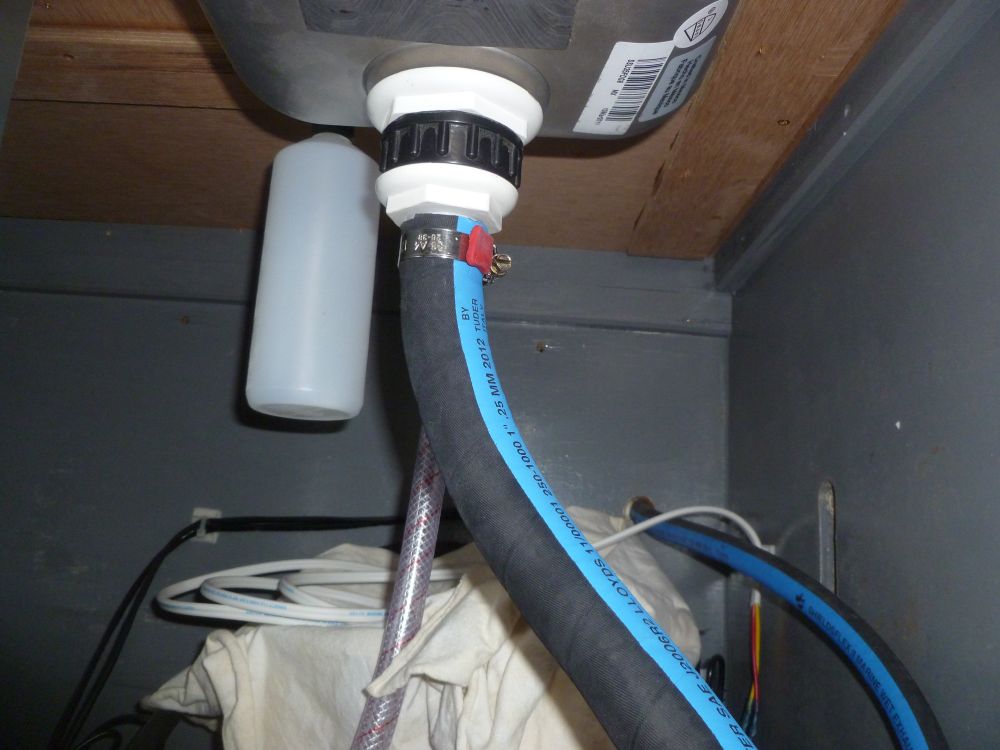
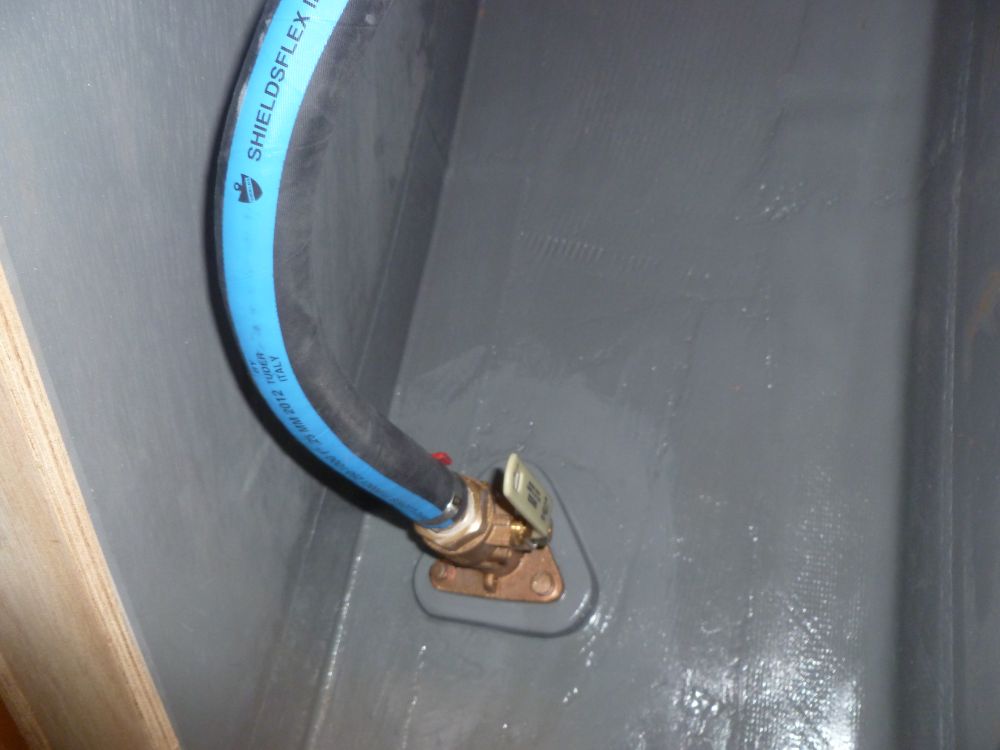
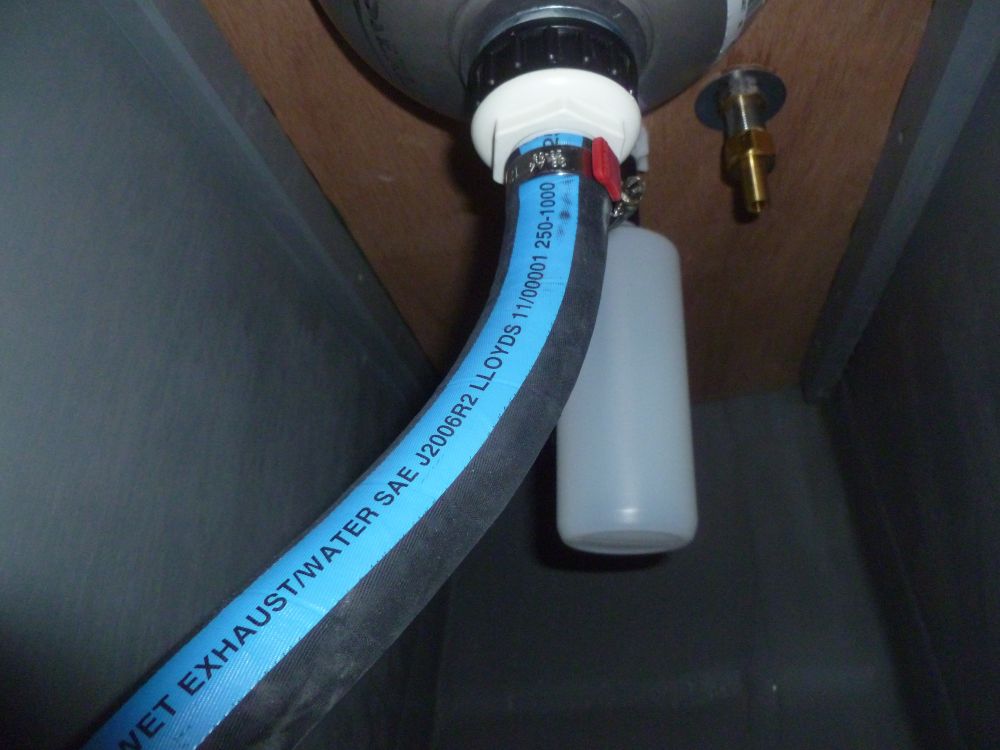
After solvent washing, and while waiting for the surfaces to evaporate, I installed the final bronze drain fittings and hoses for the two sink drains. In the galley, I incorporated a bronze tee, connected with bronze threaded nipples, to combine the cockpit icebox drain with this through hull, including a shutoff valve for the icebox to prevent possible backflow through the seacock for times when excessive heeling might pose this problem.
Not knowing how long priming would take, I started right after lunch, and primed the head, galley, and quarterberth areas that I'd prepared.

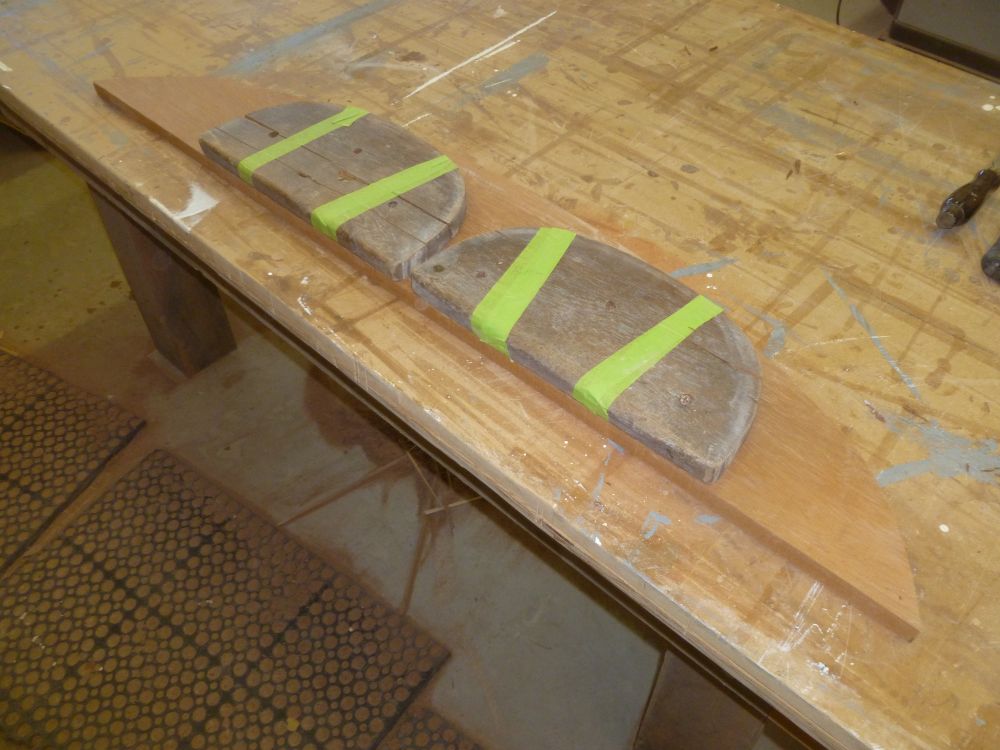
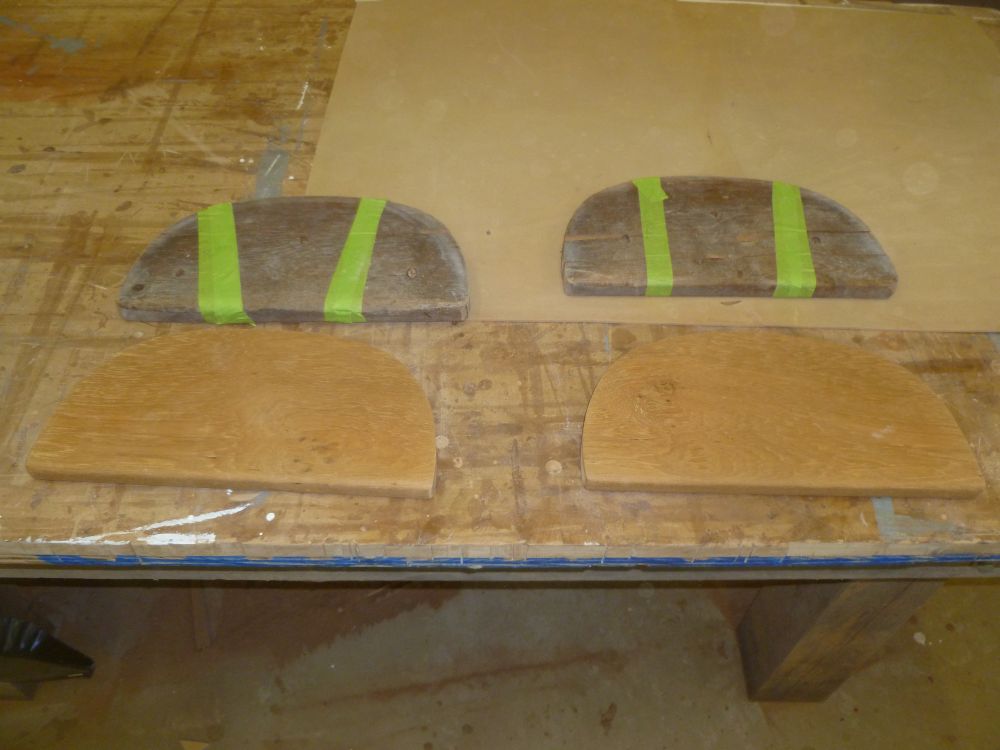
The priming didn't take as long as I'd expected, but I'd painted myself out of the boat for now, so instead I worked in the woodshop the remainder of the afternoon, beginning with the companionway ladder treads. I'd removed the original teak treads and saved them as templates, and with the painting now underway it'd soon be time to install new ones. Using the old pieces as guides on a section of teak leftover from the taffrail construction, I cut the two new treads, rounded over the exposed leading edges, and sanded them smooth. These treads would remain bare.
I performed a series of milling operations on the recently-glued cabinet doors. Over the weekend, I ordered prewoven cabing and related supplies for the doors, and with that on the way it was time to keep the door construction process moving along.
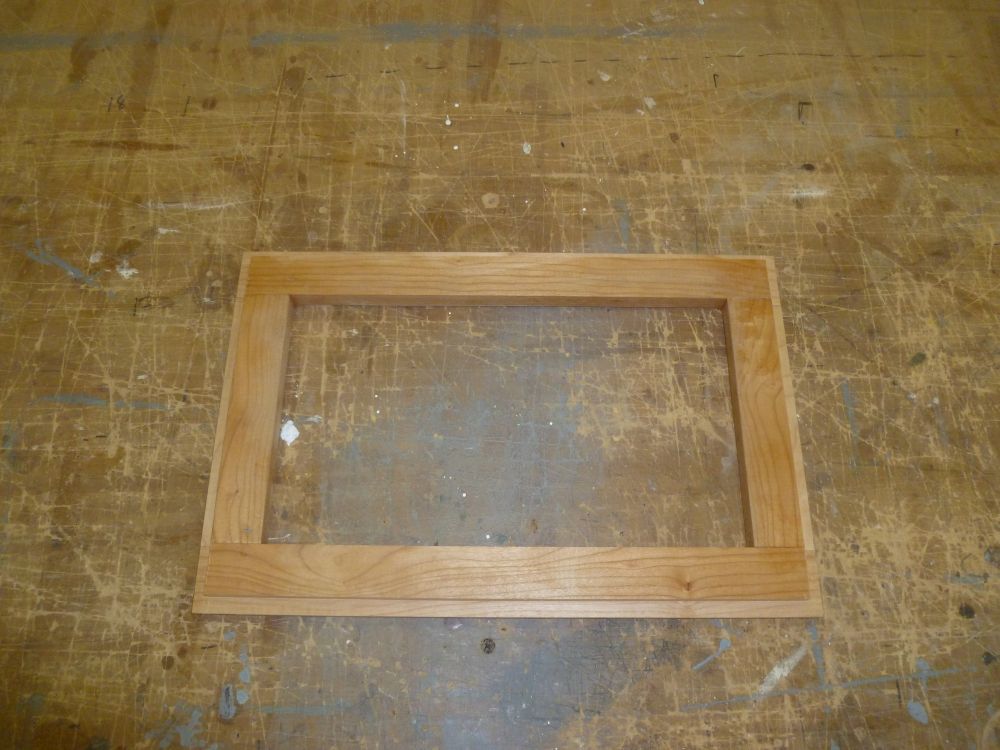
To begin, I milled 1/4" roundovers on the outside and inside edges of the unsanded frames.
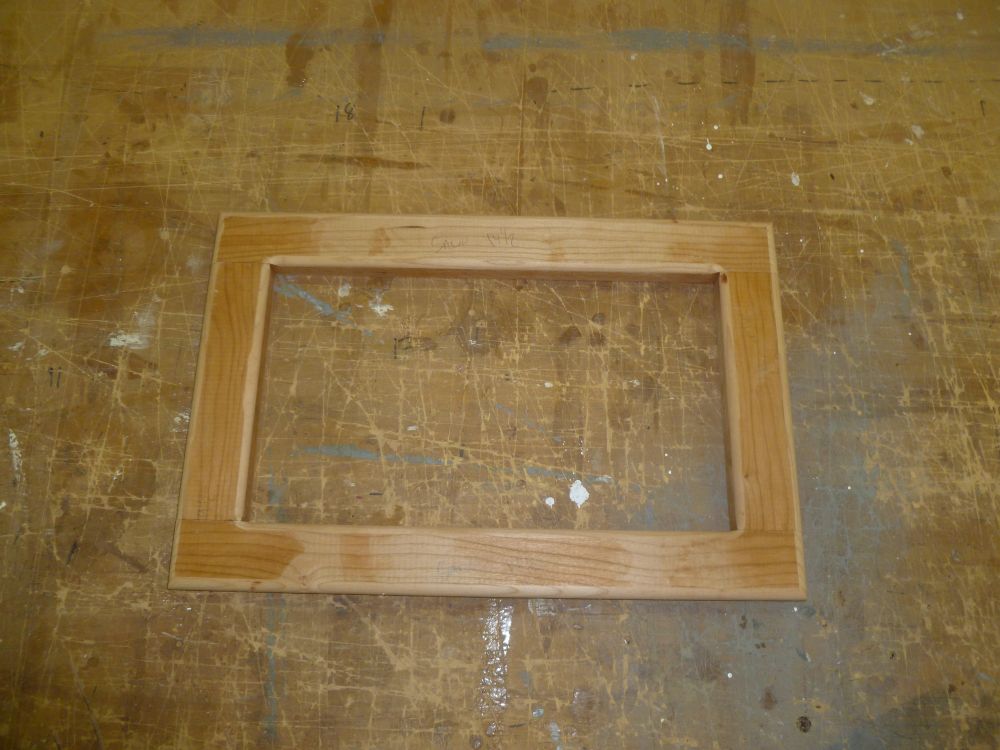
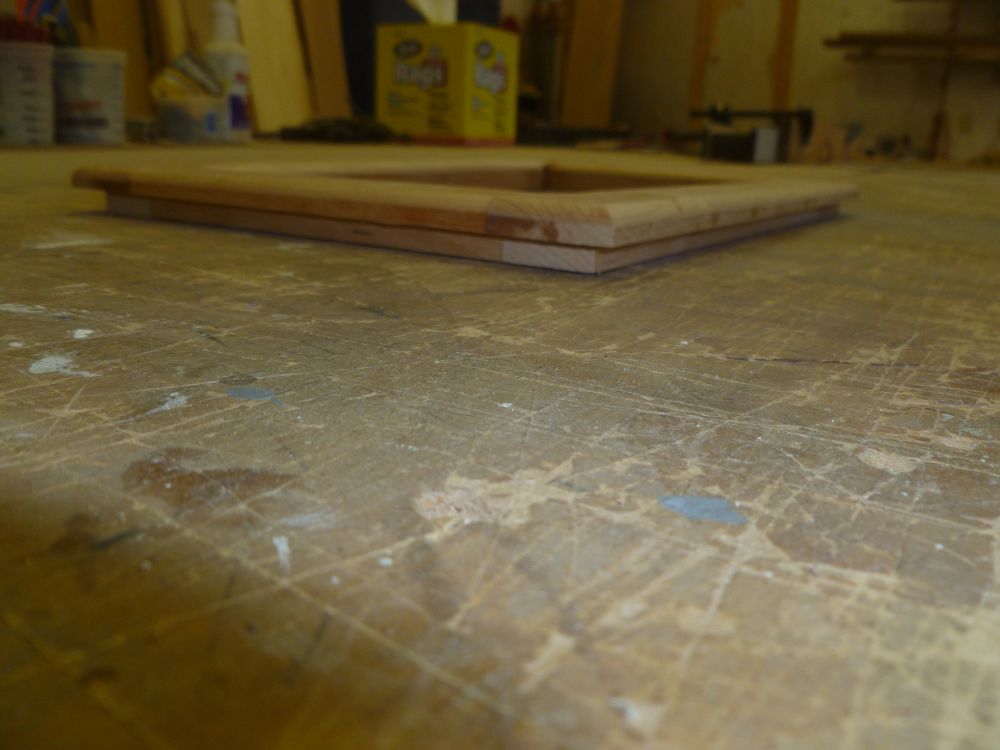
Next, I milled a 3/8" square rabbet along the outside back edges of the door, which would provide the overlay required for the openings, and would accommodate the hinges selected.
I repeated this process with all the doors I'd glued up so far, setting them aside for a marathon sanding session sometime soon.
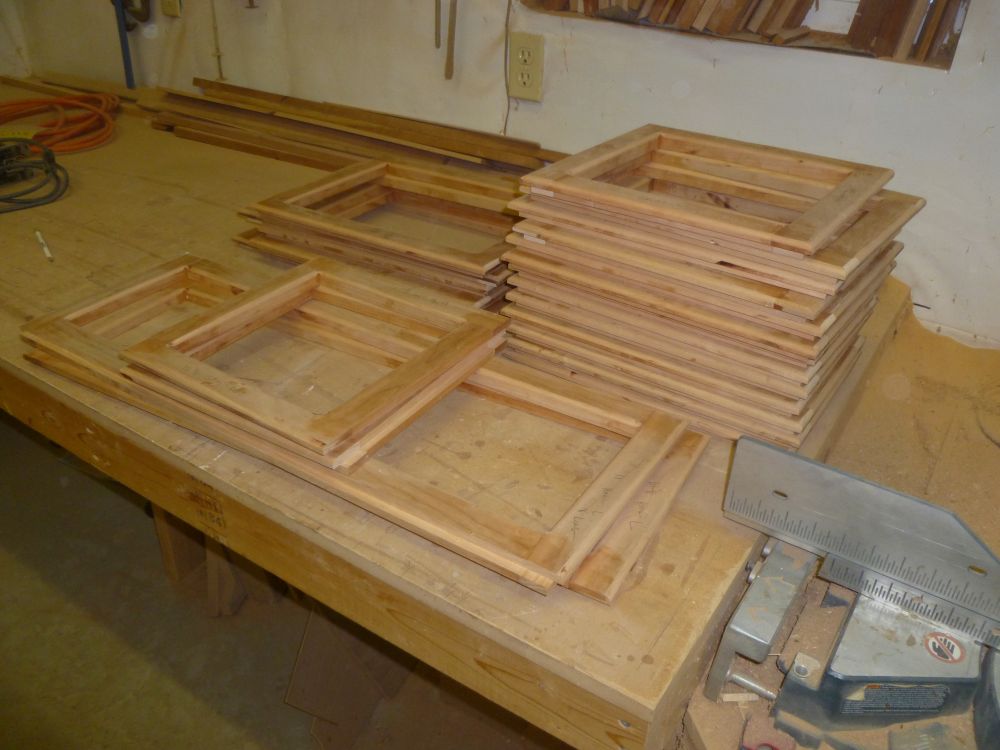
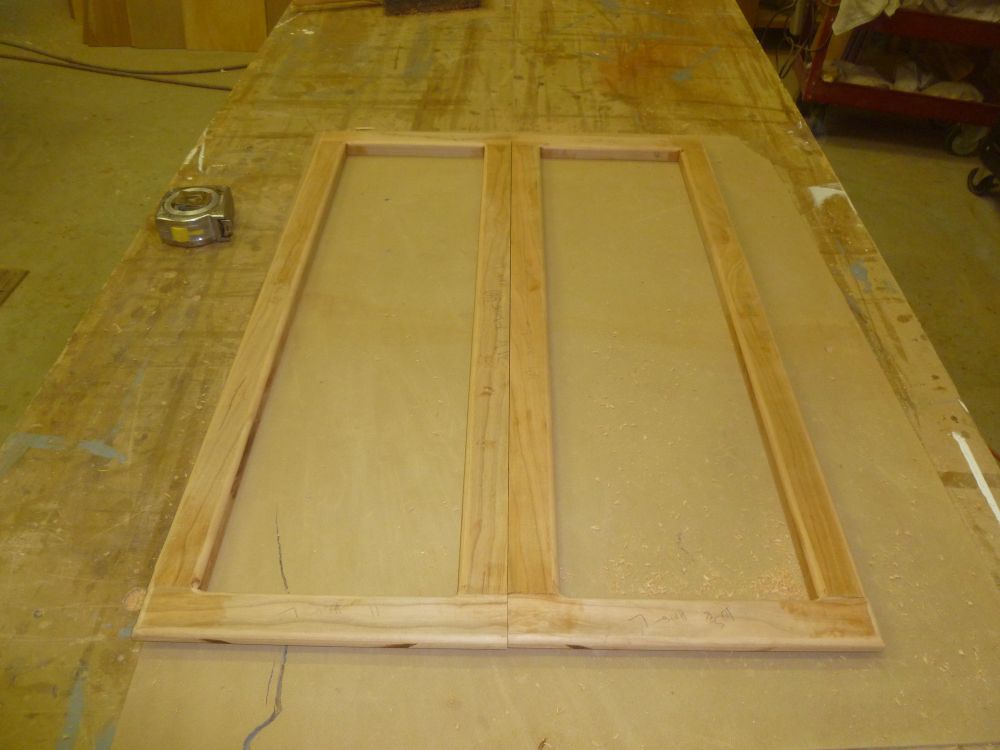
For the hanging locker and the wide lower galley cabinet, I planned and built two doors. To create an overlapping seam between the doors, I'd incorporated a wider center stile on one of the doors, to allow for a rabbet to support the overlapping door while maintaining the 1-1/2" frame width reveal. On these two pairs of doors, I milled 1/2" wide x 3/8" deep rabbets on corresponding edges of the door frames. Hanging locker doors shown.
Total Time on This Job Today: 7.5 hours
