
110 Cookson Lane | Whitefield, ME 04353 | 207-232-7600 | tim@lackeysailing.com
Snow Lily | Thursday, February 28, 2013
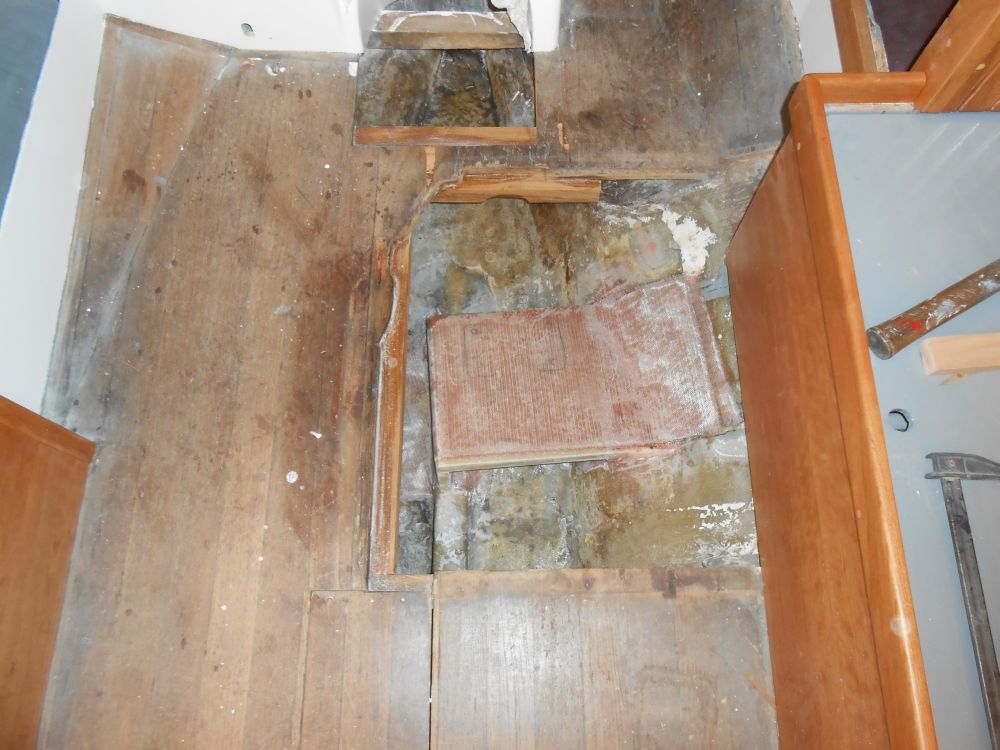
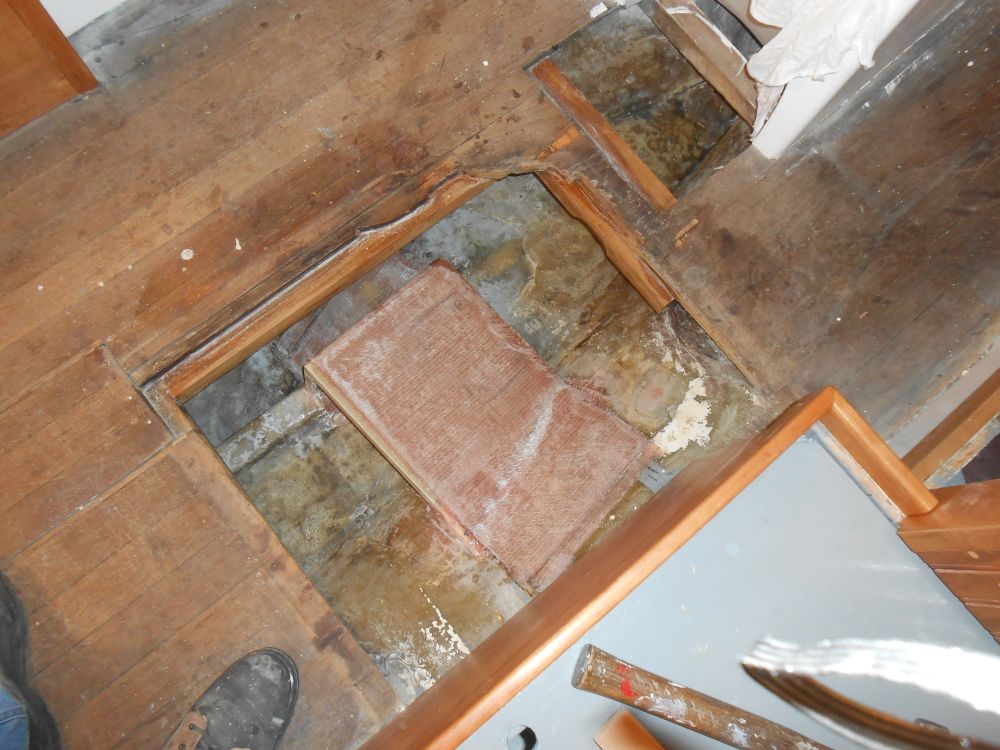
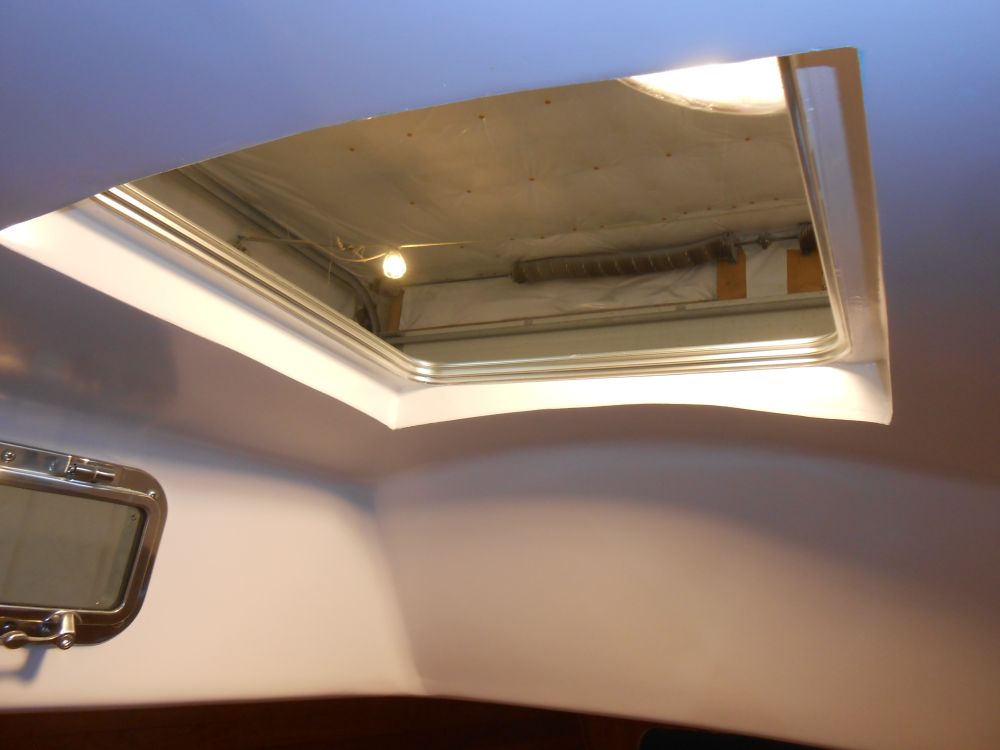
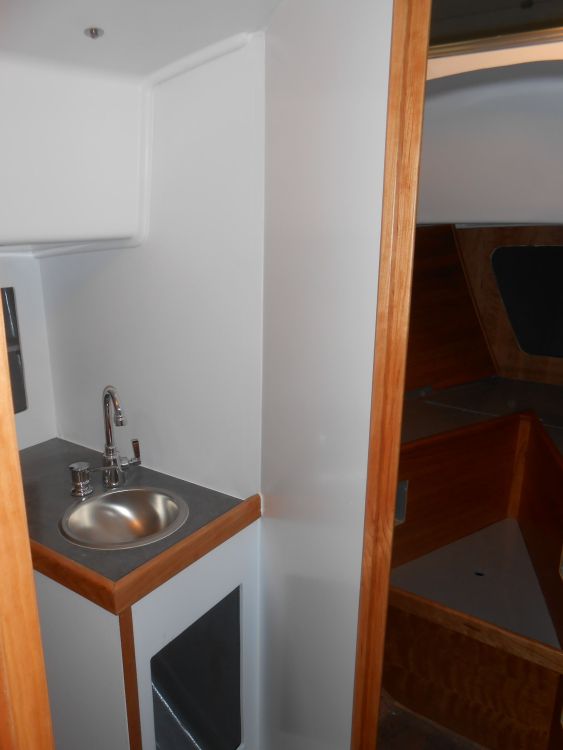
I began the day with various sundry tasks, including sanding the cabinet doors in the shop, unclamping the cabin sole support reinforcement and unmasking the head and forward hatch, having deemed the paint work there complete. I looked forward to continuing the work with the electric motor installation soon, but was awaiting the new propeller shaft in order to properly align it; I'd waited a whole week longer than I'd expected for a quote on the shaft thanks, apparently, to the school vacation week, but as of earlier in the week the shaft was finally on order and hopefully would be here soon.
With a new shipment of hose taking up room in the shop, I decided to install the water tank fills and vents. To begin, I located the vent outlets required for the two after tanks. Working from inside in the lockers where the hoses would have to run, I determined locations for the through-hull vents, using a washer supplied with the vent to determine a suitable mounting area in the space above where the topsides coring ended. Then, I drilled pilotholes to the outside so I could drill the 3/4" holes required for the fittings.
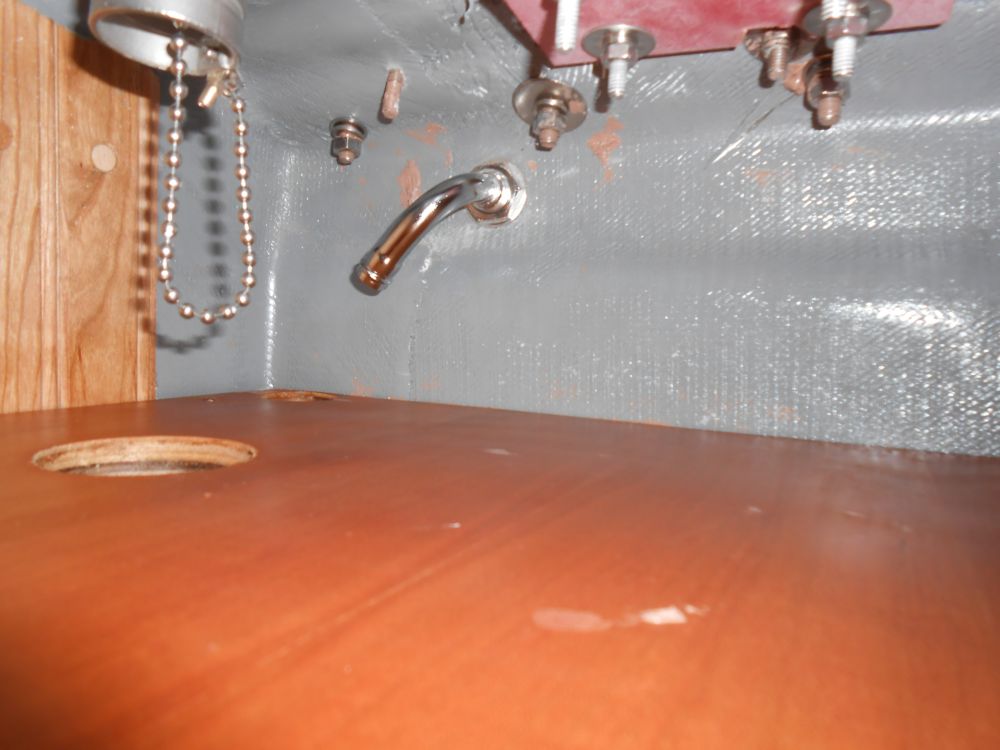
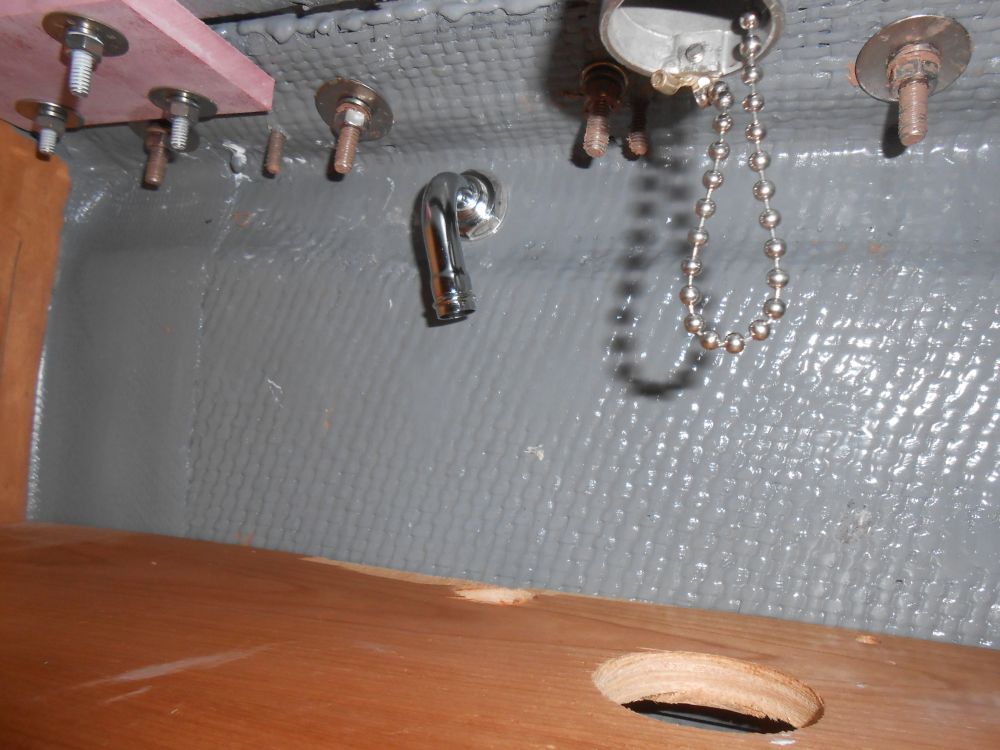
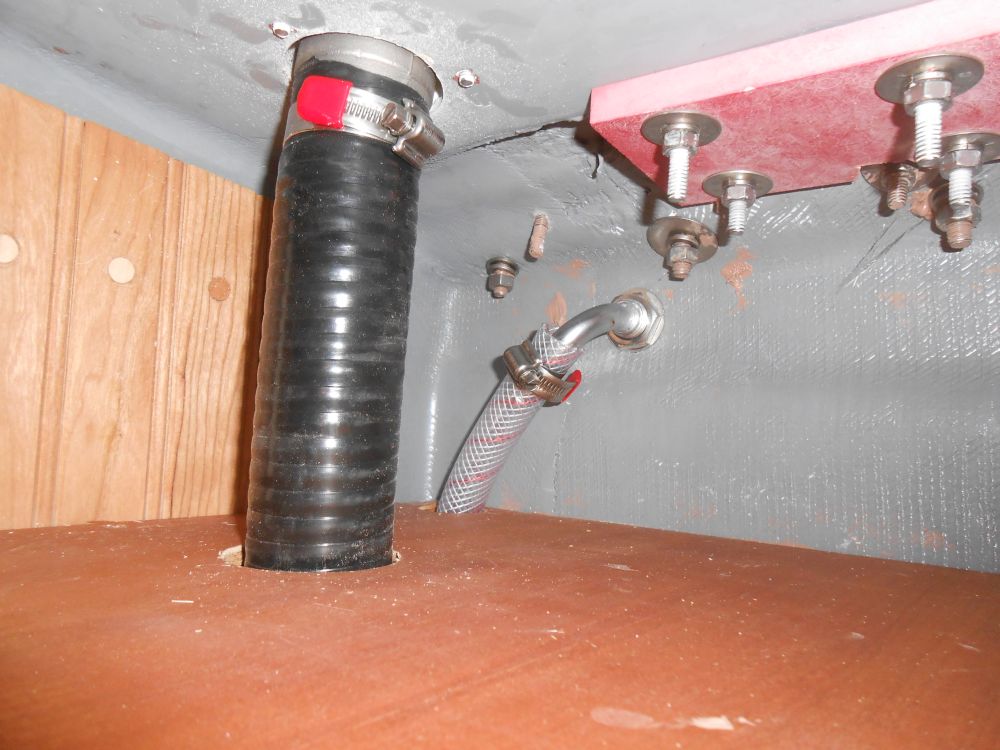
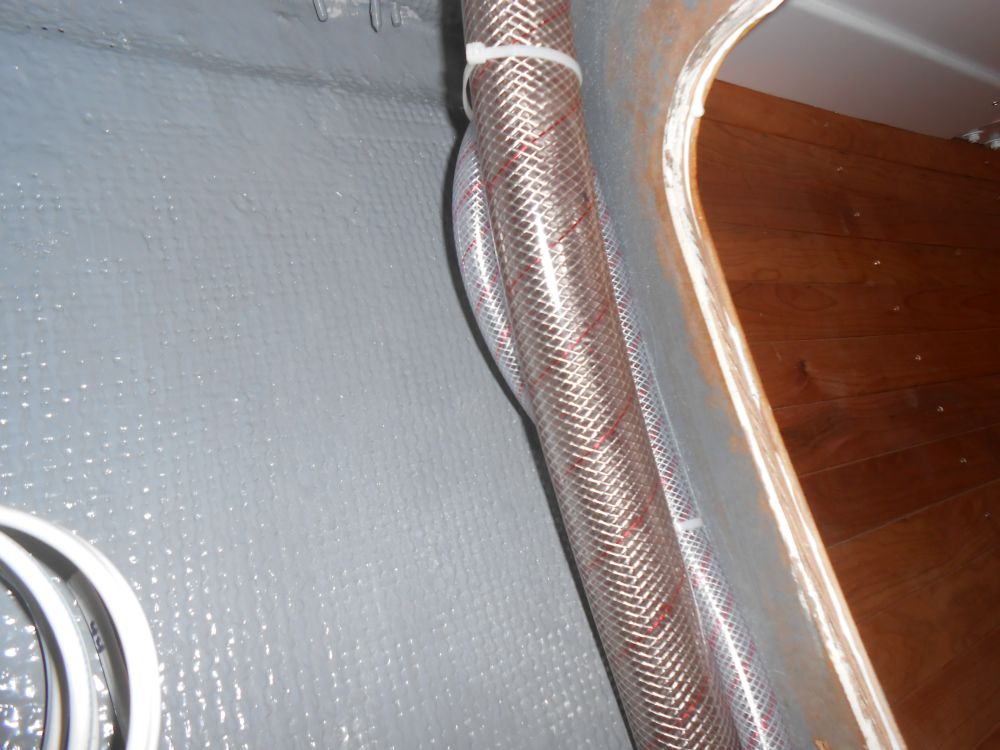
After installing the fittings, I installed the vent hose on each of the two settee tanks, running the hose through the cabinetry as needed. Then, I installed 1-1/2" fill hoses for the two tanks. The hose I selected for the job, a larger version of the reinforced hose typically used for supply and vent lines, was some of the stiffest, most miserable stuff to work with, eclipsing even white sanitation hose for recalcitrance. On the starboard side, the hose route was relatively straight and easy, though I found I had to heat the hose slightly to get it to fit between the cabinet shelf and the deck fill nipple.
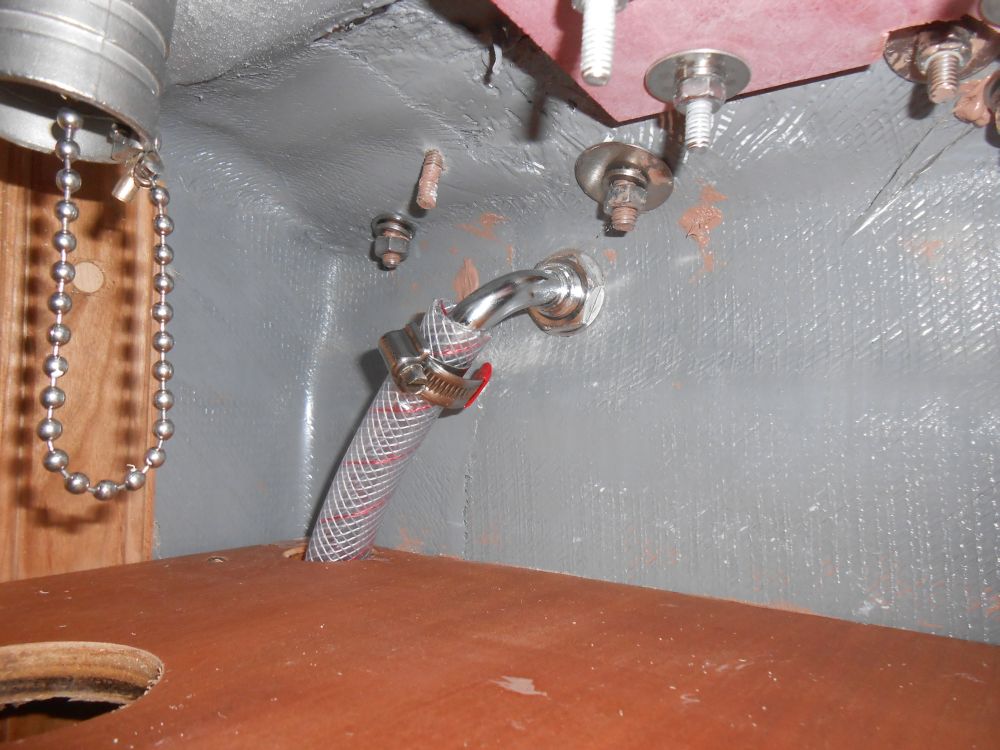
On the port side, I found there was simply no way to make the unbendable hose fit through the semi-convoluted turns required to reach from the tank to the deck fill through the cabinetry. In this instance, I couldn't run the hose more or less straight through all the cabinets to the tank because this run would have led the hose in such a way as to interfere with the berth cushion, which was already built; besides, access to the area directly beneath where the deck fill was would have probably been impossible with a drill.
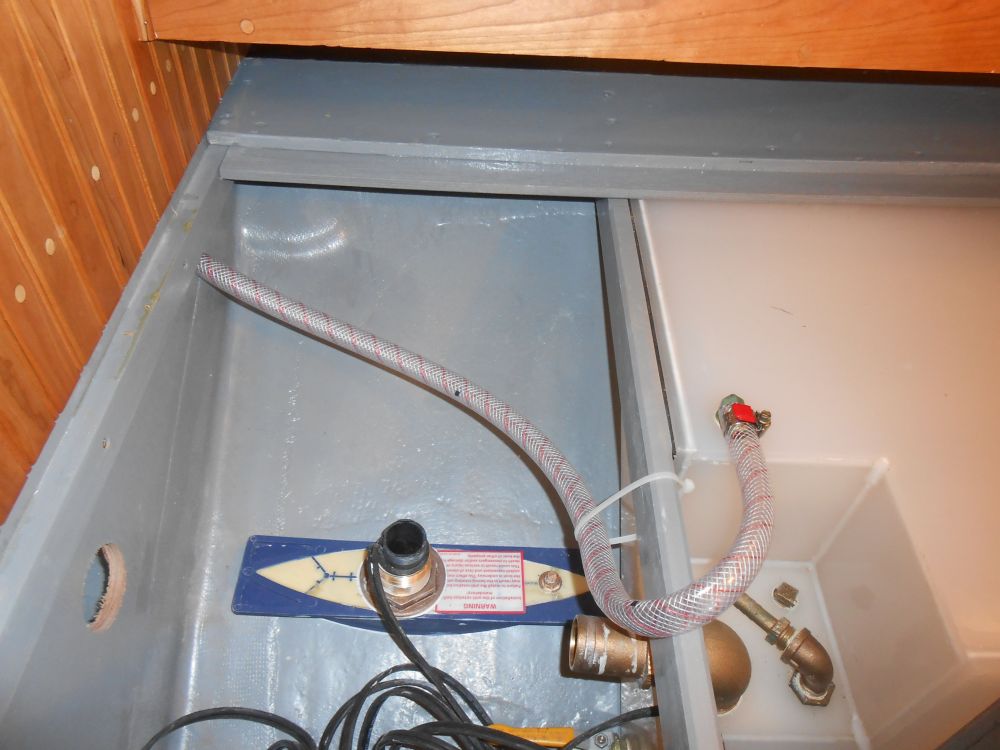
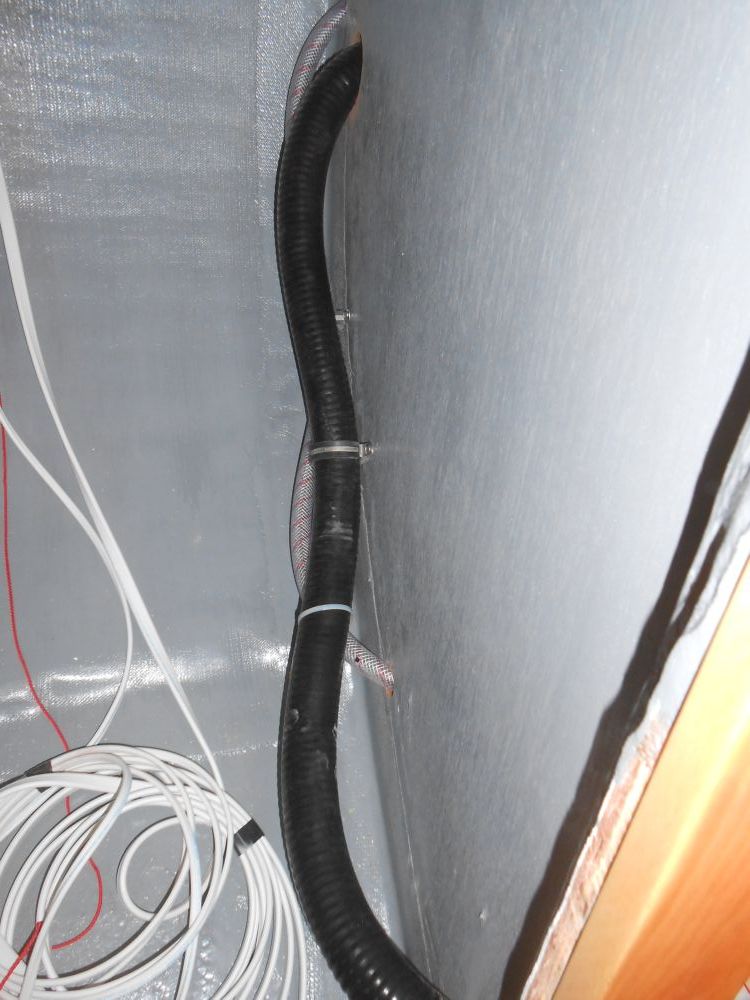
Instead, I chose to run the port hoses out the back of the tank locker and into the open space beneath the nav table, which would soon be filled with various electrical components, but offered plenty of room for the tank hoses. Then, I ran the hoses back into the upper cabinets and to their final connections. To make these turns, I had to switch to a different kind of hose that I had on hand, one that was more flexible, and eventually I completed the hose run.
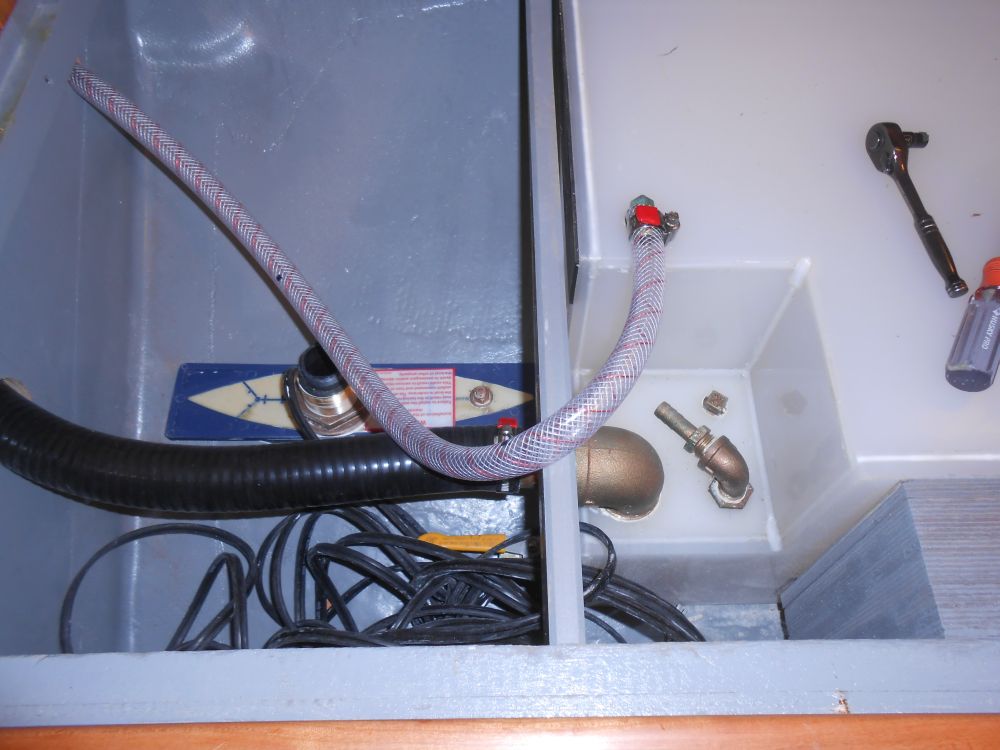
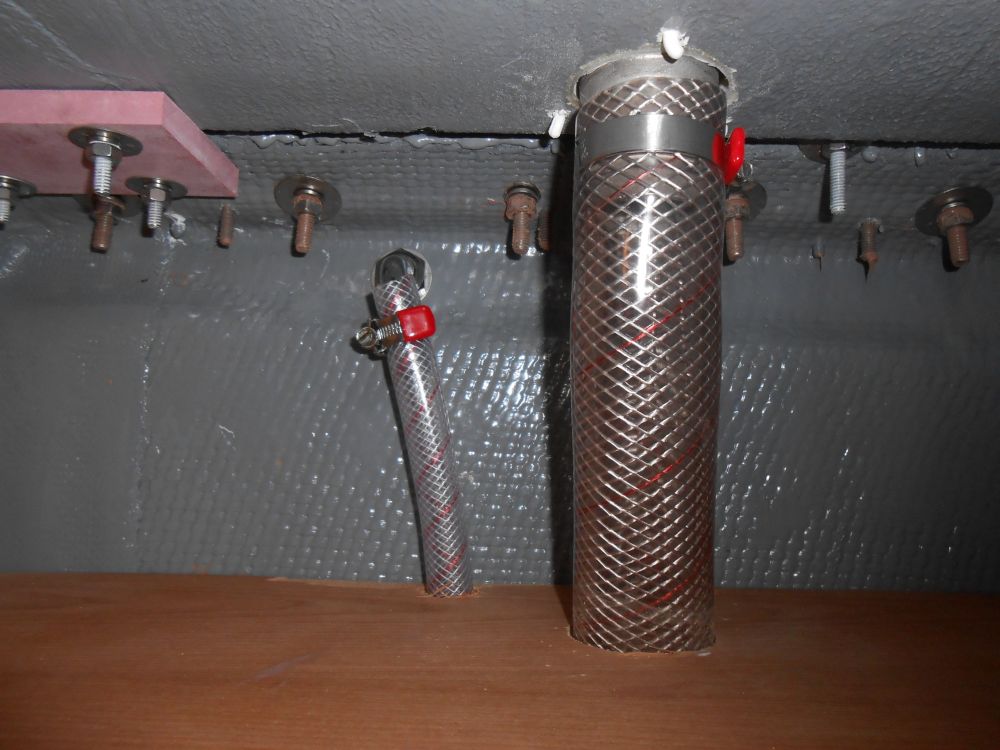
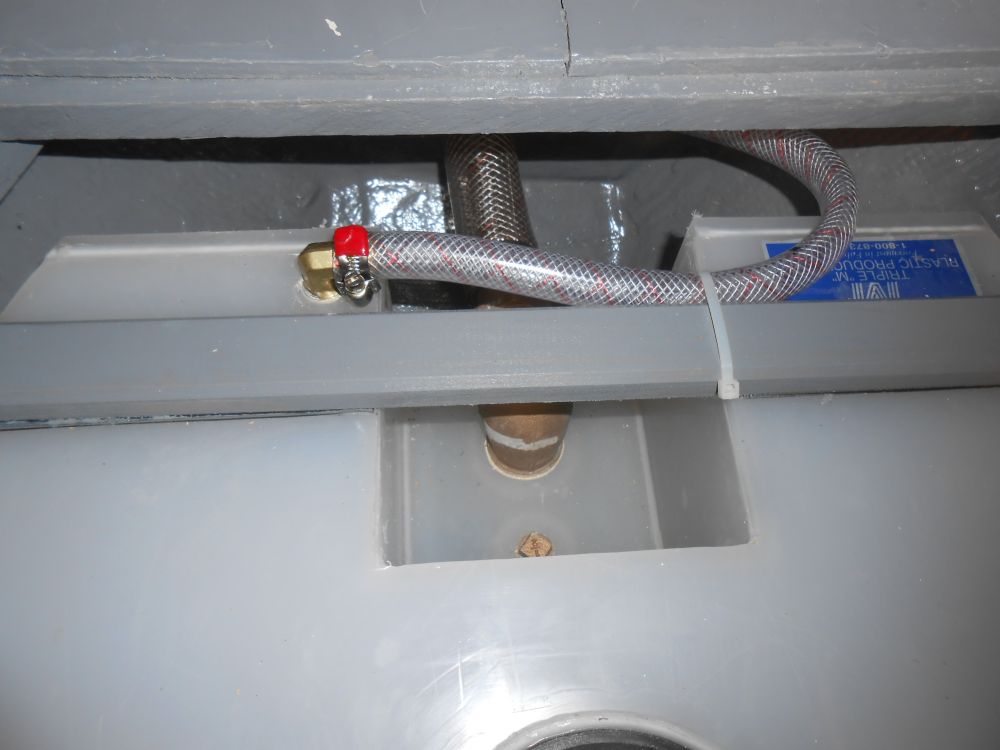
Next, I installed the fill line and vent for the forward tank, using more of my favorite hose to complete the tank fill run. Again I had to resort to lightly heating the end of the hose to provide the flexibility required to bend it 1/2" out of its stiffness comfort zone and connect to the tank itself. I planned to never use this hose in this size again, ever. (The smaller diameters are great to work with.)
For this tank, I simply ran the vent line inside the boat to the top of the chainlocker and looped it over, seeing no need for a through-hull vent in this instance.
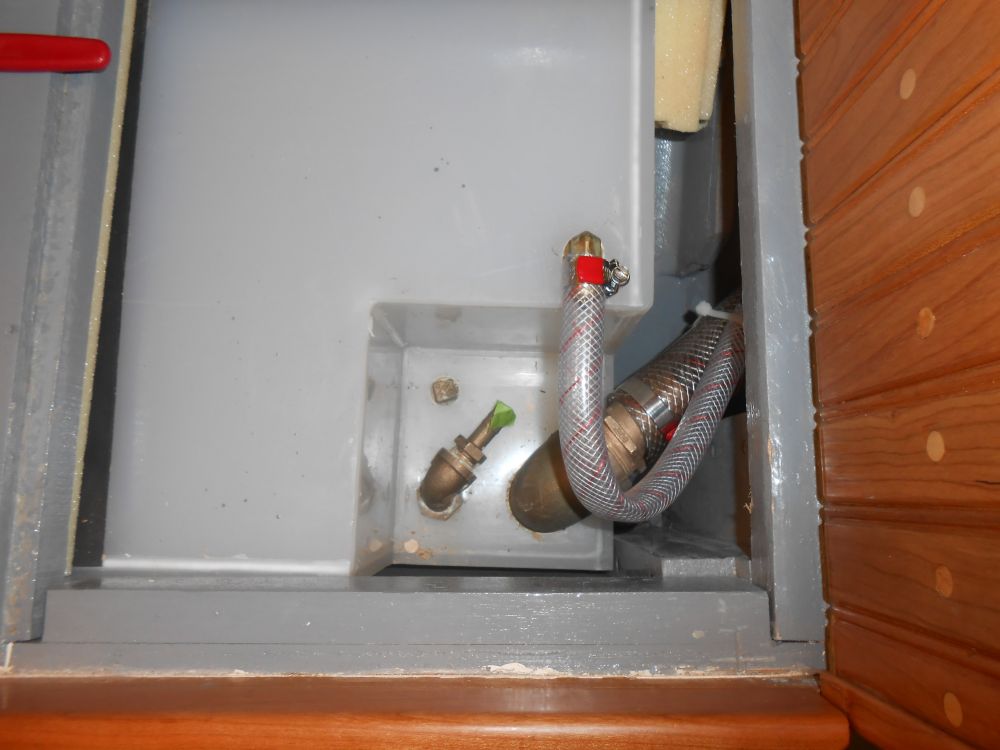
I considered proceeding with the supply lines, but realized I needed shutoff valves at the two after tanks in order to allow user control over which tank was used at any give time. In my mind I'd envisioned valves already in place, but recalled once exposed the tanks again that the valves I'd installed were for tank drains, not supply--except for the forward tank, where a single fitting did double duty. So, rather grateful for an excuse not to continue plumbing for the moment, I postponed the supply lines for now while I awaited the fittings required. I planned to run supply lines from each tank to a common manifold, from which the final supply lines would run to the head and galley sinks, allowing any combination of the three tanks to supply the fixtures.
While I was working up in the chain locker, I decided to secure the dangling sidelight wiring, and connect the wires to a common terminal block, which I'd eventually connect to the ship's electrical system. I secured the wires out of the way, and made the terminal connections to the new block, which I installed in the center of the foredeck overhead for ease of access.

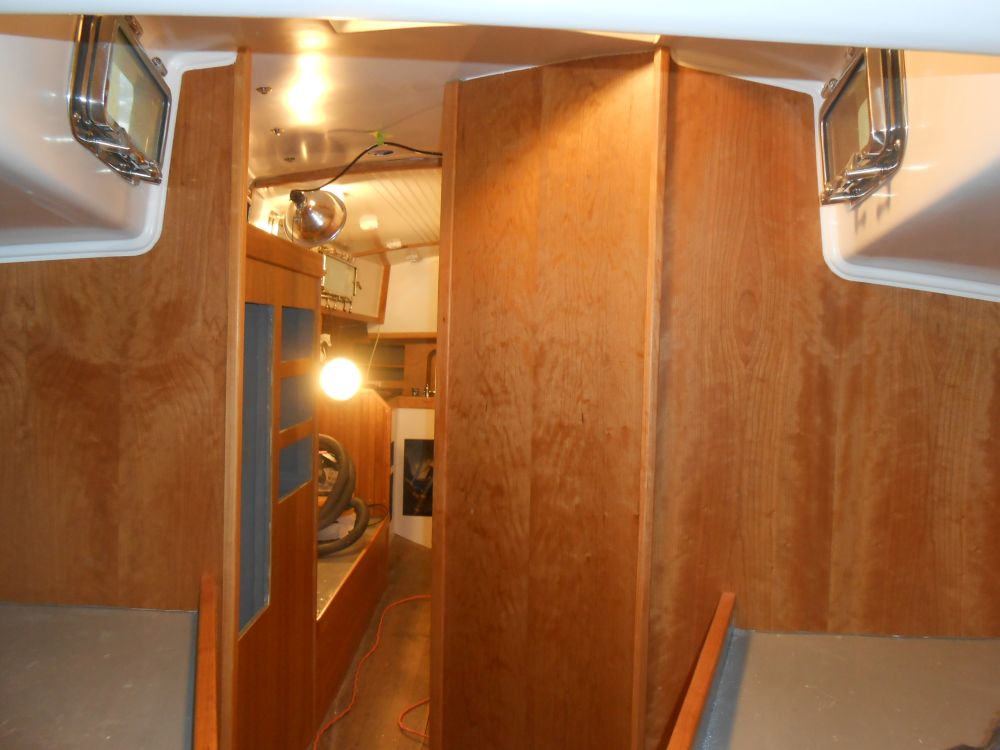
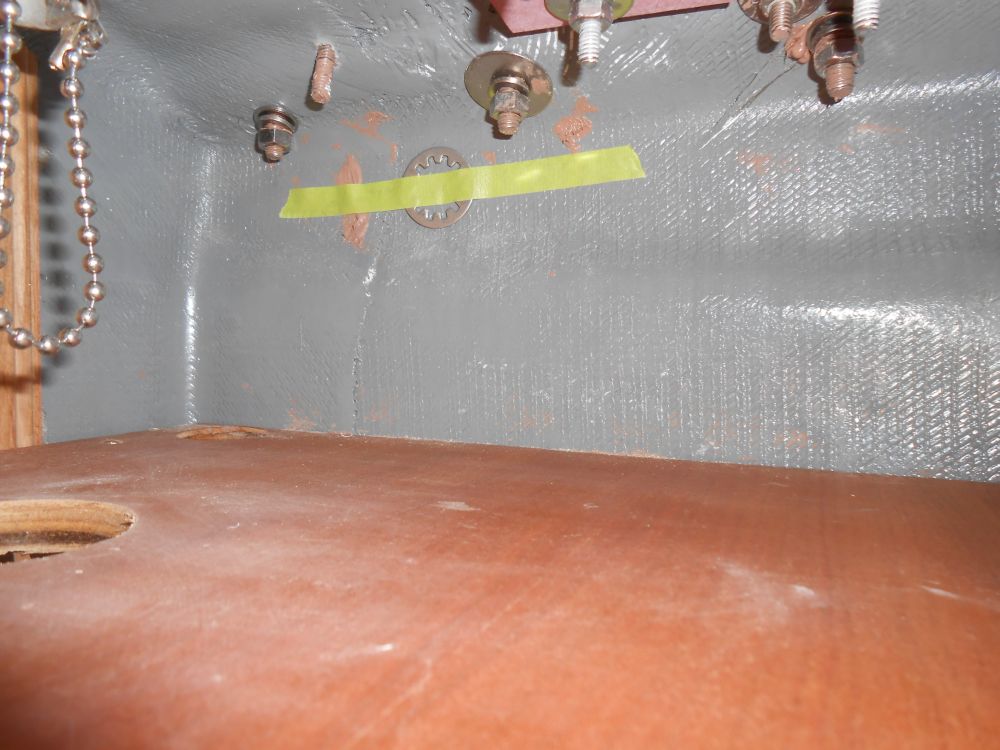
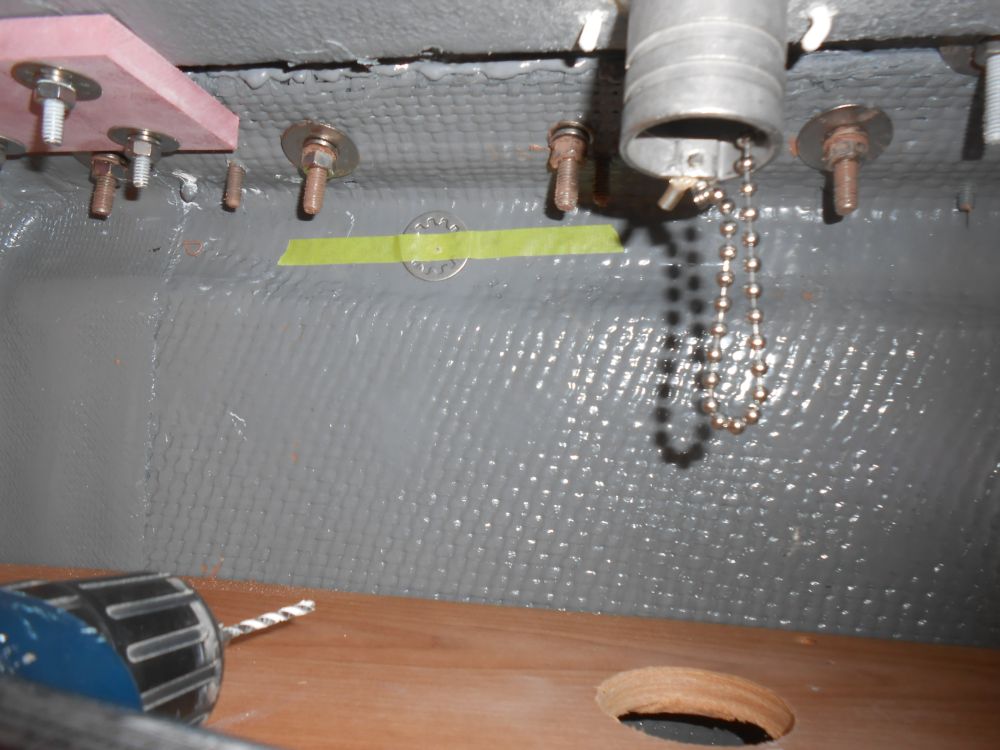
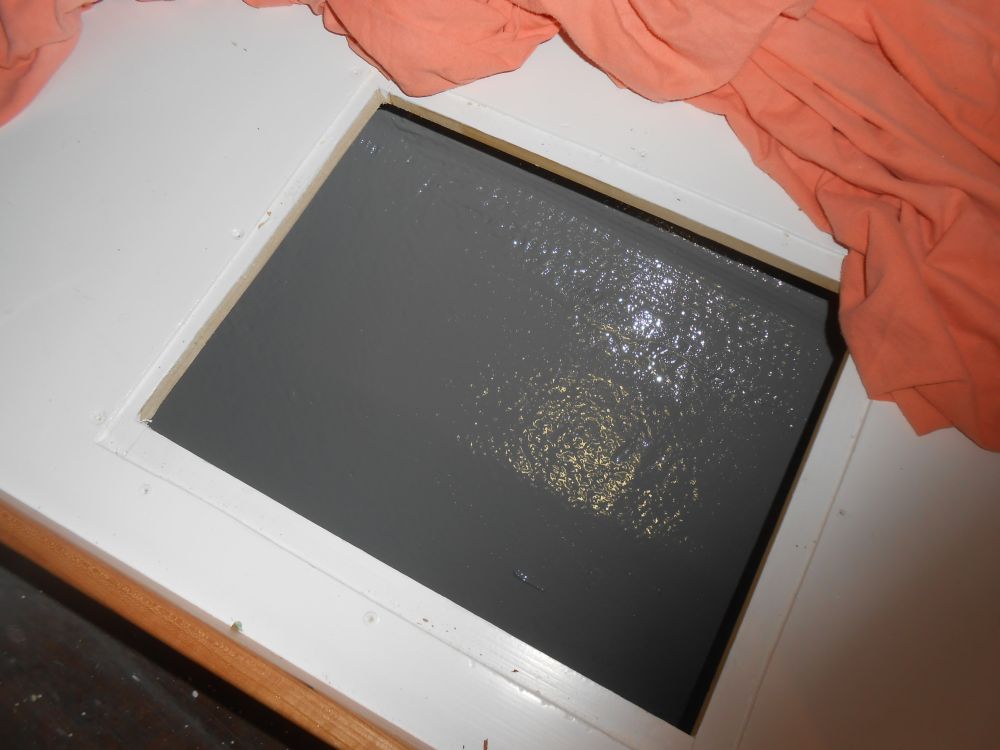
Planning ahead for the water supply and electrical work in the near future, I painted out the inside of a storage and utility area beneath the quarterberth, so that the space would be ready for running the utilities through; this would be part of the required route for various plumbing and electrical lines to pass from port to starboard.
Total Time on This Job Today: 8.5 hours
