
110 Cookson Lane | Whitefield, ME 04353 | 207-232-7600 | tim@lackeysailing.com
Snow Lily | Wednesday, February 27, 2013
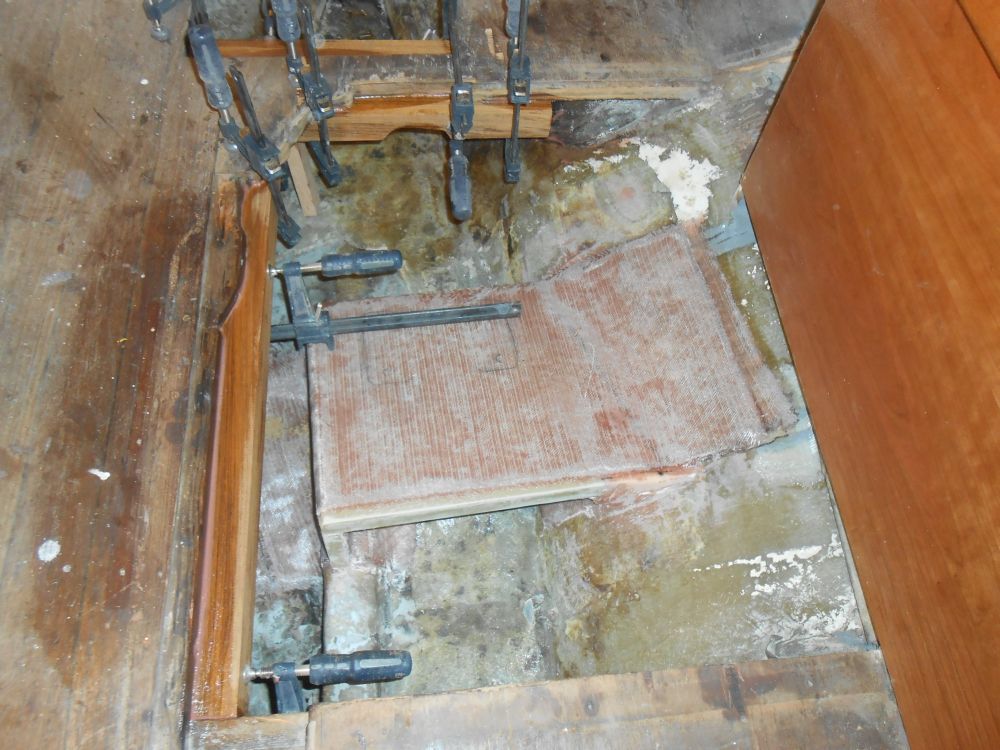
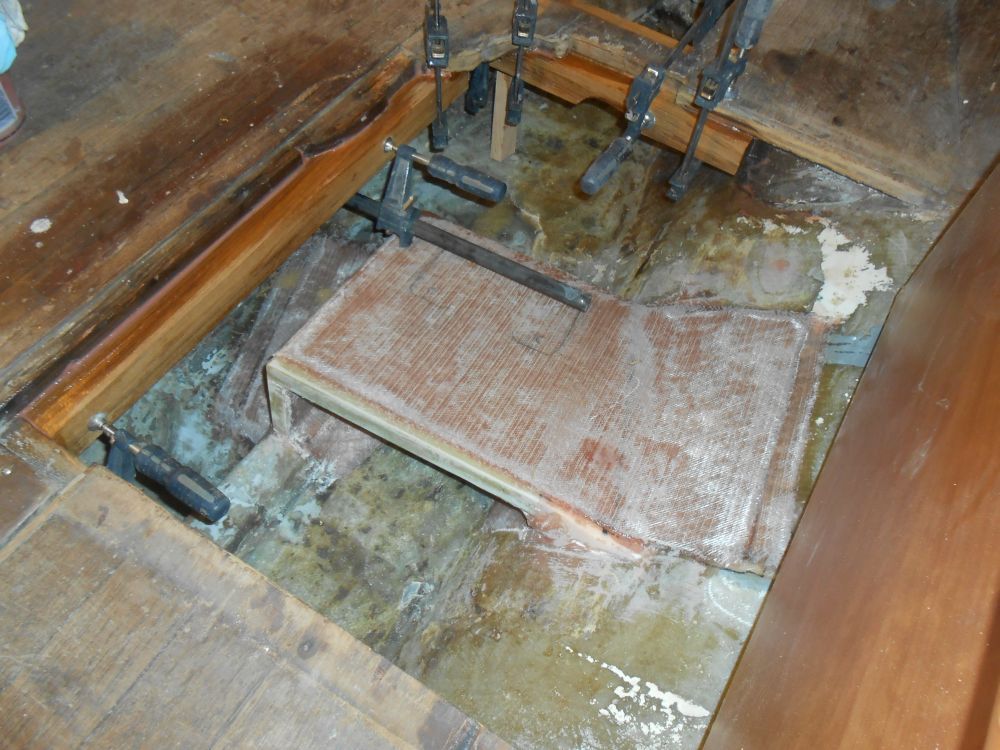
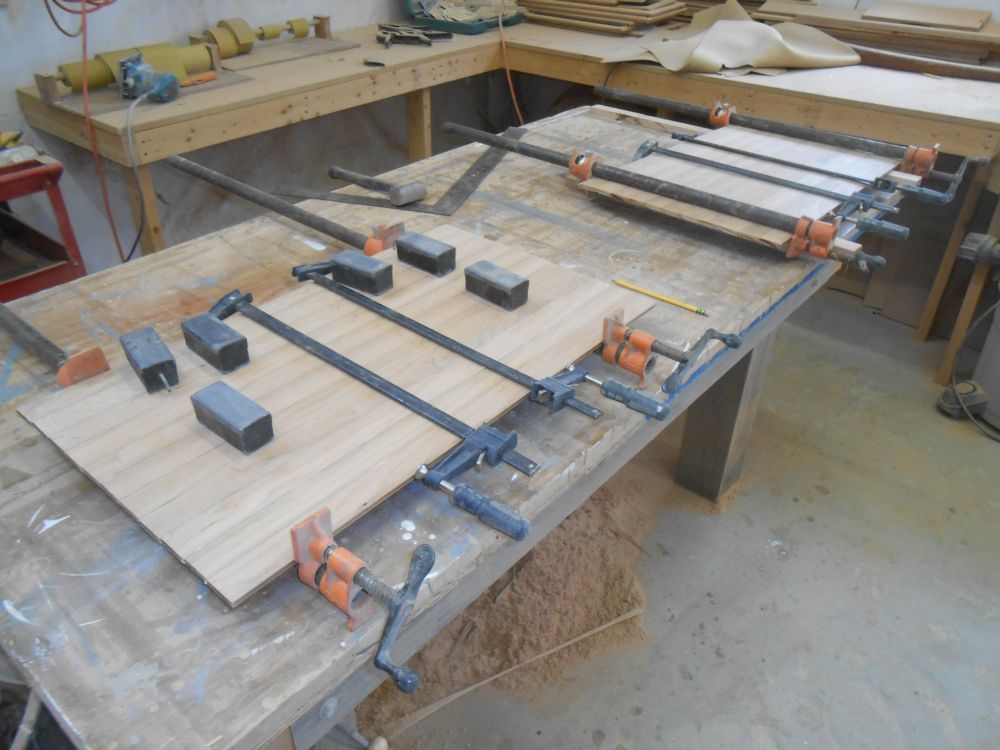
The understructure for the cabin sole around the large opening for the engine compartment required additional reinforcement, as the aftermost cross beam had split thanks to the massive chunk chewed out of its underside to provide clearance for the original engine installation. This had caused this area, right at the base of the companionway, to sag slightly.
After leveling the area, I installed an additional 2" beam on each side, made from teak offcuts leftover from the toerail project, and secured them in place with epoxy, clamping the beams securely while the epoxy cured.
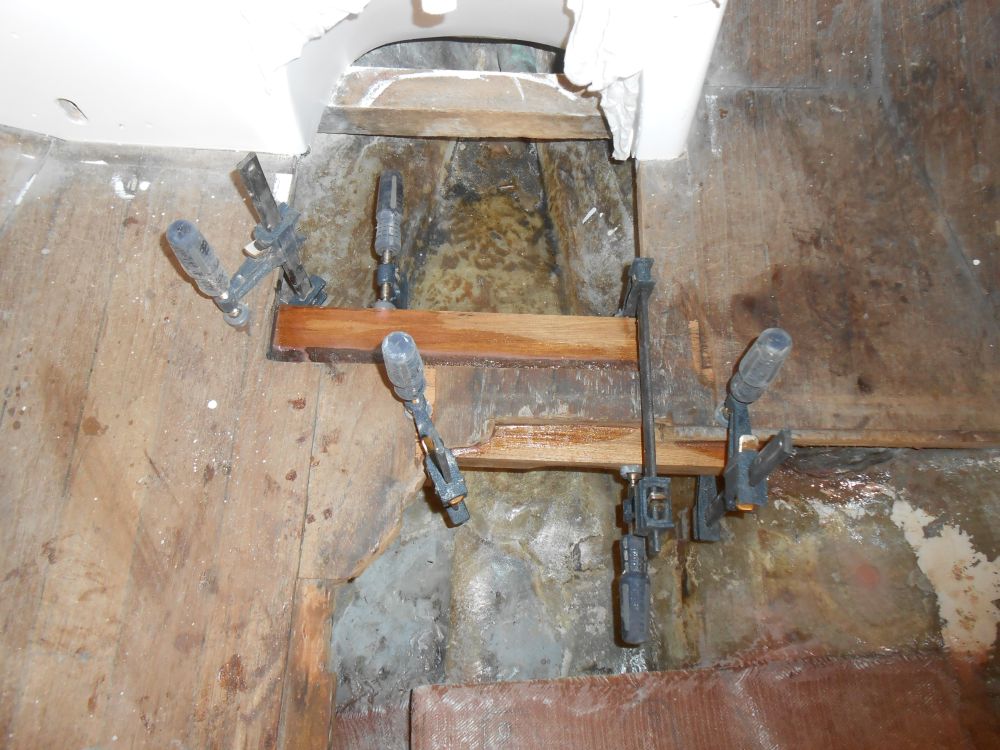
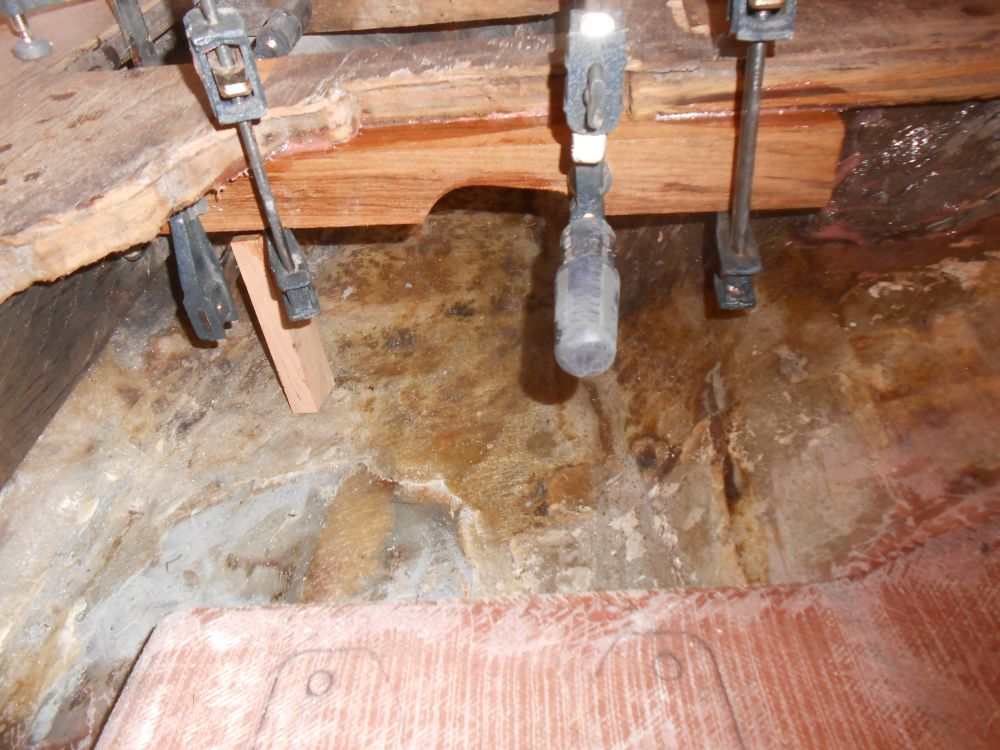
Similarly, I sistered the longitudinal beam forming the inboard edge of the opening, more to provide additional bearing space to slightly extend the sole substrate into the opening, which I planned to make just a bit smaller thanks to the new propulsion system's diminutive size.
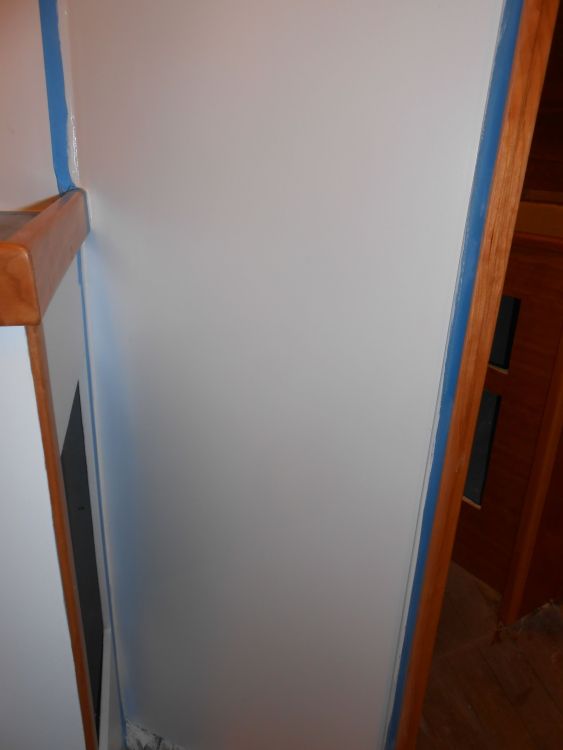
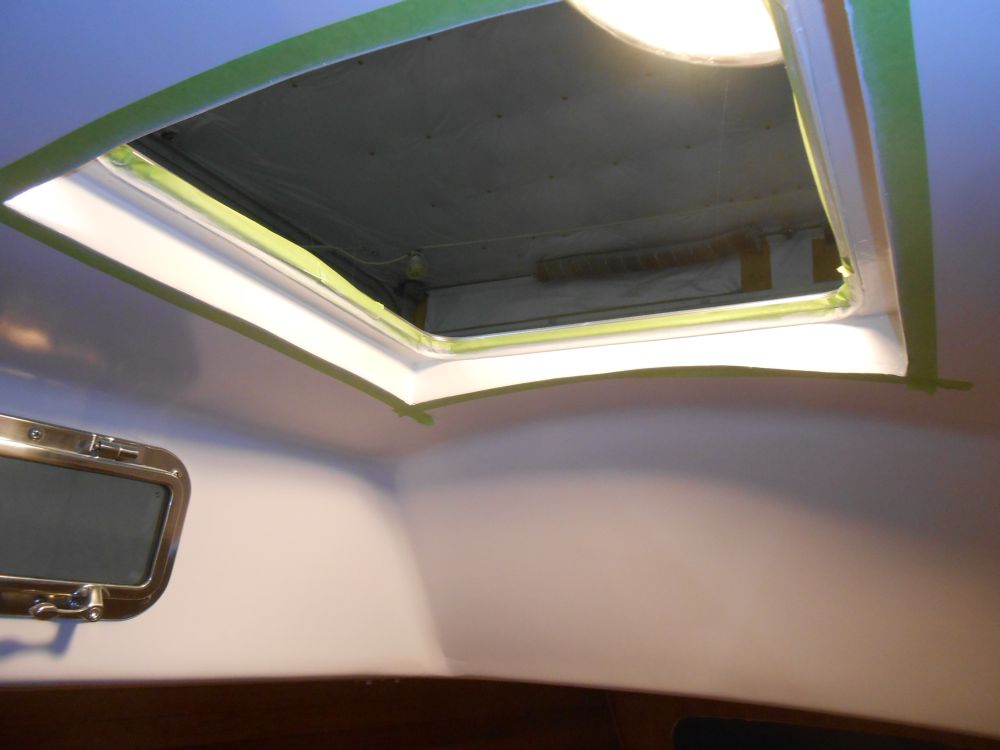
Not wanting to walk around on the glued-up areas more than necessary, I limited other interior work to an additional coat of paint in the head and other areas.

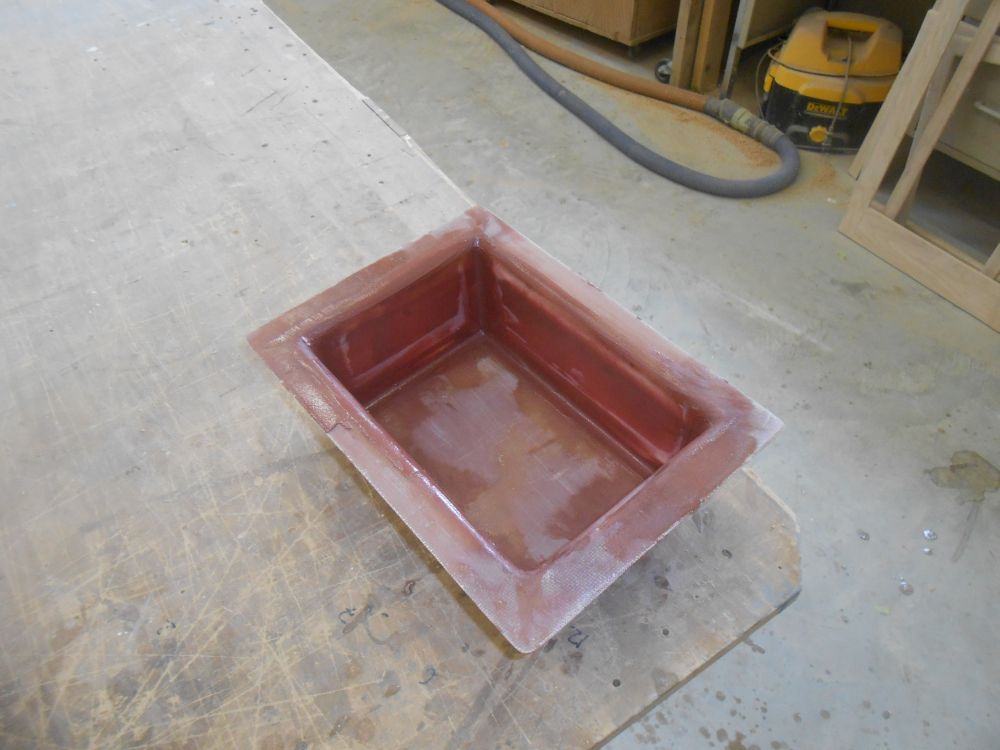
In the shop, I worked next on the throttle control enclosure, sanding the first coat of fairing compound and applying additional--mostly in the inside corners--as needed.
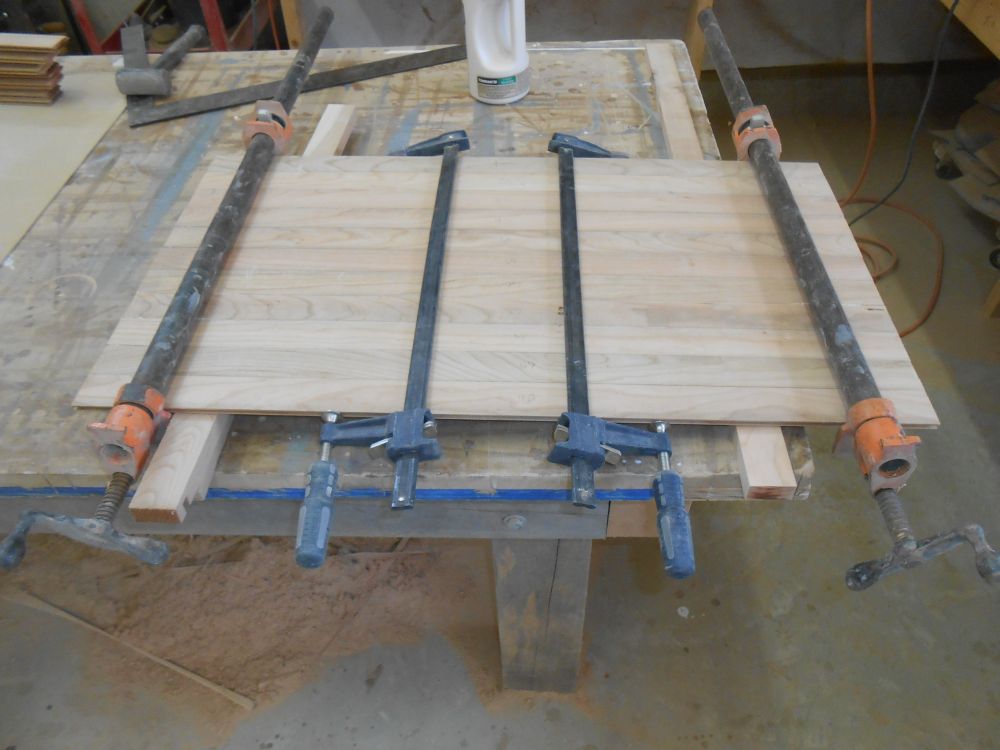
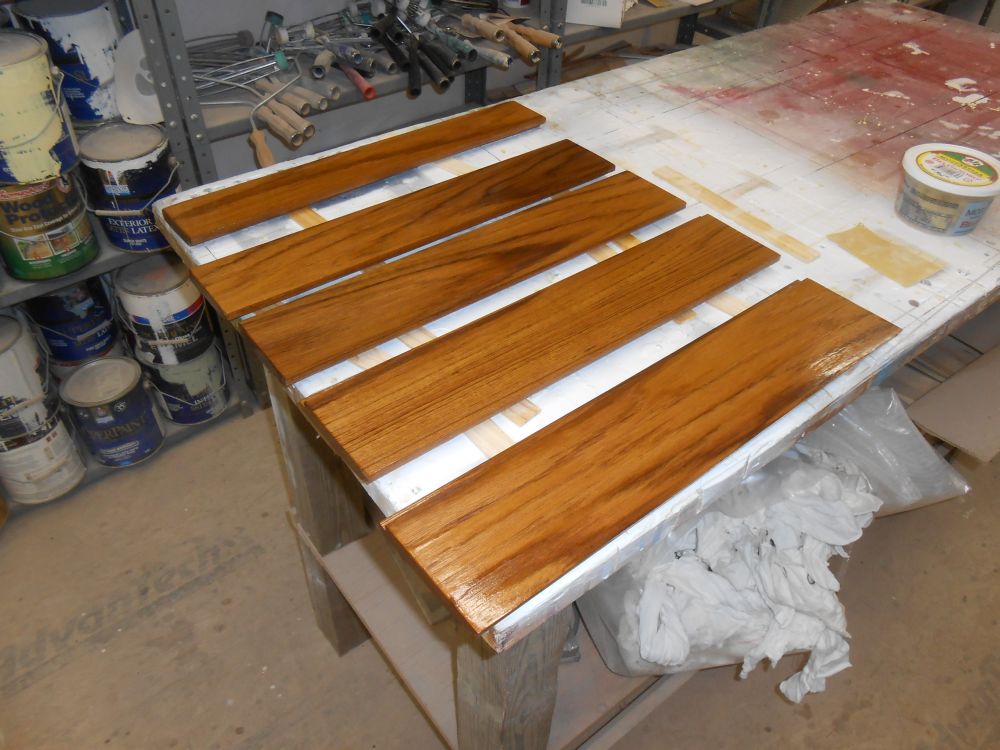
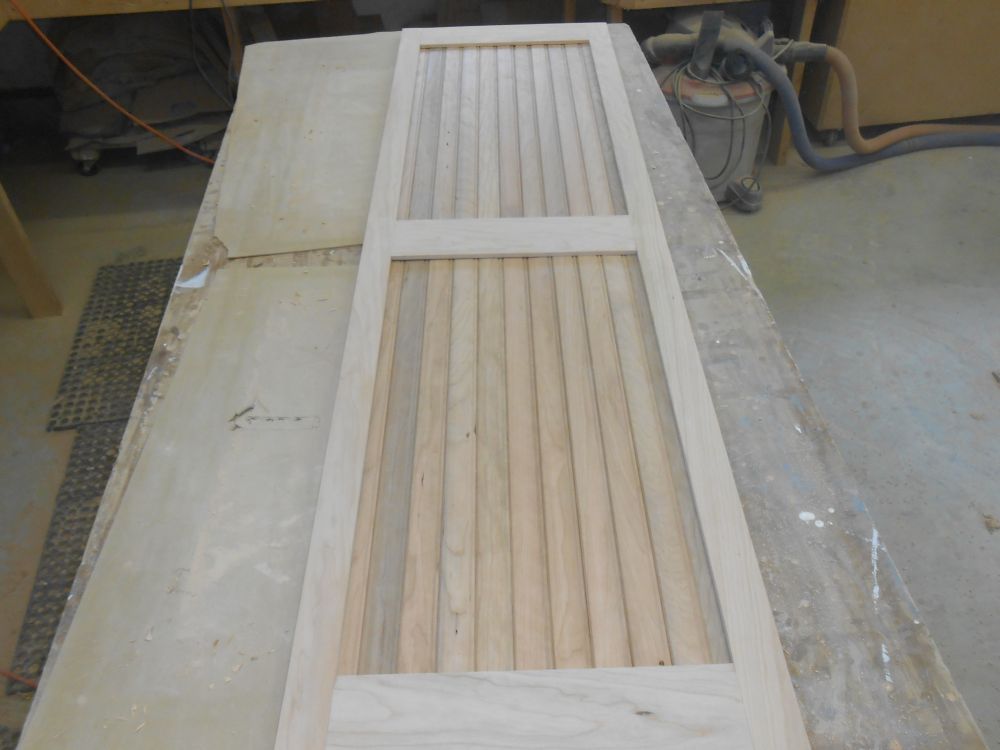
Using leftover sections of cherry beadboard from the main cabin, I cut and assembled sections to build the panels for the head doorway. I made the panels slightly extra-wide for later trimming, and glued the boards together at their tongue and groove joints to provide a semi-rigid panel, as much to help during later construction and installation steps as anything. These photos show the back sides of the boards.
I cut a 1/2" plywood panel to fit the electrical locker door frame. Later, I'd install various panels and controls in this door, during the wiring stage of the project.
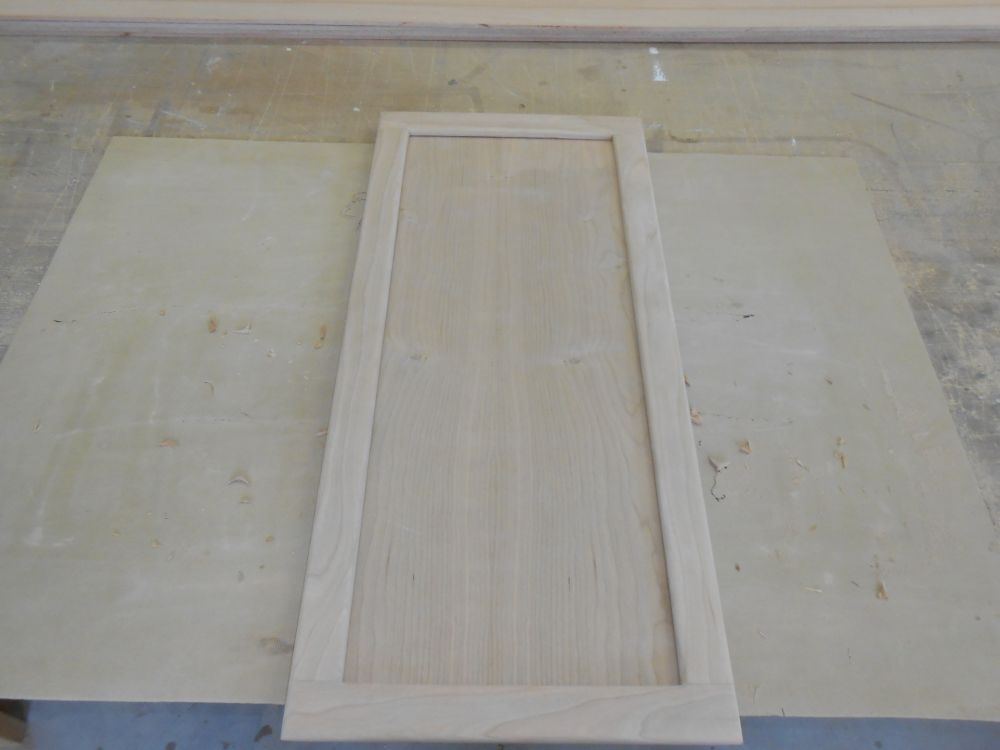

Meanwhile, I sanded and cleaned up the final interior door frame, that for the chainlocker opening. Then, I applied a sealer coat of varnish to the remaining door frames and panels, along with more varnish work on the companionway boards.

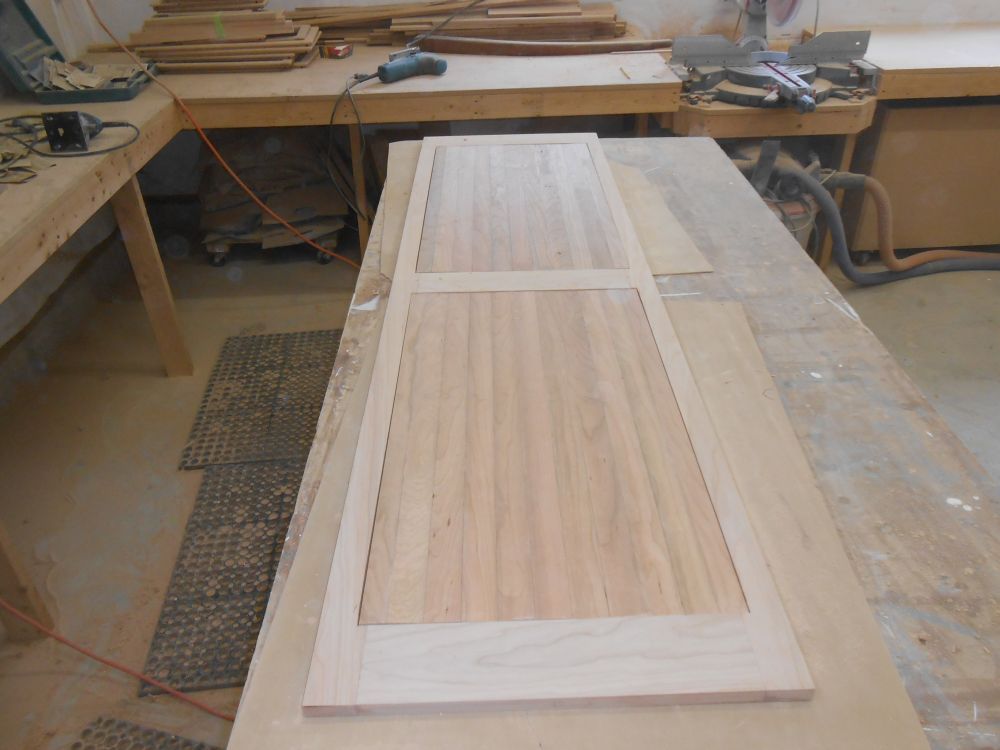
Later, once the glue had dried sufficiently, I trimmed the panels for width and length, and, after squaring off the routed corners of the rabbets on the door frame, test-fit the panels in the door. I left remaining construction for later, as I didn't have enough time at the end of the day.
Total Time on This Job Today: 8.25 hours
