110 Cookson Lane | Whitefield, ME 04353 | 207-232-7600 | tim@lackeysailing.com
Snow Lily | Monday, February 11, 2013
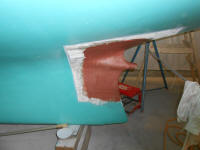
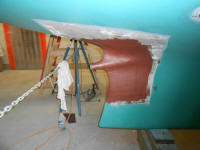
Starting on the keel and shaft once again, I lightly sanded the new trailing edge fiberglass as needed, then applied a layer of fairing compound over the entire reinforced area to begin to fair the new work in with the old.
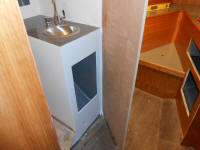
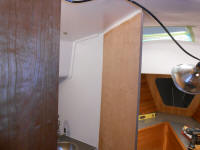
After unclamping the new head bulkhead, I made some measurements for various trim pieces, and applied some white sealant along the inside edges of the new bulkhead where it met with adjacent surfaces, since this surface would be painted to match the other head areas.
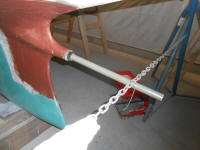
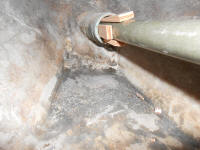
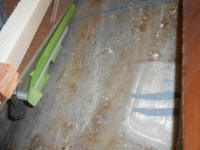
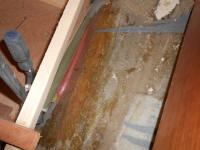
Running my simulated prop shaft through the stern tube and Cutless bearing, I prepared to get started on the electric motor foundations. The temporary black tape on the end of the Cutless bearing just keeps the bearing from getting pulled into the tube as I adjusted the shaft. Inside the boat I used small wedges to pin the shaft in the center where it exited the stern tube inside the boat, and wired the shaft to a nearby floor beam to hold it in place and prevent drooping.
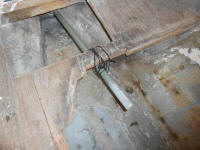
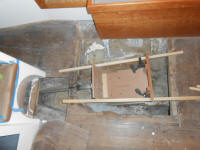
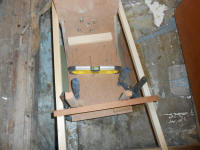
At the end of the shaft, I installed the small template I built and leveled it, locating the template in such a way as to leave ample room for the roughly 19" long motor and transmission, while providing plenty of space at the aft end for coupling work. The various wedges and wires held the template in position for now, but to hold it securely for the next steps I used scraps of wood and hot glue to build a small structure.
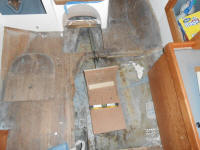
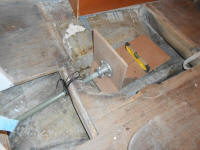
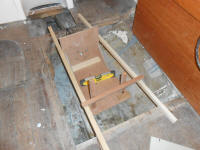
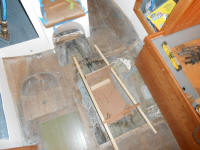
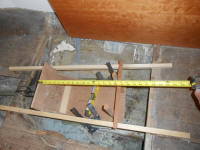
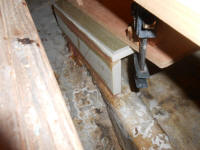
To allow for the thickness of the 1/2" template, I planned to build the platform from two layers of 1/2" G-10 fiberglass: the first layer as a base, using the template to locate it; and the second layer (which I'd install later) to bring the top up to the actual level of the bottom of the electric motor. With the first piece on hand, plus a temporary 1/4" spacer piece to lower the initial height and leave me room for the fiberglass that would tie the whole thing together and into the hull, I clamped the pieces in place beneath the template, and determined how to proceed from there.
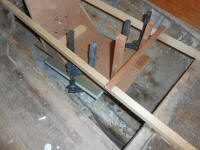
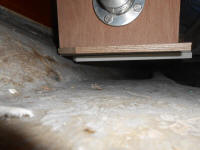
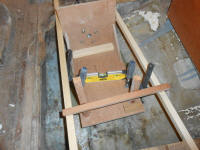
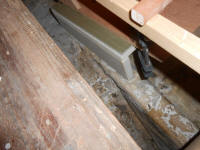
On the inboard side, I measured for a vertical support, which I cut from 3/4" G-10 and epoxied in place The outboard side rested on the hull at the aft edge with a small gap at the forward edge that I covered with tape from within so I could install an epoxy fillet to secure the platform there. The point now was to simply secure the platform accurately so I could remove the template and other detritus and continue the real work of building the foundation. The clamps and temporary wooden structure held everything in place while the epoxy cured, all properly aligned to the actual shaft position and angle.
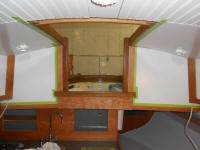
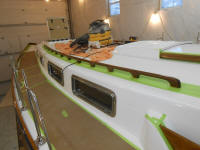
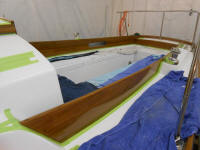
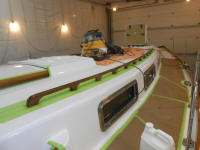
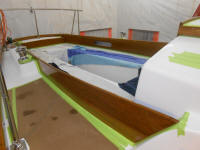
Elsewhere, I made various preparations inside and outside the boat, masking off the companionway and nearby areas to prepare them for varnish in the days ahead, and sanding the other exterior brightwork to ready it for its next coats. Later in the day, I applied the first coat of varnish to the new trim and other areas, then applied more varnish to the coamings--both sides of each this time, now that the inside faces were caught up to the outside--and handrails.
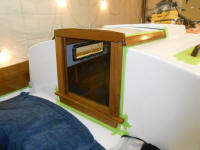
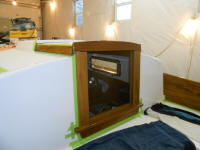
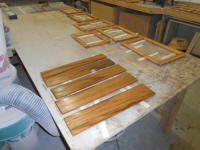
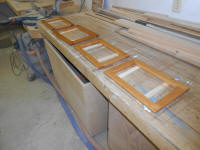
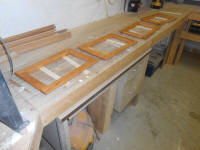
During the remainder of the day, I finished sanding the cabinet doors that I'd built so far (a few still remained to be built, for some of the larger, irregular openings like the chainlocker and a few others), and also sanded the new overhead trim pieces. After cleaning the pieces, I applied a sealer coat of varnish to all the doors, as well as the companionway swashboards.
Total Time on This Job Today: 9 hours
