110 Cookson Lane | Whitefield, ME 04353 | 207-232-7600 | tim@lackeysailing.com
After washing and lightly sanding the new epoxy and tabbing securing the port settee false bottom, I prepared for new work ahead by installing additional bungs in the adjacent beadboard, just in those areas where I'd be working in the immediate future. At some point soon, I'd continue bunging the remaining areas, but for now my goal was to keep the settee construction on both sides moving along, allowing for adhesive cure times and so forth during the process.
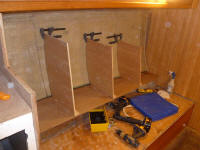
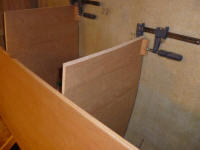
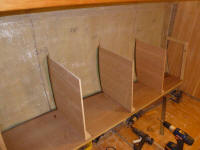
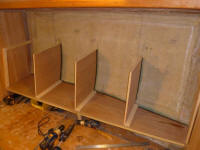
While the glue on the bungs dried, I laid out the bottom for dividers and cleats. Since the port settee was longer than the starboard, there was room for four separate compartments along its length. With the layout complete, I cut and installed support cleats on the bottom, then used a cardboard template to scribe and fit each of the three plywood dividers. Using scrap cherry plywood, I left the dividers tall pending final trimming once I got the front of the cabinet in place. I set the dividers up plumb and held them with temporary blocks glued to the hull.
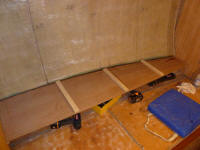
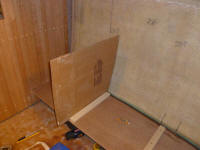
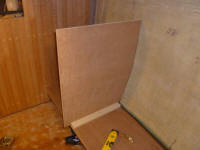
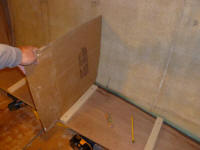
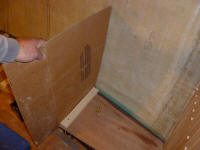
By now, the bungs were ready for trimming with chisel and sandpaper, after which I could lay out and install cleats to support the angled backrest and horizontal shelf. I also added a full-length cleat along the bottom of the lower shelf (not shown in these photos) to provide an area to which to screw the settee back panel.
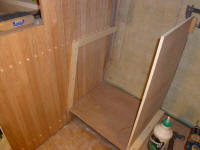
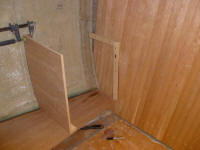
I cut a section of cherry plywood for the settee back, and clamped it temporarily in place so I could mark the three dividers' proper heights with a level. Afterwards, I cut the panels to the lines and, after final preparations, secured them permanently with epoxy adhesive against the hull and screws into the hardwood cleats. I used a small dab of hot glue at the top of the panels where they met the hull to hold them in their proper positions.
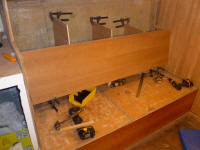
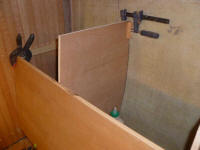
Back on the starboard side, I installed the wine bottle holder and shelf in the middle compartment, along with the fiddle for the middle shelf. I cut and glued a section of non-slip material beneath the wine area to hold and cushion the bases of the bottles.
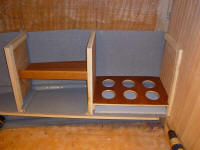
Next, I installed the settee back panel with glue and screws, followed by the shelf.
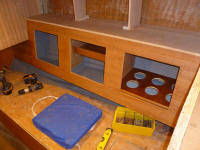
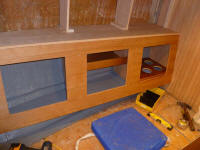
With the upper shelf secured, I reinstalled the vertical hardwood cleats at the forward and after bulkheads, then cut and fit additional cleats to secure the two upper dividers that I'd previously laid out and cut. Finally, I secured the dividers in place with epoxy adhesive and screws. I'd be able to continue work on both settee locker units next time.
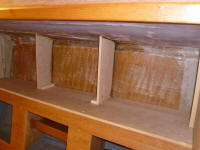
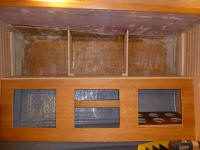
Total Time on This Job Today: 7.25 hours
